I was trying to figure out what to do about the different expansion rates.
Coefficient of linear thermal expansion for Alumina = 8.1 x 10^-6 M / M*C.
For steel is 12 x 10^-6 M / M*C.
So, the difference would be (say) 4 x 10^-6 M / M*C.
So, in a 1000 C temp. change, this would be 4 x 10^-3 M / M*C.
If I am carrying all of my units and zeroes right, this means that the differential expansion rate would be 4 millimeters per meter per 1000 degrees C.
Since we are talking about something around 25 mm in diameter, we are talking about a differential expansion of 4 * 25/1000 = 0.4 mm per 1000 degrees C.
That should be the amount of slop we need in the threads?
Not sure what the worst temp. change I should plan for. Say 1500 C ?
In that case, need 0.6 mm slop.
That would roughly be about half the size of a grain of salt.
I wonder if that would be too loose of a fit?
Maybe you could cut the threads more like pipe thread so that they will “bind up” after they are screwed on a ways. Then, as the thing heats up, maybe the threads would just back off a little bit?
While I was out of town, Hoss made another batch of charcoal. He used the same method, but just put full sized pieces of sawmill slab in the retort (both in the inner barrel for the charcoal, and the outer barrel for the fire).
It appears to have worked fine. Even the thickest knottiest pieces appear to be completely charred.
And he was still able to pack enough wood in the barrel to get about 10 gallons of charcoal.
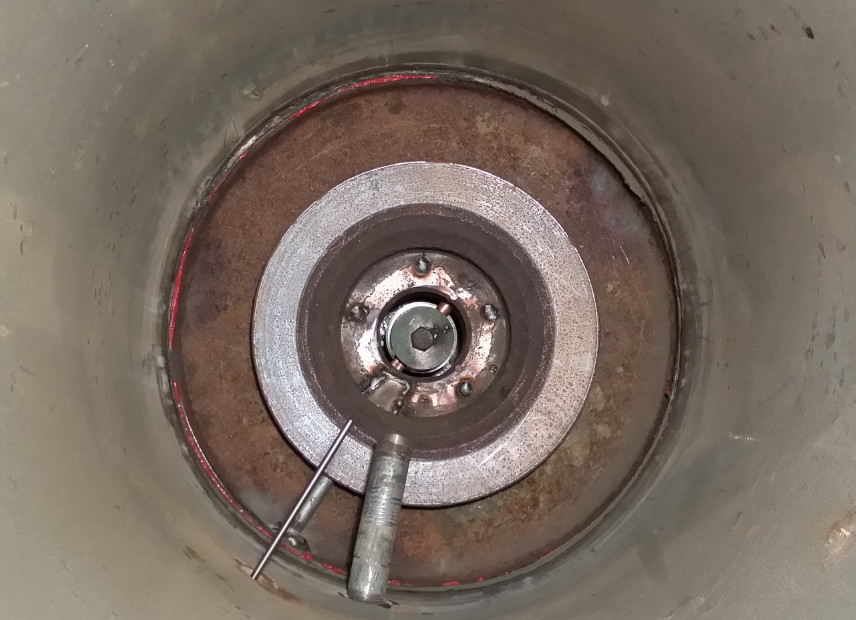
Does anybody know about how big the “oxygen lobe” experiencing intense heat would be inside the gasifier? I assume that you would want your ceramic nozzle (or whatever) to be longer than the edges of this lobe before you transitioned to steel?
Maybe this will give you a clue. My latest charcoal gasifier is 16 inches diameter and initially I had a 6 inch thermocouple that protruded in about 4-1/2 inches and about 4 inches above the upward pointing nozzle. I was regularly reading temps of 1700 to 1900 F with water/steam injection. Then I put in a 4 inch thermocouple and that brought down the temp reading to 1500 to 1700 F under the same conditions.
Don that’s a very interesting build , I don’t recall it being discussed is that similar to Gary’s nozzles design that he has on his truck ?
Looks great anyway .
this afternoon, wishing my Amazon stuff was here. I decided to do a little fooling around with whatever I could find laying around. I circled back to the screening process.
I had an idea for a screen shaker.
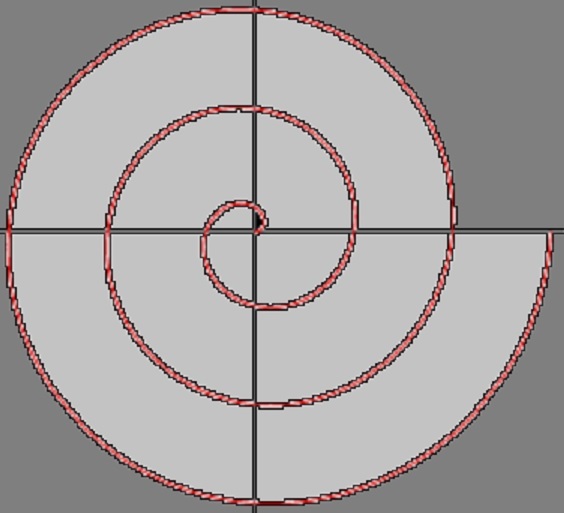
I found this picture of a Nautilus shell online.
I learned that this shape is (more or less) an spiral of Theodorus (a logarithmic curve that can be divided into triangles such that the sides of the triangles form a progression of roots). I thought that was pretty cool.
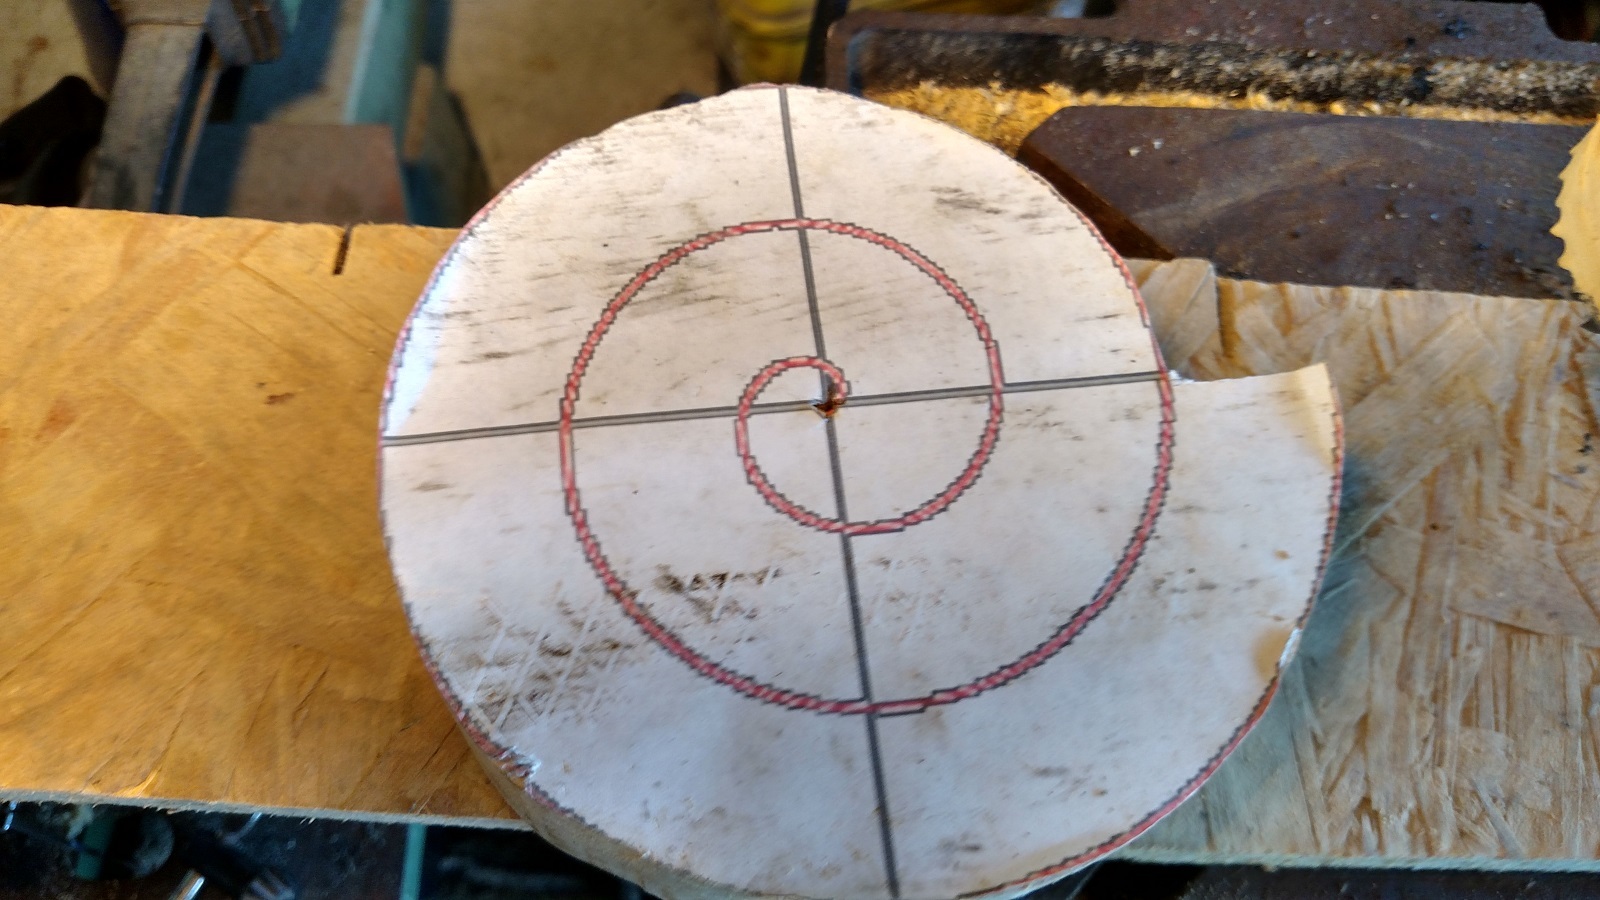
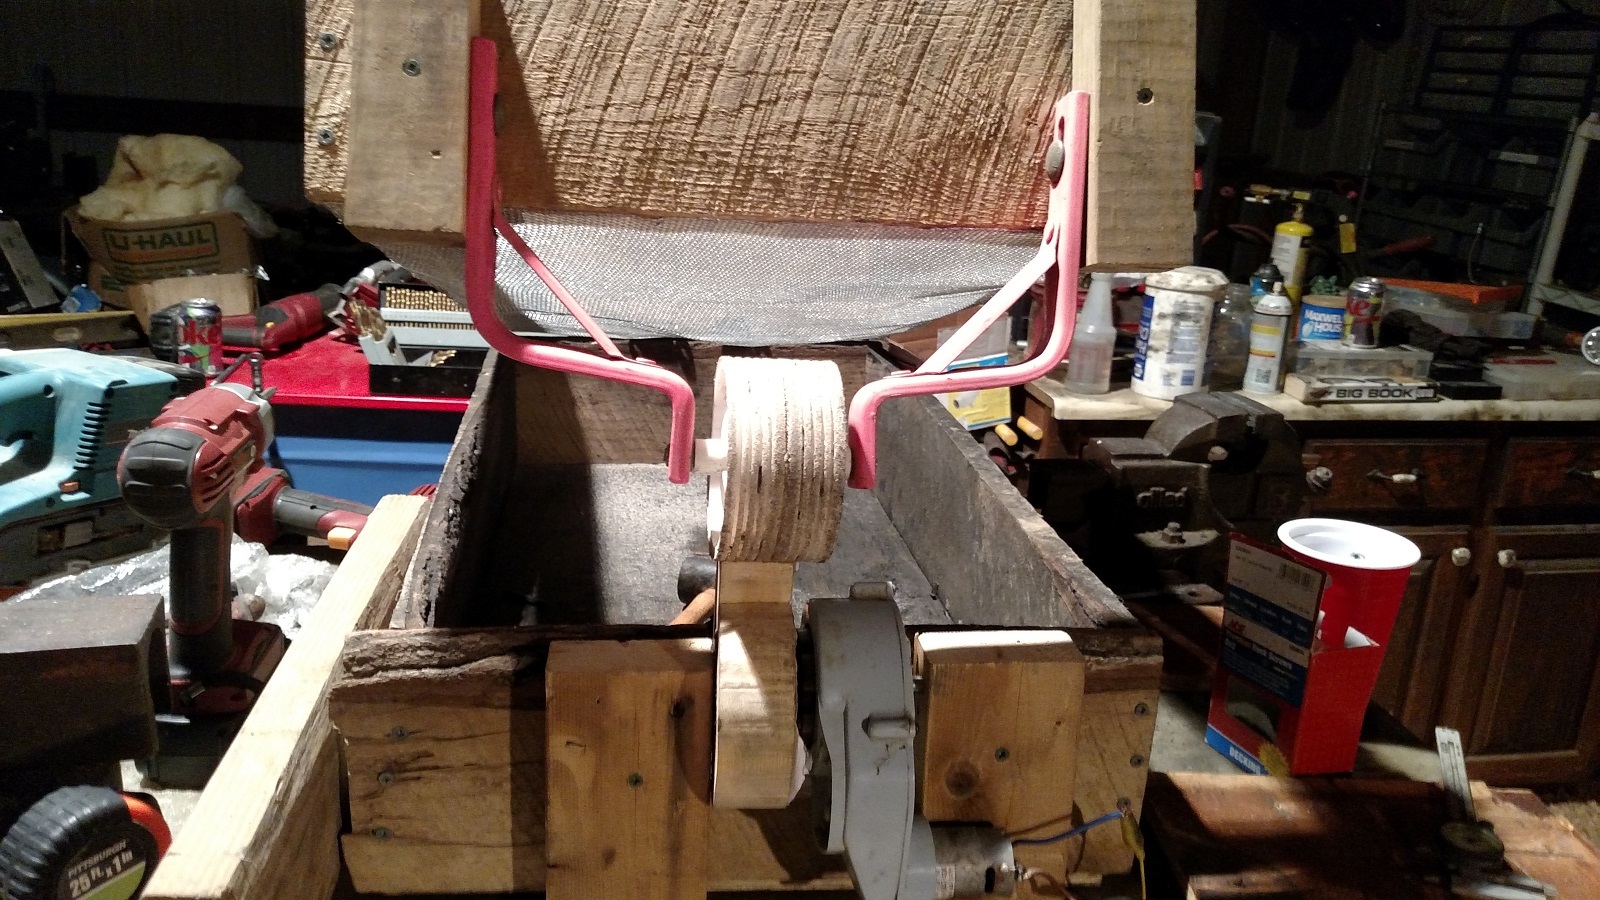
Then, I took the motor off of one of those little toy cars, and hooked it to the center of the spiral and attached it to my bottom frame. I found an old pair of training wheels, attached them together, and put them on the top frame. I ended up with this.
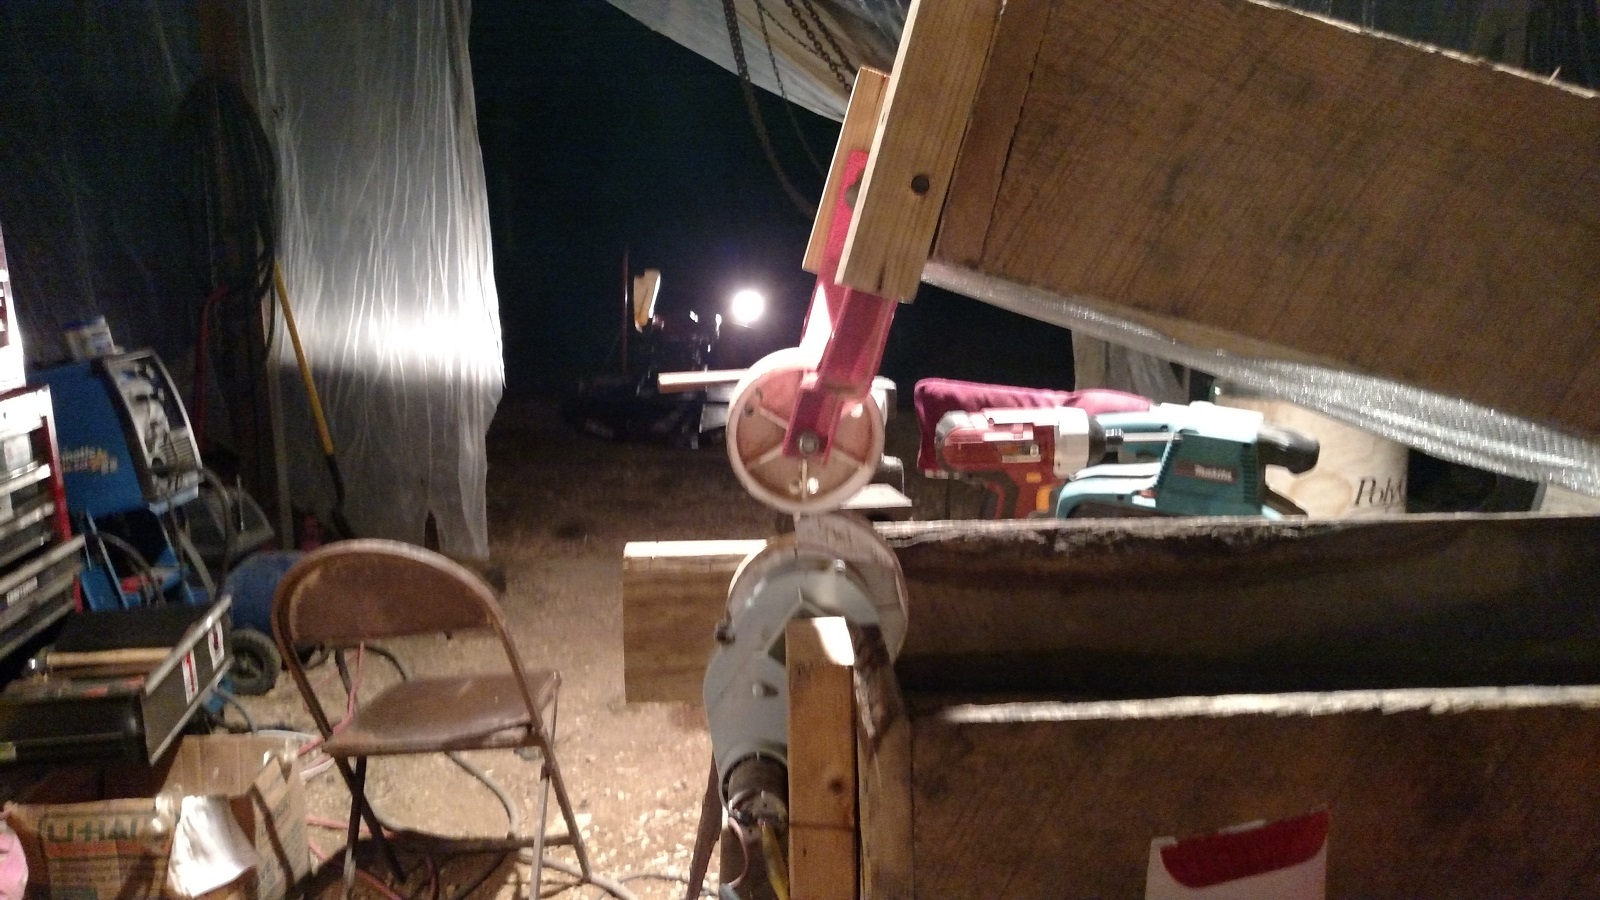
Here is a side view. If you look closely, you can see that the training wheels are sitting at the very top of the spiral, and are about to fall off the “cliff.”
Anyway, I don’t have it all sturdied up yet. But it was far enough long to run at low speed. It very gently lifts the top screen up, then lets it come crashing down. I am going to add some beefy stops so that, when it crashes down, it doesn’t impact directly on the spiral. I think it is going to work. But I am not sure for how long
I am looking for some kind of battery charger that I can plug into my 120/240 generator to charge my batteries. I need a configurable 3 stage charger so I don’t toast my (expensive) AGM batteries.
Oh I fully understand about not wanting to fry batteries by over charging , luckily I have 3 sets of the old wet cell Trojans that will cope with this charger and all my AGM batteries I have will go through a charge controller , but of course I will keep my eye on it till I know how much I can trust it . I will know better once they land in Australia .
Oh Kyle I just had a thought if I can explain this in text , if you get a chance to make another disk instead of making it so you have just the one face where it drops off , make it perfectly round imagine a clock face at every 5 mins you could have a register , a high point or a low point where the screen pickup hits or drops into and they wouldn’t need to be high or deep because there are so many it will make a nice constant movement that is always making the charcoal run down , just a thought seeing’s as you already have gravity helping the charcoal flow down anyway .
Dave
Ha. Thanks for the kind words. But I don’t know about that. I only post pictures of the stuff that works. Sometimes, I think I am more like a million monkeys typing. I just try stuff with the hopes of eventually writing Shakespeare.
But it would be great to meet you sometime. I went to Argos a few years ago, and hope to go again. Maybe this year. Just don’t know yet.
Dave - I think I follow you - a circle with little hills or valleys every 30 degrees? That sounds like it could work, and would make a gentler but more rapid vibration than the spiral.
I don’t know how important it is to have the abrupt jarring. I just remember seeing a rock screening machine years ago that was banging hard like that, so I thought I would try it that way.
Dave - Have you tried charging batteries with the Powerjack Inverter? I couldn’t find any info on whether it was a 3 stage charger, or how well it is regulated, so I was afraid to try it.
A while back we were making stepping stones and I made a vibrating table to shake out the bubbles. I just used a motor with an offset weight to vibrate it. (oversize grate shaker) I was thinking of trying the same on my super sifter.
Another possible idea I want to try is an eccentric with a very small offset like 1/4" or 1/2" with a connecting rod to the screen box.
Kyle i use my charger side on the Powerjack a fair amount in winter on the wet and also the AGM banks, i use only the gasisfier to run the large inverter generator that powers it, and it always pulls just over 2KW from the generator , so charcoal only lasts about 4 hours on the big generator , but never had a problem with over cooked batteries ,
The manual says it has a 4 step digital controlled progressive charger , if your unsure about trusting your batteries ,get hold of a volt and amp meter off ebay they are about $5 and wire that into your charger line and keep a watch and see how the voltage and amps cycle , or maybe even grab a couple of not so great old AGM"s to test it out on .
There are 2 settings for 2 types of AGM’s on this charger switch position 2 or 3 , my AGM"s bulk at 14.6 and float at 13.6 switch position 3 .
Dave