Thats exactly what l do. No cooling media, just fresh spring air goeing to the gasifier.
Like l sayd before. The performance is much the same as when l used to inject exhaust exept for shorter starting time, longer idle(without loseing power) and l think some more horses tend to start kicking while useing no coolant. It allsow makes ash cleaning easyer as l just dump the charcoal out and pick out slag cakes from the nozzles once a month. Before i had to sift all the charcoal being mixed with ash.
Ok guys, hope you have a nice day and full health.
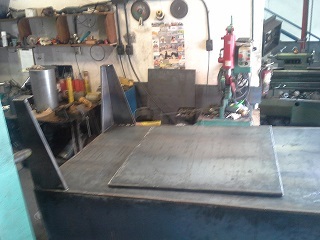
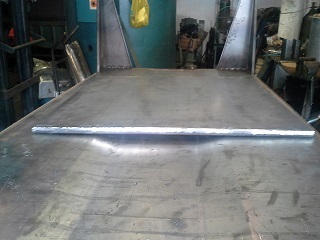
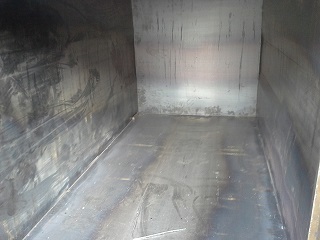
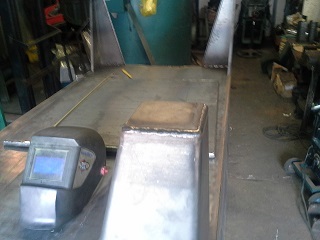
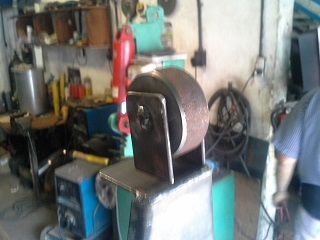
This an update on my GIANT CHAR KILN, hope to have it done this week and pumping charcoal next week up. Here are the pictures:
Upside down
Door Finished
Door Size detail (1 x 1 mts) it´s put just laying on the bottom
INSIDE VIEW
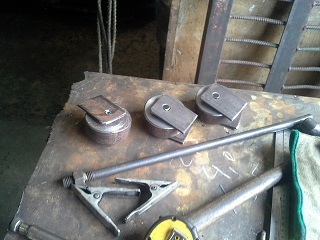
LEG SHOE
Wheel on leg (just solid steel and very loose to suport high temperture) It´s just for moveing during mantainance
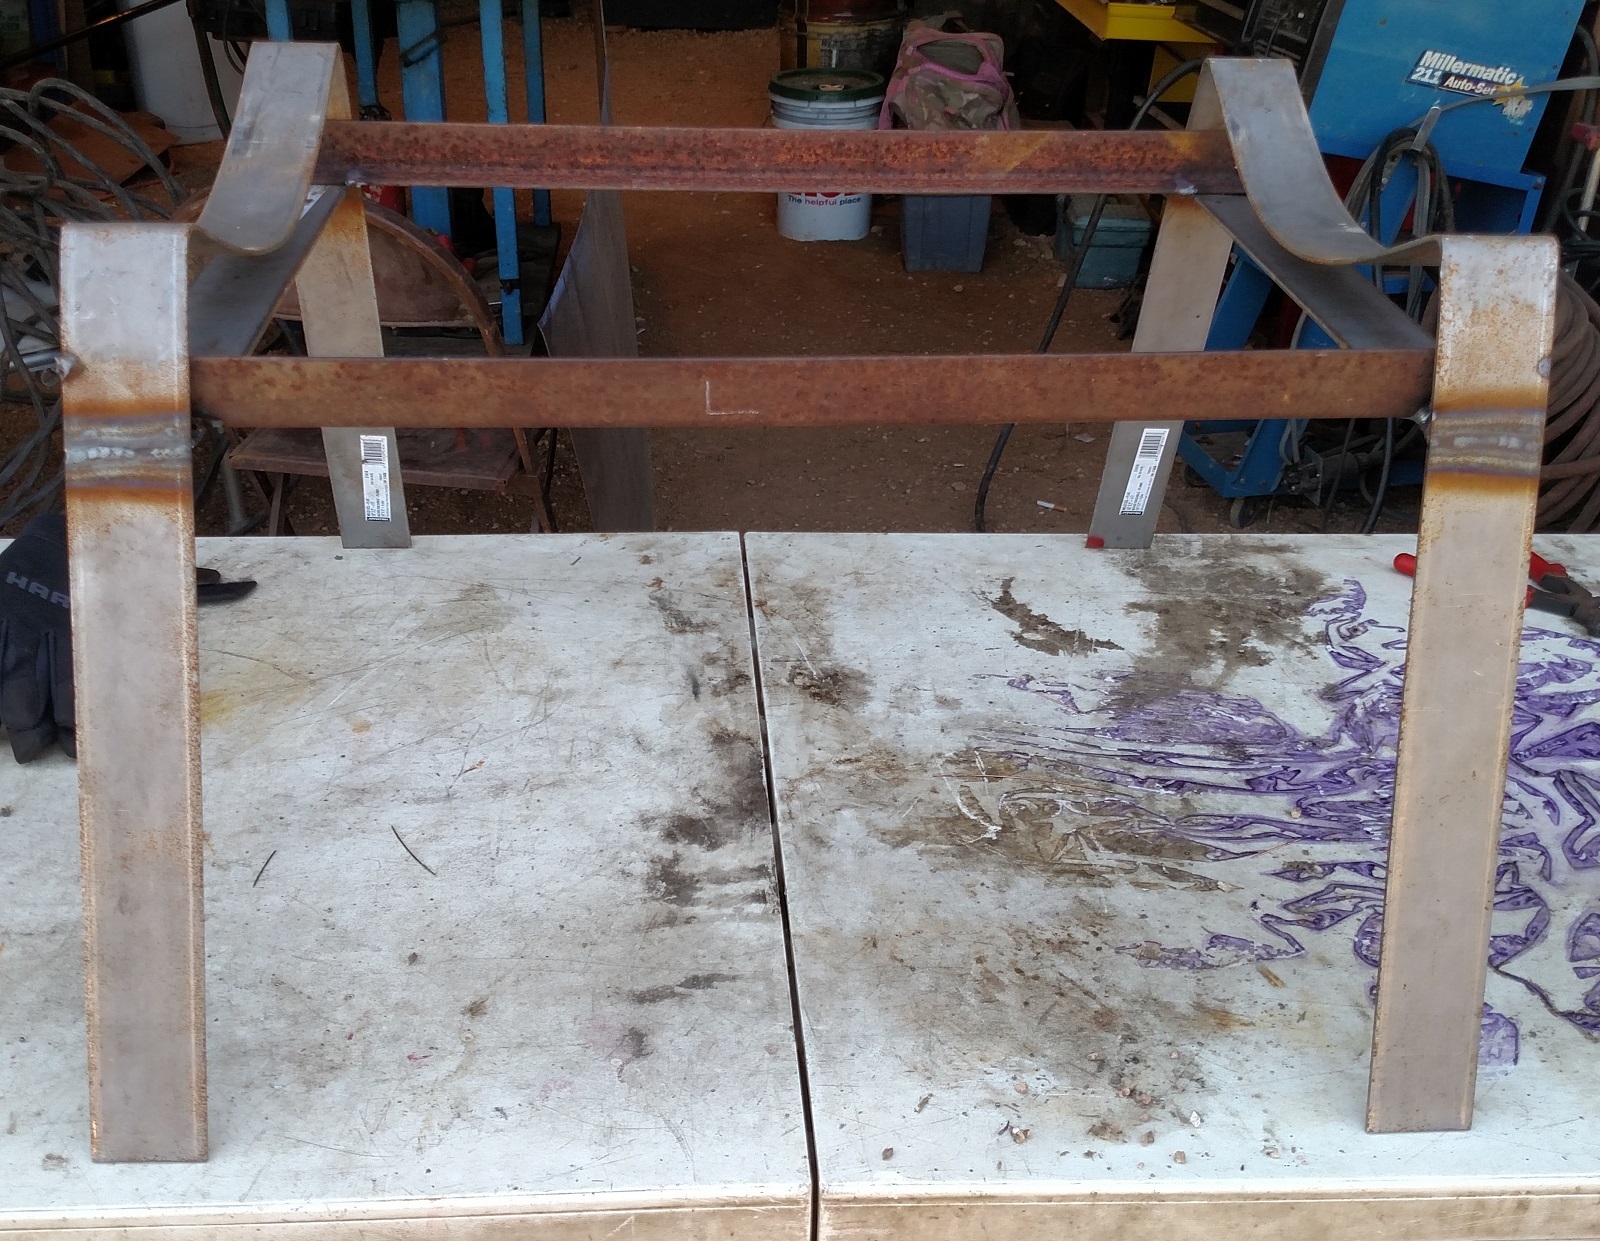
I was inspired by Abner’s giant retort to try and upsize our retort a little bit. I am following a design somewhat similar to his.
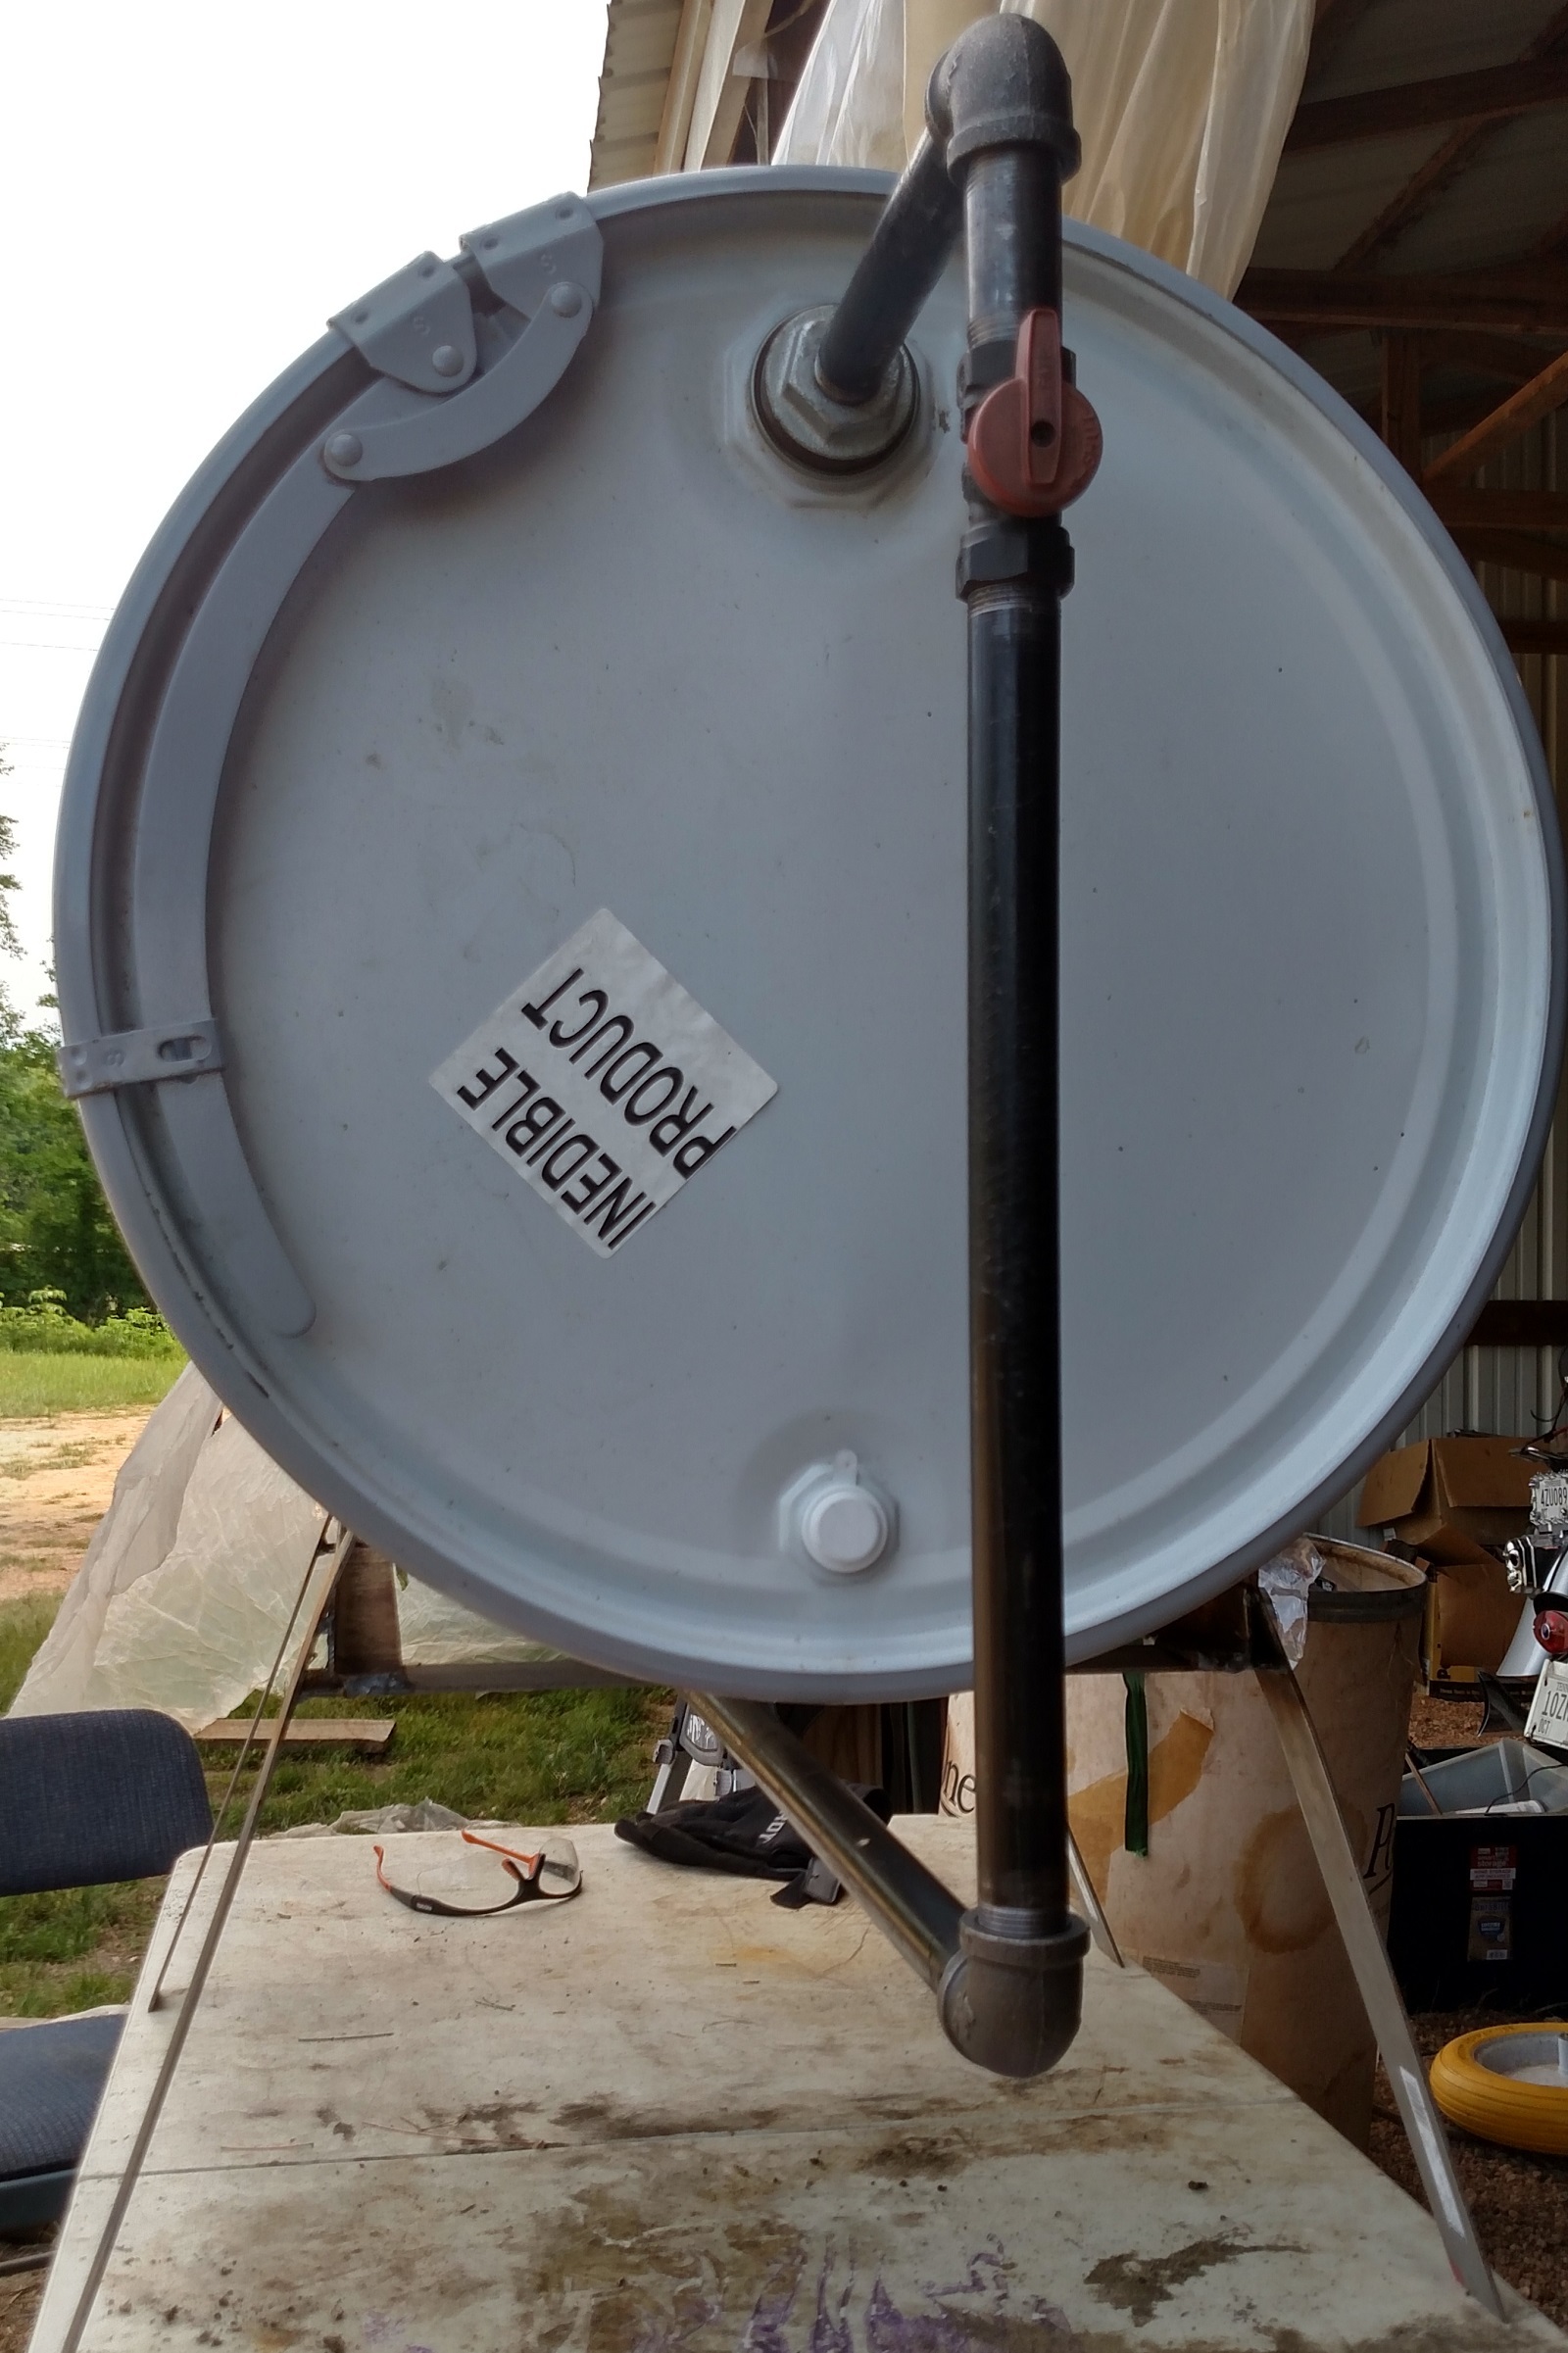
In a nutshell, I have a 55 gallon drum on its side, with a burner pipe coming out of the barrel and wrapping under it to heat the barrel with the wood gas.
This assembly will be placed inside my BBQ pit. The BBQ pit is 4 feet wide by 6 feet long by 2 feet high concrete block.
The pit will be filled with slab wood and set ablaze.
It will be covered with a “Quonset hut” style roof, with a chimney in the middle.
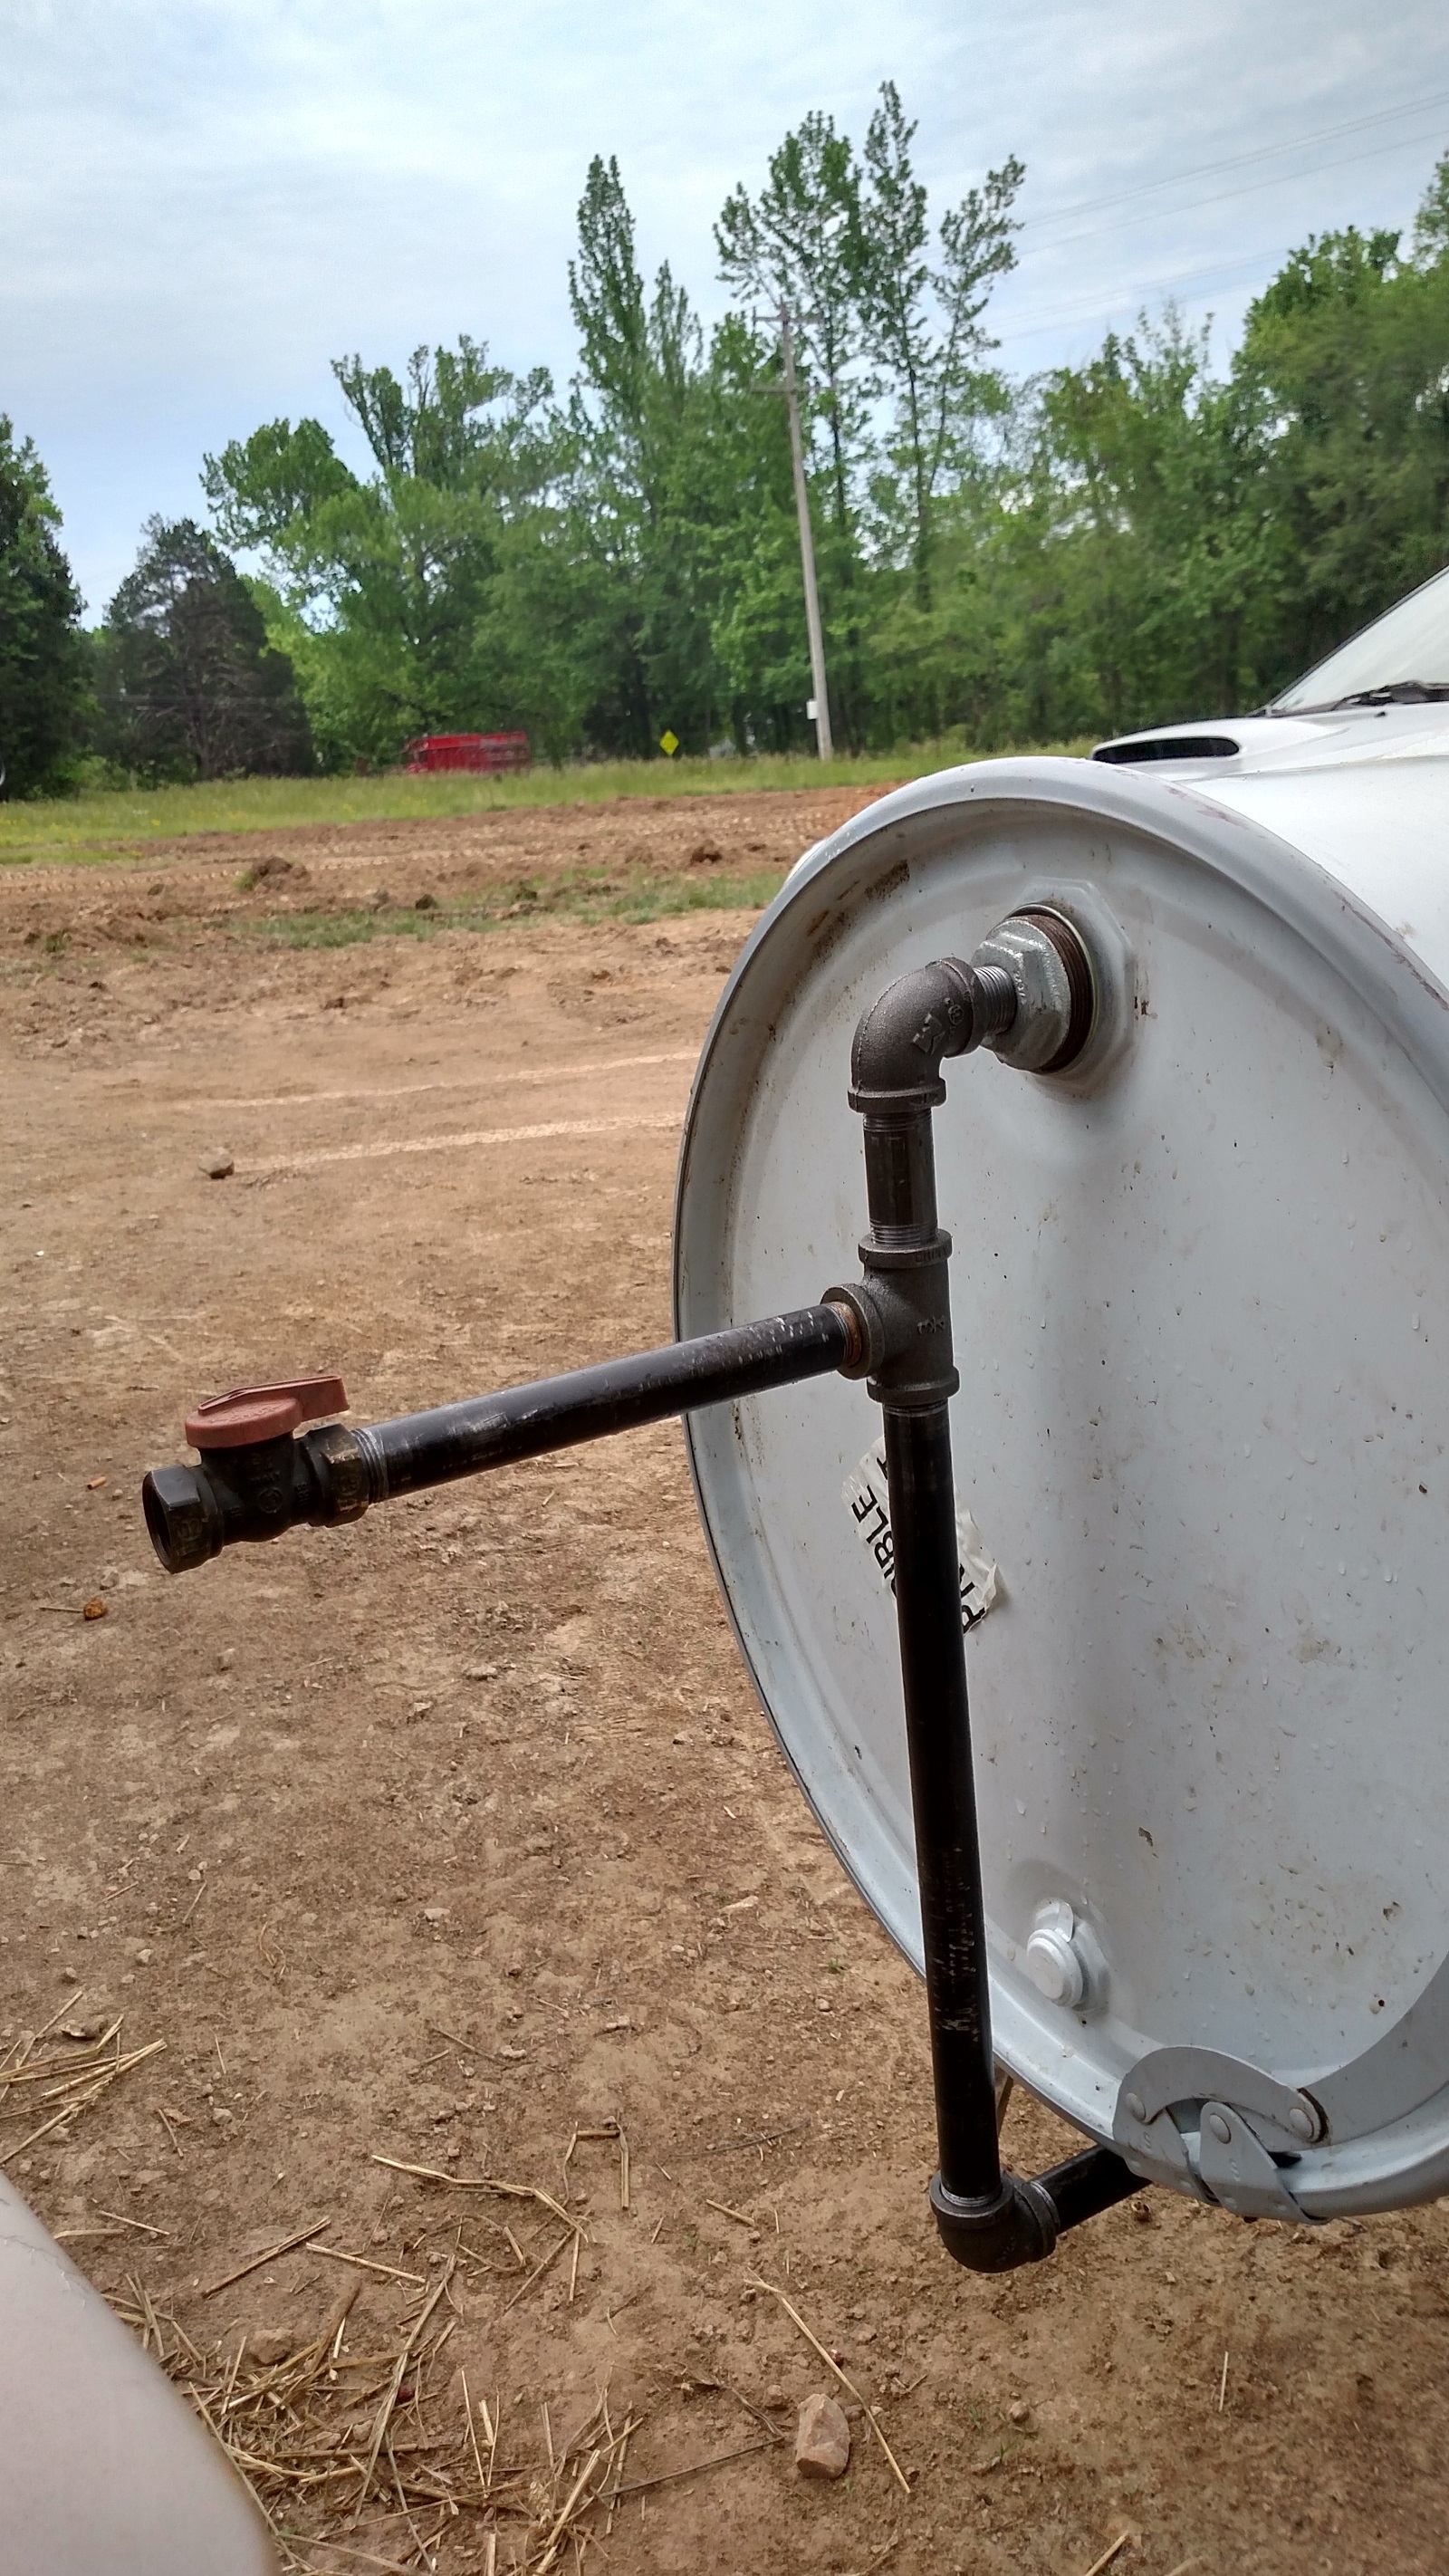
Here is a view from the end. As you can see, I have placed a valve on the burner pipe so that I can make the thing completely airtight when it is done.
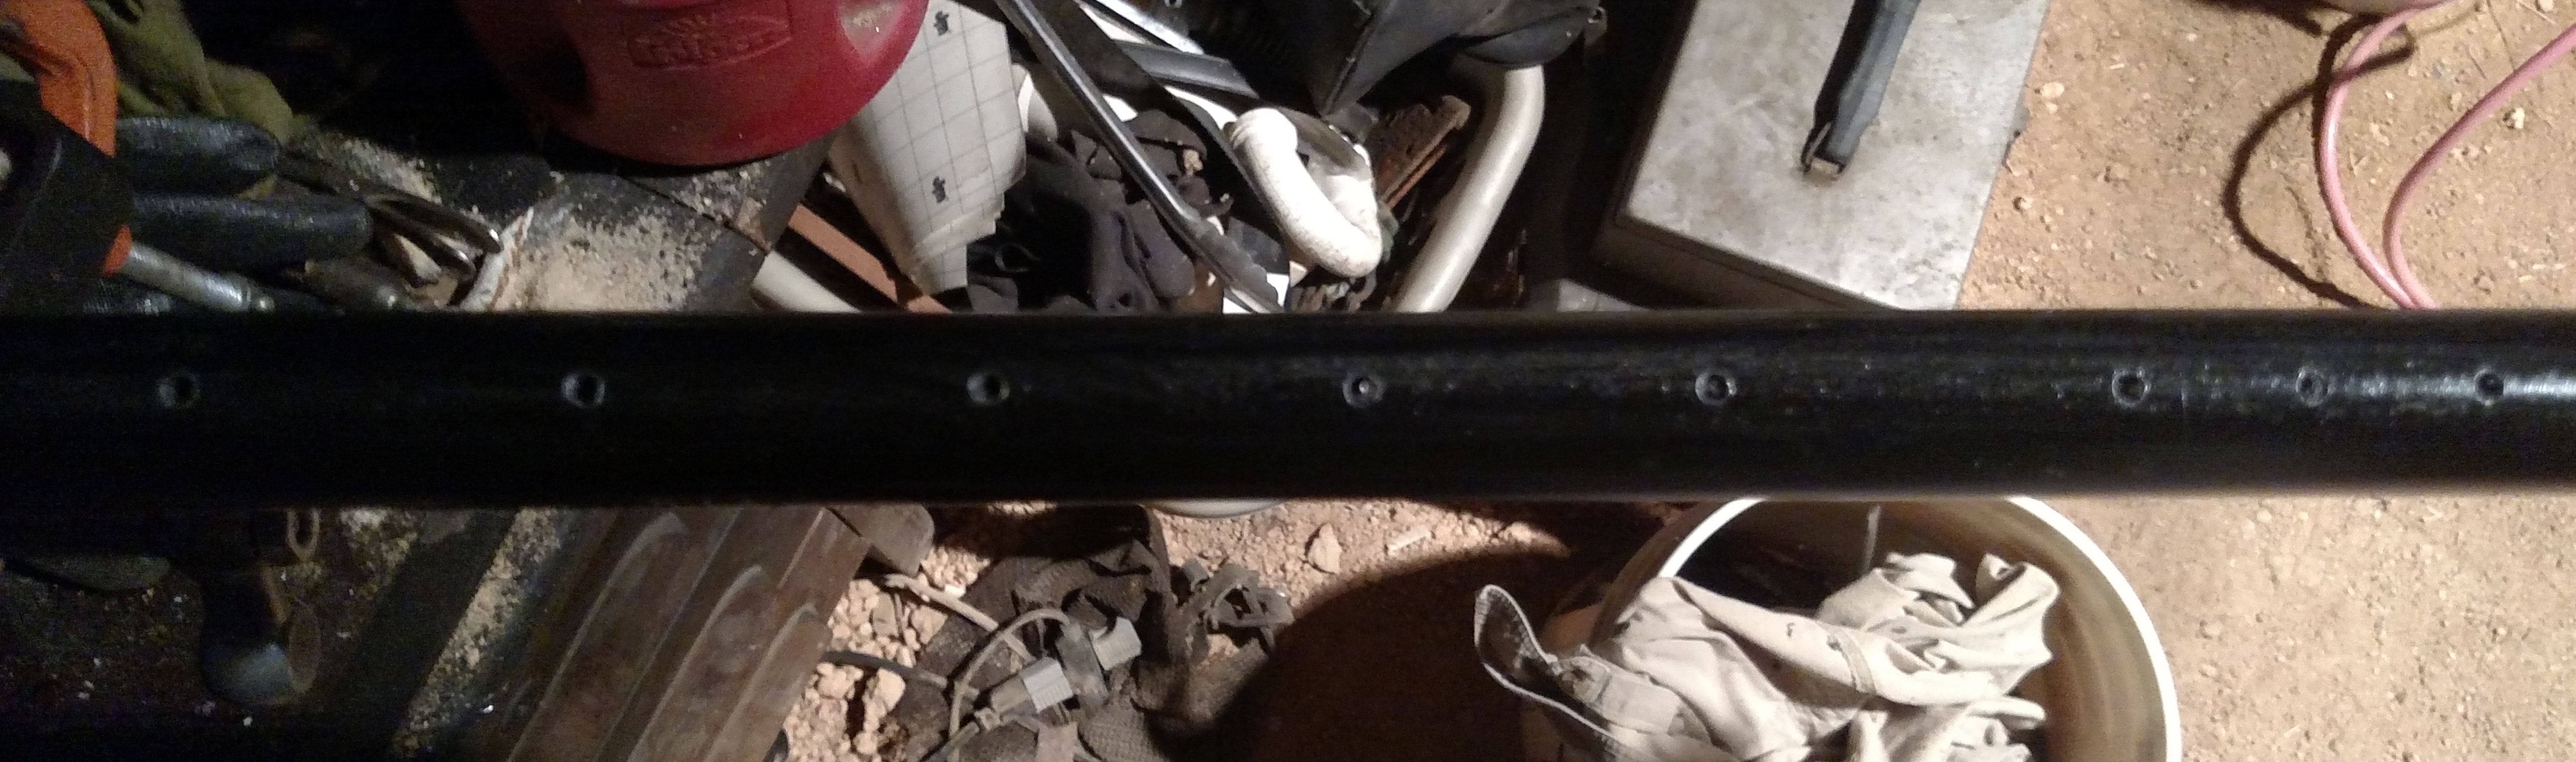
The biggest unknown right now is how big and how many jets to place in the burner pipe. Right now, I have 17 3/16" holes drilled in the pipe. Here is a close-up view of that.
I am afraid that if I make the holes too big or too numerous, the gas won’t make it to the far end of the pipe. But if I make them too small or too infrequent, I risk over-pressuring the vessel.
Any thoughts on this?
Will post pictures of the outer assembly after I move it into the BBQ pit.
I call it a “pit.” But really, it is a 2 foot high cinder-block structure on top of the ground. Air enters from the ends (I regulate the amount of air with a piece of tin).
I’ve made charcoal a few times this way except I had a 6 gallon can with ½" pipe exiting and no valve. I don’t think a valva is needed. As far as the amount of holes, it’s your call. There will be positive pressure as long as it’s getting heated.
Kyle the gas exit pipe I had on my drum got blocked up with tar I think the problem was that the external pipe was open to the air and thus cooled off too much , just in case you suddenly lose pressure coming out of your jets check the bends after your first burn .
Hello Kyle, nice job until now, you´r doing a good job. The kiln will never explode, gases always will come out through the tube and burn. When the reaction stops, the pressure will come down; In my actual kiln, when it stops and cools it sucks air and the bottom char will burn to ashes and cloges the slots. In my new kiln (and for yours too), to avoid this air coming in and keep the char from turning to ash, we will put a sleeve over the tube, SIMPLE (remember what Keyth always says: “keep it simple”. If this doesn´t work, we will put a “shut valve” on the tube to stop air from coming in (if it starves the char will just cool down) Hope this helps to clear you out.
Kyle , luckily for me I am terrible at making air tight connections on thin gauge steel and so when the pipe did block up with tars the gas came roaring , and I do mean ROARING out of the main burn tube , I have a video of it somewhere , but it takes forever to upload on to you tube .
My drum was more like the Hookway retort it had a 6 inch stove pipe going from top to bottom of the drum with the 3/4 gas outlet pipe like you have yours set up , and lite the fire underneath so the flames go up and through the drum and it gassed out of the small pipe down to the bottom , it did work really well but if I do it again I shall have the hole down at the bottom and make sure nothing inside will cover the hole .
Dave
Based on the comments so far, I am making a few changes to the design.
Instead of having the pipe extending from the inner retort, out through the outer retort, to a valve, and then back into the outer retort, I eliminated the valve and shortened up the pipes to keep everything inside the outer retort.
Where the valve was, I added a tee, with a pipe which does exit the outer retort wall, with a valve on the end. This will give me a way to monitor the gas, relieve pressure, and flare it if I want to, but this is not part of the main gas circuit. I also drilled a 1/4 inch downward facing hole at the very end of the burner pipe. Hopefully, any tar will exit there. I will place the retort at a slight angle to encourage any liquids to run all the way to the end and exit this hole.
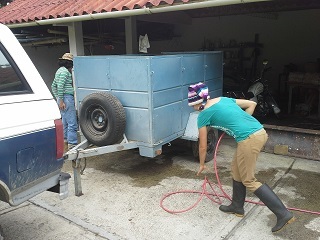
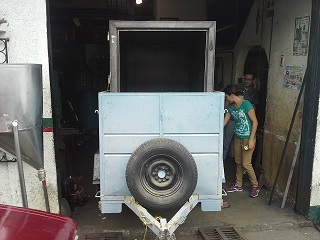
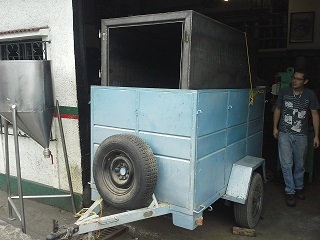
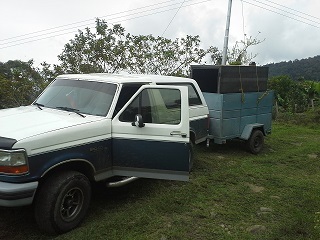
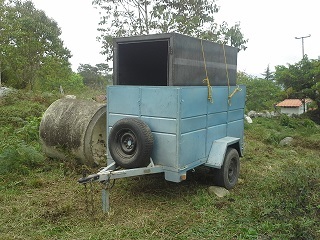
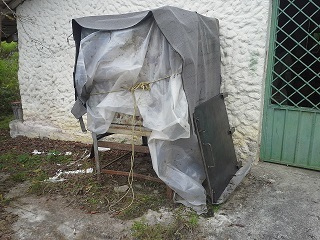
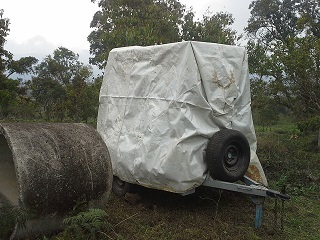
My dear friends of this quasi-religion group of woodgas adicts. Have a nice night. Finally I took the Giant Kiln from the shop to the farm. Here are some pictures and, at the end, a short video. I think (modesty apart) that it came out a nice piece of craftmanship. Now I hope it works the same. Still we have to do the masonry work this week.
Wow! That is big!
One question though.
Why the small casters for wheels?
Wouldn’t be easier to move around with bigger wheels?
Ok that was two questions
Looks good I like it😀
Jesse
Hi Jesse,
the wheels are only for mantaniance, it´s going to rest on two rails and the wheels permit us to pull it out for modifications of the output or burner (burners are extractable). The rails will permit us to pull it out of the fire brick tunel it will be in. It´s so heavy (355 kilos!!) that whithout wheels it would be impossible. We will make a final video with details.
We apreciate very much that you liked it.
Abner

 i think we are looking at over 2000c