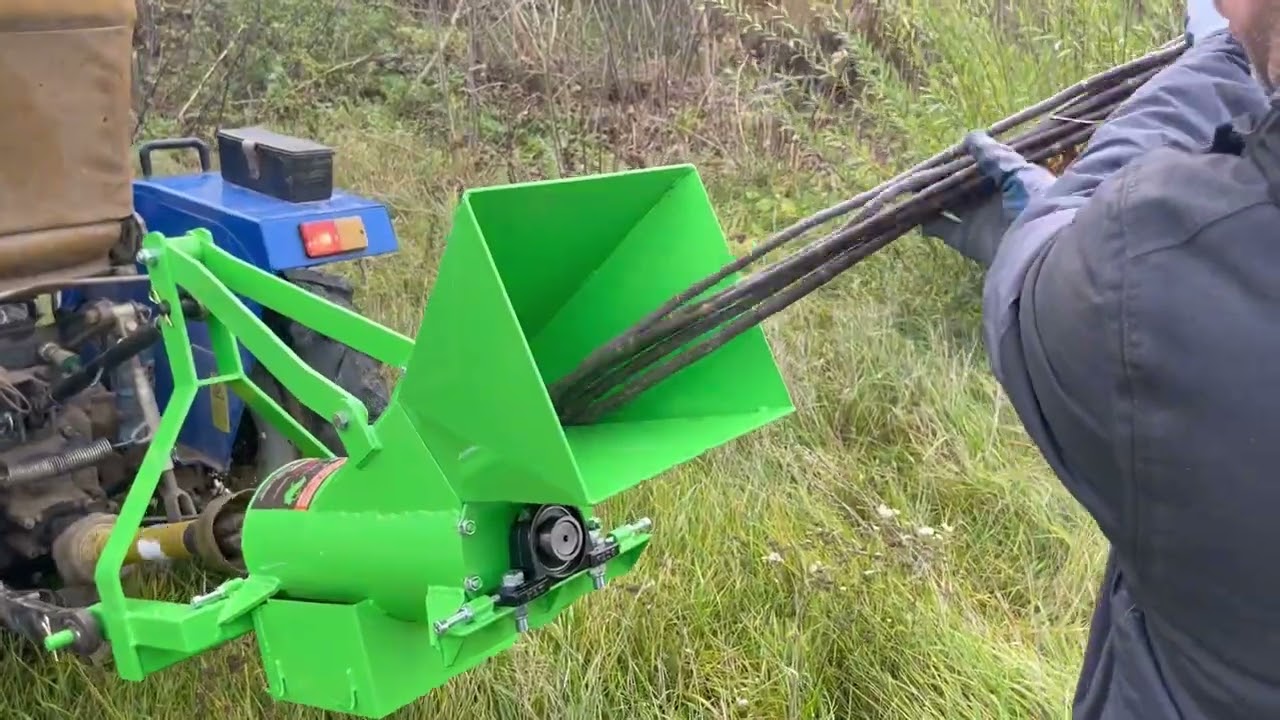
Out of all the videos I have watched on screw chunkers, this design looks to be one of the best.
Note it has fairly wide flight spacing. It looks like it has 6-8” flight diameter so mine will be a little bigger at 10”. I will also have a gear reduction to slow it down since it will need more power with the larger size.
Looks like if you do branches, you’ll want to lop off the twigs and leaves beforehand to save your sanity. The smaller bits would make good charcoal de la Giorgio style.
A machete would make quick work of trimming the smaller pieces. Good upper body exercise!
9cm is 3.5" which is about what he is measuring for the chunk size. Isn’t that about the ideal size for a WK gasifier? I assume the wood is wet and will shrink some as well. But that is also in range of the standard European ‘wood chip’.
Make sure you have a ‘stringer’ snipper at the end of it. The end flight will wear and leave a gap and won’t completely shear apart the material.
Went and picked up the 3 point post hole digger today. 4 hours of drive time but it was worth it. This thing is HEAVY and will make a good gear reduction box. I rebent the flights and got the a lot closer to the same. Just had time to tack them together and I had to leave for my men’s bible study.
That looks really good. Just so the shaft doesn’t warp too much I’d skip weld it. Meaning you make 3/4" of weld then skip about 3", then another 3/4" of weld and so on. You probably already know based on the skill level I see here, but others might not.
Rindert
Yep, I learned that one the hard way a long time ago, but we should always mention it when we can like Wayne does because it is always so tempting to keep going once you get a nice bead started.
Hi Garry,
The friction that resulted from the hardness of the wood was sufficient to resist cutting and absorb the power applied to the screw. The wood didn’t fill the flights. I was only able chip 1"x 1.5" edgings from the cutting of boards on a saw mill. That was the absolute maximum size that my tractor might be able to chip before stalling. The chips turned out to be quite fragmented. Not blocky chunks like I had envisioned.
I didn’t have fresh cut “green” board edgings to try. I suspected that green wood would chip better. We happened to find that was the case when using an Olathe disk chipper at All Power Labs. Dry wood shattered into splinters no matter how sharp the knives were.
I really feel that the conical screw of a Laimet chipper might be better. However - I saw some chippers from Europe in operation that appeared to be a straight section of flights. However - they obviously had far more than 30hp motors operating them and were chipping conifer trees. I was chipping hardwood.
Yep, I have read that dry wood doesn’t work very well in a screw chunker. I read that chunking it after a good rain does a lot better if the wood got soaked good.
Not really. My wife is feeling a lot better now, but I have decided to build my deep winter greenhouse first. I am building it in two 8 by 16 foot sections that I can haul out to my land on a trailer. Got the steel base frame of the first section ready to paint today.