This is where the timing actually worked out
1 Like
I did get it too pop off a couple times… my 110 volt starter aka arm breaker drill motor, was having trigger lock issue… So I called it a night.
1 Like
Hi Jonathan, The CO2 added as exhaust is cracked, but more importantly it cools down the temperature of the oxidation zone, Moist air will definately add a smidge of hydrogen, but will not be enough to keep your stainless steel nozzle from melting, Granted, it will take some time and depend on how hard you pull the gasifier, Great project though and will show your class how easy it is to turn wood into an engine fuel,
Gary in PA
1 Like
Hi Gary.
Gary, do you mean that there is not enough water in the air to cool the reactor sufficiently?
_ Or want to tell you that the water vapor cooled less than CO2?
Thierry
1 Like
Hi JD,
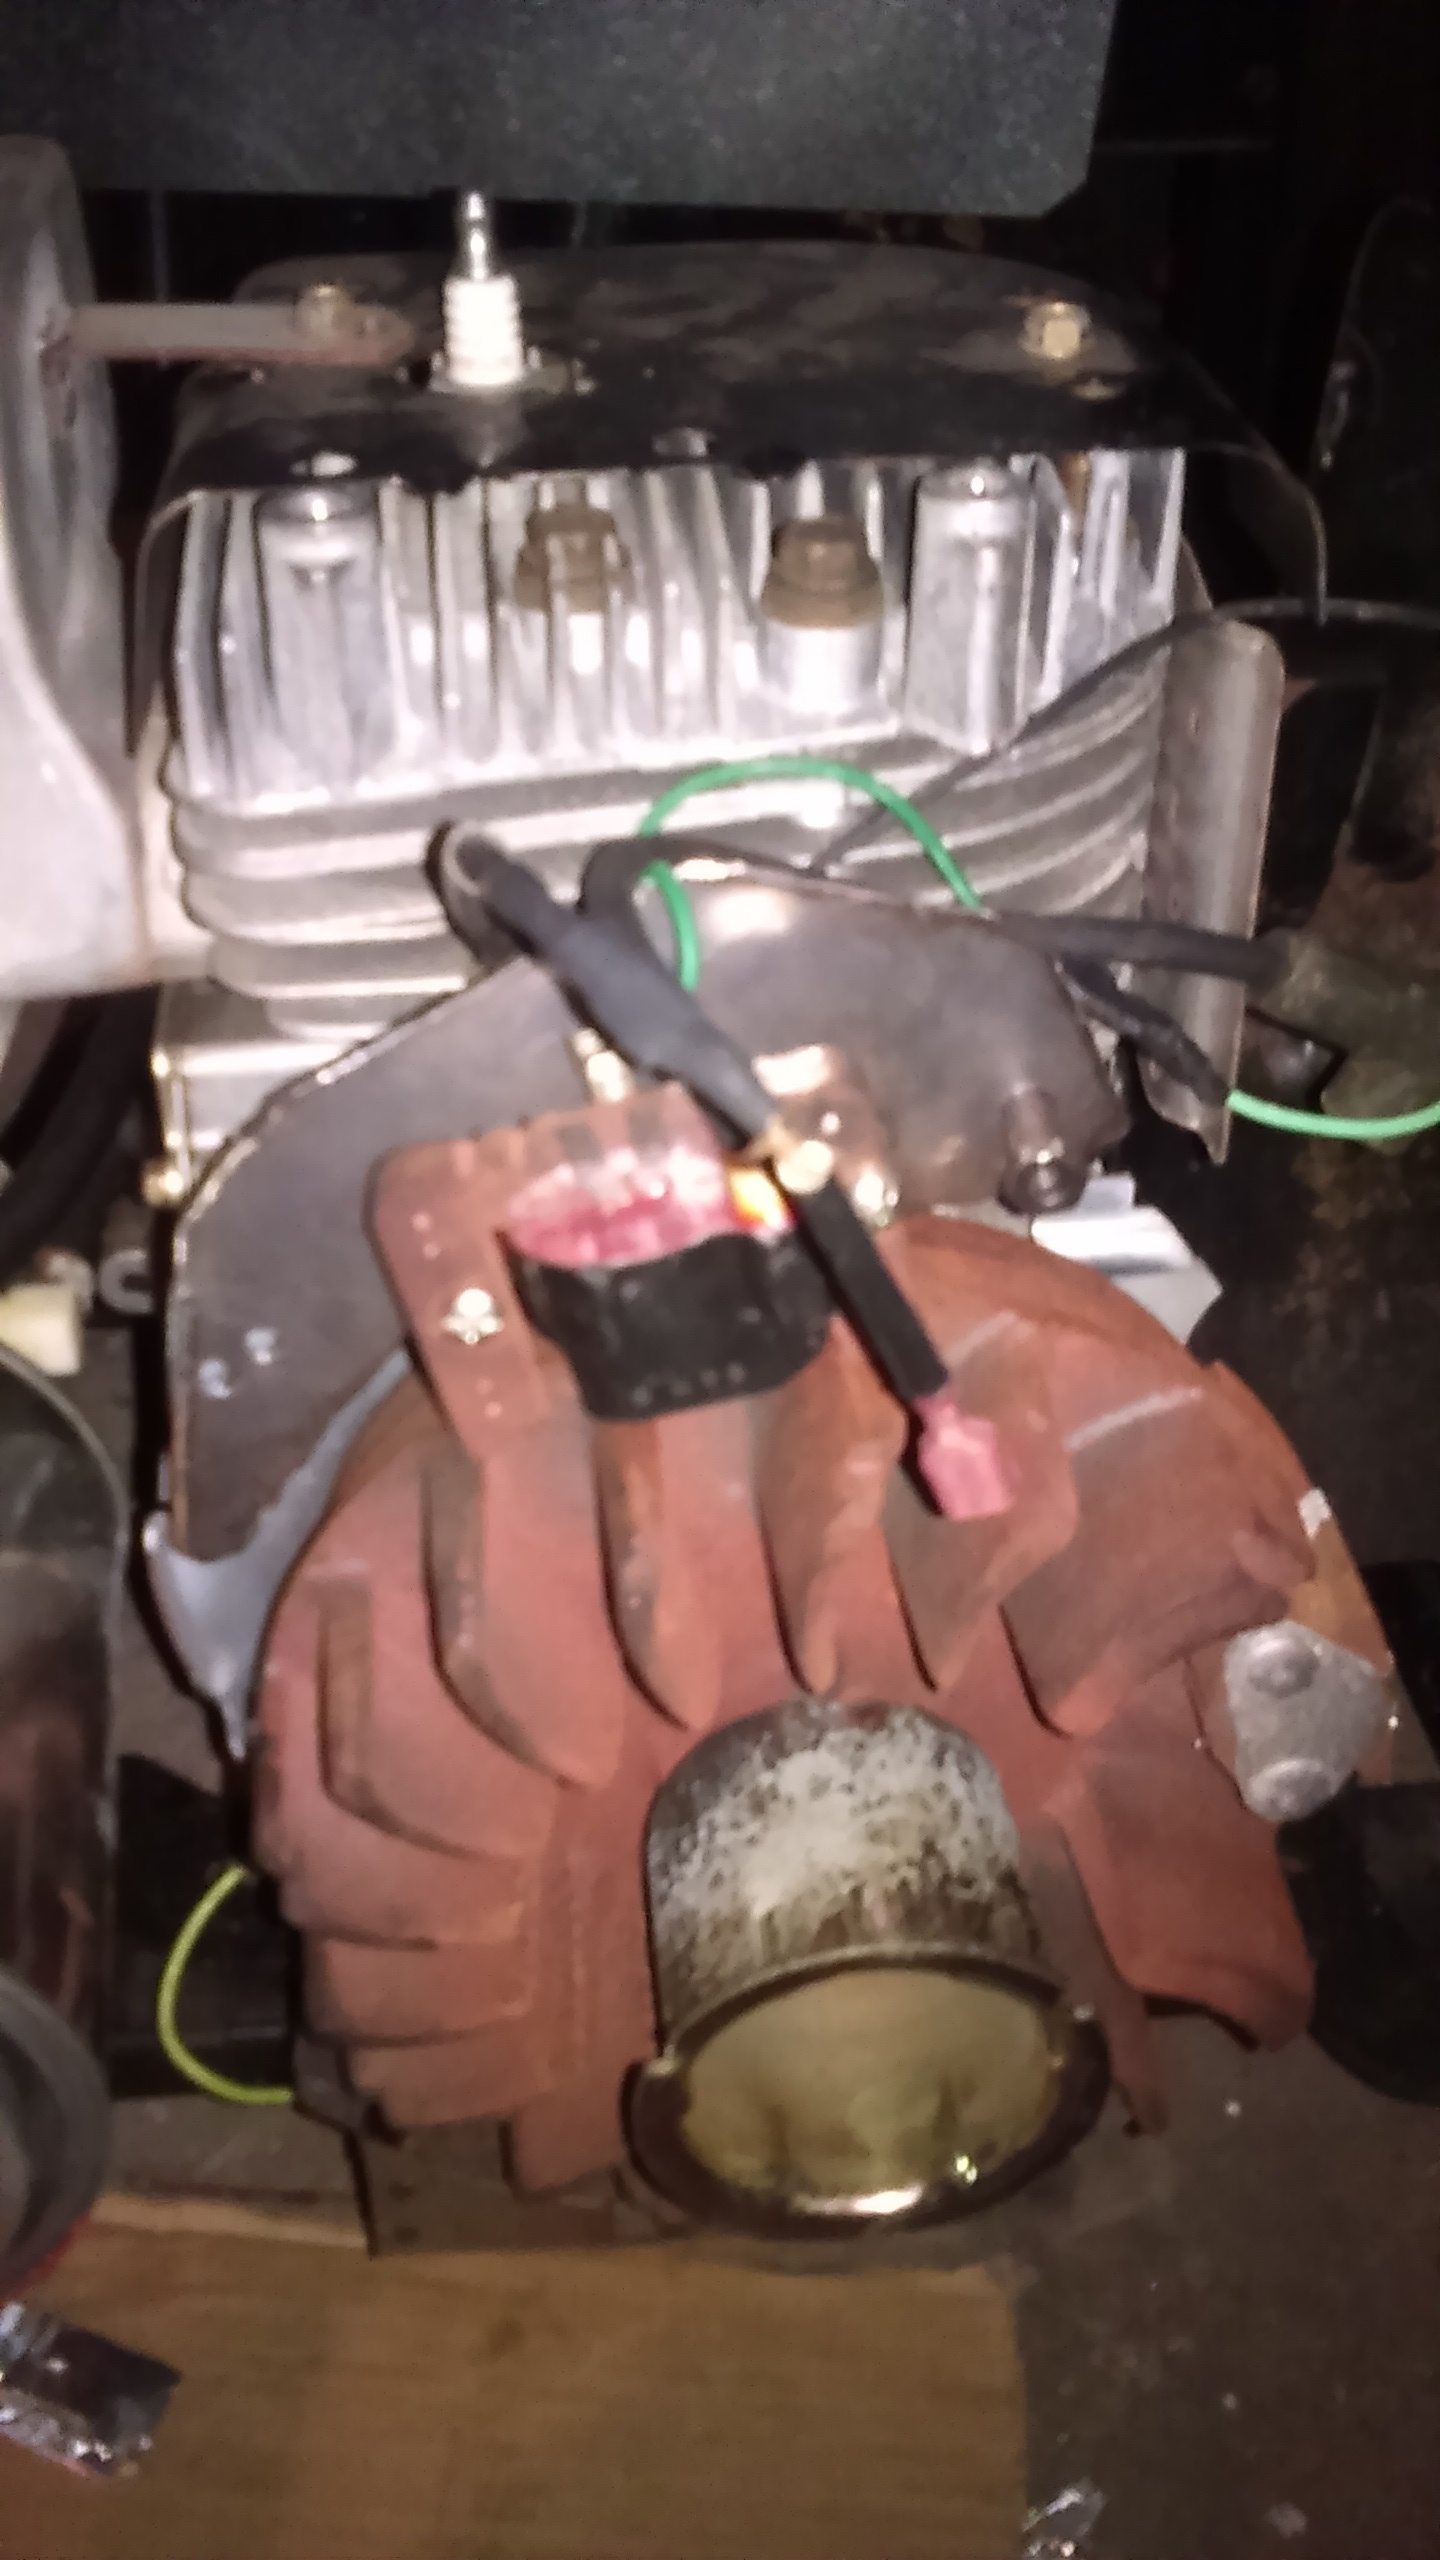
It looks like your electronic magneto timing was changed quite a bit from your original picture. Any ideas what your new timing actually is? Your homemade timing plate looks very sturdy.
I’m going to guess and say your latest timing picture is around 32 btdc.
I’m curious to see if you will utilize the governor, as part of your throttle set-up.
Oliver
1 Like
Cracking exhaust gasses 
It all depends the reactor temperature 
Try to play with bamboo charcoal twigs… you’ll notice fast how hot it becomes if you get blocked by molten silica… adding water and or exhaust gasses will cool down the glowing and if you balance carefully with an thermocouple, PID controller and a solenoid valve…
Just make sure its not to cool in there… thats my preference.
Today testings revealed that my reactor gets hot from the outer shell heat transfer, not from hot gasses passing thru.
So much to play with, … i am happy that i did choose the paved road from Gary Gilmore for my first builds… It works… and it gives me plenty room for experimenting and learning.
Join the experience… and share your happenings…
4 Likes
I am unsure of the engines original timing I didn’t pull flywheel to find out where top dead center
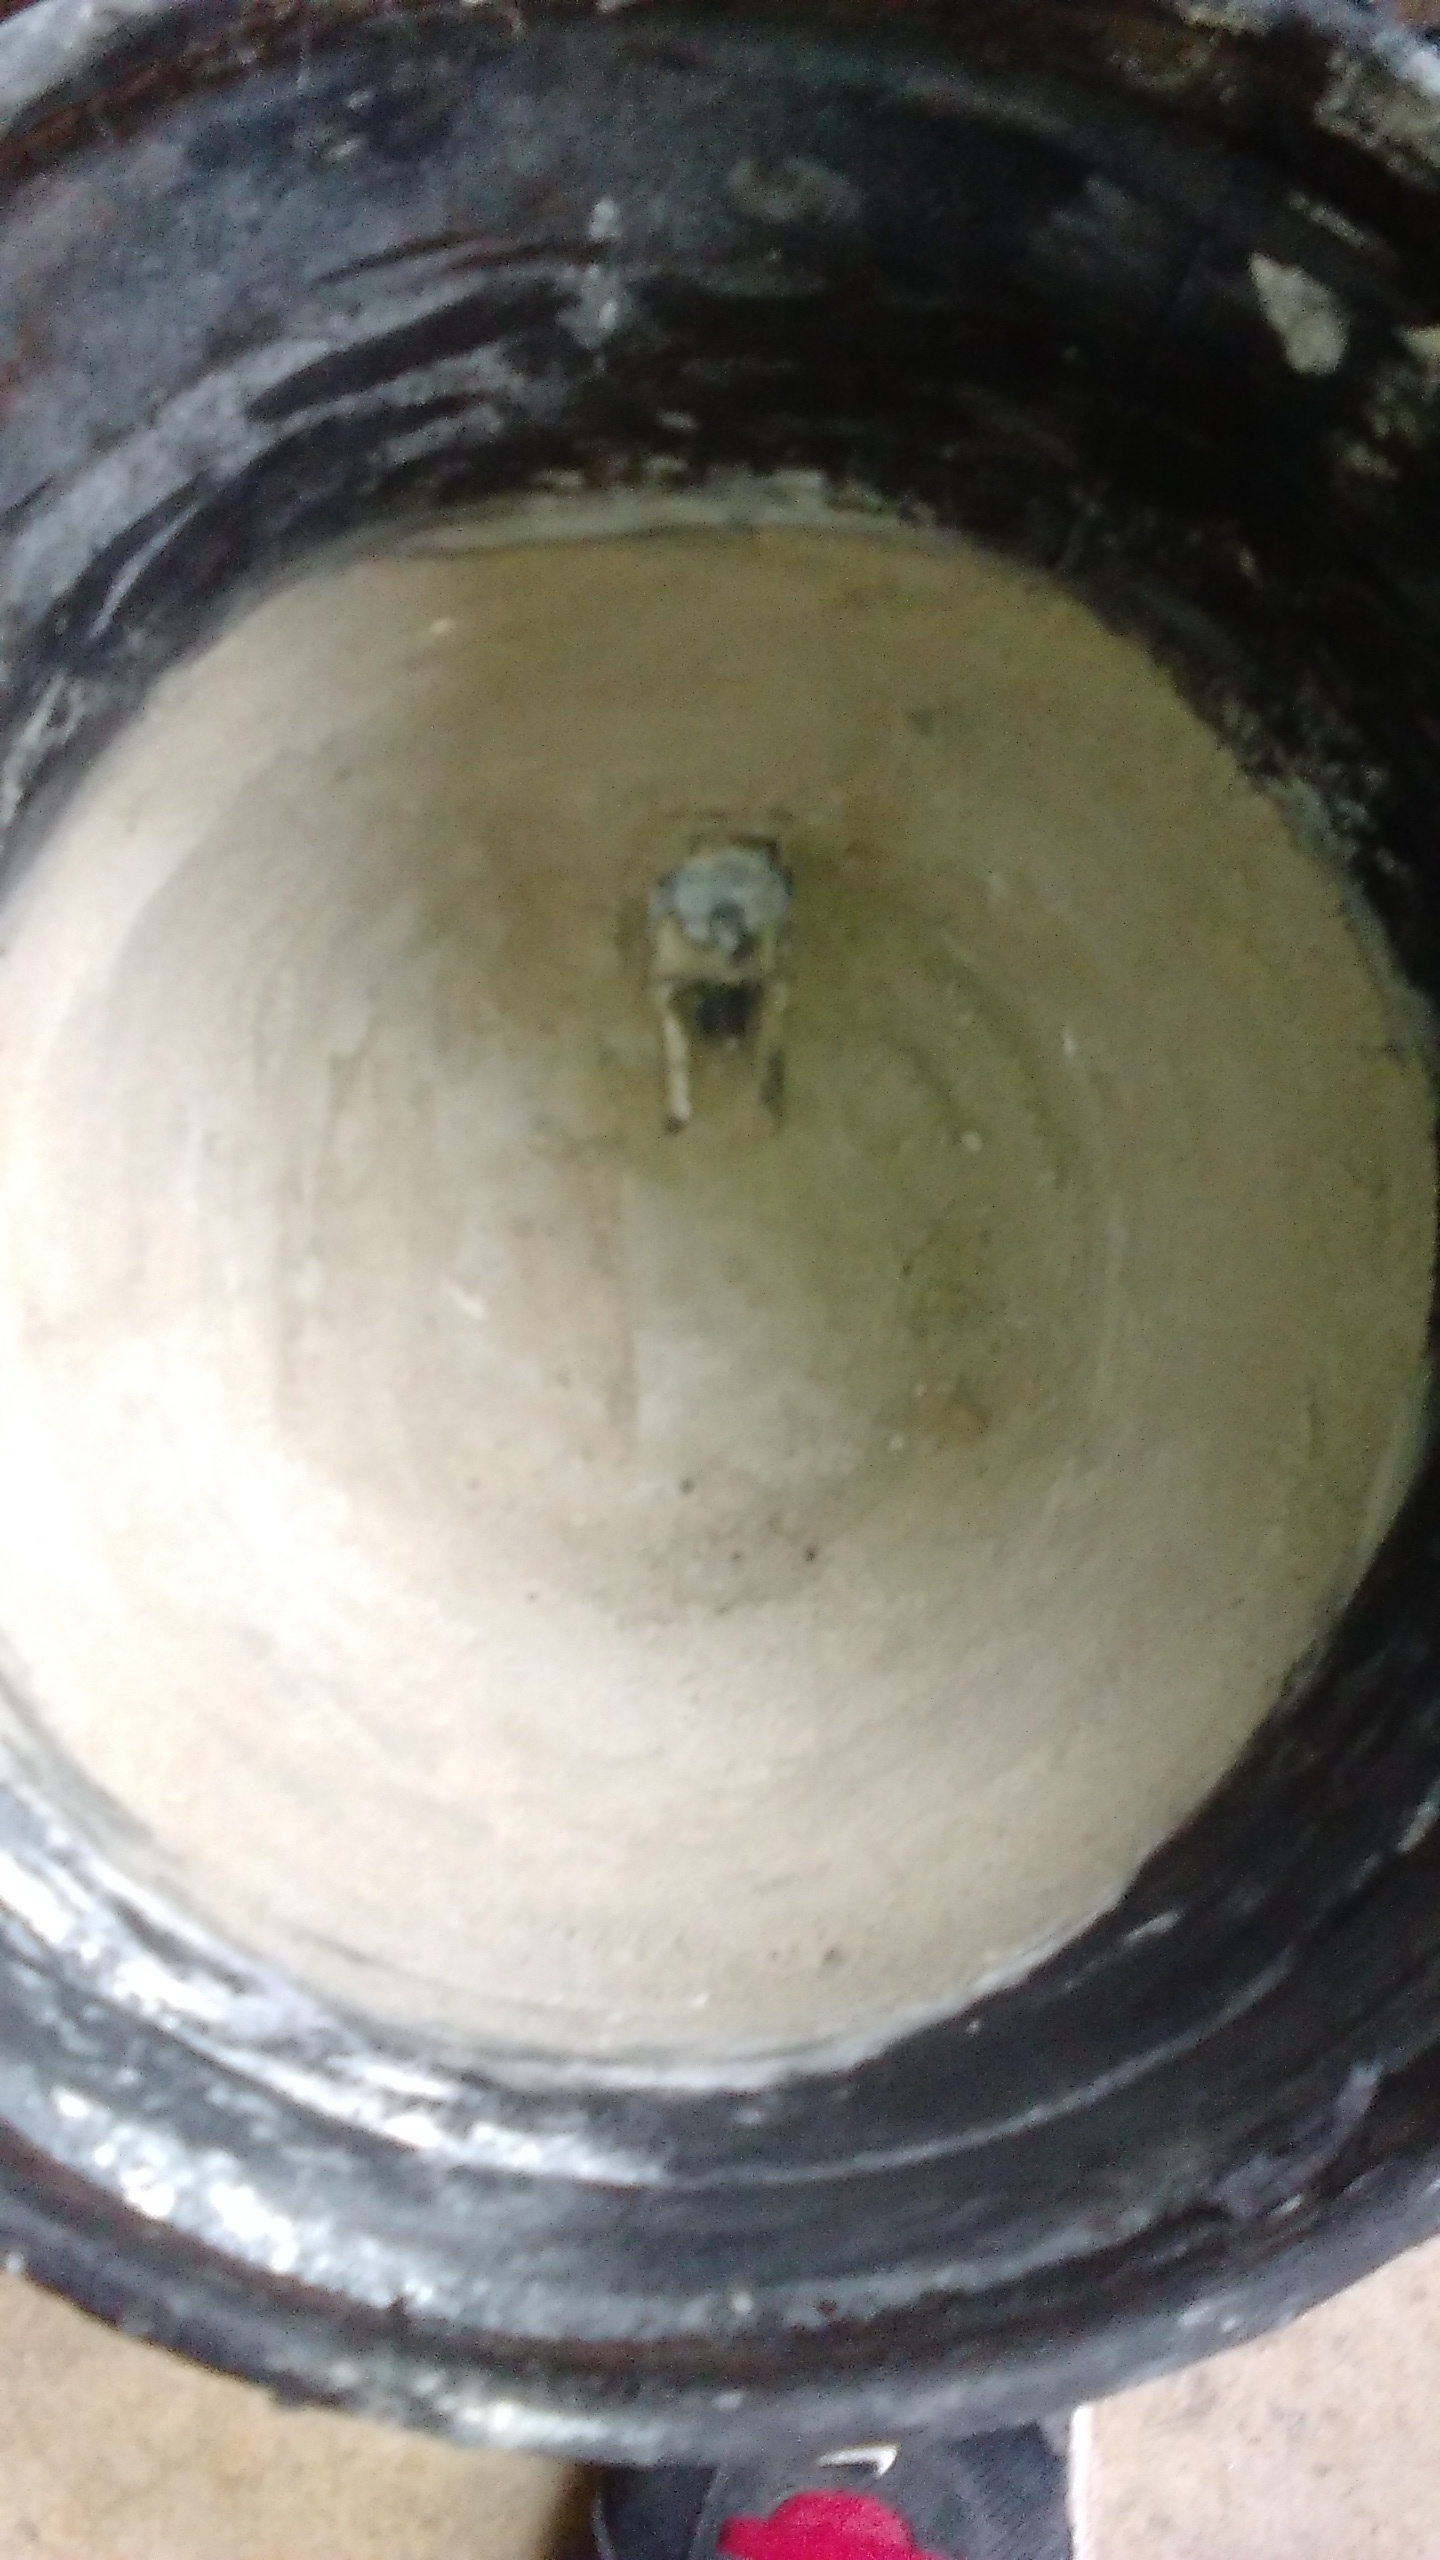
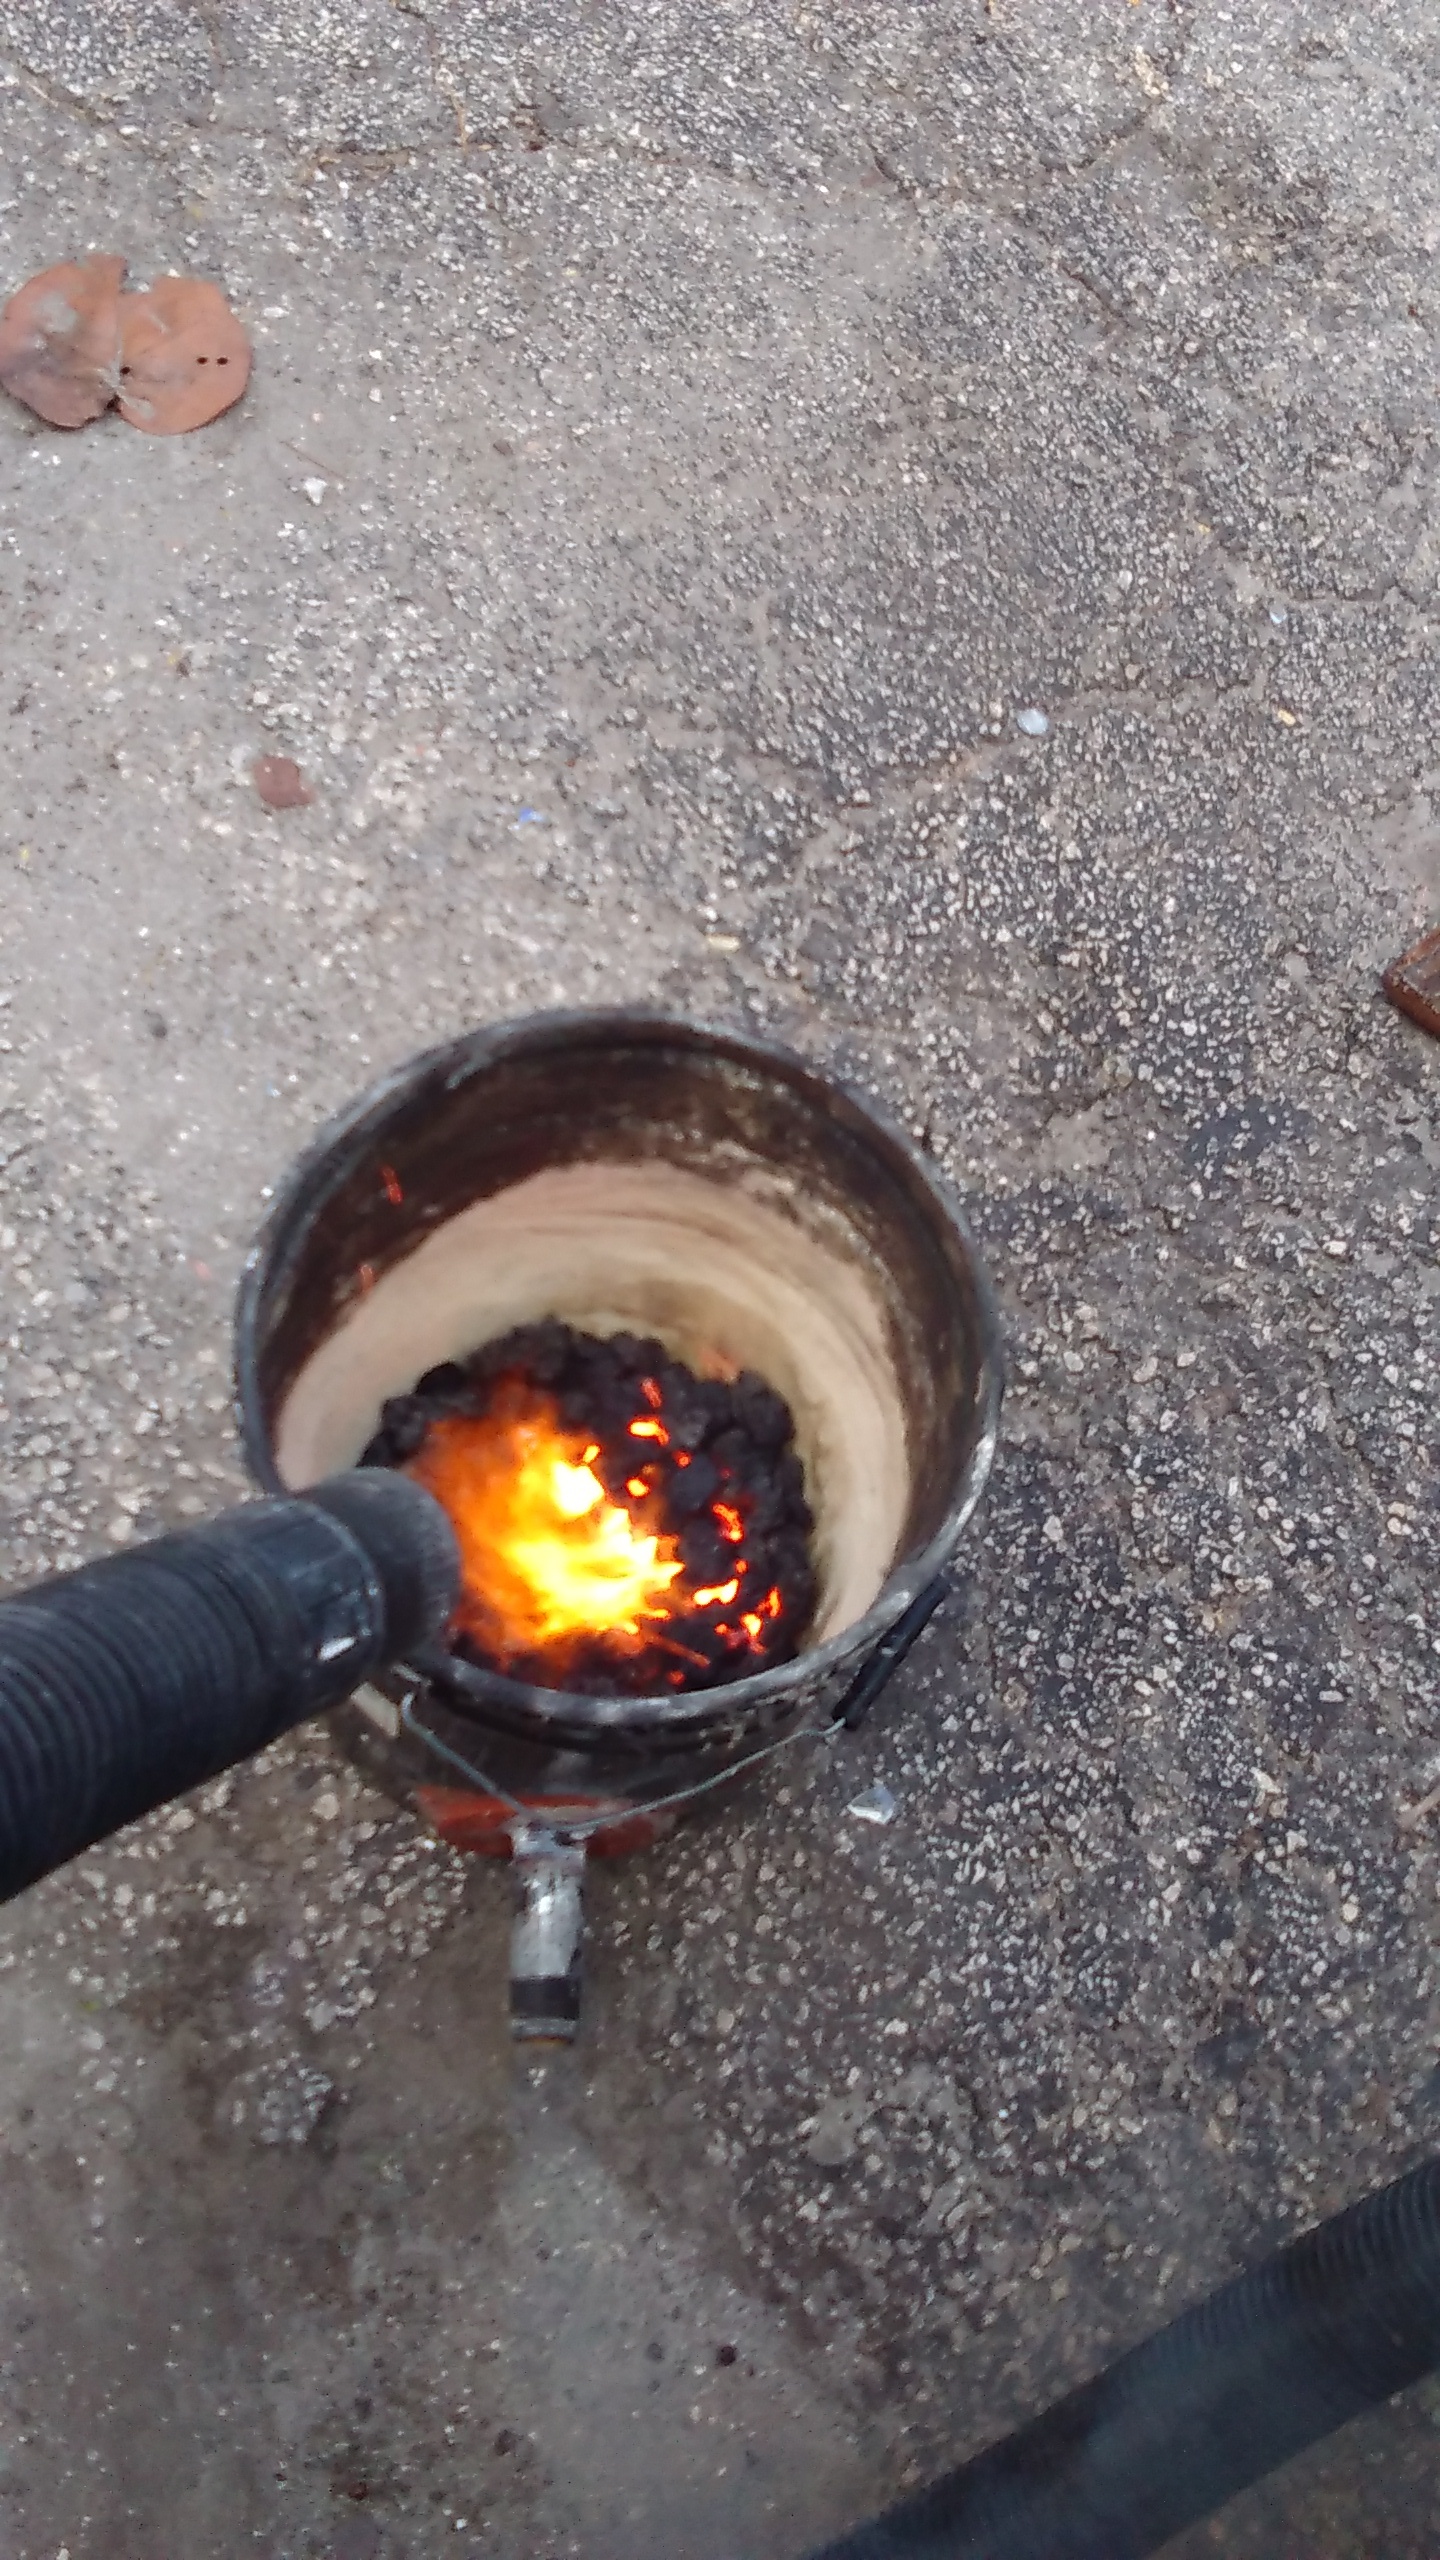
So I ended up with some hot spots on the side of my bucket I decided to insulate. 75% rapid set cement 10lb box and adding approximately 20-25% by volume of sheetrock light weight joint compound… Basically poor man’s refractory cement. Set up for approx 2 hrs then “light fireing”
1 Like
Hi jd,
Maybe this will help. Pull the plug for safety. Pull the flywheel nut off and you can at least rule out a broken shear pin, a real timing killer. If it’s broken, then you have to pull the flywheel and replace the key before you can proceed with any degree of confidence. Maybe you already knew this. I just worked on a pop off engine a while back and this is what I found. I had to buy a new puller it was jammed so bad. When it popped off it was so loud I thought I snapped the flywheel in half. Aggggghh, I yelled! Still intact, I couldn’t believe it. Yahooo, you lucky so and so!
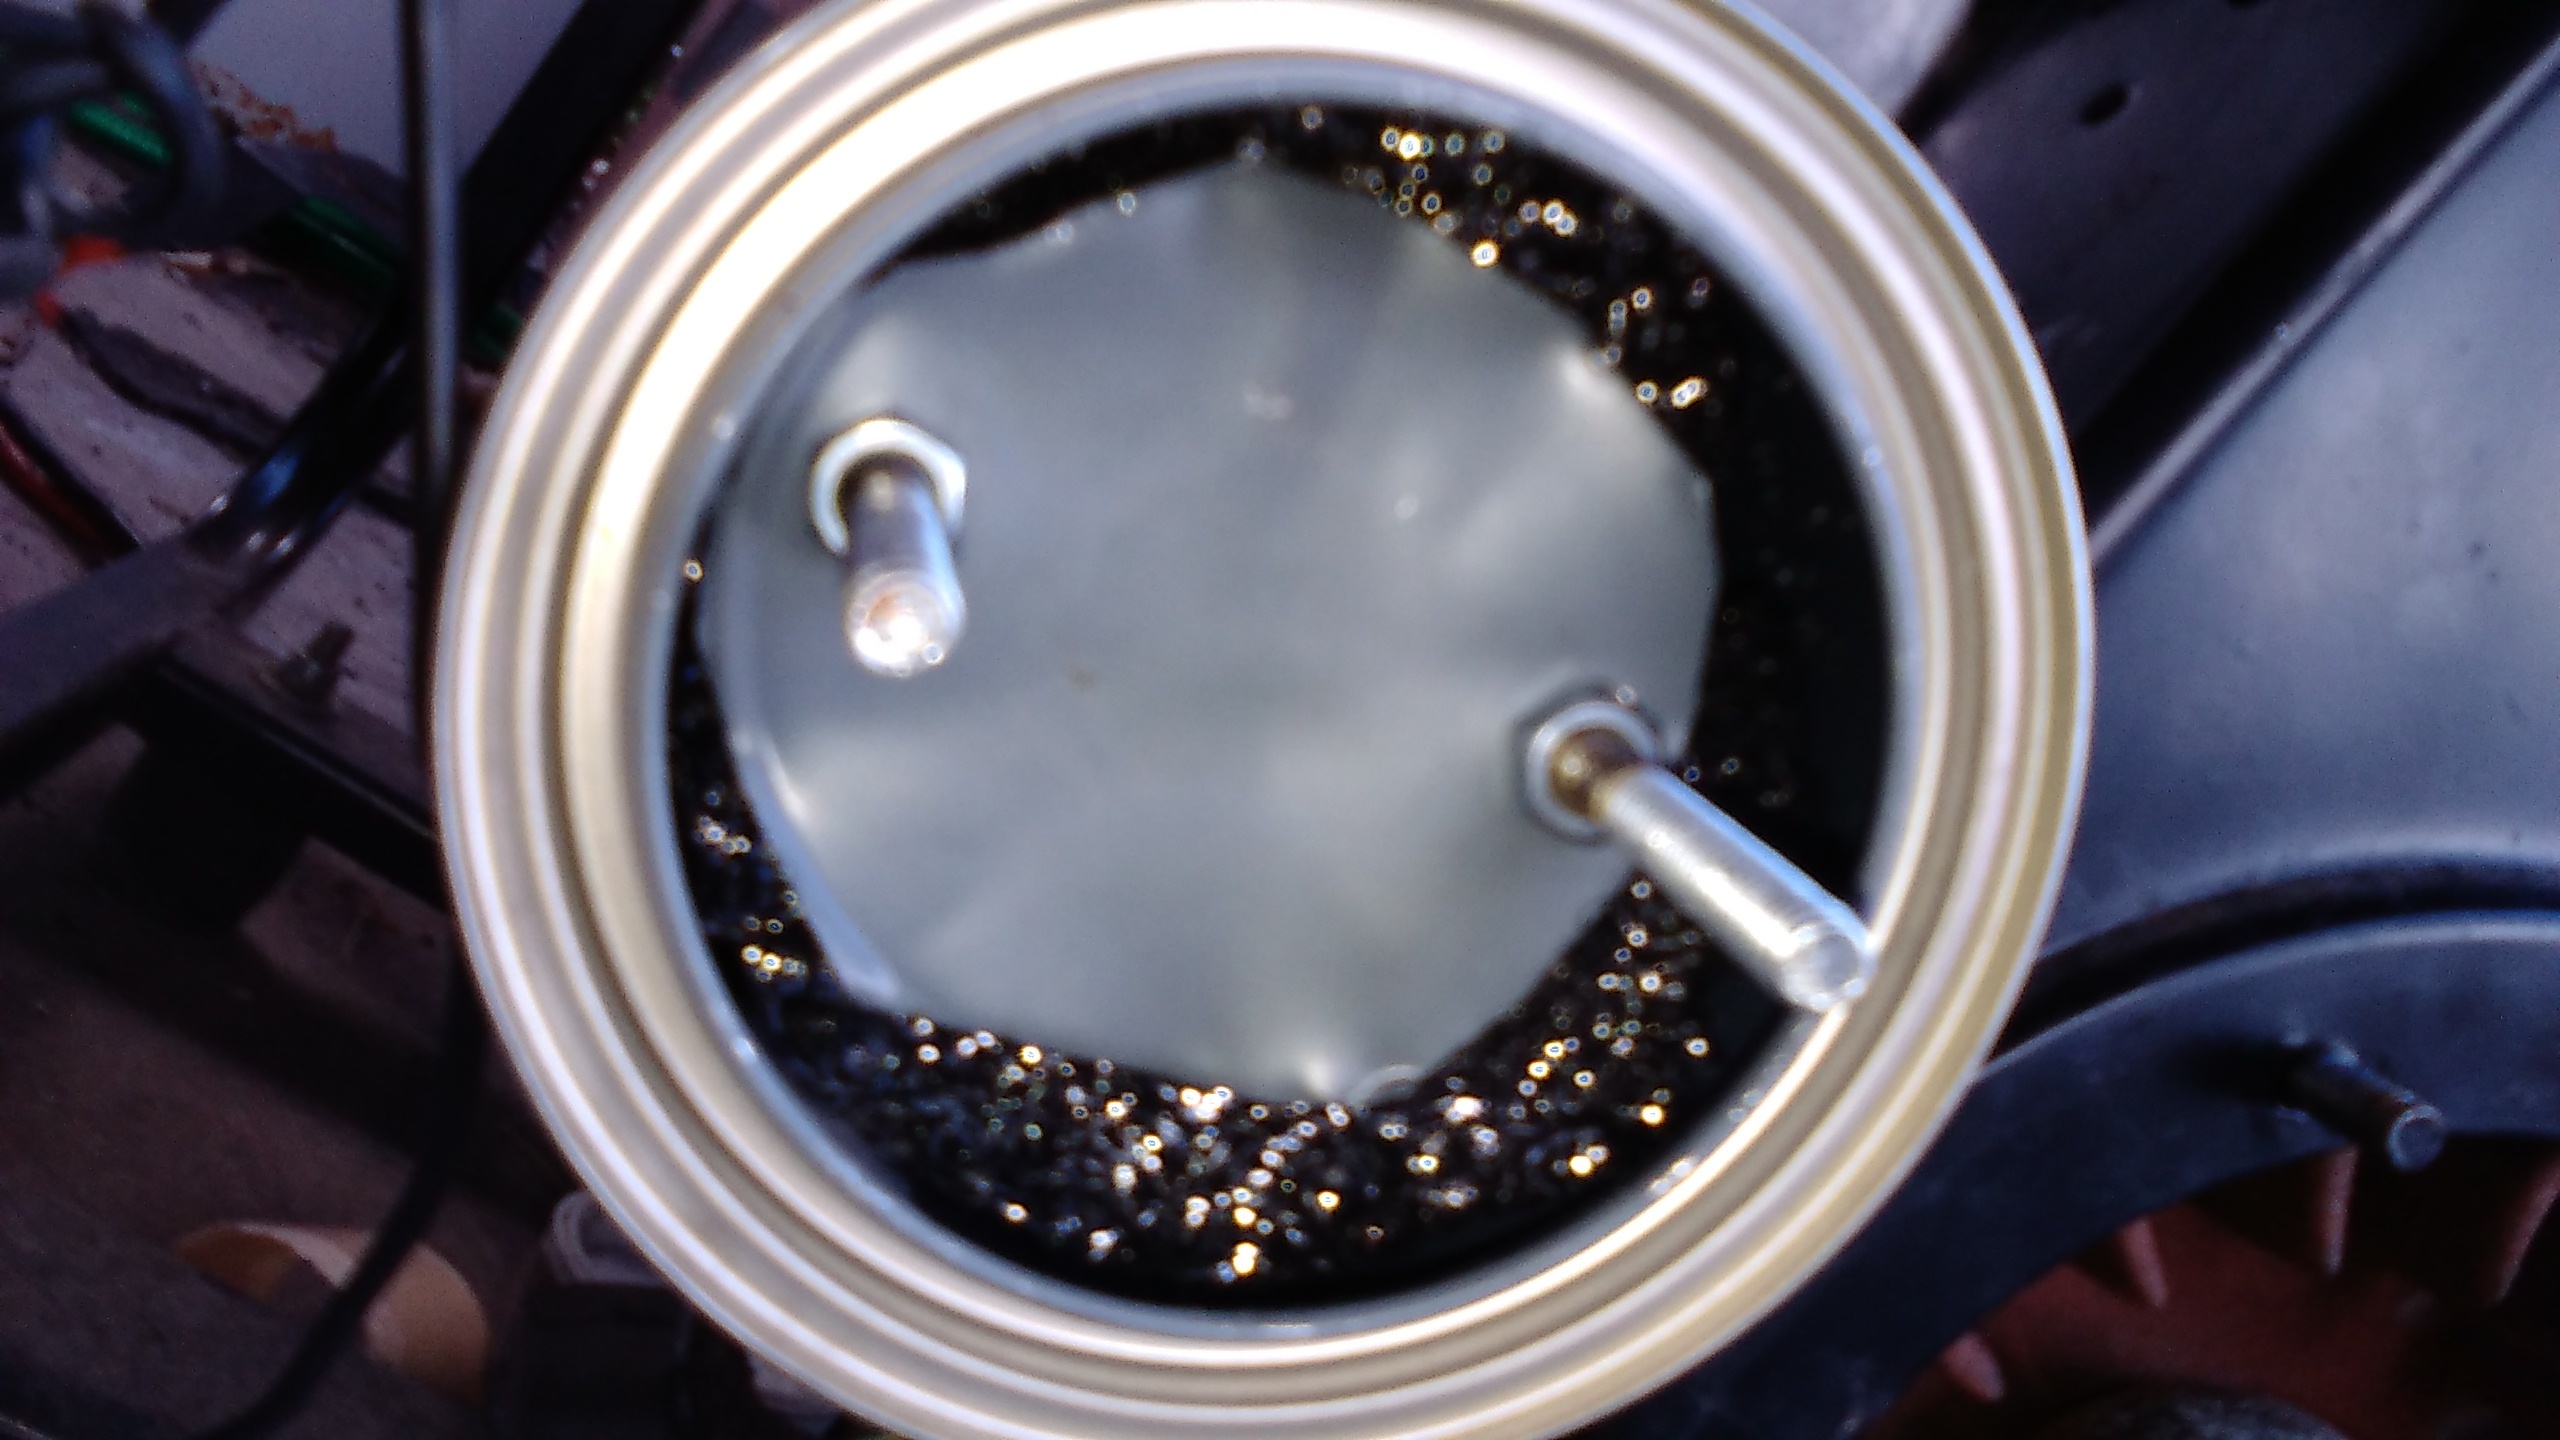
In my picture, draw a line from the center of the crankshaft through the center of the key in the keyway slot out to the rim, now imagine another line from the center of the crankshaft through the center of the magnet on the rim of the flywheel. The angle between the 2 lines is pretty much the timing angle. Those two spots on the flywheel will be the same no matter where the flywheel is. Now draw a line from the center of the crankshaft through the center of the broken key in the crankshaft out to the rim. The angle between this line and the first line I described will be how many degrees your timing is out. This one is advanced 60 to 70 degrees, meaning that the metal object on the right is passing the ignition coil (creating a spark) 60 to 70 degrees before the valves are in position. Rotation here is clockwise, yours may be, check it. Pull the starter rope.
Once you know this, with the spark plug removed, rotate the engine by hand and using a probe sense when the piston is at TDC on the compression stroke(both valves closed).
Good luck sleuthing it out. I put my engine aside until I can get that wide offset style key.
Pepe

1 Like
I have read somewhere that lapping the flywheel to the output shaft with valve grinding compound makes a fit that can be locked in any timing position without a key. I haven’t found time to try this yet. Anybody able to confirm? This would beat trying to mill a new keyway or settling for the 10-15 degrees offered by using an offset key.
1 Like
Hey Jonathan .
You can pull the plug and stick a screw driver in the hole and work the flywheel back and forth and come pretty close to DTC.
Hello Bruce ,
I tried once running the fly wheel without the key . Worked for a little while, I didn’t use your method , I just tightened the nut as much as I could.
With these steeped up timing the motors crank best to have the spark plug wire off and put it back on after the starter is spinning the motor .
( if the motor has a kill switch use it instead of spark plug wire removal )
1 Like
She runs I wish I could upload the video
1 Like
Hi Wayne, Are you saying that it helps to get the engine spinning first without spark because of the resistance from BTC firing as the piston is on its way up?
1 Like
YES!!! Even with electric start. Get the weight of the flywheel working with you…
Hi Bruce .
If you can avoid the first few revs of the motor firing the flywheel may be spinning faster when the spark is applied . Will help with kick backs
2 Likes
I knew this was a good timing spot. I just kept retarding the timing until I found the spot that had less kickback while trying to start. Also I purchased a Milwaukee 1/2 drill with a right angle head on it… It worked perfect as a starter.
2 Likes
So maybe this link will work…
https://drive.google.com/file/d/0B4nr4uzklOFnbWtNd3VEbEFBOGM/view?usp=sharing
It does work for me… The big fan in the background is hooked to the generator… As is my “Starter” the Milwaukee 1/2" drill… BTW so muck easier to pull the socket off the flyweel nut with a right angle drill.
3 Likes
Hi JD, on one of my drill started motors I found that angle grinding the top of the nut to remove the sharp edges helped when trying to get the socket off fast.
David Baillie
1 Like
Hi JD , Nice one, you just cant beat that feeling when you get a engine working for the first time on the black stuff !
If that was your first engine run it certainly sounded great and dialled right in to a sweet spot , it will be interested to see how long your run lasted and the condition of your stainless steel pipe nipple afterwards .
Well done
Dave
1 Like