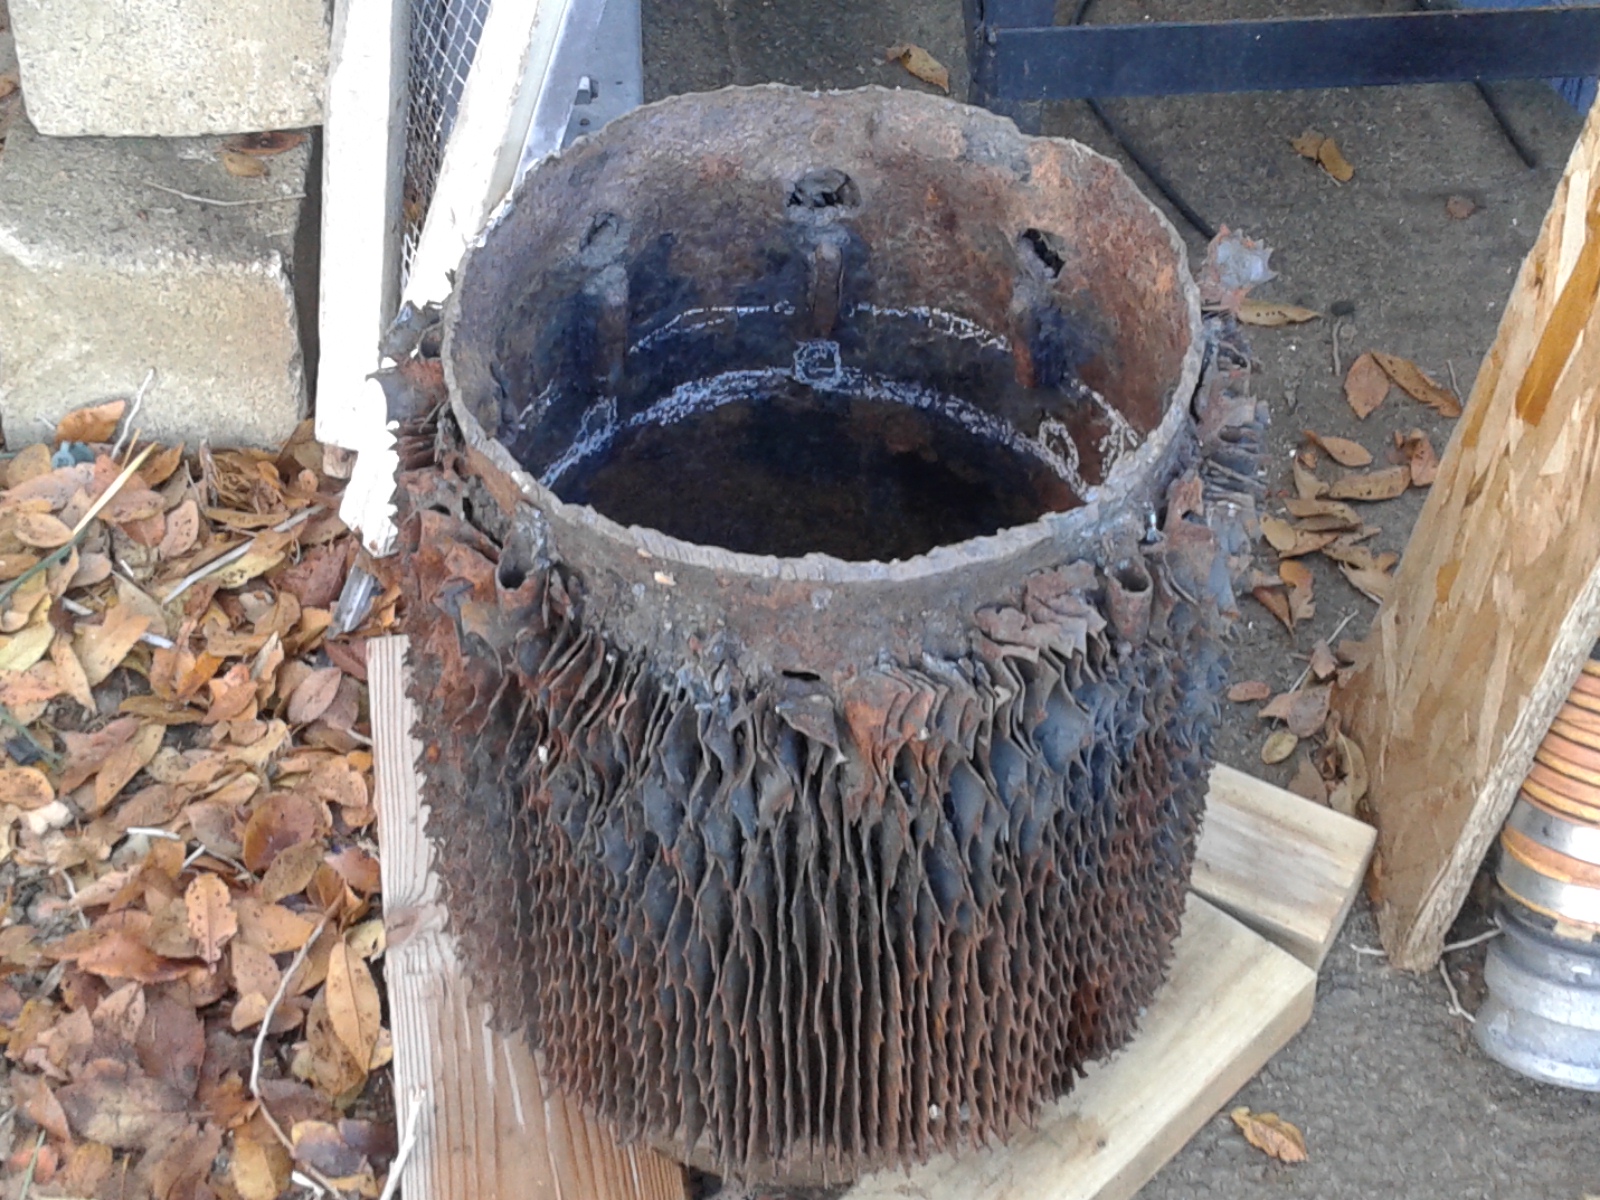
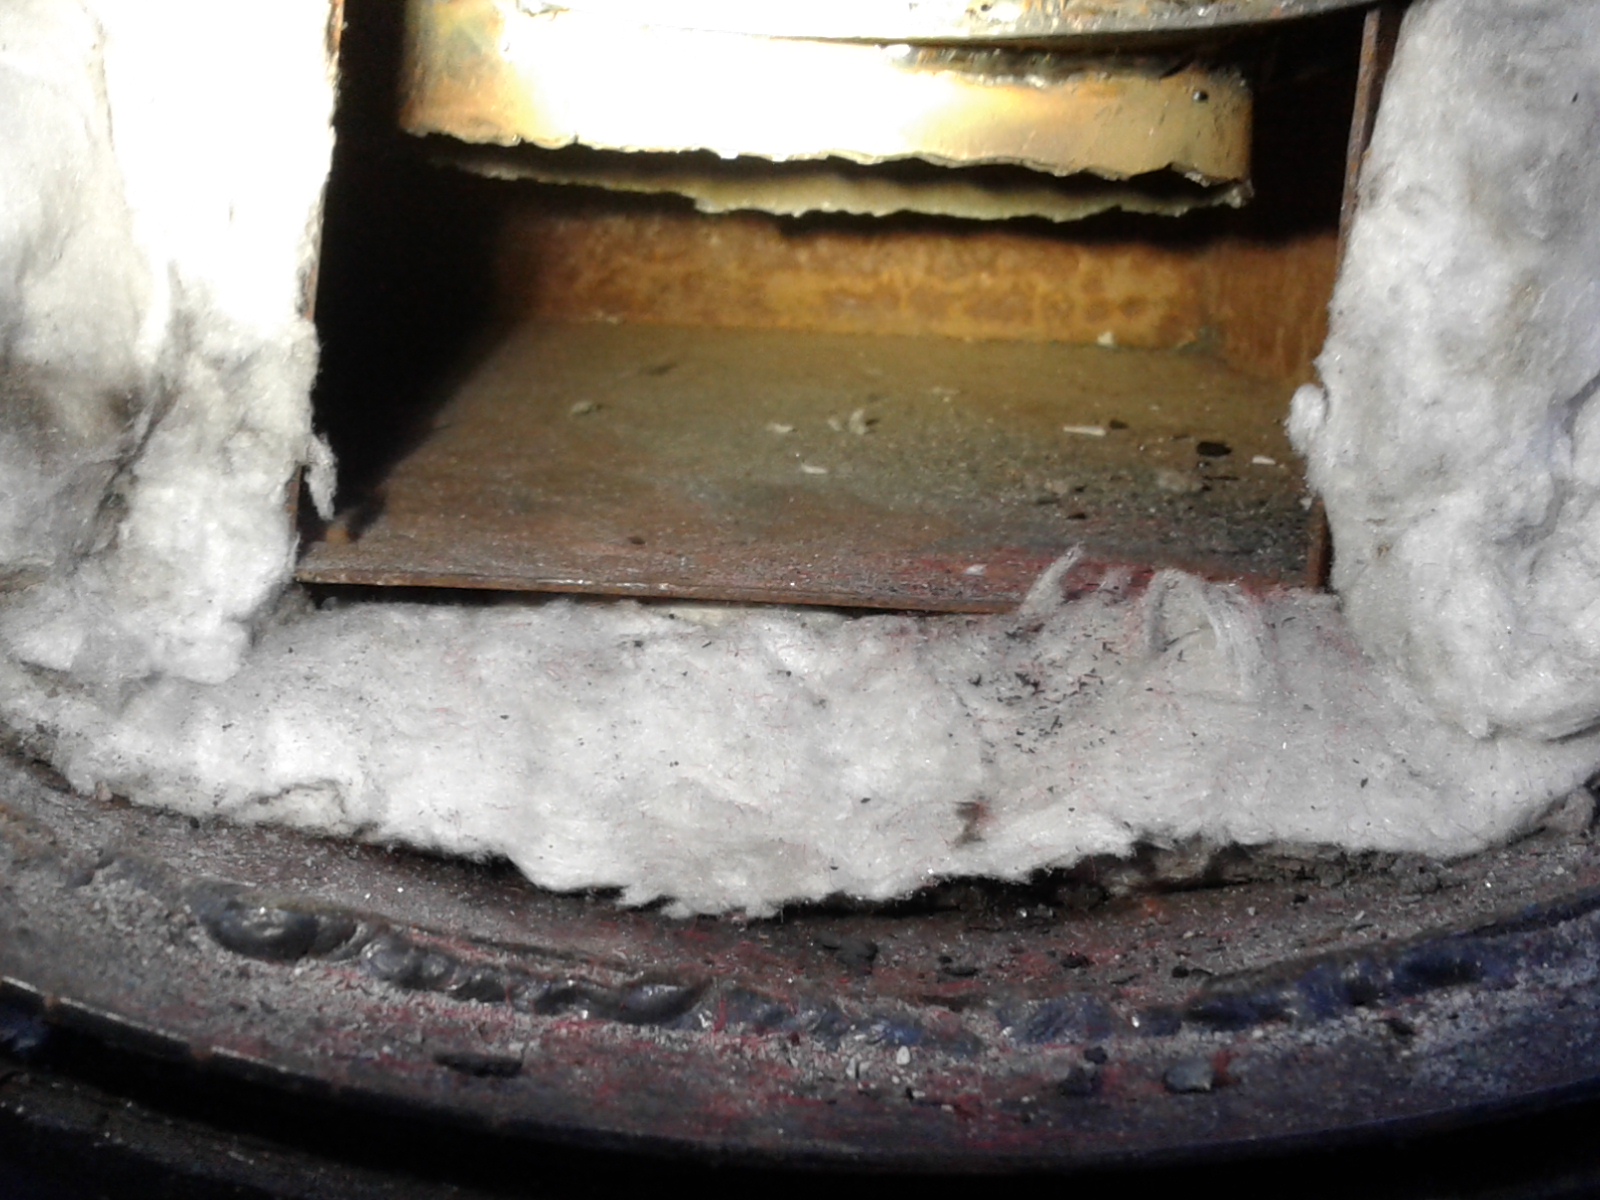
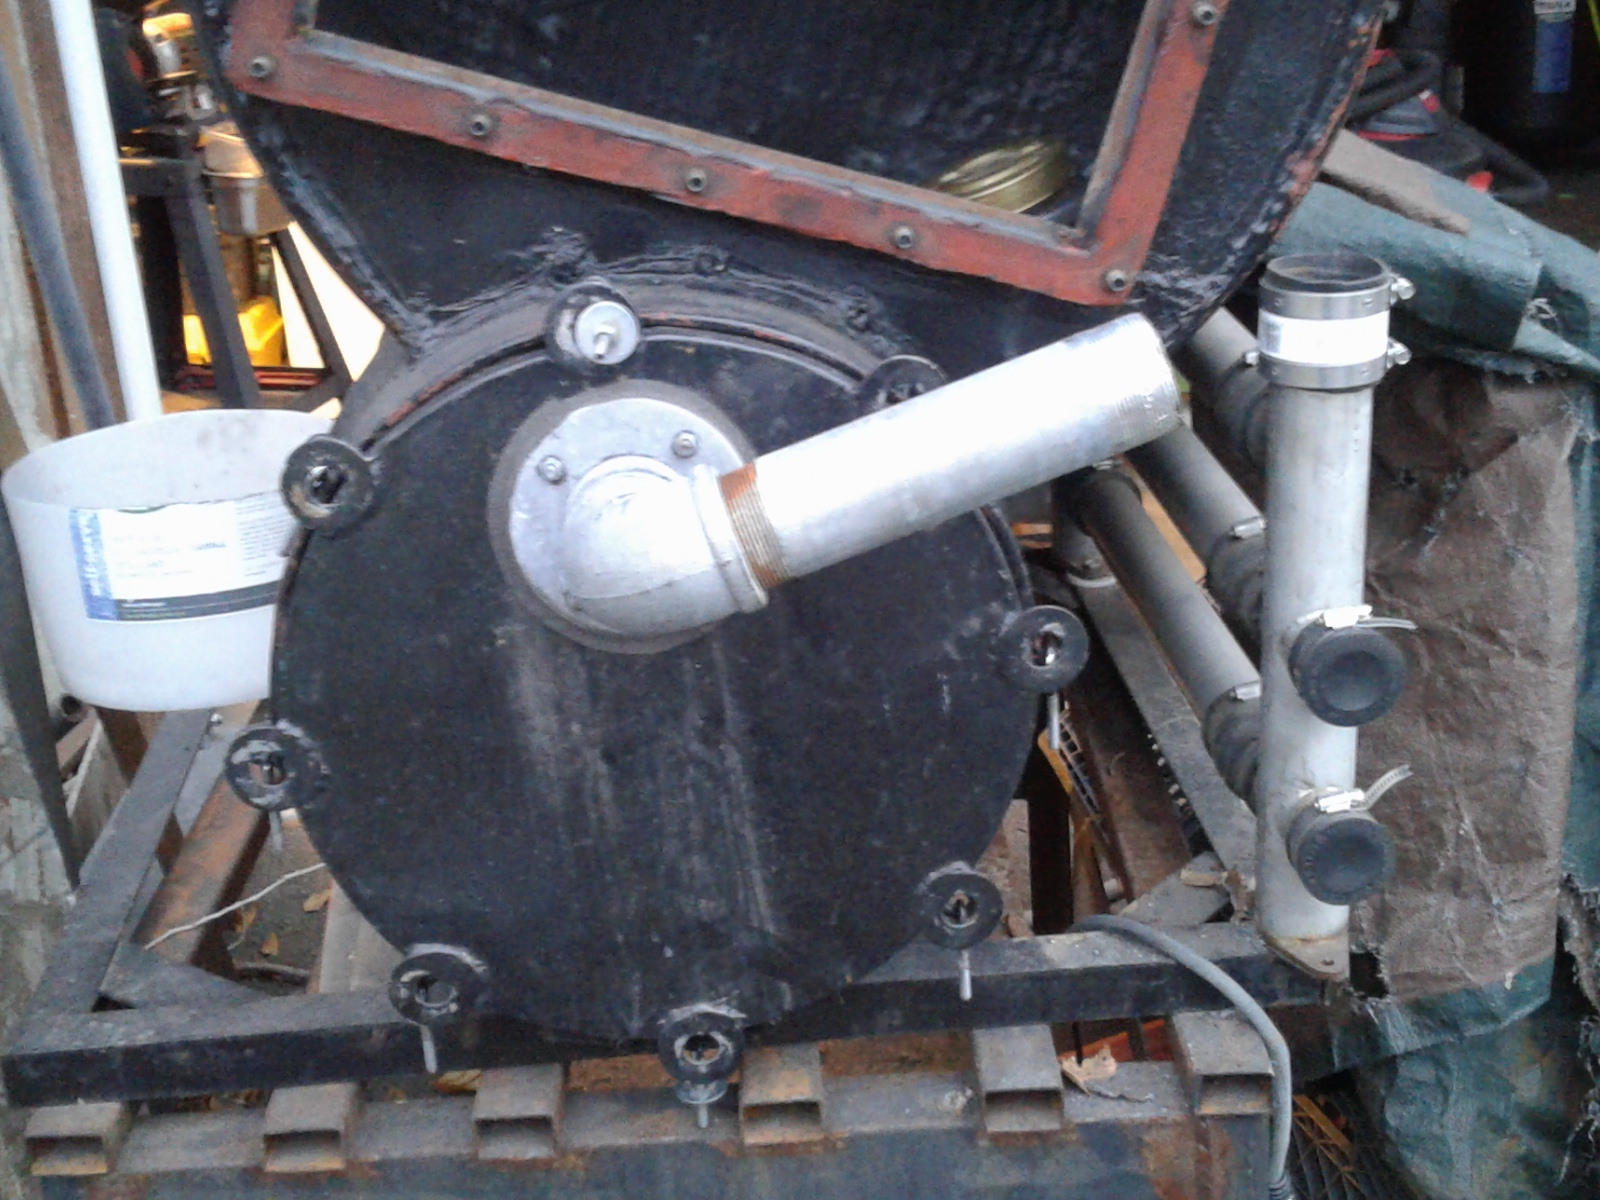
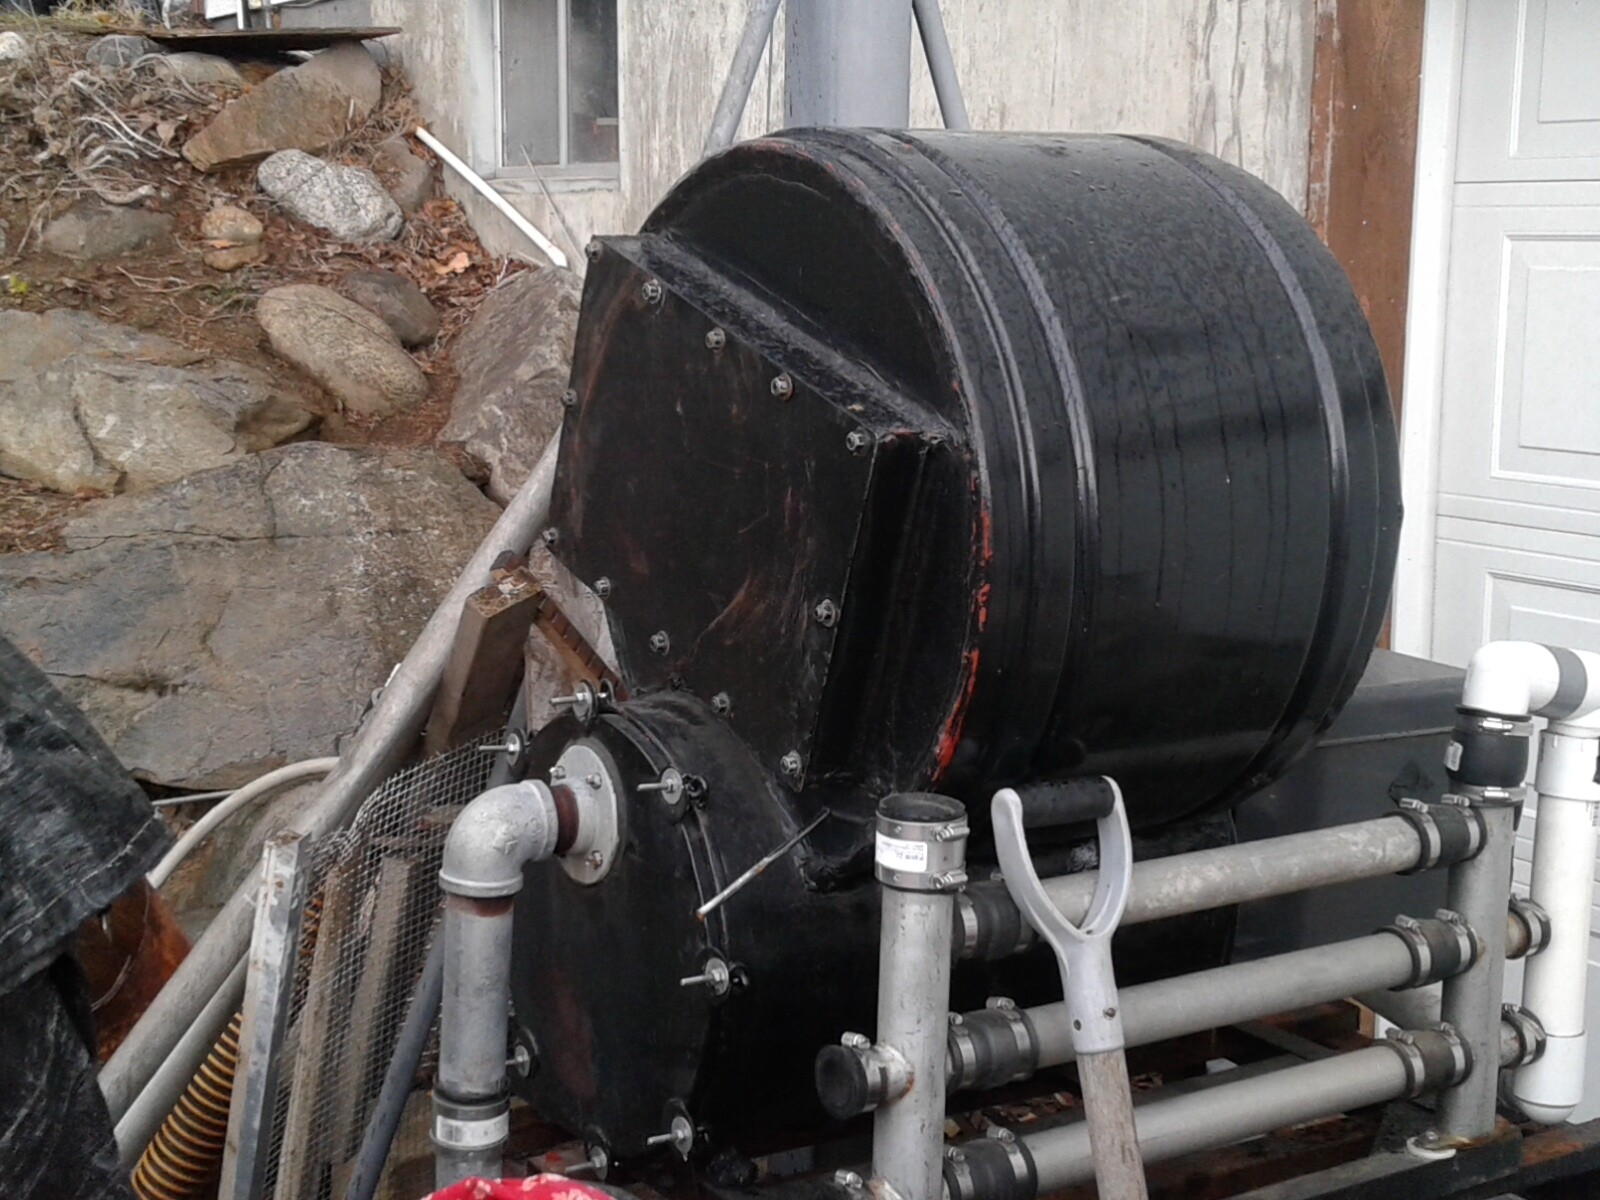
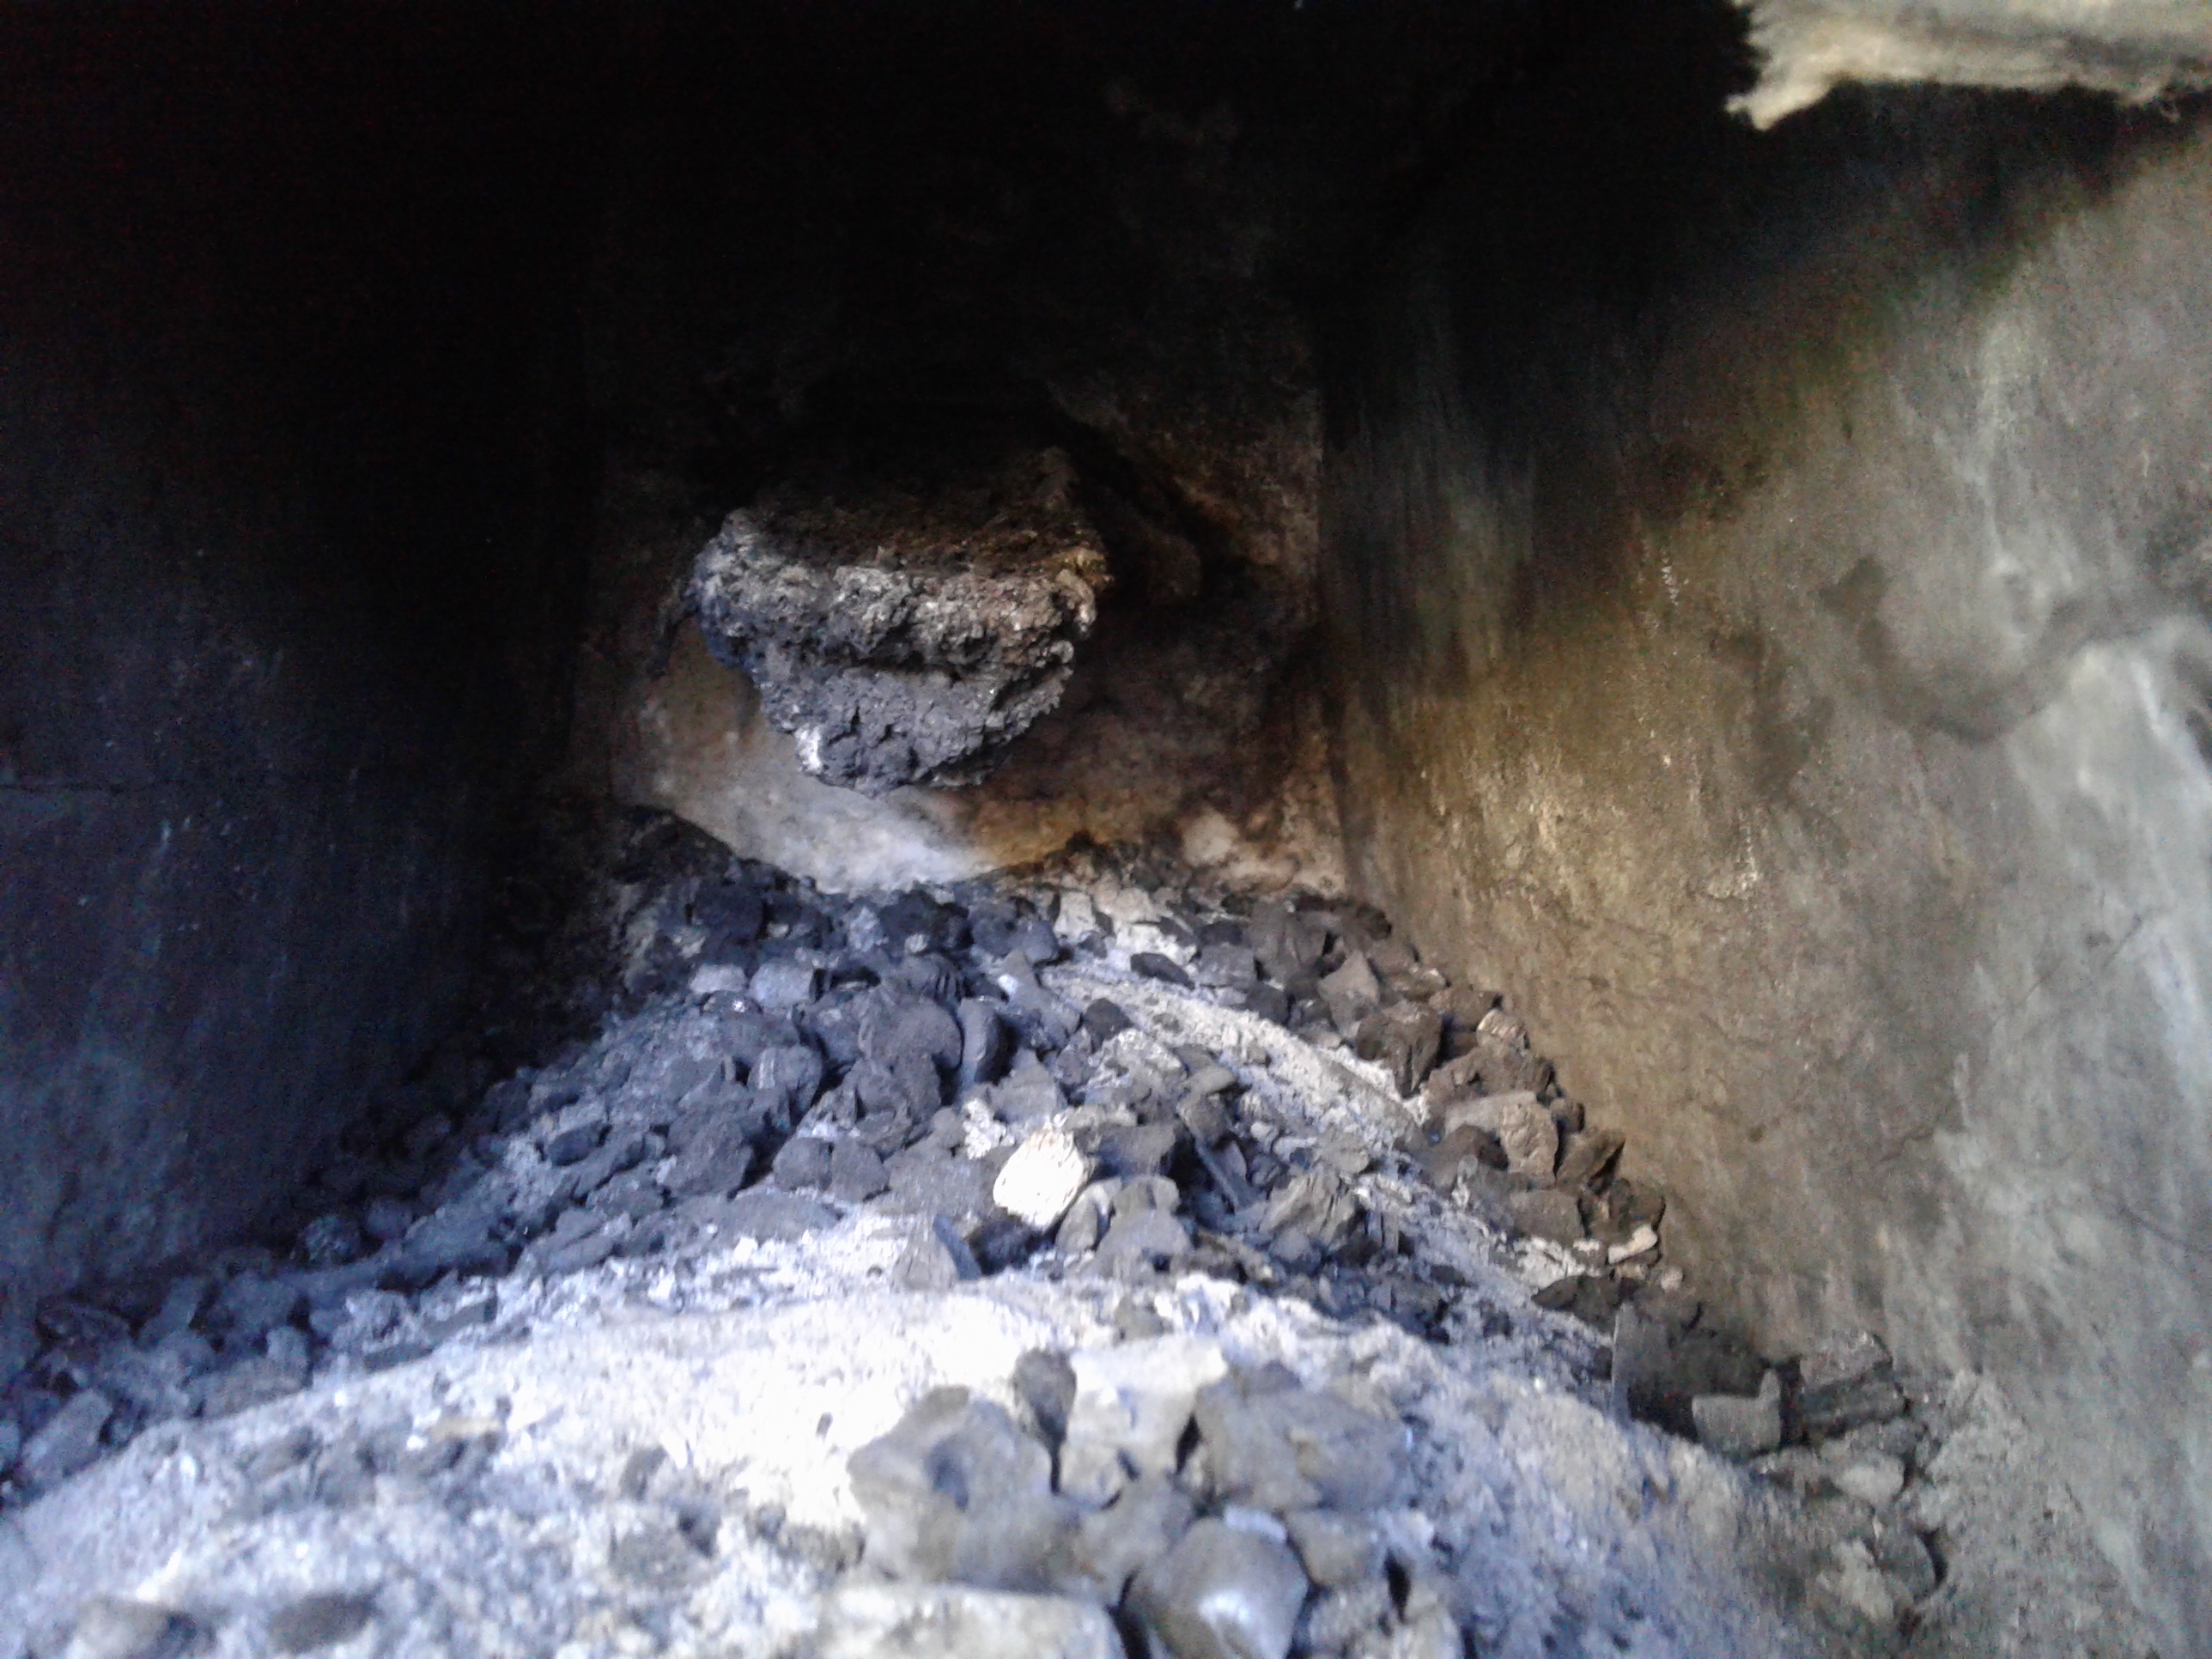
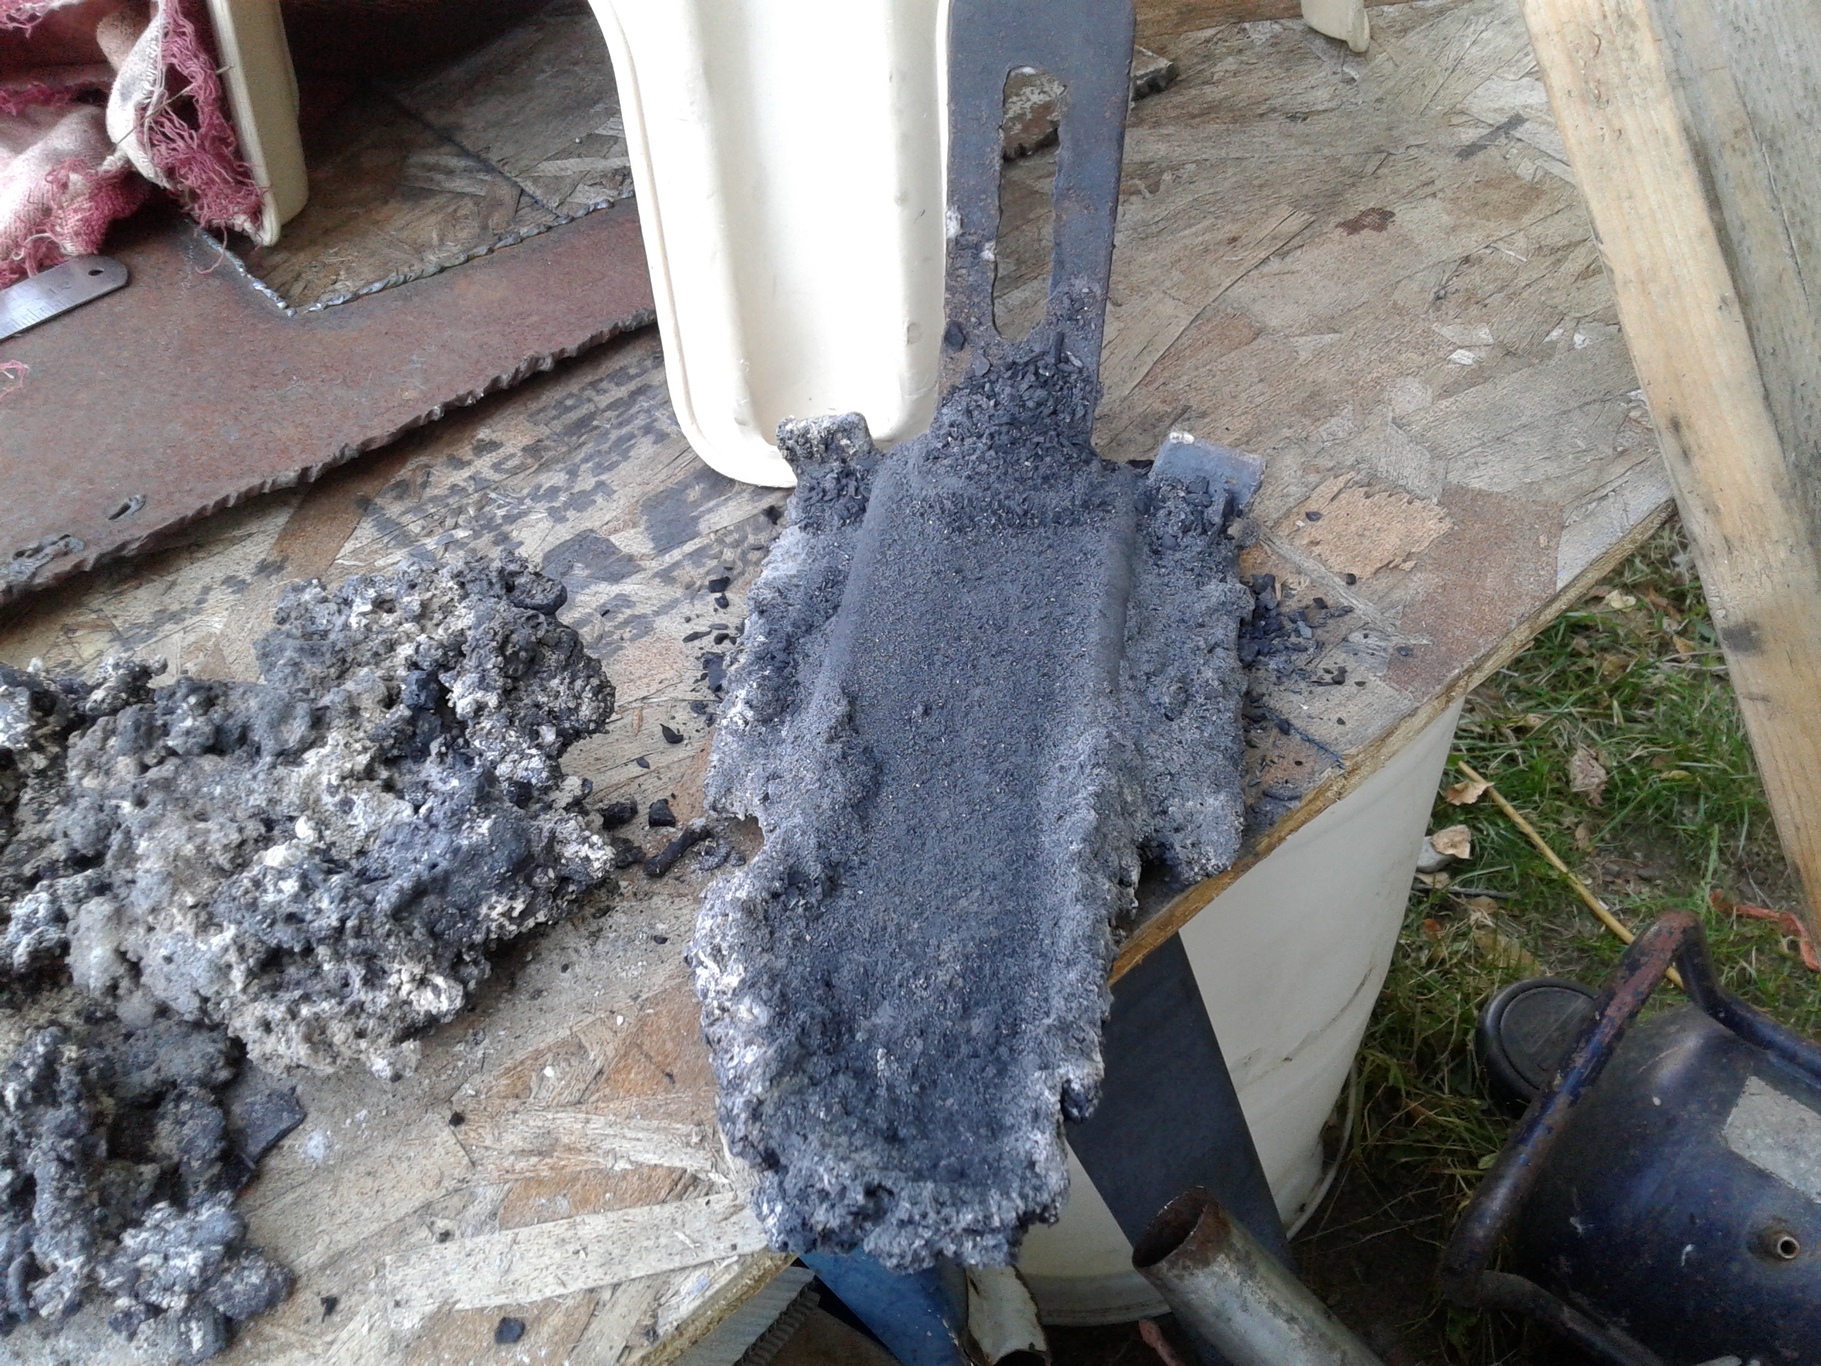
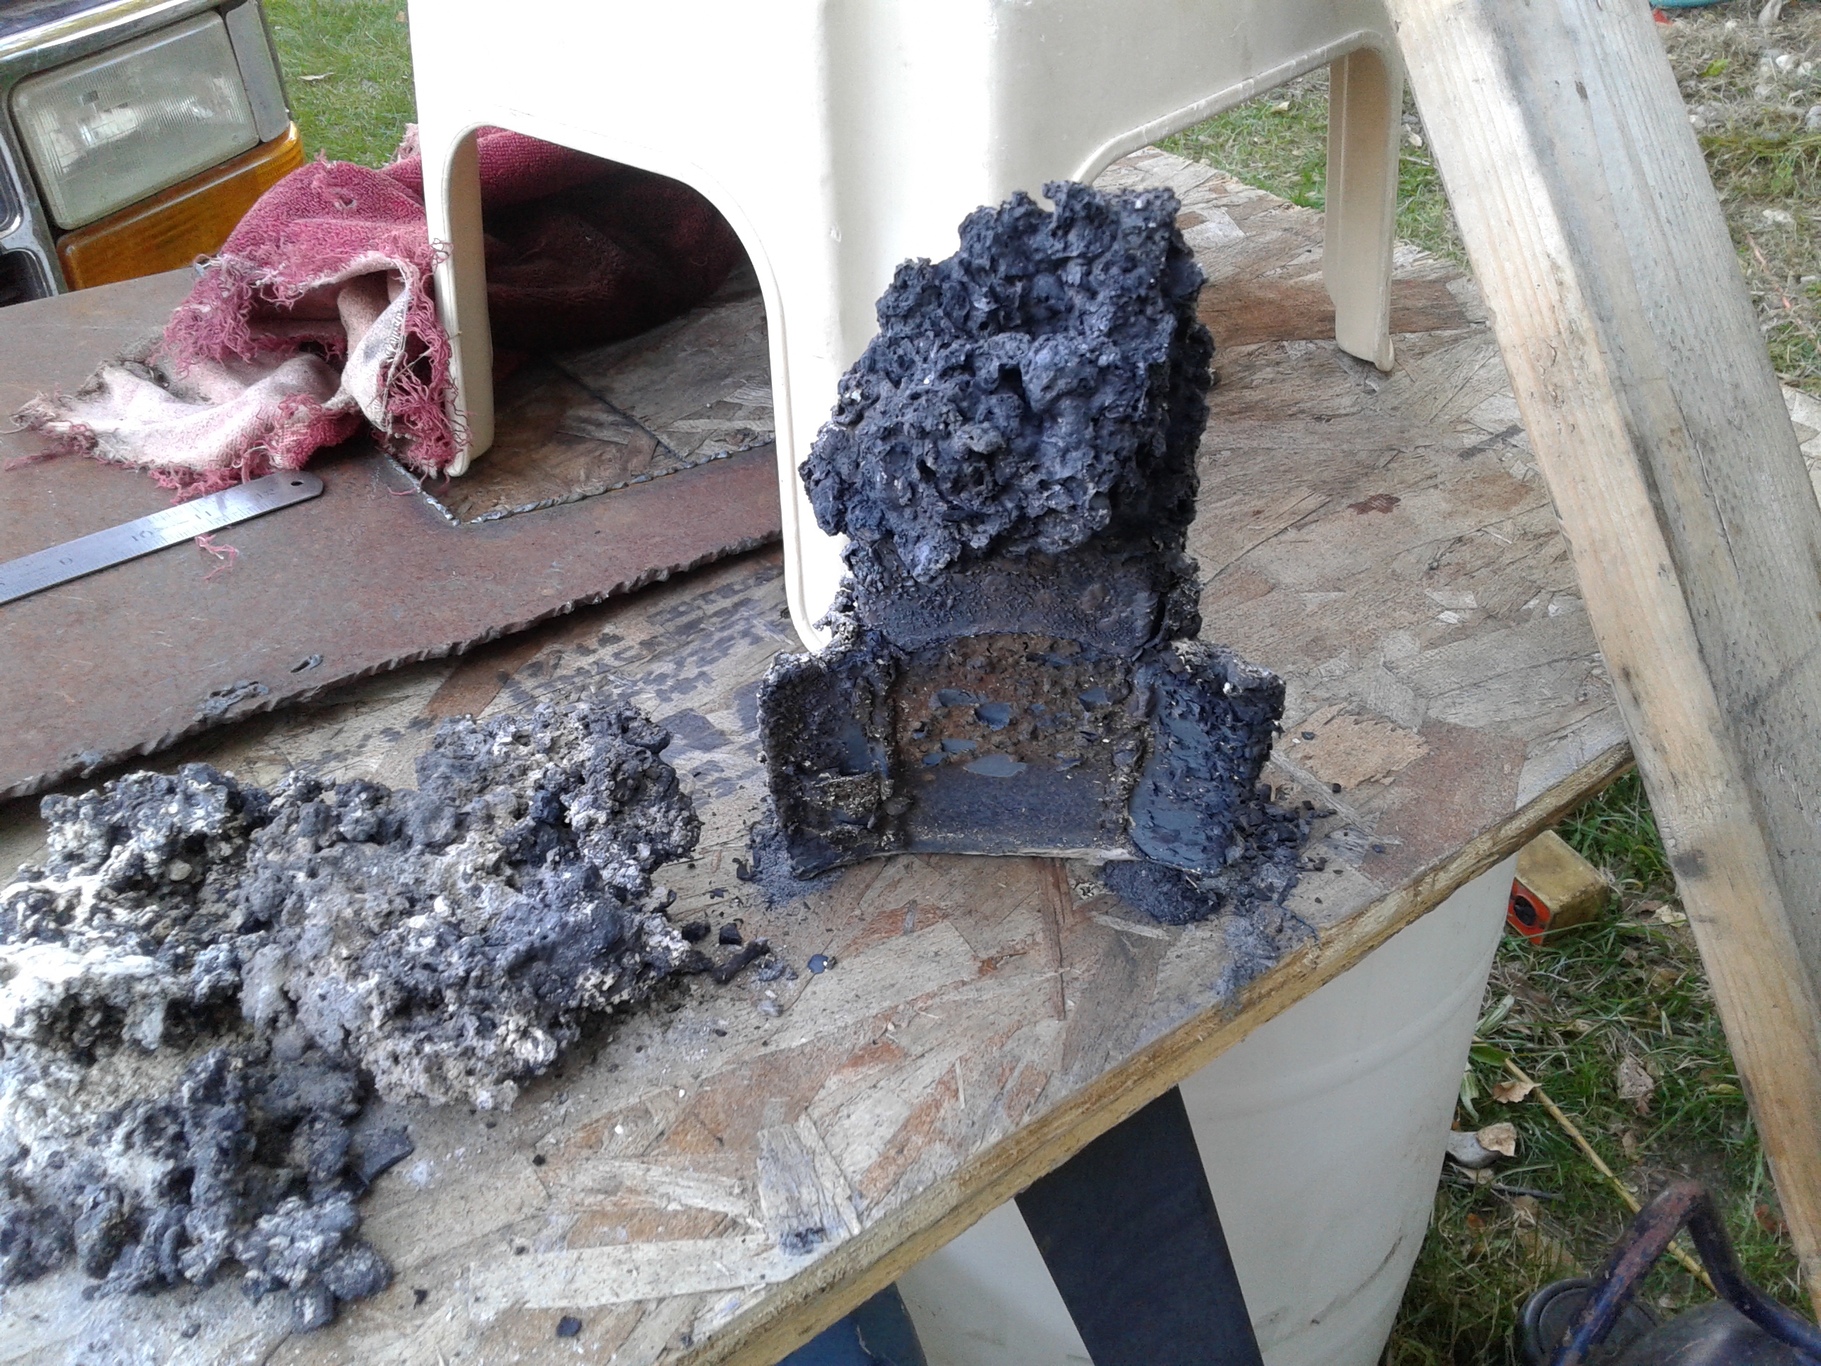
Okay , while I am letting the 92 Dakota silicone cure up on my rail tree patching. I thought I might take a look inside my charcoal gasifier that I shut down after a long run last fall and let it sit for months. Yup part of the testing on it.
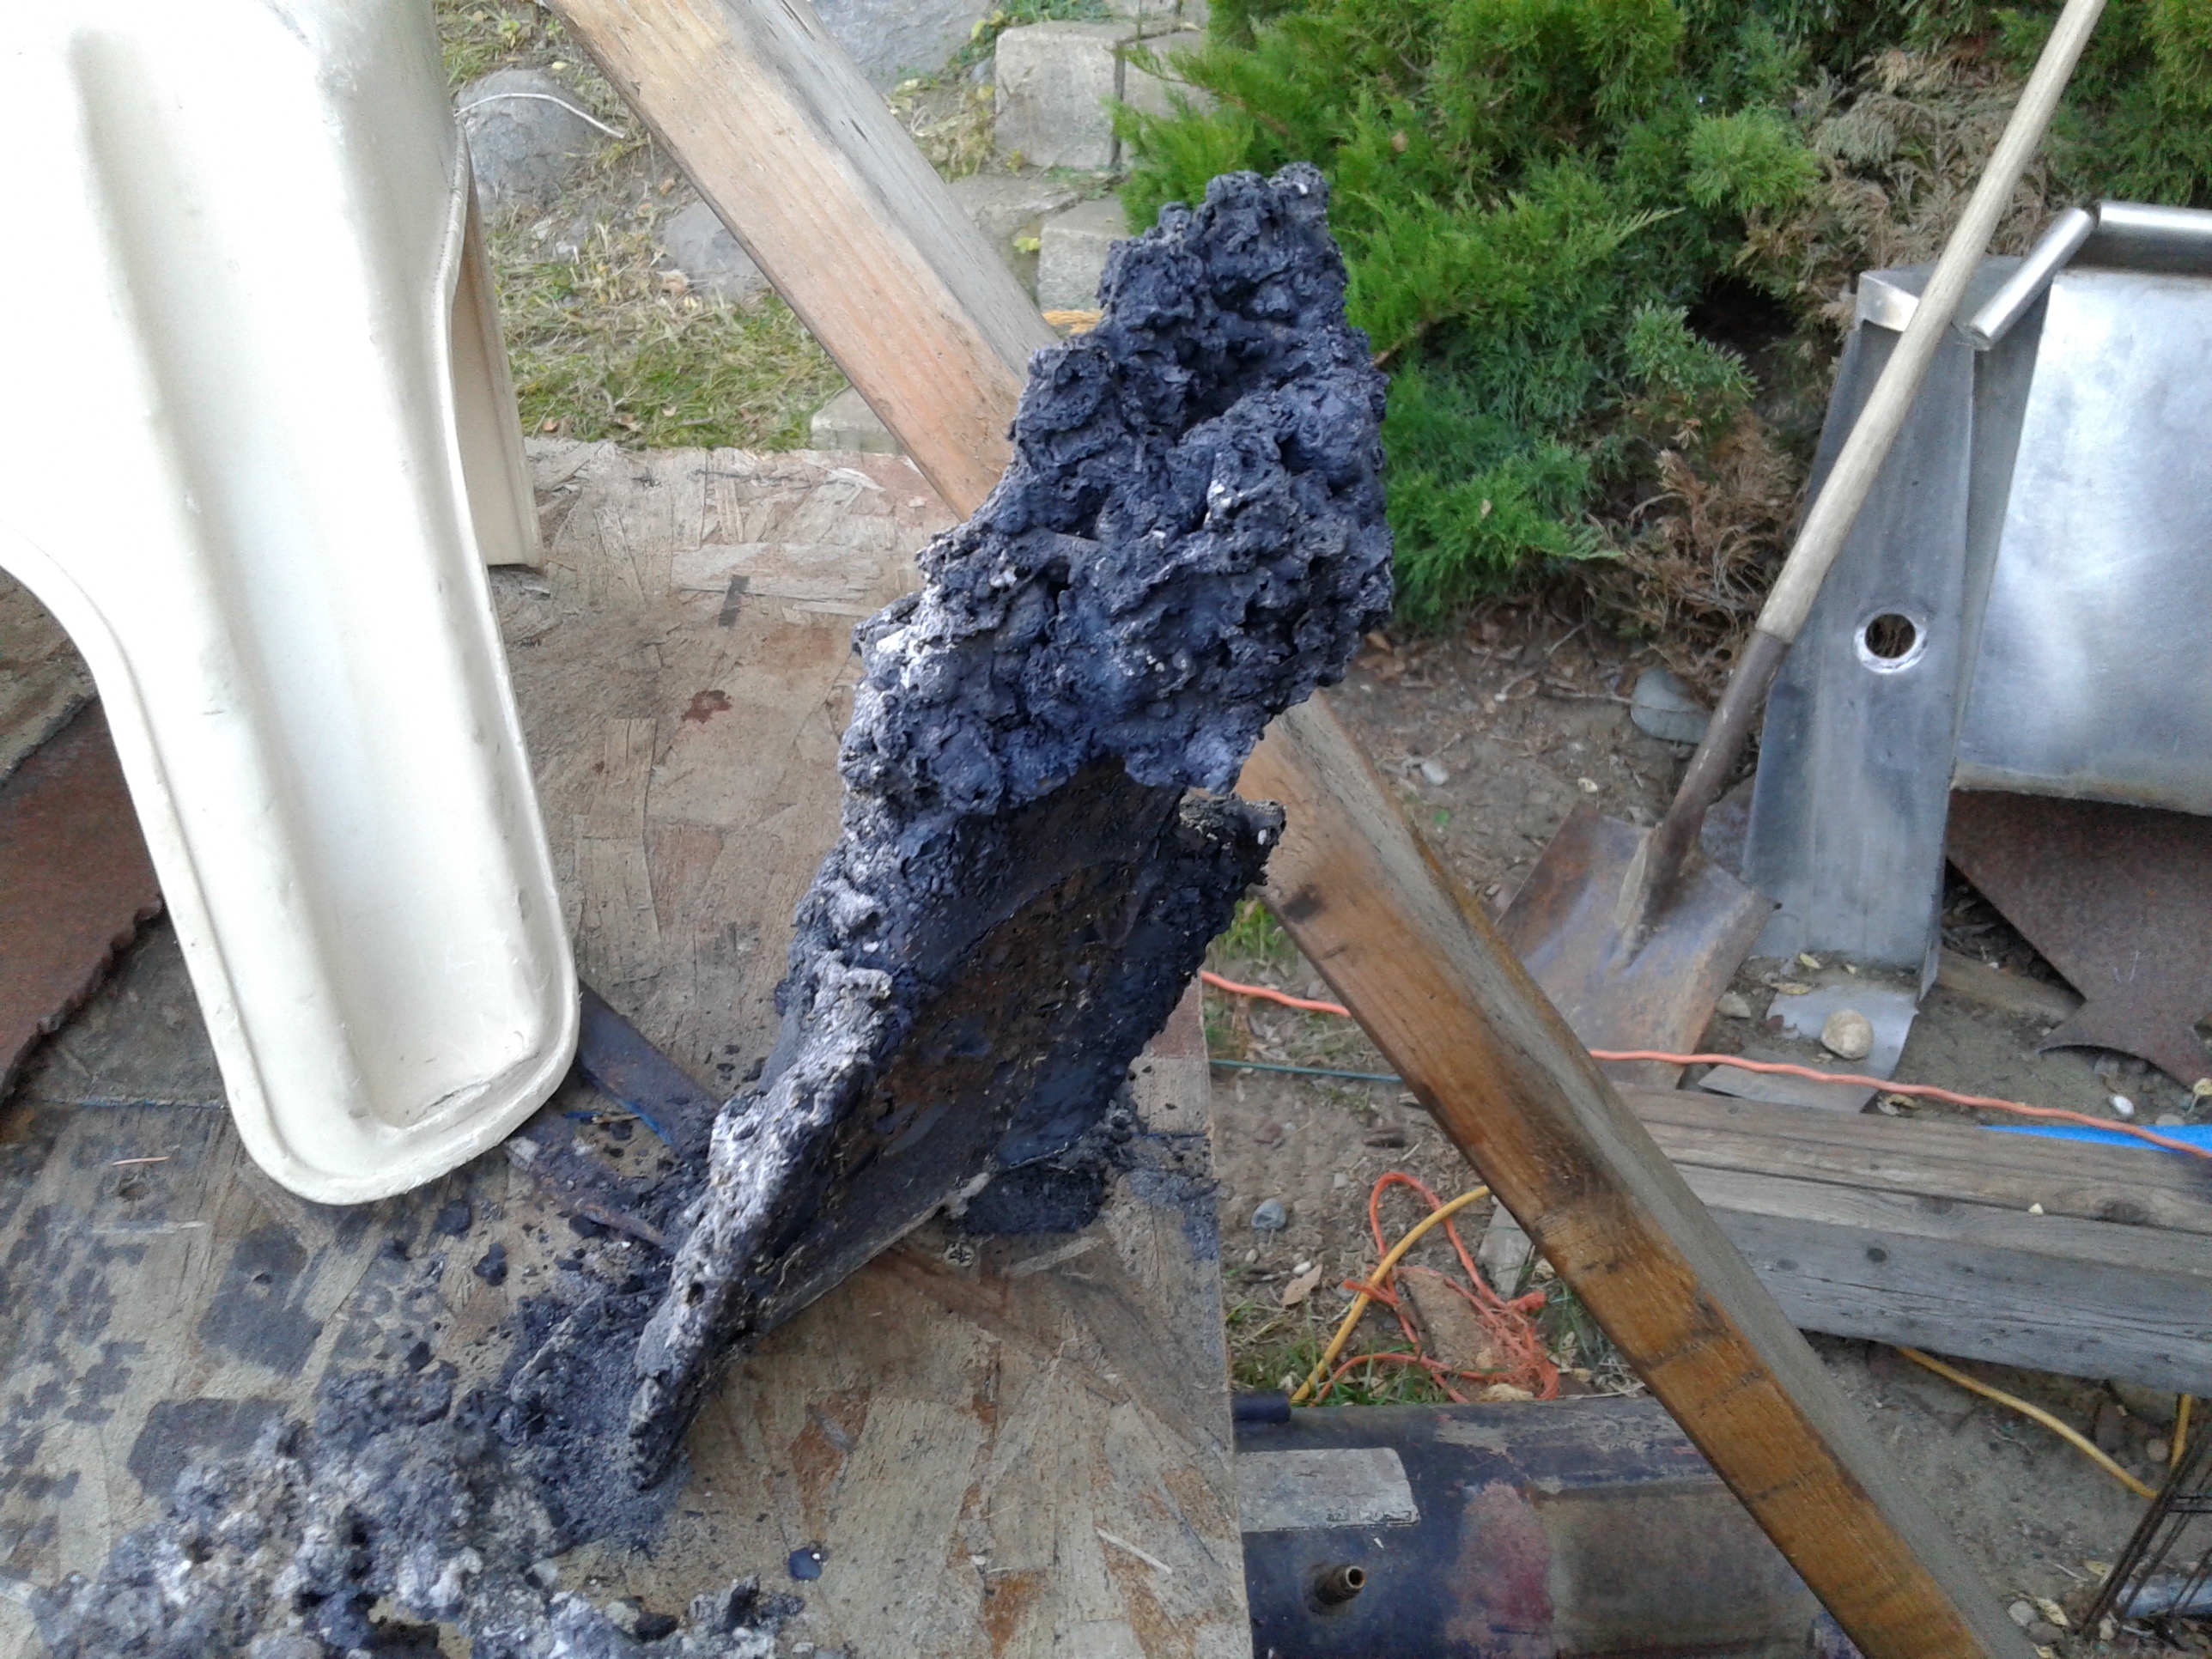
It looks like the shield plate has taken a beating, I left the plate long to see what would happen it didn’t disappoint me that for sure. I will cut it off to the proper length and rap it in the ceramic wool. It did do what it was supposed to do. It kept the charcoal away from the nozzles. I know on the last part of the run that something was changing with the gasifier running. I bet it was the plate drooping down and melting. Boy that’s hot in there. That would have been cool to see that take place with a viewing window.
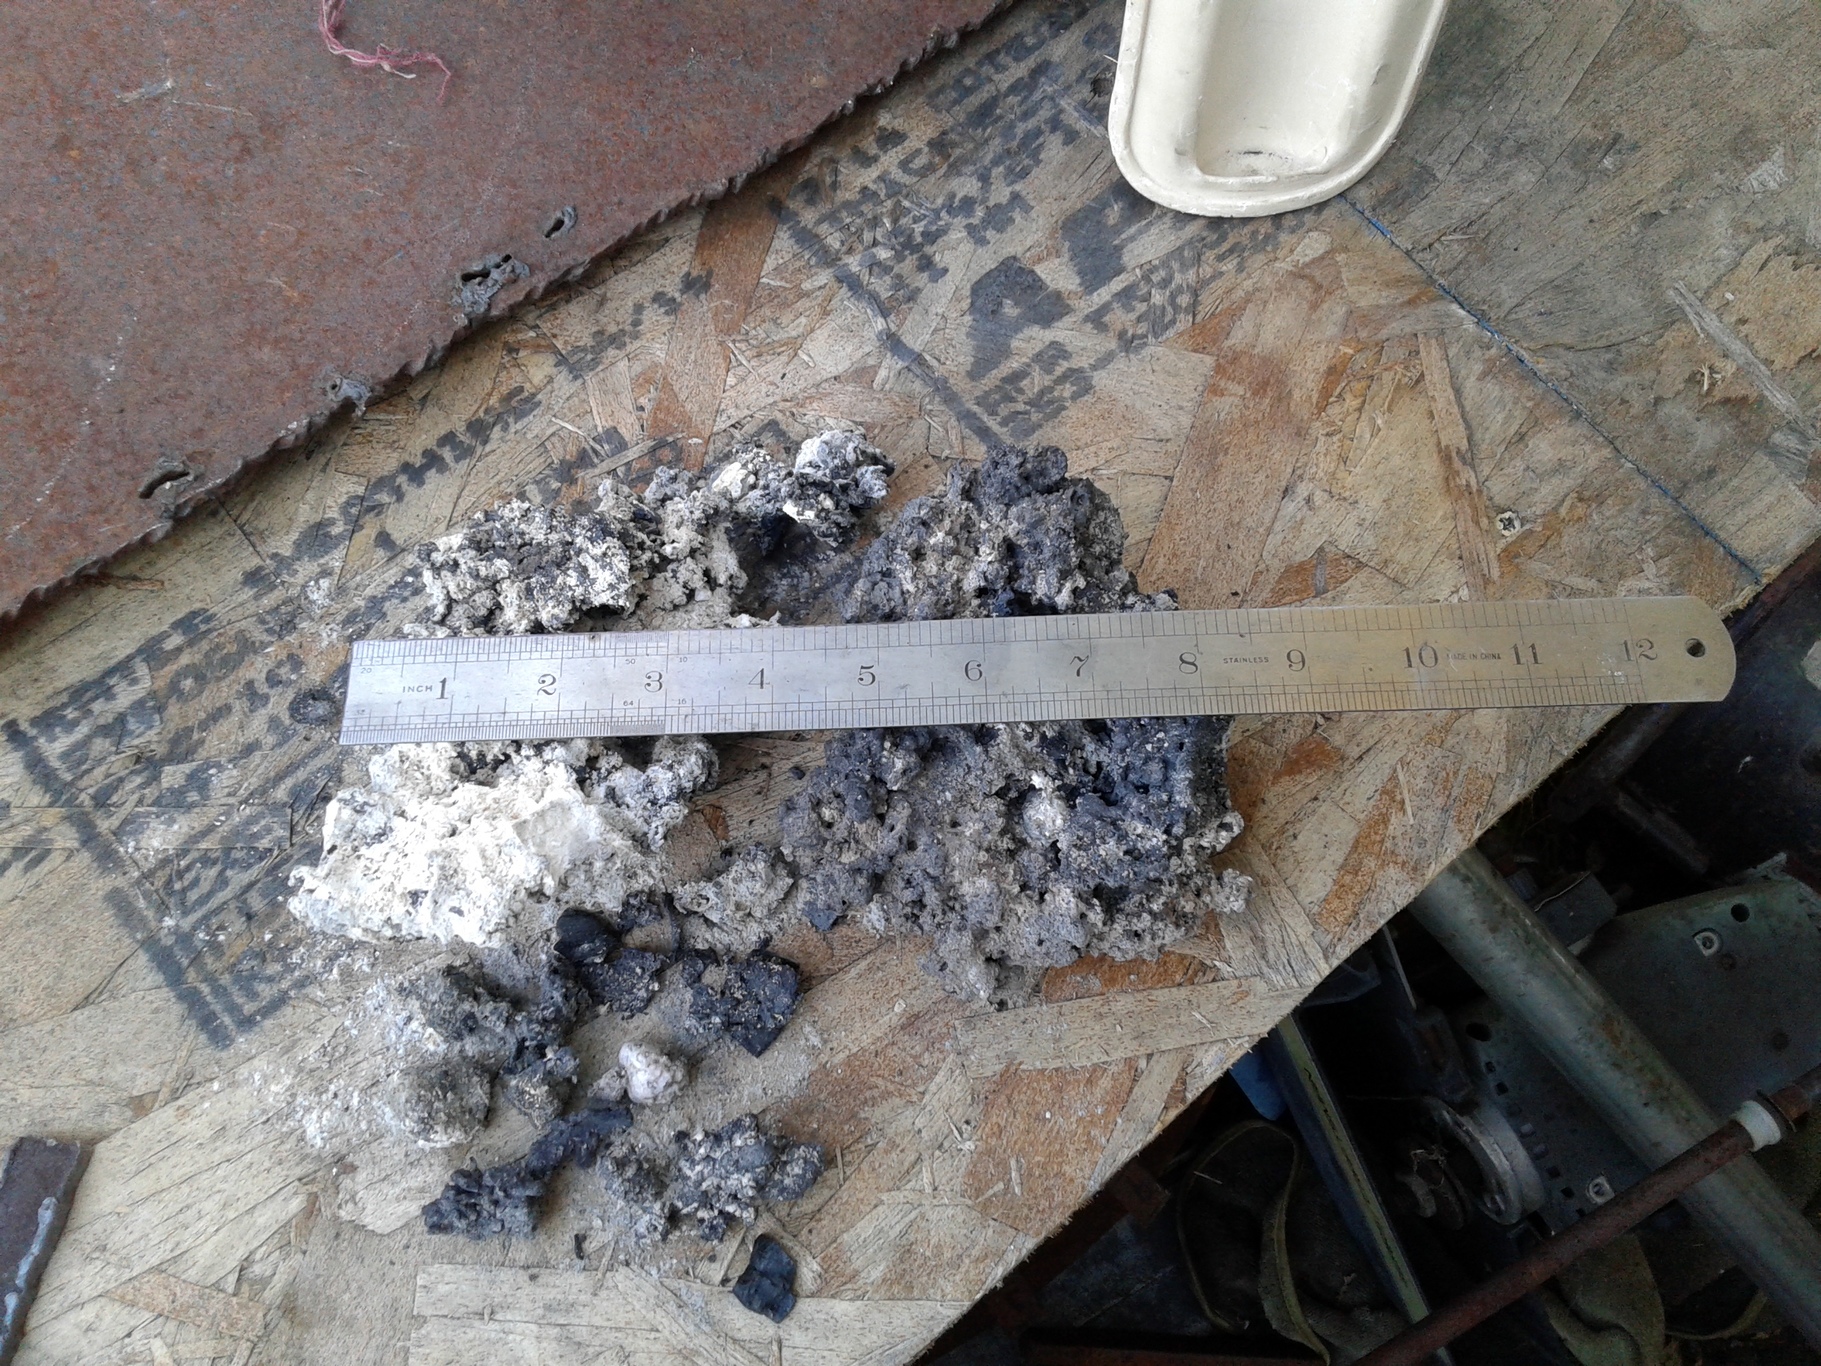
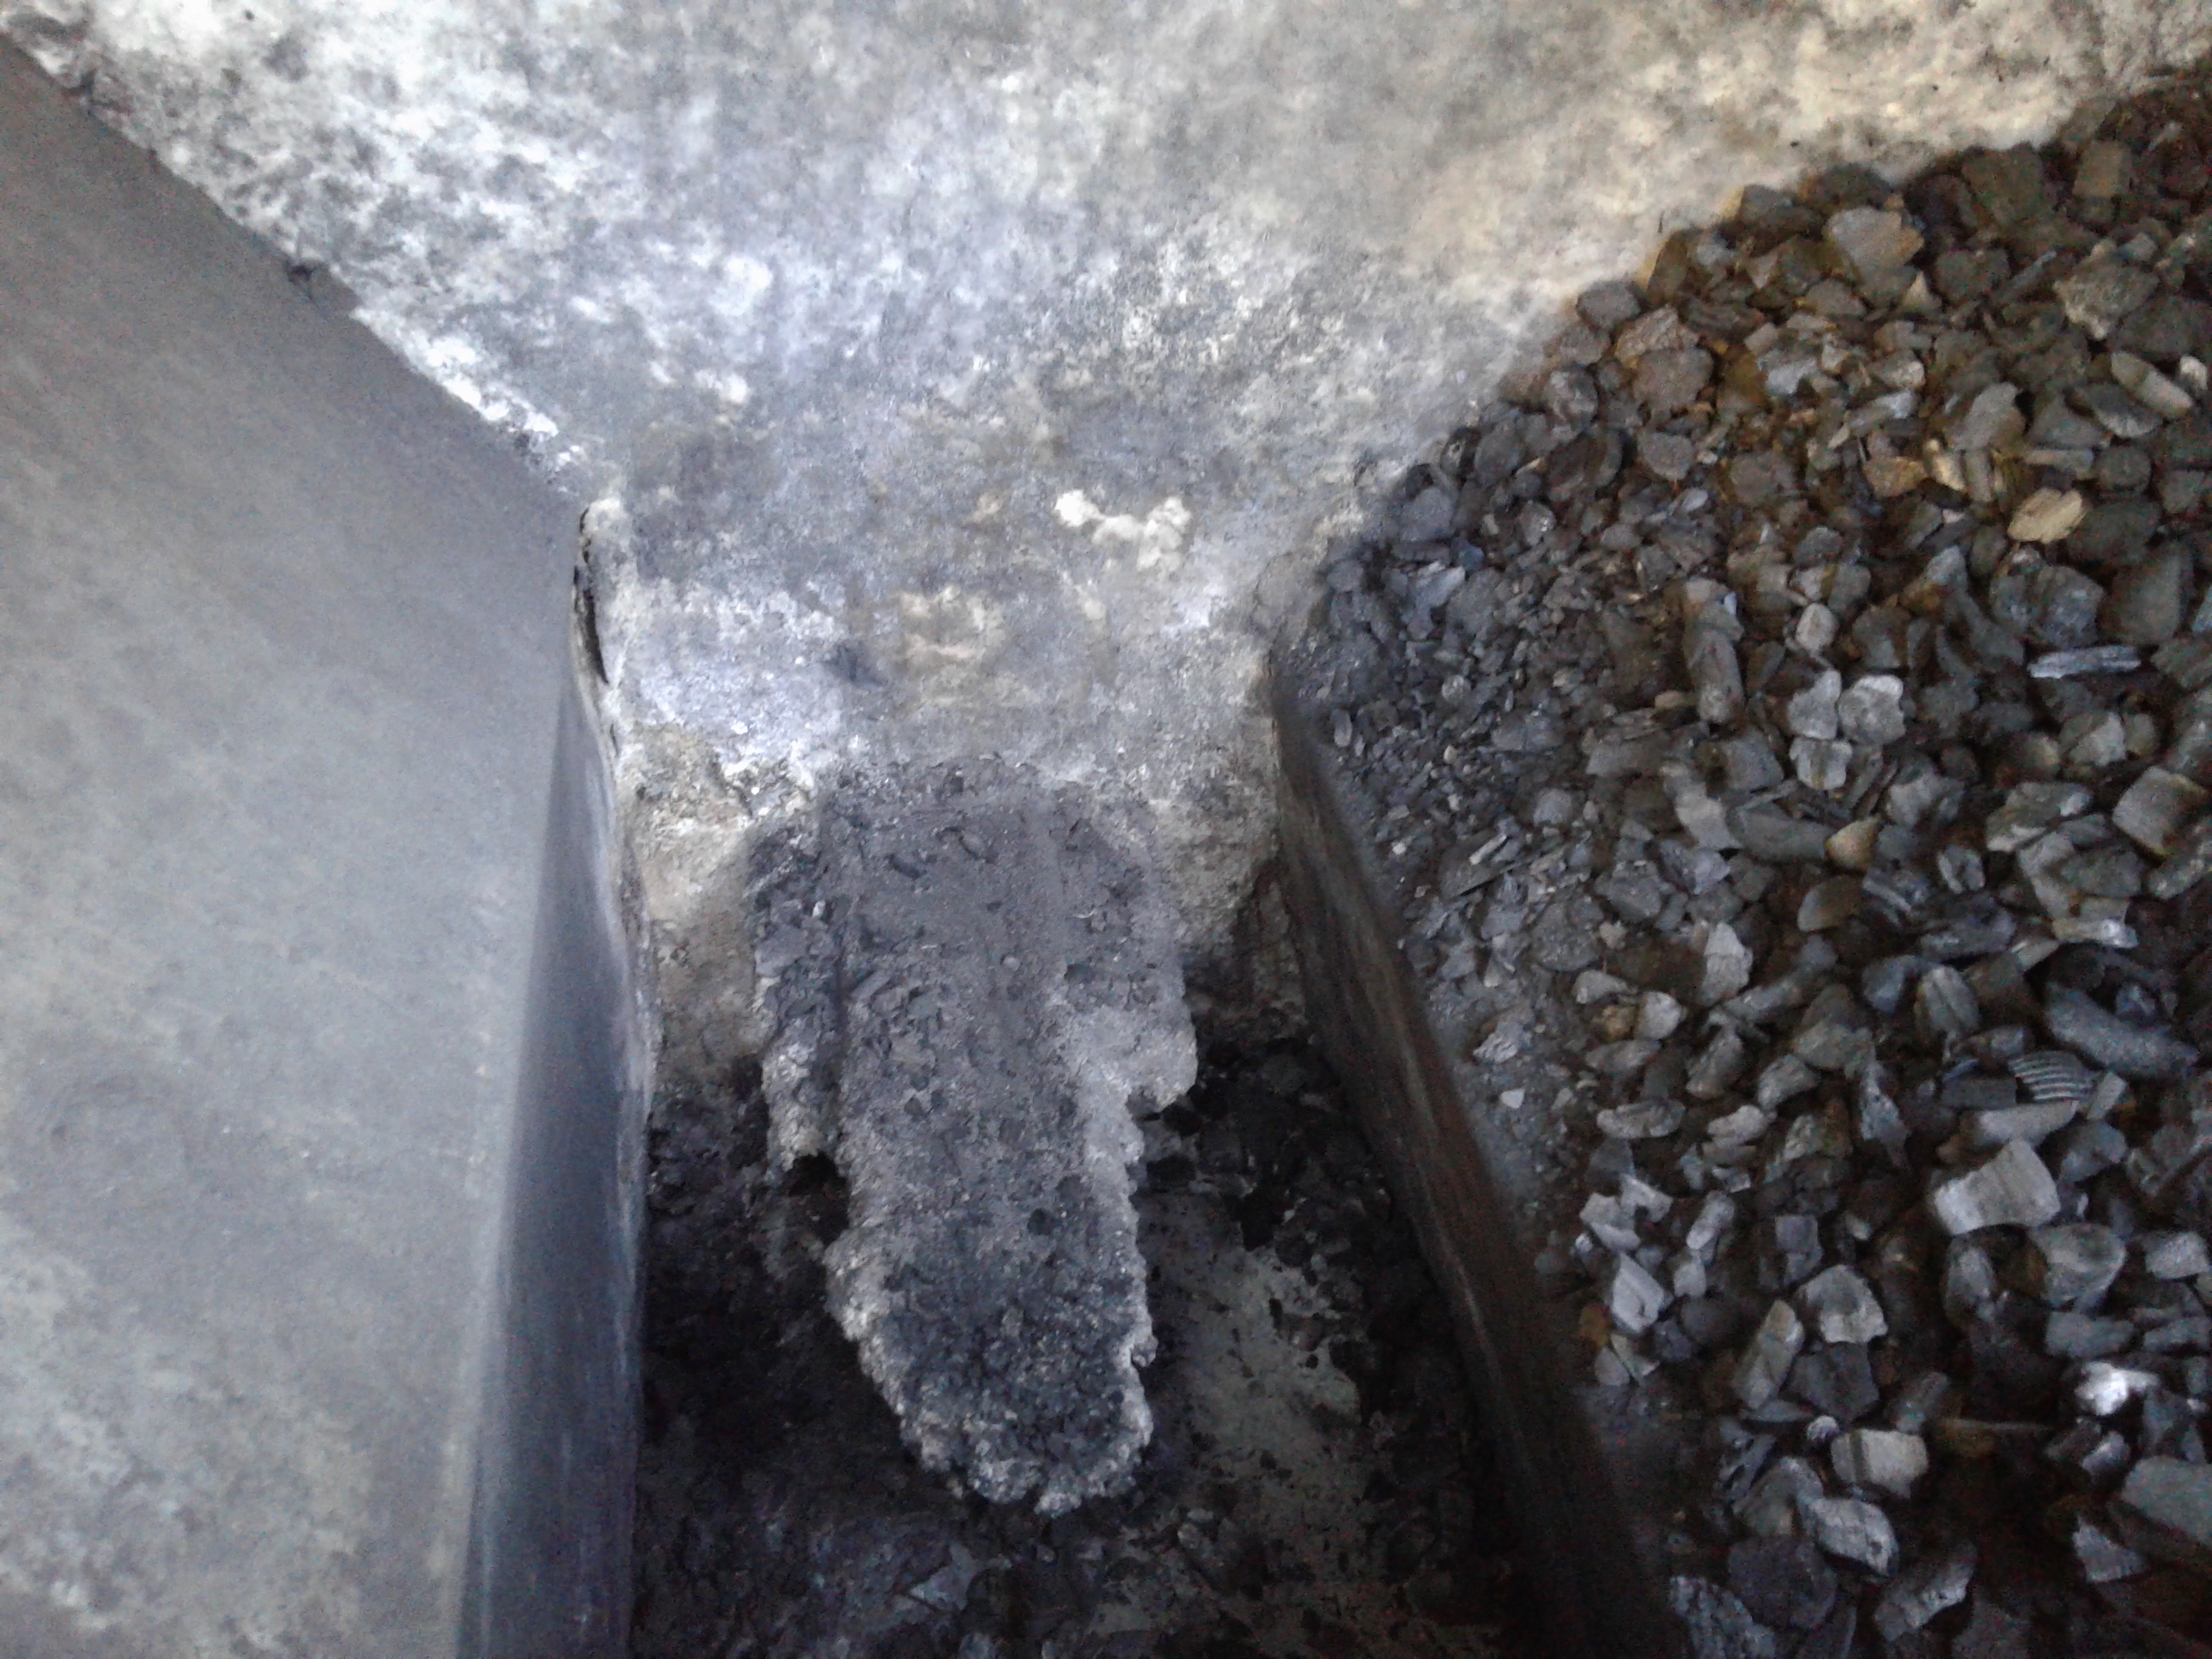
Chip all the slag off, the rest is melted down steel. This piece was off of some farm implement.
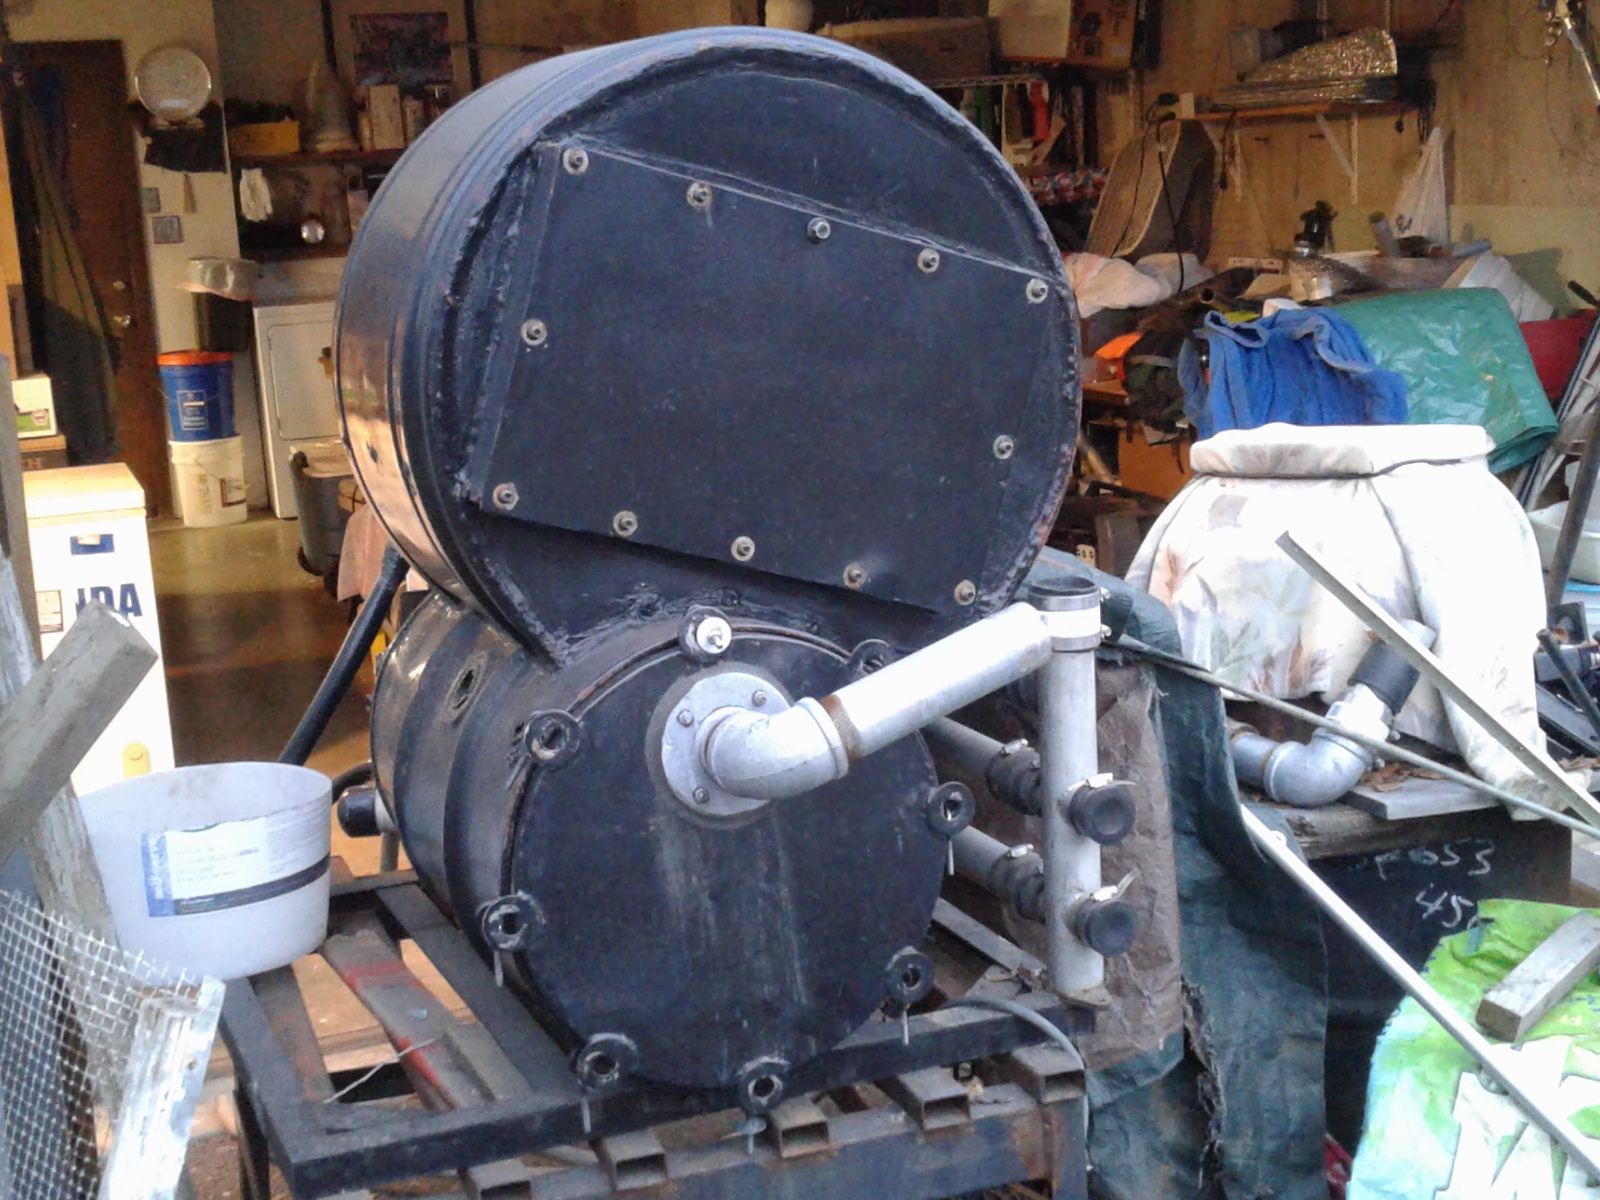
I have decided to put this unit on my chunker to run my 13 hp. engine I only need maybe 4 hp. To keep it chunking with the big flywheel that is on it. It will have water drip added to it instead of using the vehicle’s exhaust. It is big and heavy but so is that haybailer/chunker.
Future New Build
The next on the darkside build will be the KLGMKV Gasifier it will be stainless steel barrow with the @KristijanL. (KL) nozzle setup. With the @glgilmore (GM) simple fire design. And the @k_vanlooken (KV) easy clean out in the bottom. And some other interventions and trickout things added. This I feel is the best of the charcoal gasifier designs. This one will be able to sit in the back of a pickup truck bed.
Do I sleep at nights? Sometimes.
Bob
Looks good to me! If l remember right, the steel plate was hanging on a chain?
I think with a KLGMKV gasifier you will hit the jackpot. The simplicity of a Simple fire, the durability of the nozzle and the ability to easyaly clean the dust and clinkers out, plus the stainless steel vessel, it will out last us all
I can relate to sleep disorder too along with about 47 project waiting to be finished l allso have about 478 in the thinking/planing phase but l am near the start of a new gasification project too, and l will be combineing some names too
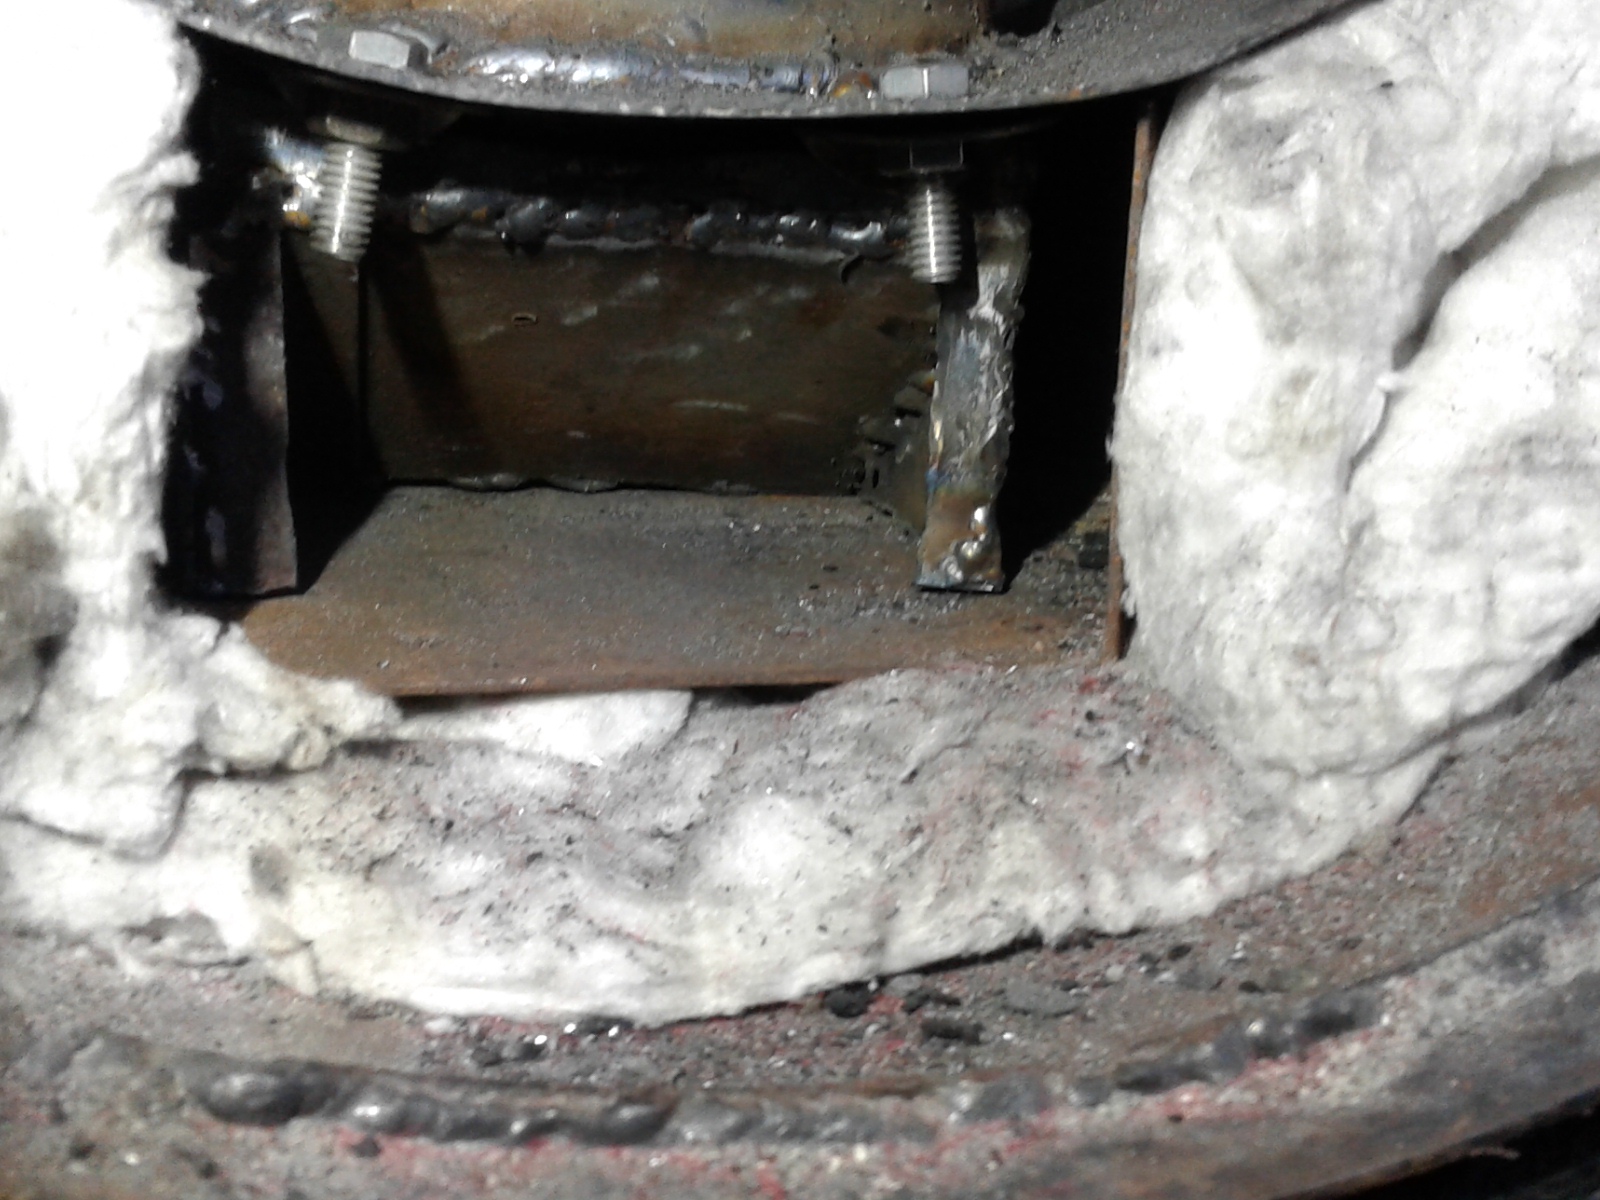
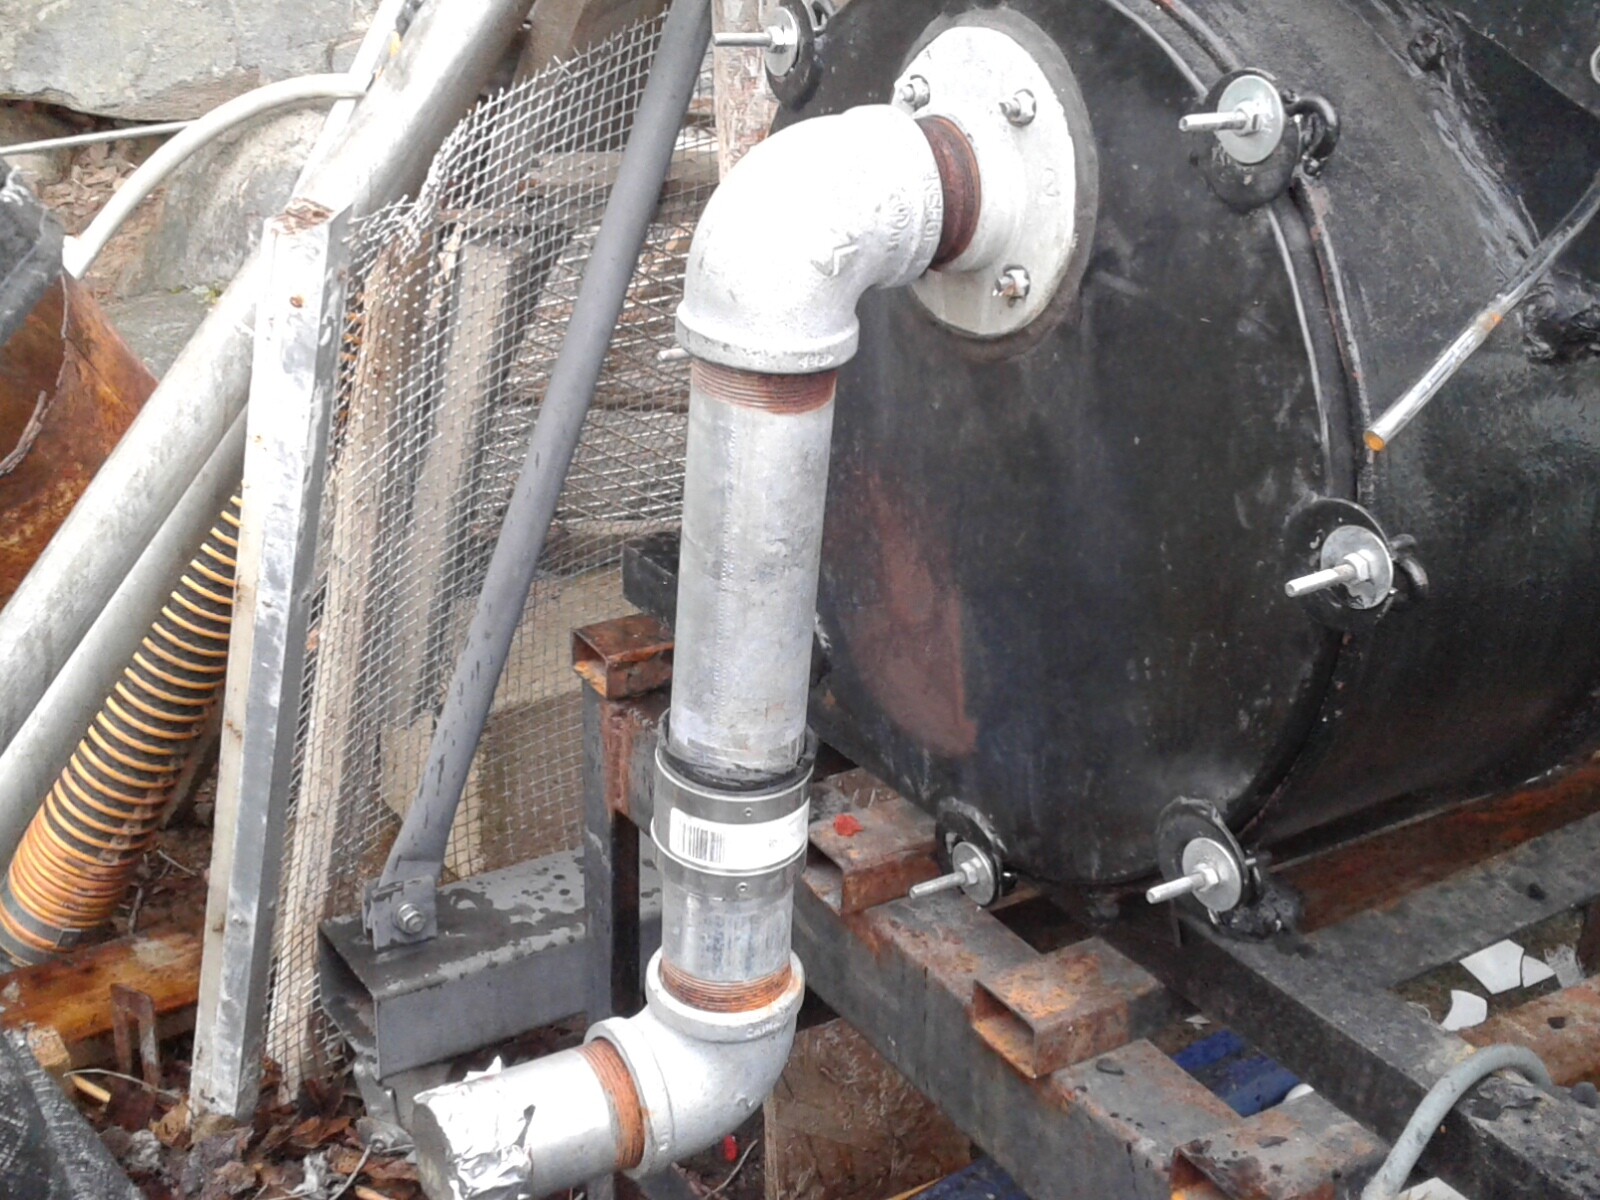
The plate is bolted to the wall above the nozzles, changed the chain idea. I can see where a couple of modification will help it from making a char worm hole straight to the nozzles on the side. This hopper is going to need a shaker to help the char to move with it being stationary. It will also need to be cleaned out about every four hours of operation. To keep it running correctly.
Bob
Hi @MikeR , I will answer the question on my thread.
“Bob, Go for the sedan version (Subaru Legacy?), with the trunk isolated from the gasifier. Never forget the CO problem, not to be minimized! "
I have a Subrau 1996 sedan but went with the Legacy Outback because it has a bigger engine in it. The gasifier unit fits behind the back bumper like Kristijan did on his previous build, but still has the ability to open the back hatch.
It could be mounted on the back of any vehicle that uses a 2” square receiver hitch. I thought it would be better than a trailer gasifier setup.
Bob
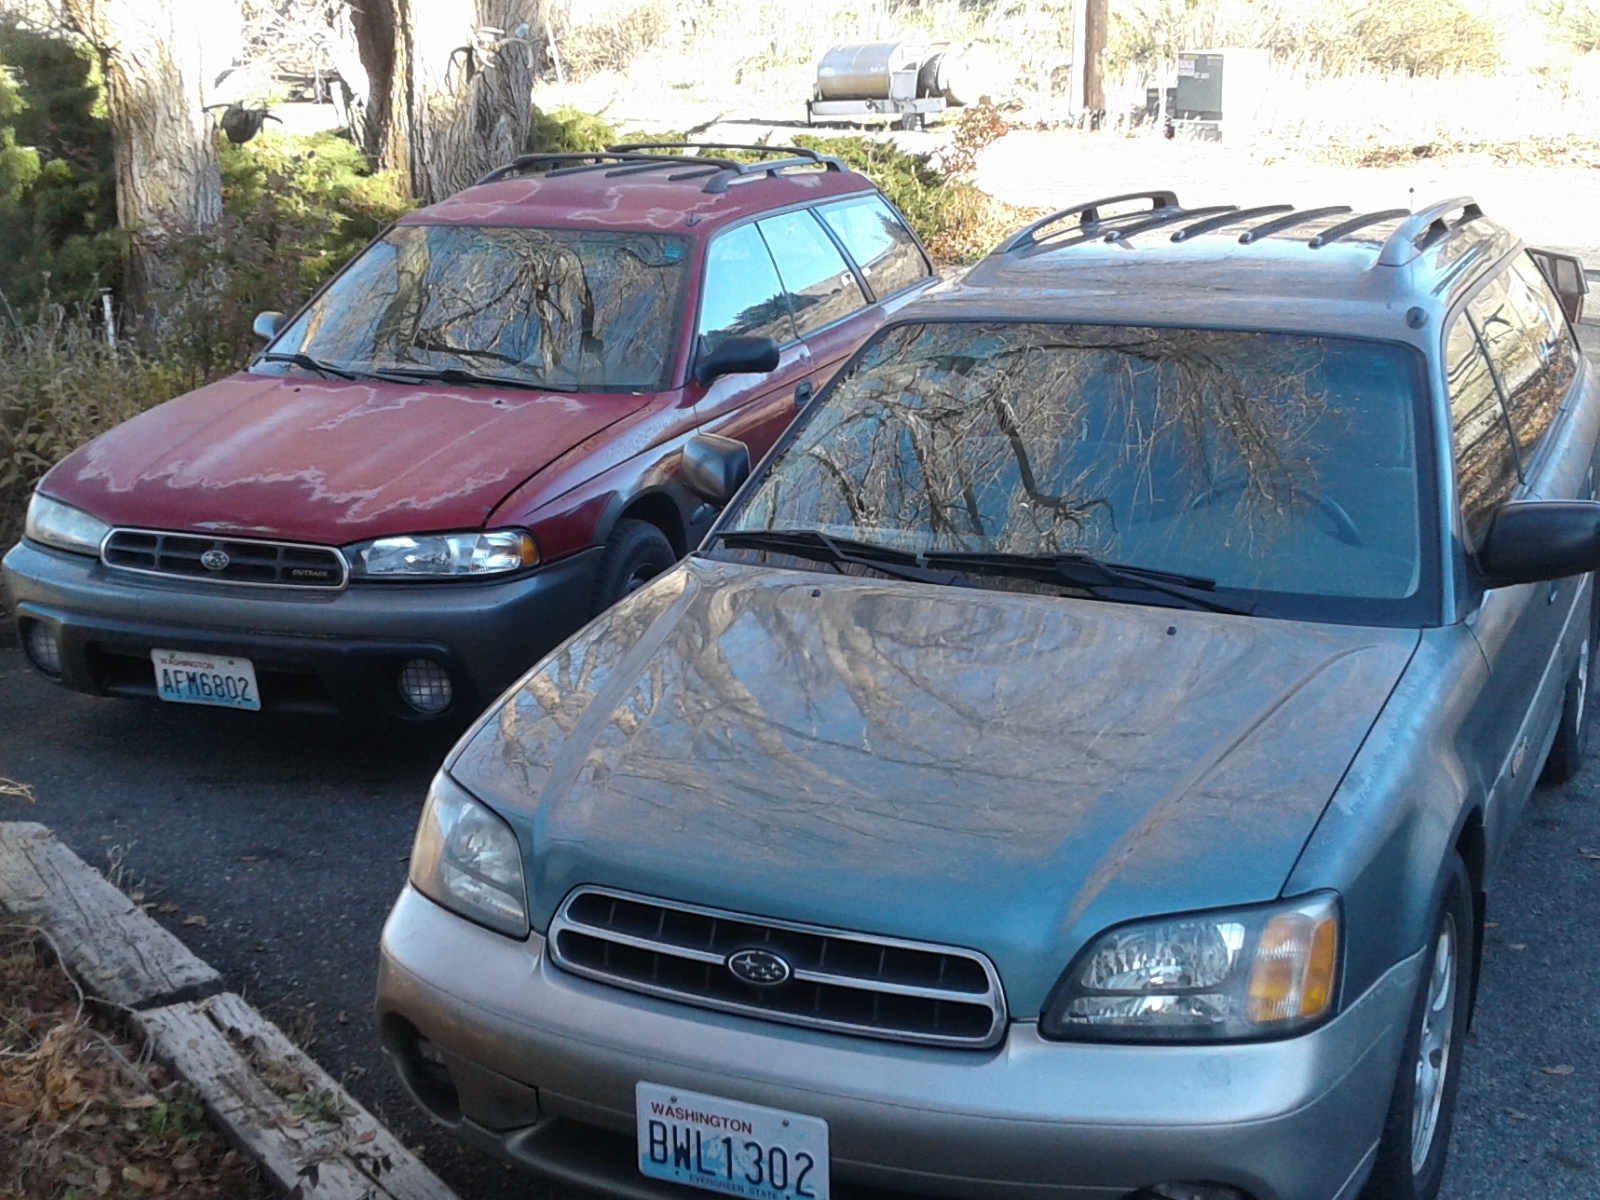
Well it finally happened the old red 1996 Outback Subaru Legacy is back in my hands. The one on the right is a 2001 same model and is now Diana’s newer car to drive.
So now I can finish the mounting of the Charcoal gasifer on the old red Outback. But I have now changed my mind as you know, the gasifer ended up being to heavy for my liking. So in the spring I am going to modify my design a little or may I should say a lot.
Watching @KristijanL building his down draft gasifer a charcoal/wood design he mentioned the reason for the fail in the fire tube was a weld point. So I am going to use the WK design fire tube with fins on the out side of the tube to keep it cool and to preheat the incoming air a little. But not like is done on WK Wood Gasifer. The only problem I have right now is it is winter here and I do all my work outside as far as welding and the dirty part of wetal working. If the weather will permit I will work on it.
The other thing I like what Kristijan has done is using metal tubing from the gasifer to the engine like it was done before the invent of plastic tubing. The metal tubing helps cooling of the char gas as it delivers the gas to the engine. Can it be done under the car in one piece, we will have to see. If not then over the top it will have to go. The Gasifier That Wanted To Be thread, has been revitalised with some new ideas. Make it simple, lighter, less moving parts. Hopper straight down gravity feed for fuel, more cooling for fire tube and gasifer it self. Using the variable vacuum speed gate cyclone ash collection system with tube filters, and with the above mentioned KLGMKV design concepts. I am glad that Dana used the car during this time and gave her other Subaru to Marjie have at college. This gave me time to bring all these ideas from the other builders on this DOW site into play, also many others ideas not mentioned here but will be in the new build.
This DOW site is the finest site that has ever been on the internet.
Here is the old style WK fire tube that I cut out, notice the heat damage and the nozzles hole failures. I just didn’t have the heart to through all of Wayne’s hours of hard work away. So @Wayne I am going to rebuild the old WK design fire tube into a charcoal WK down draft fire tube. The fins will be used for primary cooling the tube.
Instead of it being 18" long it will be 12" not counting the reduction zone area below it.
Yup Wayne you are helping build this new gasifer and you do not have to leave your comfortable chair to do it this time. You have done all the many hours of welding work on it already. It will have cold air coming in at the top and work it way down like the new WK design fire tube.
The plate above the nozzles will have a smaller opening for charcoal to enter the fire tube causing a 60* slope of charcoal into the fire tube. This will cause a gap for gases to form above the nozzles keeping white charcoal from contacting the nozzles. Idea from @gasman, thanks Max. Also the nozzles will be pointing down slightly not sure of the angle yet might be less than 60*.
For protection around nozzles I will be using ceramic wool. Like Kristijan and others used on their builds thanks guys.
Not sure yet but I like the action scissors grate that has movement to help keep it clean of ash build up.
Large vertical hopper with more than 60* slope into fire tube. Easy light from intake port with flapper valve opening. Not sure how to do it yet but I do have some ideas.
Step 1 get the plasma cutting out and cut the fire tube down to 12" and cut new nozzle holes in fire tube. Grind off fins to accommodate the new top plate to bolt the hopper to the top plate.
I will be using high temp. Silicone impregnated stove rope for seal.
With the flapper valve intake I will not need any valves. Suction blower will use same type of valving right after the cyclone filter and before the tube filter container. The variable gate cyclone filter will have a large ash drop box with easy operating dump door like ammo box has.
Bob
Yup Chris put a lot of miles on it by the time I bought the truck. I never did drive the truck with the old fire tube in the truck. I just rebuilt a new one with the new design improvements. Hey now I will get to drive it and get all my monies out of it in a different vehicle and on char/wood gasification.
Bob
Okay I have good news talking with Matt and Kristijan they both showed me why my gasifer was struggling to operate efficiently. So here is what I am going to do to make it work.
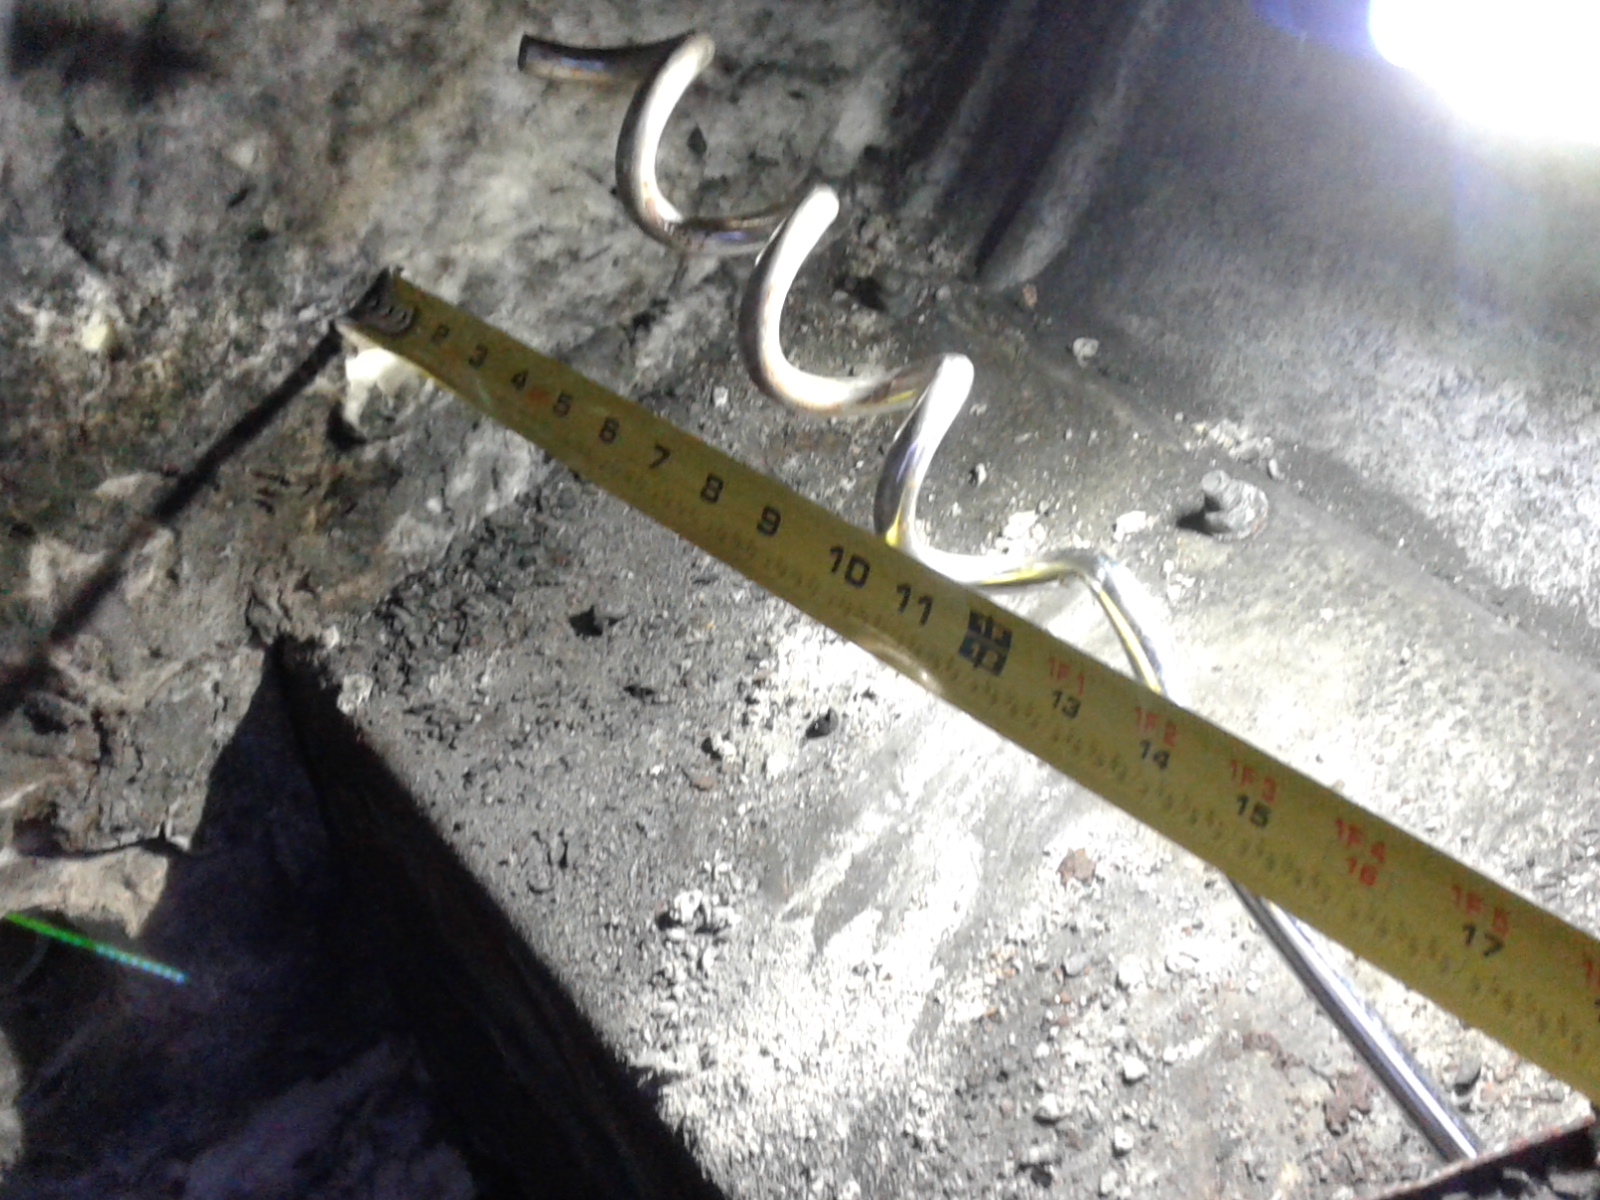
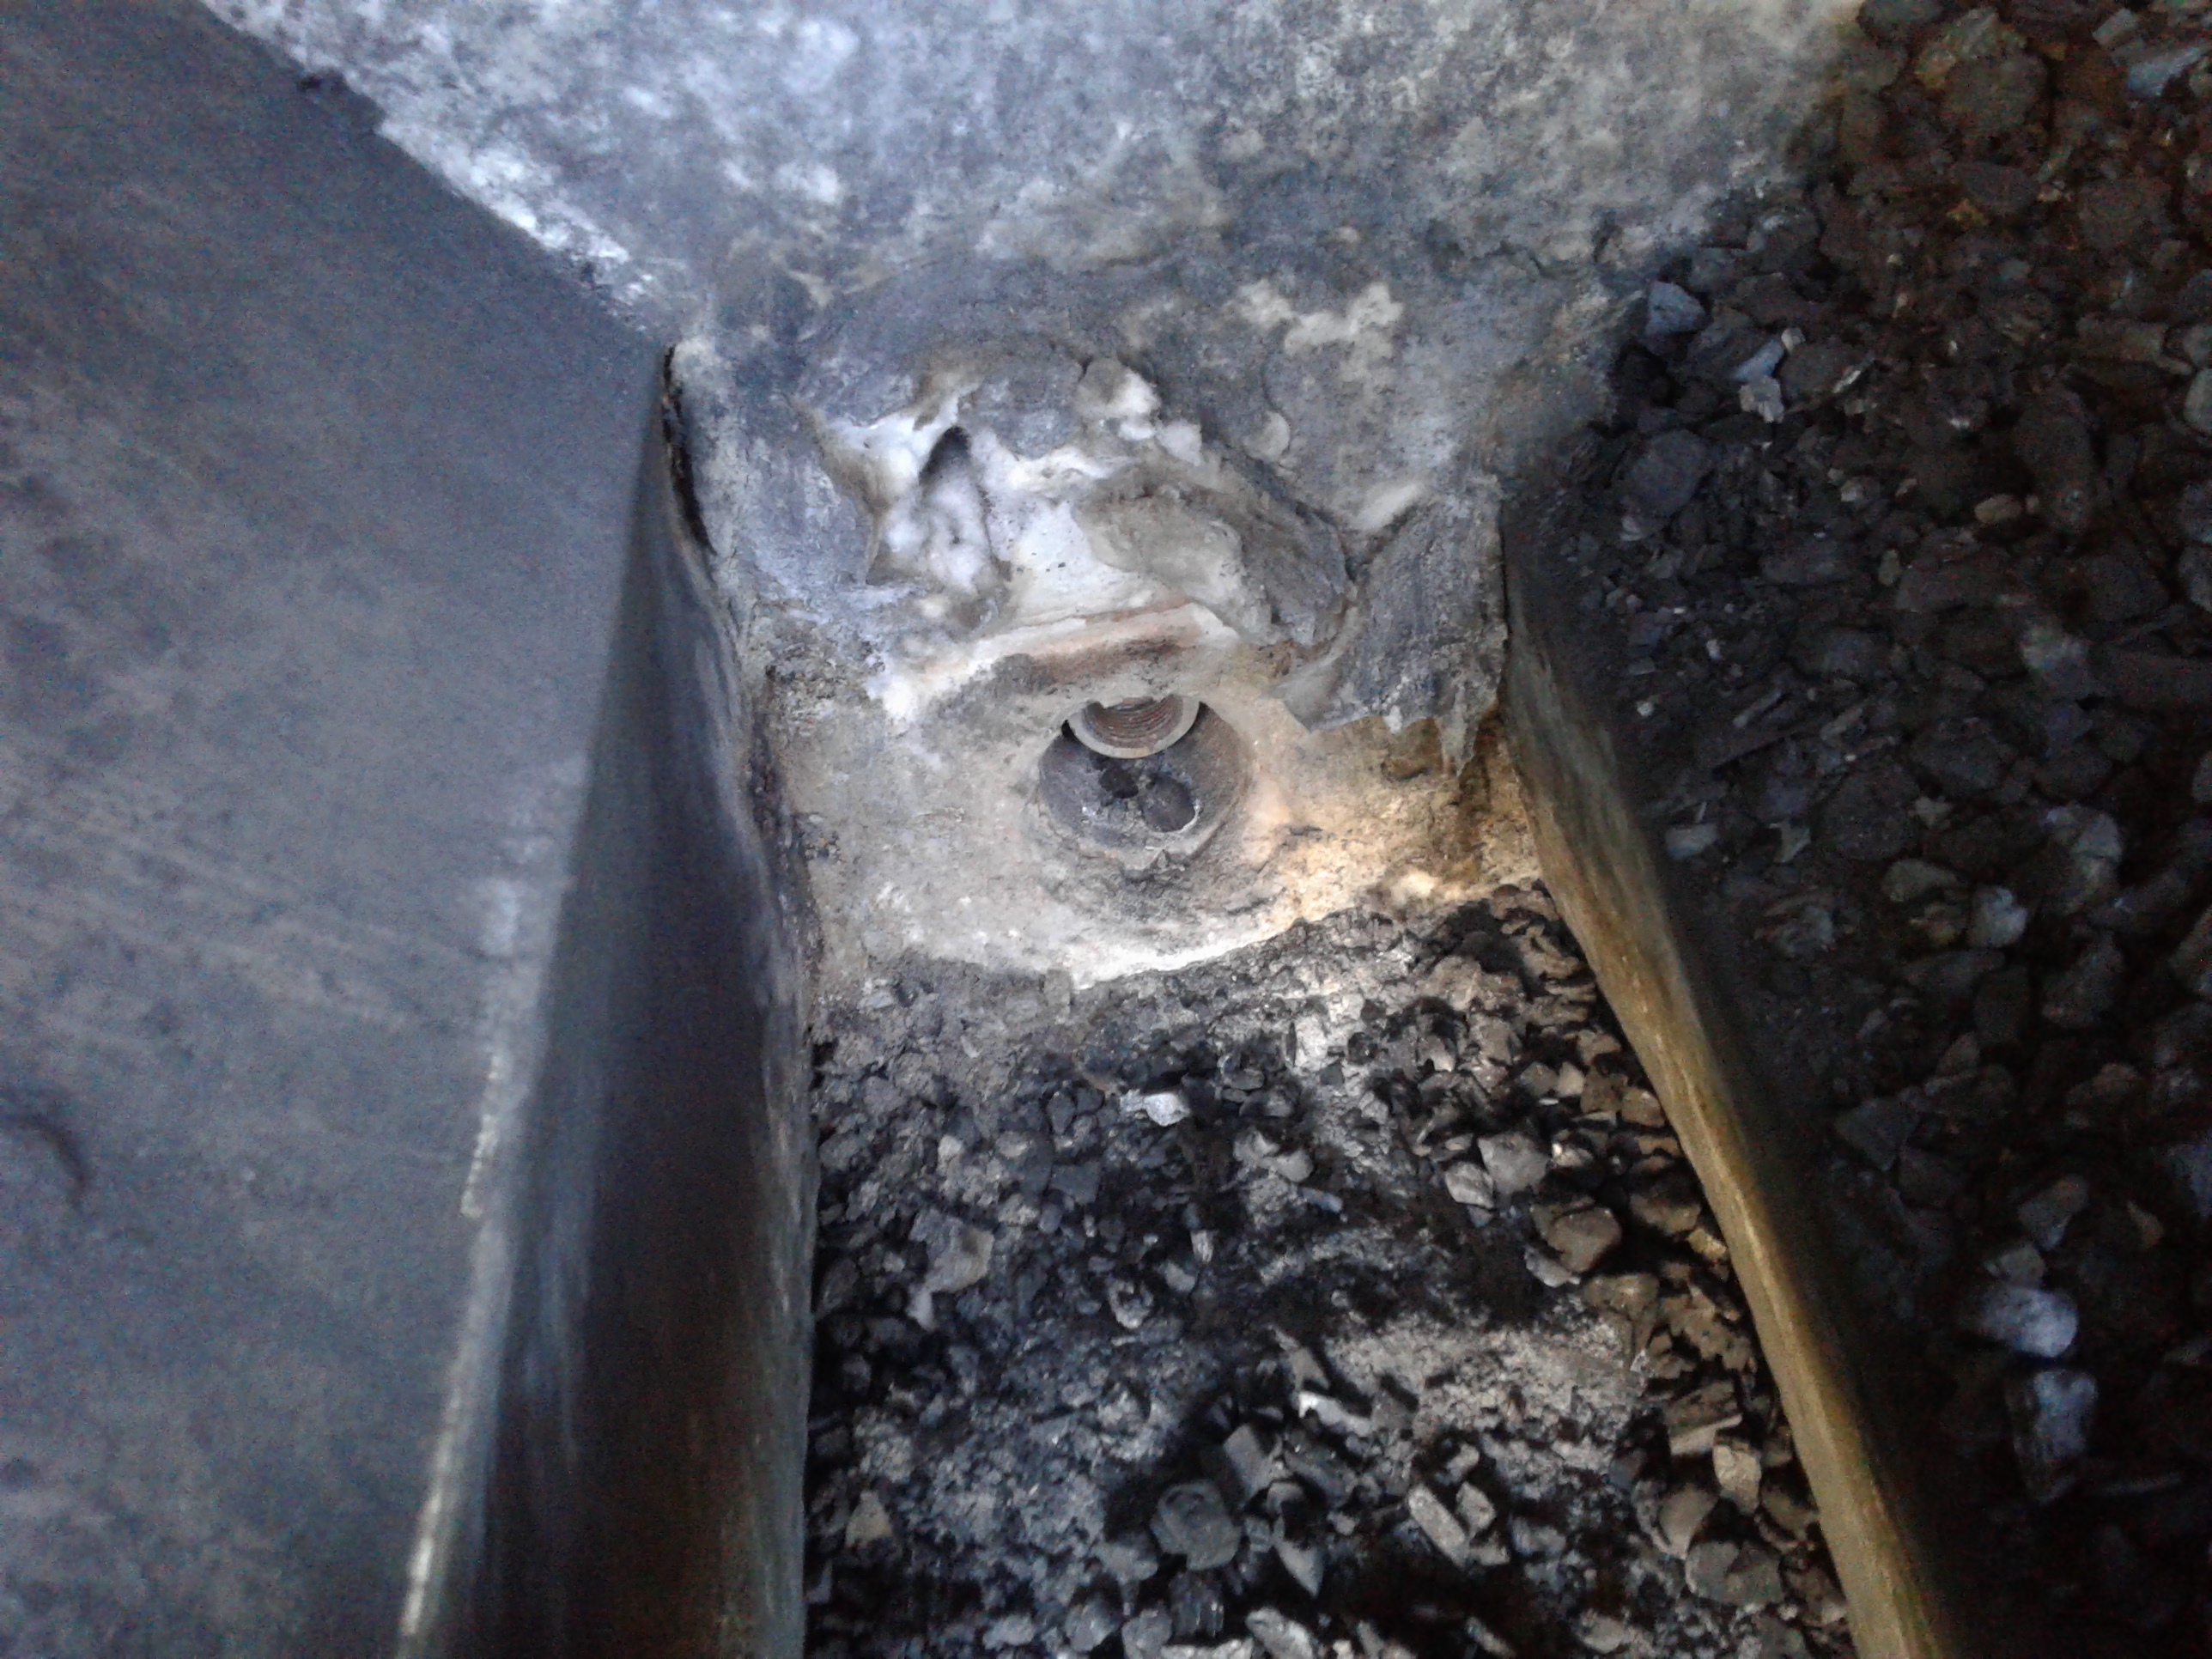
First of all I will address the charcoal problem not moving and filling the creater hole in above the nozzle blast area. Placing this augur screw and running it in a counterclockwise direction will move the charcoal to where it needs to go. It is a screw in the ground animal tethering stake.
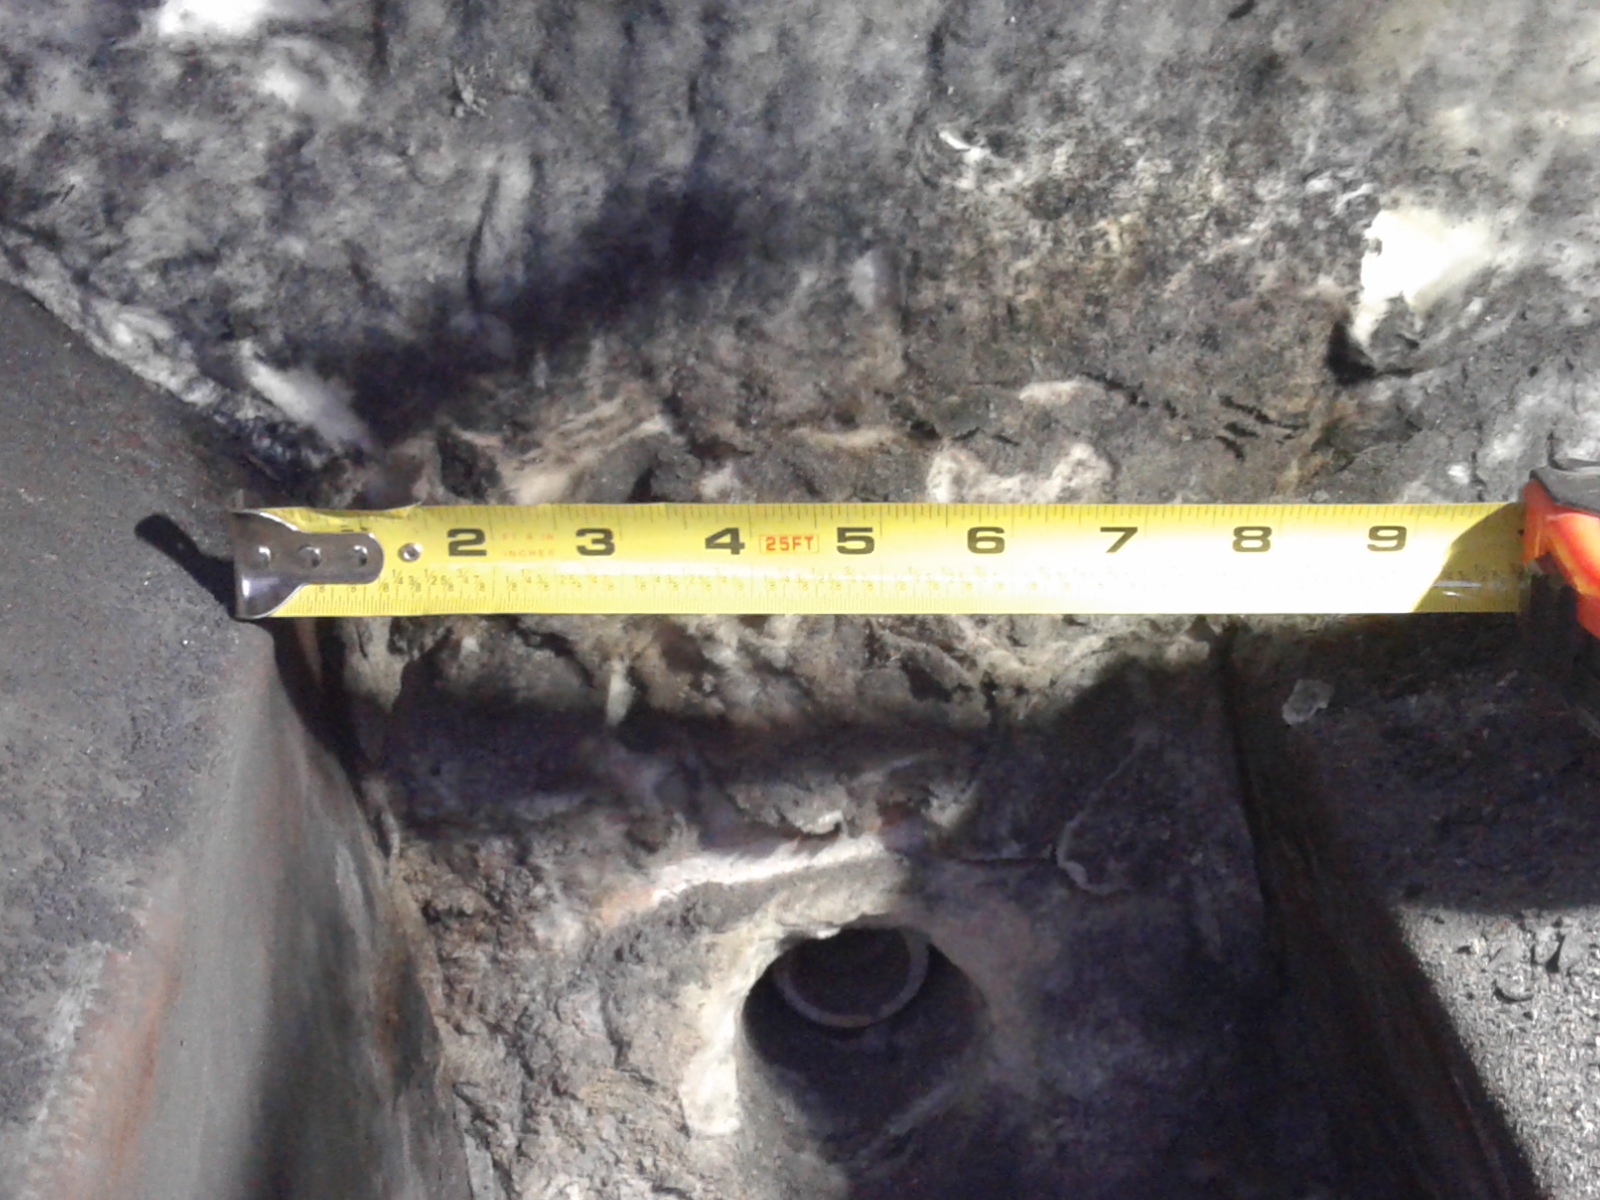
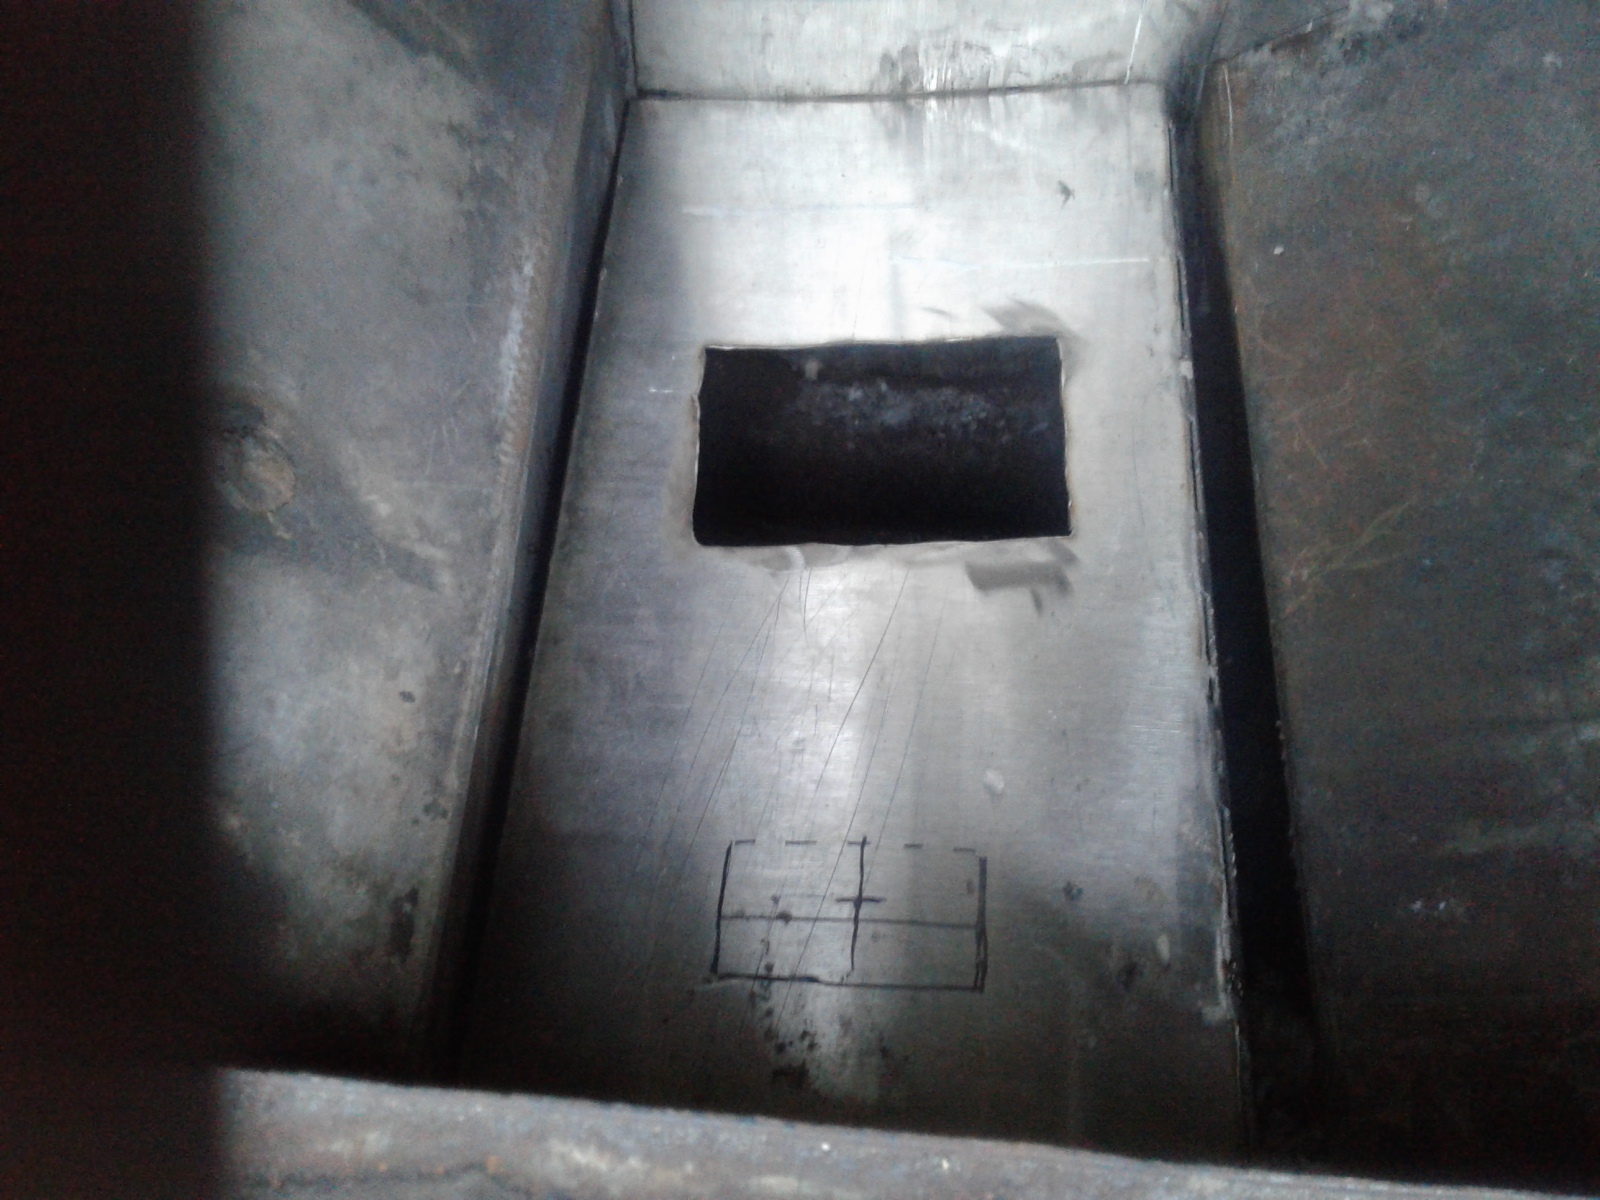
Next the opening above the nozzles.
It is 8"×18" opening, talk about heat escaping up to the hopper. So the correction will be making the opening smaller to keep the heat going diagonal across down to the reduction area.
Next I removed the curved bottom plate that was flat or parallel to the nozzles. It had ceramic wool under it for a heat shielding.
It just happen to be 9" from the center of the nozzles to the bottom of the gasifer so there is room to turn the bottom plate over and place the ceramic wool under it for heat shielding on the bottom of the gasifer. This will make the center of nozzles 8" to the bottom and about 21" to reduction area. This is Sweet. Some times when you build something, you make it just right to change it by flipping it over again and make it just right again.
Now I need to make a better reduction plate and grate screen.
I will not be needing the water drip system because Kristijan showed me how to just add water to the charcoal and the temperature will pretty much self regulate on its own in the gasifer. This works great.
So the throttle body and exhaust piping and control valves can all be removed. I do not need the nozzle inside the nozzle anymore. That will lighten the weight of the gasifer by pounds.
When I last ran the gasifer, I took Kristijan advise and did not use the cyclone filter. I ran the gas through the cooling tubes and into my filter socks tube container the gas came out clean.
When I do the next test I think I will place the gasifer into the back bed of the Dodge Dakota a hook it to the WK filter system and pipe the gas up to the engine. This will give it a real test instead running a blower and big flare, or by running it on my genset.
Bob
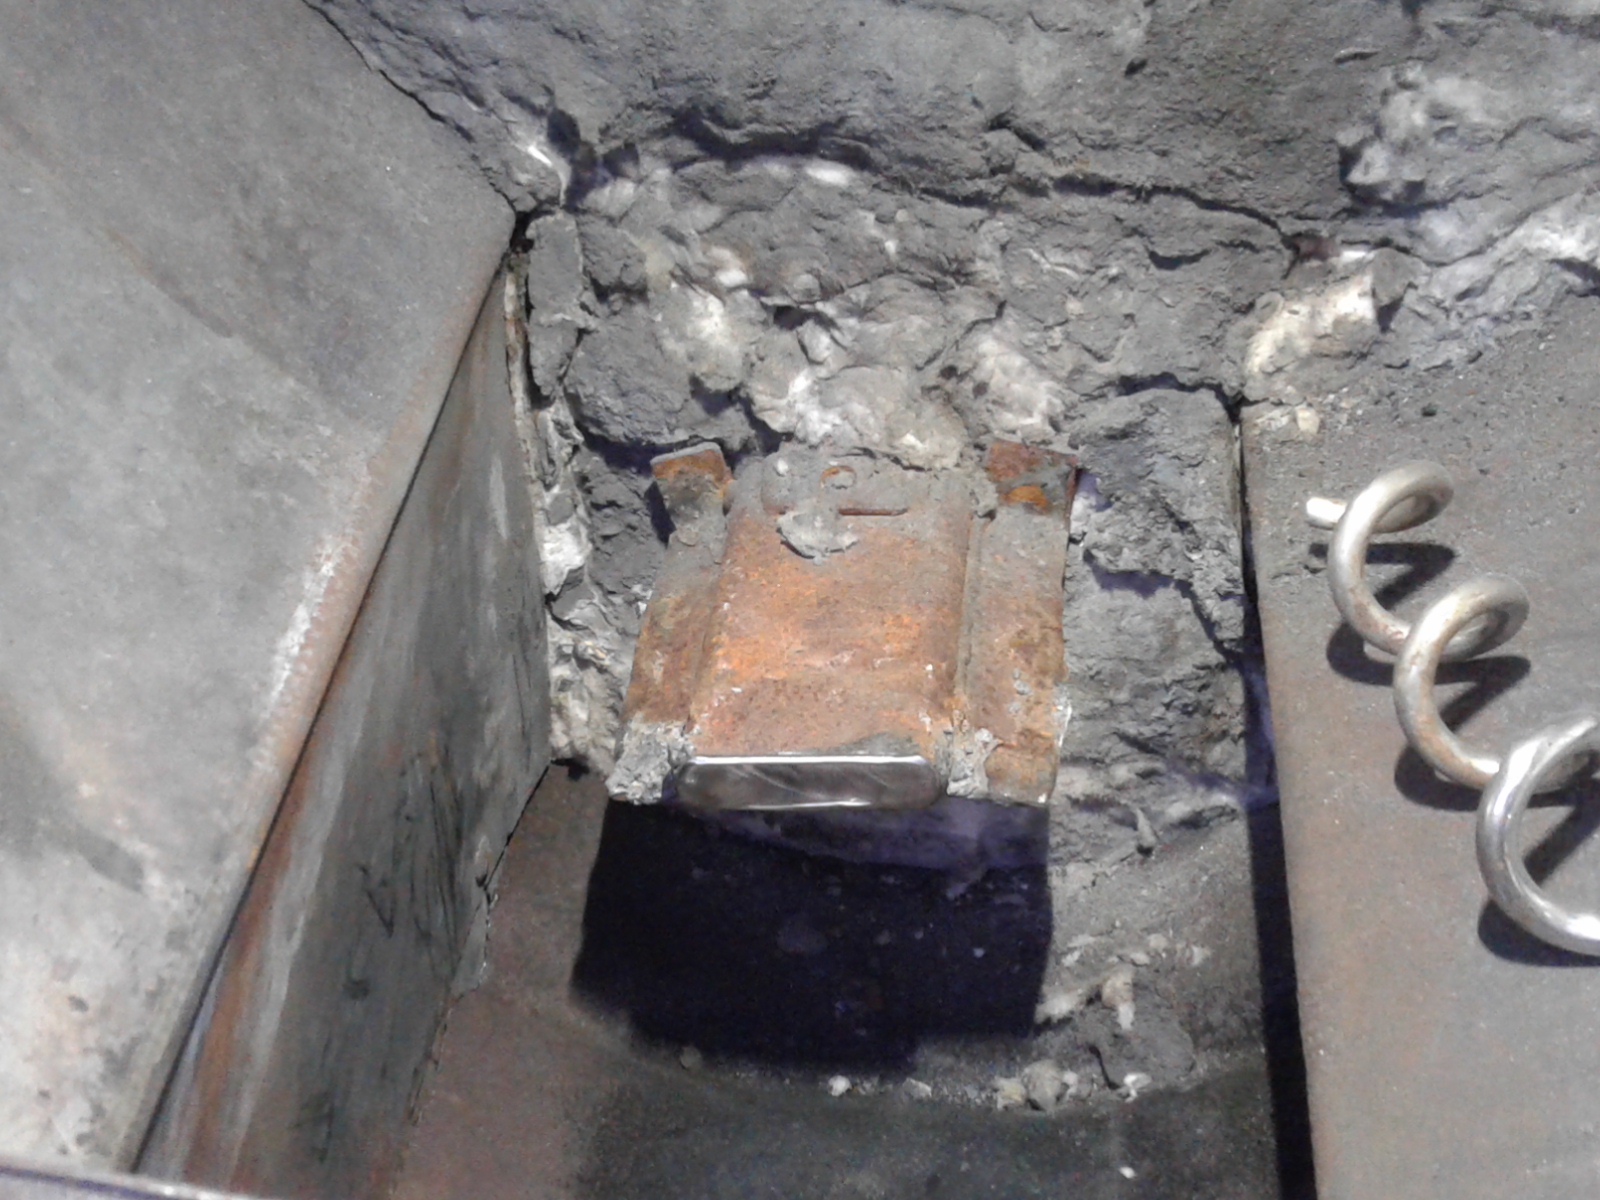
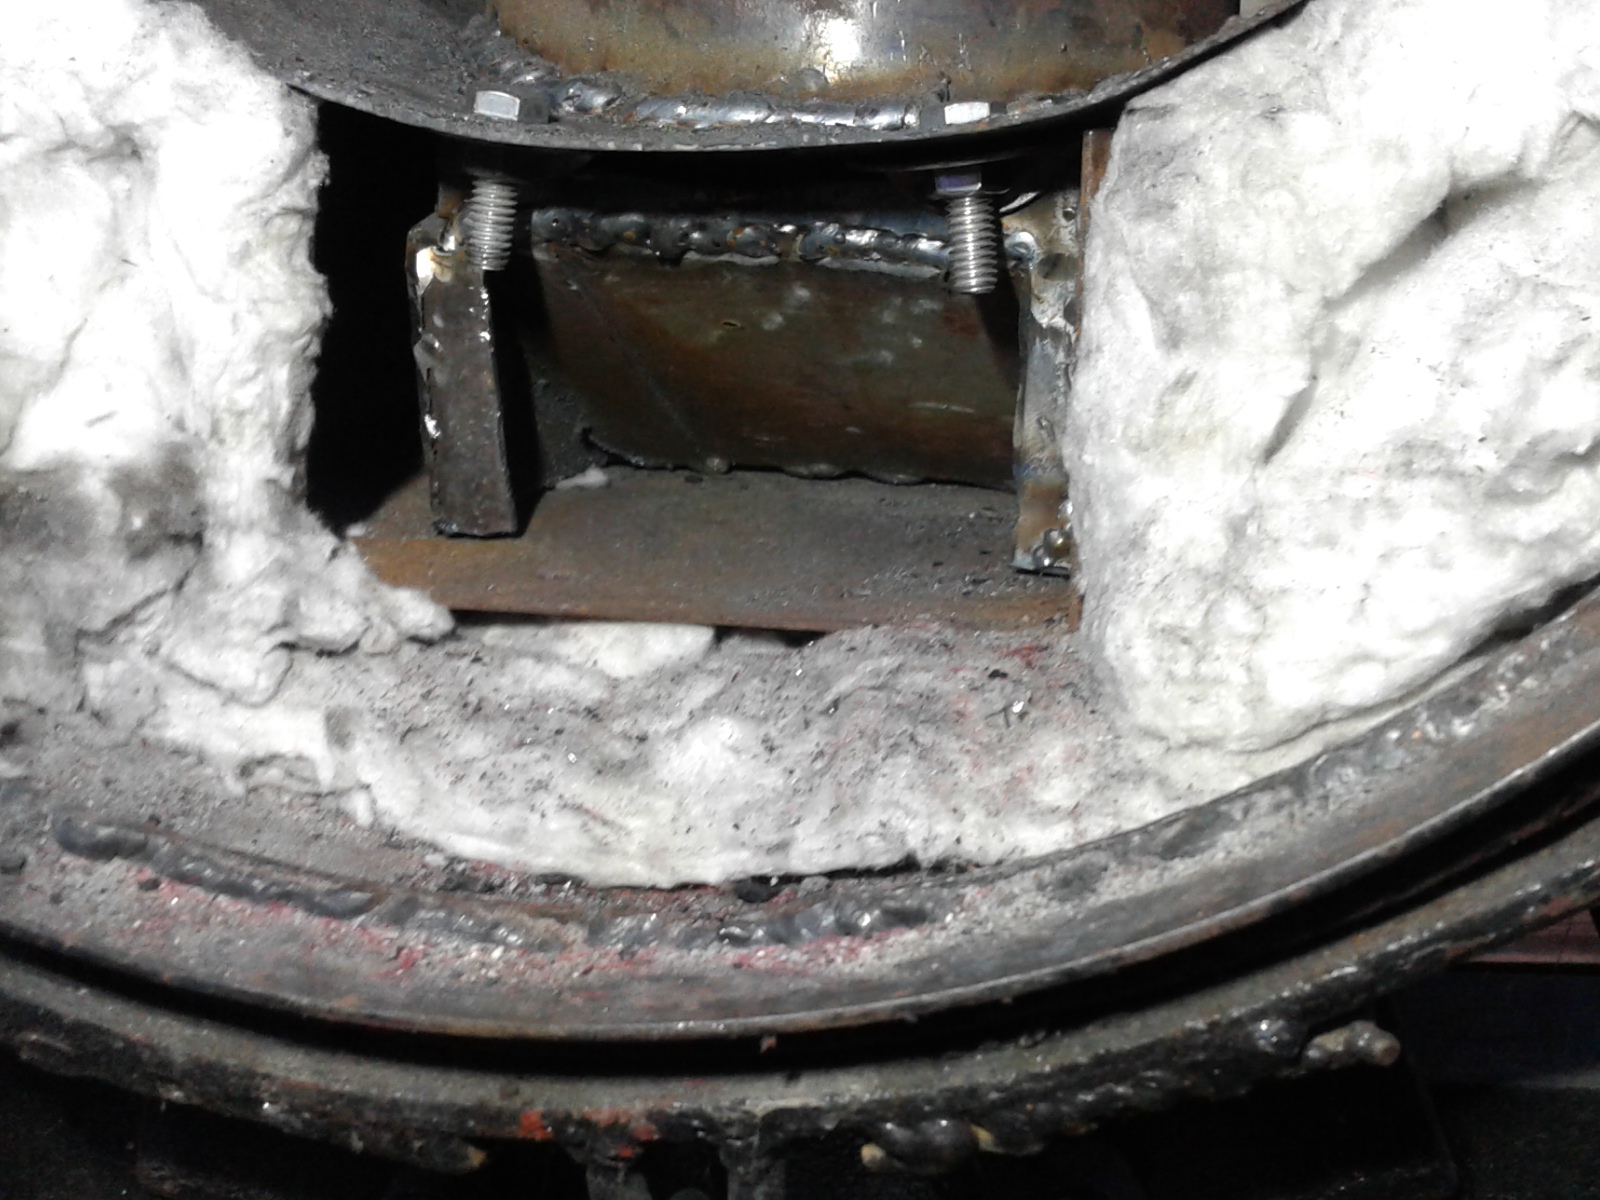
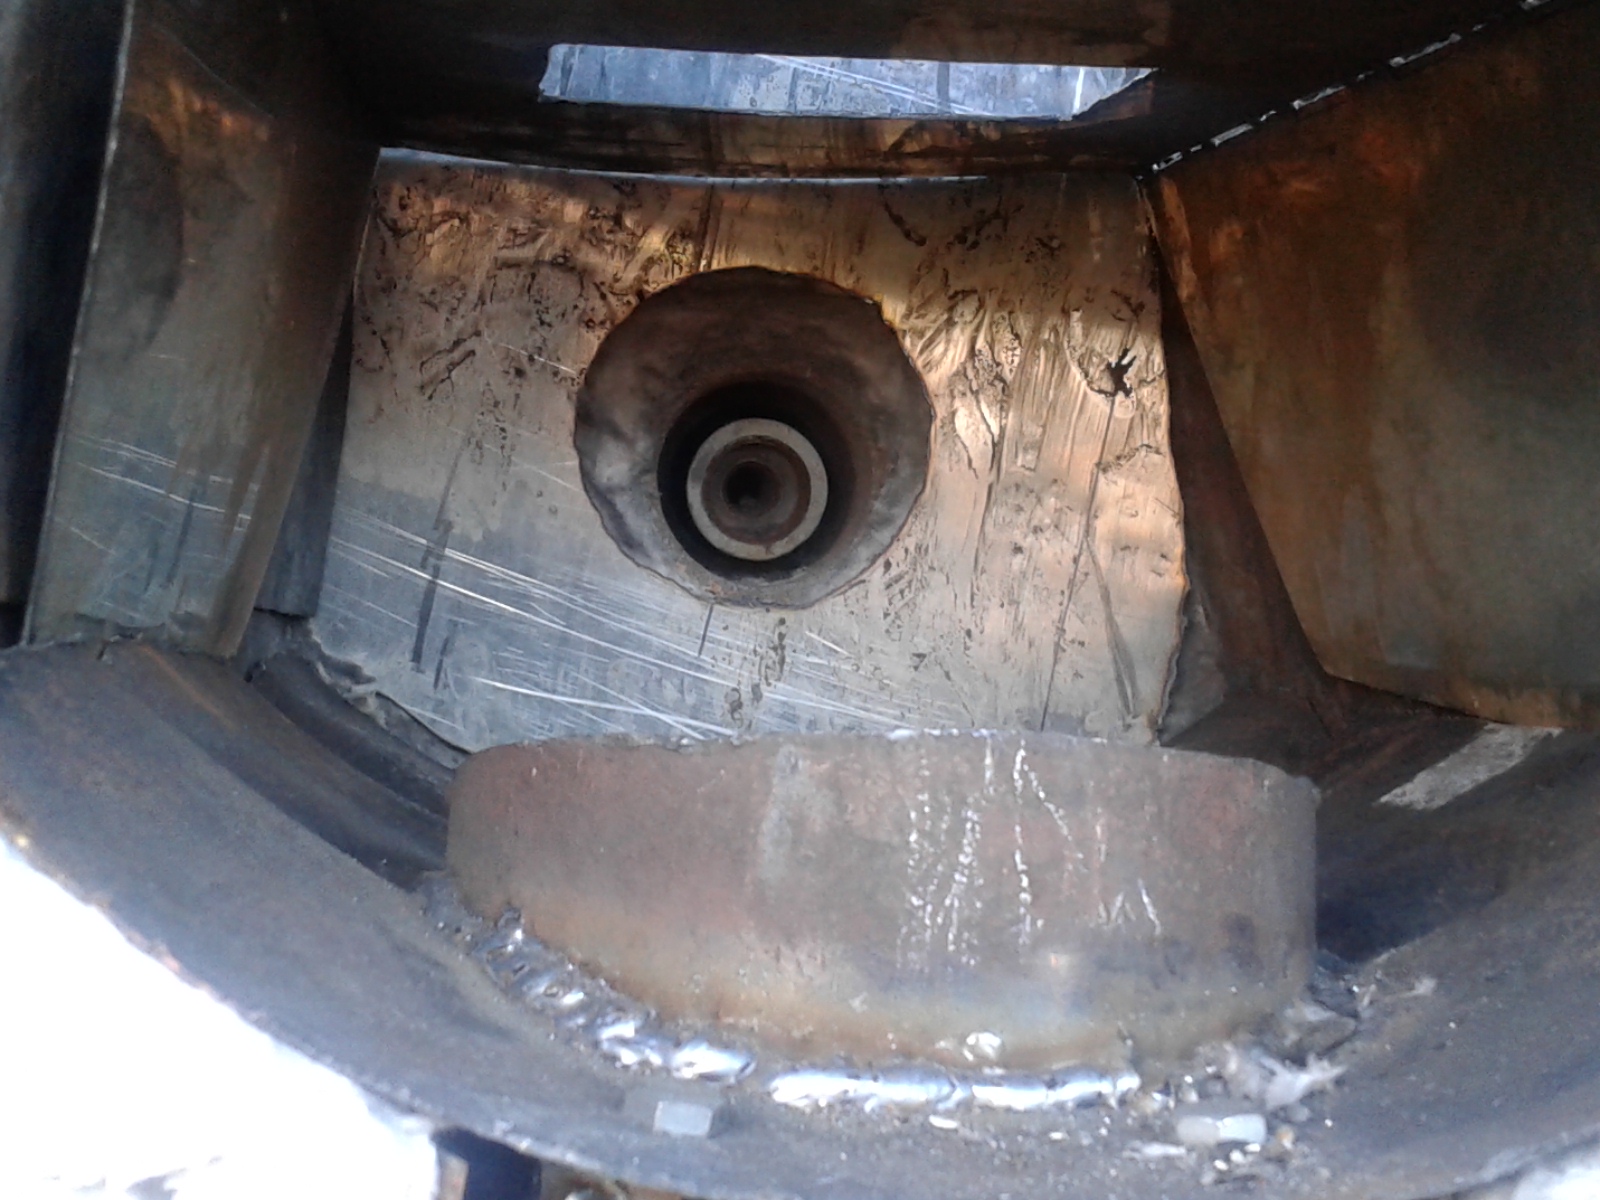
The weather was dry and in the high 40’s *f. today so I worked on the gasifer. I shorten the plate over the nozzle the longer part started to melt.
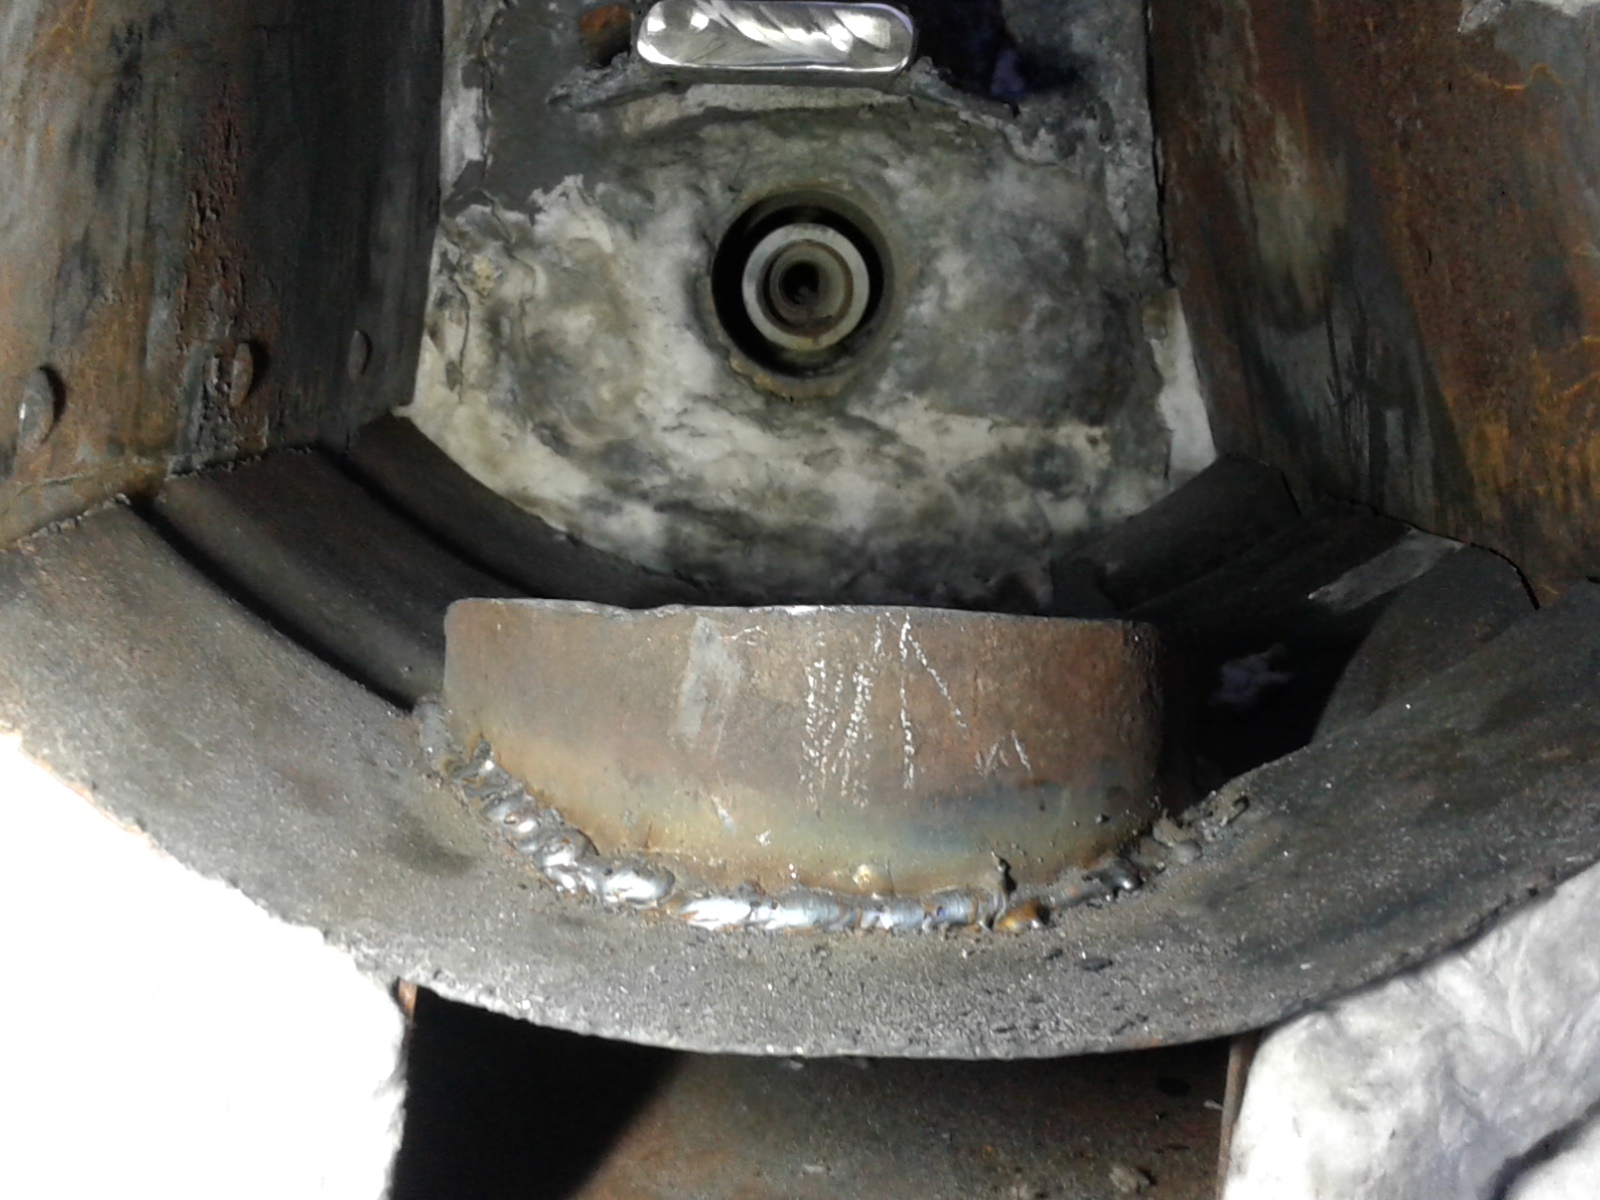
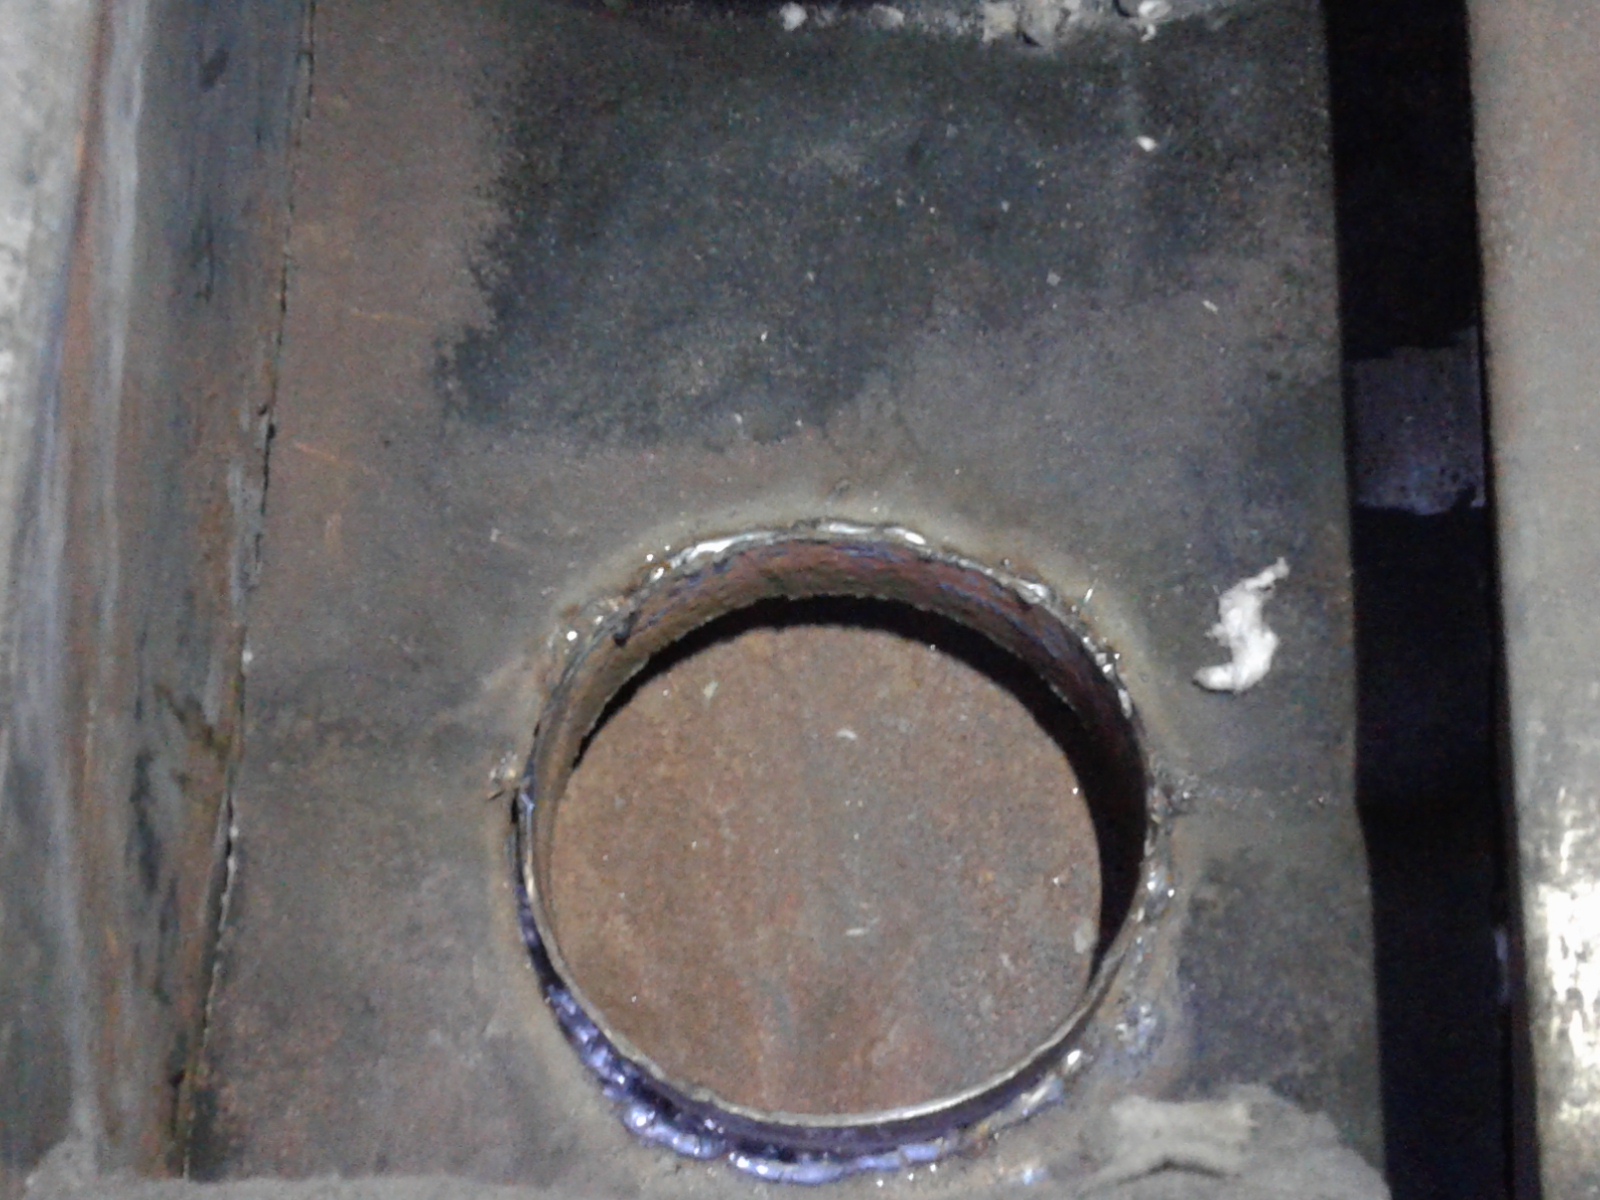
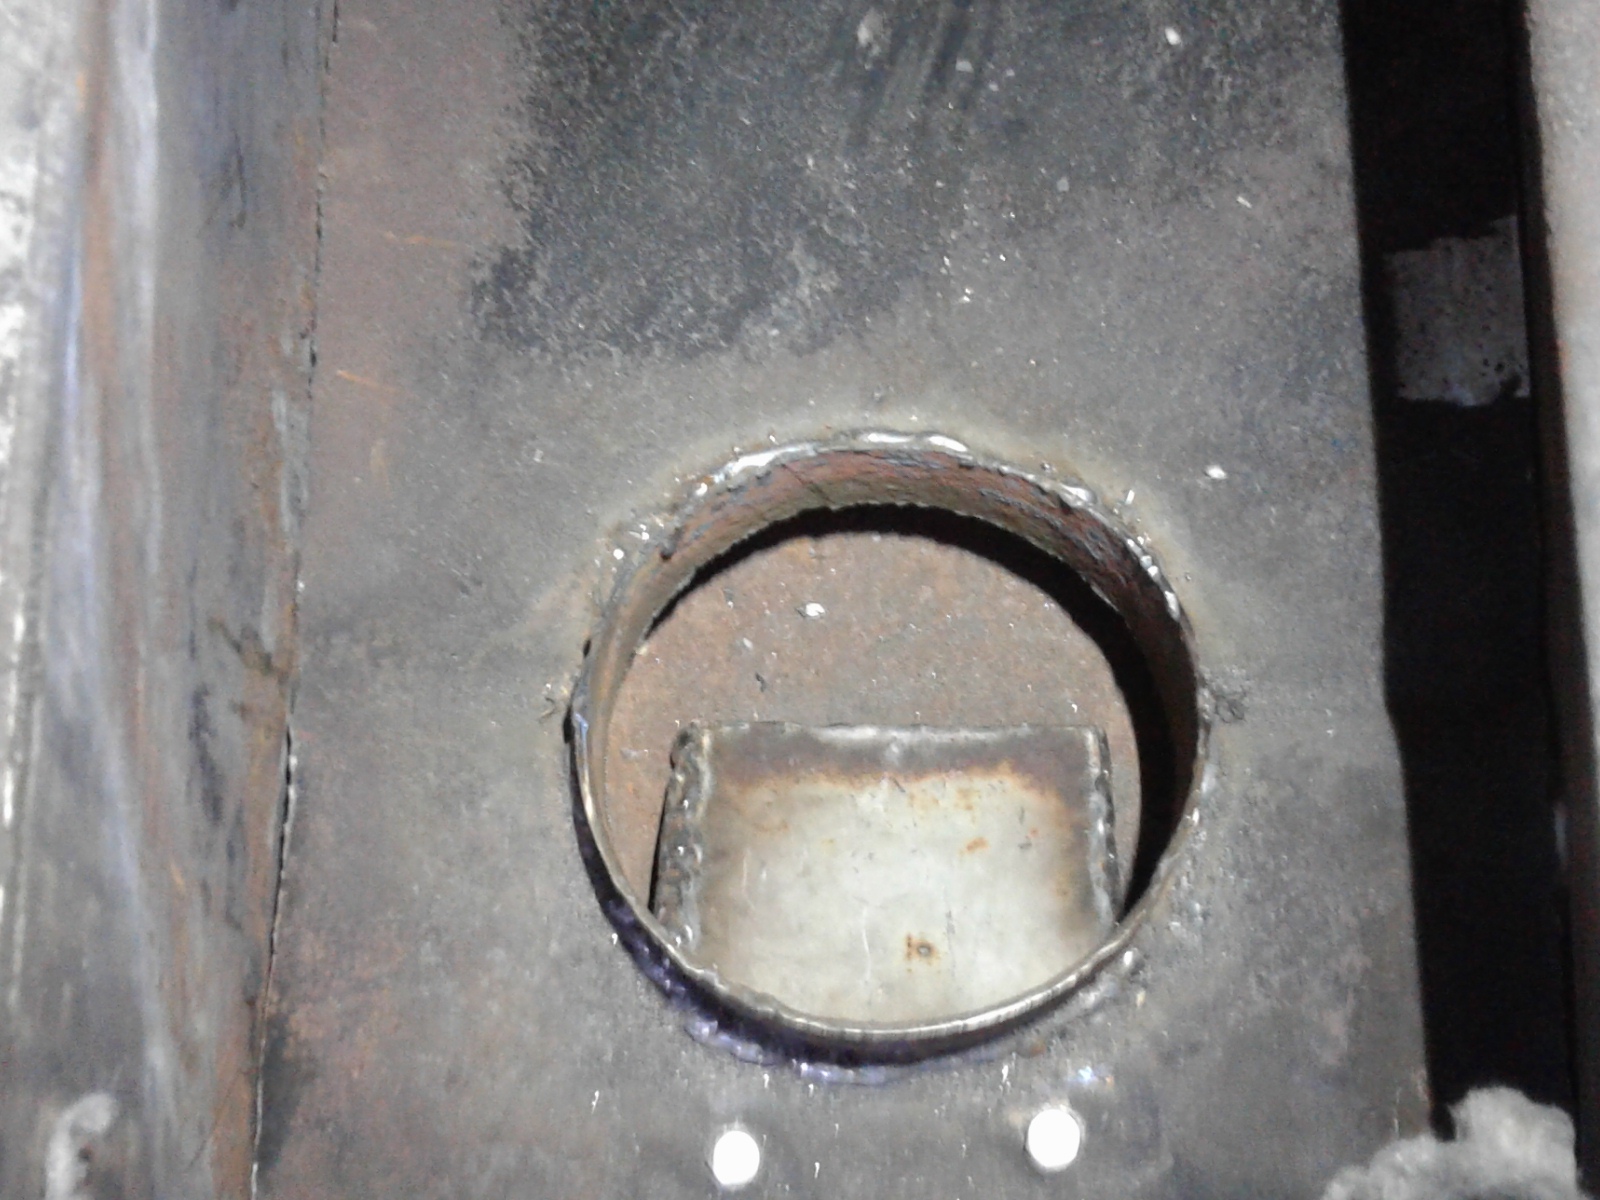
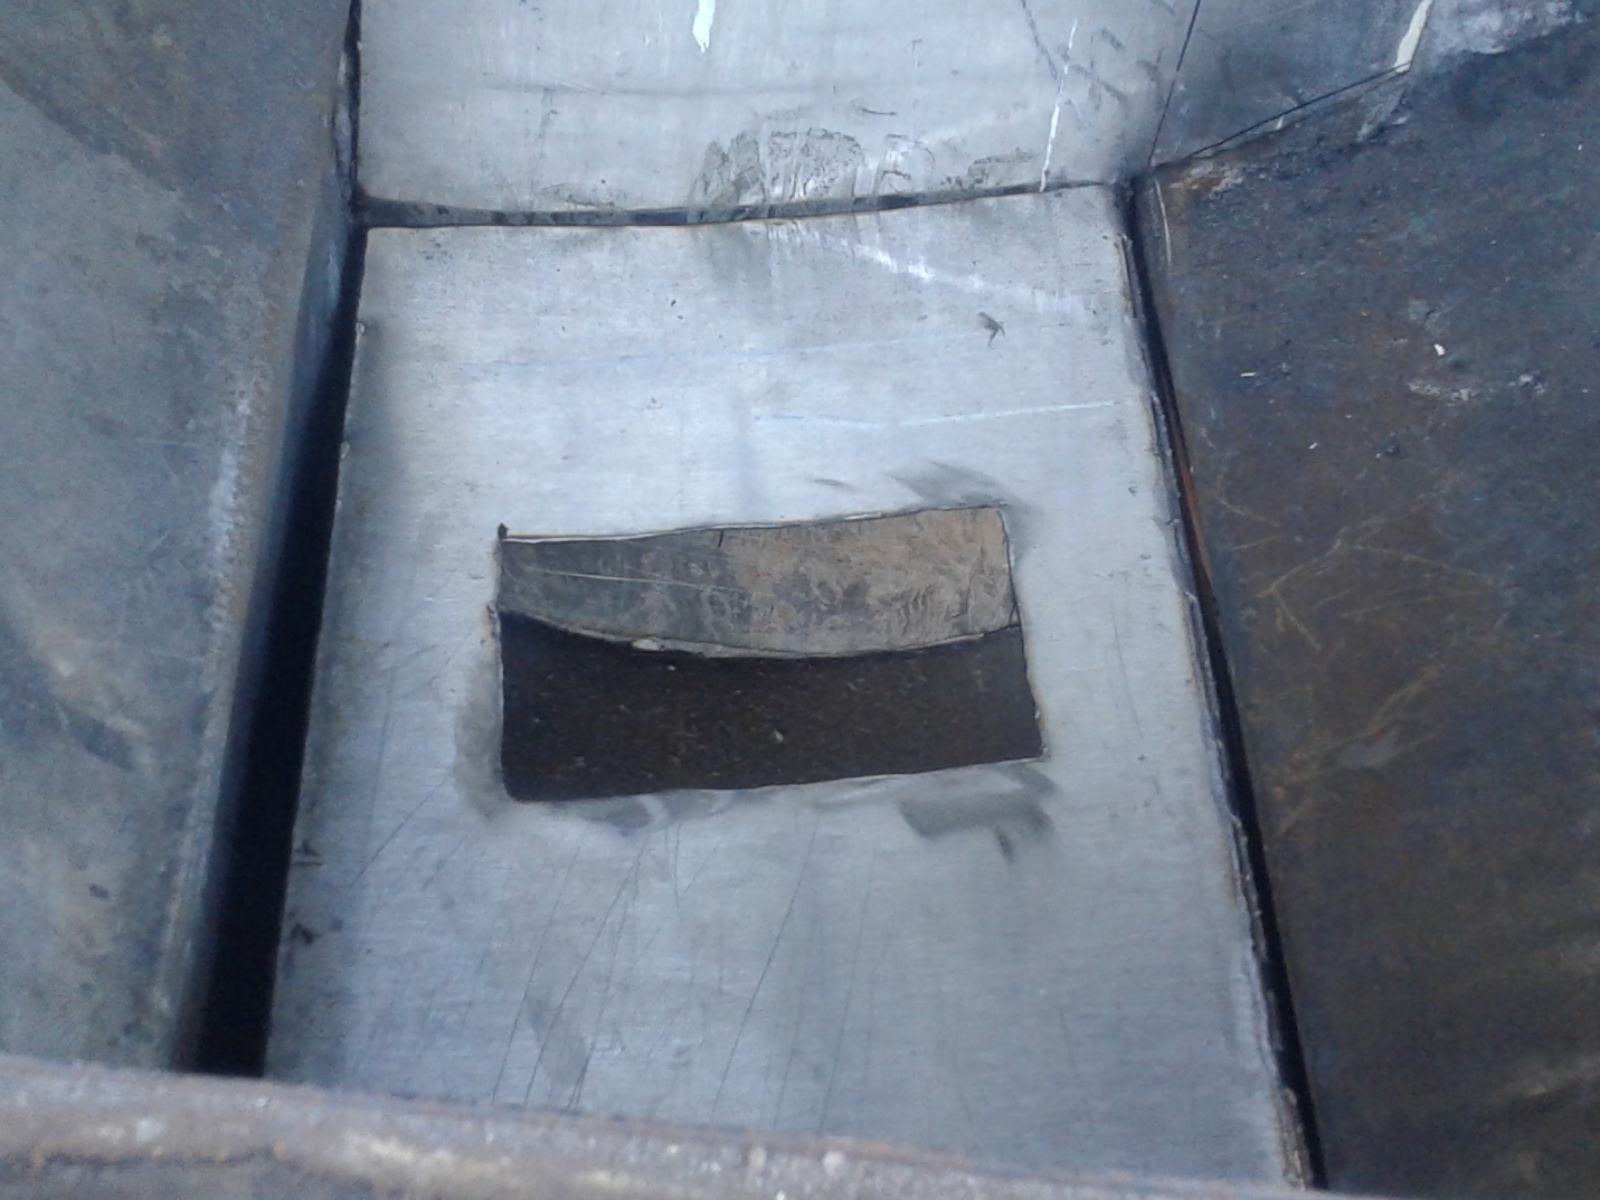
I flipped the bottom plate over and cut a reduction hole and welded in a 6" tube to put the grate in. The tube is higher in the back than the front, it is about a 1/2" in front. The 6" opening should be about right for the 318 ci. in. engine to run on using charcoal. I might need to use my Barrel augur at high speed to keep my hopper full.
I also put a clean out tray below the reduction tube. It is even smaller open coming out of the tray. The ash will move to the drop area and then out to the cooling tubes.
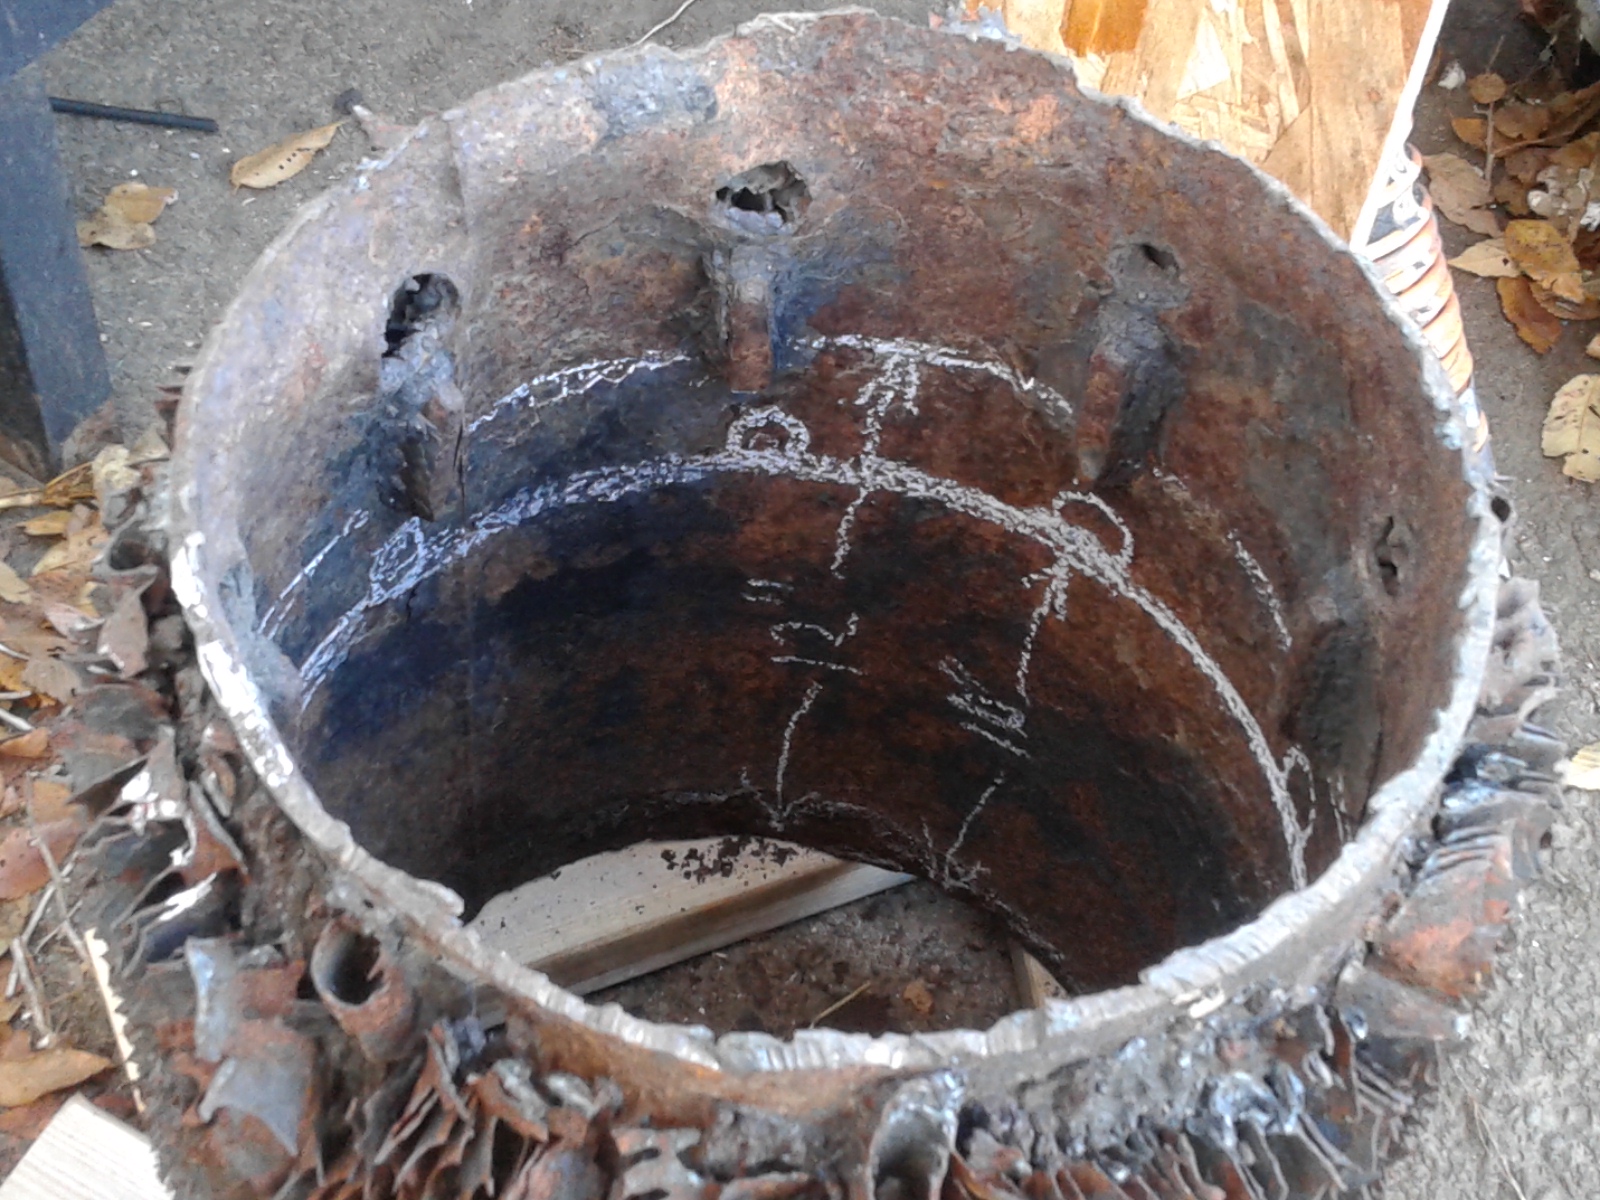
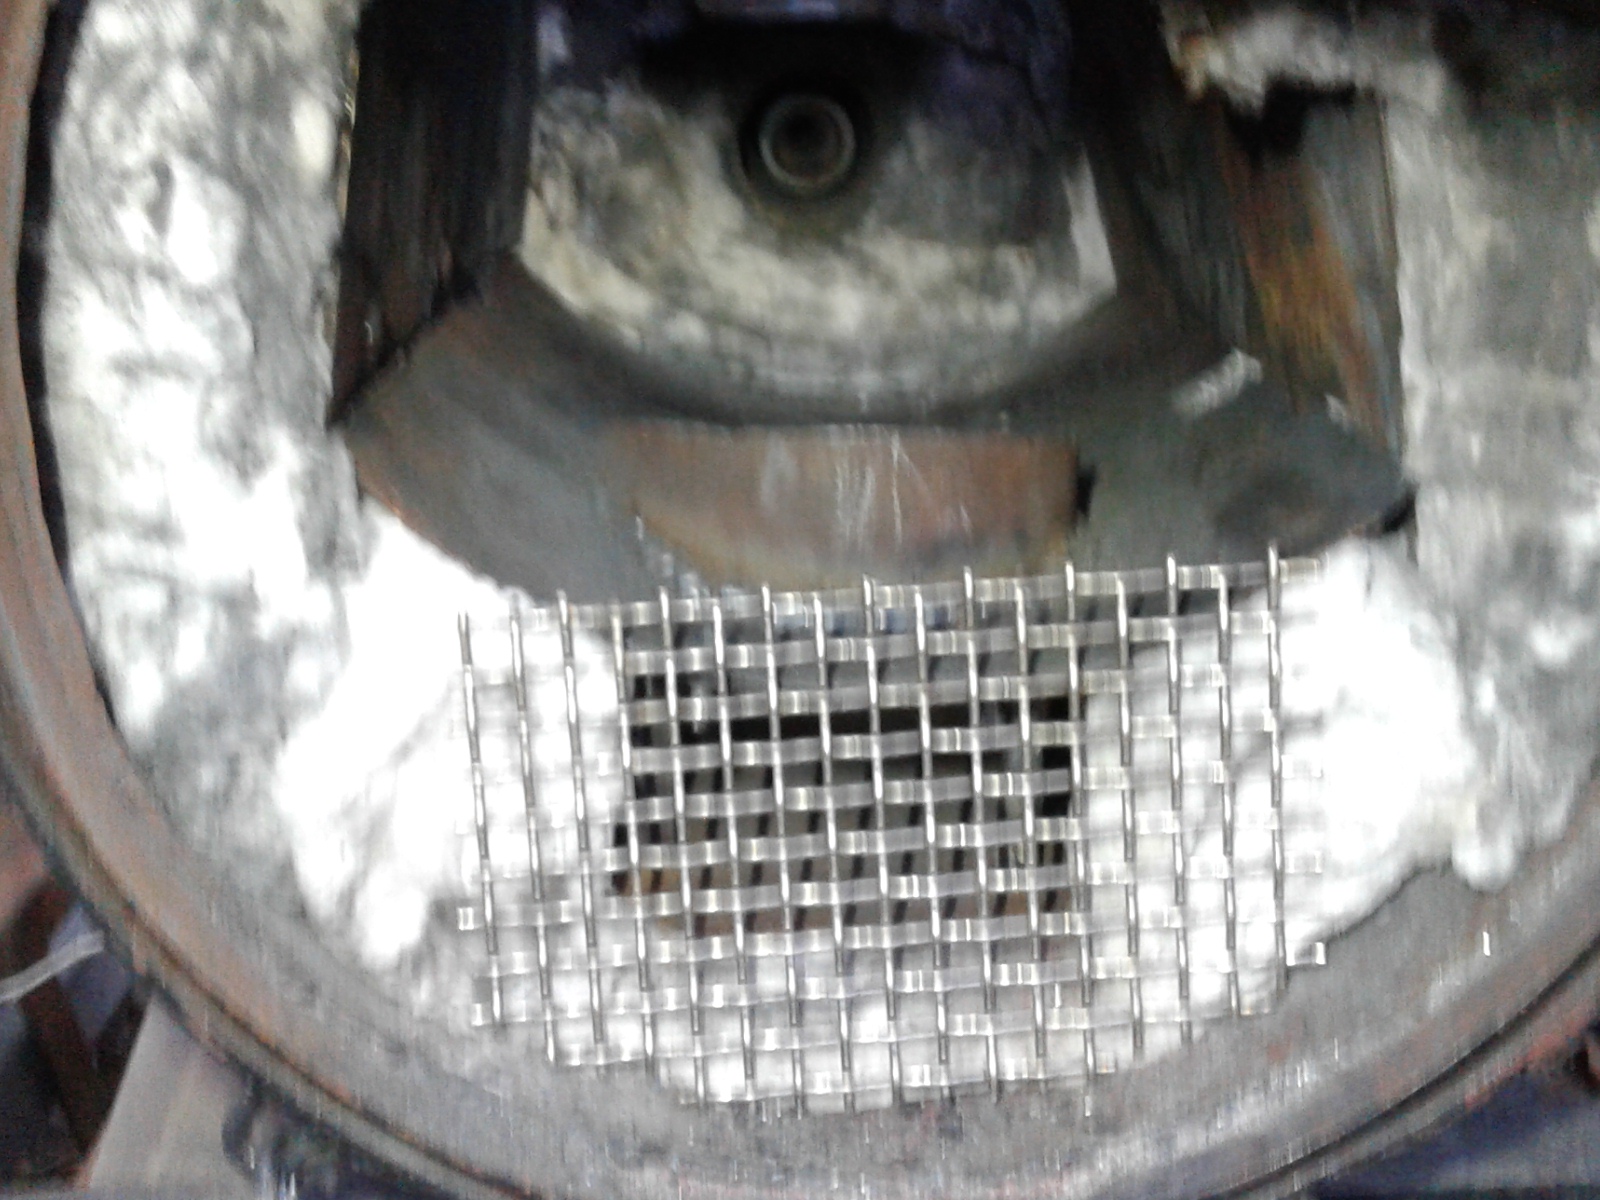
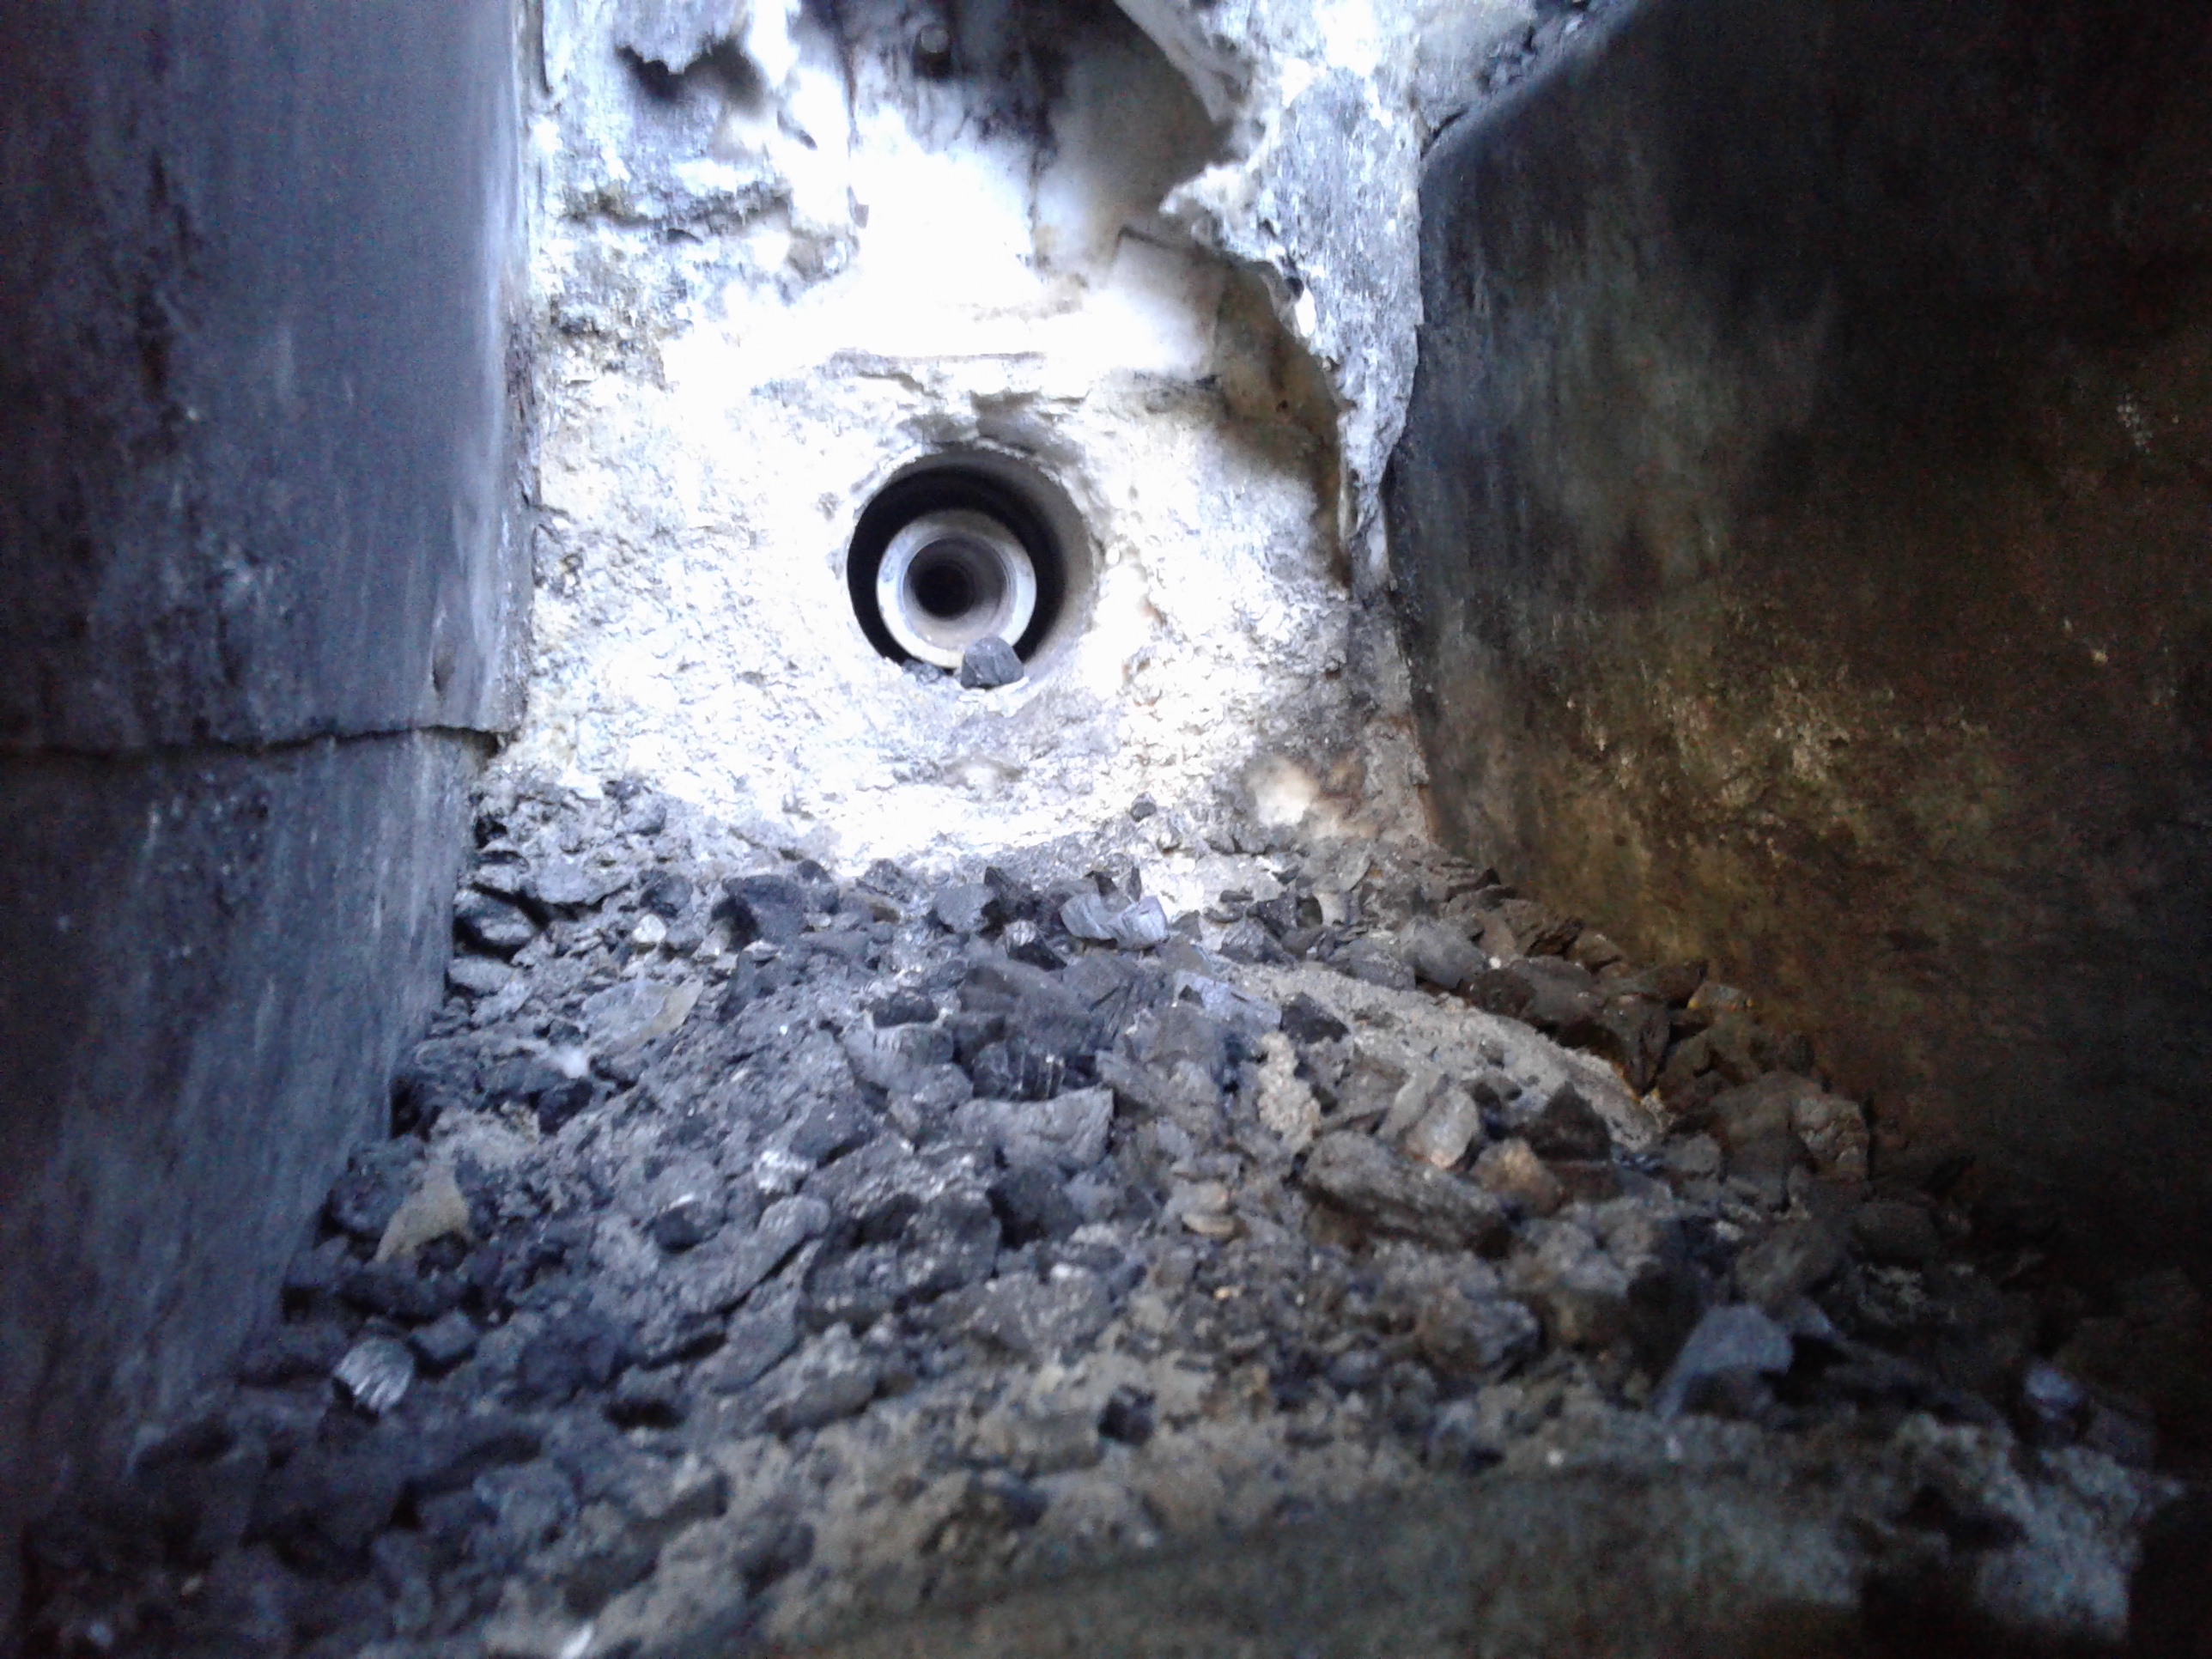
Here is a top view looking down into the reduction tube. The drop from the nozzles is about 8" when going out the tray exit opening. Next I will build the ash grate that will slide into the tray exit opening.
Question is should I put Ash ring around on top of the reduction tube for more protection from the high heat.
The other thing I was looking at is my box that has all the valves in it for exhaust, water drip, and piping, with the throttle body that I don’t need any more. It looks like I just need the shut off valve tee for the intake riser piping, and lighting port with viewing glass cap. The box will be pretty empty I might be able use it now for tools torch ect.
Bob
I am sort of following this, but I will have to make a trip to Wenatchee for a viewing and ride.
I have fully recovered from my shower fall 7 months ago.
I have completed the rebuild of the cooling rack with 403 SST 3” tube. First light up will be TOMORROW!
You are inspiring me to start building again.
Yes Michael, with your leg and my knee and shoulder banged up, our building came to a halt. We might be getting old in our bodies, but our gasification hearts are still willing to do sum more building. Once I got the wood all chunked up and into the dry cages I knew my body was healed enough to keep going. If the weather holds out with this Mild Warm and Dry winter the building will continue on this gasifer. Hope it stays dry and warm on your side of the mountains.
It is amazing how when you leave a project rest for awhile, new ideas pop up to solve some of the problems that were causing the gasifer not to run correctly. Thank you DOW members.
Looking forward to you getting your truck back on the DOW road again…
Bob
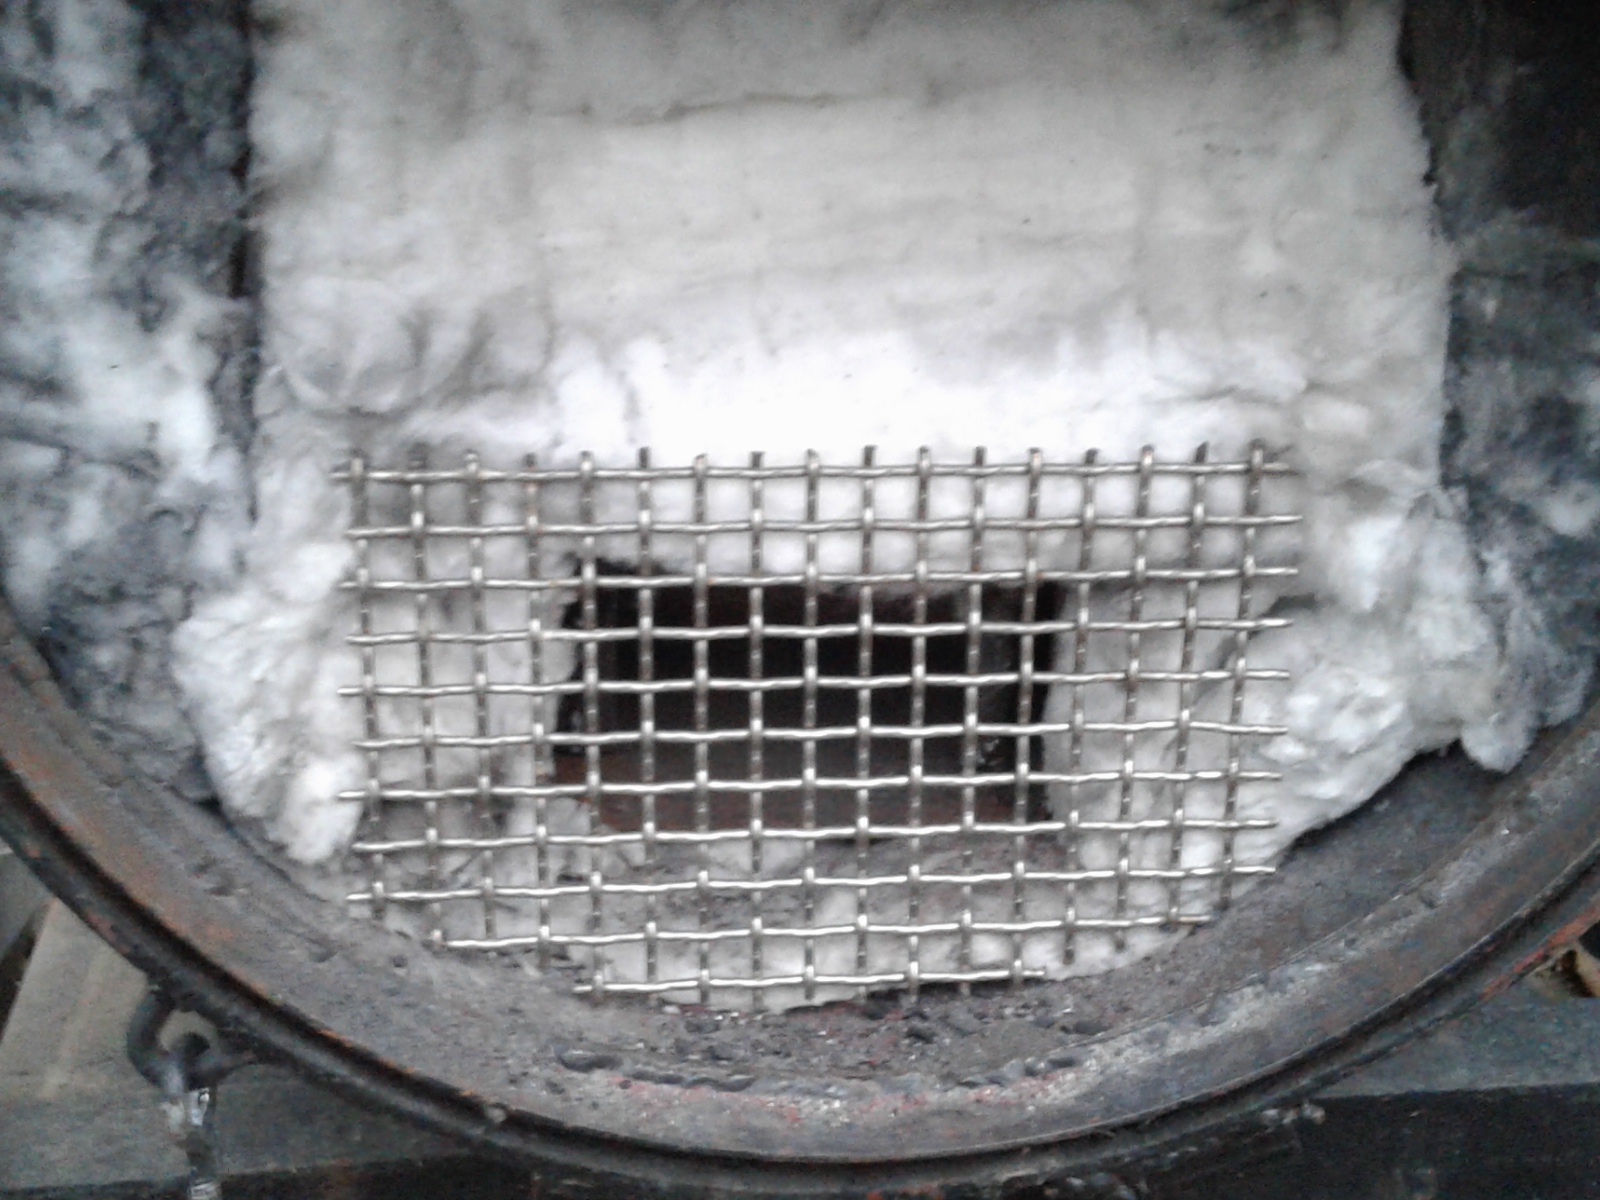
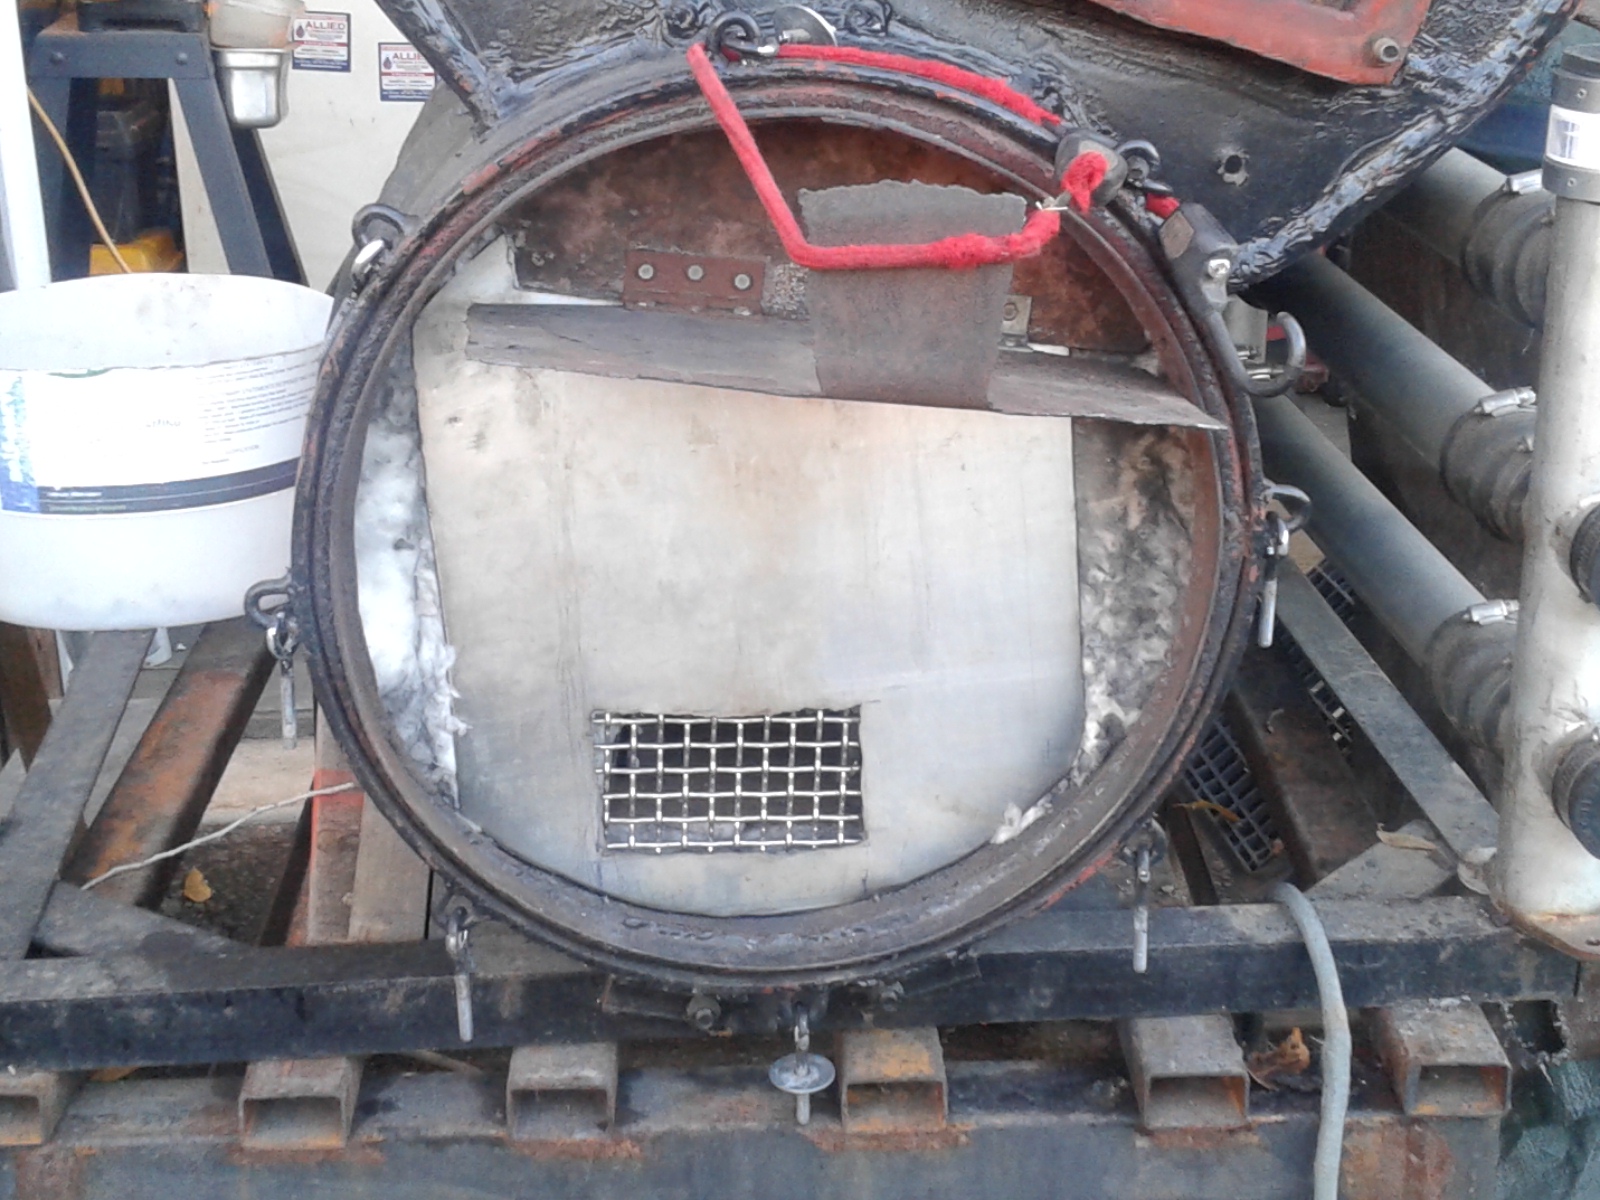
Today I built a plate that slants downward or directs the gas back towards the nozzles under the plate with hot charcoal above. In the ash and char catch area the gases then will go the other direction on the way out towards the screen grate. This makes it grateless under the reduction zone. Many of our members have used this concept, so I want to try it also.
Modifications to the gasifer are completed for now. This gasifer has become a experiment platform on how to start out with some ideas on how to build a gasifer and how to change it into something completely different from the original ideas. I am just going to call it my experiment test gasifer.
Here is what I did today.
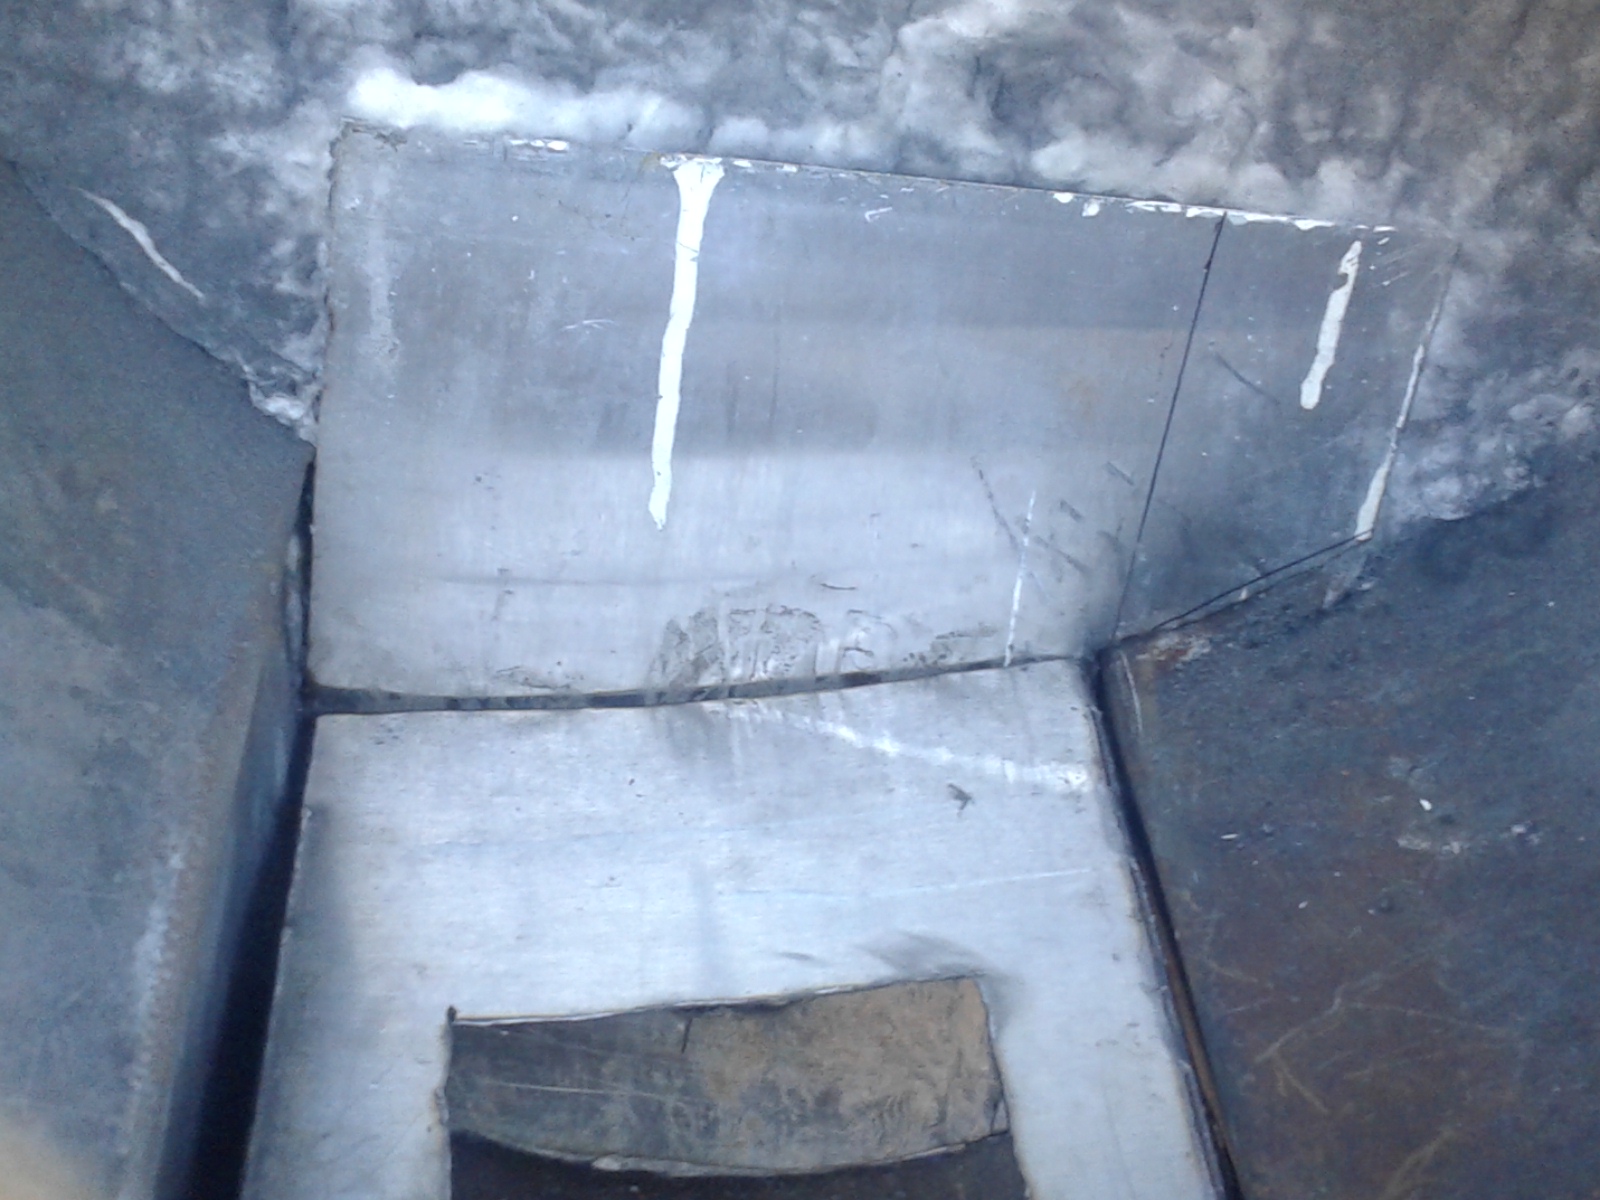
I built a stainless steel fire box over the nozzles area and reduction zone.
The backing blast plate also holds the grate in place, the only problem now is it is not going to be easy to clean out the char and ashes. I could make it so the grate just slides down in place. I will wait and see if this thing will work now I have modified it so much.
I know, just make one change at a time. That’s no fun.
I might be able to get a couple of pieces of sheet metal into the hopper a slide them in between the new fire box and old open box to hold the charcoal more above the opening to the nozzles.
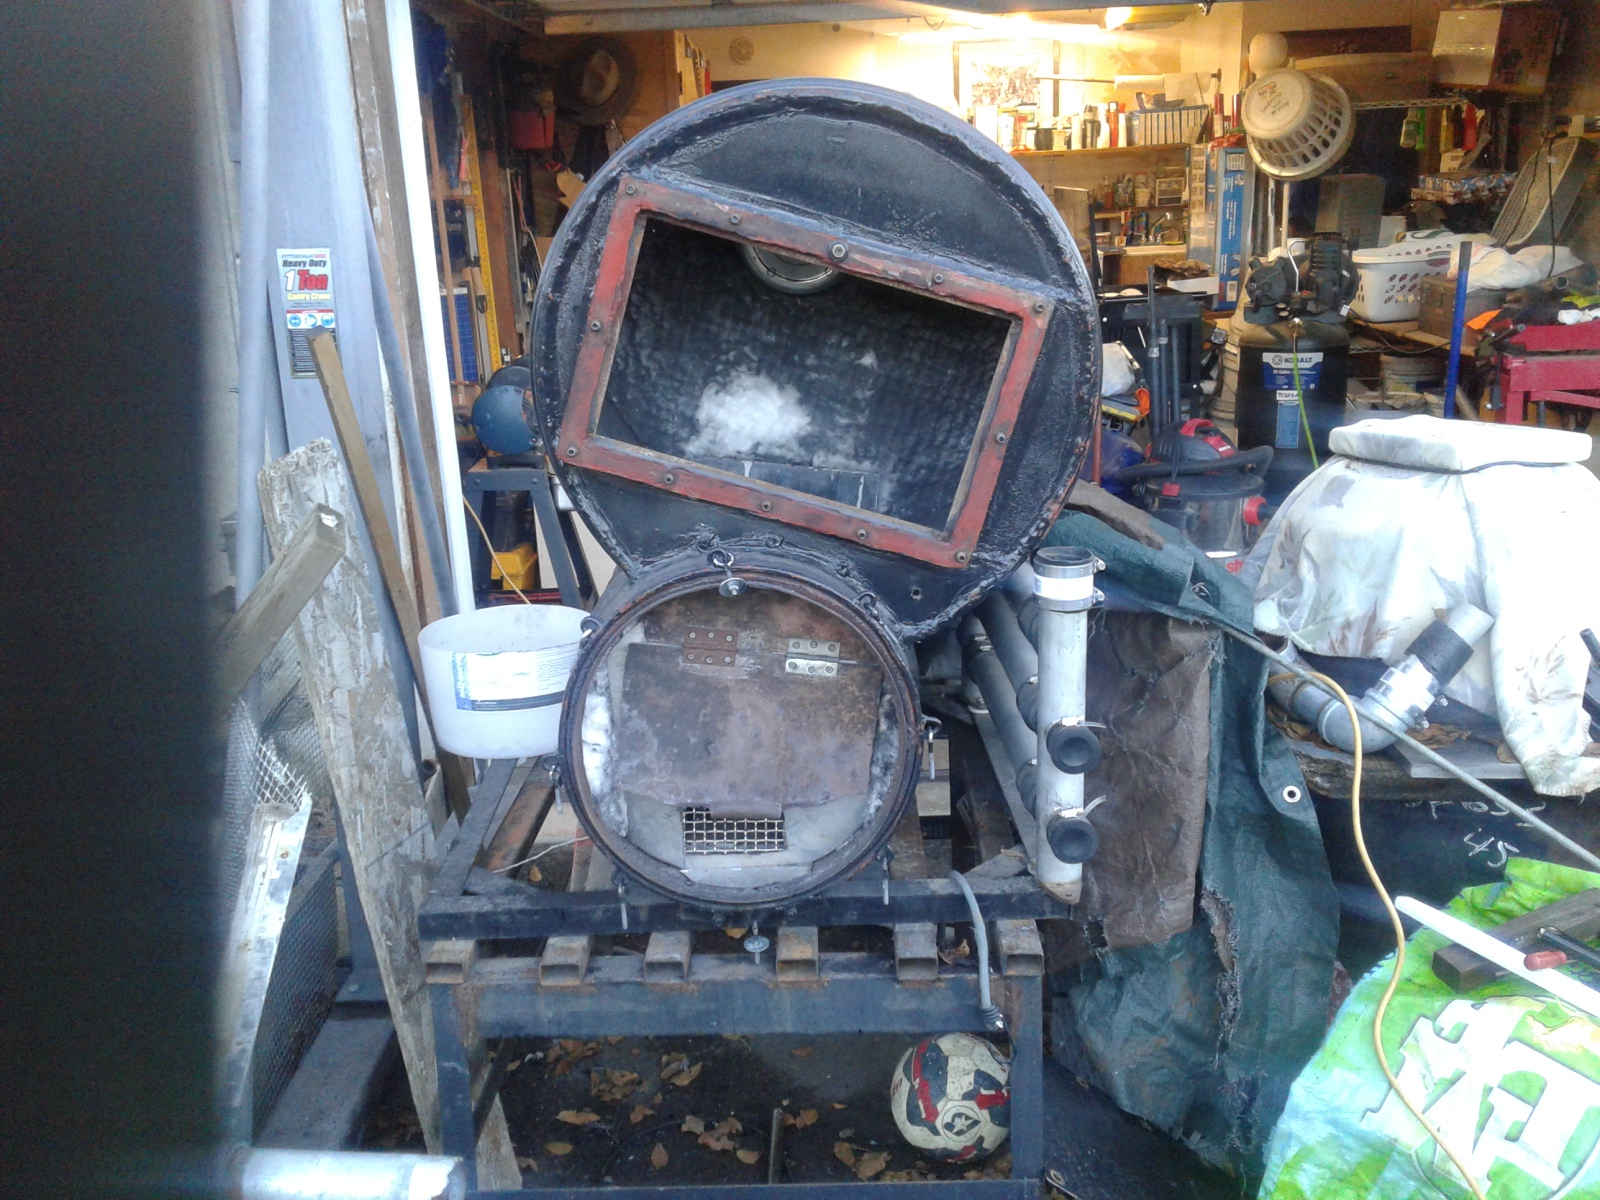
On the outside the gasifer does not look like it has been changed at all, but inside it is a new gasifer. I really did not realize that this unit would become a test platform for gasifer design.
Bob
Looking good Bob, THANKS for posting your experiments in gasifing biomass. Soon as you get those design ideas ironed out you will have great knowege of the char gasification process and have the process perfected too your likeing, Hope your all fareing well in your neck of the woods. Caint wait too find time too get my next WK gasifier down in my trailer or my 318 dakota truck, thanks for all your design ideas in charco gasifier, i like too build a gary gilmore go from there sooner or later.im sure we can get some design ideas from all the designs you post. merry christmas too you and all the west coast DOW folks and famelys.
No pictures to show, but I have the hopper filled up with charcoal and it is all closed up.
I got my experimental cyclone bag filter that I made out of two 5 gallon buckets. I should of put it all back together when I last used it. It has been sitting around in the garage for a while. It doesn’t want to go together now and seal up tight. A little duck tape will fix that. If the weather doesn’t dump more snow on us I might get it fired up tomorrow.
If I can’t get the filter to seal up, I might hook it up straight to the cooling rail on my Dodge Dakota. Just at an idle on the engine will give the gasifer a good first test run.
Bob
The Gasifier That Wanted To Be?
Isn’t going to be, at this point in time.
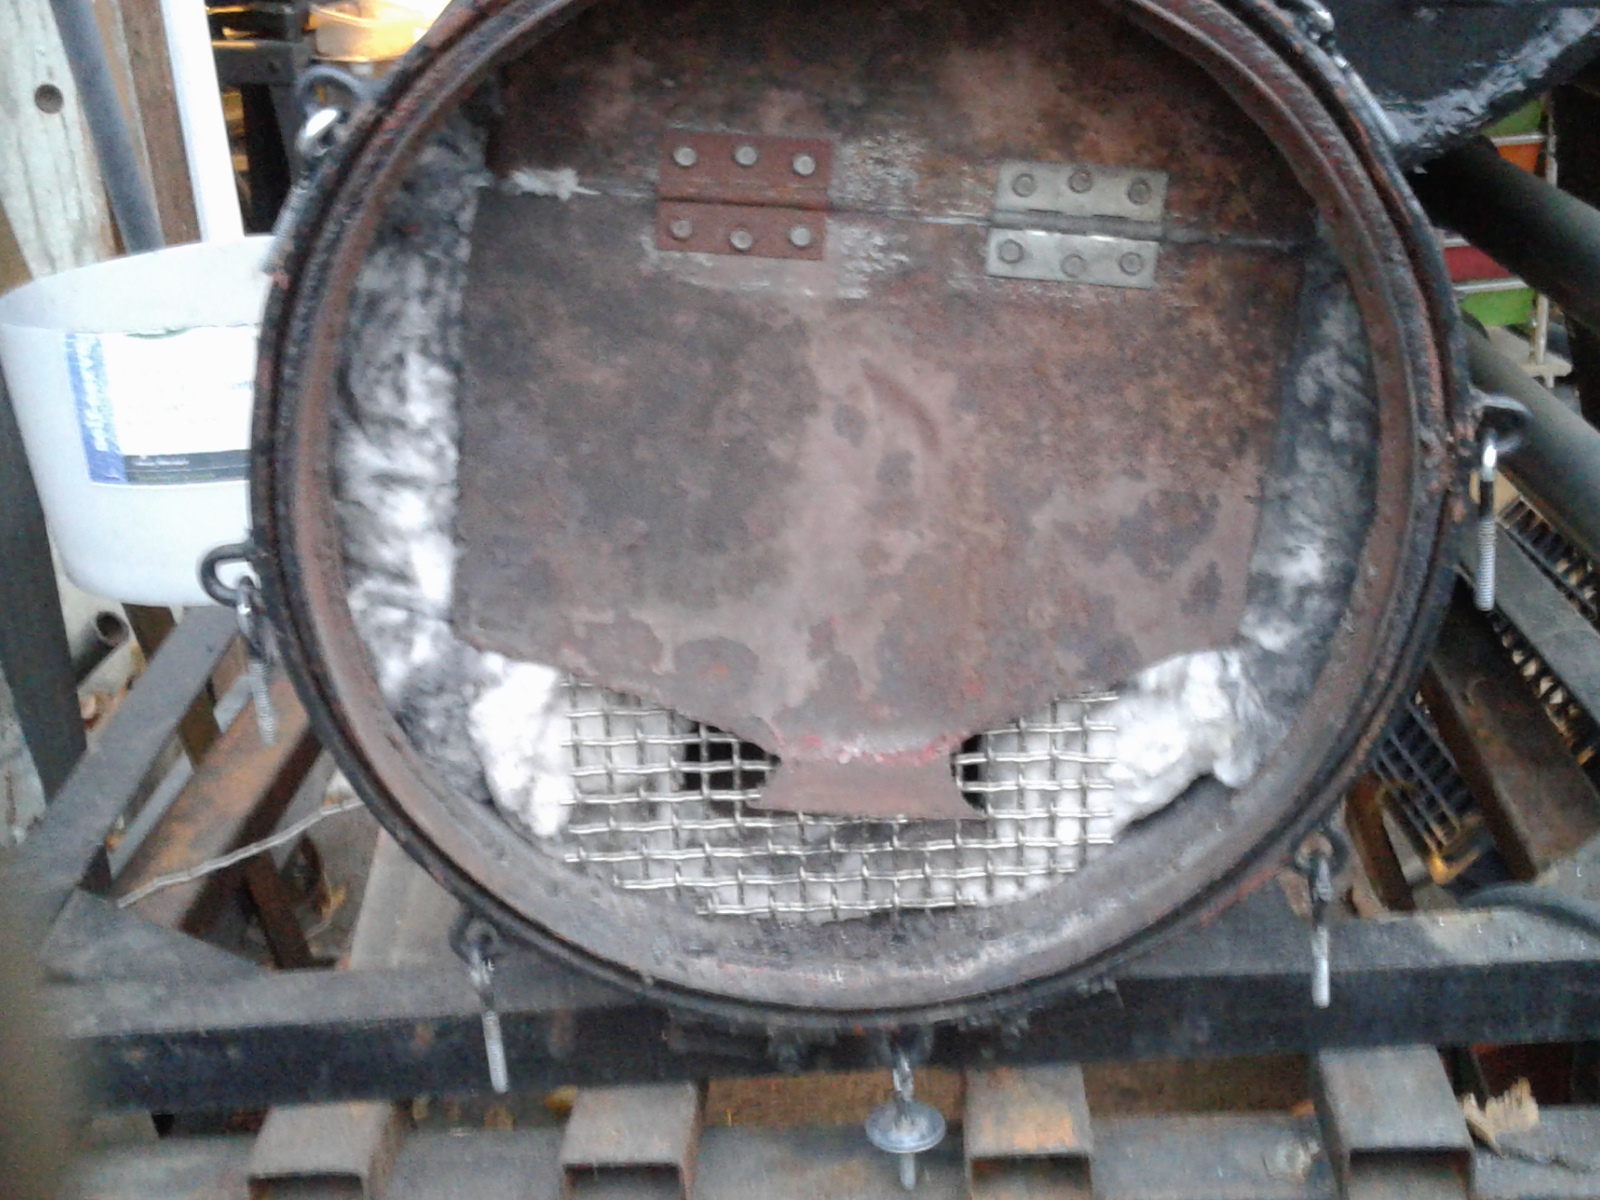
This morning I hooked it up to one of the cooling rails on the Dodge Dakota I figured at just a high speed idle that would be a good test. It turned out that it was more then plenty for a test.
First of all the upper part of the hopper stayed cool. That part of the test was a success.
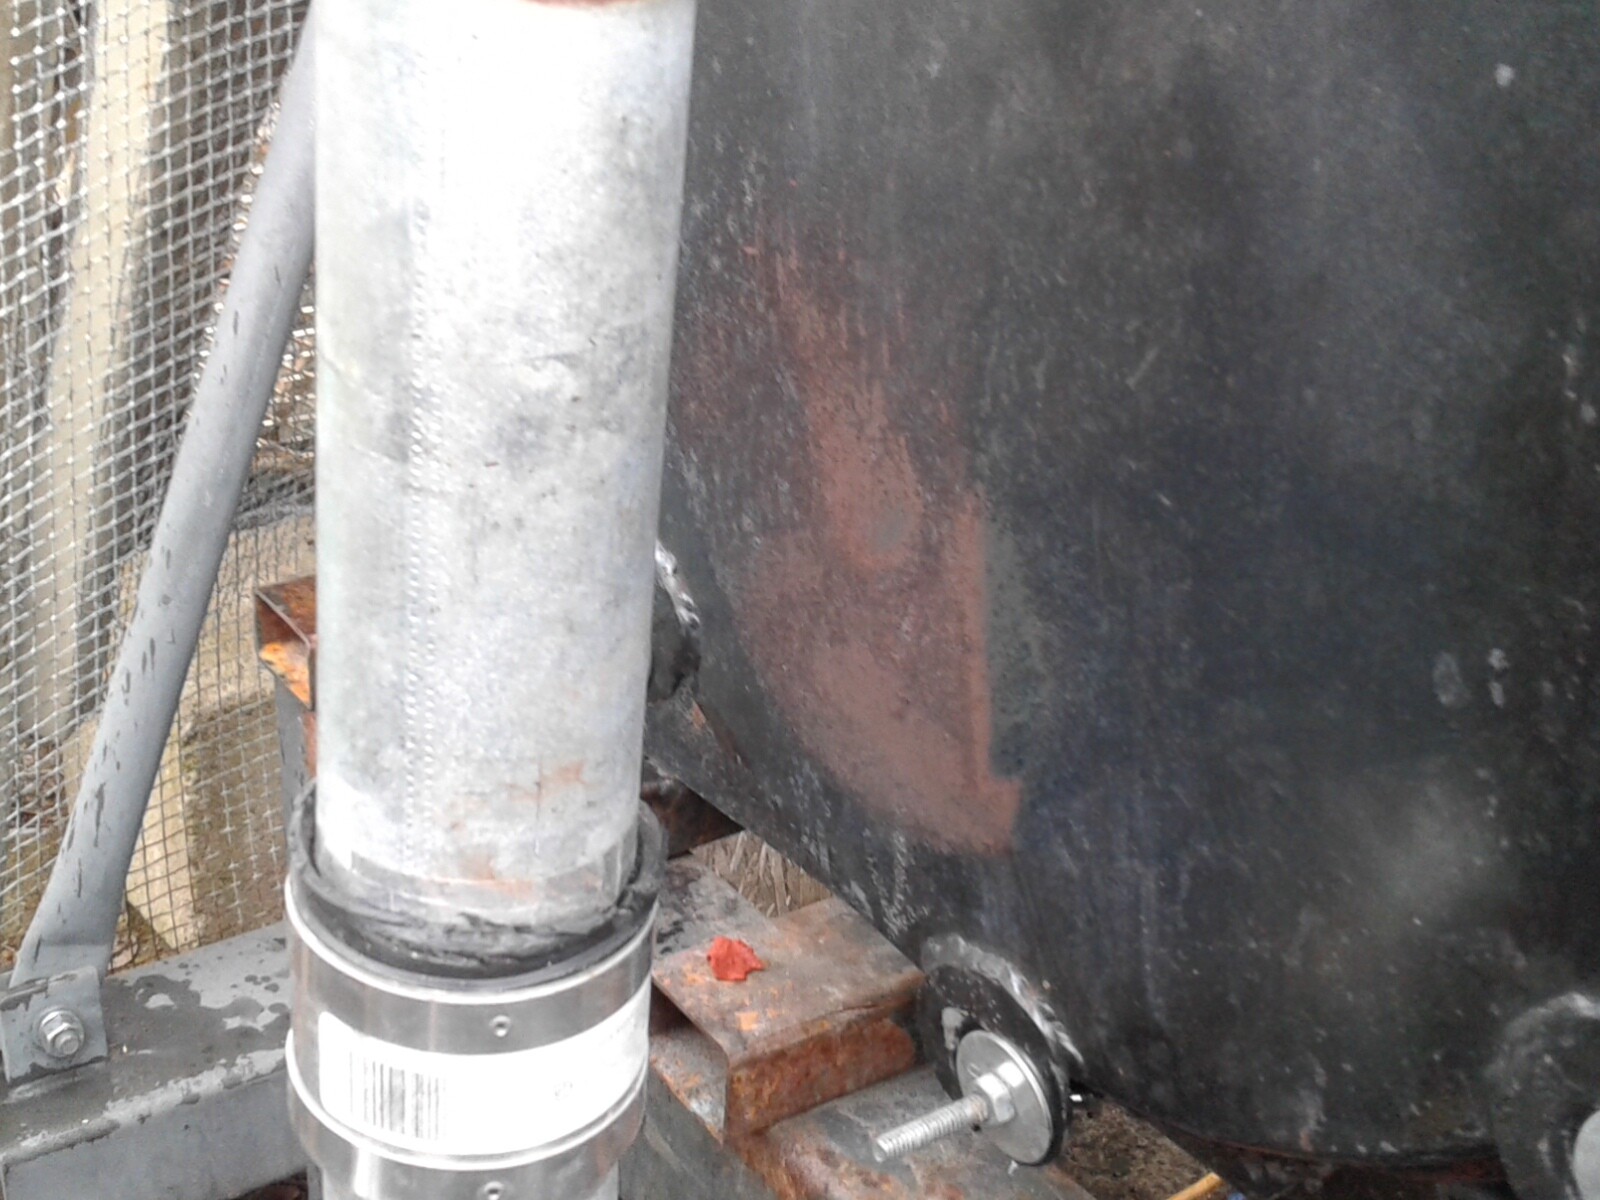
This did not happen with it in the other configuration that it was before. It is pretty obvious that there is not enough charcoal bed before it gets to the exit where you see the paint is burning off.
When running the truck on fast idle the charcoal cross diagonal flow gasifer would not run on it’s own. I had to give it a little gas to keep the engine running.
The test is a success it showed me that this configuration is not going to work for running a vehicle on.
It will run a Genset or small engine but that is all.
This shows how important the charcoal reserve is in a gasifer, I am sure I was over pulling this unit.
It started to rain so I dismantle everything, and put things away. It hard to get anything done between Sun shining, Rain, Snow storms, and let us not forget the wind.
It will be interesting to see the test results inside the Cross Diagonal Gasifer once it cools off to dead charcoal. You just got to Love it.
Bob
“That unit has you well on your way to a Masters!” Hi Michael that is so funny. Now I know and I have confirmed lot of things that I have being reading on DOW form about making gasifers. #1 Leaks , #2 Leaks, #3 Leaks. It has to be air and gas leak prove. The original unit was leak prove, my modifications were not. If I just go back to the Original design and put the heat shield over the top of the nozzle air flow keeping the heat from rising up into the hopper it will work. KISS. Keep It Simple Silly.
Bob


 but l am near the start of a new gasification project too, and l will be combineing some names too