Hello Bob,
That looks sort of like my barrel system for making charcoal. Yesterday, I ran it for the 225th time, according to my Log Book. Your holes around the bottom of the lower barrel are about the same size as mine. I clean them out before each load of junk wood by running a piece of rusty 1/2" rebar through each one. After the barrel has been burning for an hour or so, I can see orange at some of the holes, so I cover them with sandy clay that I pour from a bucket. Eventually, all the bottom holes are covered with lots of dirt and clay and stomped down. It looks like your secondary air comes in some slits between the tabs holding your barrels in position. I just use two pieces of rebar on top of the bottom barrel, and under the top barrel which provides air so there is never any smoke. I like to feed thorny brush into the chimney barrel when getting the burn established. I actually start it with paper balls that are then doused with a very small bit of stale gasoline. Once I have flames shooting out the top, I can actually add small limbs, pieces of pallets, and even green brush. Then, a layer of char keeps everything going, and I can walk away for an hour or so. The burn is usually finished in 1 1/2 to 2 hours. I remove the top chimney, and see just a big pile of glowing charcoal. At that time, I either seal of the top of the barrel with a heavy steel plate, or add about 20 gallons of rainwater to put everything out. If I use the water method, I just dump the whole works out onto a big pile the next day. At one point, the pile of charcoal was almost 4 feet high. If you need charcoal this year, best to seal the barrel and let it cool down, and not let it get wet.
A neighbor called this morning and said a big limb fell off her oak tree, and asked if I had time to cut it up with my saw and remove it from her yard…
Hi everyone ,
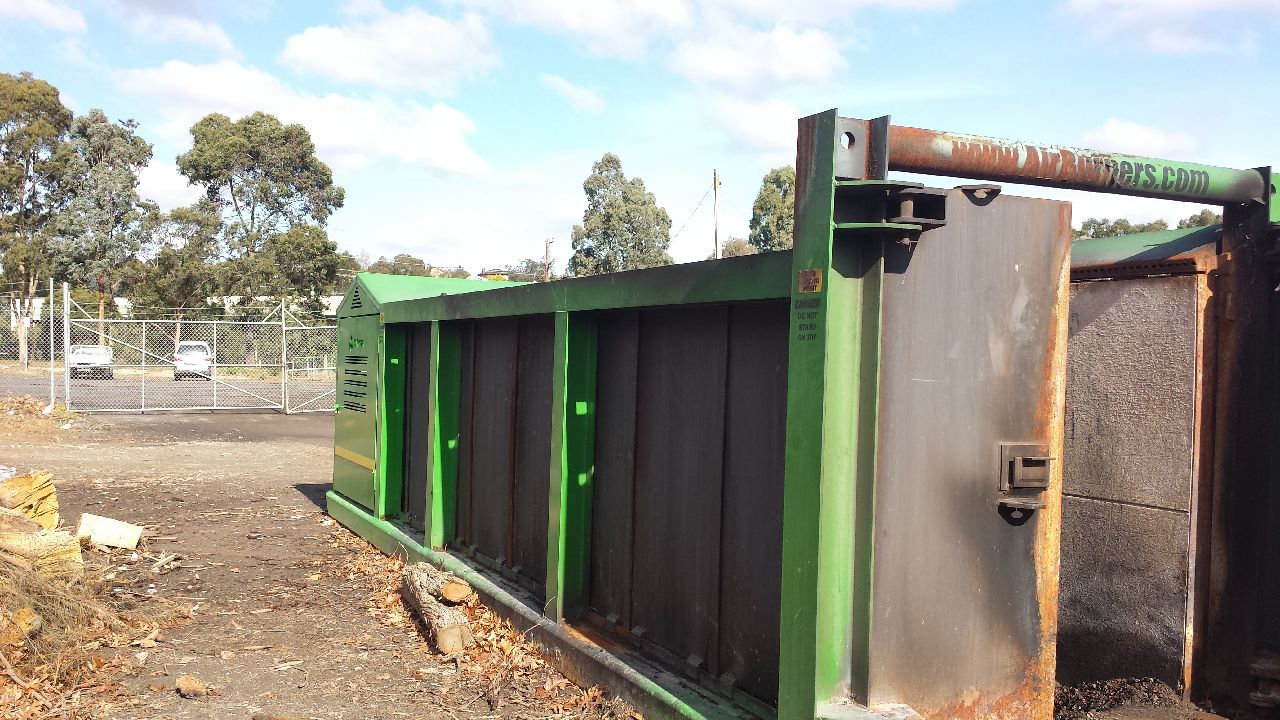
Bruce you mention air curtain burner , I have been down to one of our local council waste sites a few times to look at one they had on hire , the set up they had was amazing so simple and yet they load complete tree trunks into it and reduce to charcoal in no time at all ,and all very clean burning .
The unit they first had was run with a very large diesel engine running a massive fan the is ducted along the top sides on the container angled down , the inside of the container walls are all heat protected liners , I couldn’t find all the photo’s I took but managed to find a couple just so you get an idea
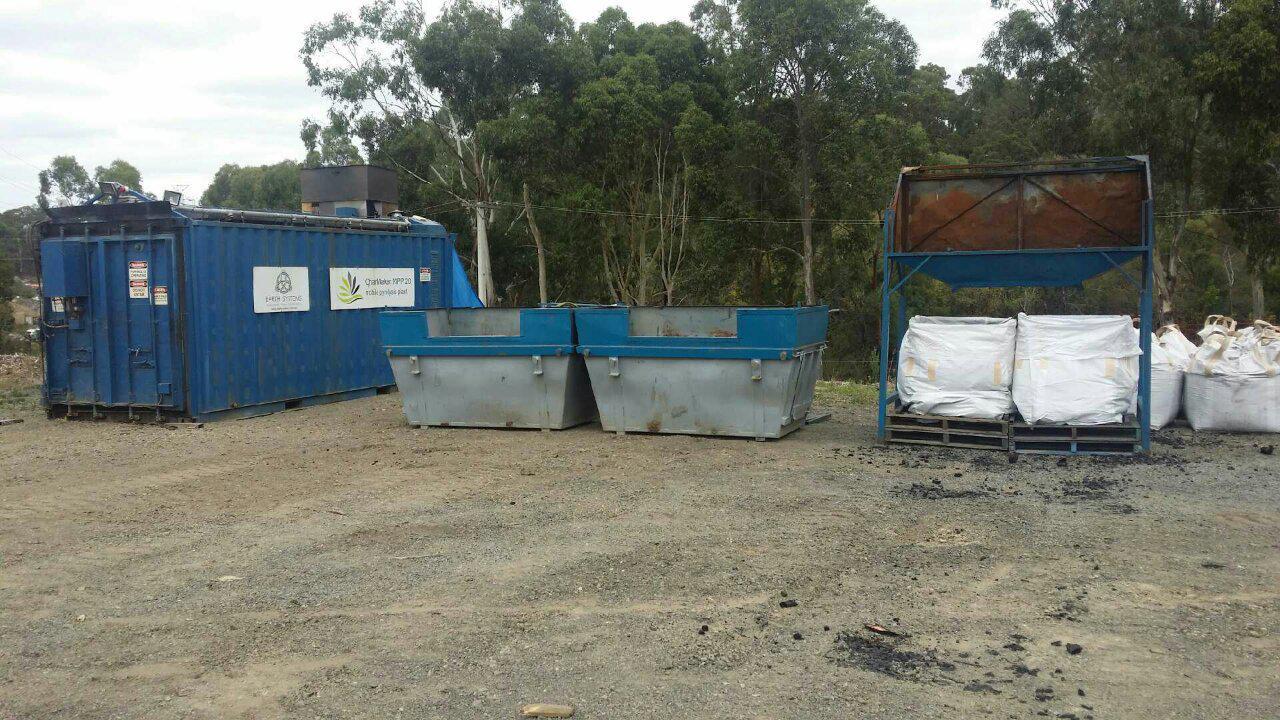
This last picture is of the system they had there a few months ago , and I think this one has an engine that runs from the off gas the system makes to blow the air curtain .
Dave
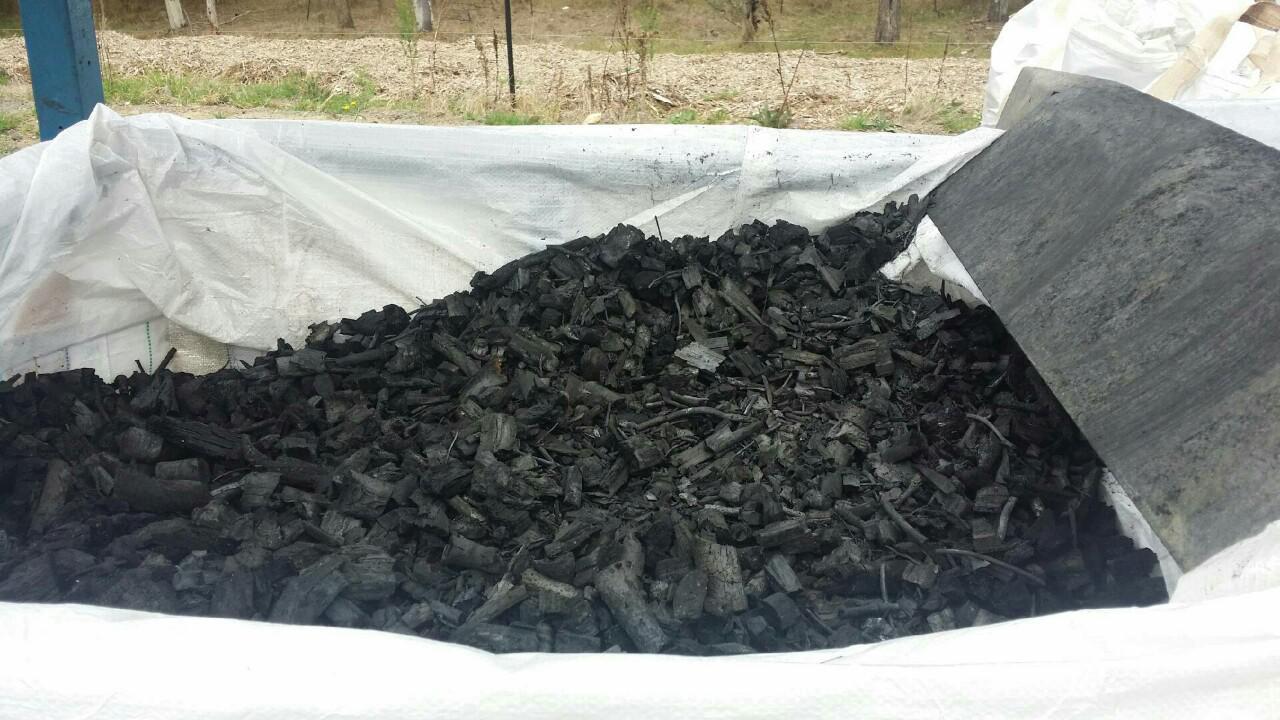
In action

Even better

You are right Jim, and I have been making some that way. There’s nothing like standing out in the rain close to a hot retort, taking the chill off the body and drying the clothes at the same time.
I tried something new, after the big pieces were almost to to charcoal may 1/3 of the holes at the bottom closed off. I started put in small pieces of wood, beaches, and twigs. Any thing I could easily break with my hands. By the time the small stuff was finished it was ready to shut the air off. I had a half full barrow now off charcoal, instead less than half full. I think if I would have waited a little longer to put the small stuff in, I will have been closer to 3/4 full. It all about timing.
BBB. Bob
This same concept in a much simpler form used forced air to create a water heat battery for a once a day burn taking about 1 and 1/2 hour to warm a 3000 square foot home for 24 hours in a 20 to 30 degree day. Amazing and a WK do-able build possible if you don’t mind welding a lot. The Garn - http://www.garn.com/ doesn’t need a computer and you can walk away from it after 10 minutes of start up time. It was $14,000 about 5 years ago for a 1500 gallon model. Something about the KISS method keeps future hiccups from holding you captive for the long dollar.
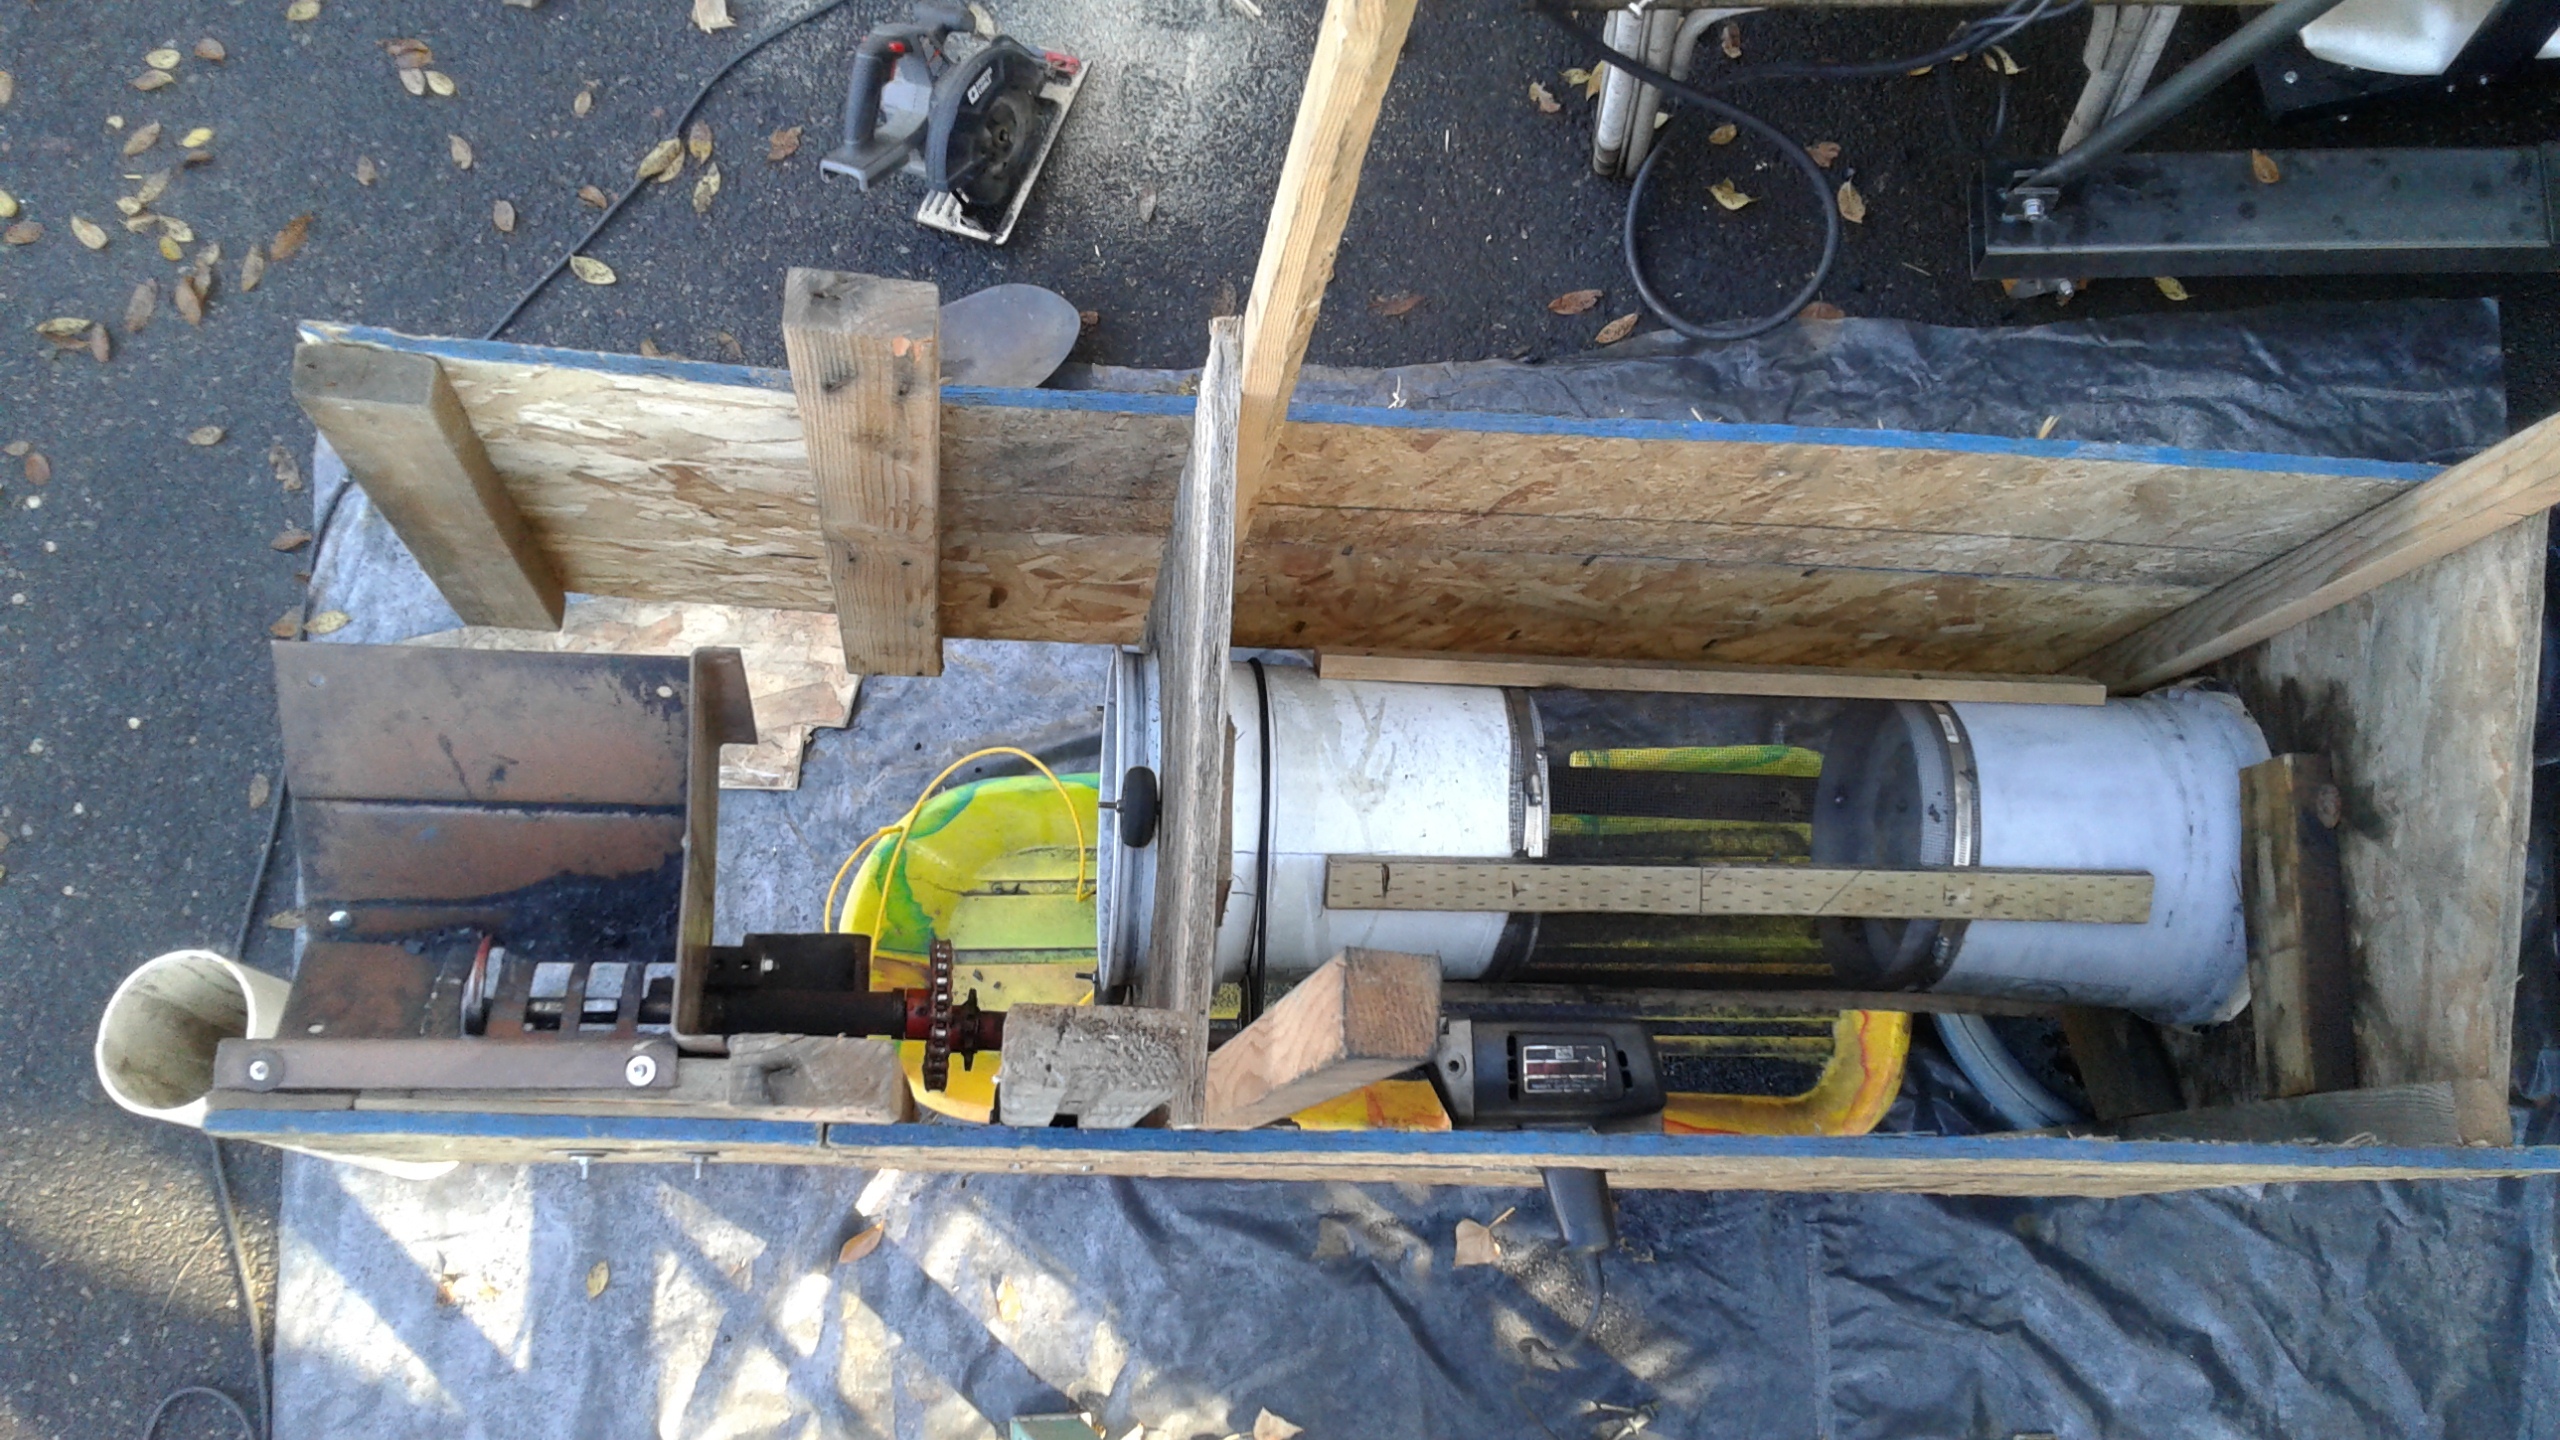
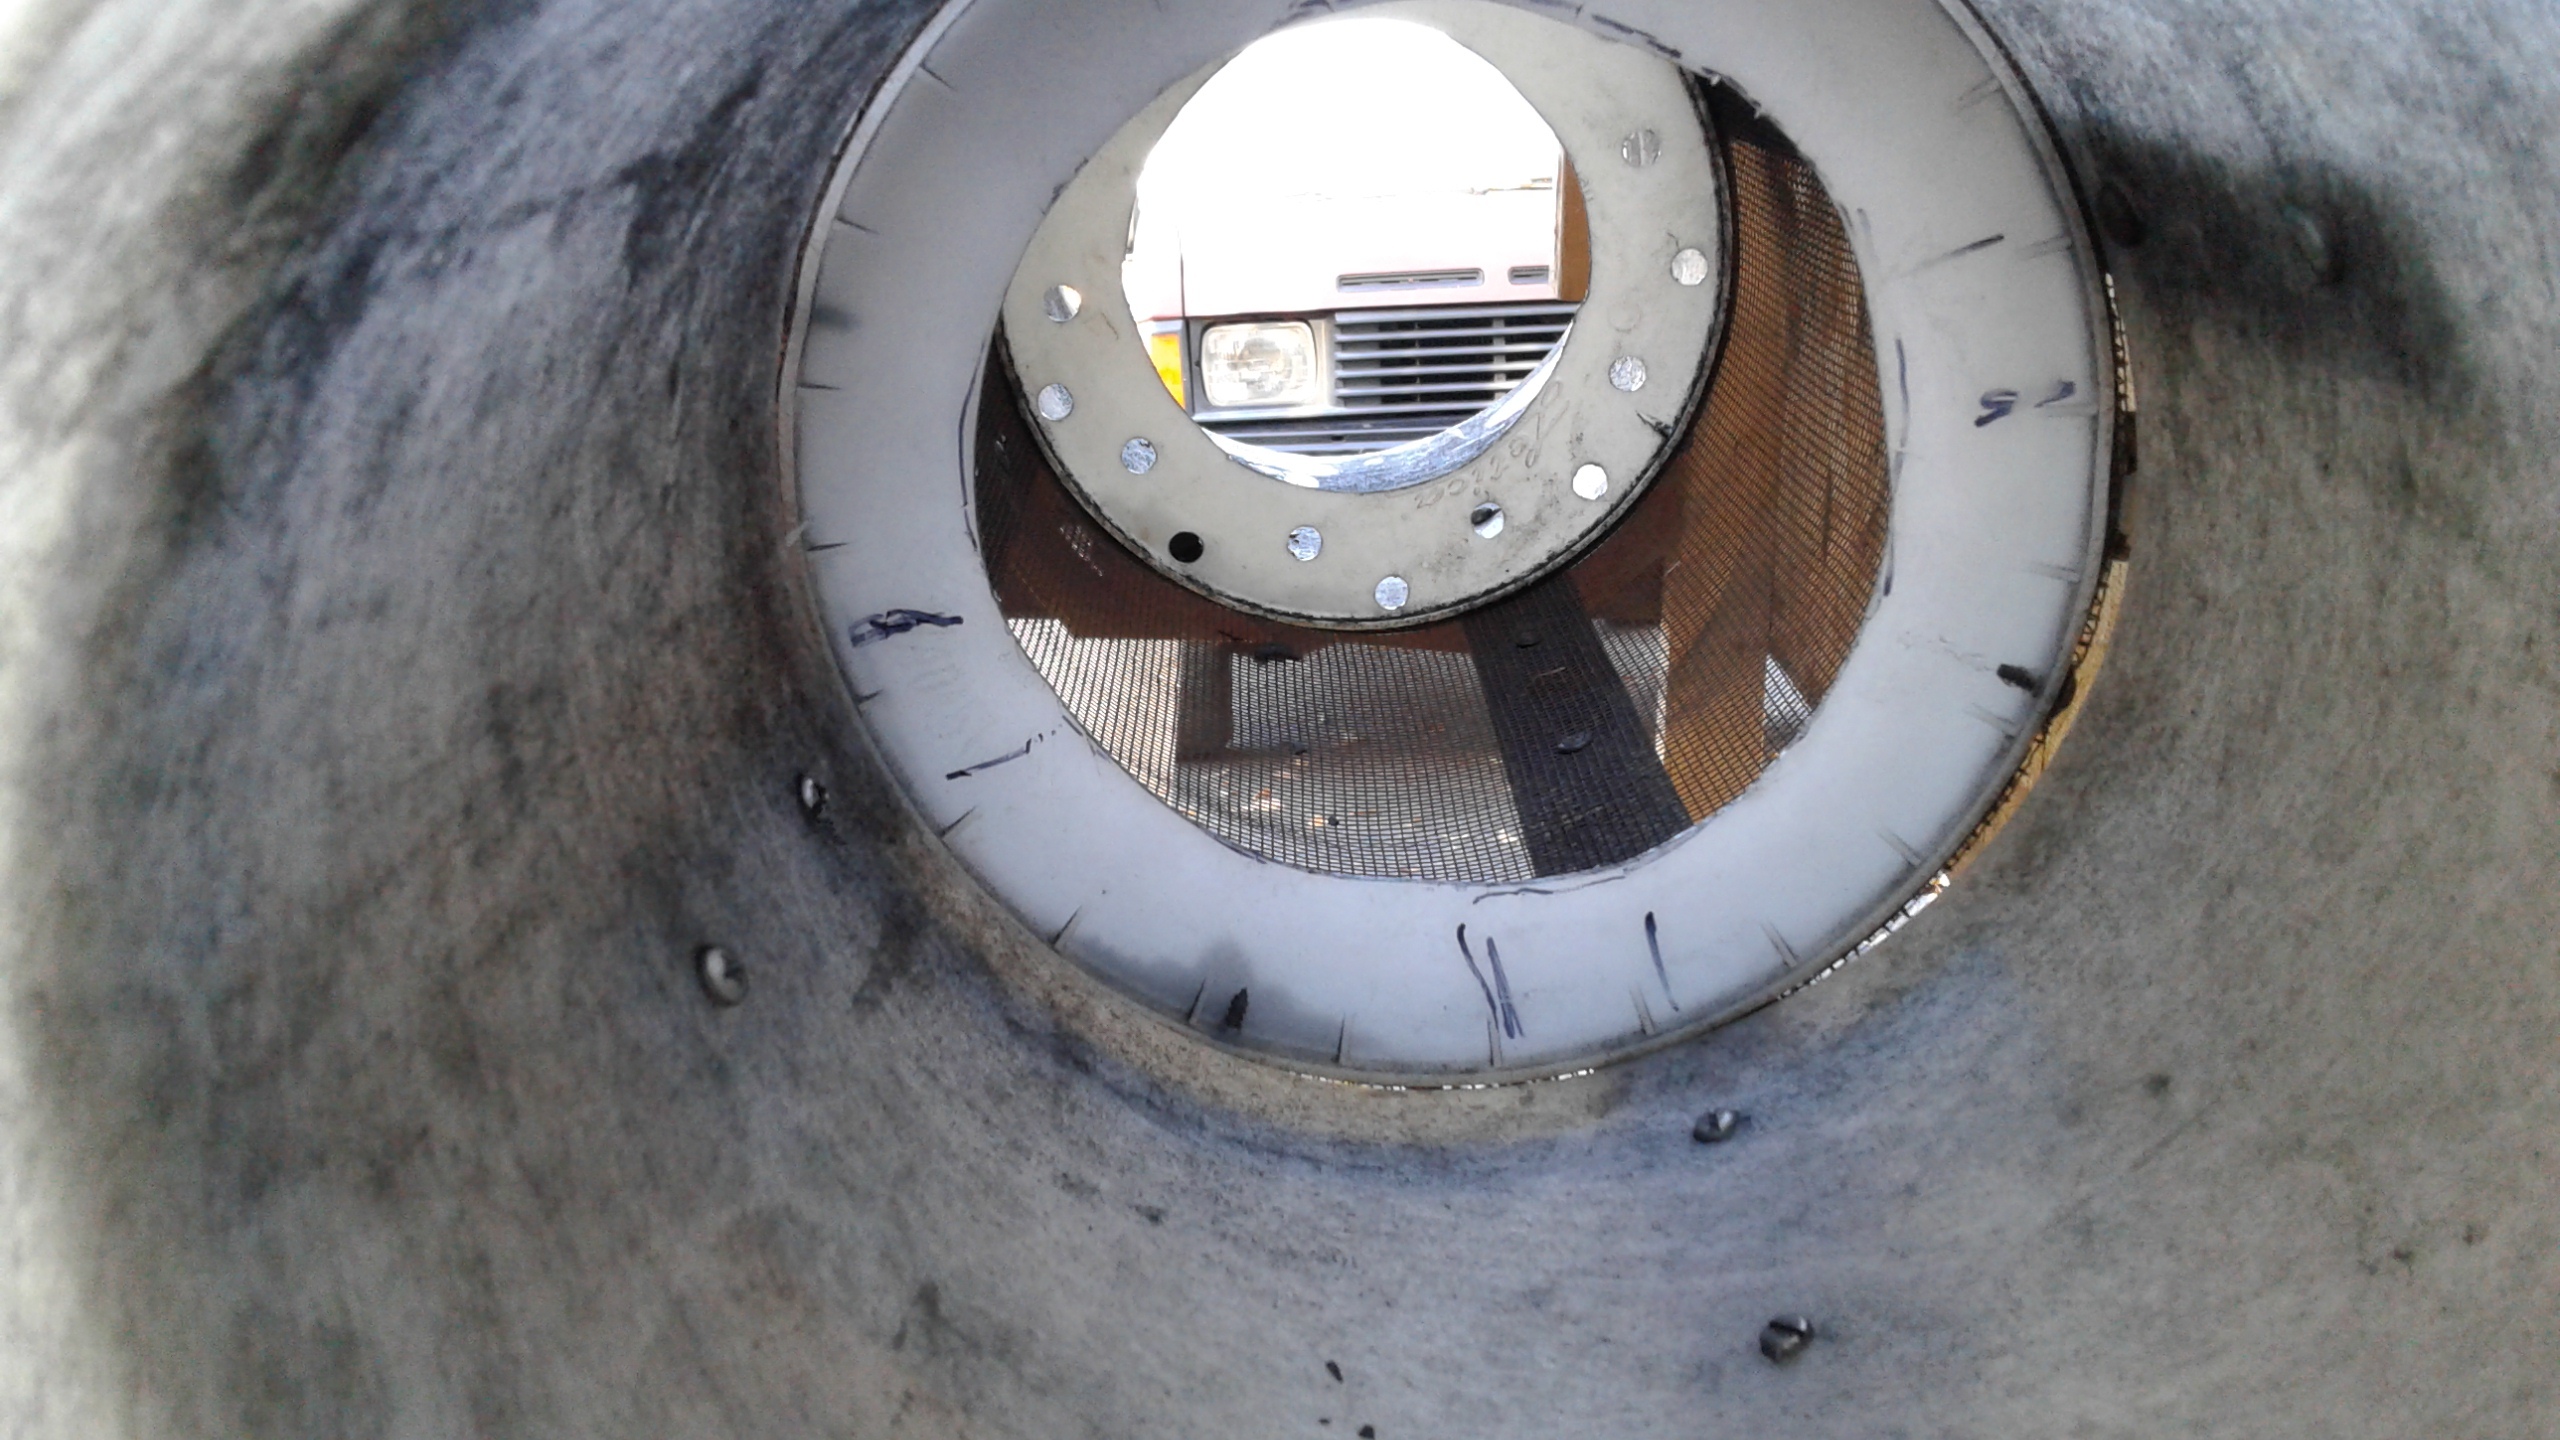
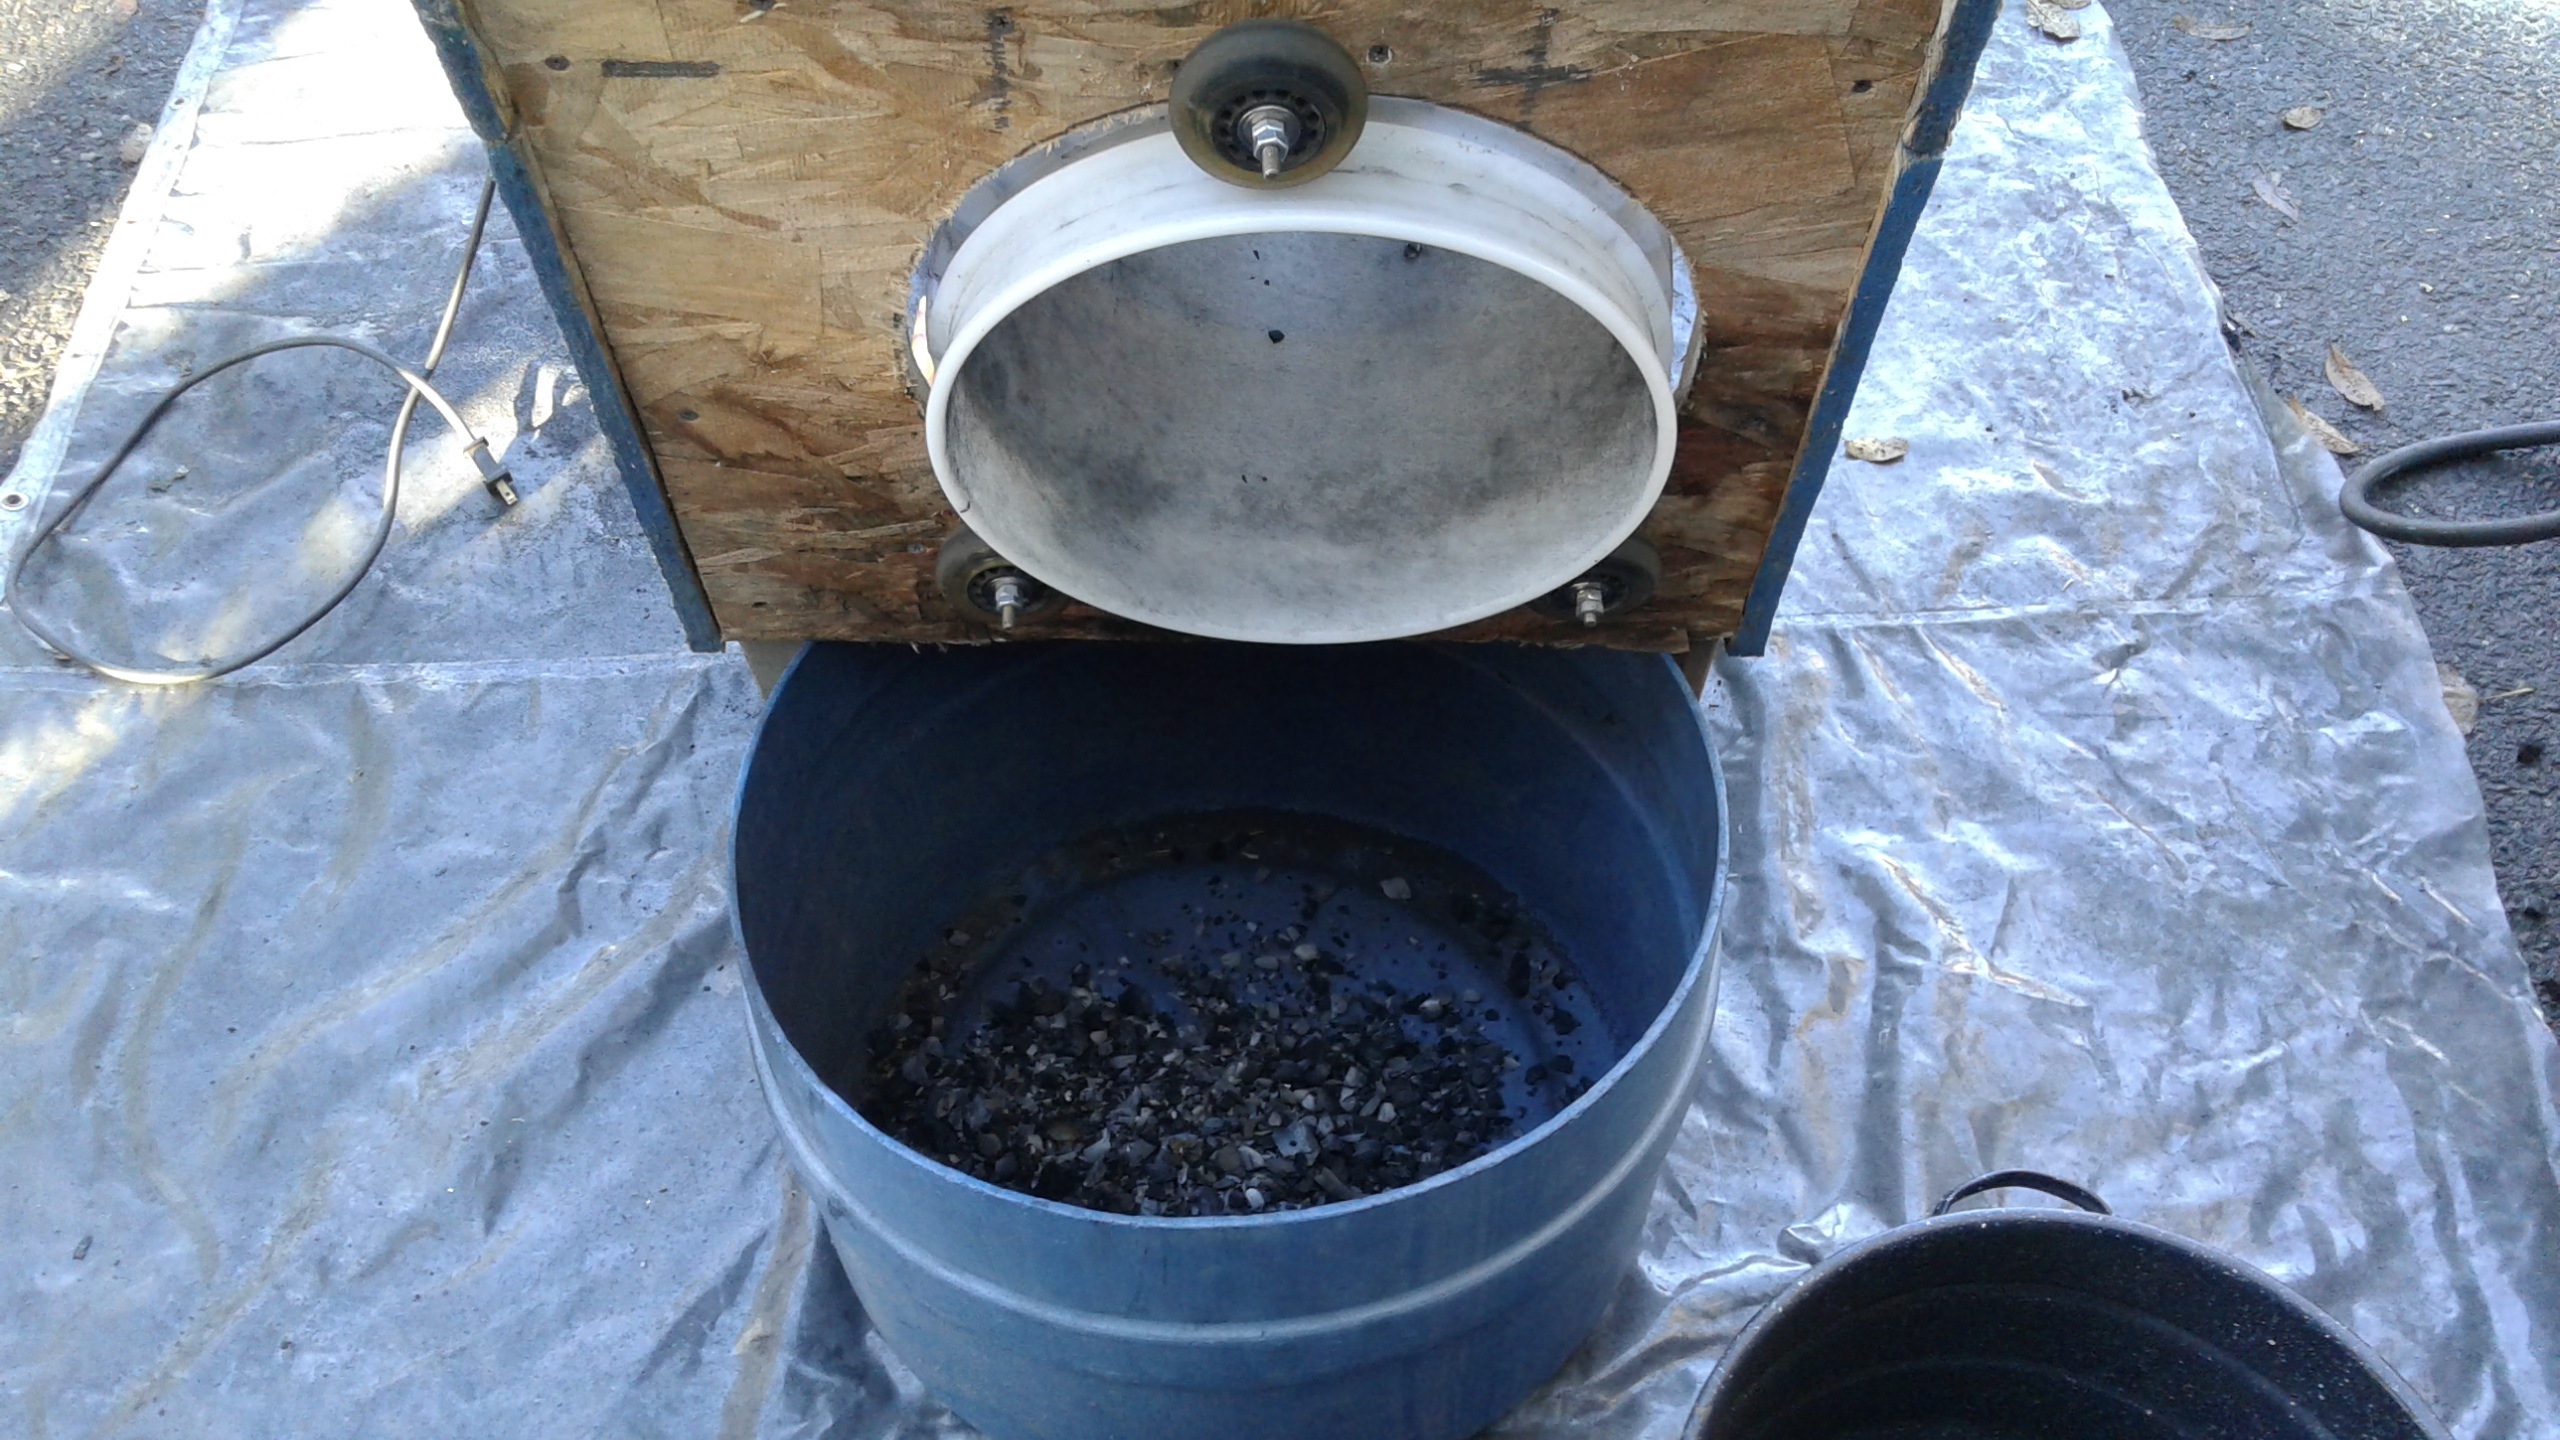
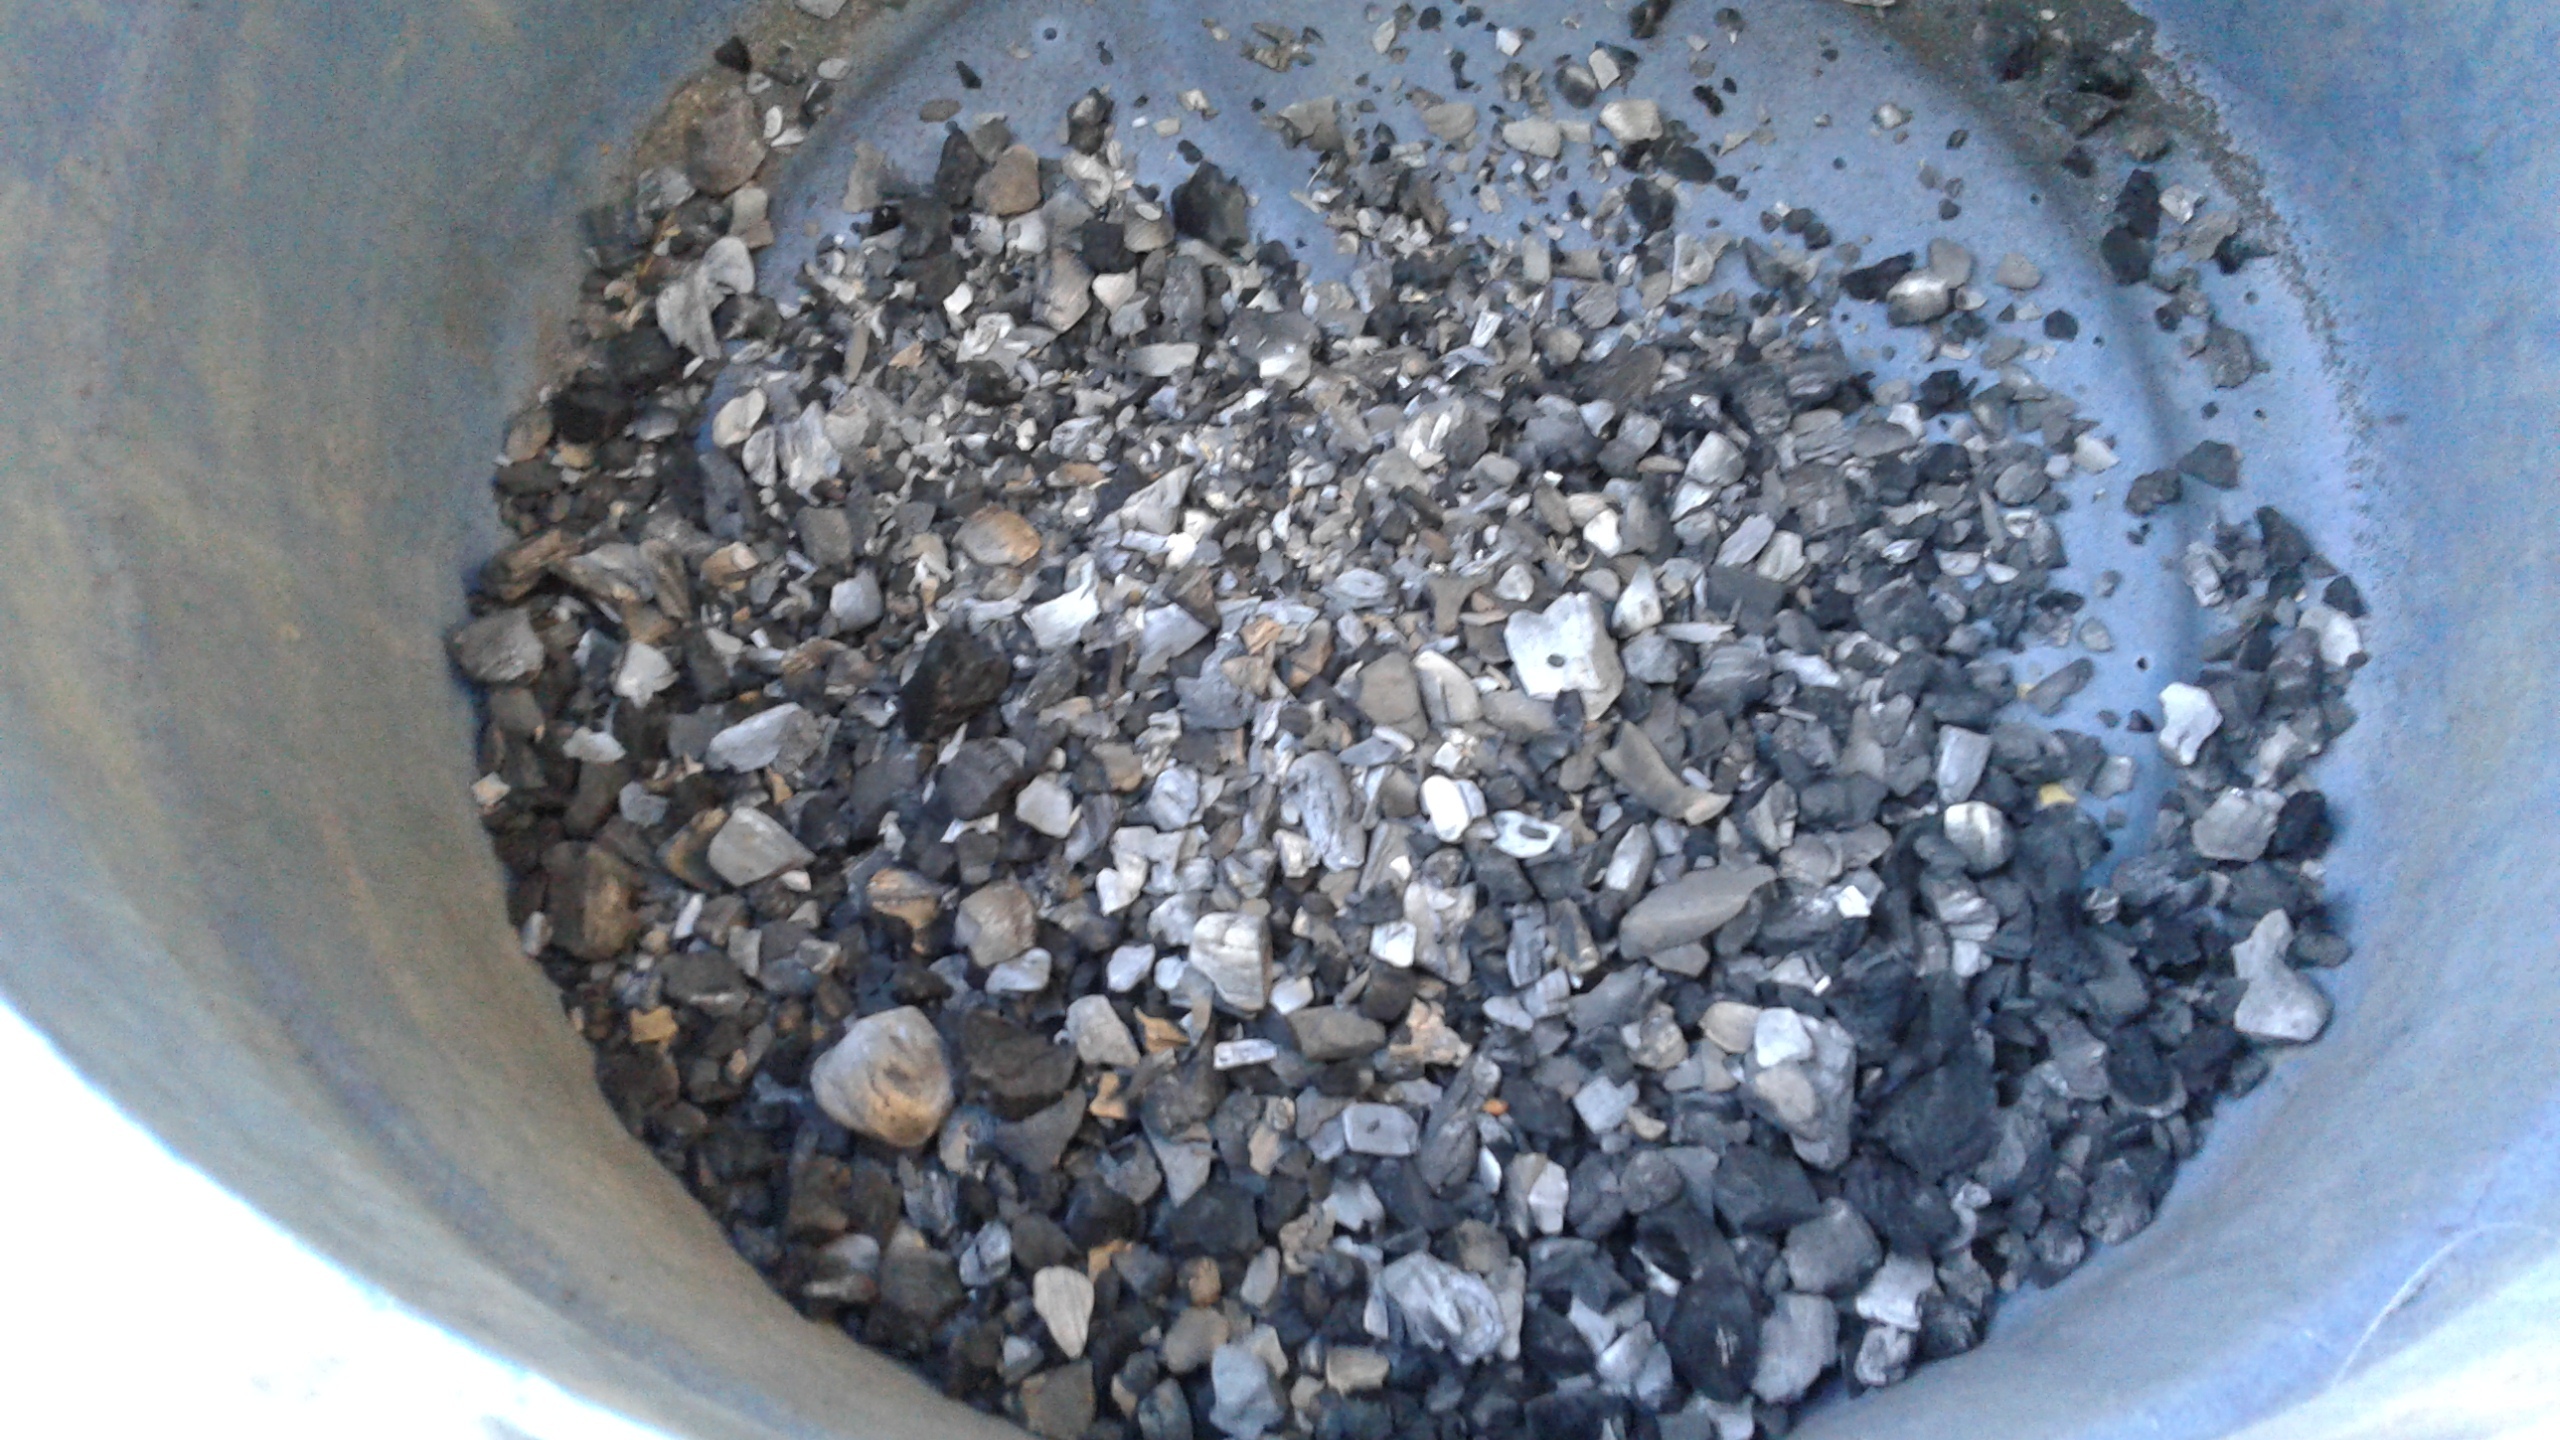
This time I’m not going to have the cart before the horse. Been working on the Charcoal Grinder/Trommel Screen classifier. So I will have plenty of popcorn and smaller sizes of charcoal for my Charcoal Gasifier.
Making some changes in the design of the Gasifier, first I’m not going to use the electronic throttle body to control the secondary air. That will be done manually with a control valve. No electronics in this design on air control, just not needed. Thanks @glgilmore for the advice.
Sense it is across flow air design it is going to have a auto feed barrow of charcoal to feed the hopper, both will be purge of air and will have some gas working it way through the feeding charcoal all the time when operating.
Hoping for about 100 mile range before refueling with charcoal. Engine size 2.5 L
Insulation in the barrow will still be charcoal all sides. Hot air filtering will be inside the unit. Thanks Kristijan or the idea of a filter brick.
My winter project on the Dark Side.
Bob
A lot of planning has gone into this build
Several questions though
-
why the plywood enclosure, maybe an attempt at black cloud control?
-
The grinder part has a shaft with chain drive, will it be connected to the trommel and the grindings flow into the trommel?
You are like the energizer bunny!
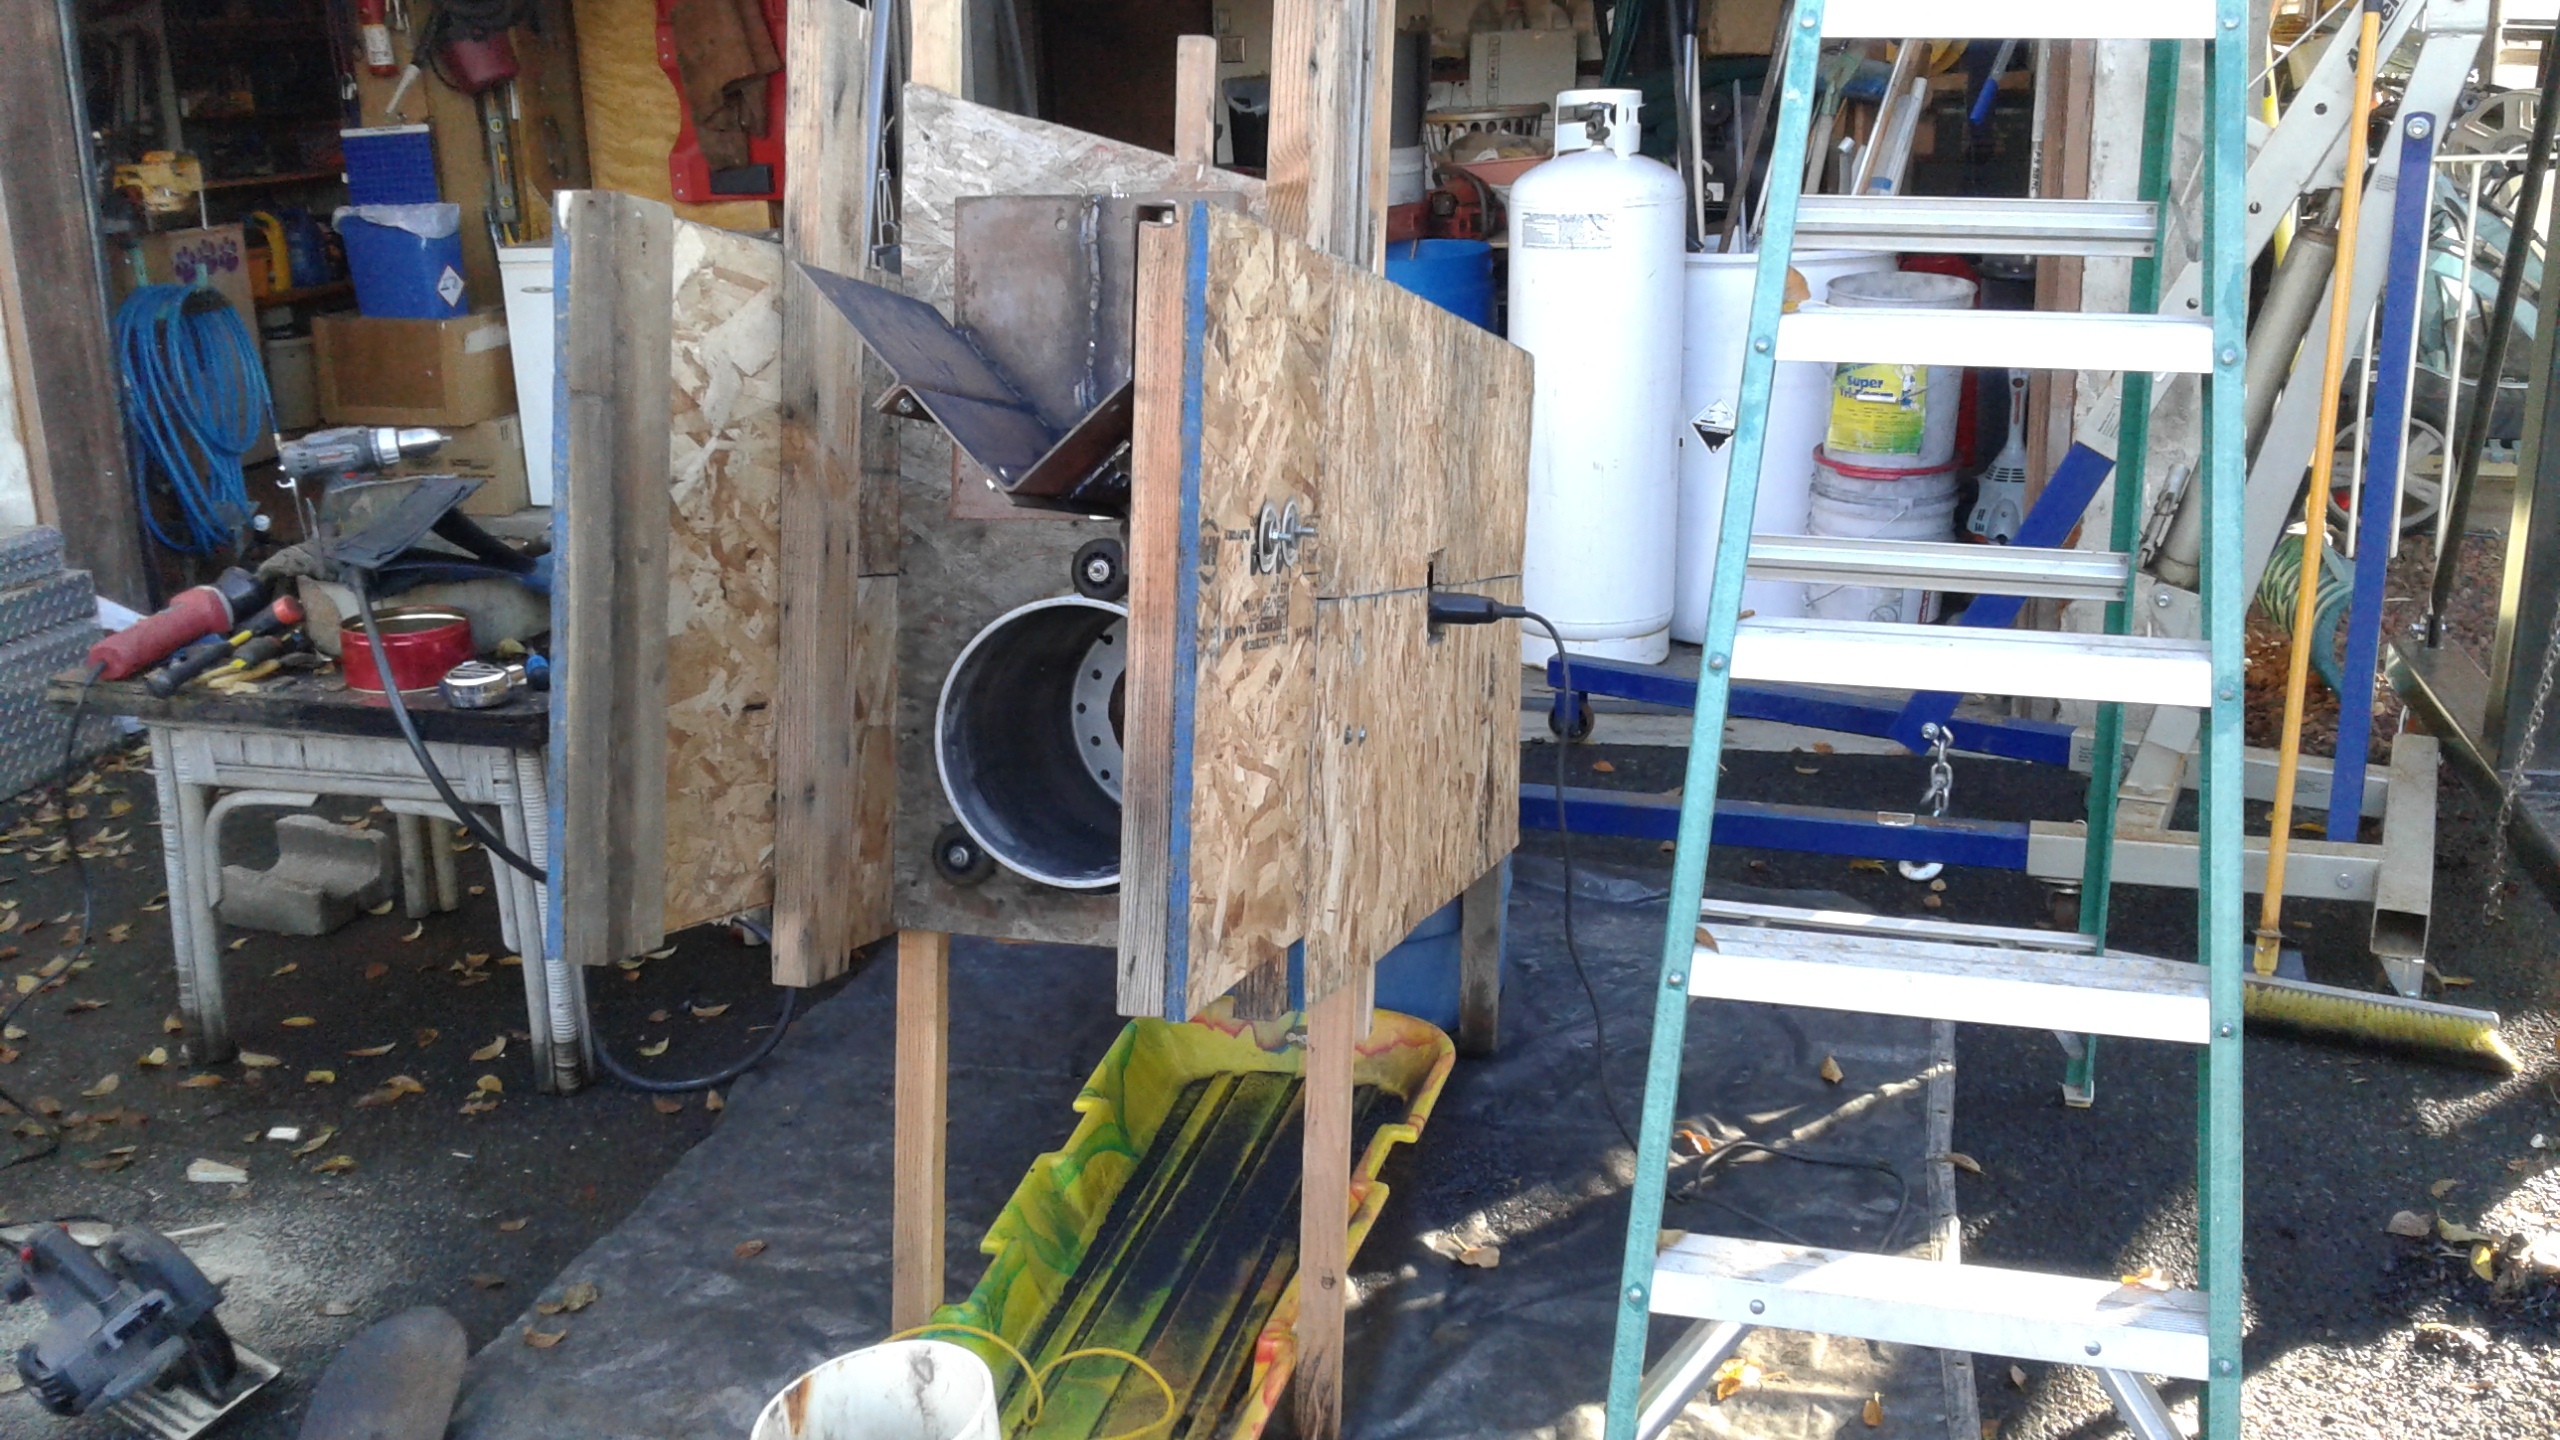
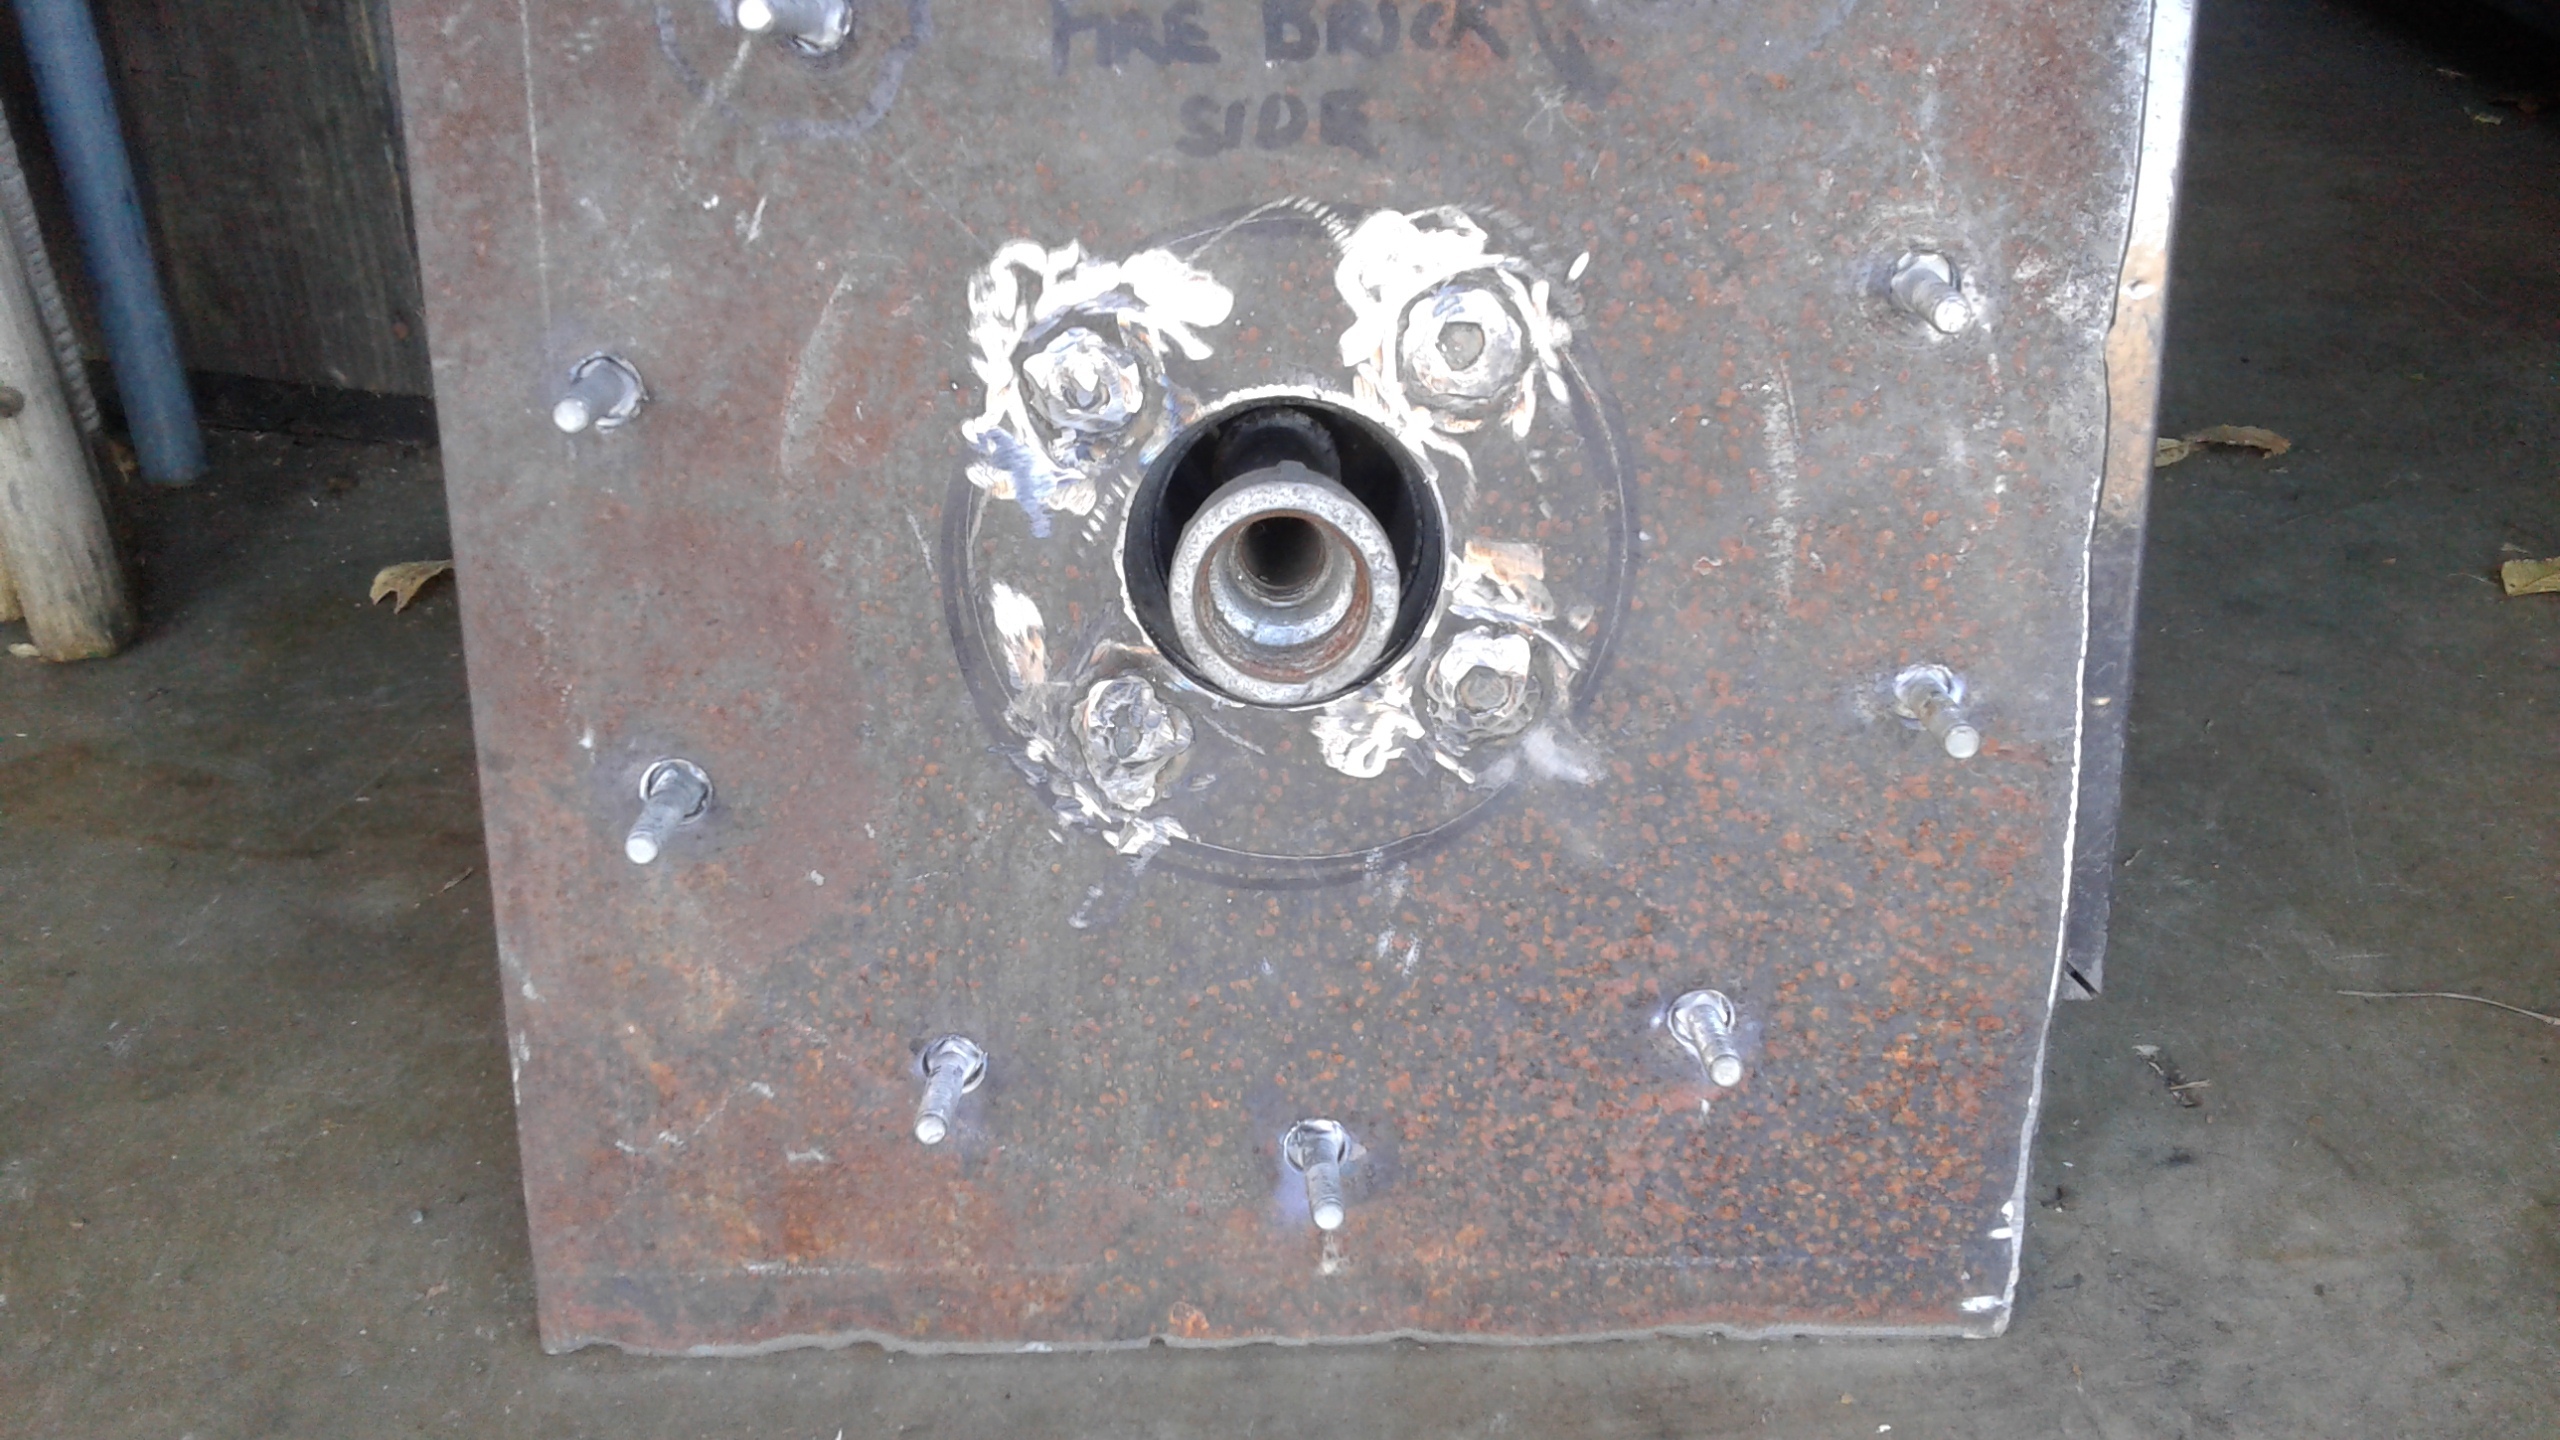
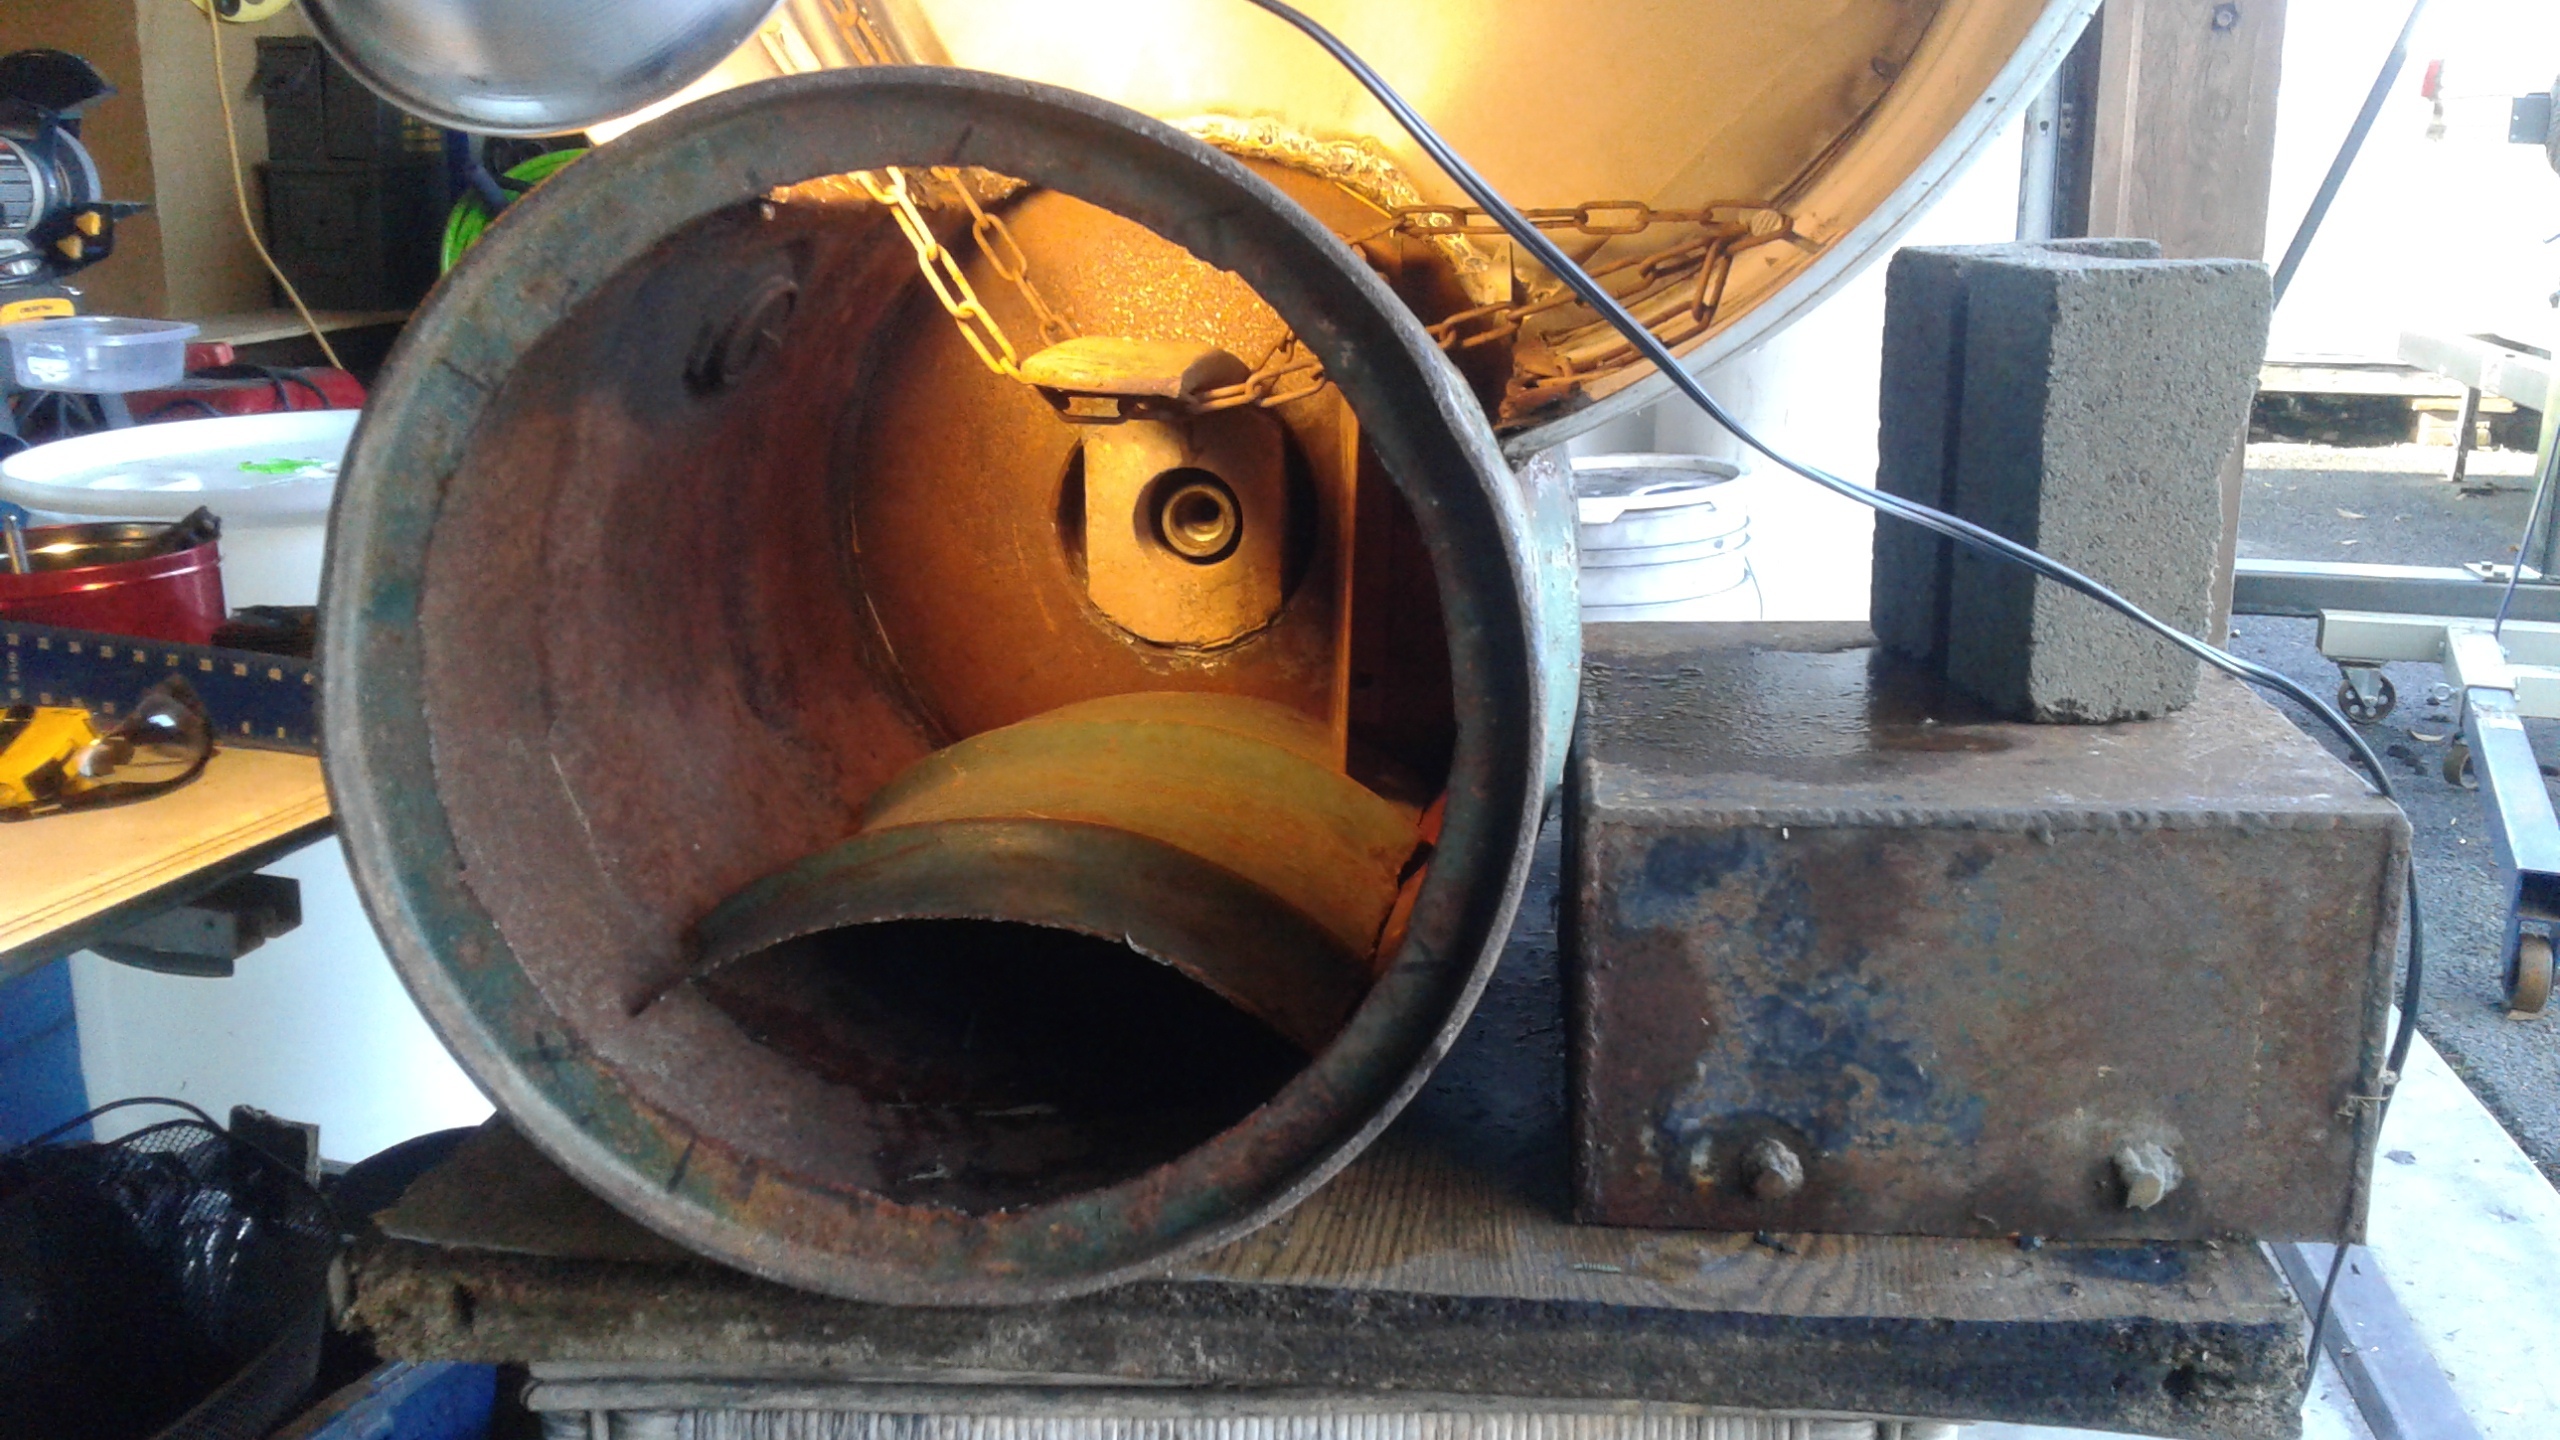
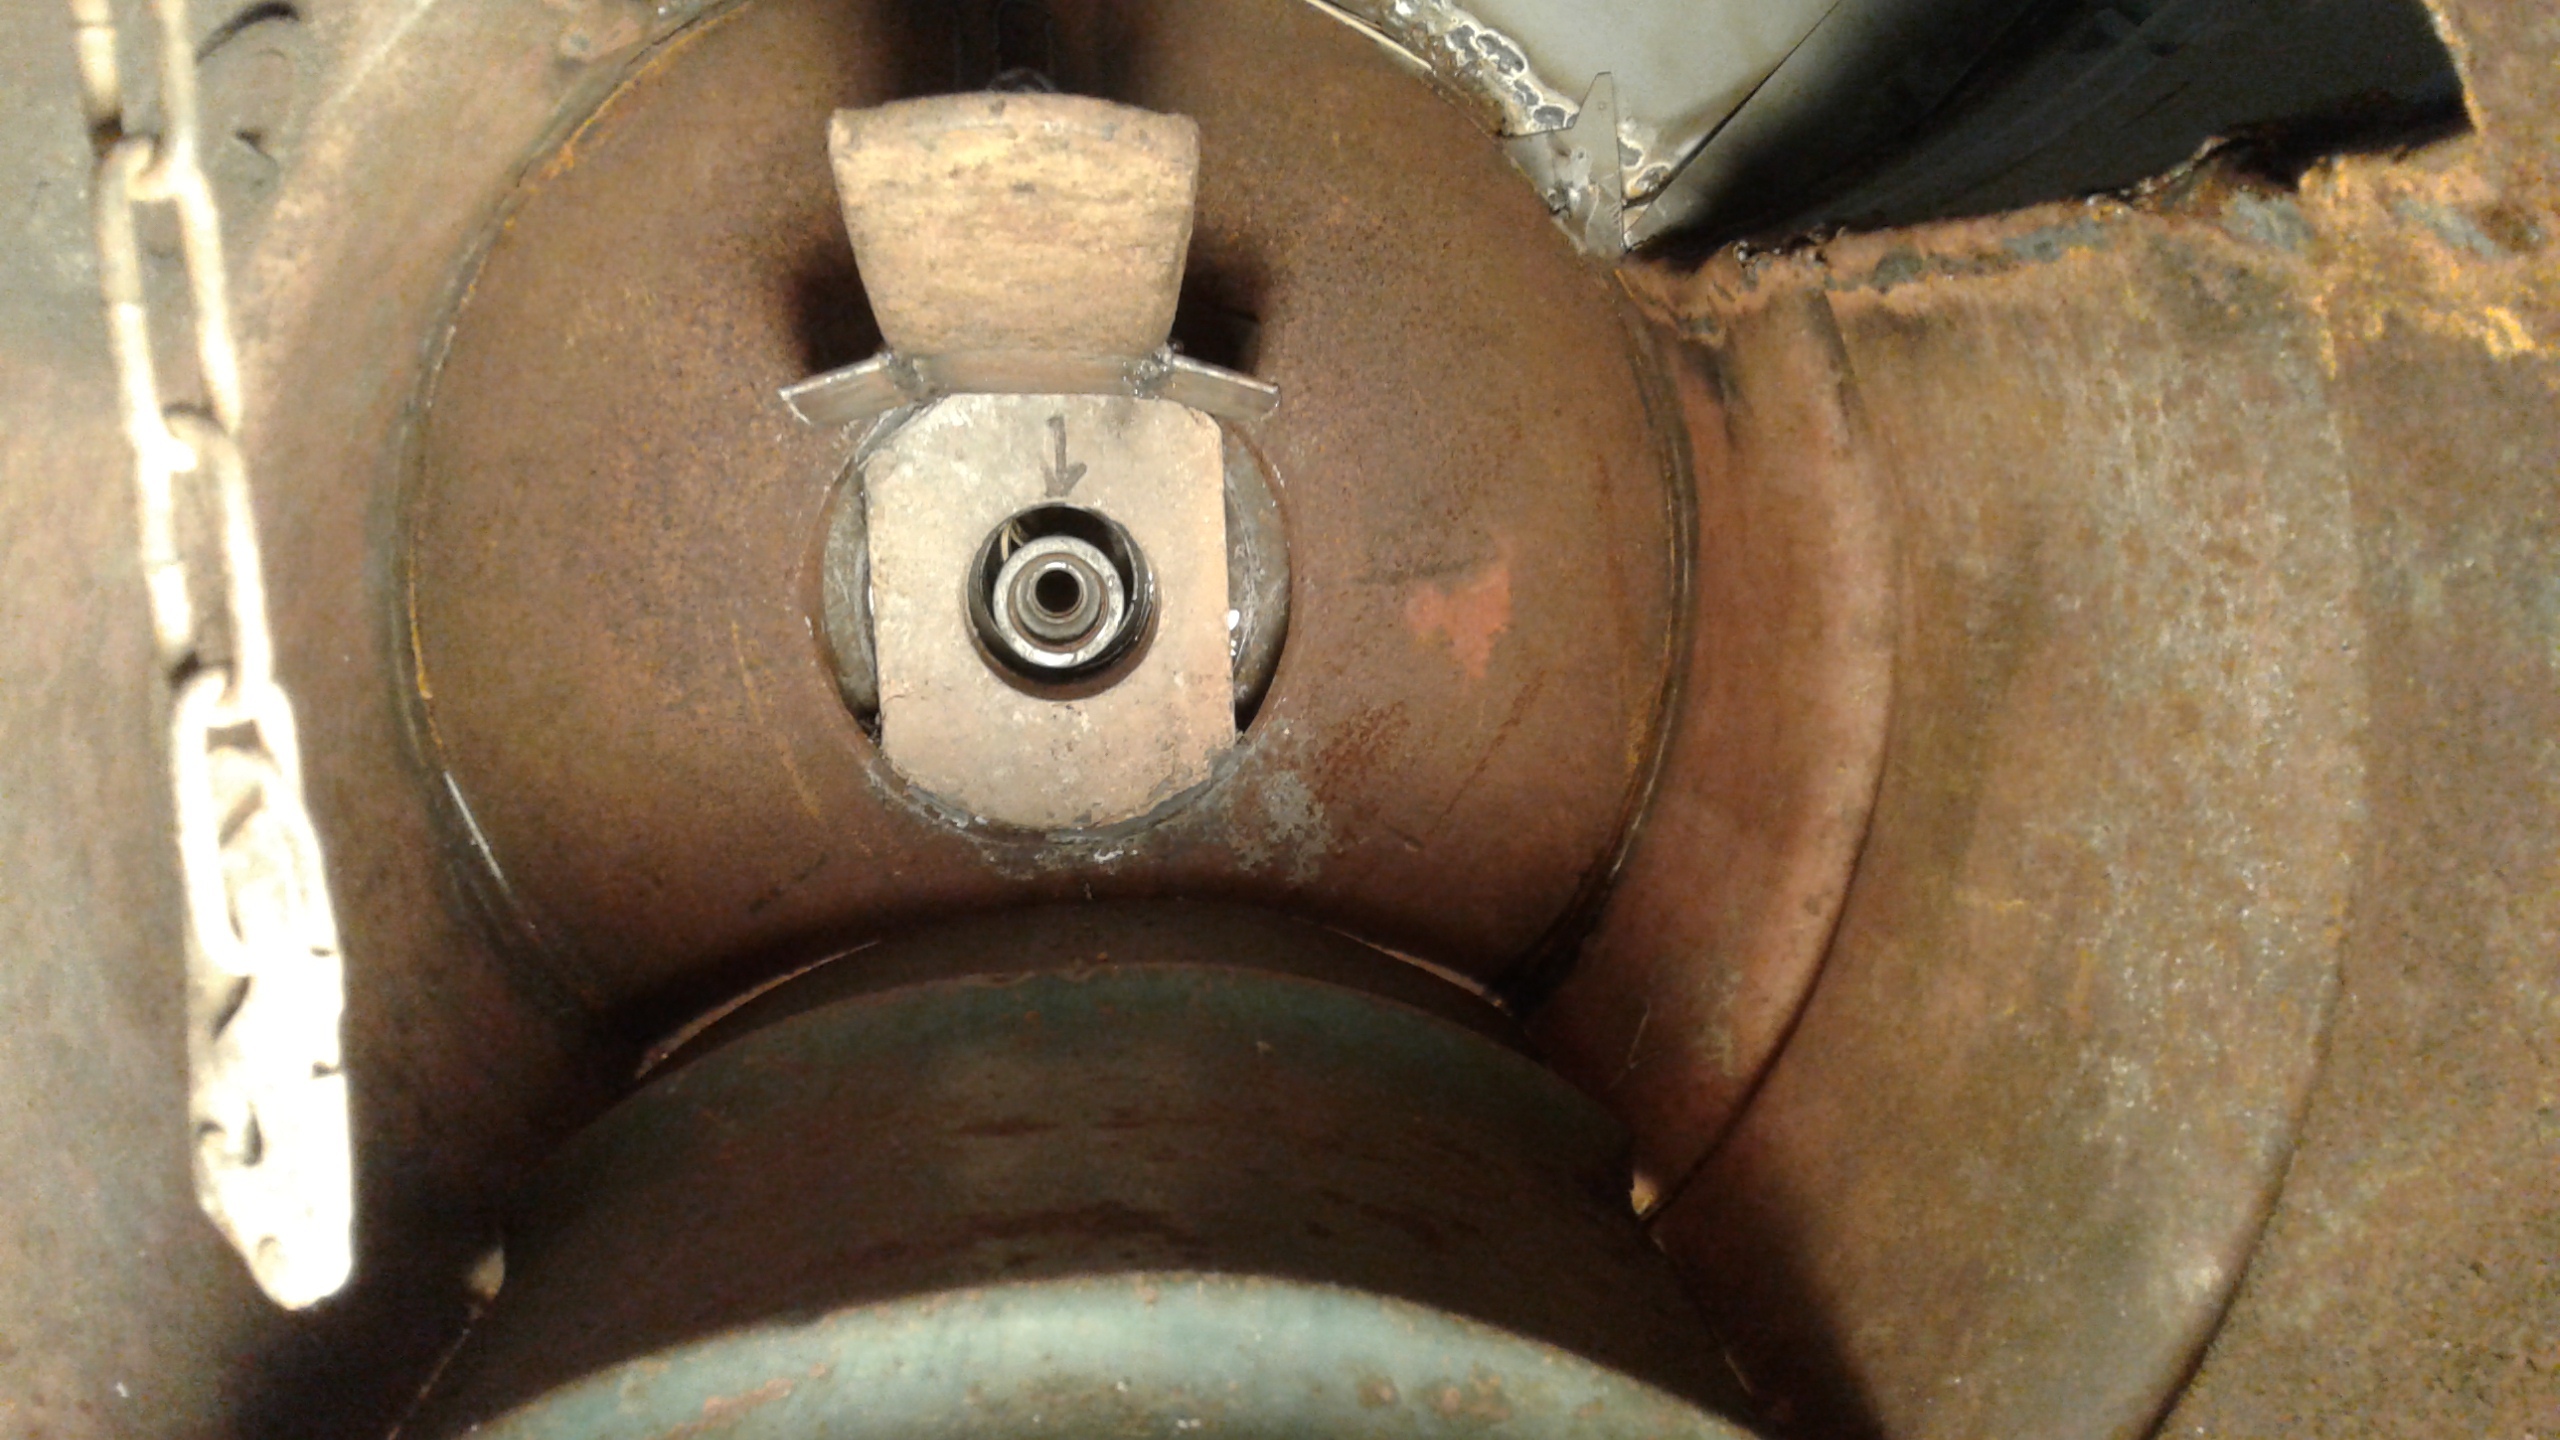
Here’s where I left off this spring just before I went down and pick up the 92 Dodge Dakota in Kentucky. It has been sitting out by my scrap metal pipe until today. It was begging to be put back into the garage and set it up again. I pretty sure I got the idea from @gasman Max about the over hang dog house above the nozzle. I came up with the idea of using some heave duty steel and hang it by chains for adjustment hight and tilt angle. The side plates will be welded to it and keep the charcoal away at the bottom. The bottom barrow piece will allow ash to slide off to the side and down into the very bottom of the gasifier. The gas will come out the top end of the open barrow.
Air tight lid will be on the end of the barrow. Stainless steel heat shields will slide the char from the hopper into the burn area and shield the heat form the out side. Just need to getting busy and finish it. Here are some new pictures.


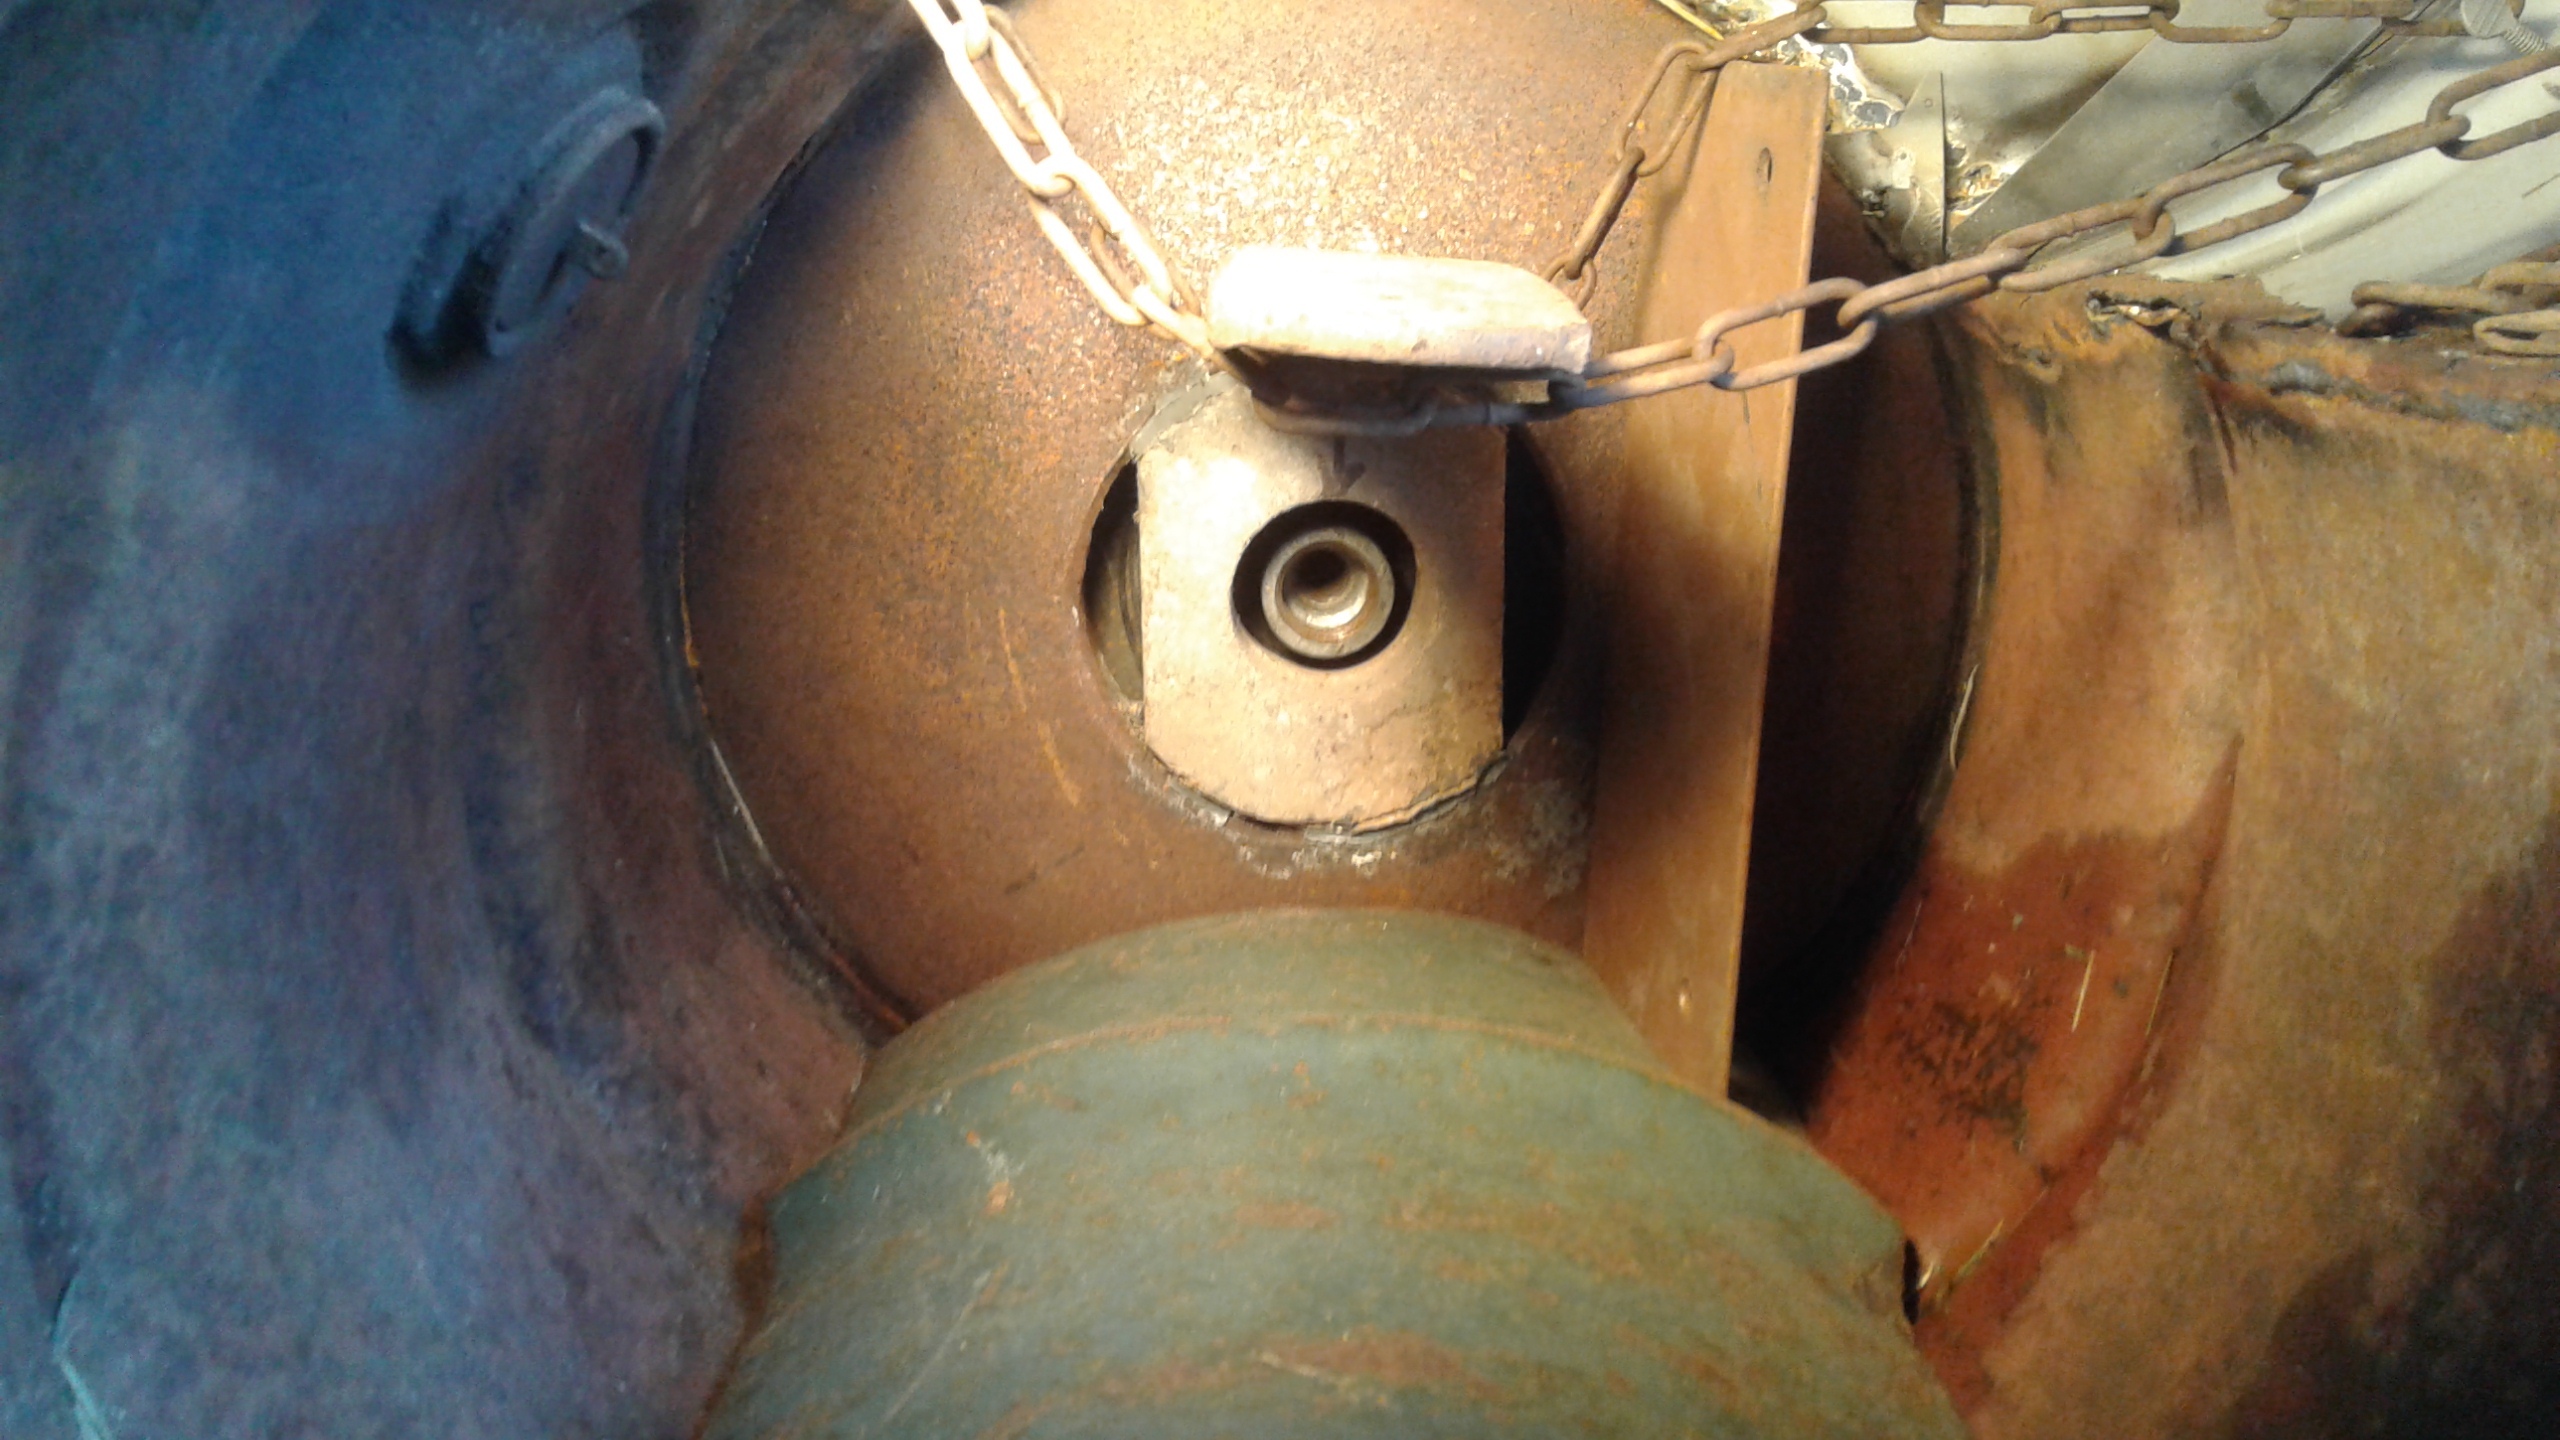
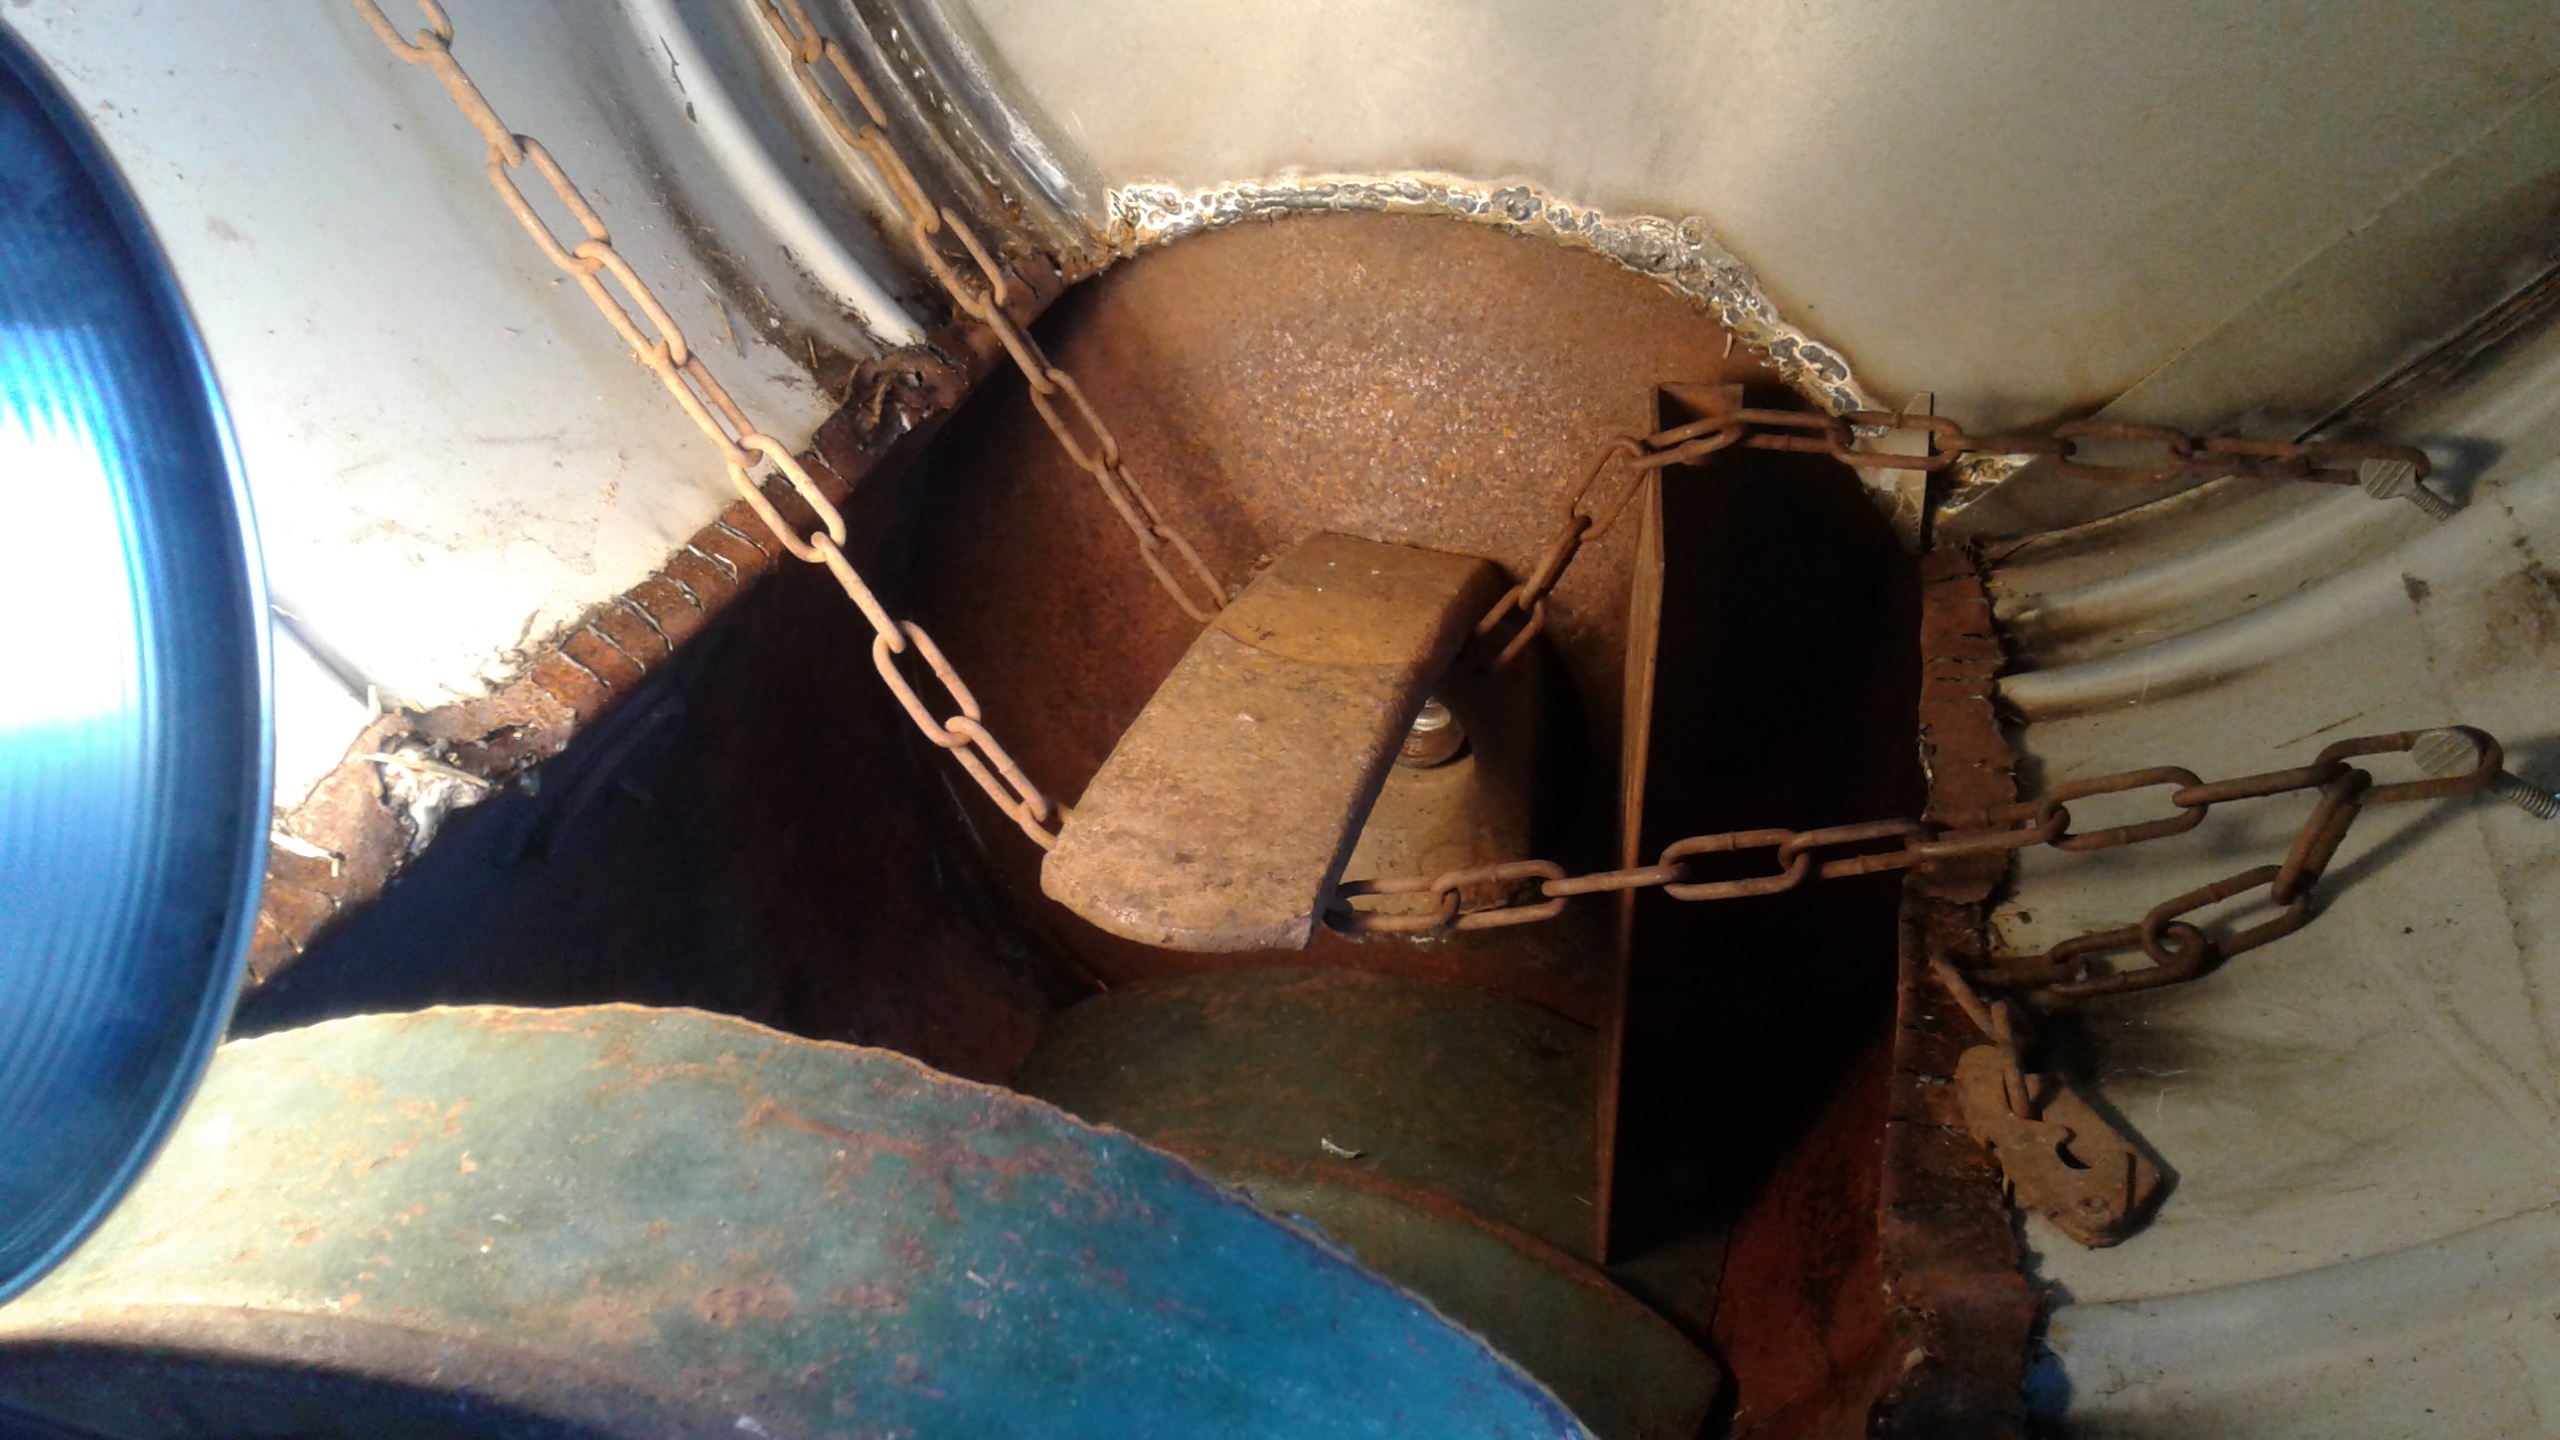
I just hung the chain temporary and put the heavy piece of leaf spring on the chains to give you all a idea of what I am doing. Only very fine pieces of char will be able to work it way in behind the hanging plate.
Bob

I decided to not to hang it by chains, it easier to bolt to the back of the gasifier wall and make it adjustable up and down. It will have some ceramic insulation behind it and inside the fire brick gaps on the side. My heat shields will have the ceramic insulation behind it also.
I love build as I go,
“Blue Prints! We don’t need any stinkin Blue Prints!”
The 7% nozzle blast should not even come close to the leaf spring, and I have it tapering up " like old fashion lemonade bottle". I love the comparisons you use Max. @gasman.
Bob
Looking great! Hope you burn some char soon!
How will you make the gas outlet? Take out hot gas or leting it go trugh the charbed?
HI Bob, This unit will definitely work on charcoal. No question. What size engine are you planning to run? The air inlet looks pretty small and I’m guessing about 3/4"??? That should be good for up to 10HP. Glad you removed the chains. They would be goners after a few hard runs. Basically they would get red hot and oxidize away, I will also predict the same fate for the heavy leaf spring you have positioned over the nozzle. It too will get really hot and oxidize but due to its mass will take longer. I am concerned that your nozzle does not poke into the charcoal but is flush with the wall. I’ll predict this area of the wall will get red hot too and oxidize the metal around the nozzle and eventually fail. Are you going to cool the oxidation zone with any exhaust gas or fluids? If so the rate of oxidation will be diminished. Great to see you give charcoal a try. It is fun. Take my predictions as something to watch for and not as a fact. Let us know how your gasifier works. This is how we build our collective knowledge using actual real world experiences and without using blue prints 
Gary in PA
Hi Gary, the nozzle are actually two nozzles, a 2" with a bell housing inside of it for high voloisity air the fire brick hole, and a 3/4" inside the bell housing. The 3/4" is open all the time unless it shut down, the 2" is controlled by a electric throttle body, by giving it more throttle from the gas pedal. It will be used with a 2.5 L Subaru engine but can be used with even bigger engines. Just by adjust the ratio setting on the the gas pedal dash pot control. It will slide into a square channel hitch on any car that has a hitch.
Yes, exhaust will feed though the throttle body and I will be able to drip feed the 3/4" pipe with water or oil or both if needed all control by electric valving and metered drip.
I would have had it done along time ago, but well you know the story 92 Dodge Dakota (from the book) rebuild.
Bob
I’m planning on using a hot gas bag filter. It will be in the lower open part of the gasifier on the open end side. It will have easy open end barrow lid for clean out. The gas will have different paths to follow, the gas will be able to go though the lower ash pit area, or flow upwards though the char, or go around the end plate edges where the filter is on the other side. The gas will have to go though charcoal to get to the filter. This will keep the gases circulating going though the entire gasifier and hopper area, and keep the gas vacuum pressure as low as possible before entering the filter. The filter will have a shaker attached to it to remove any clogging problems and keep it working at the lowest vacuum pressures. The gas will exit at the top of the end barrow lid, with the filter and shaker attached to it. Wing nuts will secure it and keep it sealed tight. I have been thinking on this one for months now off and on. Glad to be working on it again. Taking a walk on the Dark Side of Gasification.
Bob
Will the sack (fiberglass l assume) be permanently fixed in the barrel or will you have to take it out at cleanings?
I am asking this becouse l have to pull the cage/sack out and l noticed glass fiber becomes brittle after some time in heat. So l think its important to give it as litle movement as possible.
Welding down hill quickly solves a lot of issues as well
Kristijan, it is going to be attached to the end barrow lid so it can be shaken if needed with shaker motor on the out side of the lid. The bag fibergass filter cloth will be tied around small bike wheels. Someone posted the design in a thread and I bookmarked it, I have over 300 bookmarks, lol, to look though to find it.
I am hoping the gas will cool some going though the charcoal. I should pass the gas though the charcoal to the top of the hopper and then bring it down to the filter, this will help clean it a little more and cool it down some.
I could also put the filter in a plastic 5 gal. bucket with a screw on lid on the out side of the gasifier this would give me more filter surface area to work with. Easier to clean the filter ash out of the bucket. This was my first idea.
Bob
This conversation about filters makes me wish we had a topic on filters for charcoal gasifiers like Koen started for nozzles. There is probably a lot of good stuff spread throughout the other topics already that could be collected.
I was just thinking that today, I will start one. “Filter Design and Discussions for Gasifiers”
Bob
as much as i want to click, the system allows only 1 like… but i like this more then i could click