Thanks JO, yes the hopper is from a clothes dryer, an old tool box, brake rotor, plow disk, throttle body off chevy truck, lots of parts thrown together. Ha ha, what fun it is.
Professor Balthazar? Can’t remember ever seeing it on TV in the 70s.
Dana showed me a Dodge Dakota truck for $800.00 but it was a 1998 4X4 with big tires and looked like it had done a lot of off road driving. They can get pretty beat up doing that.
The more I think about it, a truck will be nice just slide the unit in and hook it up.
Bob
2 Likes
I agree. Not sure how much but I never worry about wet filter socks. It might be a problem when the filter sets over night during winter. Mine open easy so I let them dry after using. So, if freezing was a problem I would bring them into the warm to dry.
1 Like
Thanks Jeff, that is good to know. My filter will come off in a minute, so durning freezing weather I could dry them out by opening the top container if needed.
I will try to make a short video next time for all the Data users on DOW.
Bob
Hope you Don’t get tired of all the pictures, but I would really like some input on this. For the document records.
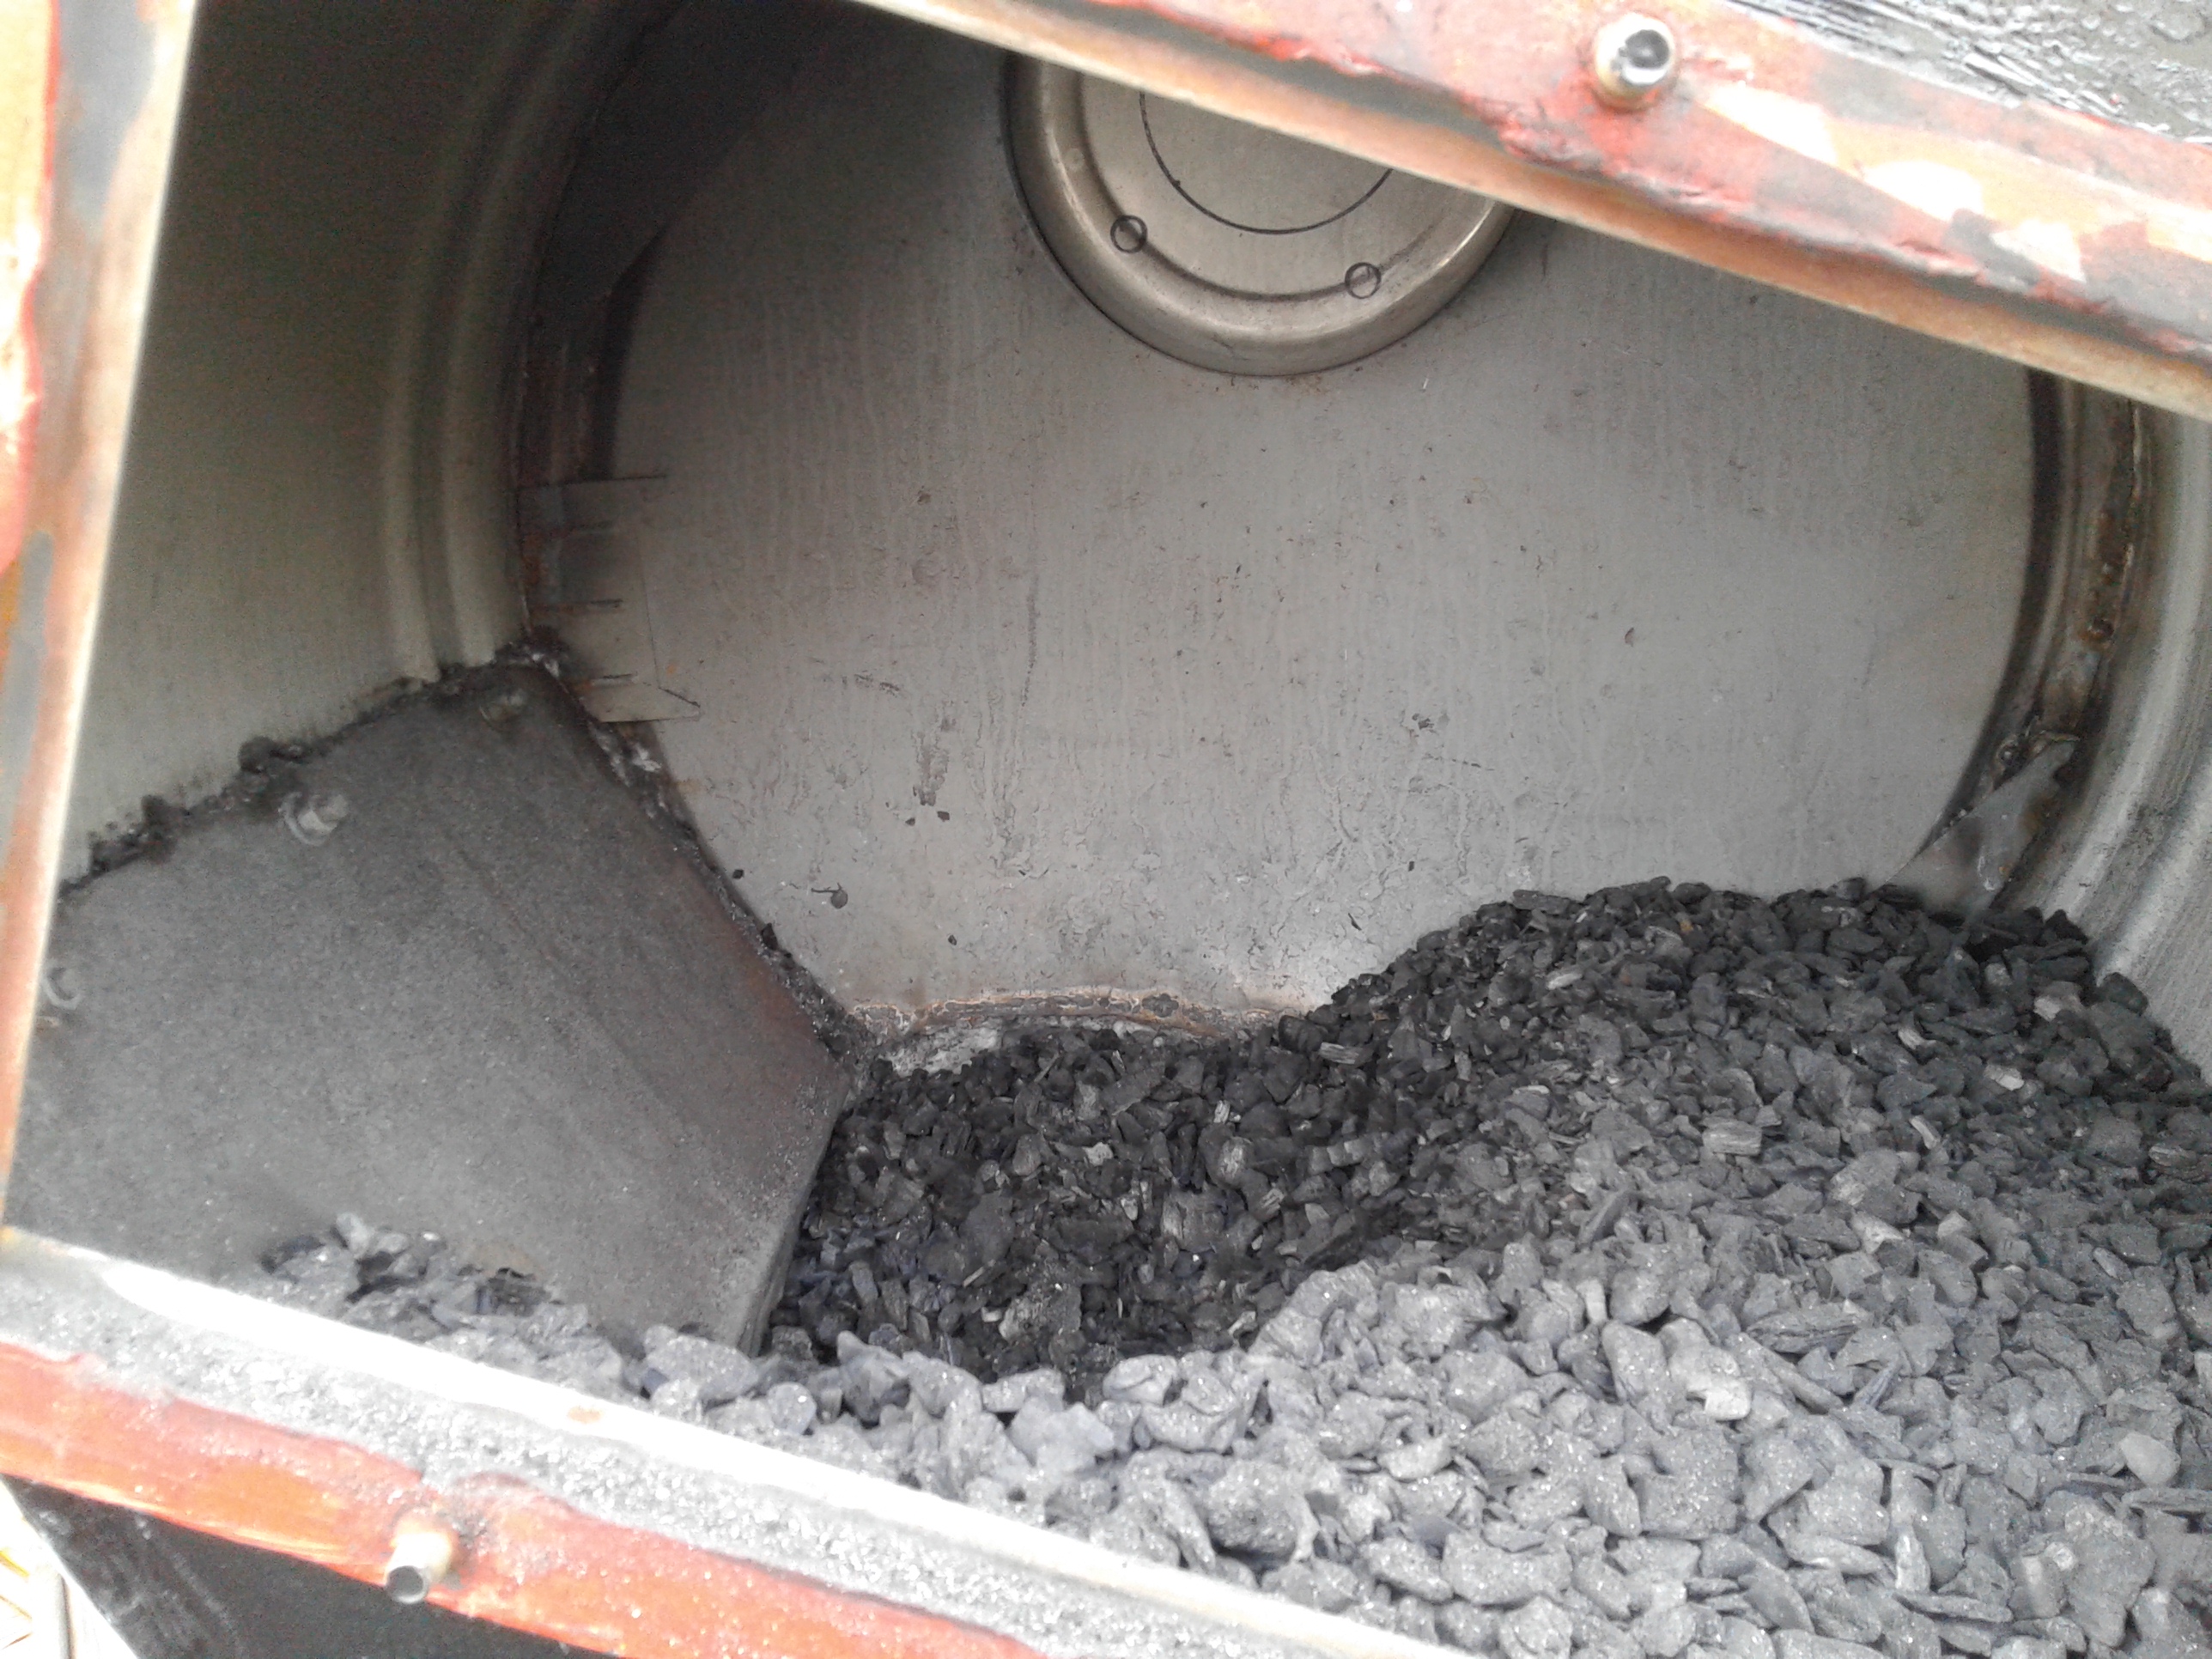
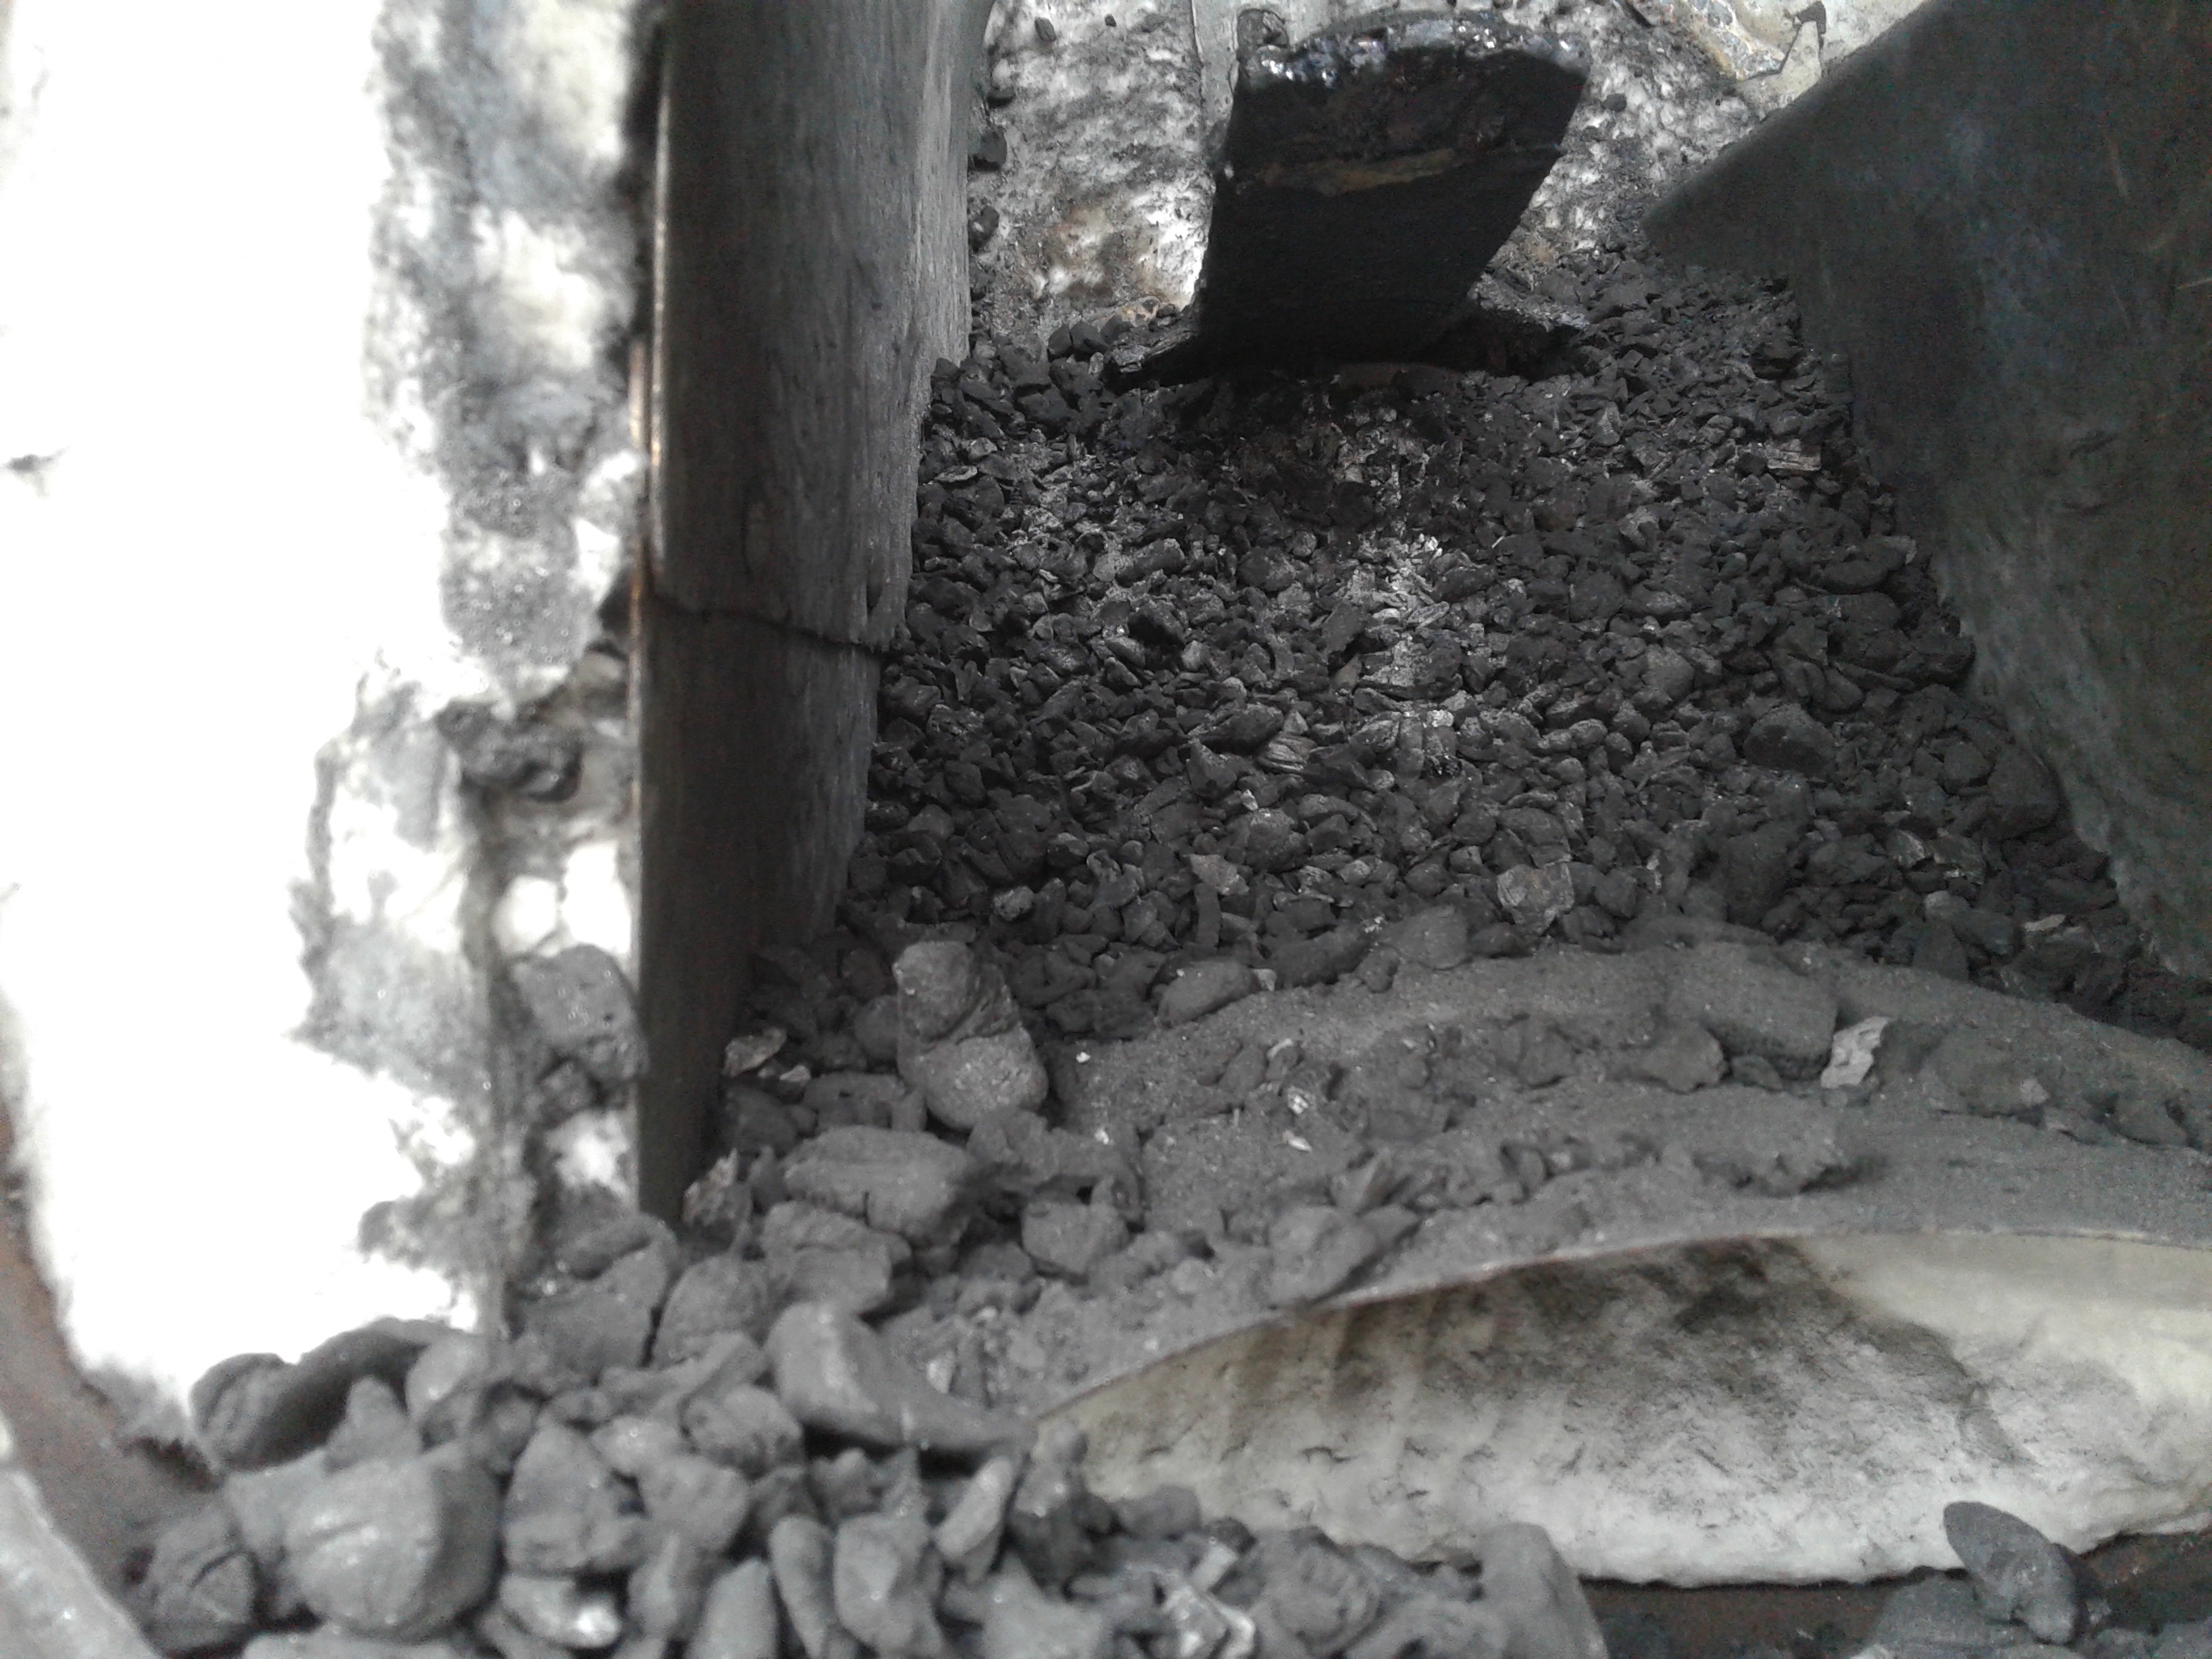
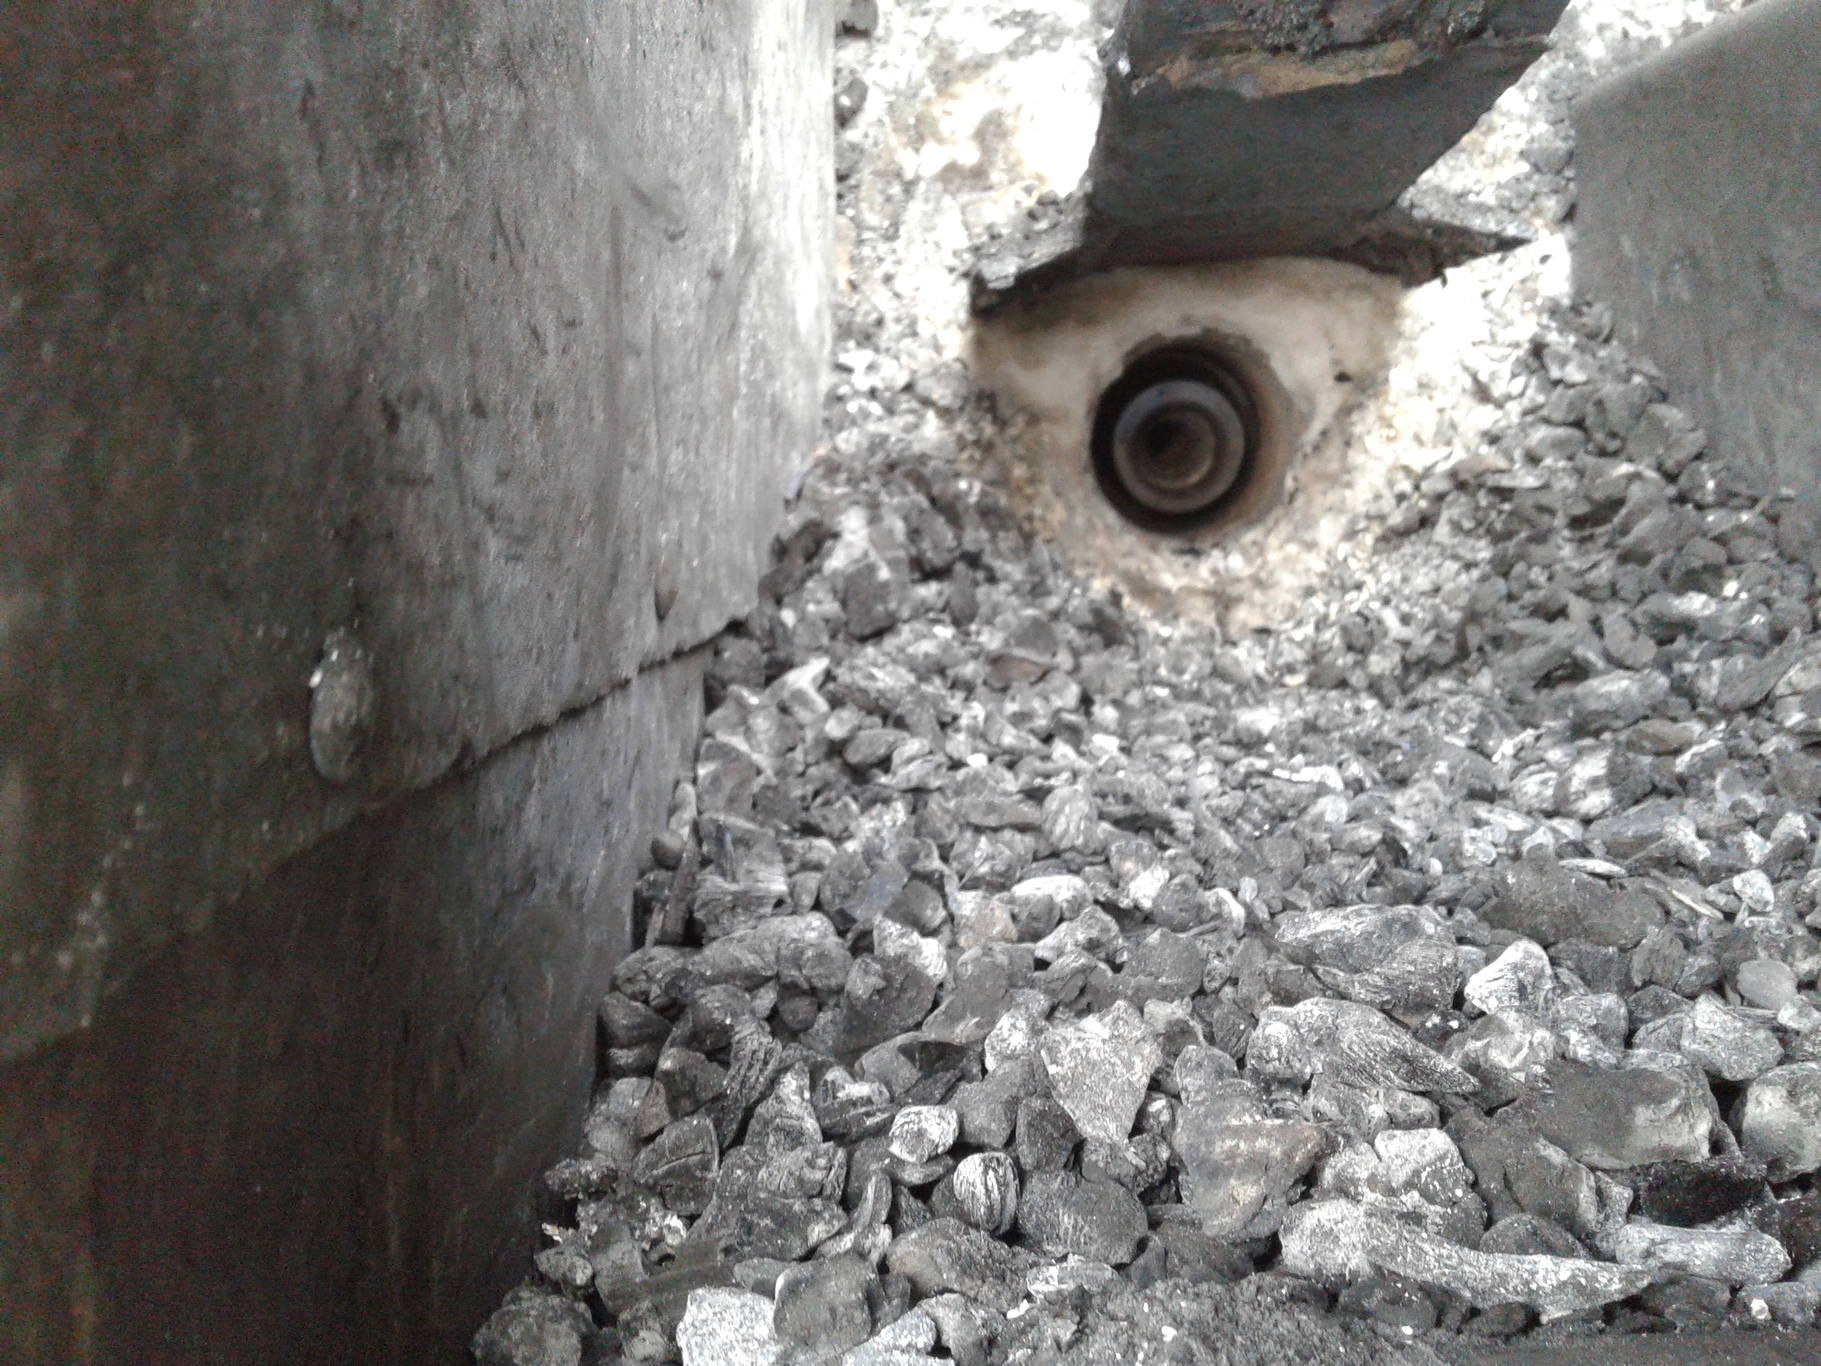
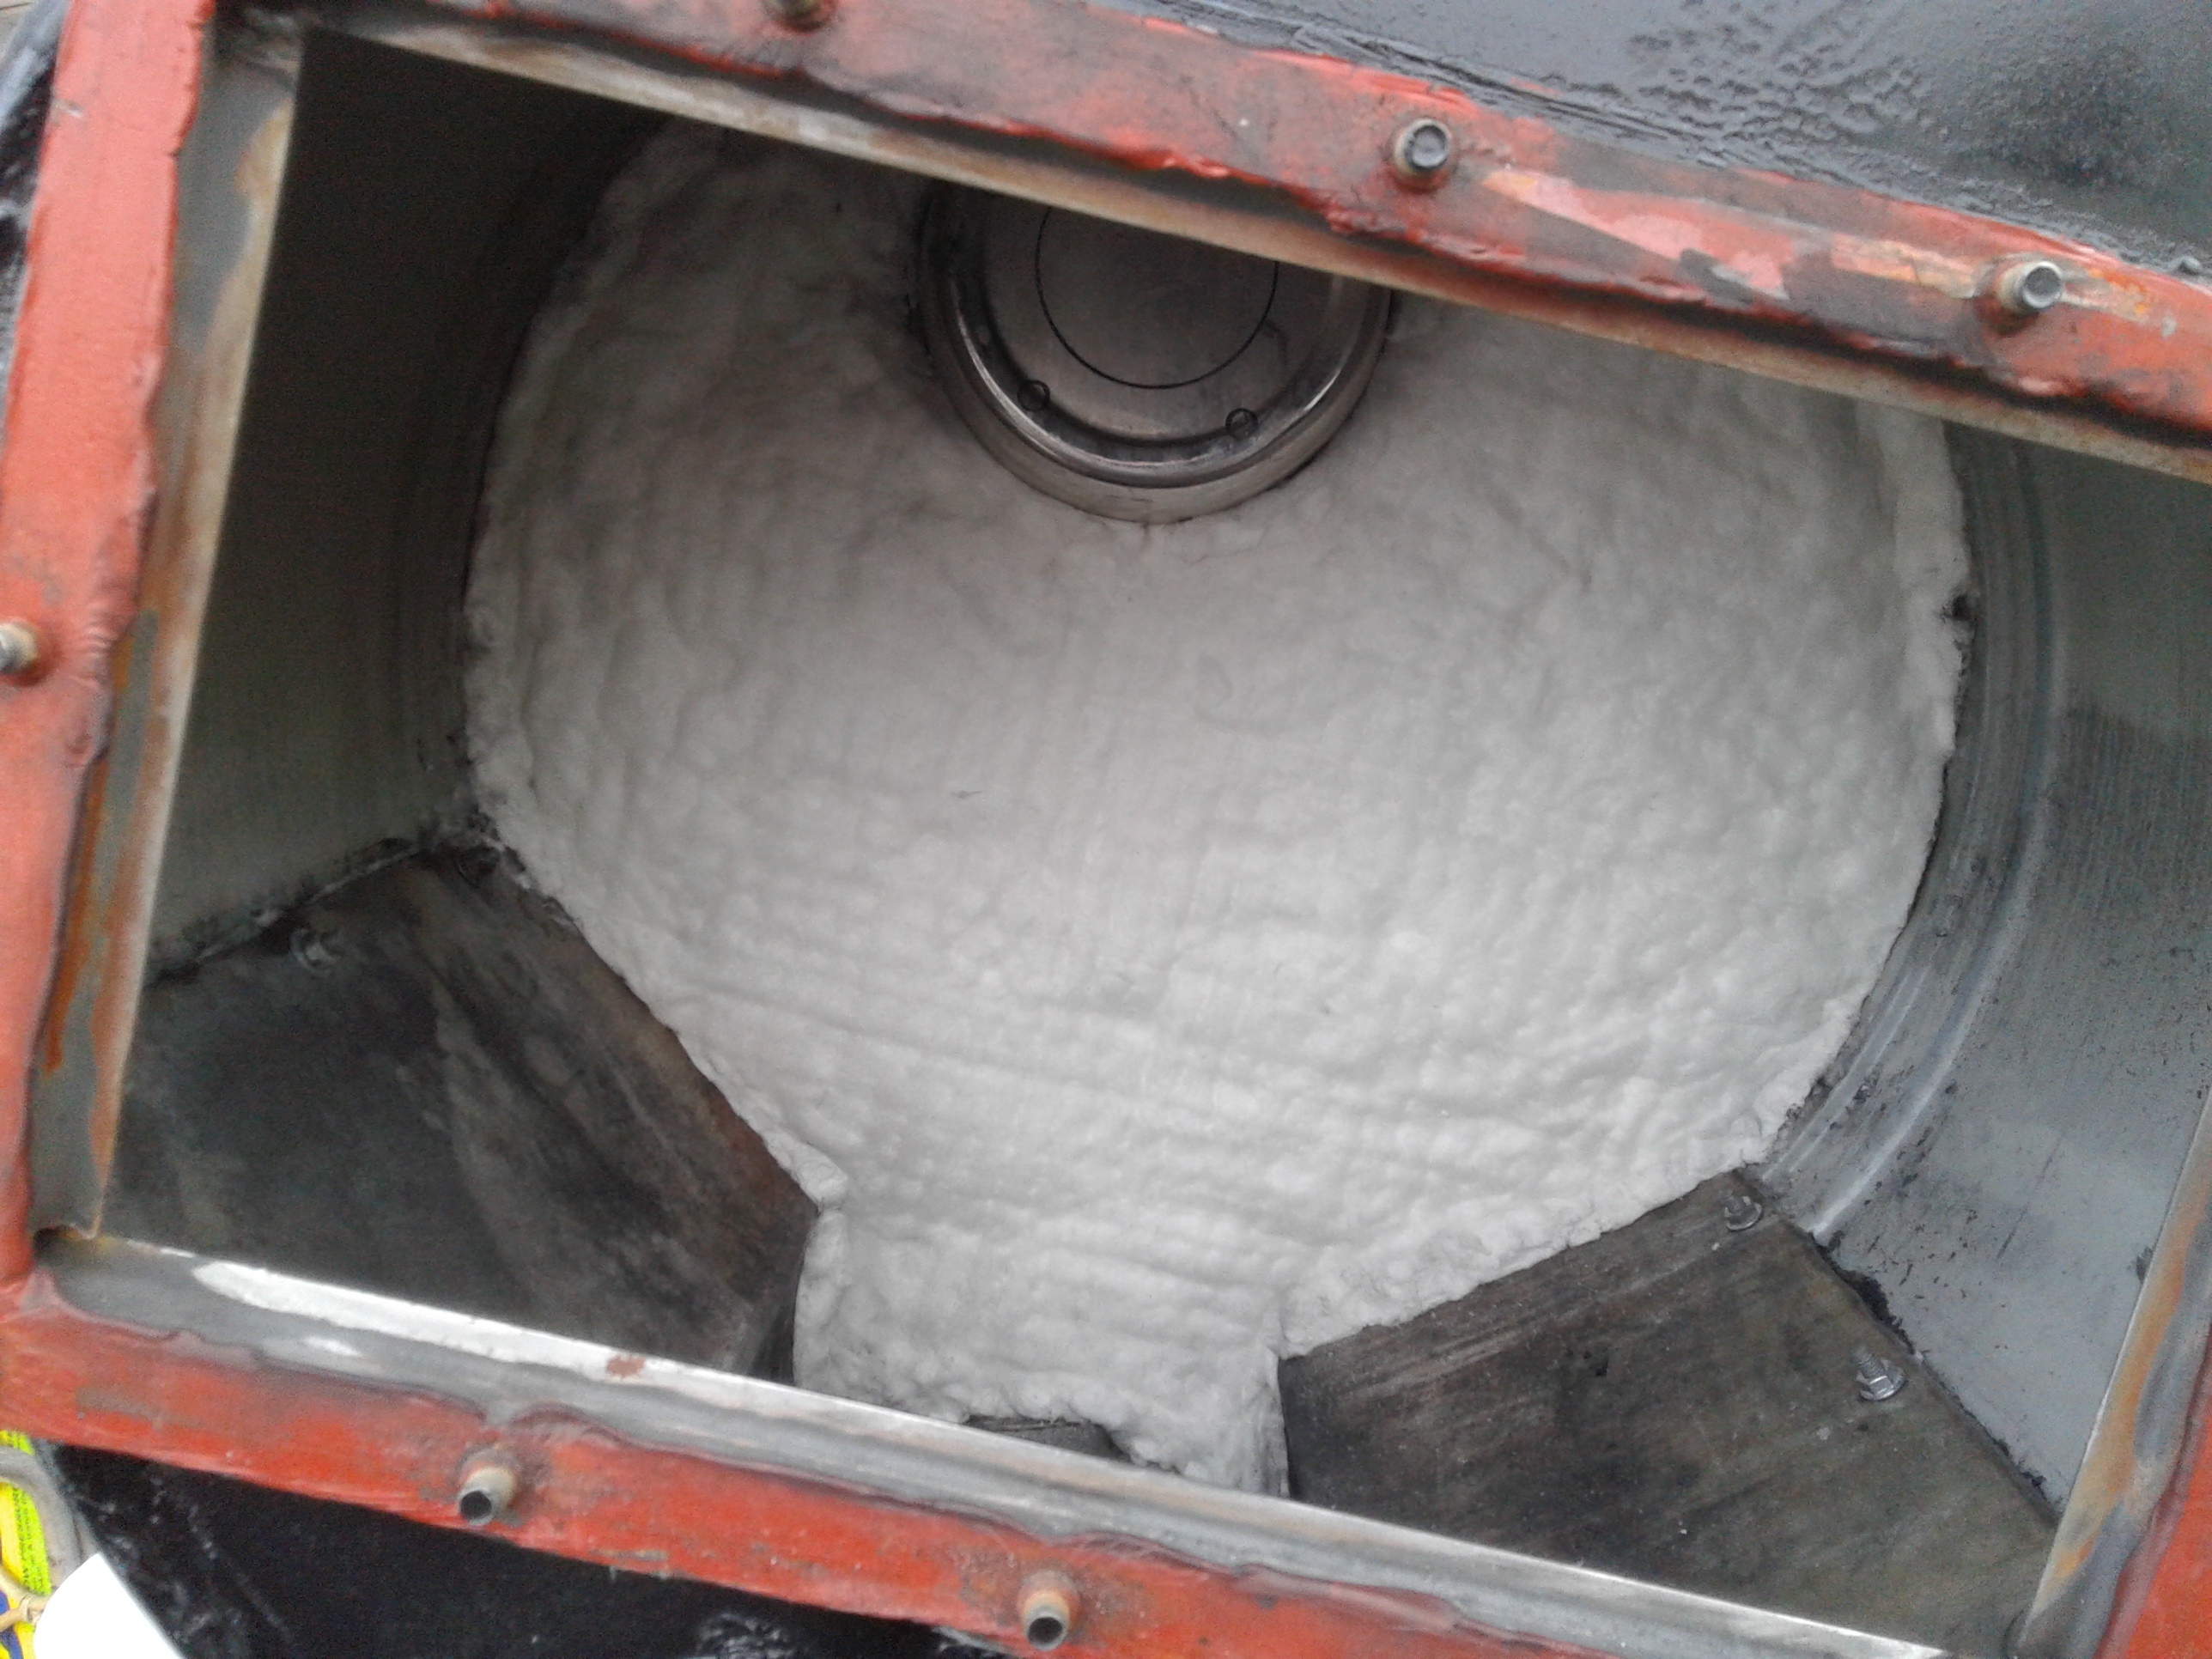
Pic #1 Pulling the side cover off tells me how the char is feeding in and why the out side of the hopper was getting warm in that spot, more ceramic insulation in that spot needed. Also that is where the char needs to be anger in at.
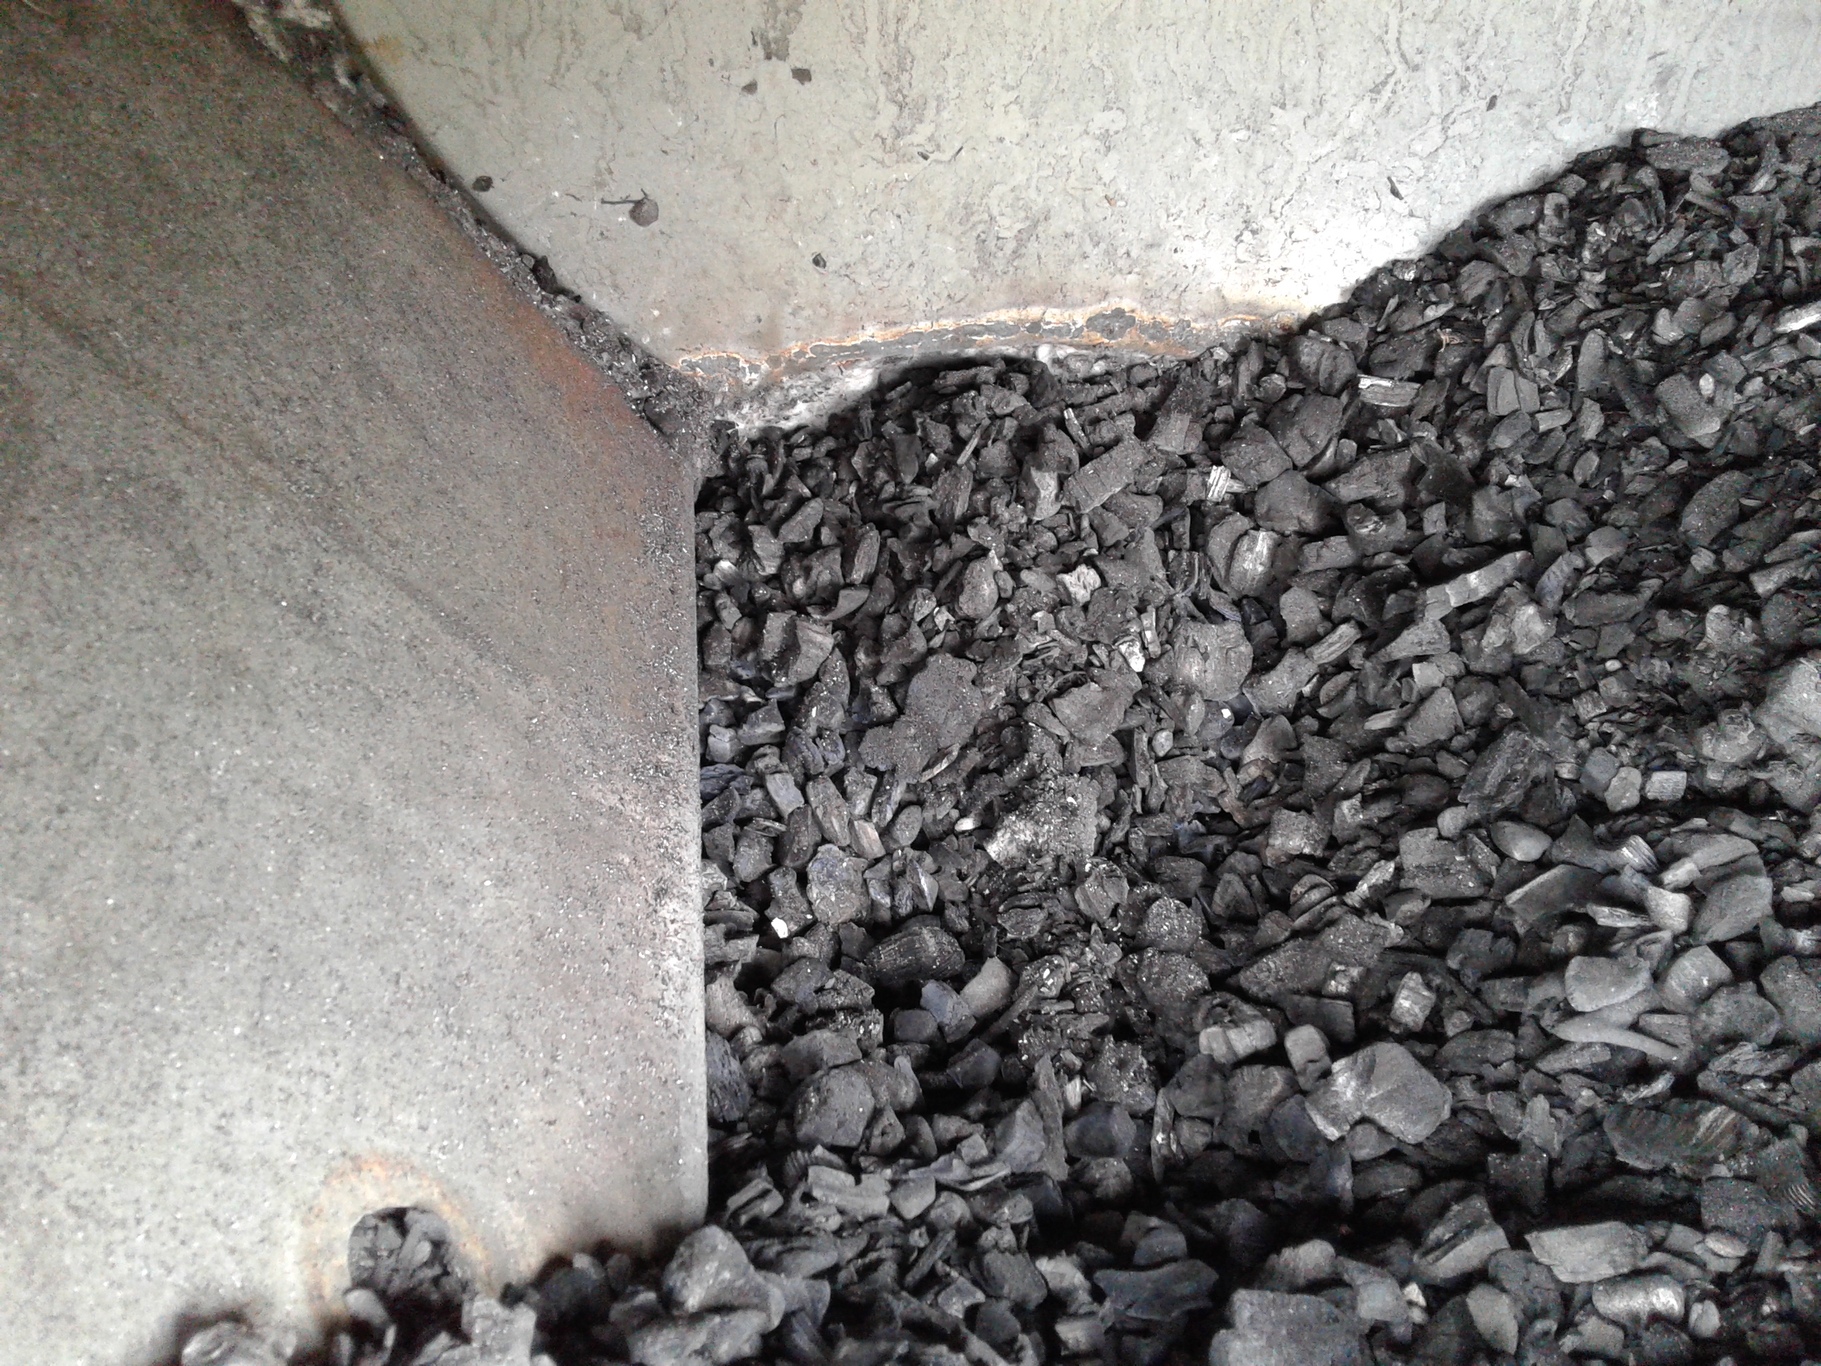
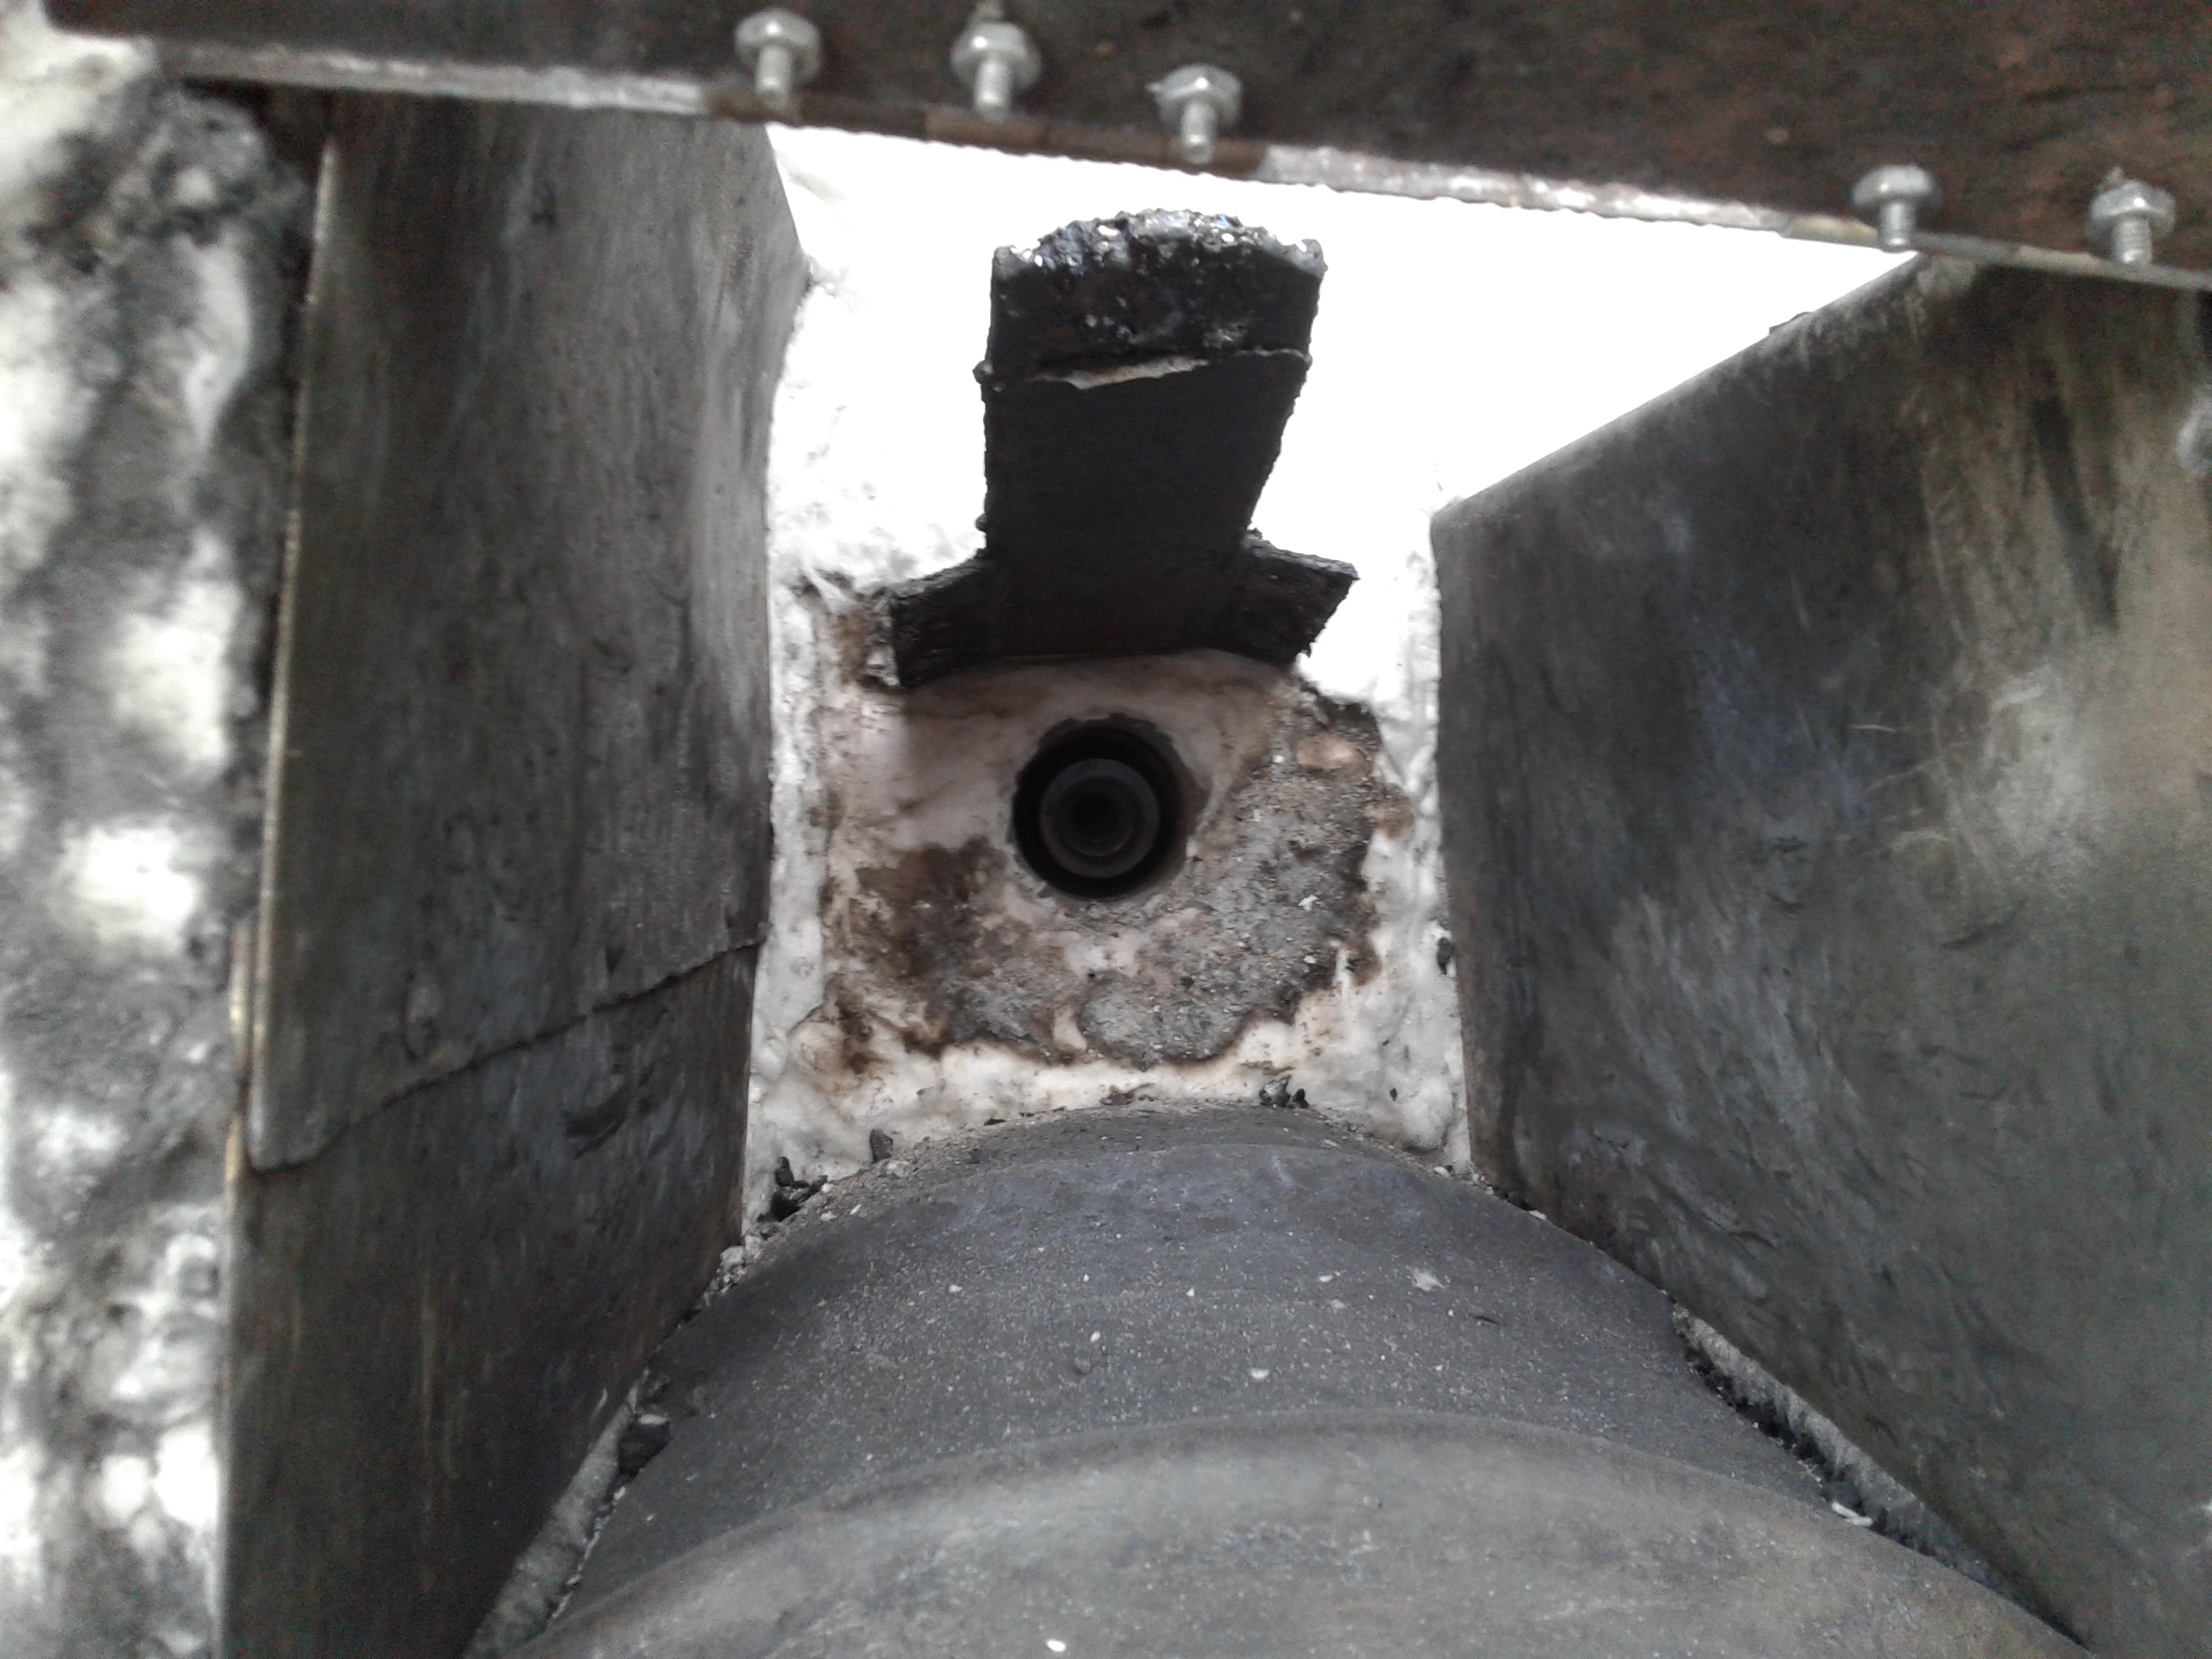
Pic #2 Close up shot, I’m sure there was glowing charcoal there when I shut it down.
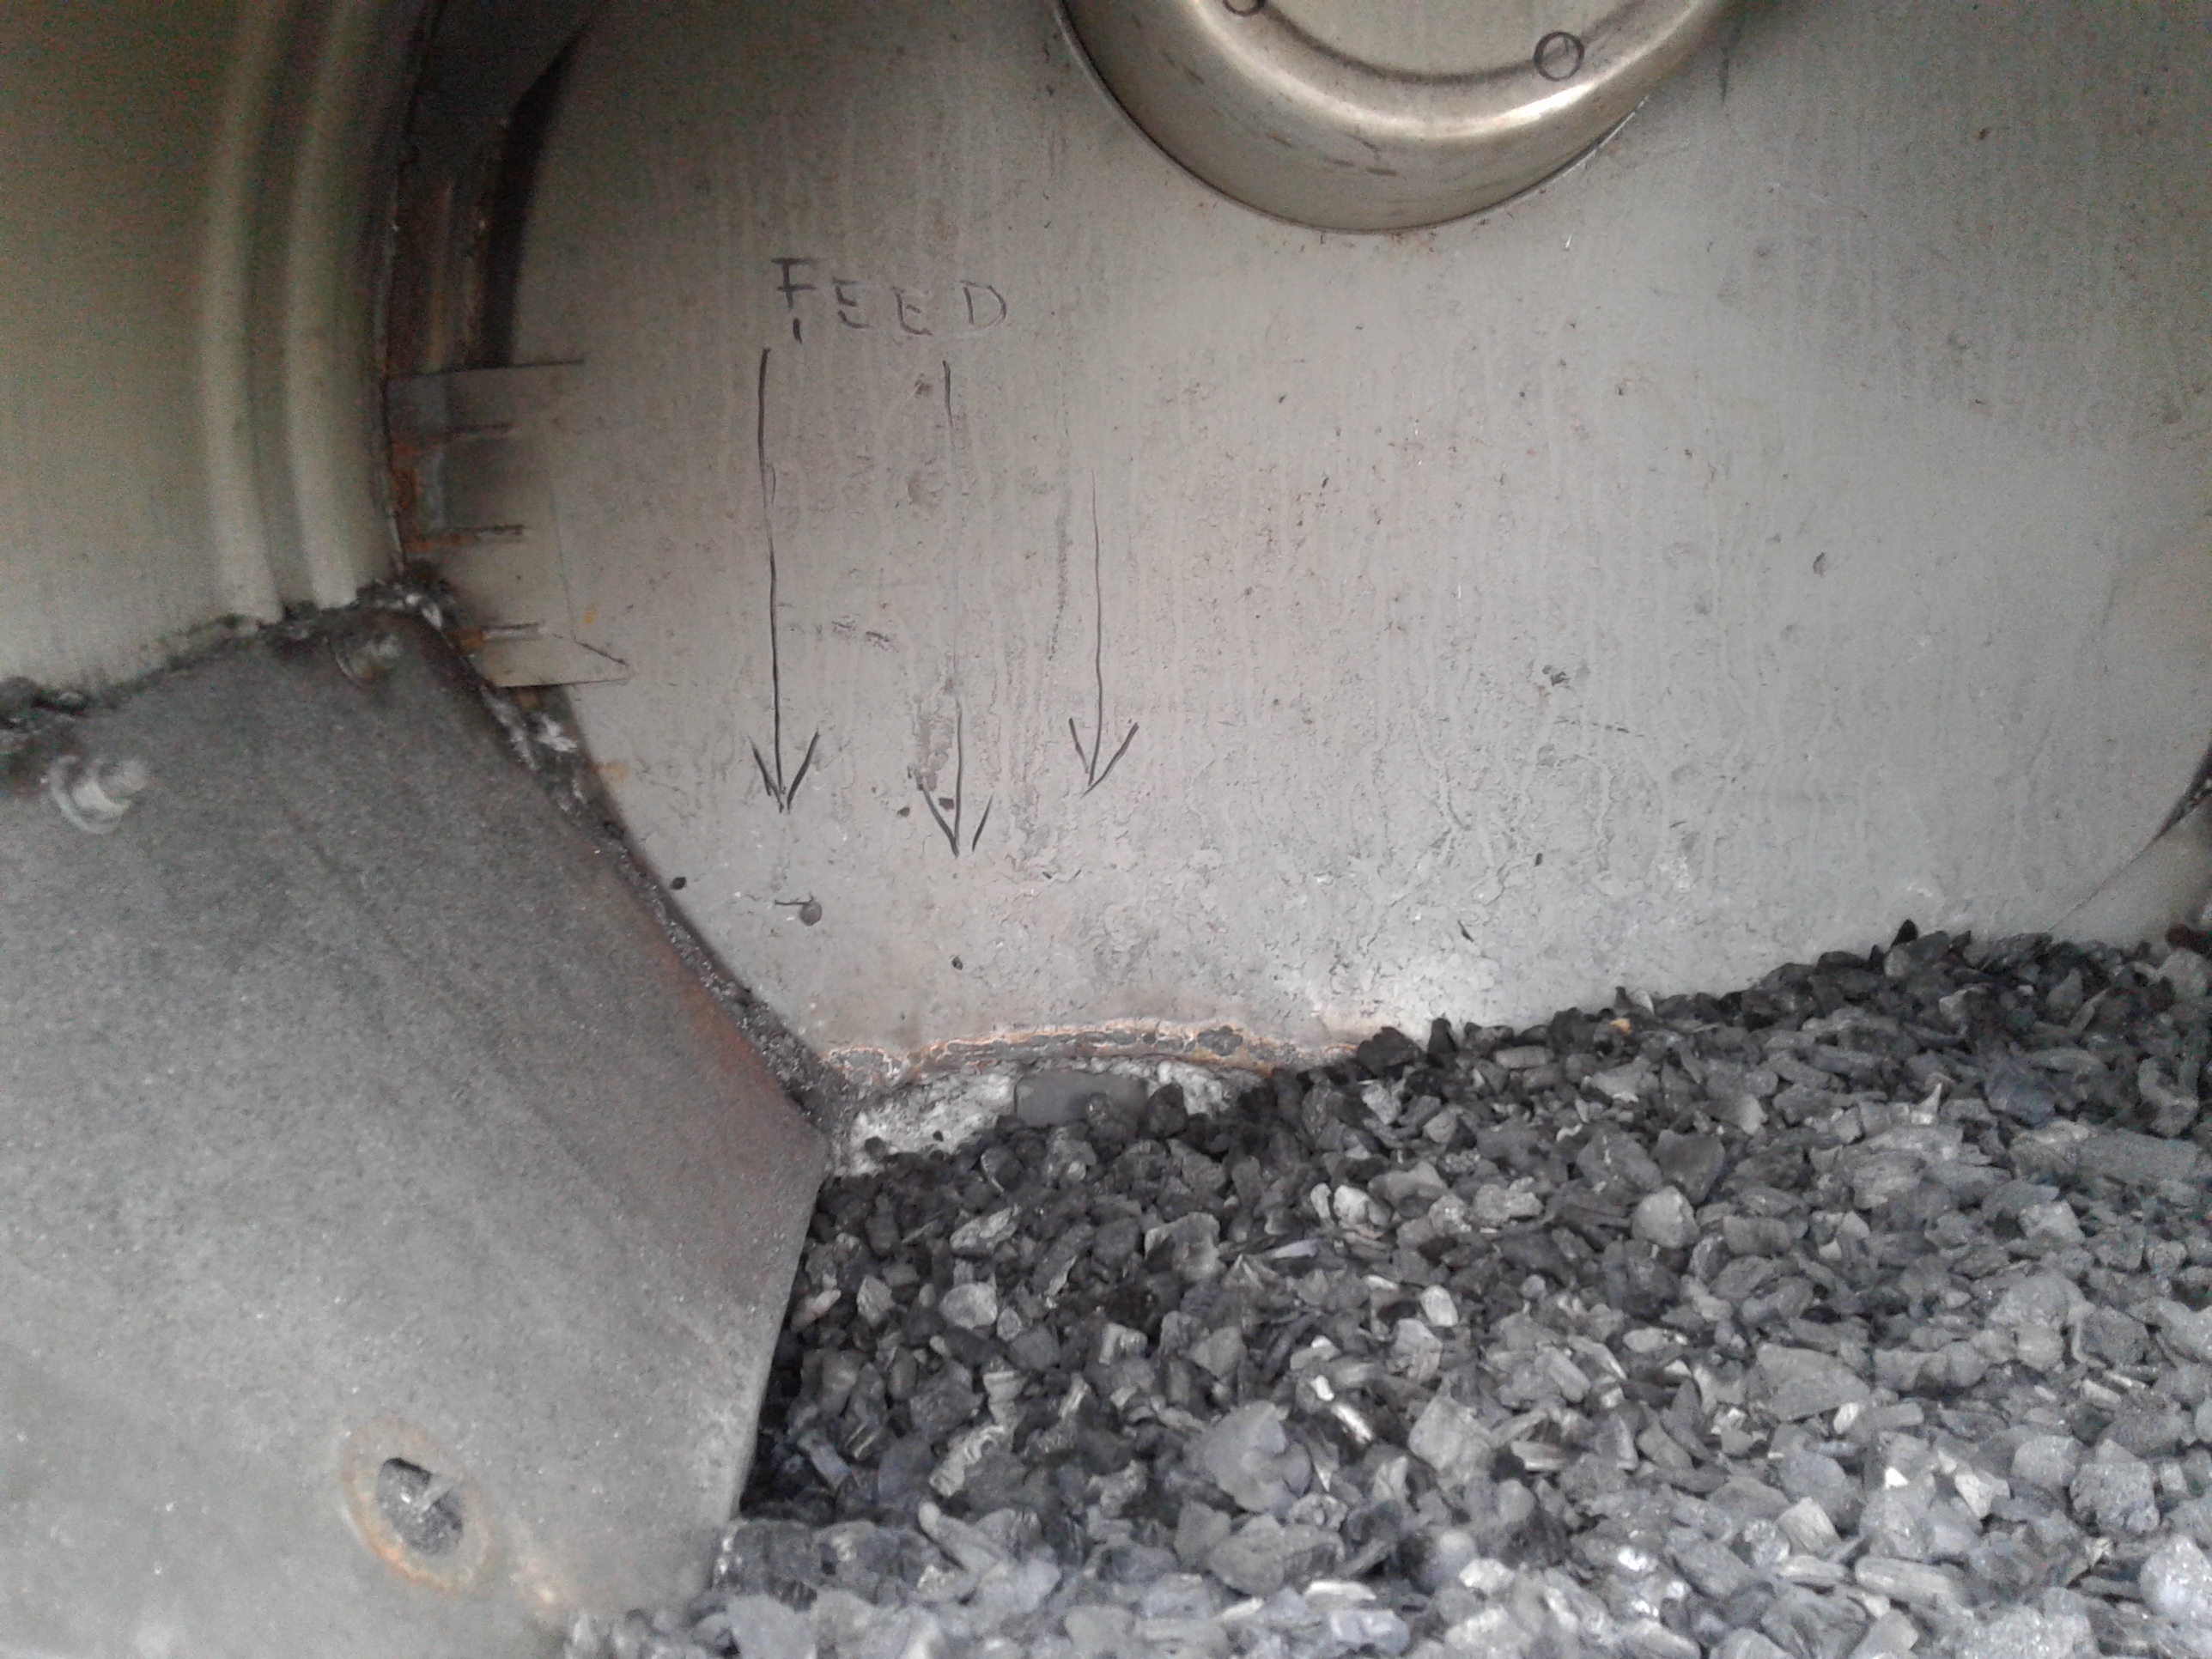
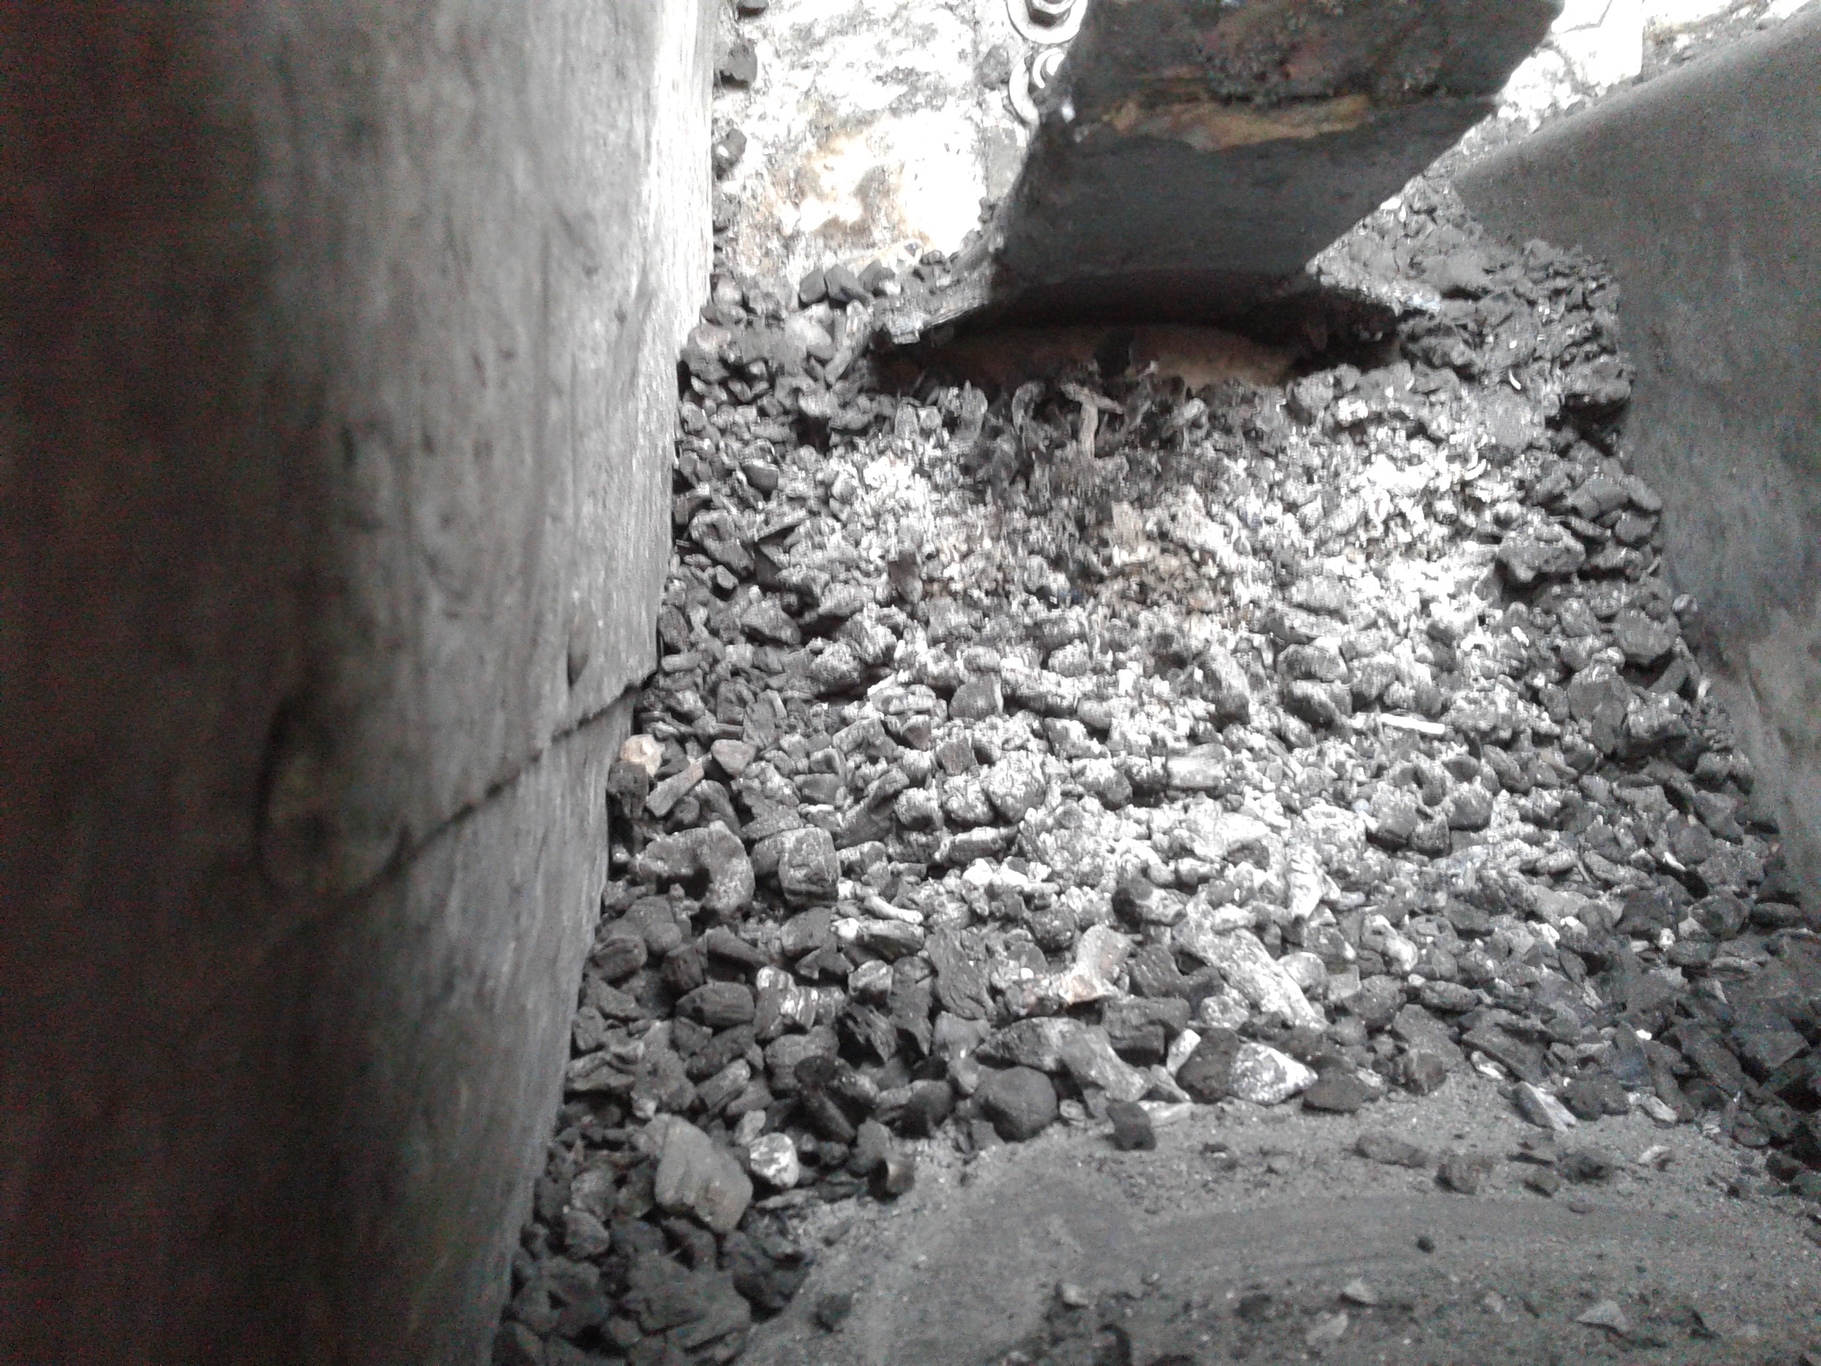
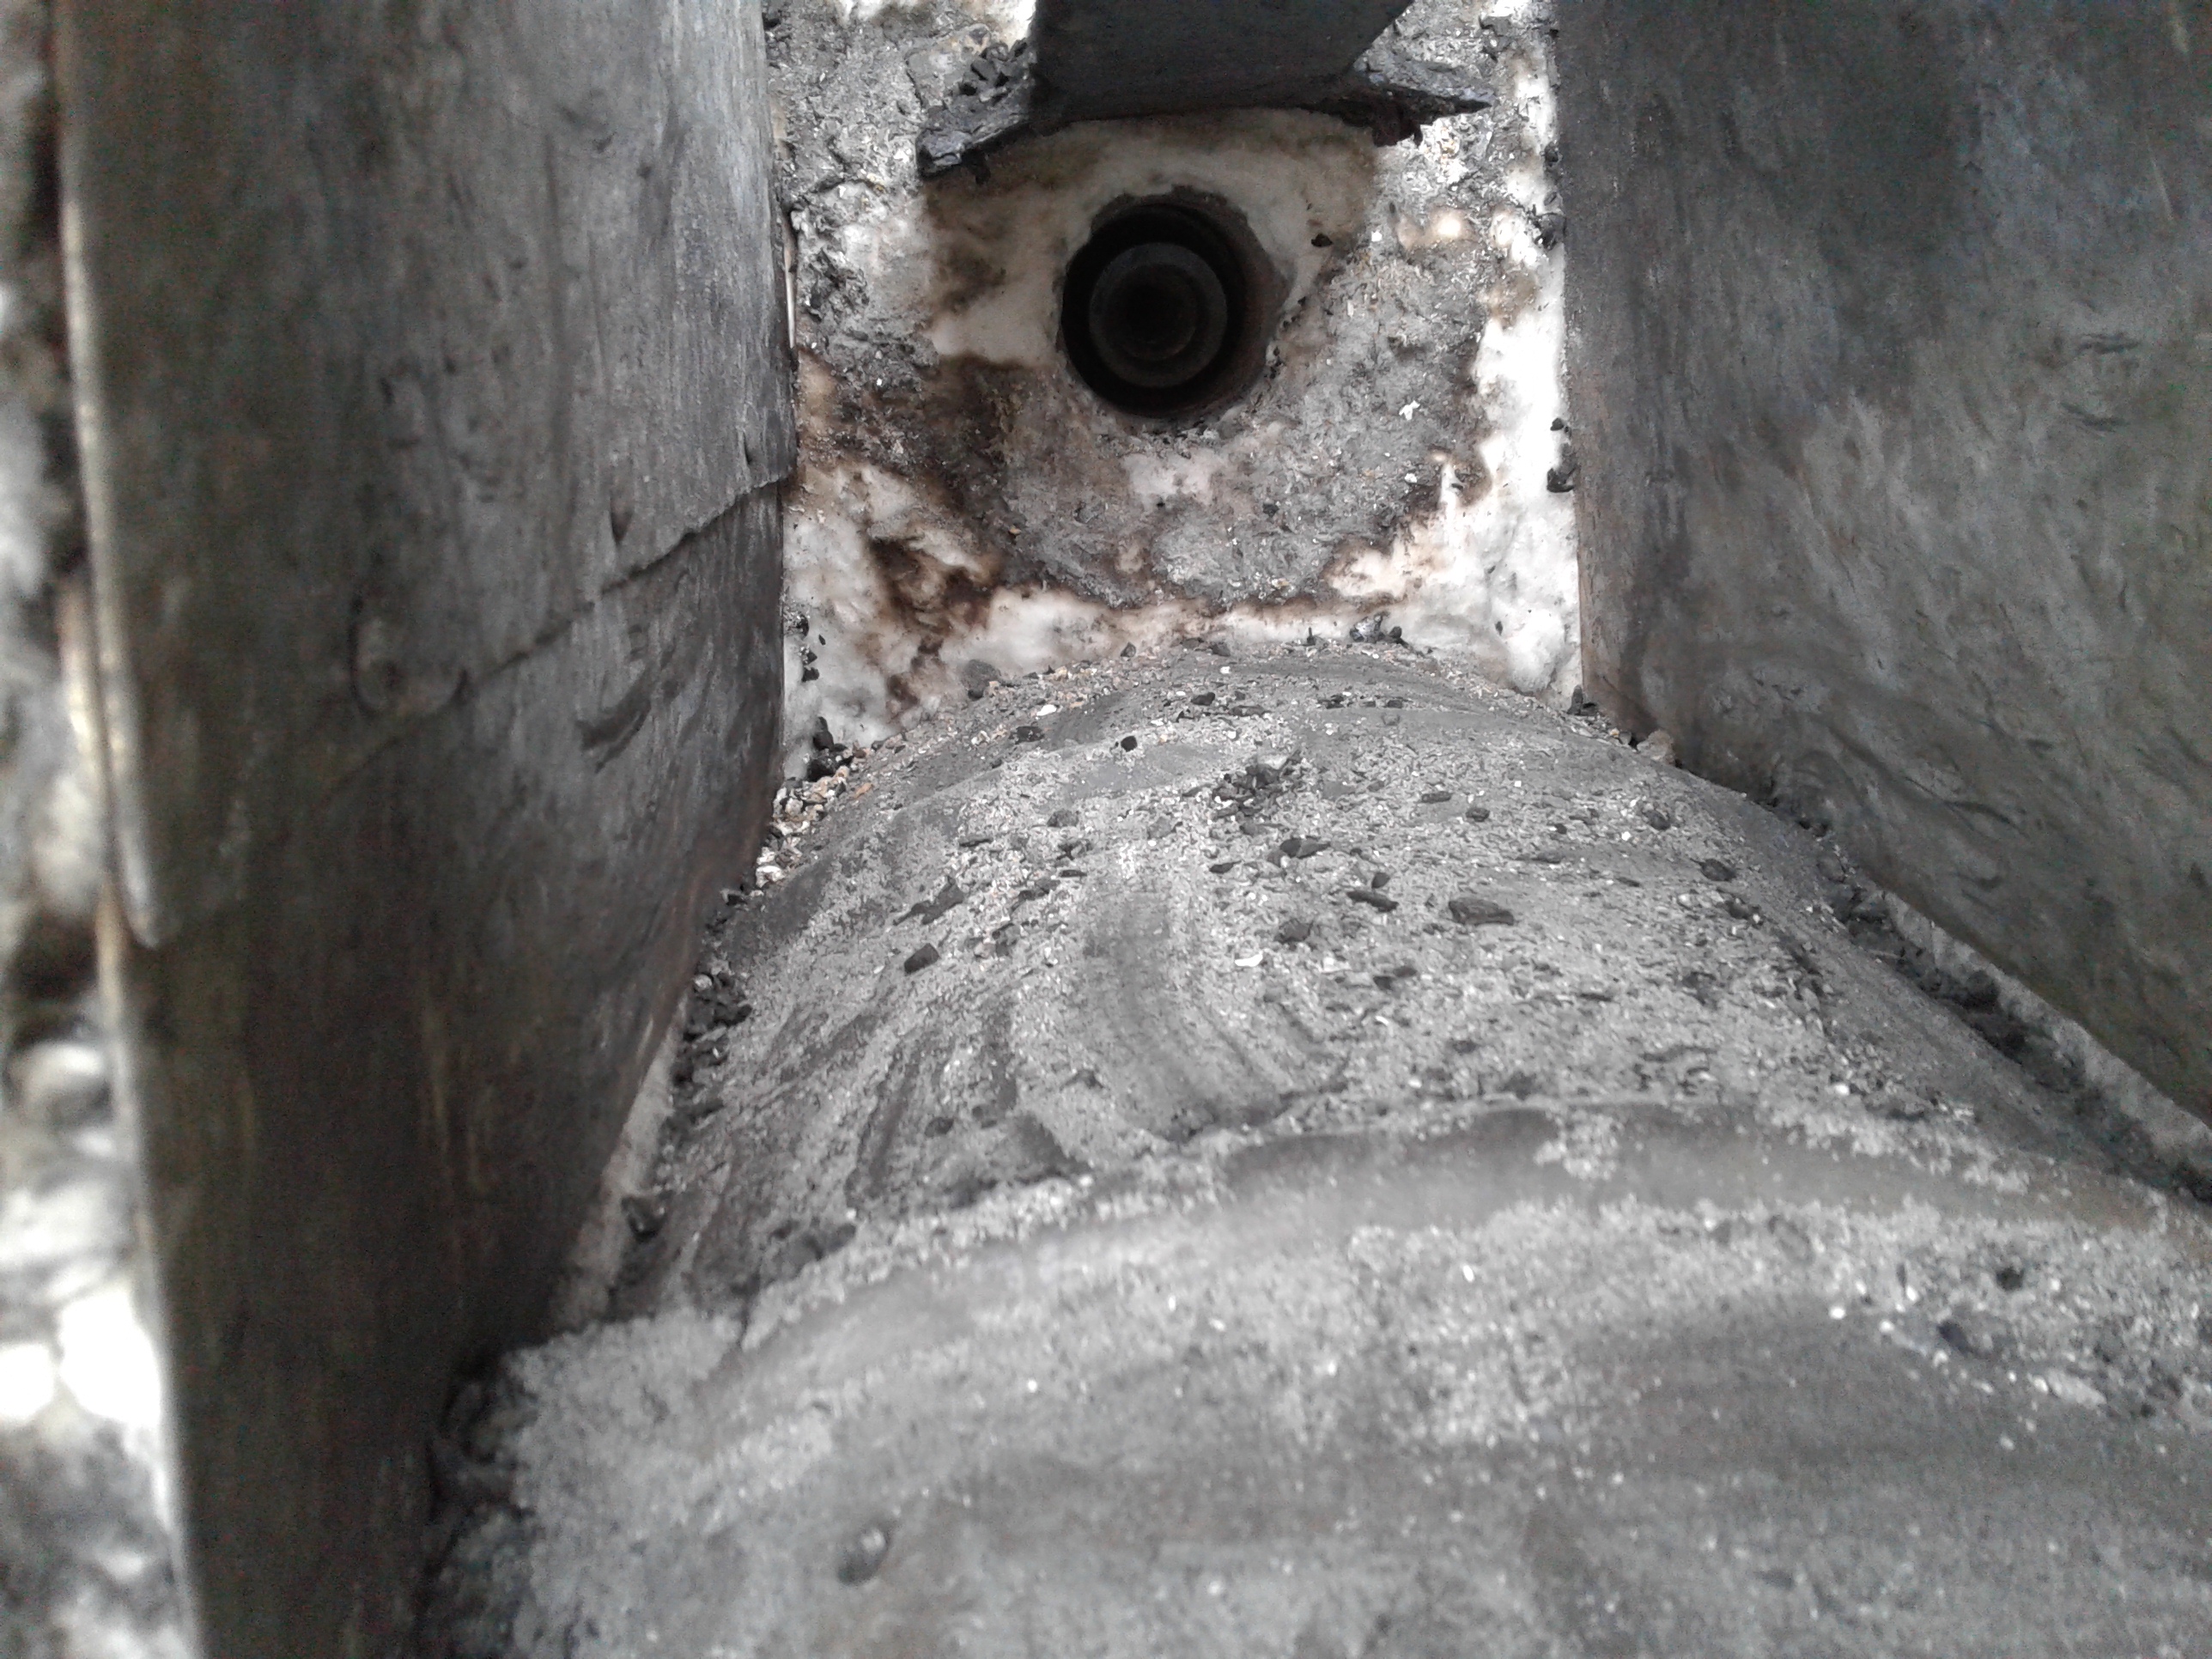
Pic #3 I gave the hopper some simulated shaking vehicle action and the char moved into the low spot.
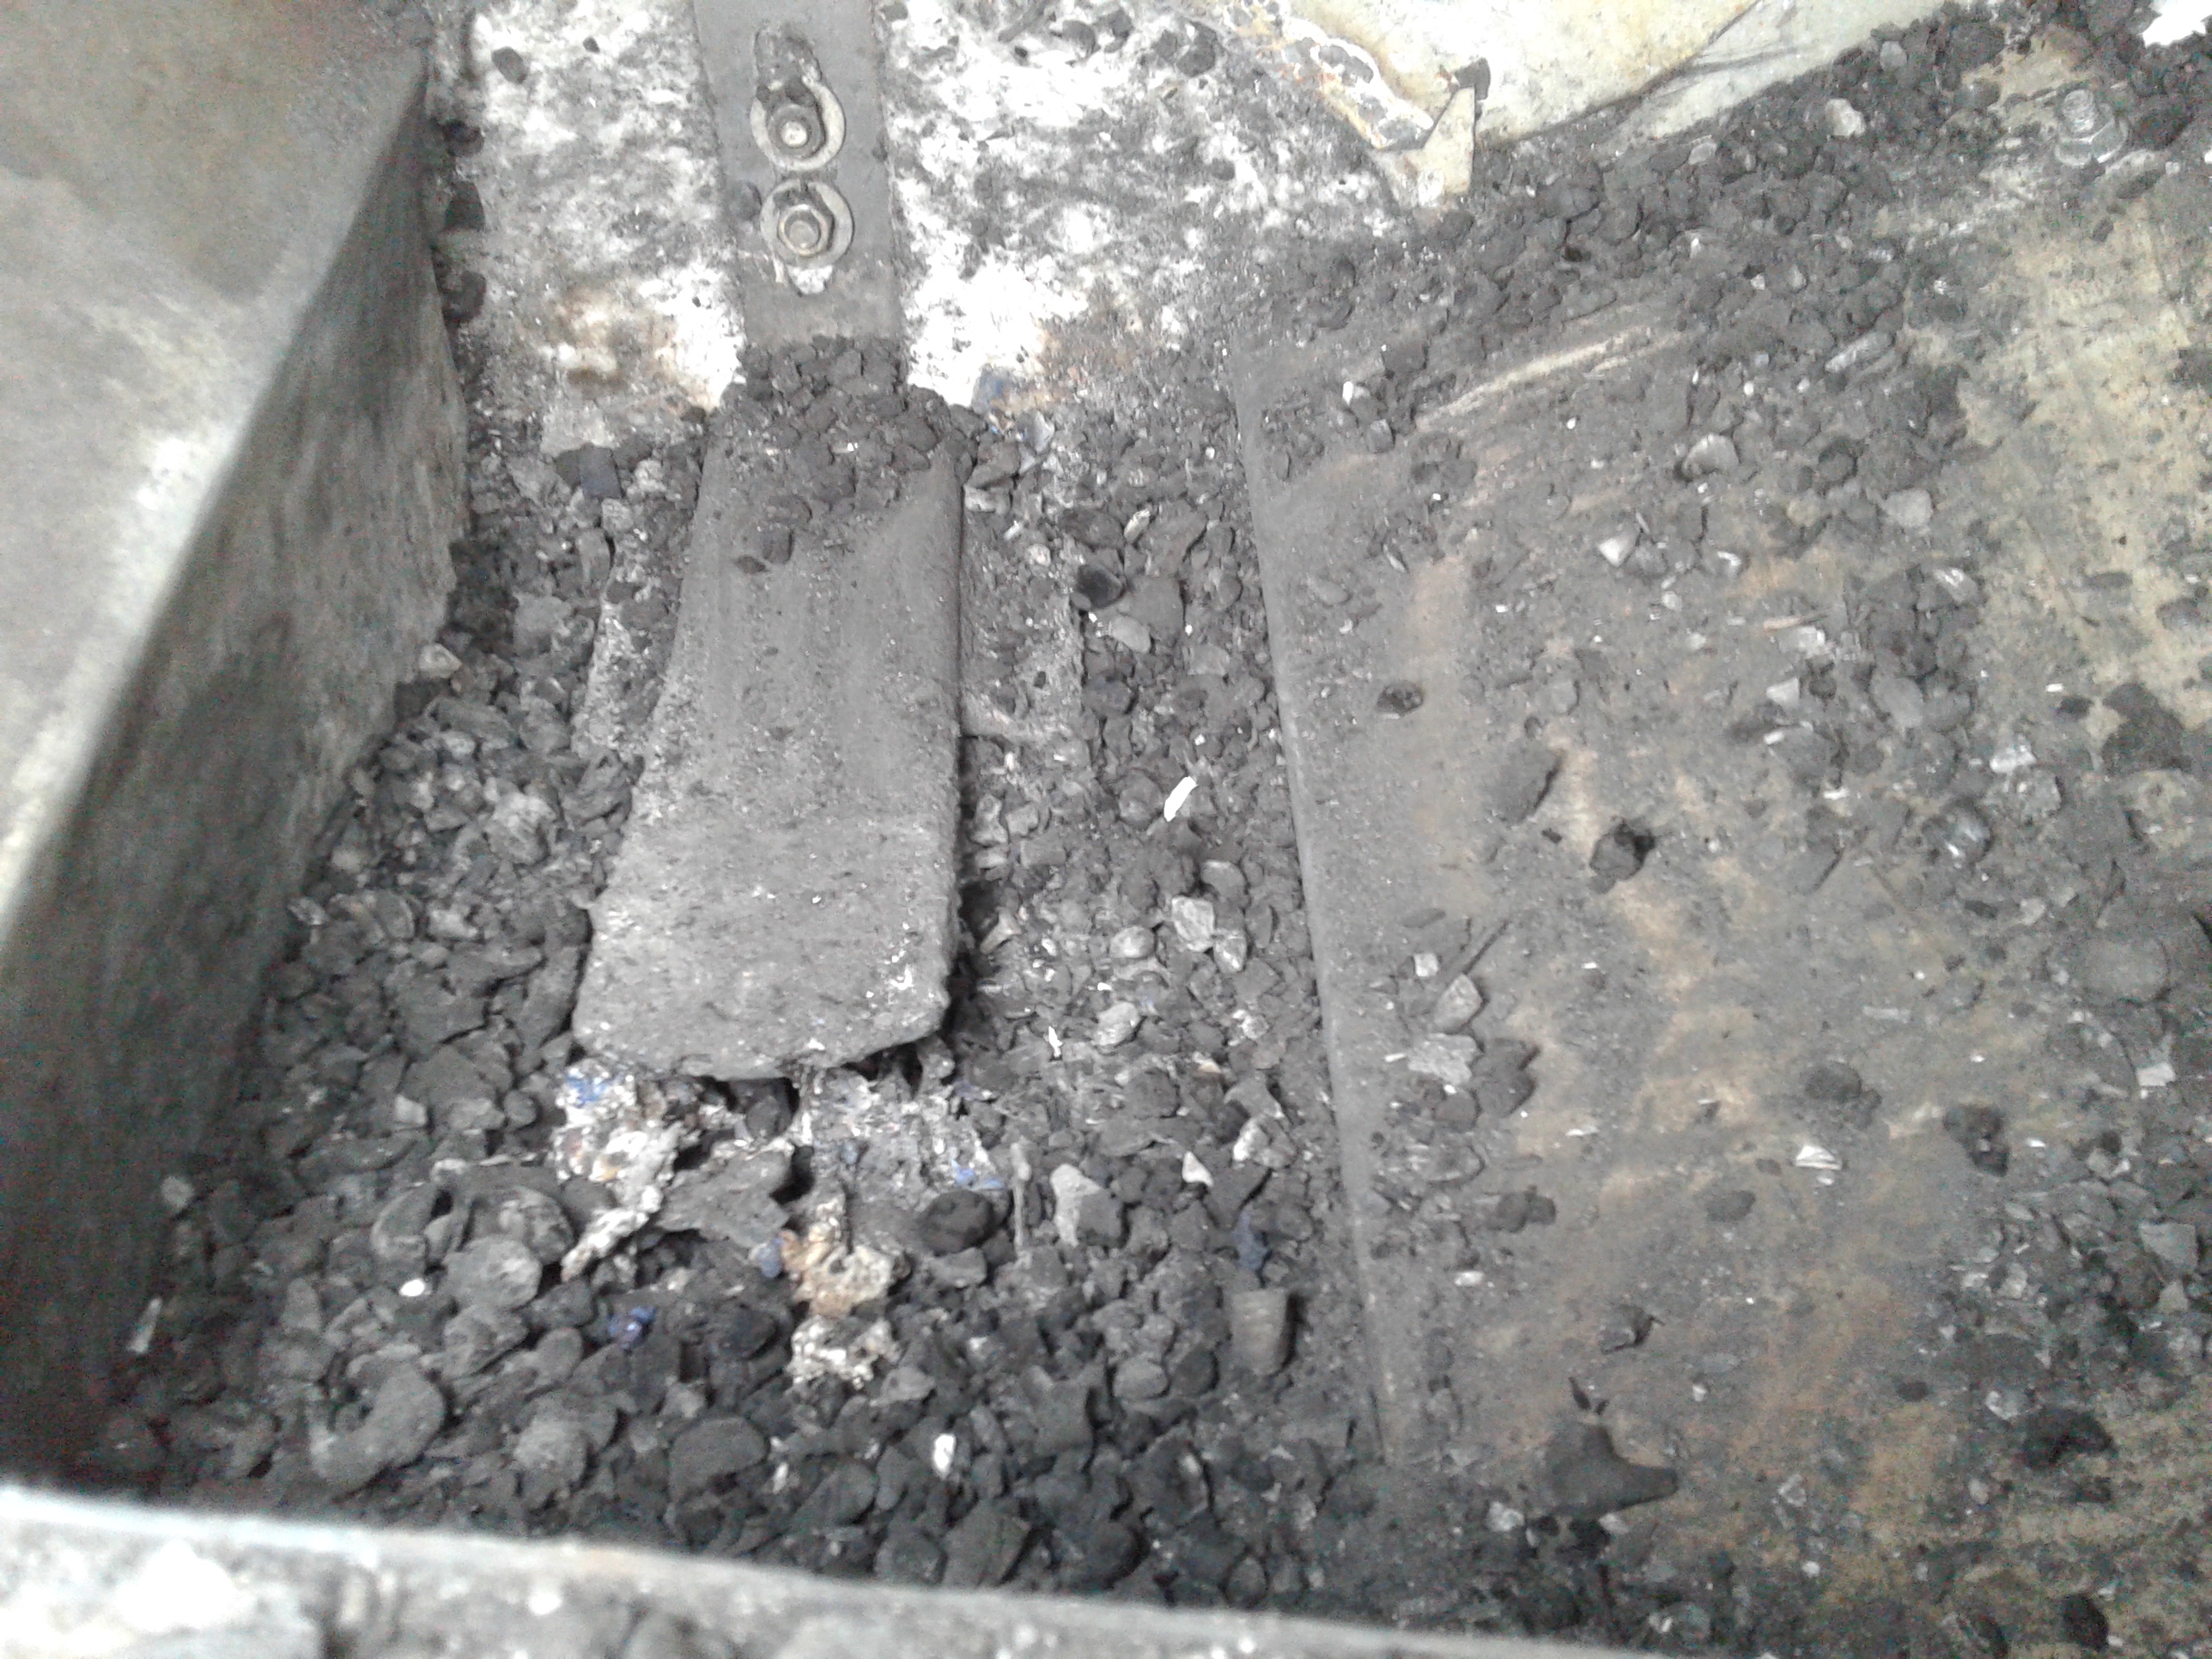
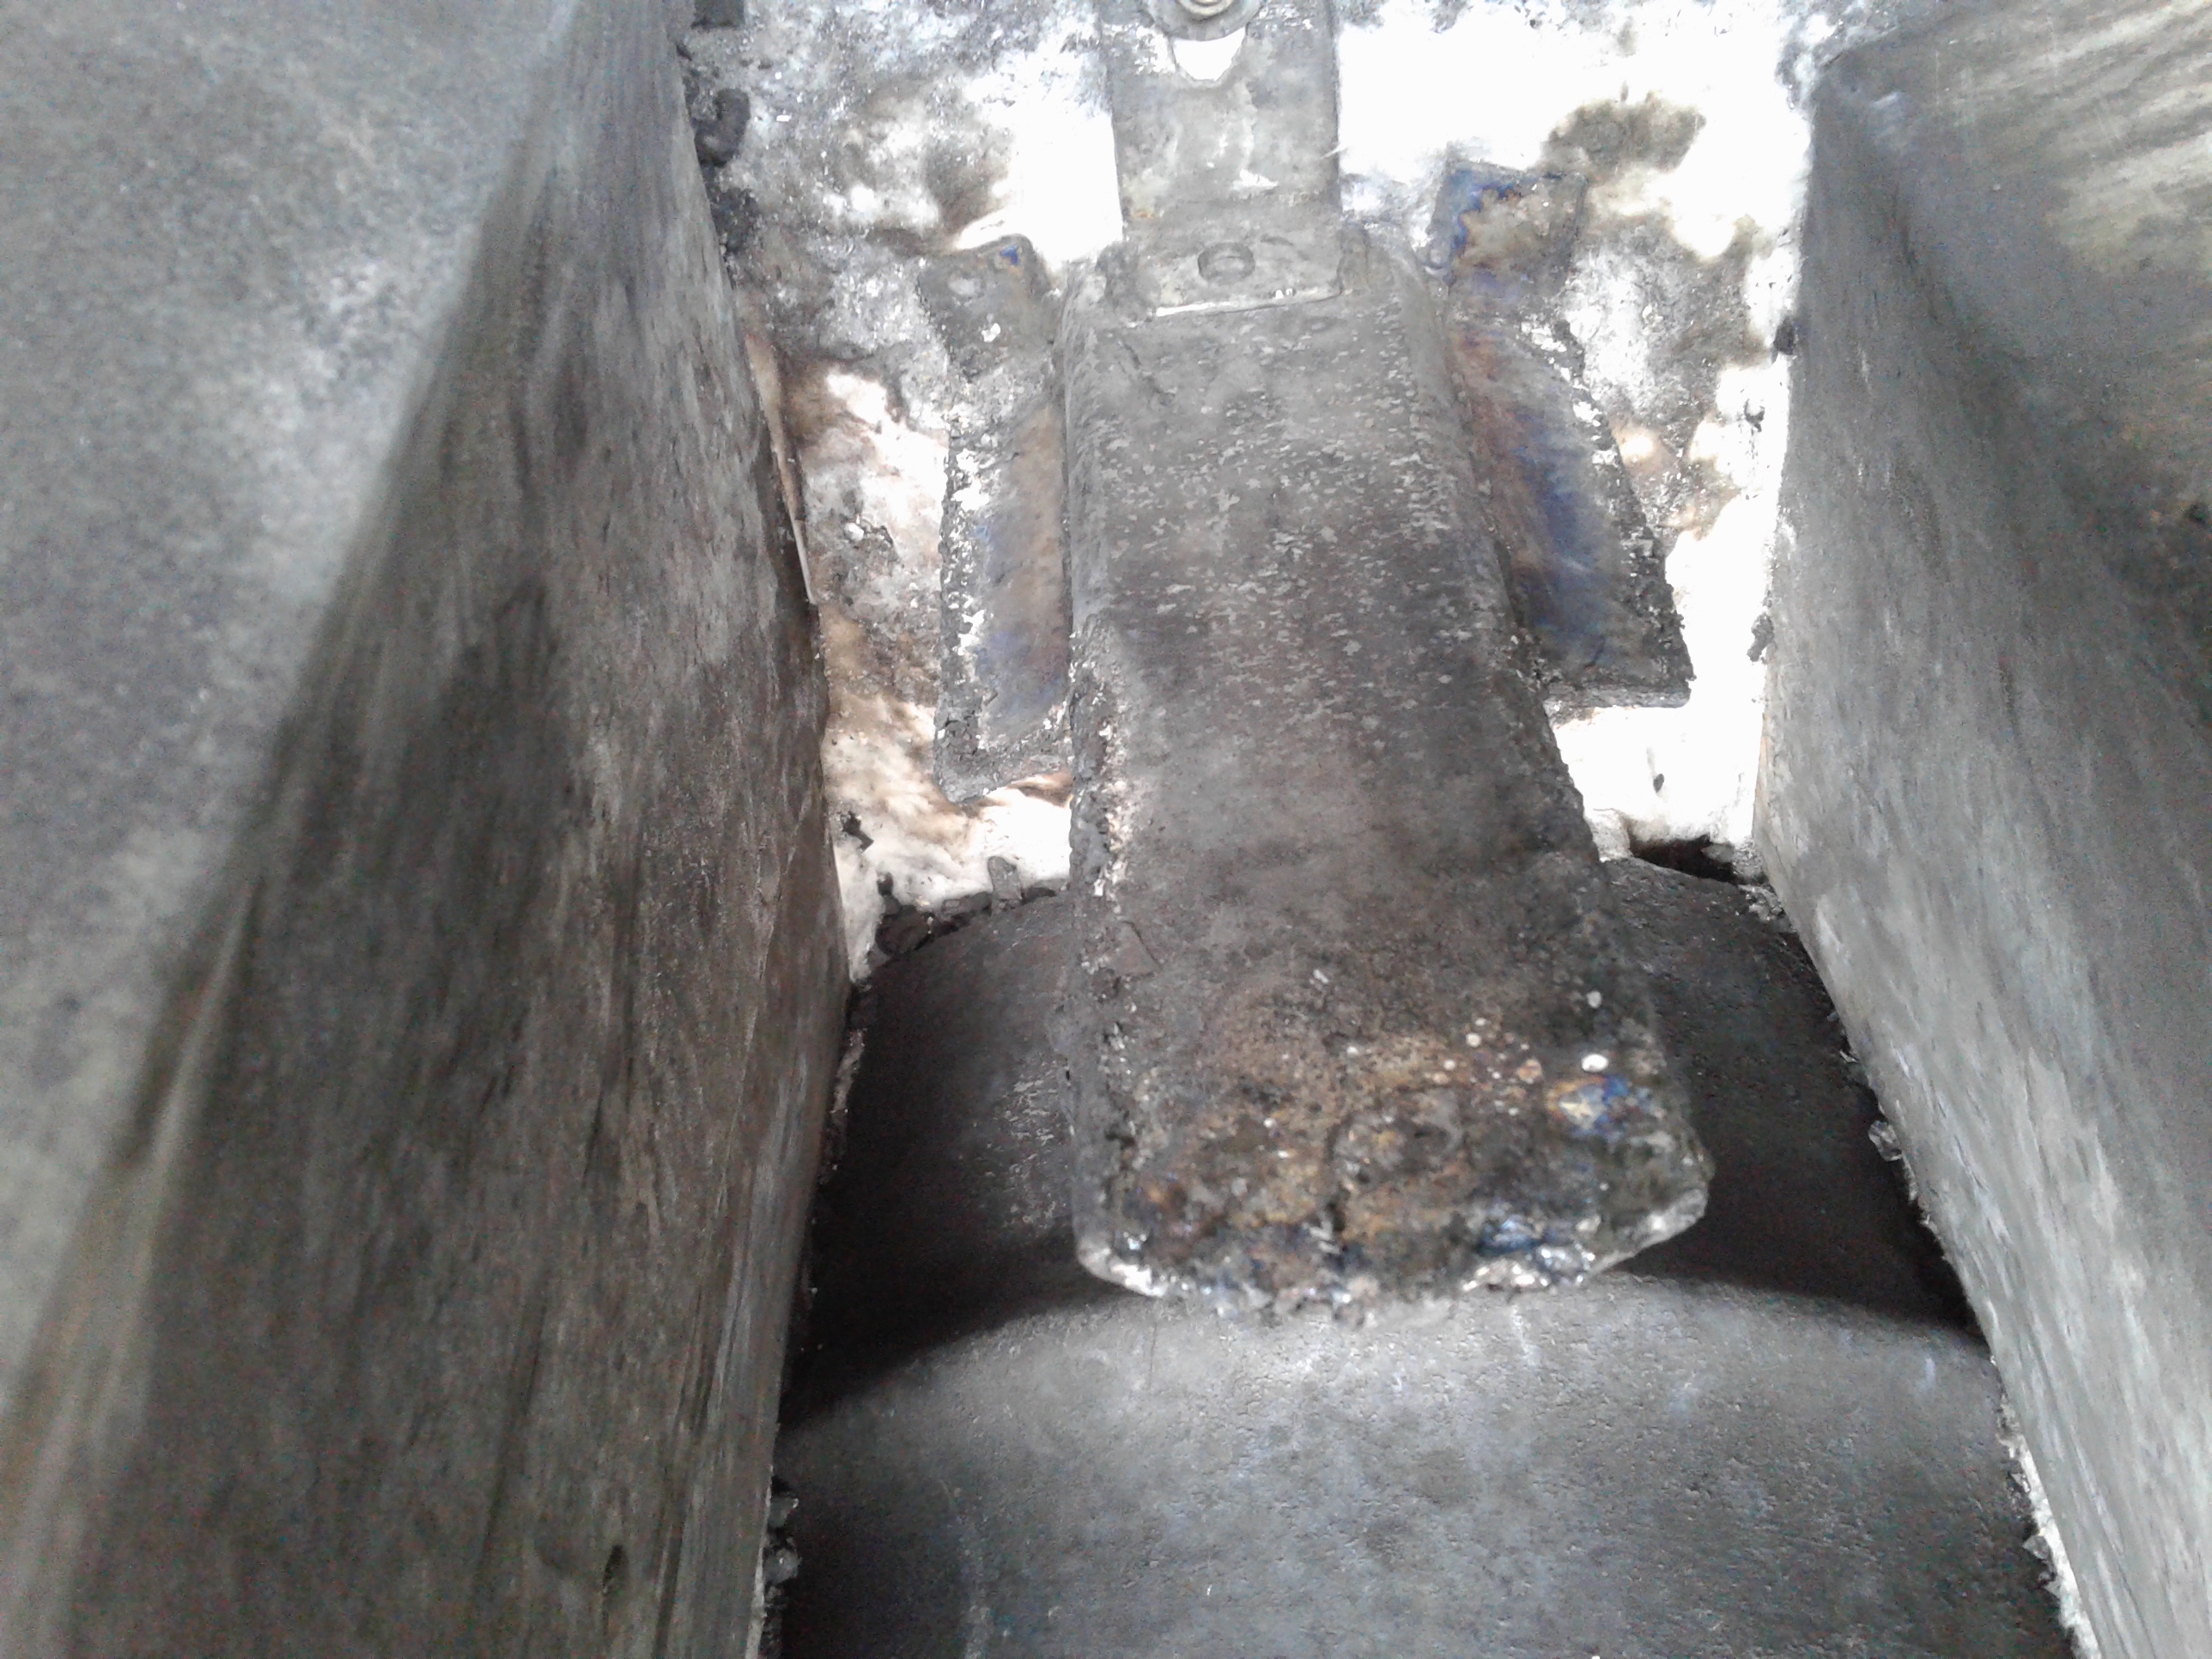
Pic #4 This is the heavy steel above the hot lobe area, it also serve to keep the charcoal from getting into the nozzle area. 60* slope, On the next run I will shake the hopper to test it more, if I remember to do it. This also where the water vessel will be welded to. More on that later.

Pic #5 This is where the gas comes out at the bottom, noticed ashes on the char and more ashes settled on the bottom. This area is my drop box area like on a WK unit. Access door on hinges for easy open clean out.
Pic #6 Removed the char to see how far the hot char lobe got towards the access door only about have way. Lots of room for over pulling on this burn chamber. More testing need here.
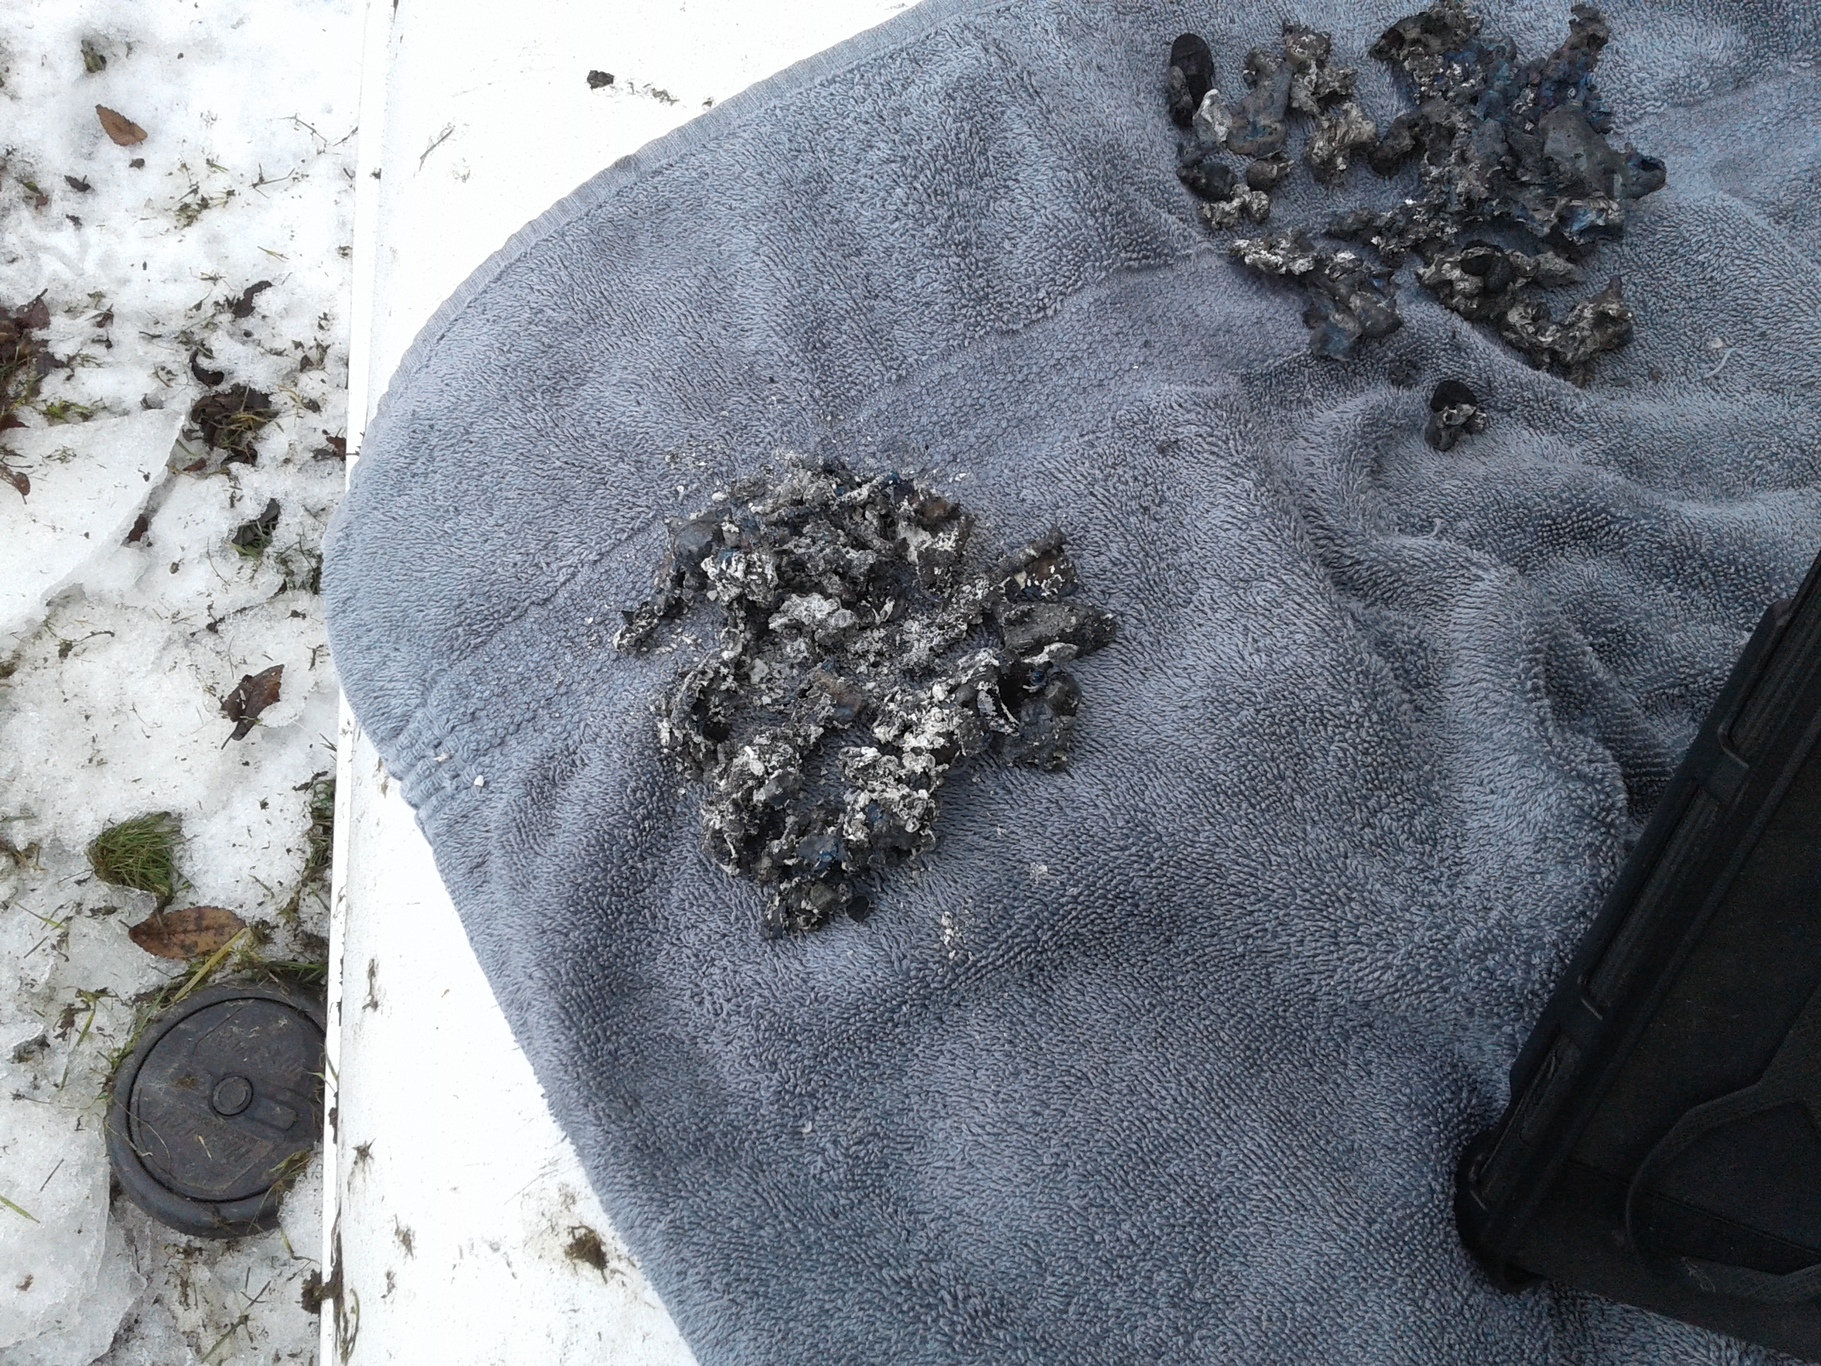
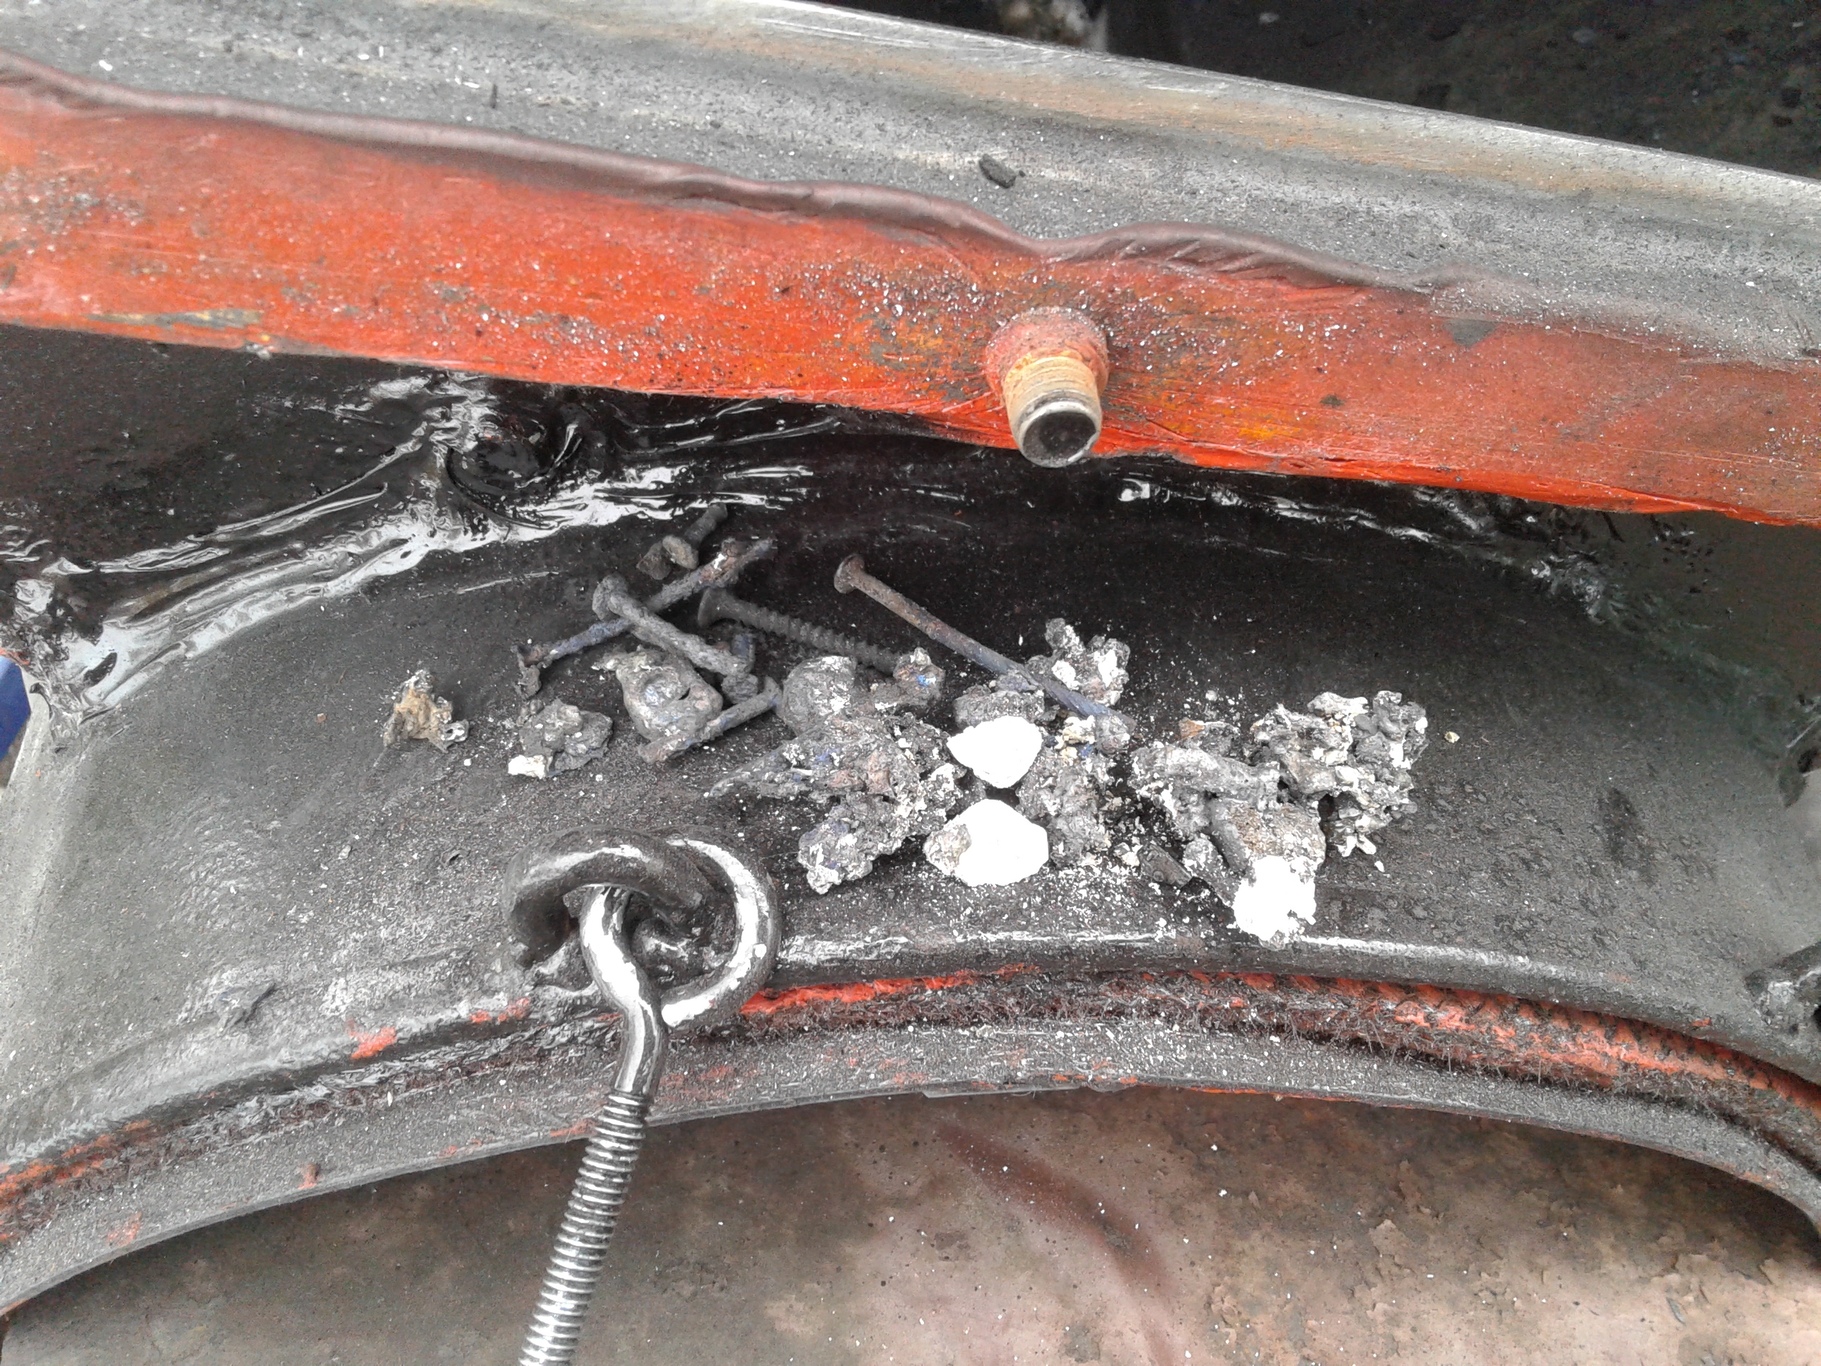
Pic #7Nails and screws melted down. This charcaol came from nightly fires around the fire pit. What wonderful way to make fuel. It cooked the hotdogs and hamburgers and roasted marshmallows what fun. It was clean wood by the way.
Pic #8 More slag showing up closer to the nozzles no charcoal in the nozzle hole, looking good.
Pic #9 I thought I got most of the nails and screws out with my magnet, wrong.
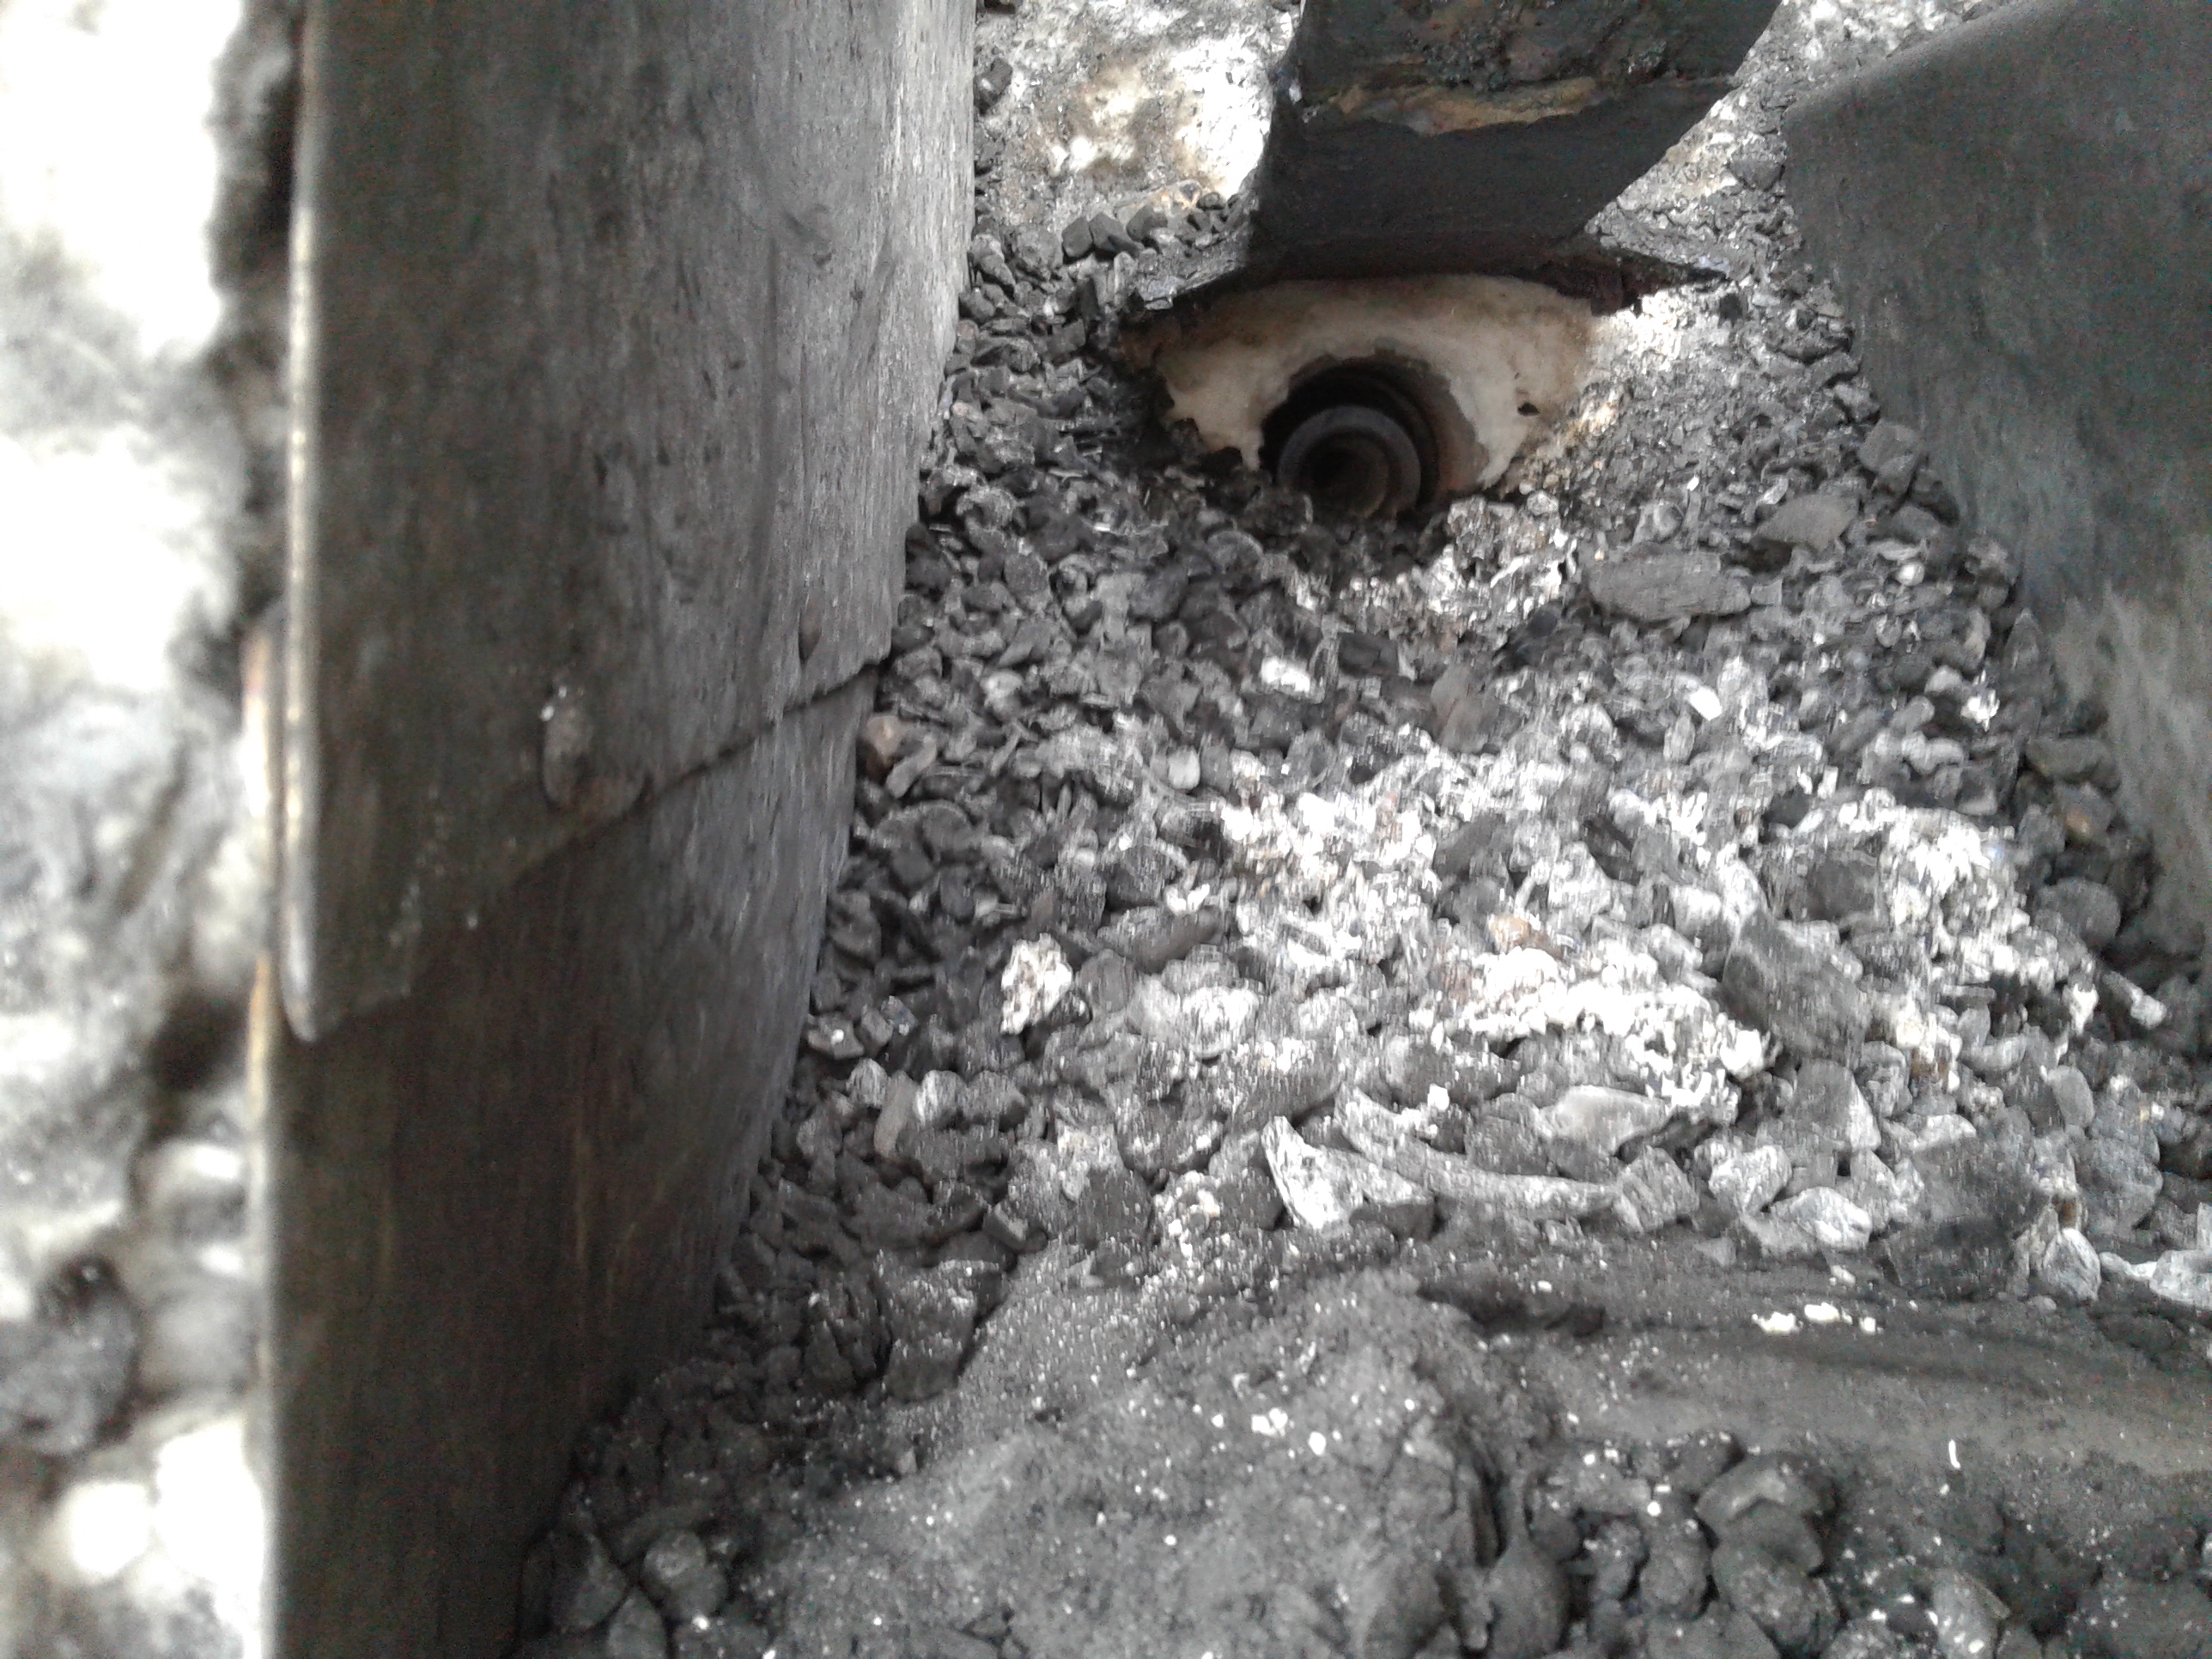
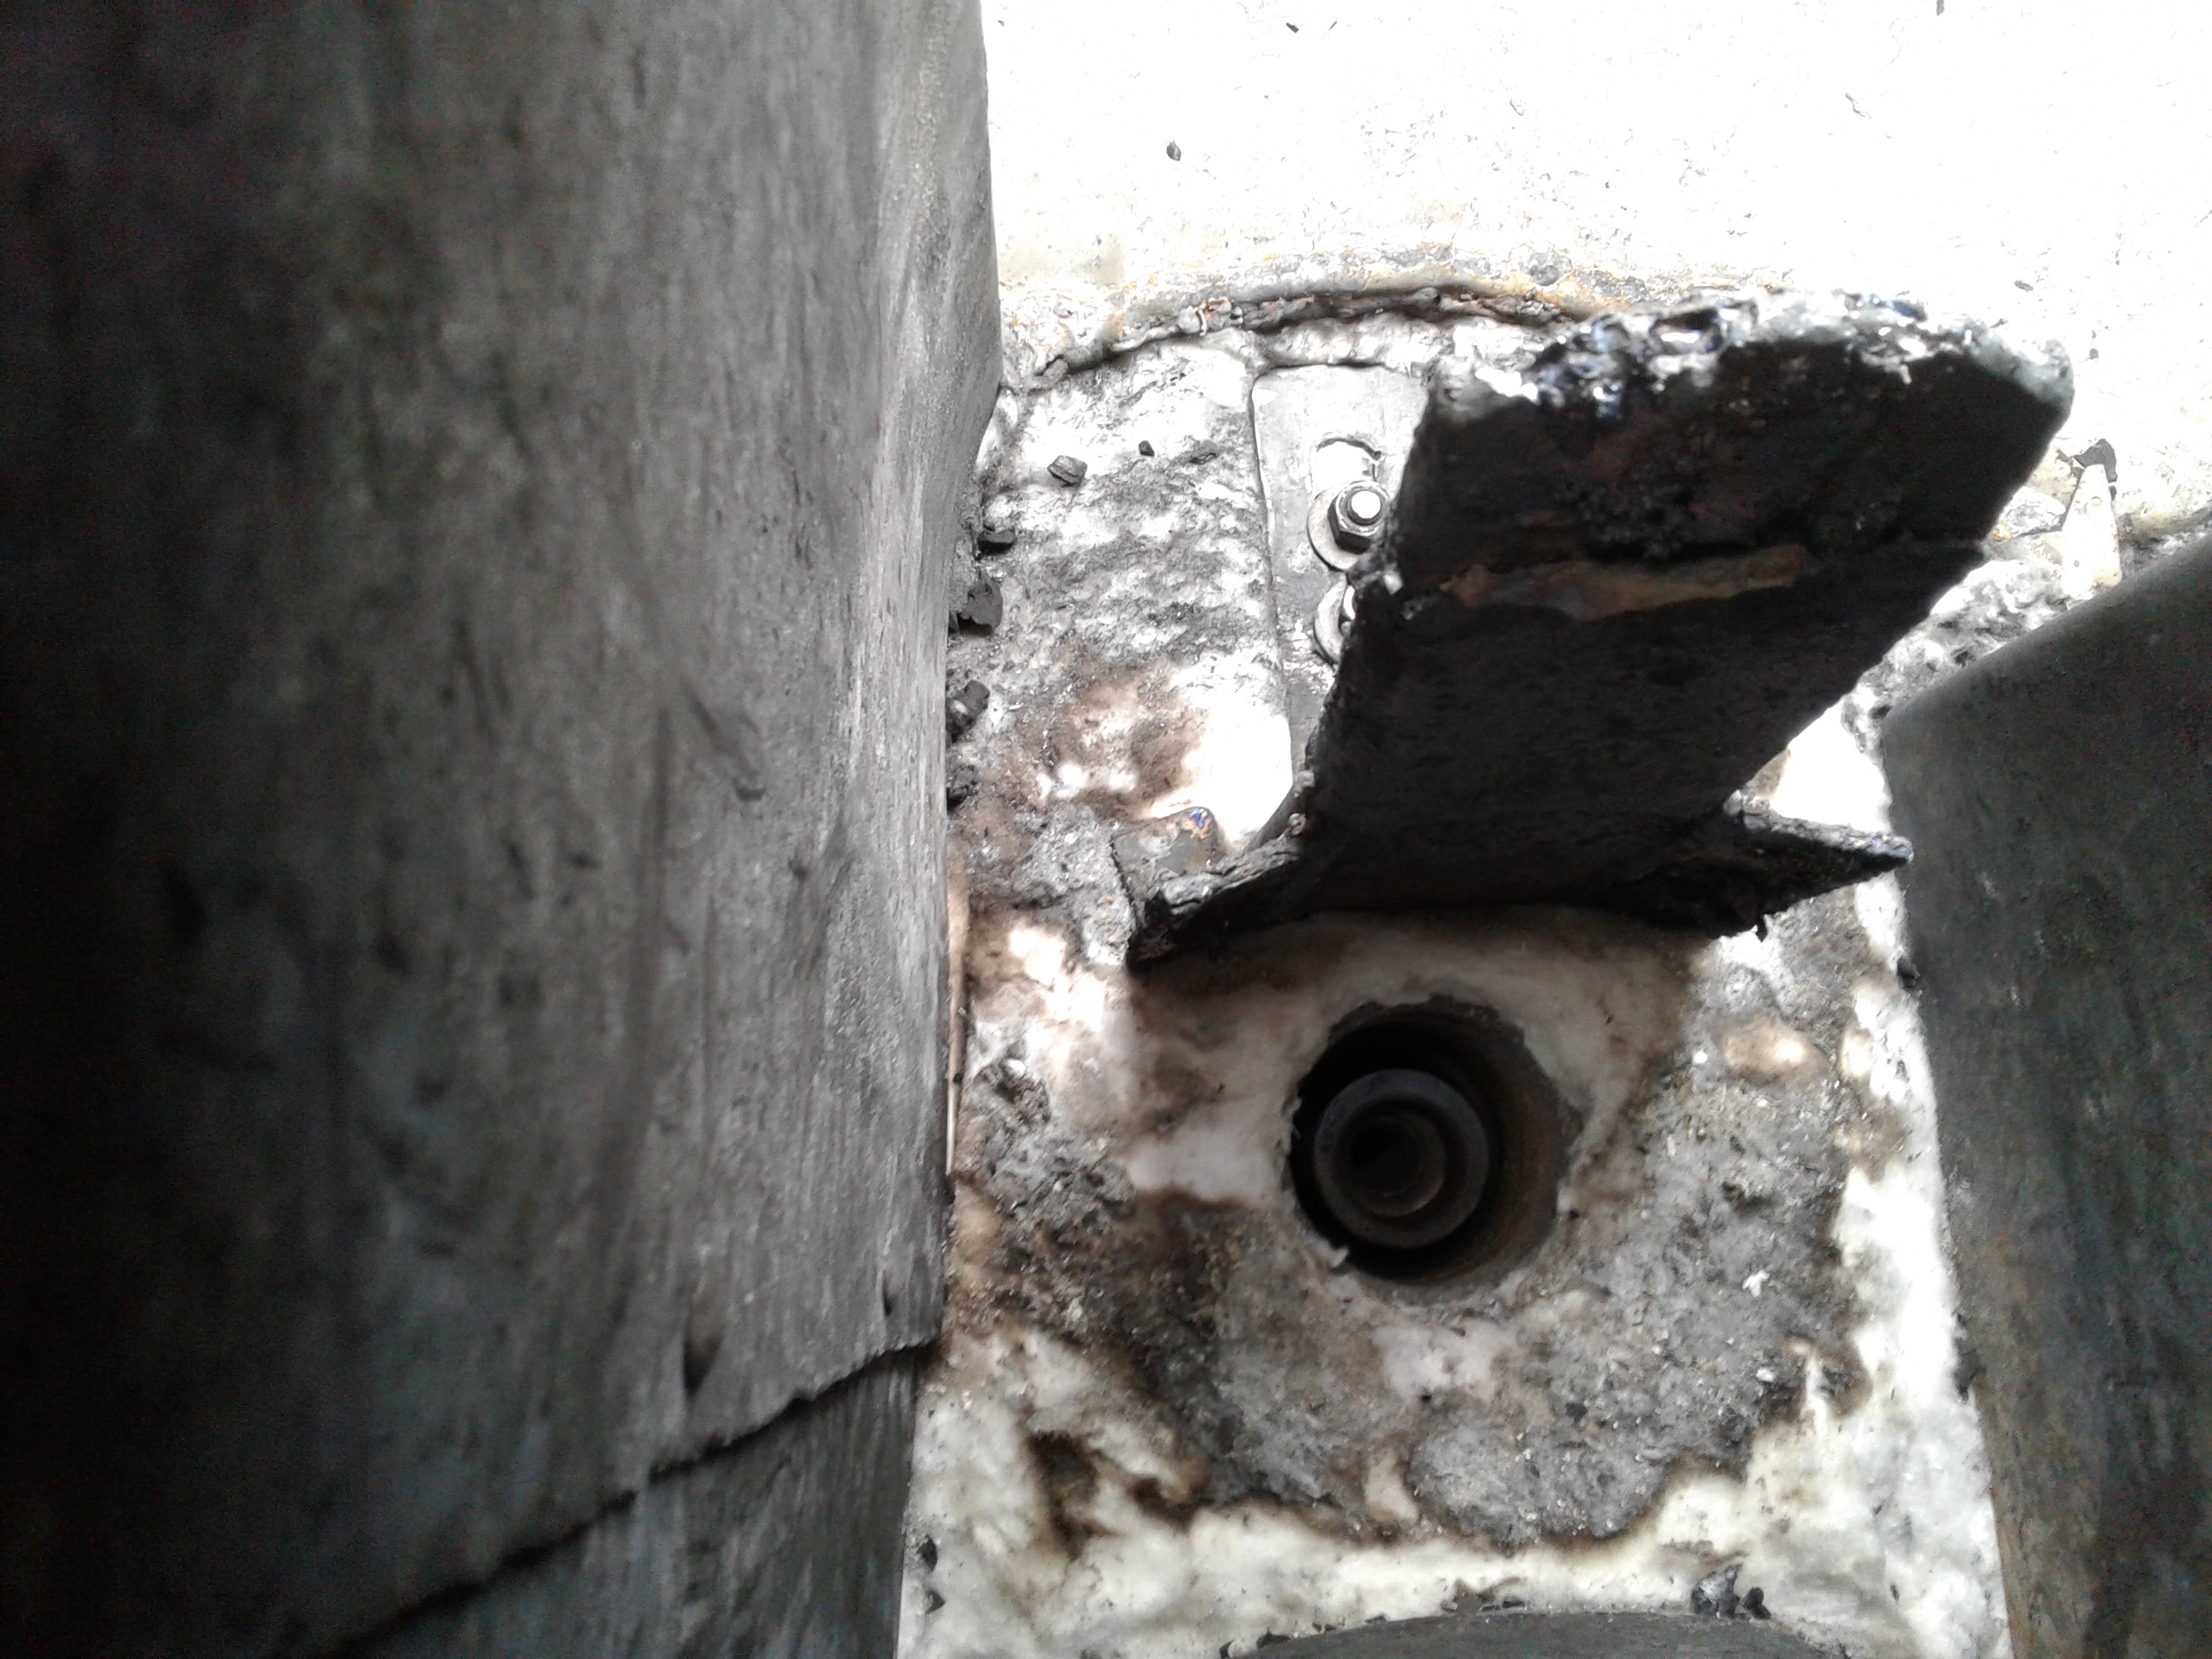
Pic #10 The under side of my heavy duty plate starting to meltdown. I left it long then was planned to see what would happen. I can also adjust it higher up away from the hot lobe. Next run it will be higher. The NOZZLES look like new. The ceramic insulation has not even begun to from a crust on It’s self yet. This is really good news.
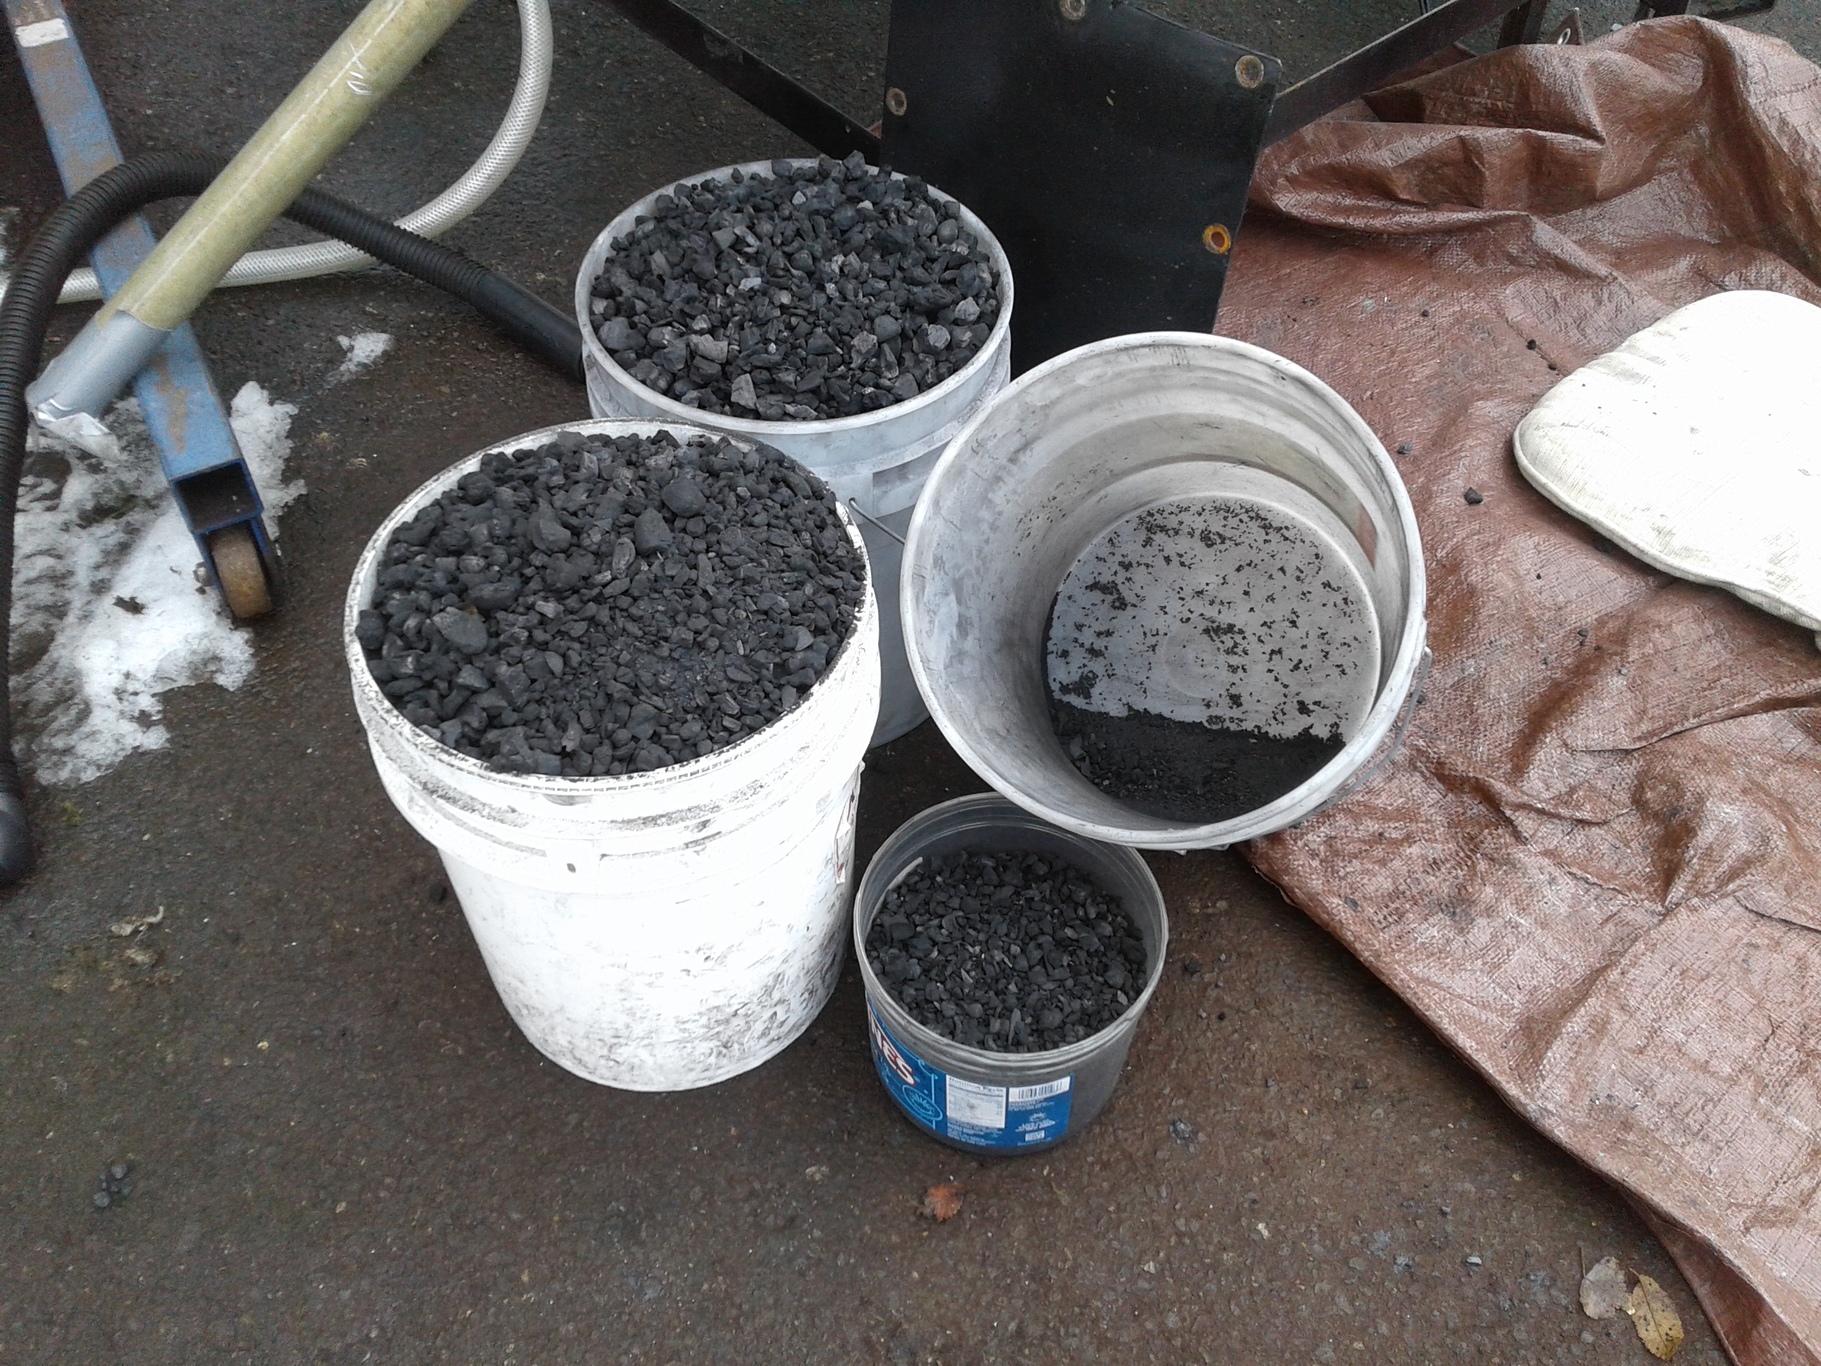
Pic #11 Okay there is 12 gals. of charcoal removed from the gasifier, counting what I vacuum out. Plus the ashes. Next run will count accurately how many gals. Into the gasifier burn chamber and hopper.
Pic #12 More nails and screws found at the bottom.
Pic #13 Just ash on the bottom curved plate. Ash stuck to the ceramic insulation around the nozzles hole.
Pic #14 & 15 Top and Bottom of the heavy duty plate.
Looking forward to more modification and test runs. Thanks for all the input and advice and suggestions so far on this project. I have learned a lot from everyone.
Bob
12 Likes
Just a crazy idea while looking at your photos; what if the plate was painted with water glass and before it dried sprinkle ash on the wet water glass. I wonder if that would protect it?
1 Like
Nice job, Bob, I love the toolbox control center. Good flare colors. What are you using for a fan ( AC or DC) and speed control mechanism? Thanks.
Pepe
1 Like
Thats what i call super mac photogriphy, thanks for all the high quallity pictorial diagram of your cool large hopper design.NEAT.Were all learning from this charco gasifier build.
2 Likes
01/06/2018 Hopfully I fixed the hopper heat problem.
Covered it with ceramic insulation, glued to the wall.
I filled the burn chamber area 12 gals. of charcoal, my WAG was way off in that area. When I get my fill/Auger entrance built I will figure out how much this unit holds in the hopper area.
Put more charcoal in it and closed up the inspection door.
Ready for test run #3 on Monday, Lord Willing.
Bob
5 Likes
I noticed that the red silicone remained in good shape after you opened the hatch.
Mine usually is trashed
What is the secret?
1 Like
Post with drawn by auther.
Okay the big secret. First the metal was clean and free of grease. I applied the silicon to the side with the bolts, and around each bolt covering the entire surface. But before doing this I put clear vinyl wrap on the plate side and tape it to the out side of the cover. Punch small holes where the bolts would go through the plate. Put the plate on and bolted it down. I did not remove the plate until the other day when I made the inspection after the first run. The vinyl wrap was still across the opening, I carefully cut it away but did not peel it off the red RTV. This helps it from sticking to the hatch cover. Now you can lightly oil the hatch side if you want. I didn’t bother. The vinyl temperature rating is pretty high but not as high as red silicon.
Bob
1 Like
Jeff’s idea of coating the deflector plate with water glass is a great idea and was just about to suggest it myself , if you soak your ceramic insulation in water glass and then wrap it around the deflector , or if the charcoal is too abrasive going past it all the time you could just try soaking sand in water glass and mould all around the deflector plate that way .
Great build by the way Bob .
Dave
1 Like
Just woundered if water glass would hold up on the back wall blanket for dust control.
1 Like
Hi Kevin, my blanket has a smooth coating on it on both sides. I’m sure it will beak down sooner or later. I like the idea that Jeff and Kristijan mentioned of coating it with water glass to make it hard if the hot temperature does not make a crust on it first. Also I thought of putting the torch to it and make the crust.
Yes when cutting and handling use precautions. I will be monitoring the ceramic insulation for break down problems.
Thanks for your concern on this issue.
Bob
1 Like
It is a small bucket vacuum cleaner 110v ac. Using a dimmer light switch. Wired into the on/off switch.
I like the valves out of sight.
Bob
1 Like
-2 over hear, feels colder, i dont know much about water glass, now will research it more if it might make a suitable coating around the work areas.when i installed my ceramic in my fire tube it was dusting pretty bad, mine was cheapest on the web and close by so quallitys may vary vast in the ceramic blanket manufactures. Your blanket does looks better quallity than the one i bought.
1 Like
They talk about soaking the material in it before applying it. That would have been a mess if I would have tried that to day. I think rolling it on to the material would work. I haven’t bought any yet. Just researching it on the web. It does look promising though.
Bob
A buddy of mine menchened i think that stuff for leaking head gasket or cylinder head crack fix, for temperary repairs by putting in radiator.
2 Likes
if you notice the count of likes going up and down by one, its me, i cant stop clicking on the like button…
One more dark knight getting ready for the road…

5 Likes
the stuff’s name is Sodium meta silicate, easy to find and easy to use… about 1,5$ per kg
1 Like