Wow, I never realised you were that close to driving. Congratulations!
Where did the extra power come from? Judging from all the smilies you seem quite satisfied.
4 Likes
Good for you Tom. Glad you’re back on the road. You know that we need a video now.
4 Likes
JO, I think Tom’s last gasifier had 5 nozzles, so 10 is double the air if he kept the same size nozzle diameter hole. Not sure, Tom has built a few gasifiers now. This one might give the WK a run for it money.
Bob
2 Likes
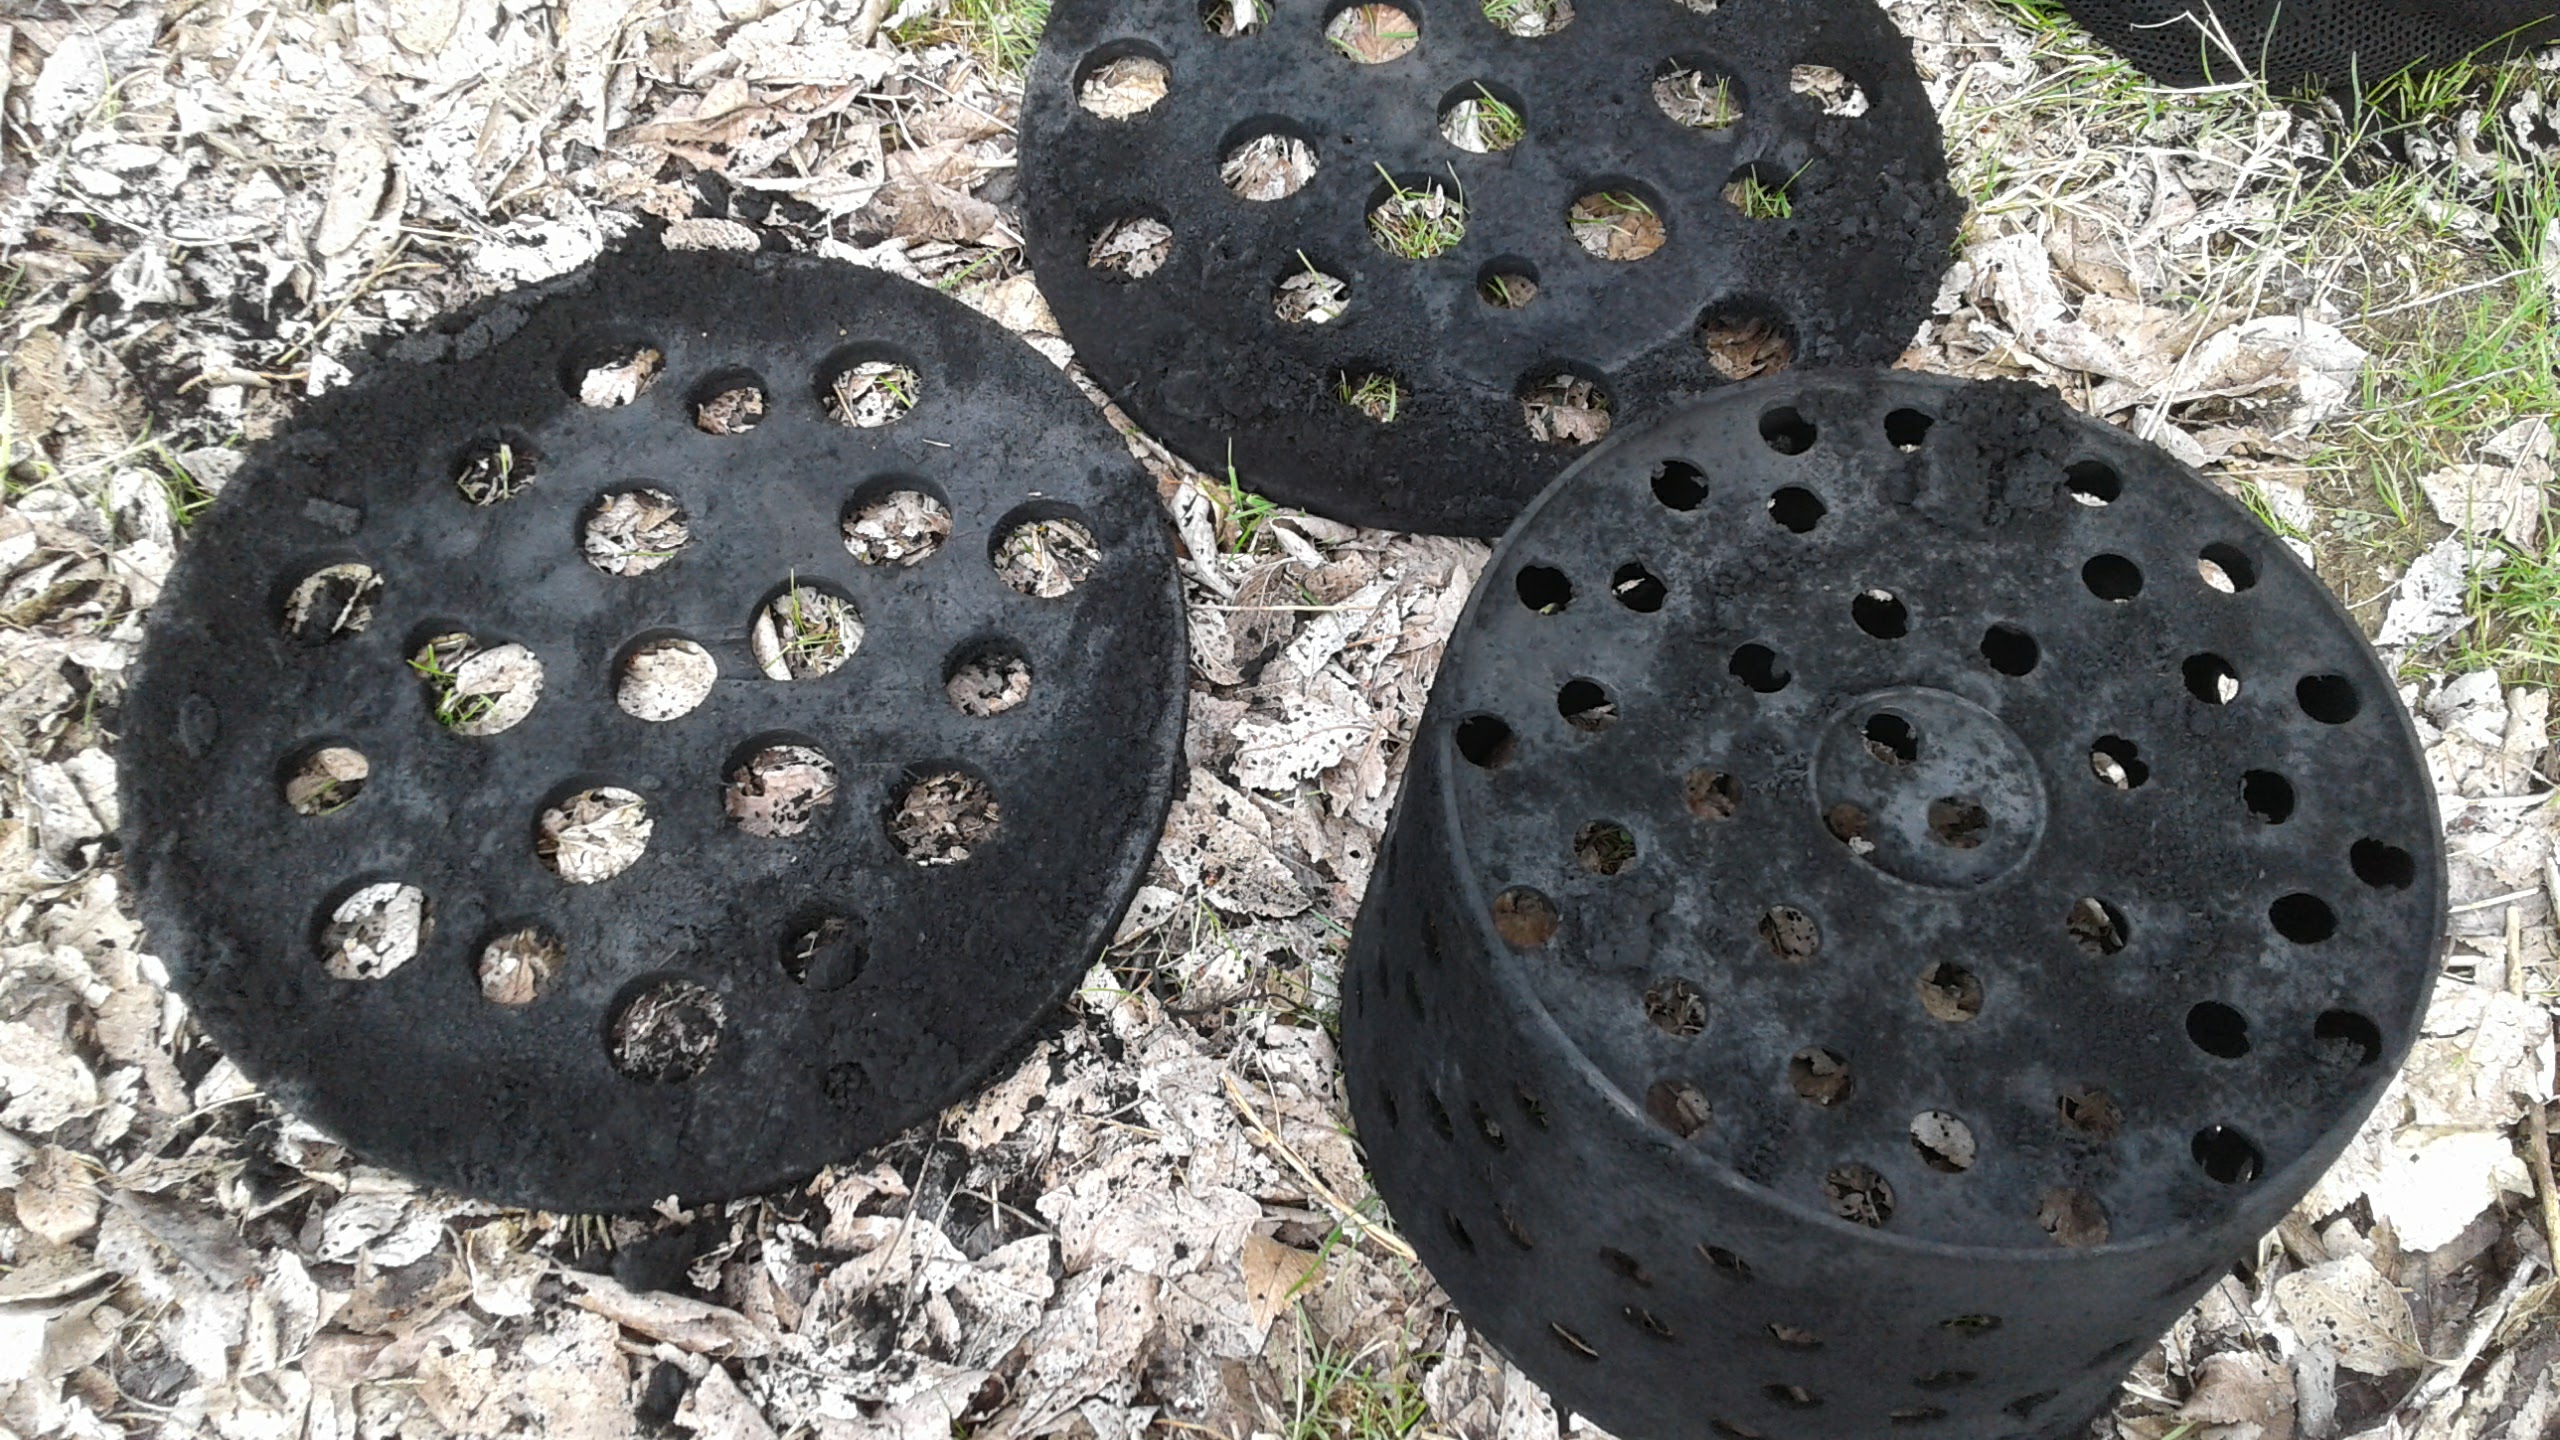
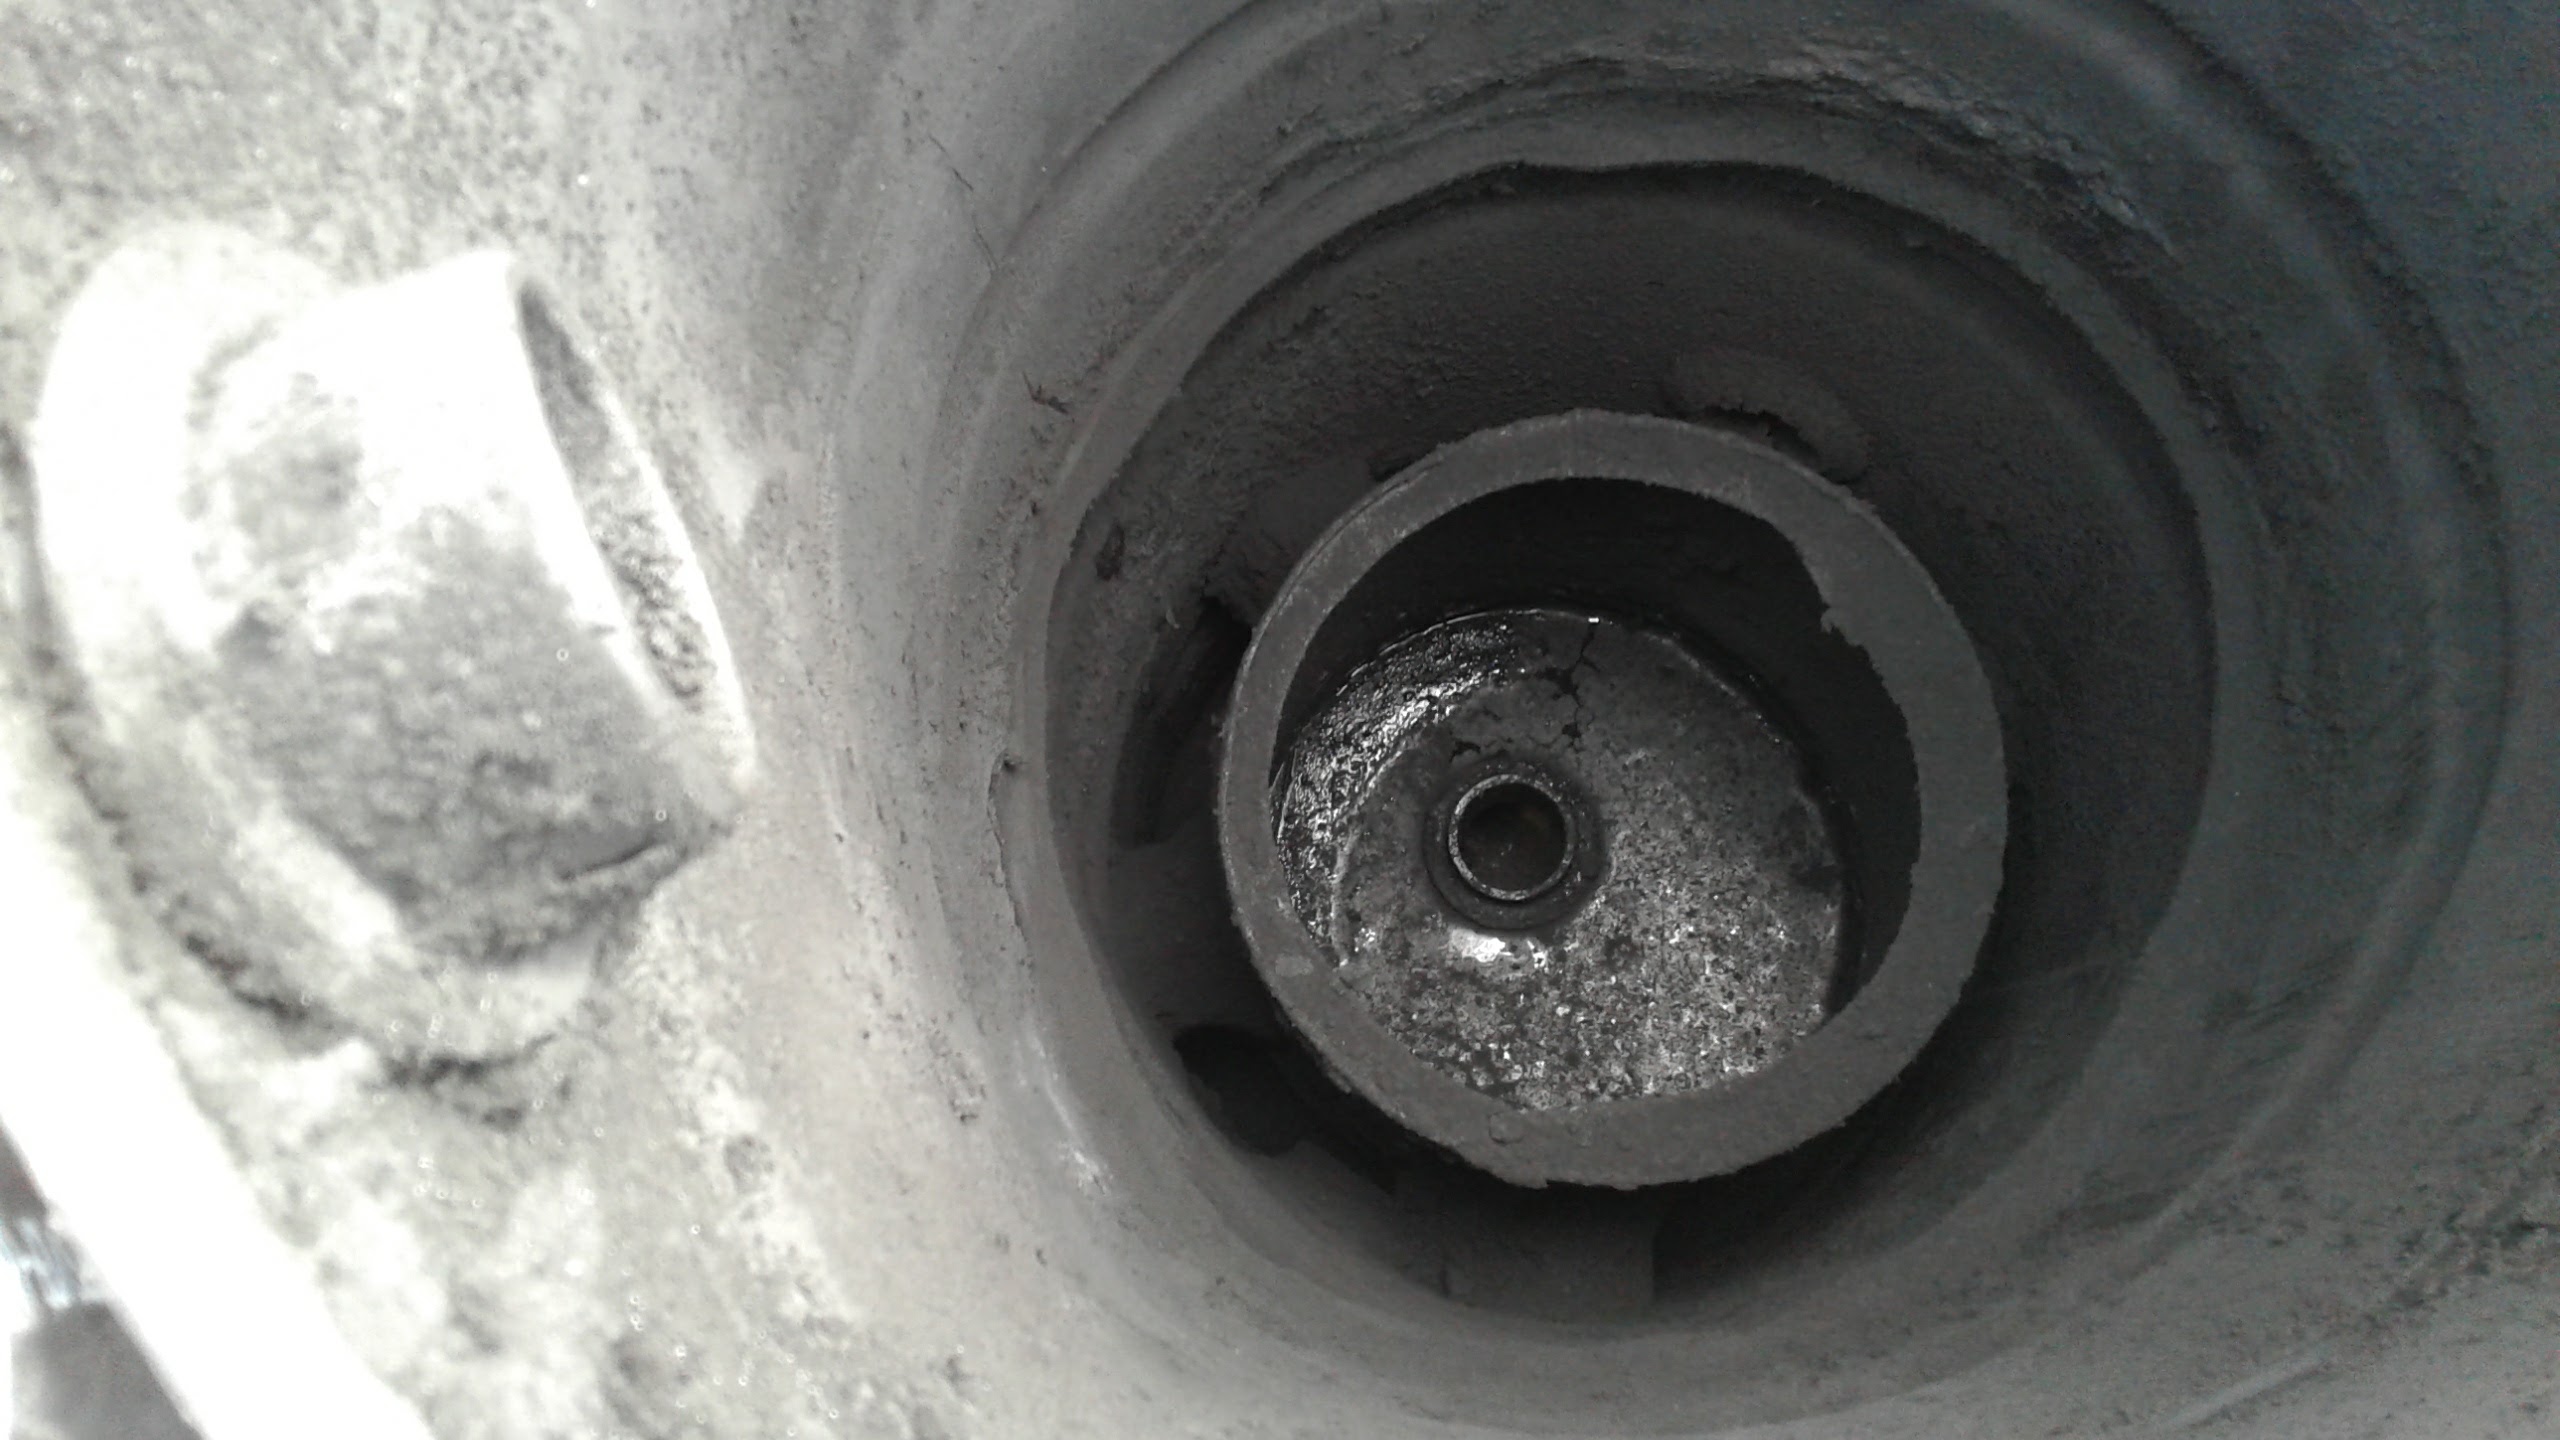
Yes I am so happy. I tried to make modifications according to what I though Max was talking about. I went to a fire tube similar to a WK, with short nozzles screwed into the fire tube. This change was to make sure the tars didn’t go behind of the nozzles. I went to 10 nozzles instead of the 5 that I use before. This was to give less opening between the nozzles and nozzle flames. I had to recalculate orifice diameter of nozzles because my chart only went up to 7 nozzles. Then I dropped a ring down just above the nozzles. All of this was to force the tars to go through the flame.
The next change was the reduction area. My original build here was made of a tire rim and a couple of disk brakes. The nozzle circle, height from nozzles to restriction, and restriction were all according the book, but after the restriction the coals just fell to the grate. No design went into the reduction area. Now I have tried to make the size of the reduction proportional to the oxidation. The walls of the area are insulated with char to better confine the hot char and keep it hot longer. I didn’t understand the importance of this area until Kristijan talked about it. Then Max talked adout a reduction design that used ash to insulate the area. Finally my grate was built to my understanding of Max’s insulated angle iron design.
My cyclone rusted out, so I had to make a new one to the old design. My hopper had also rusted but I decided to just repair the hopper. I had a counter flow gas/air heat exchanger that was about 13 ft. of 3 in. Pipe enclosed with 4 in. pipe. That turned out to be too heavy for the good it did. That was removed.
I have more changes in mind, but no more tiring the truck apart until I have a new part ready to install. Yes, I will have to figure out how to take videos. TomC
13 Likes
Hi Tom good too hear you got your modified wk, imbert, gas man,gasifier cooking, I knew you wood be back too DOWing, NOTHING LIKE IT ? Once you dow’ed it. 
Blockquote
Keep Trucking SWEM.
2 Likes
Allright Tom!
This is exactly what l wanted to achive with my former gasifier. Only l didnt use 10 but 35 small nozzles to burn the tars at firetube wall + 3 big nozzles for penetration.
Hope to see a walkaround soon!
2 Likes
Hi, Tom!
22.1.2018
Following the skizz in 635 you would achieve a good pyrolysis-gas collection and return blasting into the glow-center.
The 60 degree cone has an upper periphery length of Pii x the planned diameter,
and the radius (on a plain sheet) = the planned (mouth)diameter.
The same applies to the lower edge of the 60 degree cone.
That makes exact a half-circle of plain material. (Add welding rim for doubble sided welding)
Train with paper, and a model in scale 1 : 2, that is easier and cheaper to handle!
When you are confident with the paper model, then cut it in full scale out of metal sheet!
Exactness is needed to get a perfect paper model!
The cylider part is inteded to sit rather loose on the “nozzle-roots”, so it can be easily removed at cleaning.
Gas-Tightness to the firetube has no function; the aim is just mechanical, to shape a void for collecting pyrolysis gases streaming out from the center and assisting easy succing for the nozzle-beams.
Keep the “over-roofing” 1/4" longer inward the center than for the nozzle-tips! or with another fomulation:
Make the funnel inner diameter 1/2" less than the common tip-circle of the nozzles!
635
3 Likes
Mr. Max; I would like to thank you for ALL the postings that you put forth to all of us. Particularly, us who work with the pre- WWII designs. You have been to us what Mr. Wayne is to the people that have built his DOW design.
Our relation has been a little shaky at times because as you said you had people that you were working with that actually had an interest in what your were recommending and you weren’t sure I wasn’t just wasting your time. Almost everything in this build had something that came from your postings and I tried to show my appreciation by noting your contributions.
I have only put a couple of miles on it because we are snowed in again. As with all new builds, I am sure as I get more experience I will find some new problems.
You mentioned the nozzle “over-roofing”. I concede that I got that one wrong. It is something, however, that I can build and in an afternoon slip into the gasifier. The conversation about the “roof” started in someone else s thread and I haven’t found it. I will say with ref post 635 the skizz is very clear. I stand by my statement “a picture is worth 1000 words.” You asked me to critic your post 635 and although I don’t think it is good to question the professor, I believe the last statement is my critic.
My future plans are for things that you have discust, and I hope you will chime in-- in the future I will try to let you know what I am working on so that you can make suggestions before the fact. A list of things that are in the planning book but not yet on the drawing board are, heat mantle around the hopper, vertical cooling tubes, and gas reheat before a paper filter.
As of right now I want to lay down some miles TomC
10 Likes
Hi, Tom!
23.2018
I hope you will enjoy road driving and city crawling!
All observations are valuable!
Heating the silo in the center and cooling, condensing at the periphery
makes the best use of the otherwise wasted outlet heat.
Pre-heating the inlet air is good, but heating and drying + condensing the wood
is far more useful.
Doing both is optimum.
5 Likes
I know that several of you have gone to a plastic barrel for the hay filter. Some of you report that they collapse under vacuum. I went with a plastic barrel and yes it collapsed into a square in stead of a circle. What did you that are still using the plastic, do to stiffen it? TomC
I’ve heard someone used clamps for the barrels placed on the inside.
Hi Tom, inside the barrel are some wooden disks with with holes drilled thought them.
They come from wire spools with a cardboard cylinder in the middle. The plastic ones would work too. One is above my hay and one is below the hay, in the very bottom I have plastic bucket up side down with holes drilled in it to keep the hay out of the water in the bottom of the filter barrel.
Bob
4 Likes
I used rebar rings, JOs idea.
3 Likes
Right, after having a barrel implosion I use rebar rings. I happened to have some thin twin rebar (made like a ladder) laying around. Bent to a circle and squeezed to the inner wall of the barrel. I´ve pulled as much as 40 inches sometimes. Still holding up.
3 Likes
I am totally bewildered. Have any of you fellows taken a video and used iMovie to put it together and posted it on YouTube? If you have please contact me by e-mail. I need some help. TomC
1 Like
Tom, I now how you feel.
I´m sorry but I´ve never tried to edit a video. I just upload them the way they are.
I´ve posted so many videos here, but still, every time I´m about to upload to youtube I struggle to remember how it´s done. The youtube site seems to look different every time and I sweat more than axe-splitting a full cord of firewood.
7 Likes
Grrrrr!!! I have made videos for DOW before. A couple of weeks ago I took some videos and when I down loaded them to my computer, I found several clips that I had done nothing with. So I worked them into a couple three videos, but then I could not post them to YouTube. The temperature has been just getting over “0 f” during the day so I have been hanging on the computer in the basement. I can’t tell you of the Hell I have gone through trying to load them. Macintosh charges deeply for technical assistance. Once they sell you their product they don’t want to hear from you. On occasions that I find a Mac owner who is familiar with the system and I ask them about a problem, the answer is always " oh, you can’t use that program. You have to buy this program". TomC 

1 Like
Hi Tom , one little trick that might work is to “” Copy " the video you made. And then “paste” it to the home screen with all your other Icons. Then go to your You Tube channel page. Hit “import” Icon leave that page up and then go where you pasted your copied video, copy it again and then paste on your You Tube import box area. This will size it to work on You Tube. My High Definition camera mode will not work. It has to be done this way. By the way how old is your Mac.
Bob
Thanks Bob; Couldn’t copy the entire video, just the name of the video. Went to “share YouTube” put in my pass word and the page about accepting YouTube’s rules came up and I say yes. Then the icon for “iMovie” came up and said “Error”. I think it is something to do with “4K” (?) or “codec” or “compression” “H264” (?). Don’t know where or what these are. TomC
The original “FREE” windows movie maker was great and easy to use until they decided greed was more important. Sickening!
Yup, Tom, greed is the game>
2 Likes