Don, if you go back to post 132 where max has the diagram, you see the separate bellows for cranking mix. the next couple posts explain it’s operation.
Since the main diaphragm is only controlling the pressure of the gas and air to be equal, any adjustment of the actual fuel air ratio would have to be done with the dual throttle plates if I am understanding this correctly.
HI Chris saenz,Can the 60 40 adjustment be changed a little one way or the other,with longer hoses on one side,or the other,Glad you got it working,looks like nice add on.THANKS
Hi Kevin,
Nope, the pressure balance has to be 50/50, that’s the only way it can work… The membrane will constantly move until it finds that equilibrium.
Changing the hose lengths won’t really matter; adding a valve in the air sensing line will dampen the responsiveness of the valve to prevent overshooting. But eventually it will still find that 50/50 equilibrium.
Now, what you could do is add an additional manual valve on the air line between the diaphragm and the throttle. This would let you restrict the air further and richen the final mixture some more. This will compensate for weak gas, or unsymmetrical air/gas lines.
1 Like
Thanks,sounds like it should work good like it is.
I keep thinking that the gas valve is always wide open like it was before the auto mixer and that the membrane only adjusted the air valve like I have to do manually now. That is where I was wrong. the membrane adjusts both gas and air! It took a while but I think I finally got it. 
Close… The membrane itself only controls the air. However we are throttling both gas and air. This is why at crank up we get a tiny measured equal amount of each - not from the diaphragm but from the throttle itself. As we move to wide open throttle, the gas plumbing becomes the restriction and the air flap is auto-adjusted to match.
I feel like the more I explain it the more complicated it gets… Sorry guys.
WOW that is really amazing, and hard to wrap my head around! Great demo, great job, Chris.
Made a trip around town tonight, and kept the camera fixed on the AFR gauge. The idea here is showing how the automixer responds to throttling up and down, long pulls, sudden stops, and idling. I did some of all of it in the video - even managed to stall it once, goofing around. But if you drive sensibly, it’s remarkably stable. Even a bit boring… 

5 Likes
Fascinating!
How does the Lambda meter behave on gasoline on the very same route, equally driven?
Max
Normally on gasoline the meter will swing back and forth, back and forth from rich to lean. On heavy acceleration it will swing to the rich side briefly, then return to its normal pattern.
Looking good Chris .
Thanks for posting .
BBB
Very nice, I want one. I’ve been experimenting with fuel size some more in kiln dried, air dried, and fresh cut fuel. I’m seeing a lot of variation in A/F ratio as I drive. This would come in handy. Yes, it was boring. 
2 Likes
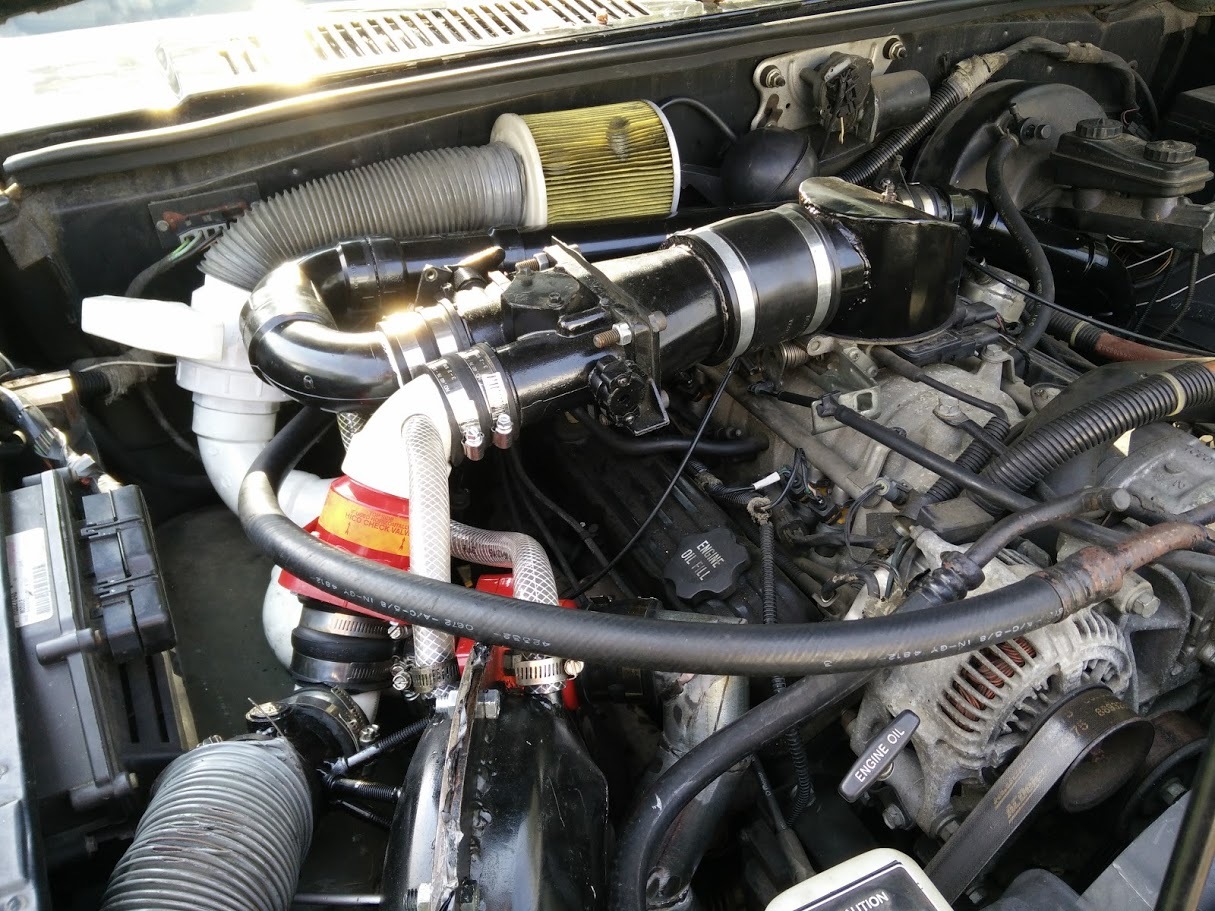
Added some check valves to the system, and redid the blower setup. This makes startup a breeze.

Front gas vent:

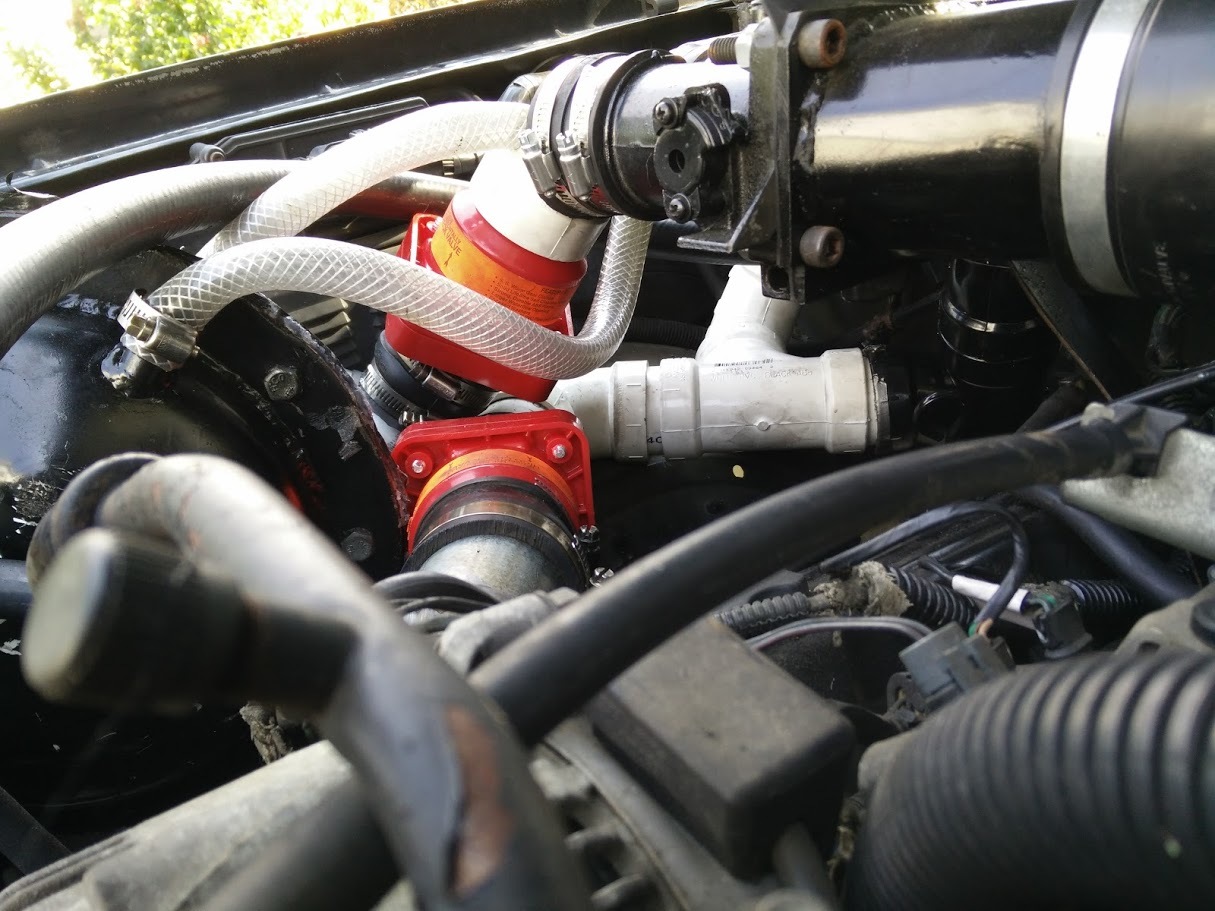
New underhood plumbing (check valves are red):

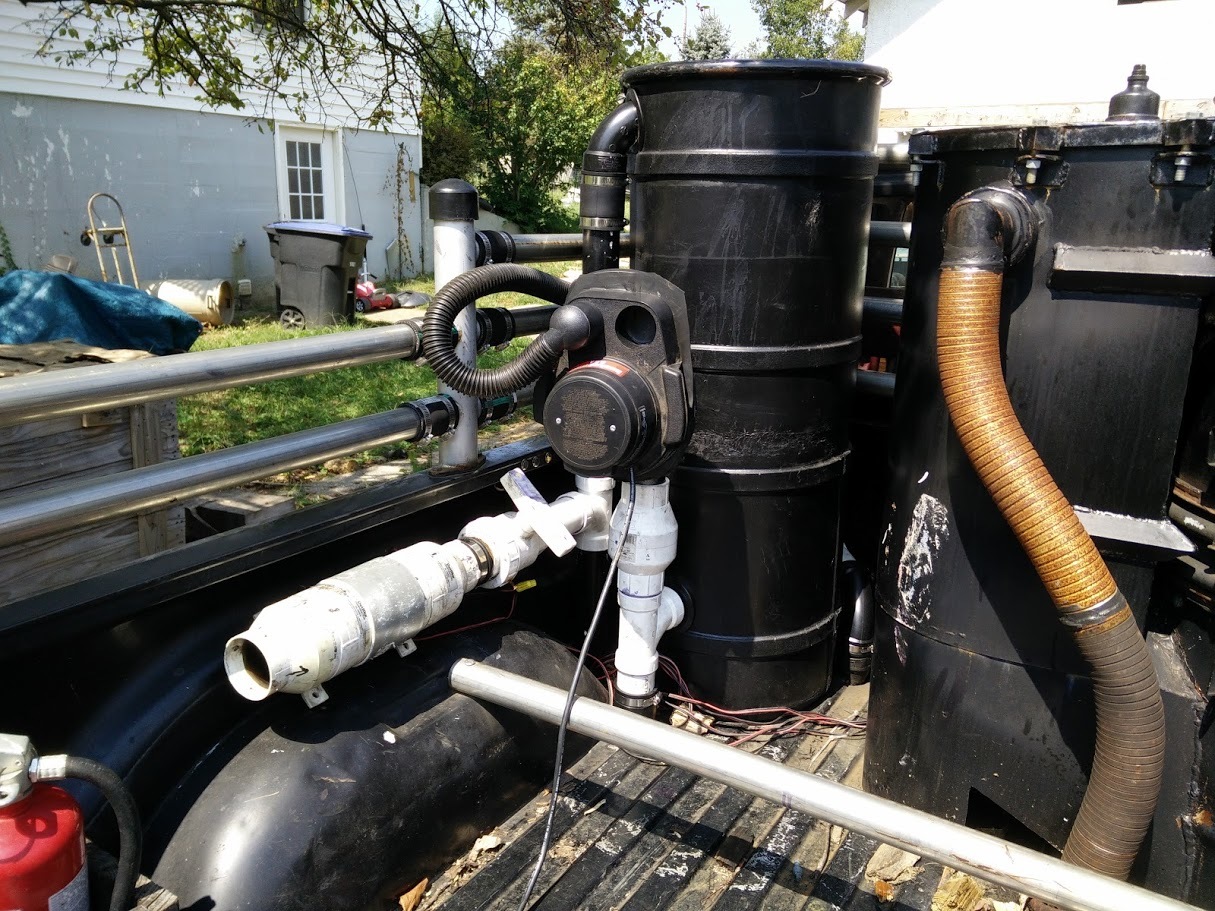
New blower setup:
8 Likes
Hi, Chris!
It seems to me, that this new vent out route is also sucking from the hay filter, as there seems to be no backflap. If this is so, then fresh air from the motors secondary air intake through the balancing flap (at the membrane) and through the partly open twinflaps can flow backward through the gasline to the hay filter.
In the hay filter, there can be resident GAS!
If they mix and go into a sparking commutator in the shop vac ???
No more questions necessary…
Hope the electric motor has separate ventilation for cooling!
Max
Yes, that’s possible. However the air leakage from there should be very slight, and hopefully not enough to cause a problem. The path of least resistance is directly through the gasifier.
I’ll keep testing it out and let you know what happens! 
Slow air leaking makes a good mix; “should” and “hopefully” does not degrade the flammability…
So, a backflap more (if tar-free) will tell more about the probability?
A manually turned valve is best for the health!
(If actually used EVERY time)
Max
I LIKE IT!!!. As you know I use a Kirby vacuum so am a little predgudos to bigger vacuum. What are you using below the shop van as a one way valve so that air can’t be pulled through the vac when it is off. I have a side valve on mine and it is one more thing I have to remember to shut off. Are the red square things you have in line check valves also? I have been thinking that instead of using “pusher blower” we could open a valve to the vac (for air) and stick the rubber hose on the vac into a opening to push air through I have permanently mounted a reel of electrical extension cord in the bed with it hooked up to a dimmer switch so I can control my vacuum. If you are only pulling 5 in. I guess you don’t have to worry about that. You spoke of it getting up to temperature before you gave it a try. Where are you measuring the temp and how high does it go before start up. I measure at the grate and let it get up to 800+ before I try.I have had to clean up tarry motors and I don’t like it. Next thing you know your mom will be driving on wood gas it will be so easy.TomC
That one’s a spring loaded check valve, had one sitting around. The rest are swing check valves.
http://www.ebay.com/itm/2-PVC-Spring-Check-Valve-Socket-/231509673126?hash=item35e70d44a6
Yes.
http://www.ebay.com/itm/2-Check-Valve-PVC-Pipe-/171371529019
I’m watching the woodgas to see what it looks like. I don’t go based on any particular temperature. Once I see some decent gas, I send it up front and I can check for flammability.
You mean a check valve on the gas line into the twin flaps? That’s a possibility… I’m not convinced it will be an issue. I will continue to test and report back.
1 Like
Chris, that setup is amazing. You didn’t strain the starter any more than starting on gasoline. It is a must do for me.
Thanks for figuring this out for us.
1 Like