Wow, thanks for all the “welcome backs”, that was very kind and much appreciated!
I took the center section out to look things over and I had used stove gasket for that seal. It worked good but it certainly isn’t reusable, I know the DOW Community are coming up with better ways to do things as time goes on.
Has there been any improvement as far as “ways to seal” that center section to the bottom drum, what are most of you guys using? Thanks, Herb H
O I knew we could use that on the hooper but didn’t know we could use it on the bottom drum seal because of the heat! If it works for you it will work for me! Thanks a lot!
I fill the lid groove half way full, smooth it, let it set 24 hours, then add fresh and assemble. This is all regular black or white RTV. So far so good with no leaks.
Good to hear that! I thought that was to hot of an area for the red silicone! That’s great, I cleaned the grove up already so I’ll pick up a couple of tubes and get it in there. I can see how that would make a very good seal but I never thought it would take the heat down there. Thanks for that info! Herb H
Hey guys, are you talking about the red 600 degree sealant? That’s what I used and it melted out!
Today I found some red sealant that is suppose to be good for 2000 degrees, I had never seen it before and maybe that is what you guys are talking about.
Planning on putting it in there tomorrow, just wanted to get your thoughts on it!
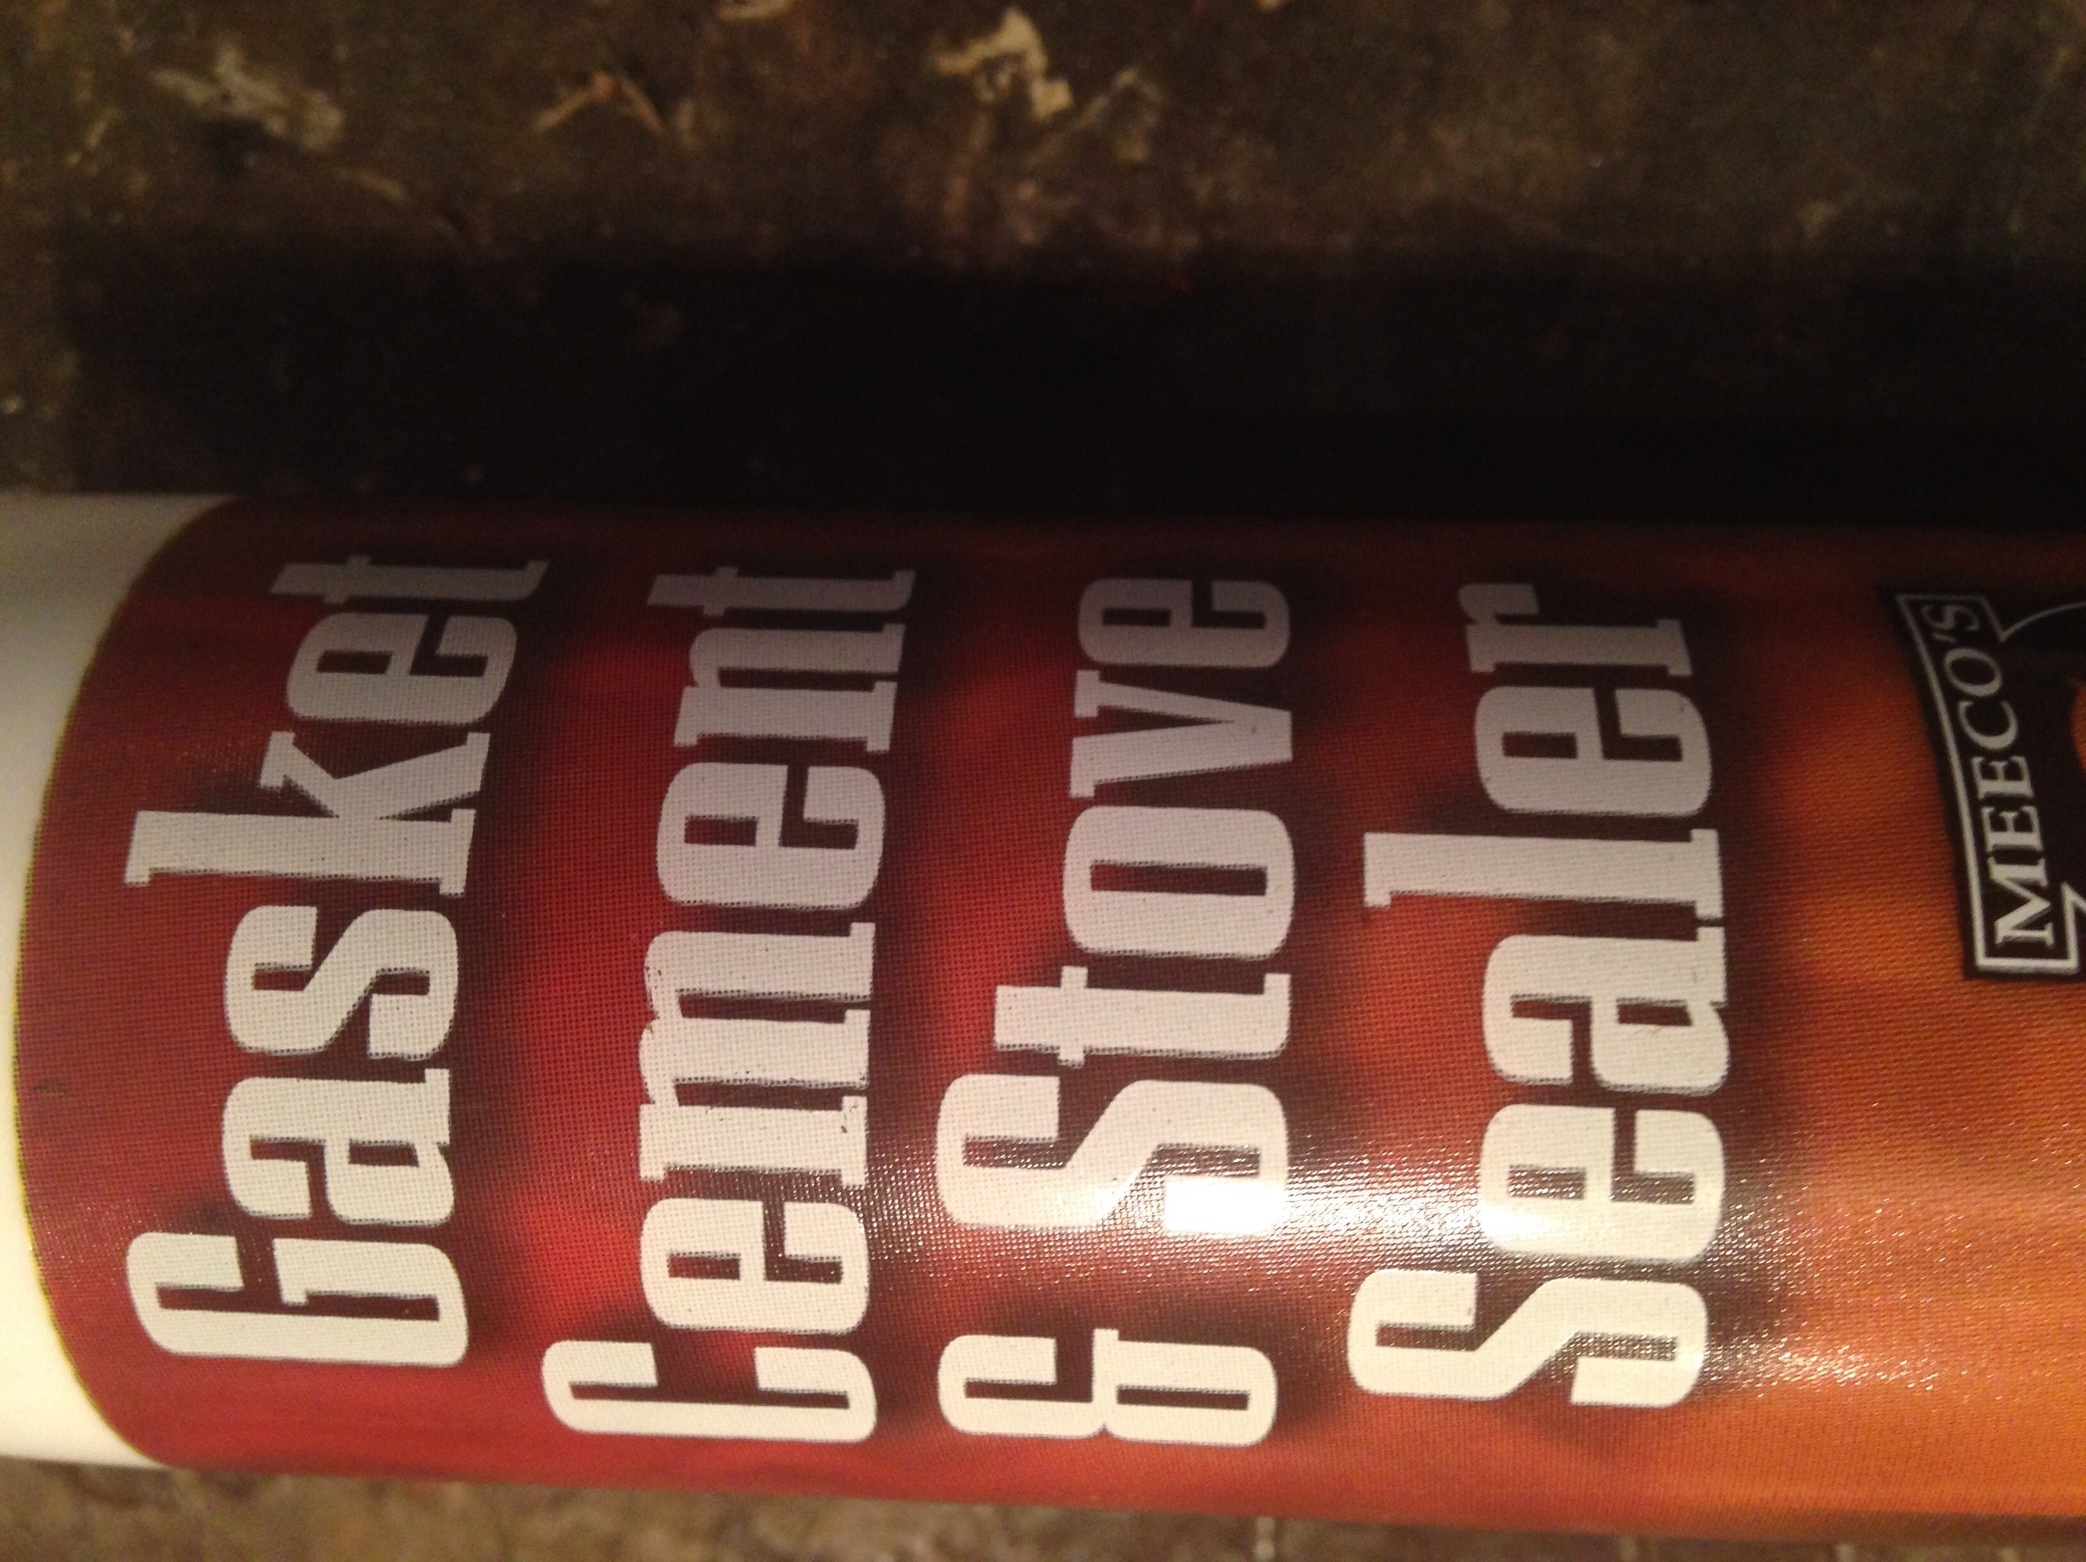
It’s a Meeco product Called Gasket Cement and stove Sealer. Says on the back 2000 degrees.
It shouldn’t be getting over 600 degrees anywhere you use sealant. That’s hot enough to blister regular paint.
I use regular bathroom silicone most places, and Permatex Right Stuff on the hot or critical areas. I don’t like the red silicone, it has problems curing correctly.
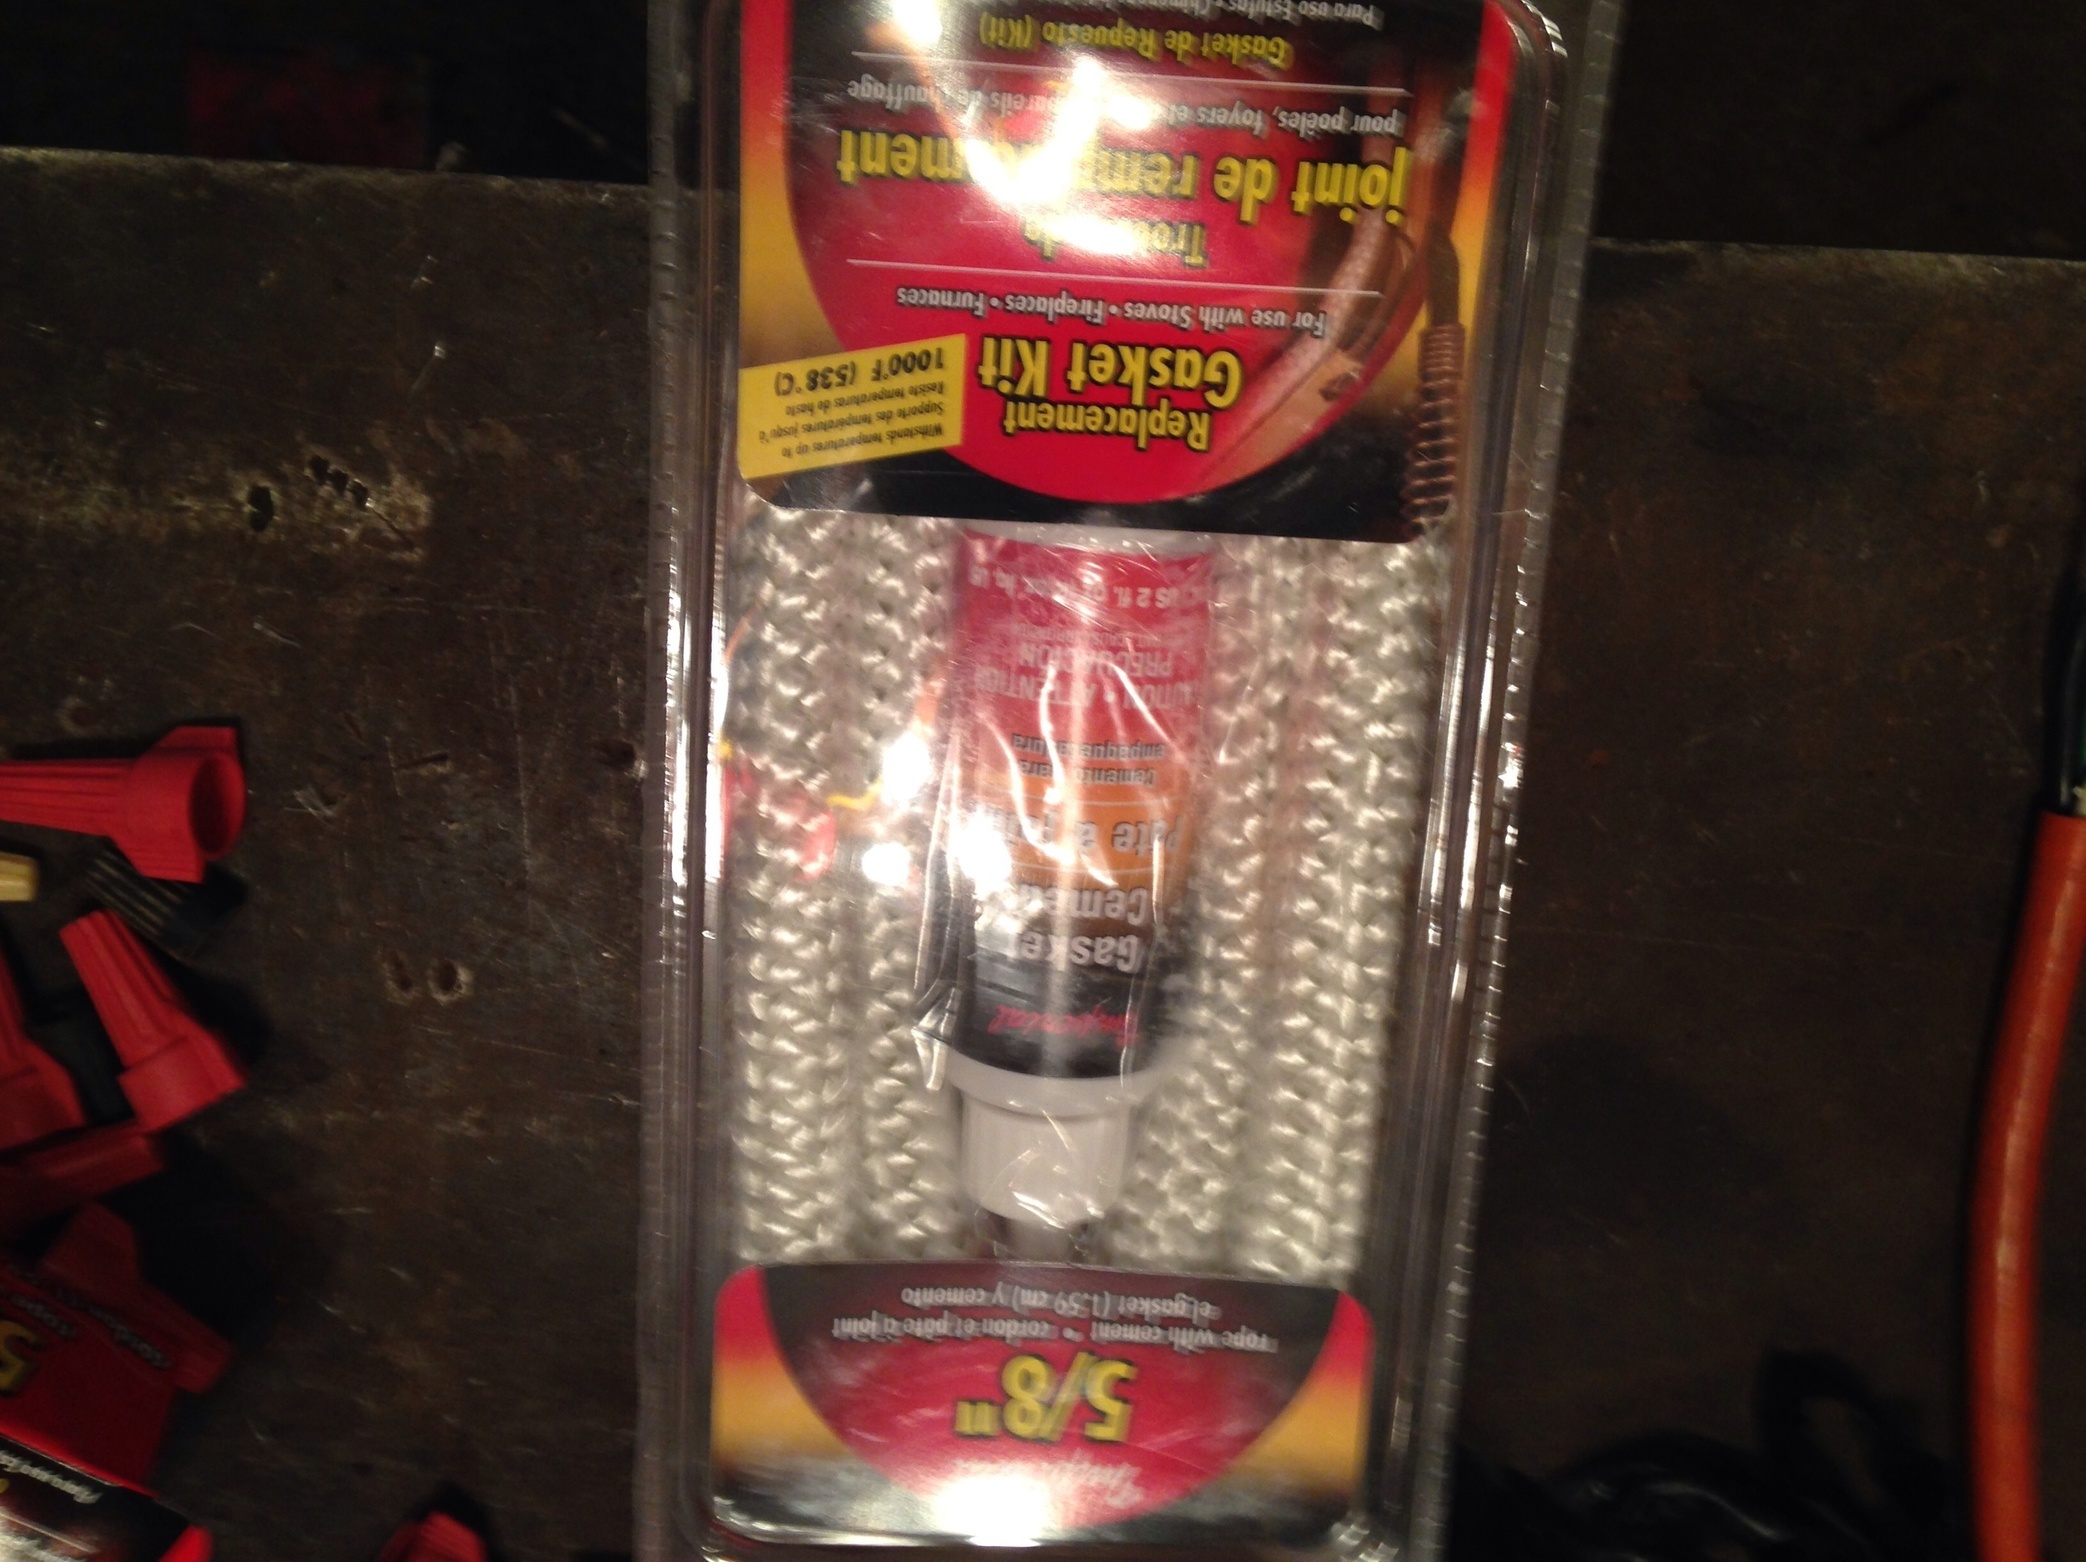
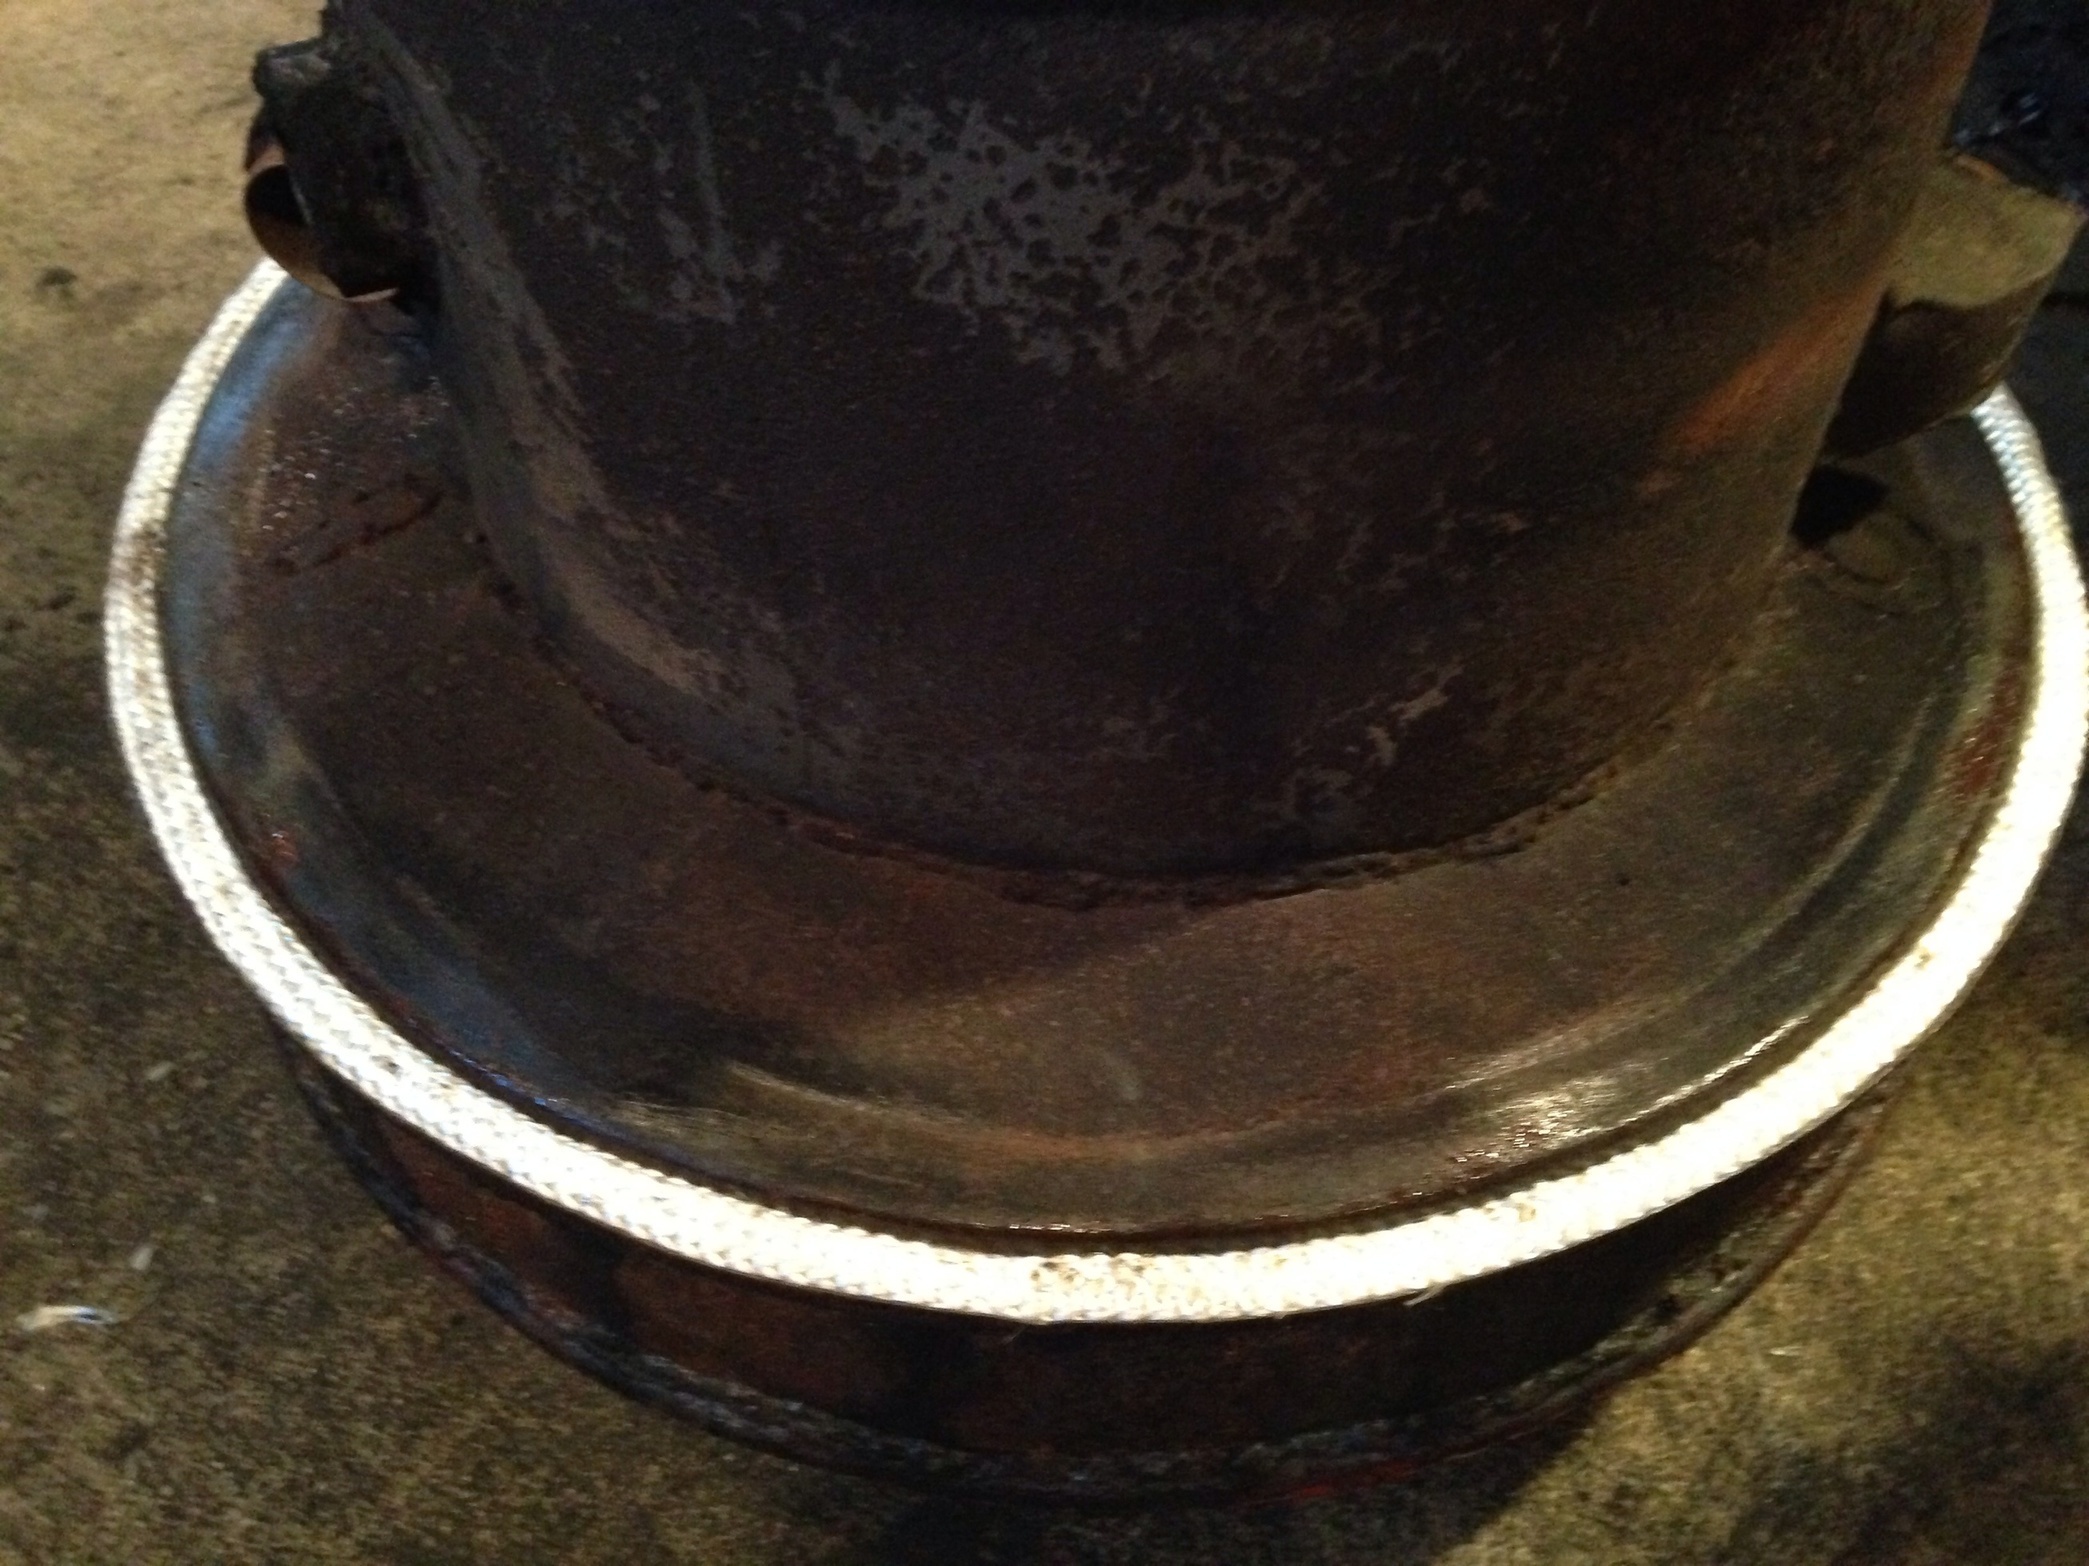
Well I decided to go with the old tried and true stove gasket rope, it installed very nice, didn’t even have to cut it for length and the 5/8 rope fit in the 55 gal lid perfectly!
Has anyone had experience with that 2000 degree gasket sealer I pictured above?
Good morning Herb.
This looks like the stuff I bought from Menard’s for my miniWK. It worked well for me. I soaked the rope with the sealant that came with it before placing it in the groove. My problem is I had to break my hopper down when I transported it. I found the sealant would get hard and crusty after it got hot. When I replace it, I will set it up like you have in this picture with the sealant only on the one side.
Looks good and I am waiting for the video of the Caddy back on the road.
Yeah that 5/8 rope works great, I was going to put some of the sealer on it but it fit so good didn’t have to, it practically snapped in the grove!
Got her back together and planning on taking it out for a test tomorrow !!
Good video Herb. A question. Could you give us more detail on your lid? I don’t think I have run for more than a month without rebuilding my lid because it always leaks. Mine of course is not a WK type lid. It is more like yours.TomC
PS. You just gave a new meaning to adding a couple of “bags” of wood.
Thanks Carl, I videoed the whole ride and have it divided into three and am working on getting them uploaded, with a little luck and an act of God I will be able to get them on here before the day is out!
Tom looking forward to meeting you in Topeka in Oct! On the lid I came across that way of doing it by accident! When I first built it I thought I could make it air tight by having the lid slip inside the hopper with a tapper fit, it didn’t work very good so with it closed I applied (smeared) that red silicone over the seam and the next morning I cut it directly on top of the hopper flange and opened the lid! It’s been like that ever since, works pretty good!
Going to try to post the other too vids!