Takes shape… i almost can’t handle the temptation to fully weld this, welding is good fun.
Well, i need a new helmet, sunglasses don’t protect much. Guess i have to wait anyway.
To me, this was the hardest part building the screw. I ended up cheating a little bit. Although my flights are the same distance from each other all the way from the bottom to the top, the pitch is slightly steeper on one side versus the other. I figured that would be ok because the wood would just feed at slightly different speeds. In other words, it won’t feed at a steady rate, it will seem a little jerky. But if the flights aren’t the same distance apart, the screw will try to widen the cut which means it would be trying to compress wood which would bind up the screw. Hope that makes sense.
Yes, it’s best with good protection, i have slough off my face skin often enough, can’t be good in long terms, and my wife don’t like it.
I feel that mig and stick burns the same, somewhat worse with stick because it needs parts of a second longer time to get a stable “tack weld” than mig.
Worst of all is all kinds of electrical welding in stainless and aluminum, because of it’s reflective properties, it really fries the skin (and not to talk about the eyes)
When thinking about this, i think i need to get better on using long sleeve shirts when welding, i could be a reason i start loosing skin pigment on some spots
Covering clothes is a good idea, I welded three ss sleds to made classic skitracks with 10 years ago only wearing a t-shirt and looked like I had lobster arms
I bought this one, resonable price, $80 or so. I am pretty happy with it so far.
Also bought extra screencovers with it.
That looks like a good one, i ordered a cheaper china made one yesterday, will see how it works.
My old auto-darkening helmet finally gave up some weeks ago (after 15 years) I’ve used it anyway last weeks, because it still protects, just the darkening don’t work.
But yesterday i worked on the floor, lost my balance, and sat on it. The screen cracked and popped out.
Then i used my classic analogue handheld screen (my favourite for stick) instead, but then i carelessly dropped my (slagghammare) on it=broken glass.
So…there i am at the moment, one reason i use to buy the cheapest welding protection
Hi Garry, it is exactly the same here, probably the way i bent the flights, and i’ve seen some youtubes showing the same.
Just like you say, i aim at getting the same distance along the screw.
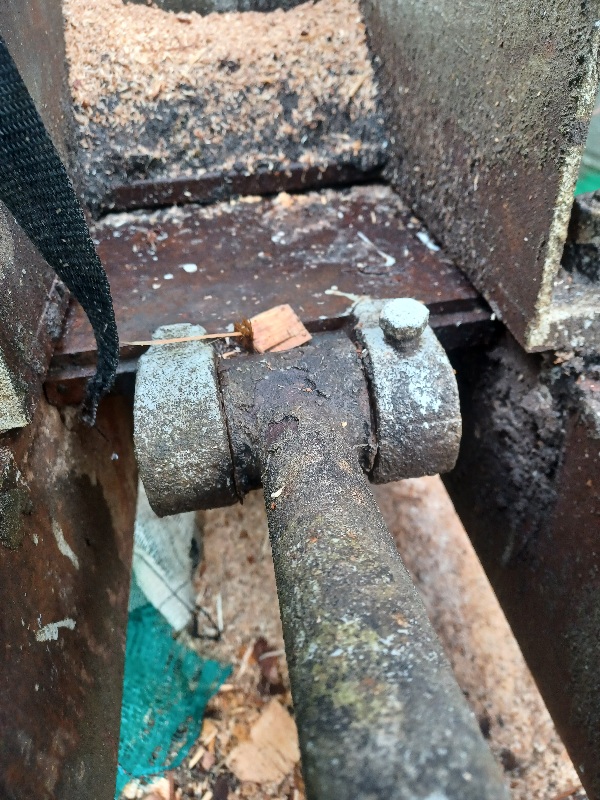
The discs stops against this, number 2 in drawing. The springs are necessary, as the axe presses wood down when splitting, if the edge was the other direction, the discs would jump in the feed chute.
Thanks Goran, you described the machine perfectly. I would like to somehow repay you for your effort, …
This machine is very good at preparing “motor fuel” from thicker pieces of wood, maybe I will make something similar with a cardan shaft drive that would be mounted on a tractor trailer.
Below are two links to a screw chipper, which is very practical
Hello Jan, in recent years, since I have had a screw chipper, I have been grinding most of the twigs and drying them under the roof. This makes a fairly good motor fuel (lots of ash, hot zone with a center nozzle) or for burning in a central heating boiler.
Hi Jan, i saw a youtube video of a guy using the coarse “chips” from a screw chipper for heating, he had a interesting wood boiler, modern with fan and secondary air and stuff, he built a fire as usual with normal wood blocks, and when up to heat, he opened a top feeding lid on the boiler, and just emptied a big basket of them chips in the boiler, looked pretty good for use.
Will see if i can find the video again, i belive it was in Ukraine.
That’s one of the reasons I went with the same diameter flights instead of the cone shape, I chucked the flights into a lathe one at a time before bending and let the lathe do most of the “grinding “.
I should open “my” topic, but I will “interfere” with Goran’s, because I will not be making a chopper anytime soon.
A few years ago I had 10 pieces of blades for a screw chopper made from 10 mm Hardox sheet metal. I intend to use 3 or 4 wraps for the chopper. The pitch of each wrap is 7 cm, the chopper will be made in the sense of those shown above in the video.