Bob, I would think the flywheel will be the boss of this outfit and would shear its pin whether the drive belt is slipping or not (if the cutter suddenly stops). You may not know how much pressure you will need on the belt tensioner until you run it under load for some time.
2 Likes
I agree with Mike
That huge flywheel will find the weakest link
Wood chunk, cutting wheel, or shear pin
Be sure to build a way to back out of a stuck situation.
I built a small cutter using a 14” saw blade and 2 HP motor on a 40:1 gear box. Could only cut 1/2” limbs but when it stalled it was a bugger to get the blade loose.
3 Likes
I am sure that if you dont throw in railroad beams in, the big flywheel and overdimensioned internal parts shuld hold well. I have seen those balers work Baleing hay. They suffer a lot! I think DOW related things shuld be a a releaf to this one, as they are to its owner 
In case the chunk does jam, l think either the belt on the engine pulley willslip, orthe engine will stall.
3 Likes
Thanks Mike, Michael, and Kristijan, we will just have to see.
I am going to build a way to trip the lever and have a spring pulling the other way to loosen the tension on the belt. True the fly wheel has a lot of stored energy. When they built this bailer it was built really strong.
I went a head and removed the hay packeting / chopping carriage. That was a lot of hard work taking it out. Used the plasma cutter to cut up into pieces and took it out the bottom opening. Now there is room for a conveyor belt set up in the future.

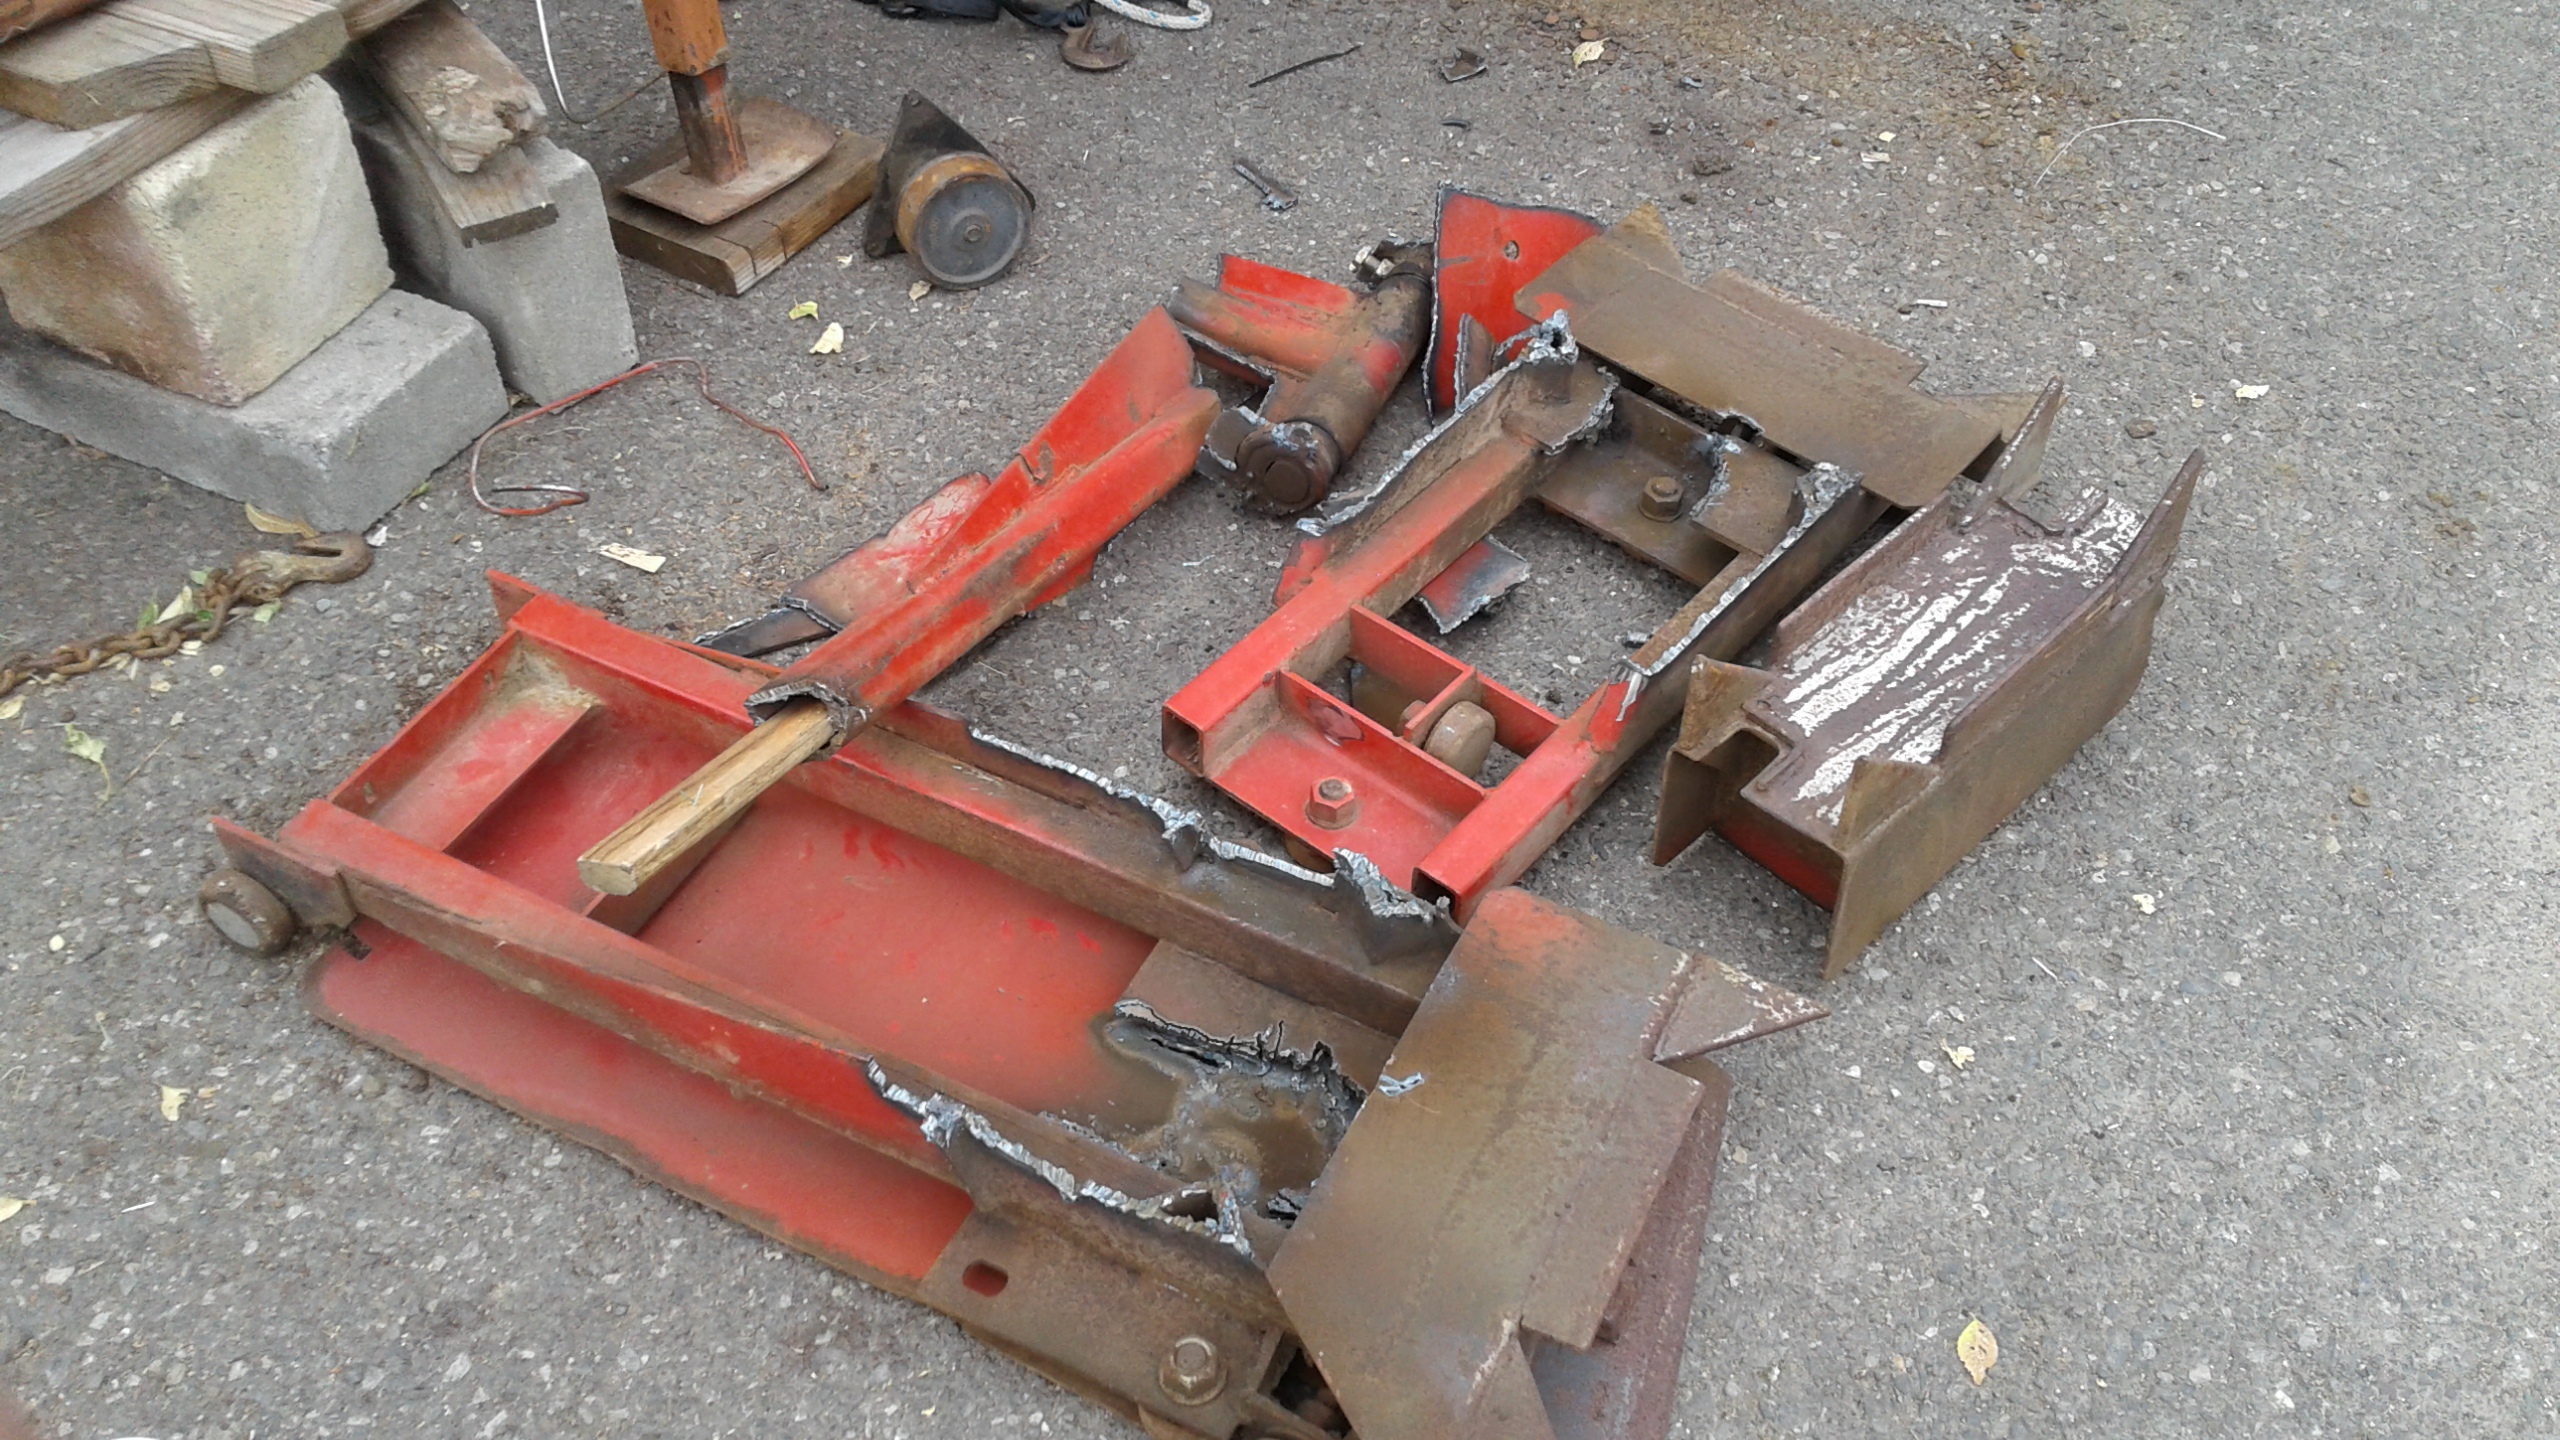
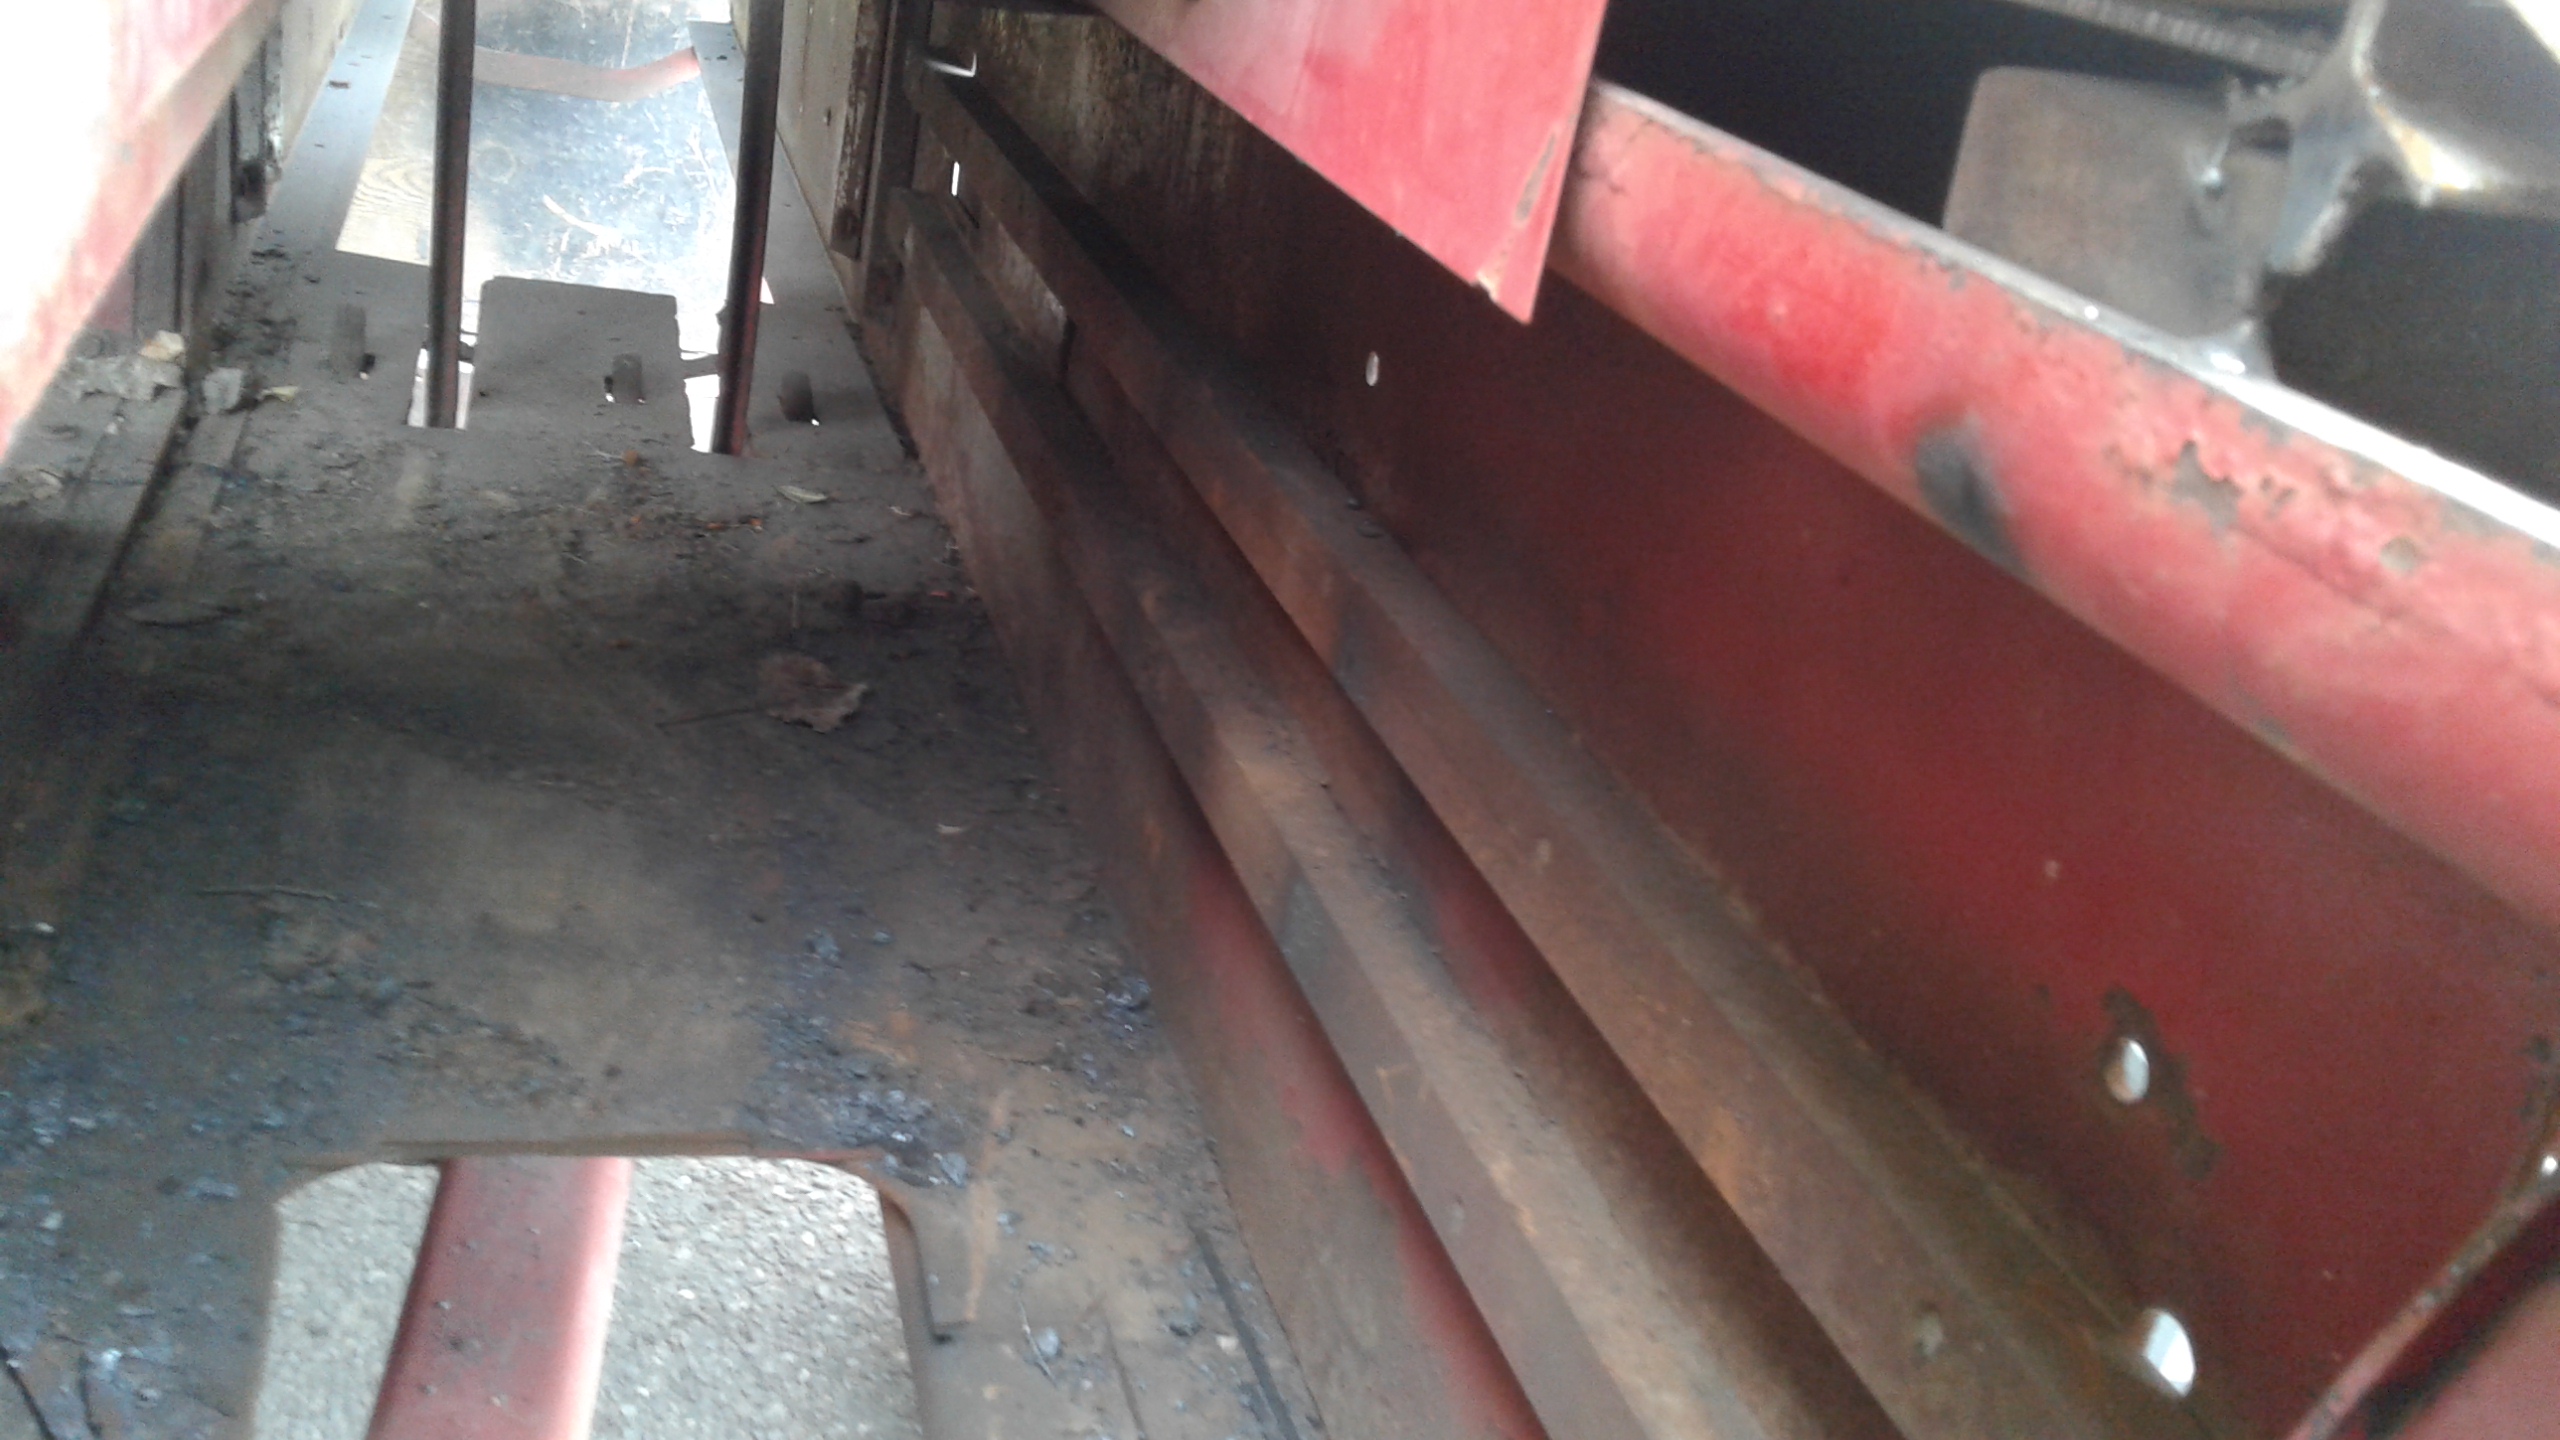
Once the cutting blade is installed there would have been no taking the carriage out. I had to reach in as far as I could reach, and cut with plasma cutter by feel. There was no room to look in to see the torch cutting. I have never done that before.
Coffee break time and lunch.
Bob
5 Likes
Bob,
I was thinking of running a flat belt on mine, if it jams the flat belt will slip before shearing the pin in the flywheel with the correct tension. I used these a lot around my mill, good safety device to protect equipment. Also, the weight of the flat belt provides an added flywheel affect on top of the flywheel itself with a little added “give” built into the system… Many ways to skin the cat, I know I have a tendency to over complicate things!
Bryan
2 Likes
Hi Bryan, my belt that is being use is three V belts all in one, it works on the same pully that three belts work on. I hoping it will be a longer lasting belt. This belt has more gripping surface than a flat belt. About a third more for its width.
Bob
1 Like
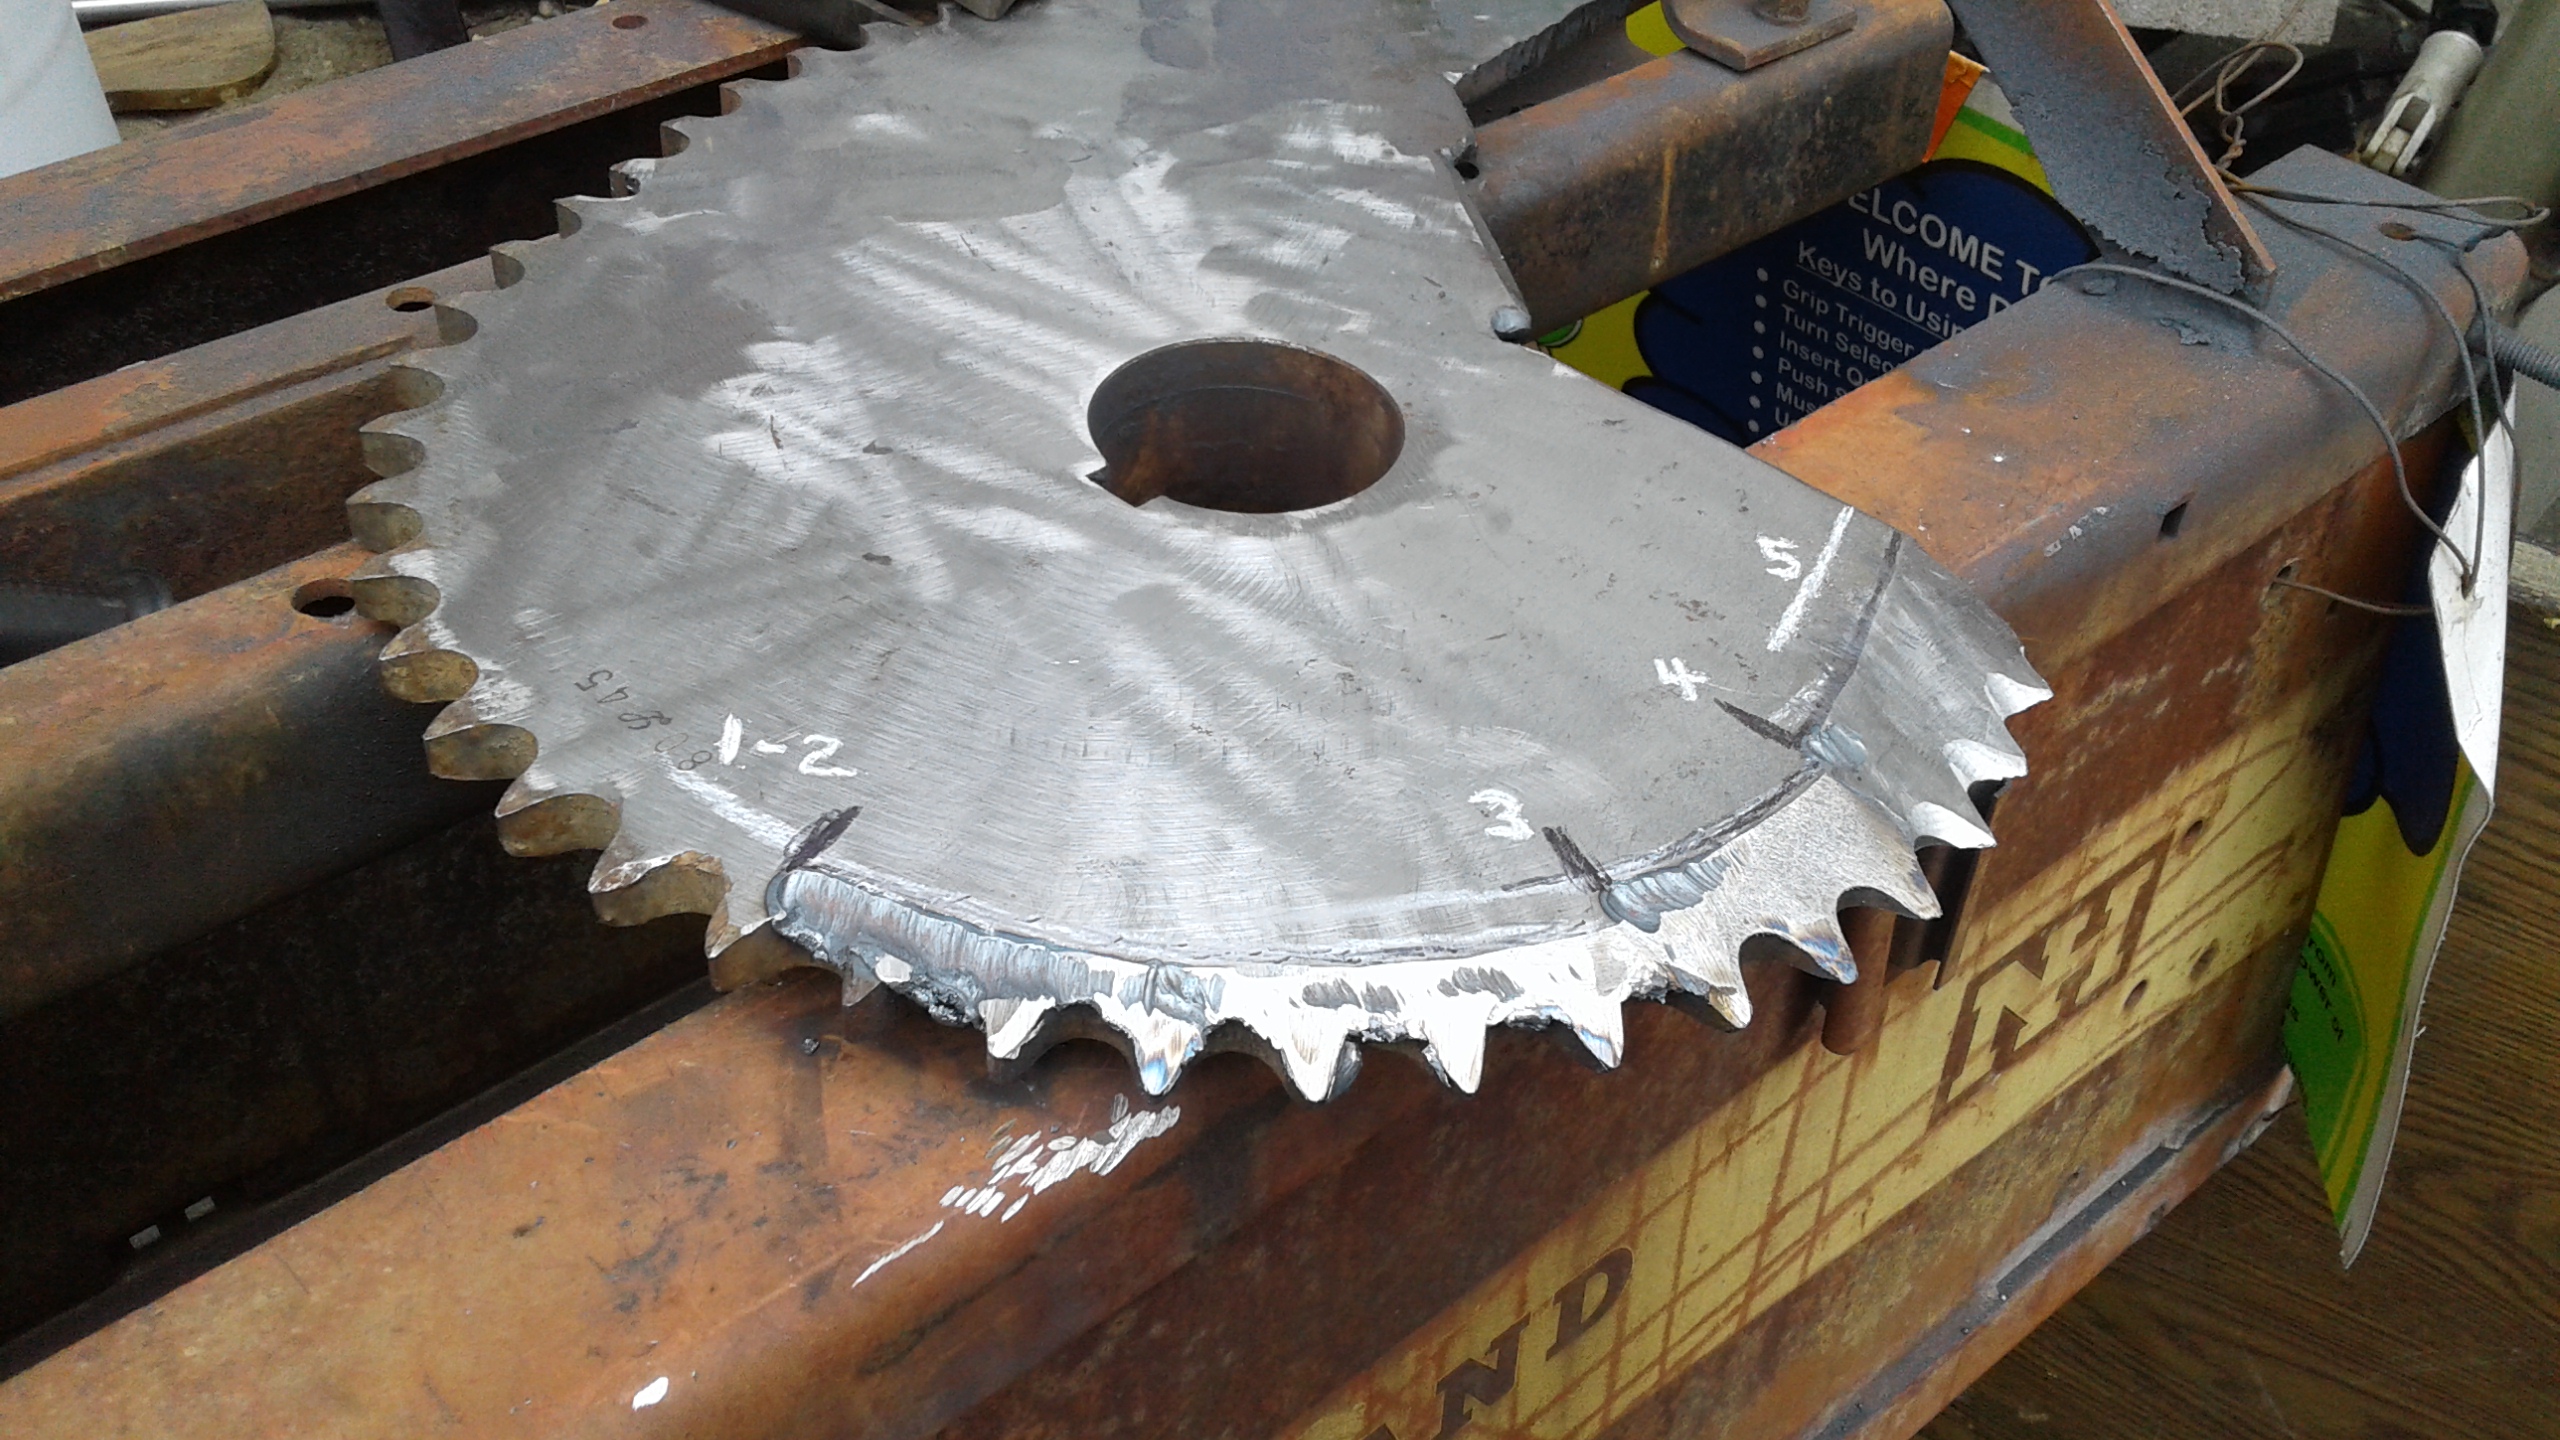
Made 4 passes with the plasma cutter and alot of grinding to get the first 2 teeth done.
Not sure if it is going to work but I’m going to give it a try.
The hardness of the steel is low after putting that much heat to it.
I have seen other chunkers that do not have real sharp edges, and they seem to work very well. A little fracturing of the wood is good from what I have read. Right?
This took about a hour to do. Hum in about 10 hours it should be done. Better get busy.
Bob .
4 Likes
Well the weather changed and I got rained out. Put the tools away and will have to wait for a dryer day, to finish my Wood Chunker Blade. Back inside working on my projects on paper. I have found they cost a lot less in monies, nice to work them out before spending a lot of monies in materials and then it doesn’t work.
I was looking at my teeth on my blade and decided to call it my shark teeth blade. I hear the Movie JAWS back ground music playing, dunt dunt dunt dunt…
Bob
3 Likes
Looking at that THICK sprocket I was visualizing how the blacksmith types would have been heating and hammering to put an edge on it.
I have also wondered about the function of the anvil in a wood chunkier.
Most of them have a flat surface with a groove for the cutting blade.
Would a sharpened edge, tapered to push the chunk the same direction as the cutting blade be way more efficient
Or a one sided edge (like scissors) allow more of a breaking action rather than cutting?
Hi bob! I had a similar style chunker, and it does work gret. Myne did chunk up to 2" limbs but yours shuld bite much larger one.
Forgeing is s good idea! If you have a a ox acetilene torch, you culd heat the ege and forge it in no time, shuld allso leave a good hard cuting edge.
I think the “shark teeth” are only important in the last 1/4 of the blade. You culd cut the rest off to ease the job.
Whats the thickness of the blade? I have found chunkers dont like too thick blades becouse the ticker ones use more power (the blade cuts and the thicknes splits) and allso split the chunks. If thats desireable or not, you know best.
For conparison, me and JO use same style rebak chunkers. He uses 6mm blades and his chunks come out perfectly cut and undamaged. I use 12mm blades, my chunks come out internaly split and shattered, but they hold round shape. This does aid drying time a lot but might lead to problems in the gasifier. Think of my chunks like a bunch of chips glued together to form a egg size chunk. We will se how they perform when the gasifier is done.
2 Likes
Good morning Michael, that would have been cool if I had a forge and could of hammered it to a edge. It would have made a big cuting blade. Not sure how this type of edge is going to work, I know a straight edge works. The anvil is going to be a backwards L shape with a box in front to guide material into the blade and safety. The anvil will be on both sides of the blade, shorter on the back side, and the blade will go into a slot to finish the cut.
From the bailer packing carriage I was planning on putting the steel wheels to use, on the front side of the blade to keep it from grinding on the anvil. Not sure on how to do it yet. I need to build the anvil with that in mind. Might not be needed. As they say steel sharpens steel.
Bob
1 Like
Okay, that was a lot of cutting, grinding, plasma cutting, shaping, and I’m not through grinding and welding yet. It’s getting there though.
The old saying " thinking out side the box" how about, thinking out side the sprocket.
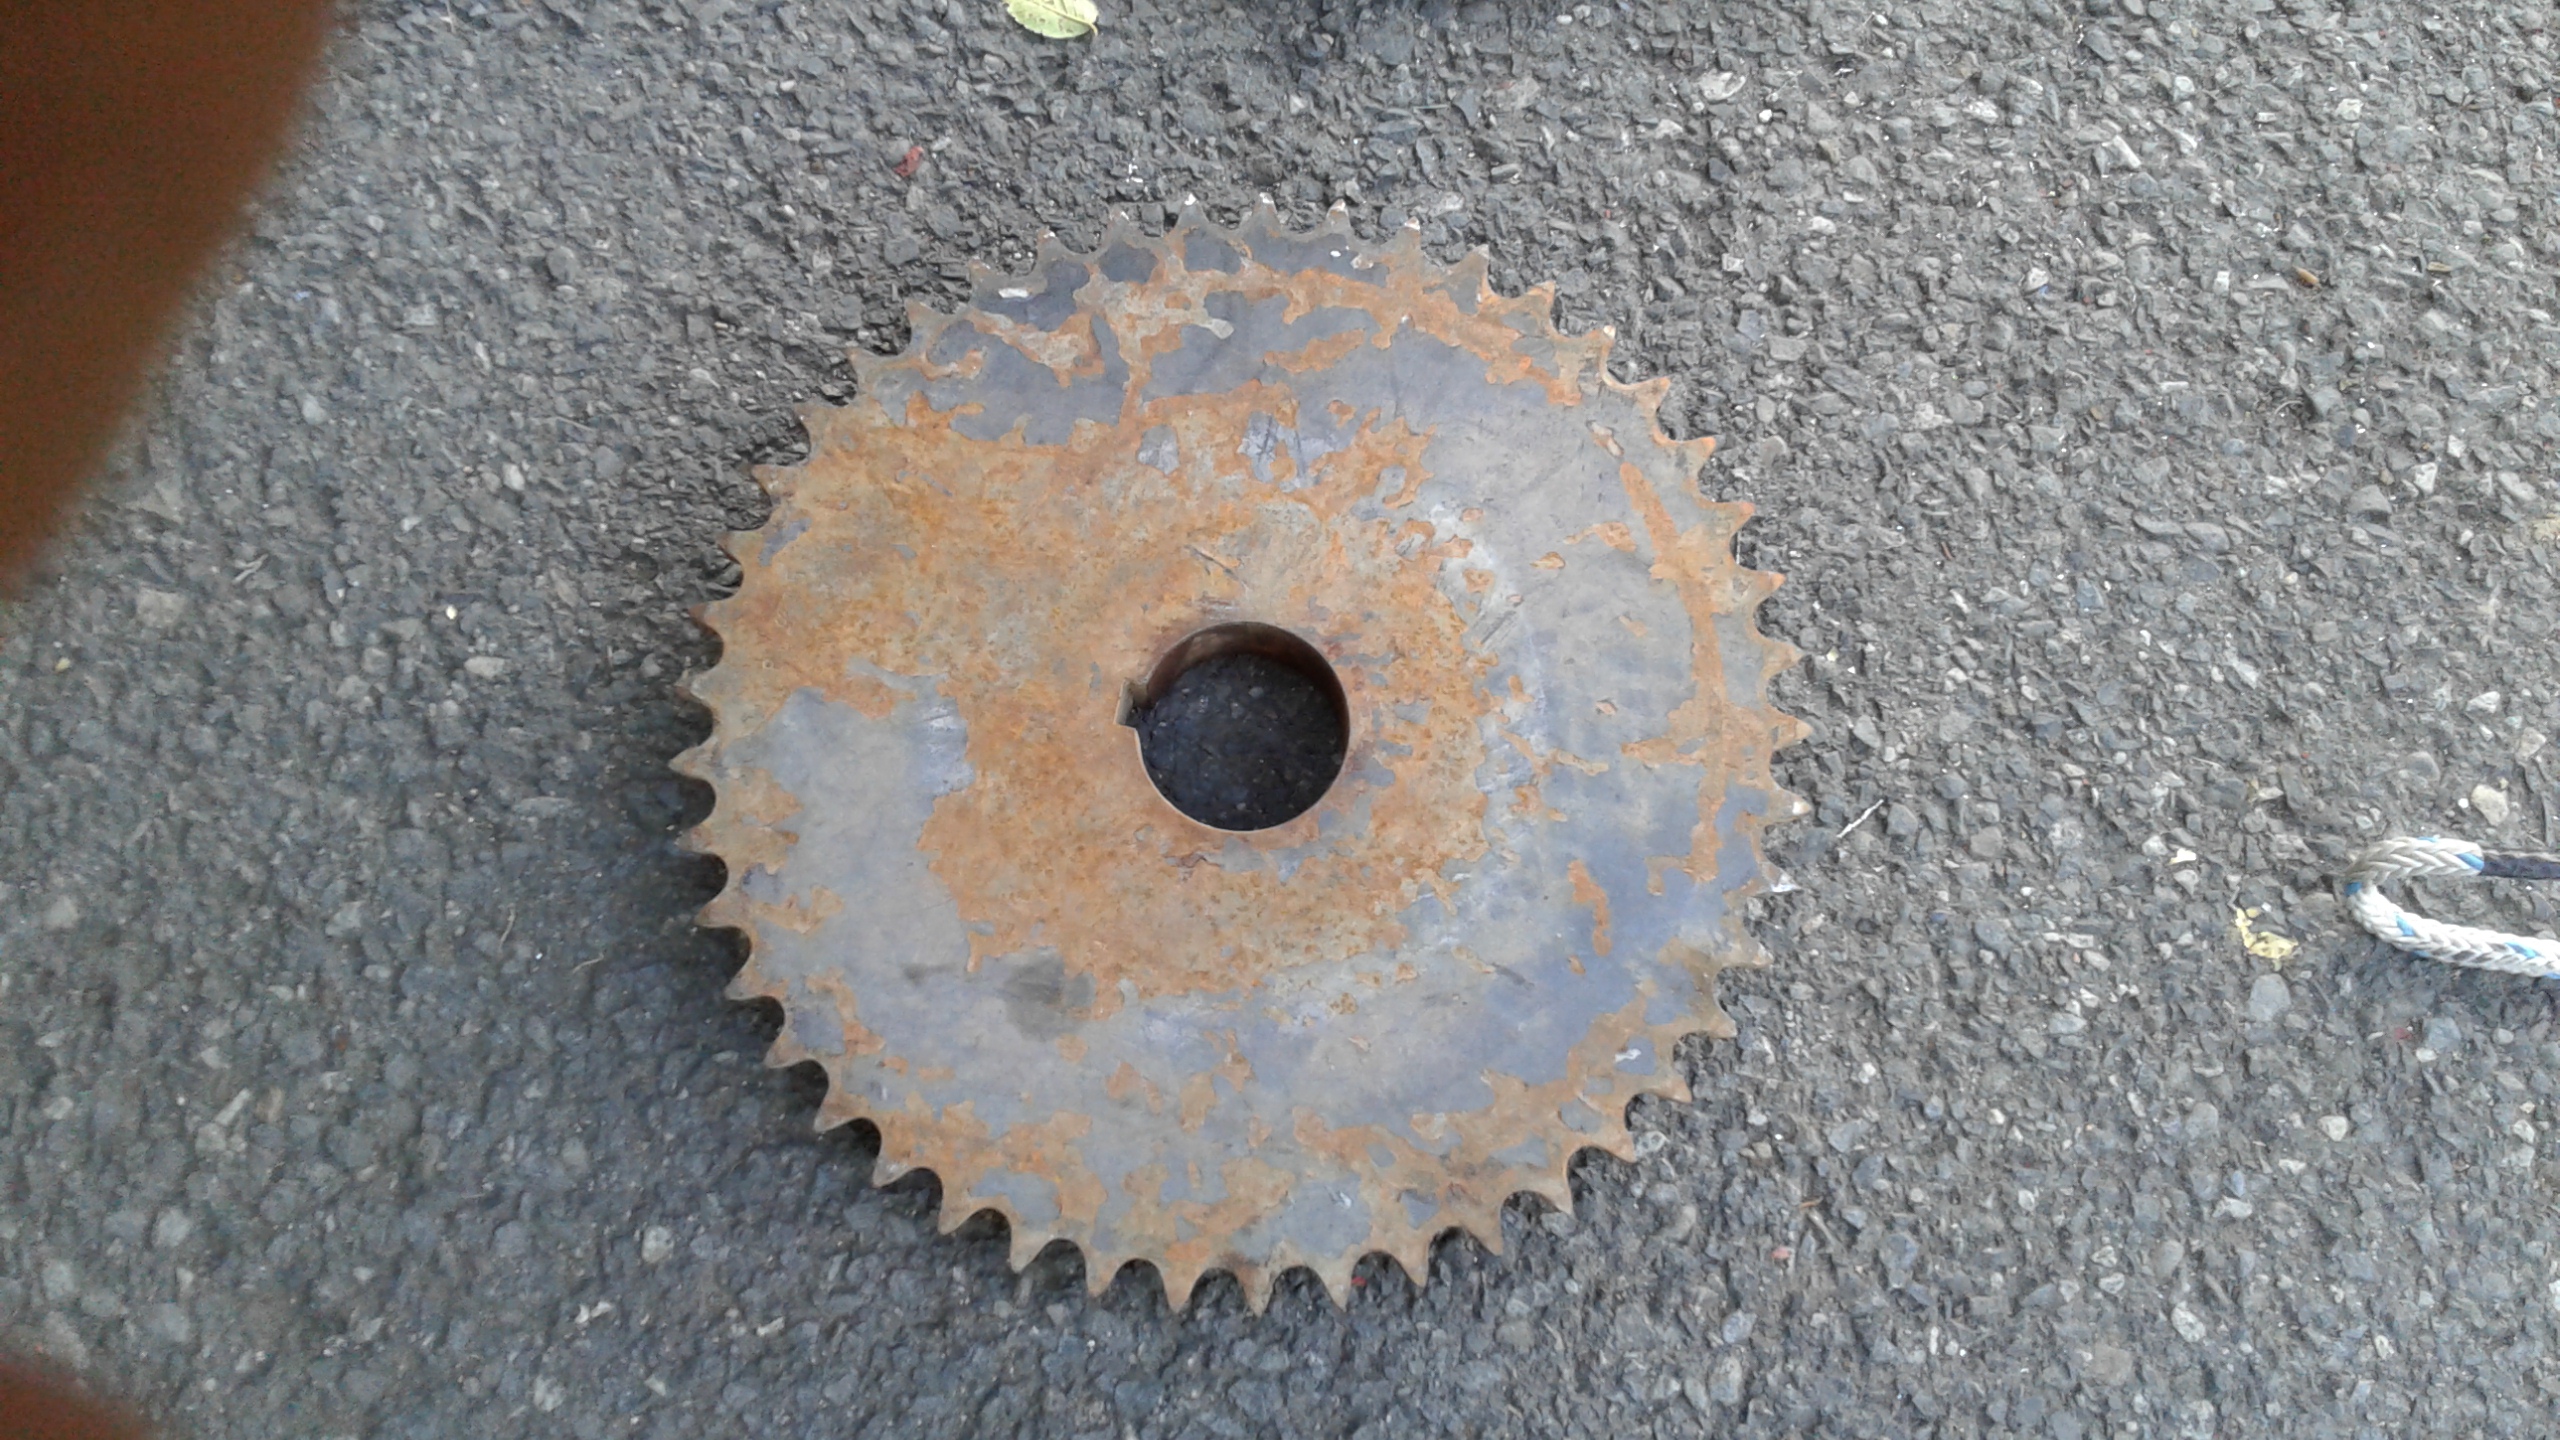
Started with this, and ended up with this.

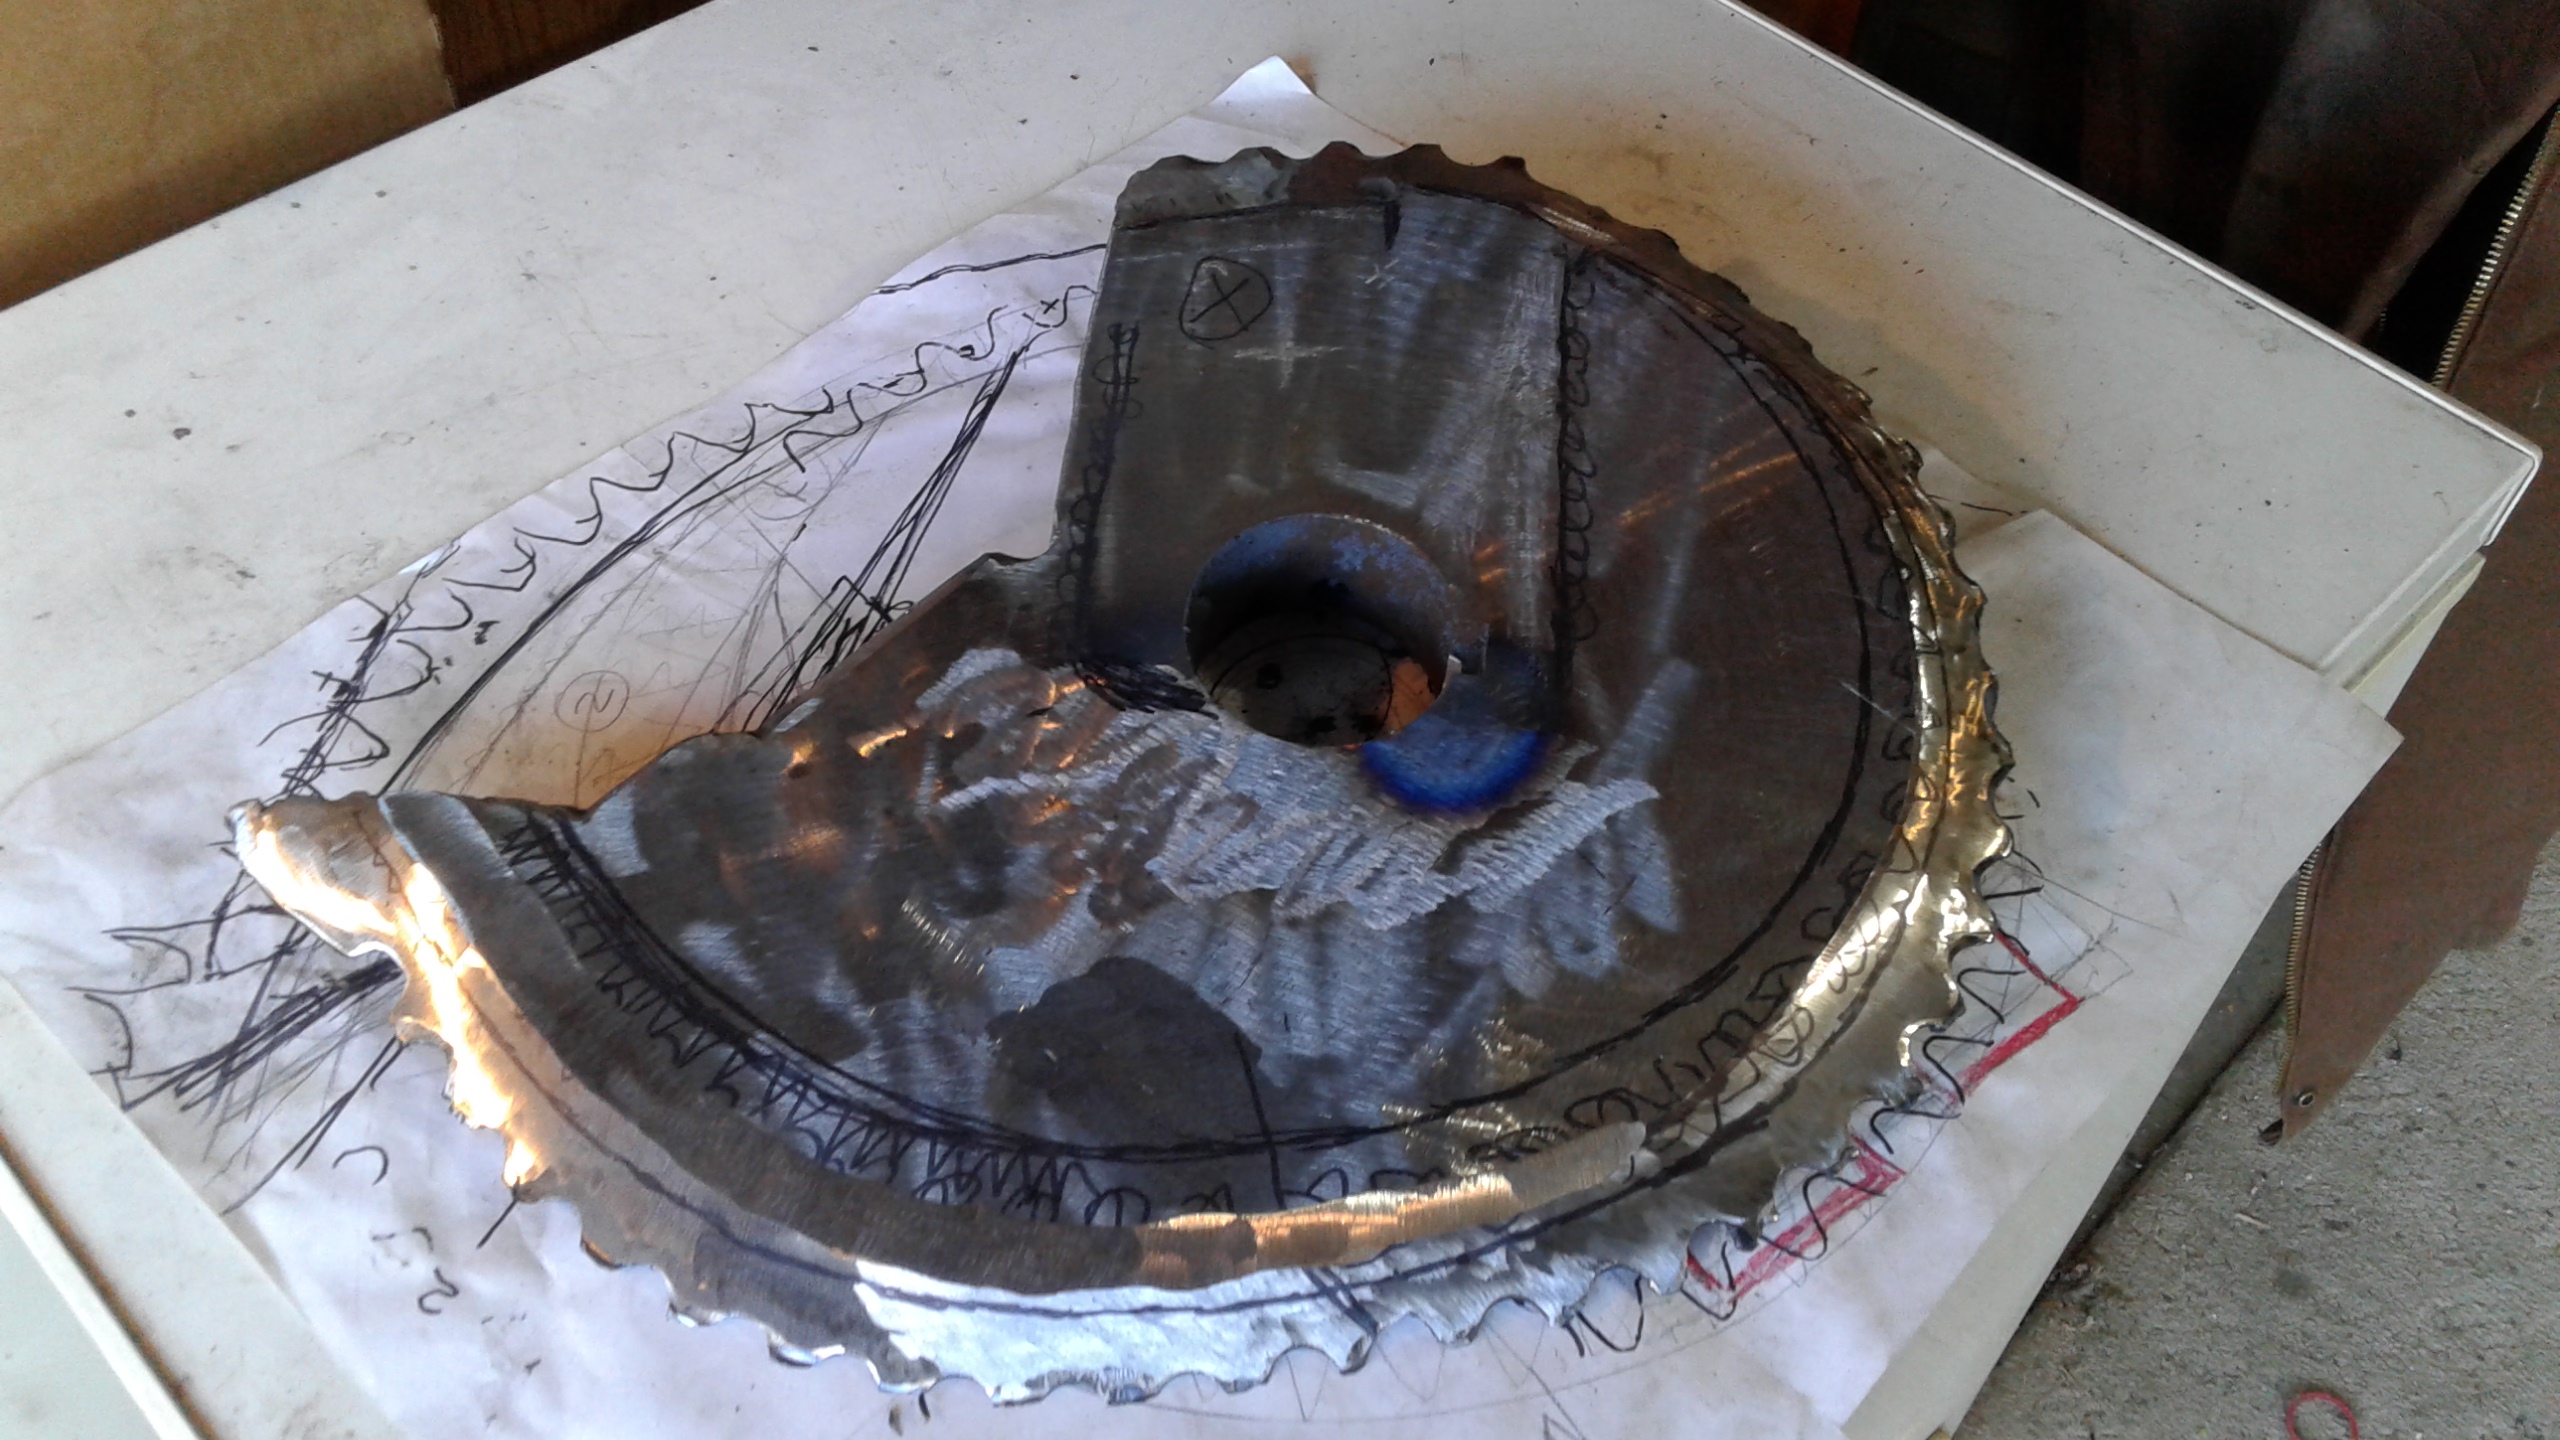
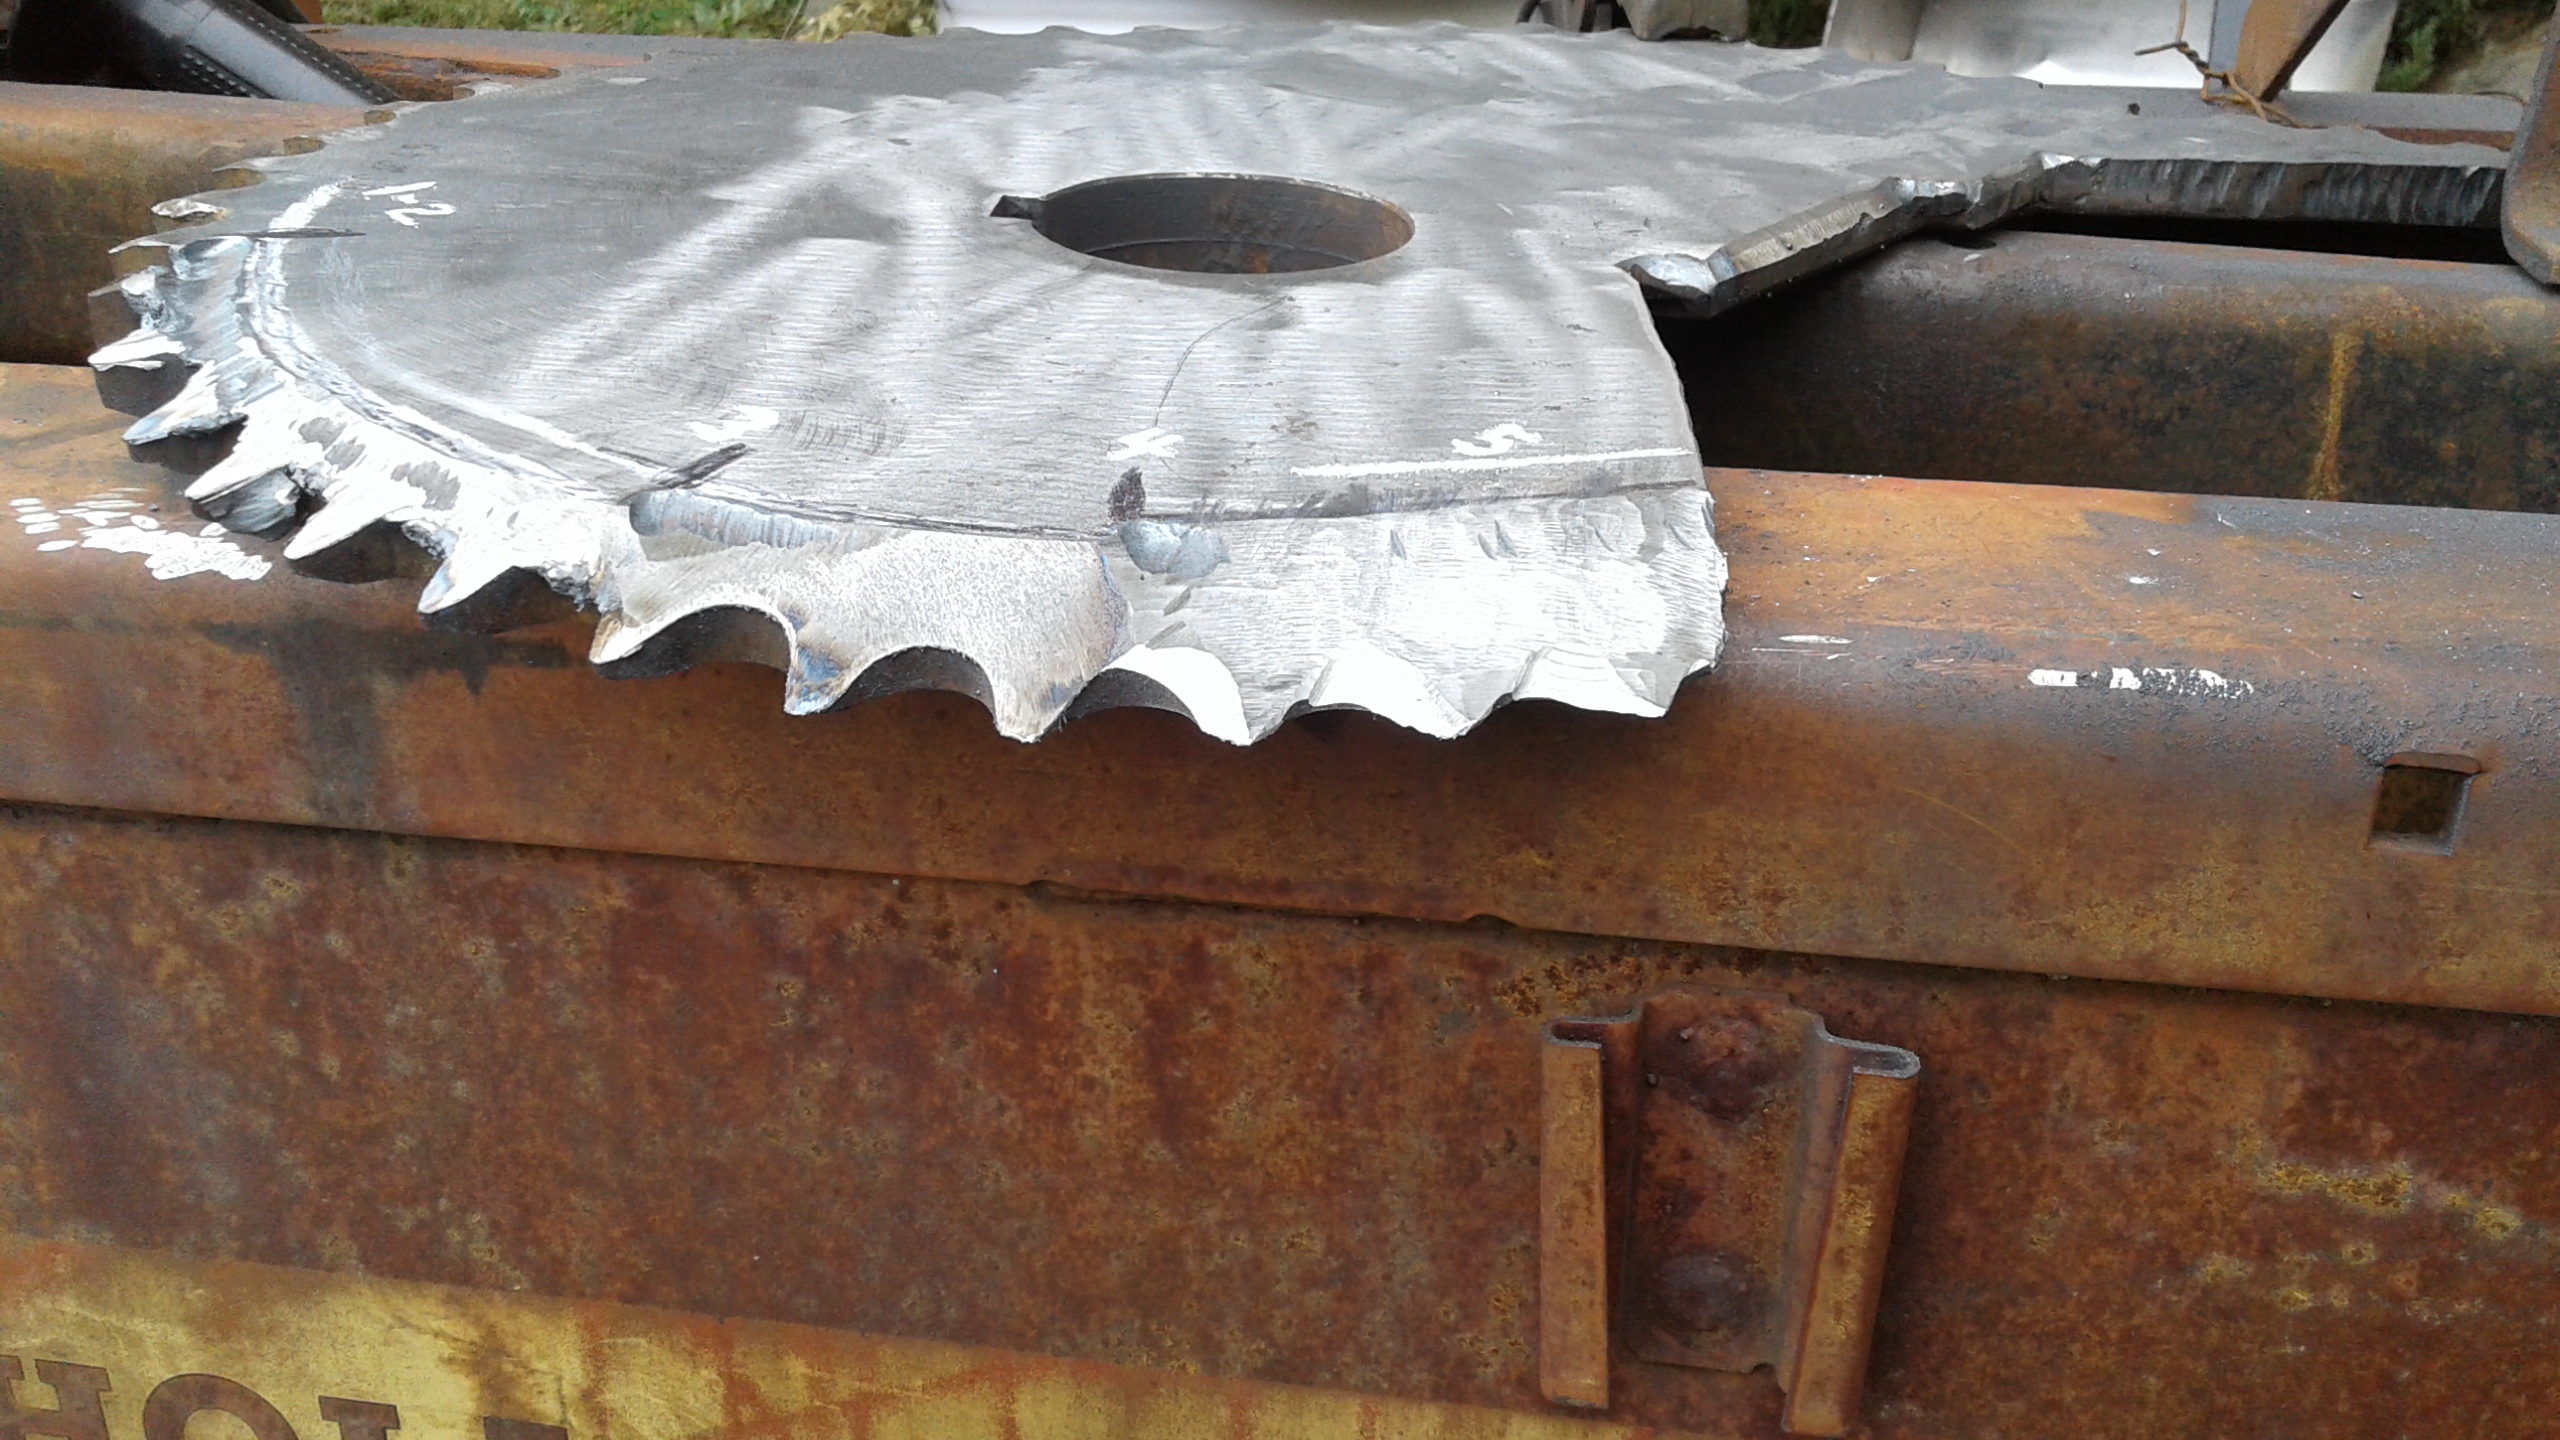
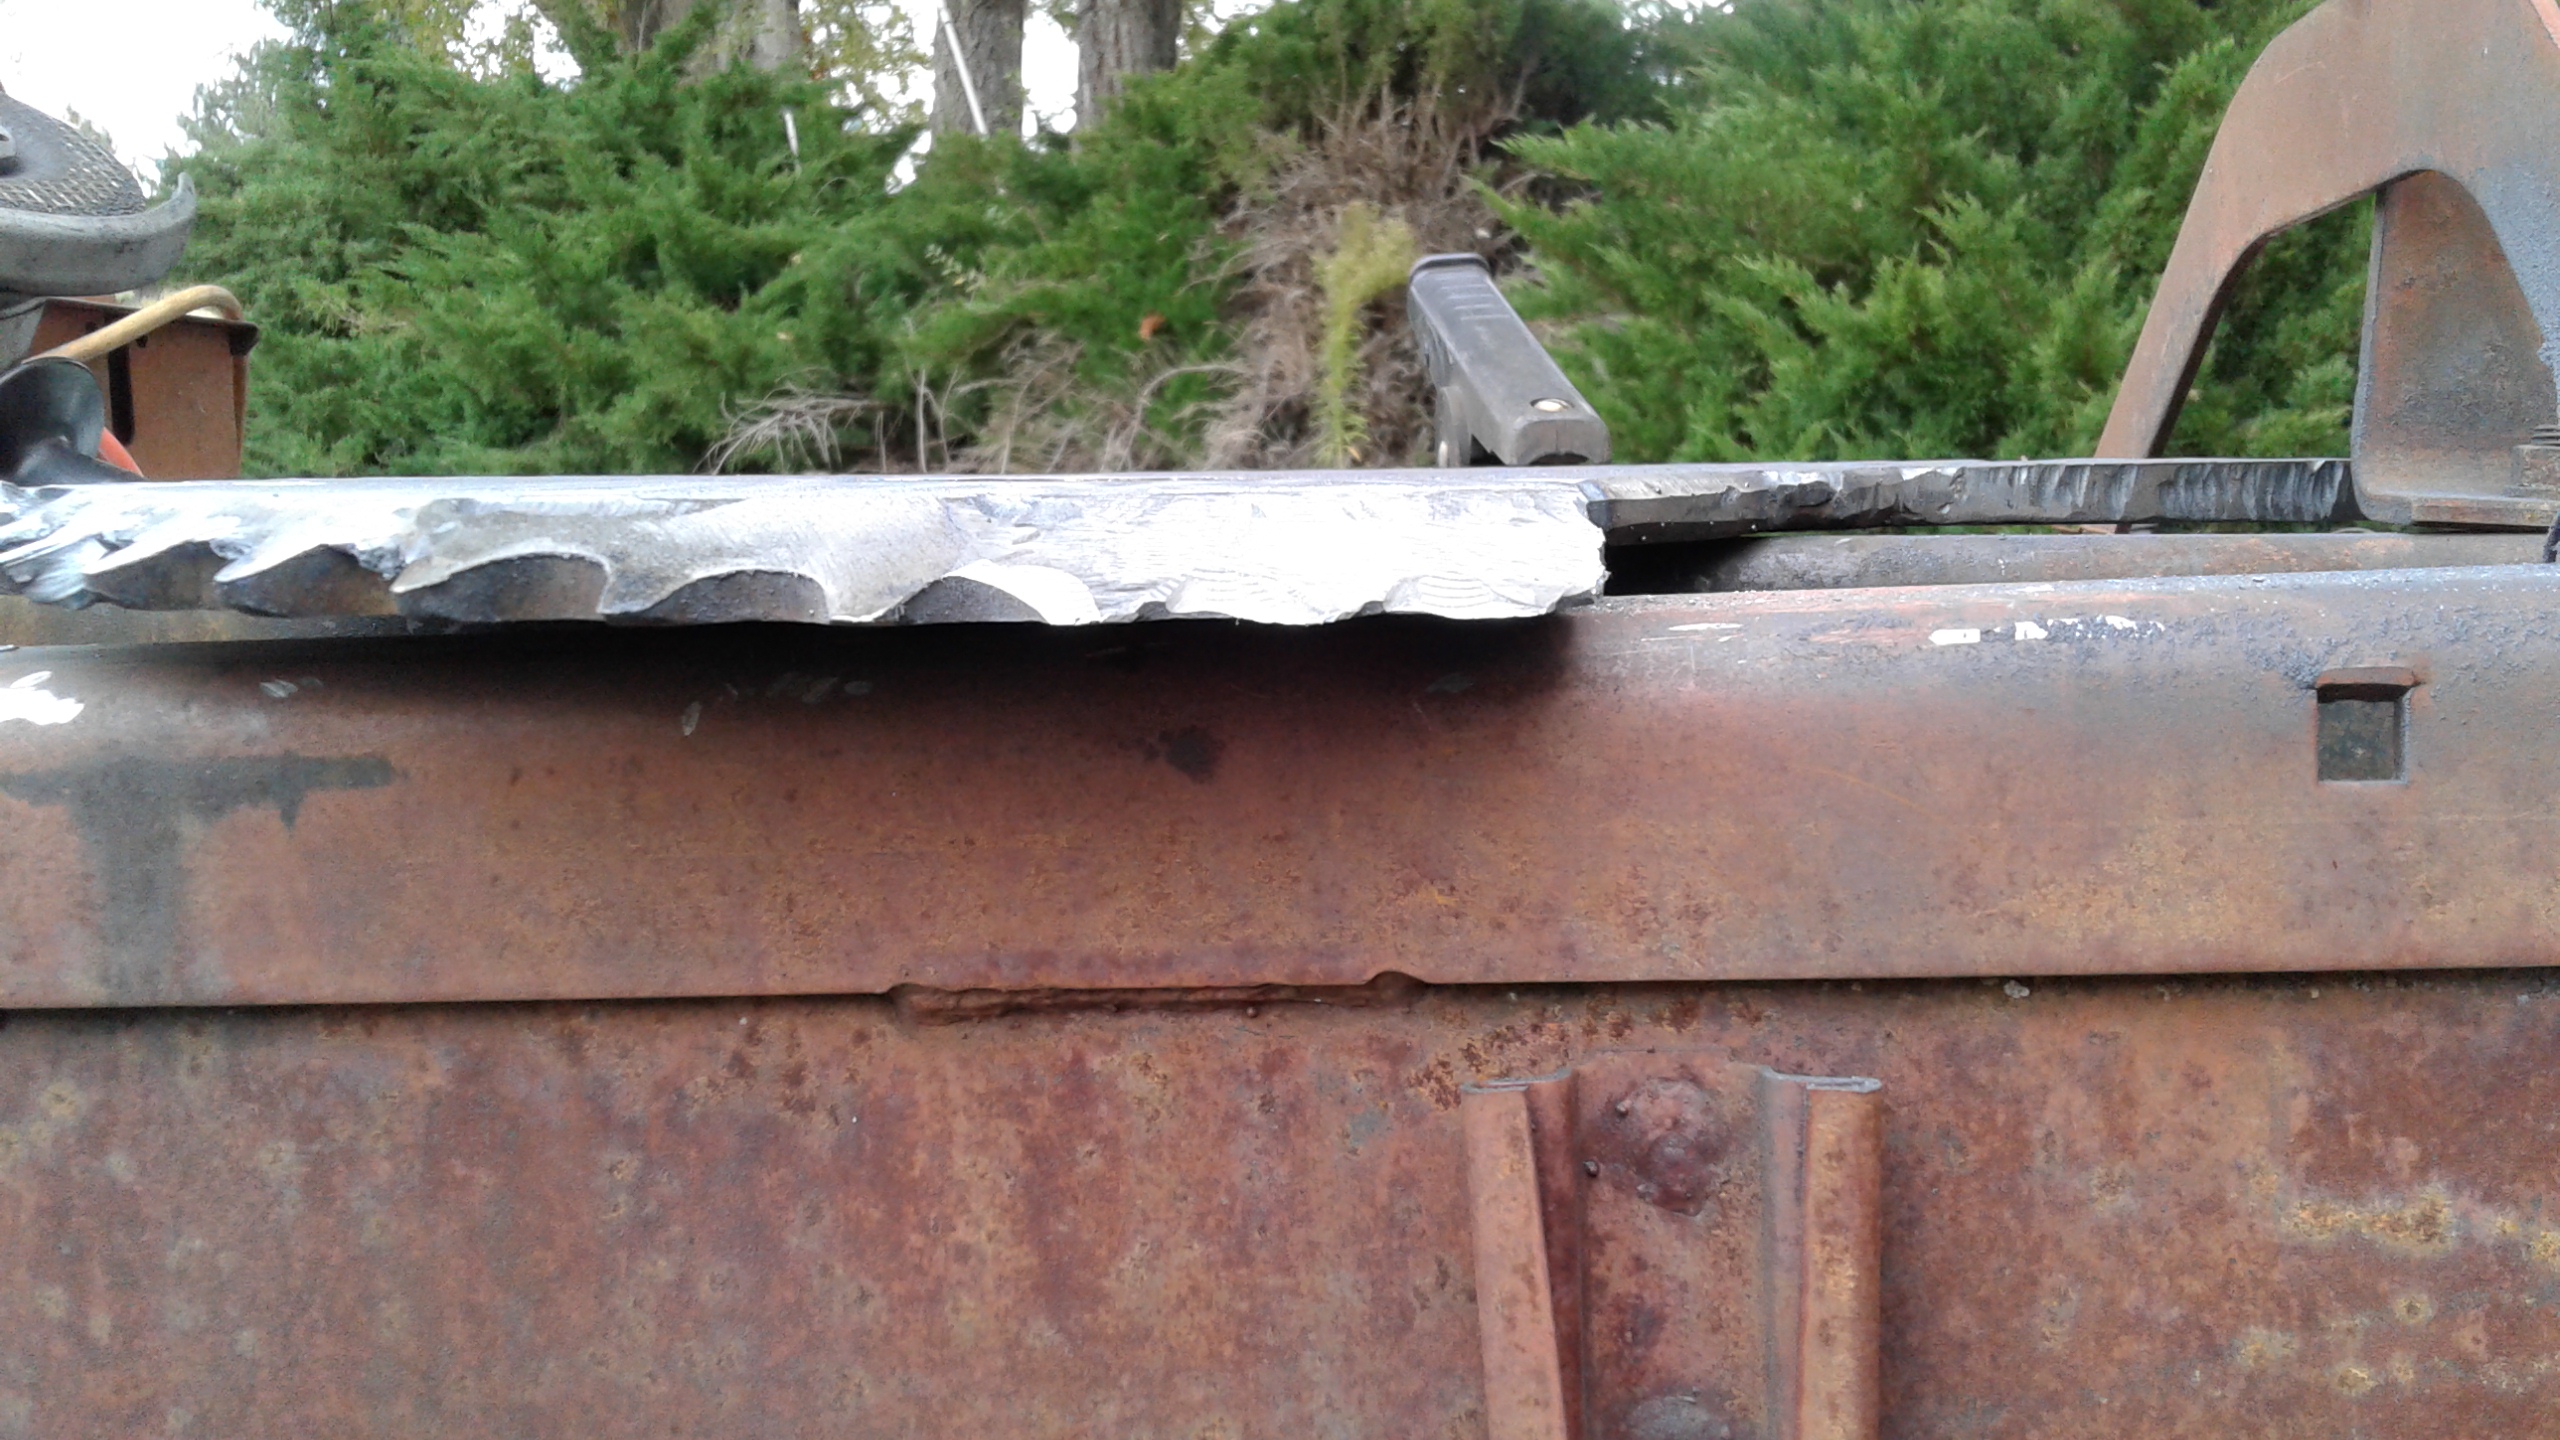
A lot more grinding to make the blade thinner. I’m grinding it like a hollow ground knife blade.

I still need to grind it between the two black marks on the thicker part of the blade.
It will be about 17 1/2" from the center pivot point to tip.
I can only use about 7" X 7" of the cutting edge, with the L shape anvil in place. The sprocket was just a little over 14" in diameter when I started working on it.
I love taking something out of the scrap yard that is going to go to China get melted down made into something that we have to pay top dollar for, and I make it into something all mine. With my hard work and sweat so I can go out and not sweat so hard using it.
The good old DOW way. Got To Love It.
Bob
5 Likes
I like it
The extra thickness should cause more shattering of the chunks
Did you keep track of the number of grinding wheels used up on this, or hand cramps?
3 Likes
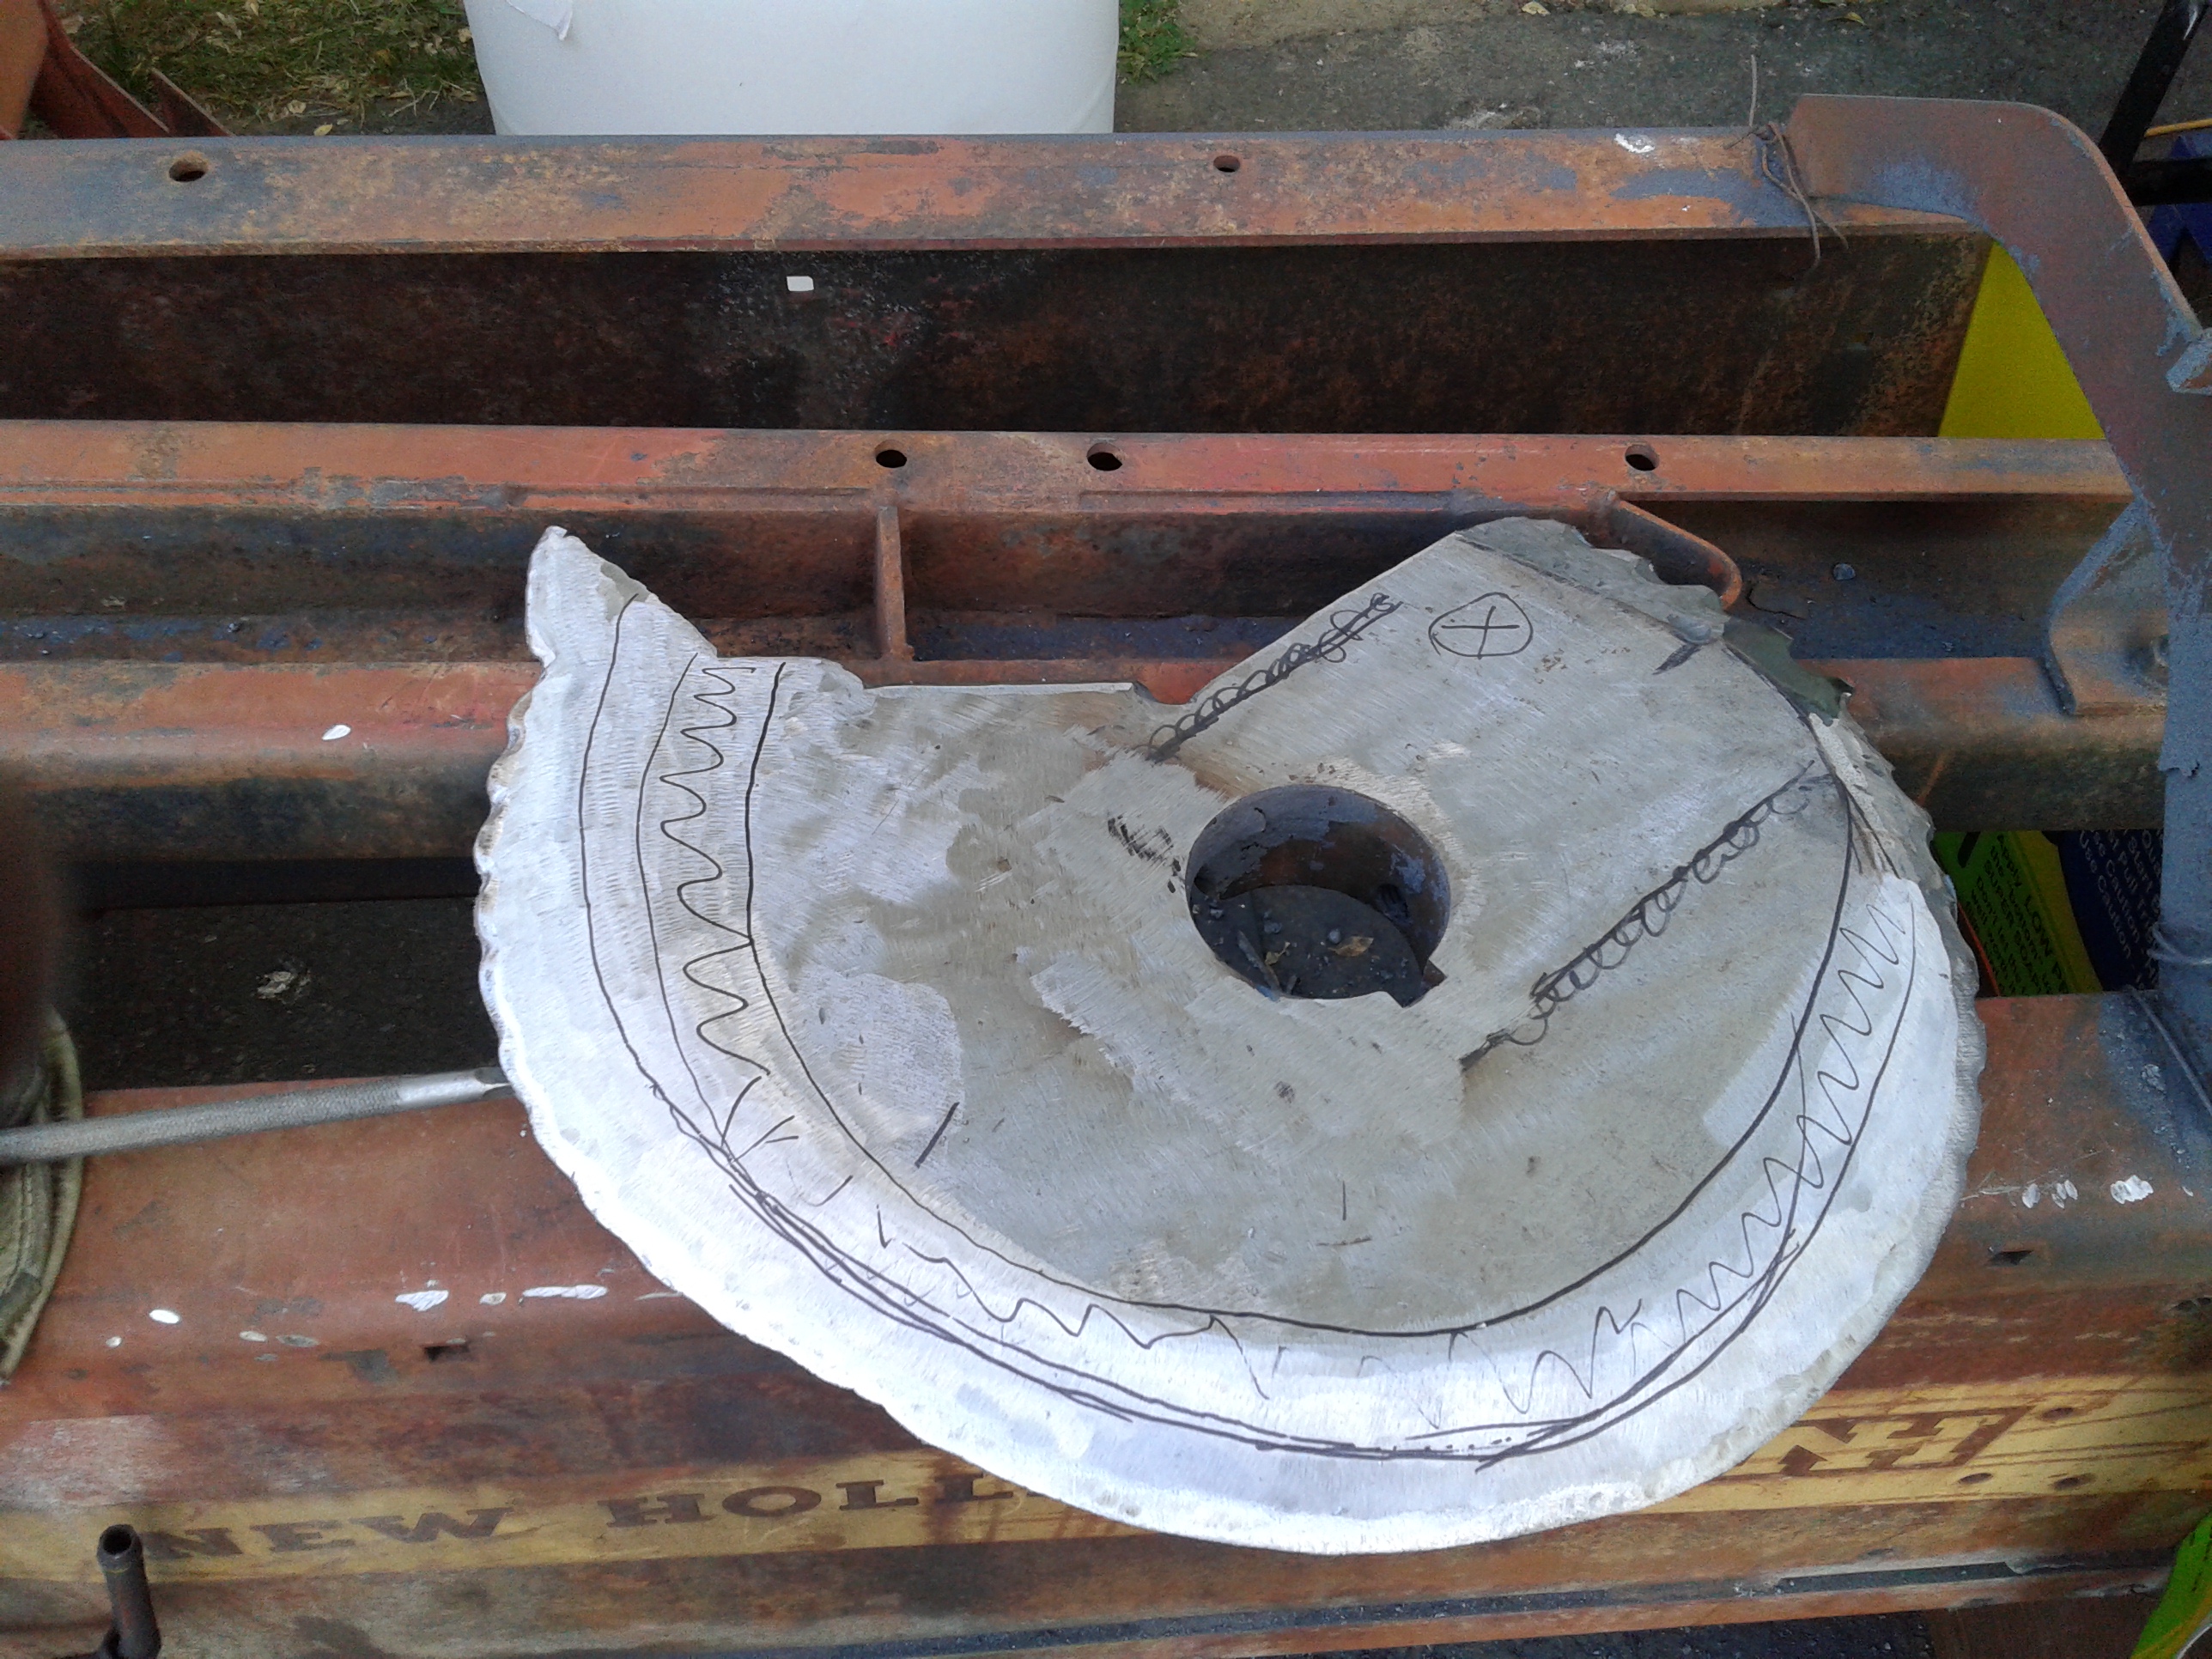
Bob, It appears you and I are not on the same page. Your blade is going to be a round dish with a quarter pie cut out. When the pie opening comes around you will stick the wood through the opening and when the other leg of the opening comes past the anvil it will shatter the wood. Your blade’s cutting edge will never contact the wood. You need to start at the intersection of the two legs of the notch and cut a smooth arc that ends up tangent to outside curve of the tooth circle. Then sharpen that arc. See if you can find Don Manner’s chunkier build and look at his blade. TomC
2 Likes
I thought that too at first Tom until looking at the second picture and seeing the offset hole and the difference in length from the hole to the edge at 4 o-clock and 10 o-clock and realizing that the anvil that is not pictured will hold the wood while the ever increasing diameter will shear the wood against the anvil. I don’t know what size stick this is designed to take though - doesn’t look real large.
3 Likes
Thanks Don. With out a direct over head view of the sprocket the offset is hard to see. TomC
1 Like
I sure did, when I’m done I will add them up and count the costs. I could of went down to one of the fabrication places and had it done with a hydro high pressure cutter, probably could have done it for a lot less if I count my time put into it. But what fun is in that? No fun at all. That’s what it all about, doing it your self. It will always costs less if you don’t put a $ sign to your labor.
Bob
3 Likes
Hi Don and Tom, and others, Don is right, it is on a off set pivoting point. and it will take a 7" diameter Stick, maybe a little larger. I doubt I will feed it that big of stick, might break my chopper. This is designed for tree limbs, and not for the main part of the trunk and larger main branches of the tree.
I will saw and slpit any thing that big. Fruit trees that have been pruned are very crooked with knots in the branches, so the larger cutting area is needed for that purpose not for size diameter. Cutting poplar trees is really easy compared to pruned fruit tree branches. I have done it by hand and the knots are hard to cut and split. Most of the wood I’m prossessing has been cut two or more years ago. Really dried out.
Bob
1 Like
One of things I did not mention is the first part of the blade I started cutting on was just for practice, to see if it could be done, and that part will never cut anything it will be welded to the main pivoting arm of the bailer. Sorry for the confusion there Tom I now see what you were looking at. Most of the course serrated edge will be removed, very little is need. But the more I remove the smaller my cutting diameter will become out to the tip of the blade.
Bob
2 Likes
Call it finished on the cutting blade.
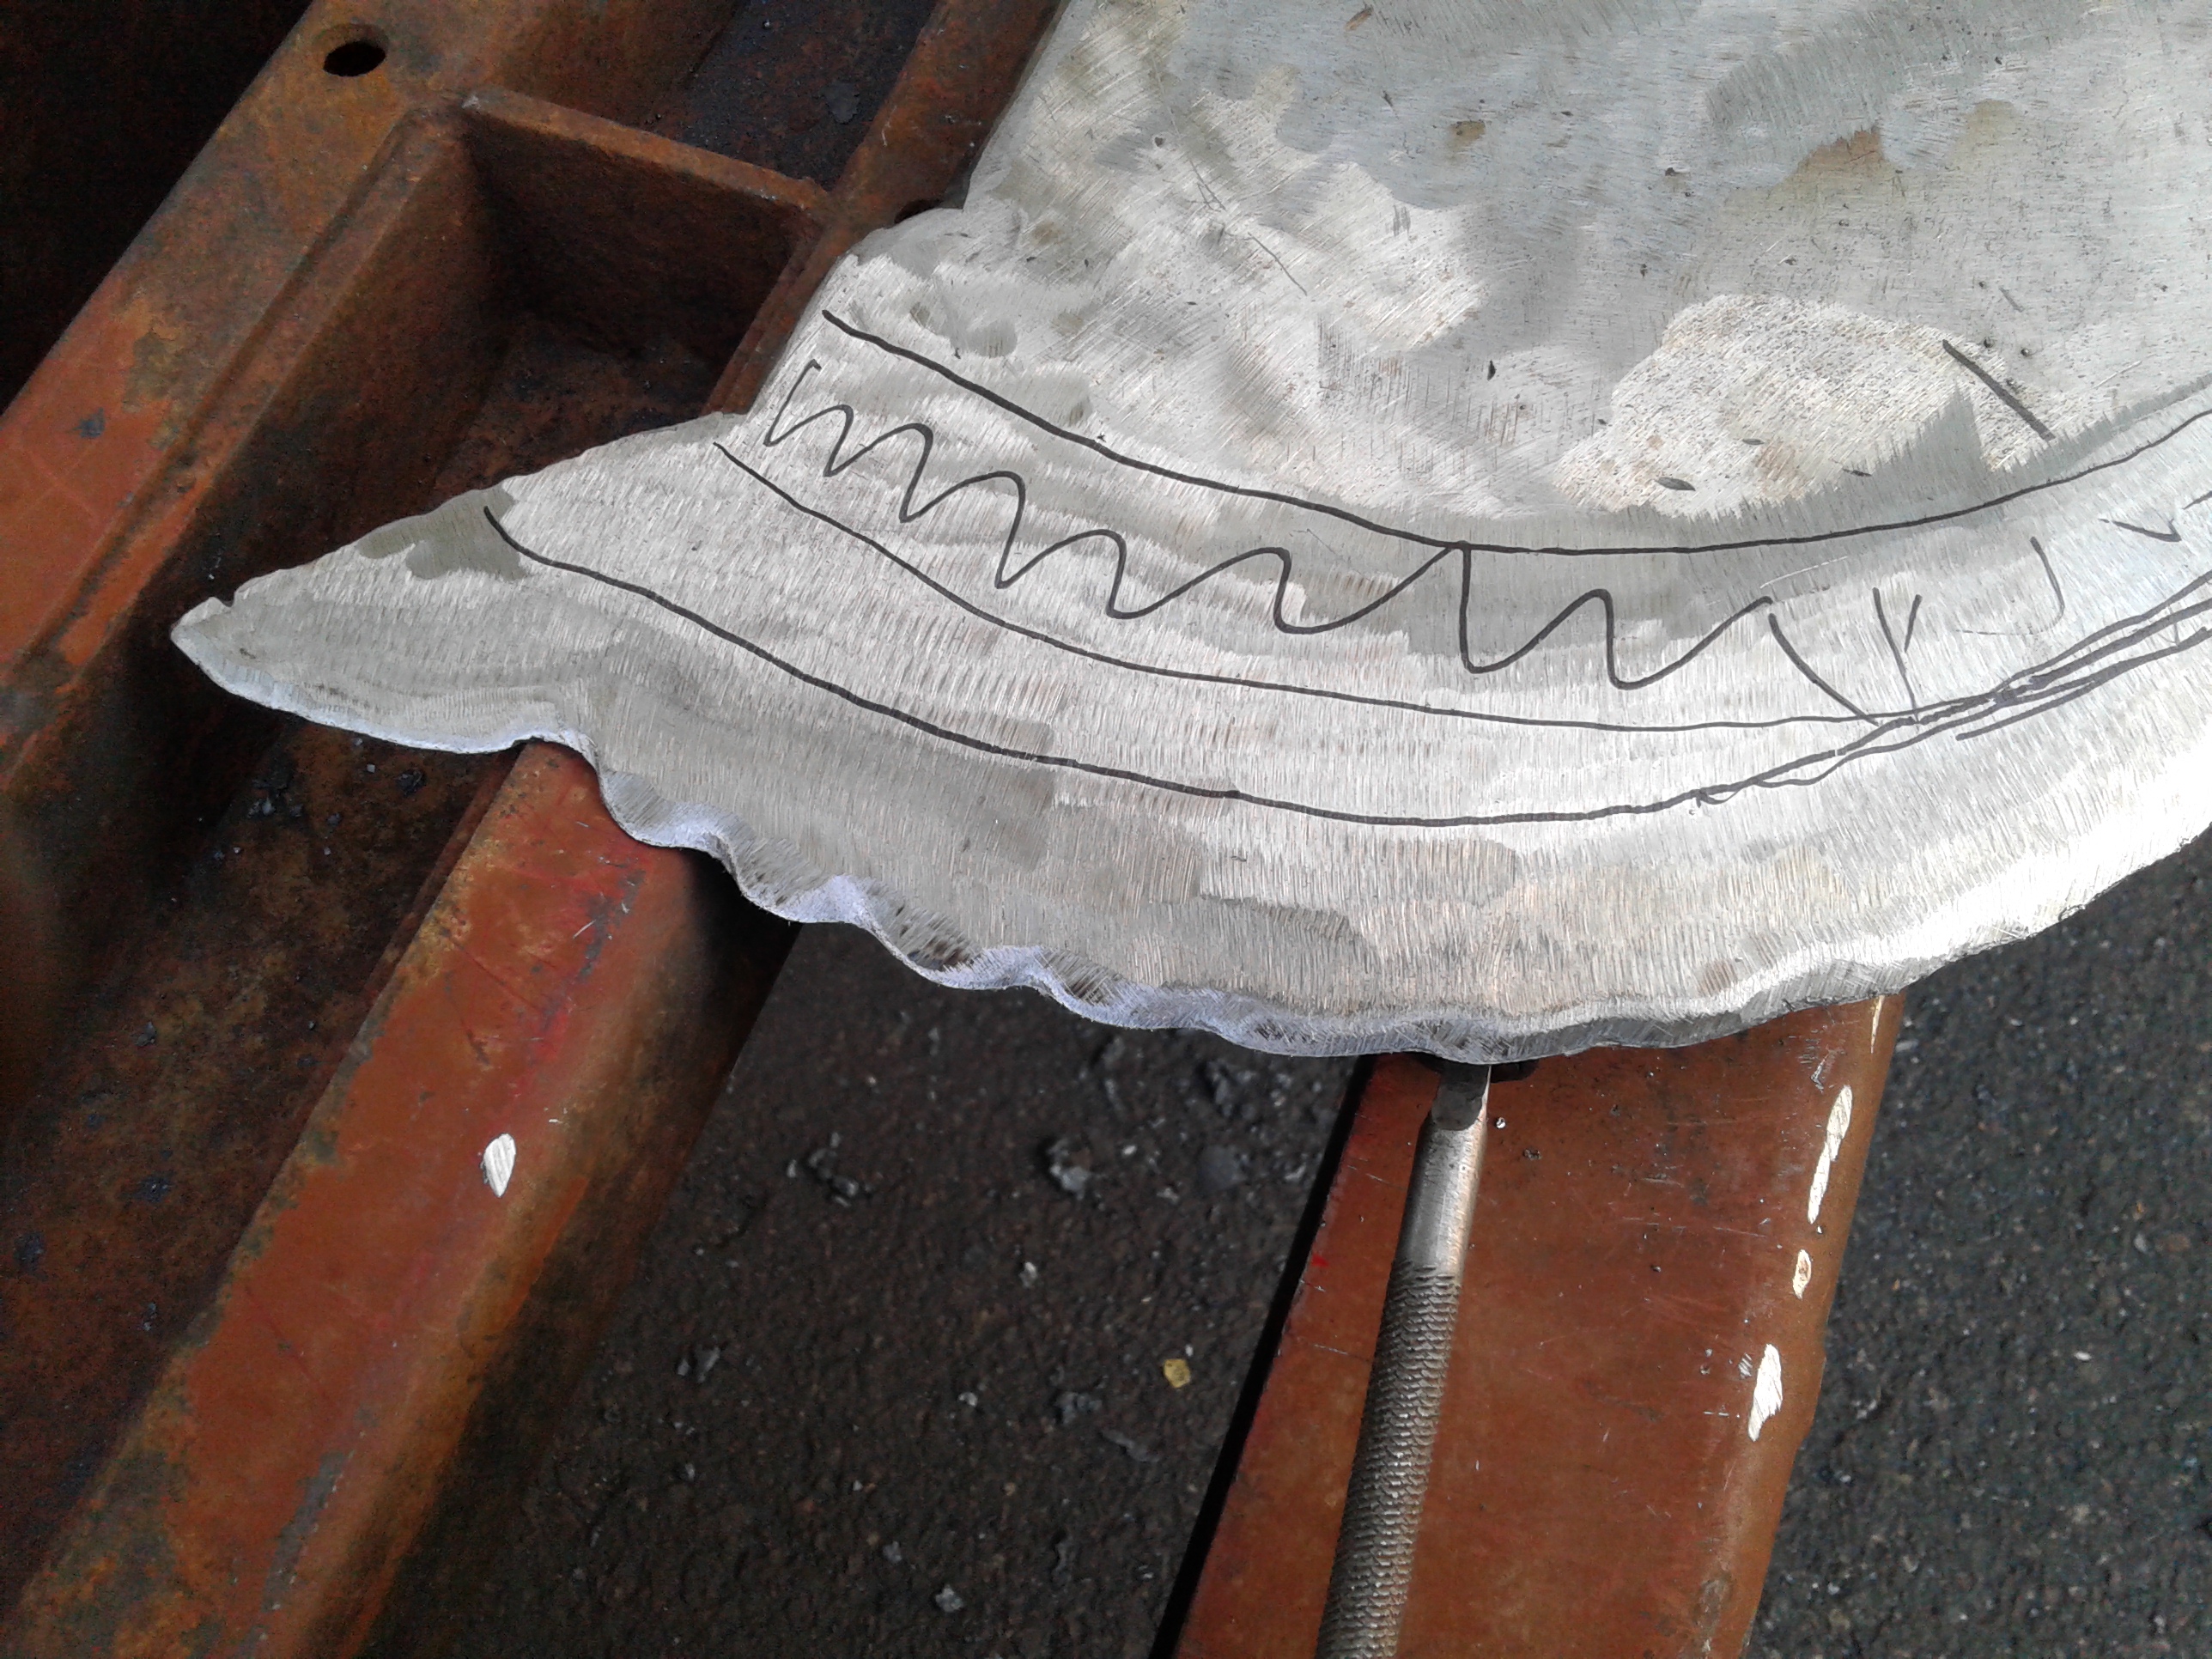
Could have done more grinding? Oh yes indeed, but why, if it will cut wood then there is no reason to make the blade a little more thinner.
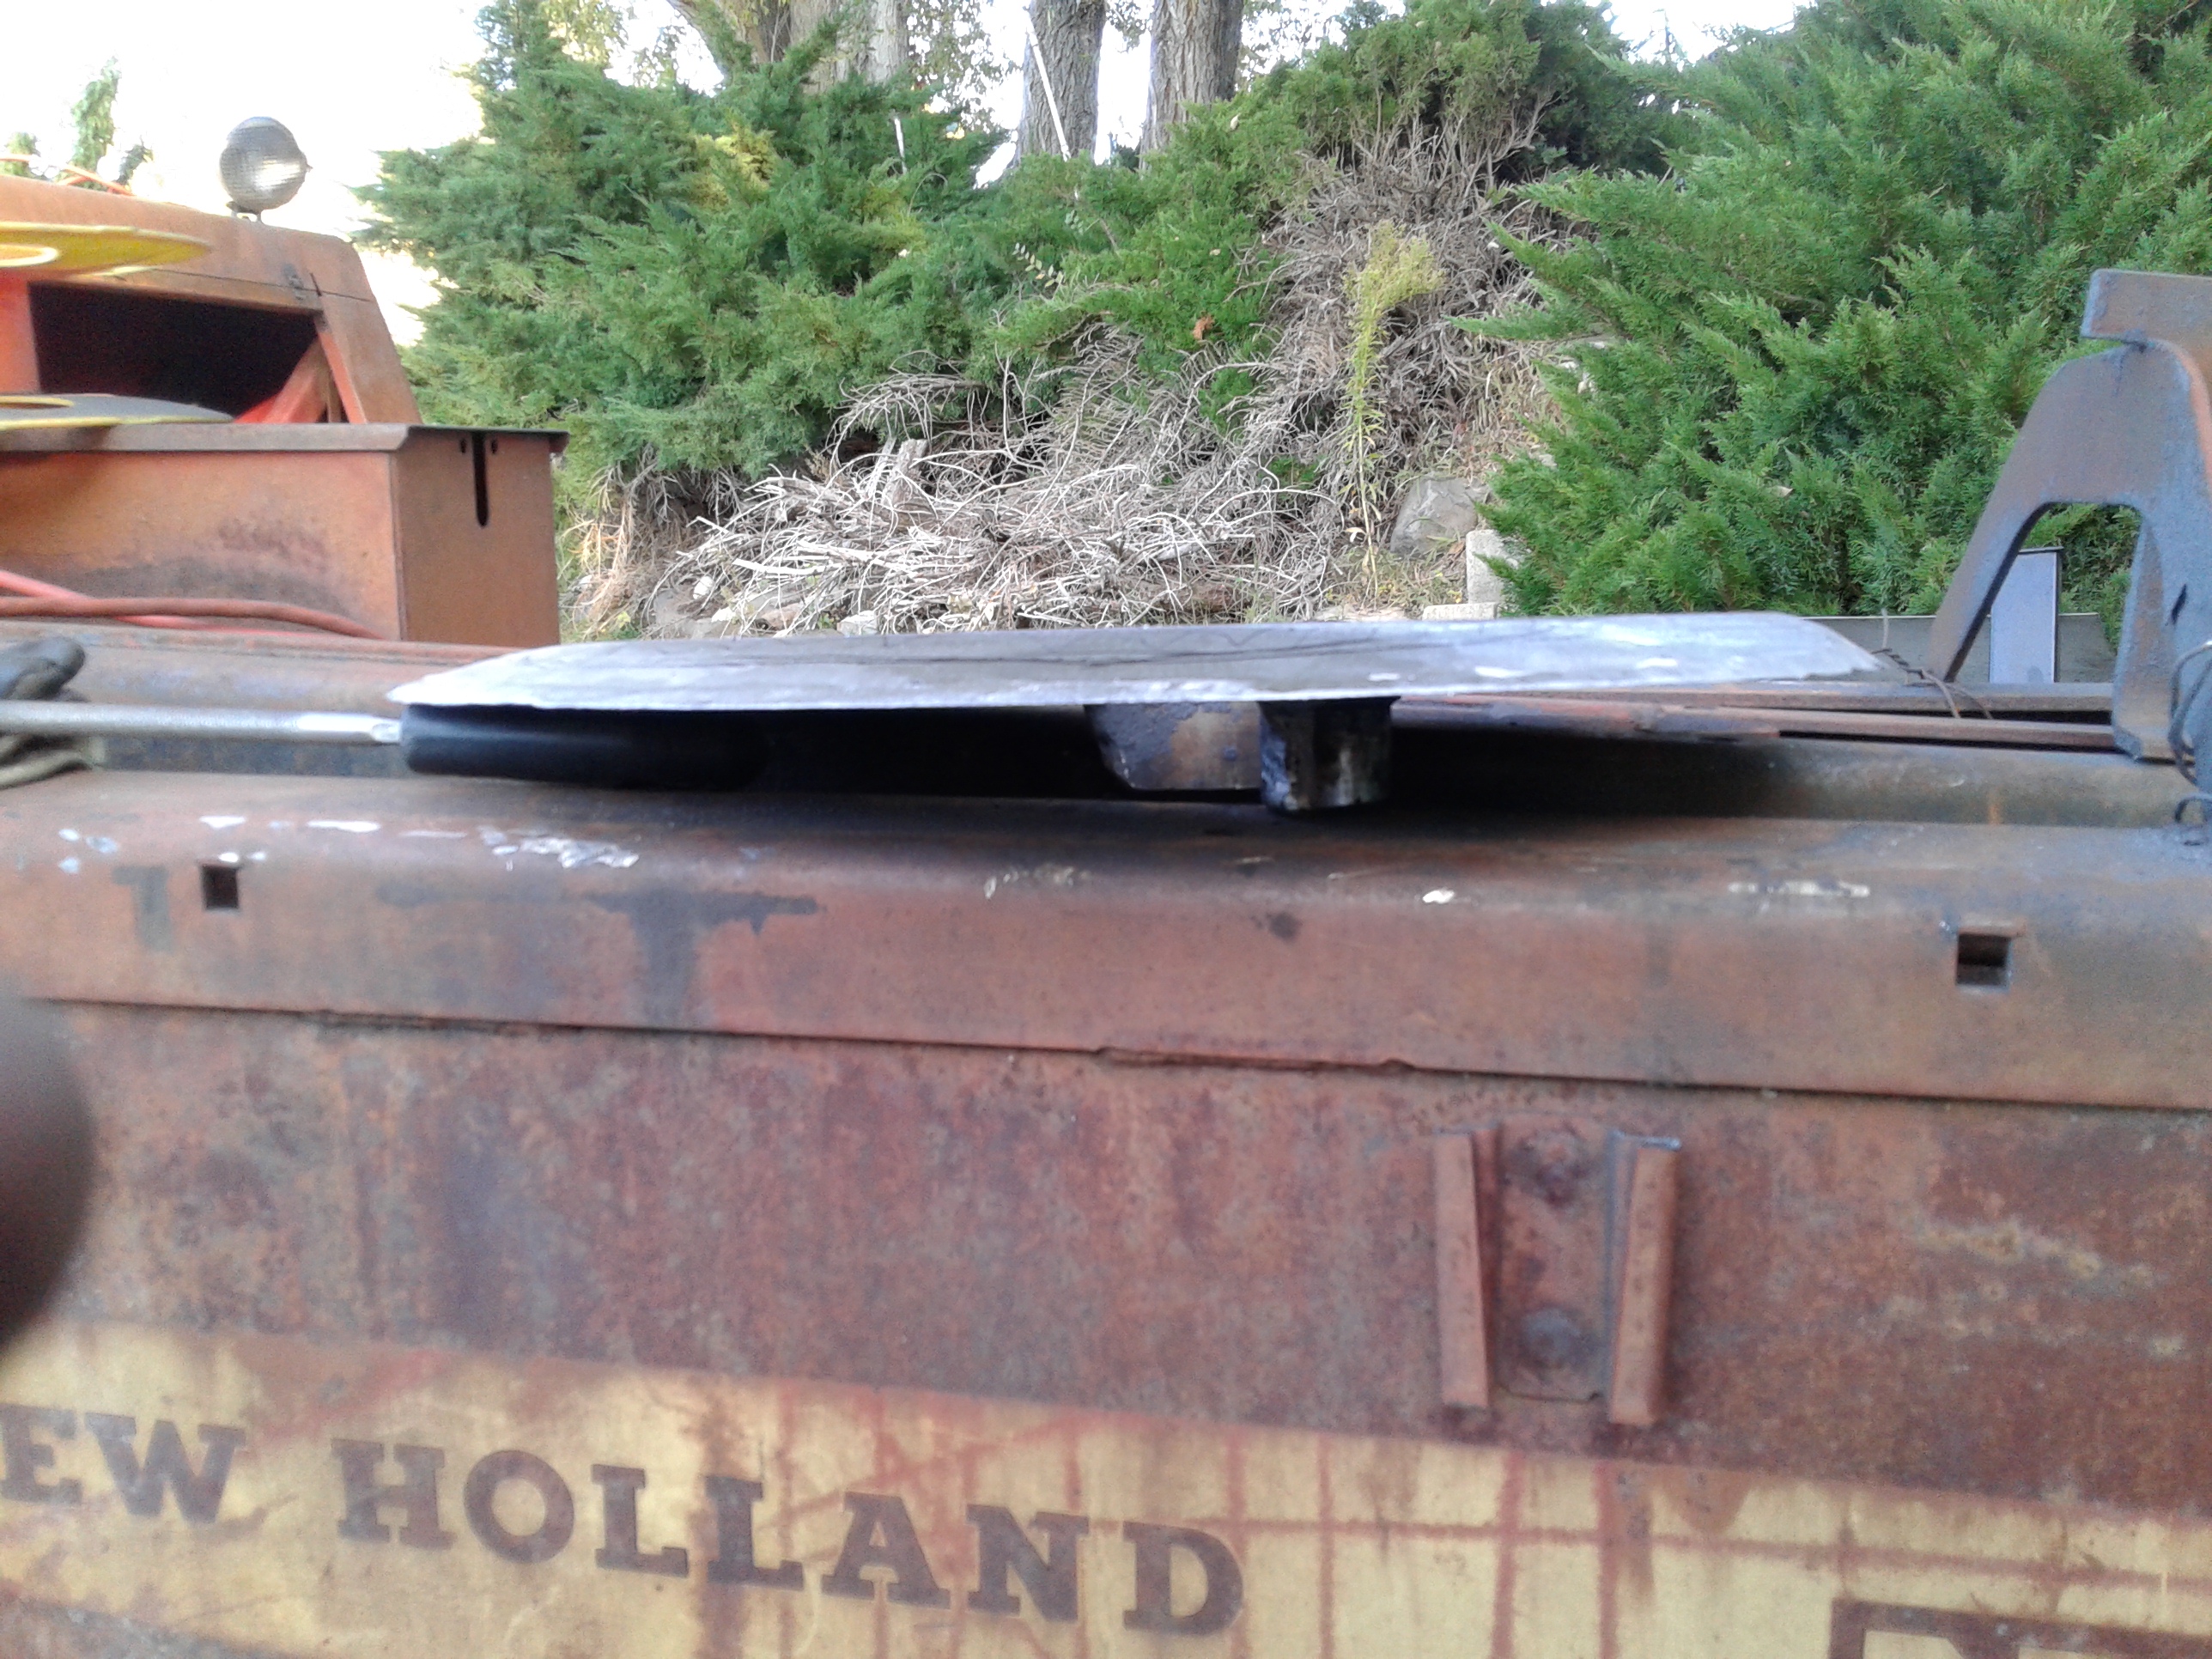
Next step is mounting the blade by tack welding it on the bailer pivot arm check to make sure it will run true to the anvil. Then build the anvil and install everything.
Still have to build a belt guard and safety intake loading area shoot. And the rest.
Will I get it done this week, will see?
Bob
6 Likes