Using a threaded pipe tee to connect your snorkel pipe to the tuyere plate would allow easy slag clean out.
10 Likes
The Baron Downdrafter lives! It took 1-1/2 years, but it works. I had almost forgotten the joy of firing up a new gasifier. My first downdrafter runs.
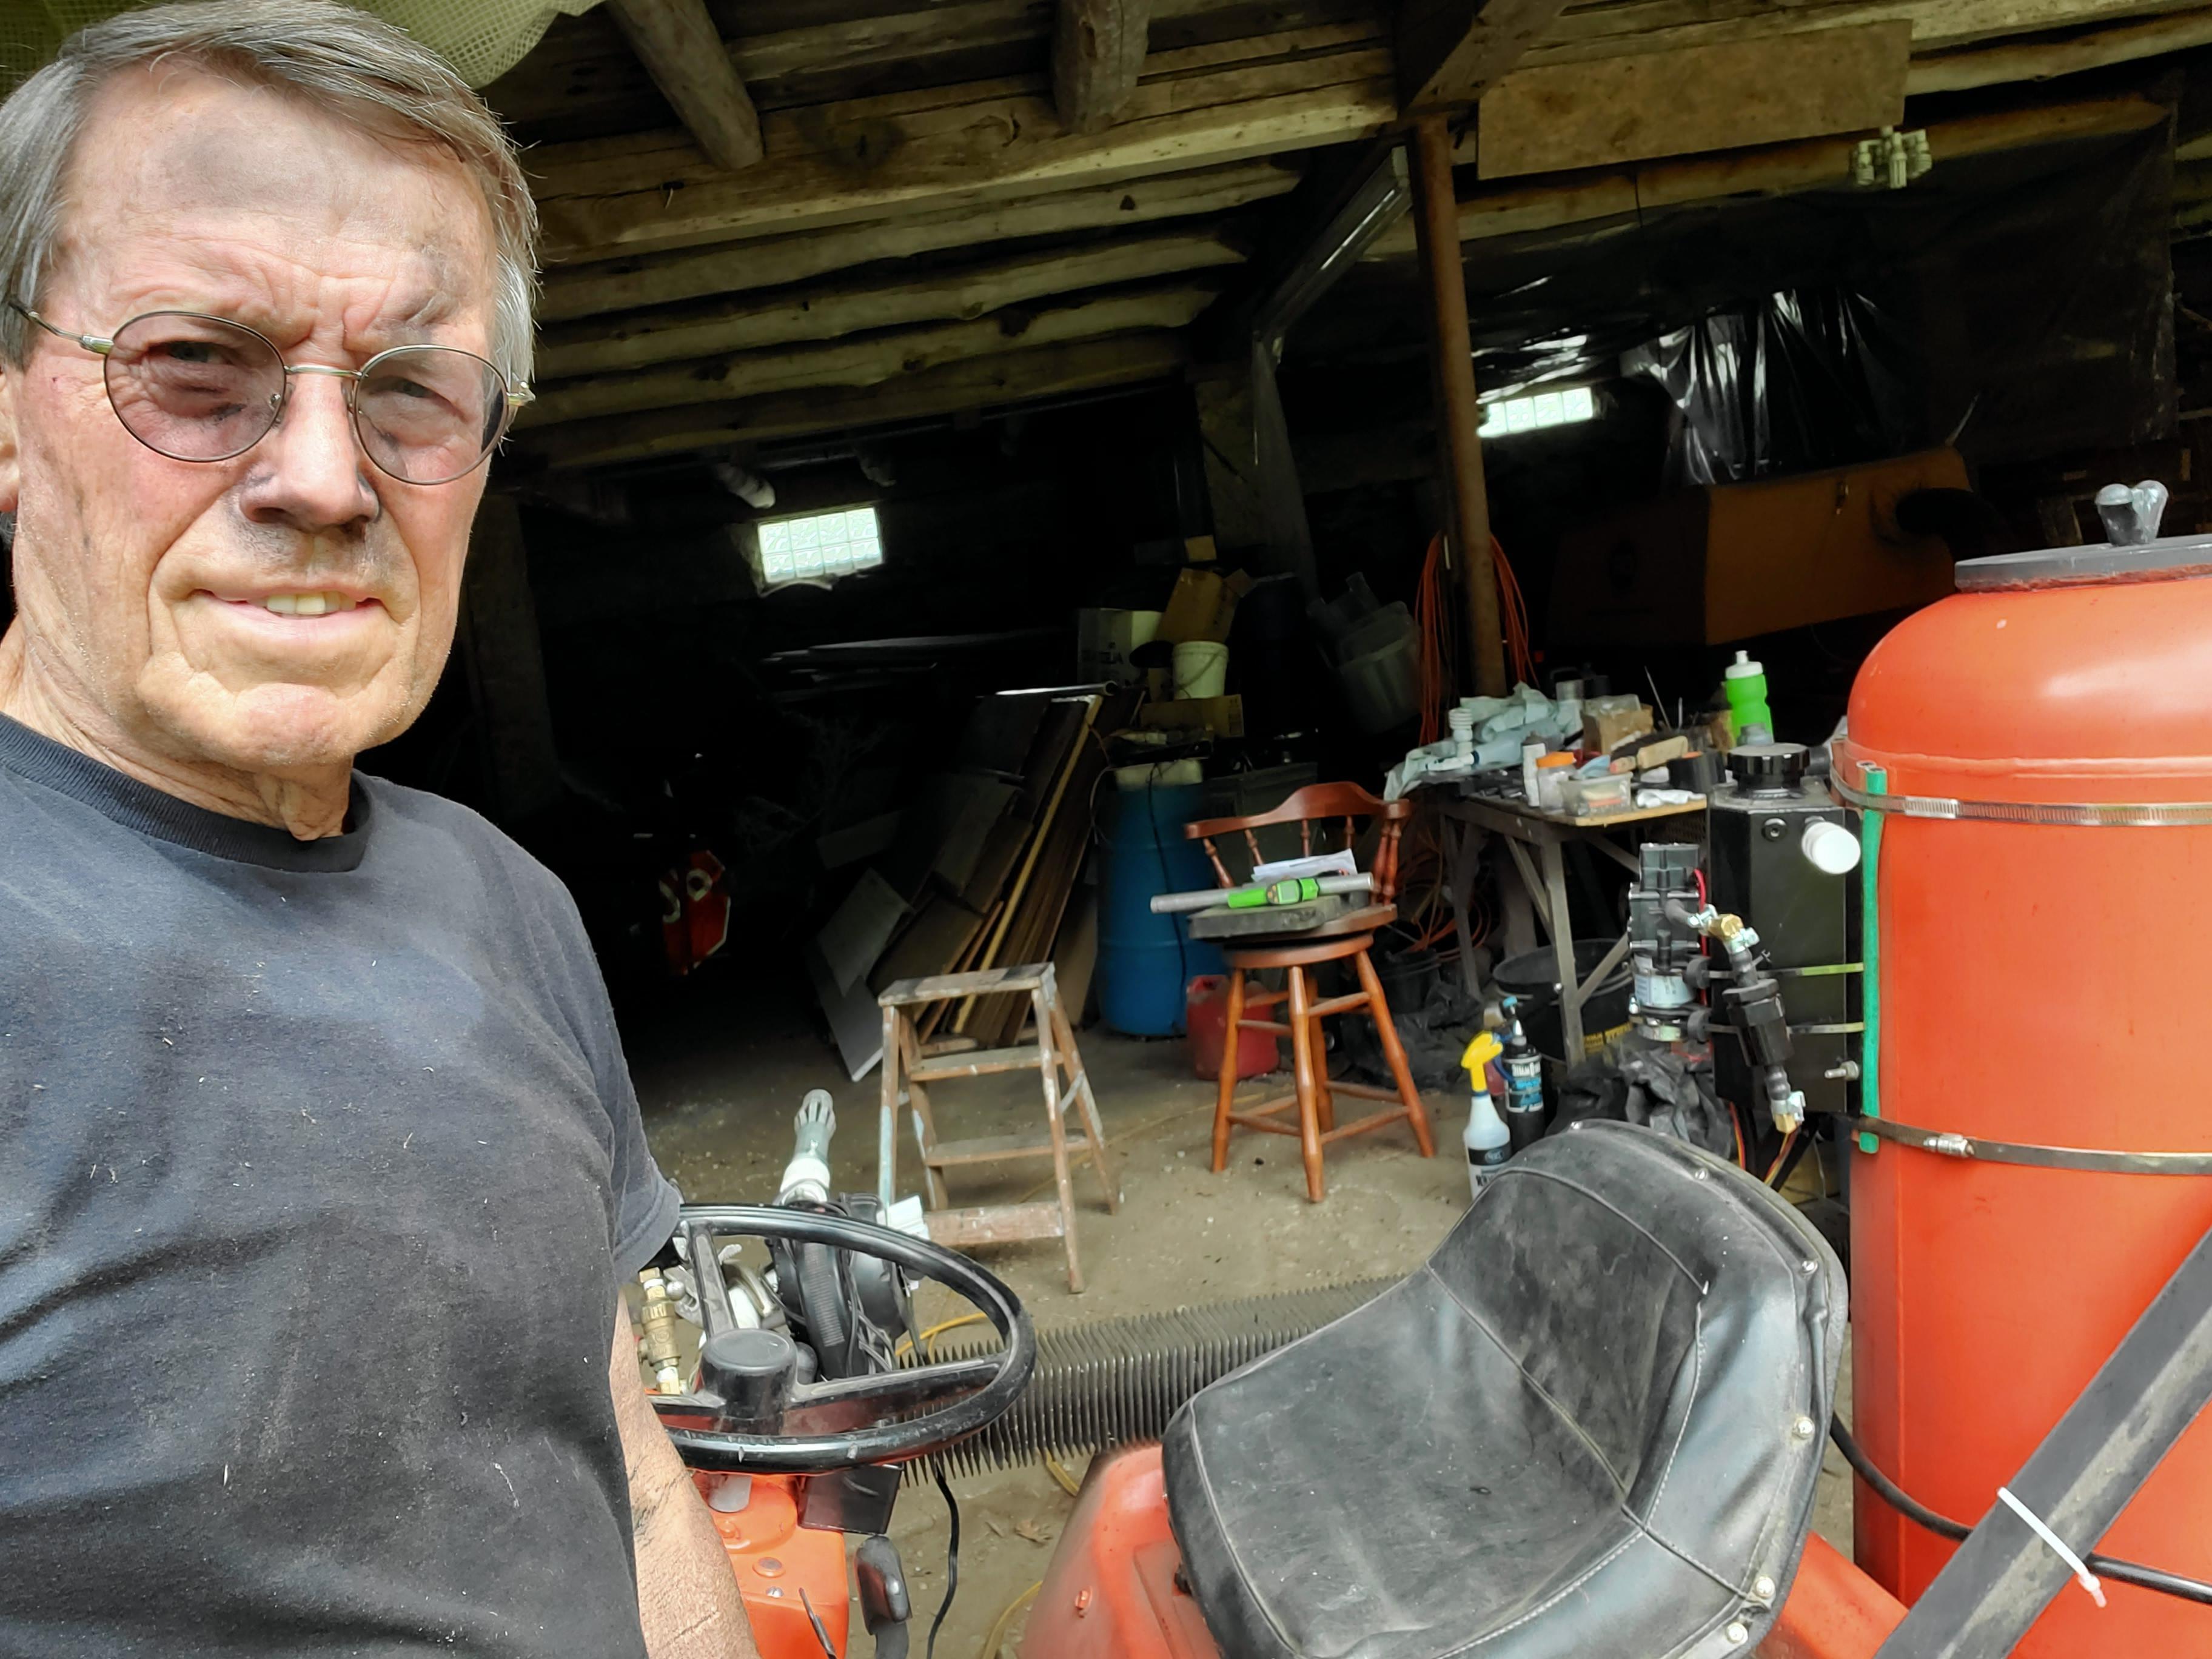
It started right up and my first run lasted about an hour. I kept making the same circuit that included a decent hill. Once I had the mixture tuned in I kept upping the water flow bit by bit to improve the speed going uphill. The cheapo tachometer worked great for tracking uphill RPM improvements as I changed only the waterflow with my dash mounted control. I was thinking about needing some lemons when I was startled by a warm shower. My water hose burst so I headed for the barn. When I got parked I looked into the tuyere pipe and it was glowing. The strip of exhaust wrap that was preventing the Leidenfrost effect was on fire. I shoved in the snug aluminum pipe to seal off the twin tuyeres and took a few temperature readings:
4 inch exit gas nipple 450*, 1-1/4 pipe going into cooler 250*, end of cooler pipe and filter can 125*, side of gasifier behind driver seat (in line with tuyeres) 500* The metal on the back of my seat was hot to touch so I will add some insulation to the back of the seat. The internal thermometer that sits 15 inches above the tuyeres and reads out on the dash never rose above 120*. So this should work well for a refill warning.
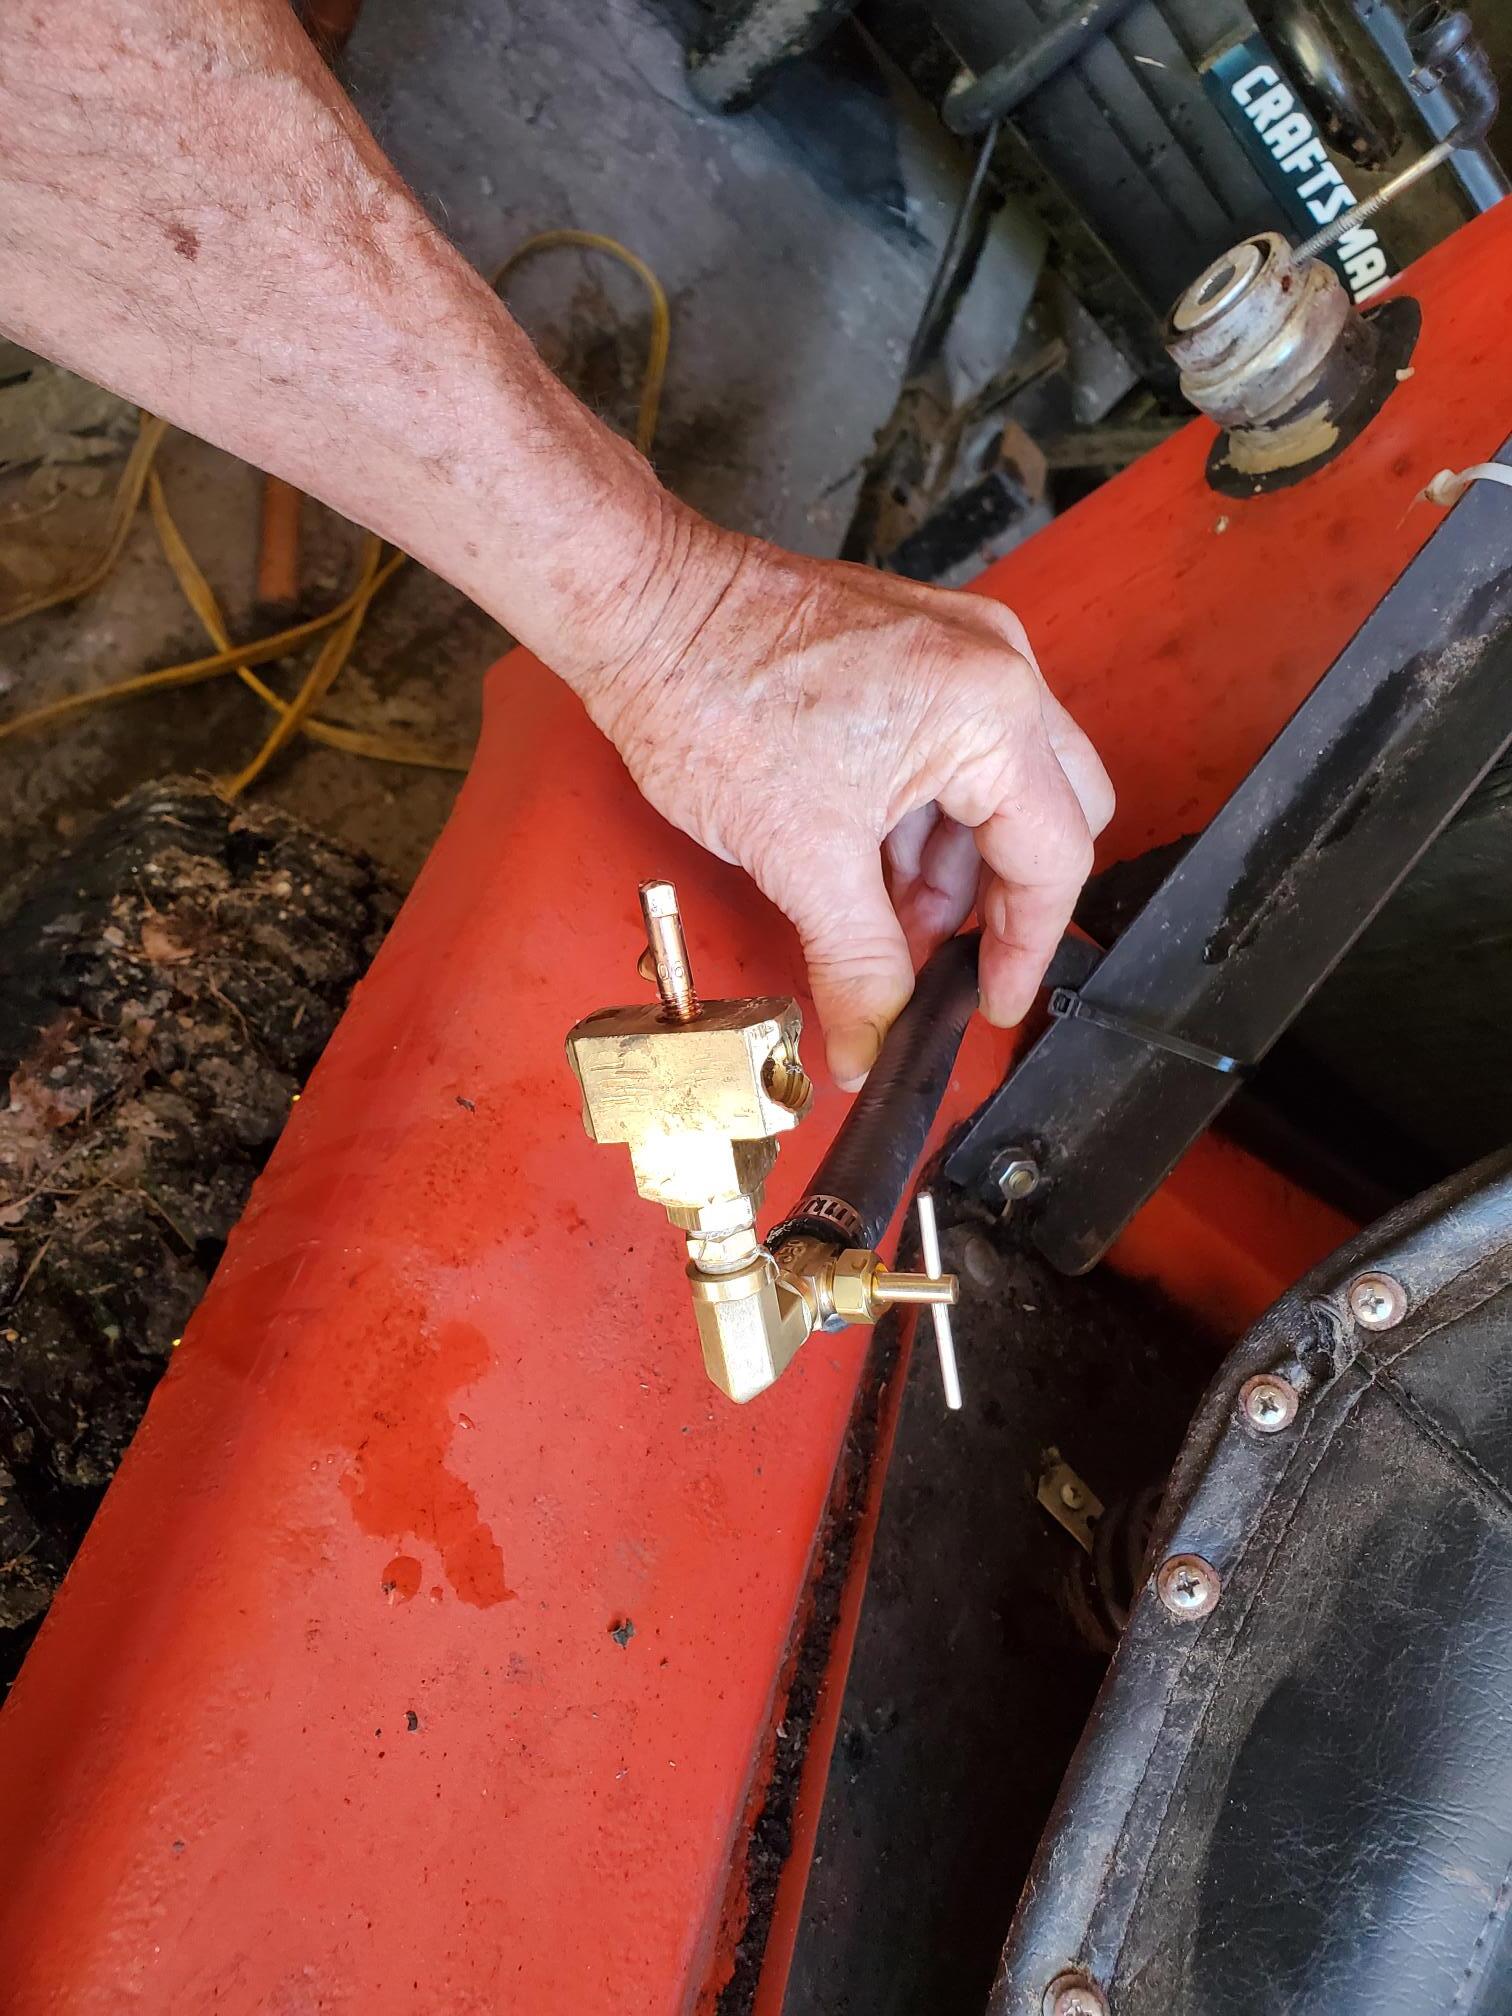
I re-plumbed things a bit. I decided to remove the oil drip ‘carburetor’ and added a quick connect gas outlet.
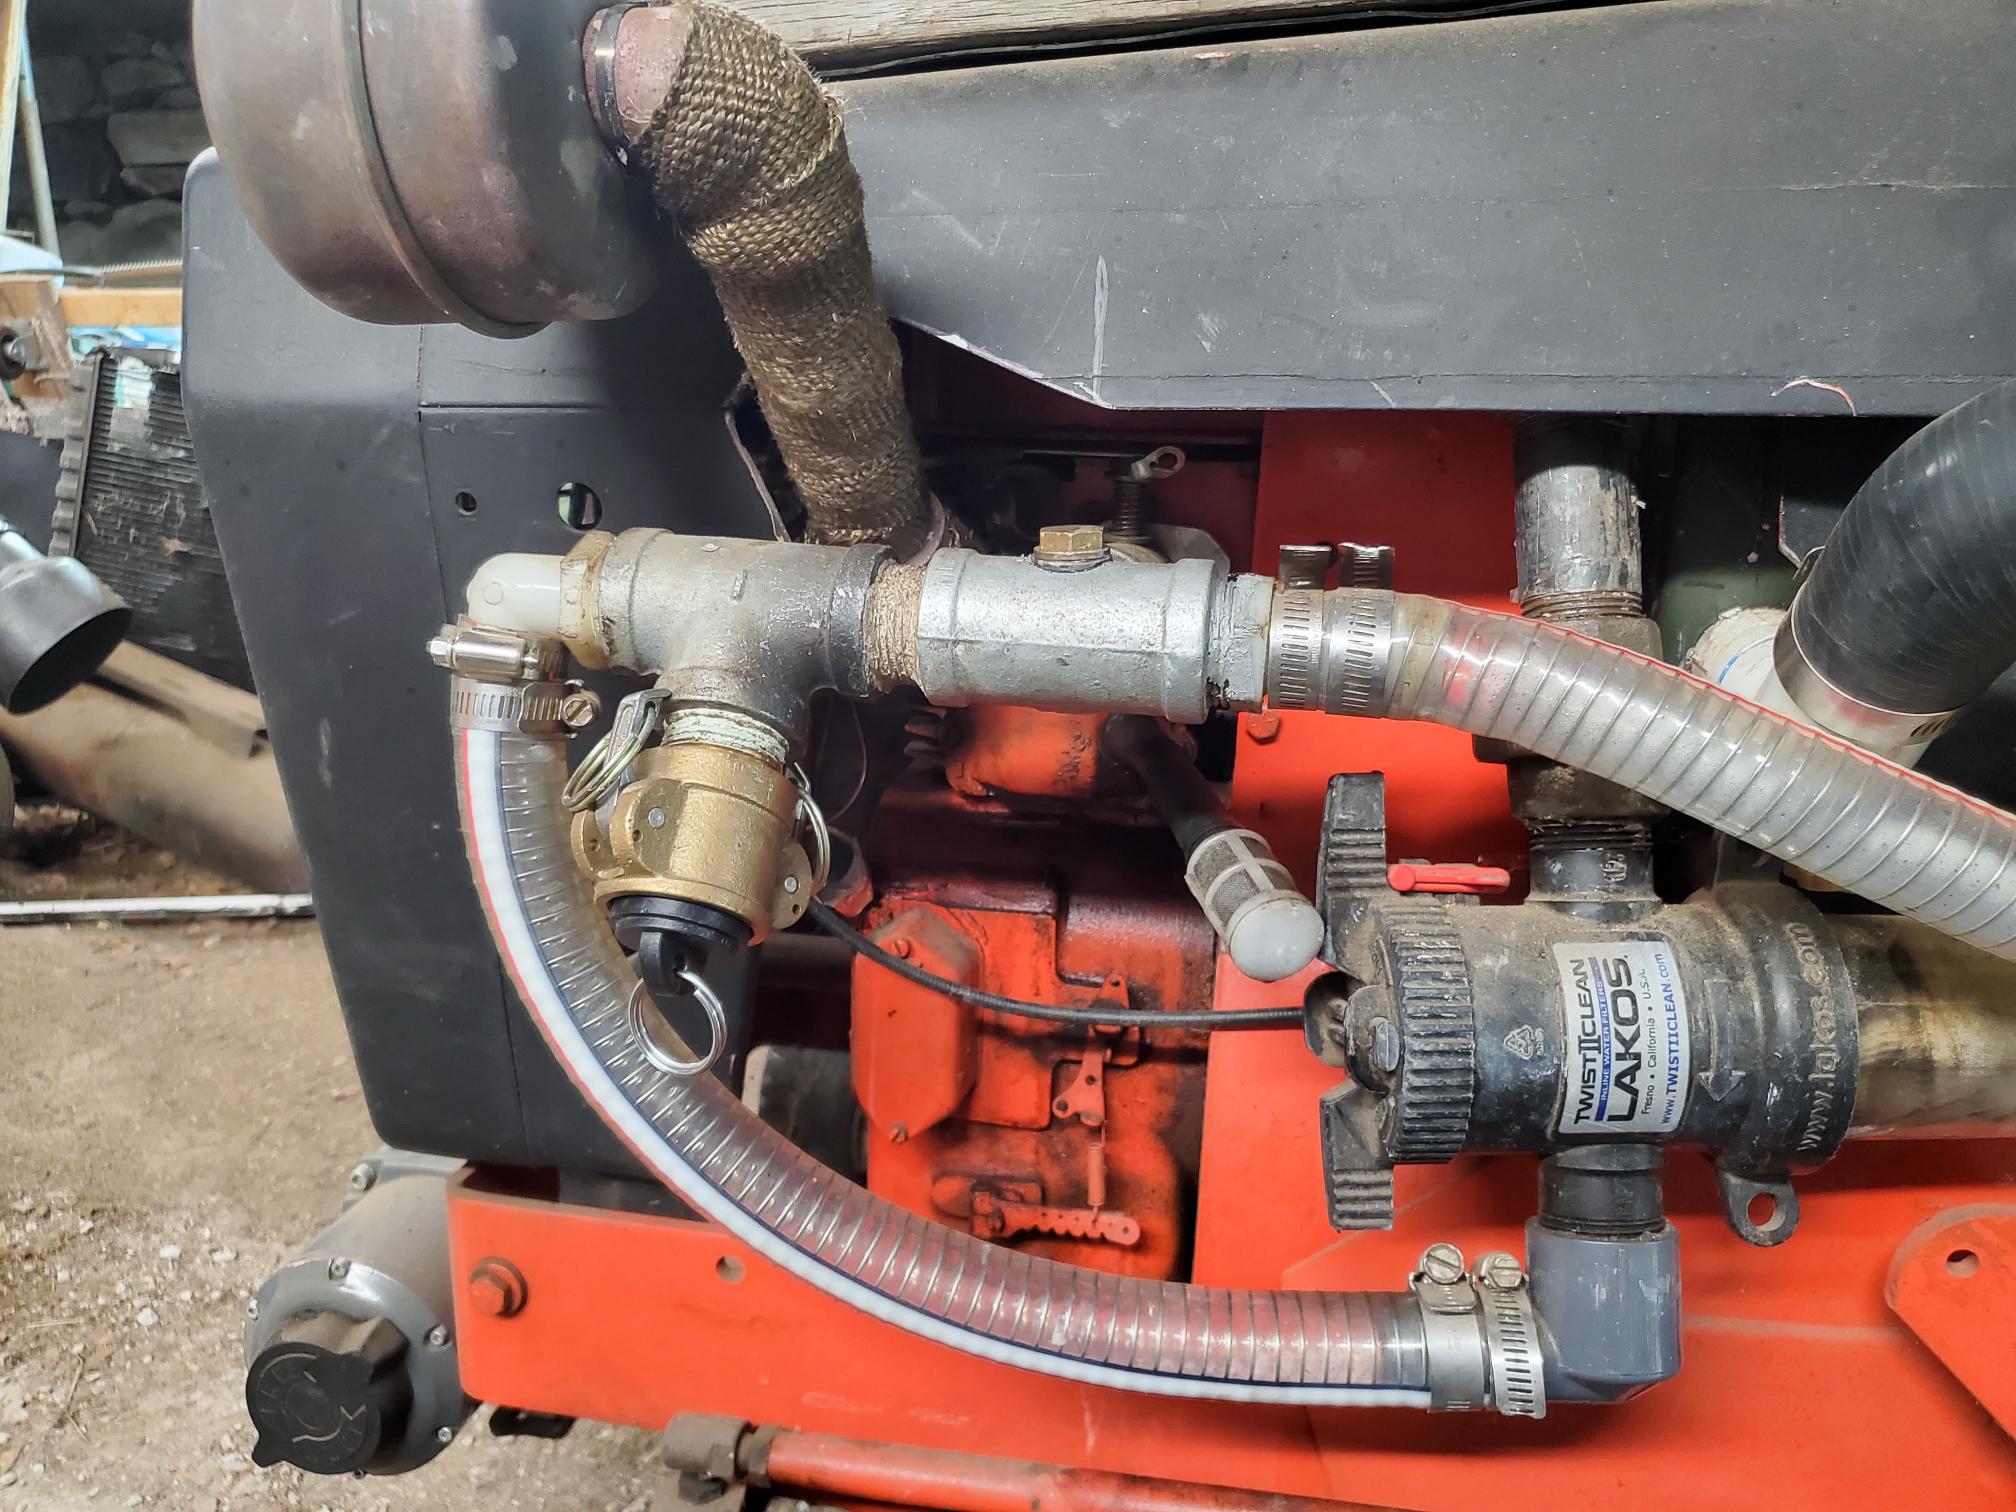
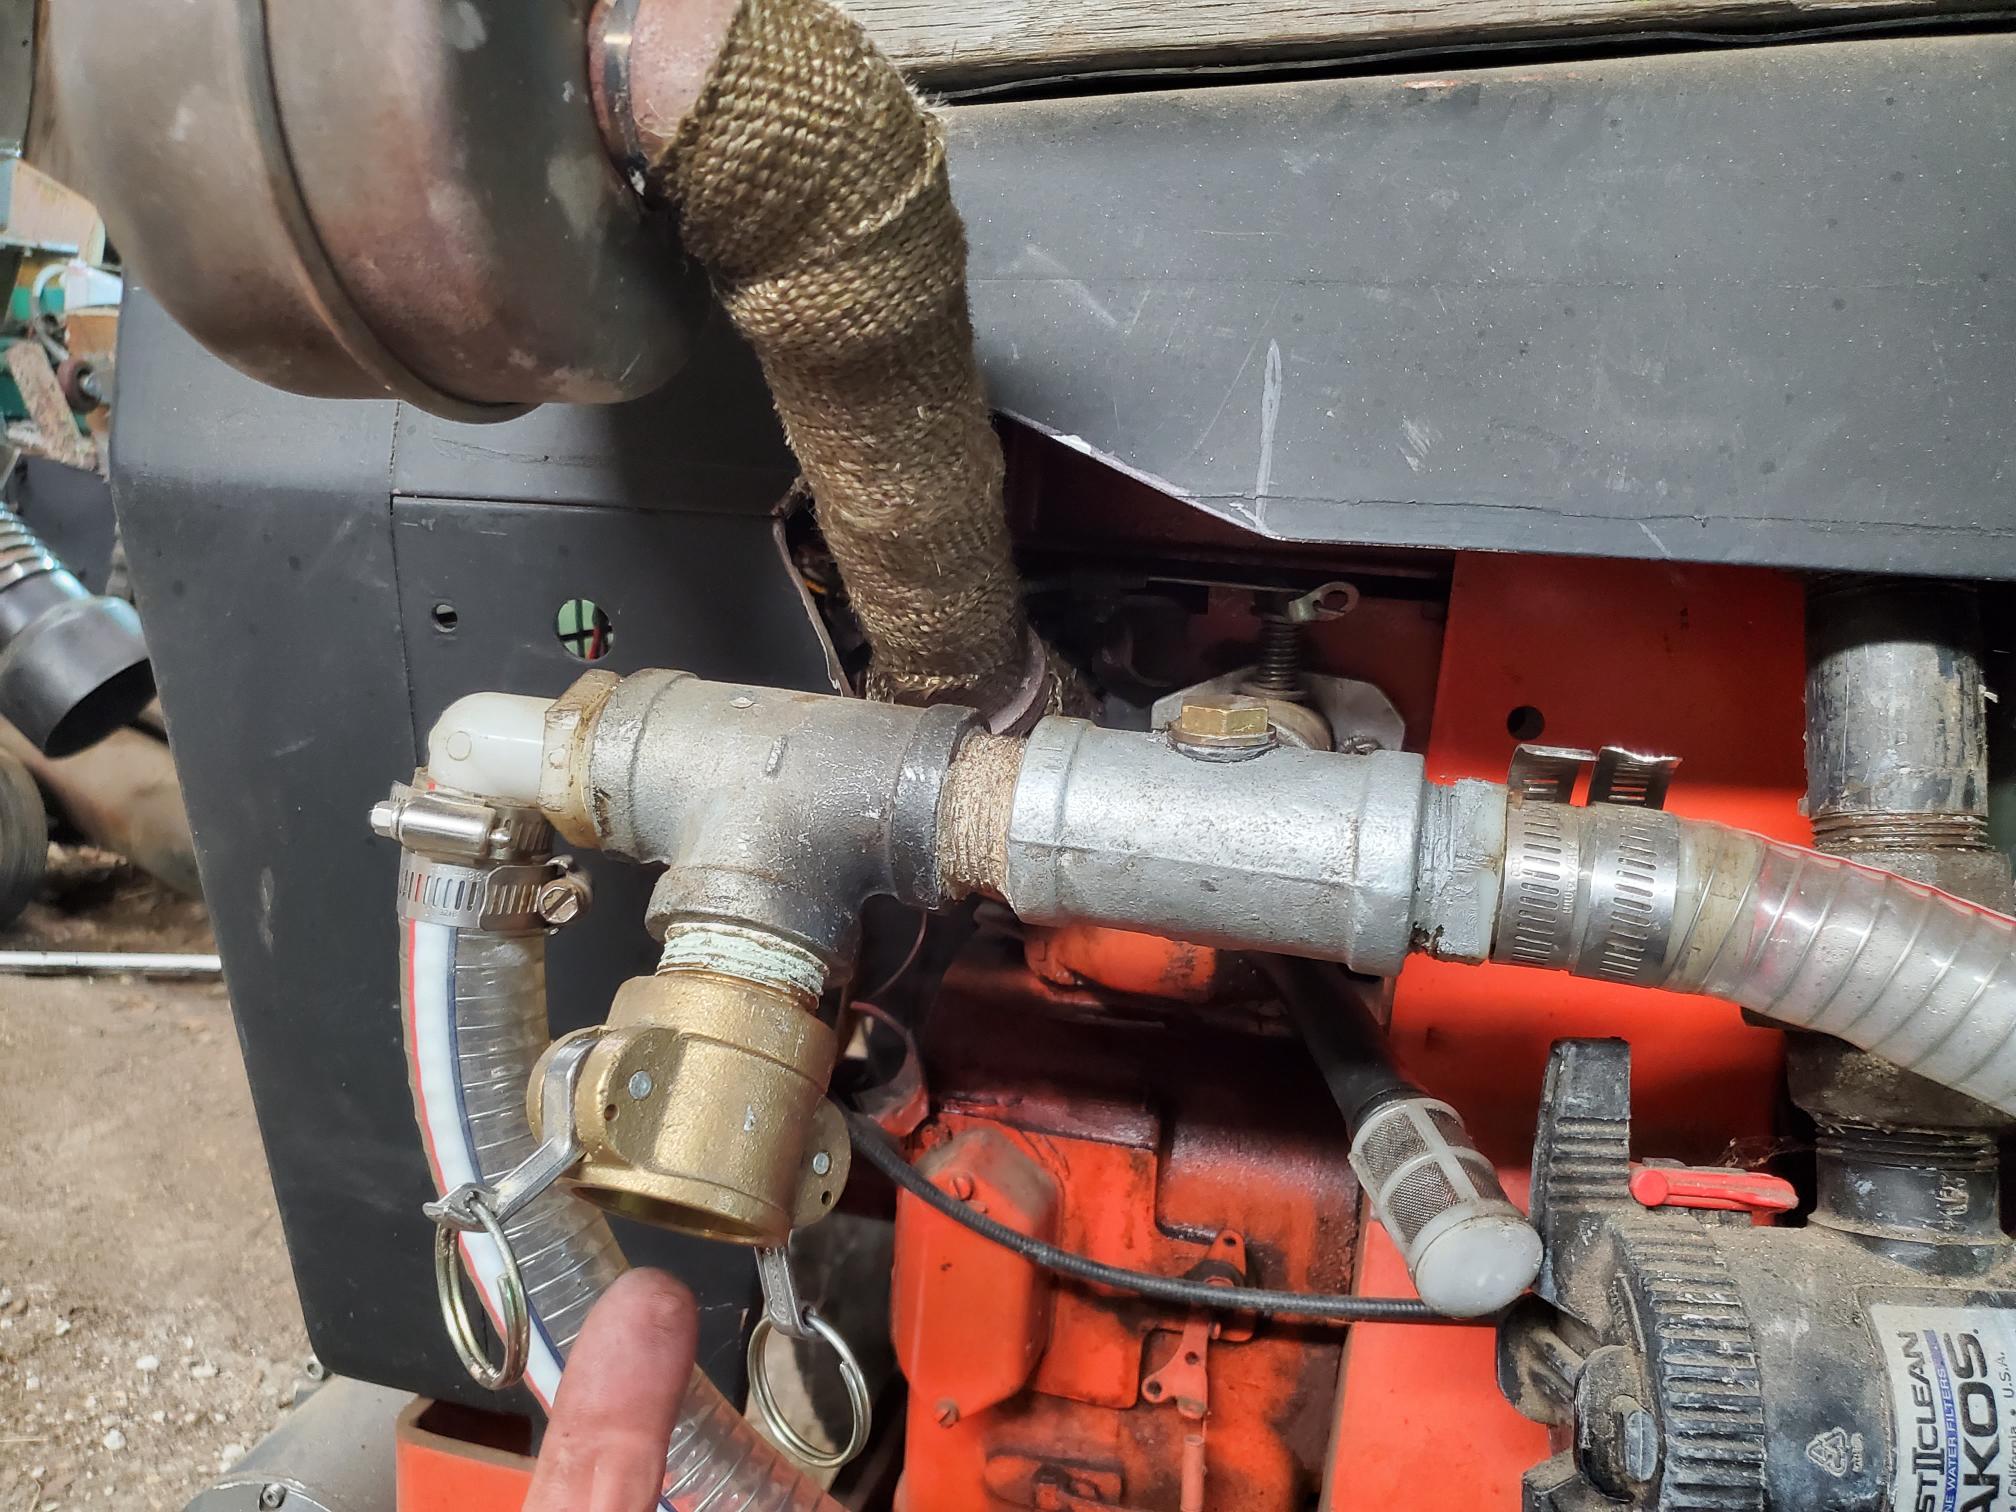
I simply squirted gasoline up there, replaced the plug, and turned the key for a two second ‘systems test’ run. But the main purpose for this gas outlet is to run my generator.
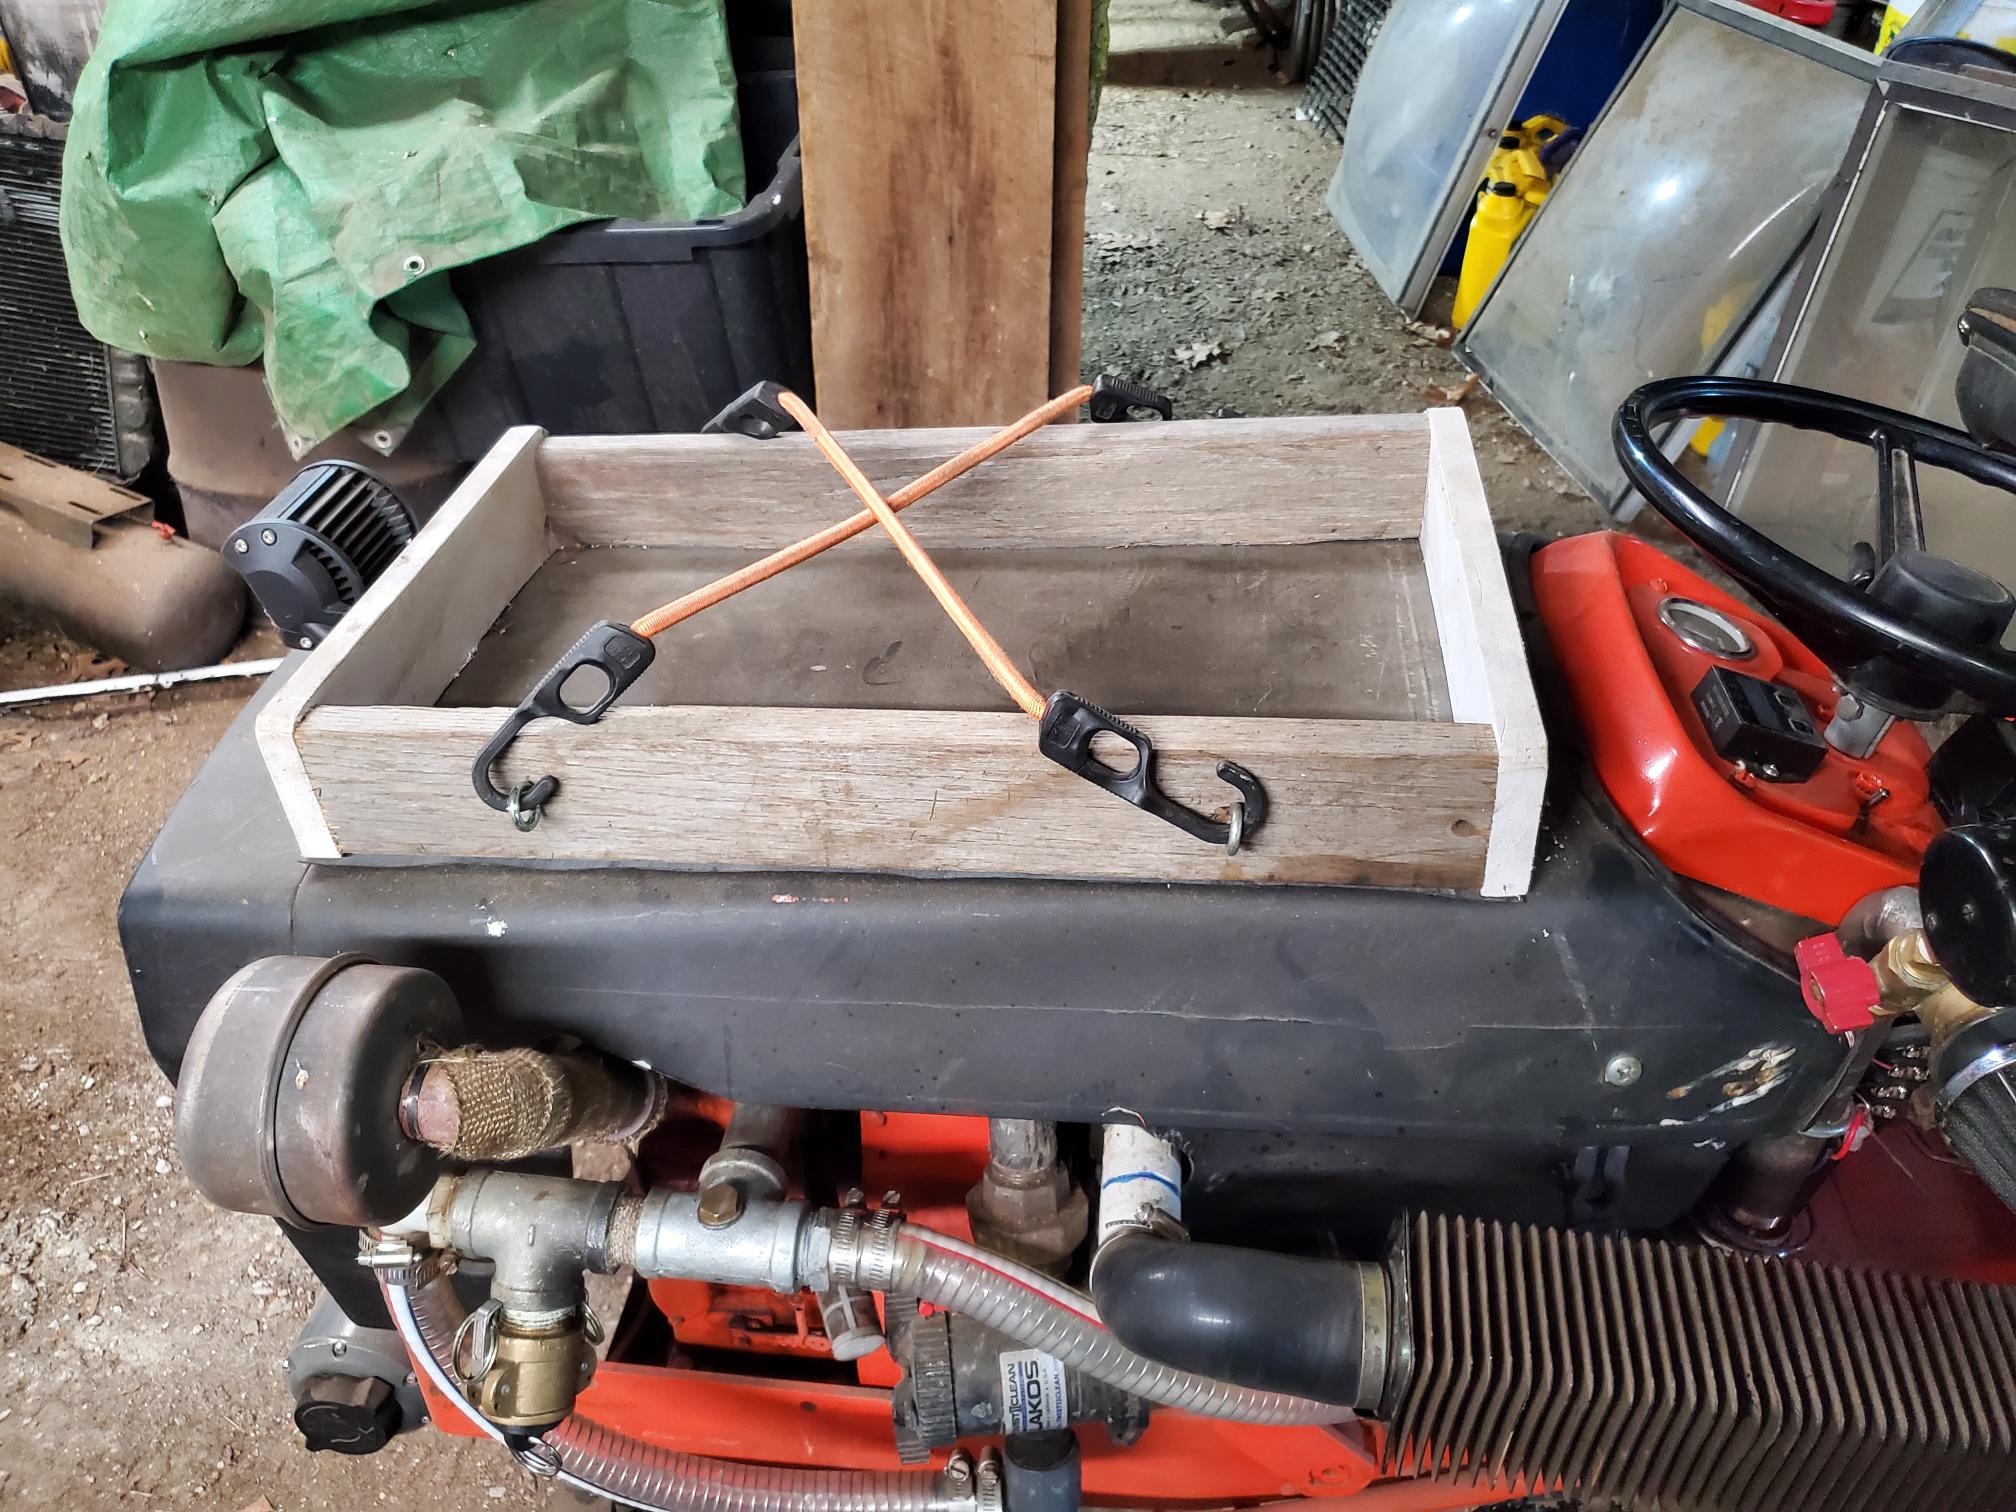
I also added this tool tray on top of the hood for chainsaw, etc.
Well, that’s all for now until I get some better hose for the water spray.
24 Likes
Well done Bruce , a great build and also fantastic results keep up the great work .
Dave
13 Likes
You look like you could use a few lemon wedges to bite into in the picture or just get a cool glass of lemonade. Congraulations on all the hard work you did to get it done and working so very well.
13 Likes
great work bruce !!!
8 Likes
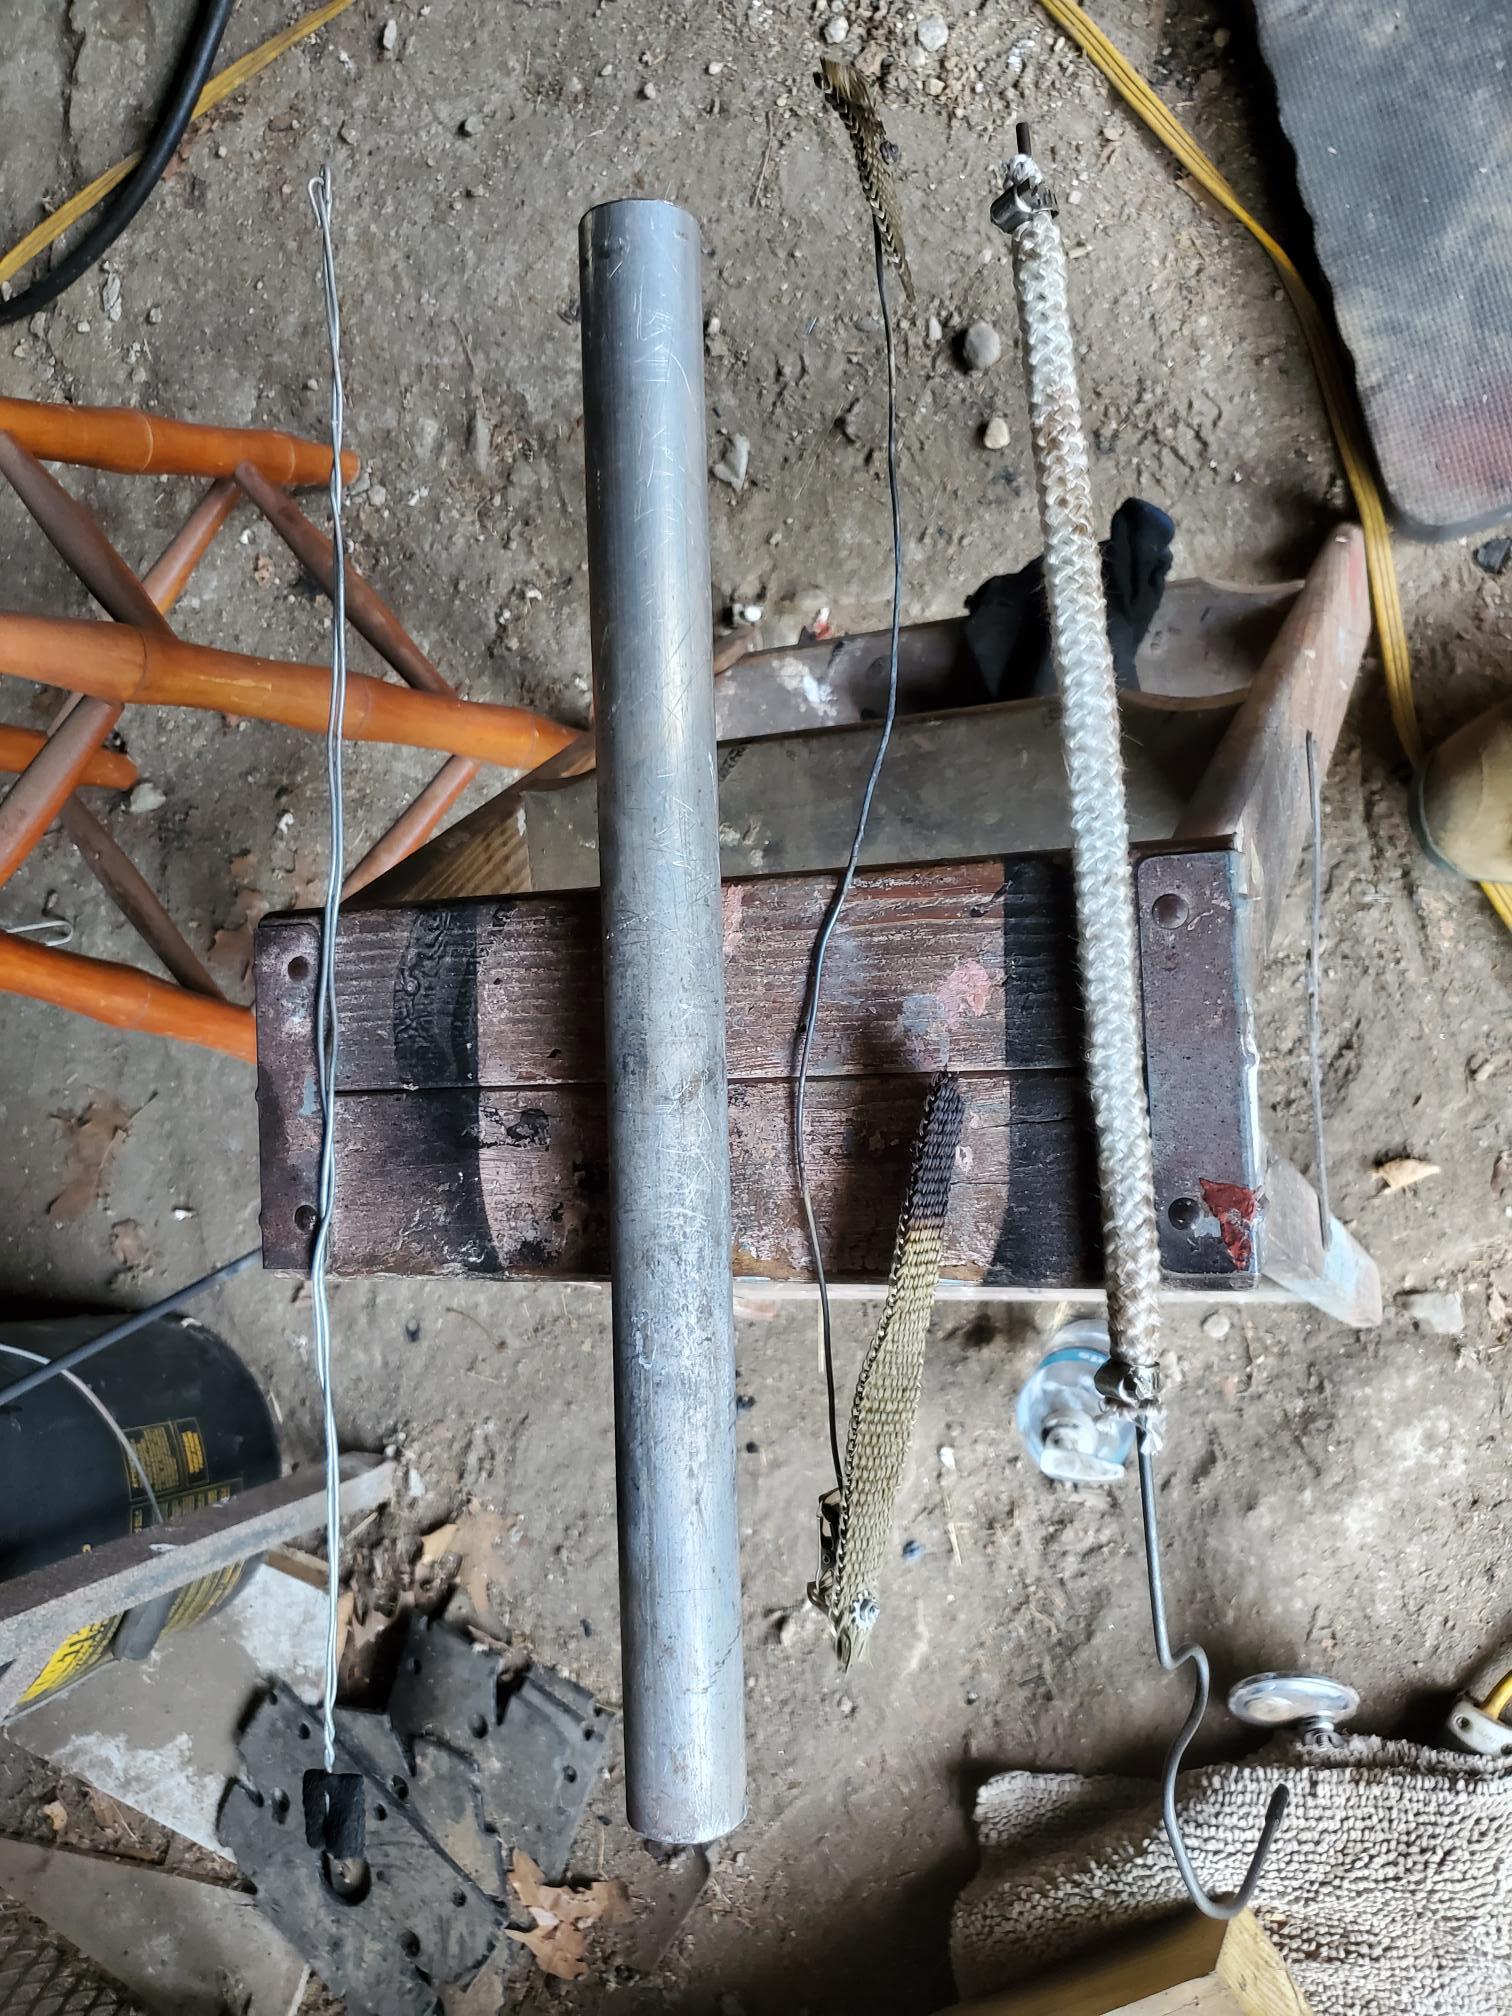
A few details: Lighting wick made with a bit of black fireproof cloth. (I spray it with 80% alcohol which I use for everything because I bought several cases post covid from Home Depot at 25 cents per 16 ounce squirt bottle.)
Aluminum pipe inserted into tuyere pipe at shutdown.
Burned remains of my Leidenfrost effect fixer aka water wick.
New water wick made from stove gasket.
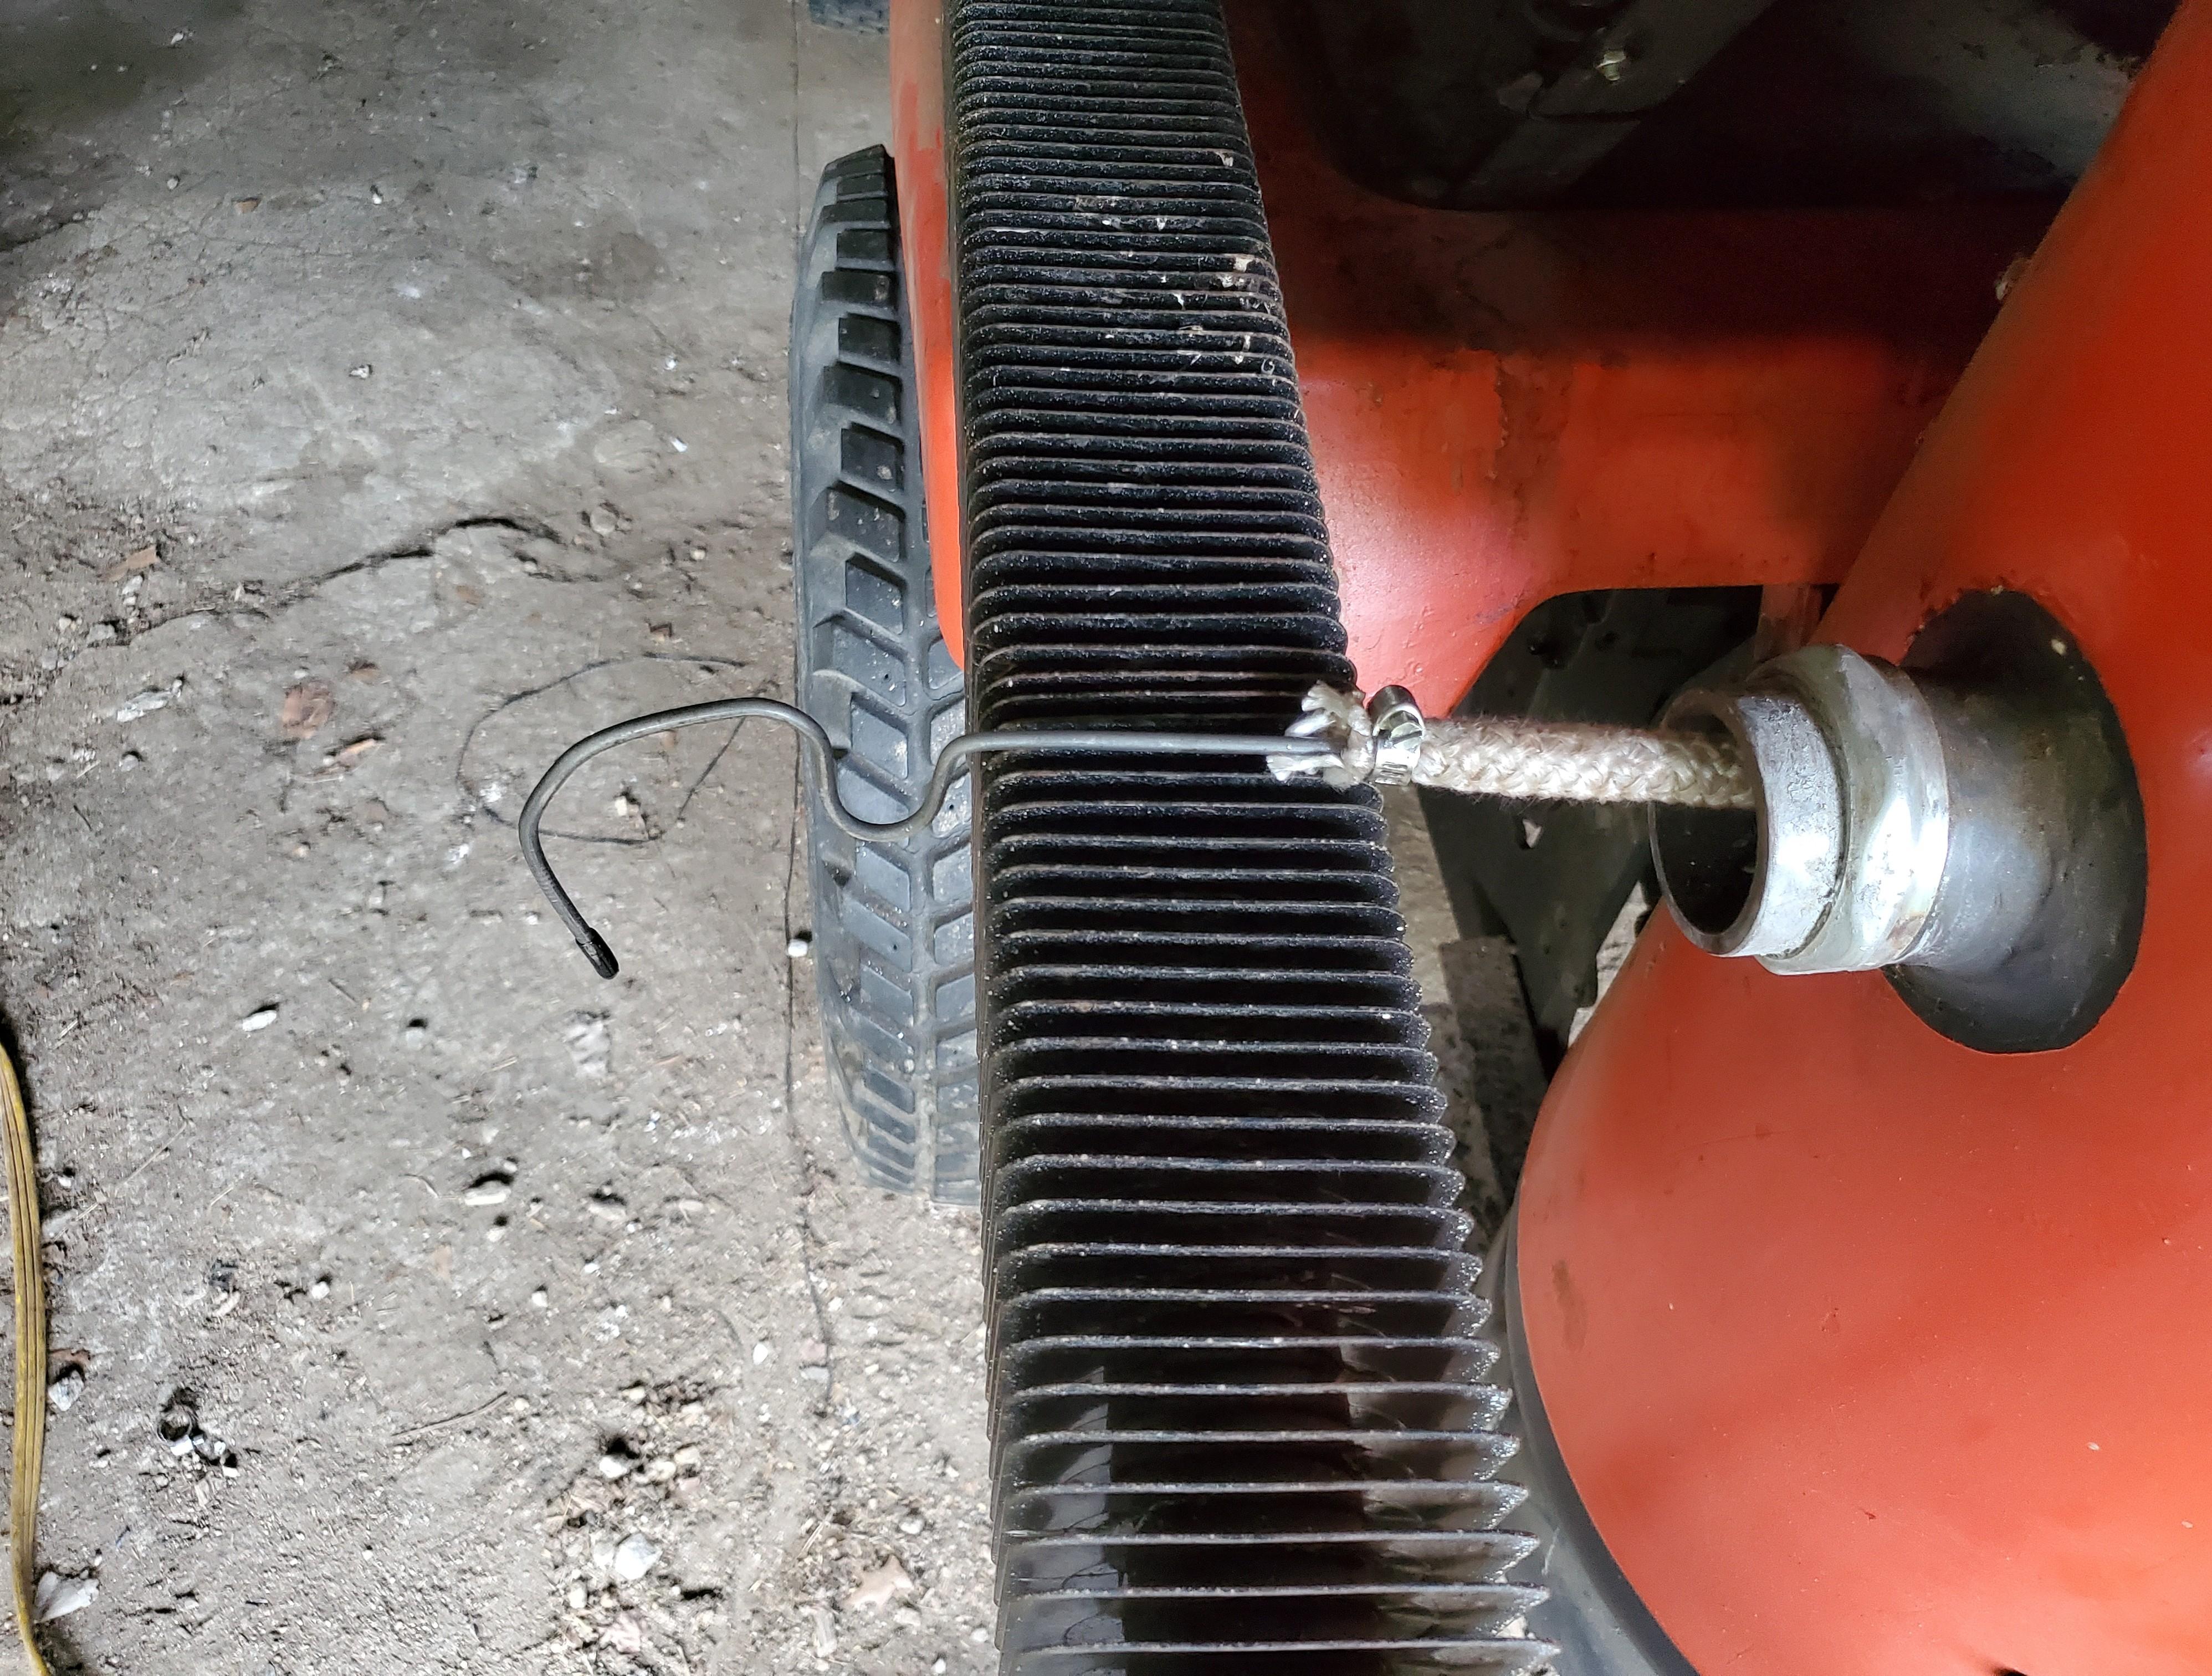
Inserting water wick.
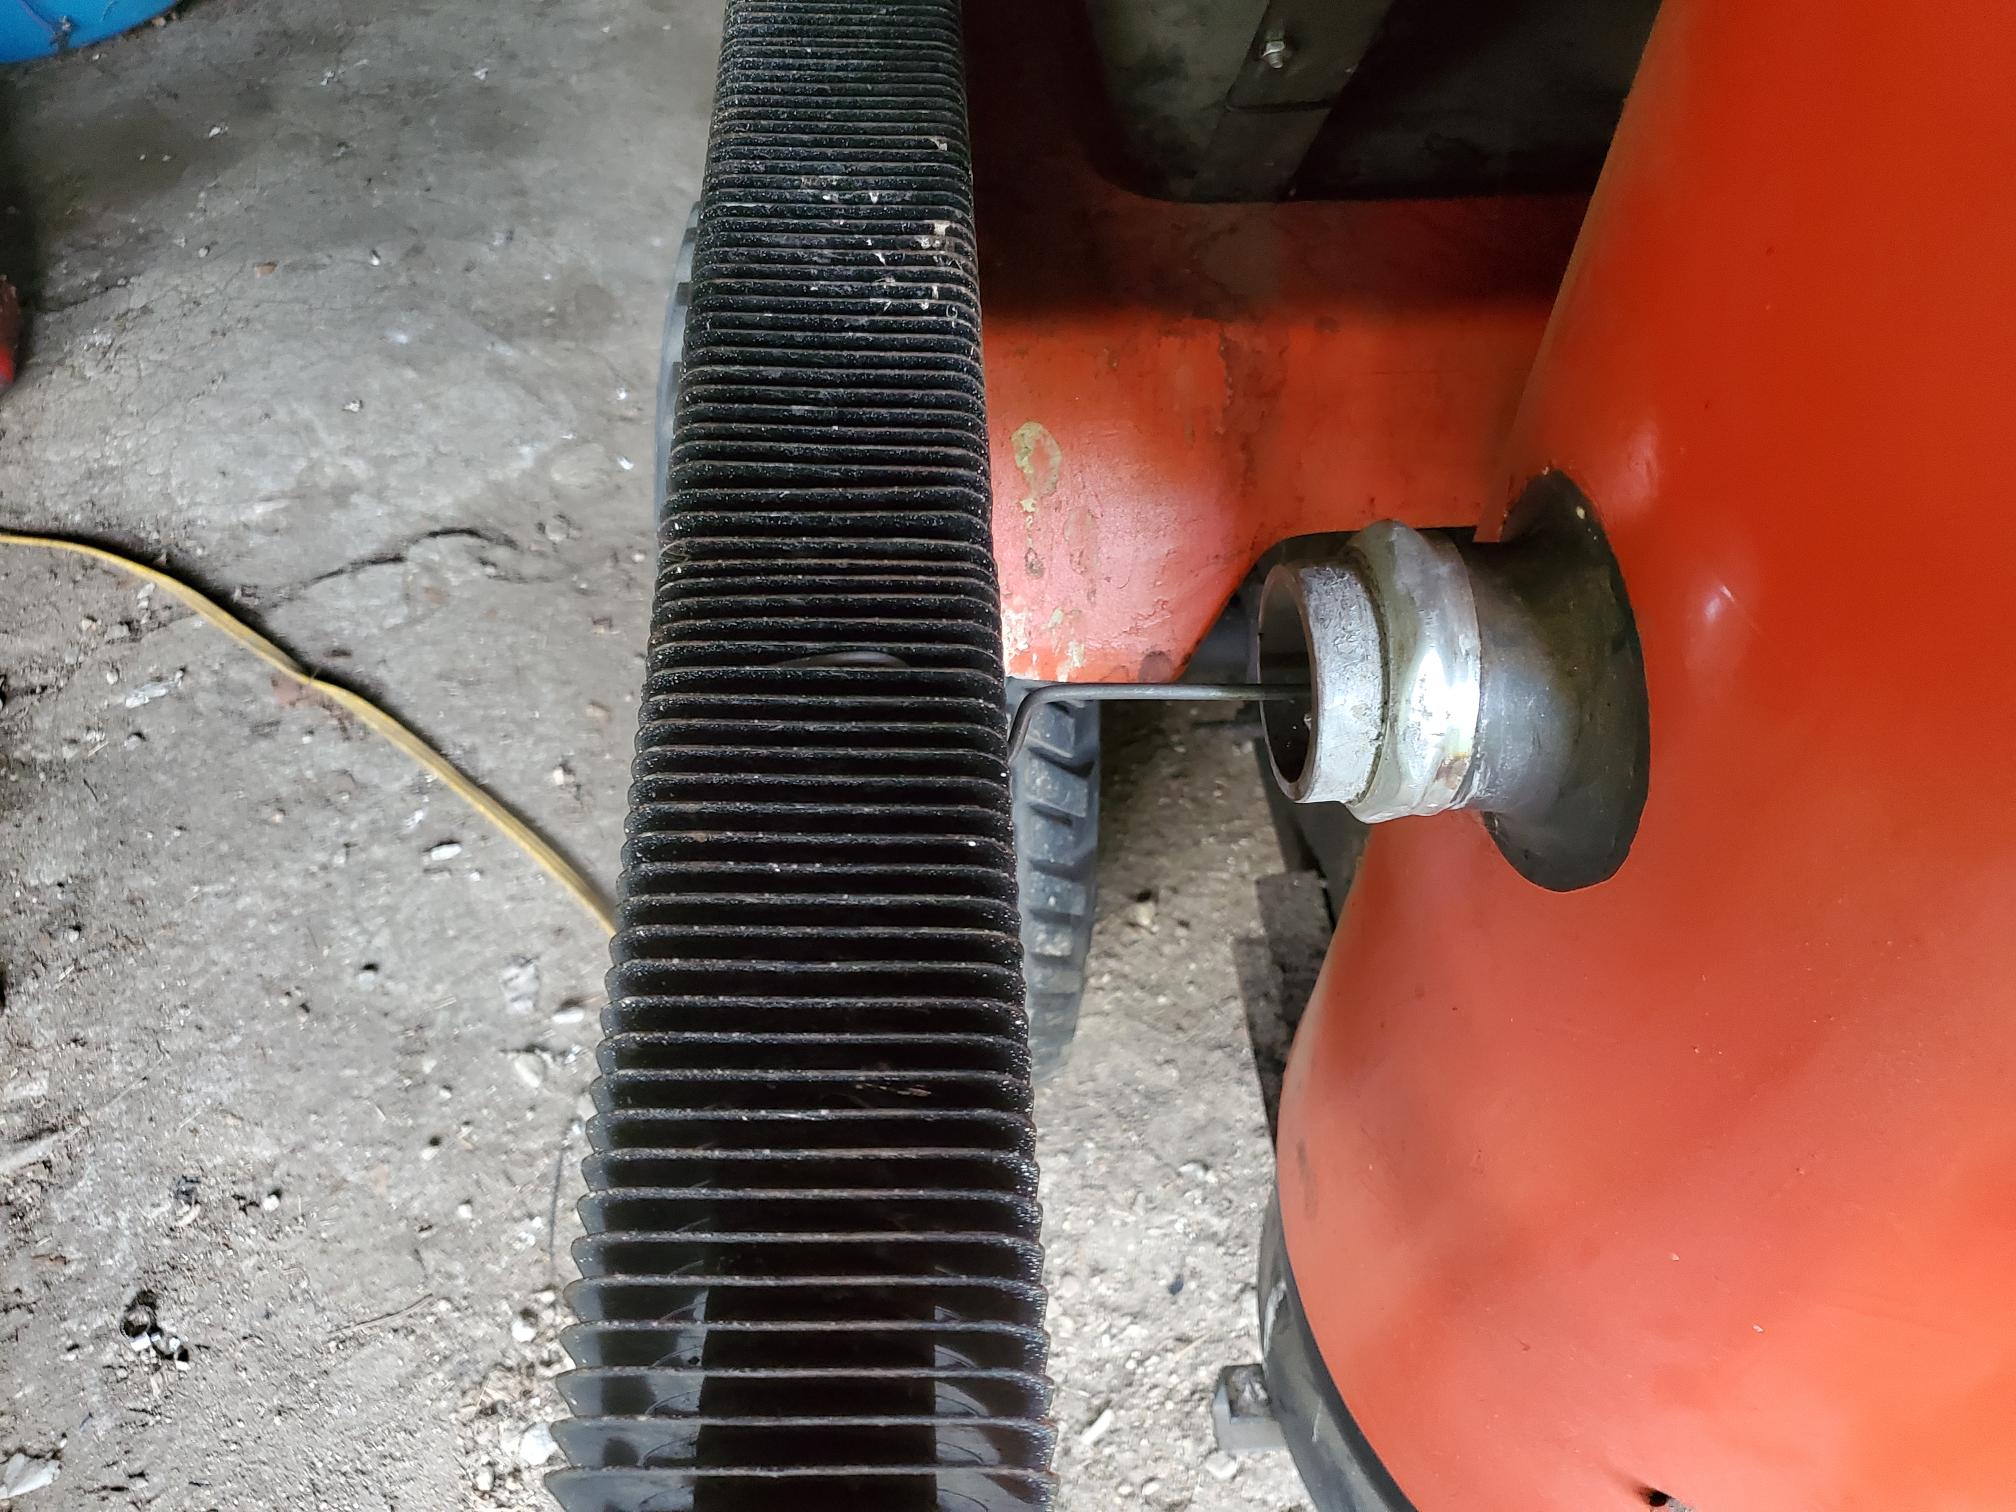
New wick inserted. Will it work?
New water hose should be delivered on Saturday.
I checked the filter for moisture. All dry so far! I’m looking forward to seeing how much H2O I can add. I assume that I can pump in a lot under load and will need to back off some when coasting and idling?
16 Likes
The more stable we can get these flows the more water we can cram in them. Im almost there but Im having issues with my pump like you have stalling out. So what I plan to do is add return line before my flow adjustment valve. This return will be 1/4’ inch line and tee’d back into the loop. The plan it get a mig welding tip and place that in this 1/4 line. Going to start with a .023 mig tip and that will allow the pump to just run but still have presure for the supply out.
11 Likes
Matt,
You inspired me to go for maximum water injection. I’ll report on my results once I find the optimum setting under load.
Thanks for the .023 mig tip idea. I’ll check it out. The low wattage high pressure pump controlled with a PWM works good for me. My cheap hose was too thin walled and couldn’t take the pressure.
13 Likes
Yup this is the next frontier I think. We got to figure out how to take advantage of all that waste heat in reaction process and apply it to steam conversion.
9 Likes

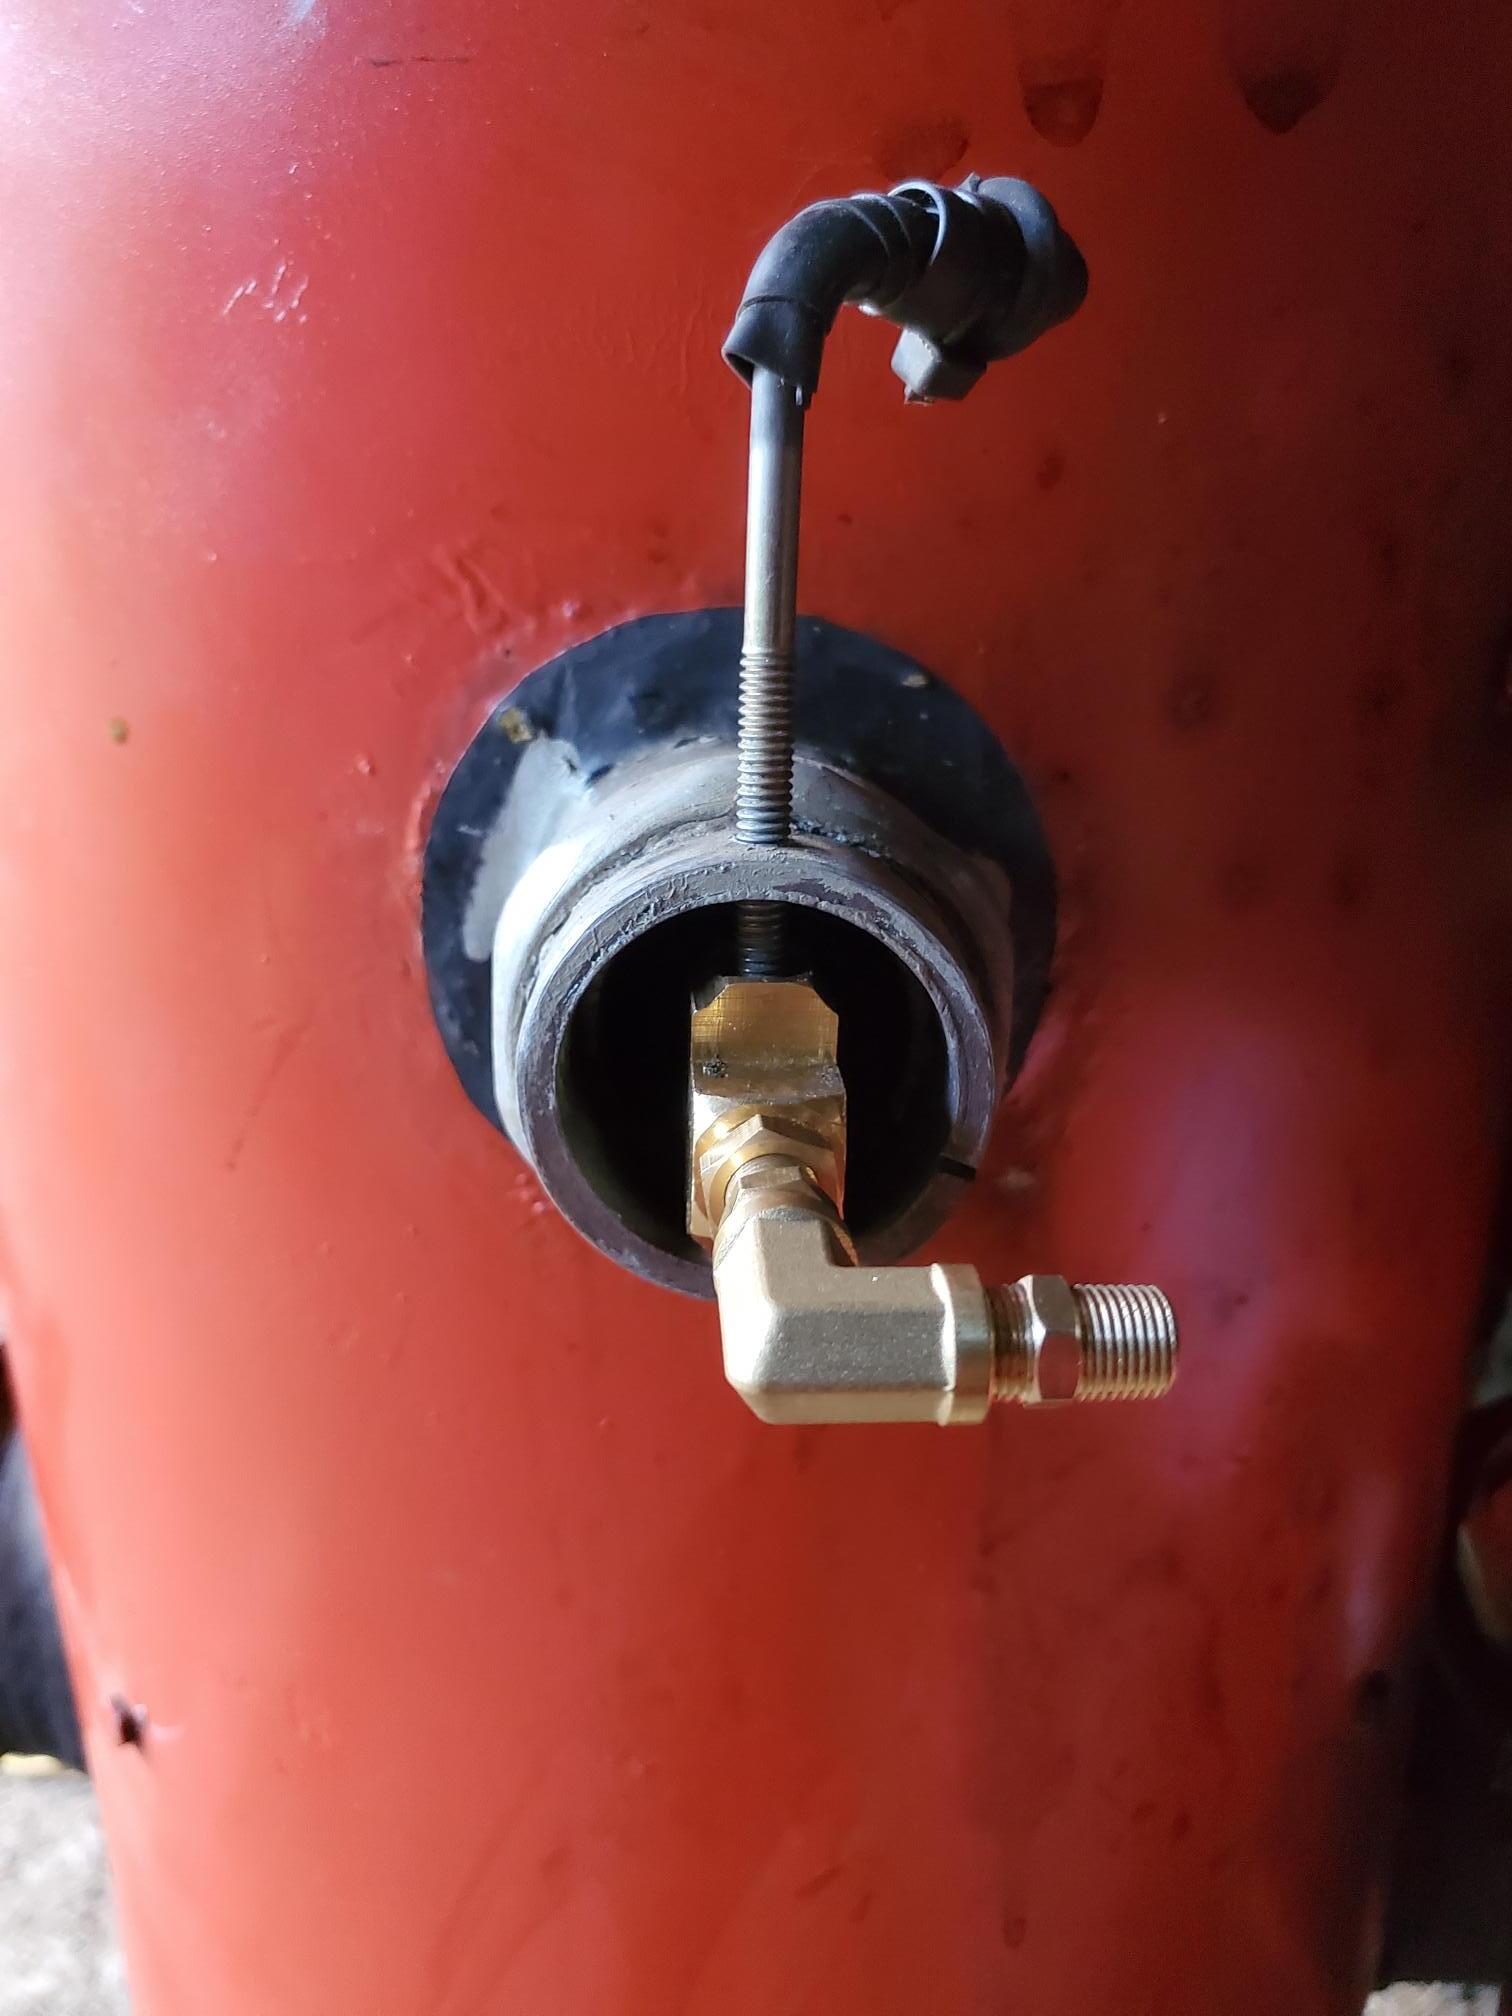
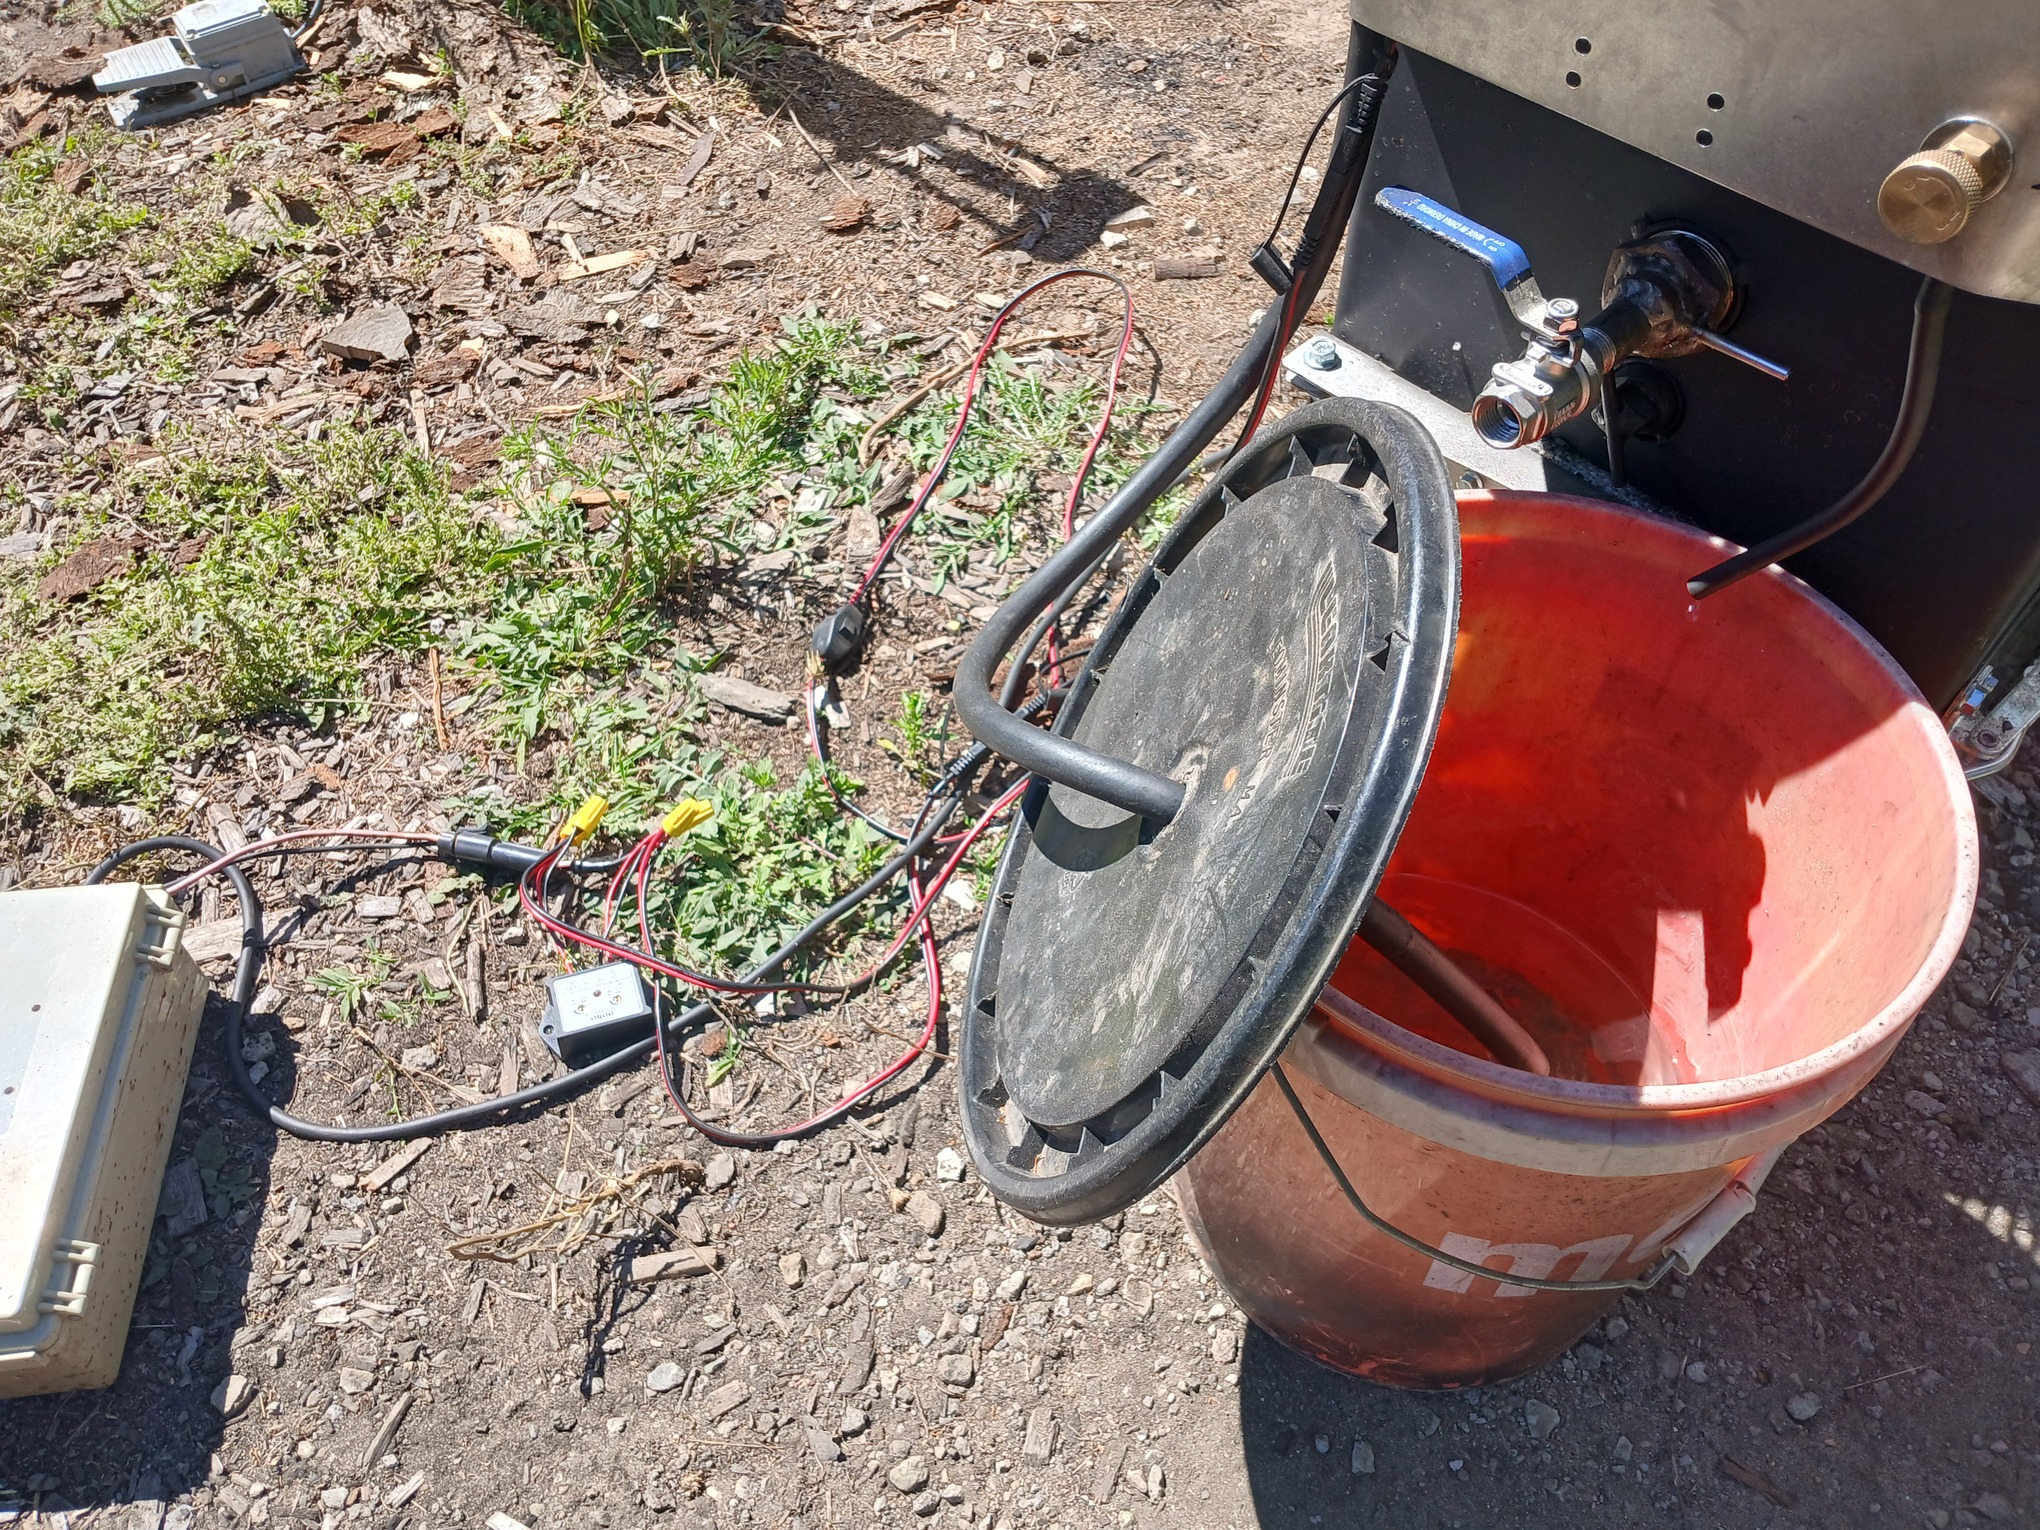
The .023 mig tip didn’t provide enough back pressure for the pump’s internal regulator. In order to control the flow rate I added this needle valve. With the valve nearly closed I can use the PWM on the dash to adjust the flow.
Yesterday I finally got some work out of this down-drafter. Three hours hauling firewood. Our local flat-tails chewed down about 30 trees two years ago. Here is one of the beaver stumps.

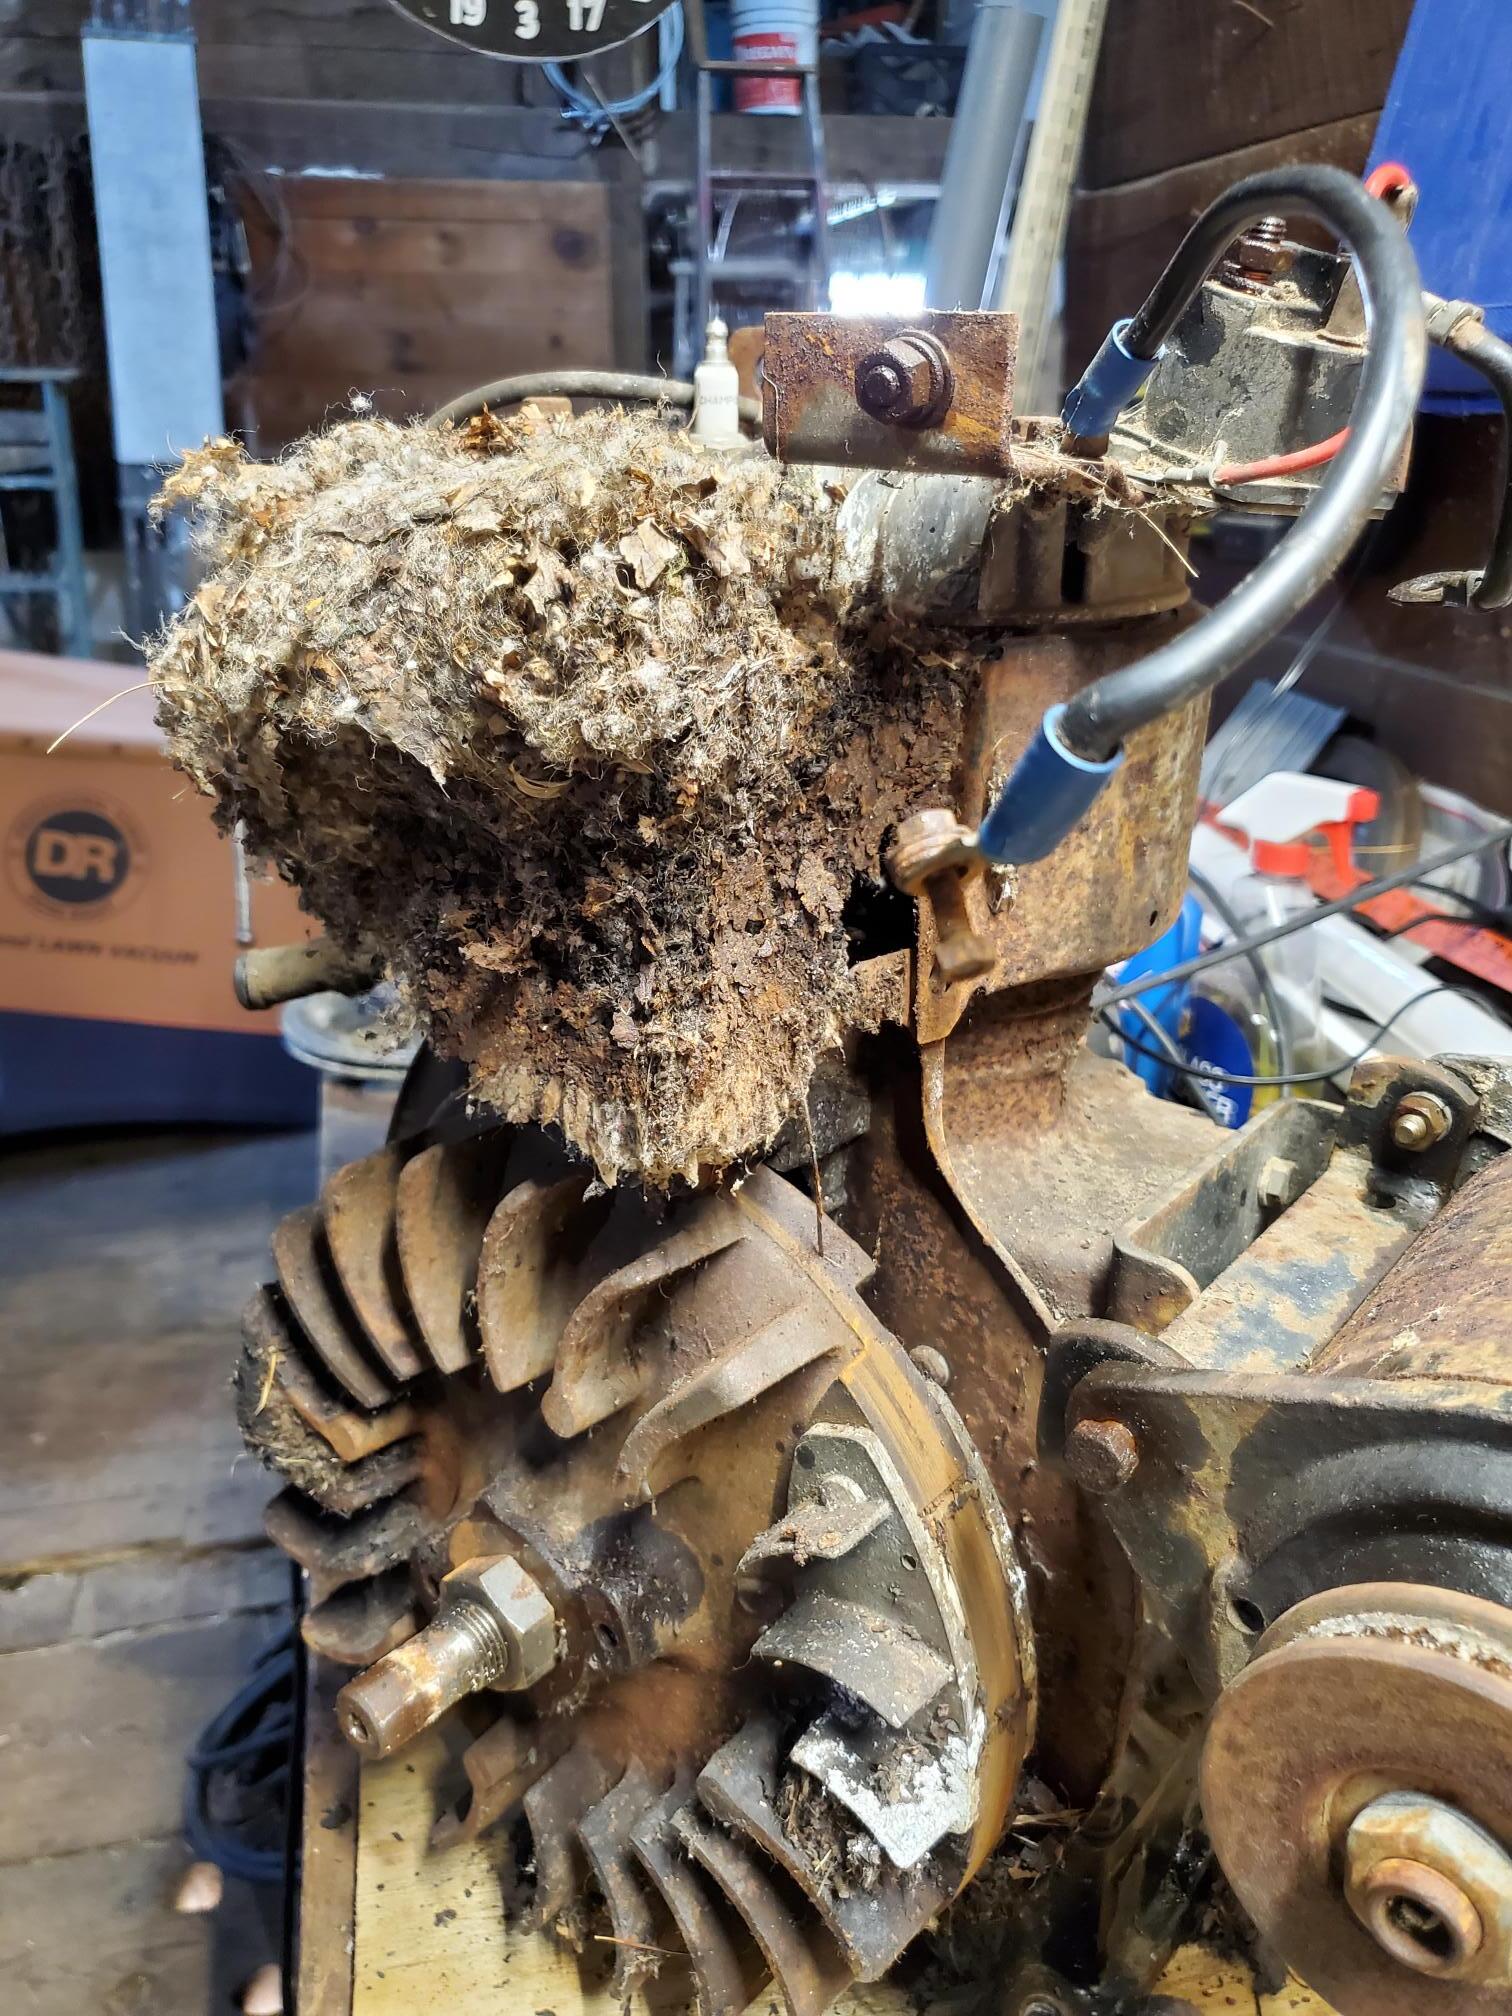
Now that it finally runs, here is a flashback of the engine when the Baron followed me home.
You can see a bit of yesterday’s run and my leaky load here:
https://www.youtube.com/watch?v=QTcZEXROtRA
15 Likes
Thanks for a great video Bruce.
The log fell off right where you entered the lawn. I tell you just in case you’re eager to go for an extra DOW ![]()
10 Likes
What Ive found is I have to set it up with the pump ’ on ’ and set the flow then you have to let equalize and keep adjusting until it the flow stabalizes. Then all you do is turn the pump on and off. Only issue here is if you lose prime you have to open the valve up to bleed the air back out and do this proceedure over again.
Yeah turns out precision low volume water flow is a known issue. Yeah we need better valves so if you find one let me know and I will likewise.
6 Likes
In fact I just fired up a customer machine for testing the new insulation on the front wall. It was getting to hot here for the pump. So I ordered some very expensive ceramic insulation with an R4 value. Its the most I can find that is that compact. I only have about 2 inches of space there.
Im also only going to run Seaflow pumps from now on.
Right now the pump cycles about every 4 seconds and that seems to be the perfect flow.
Yes next version of the nozzle is getting larger chamber so its no so finicky. At least thats the plan oh yeah and that will allow me to extend the water feed inside the chamber and terminate this feed tube right at the end of the nozzle.
Yeah later on I may play fuel injectors. Yeah this really the key to it. The more stable we can get that flow the moren water we can put into em. They really need temp control so if for what ever reason the reactor cools the controls can adjust for that.
5 Likes
I wonder if we just pulse the pump if that would work better with the valve? Maybe a blinker relay? Would it hold up?
I got about 3 hours on roughly 8 gallons of large sized fuel and it used roughly 5 to 6 ltrs of water. Running at an everage of 900 watts on the 212 Predator tonight. The insulation worked!
Just ordered one of these this I think is a PWM mosfet device so it should work.
https://www.amazon.com/dp/B095LDN44H?psc=1&smid=A2OVMUS055KMW5
4 Likes
Maybe set up two of these with a double pole double throw switch. One way for idle or downhill, the other way for uphill or loaded.
I’m also thinking about an oil furnace nozzle with a fine orifice. They come in various sizes, create a fine spray and are filtered to prevent clogging.
7 Likes
You need a flyback diode.
You probably need to pulse faster then a blinker module. These guys are recommending 50khz
https://www.portescap.com/en/newsroom/whitepapers/2021/10/understanding-the-effect-of-pwm-when-controlling-a-brushless-dc-motor
IF you want to go a little analog, you could use a pressure tank, and pressure tank switch even.
4 Likes
No 300 ms should be the range
2 Likes
Im not looking to slow or speed the motor up or down. The issue is the pumps have a presure switch that wont work with this set up. What we need to do is get our needle valve open so the pumps cant stall any more. So if we time the pulse and shut the pump off for a few hundred milliseconds we can slow the flow and allow the valve to be openned up more. But we need full brute force power to overcome that switch. The presure switch arrangements in these pumps are not sensitive enough for this low volume application. Slowing the motor down or speeding it up wont solve this issue. Its the presure switch that is the problem not the motor speed.
If you change the pump motor speed it will only make this worse not better.
Only other solution would be to clip the wire to the presure switch and supply 12 volts to it and then run a PWM speed control on the motor.
No room for an external tank and its over complicated where this module is simpler and easier to impliment and will get me better results.
Just got this module today so I will let you know how it works. This is not just for blinkers it can PWM pulse down to the millisec so it can work as a solid state speed control. Thats really what it is its not a relay.
Edit: Ok so I have it wire up and set to 3 seconds off and on for about 100ms. So far the pump has not stalled yet and I am able to open the needle valve beyond the threshold where the pump was stalling. Any farther open this is not an issue. Just happens to be the flow I need just my luck!! lol But seems to have overcome that. This may not work for Bruces set up as he is misting / spraying. Im just flooding a boiler chamber.
7 Likes
Ok Im running now and I think Ive solved my issues anyways with this. This is the first time Ive had this stable of a flow with any of the units Ive built. So it will be interesting to see how this run goes. Its a bummer my client is coming to get this thing tomorrow. But I the next machine I am also going to test run with the larger chambered nozzle. But I think it would really be interesting to see how many hoppers it takes for it to consume that whole 5 gallon bucket of water. That would give me real data on water to charcoal ratio.
I have about a 5 drip per second flow going into this thing. Now that this flow is no longer oscilating the nozzle temp can finally equalize and stablalize steam production process.
6 Likes