Hey Fellows, try this:
Right hand slide bar click onto the this topics first post. Apr 5
Bottom of that post is an avatar listing of all who have commented.
Click open Kristijan’s for his 20 comments.
On the Kristijan information box put up, upper right hand corner choose to read only his 20 posts.
Look over each and every one of his pictures again, carefully.
He cut out and removed the tanks original top fill port and cover and weld it into the lower end edge opposite the original tanks whole opening end.
This smaller end port now is his scrap fuel feeding into the added lower heater chamber. And his liting port. controlled air-in here. With an air-tight sealing lid.
Now two pictures distinctly show he has FOUR upright square tubes from the inner firing chamber up through the top outer Kurst wall.
One picture shows flaring from three of these "chimneys’. Only three.
The center active a bright fully oxidized flame.
The other two off-gases starves oxygen flares.
Now I figure the one is a fully opened to the firing chamber true chimney.
The other two blending of just enough firing chamber for flow to start a draft but mostly flowing main chamber off-gasses. Water vapor steam in the cycle beginning.
Blow up the one picture and sure looks like vertical ground slits in the end “chimney” square tube base just above the firing chamber.
And obviously like ChuckW. has shown now; he is using the spun filament insulations for sealing purposes.
The lower edge of the firing chamber and the whole end door.
Gotsta’ use you eyes, and imagination, to reverse engineer. Ass-umm-e things are done for reasons. And other things not done for reasons too.
Even guessing wrong: you learn.
Steve Unruh
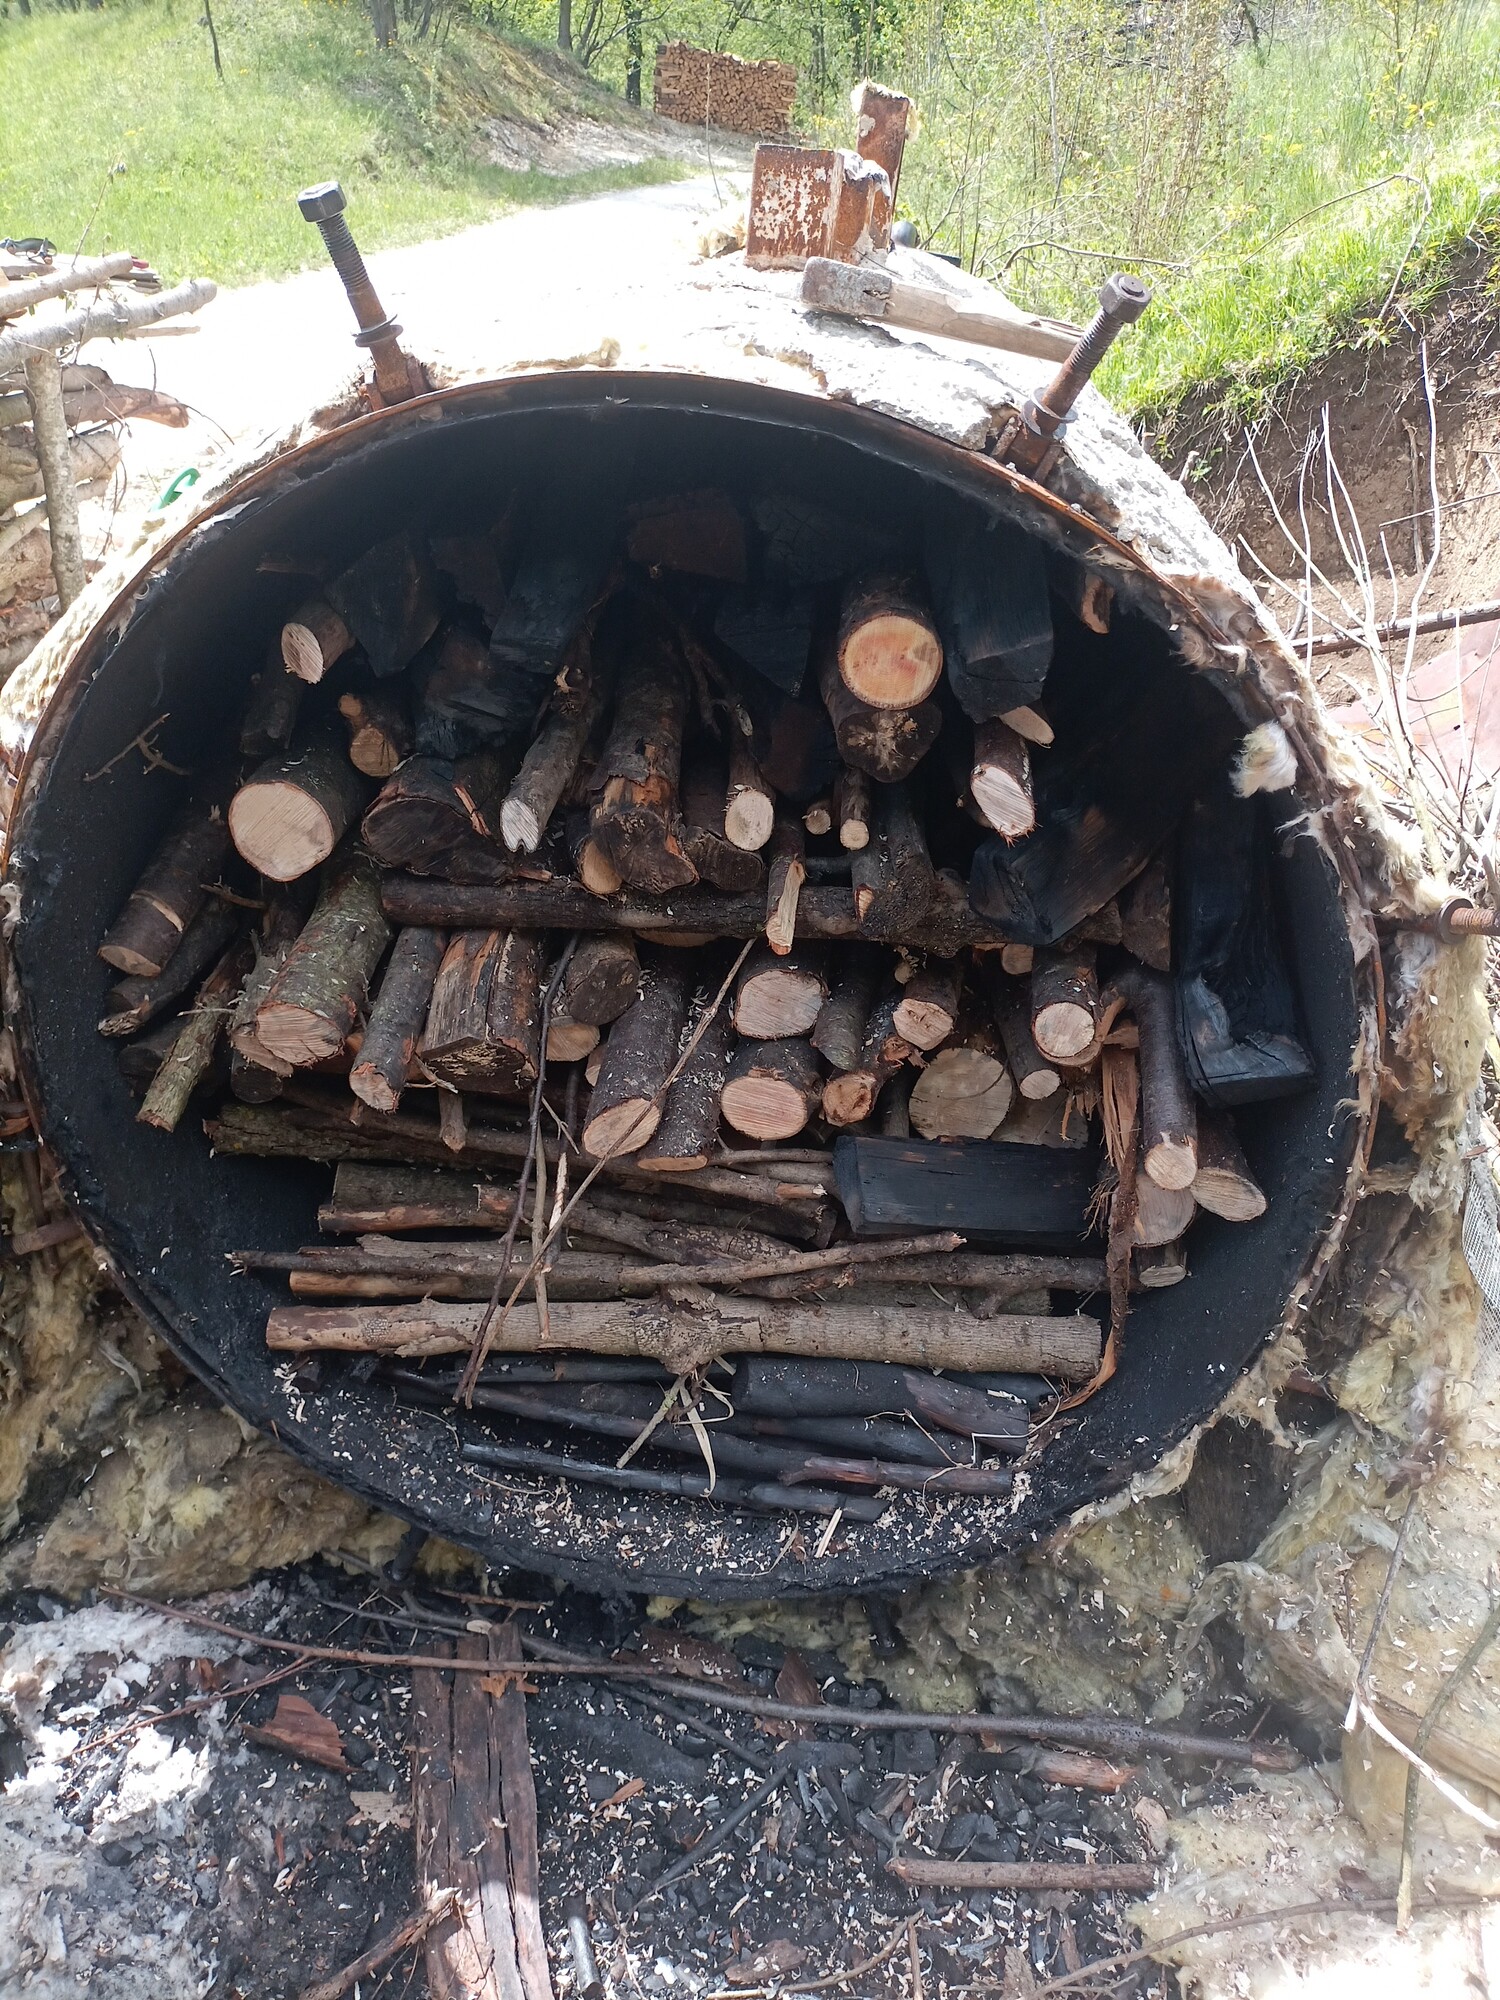
who said you cant teach an old dog new tricks huh , Ok Steve thanks for the push in the right direction , i had read through it a few times in its entirety and i still see a few ways that could be working but again i was waiting for Kristijan to get back to us on that what looks to be a barrel with third of it cut out and lying on the floor and with the square tubes welded too it for chimneys i also saw insulation laid around the bottom of the inside drum and was wondering why that is like that due to the fact that it will just break up in the hot fire inside of the main retort with the rest of the wood .
I also read what Kristijan said that … [quote=“KristijanL, post:6, topic:5761”]
The new one will have a burn zone in the actual kiln. No part of the tank will ever be directly heated and the burn place concidered expendable and easy replaced when needed. Everything here is round or dome shaped for stability too.
[/quote]
and i got confused because by cutting part of the inner barrel out he is now using the floor of the main tank to lay the wood on to burn and so it is in close contact with the flames now .
I really just wanted Kristijan to explain how he came up with the way he has rather than me having to guess that’s what this and that does .
At the end of the day that is the best looking and sounding charcoal i have ever seen , and i thought that Koen was the lucky one having a supply of 1 type of feed stock with little or no variables plus he gets to make as much smoke as he wants with no problem it seems .
So anyways for my thought on it i would have used 2 or 3 60 litre oil drums welded/fitted together and leave one end sealed and connect the others as a tube maybe an inch off the bottom of the main tank with the square tubes attached going out the top and then weld the open end at the hole in the main tank where you then feed the fire .
Dave
Kristijan , Thank you thank you thank you ! and video’s as well , i am most impressed
That is just how i said/ thought it would be like but was unclear due to looking at your photo’s of the inner drum on the ground having 2 ends , i guess you just had not got round to cutting the end plate off at that stage .
Once again thank you for going out of your way to show us exactly how your wife makes that wonderful fuel , she is a true char master / misstress and you have skills that we are all proud of here .
Dave
with such high quality charcoal production equipment (engine quality) reconsider your choice to build a simple fire (updraft gasifier vs downdraft gasifier)?
I dubt l will be making a updraft any time soon, if ever.
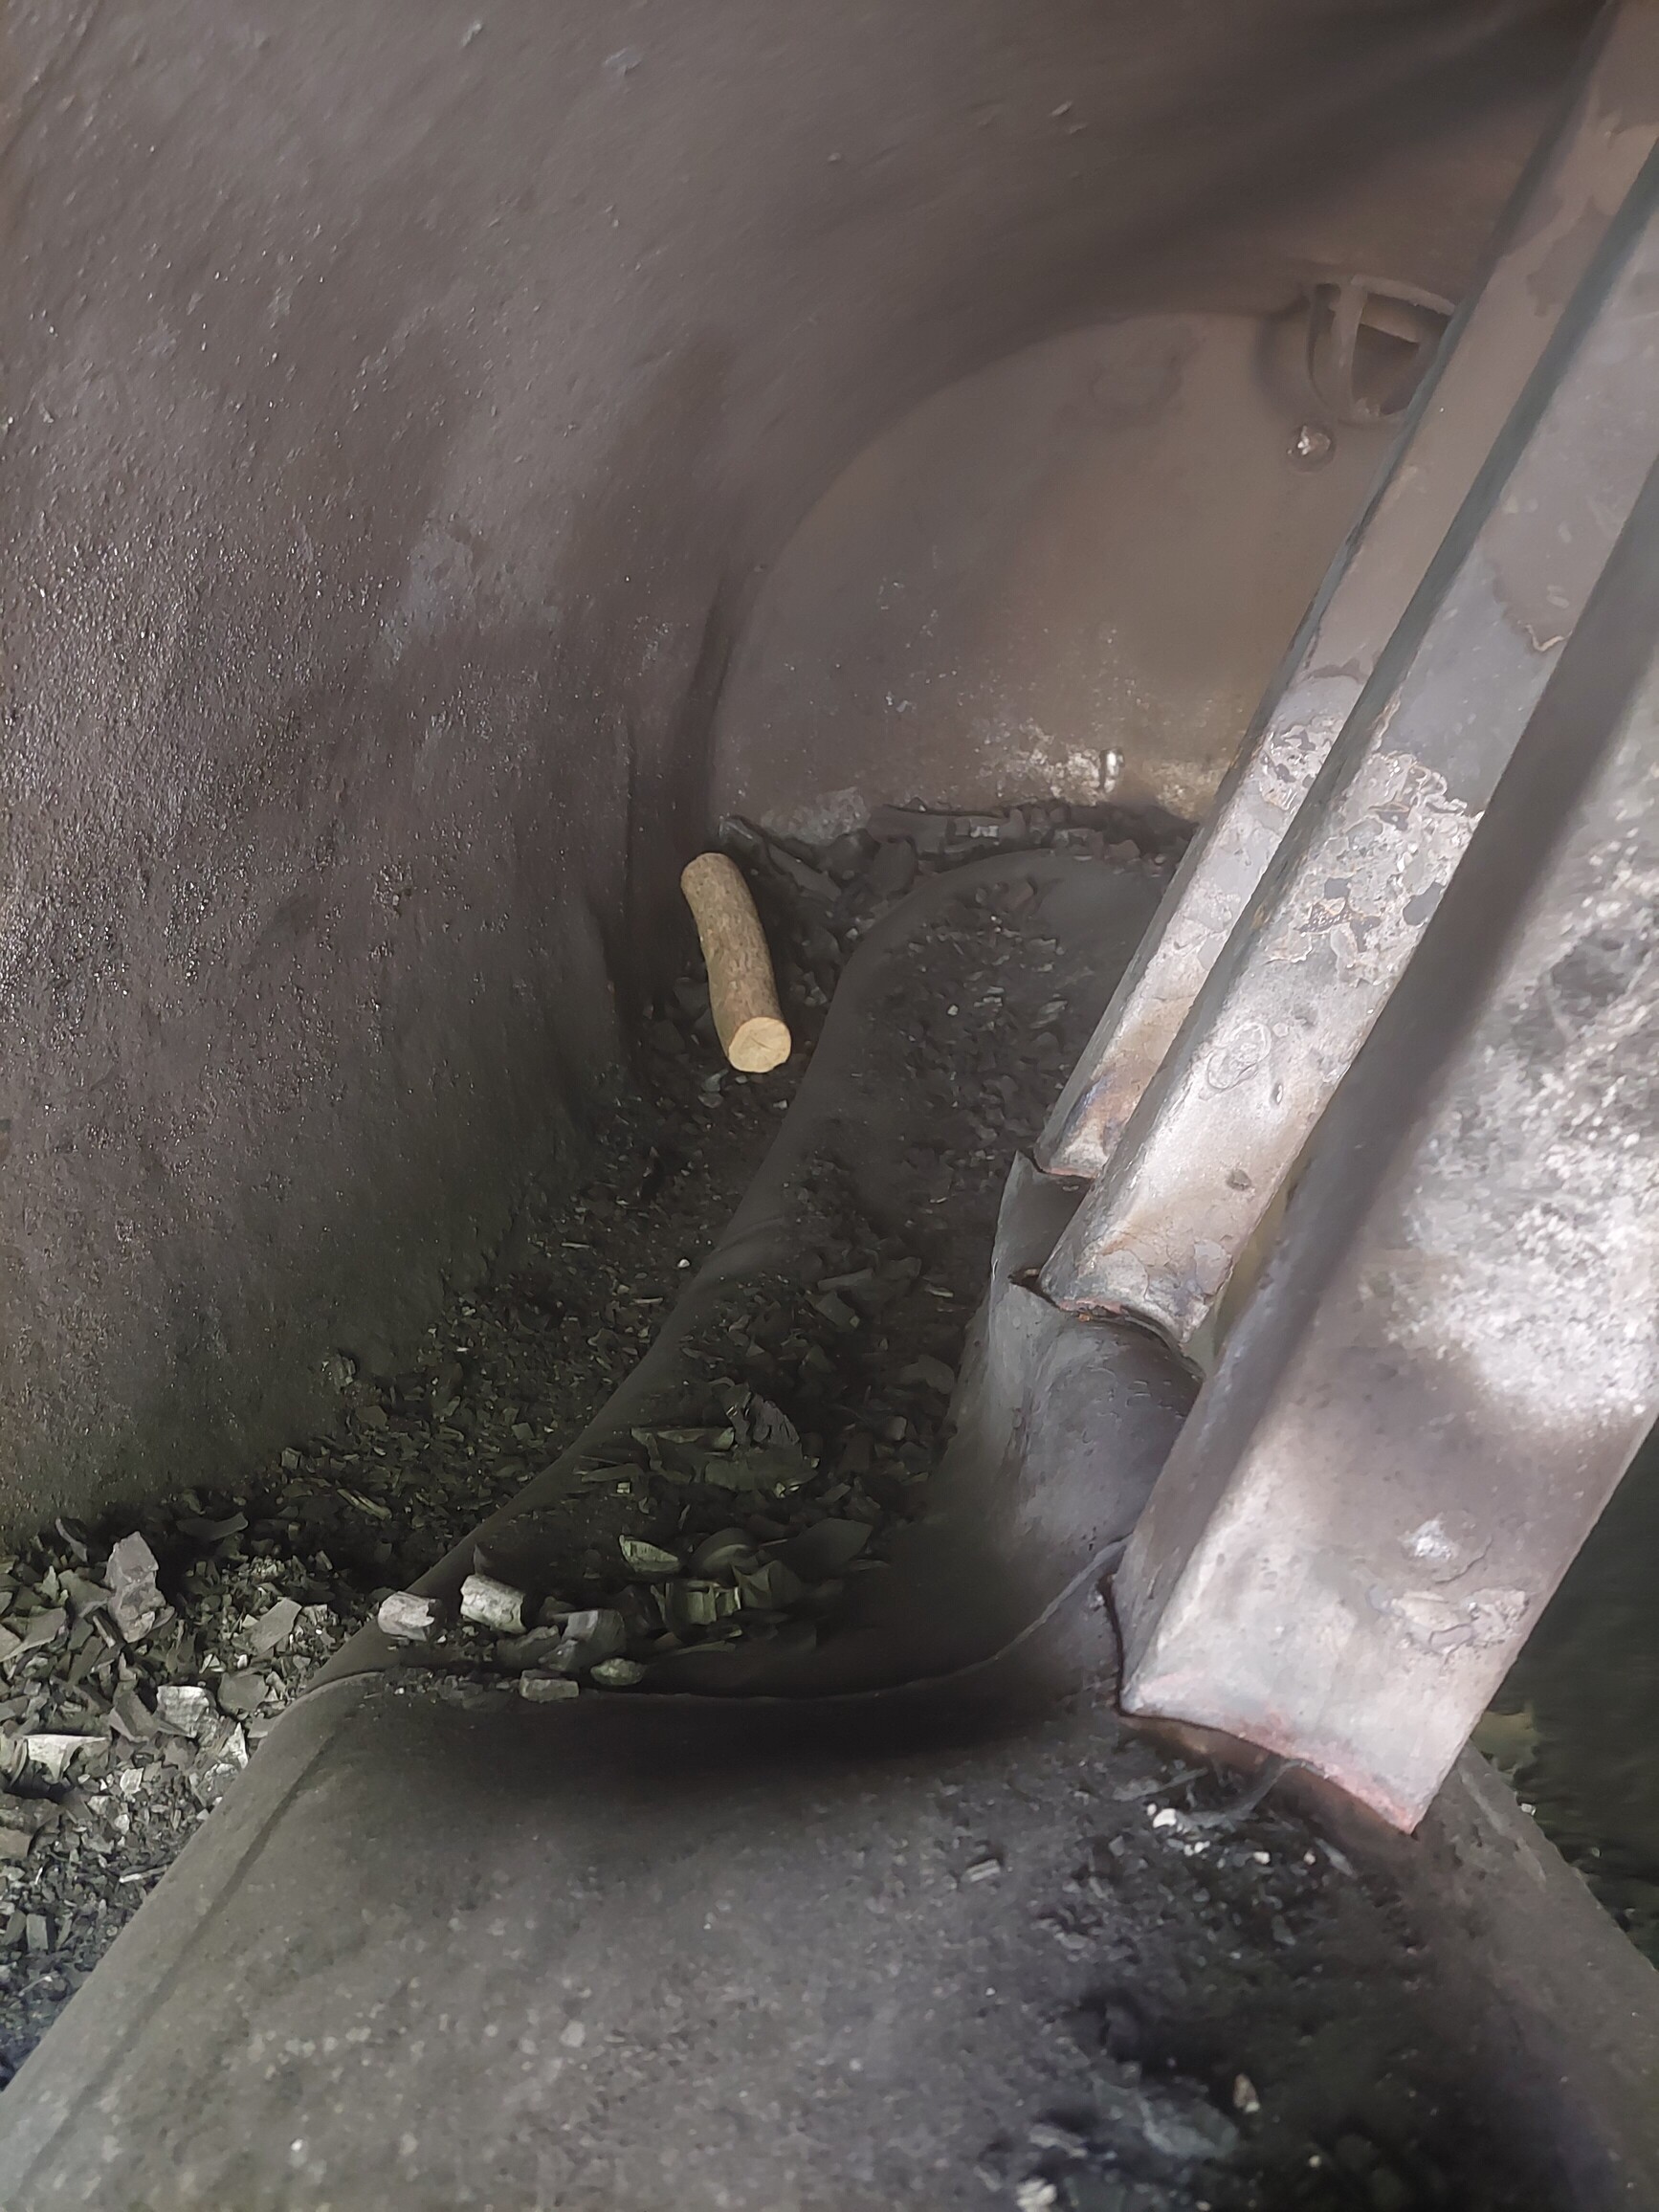
2 main reasons. First, even thugh the vast majority of charcoal is wery well done, there still is a occasional brown peace inside. No idea why, and it can happen everywhere in the kiln with whatever thickness of wood.
But the main reason is that operating a downdraft is so much easyer. Charcoal can be dampened, meaning we get rid of dust, we boost hidrogen levels in the gas and cool the reactor in one step. No water drip, no egr… And ash doesent pile up inside.
Interesting that down draft. And a big beast, the Kursk. I was impressed too, and it was only a 50 gallon drum. Any idea how much energy is released per kg when making charcoal? And any directions to look into when building a downdraft? My plan is a simple fire, but a downdraft is very tempting. If the design is right, it is very suitable for every day use.
Well gosh darn steve! Im gonna bookmark that tip untill i can memorize it. I can find the needle of good stuff im looking for in the haystack of yammer jammer.
@JO_Olsson asked me where l went. I have been lurking around the background but hadnt contributed much. Im preparing for my retirement, so this preety much means doing two jobs to get everything ready.
And one of those jobs relates to this topic. Althugh l did not burn the Kursk as much as last year, it still burns regulary. I regret not keeping track of how many charges l ran trugh the kiln, but my guess is close to 50 and its begining to show.
Wallace, lm sure thats the case. If there were someone babysiting the kiln as it runs the fureplice wuld run forever. But it being a set and forget kinda thing, im more thain willing to replace one fireplace a year.
I think it would be easy to make a heat exchanger from a couple of steel drums to salvage the exhaust and pre heat combustion air
Then you could bios a very simple tlud style furnace for process heat that you could regulate but not actually have to watch and control.
Once the kiln starts to produce gas this could be blown in with the preheated air to maintain the temperature in the kiln
I’ve given this a lot of thought
I am going to try this myself to see if I can get more consistent temperatures, less smoke emissions higher yield and quality char
I’m going to need this because I am trying something that will require torrifide fuel or low grade charcoal
Wallace, the way l do it l load the good wood in the kiln and light the junk in the fireplace. Twigs and limbs not worth charring are all neatly disposed to cook the water out of the wood. Better thain burning it on a pile.
But! This next fact l learned only recently. Wood charing is NOT a endothermic process! Meaning, once the moisture is gone and wood is hot enaugh, no aditional external heat is needed for the reaction to continue. Its self powered if insulated good enaugh.
Knowing this now, l started to redirect some gas out of the fireplace. I still burn some to get temps higher for charcoal quality sake and to speed things up (and burn the smoke) but the other hapf of the unburnt gas leads to a nother thing.
I redirect half of the tary gas (once the charing has begun and the gas is burnable) out in a 55gal oil drum. It has a lot of surface area and my thod was the air will cool it enaugh for the tar to condense out but thats not the case! Once the steel gets warm nothing more condenses.
If l push some cold metal object in the gas l instantly get drops of tar forming on the surface. So l know the tar is there.
I think l will need to lay a pipe down to the kiln and direct some cold spring water to drizzle over the condensing barrel, that shuld do the trick.