Someone has defined creativity as combining two existing things in a new way. As I was thinking about this definition I thought about charcoal kilns and retorts. Kilns are direct heating and retorts are indirect heating. So I combined them.
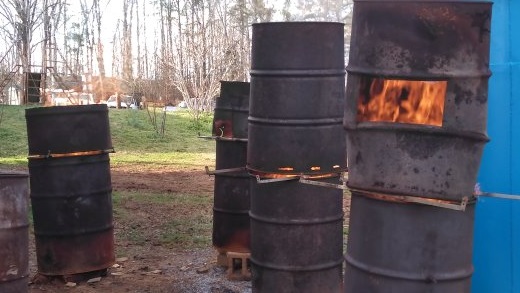
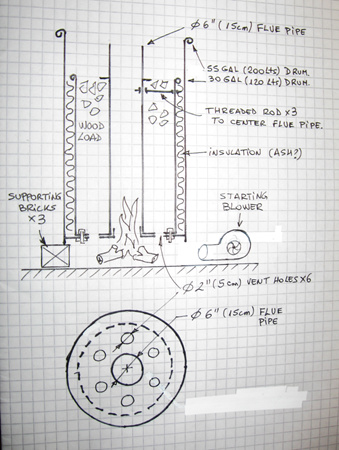
I bolted the bottom of a 30gallon drum to the inside bottom of a 55 gallon drum. Then I cut several 6 inch criss-crossed slices through this double bottom and folded in the “pie slices” to accept a 6 inch flue pipe. I then drilled six 2 inch holes through the double bottom halfway between the flue and the perimeter of the 30 gallon drum. I insulated between the barrels and insulated the 30 gallon drum lid. The 30 gallon lid has a hole to allow the flue pipe to pass through snugly. The flue pipe is short enough so that the solid 55 gallon drum lid can be sealed. This hybrid kiln/retort works great!.
The 2 inch holes allow me to use a fan underneath to dry the feed stock and more importantly these holes allow a fire underneath to quickly start pyrolysis. The trick is to leave the 30 gallon lid off until the moisture (steam cloud) is gone and the wood gas starts burning. When the gas coming up out of the feedstock is ignited by the flue fire, I quickly put the 30 gallon donut-shaped lid on. I wear welding gloves for this critical operation. I then scoop ashes on top to seal around the flue pipe and lid.
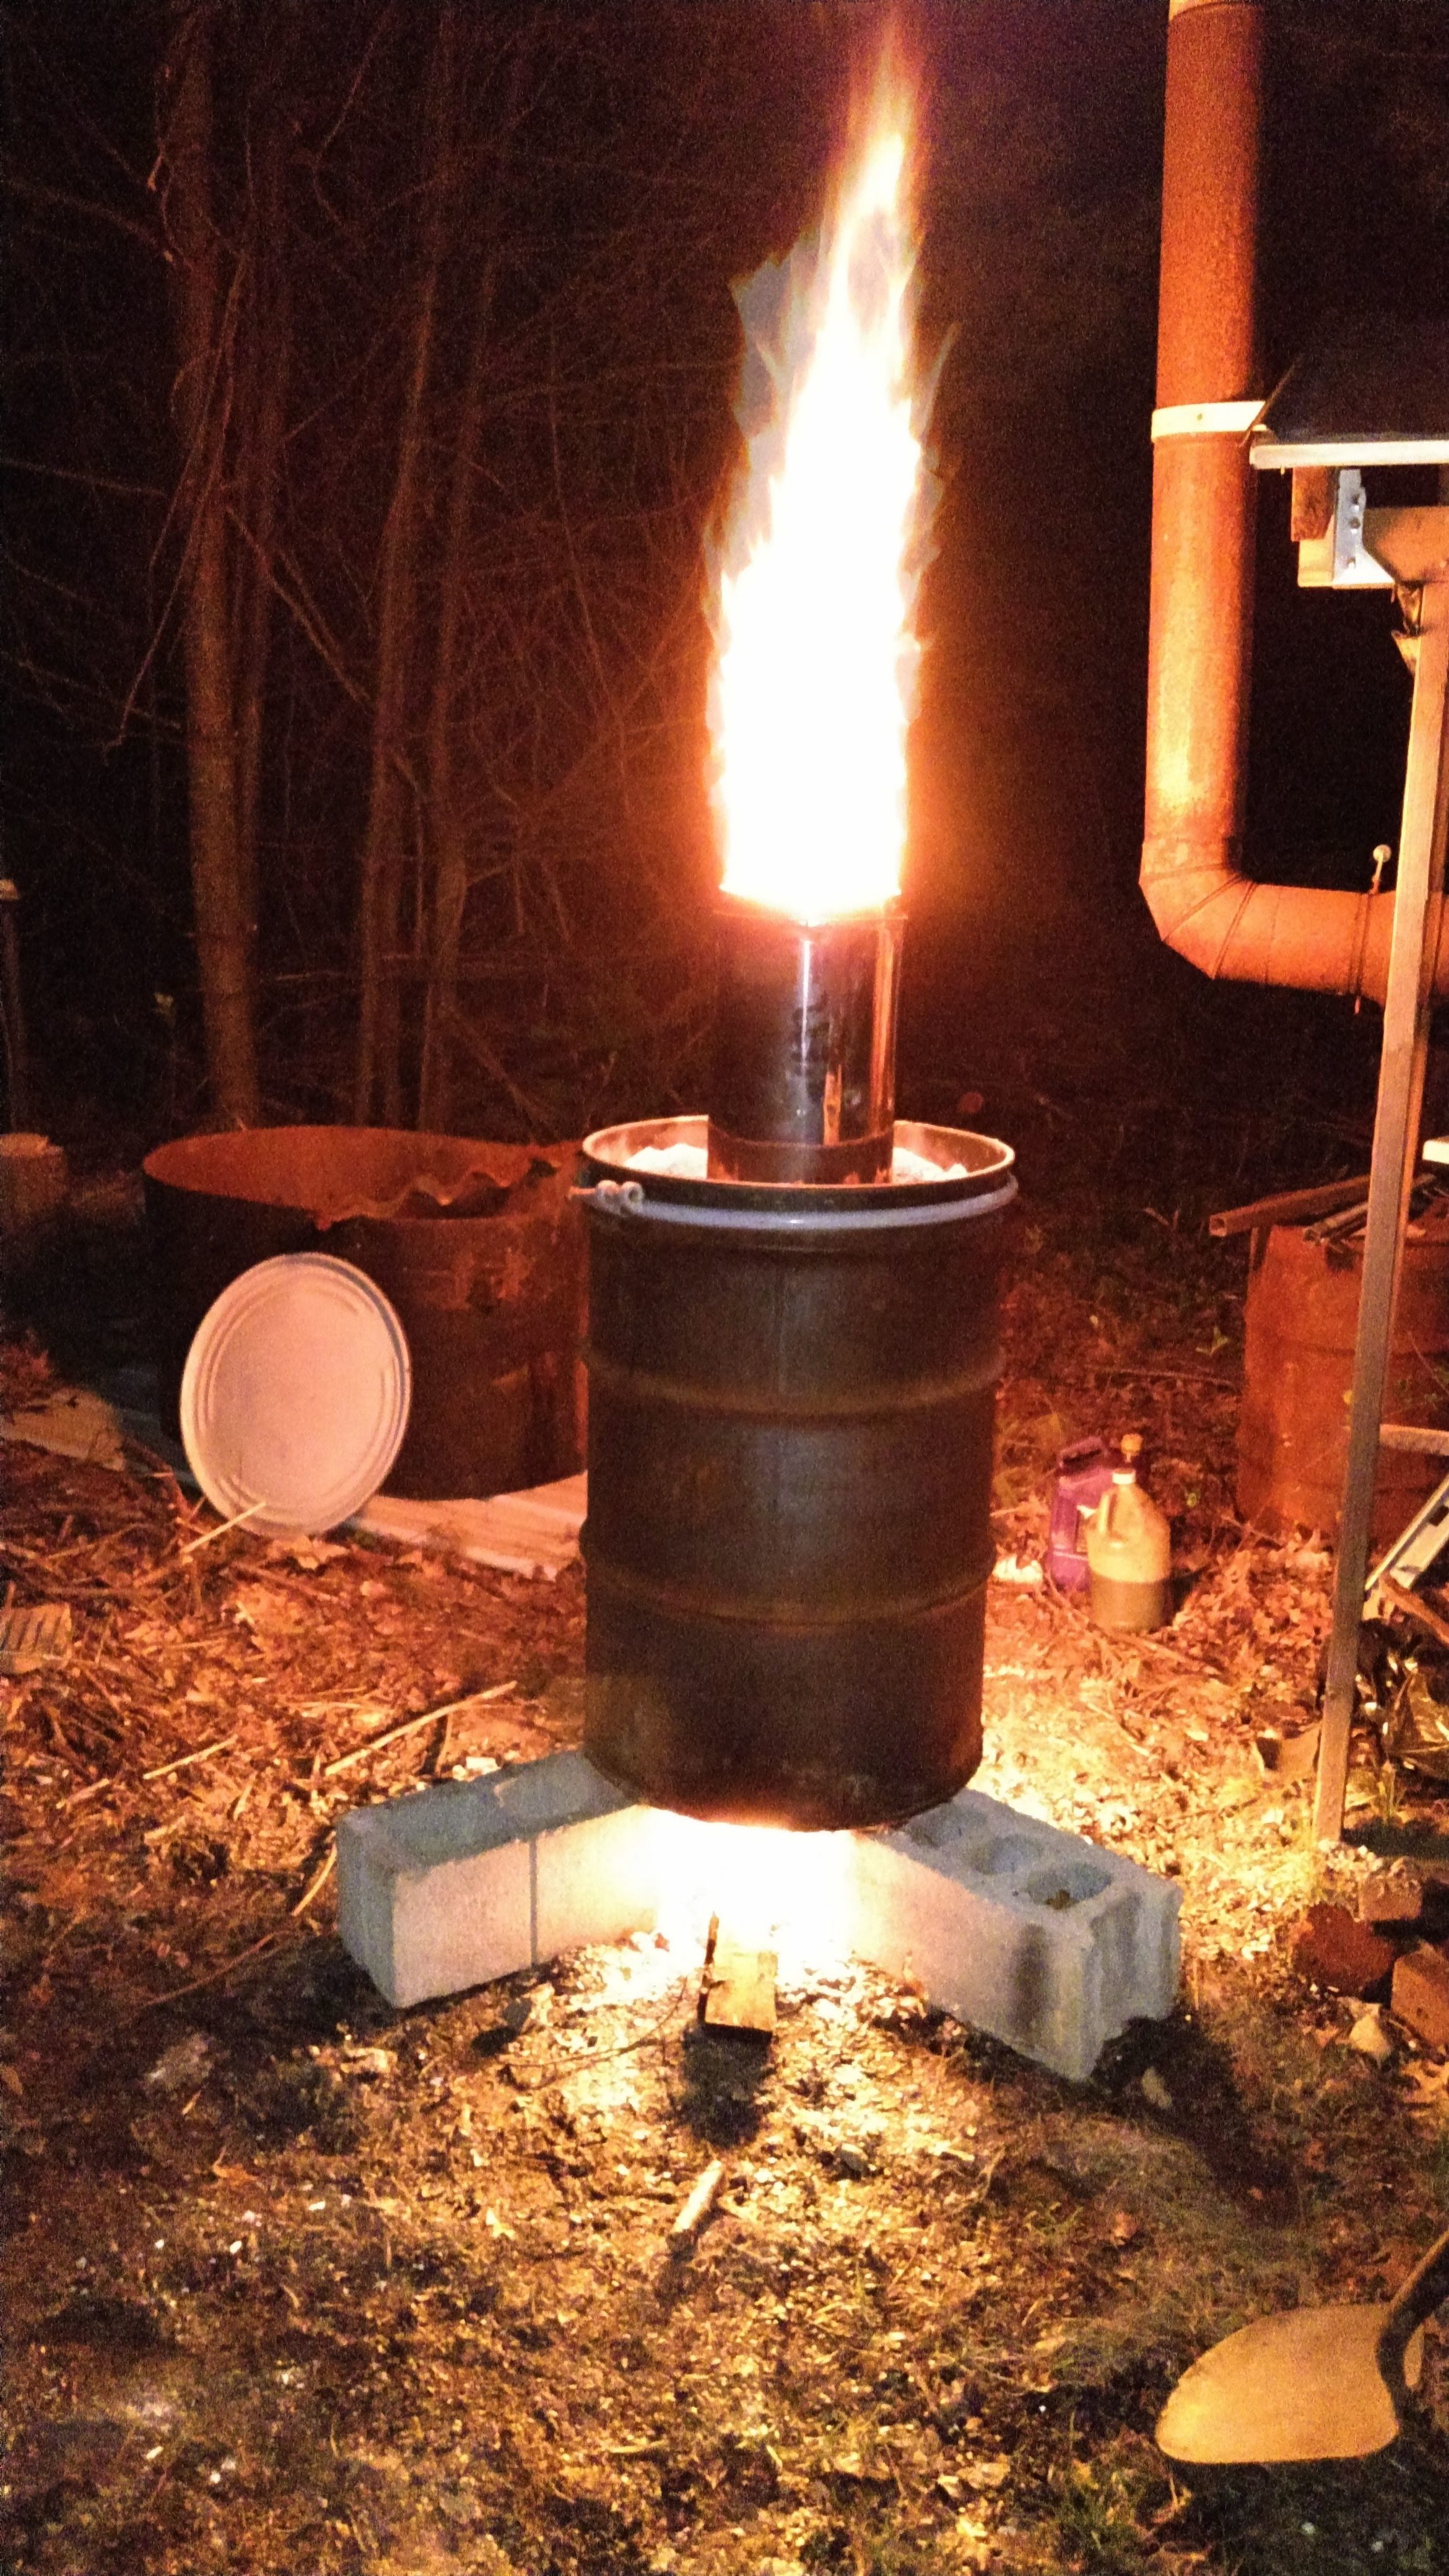
If the wood is dry, this kiln becomes a self-sustaining retort in 20 minutes and roars with a 4 1/2 foot flame for an hour before starting to die down.
The 2 inch holes start out as passages for upward flowing heat from the starter fire to initiate pyrolysis and then become downdraft gas jets when the 30 gallon lid is put on top.
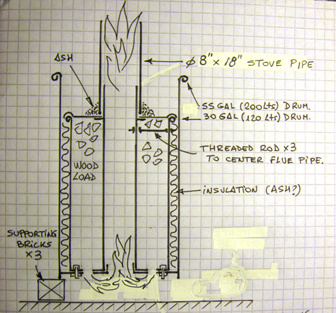
I use an 8 X 18 inch piece of insulated stove pipe to weight the retort lid. Beside the initial steam cloud from the wood moisture, there is very little smoke from this clean-burning setup. When the flames stop (about 2 hours total from first match) the 55 gallon lid is put on top and dirt is pushed around the base for cooling.
ray_menke
(Ray Menke (Lytton Springs, Texas))
#105
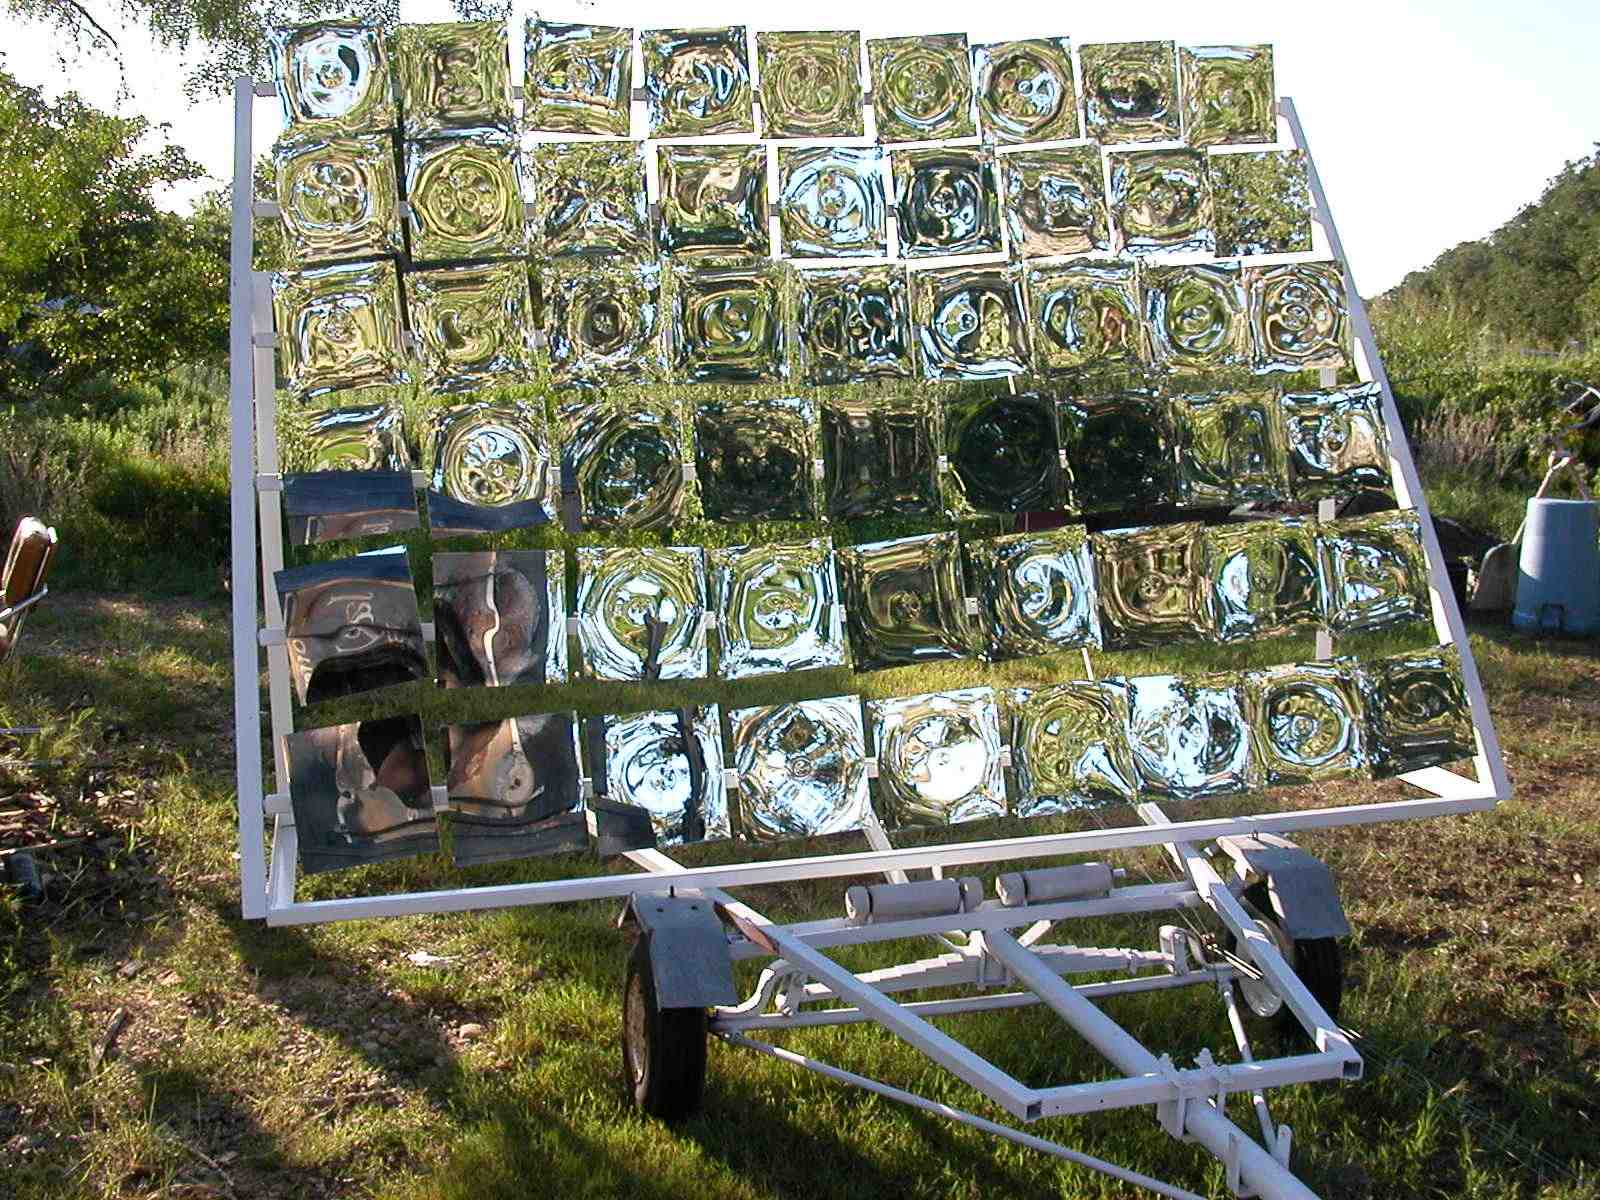
Before I started making charcoal, I built a solar concentrator from plans (in French) that Lorin Symington supplied, and used it for all sorts of cooking and baking. It was called “Helios” and looked like this:
In the GoSol article I didn’t see and “reflector” such as the one you built. What energy is used to heat the coconut husks to make charcoal? TomC
1 Like
ray_menke
(Ray Menke (Lytton Springs, Texas))
#107
At the top of the page, click on the home tab to see the mirrors and the oven. https://gosol.solar/home
The version I made used complicated “spiders” on the back of each 12" bathroom mirror to push the perimeter forward, while holding the center by gluing it to a 3" X 3" piece of steel. This focuses each mirror down to a small beam or spot, and then all 54 mirrors are pointed at a small area (the oven).
GoSol’s newest design uses larger strips of mirror, and I imagine much less labor and welding is required.
The energy comes from the sun. These require manual tracking to keep the beam focused on the oven. That is why mine is mounted on a re-purposed boat trailer. I have a set of wheels under the hitch so I can push it around in a circle to follow the sun. Each of my six rows of mirrors can be adjusted up and down using six pulleys and some stainless steel cables.
Hi Bruce, It has distinct similarities to the Hookway Retort, but with marked differences. Both are inside a 55 gallon drum. Hookway puts insulation on the outside, while in my ‘Hookway’, similar to your yours, I put the insulation on the inside of the 55 gallon drum, as I thought inside would be easier to maintain in inclement weather. In the Hookway, there is a 6" flue going up the middle, but it is fed by a 6" extension out the side at the bottom, rather than being fed from underneath like yours. In the Hookway, the wood gases are forced down a pipe into the lower part of the flue, where they cause the self-sustaining roaring that starts after 60-90 minutes. In yours, the wood gases are forced down without having to go through a pipe, to where they get ignited as they burn upwards in the flue.
I like the Hookway, but I think yours would have been easier to build. Also, yours seems to be easier for the wood gases to flow down to the flue, as they are not confined to a small pipe. Yours also has a bit bigger capacity, because there is no horizontal section of the flue. Then again, yours has smaller capacity because of the smaller drum inside. Hookway’s has a longer removable chimney on top, which seems to get the fire roaring more than without it. I’m trying to weigh the pros and cons, to decide if I should copy yours at some point, or if the Hookway I have is enough. Did I miss anything important?
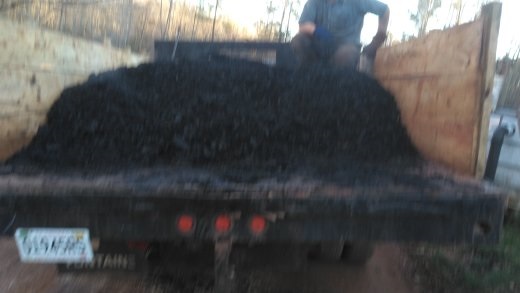
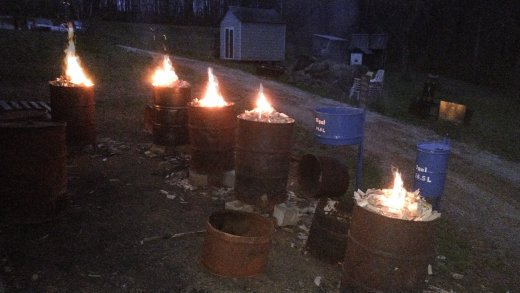
I use my Hookway style retort mainly for garden waste that is small enough to fit inside a 55 gal drum all the others waste is thrown into a open air cone and then shoveled into sealed drums once flames have stopped .
The Hookway style i use is a standard drum with removable lid with a 6 inch flu through the bottom and straight out the top of the lid i then welded a bar inside towards the top to keep the flu centered to the top lid hole and cut some slots into the bottom 4 inches of the flu to allow gassing off at the bottom , i then wrapped insulation around the outside of the drum and held it in place with some wire while i cut the top and bottom off another drum and cut it in half and placed the 2 half’s over the insulation and used tie down straps to compress the drum half’s together as close as possible before then using steel banding to keep in place .
i place the drum over a small fire pit and just burn garden rubbish under it to get it going too the gassing stage, once cooked i just tip it up slight;y and slide some cement sheet underneath to block the air off and stuff some insulation down the flu on top , next day i tip it on its side and shovel out the charcoal into smaller containers ready for crushing .
I have to say that if the wood is dry it takes next to no time for the gassing stage and i then don’t touch it at all .
Dave
The only thing I can think of is using a fan to blast the startup fire and shorten startup time. Also leave lid off or loose until moisture is gone and ignitable gas is formed. These apply to both systems.
Hi everybody:
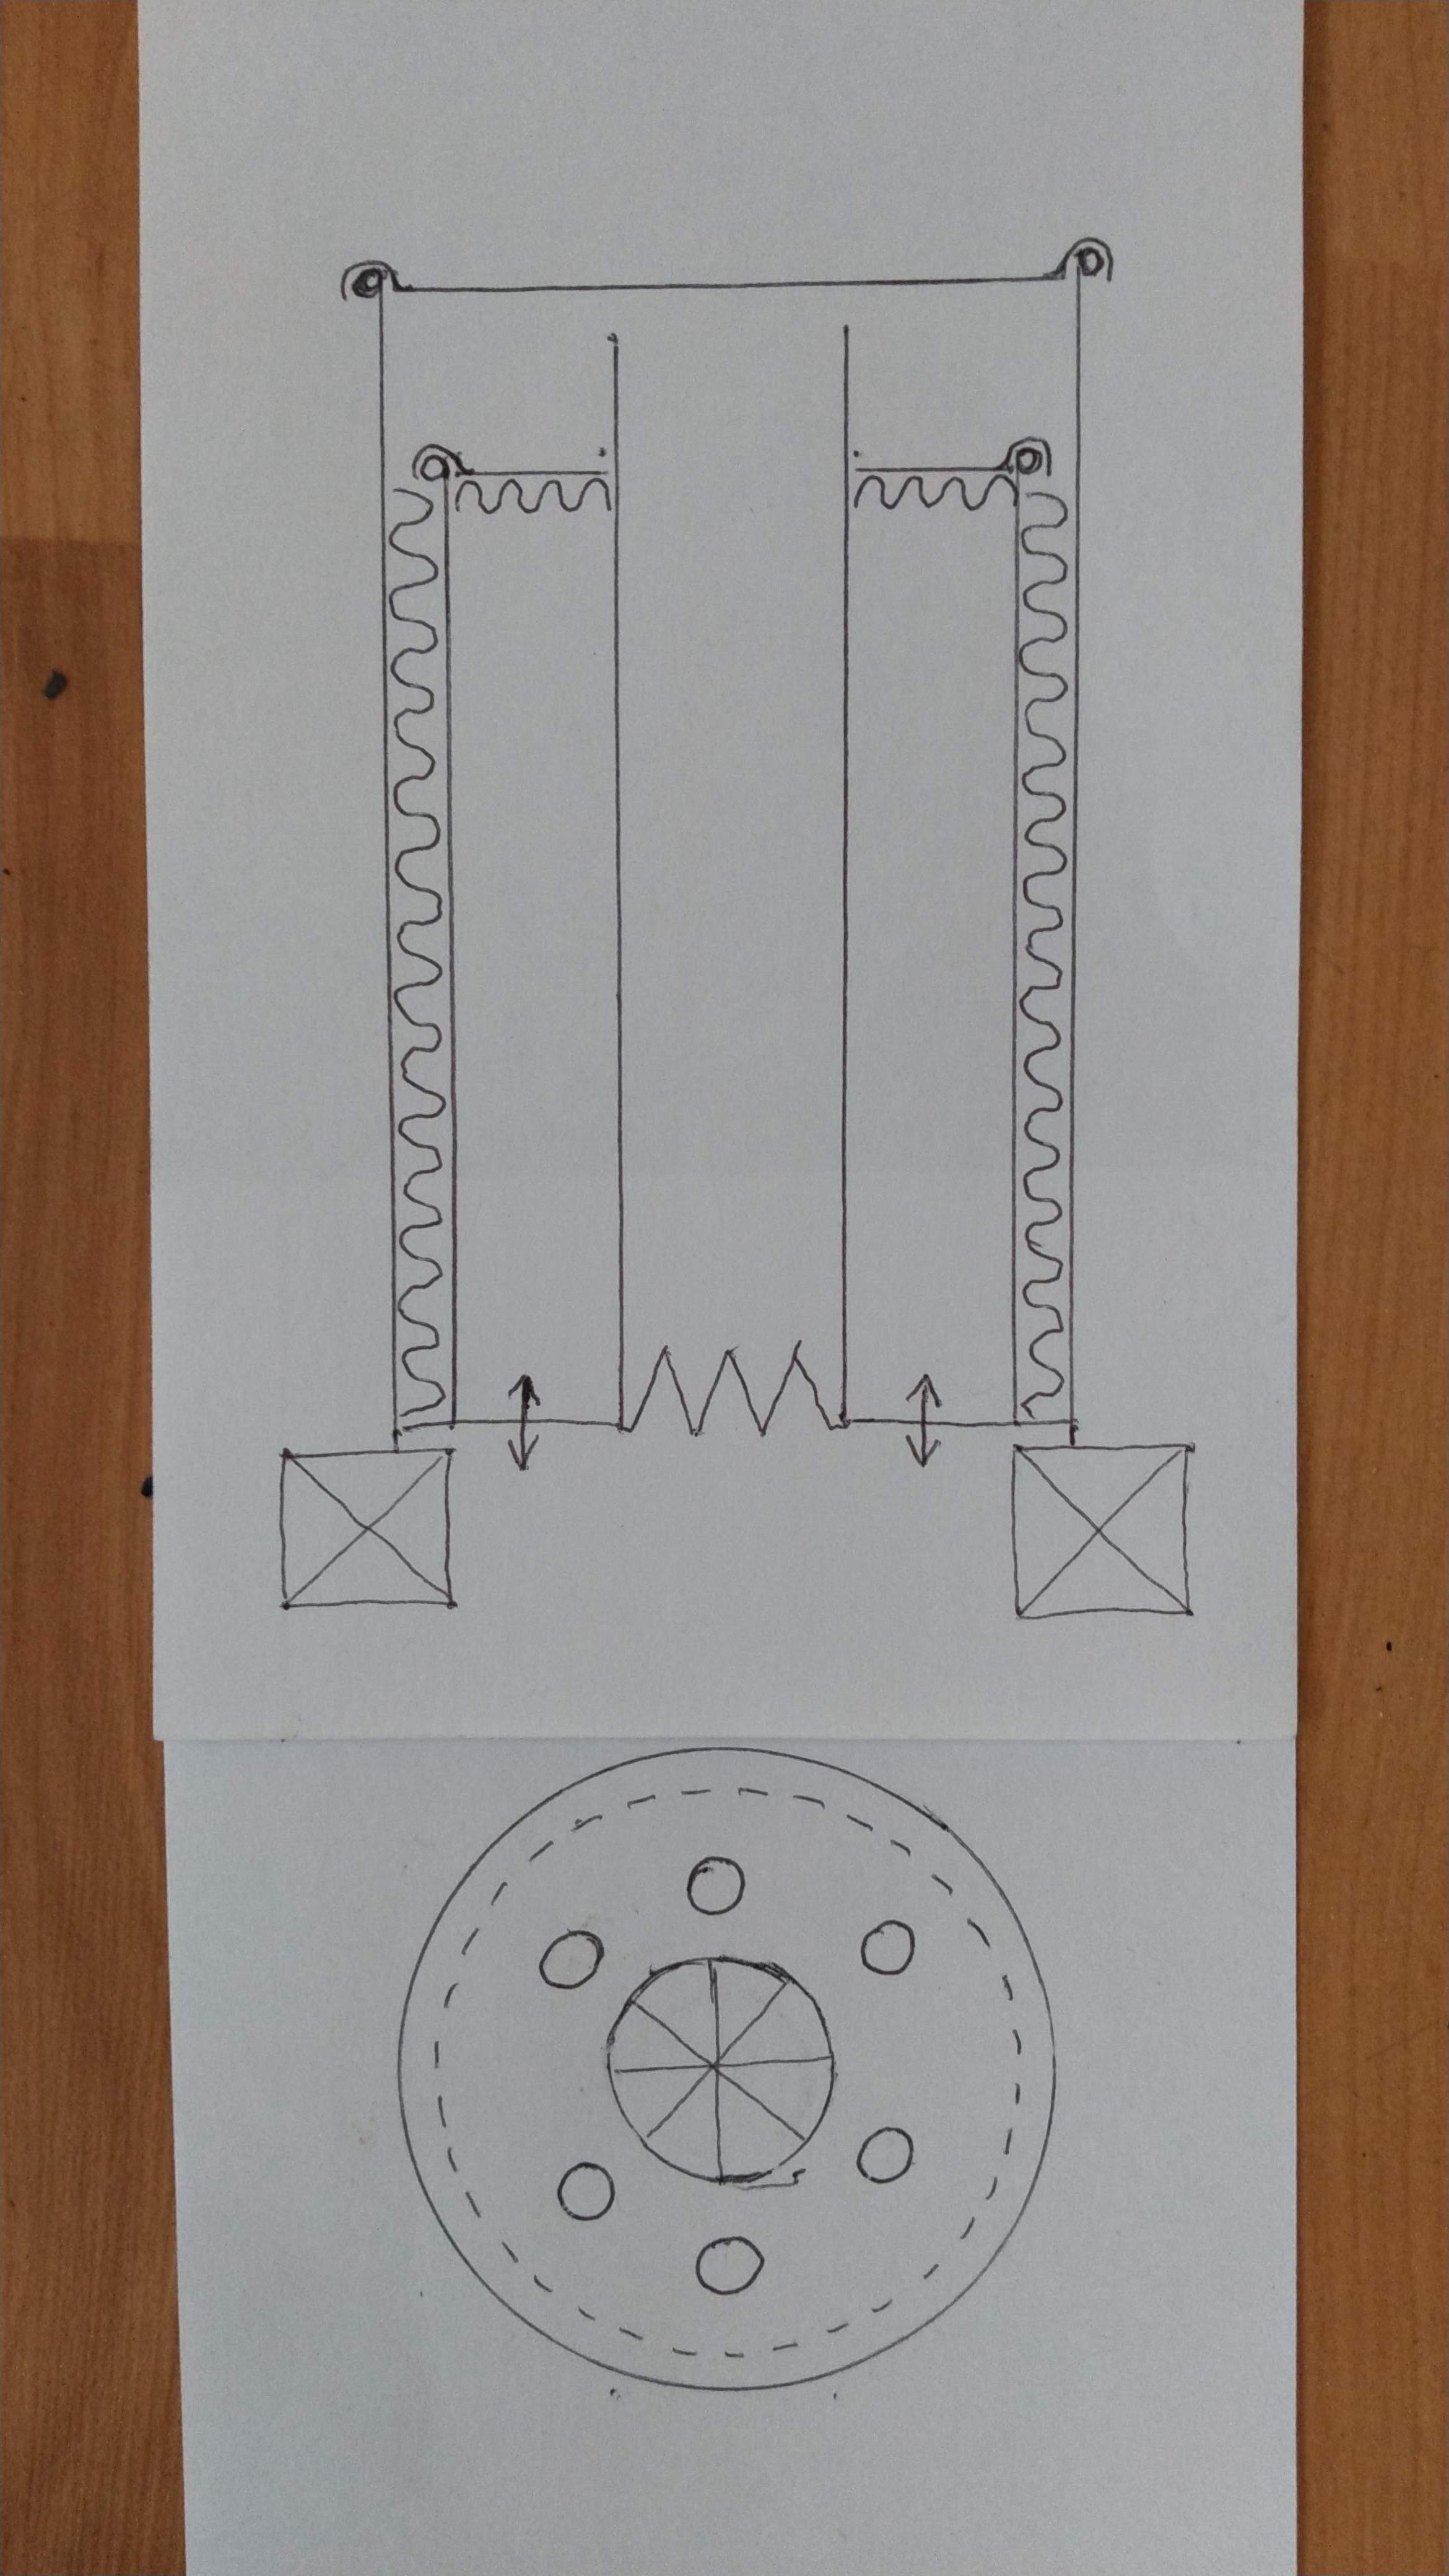
As usual I am alway far behind of all of you. Here is a scketch and description of the post 104 of the “Bruce Southerland kiln-retort devise”. I have already check it with him.
Hi Bruce:
How are you doing?
I am trying to get engine grade charcoal out form olive pits. It is hard because olive pits have a lot of olive oil. So far I am getting olive pits charcoal with very high tar concentration that plugs my carburetor. In order to get lower tar concentration I need to pyrolyze the olive pits at least at 700 C (1300 F). So last night I was designing some kind of devise that combines kiln and retort, and suddenly today I saw you’re “Southerland Kiln-retort-Southerland” devise!! Amazing, we are connected!!
Let me try to understand how it is made and how it works:
You start with the following drawing setup. (Note: for olive pits I will use 20 smaller vent holes).
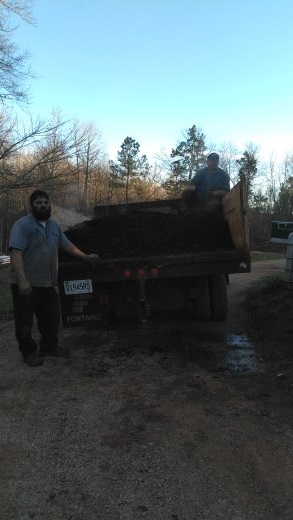
You load up to the top, the inner (30 Gal) drum with the wood to be pyrolize. The 55 Gal drum is supported by three bricks. Then you start a fire underneath the 55 Gal drum. Help to start the fire with a blower.
When the upper surface of the wood load fumes starts to catch on fire, you wear your welding gloves and place the 30 Gal donut-shaped, snug fit lid around the flue pipe, on top of the 30 Gal drum (no grapple). Then you scoop ashes on top, to seal around the flue pipe and lid. Then on top of this lid you place a heavy 8”x18” stove pipe to hold down the lid. If the wood is dry, this kiln becomes a self-sustaining retort and in 20 minutes roars with a 4 1/2 foot flame. At this point you let the underneath fire to die. After one hour aprox. the self-sustainer fire starts to die down. The 2 inch vent holes start out as passages for upward flowing heat from the starter fire to initiate pyrolysis and then become downdraft gas jets when the 30 gallon lid is put on top.
When the flames coming out from the flue/stove pipe stop (about 2 hours total from first match), you remove the heavy stove pipe and put the 55 gallon lid on top and grapple it. Then somehow you manage to remove the supporting bricks, lower the Kiln down to the ground level and dirt is pushed around the base for cooling. Let to cool down overnight. See following drawing.
An insulated single 55 gallon drum version would produce more char and be simpler to build. K.I.S.S. The only problem I can think of is the char and insulation getting drenched by an unexpected rain during the cool down. I leave my nice sealed up unit sitting outside in all kinds of weather. I can leave the char in it as long as I want. The kiln/retort It is always dry and ready to go.
Hi Bruce:
You are right, the lid insulation is missing. I noticed after I posted, but it was too much of a hazzle to redo everything again, only for that. Sorry.
B.R.
Eddy (Argentina)
Tone,
Google Translate:
Greetings from Slovenia, here I am attaching a link to one interesting post…
Demonstration of biochar production according to the recipe of Stanet Vidmar. The chips work with the R8 wood chipper.
zanimiv video, hvala za deljenje interesting video, thanks for sharing
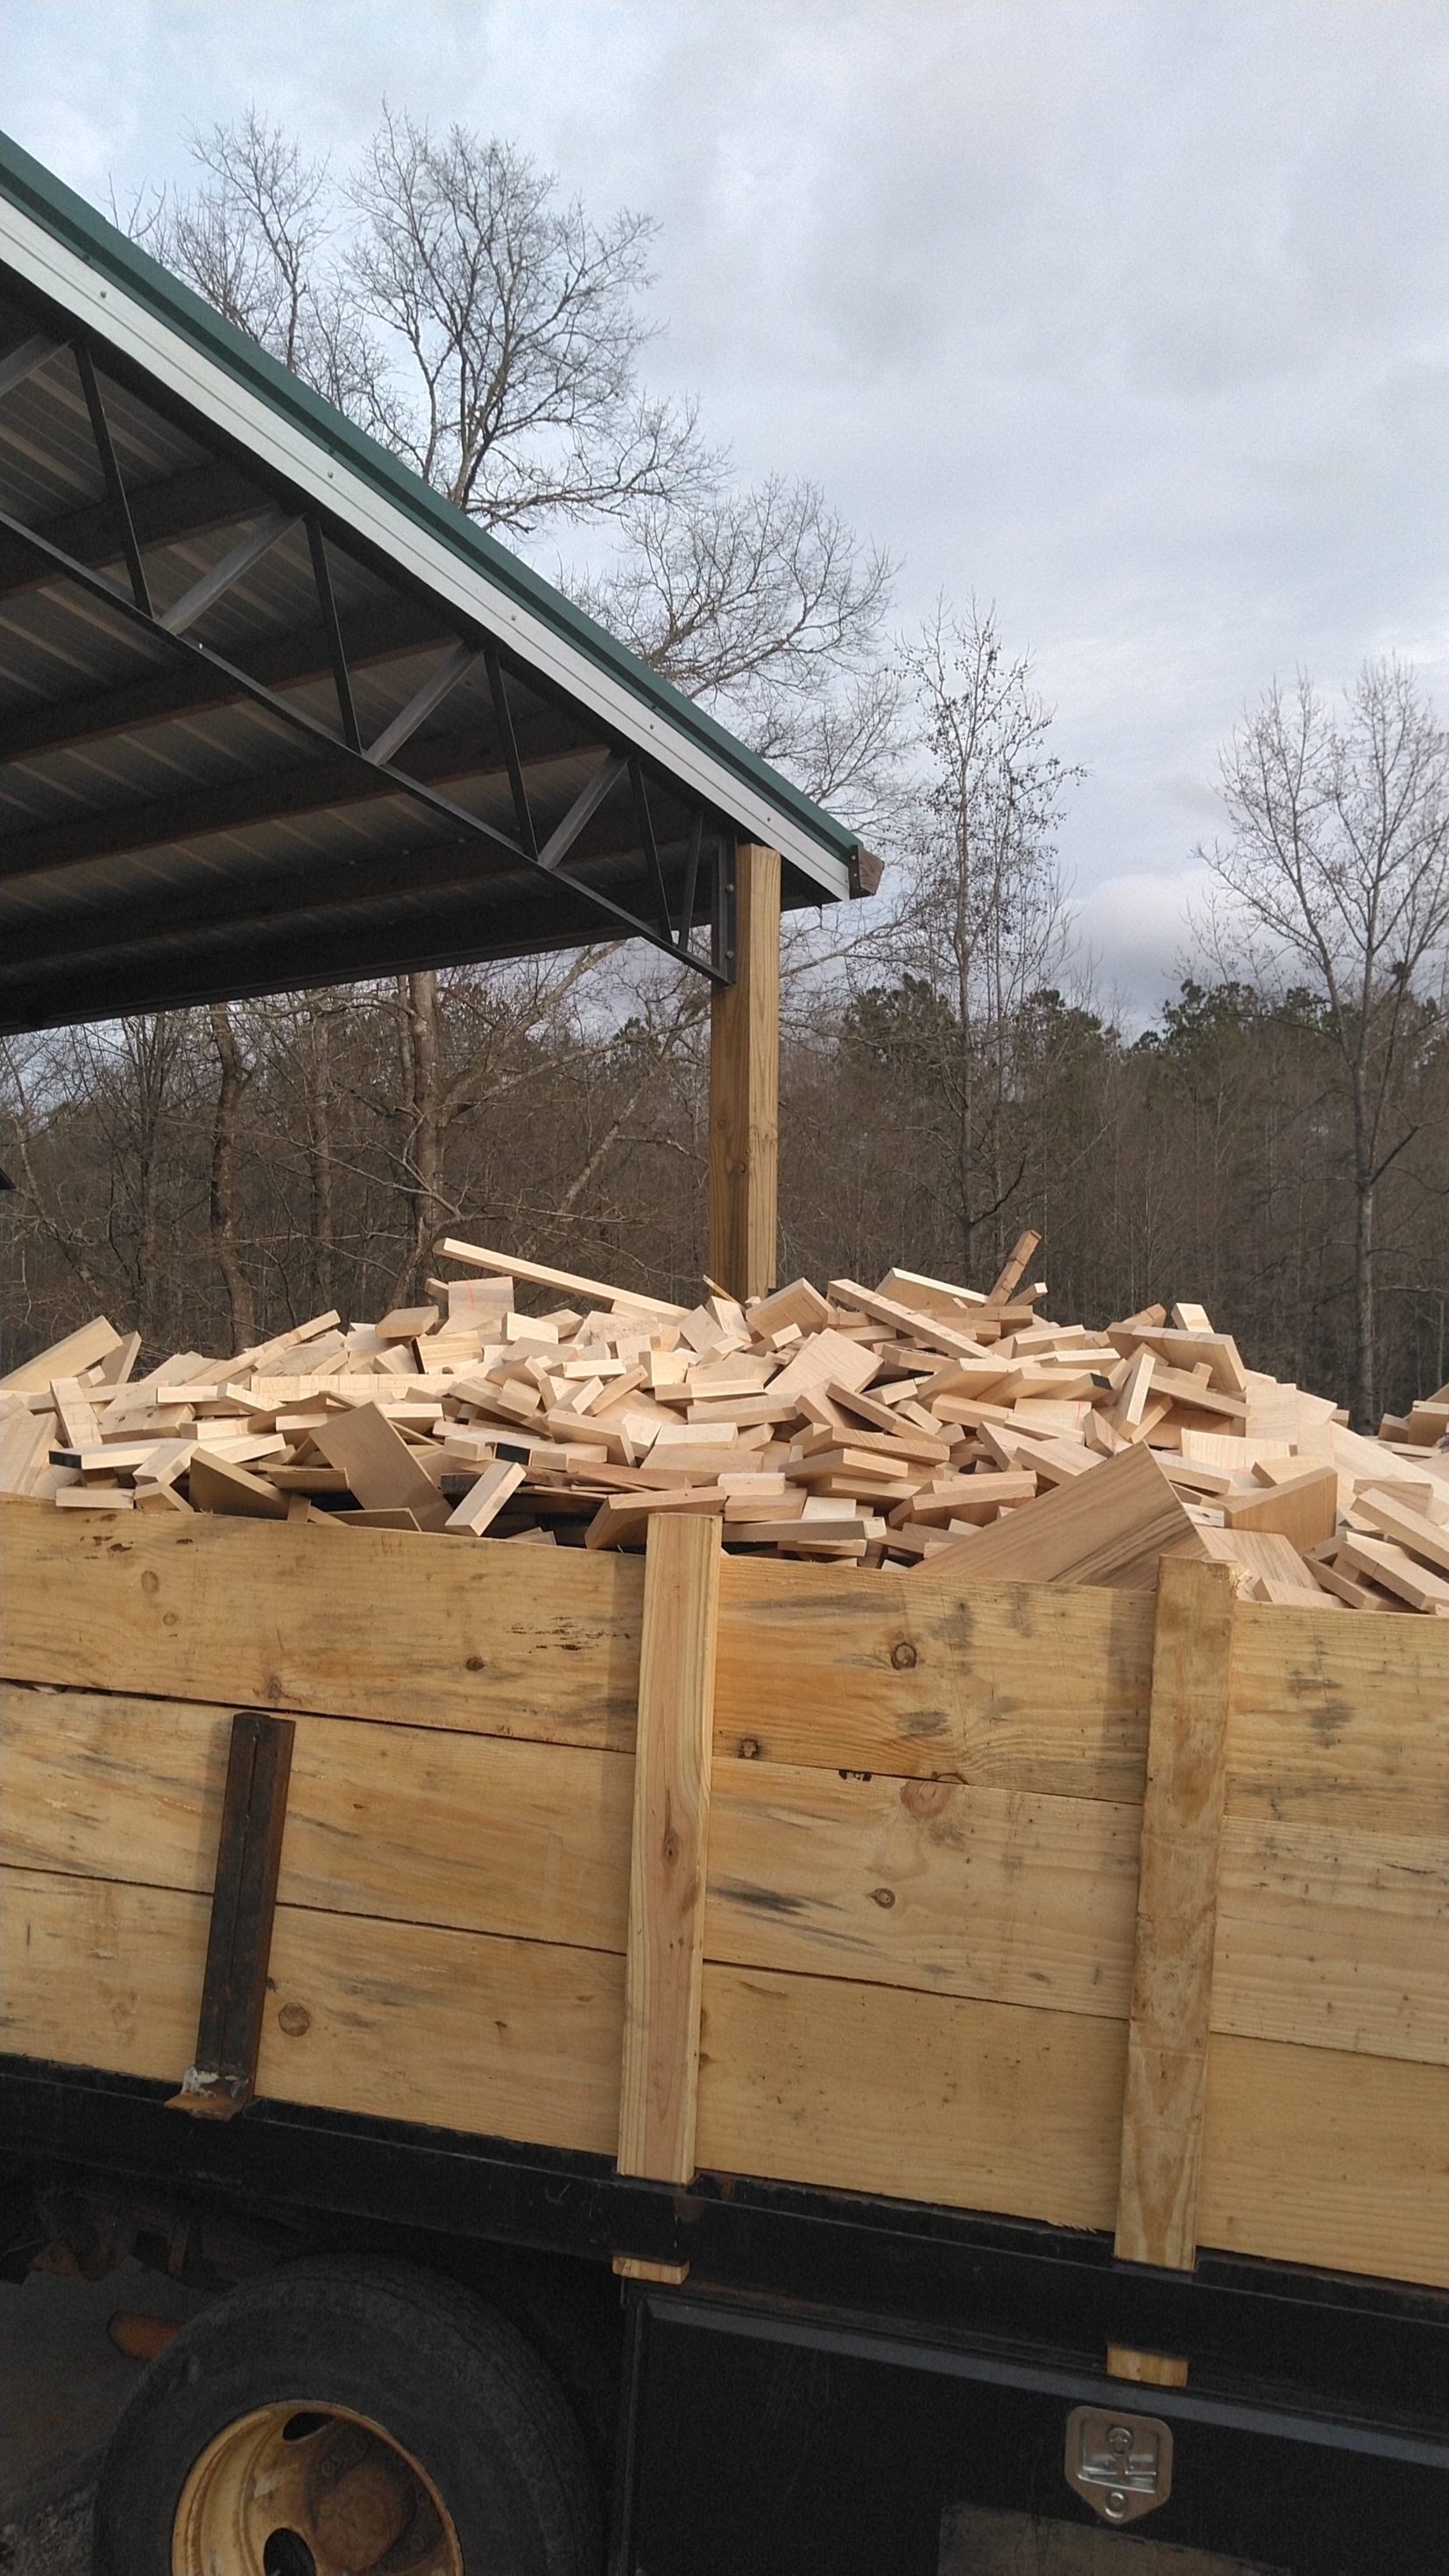
Jakob left some of this wood at Wayne’s a while back. He told me the other day that he tested it for moisture and found it to be about 4% I think. It’s real good in the gasifier. Makes little tar, and not nearly as much condensate . I have also noticed significantly less soot. It is almost all kiln dried yankee maple.


 interesting video, thanks for sharing