Just some food for thought. If I would ever embark on a project like this, I would probably leave the car as is. Use a rwd and install the generator in the trunk or back seat area via the drive shaft. Pretty much plug and play - but that’s just me.
9 Likes
Hello,
I should be able to manage with the equipment I already have.
JO,
I was thinking of taking the system out of the car.
So it’s not lying around outside anymore and so I can salvage some parts that might be useful for something else.
It’s true that leaving everything in the car would be simpler (it’s front-wheel drive).
6 Likes
I will rewrite my interrupted message from above in a new stand alone message.
I wuld recomnd you to build a downdraft gasifier in a style of a WK. Make large threads where nozzles are and you can later adjust the size of your combustion zone by screwing in longer or shorter nozzles. On the bottom of the gasifier is what we call a restriction, this dictates the velocity of gases pasing trugh the bed of hot charcoal, this can also be changed out to accept different fuels.
On the bottom leave place for a small central nozzle. Tone discovered that injecting a small amount of oxigen here will help burn the small bits o charcoal that can plugg the bed. Wery important for a stationary gasifier with no vibration!
As for the fuel. With that kind of a machine you can burn a lot of different fuels as is or with quick modifications but l wuld recomend starting with moistened charcoal. Then make your way up by adding wood to the mix.
I have found thugh that in some cases, the wery best way is use a mix as fuel. Raw wood still remains the primary fuel sorce but even mixing just 20% engine grade charcoal in will DRASTICLY improve the performance. It keeps temps up. It prevents steam suffocating your gasifier when power demand slows down suddenly (stoping at a red light or disconnecting the power drain in your case), it uses up the exess water wood always has, fuel “flows” better and other benefts.
15 Likes
Hello Kristijan,
Thank you very much, I was just looking to make a device that could be easily modified.
This information is very helpful, so I’m waiting for the book, and if I try WK, I’ll start another thread to ask for more specific help.
Regarding the ease of modification, is there a seal that would allow it to withstand extreme temperatures?
7 Likes
DavidP. you ask an important question. High temperature joint sealing.
This is what I’ve observed from now from 18 years of touching, seeing and even smelling many woodgasfiers.
If you make the joint seal area at least 150 mm from the the highest temperatures areas of the air nozzles or the charcoal reduction zone then readily available today common granite impregnated braided fiberglass stove/furnace rope seals will work fine.
Older designs like true Imbert’s, and later versions based similar; relied to up until mid-20th century very common available asbestos fiber seals. Some of the much newer 21st century designs then became dependent on very-high tech die cut flat seals.
Move the joint away and just use common available. This distance away can be vertical as in BenP’s book system. Or horizontal as in the W.K.
S.U.
11 Likes
David, you only need to open a new topic (on the premium side) if you will be building a WK.
Depeds on what you mean by sealqnt. There are silicones that withstand 300c but l never use any sealant based connection anymore. Welding or threaded pipes and plugs is the way to go.
But inside the gasifier, ash is your best sealant. Fireproof and self repairing.
12 Likes
Hi SteveU,
Thanks for the information, I’ll use that type of sealant then.
Kristijan,
Sorry, that was a translation error, it wasn’t weekend but WK.
No, not sealant, I’m not really a fan of that type of sealant either.
Okay, so I’ll try to seal the area with ash as much as possible and avoid welding as much as I can.
5 Likes
I hope there isnt a missunderstanding. By sealing things inside the gasifier l ment in the actual burn zone, like the reatriction and nozzles. Sealing with ash is ehaugh here because any air leak will be consumed by charcoal. Every other part of the gasifier past the grate needs to be sealed 100% with welding or sealant-free metal to metal connection (threads, conical connectors…) untill the gas gets cool. Any leak in the hot area will resault in what we call a “hot leak”. When air leaks in with hot gas it ignites. Gas gets hot, wet and weak.
Its an old proverb in this trade, gasifiers maldunction because of 3 things. Leaks, leaks and leaks.
17 Likes
Ah, there you go… thanks for the false hope. ![]()
![]()
I’d already started imagining a whole system in my head with cavities to fill with ash.
Okay, okay, I think I’ll ask for diagrams as I go along, since writing it down isn’t as clear.
8 Likes
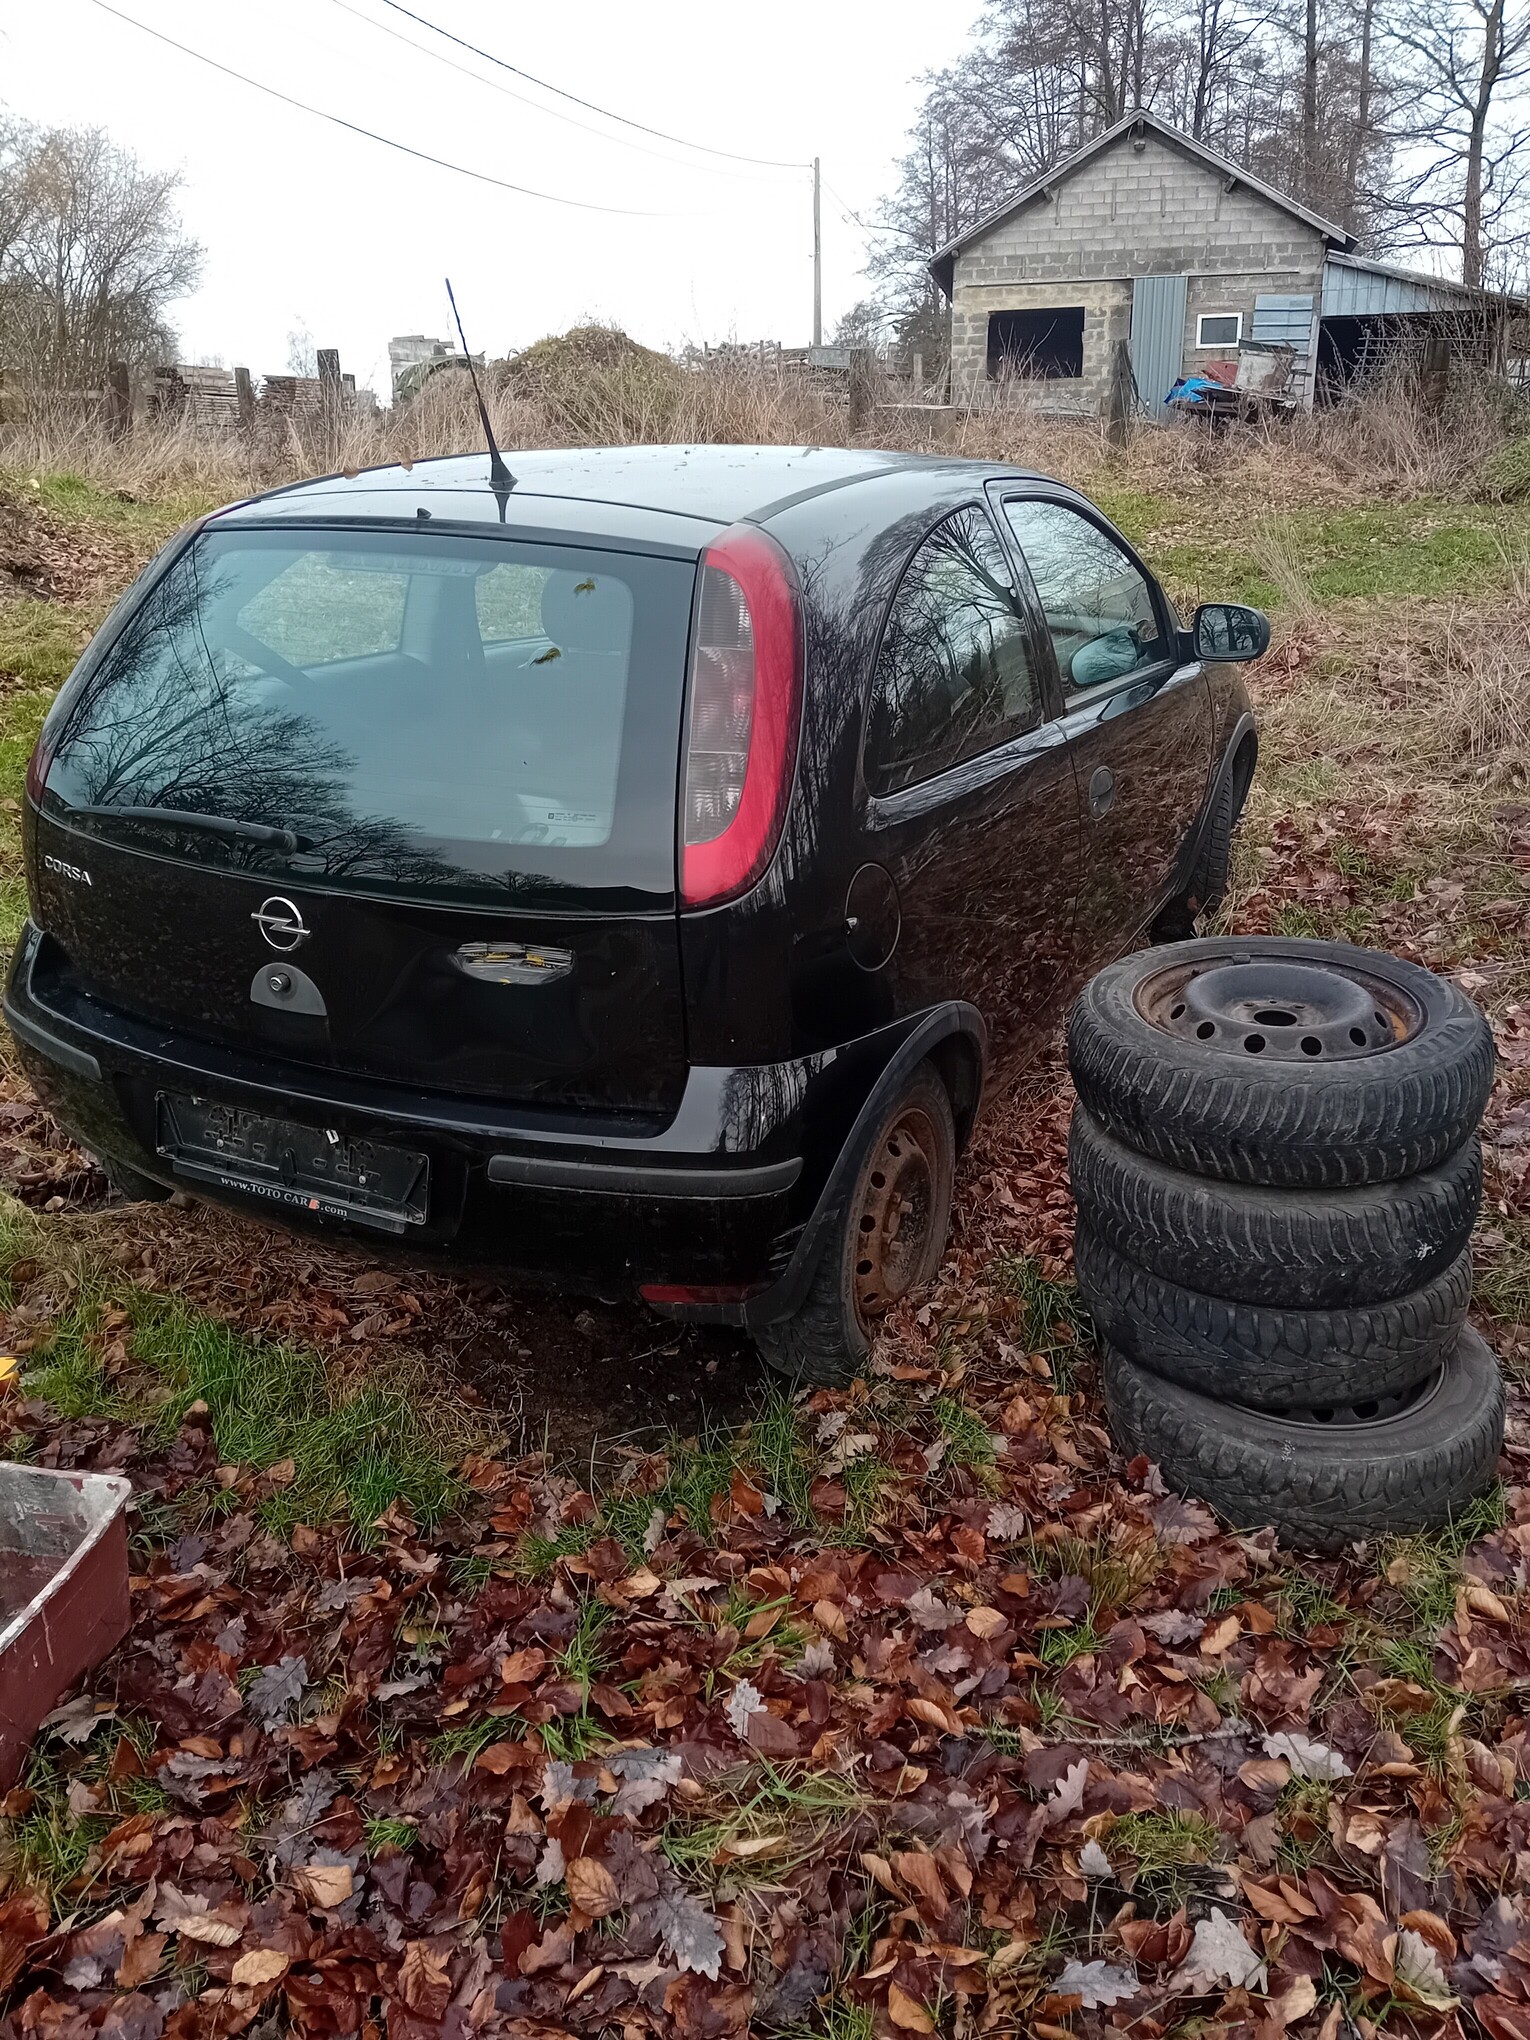
Here are some photos of my partner’s old car.
It’s the one that’s going to be converted into a stationary biogas generator.
At least for the testing phase.


13 Likes
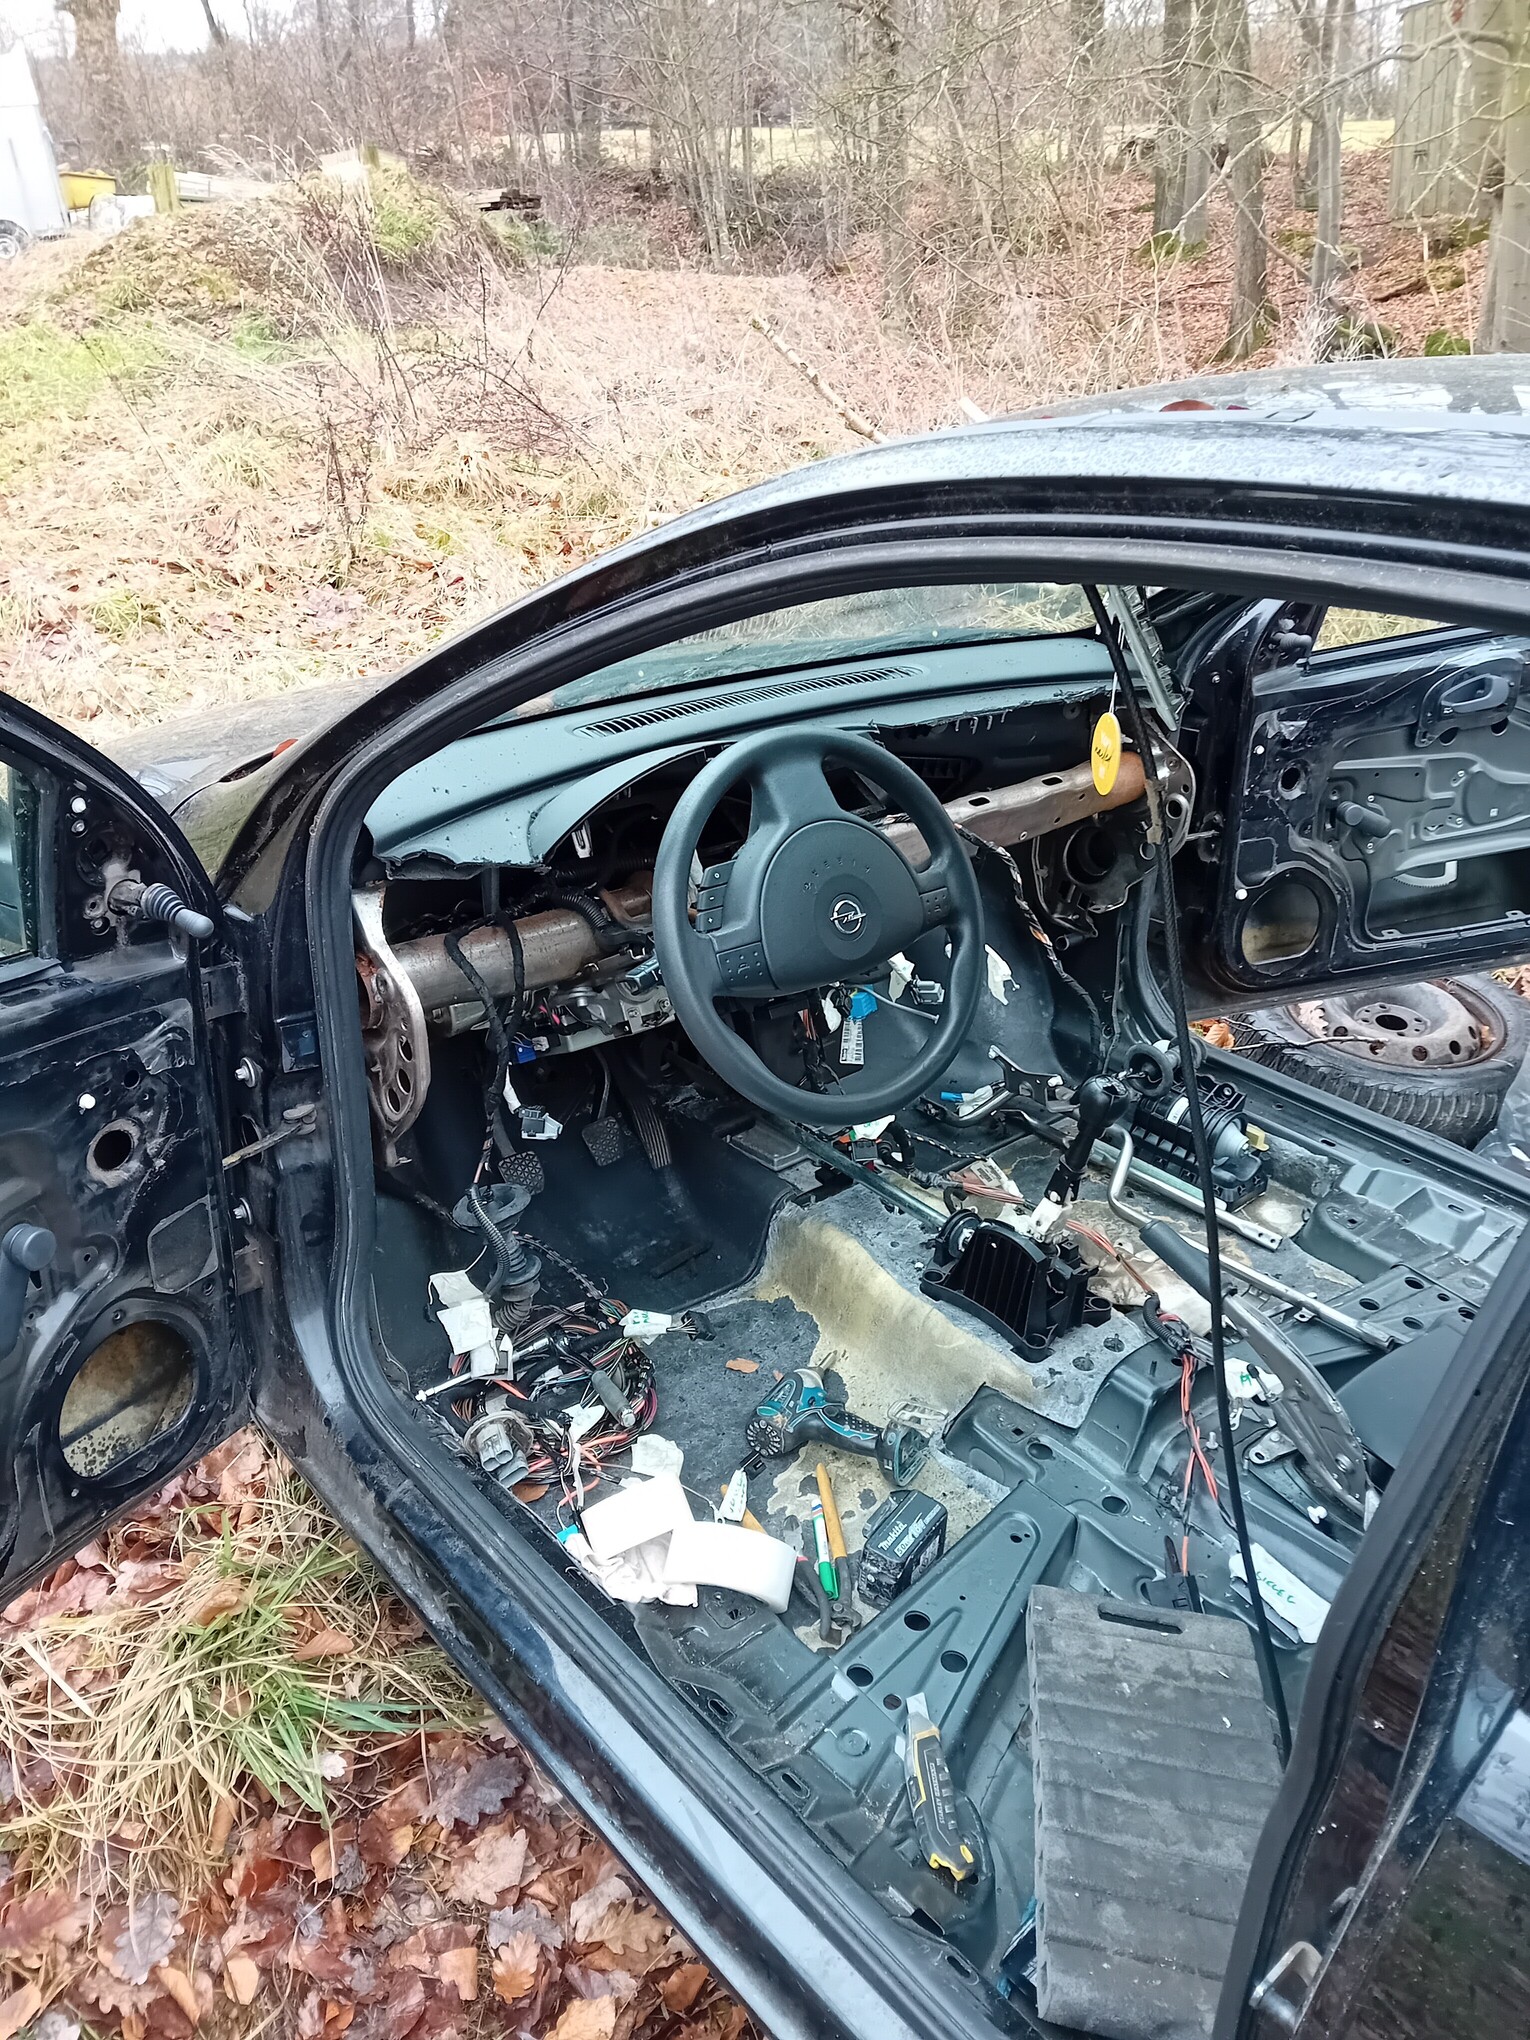
Hello,
I’ve started dismantling the car to salvage as much as possible for building the gasifier, but also for other uses.
Here are some photos of my progress.
13 Likes
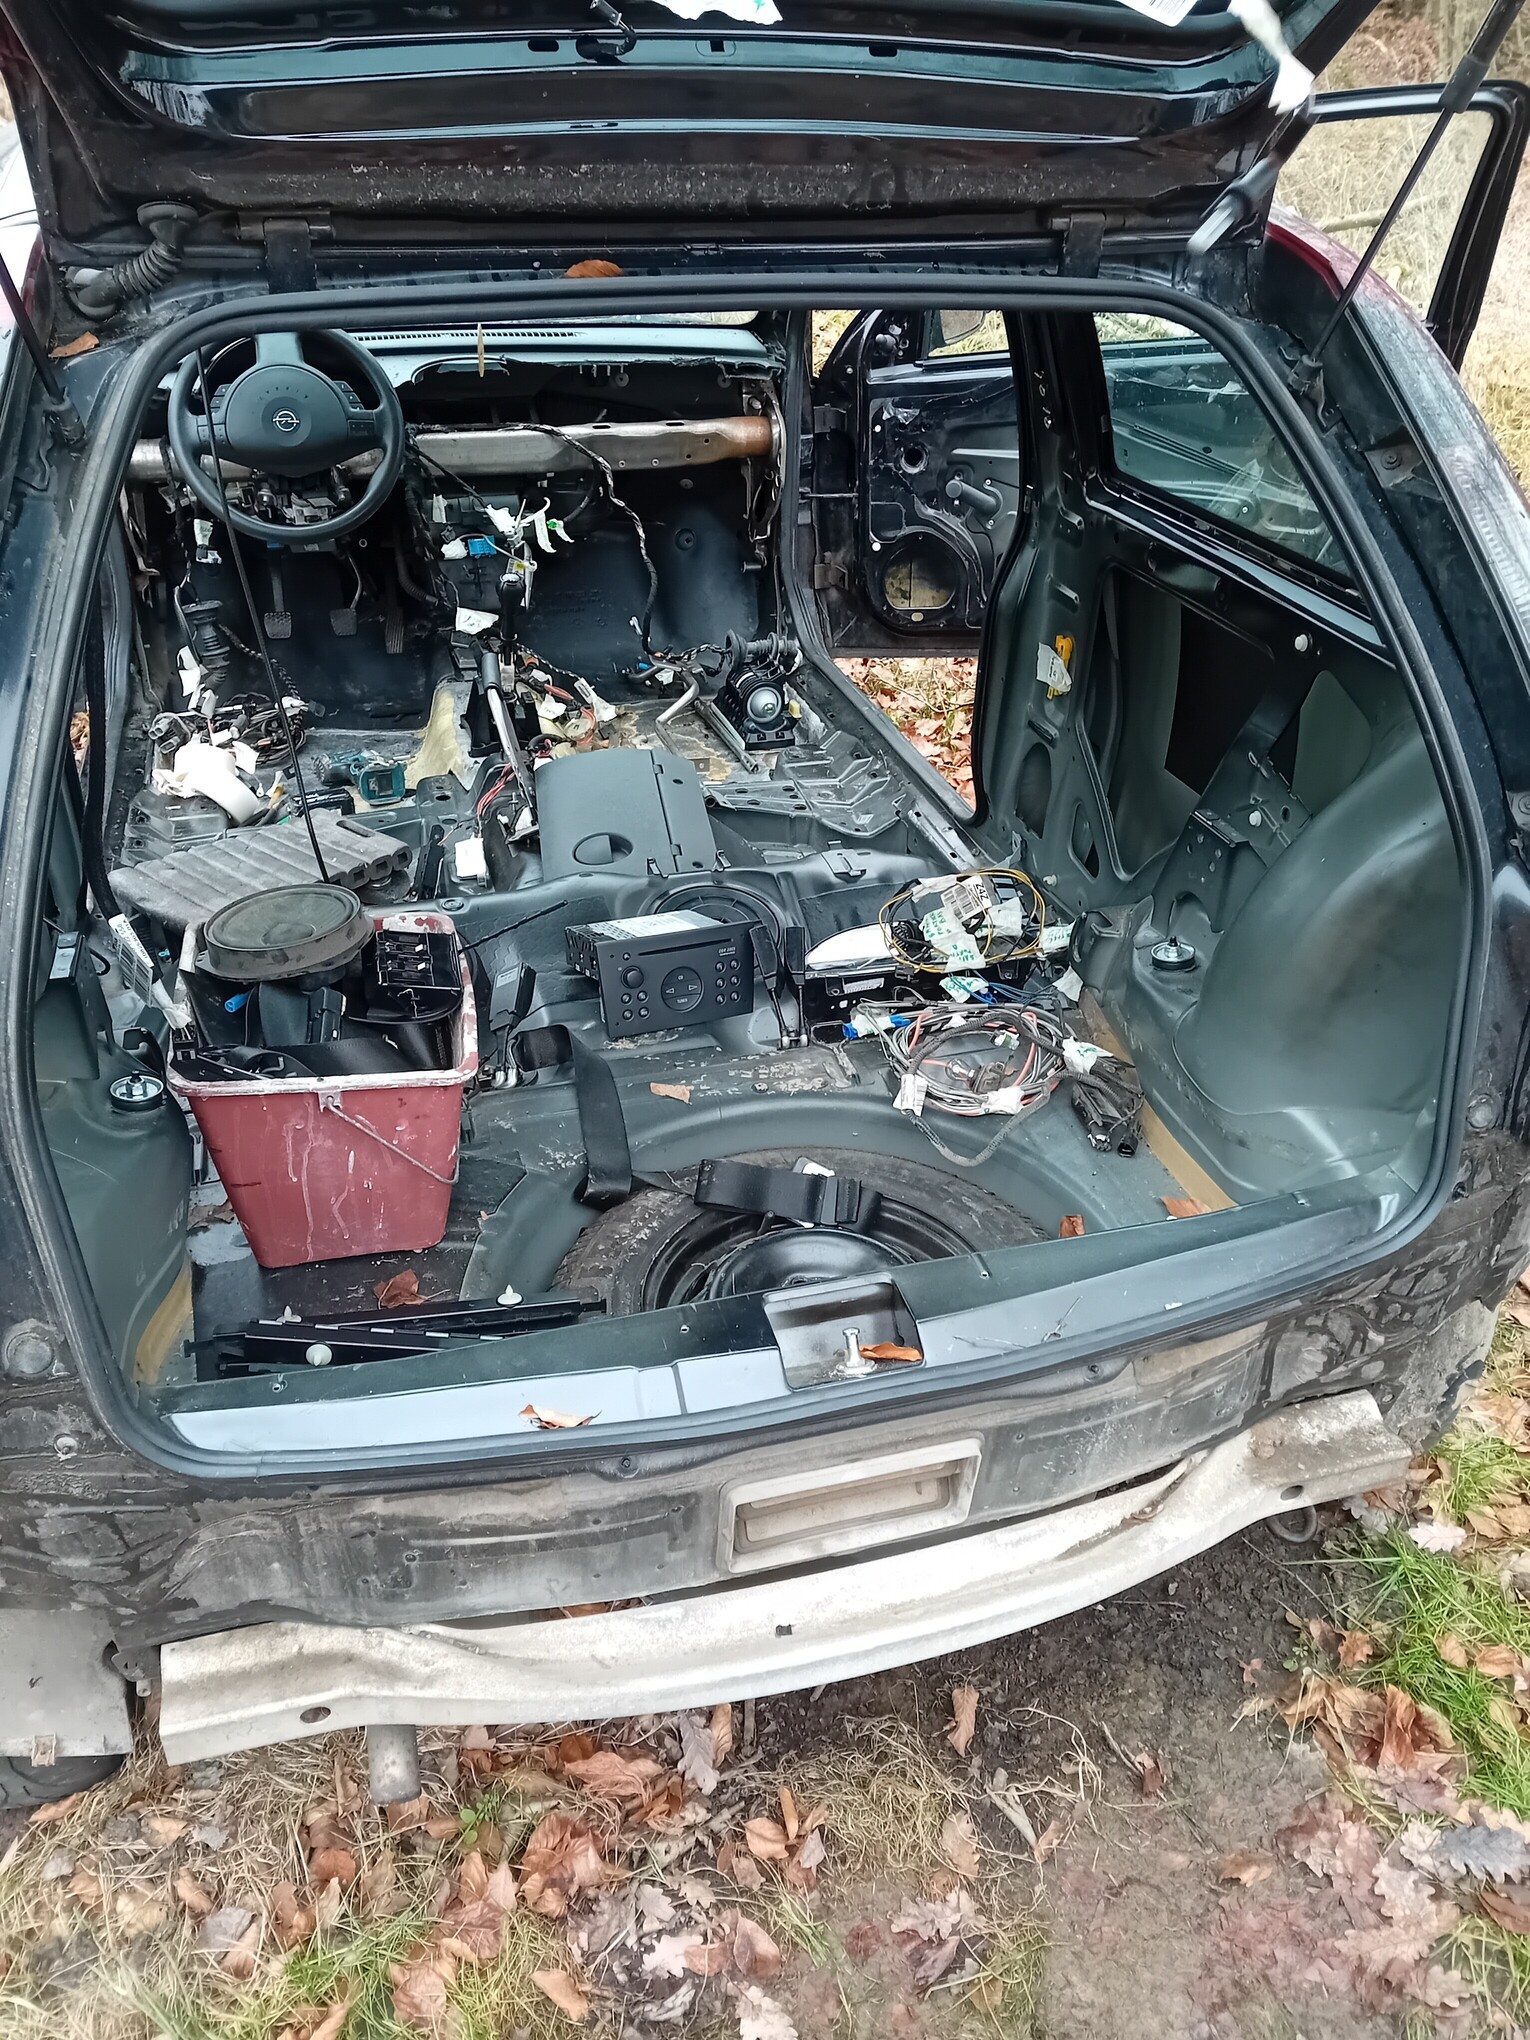
Hello,
I’m continuing and making slow progress with the car’s dismantling.
As I mentioned, I knew absolutely nothing about cars before starting this project.
So I was amazed by all the electronic technology this car had for its time.
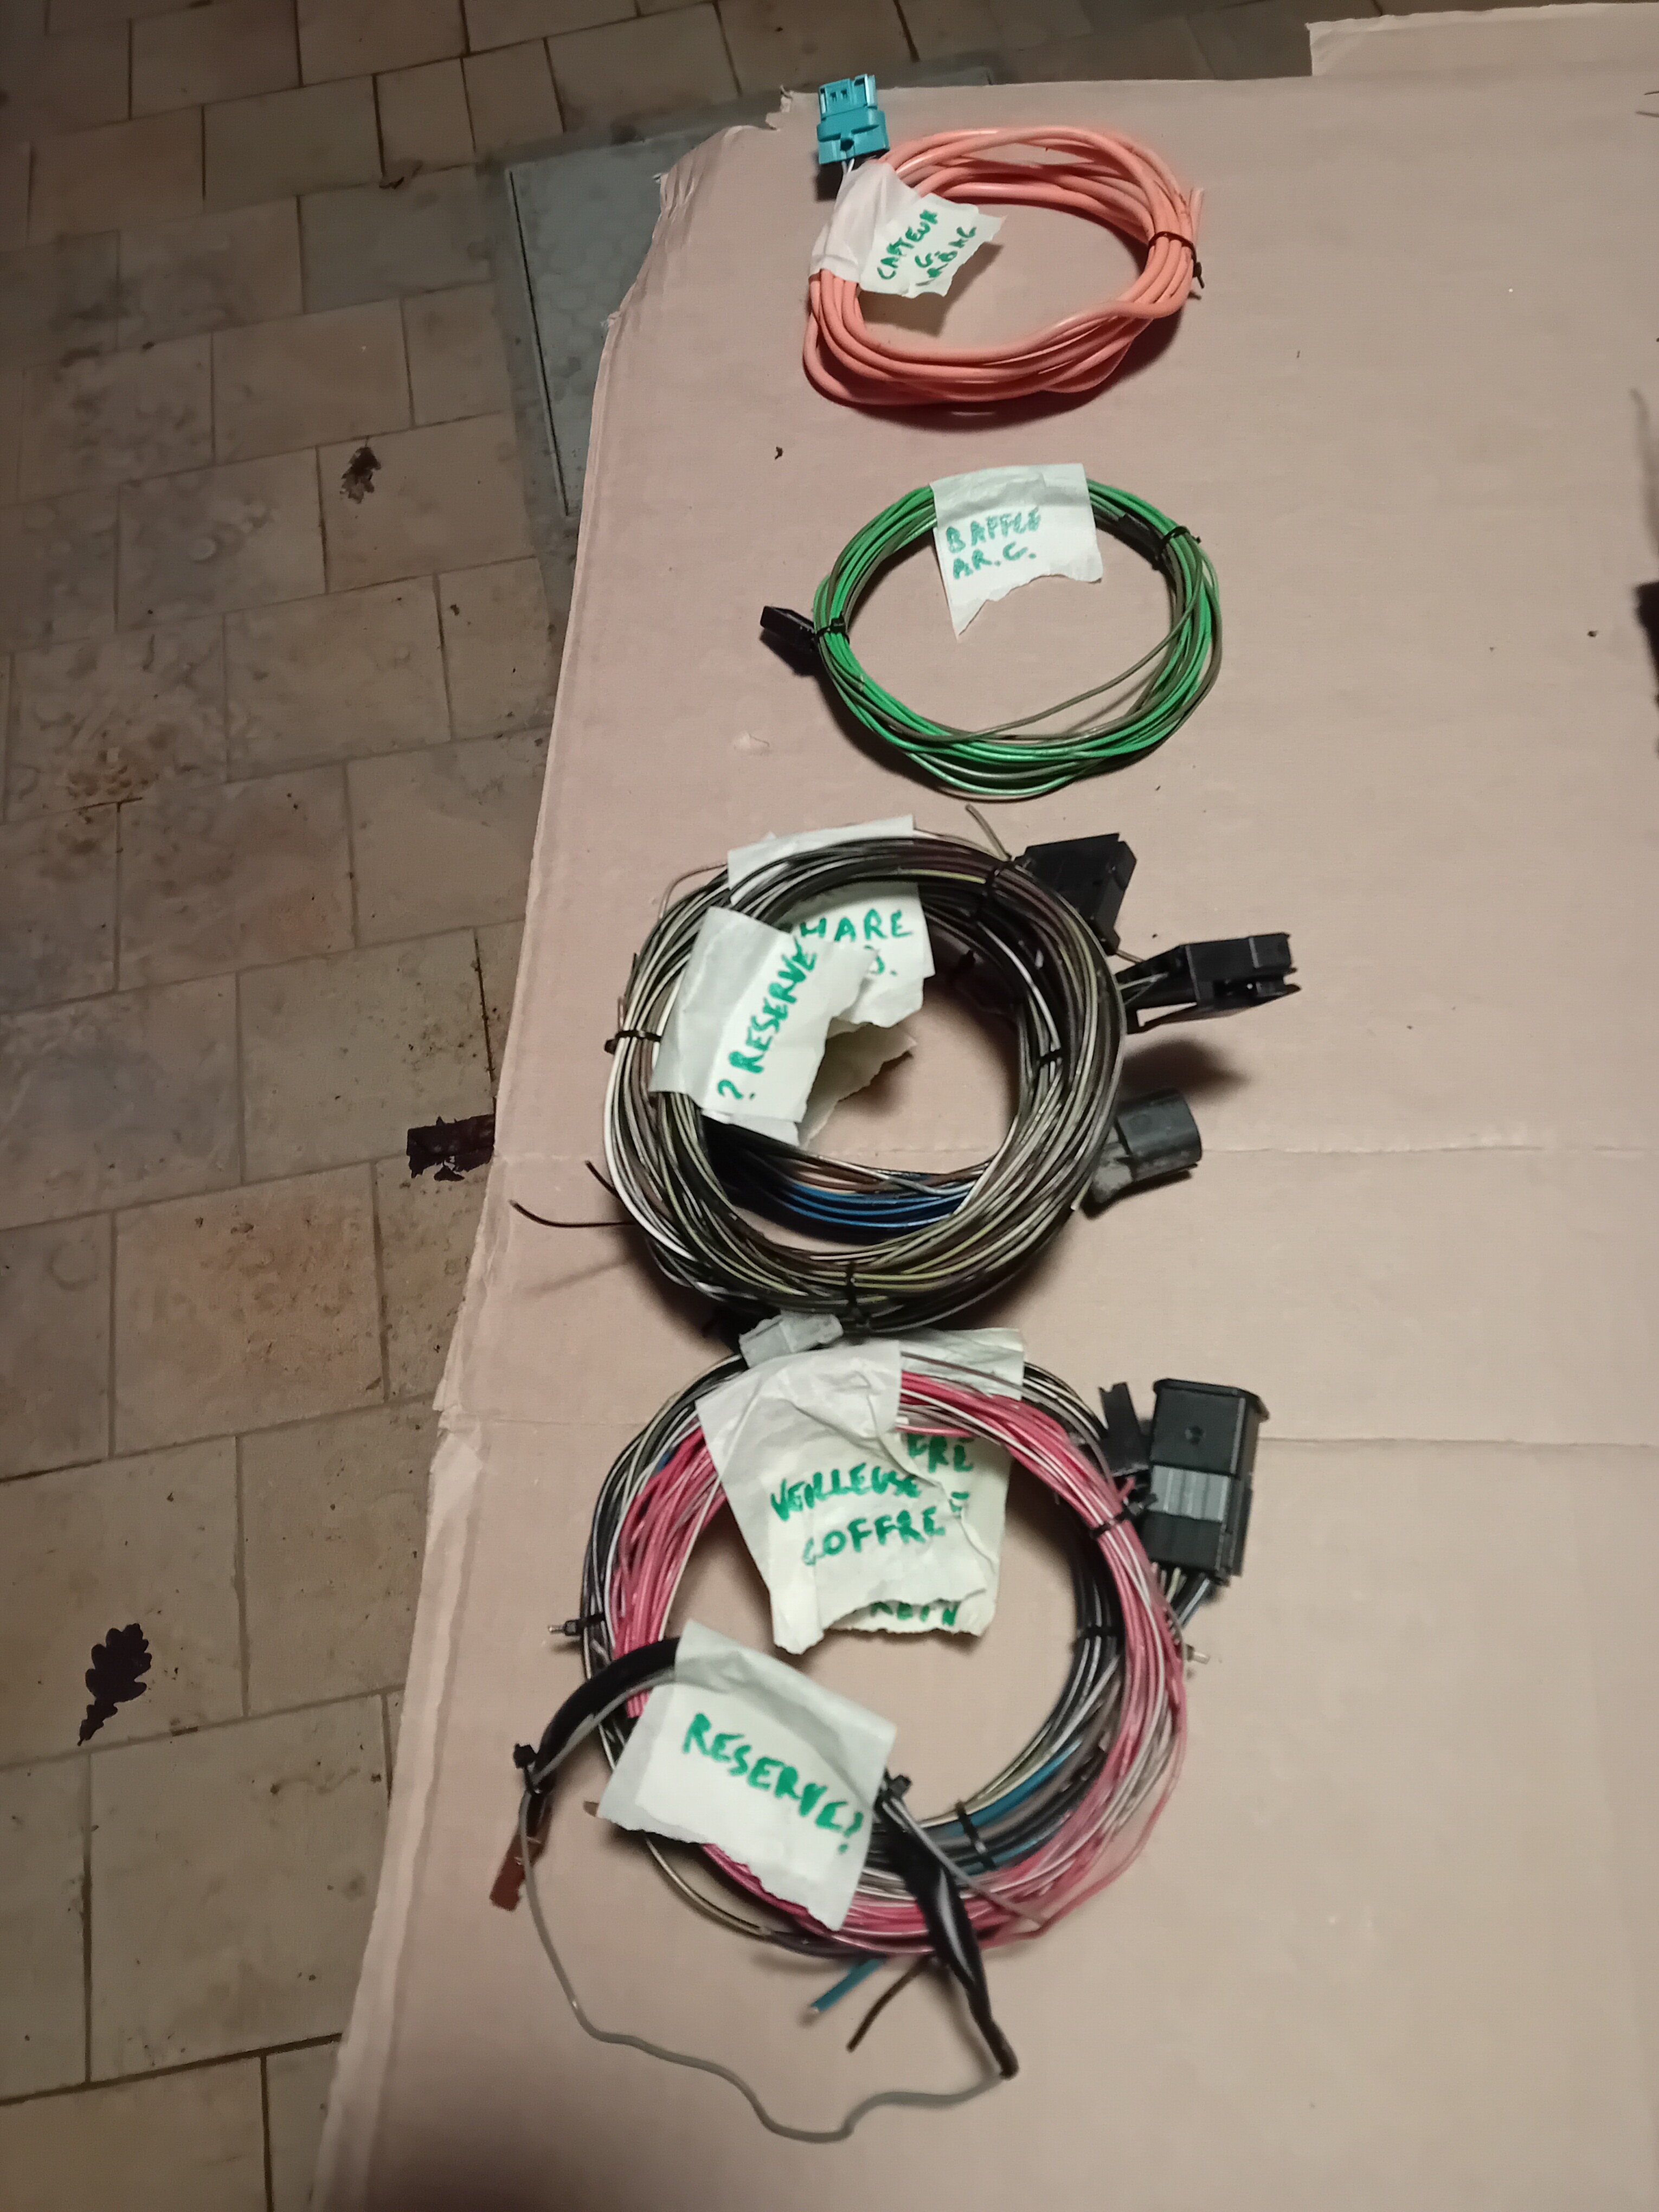
I’m currently sorting through everything and removing unnecessary components.
It’s a rather lengthy process, but I’m researching and noting the purpose of each wire.
If I succeed, I was hoping to reprogram the onboard computer for the gasifier.
As a first step, getting the engine running again after removing the unnecessary parts will be a good start.
Since you don’t know me, I’d like to emphasize that I’m a big fan of programming and home automation.
Here are some photos to give you an idea of my current little hobby.
What I took out of the passenger compartment:
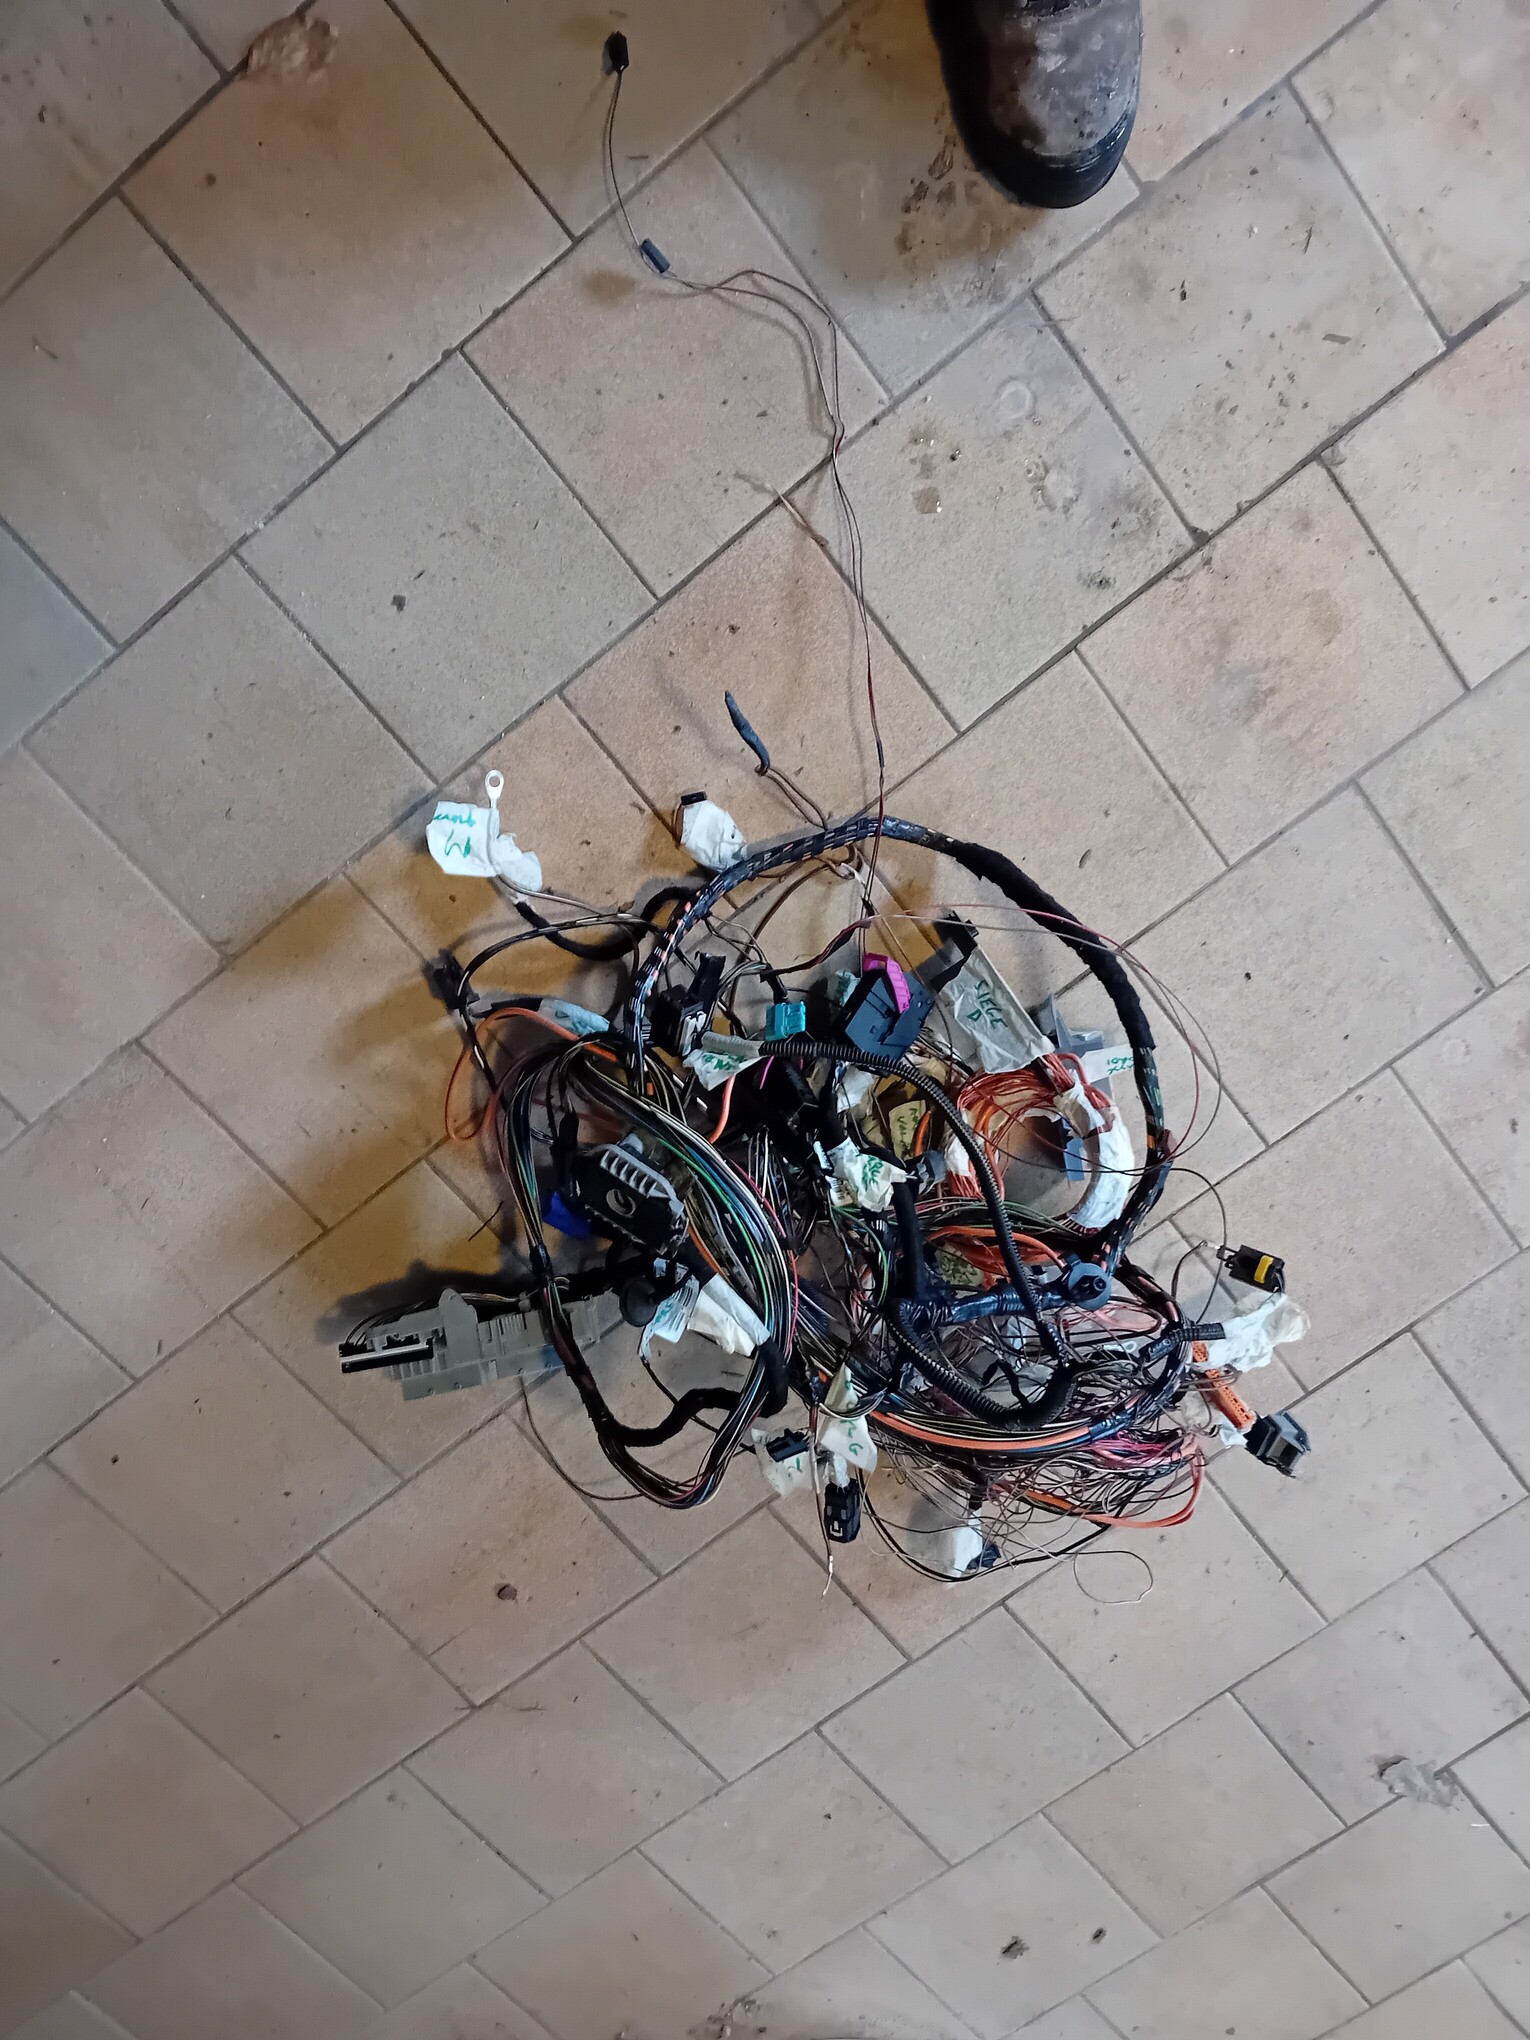
Part of what I’ve already deleted and carefully stored away:
What I took out from under the hood:

I’ve made more progress with the sorting, but I wasn’t sure if you’d be interested. (If so, please let me know.)
14 Likes
Good job David, im sure you will make success in this project.
If you like programming/computers, you may consider building you own engine control system, like speeduino or megasquirt.
It may save you some trouble as original “control box” may be hard to run standalone, in some cases it needs feedback signals from brake control unit, speed signals, and like (can-bus, van, or like, feedback message, “im here, im ok, im waiting for orders” ![]() )
)
As you build a stationary generator i think a simpler control system will give benefits, and a lot of possibilities to build in features needed for woodgas.
And like you mention, make the engine a good runner before start feeding it woodgas.
16 Likes
Hello Goran,
Thank you for the explanations.
If I can’t manage it, I was thinking of using an Arduino system, the basics of which I know.
But since there’s already a system in place, why not give it a try? It costs nothing and it’s already there.
12 Likes