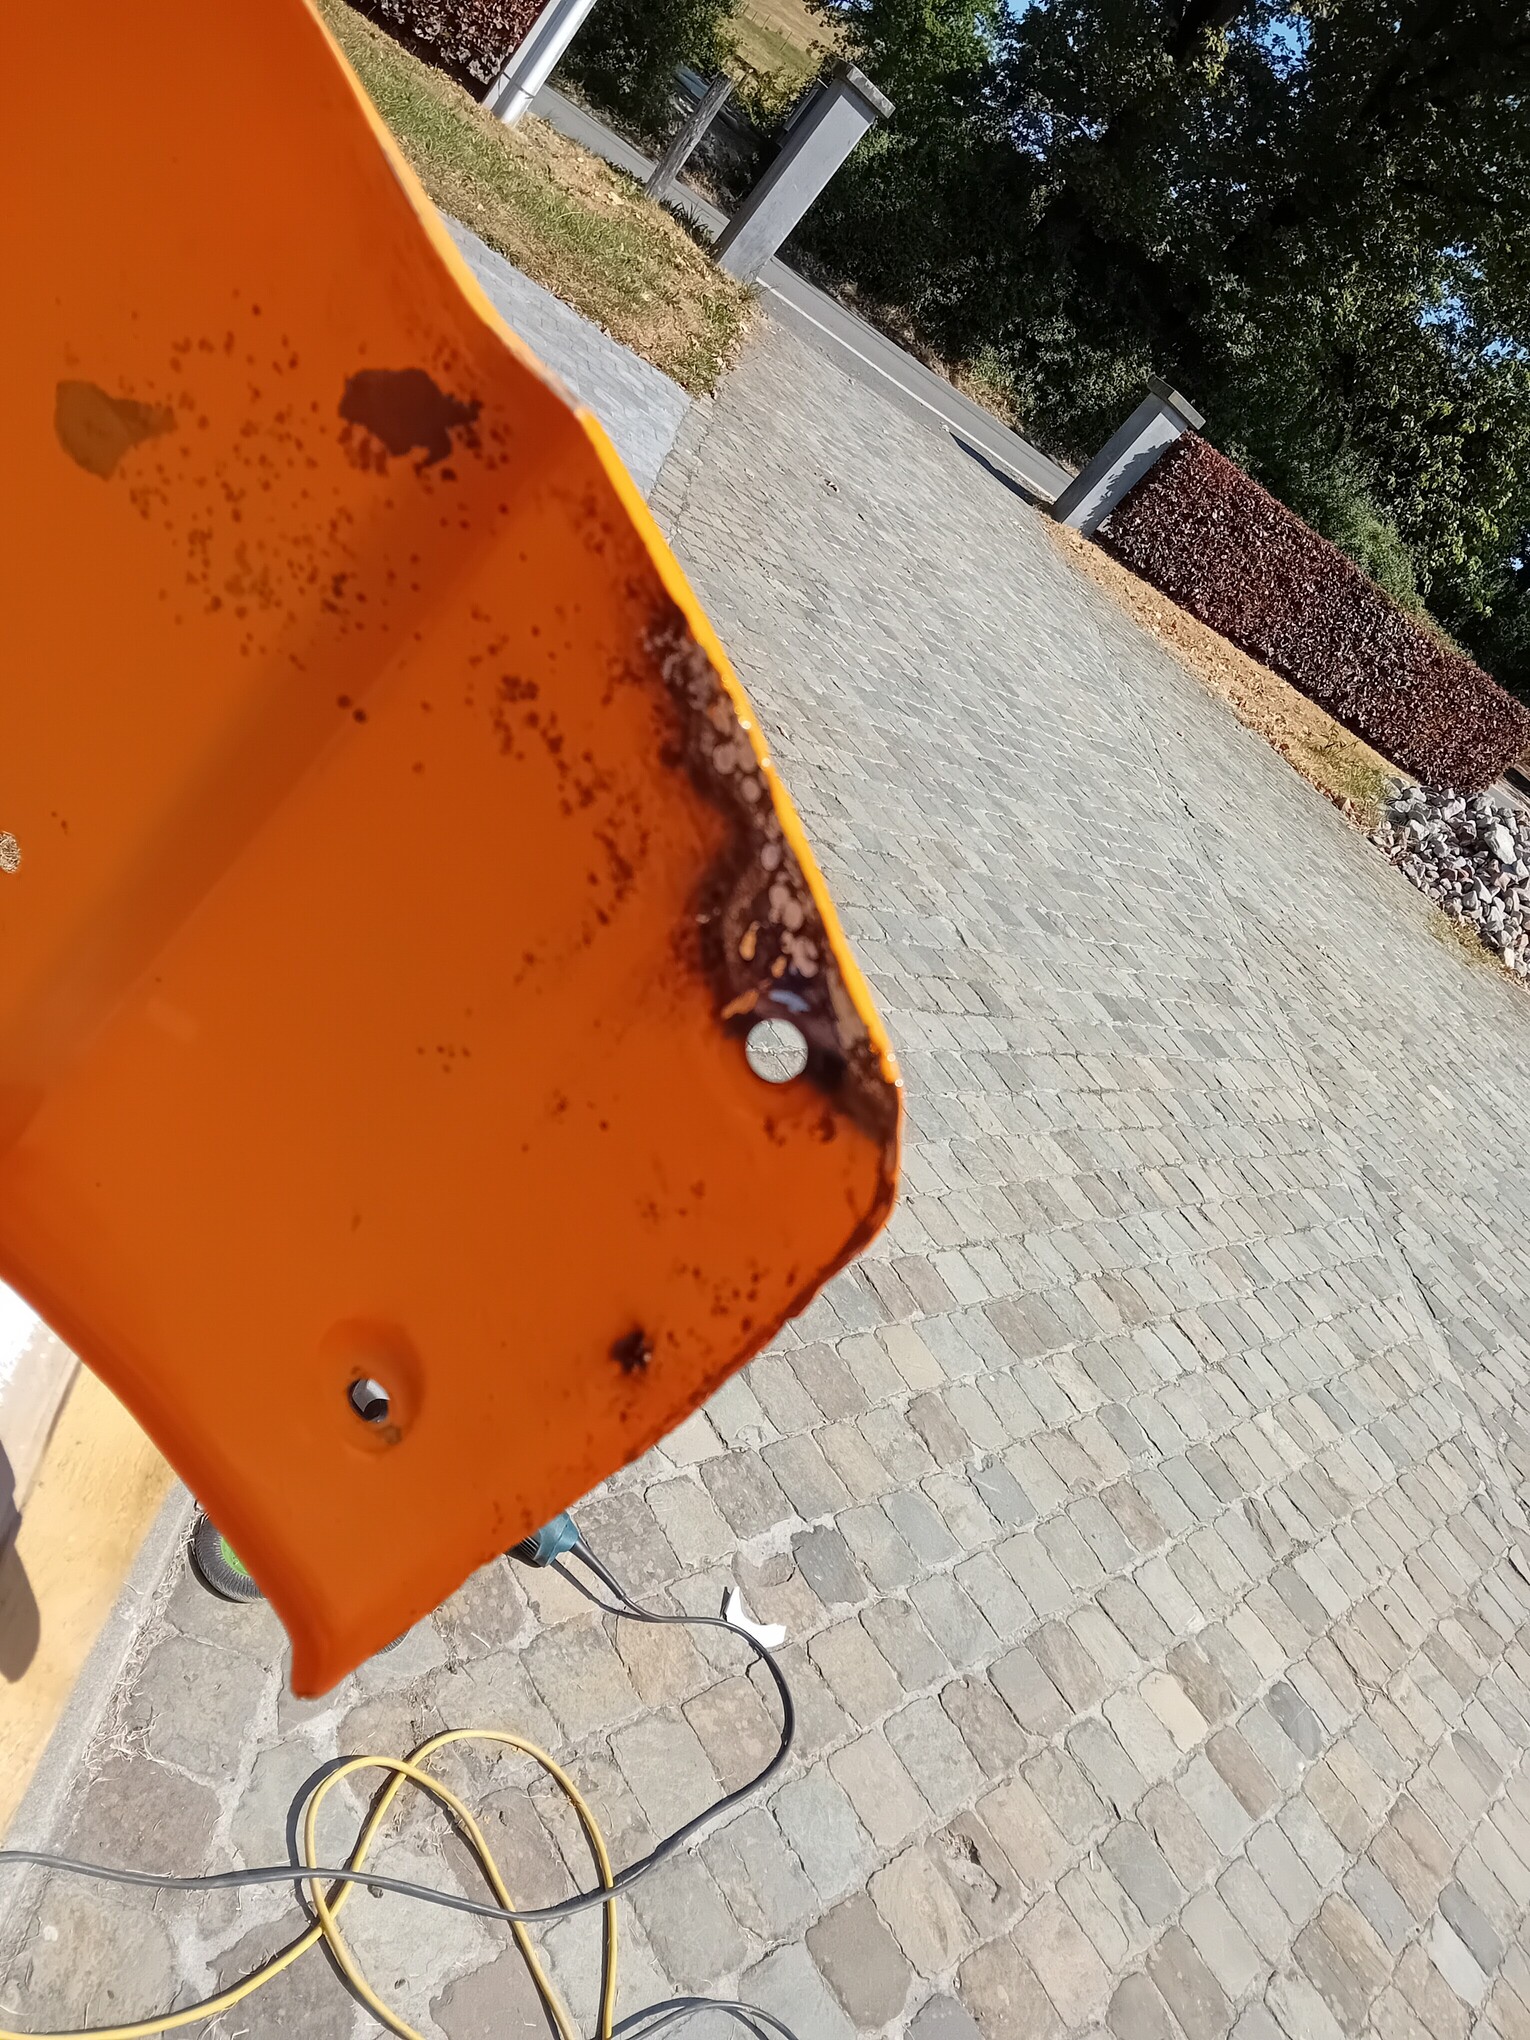
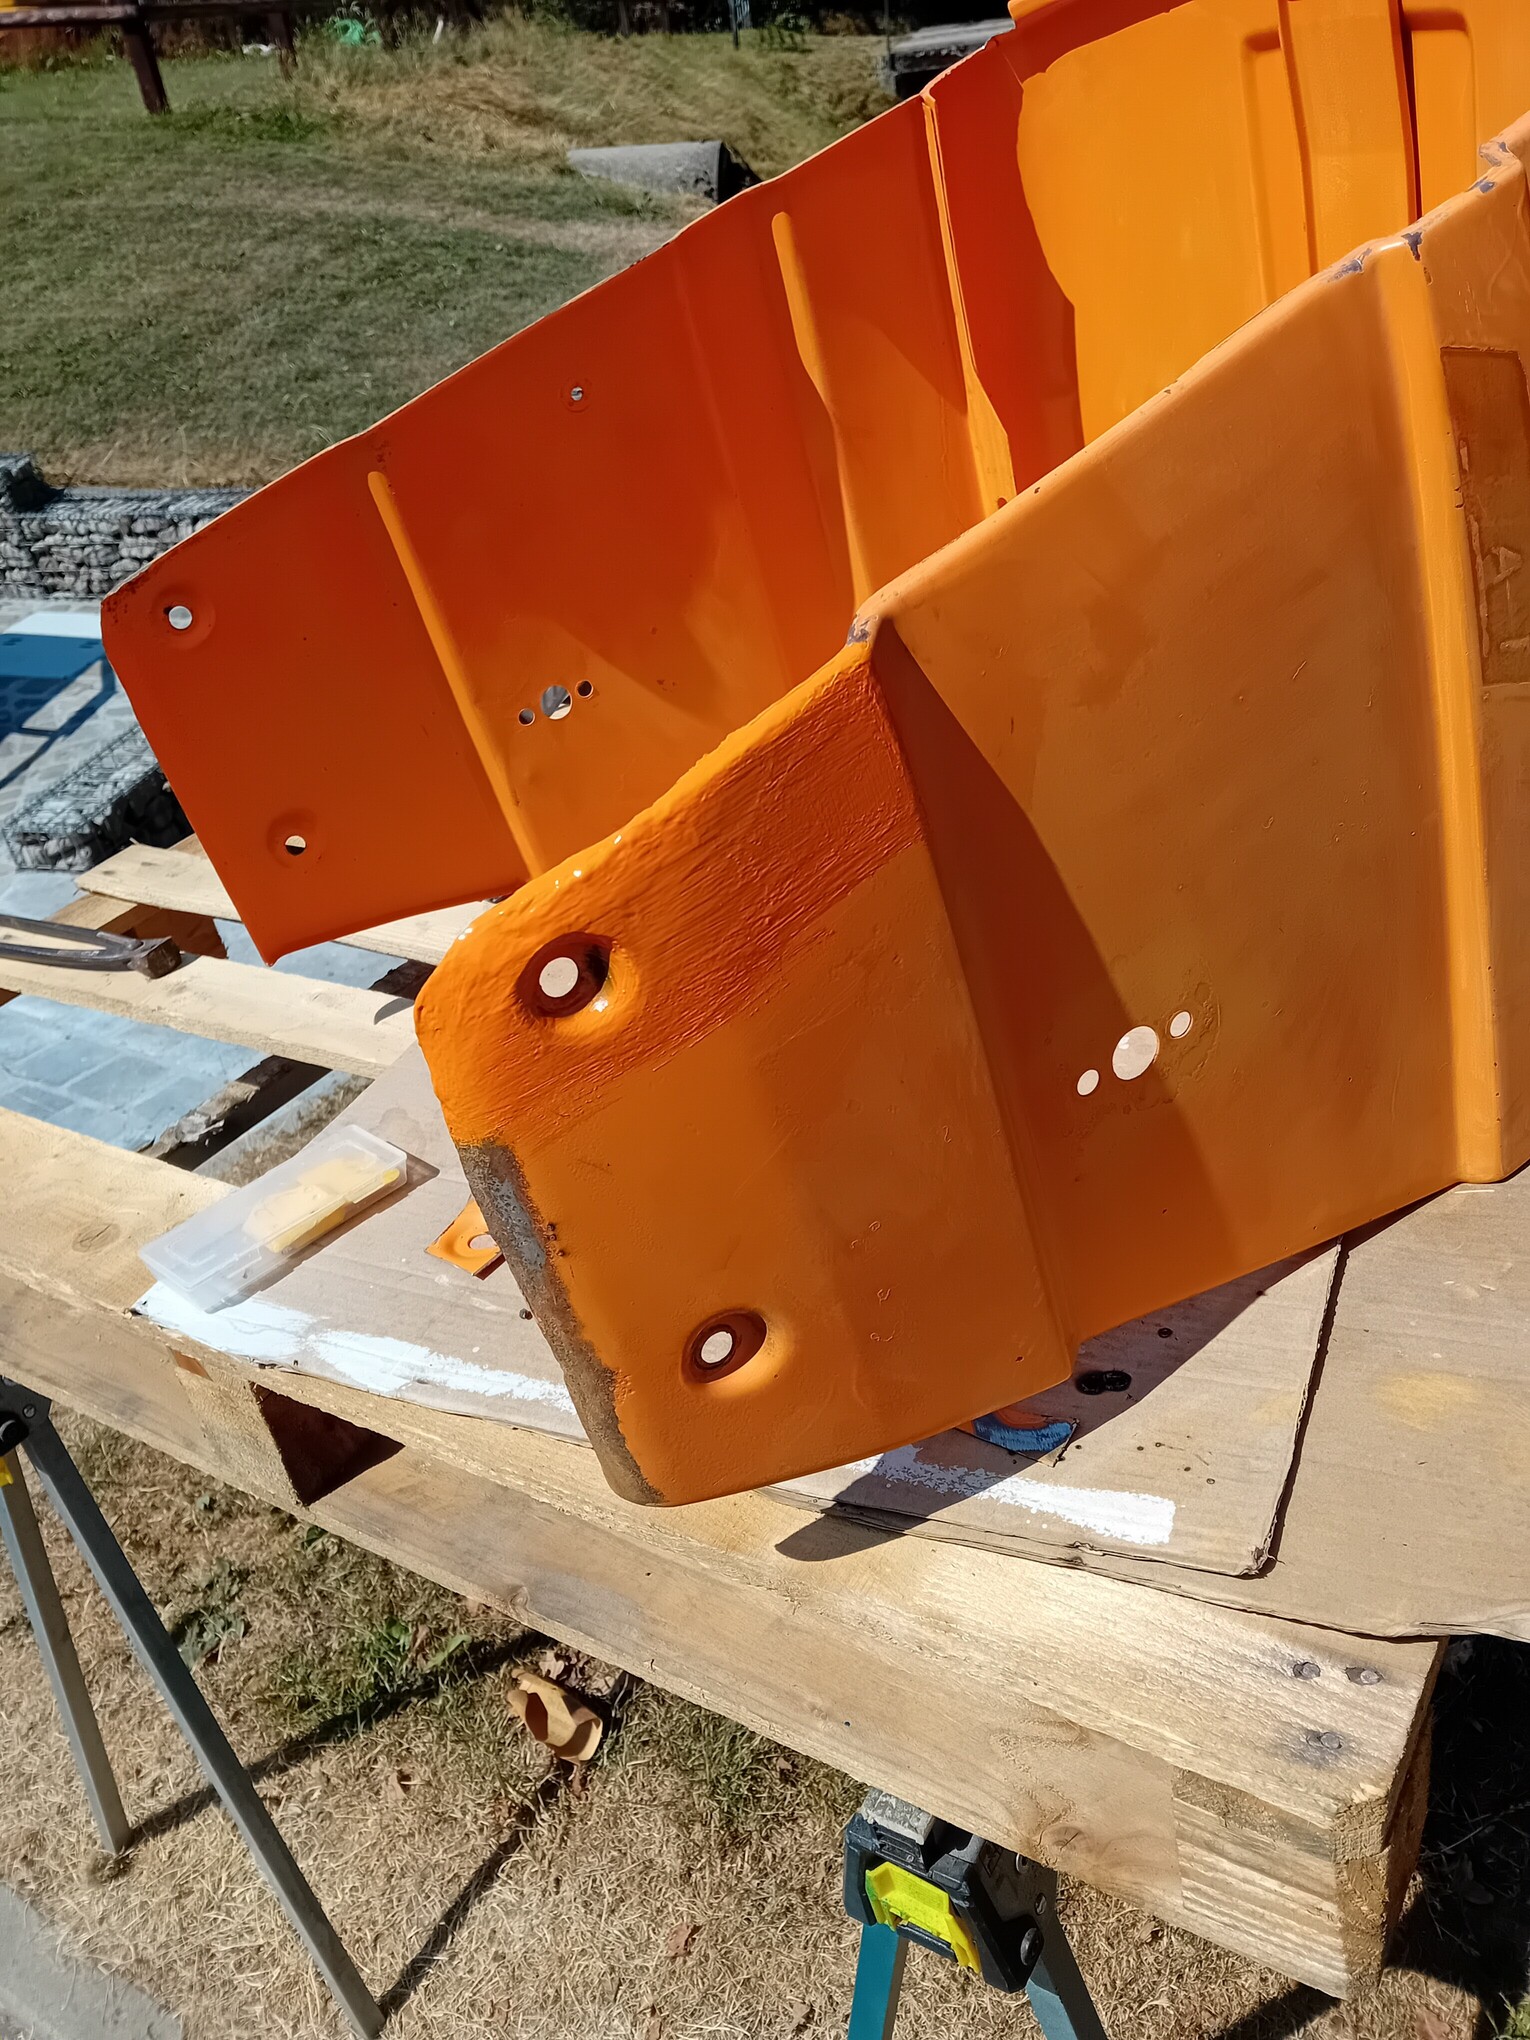
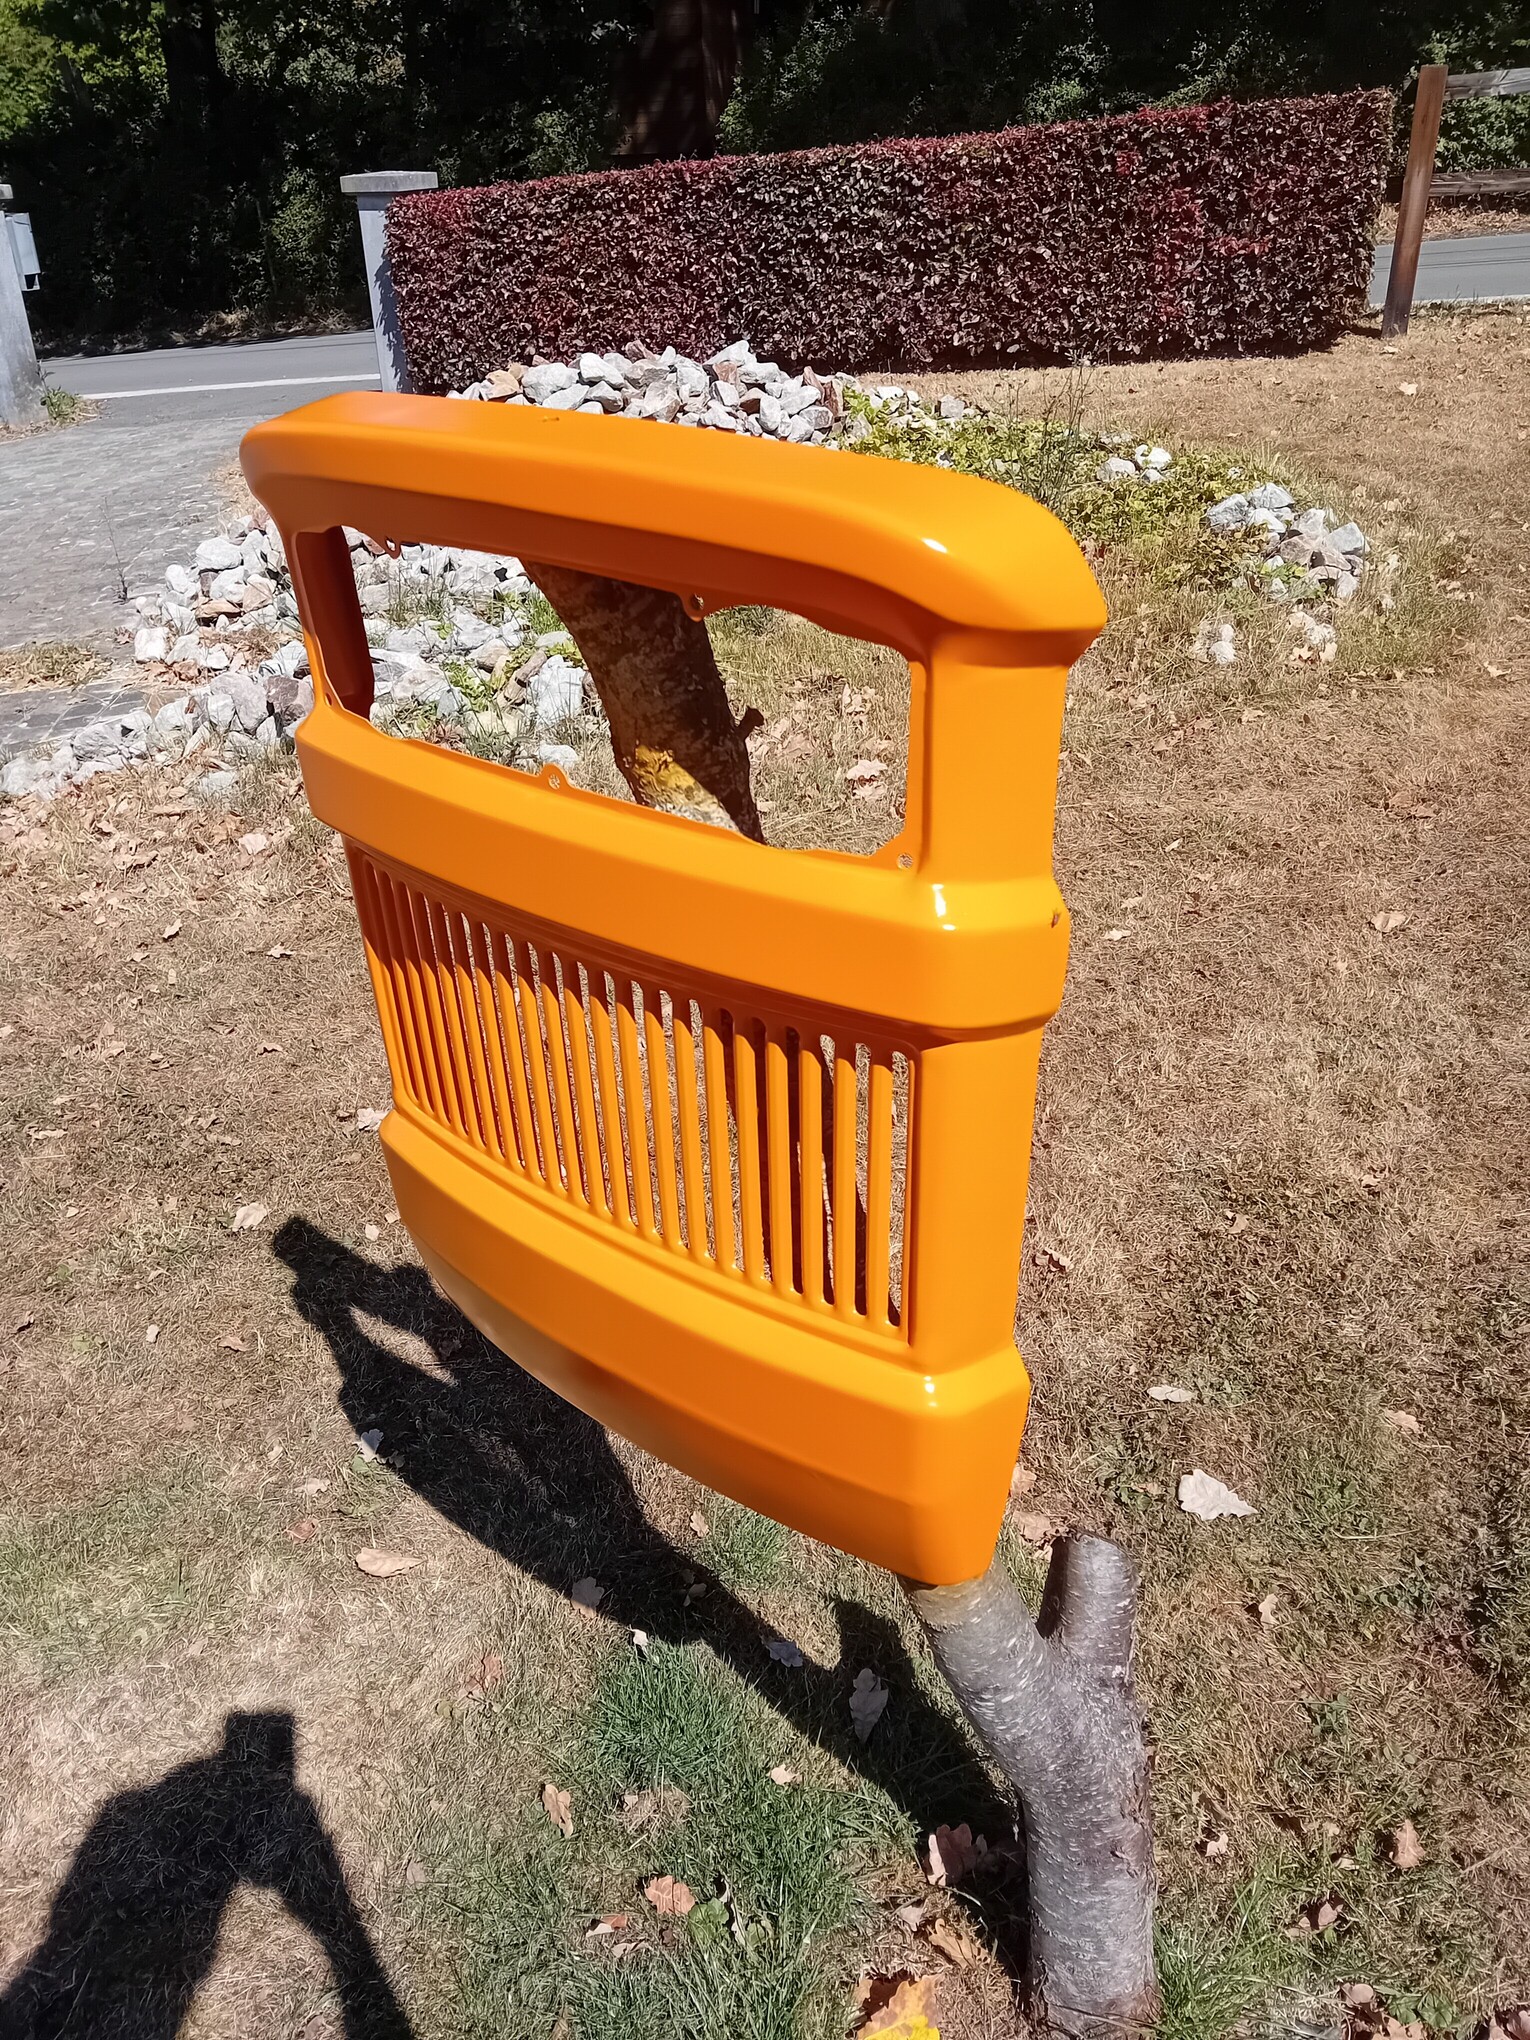
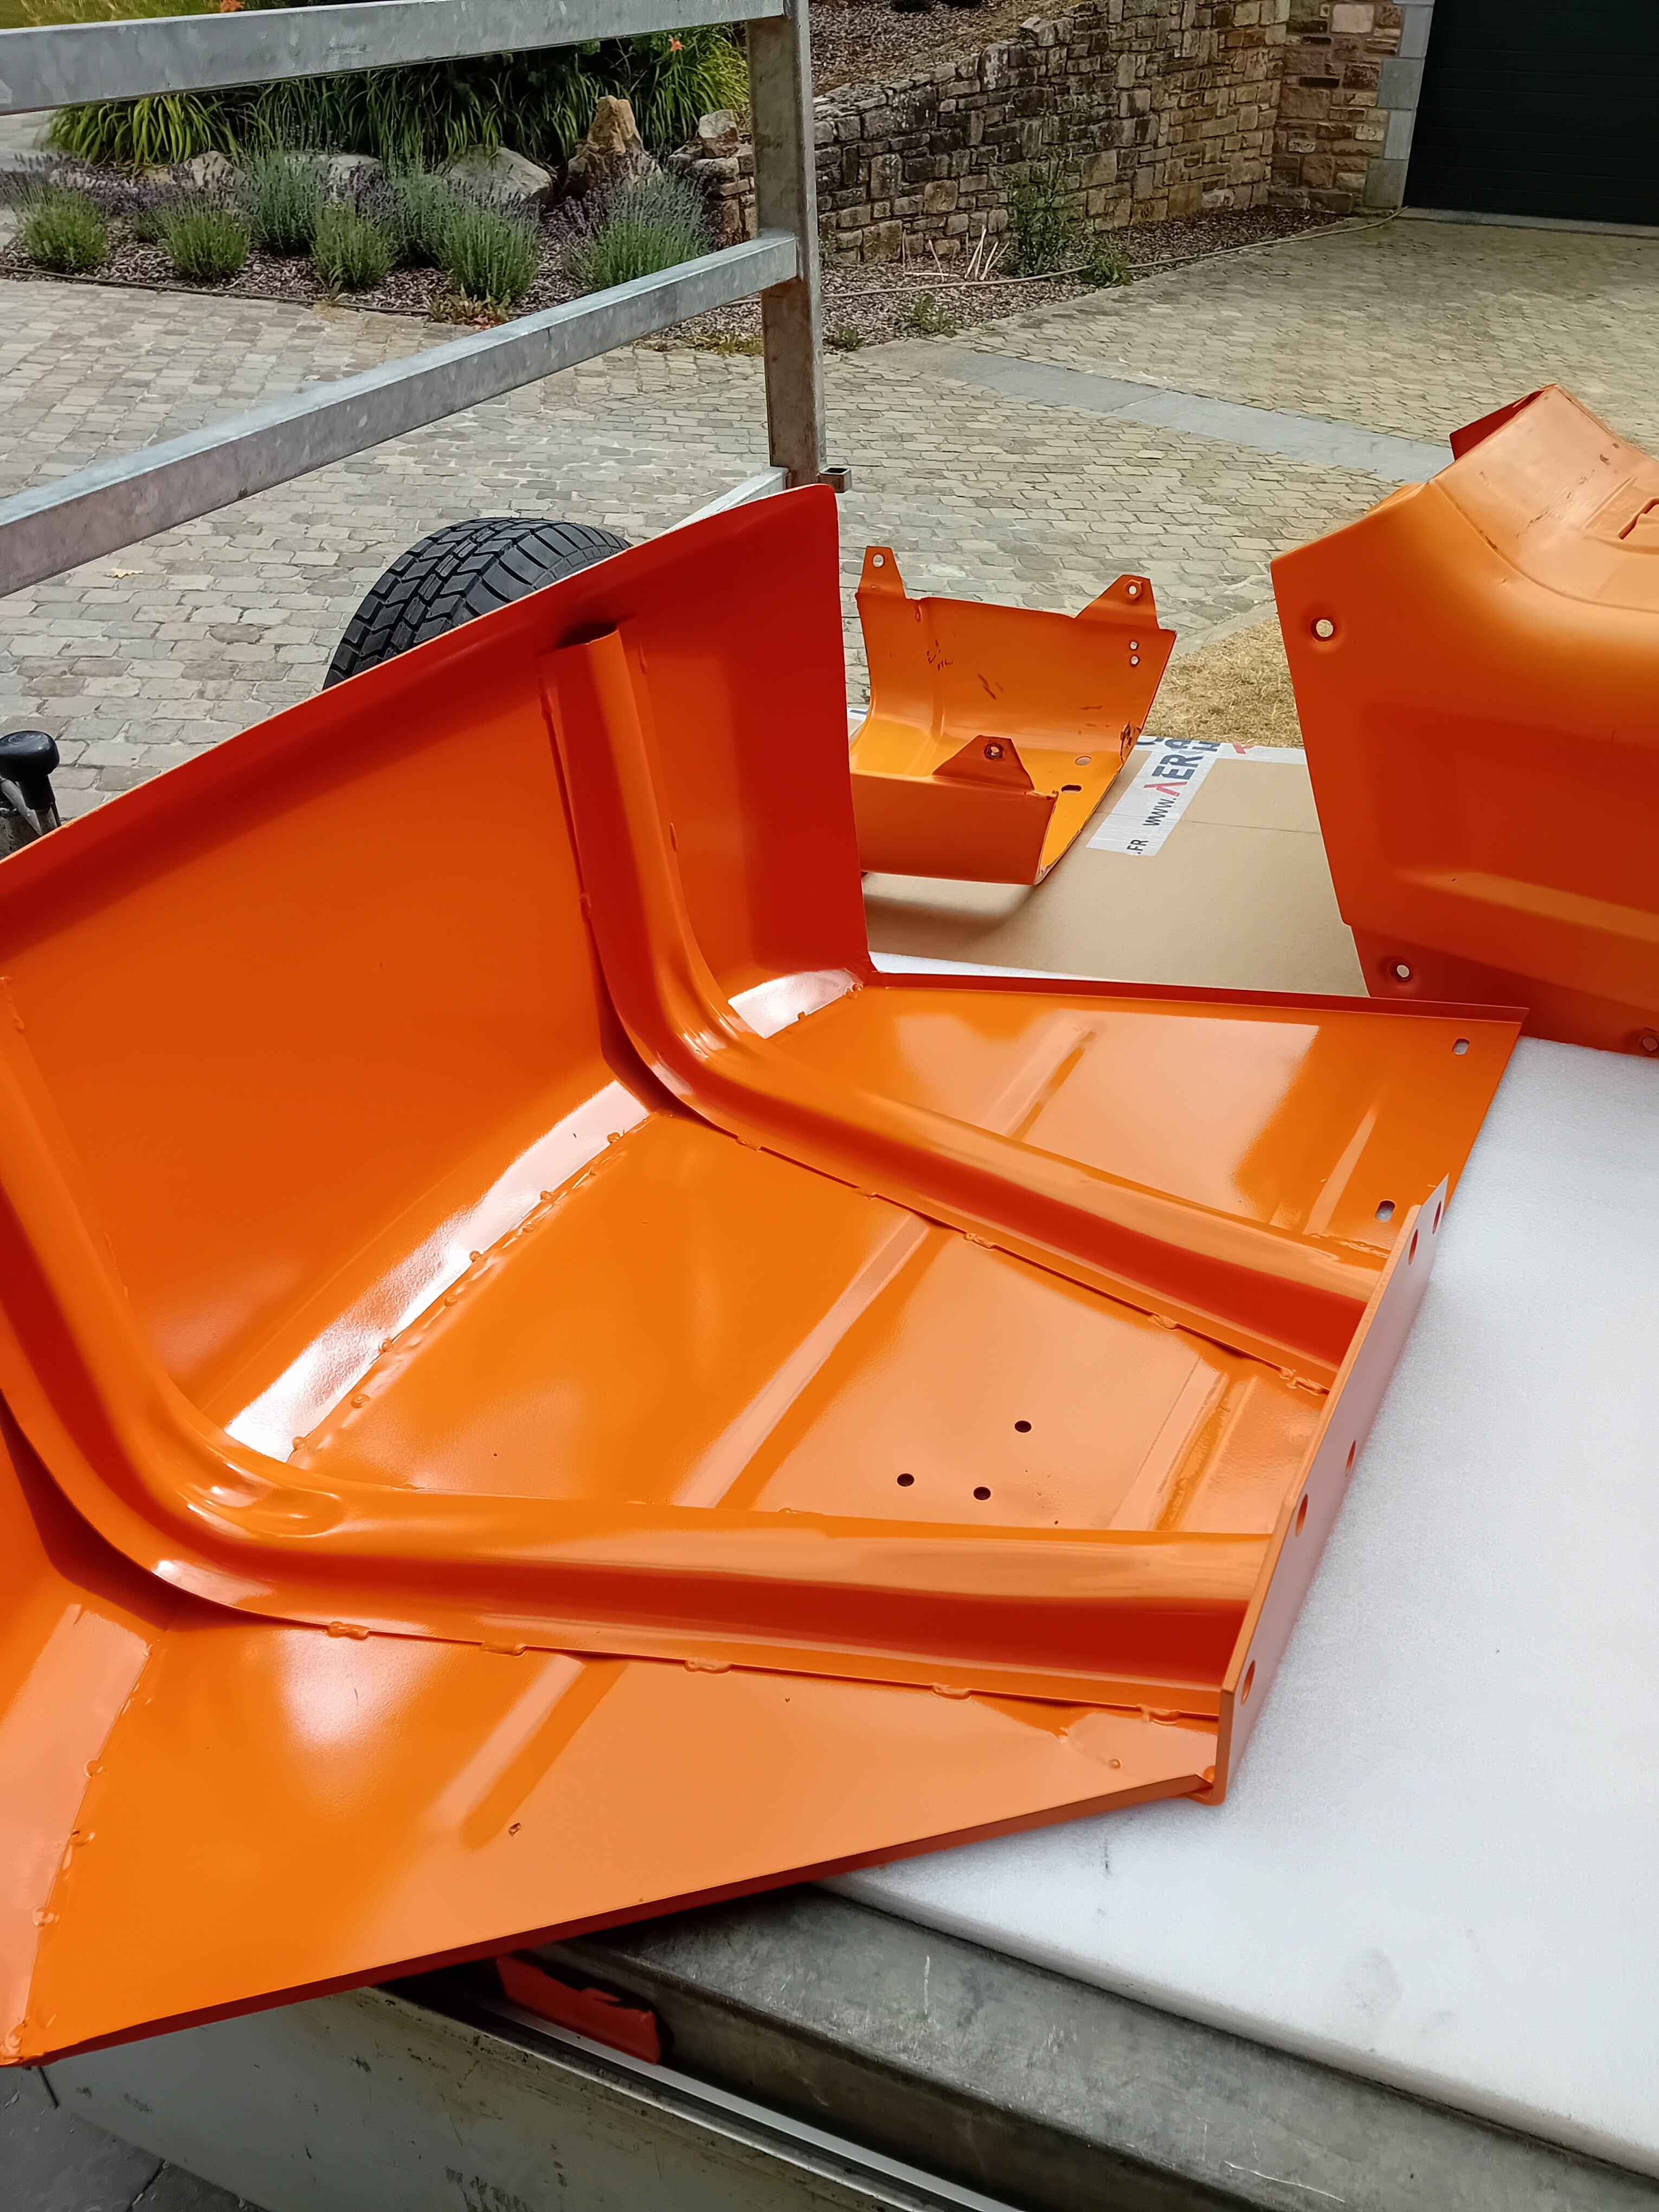
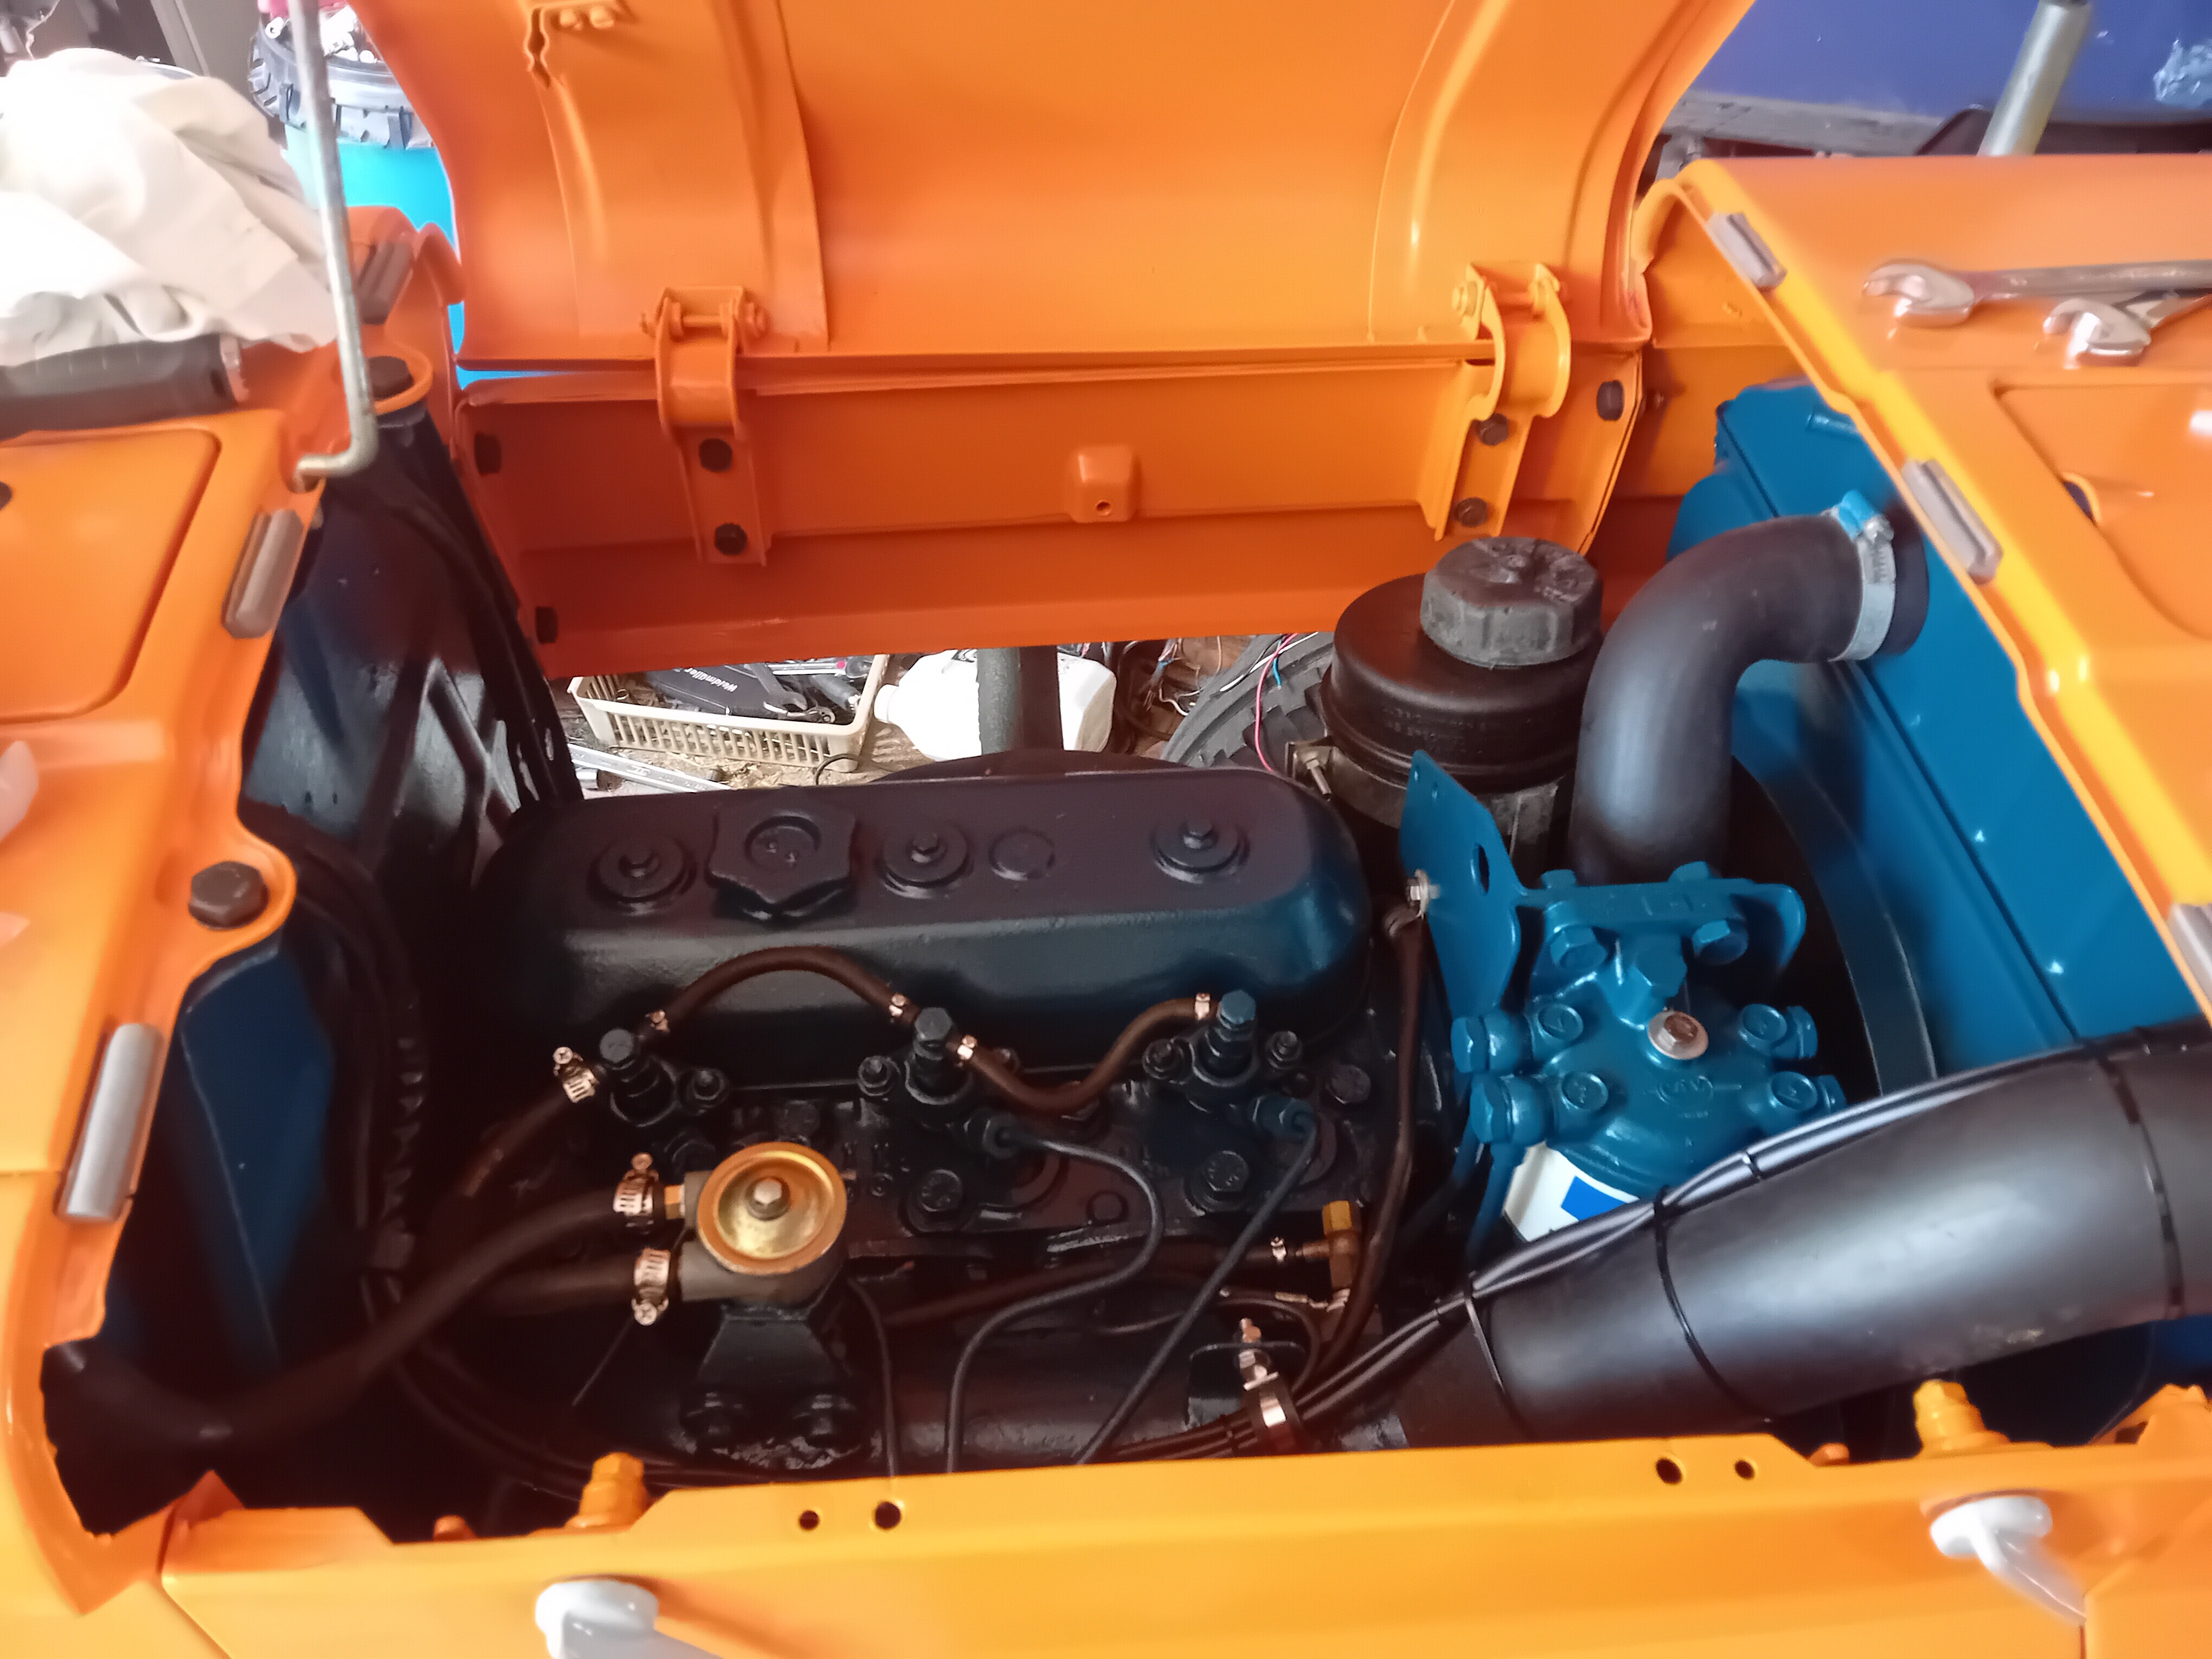
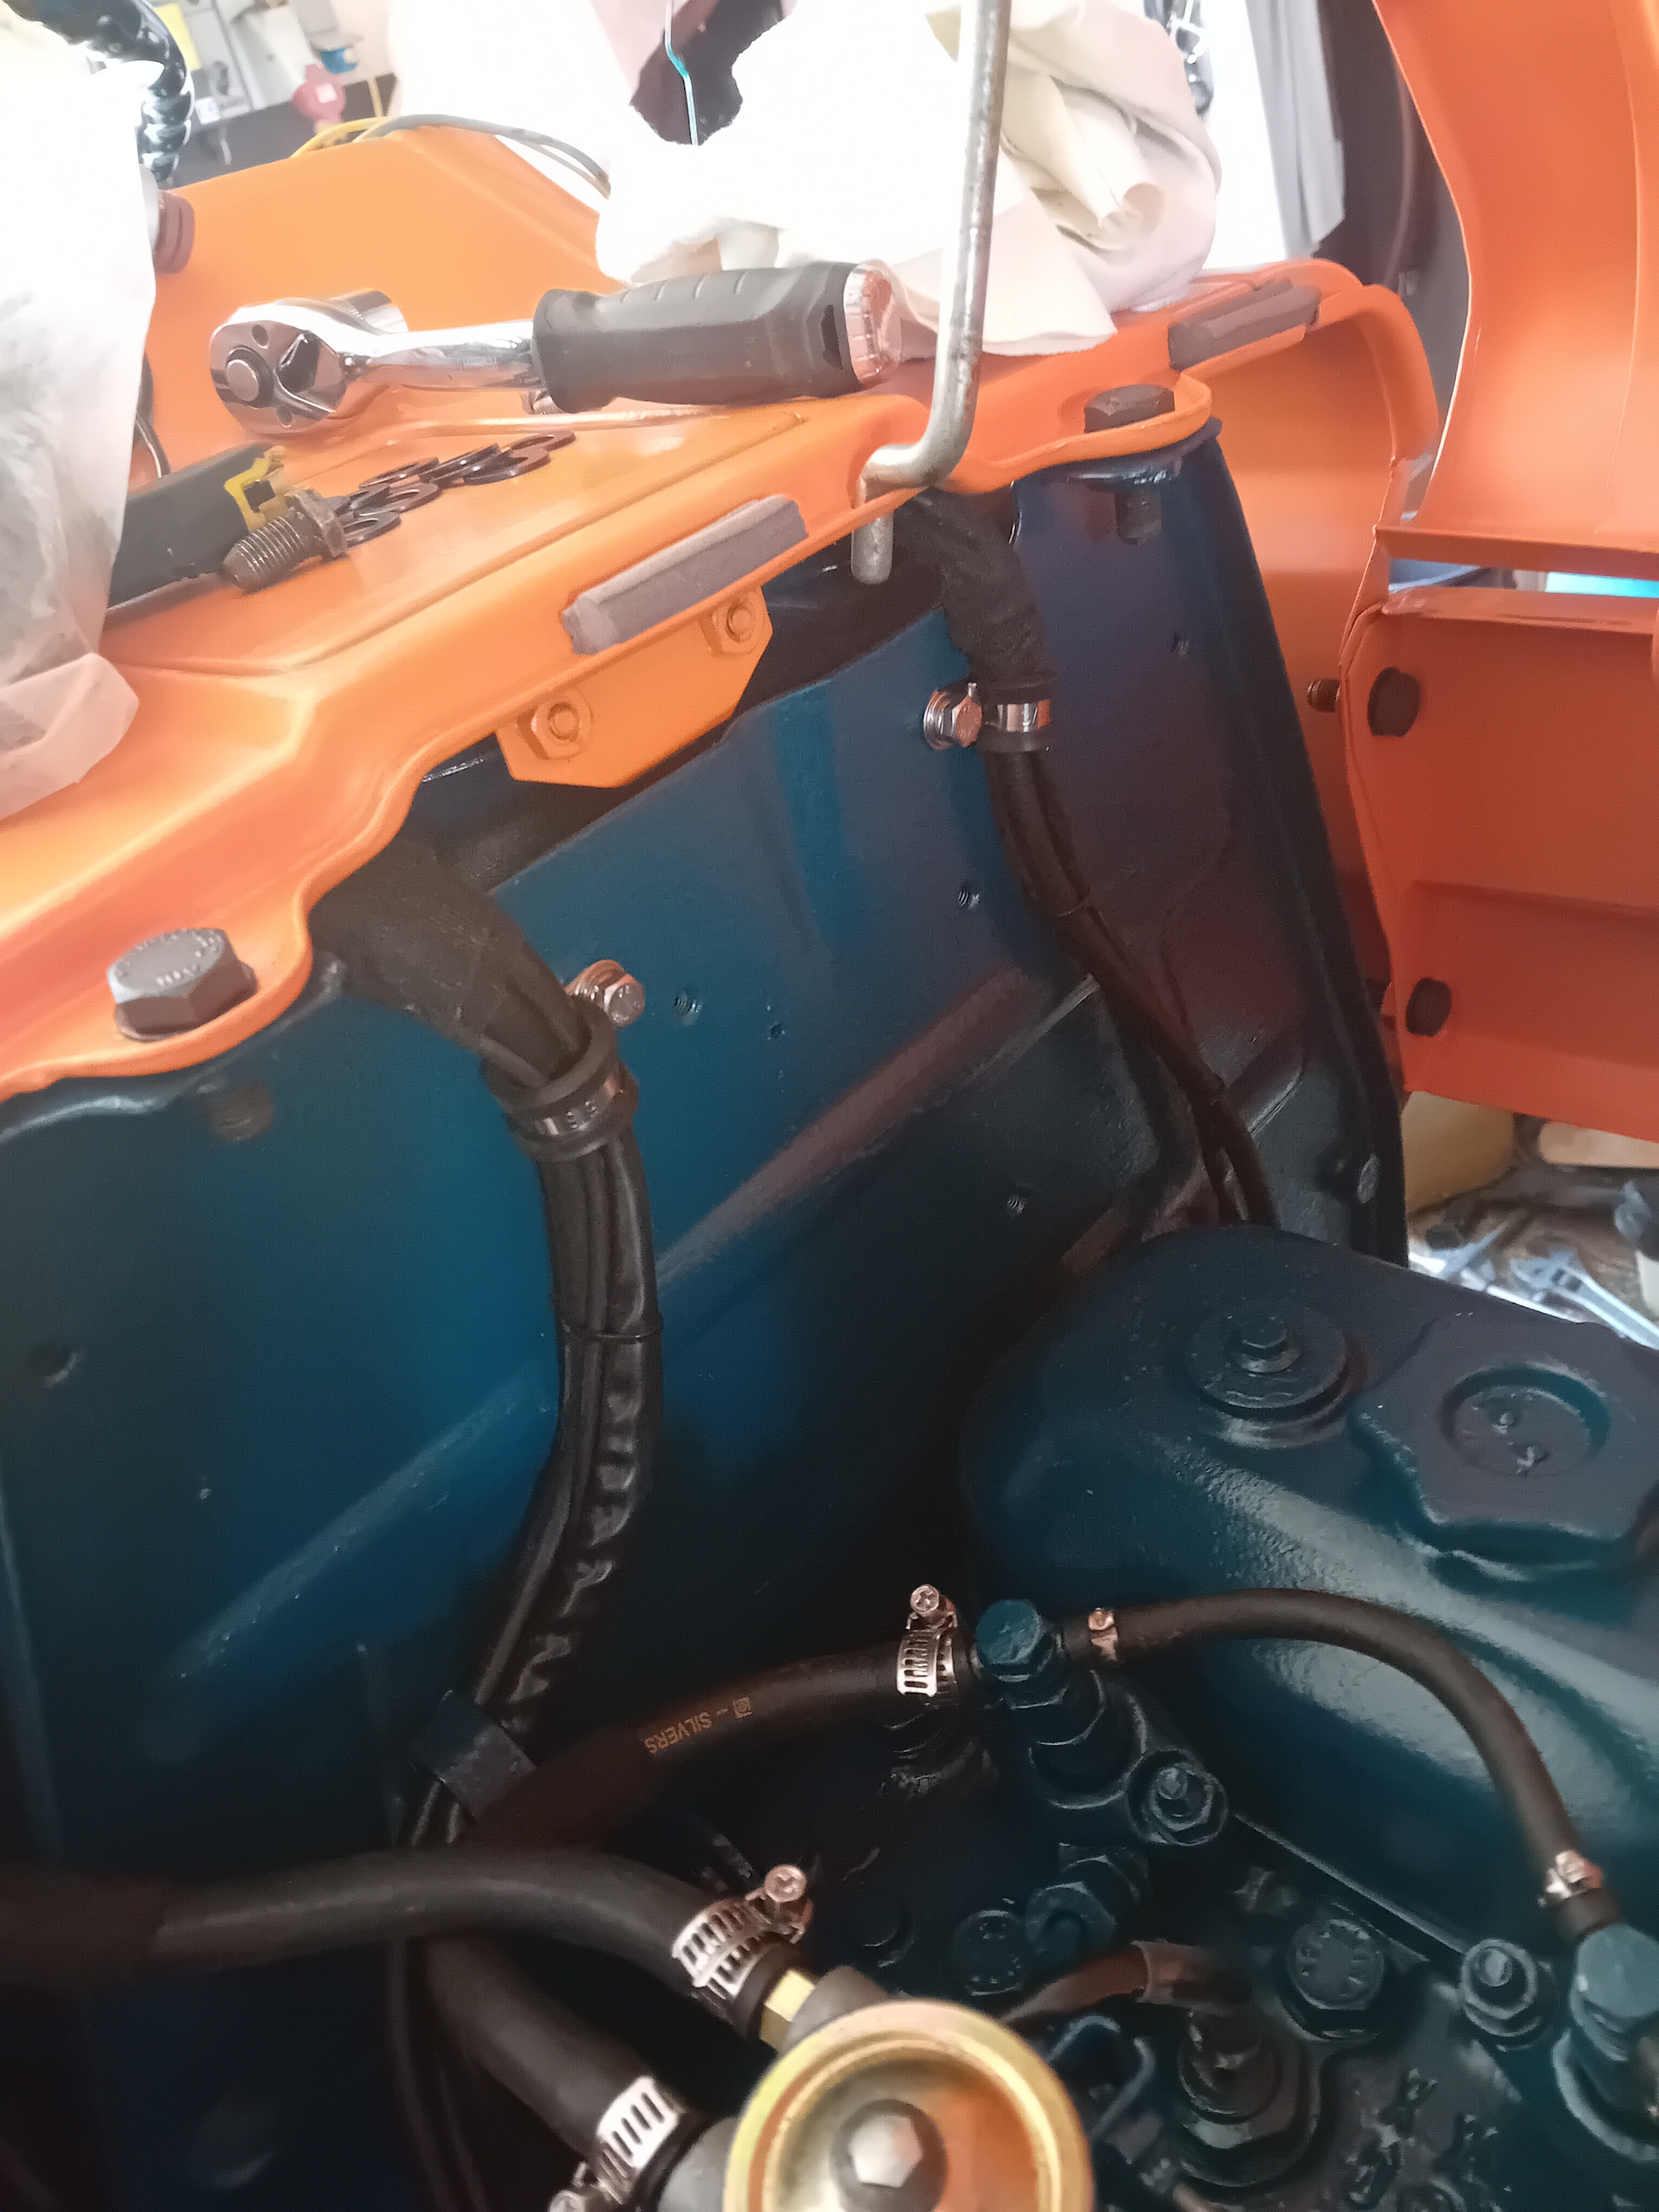
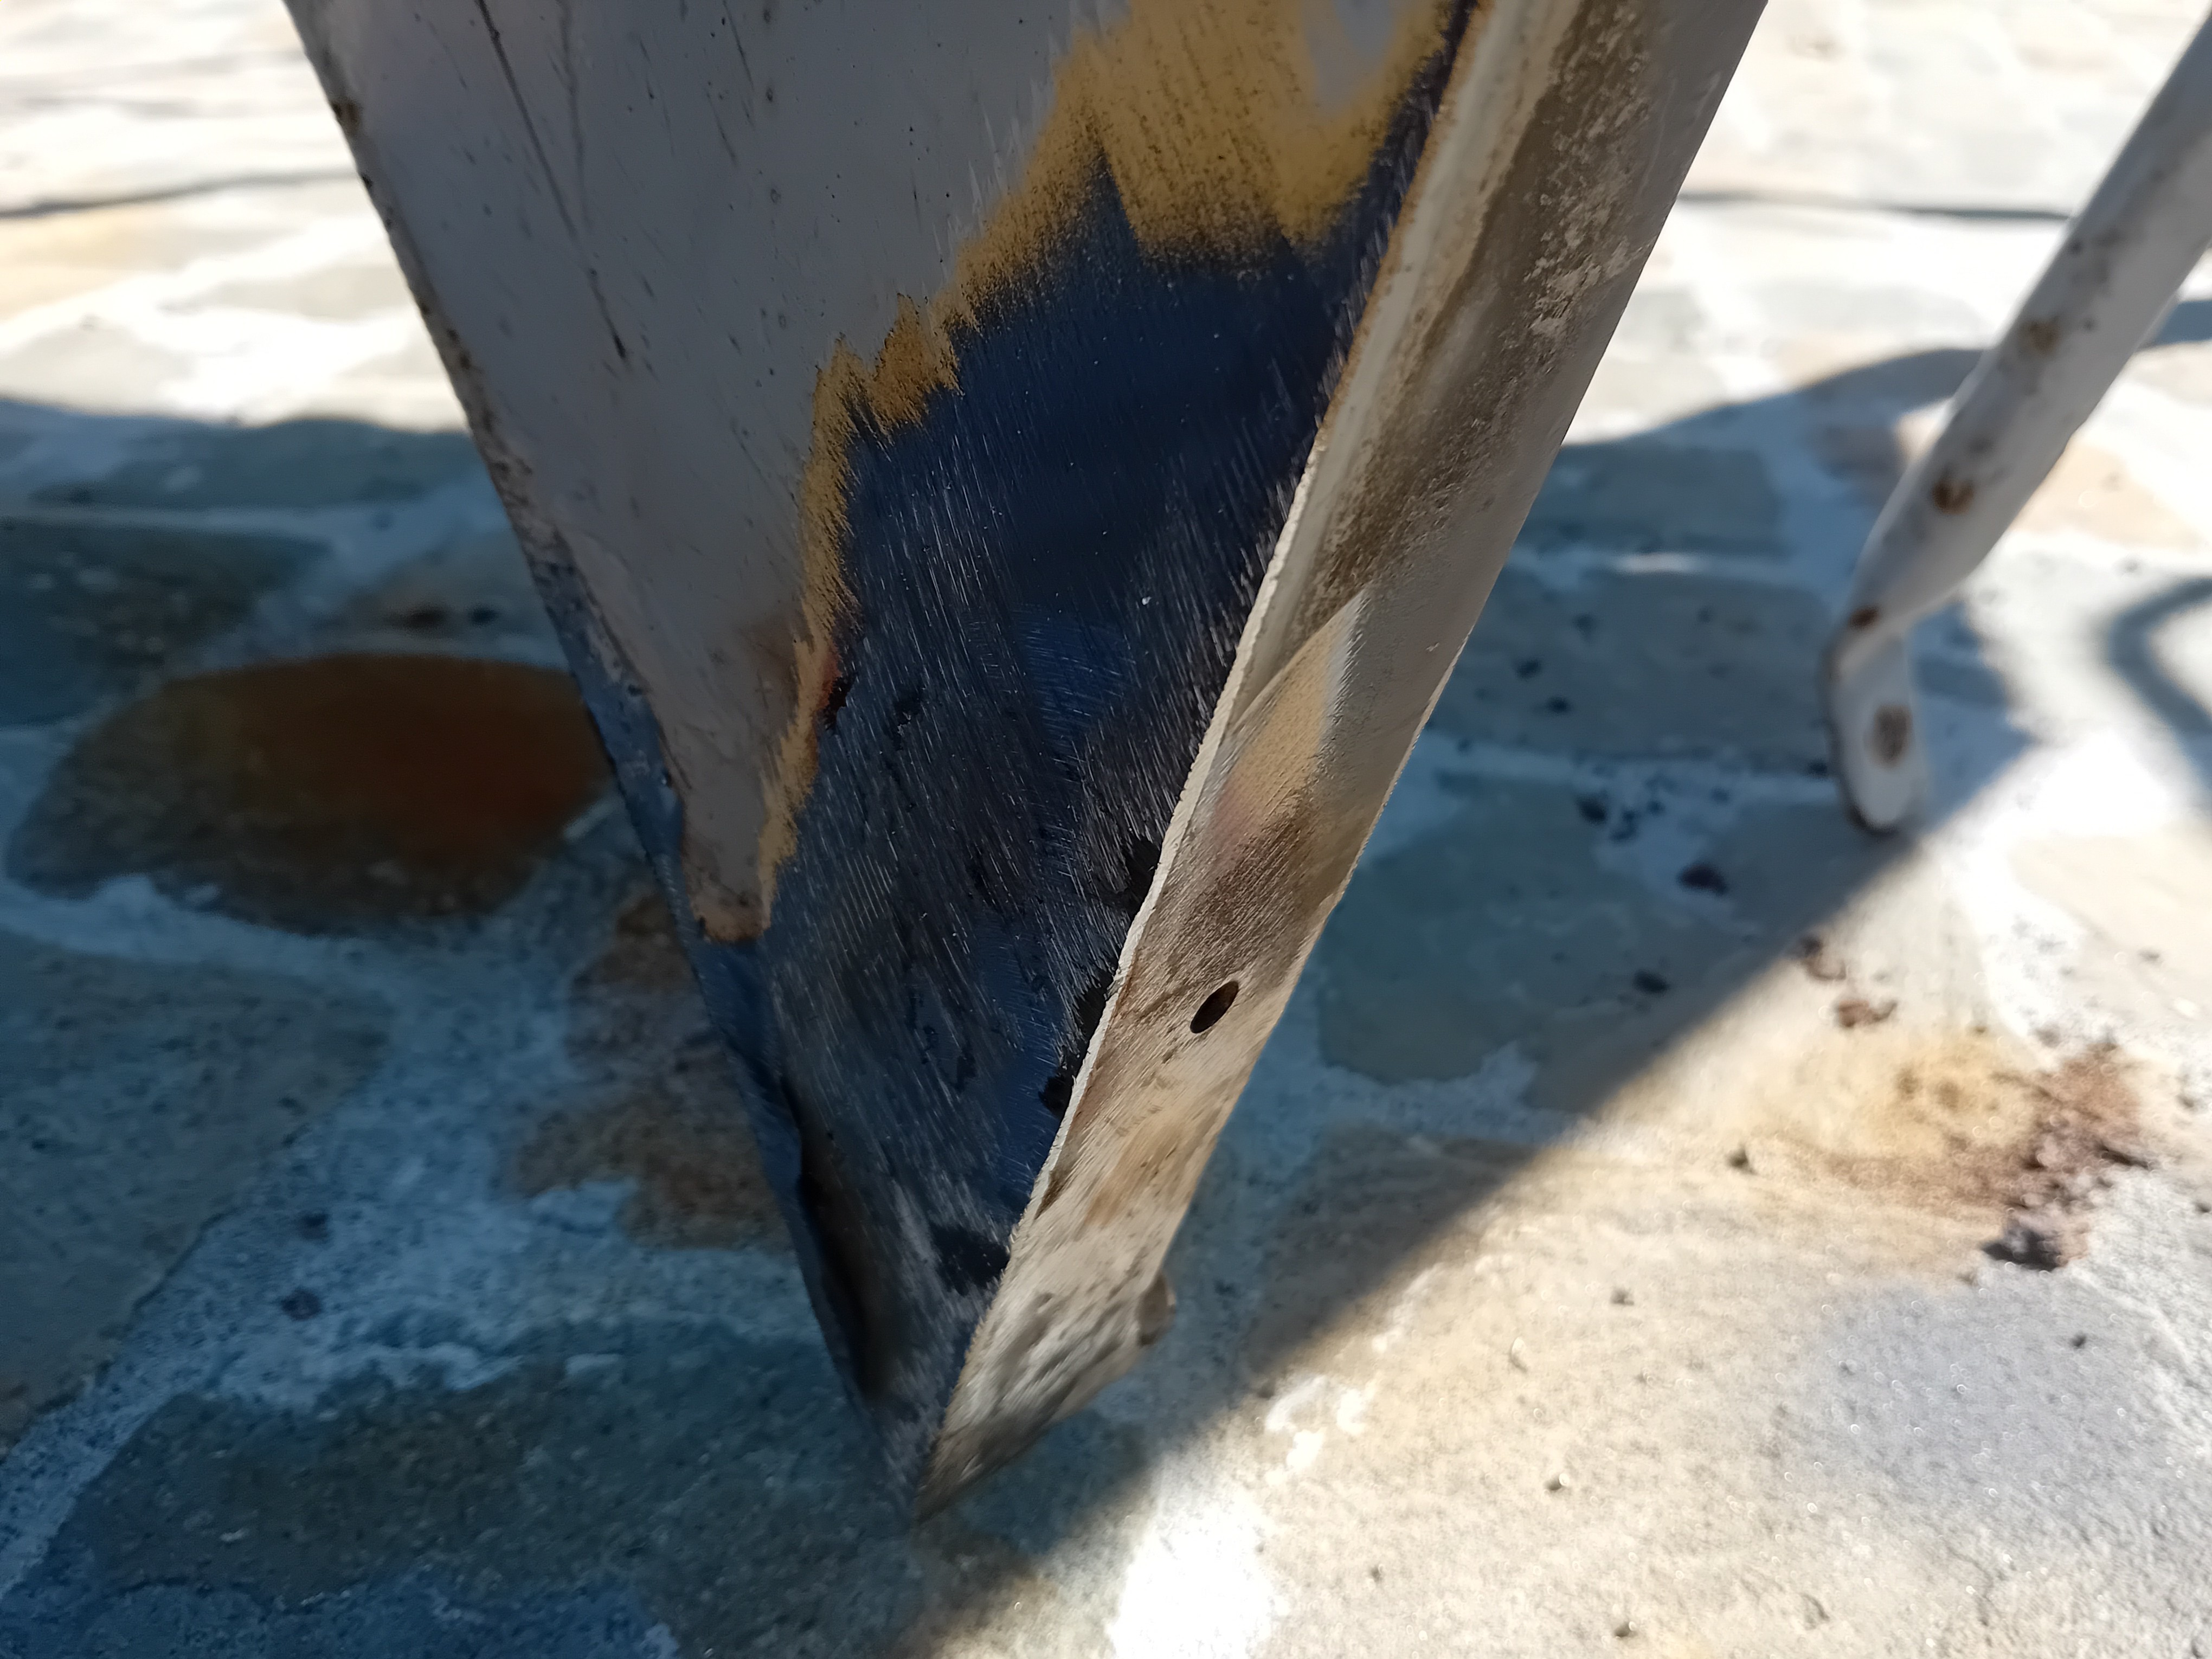
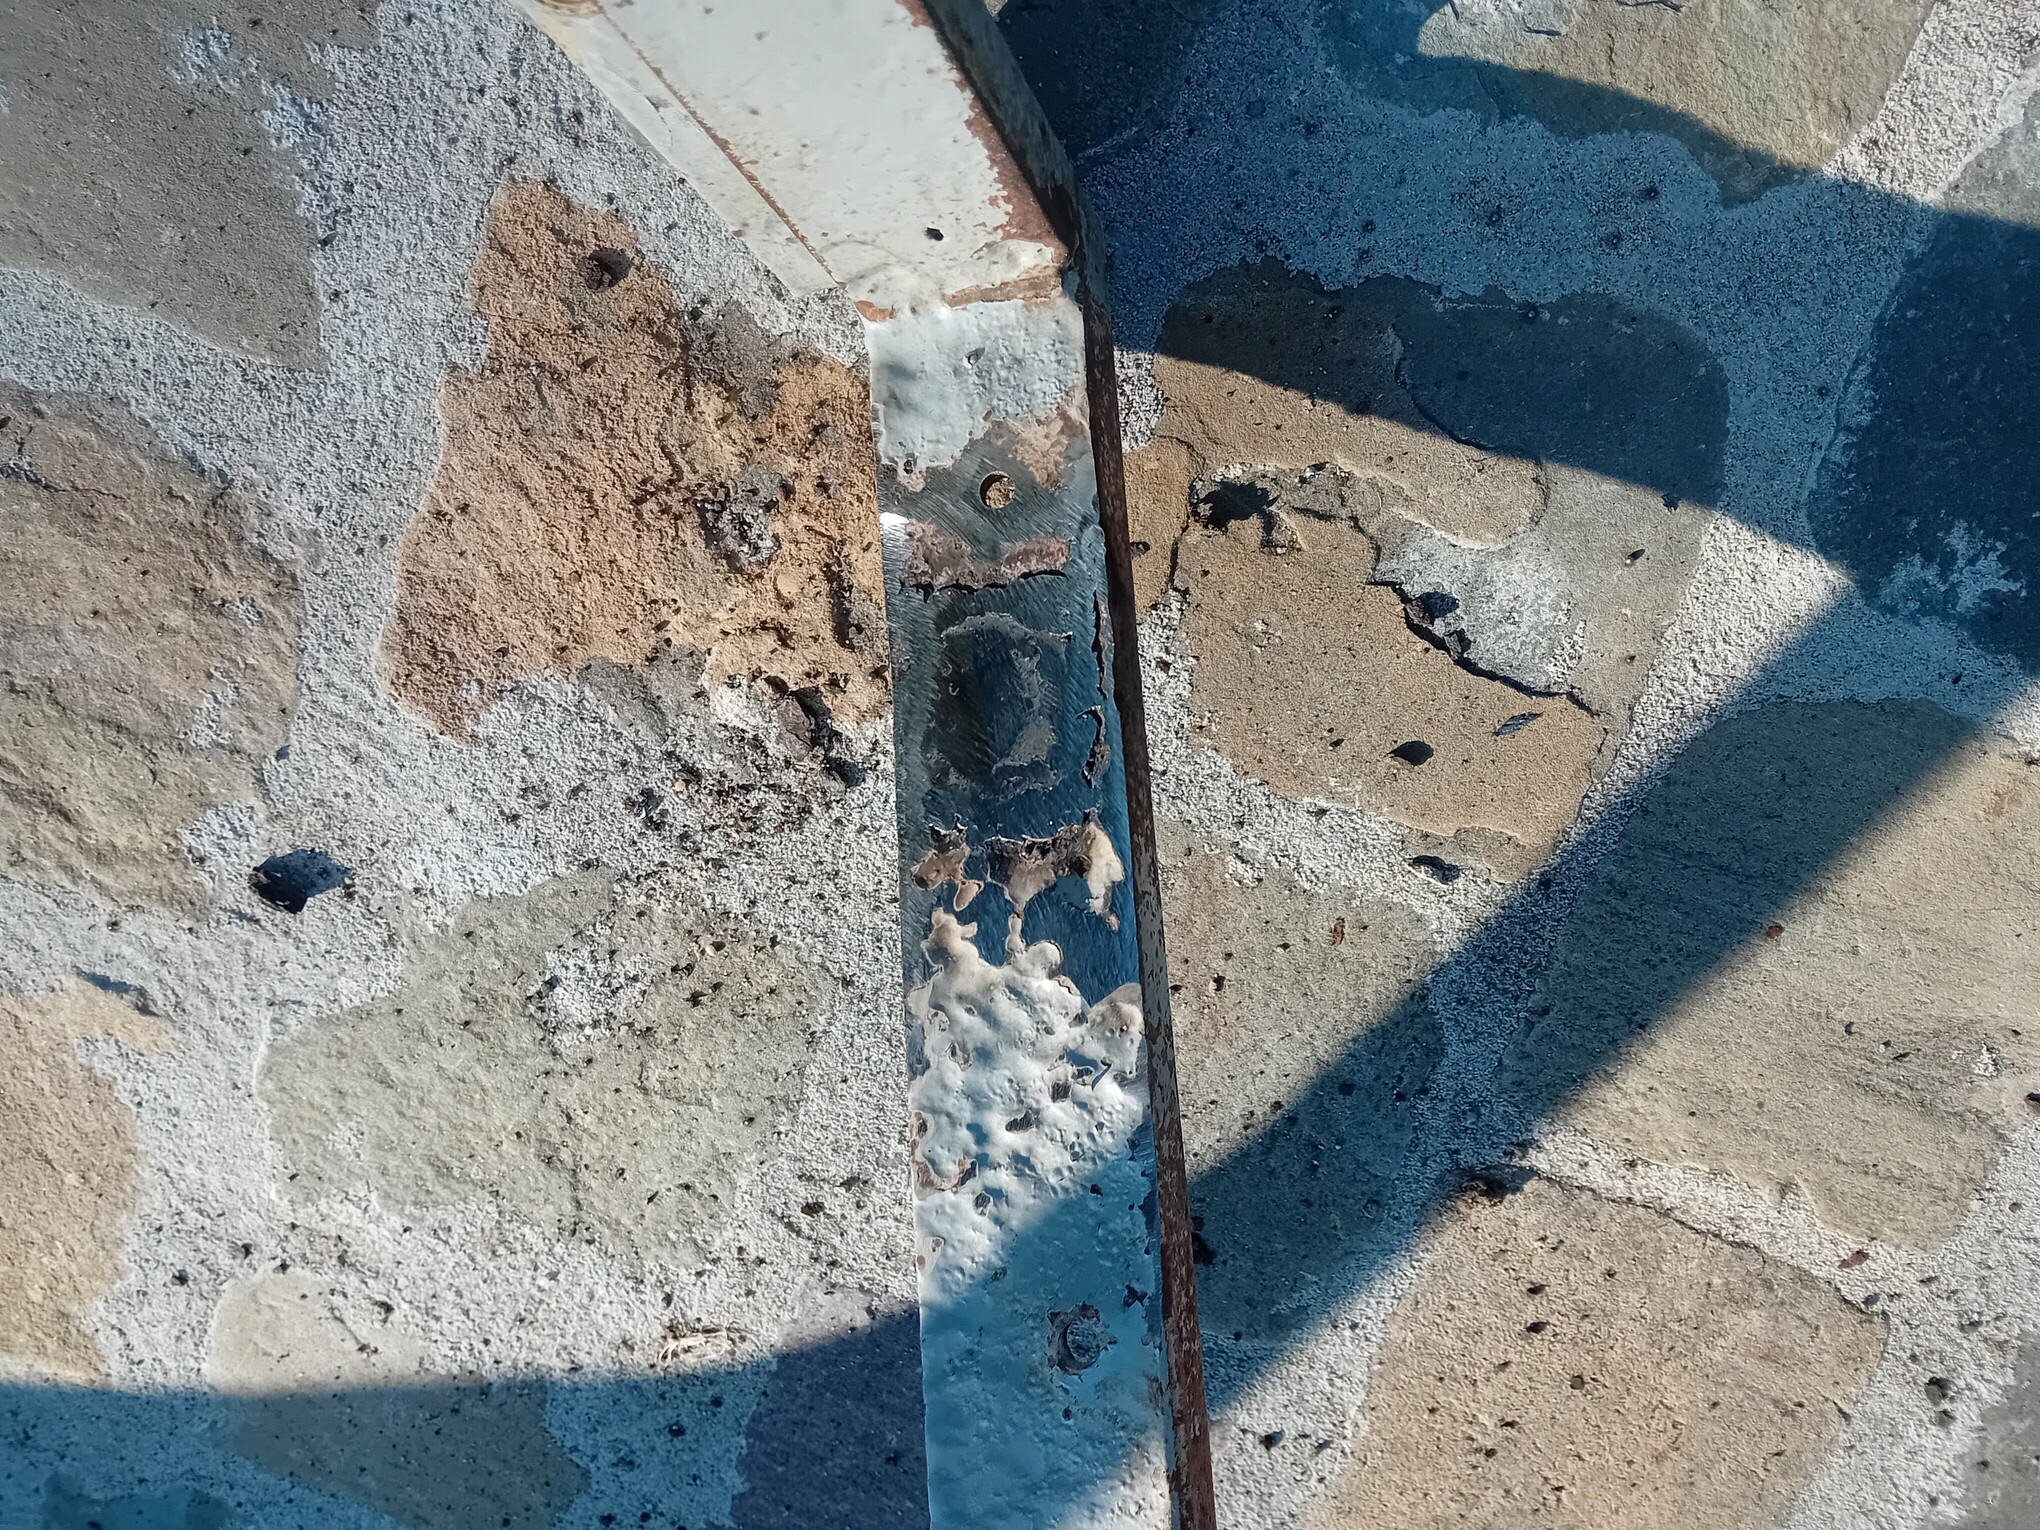
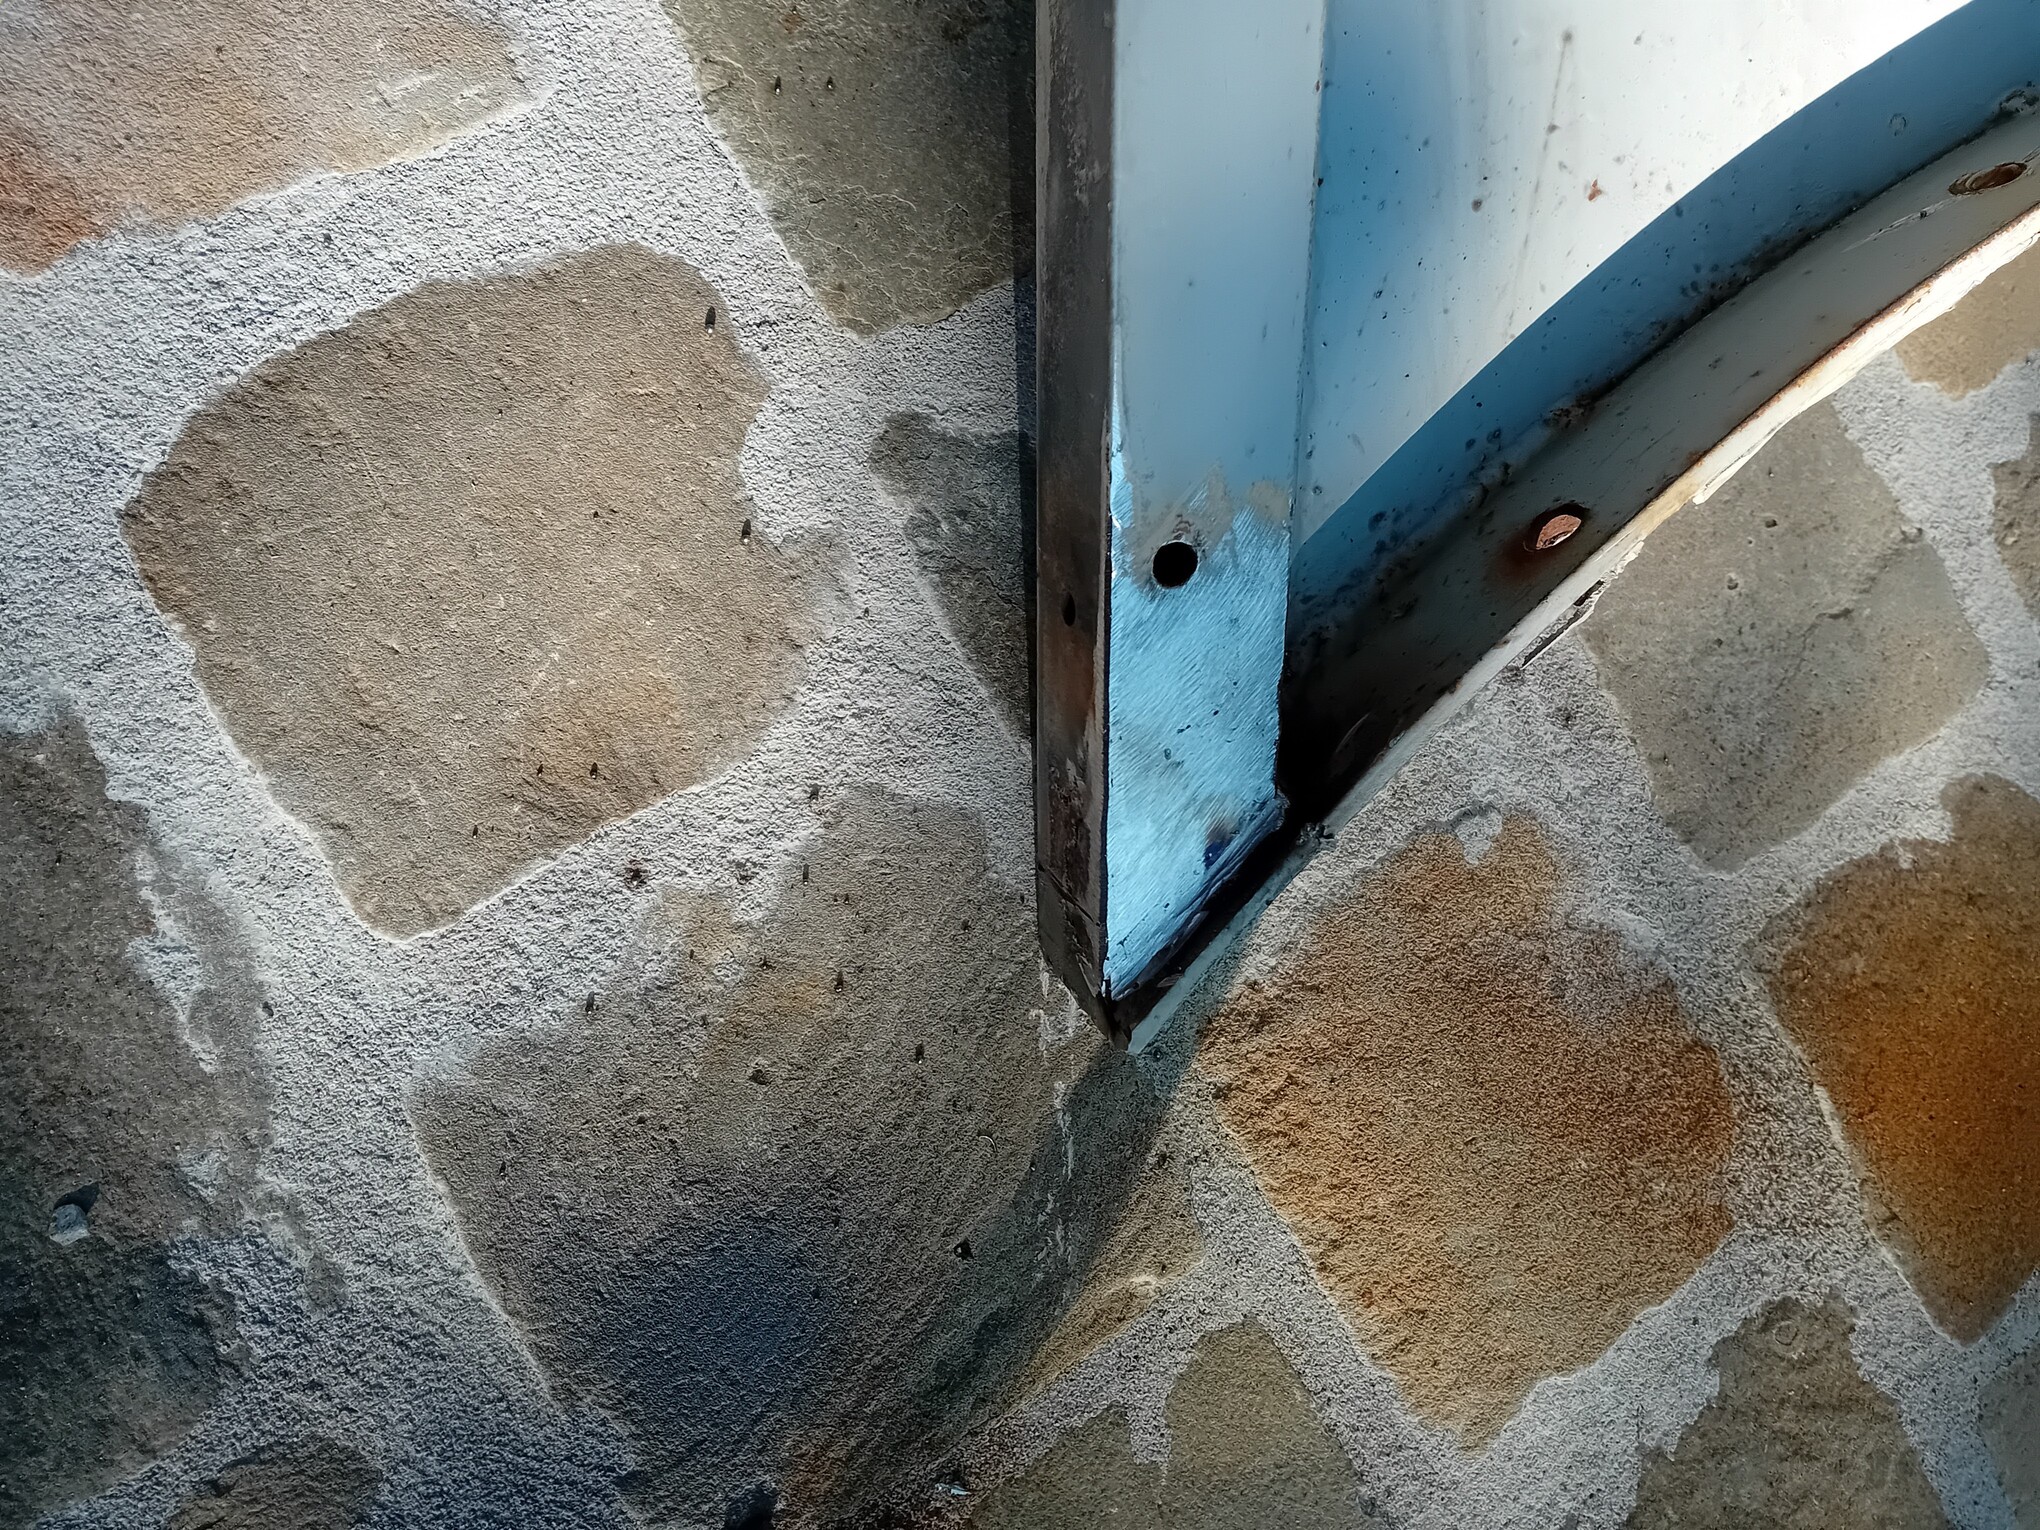
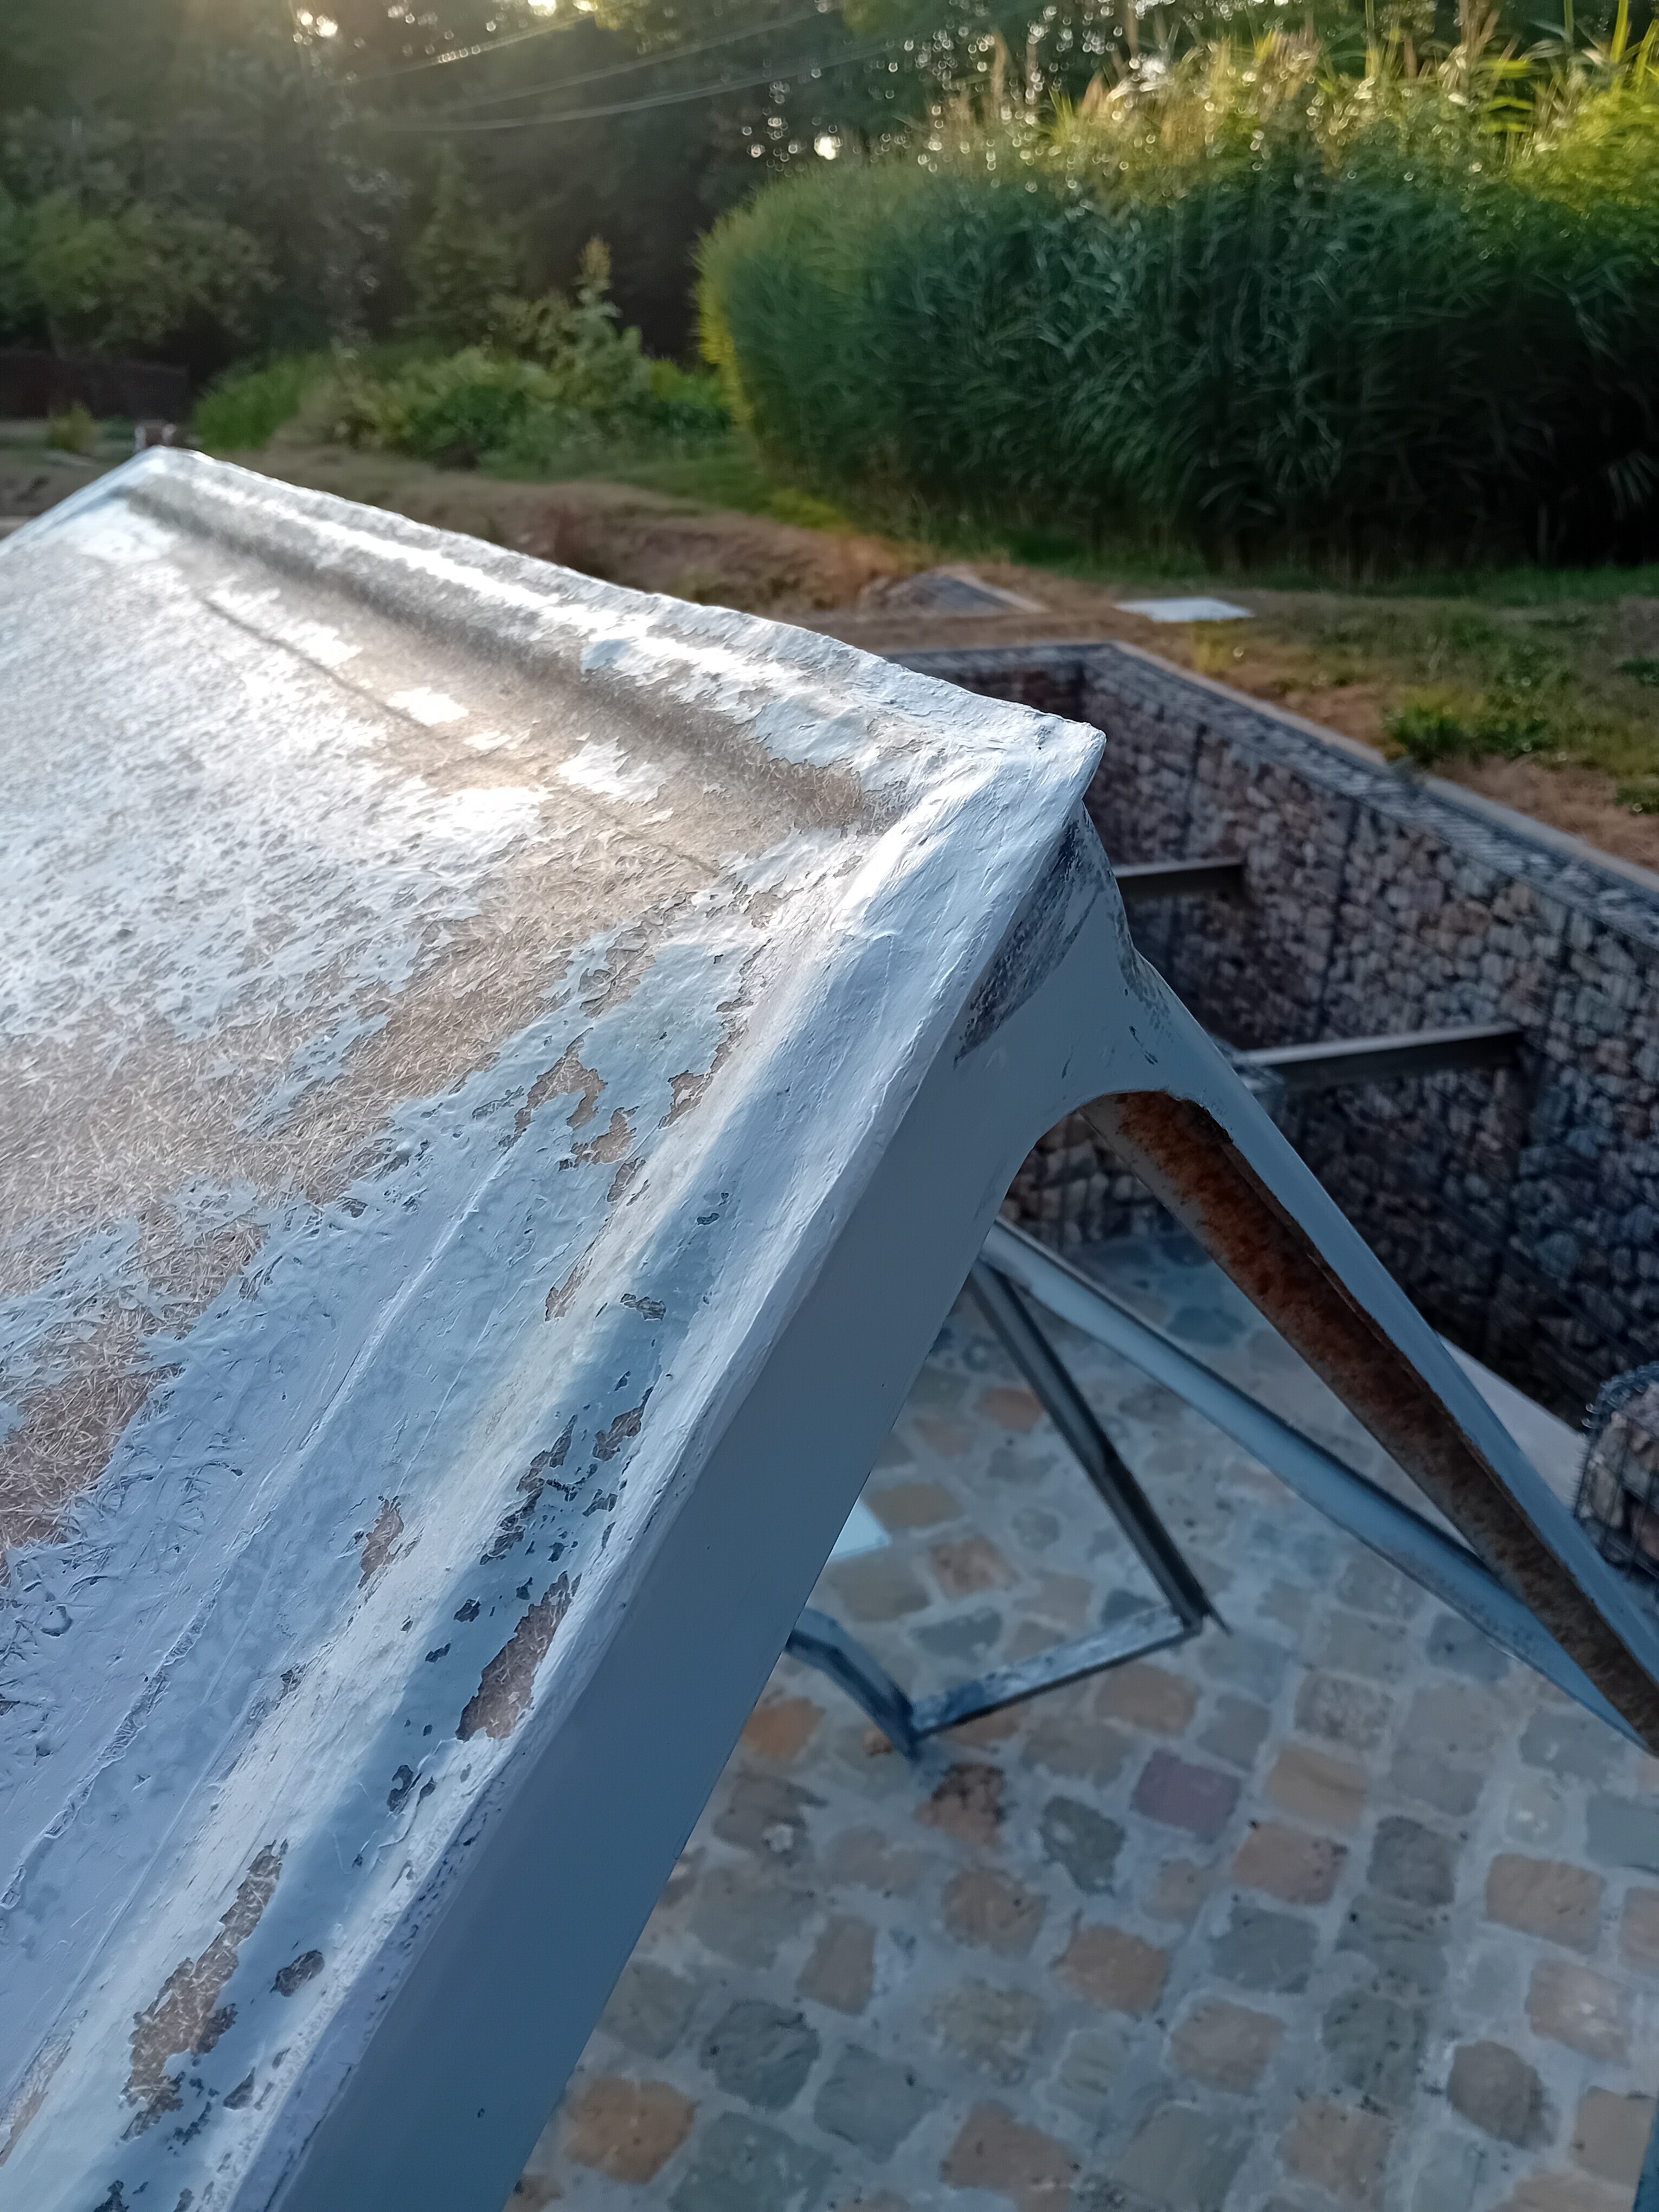
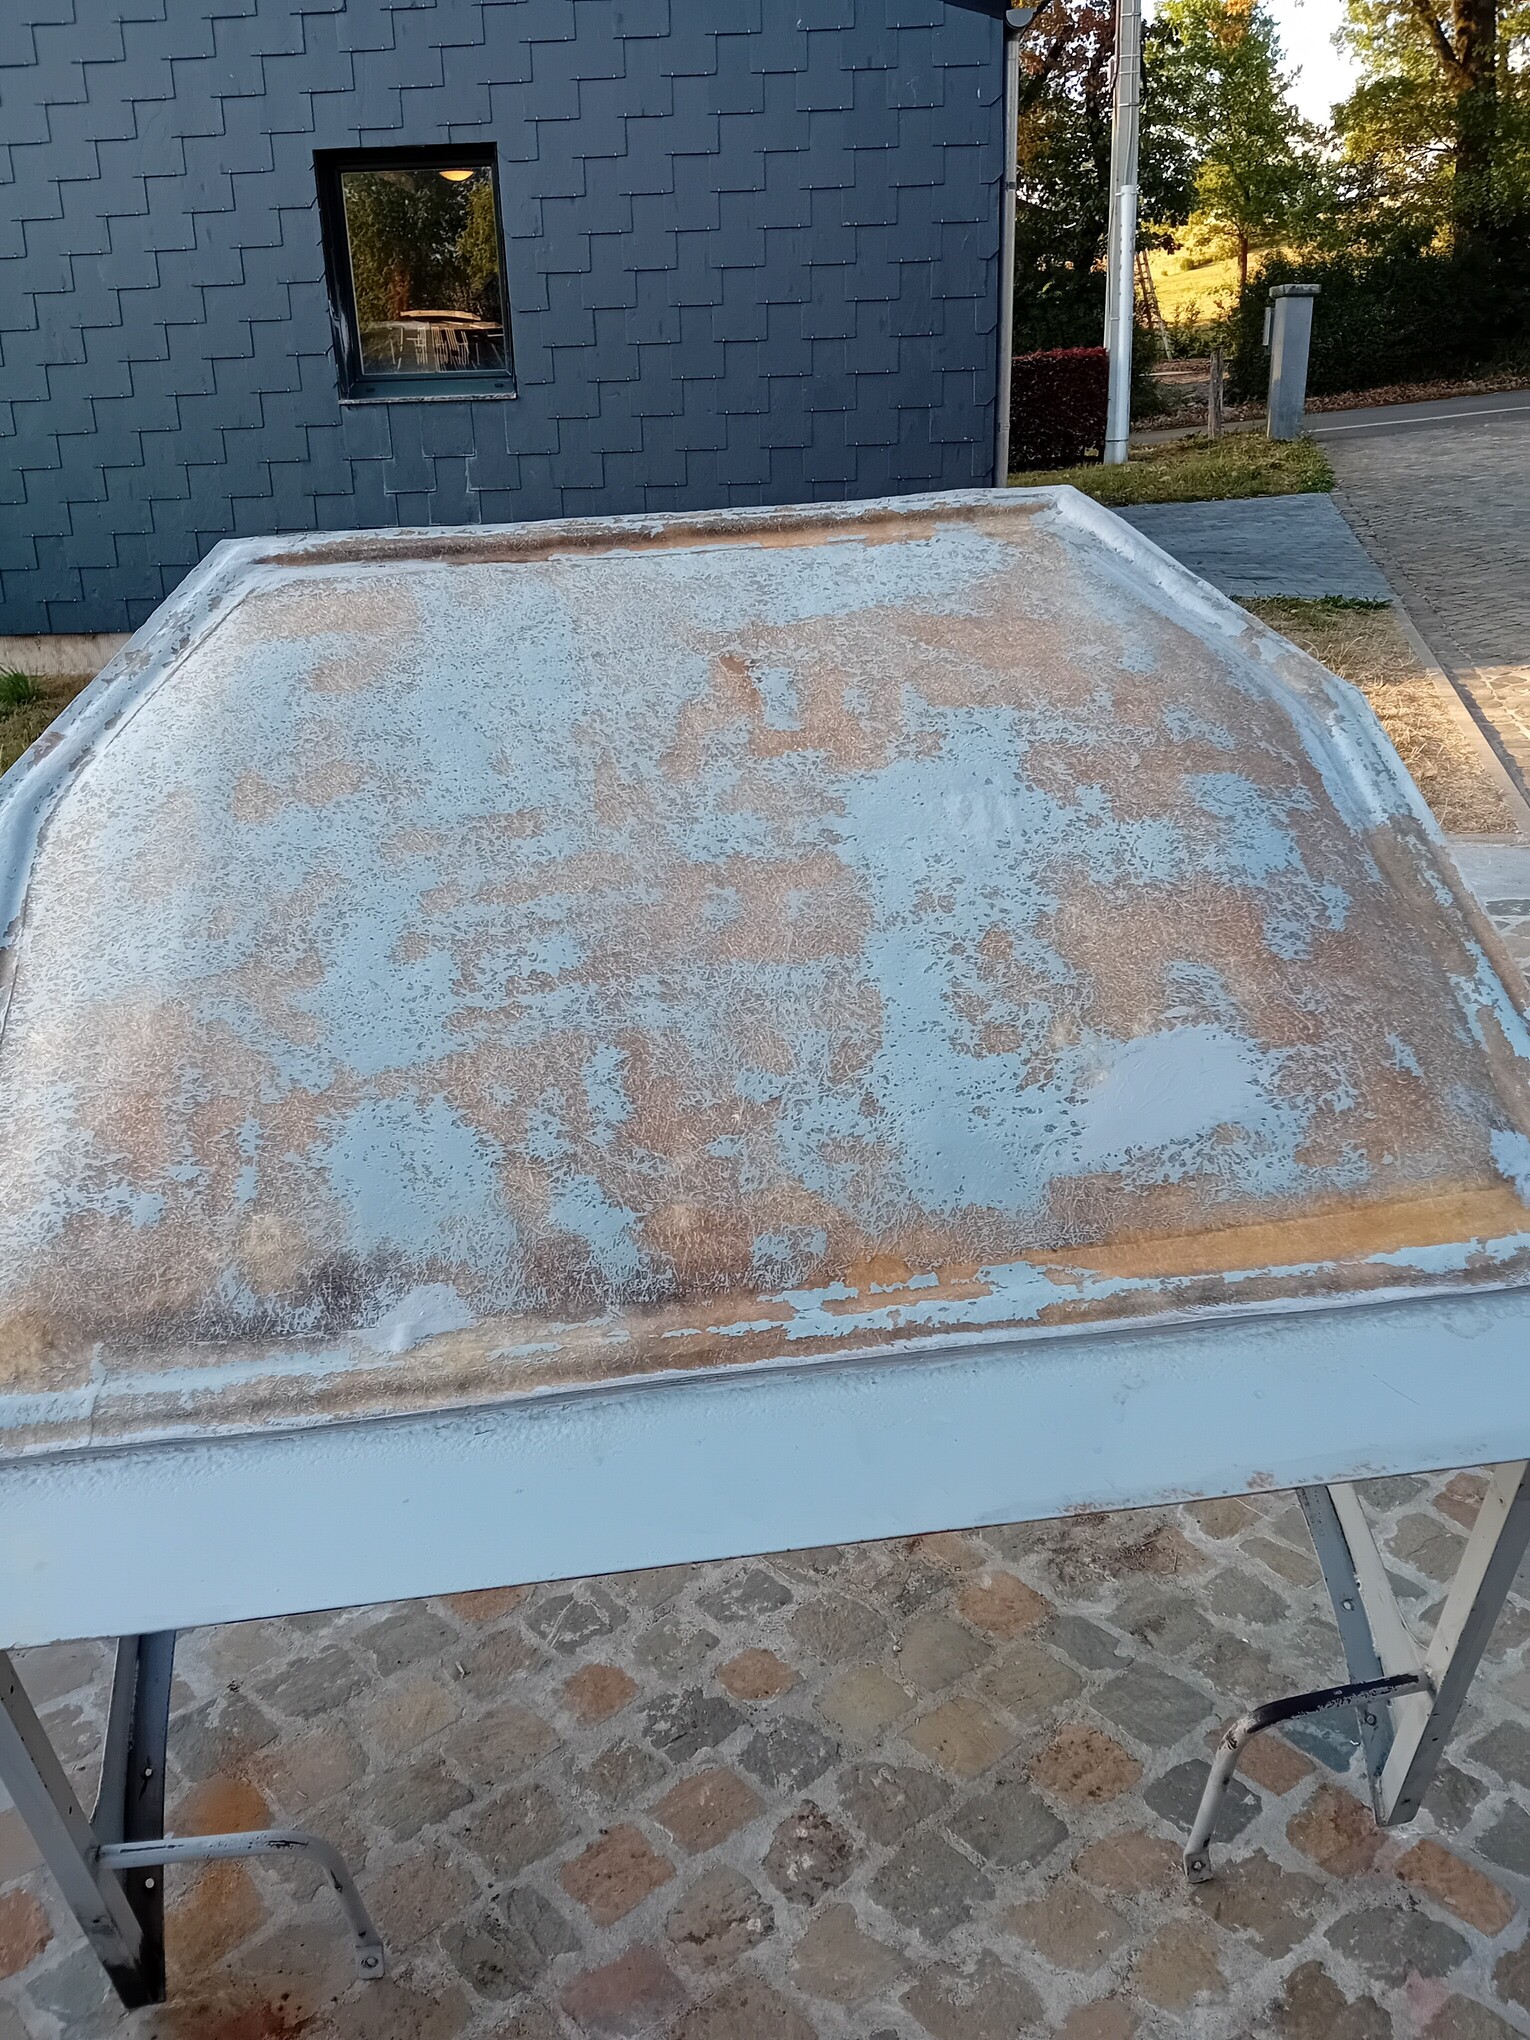
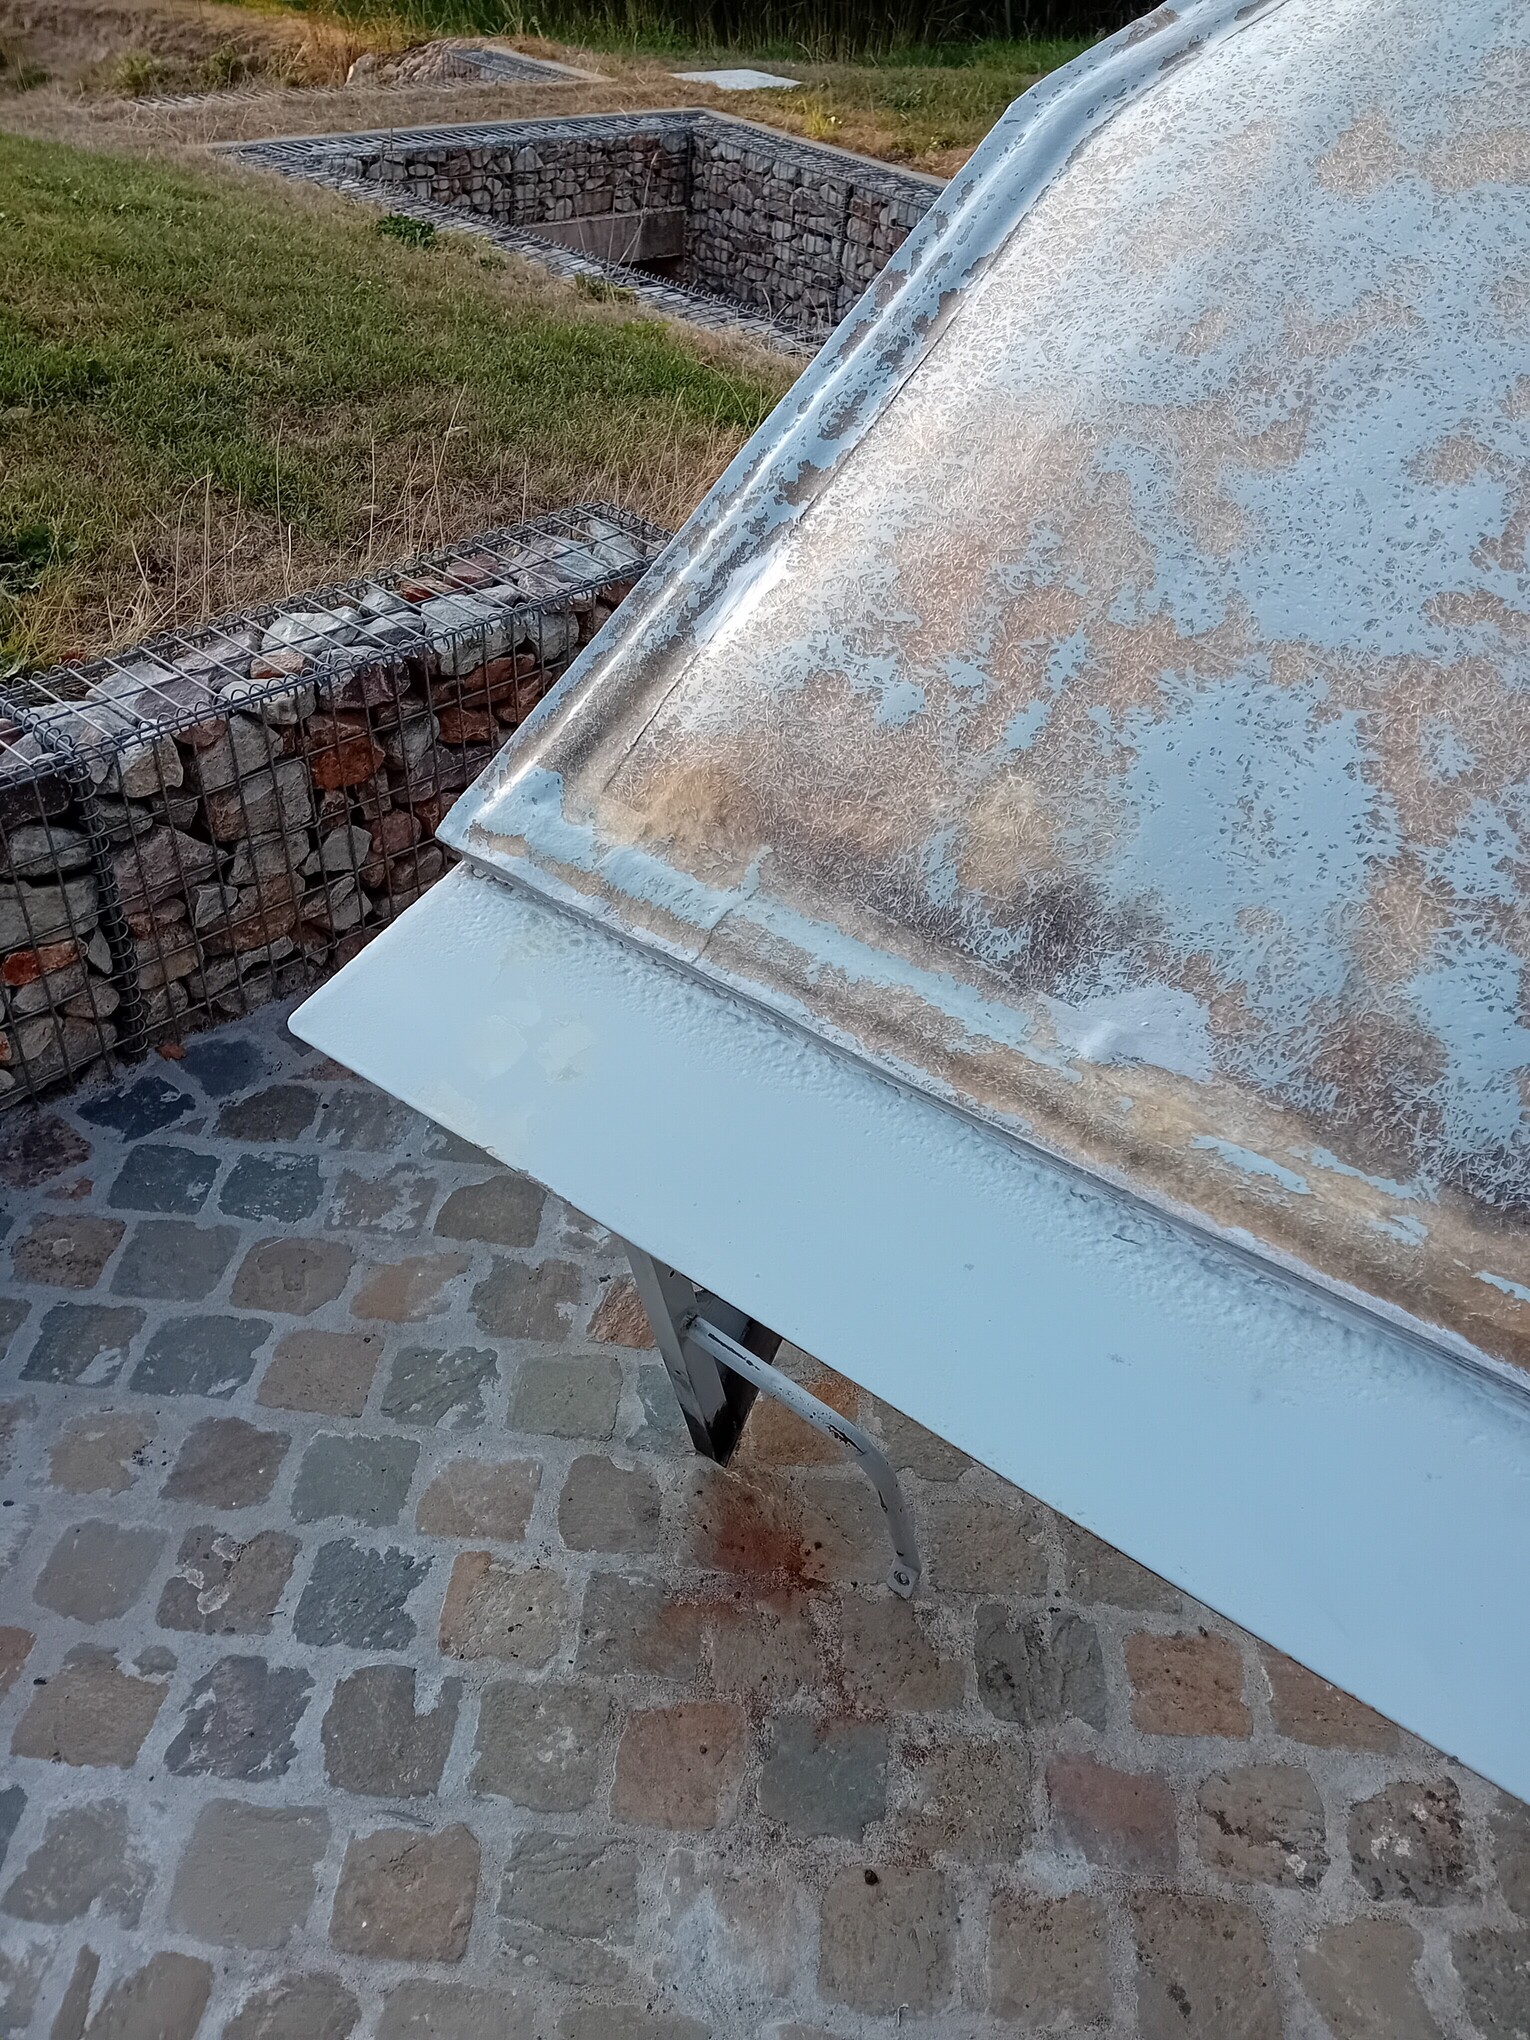
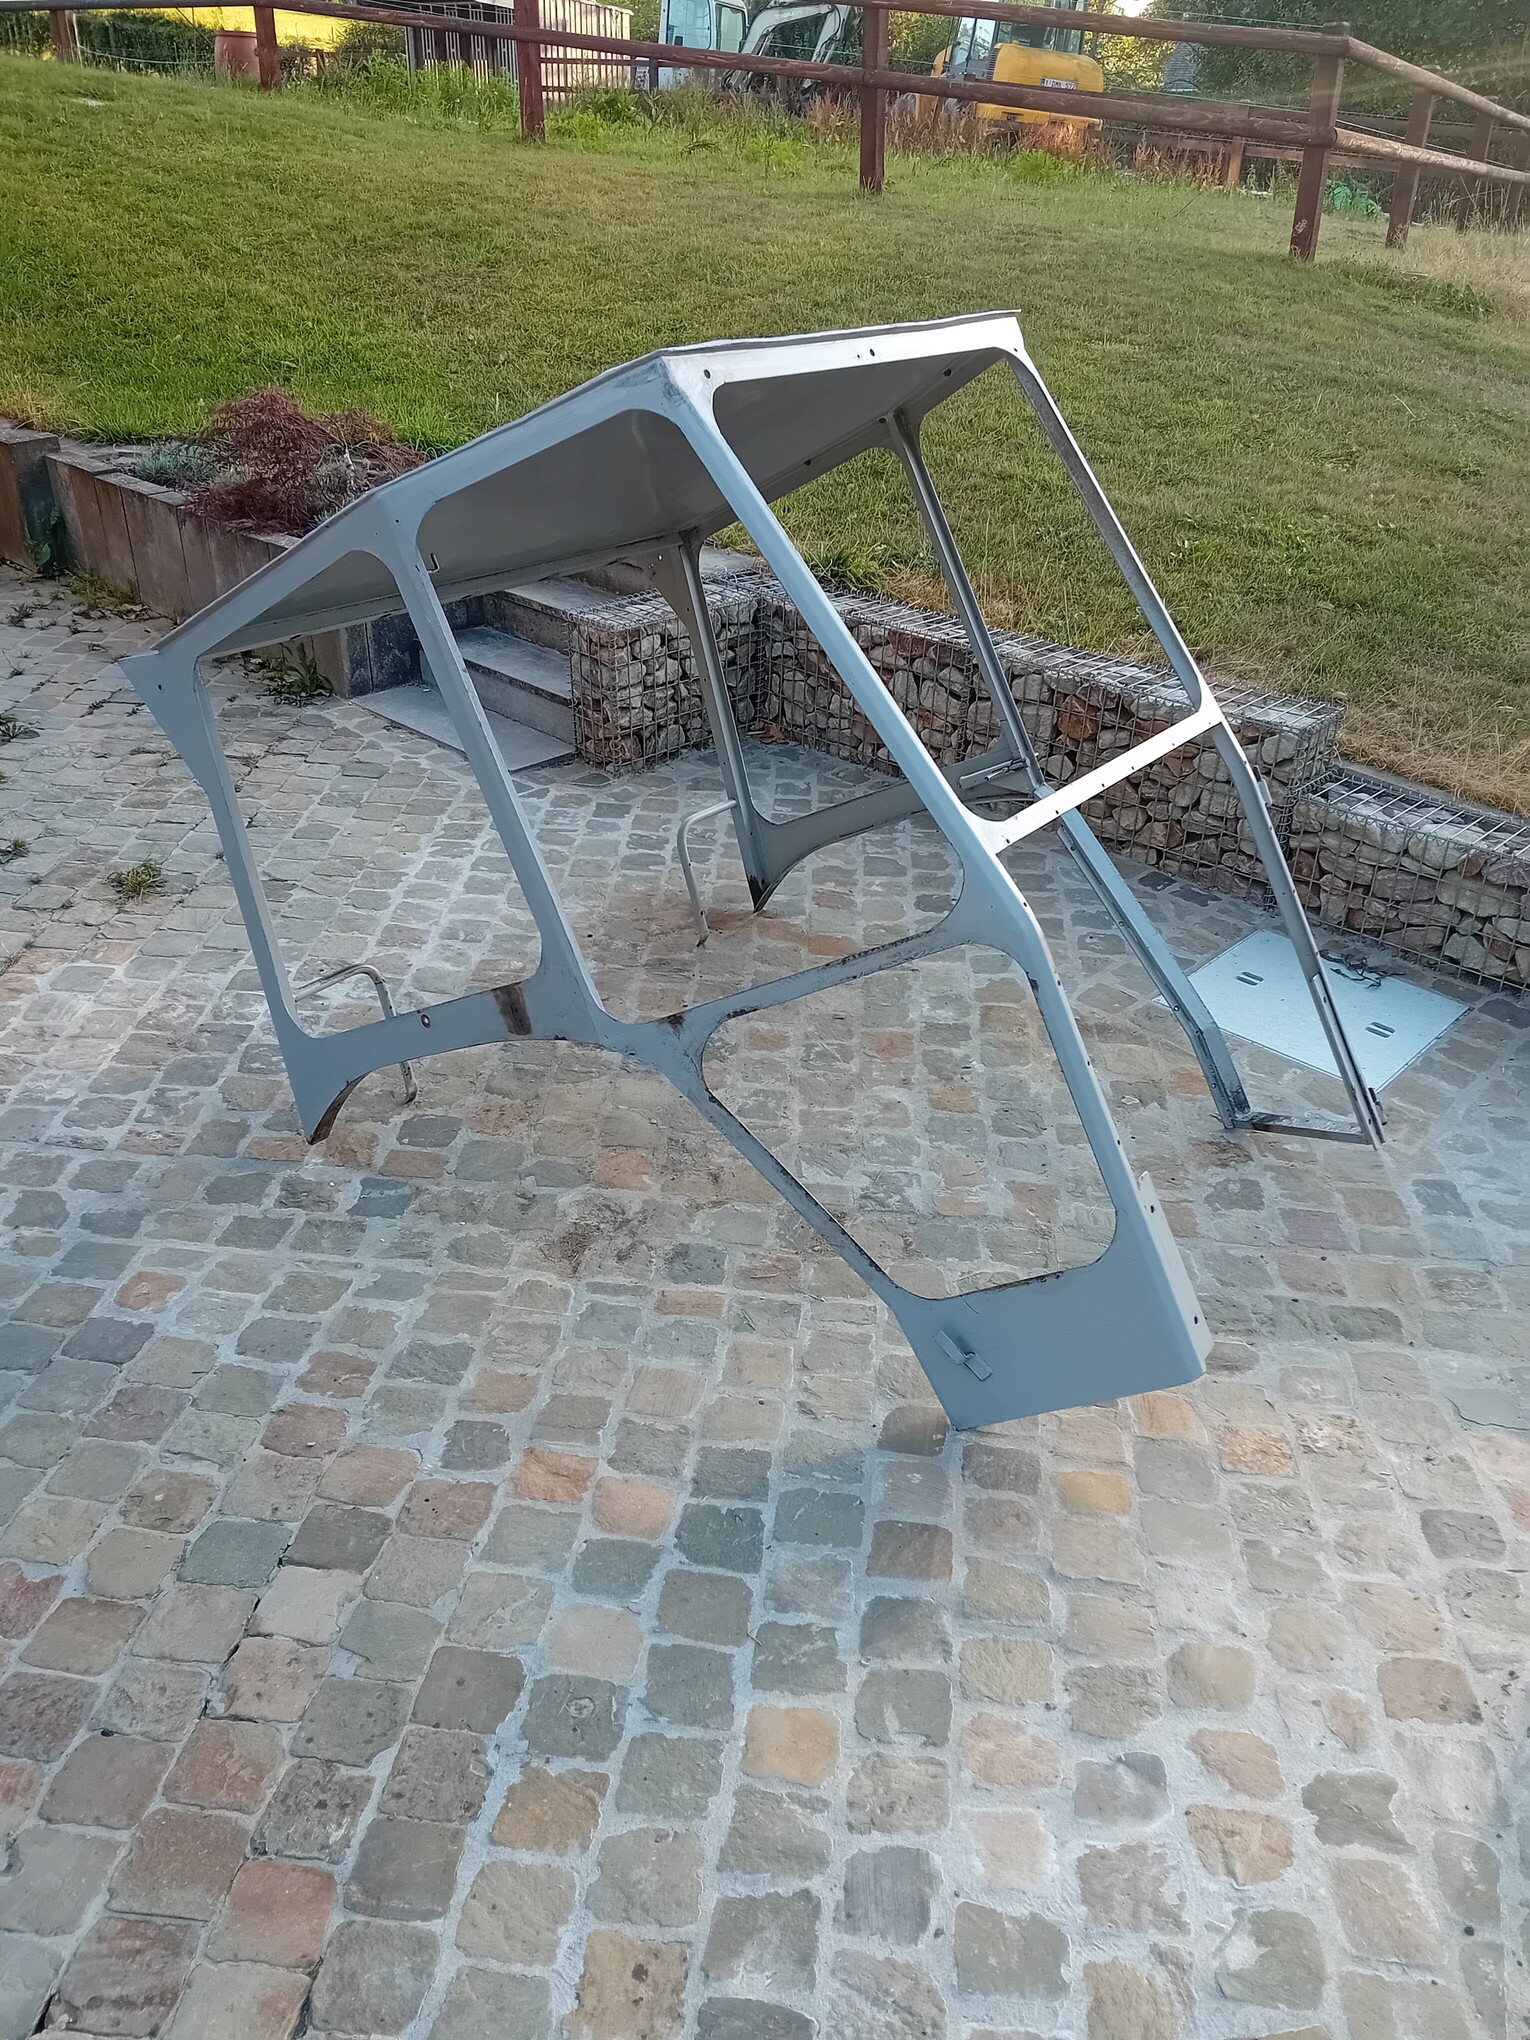
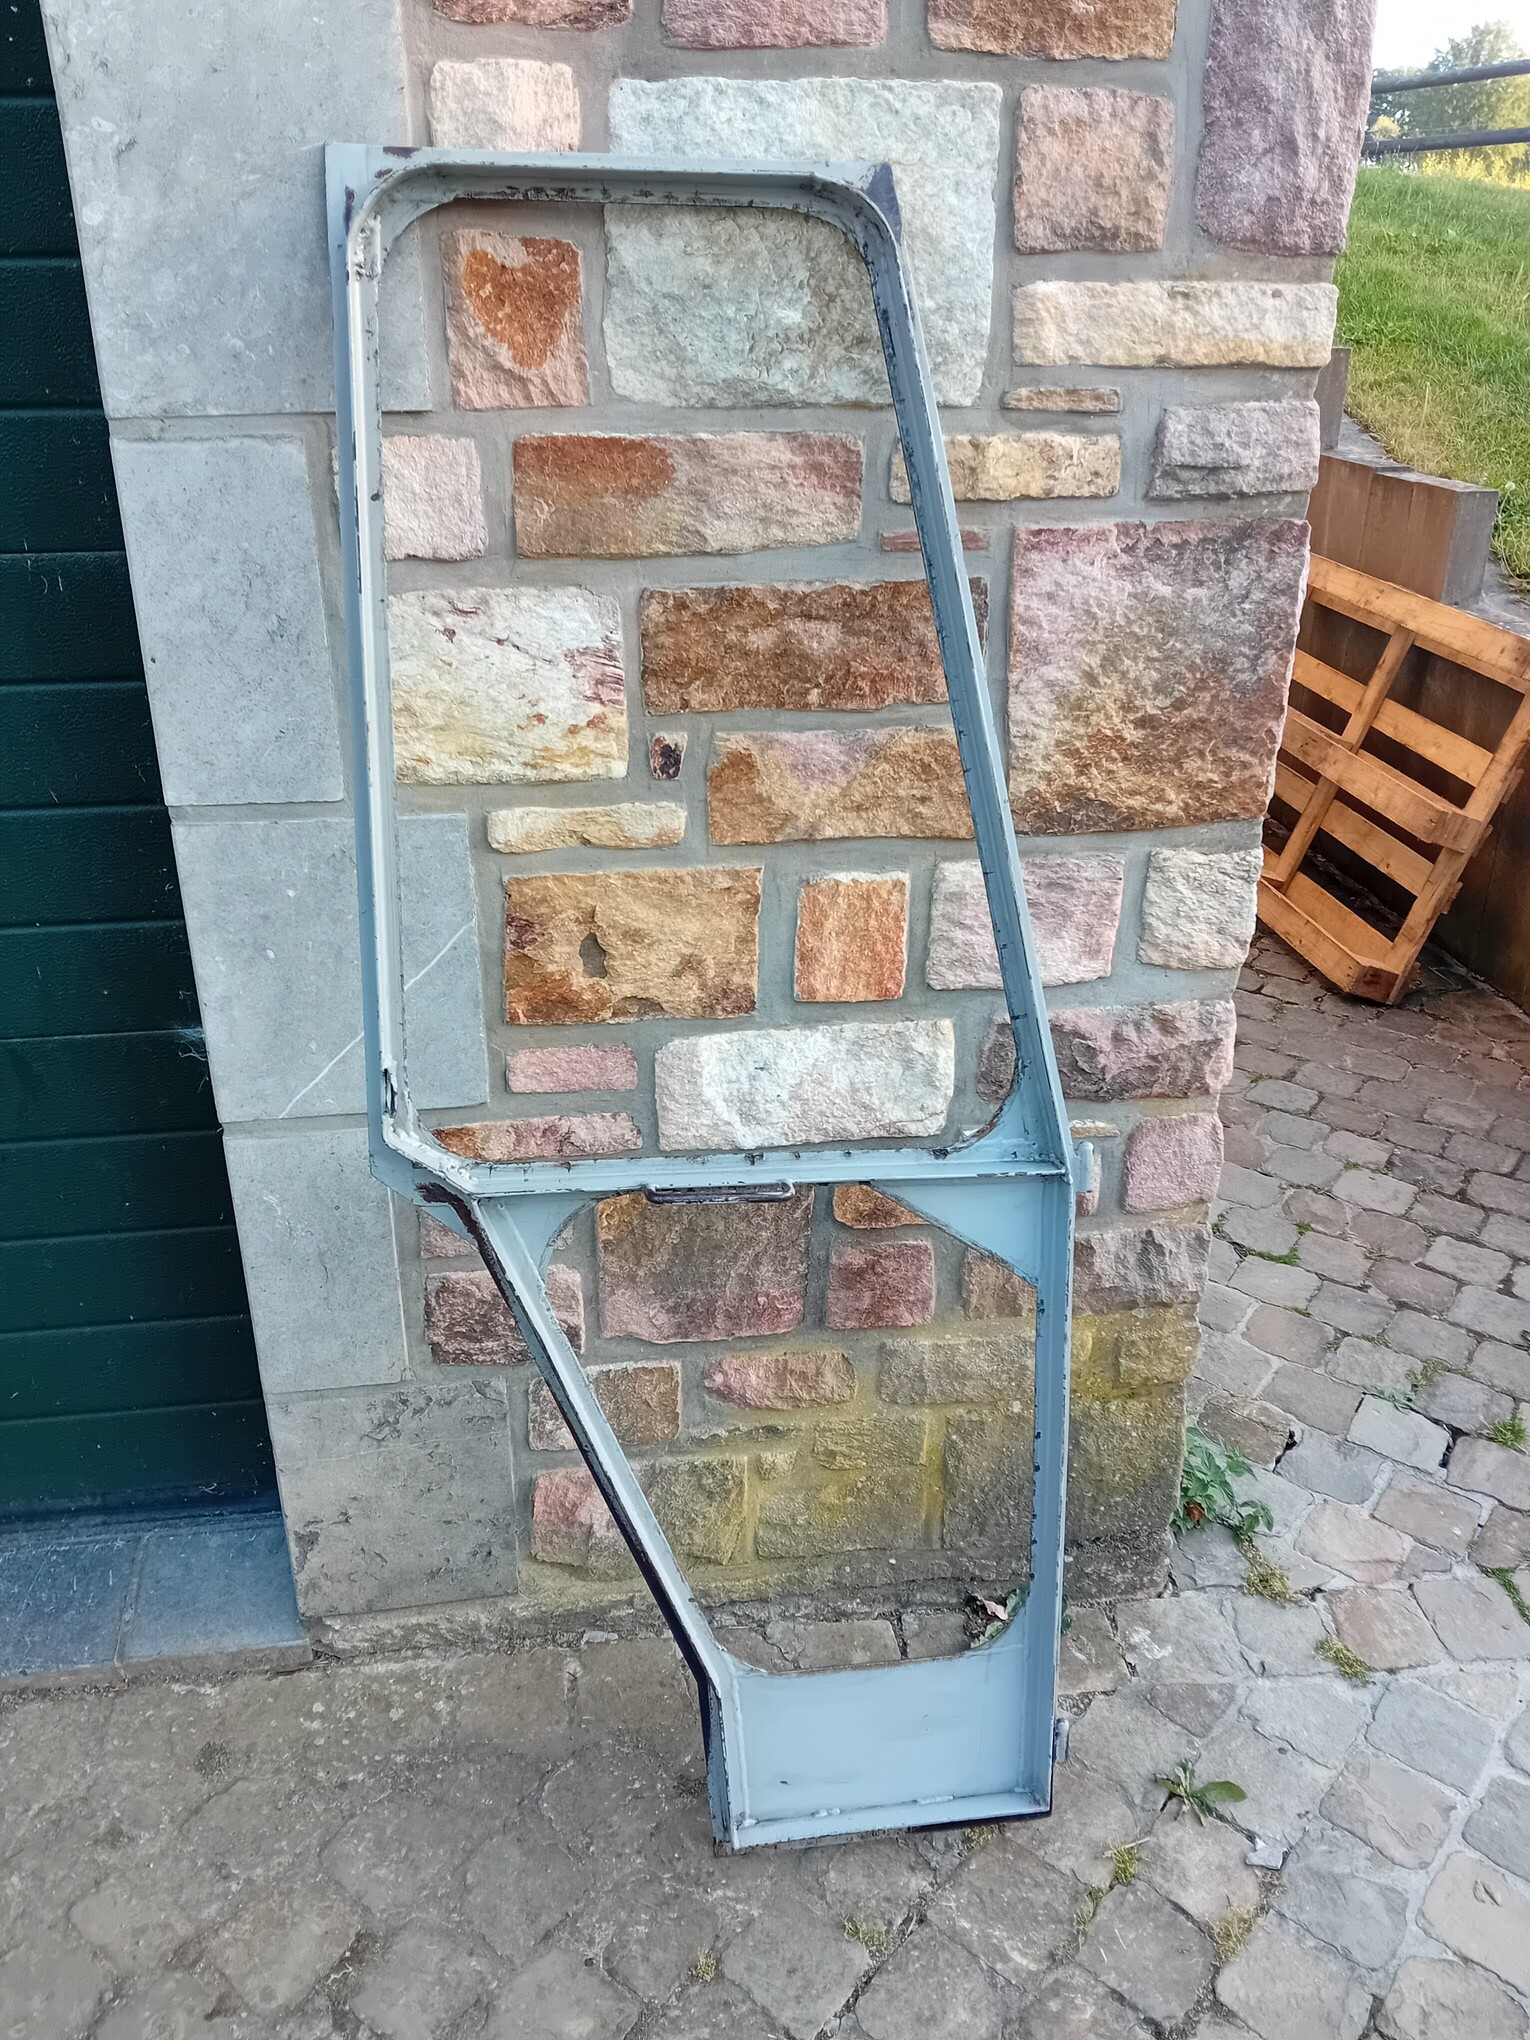
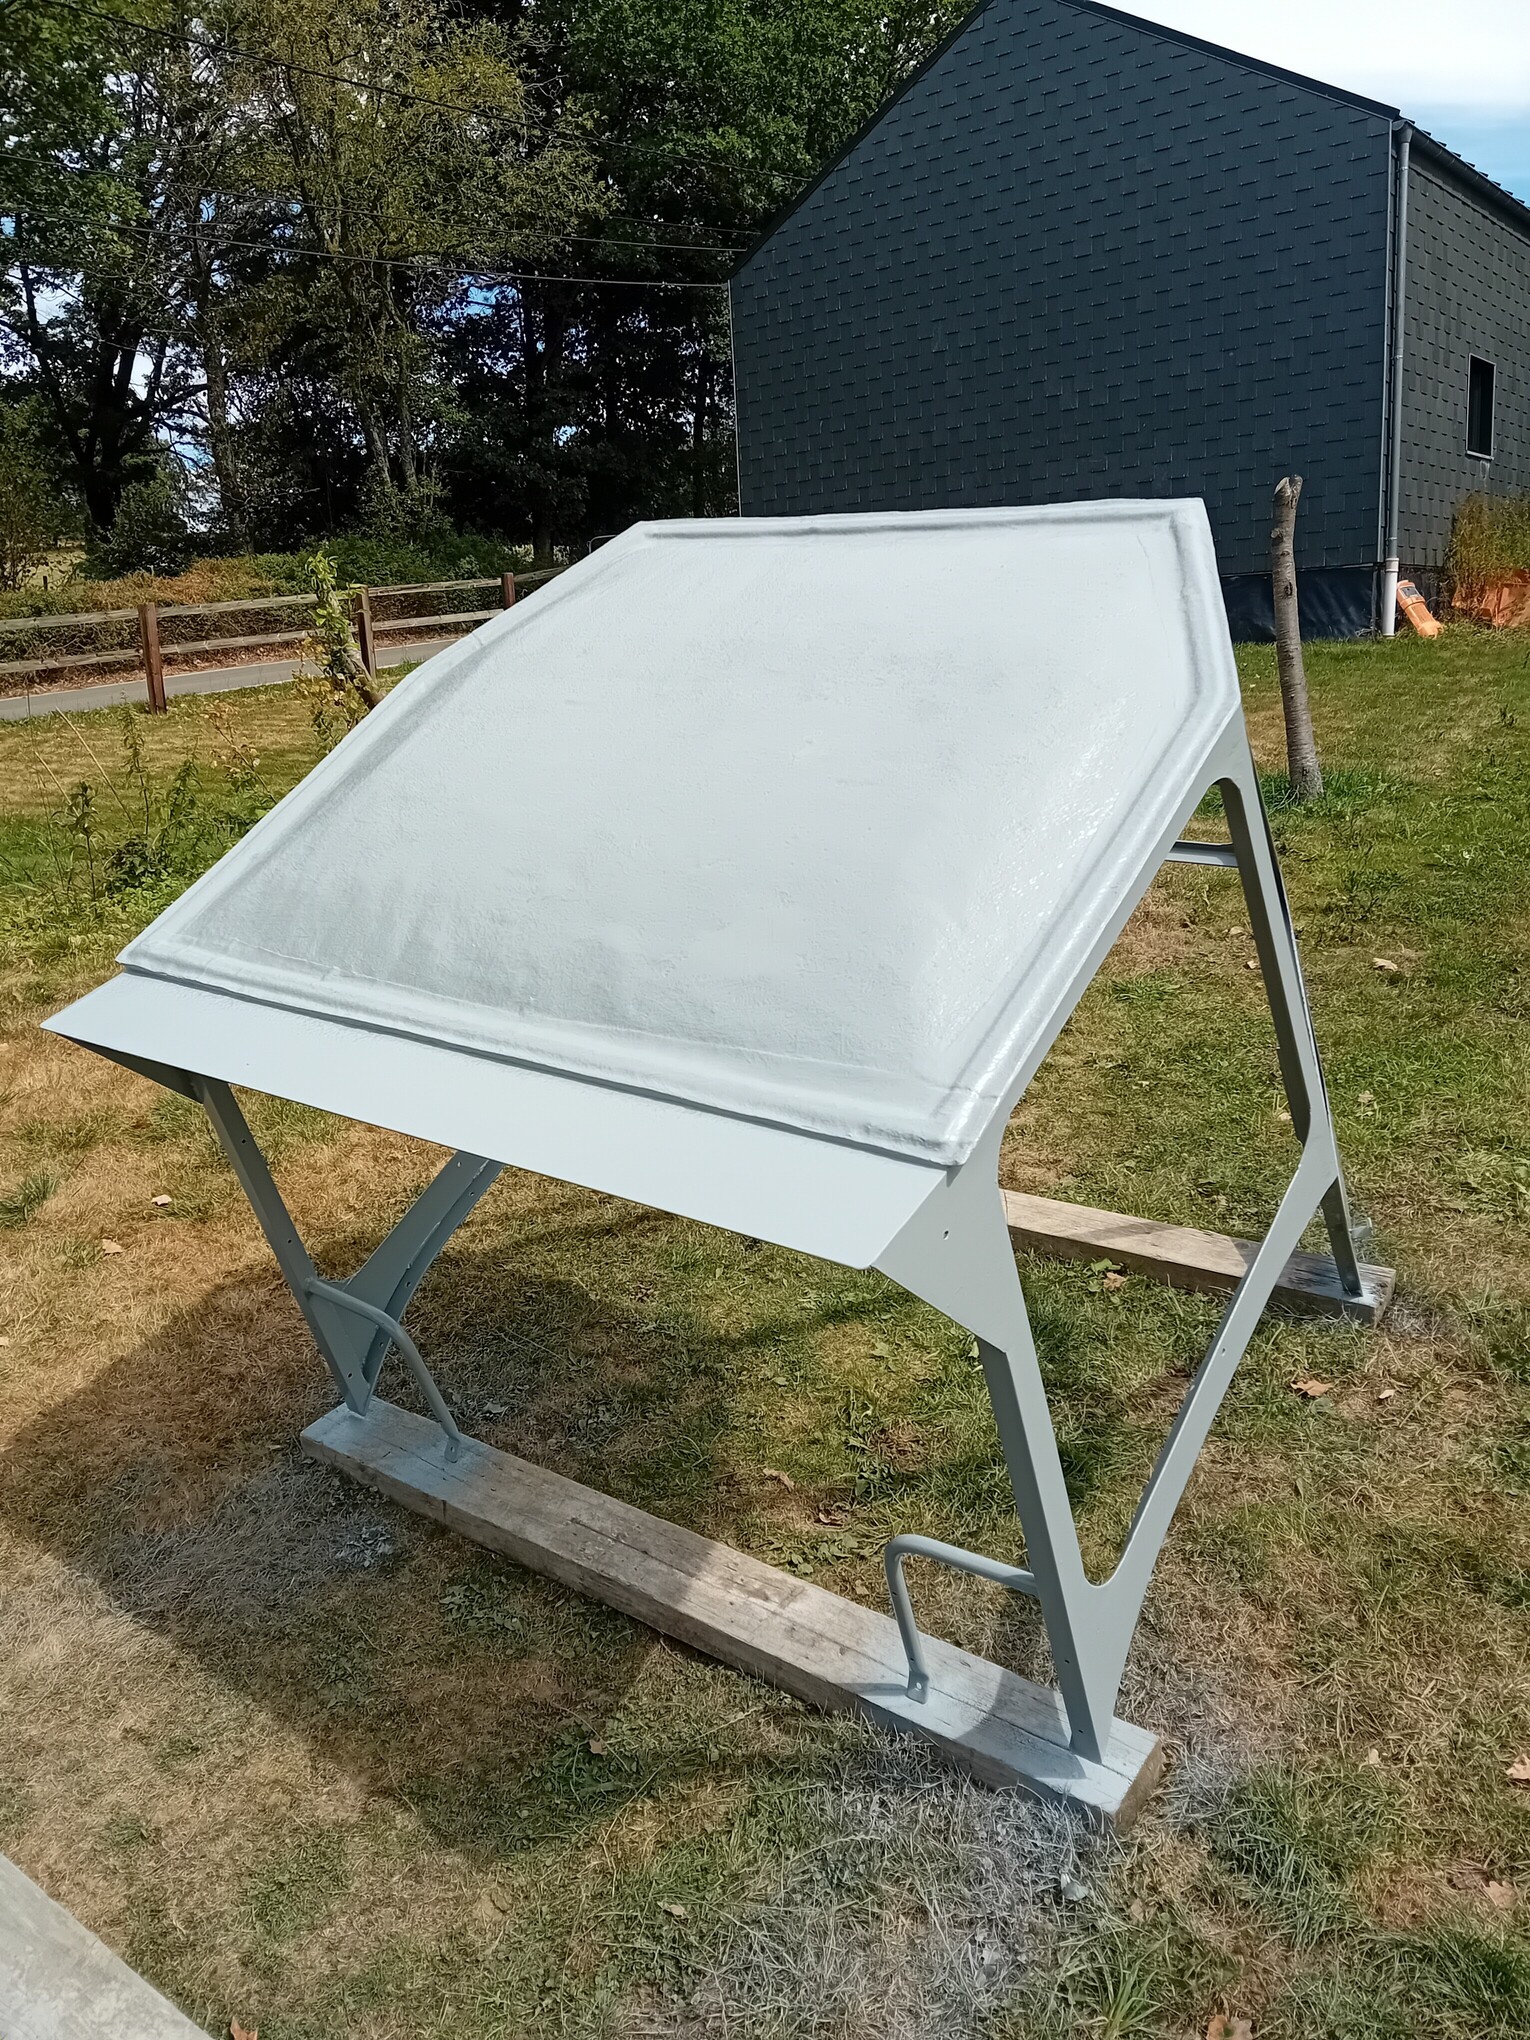
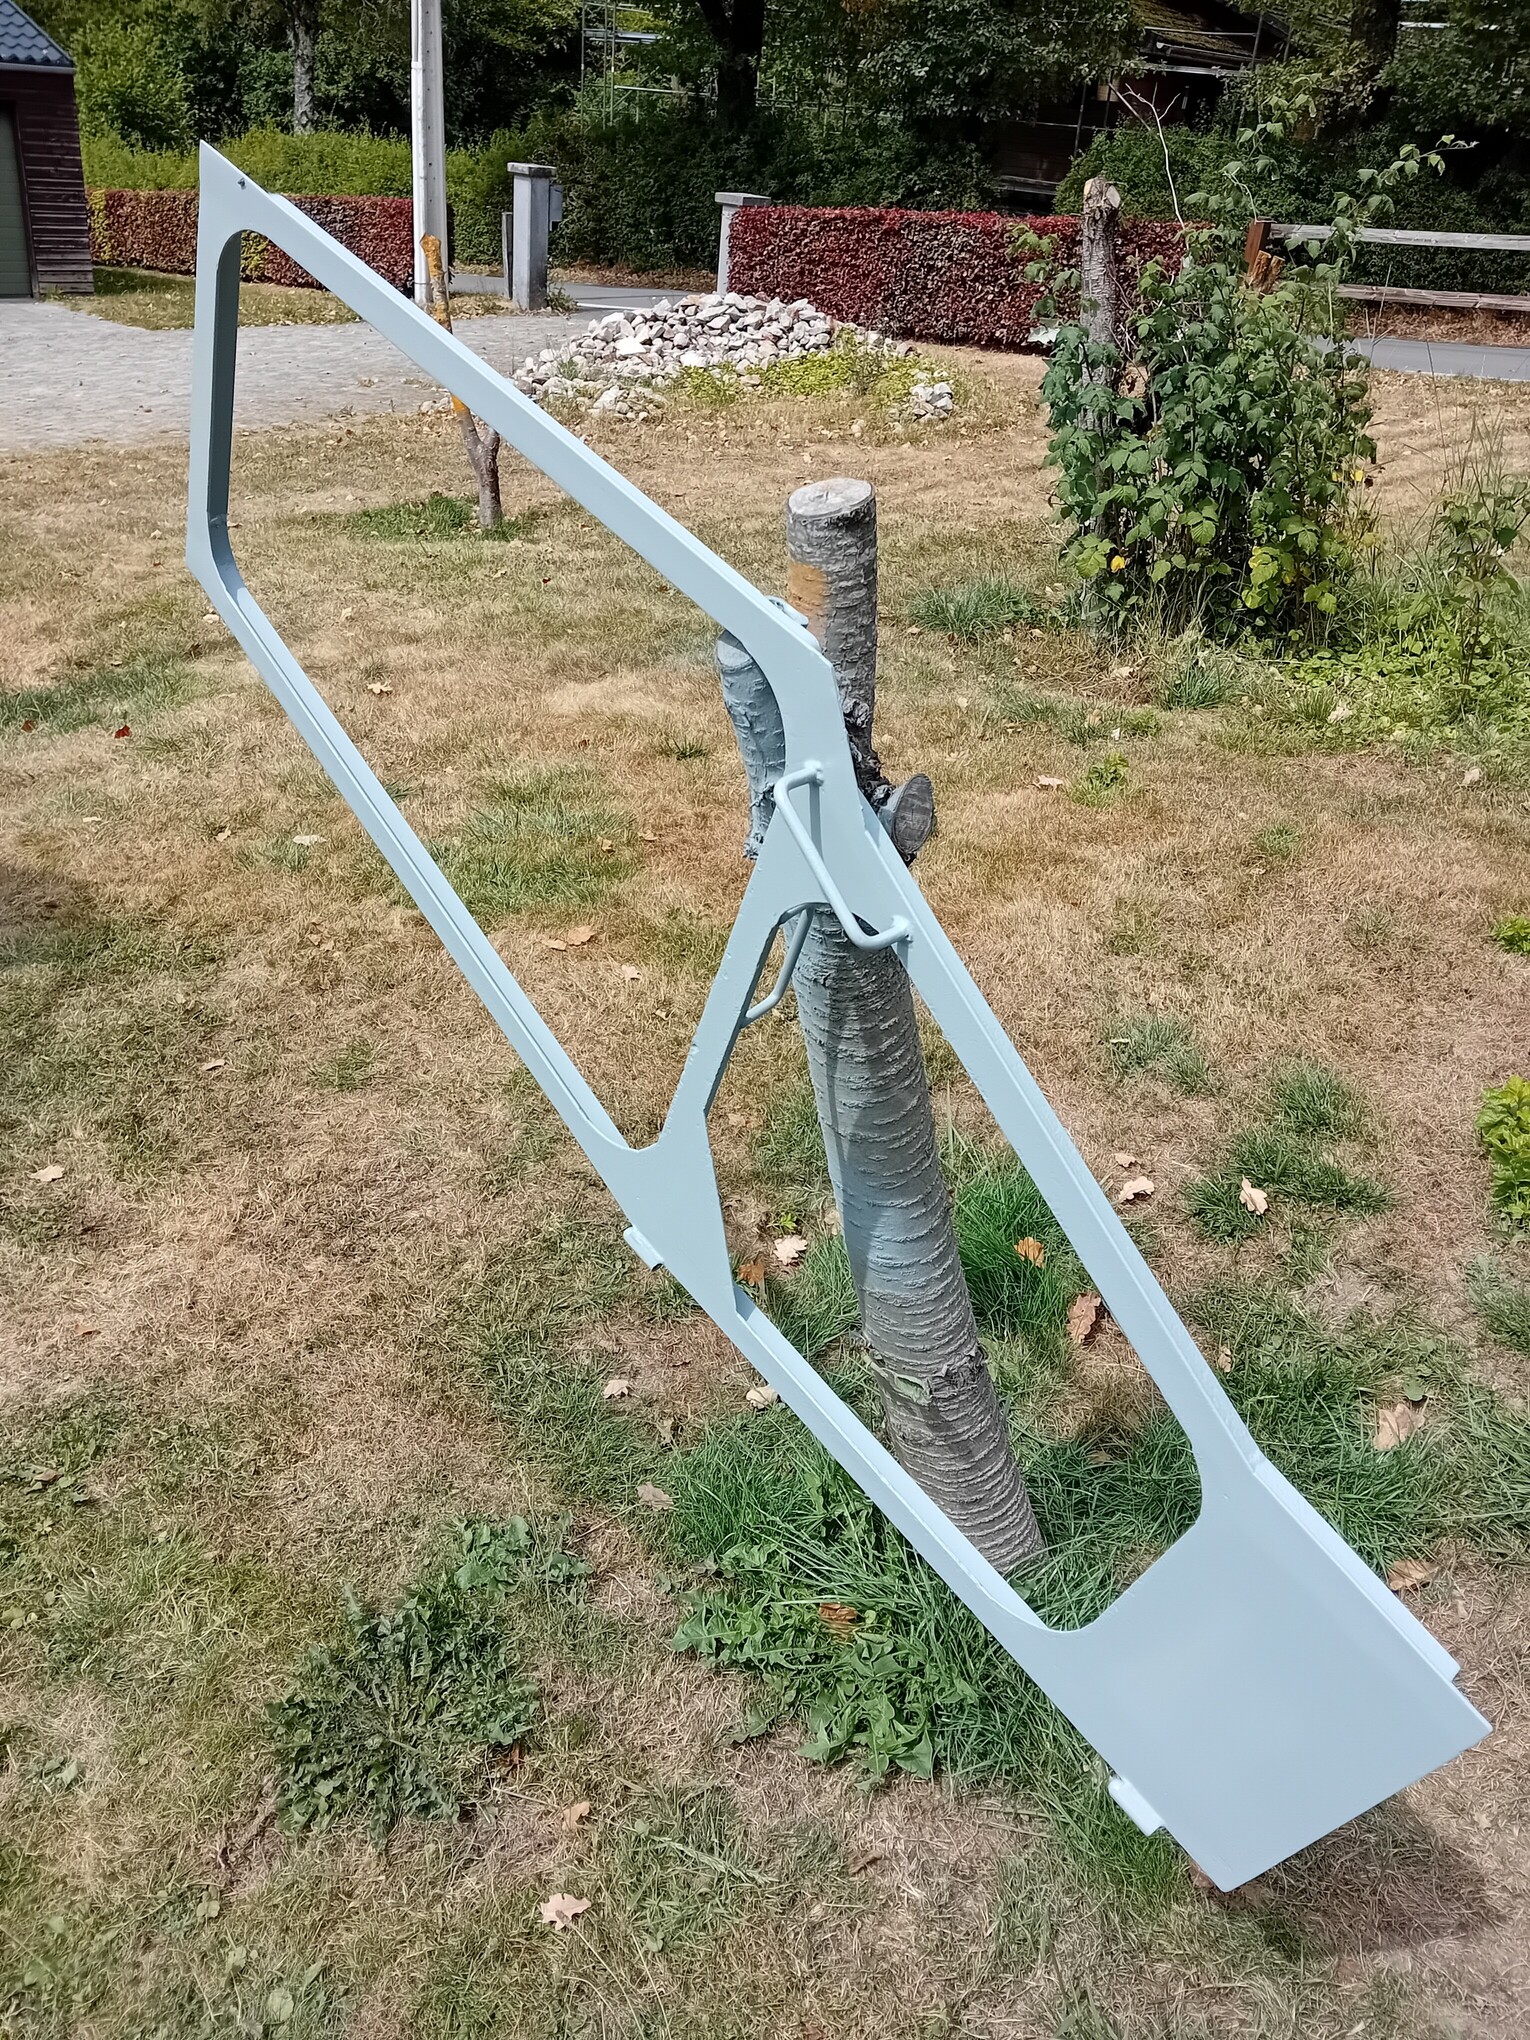
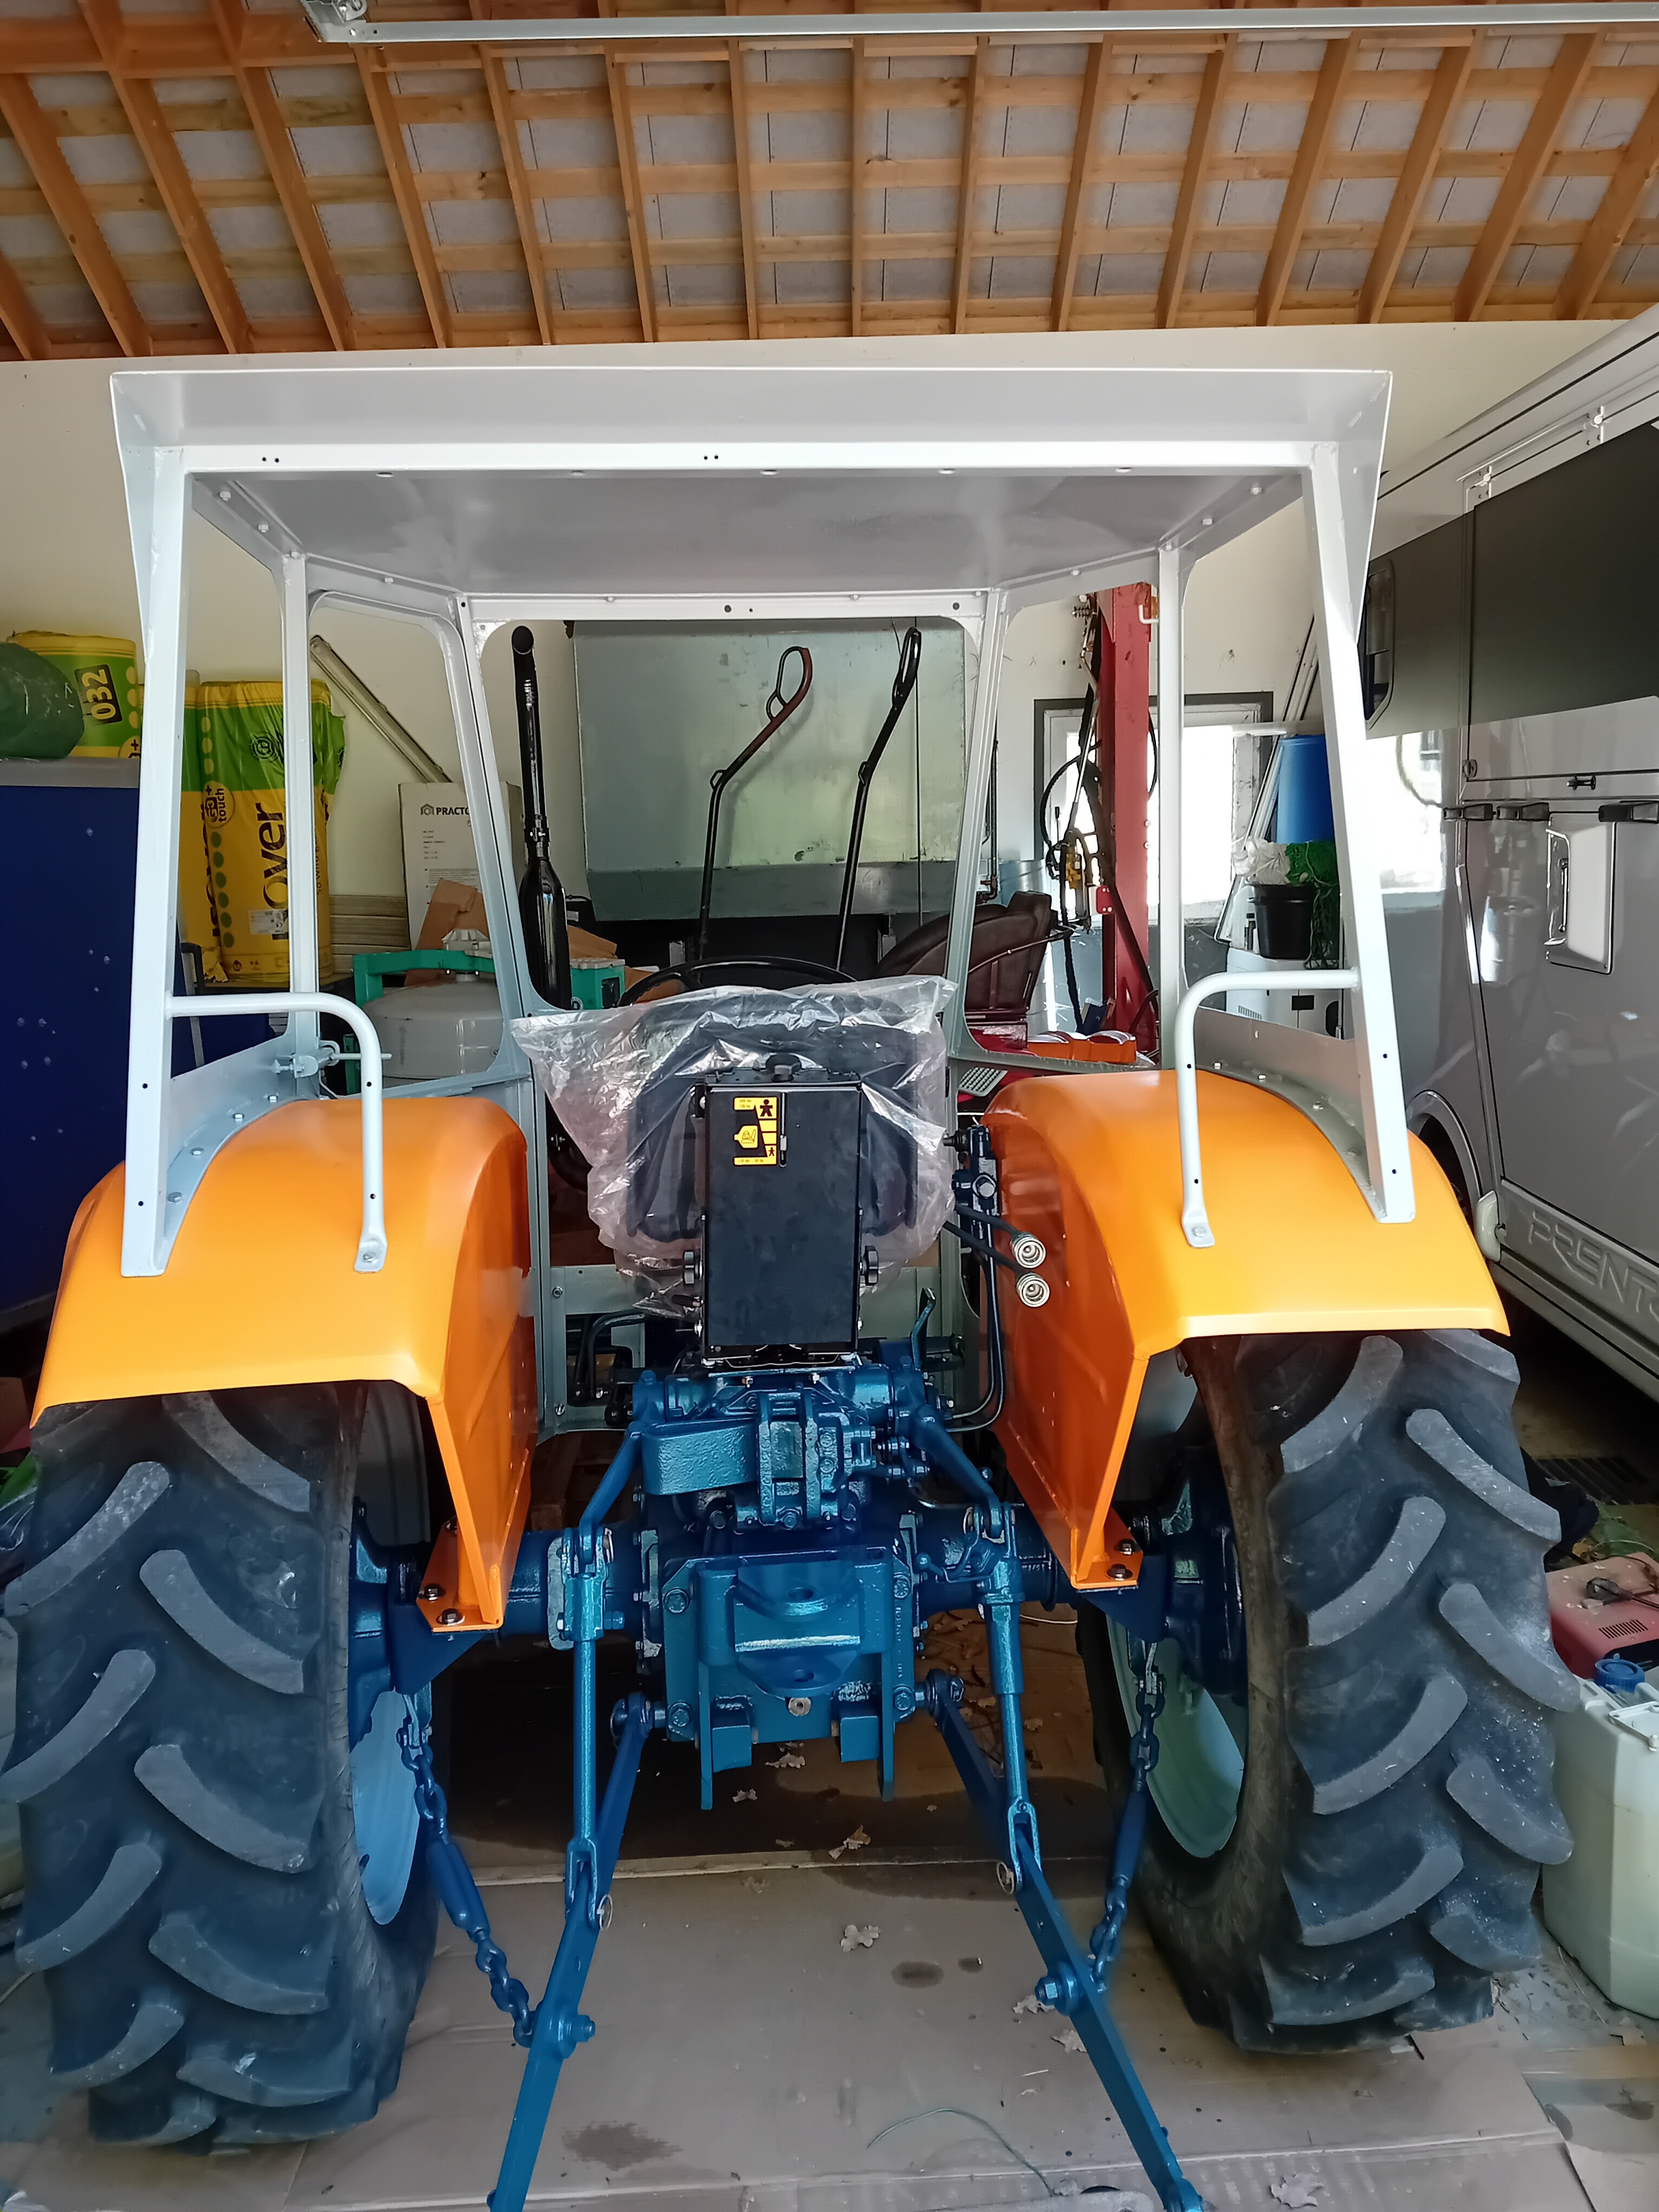
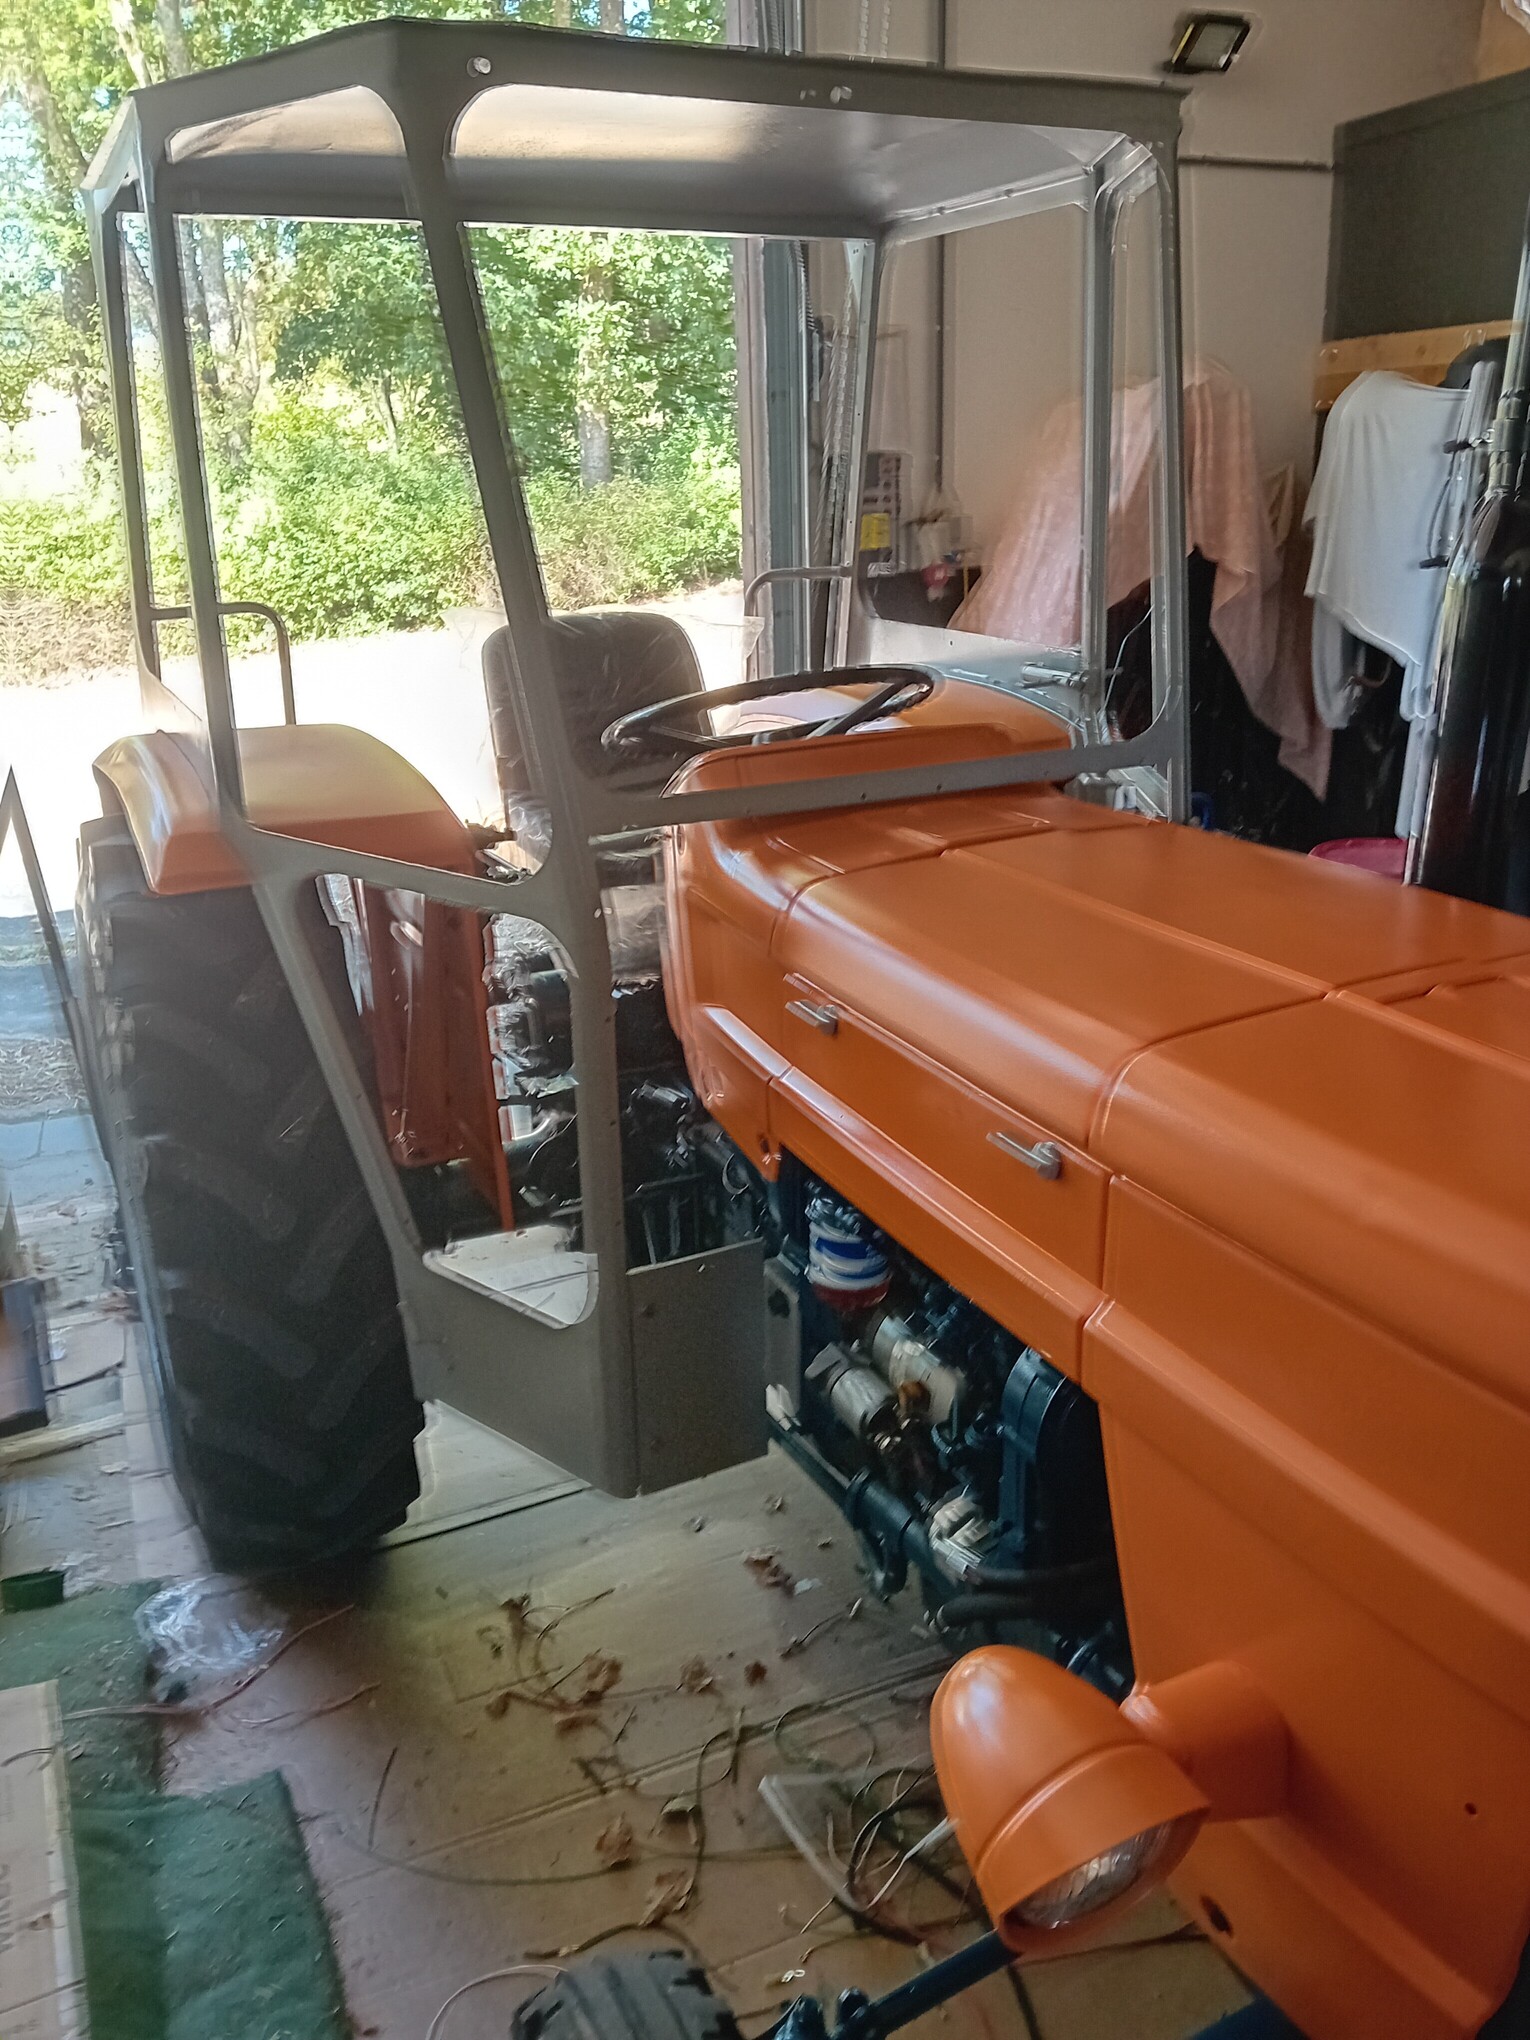
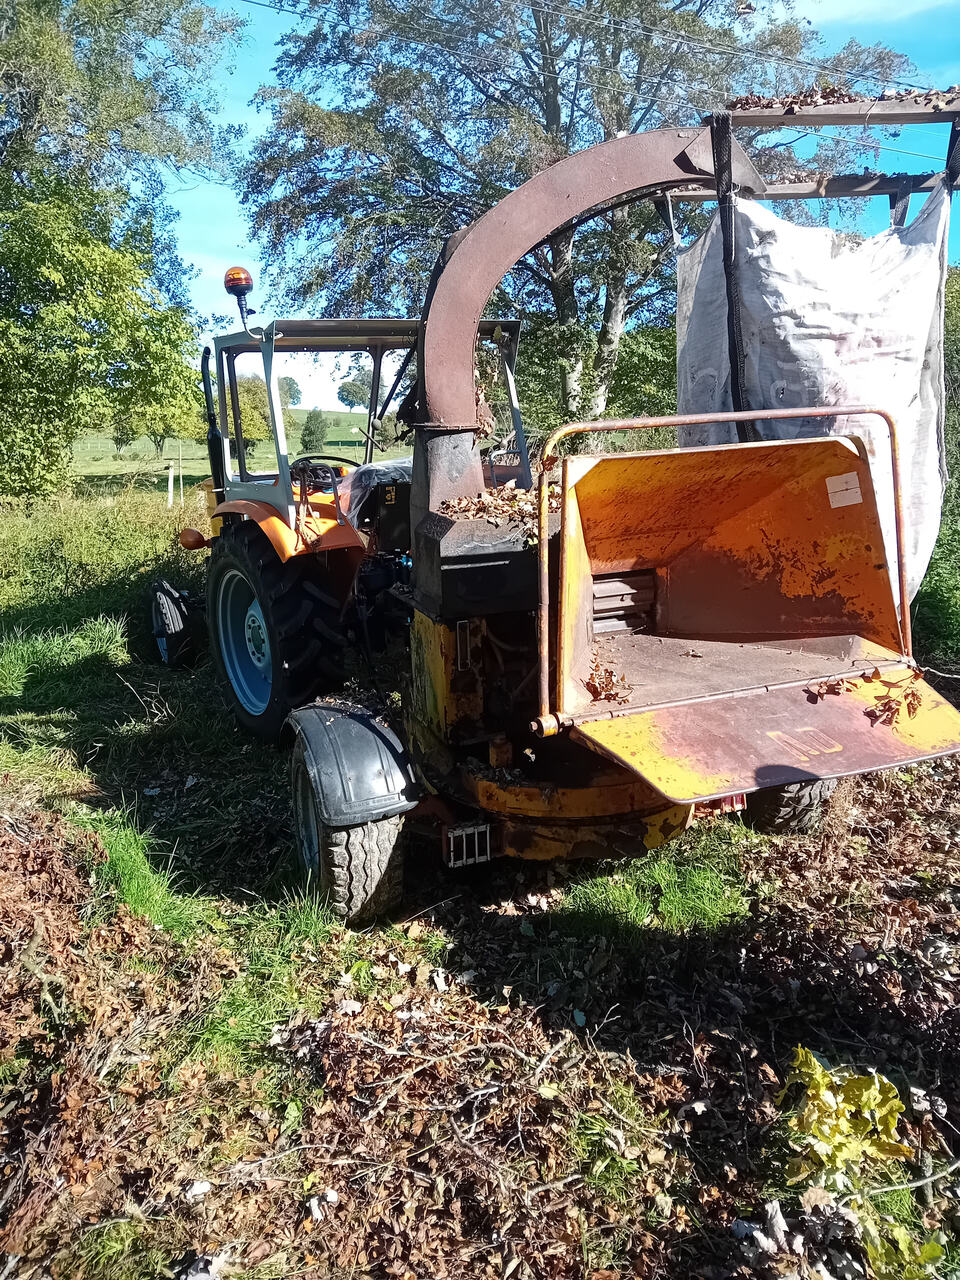
Oh, the initial scraping is the most painful part, you don’t pay as much attention to it later on, but I’d like to keep it clean.
This is my first tractor restoration, though I’ve previously restored furniture and metal items (like lamps).
My father, whom I want to thank, taught me how to work with my hands.
He’s actually helping me with the tractor restoration; he enjoys spray-painting and the heavy mechanical work (though not for too long), and above all, he loves driving the tractor like a kid, it reminds him of his youth (his father was a farmer).
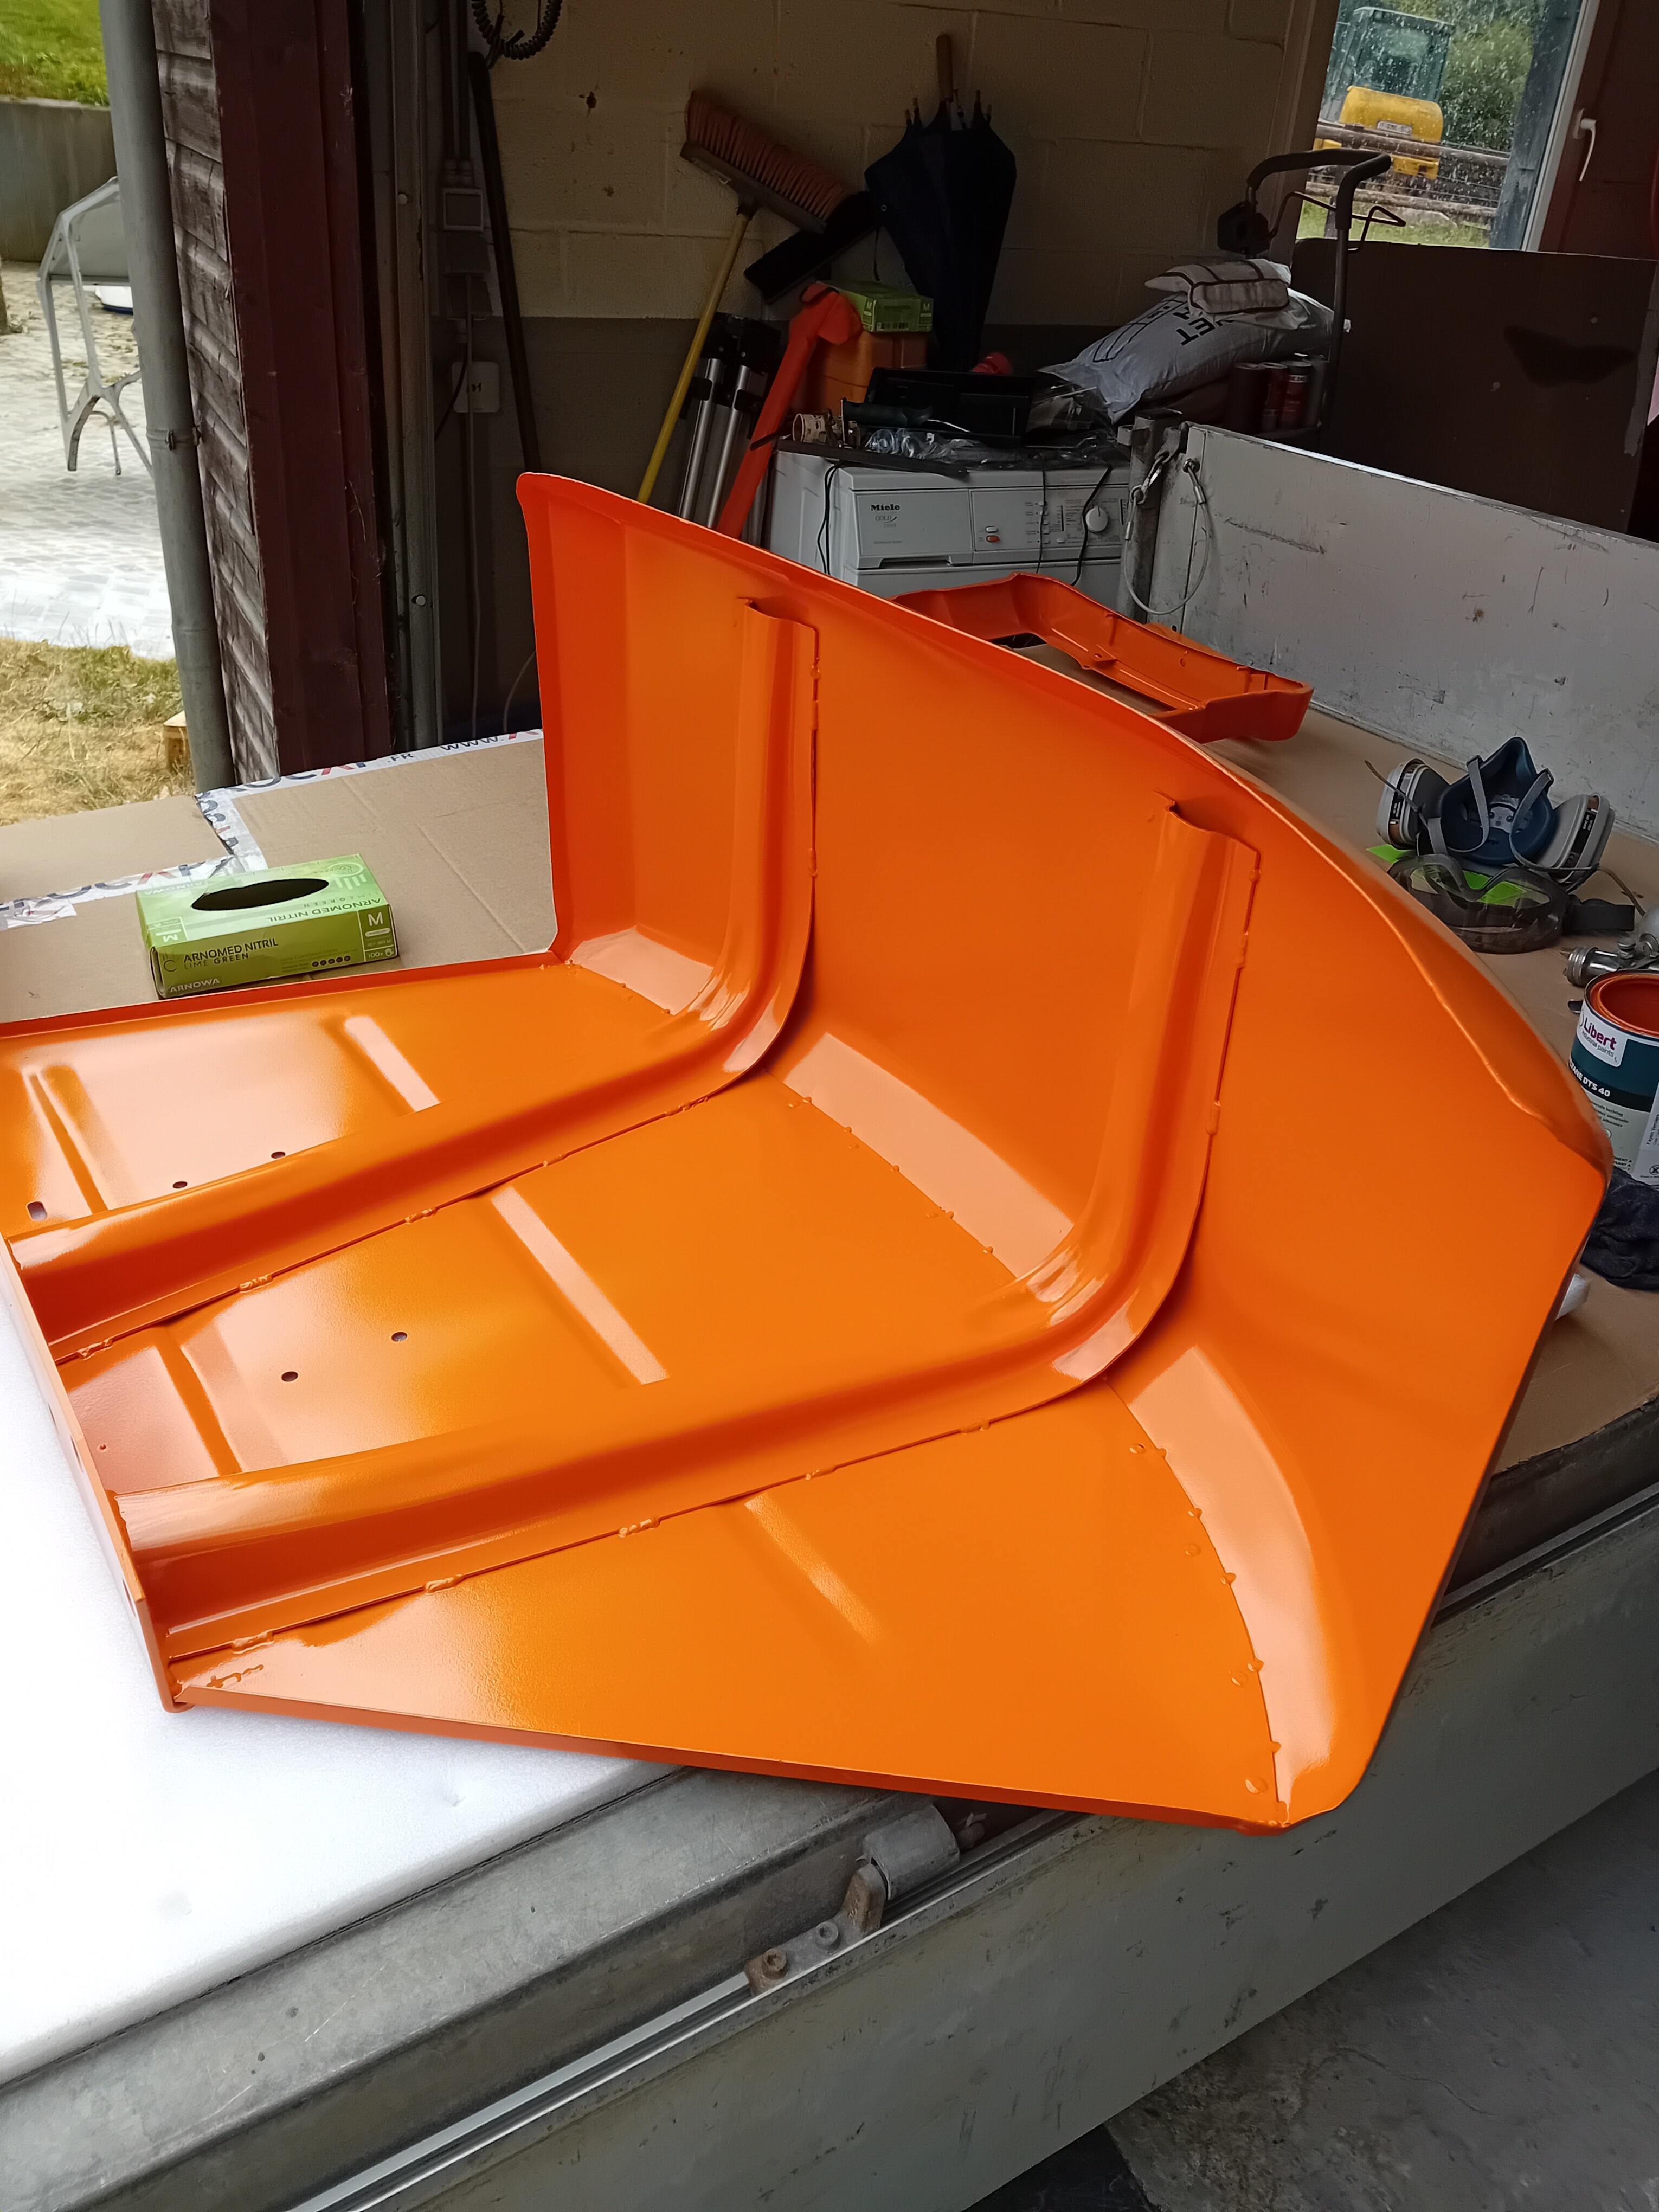
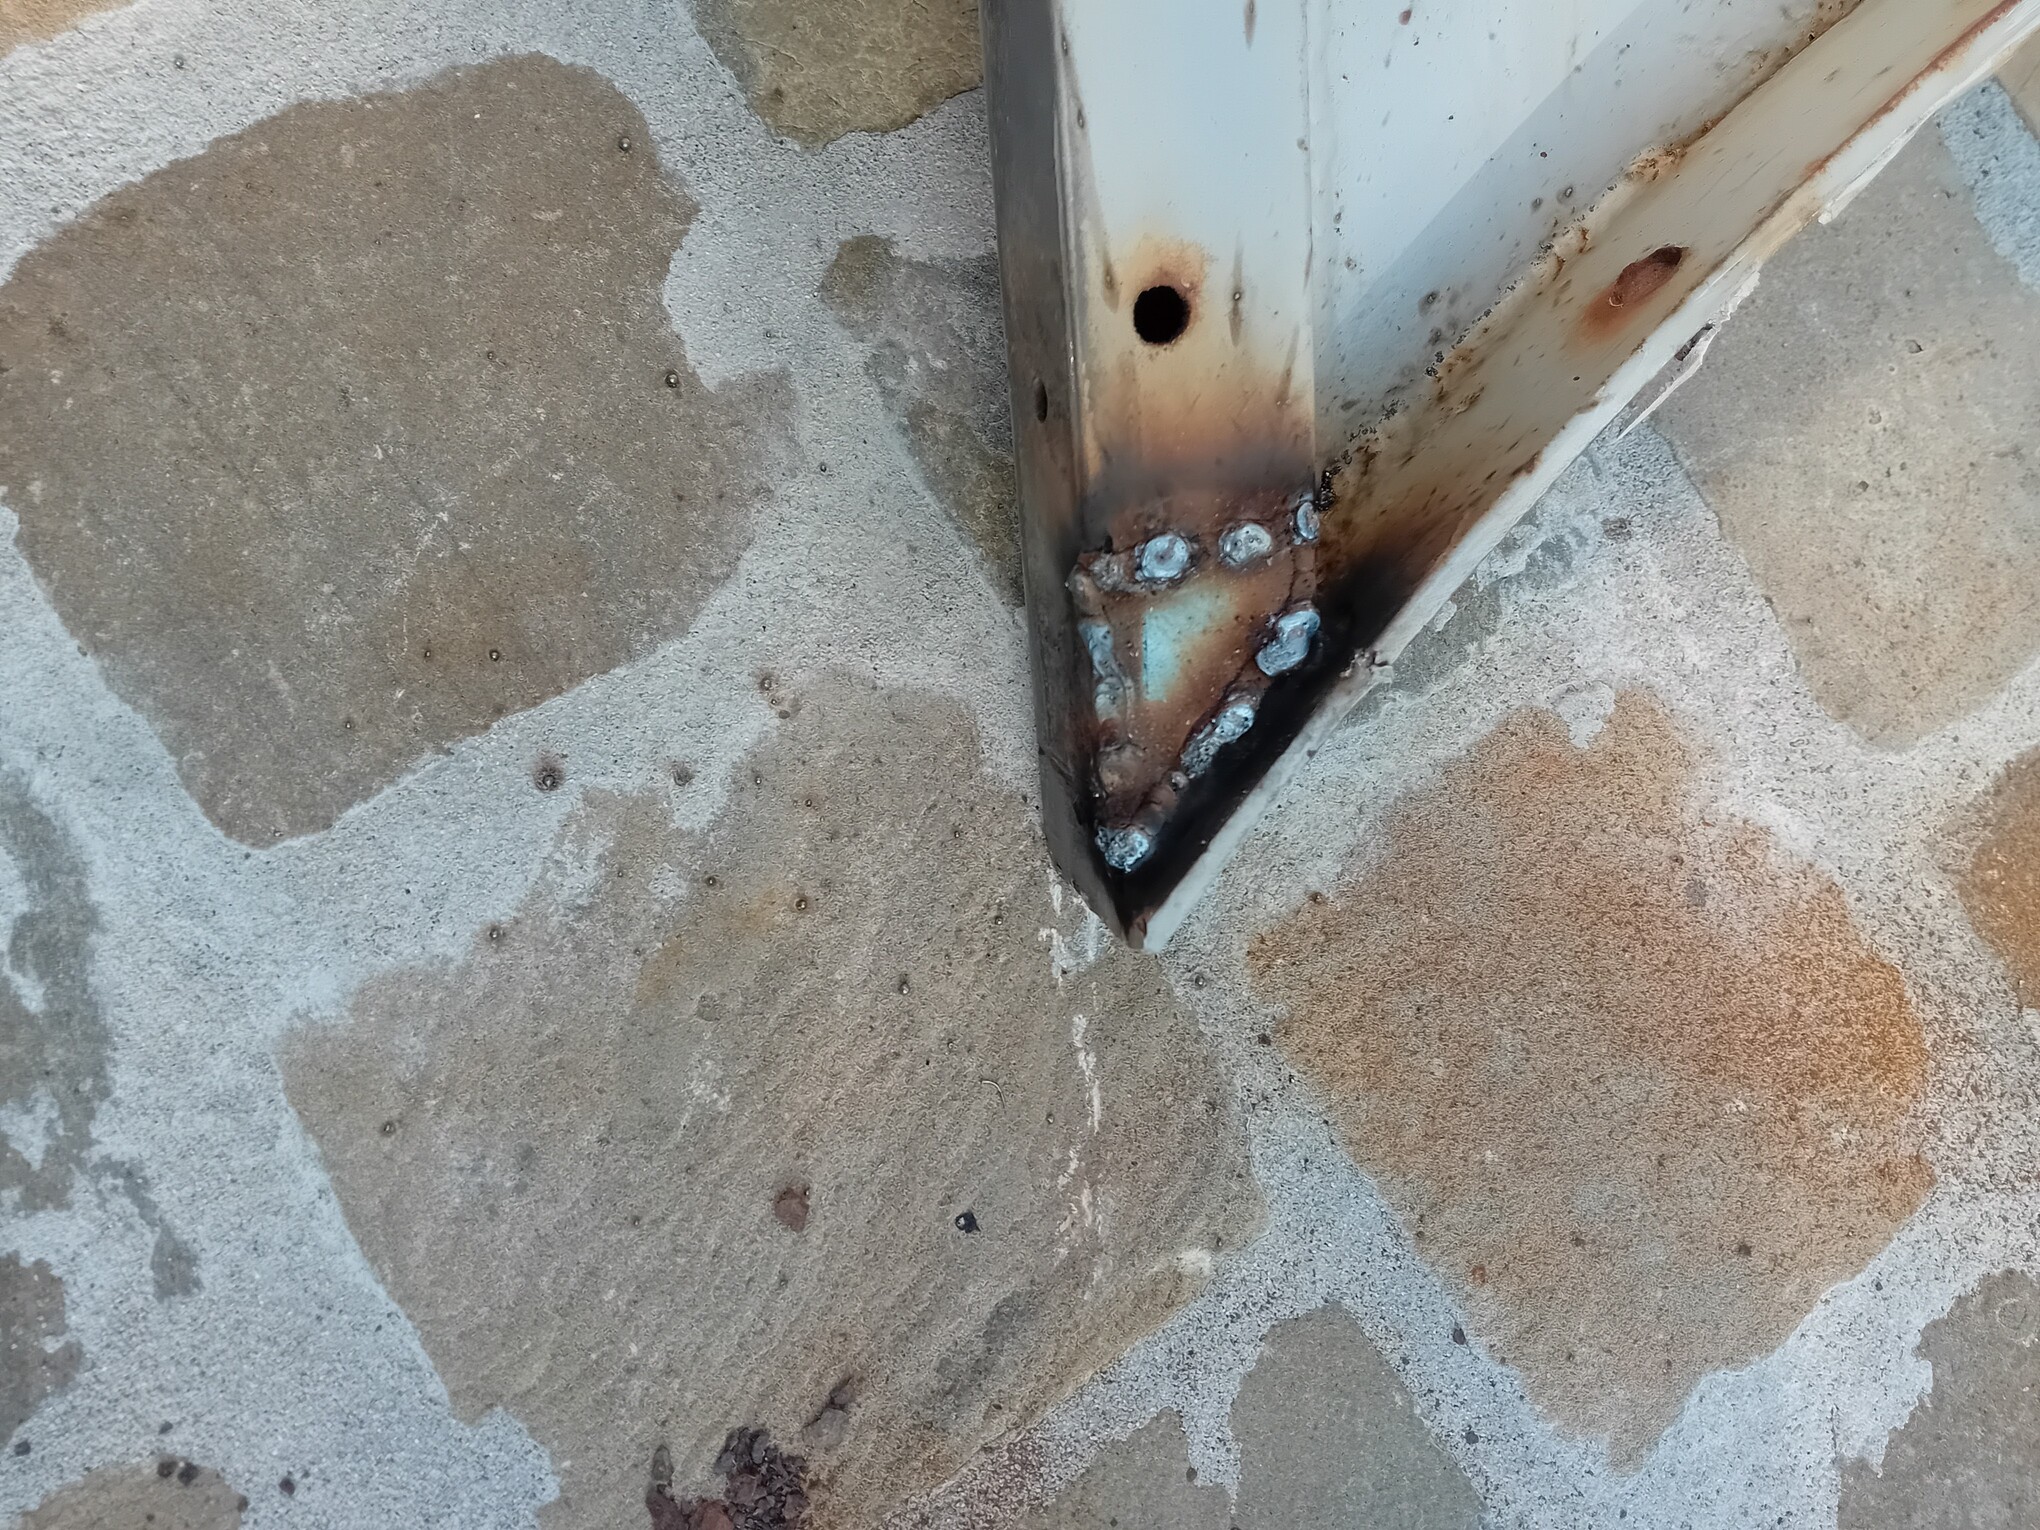
As for the bodywork, I started with some initial TIG welding tests on sheet metal that was riddled with rust (admittedly, not ideal for a first attempt).
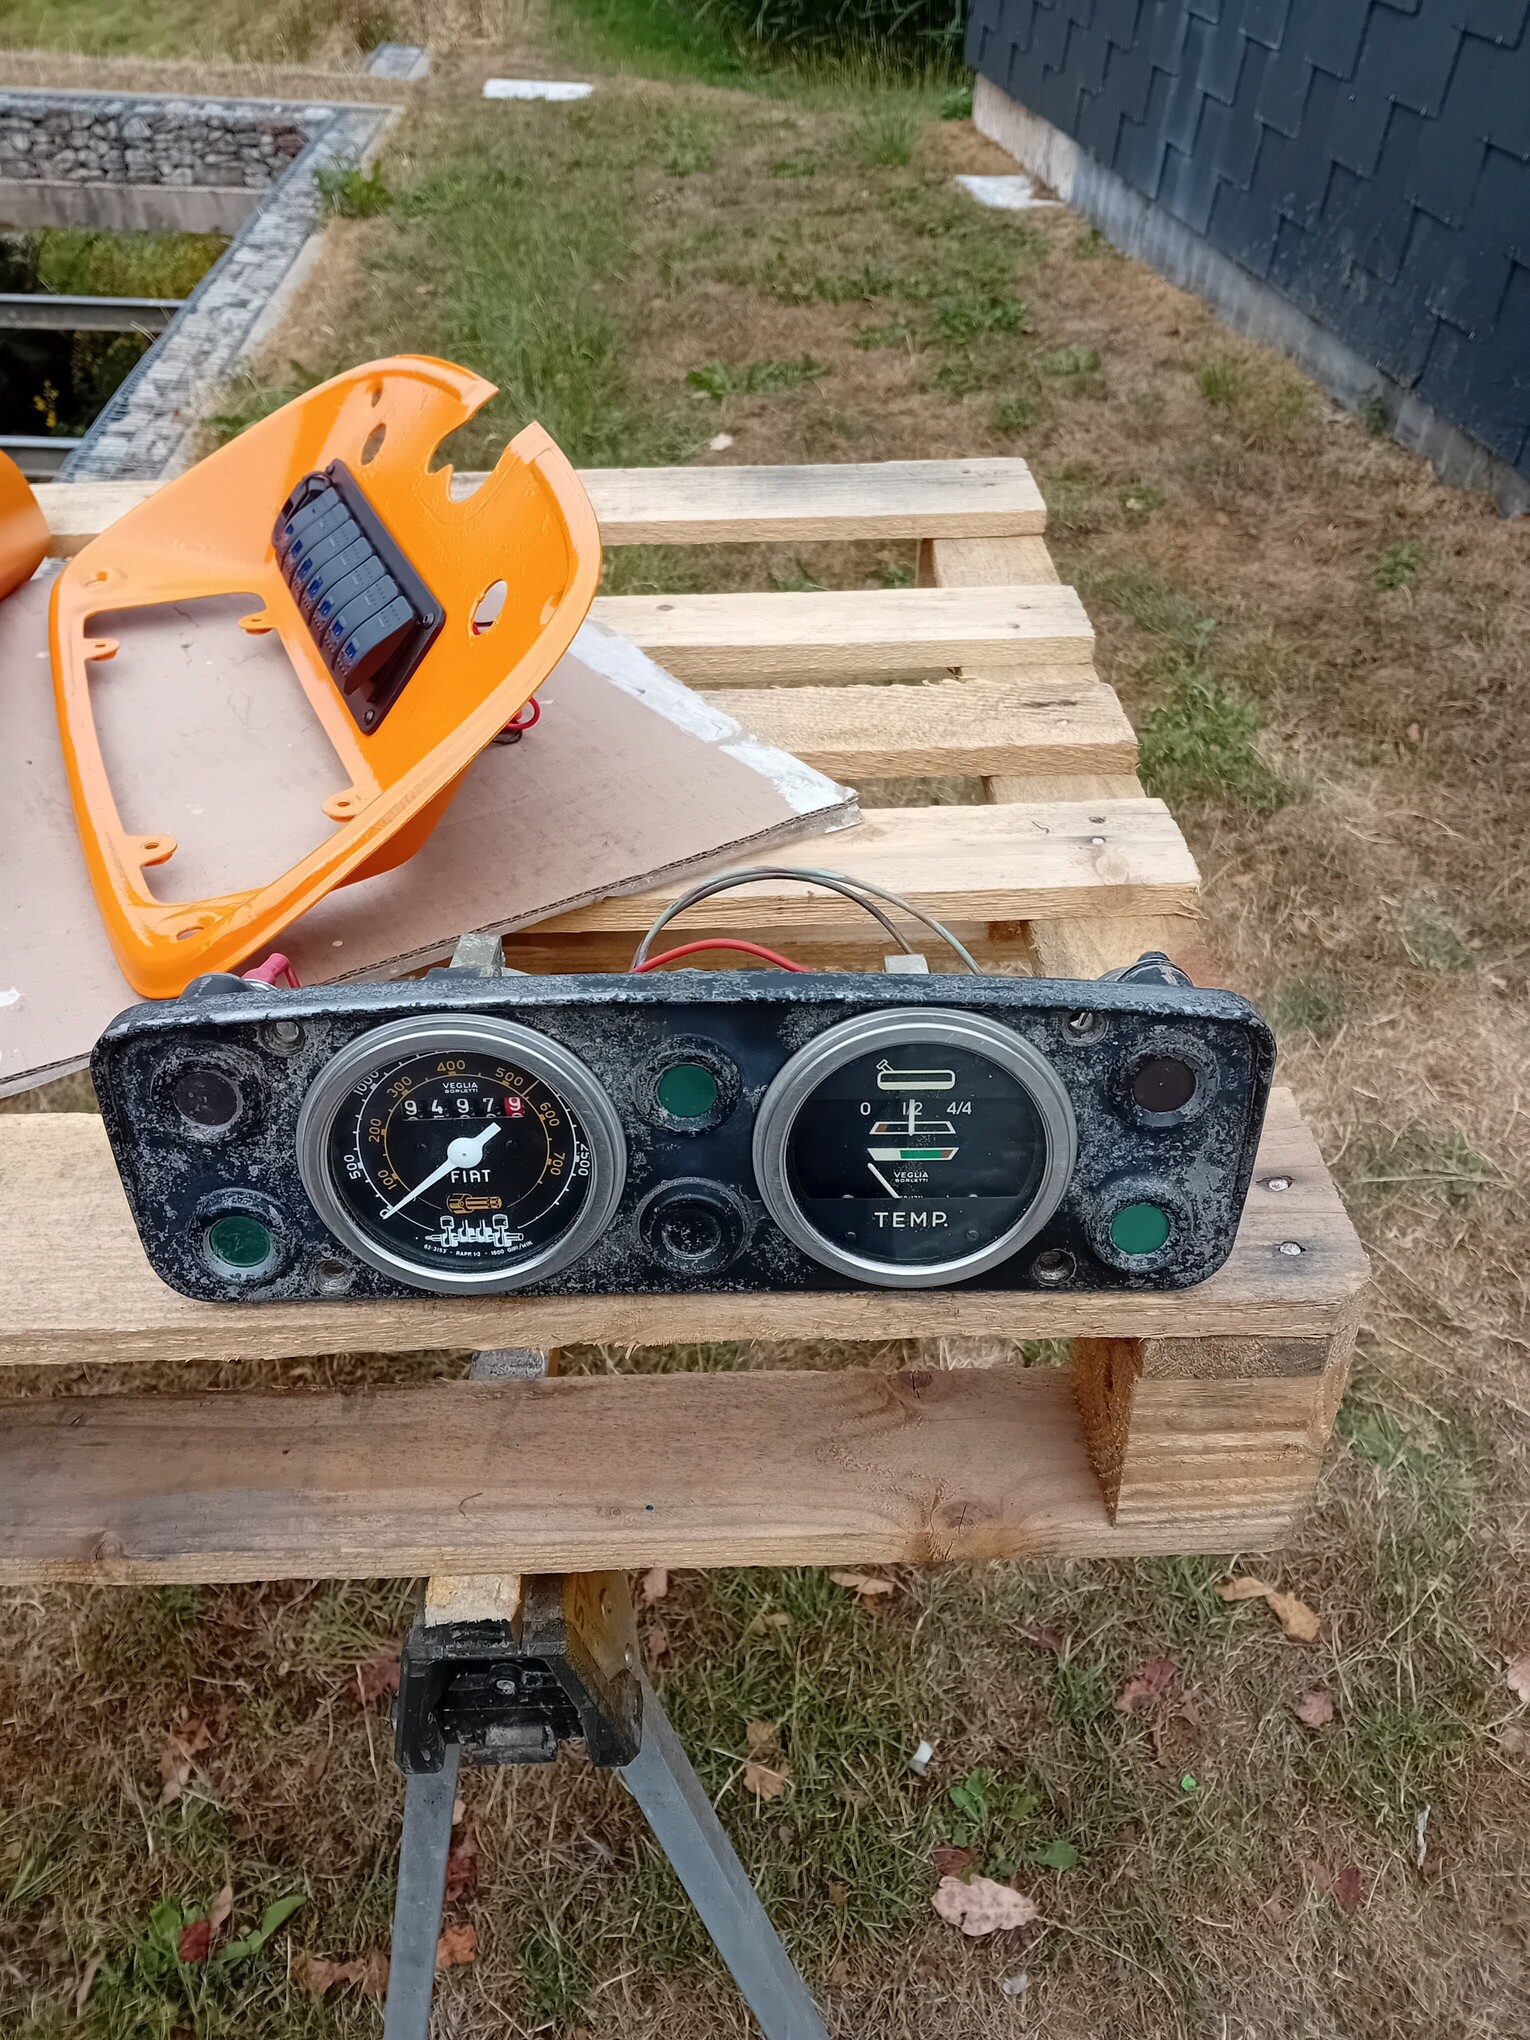
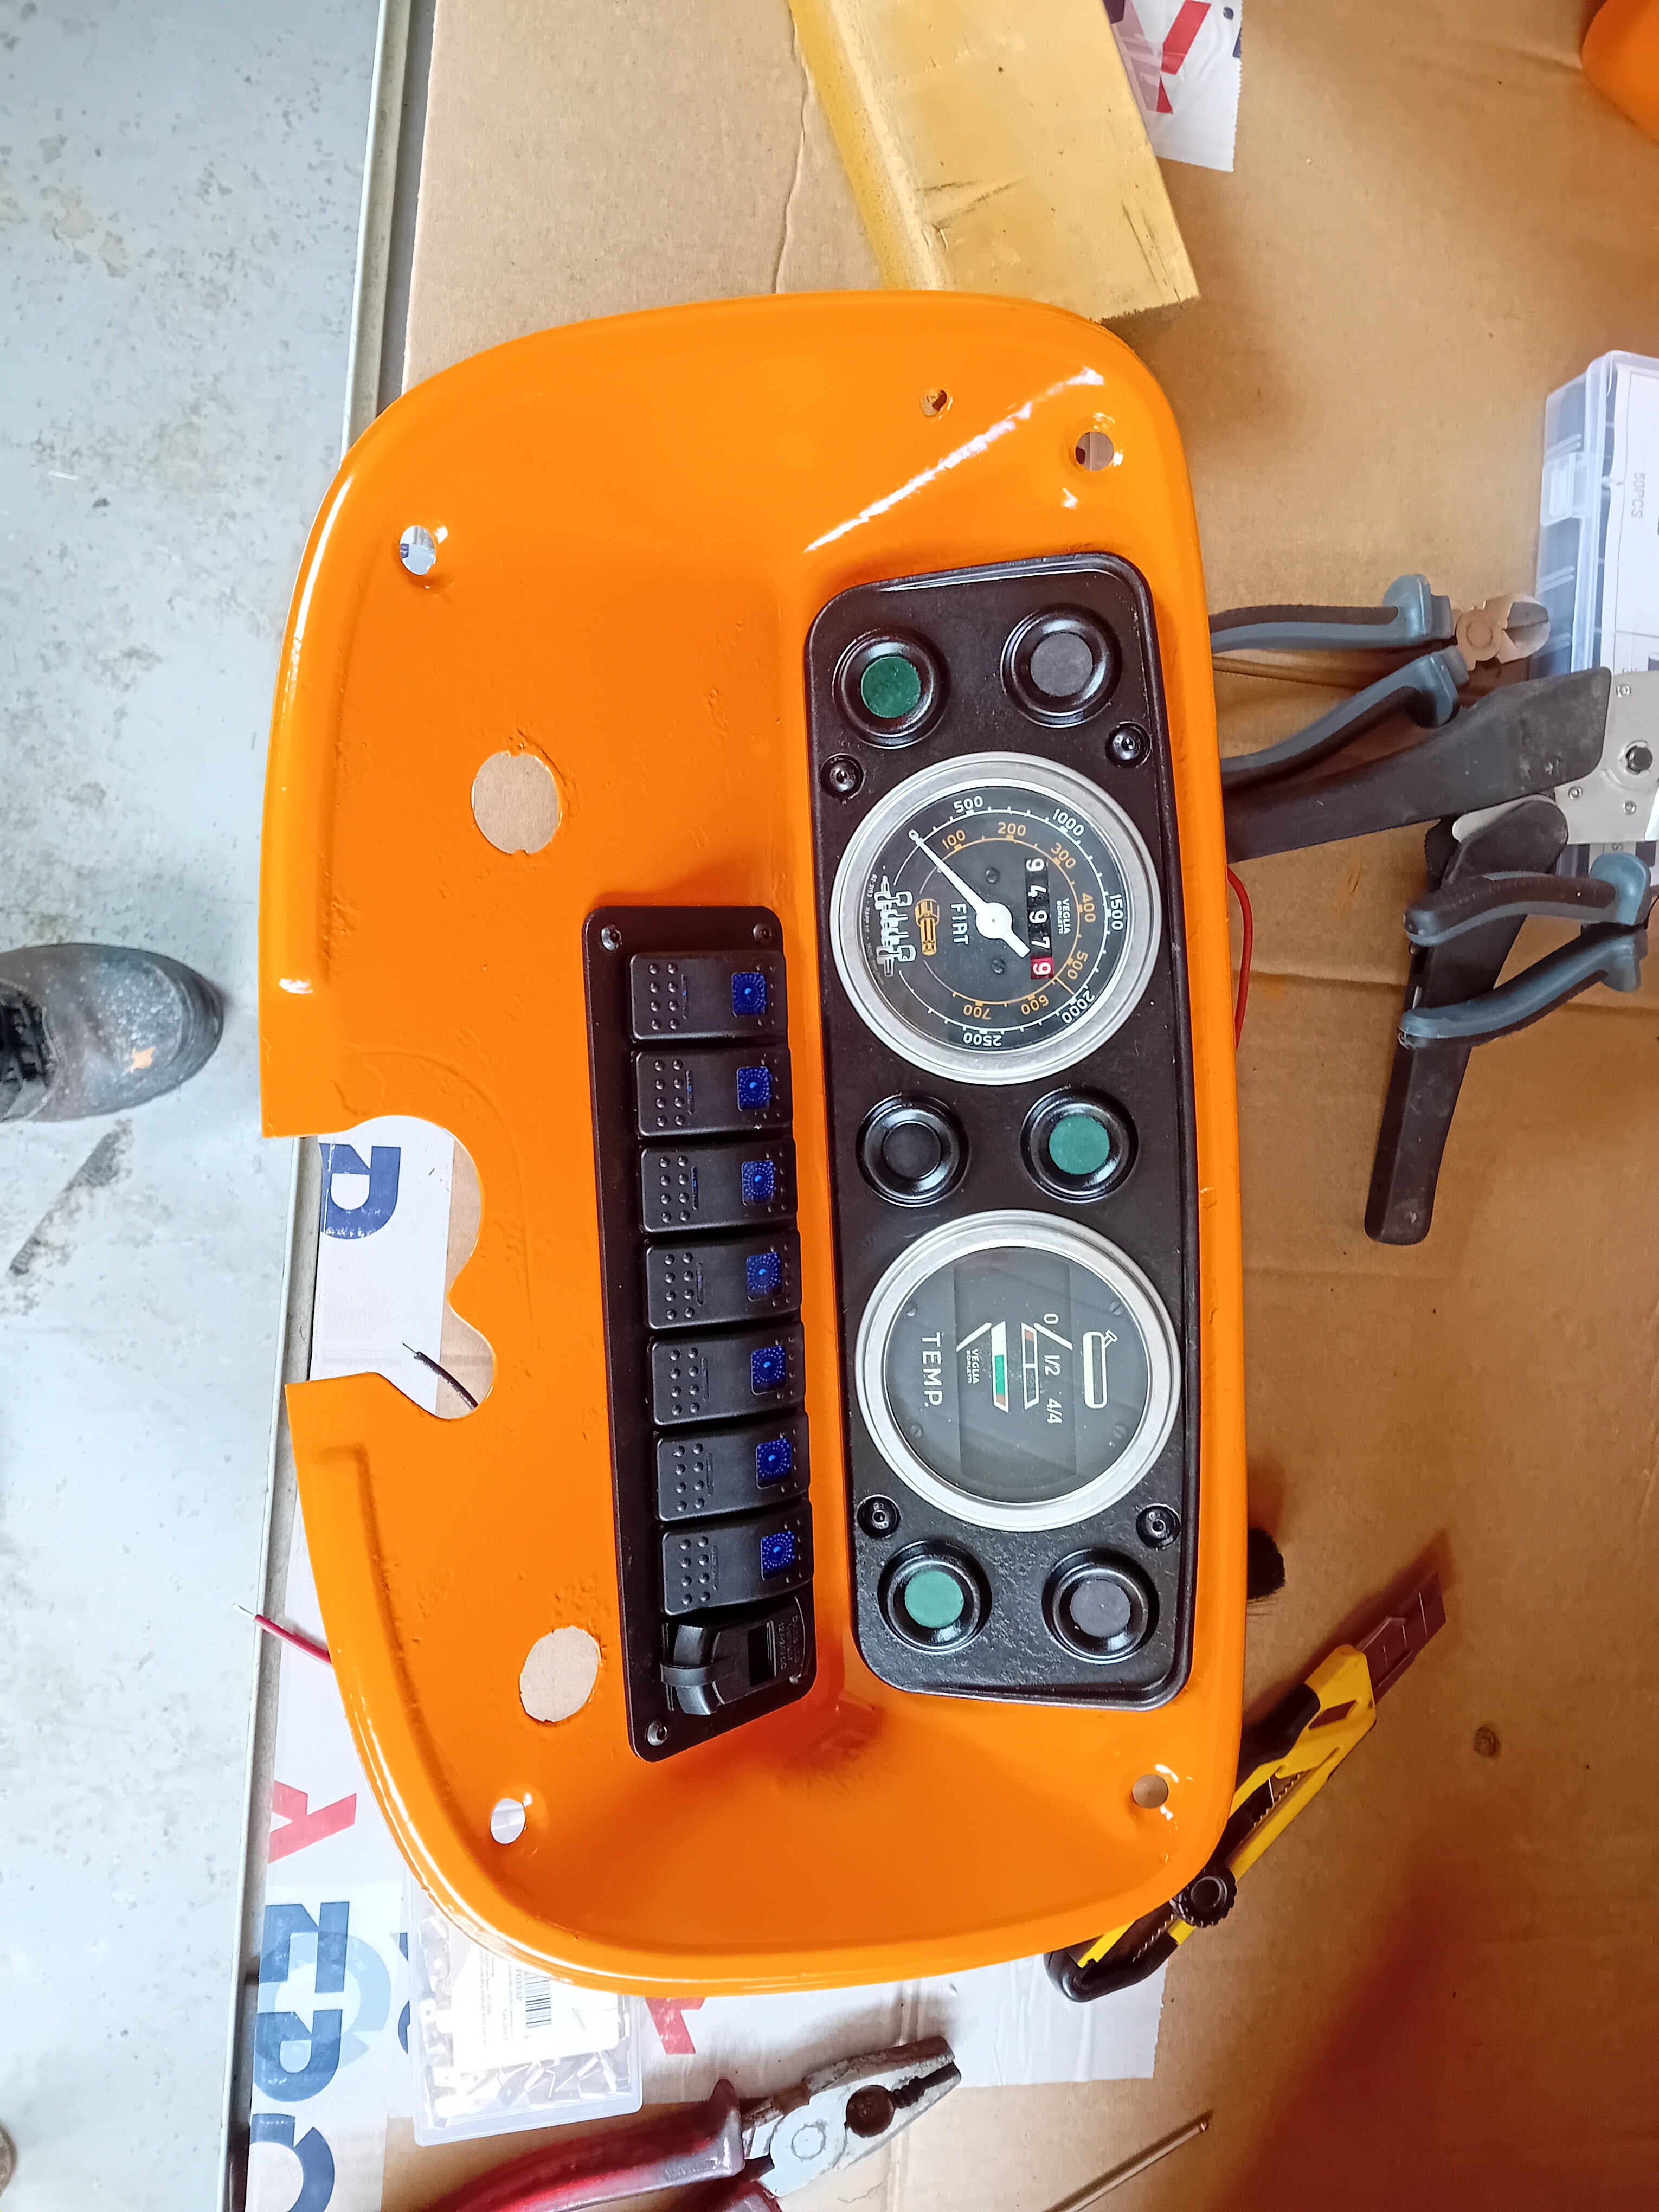
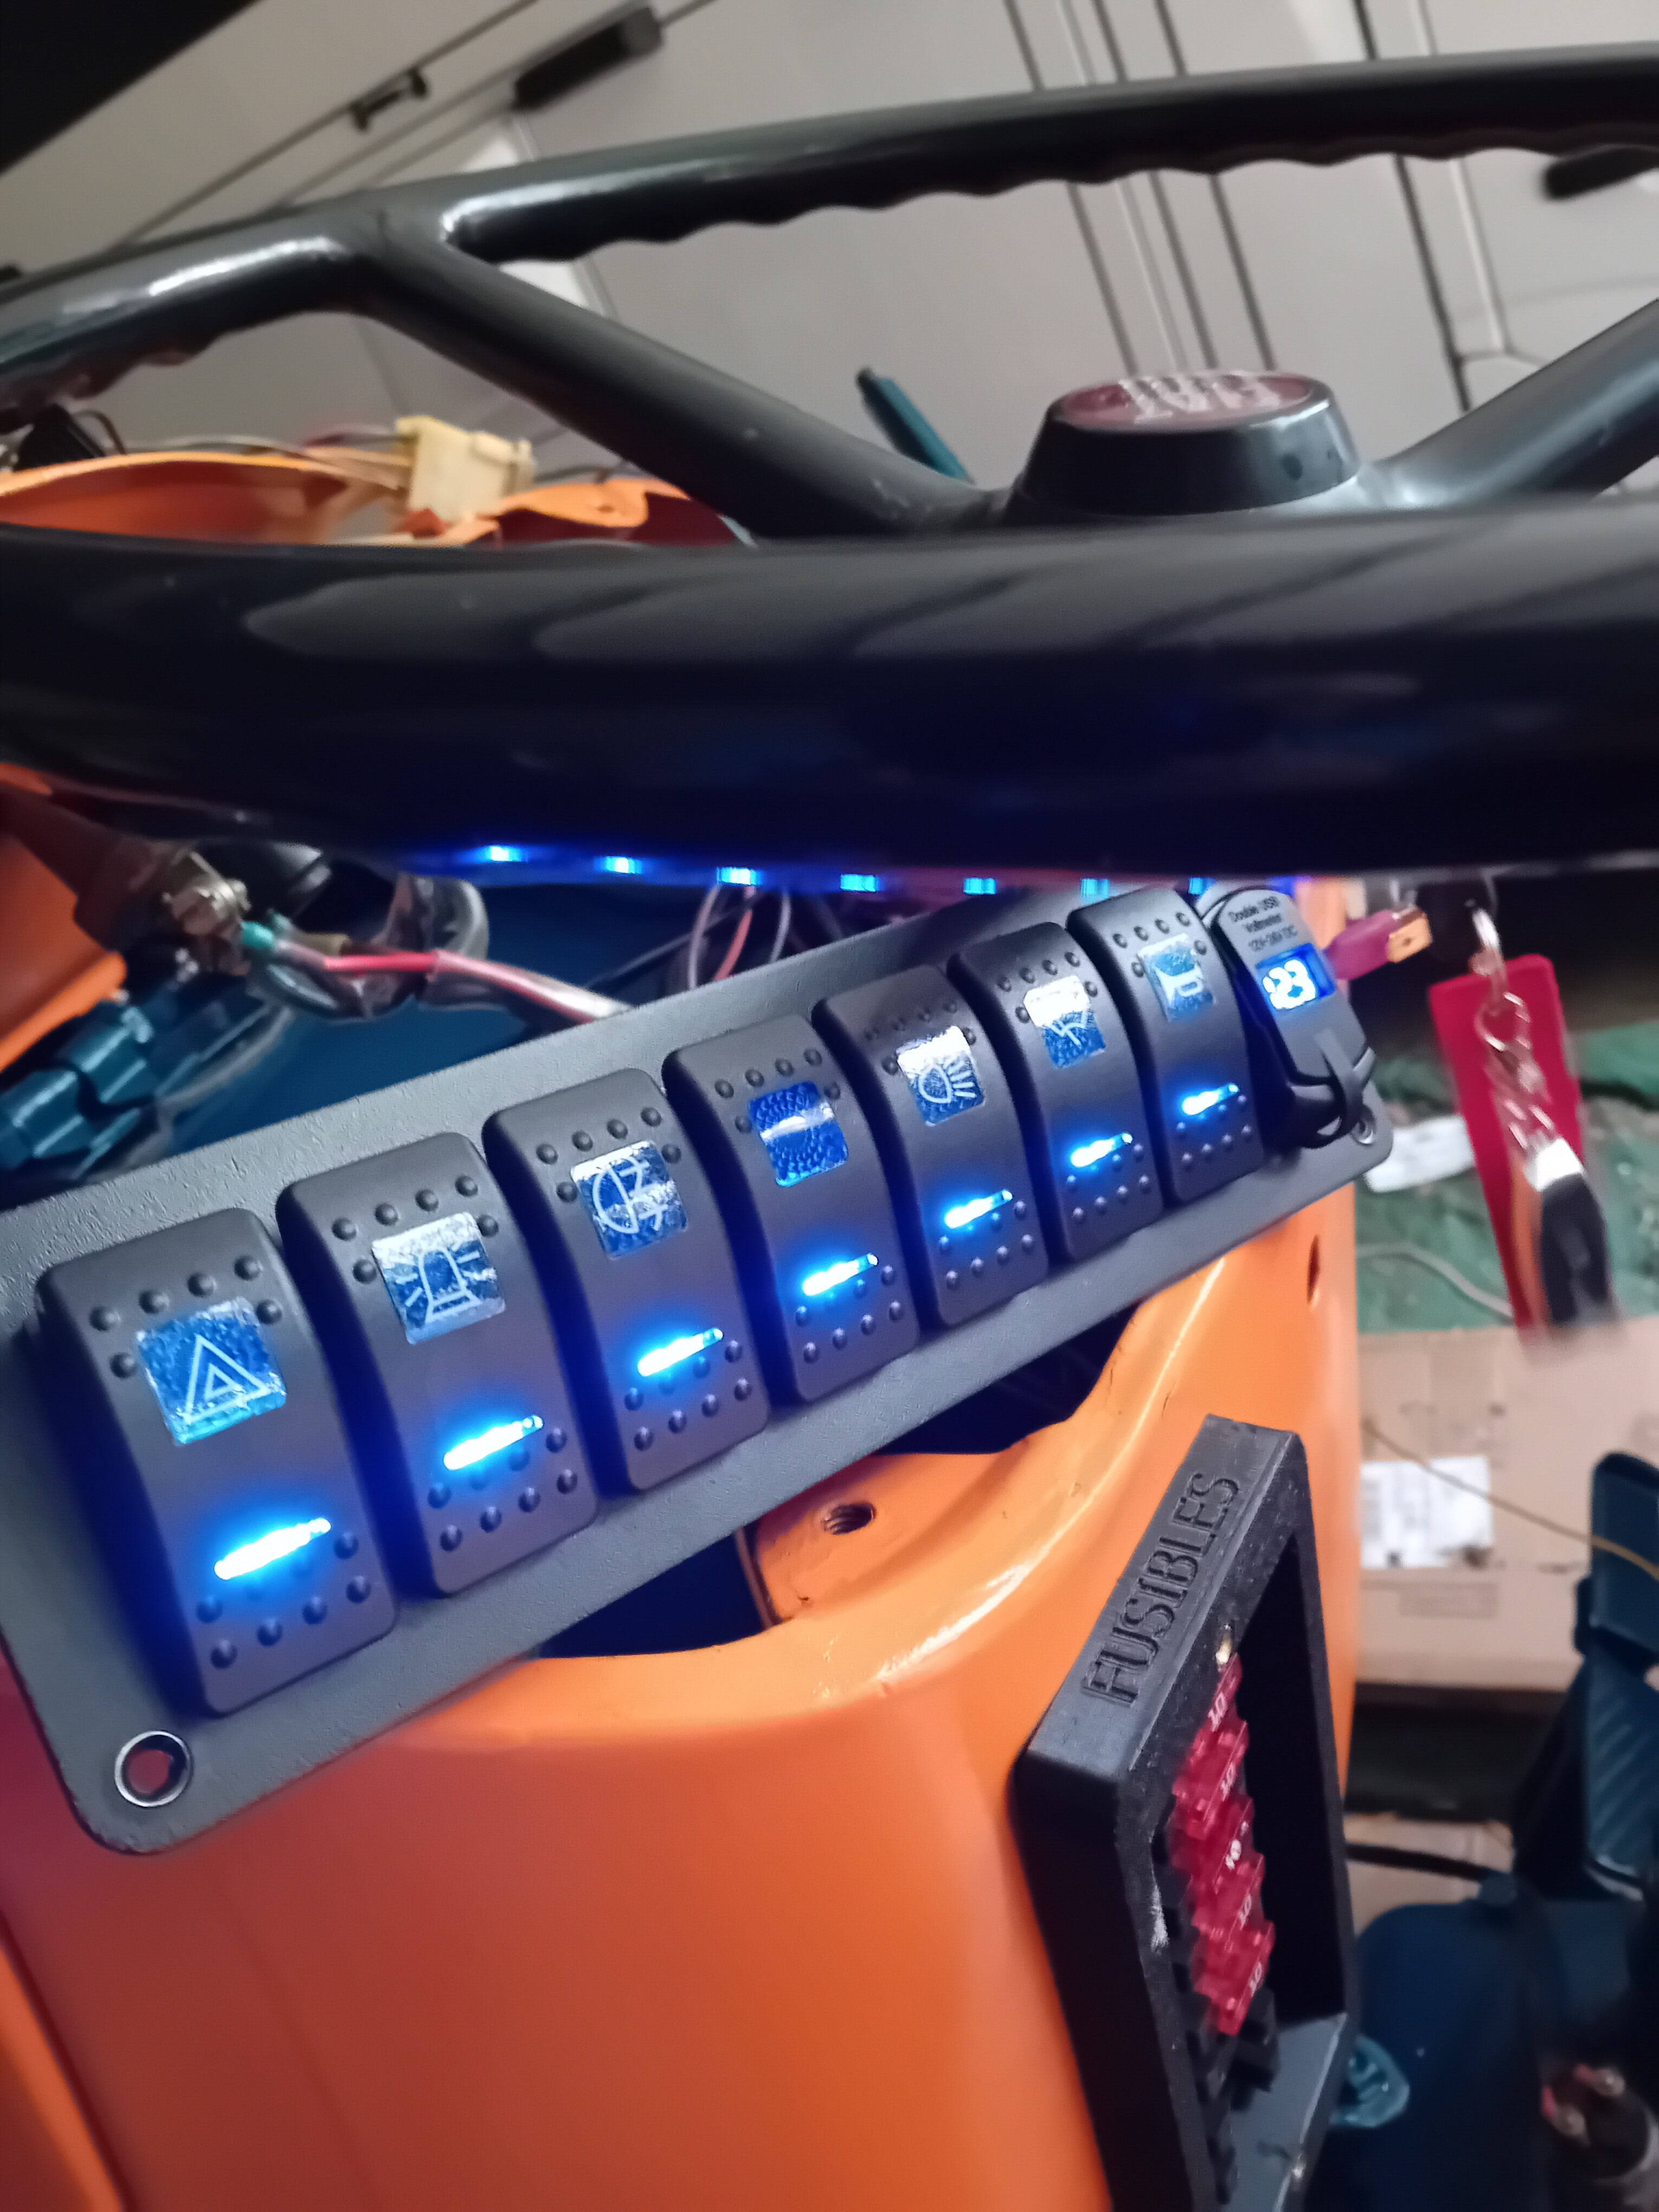
A quick aside: I also made a major blunder while testing the switches, one of the large connectors touched the chassis, melting the two wires connecting the starter and the alternator. It’s all part of the job, doing and redoing, but I caught it quickly, which was lucky, as nothing else was damaged.
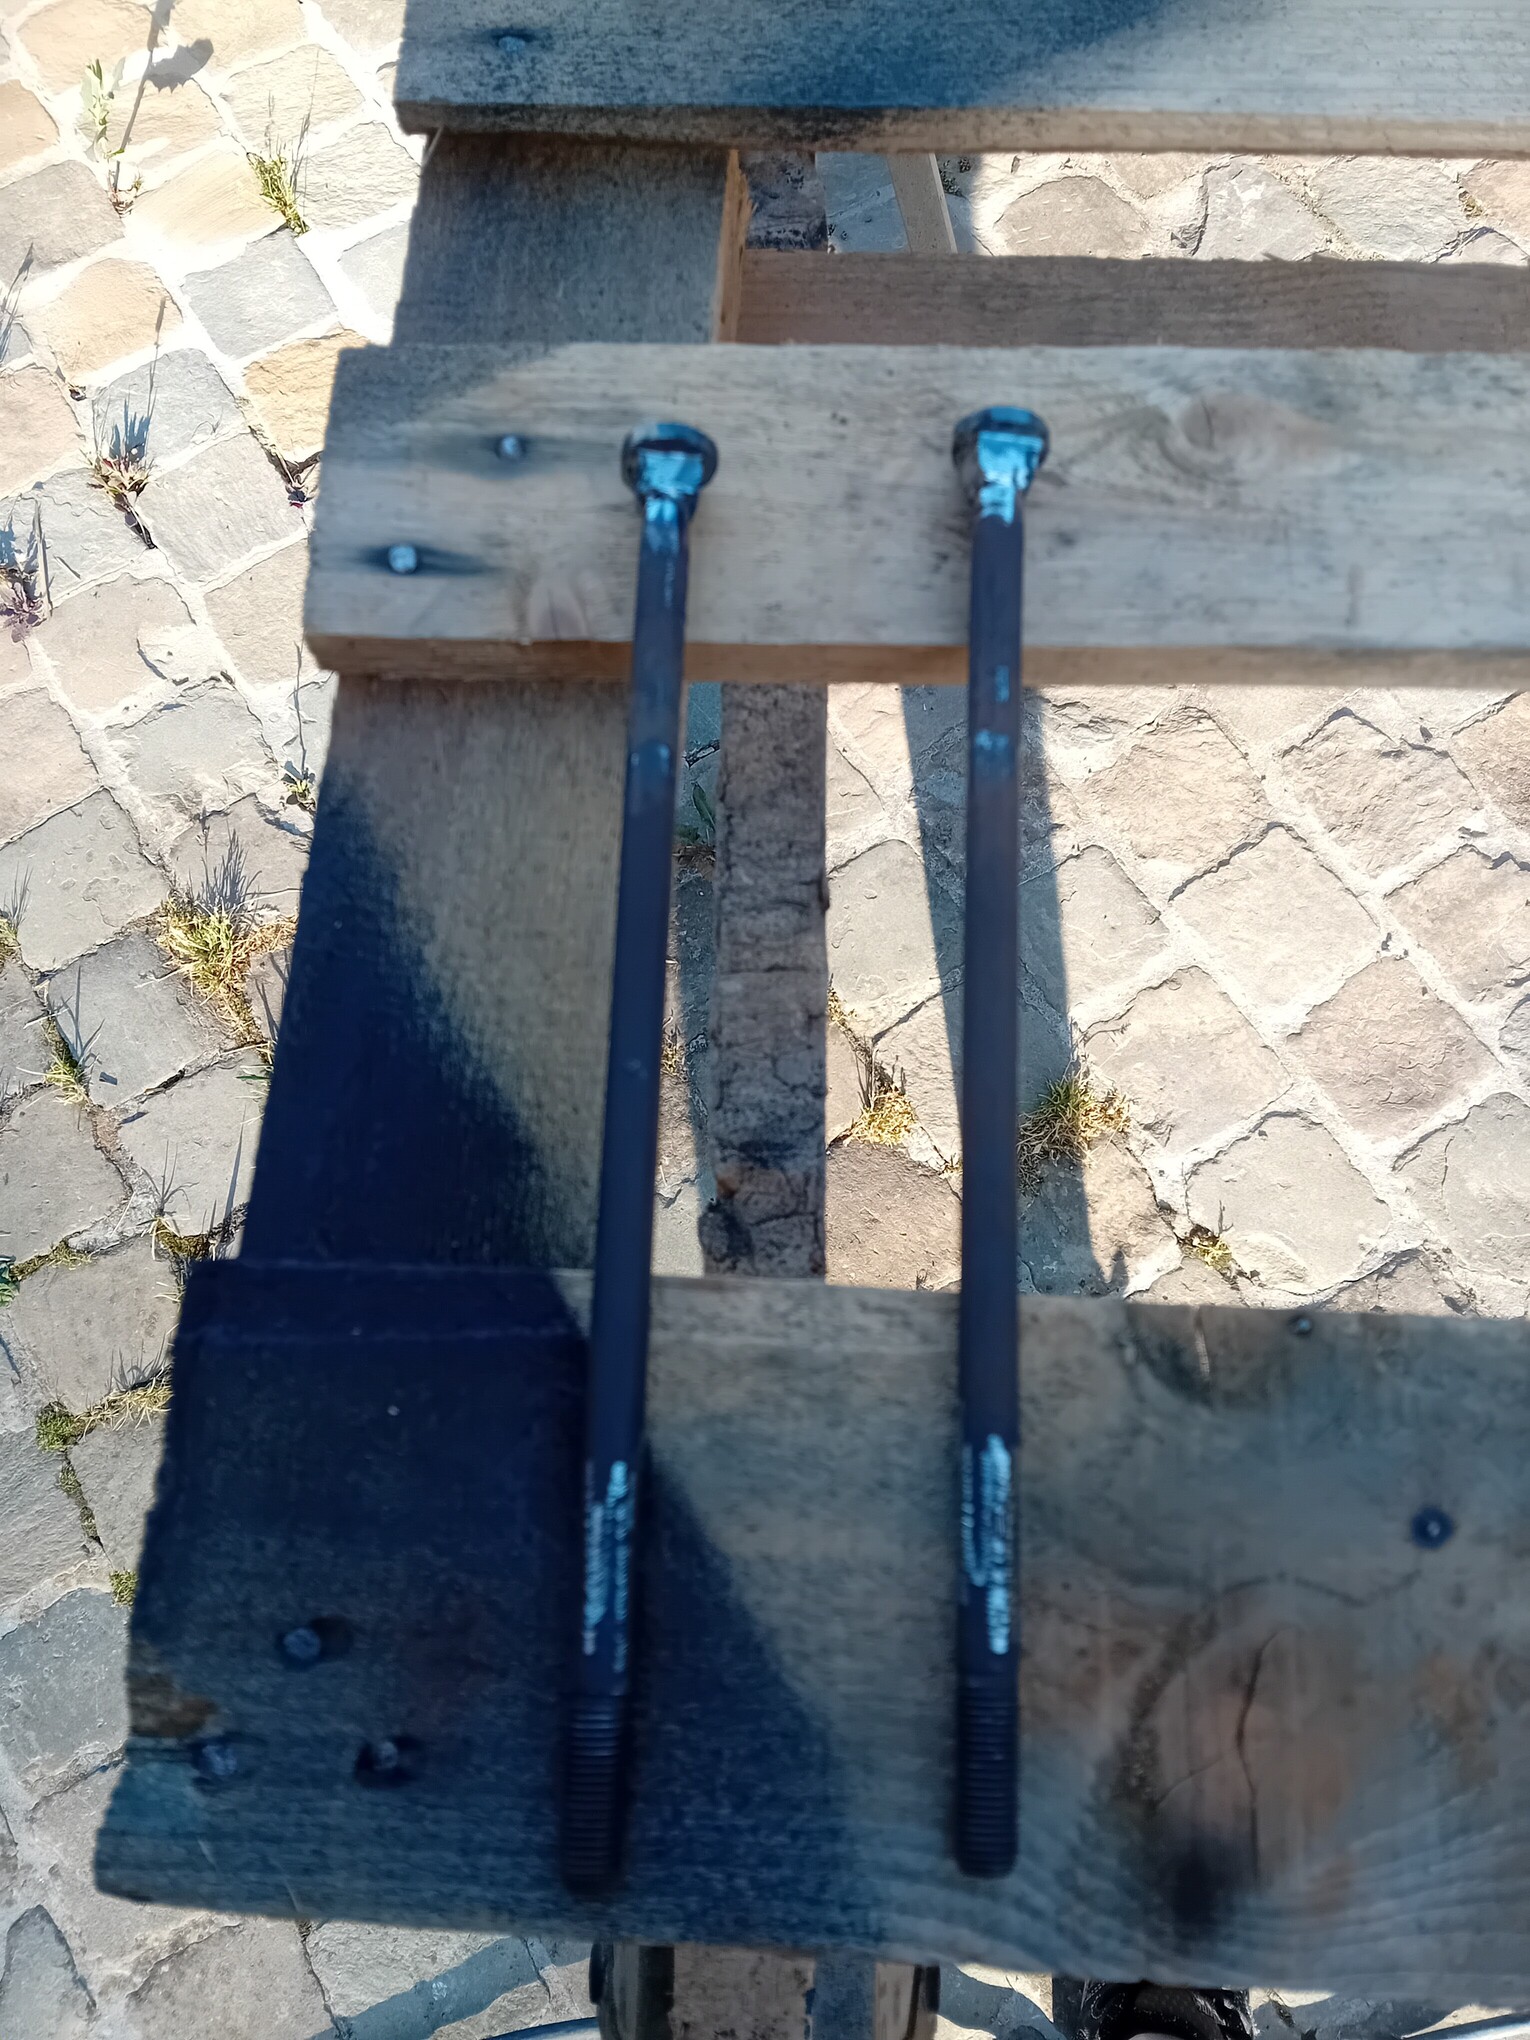
For my first time using the MIG welder, I built up material on these battery mounting bolt.
Haha Tone, no, I’m going to keep it until the very end xD; when I can’t drive anymore, I’ll put it in the middle of my garden as an ornament. It might not look quite as nice then, though.
david, yes you are right, it should remain a working machine, only rust is stopped now and has less chance…you told your traktor has 10 000 working hours, have you noticed motor oil consume with this hours? my hanomag has 11 000 hours, i am responsible only for 1000, the others from previous owners…on 900 km he consumed about 20 liters of motor oil…
i should give him for two weeks in the hands of you and your pa, and he would look like new!!
I haven’t noticed anything like that yet; after the oil changes and getting it running again, it was running better.
We asked a mechanic who works on machinery and tractors for his opinion, and he said the noise was normal; it smokes a bit at startup, but improves after that.
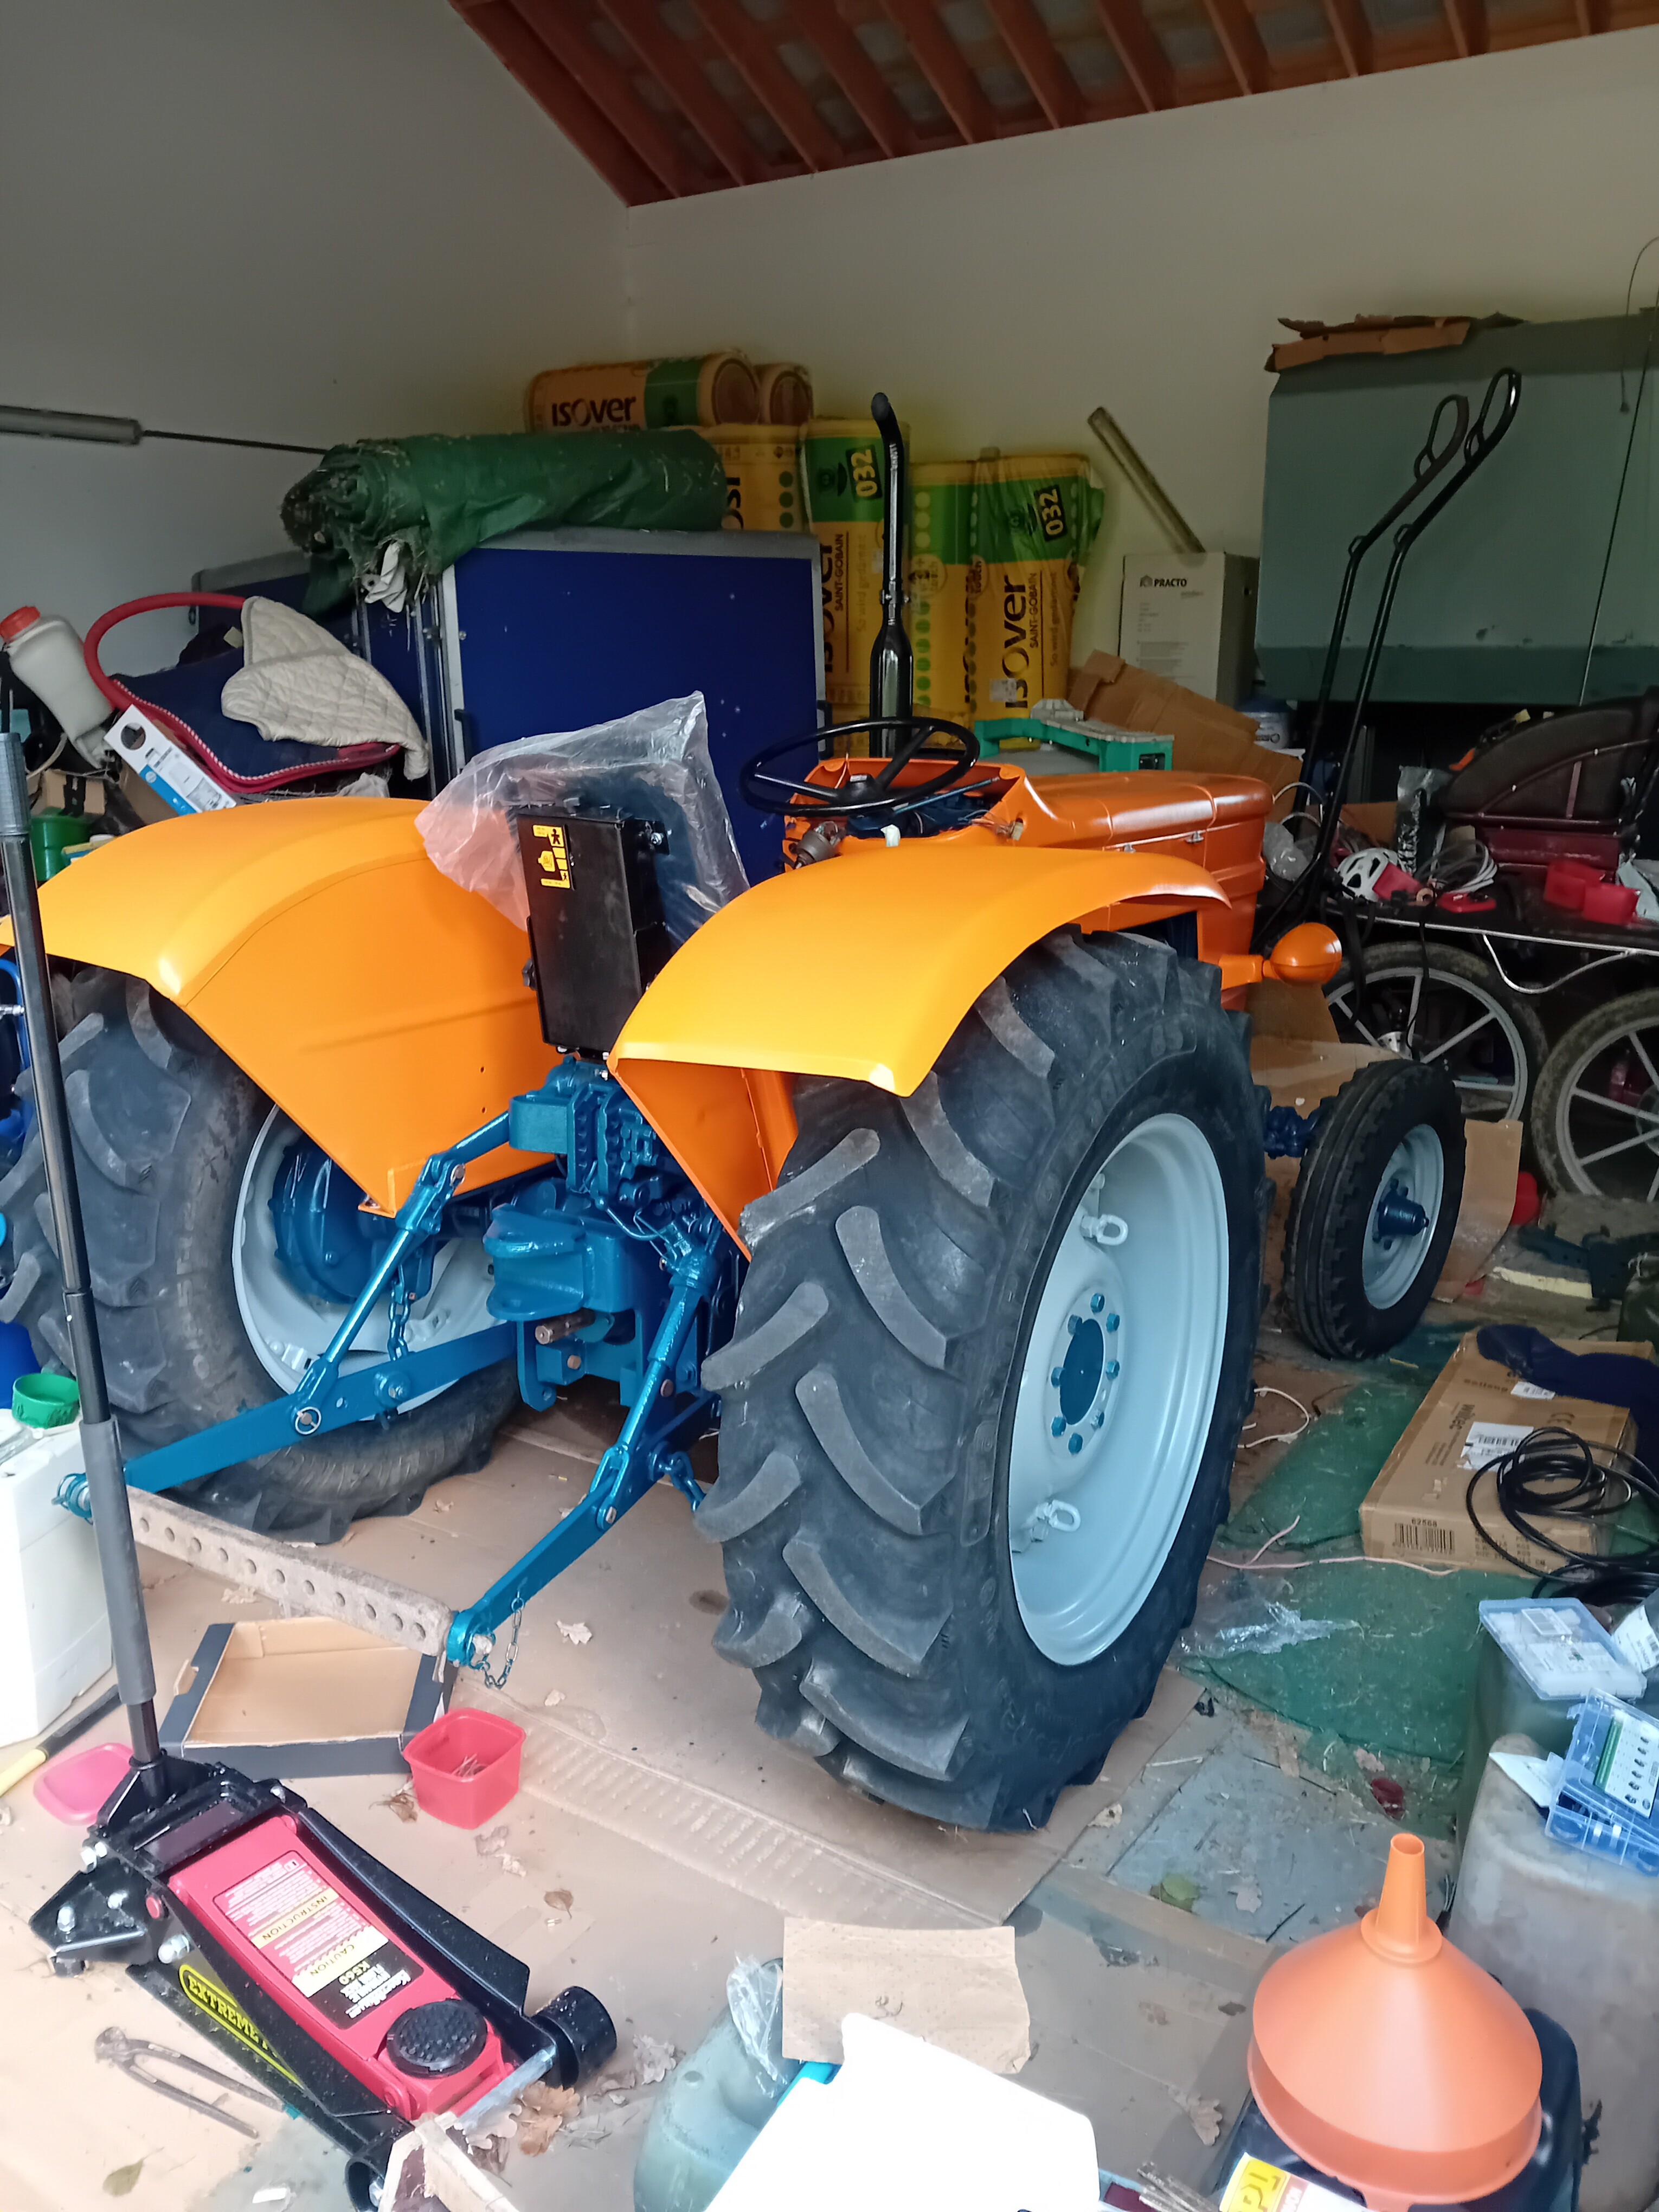
We only used it briefly yesterday, just long enough to adjust the brakes and test the power steering, which still needs a few tweaks.
However, it’s hard to tell from just these quick tests whether it’s burning oil.
Thanks, we appreciate the trust you’ve placed in us, but we didn’t do much to the actual mechanism, just a full oil change.
And you’re overestimating us; we’ve been working on it for over three months.