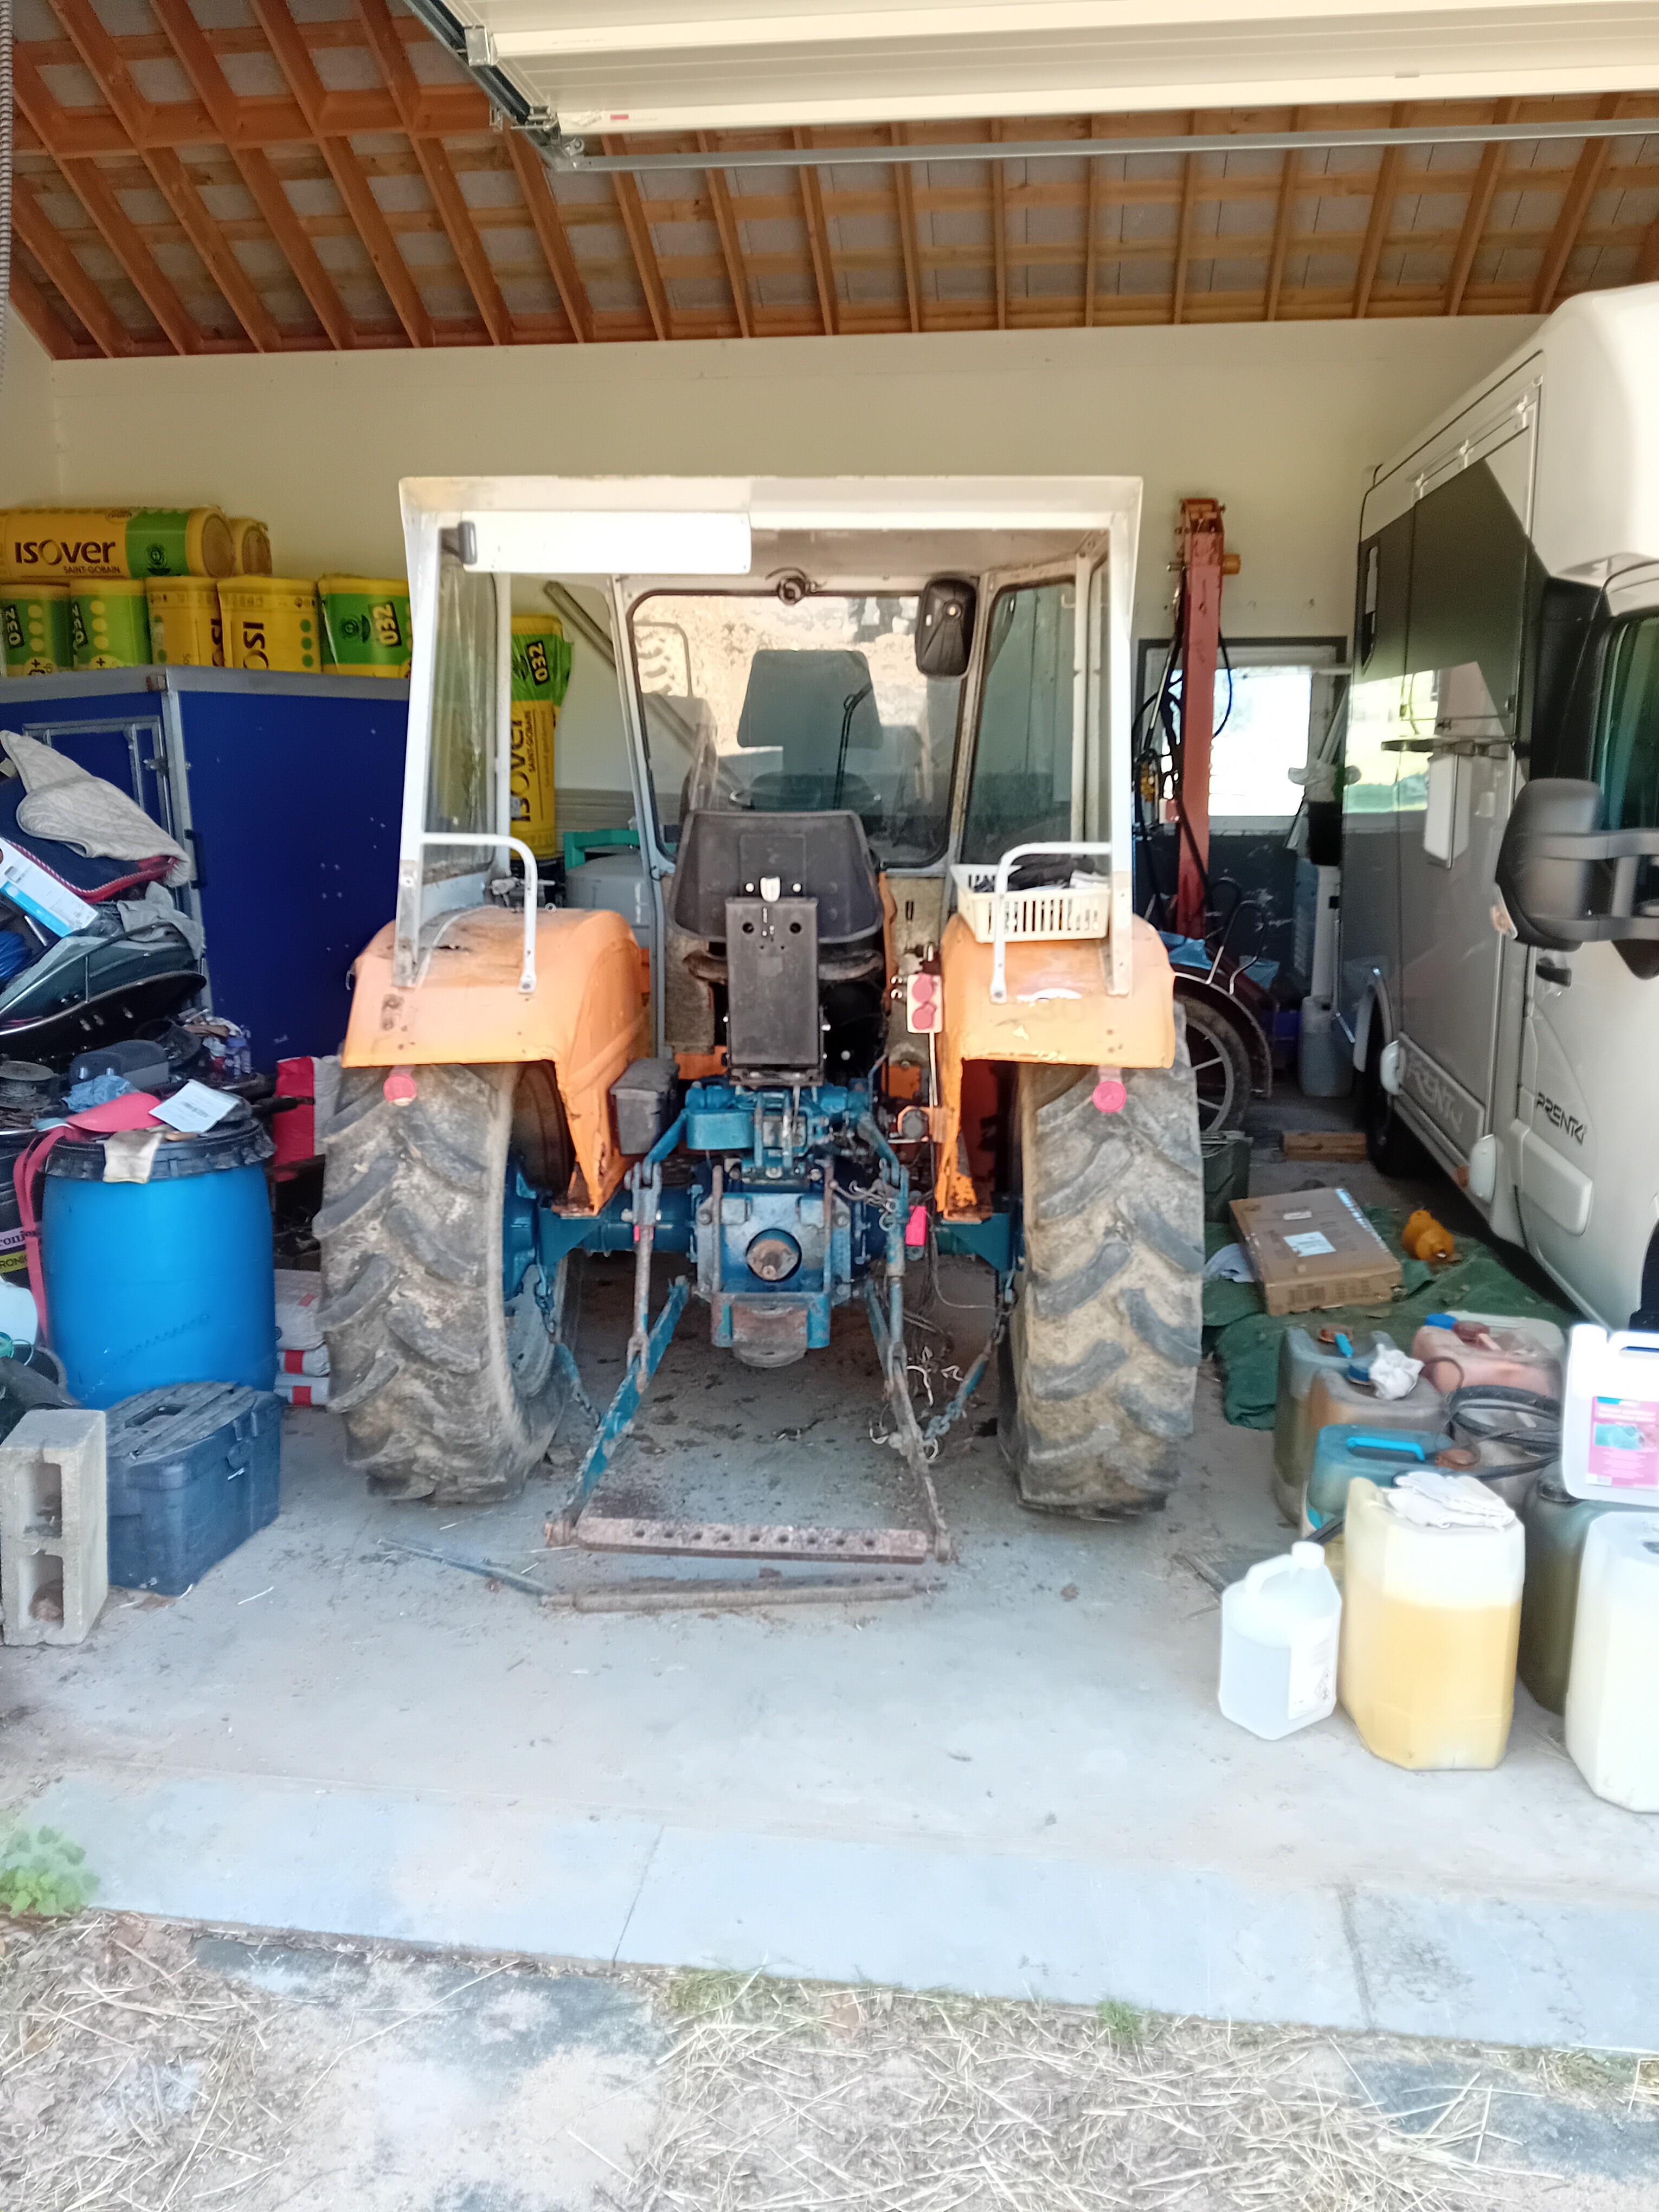
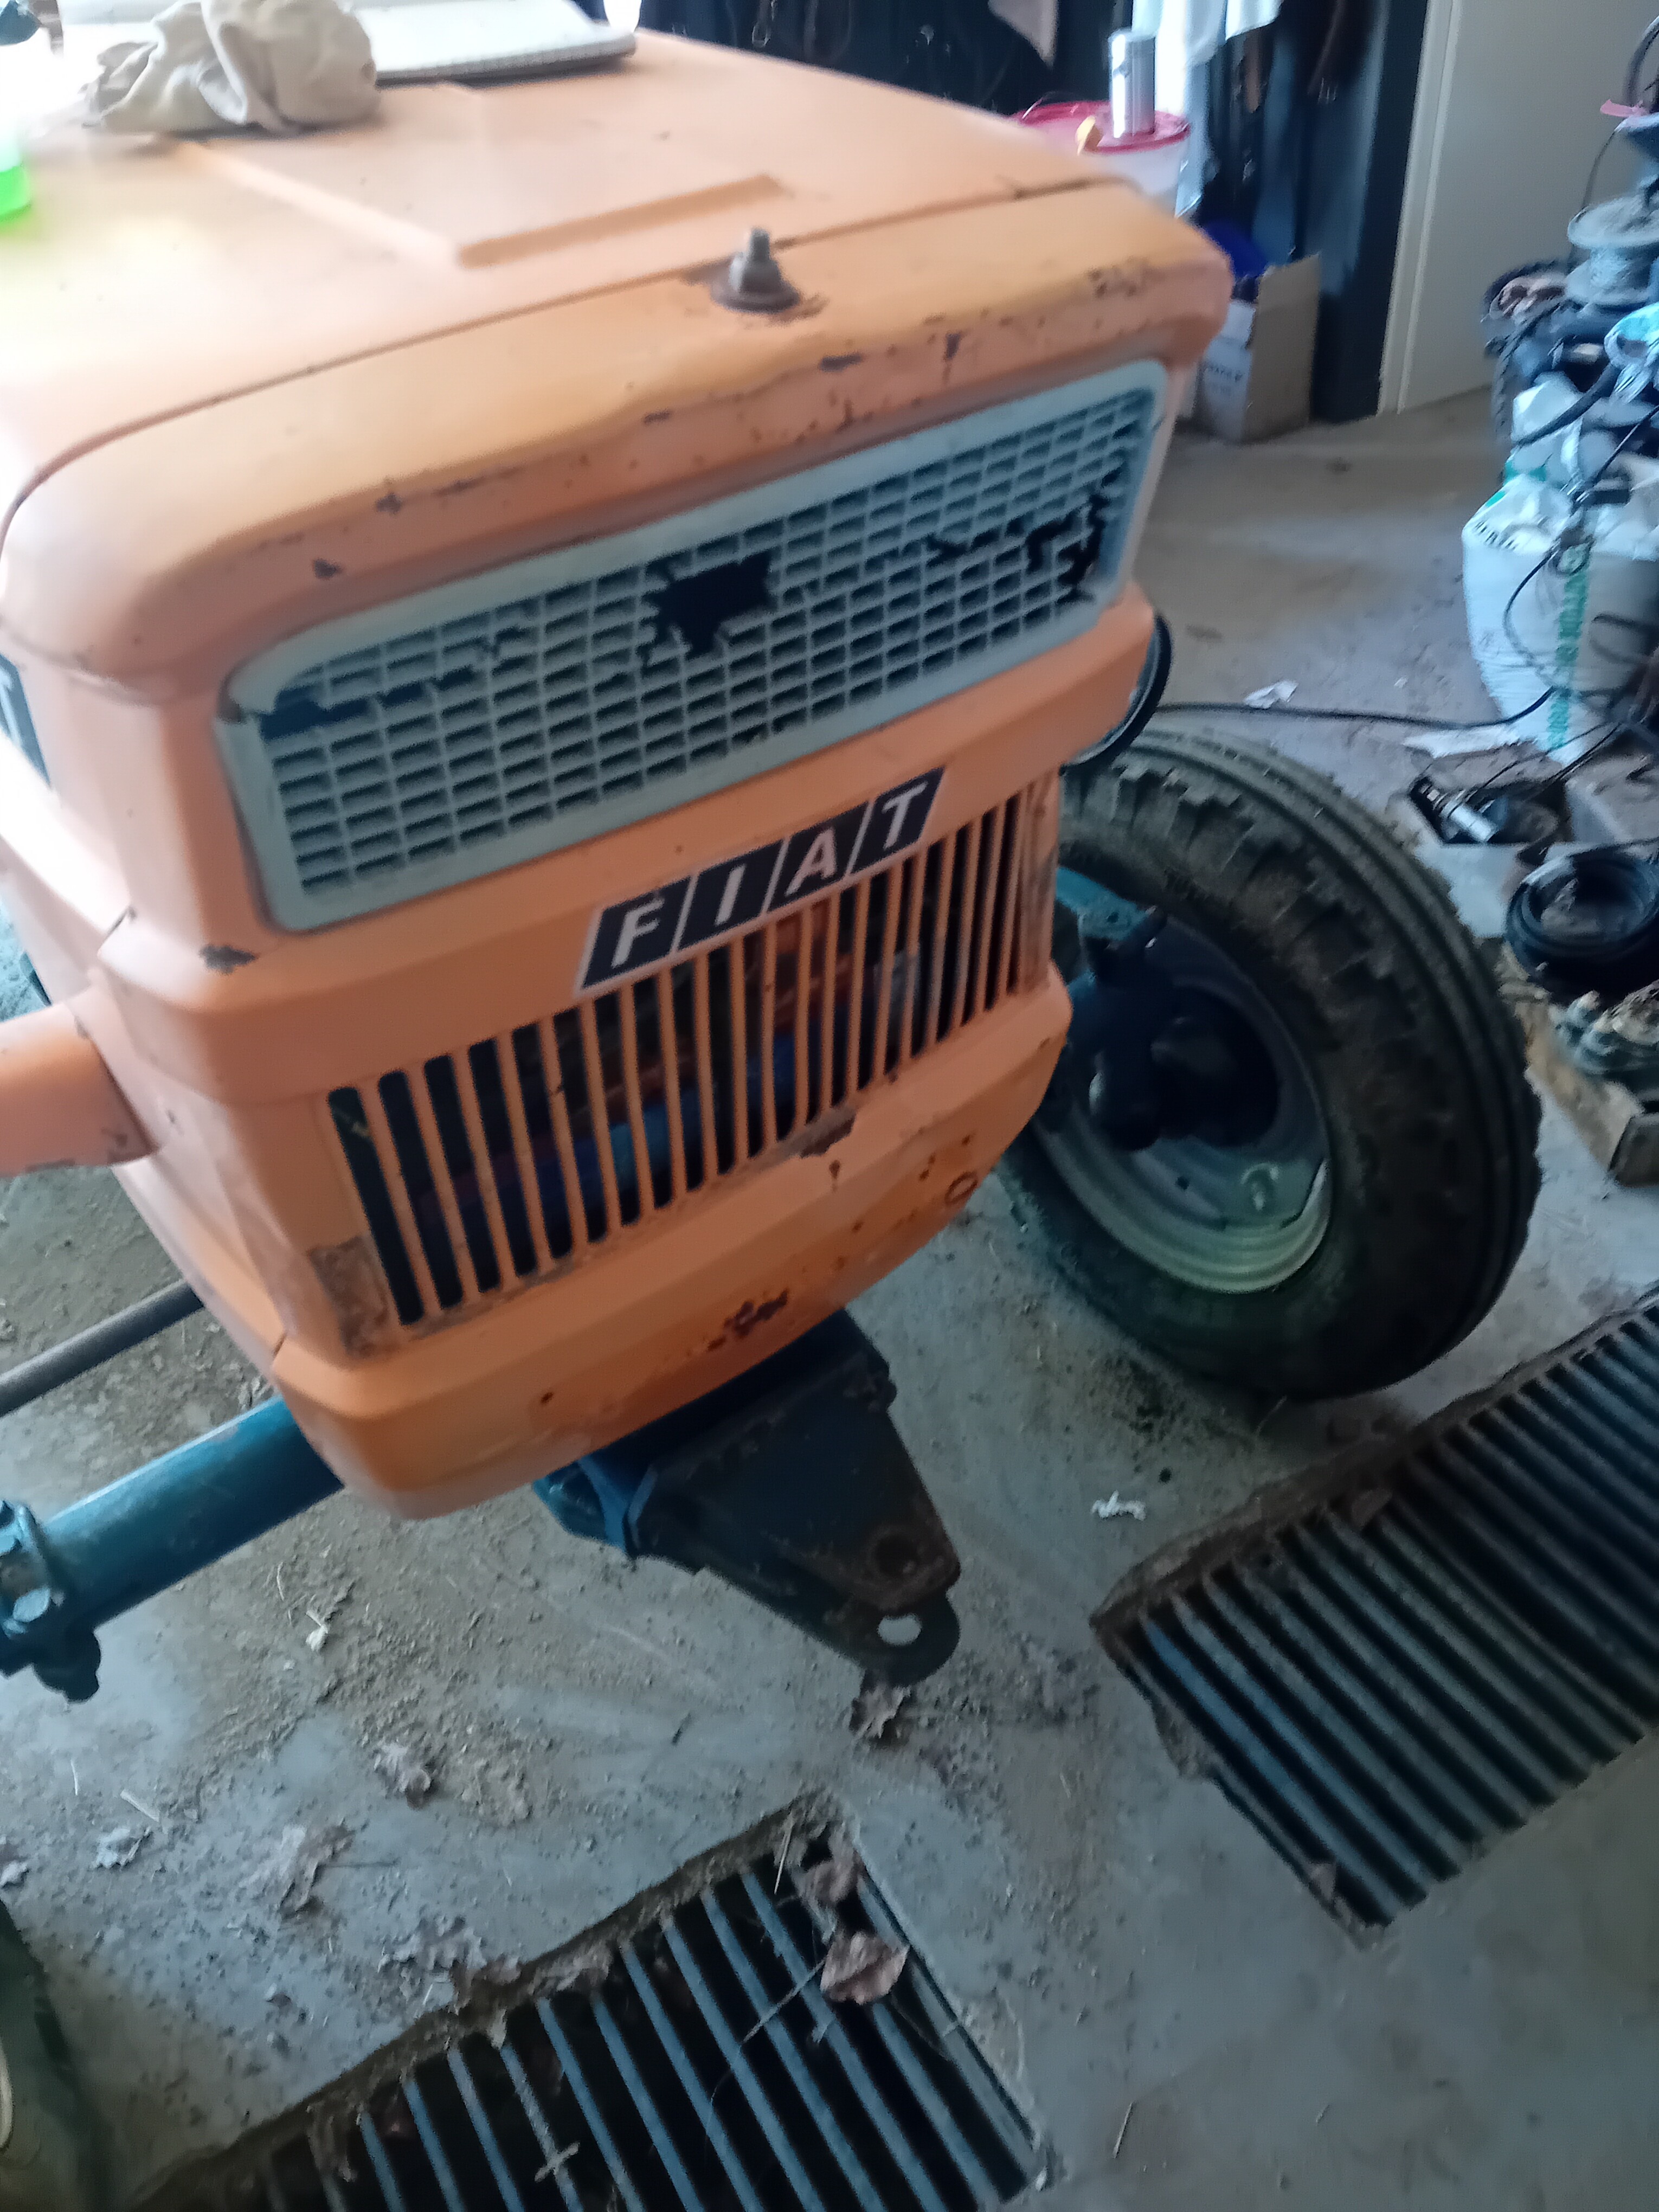
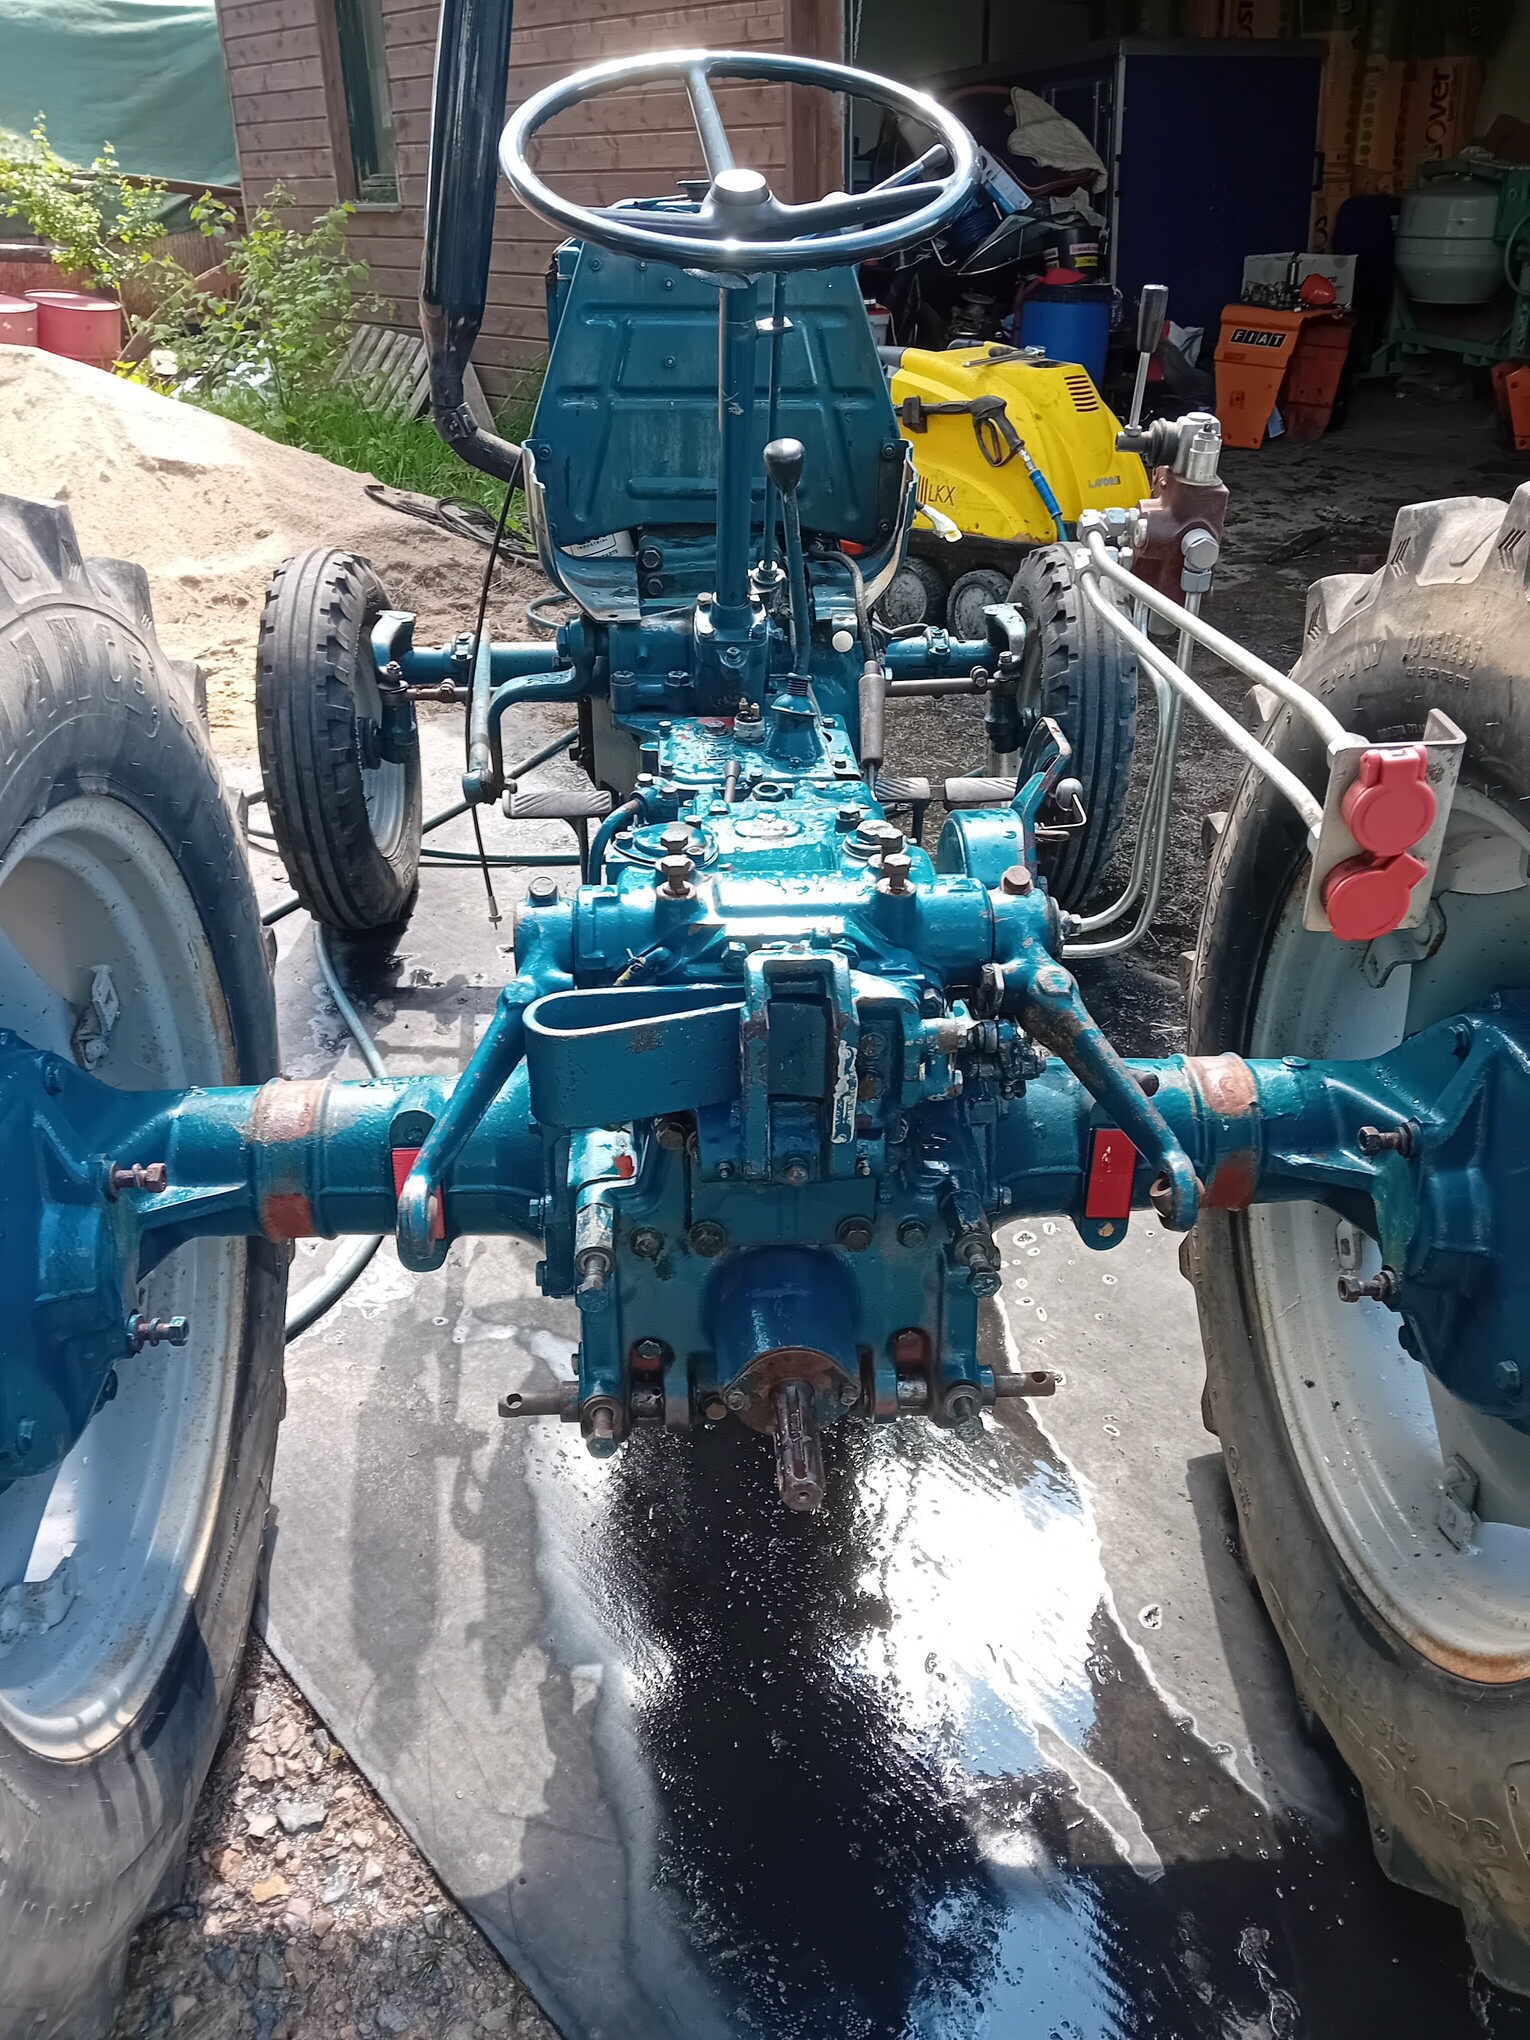
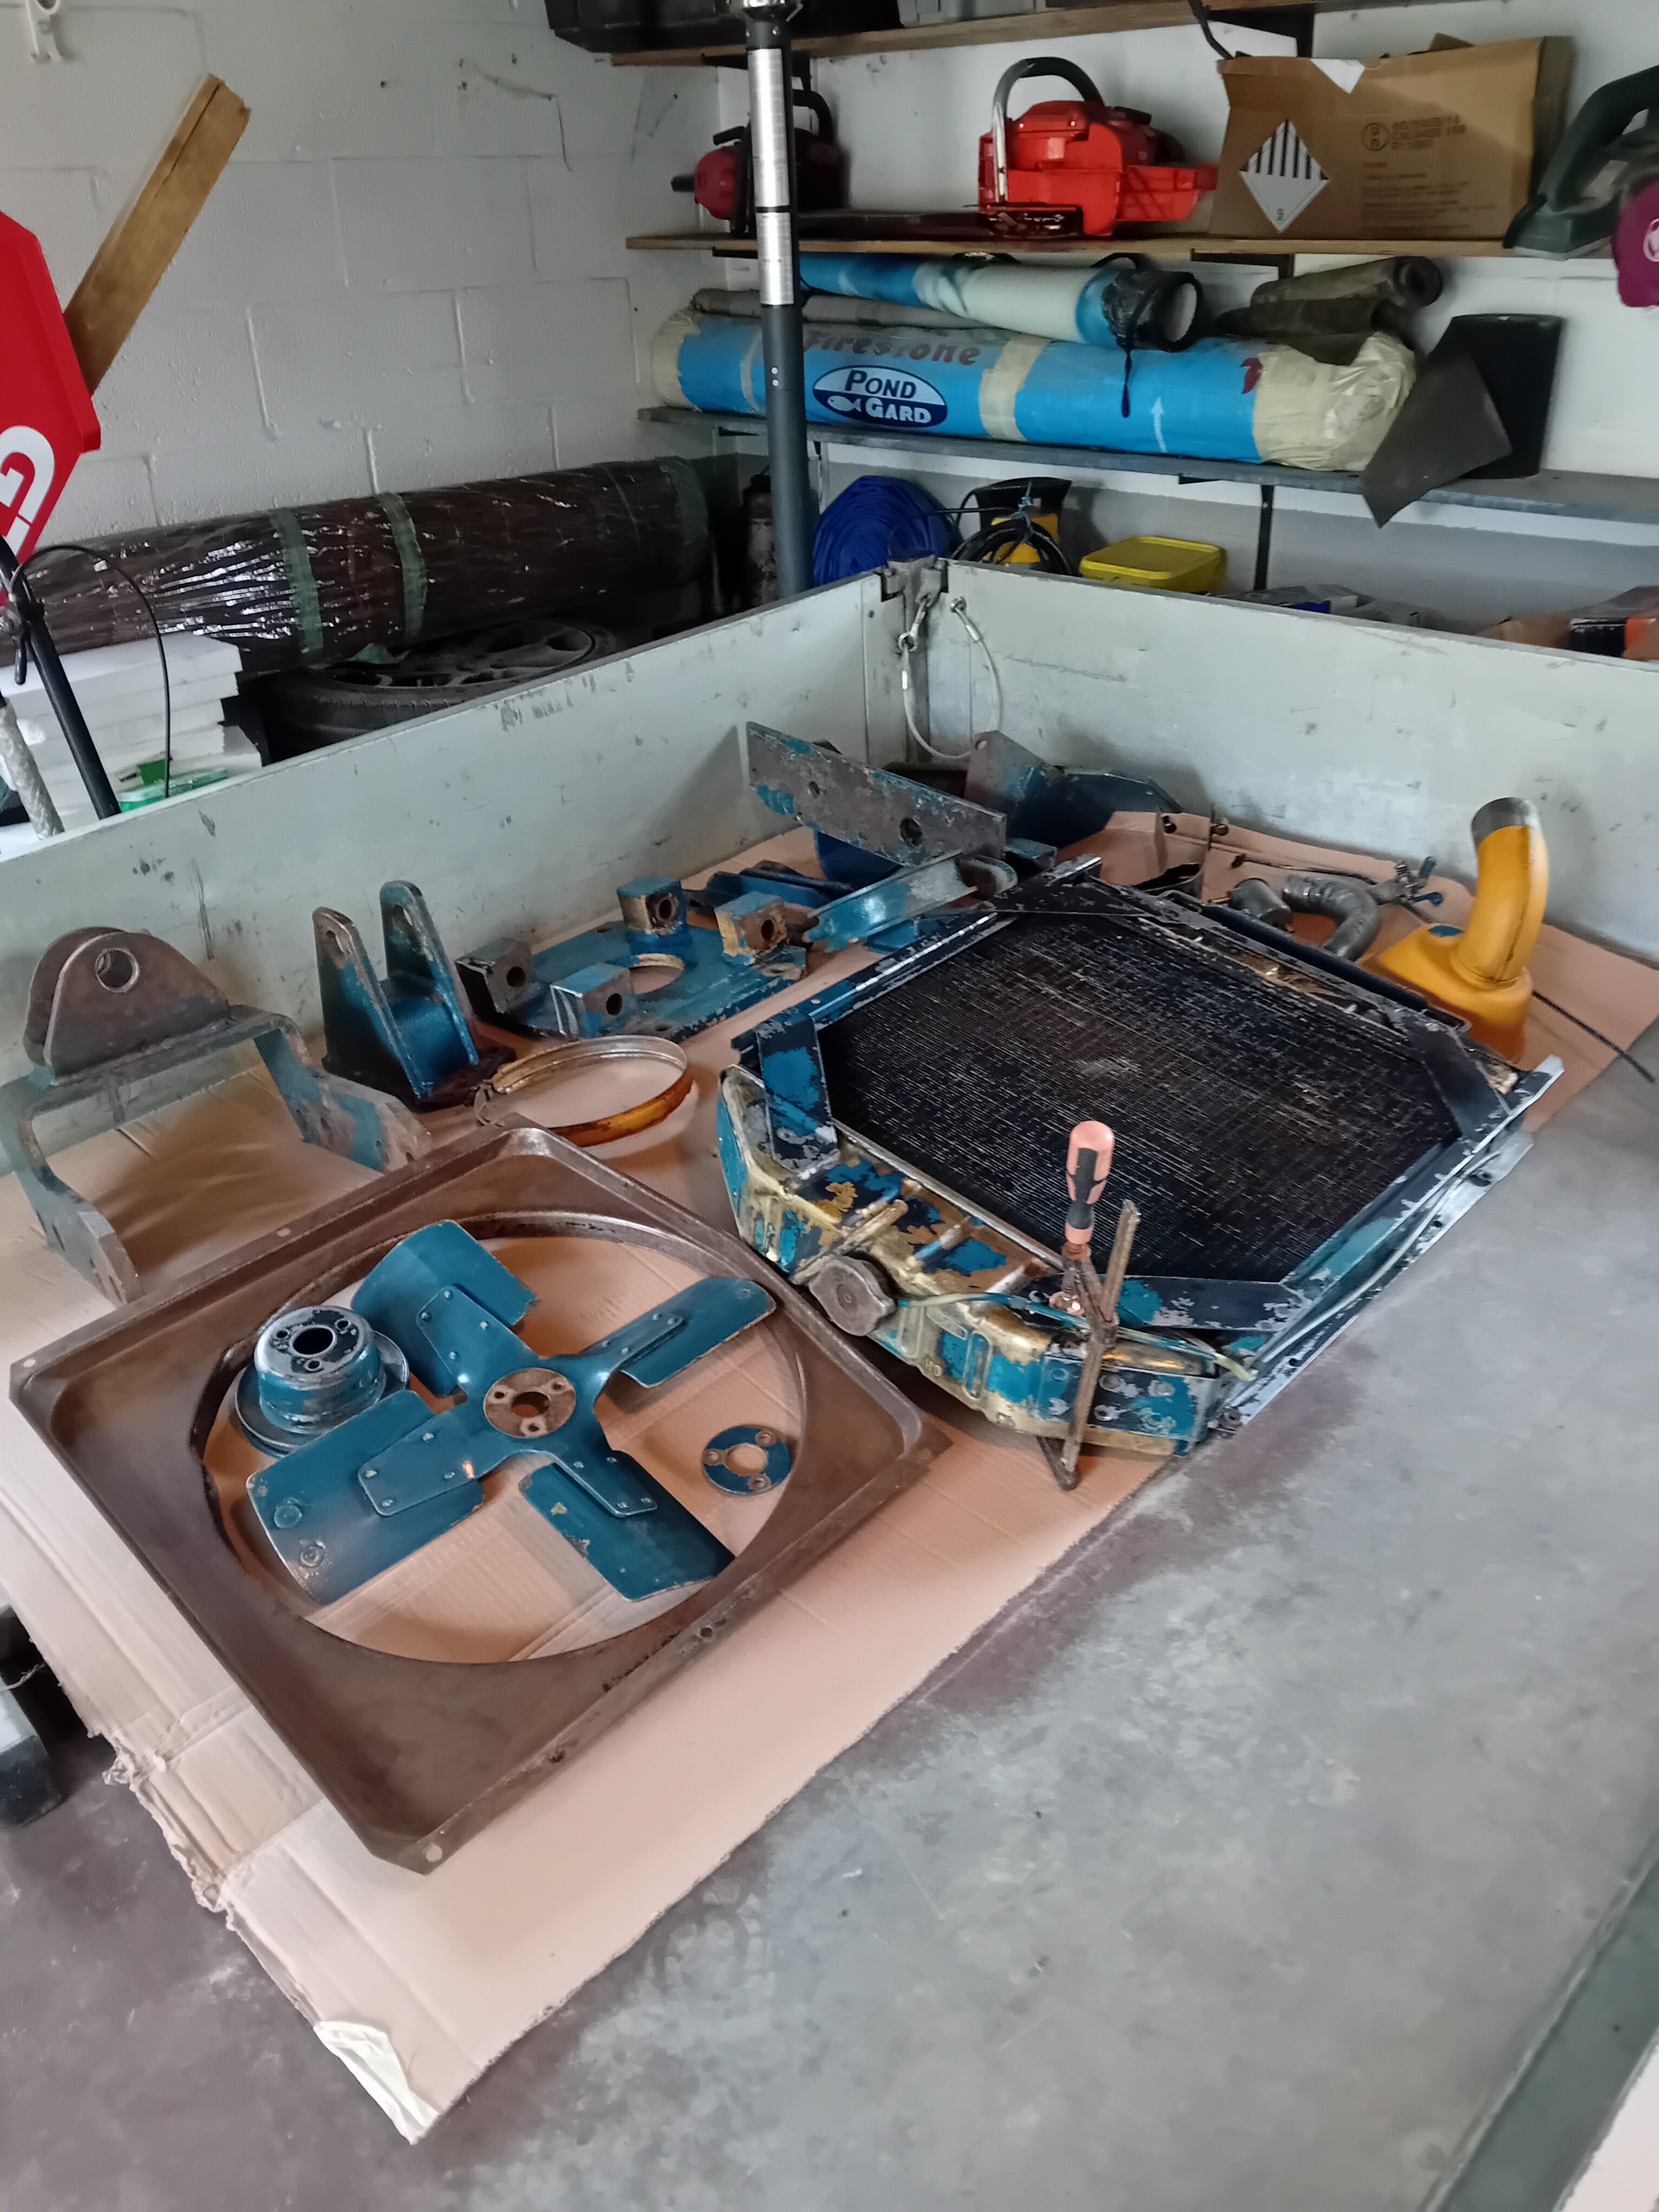
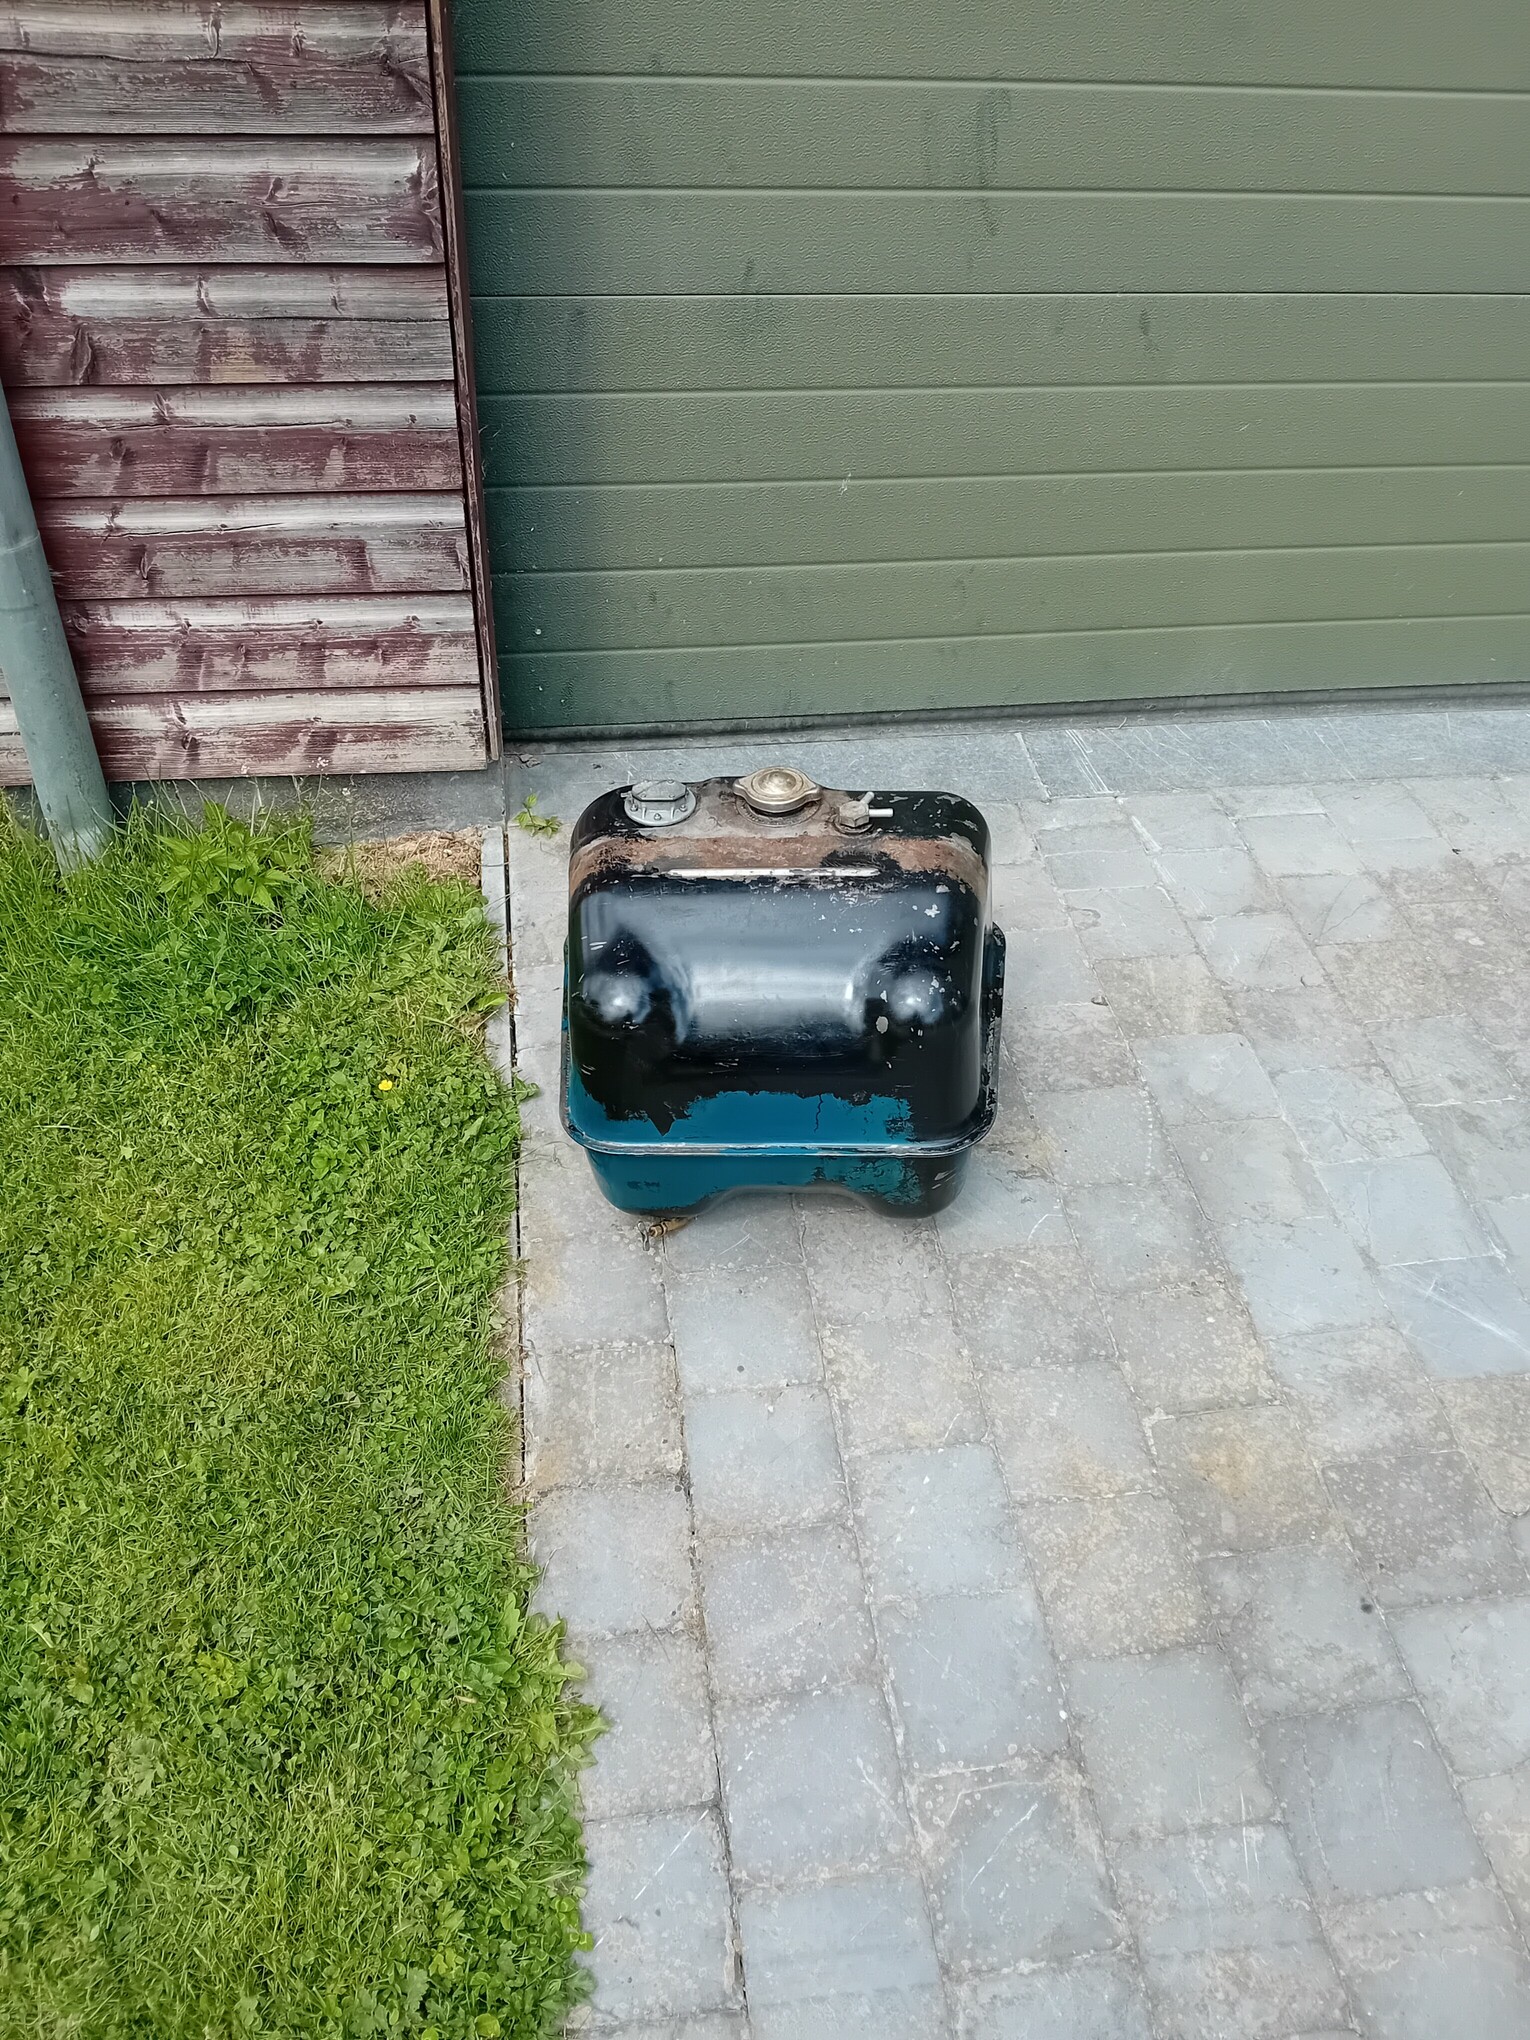
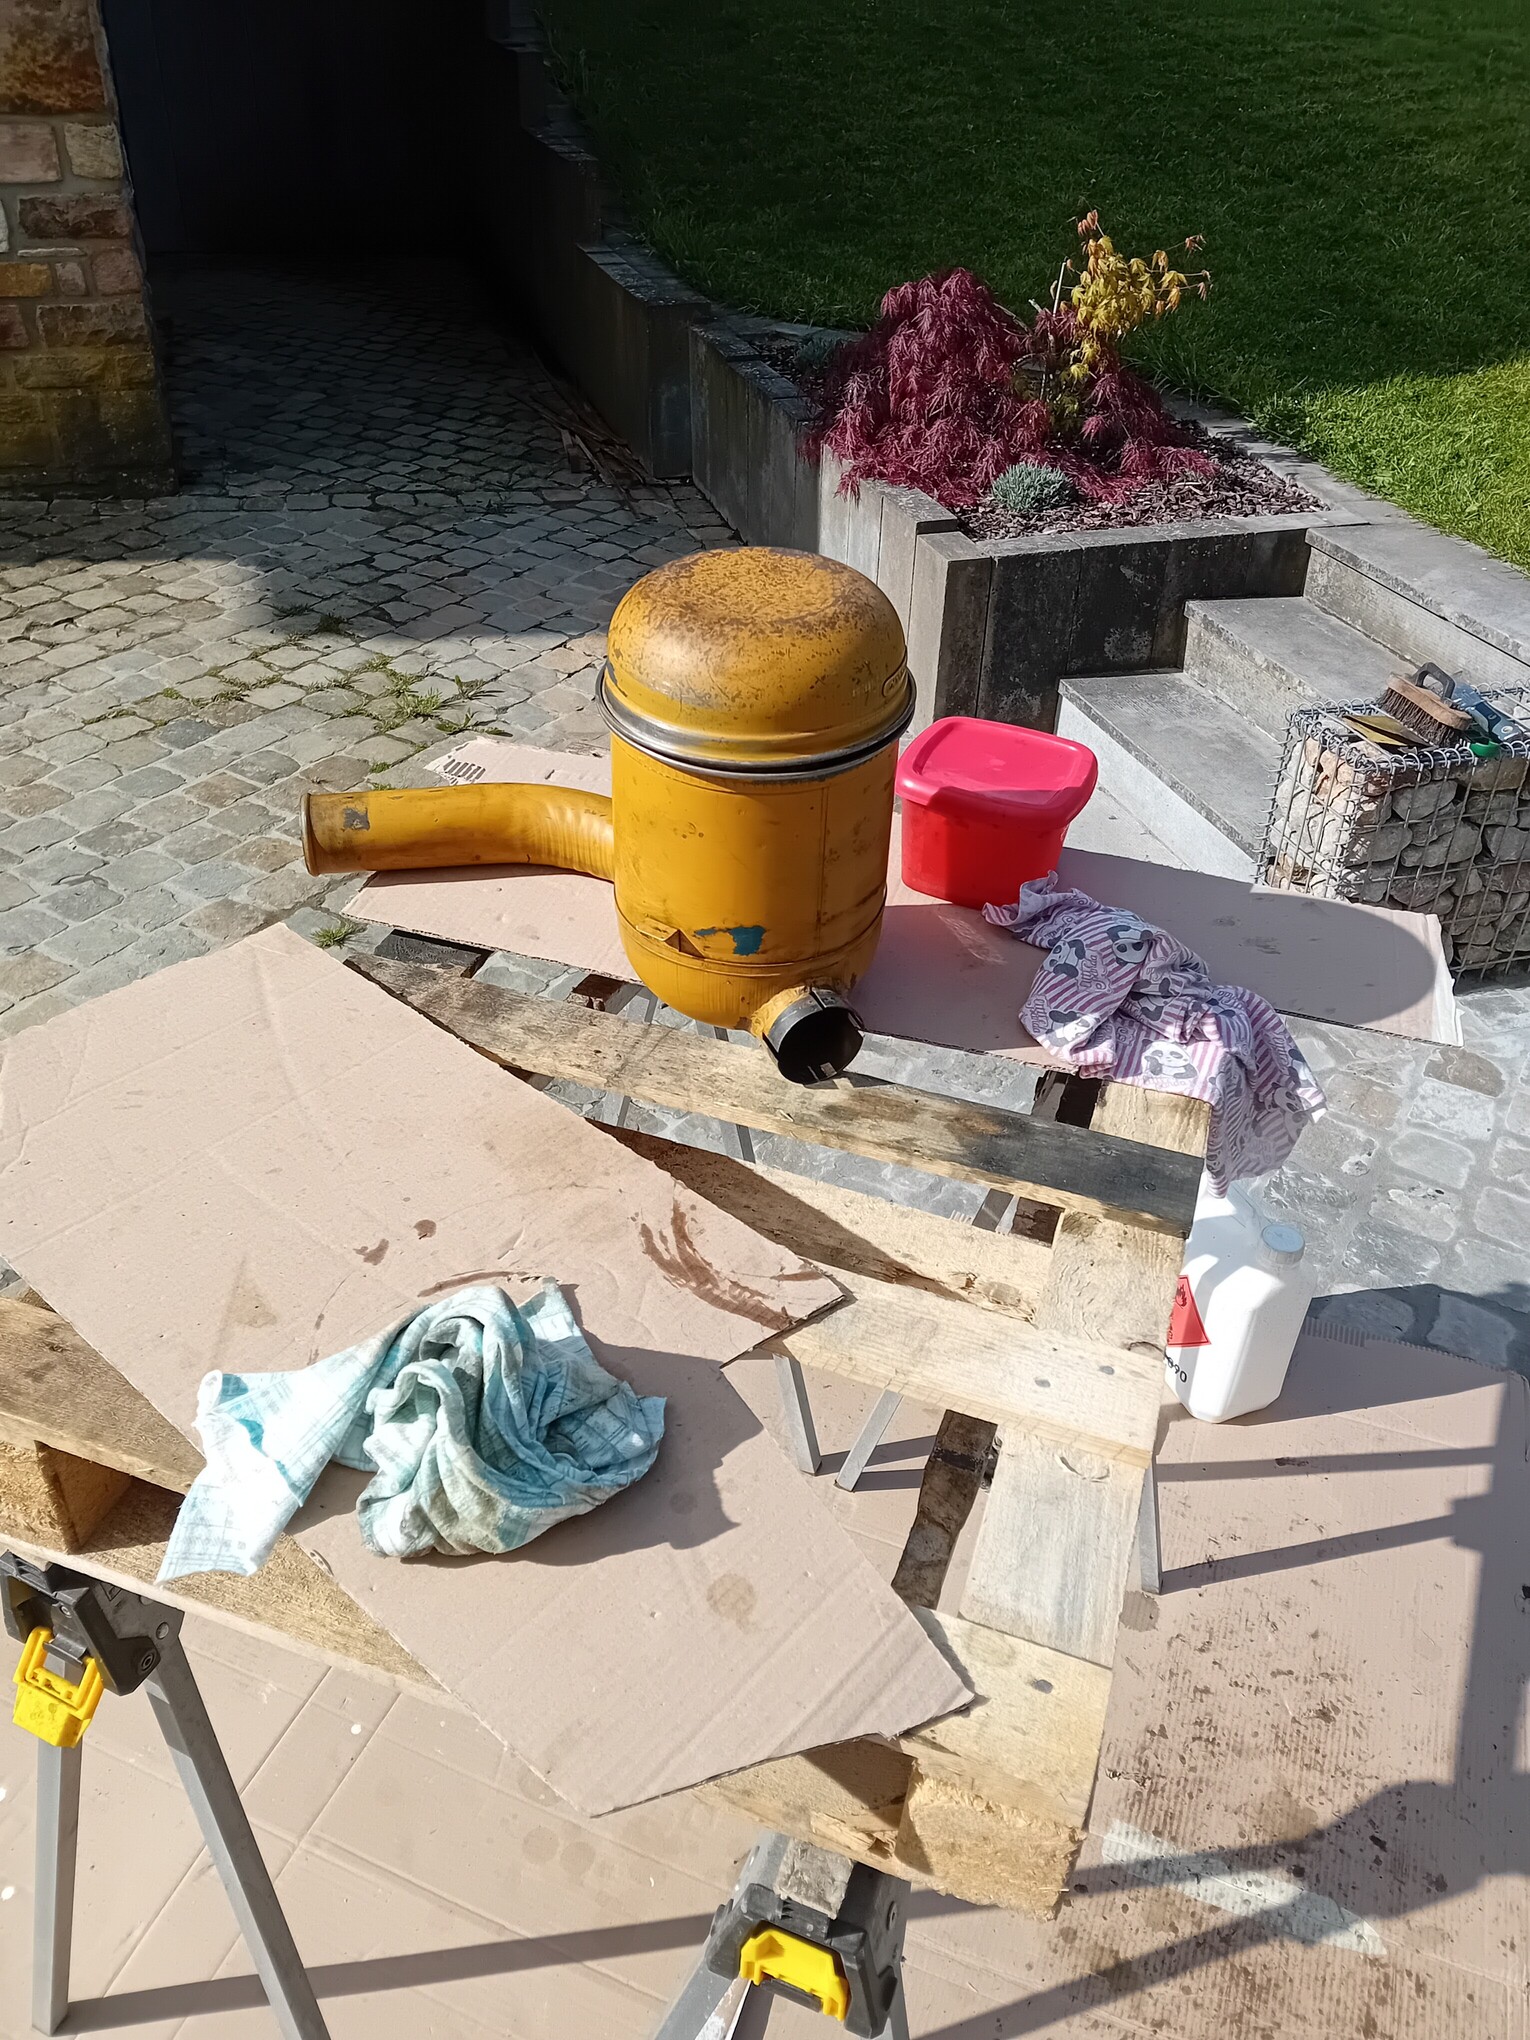
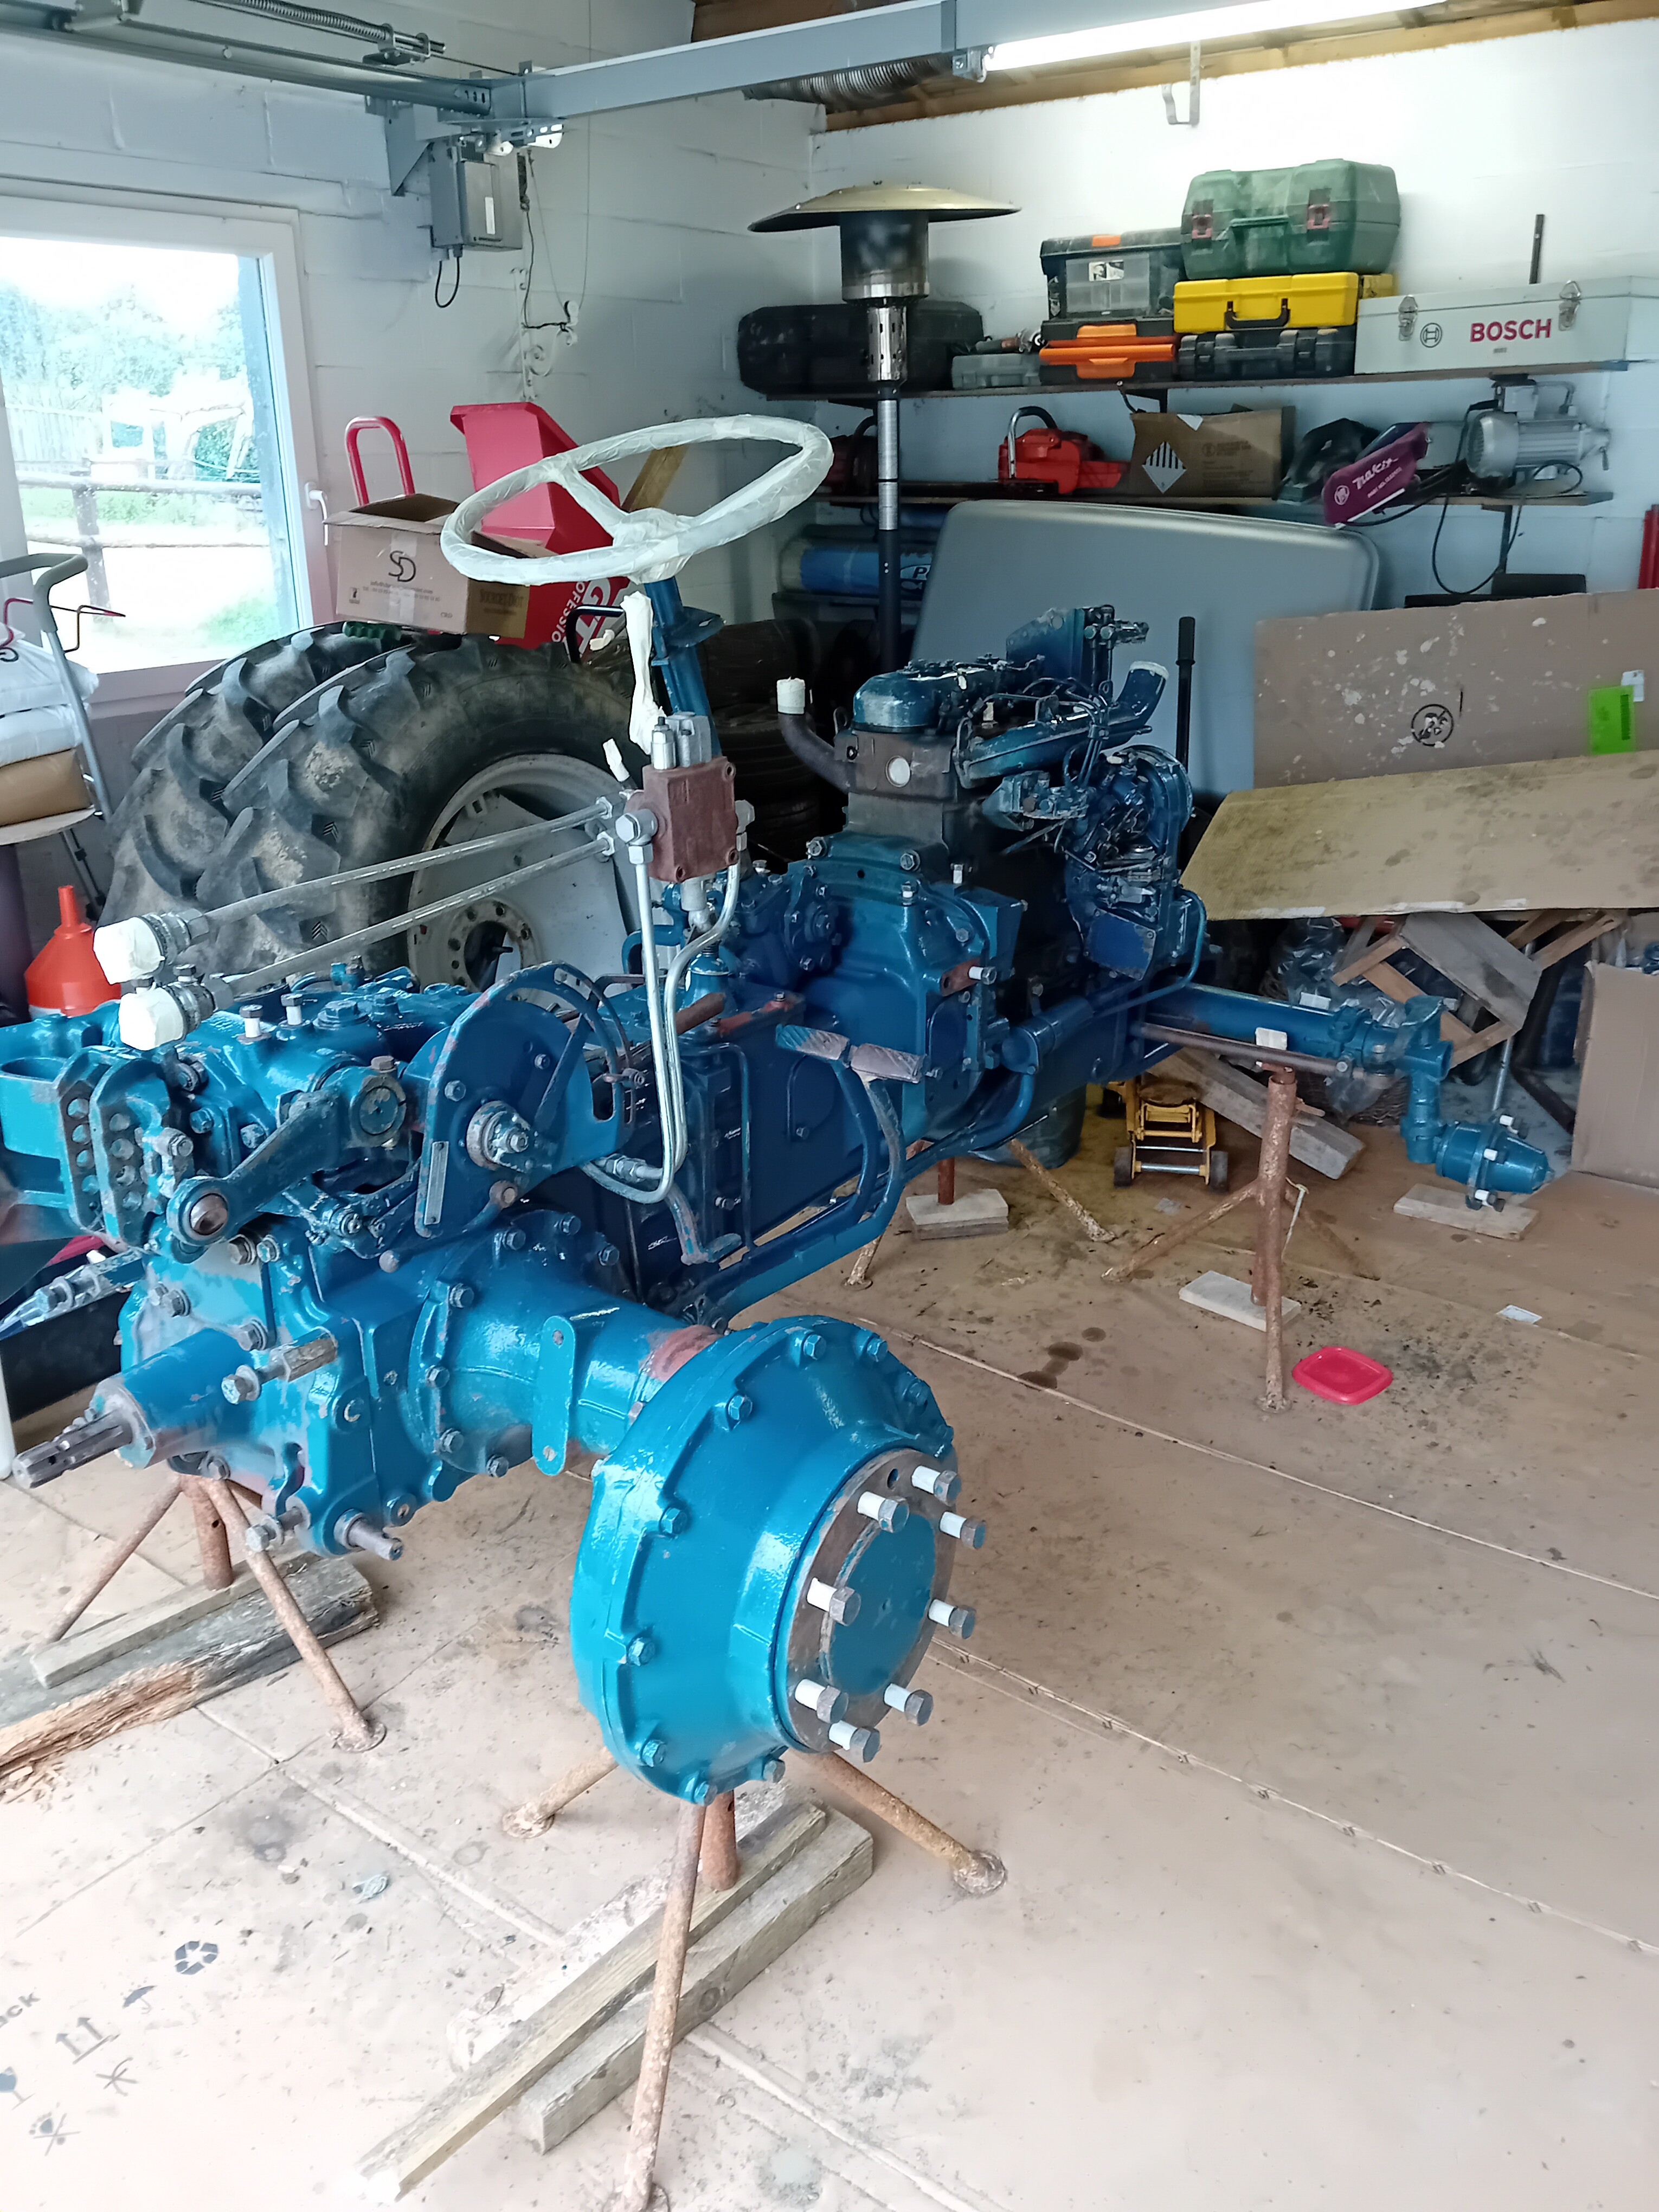
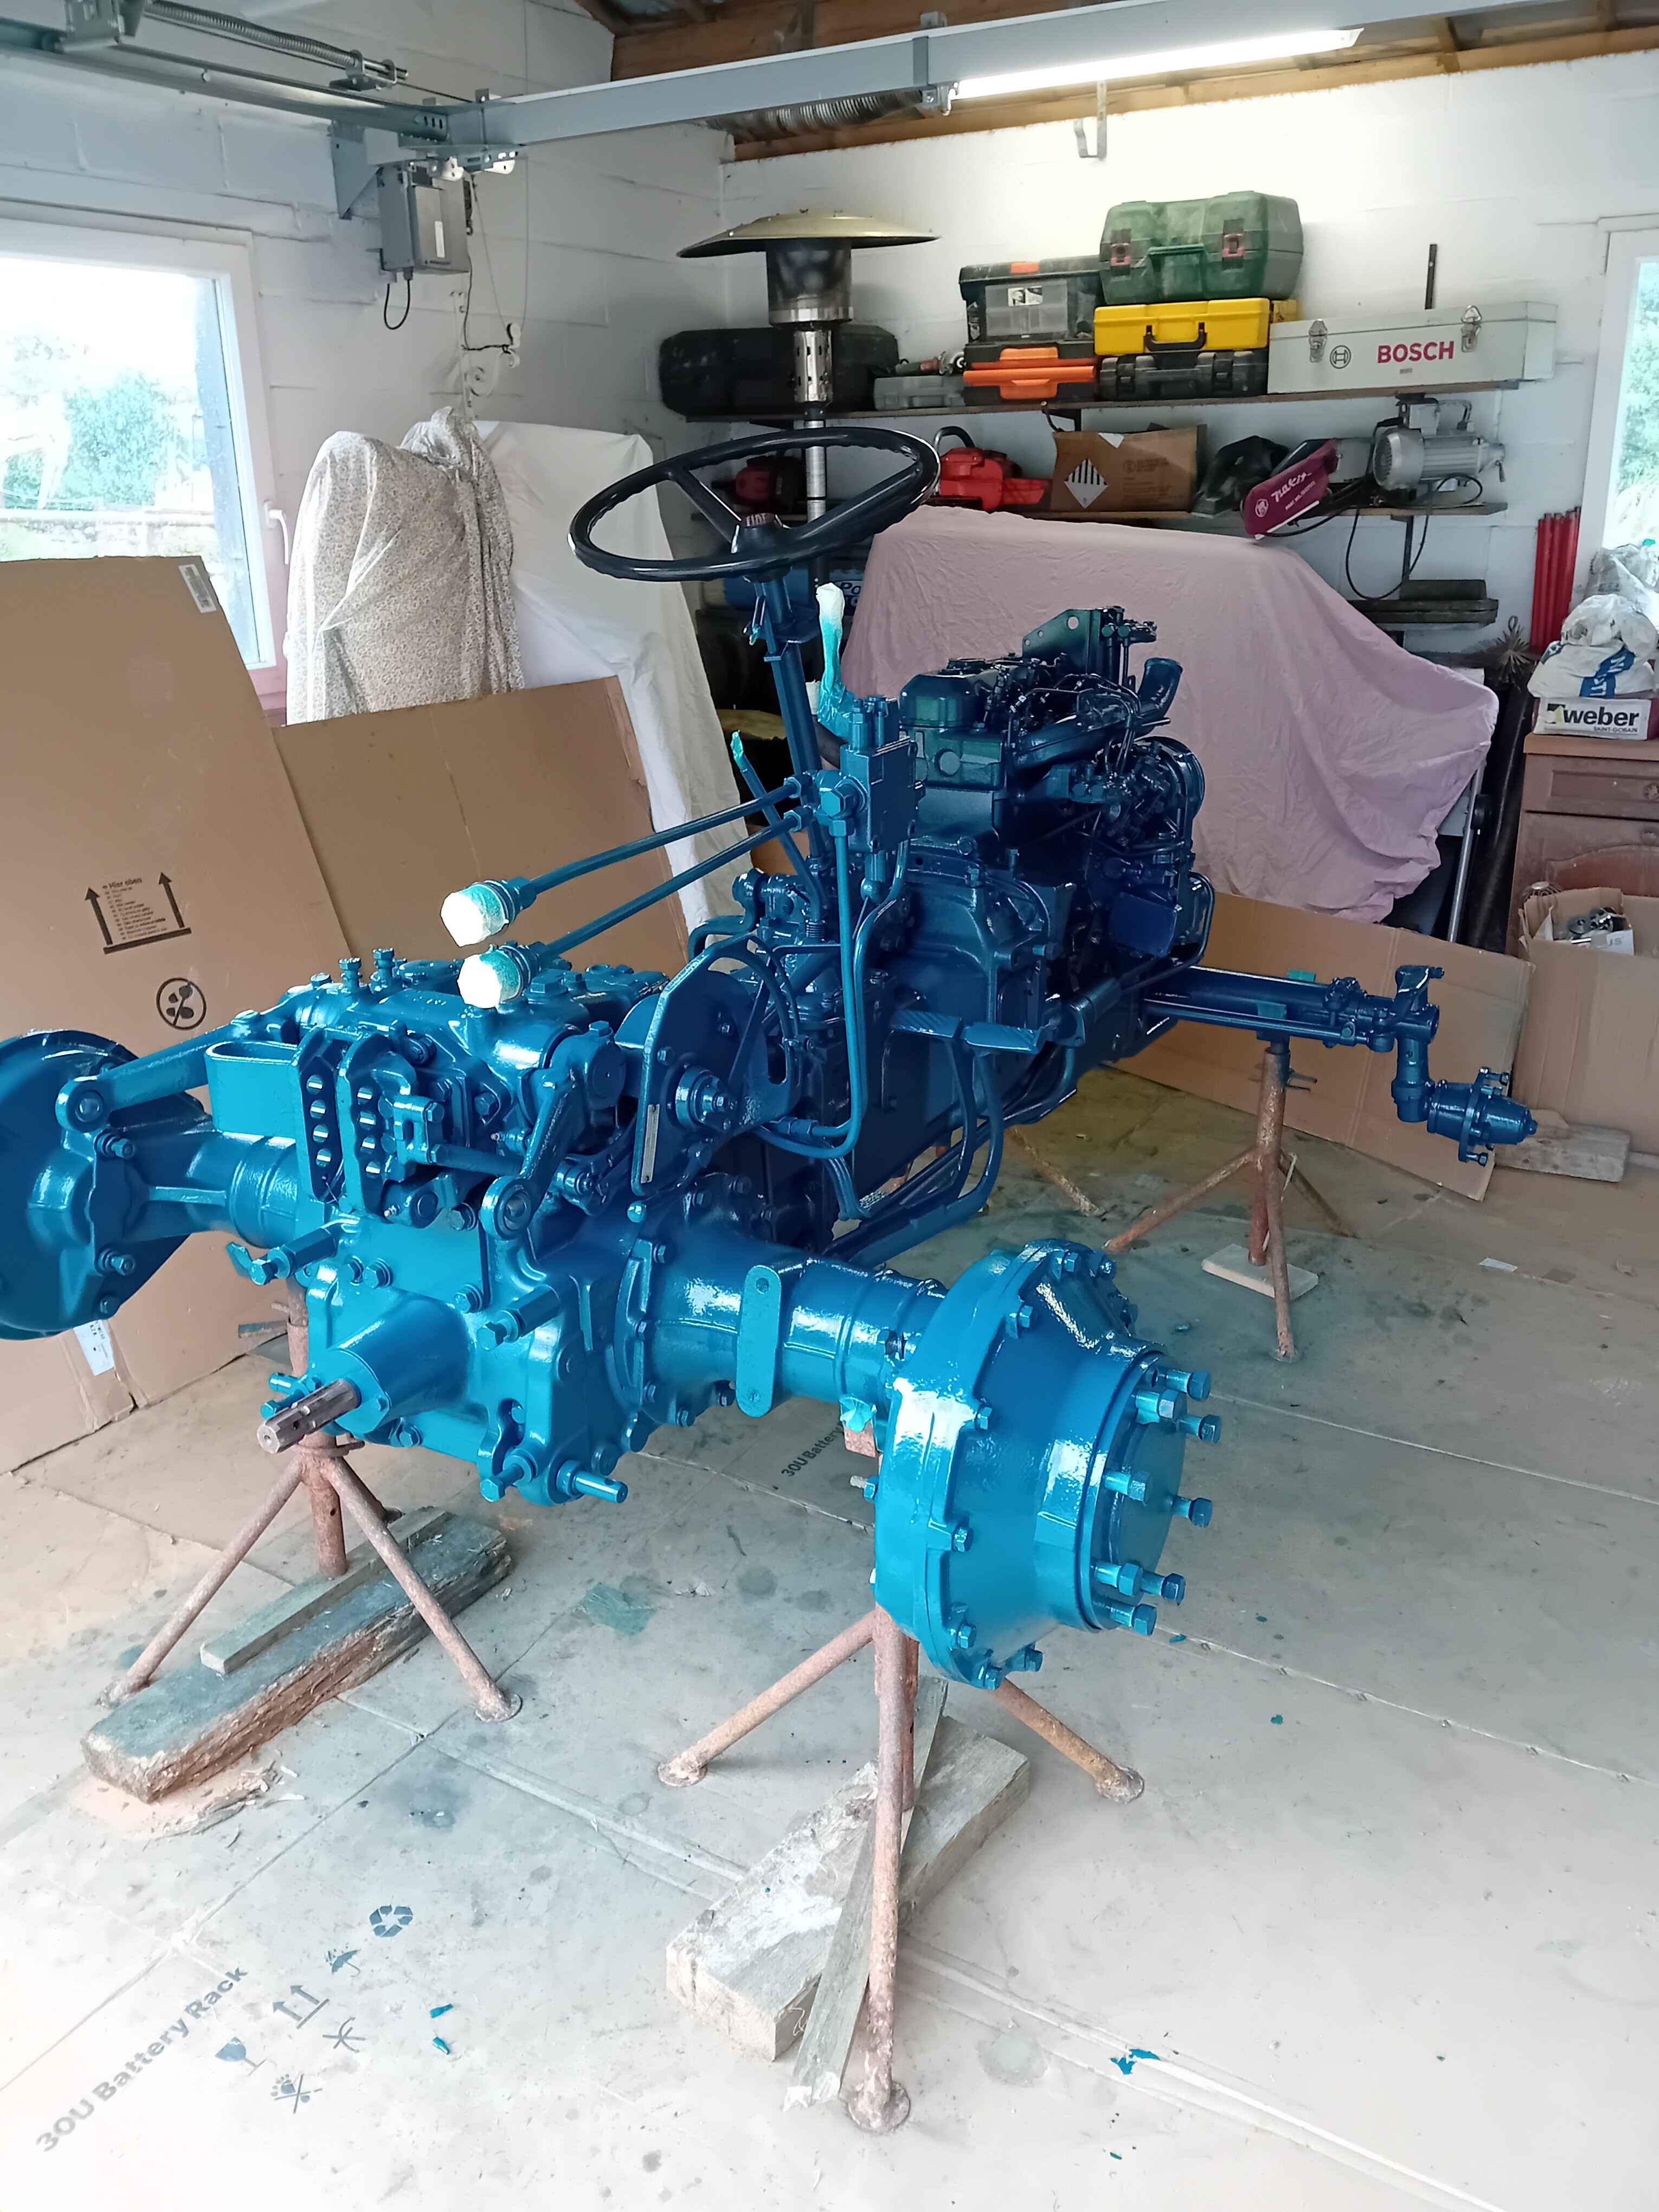
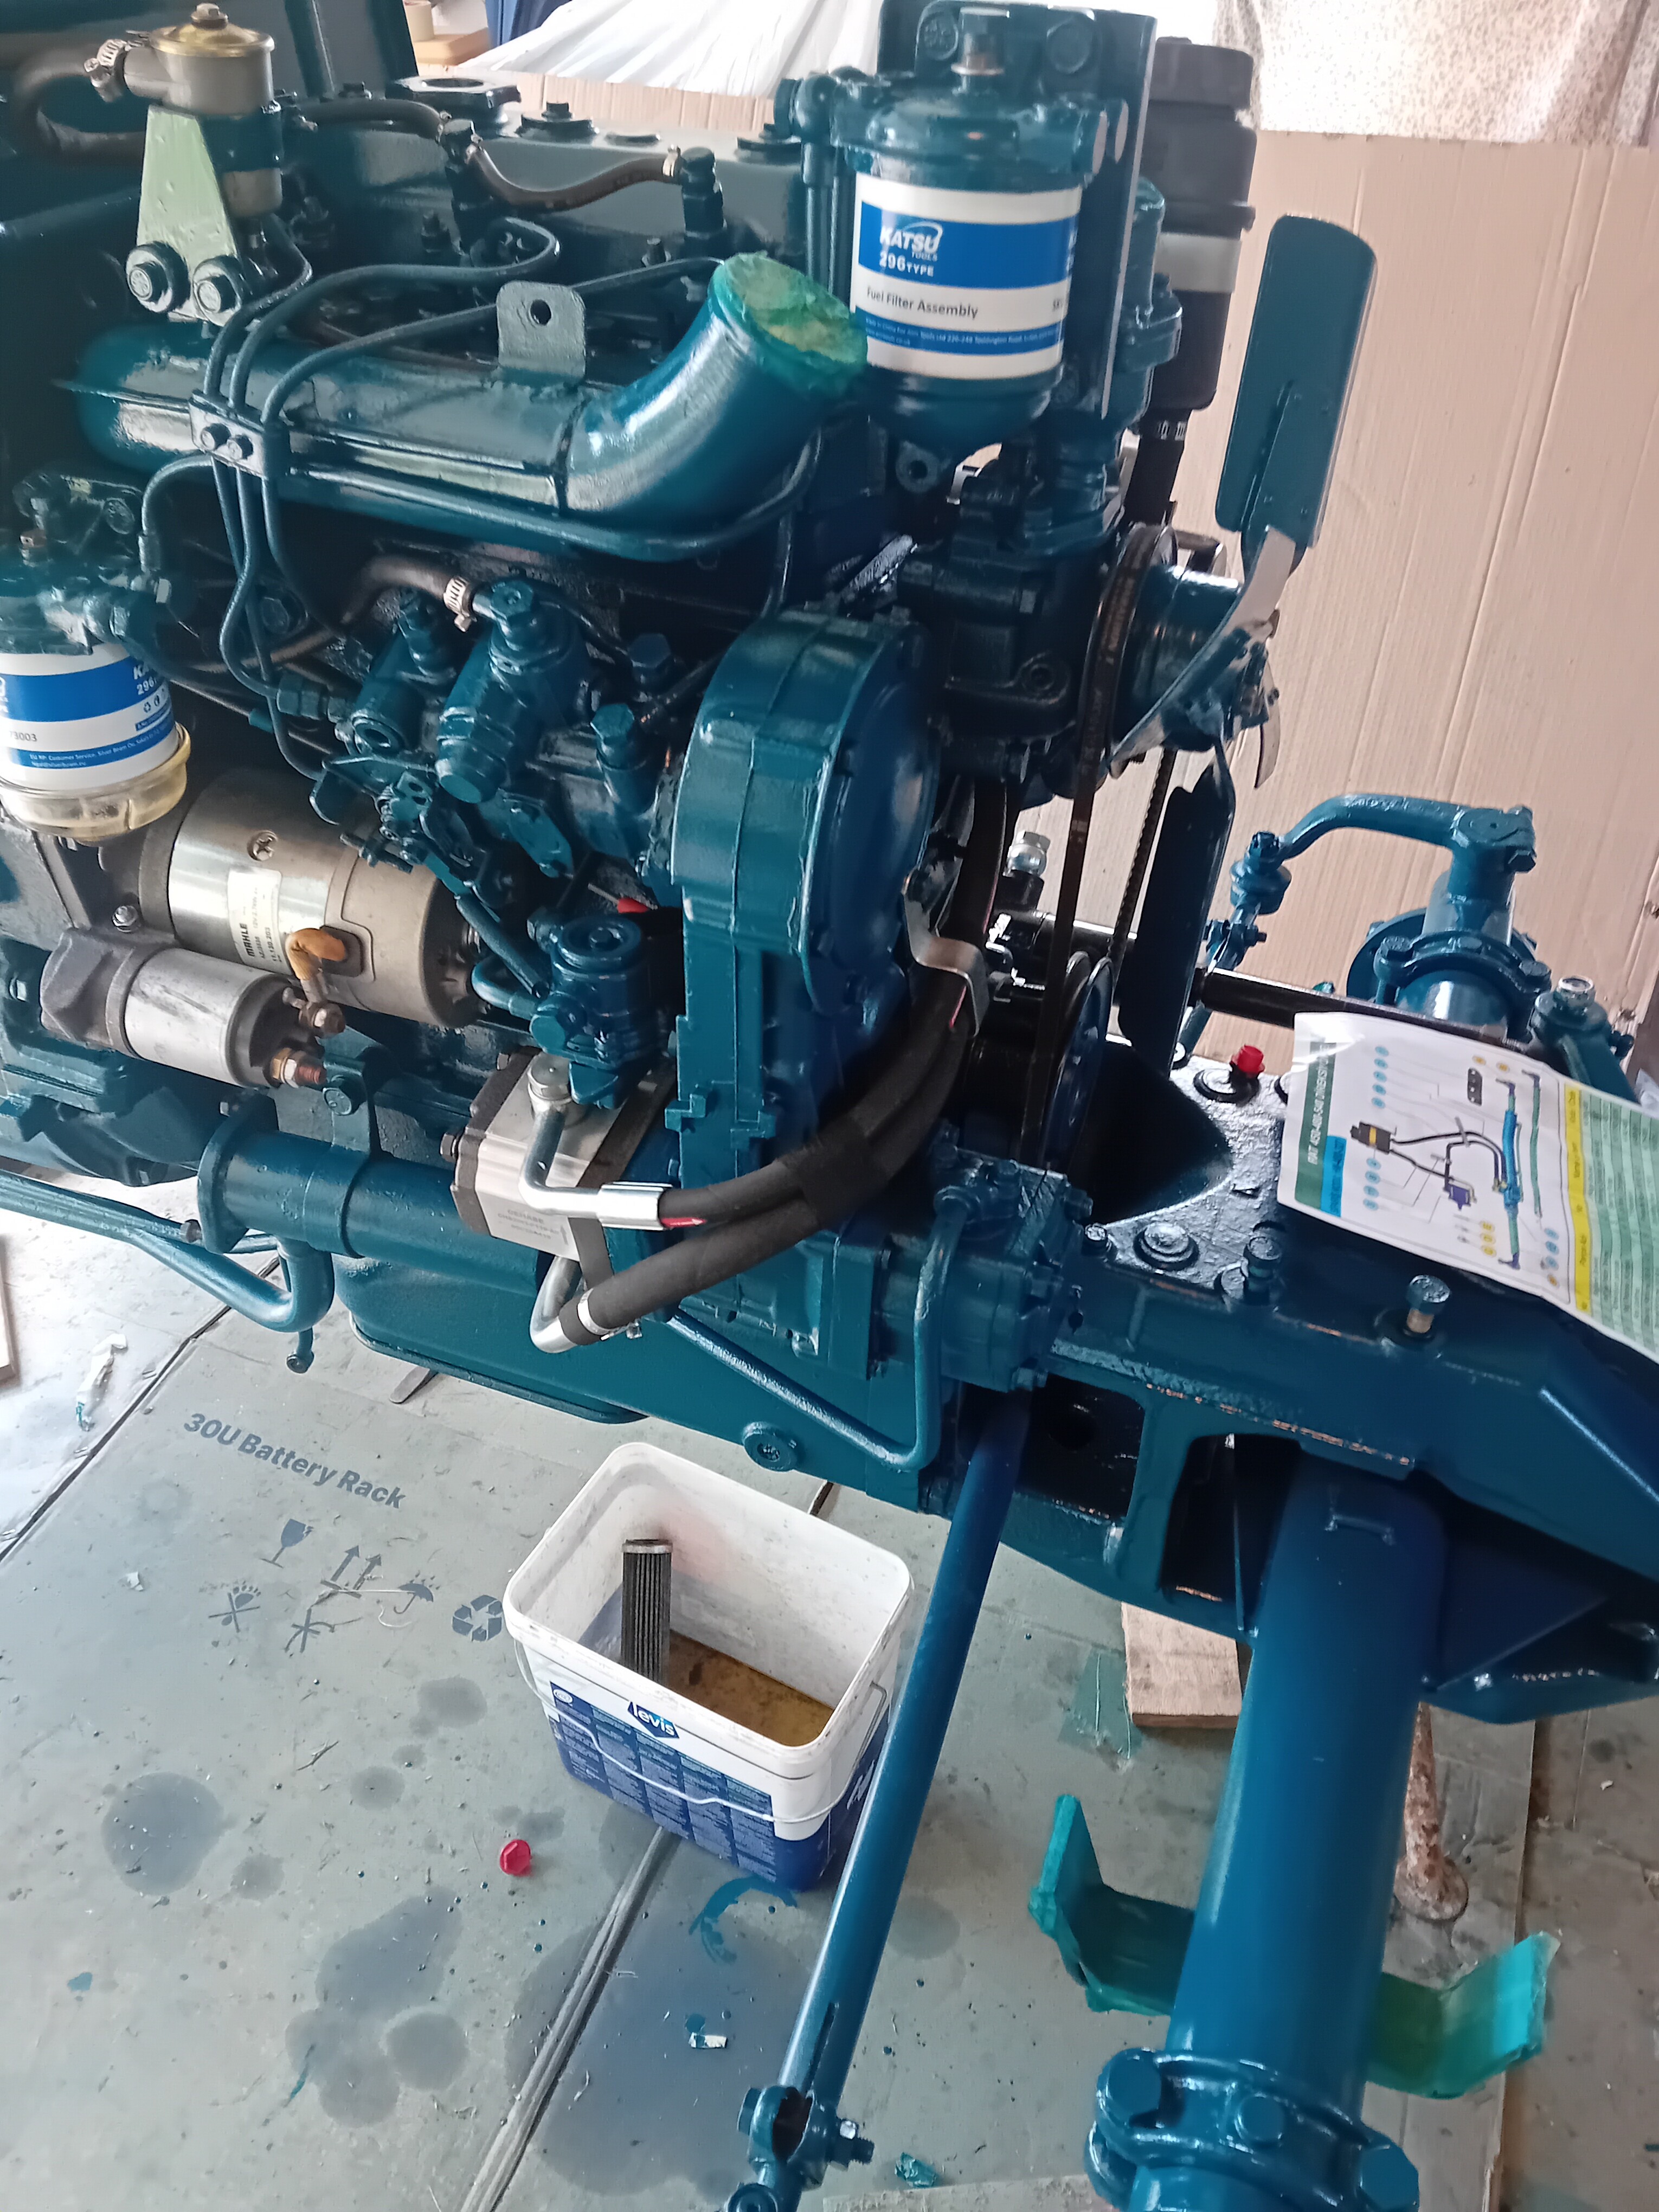
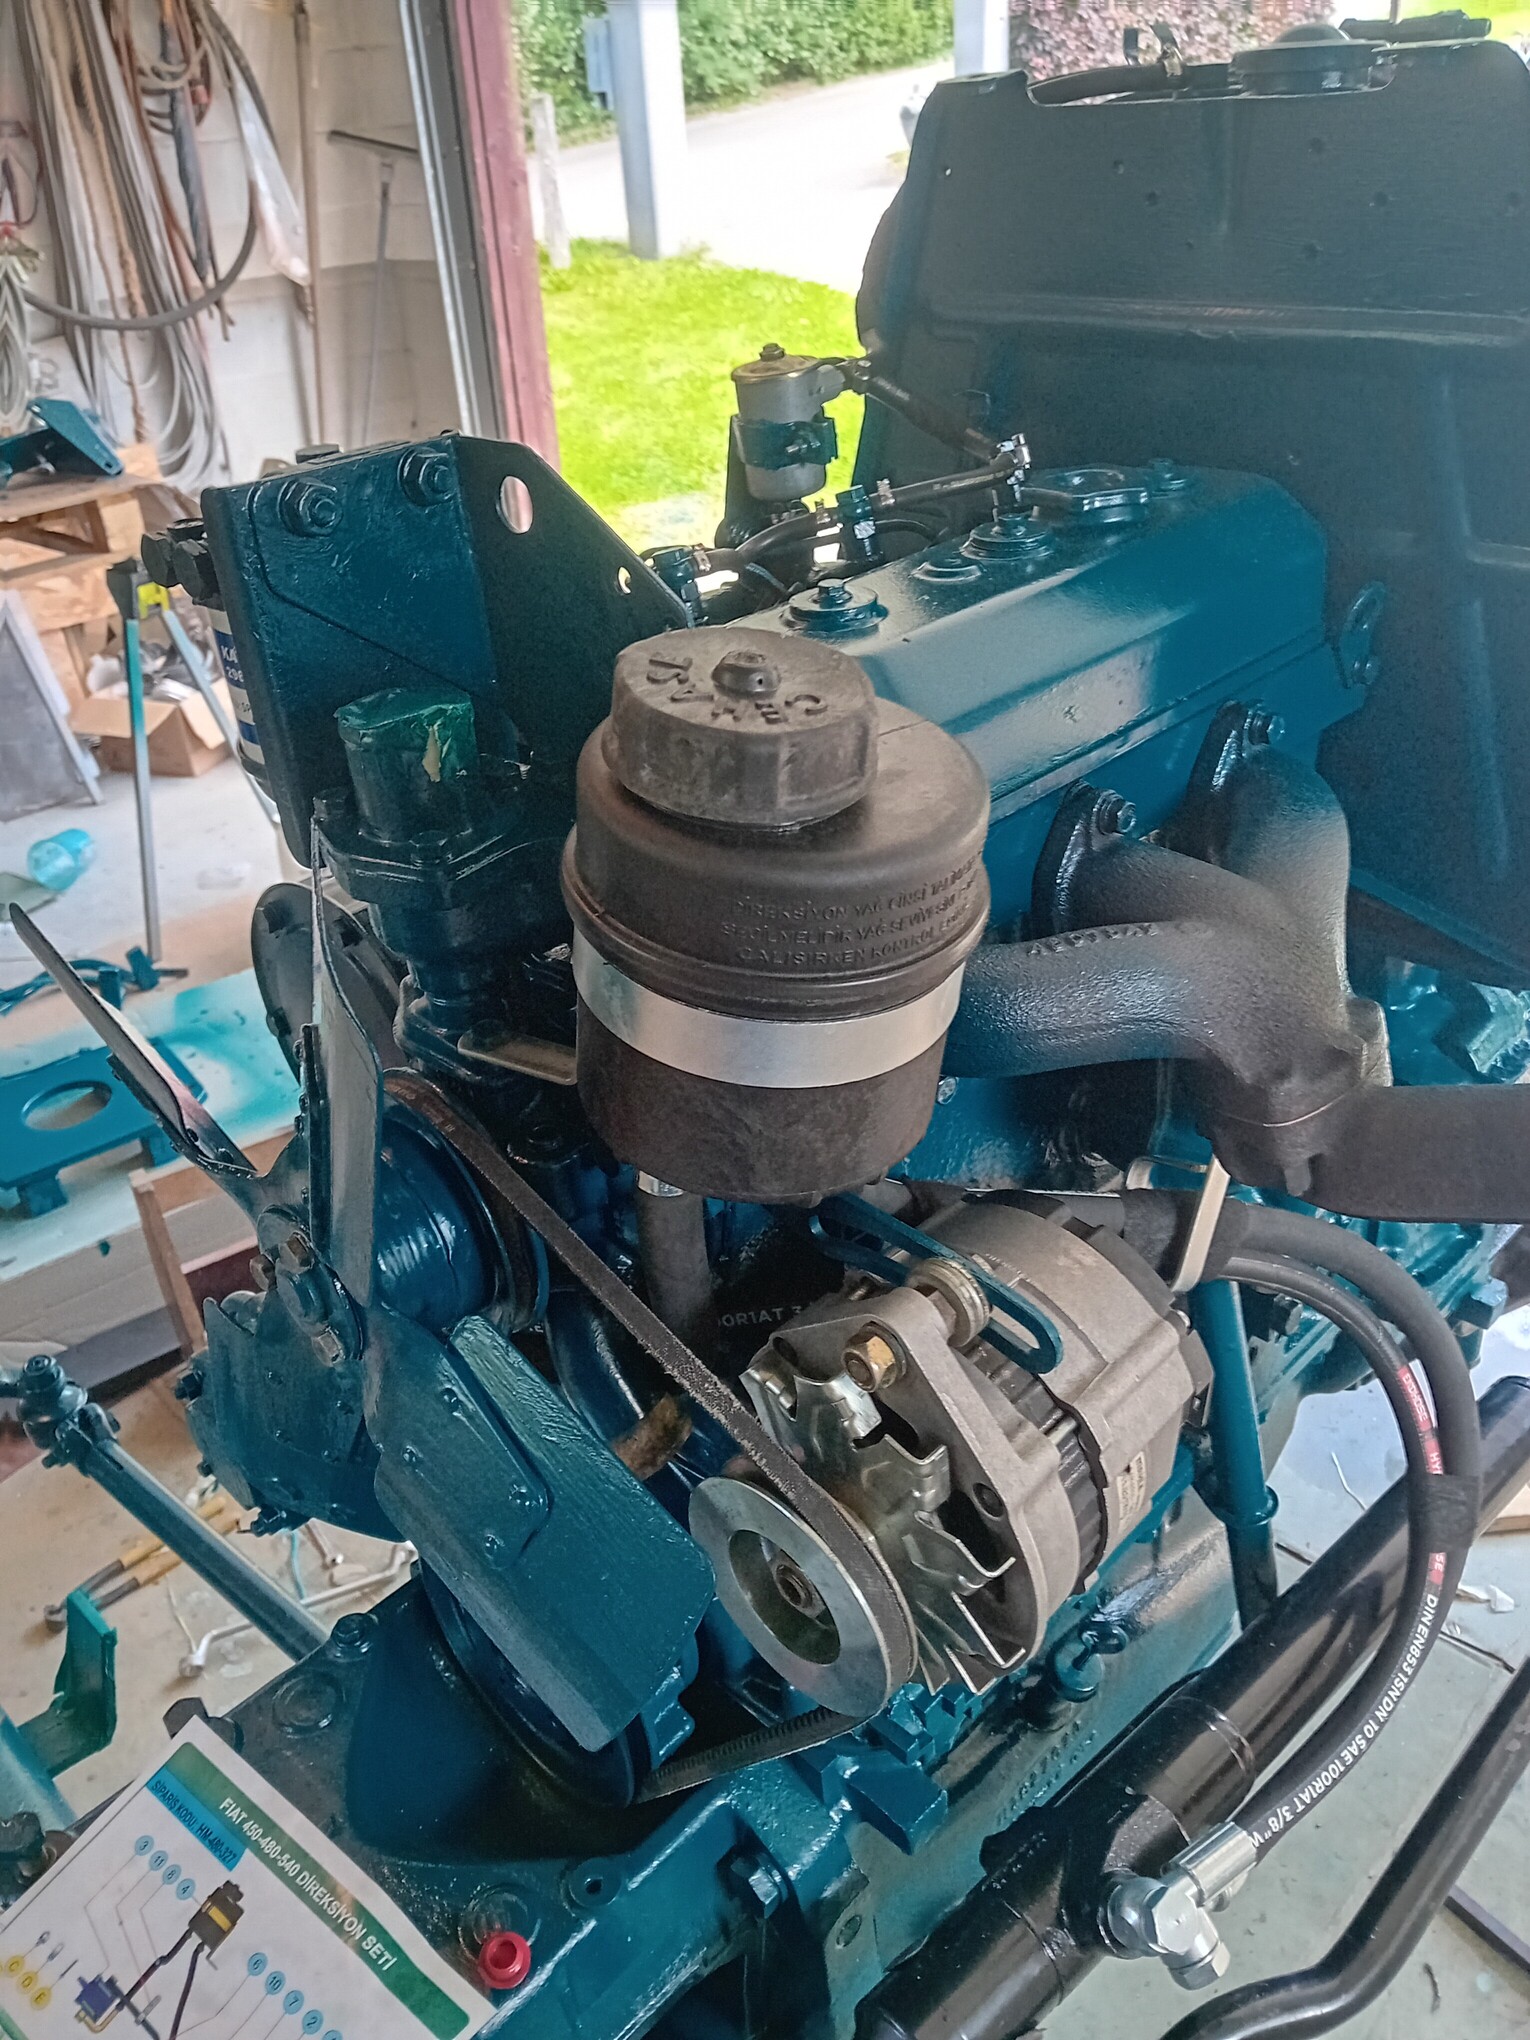
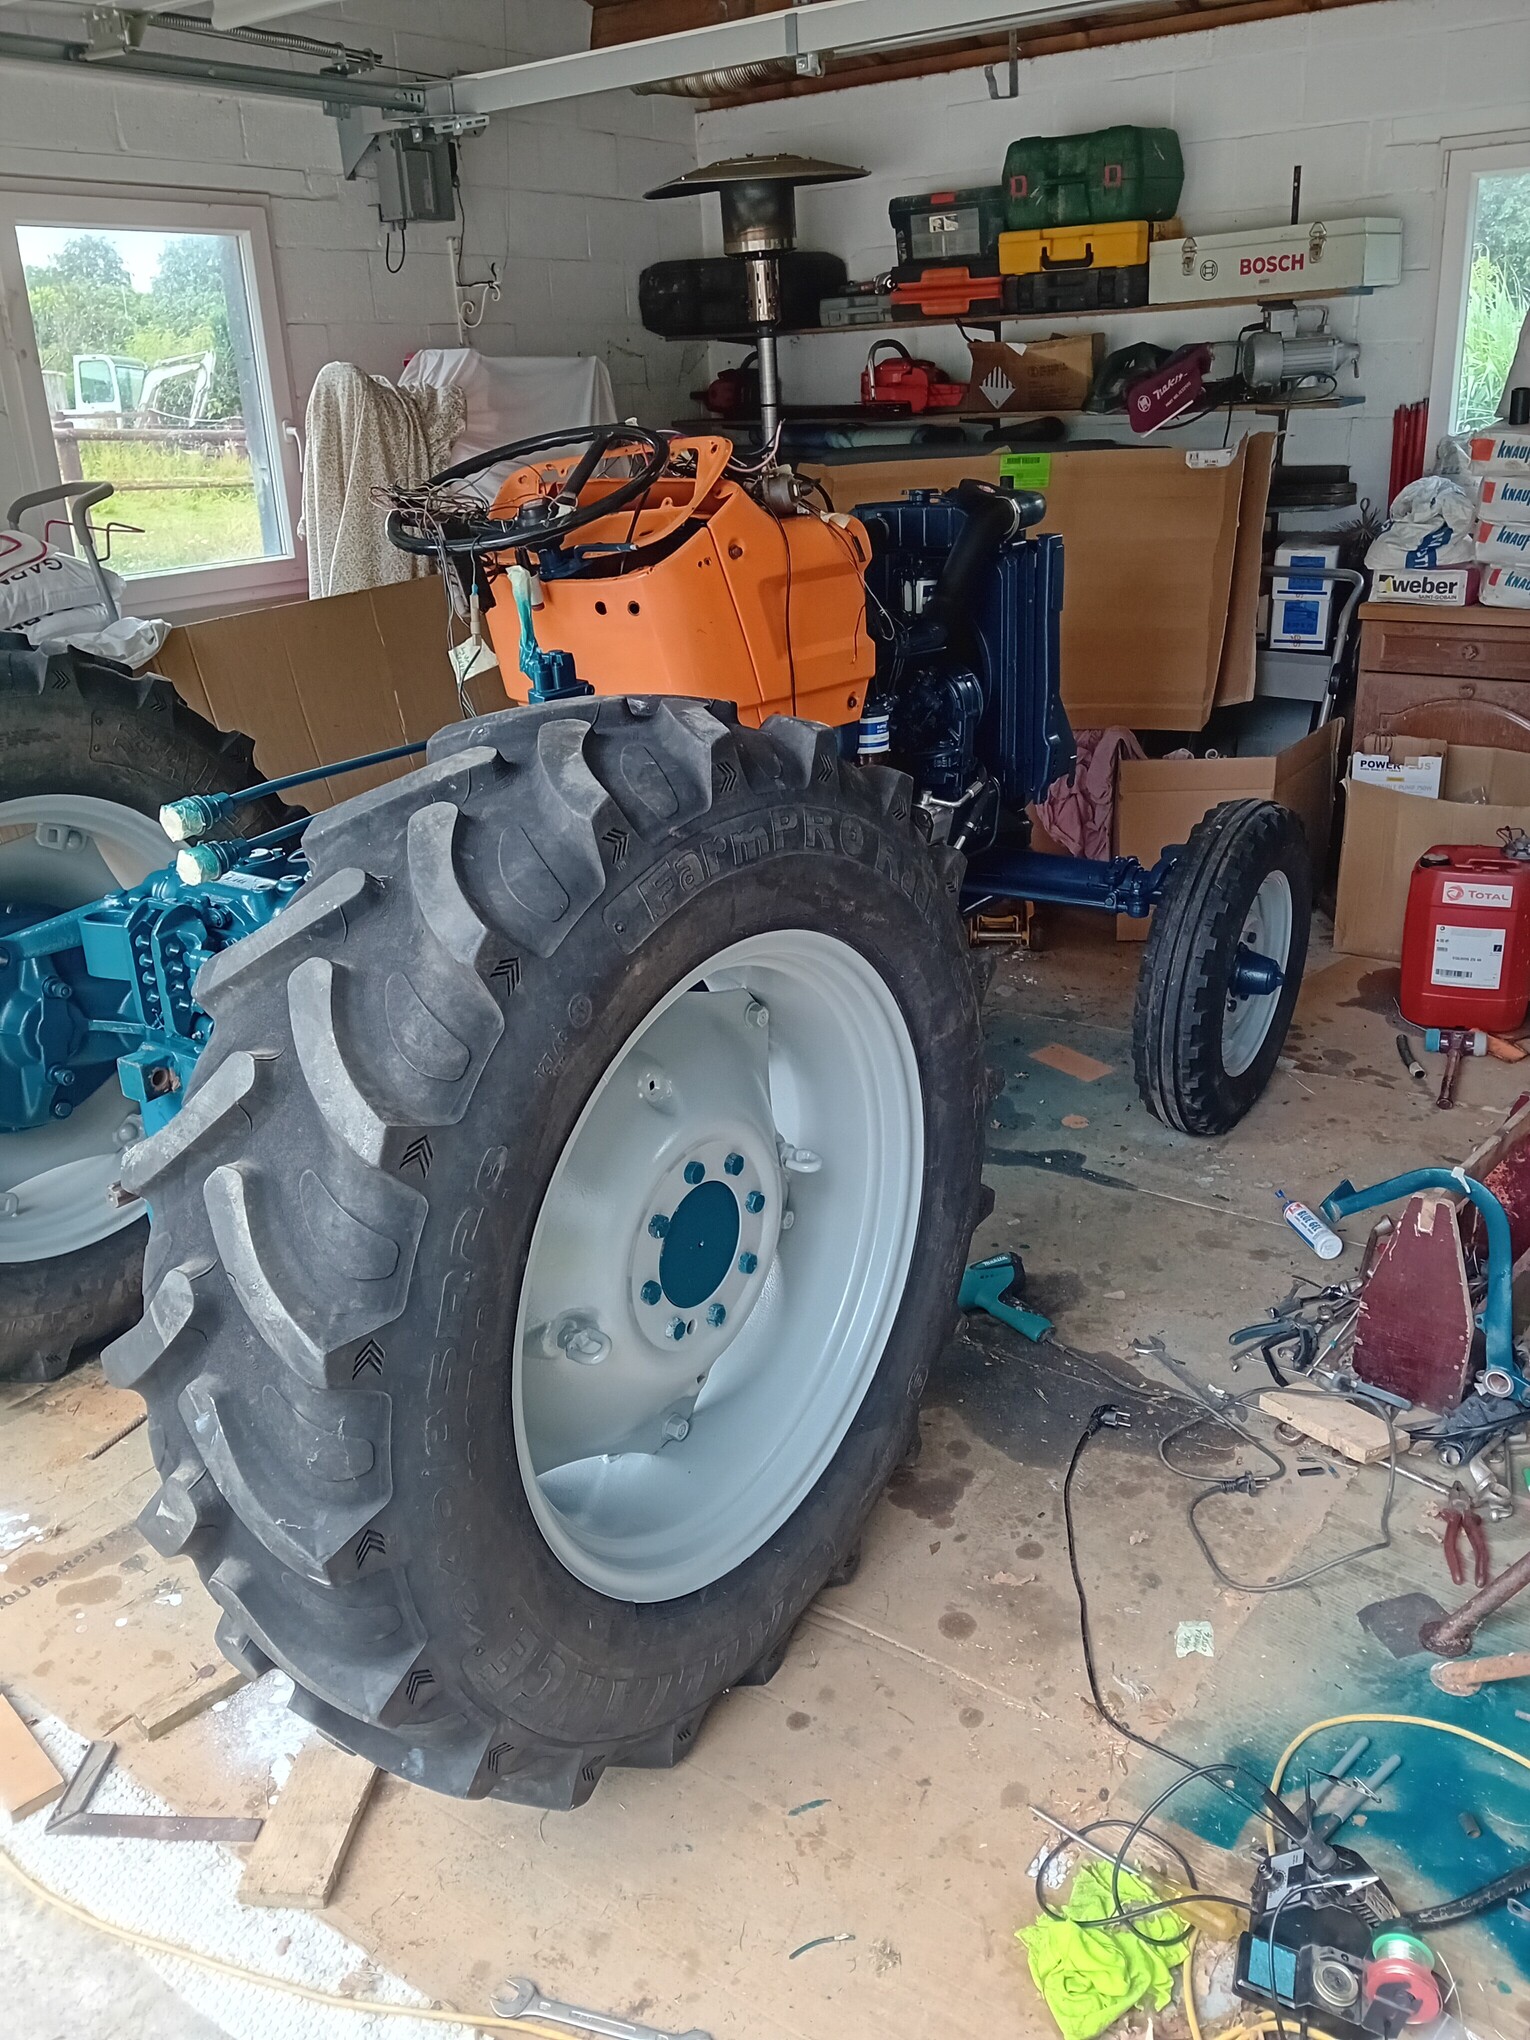
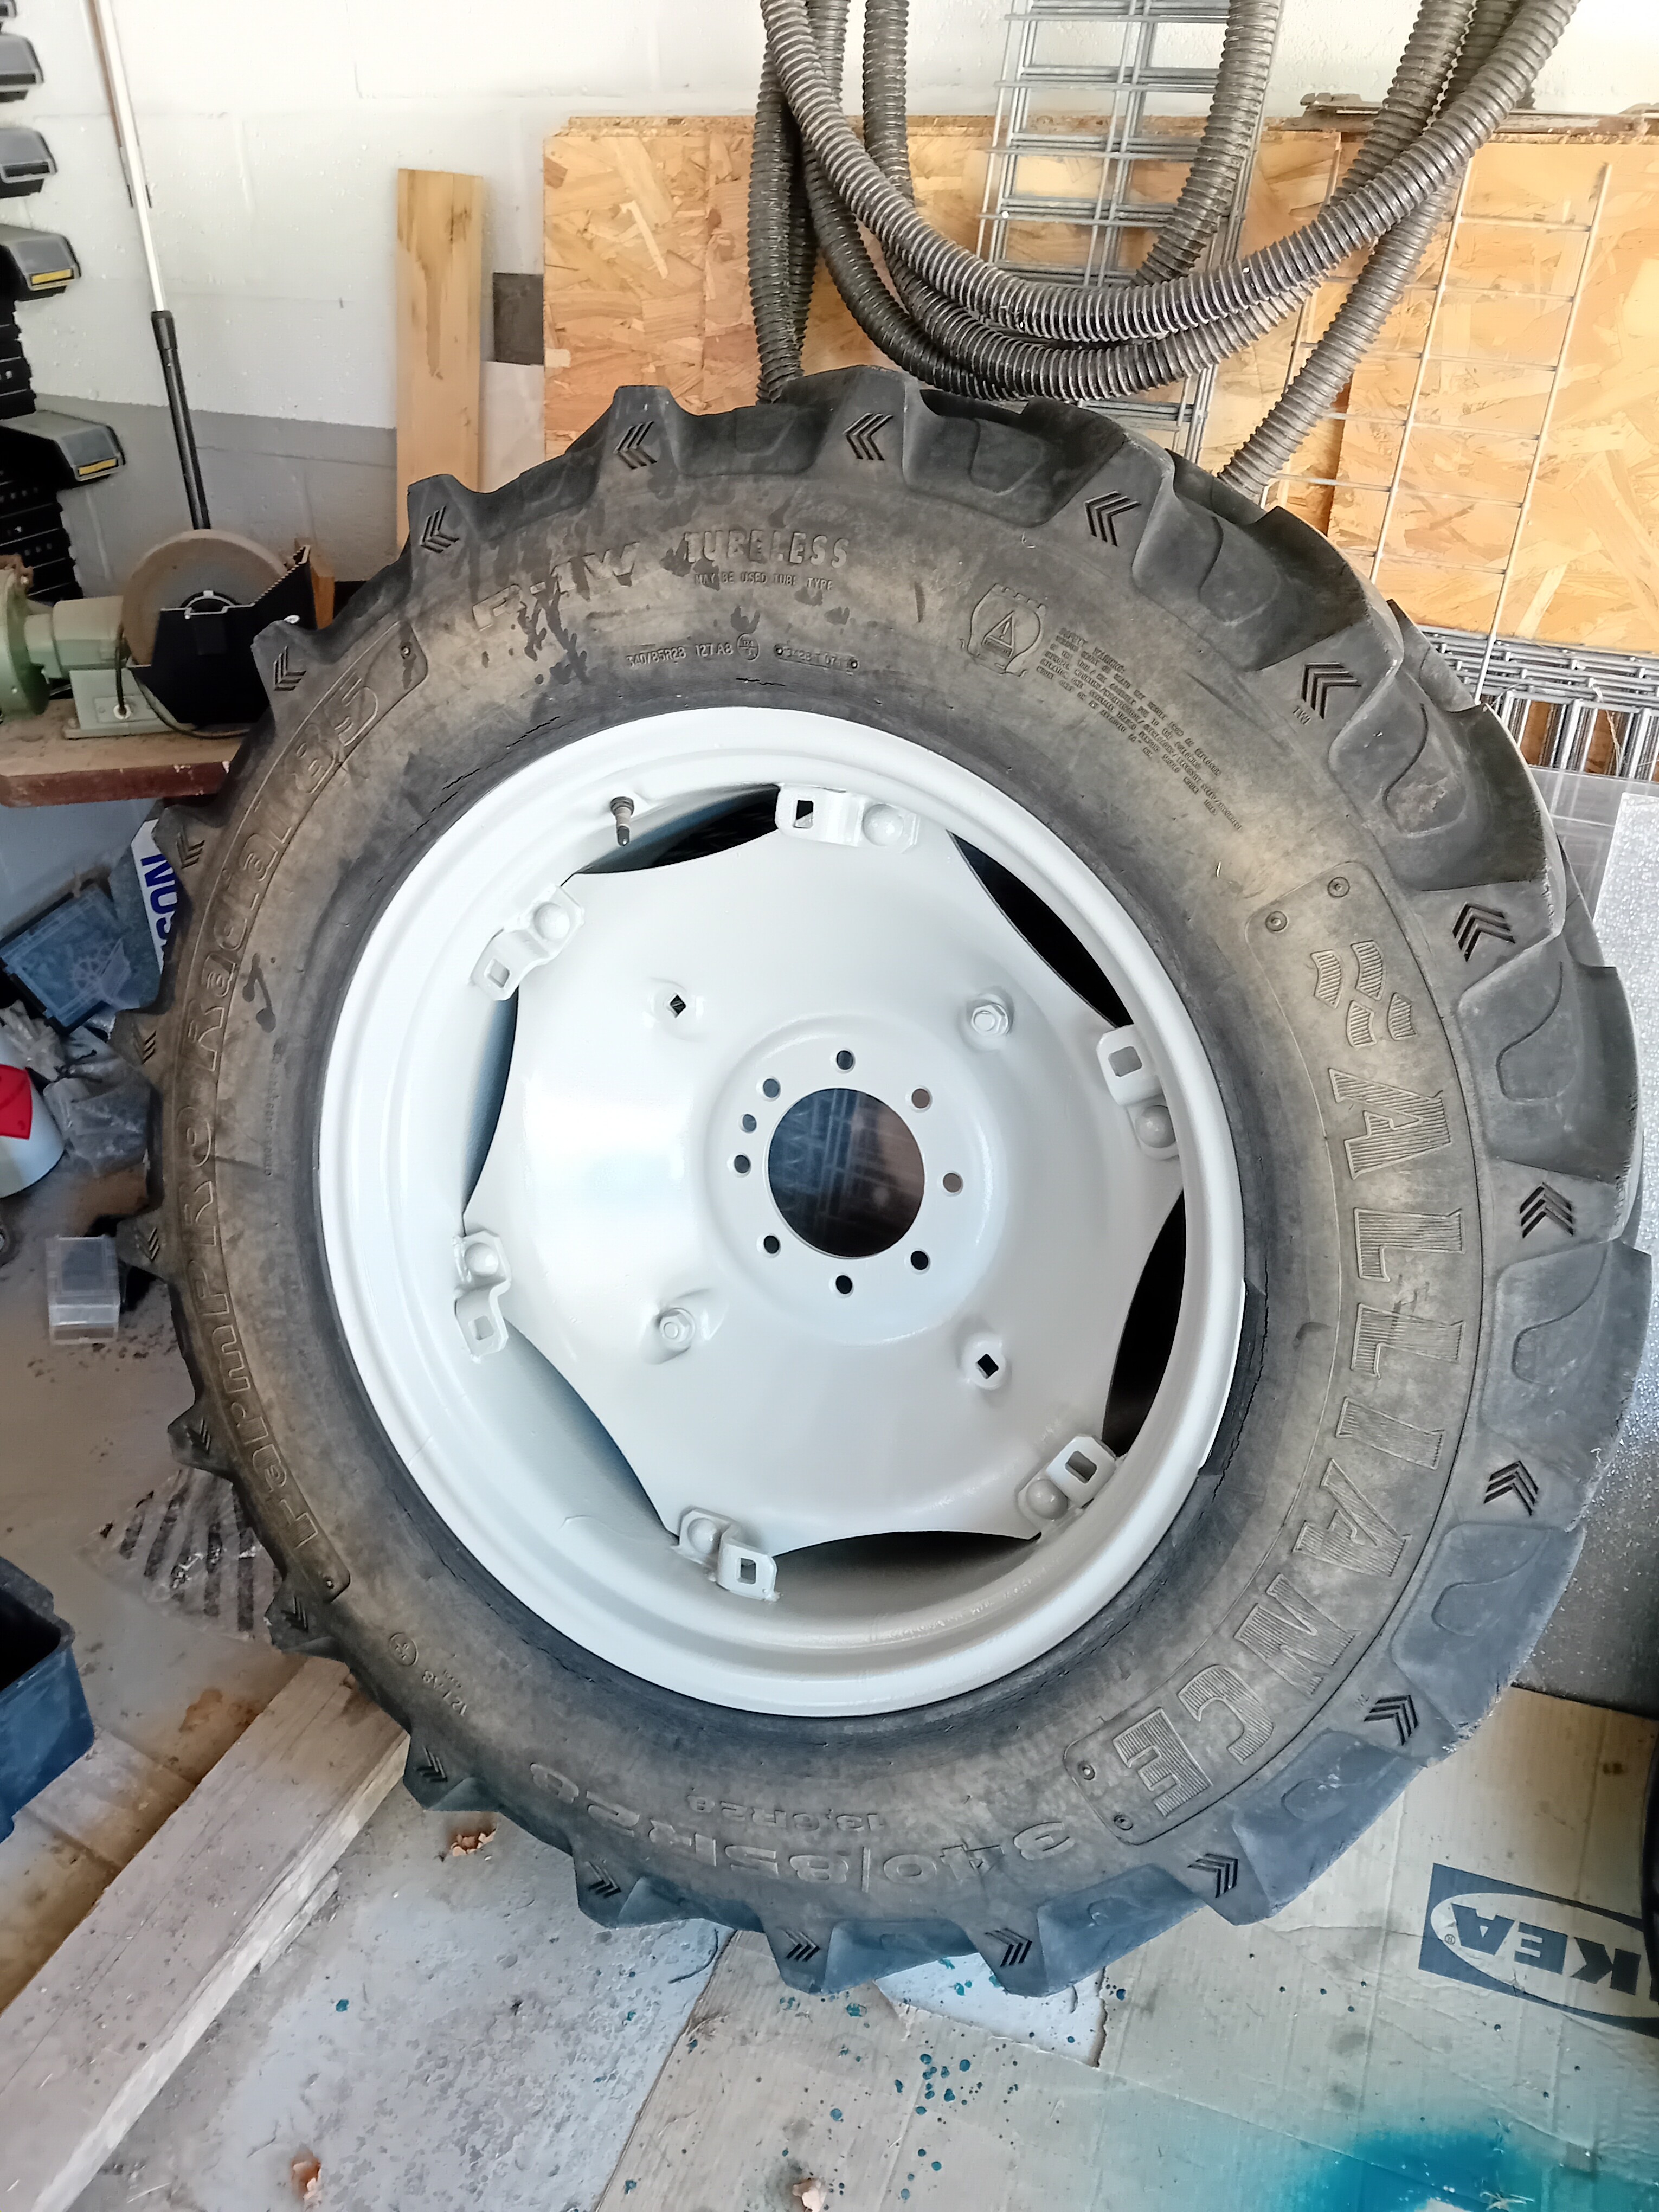
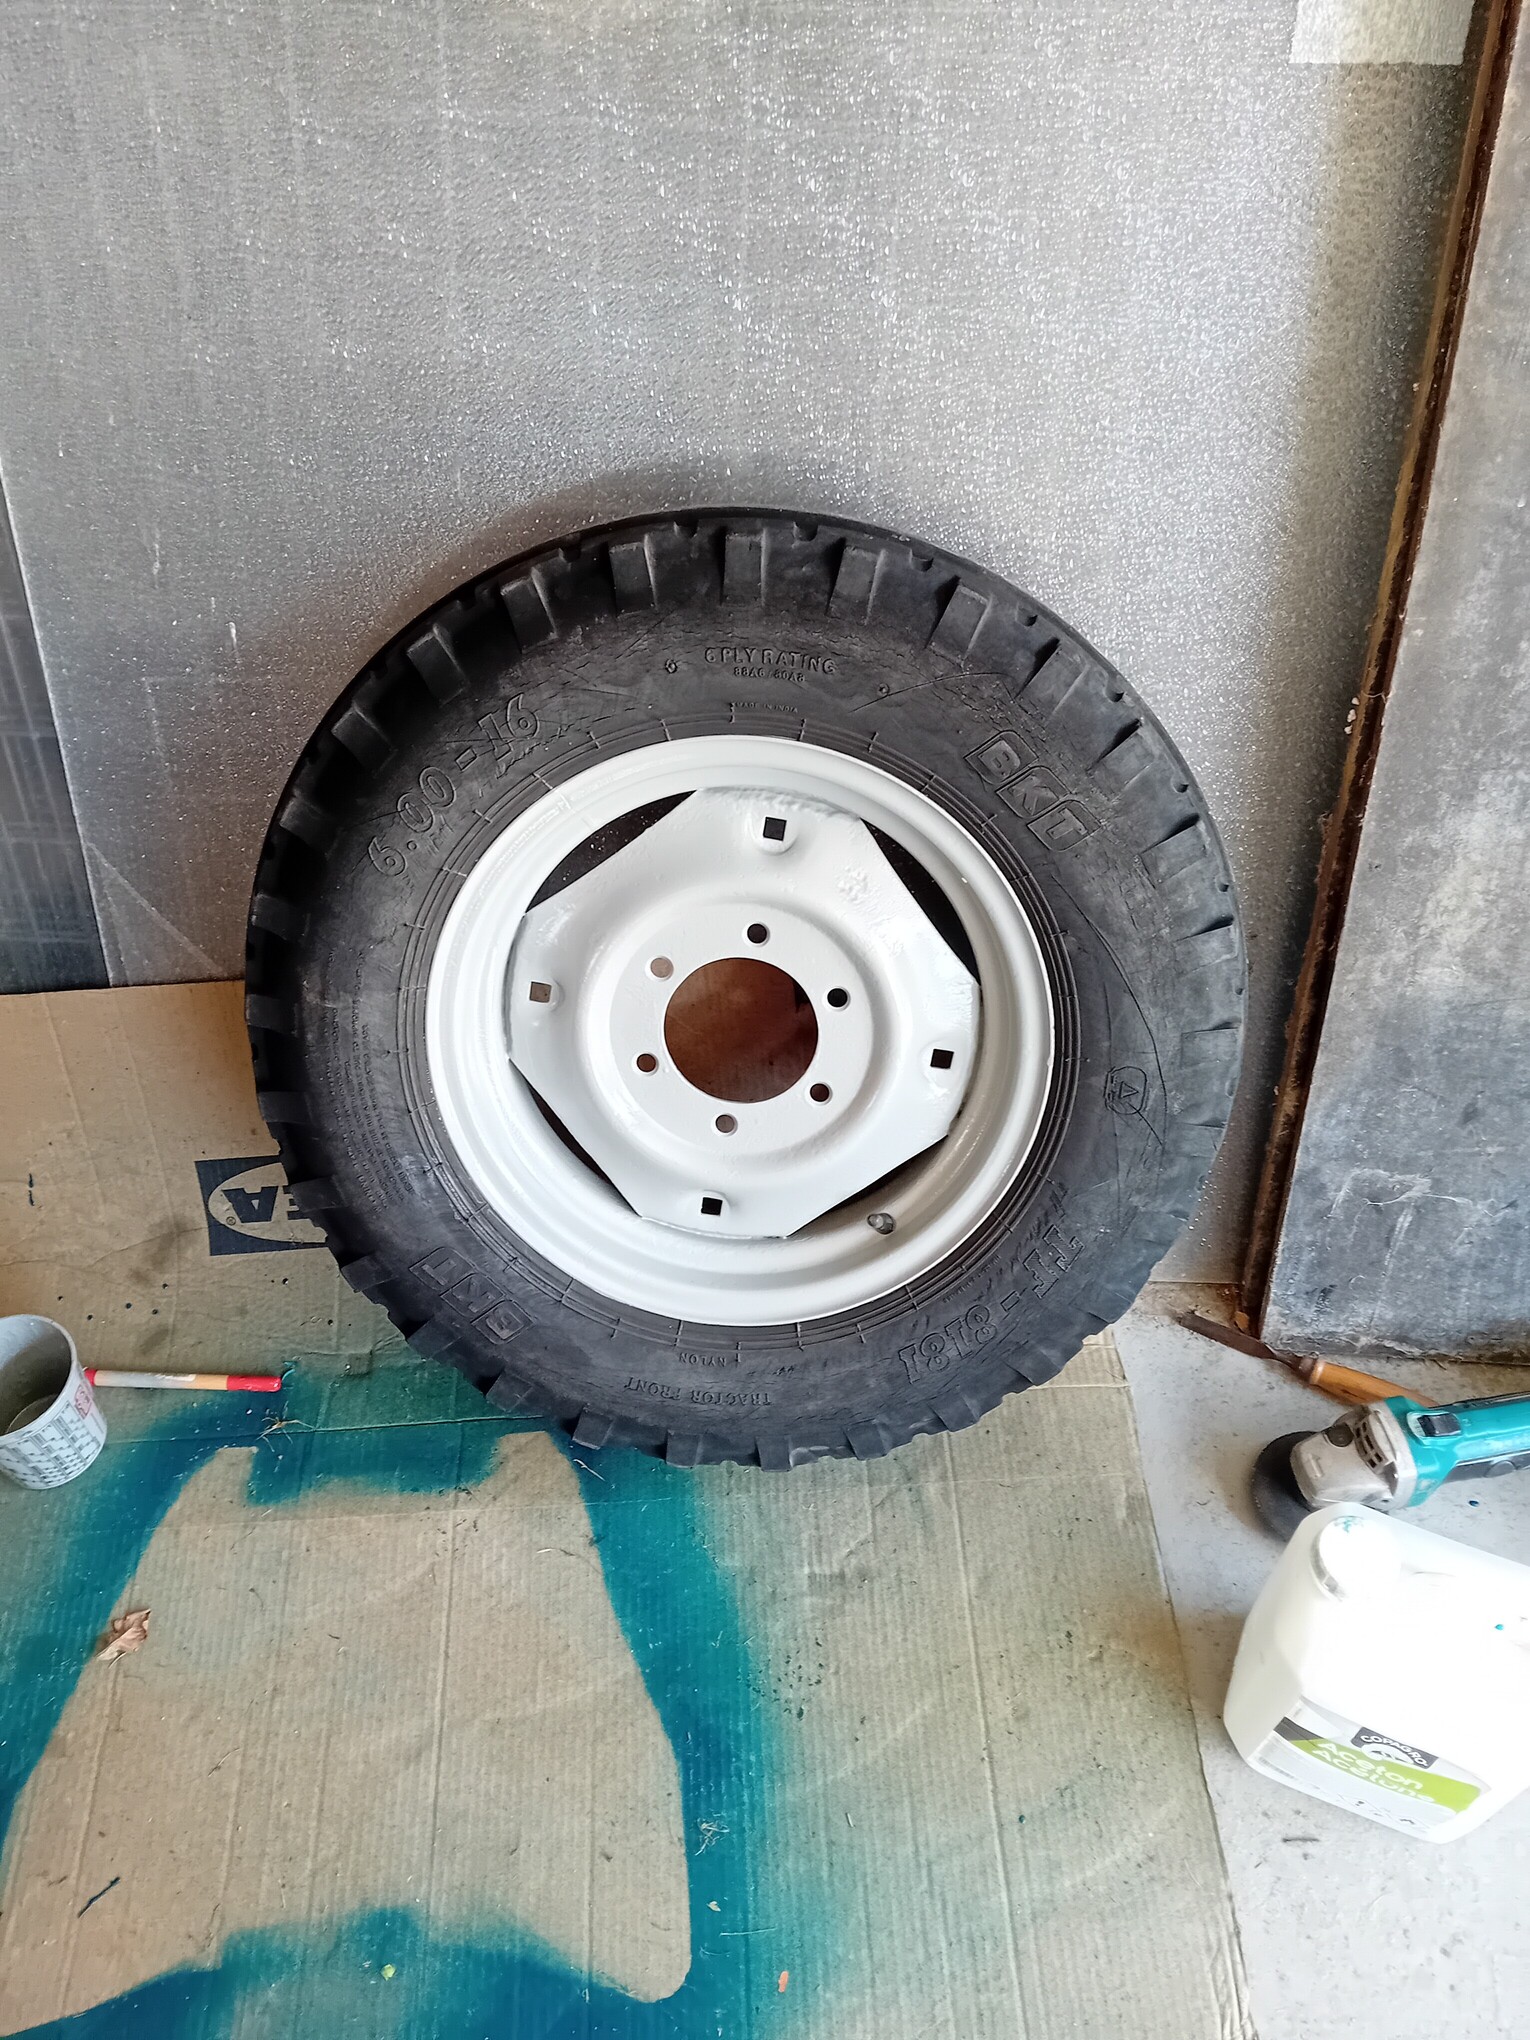
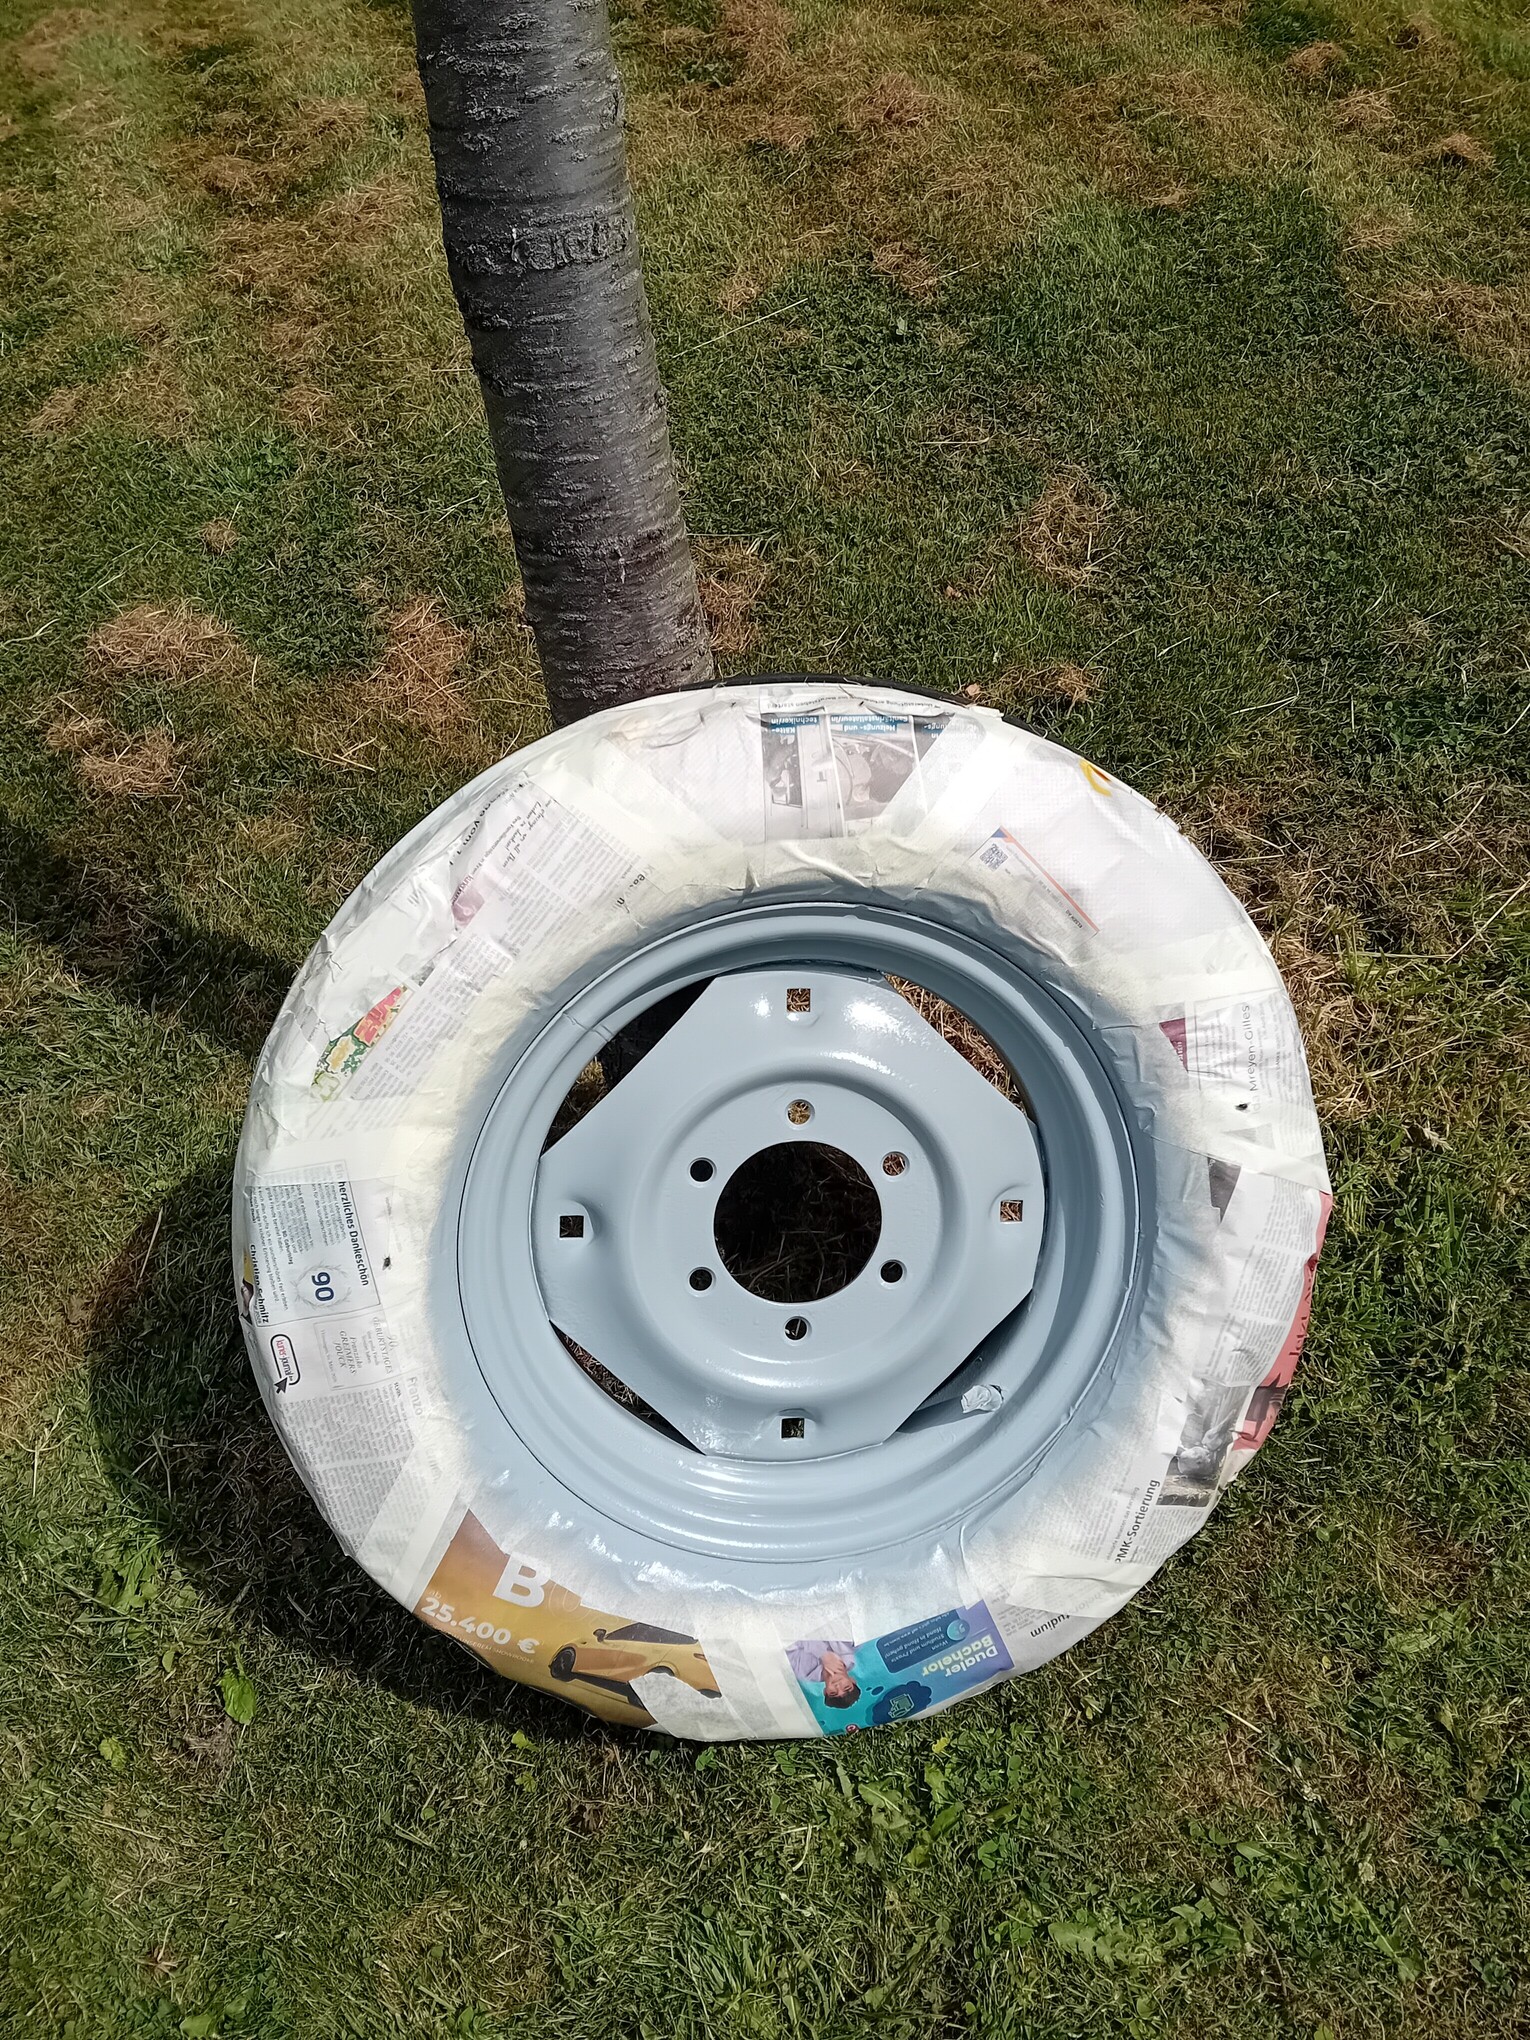
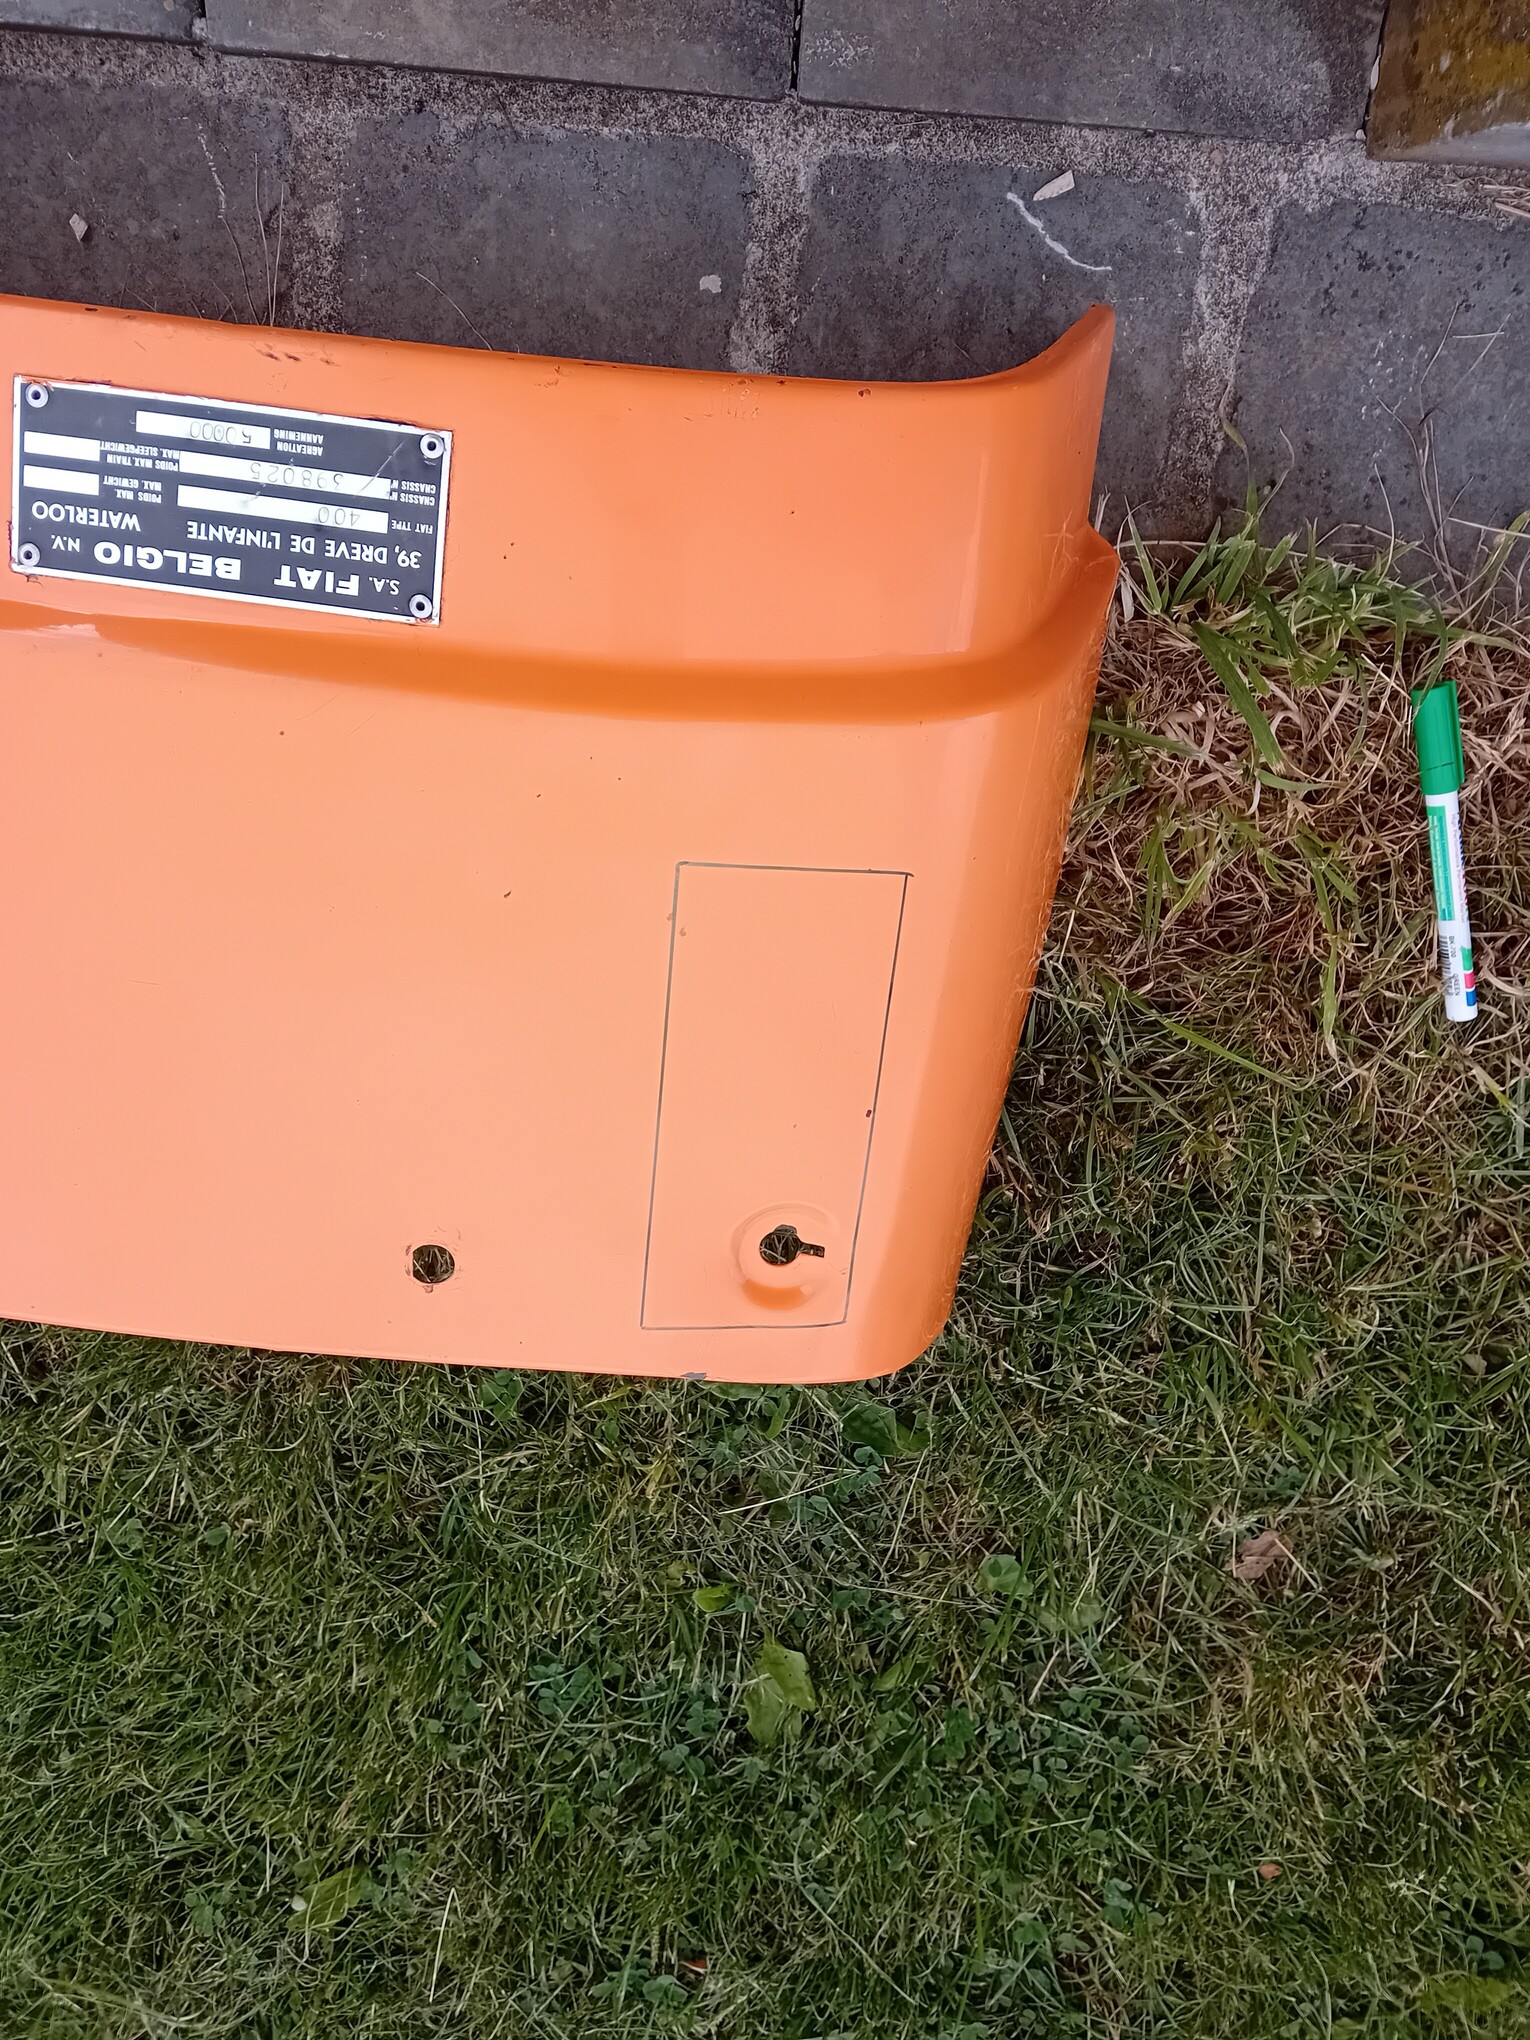
Since some of you have shown interest in the restoration of my Fiat 450, I thought I’d share the process with you.
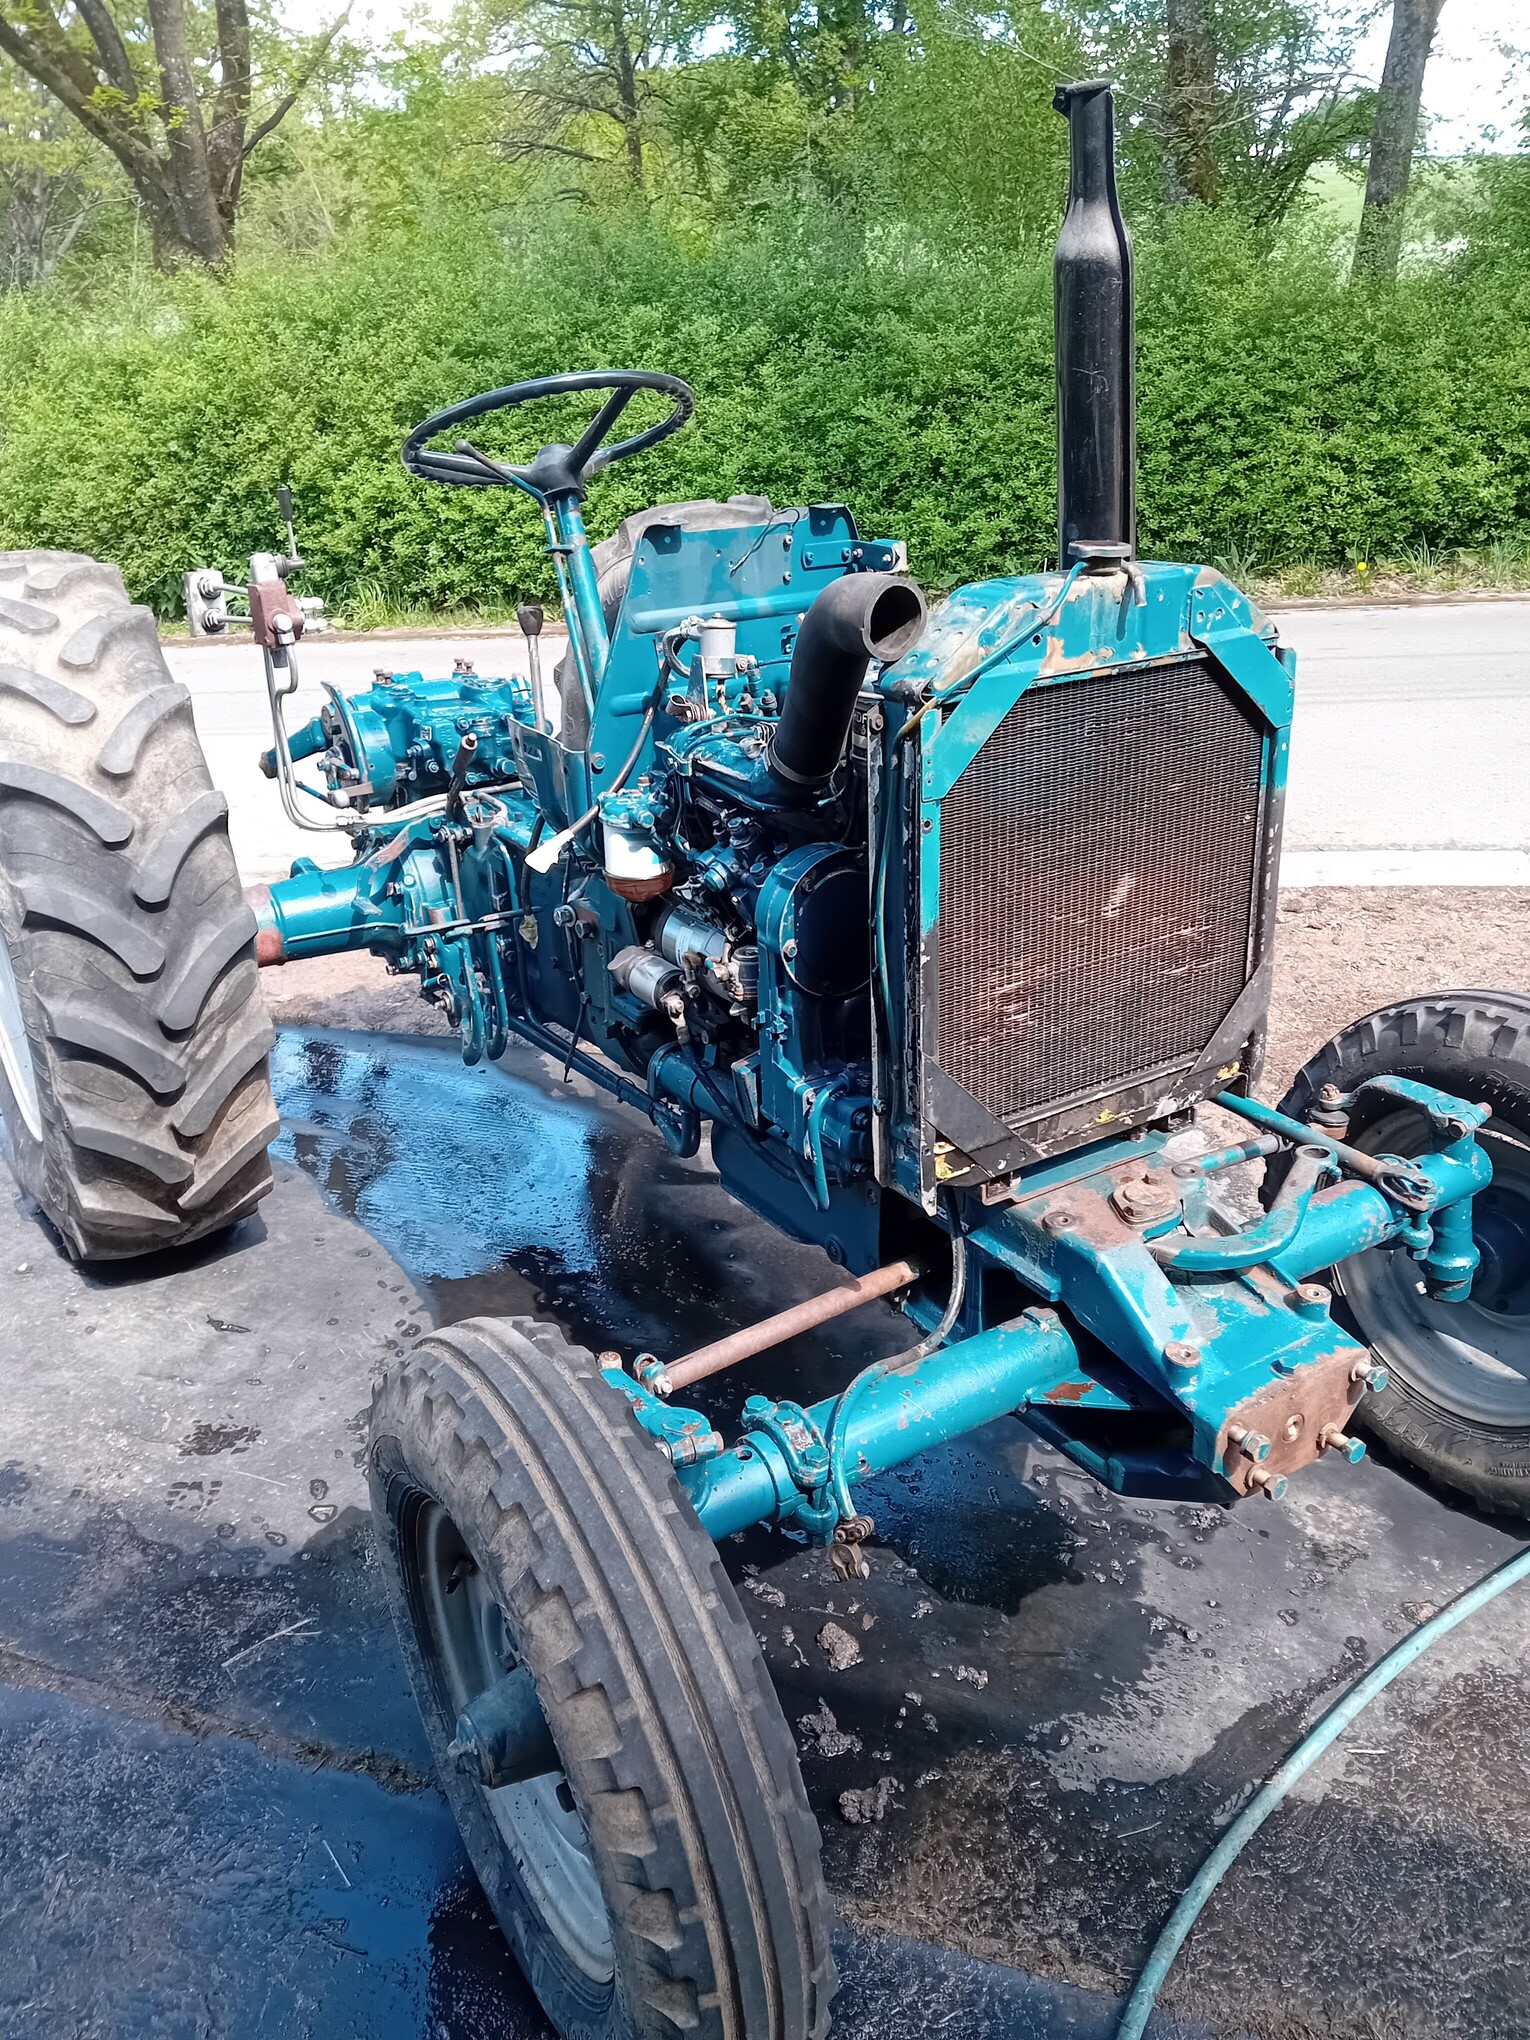
To start with a brief overview, for those who, like me, don’t know much about this, it’s a two-wheel-drive tractor with six forward gears and two reverse gears. It has a 3-cylinder diesel engine.
The tractor has close to 10,000 hours of use; it was used for farm work, in fact, it was the previous owner’s only tractor. He is now elderly and decided to retire from farming, so he sold the tractor.
You know the rest of the story: I drove it back by road, so it was in running condition, and from what I gather, it had been well maintained.
At first, I simply wanted to get it roadworthy for the mandatory inspection: fixing the lights, doing some basic maintenance, and so on.
In Belgium, tractors with a top speed of under 40 km/h must undergo an inspection when ownership changes if they are to be driven on public roads.
This tractor will be used for light field work, but primarily for hauling firewood which requires driving on the road.
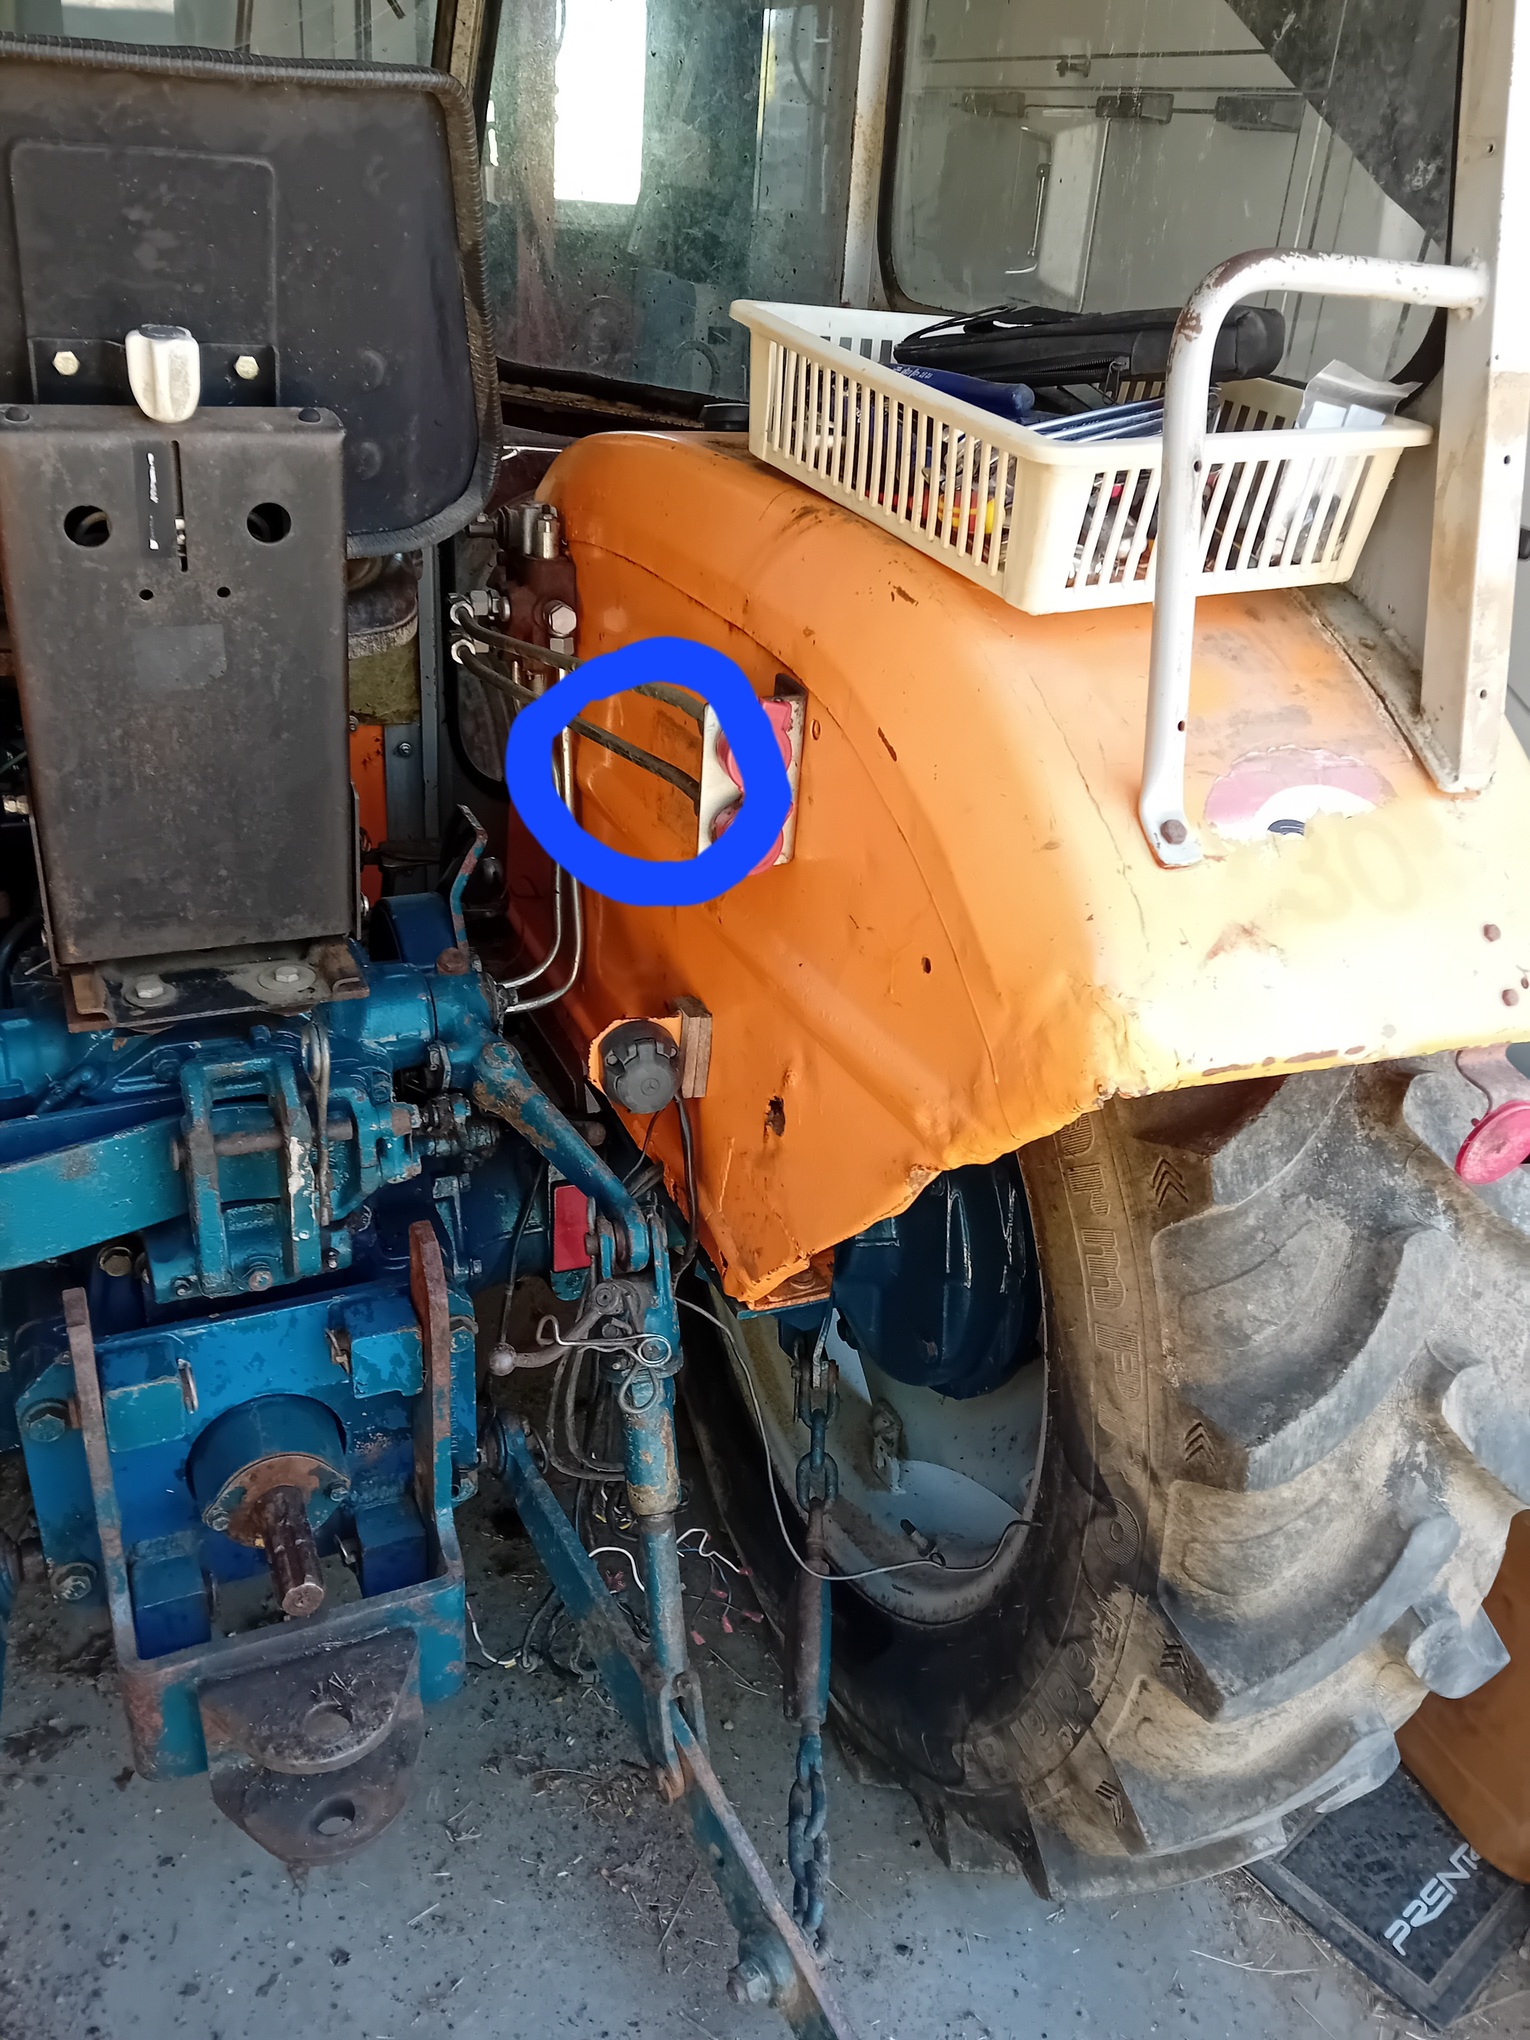
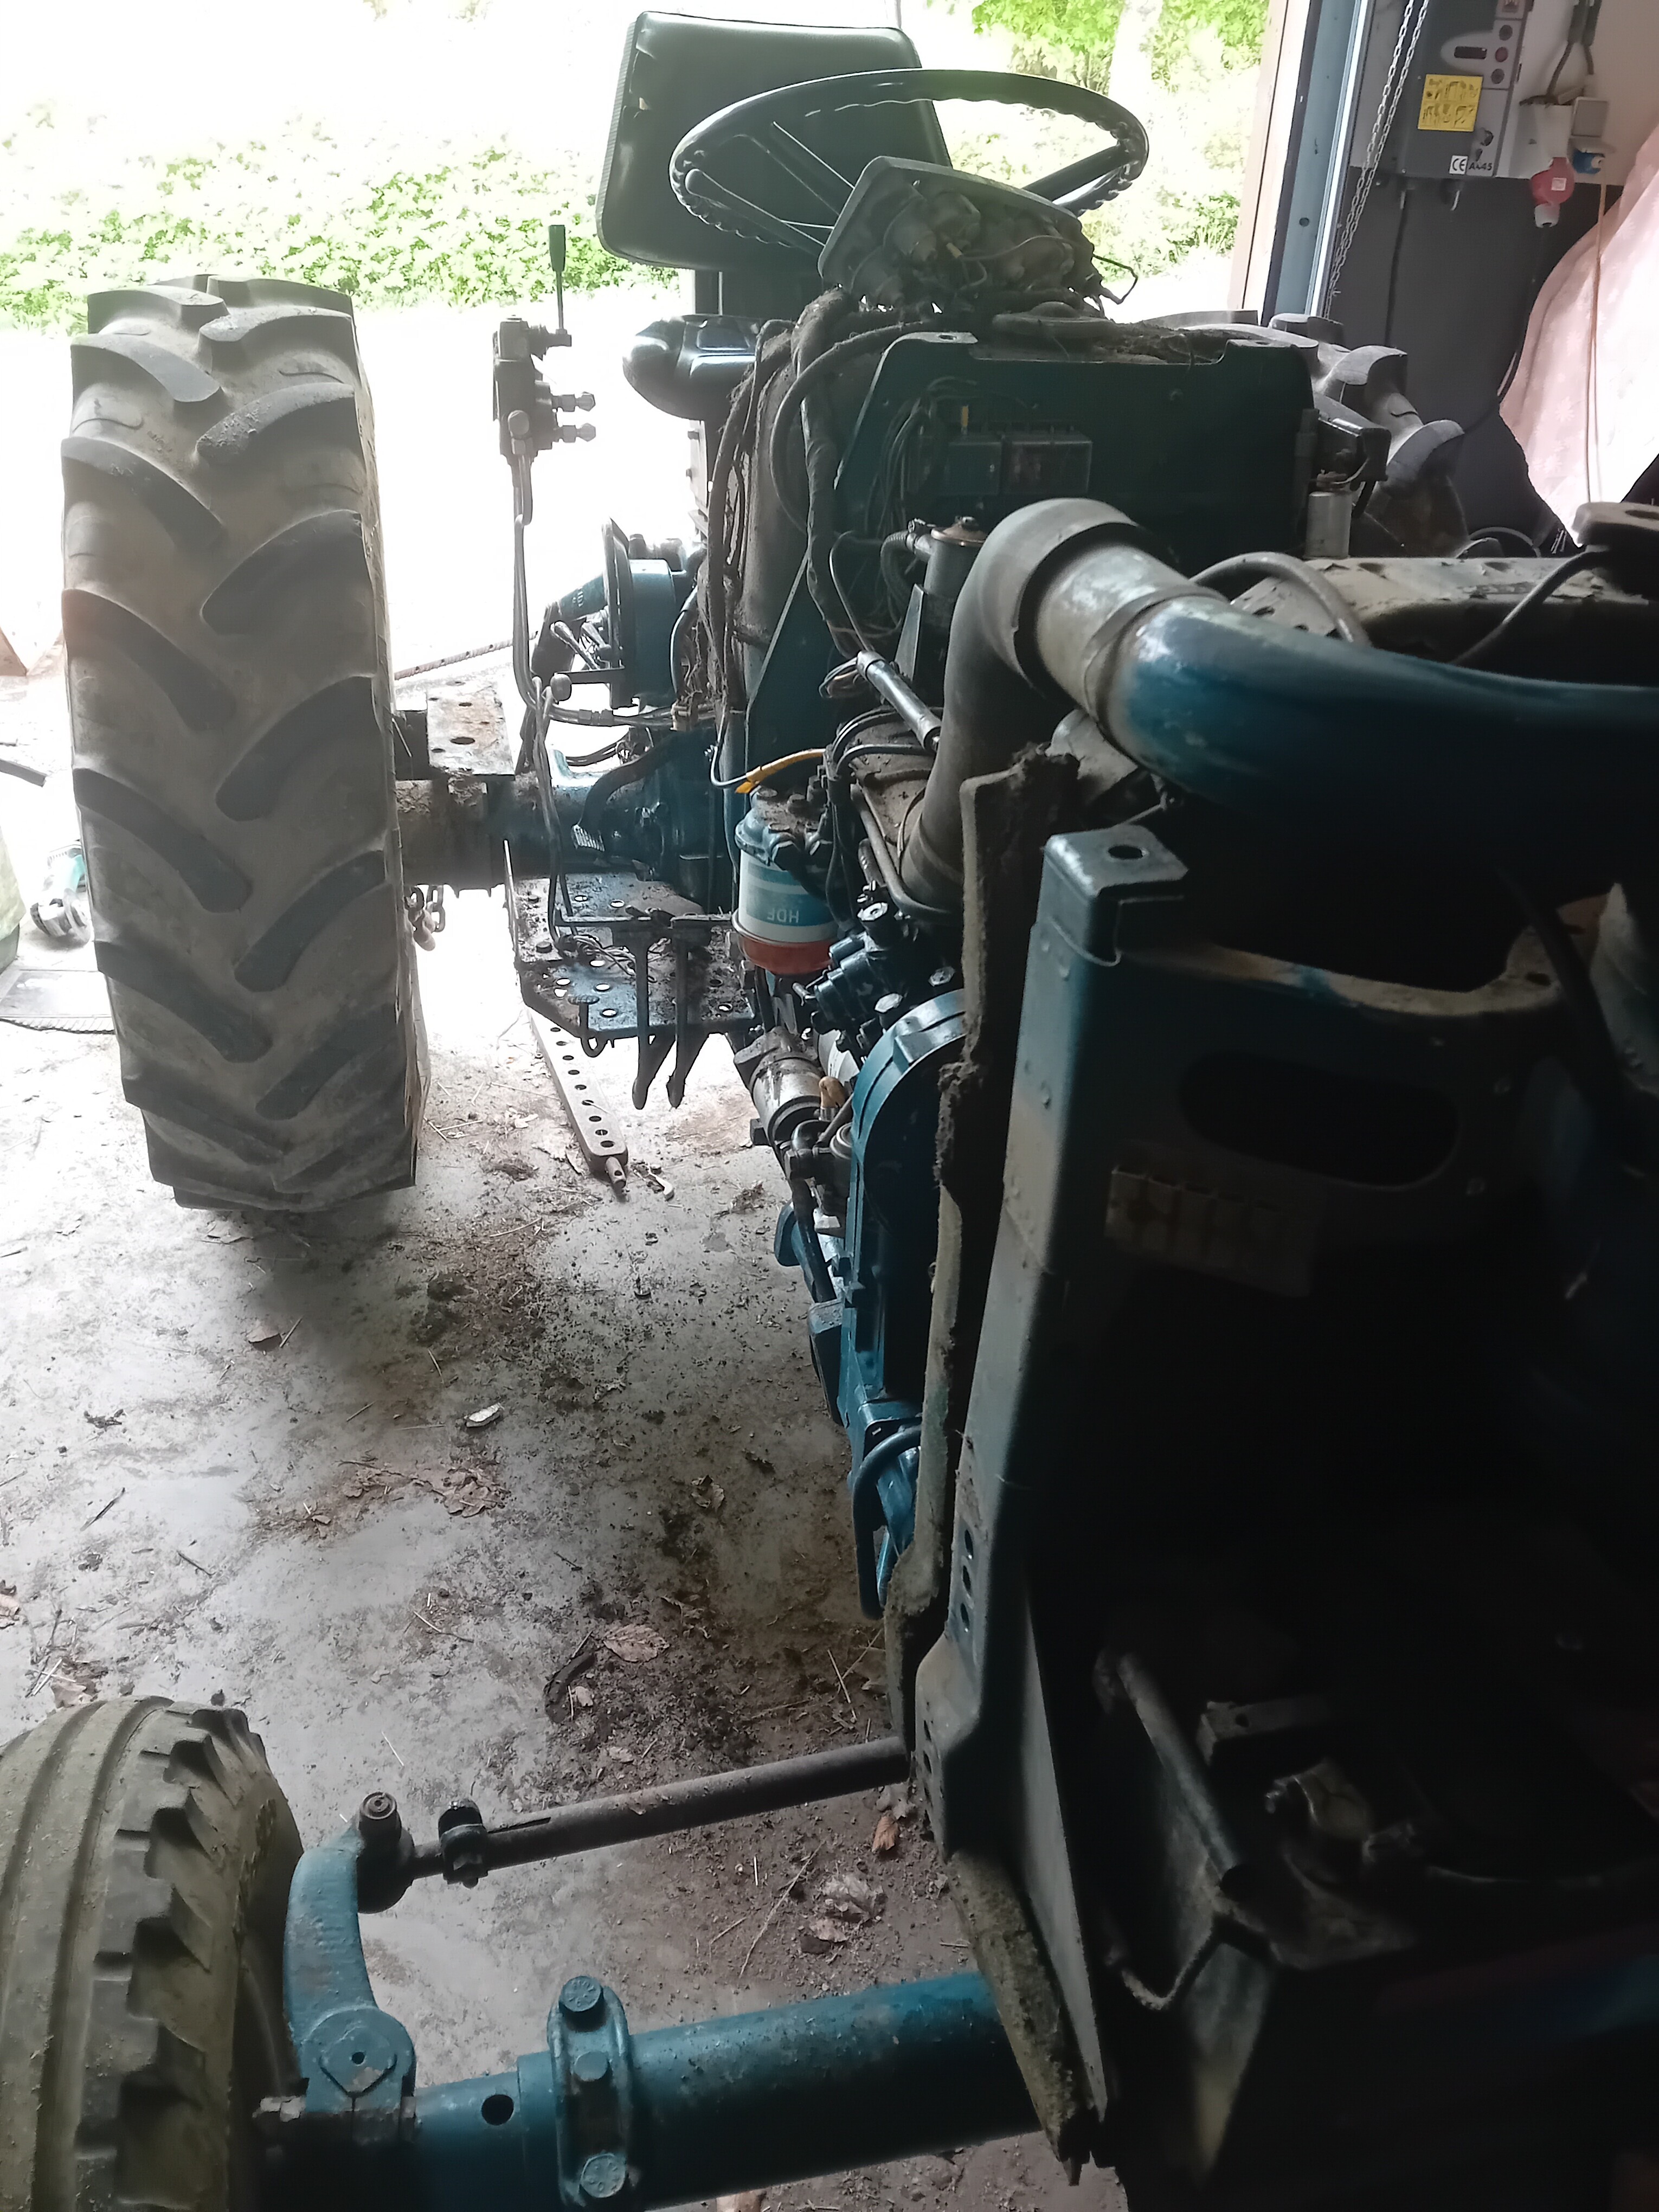
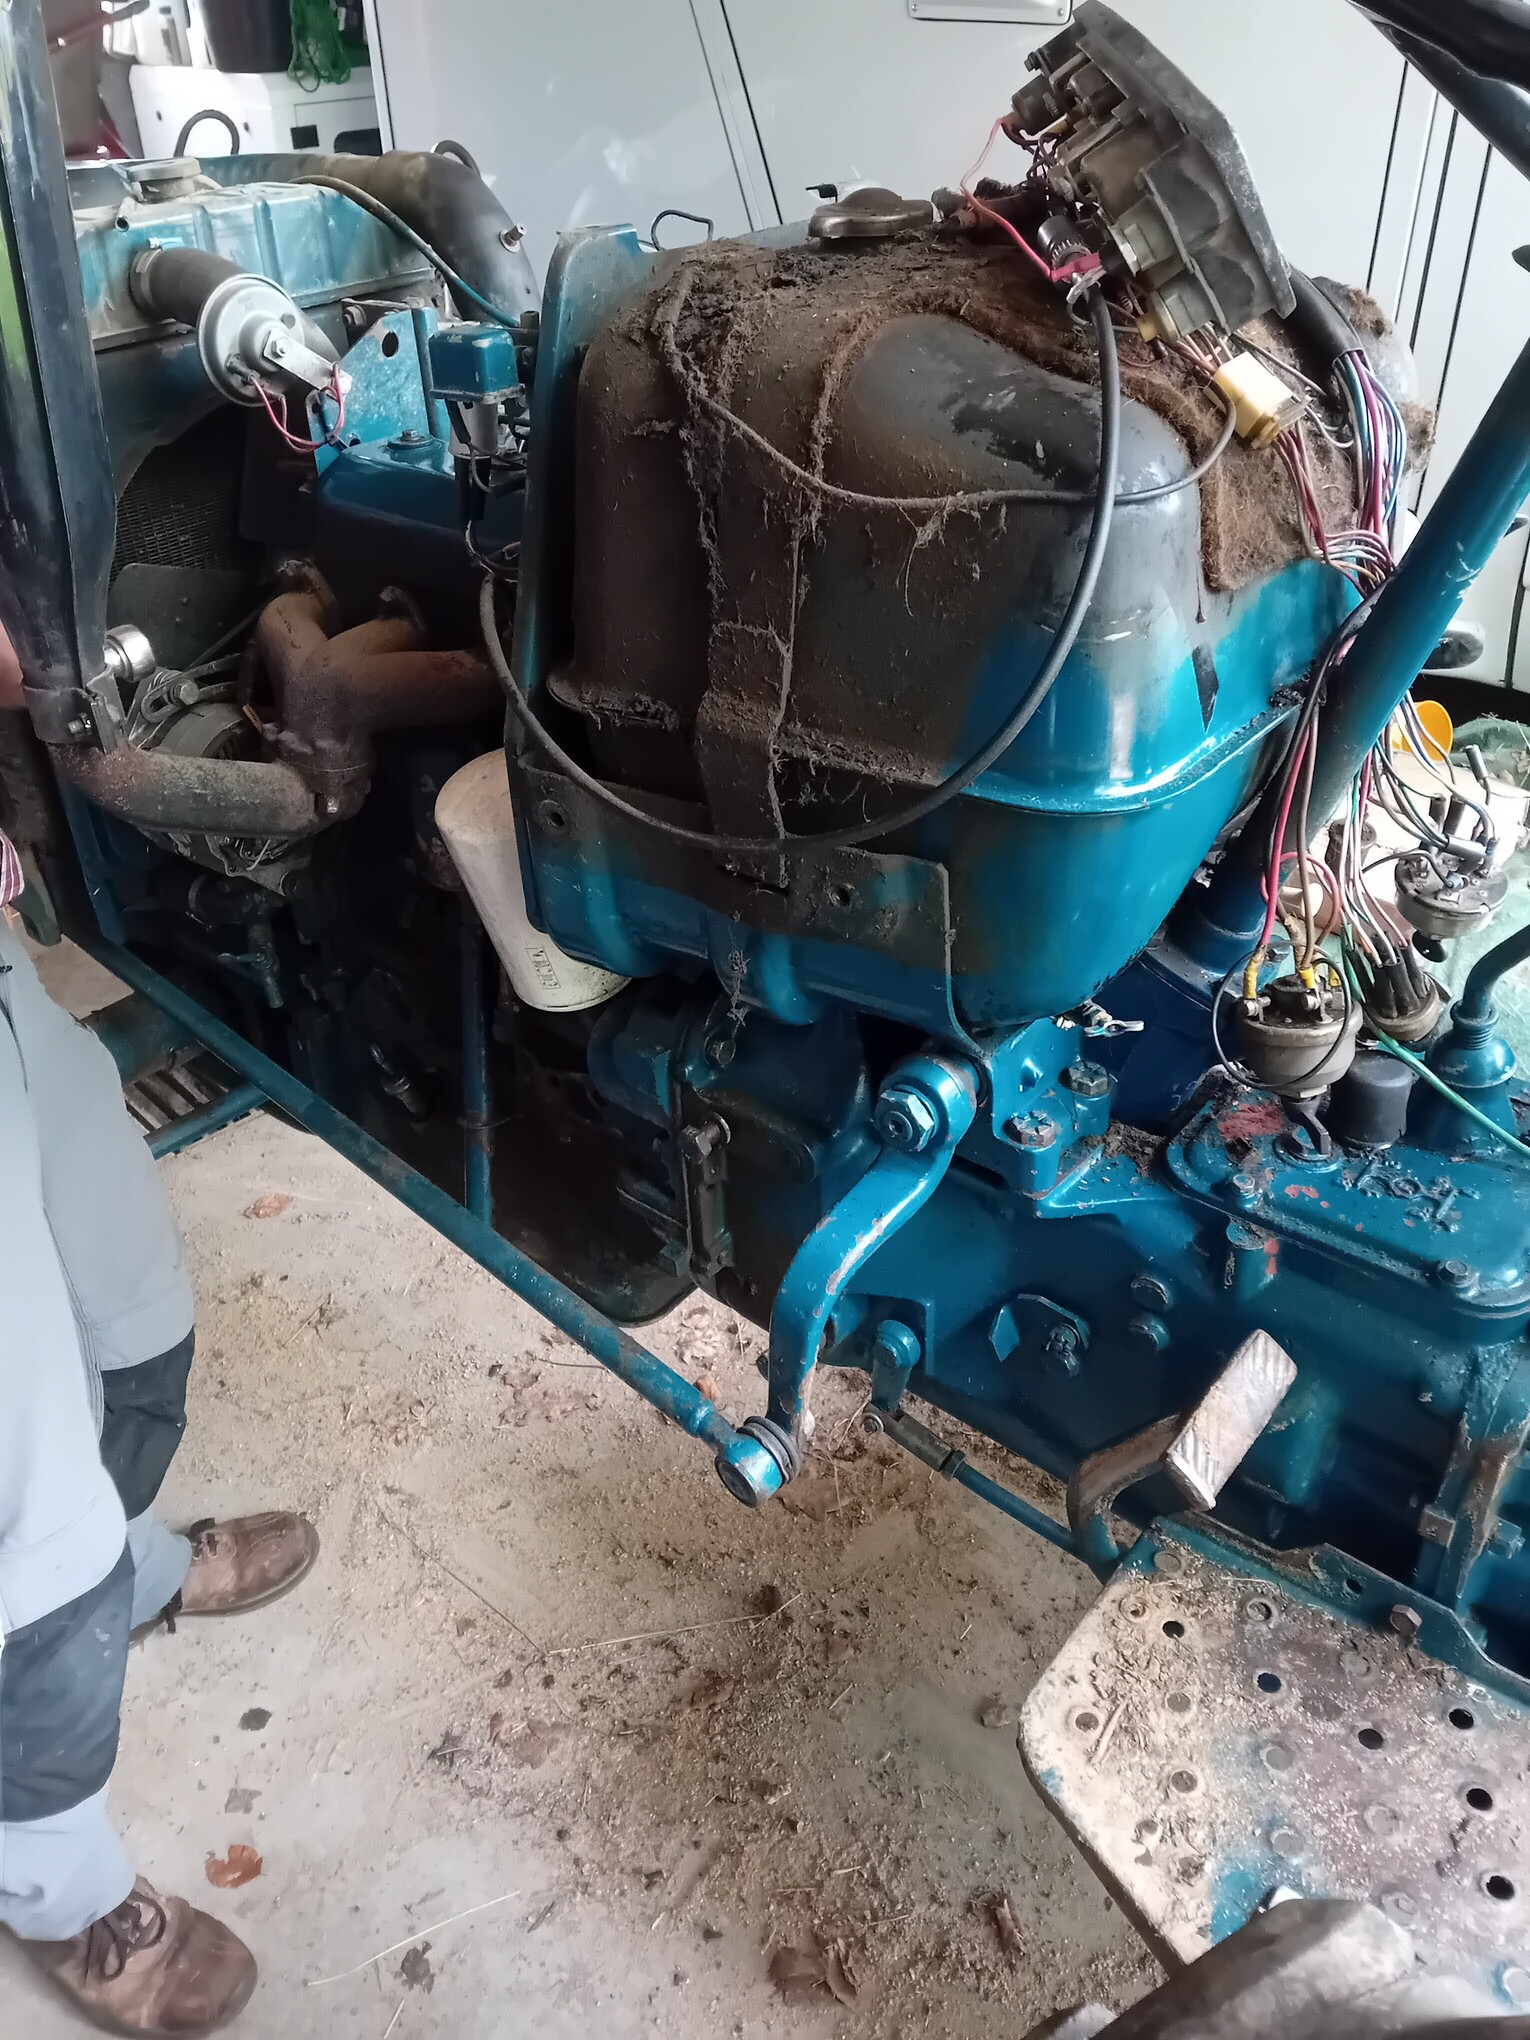
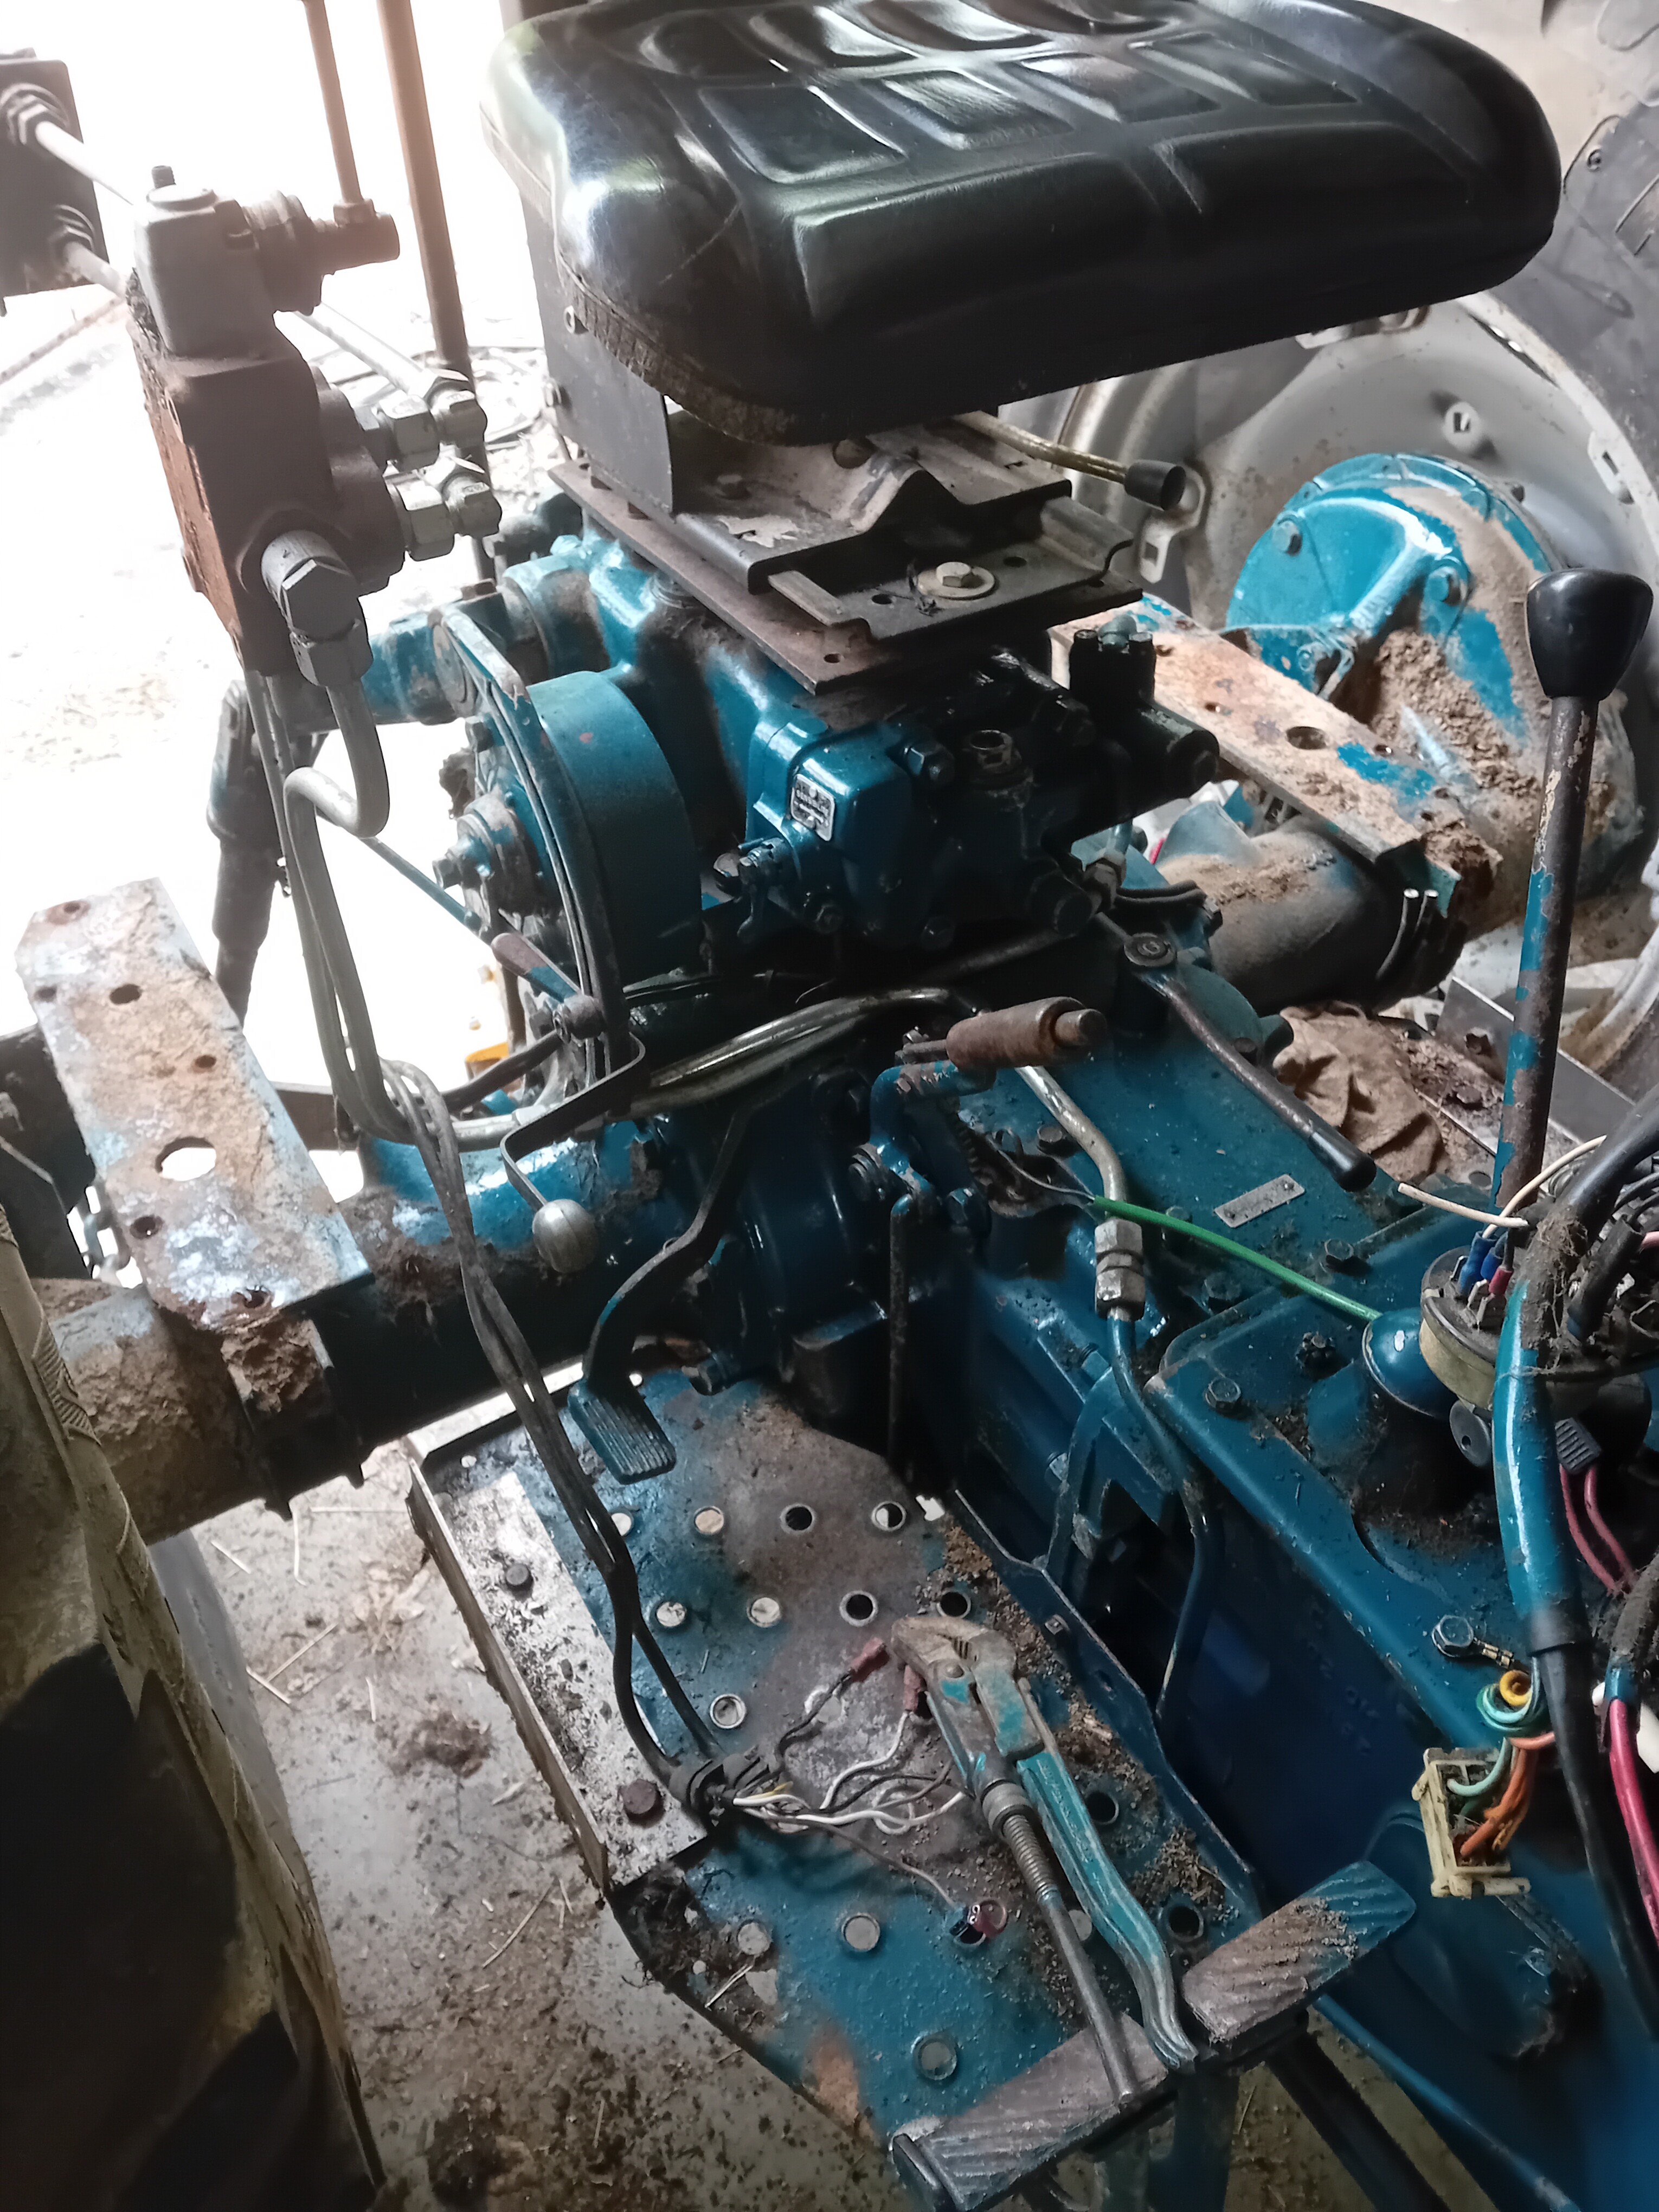
However, since I take pride in doing a job right, I decided to completely redo the wiring harness. The existing setup had been cobbled together in places. The cables ran under the mudguards, and there weren’t enough wires. There were also a lot of unnecessary splices and bypasses.
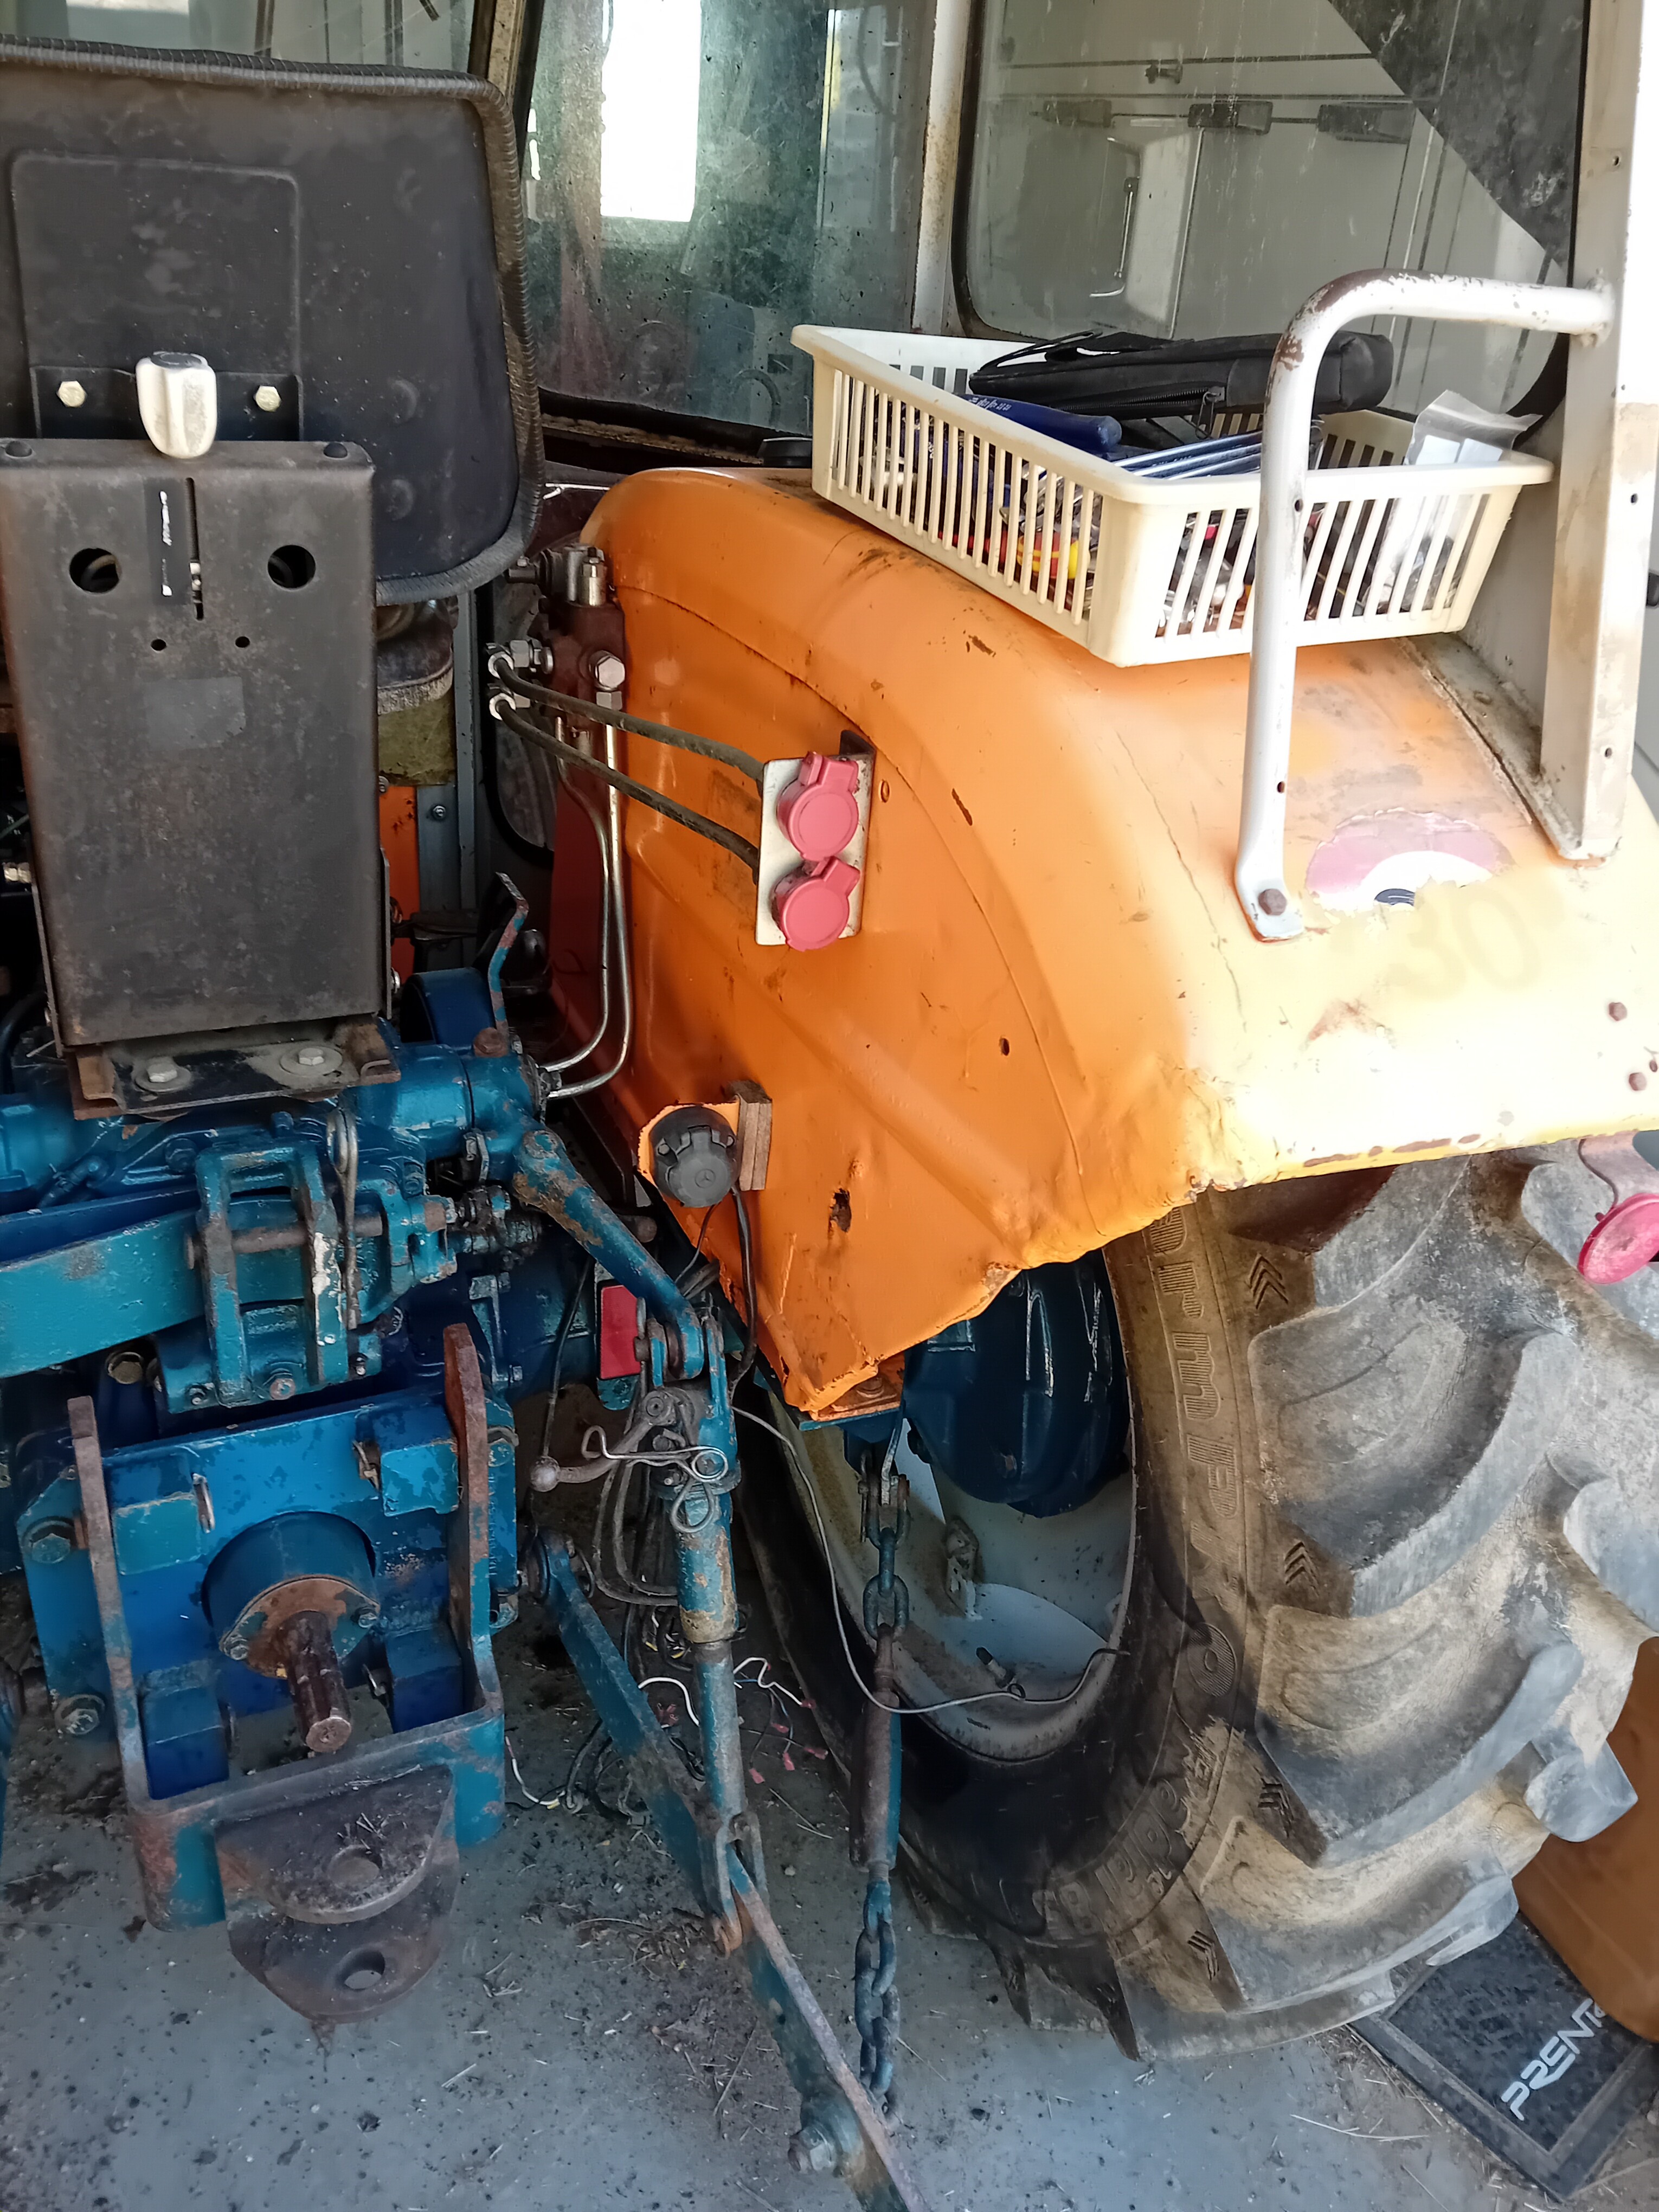
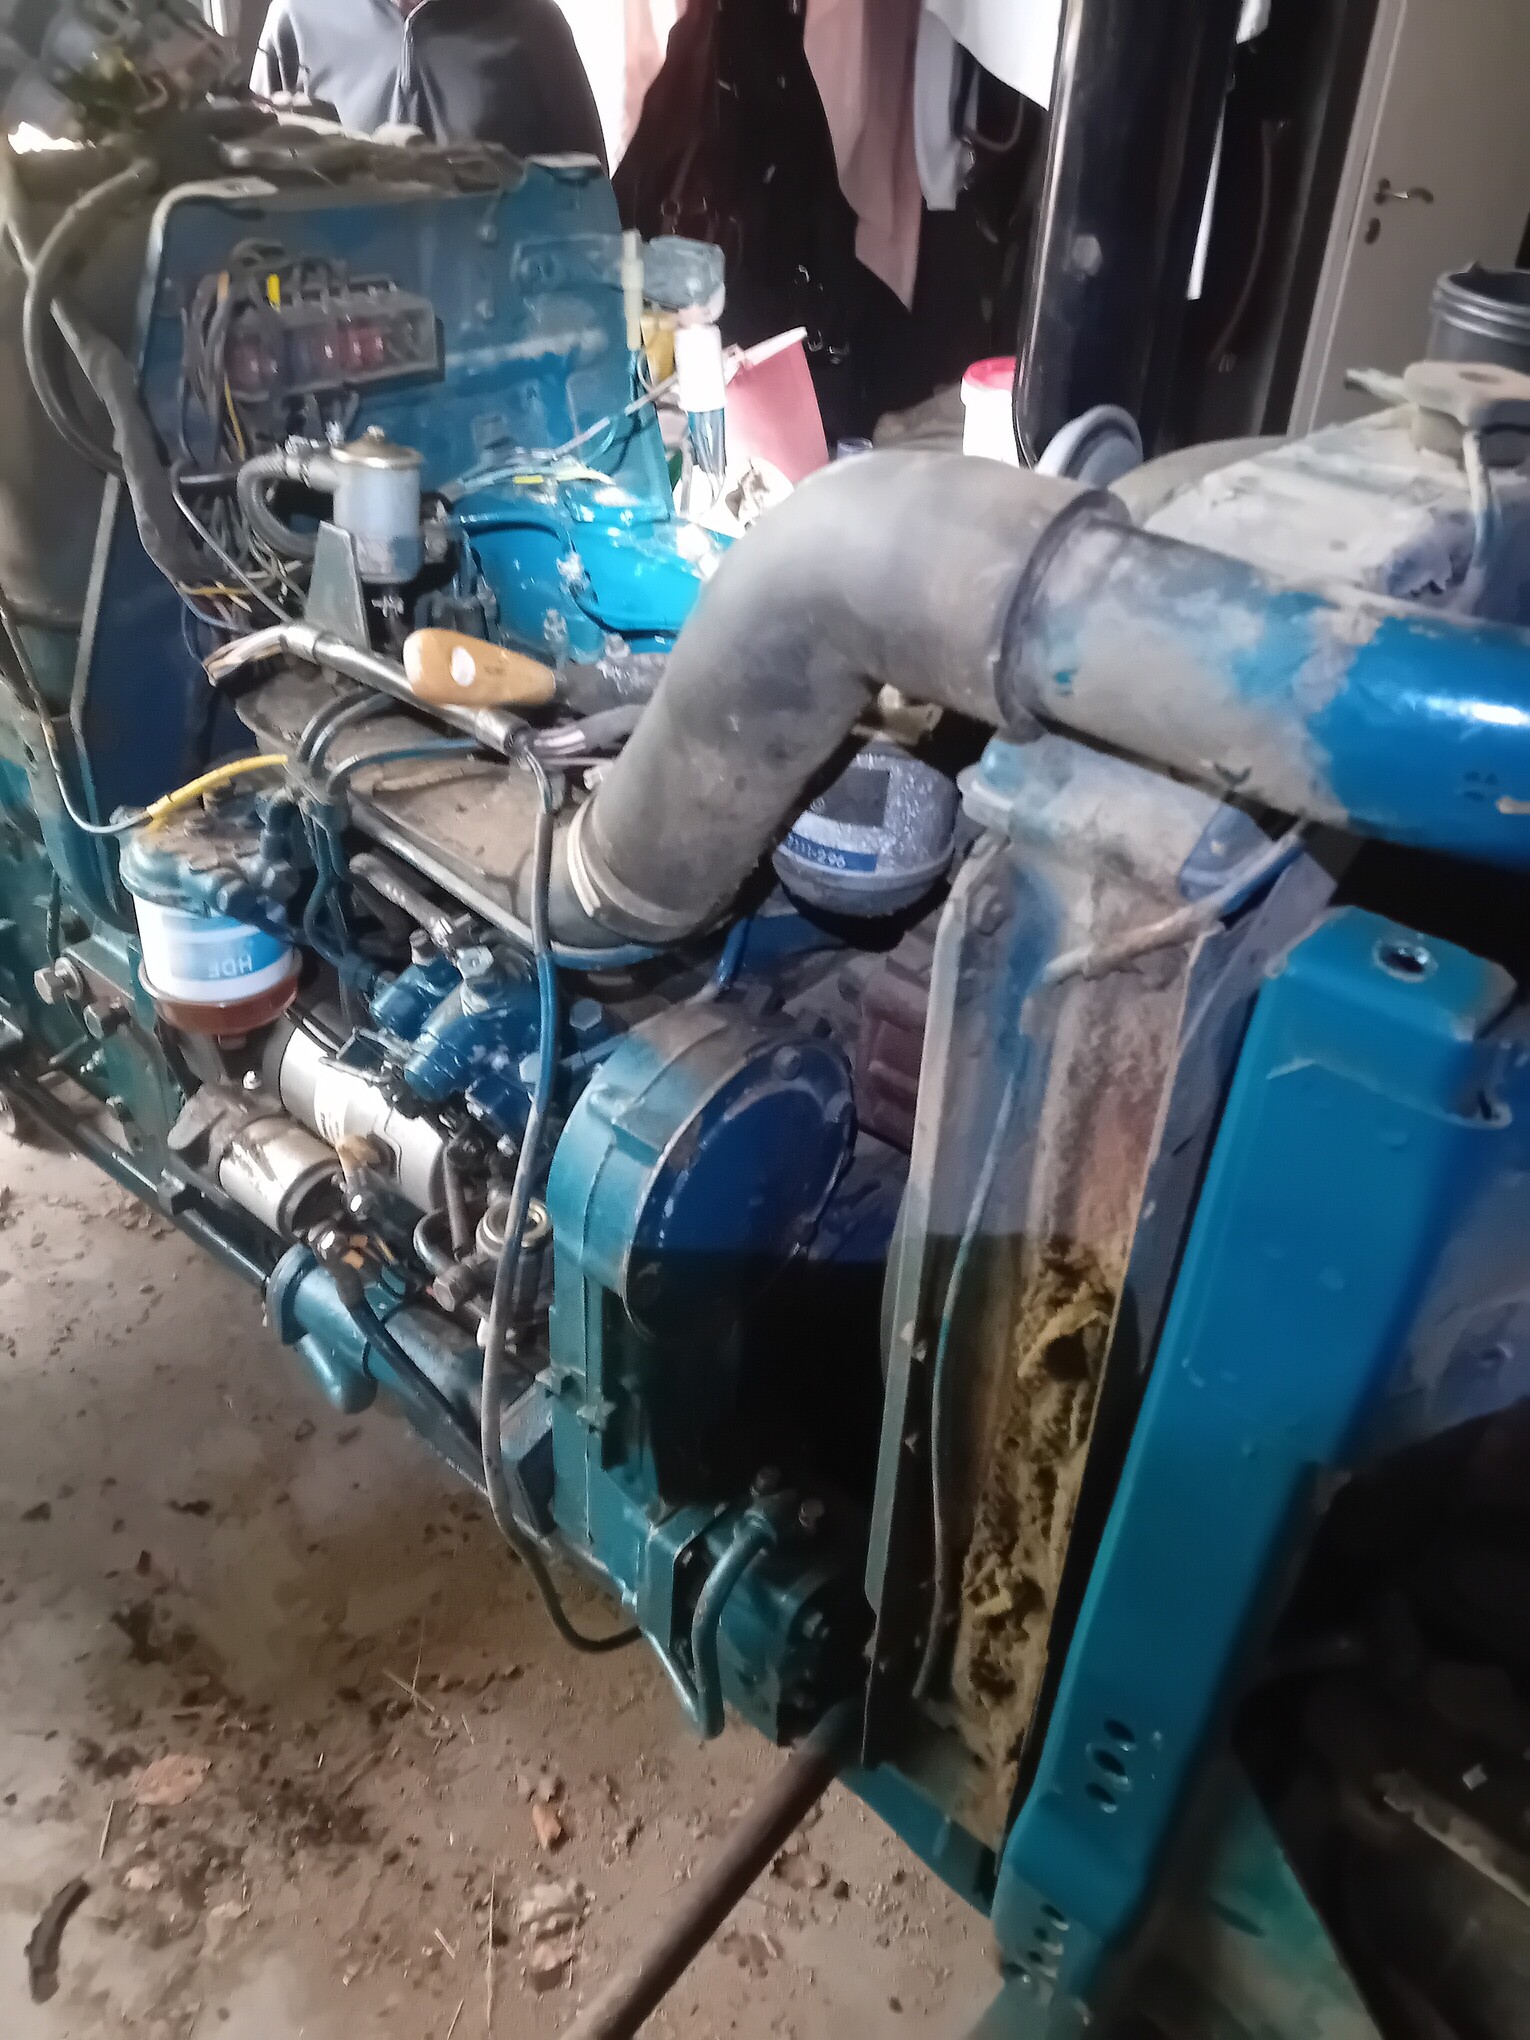
The large junction box was located here (blue circle in the photo), and from there, the wires ran in all directions.
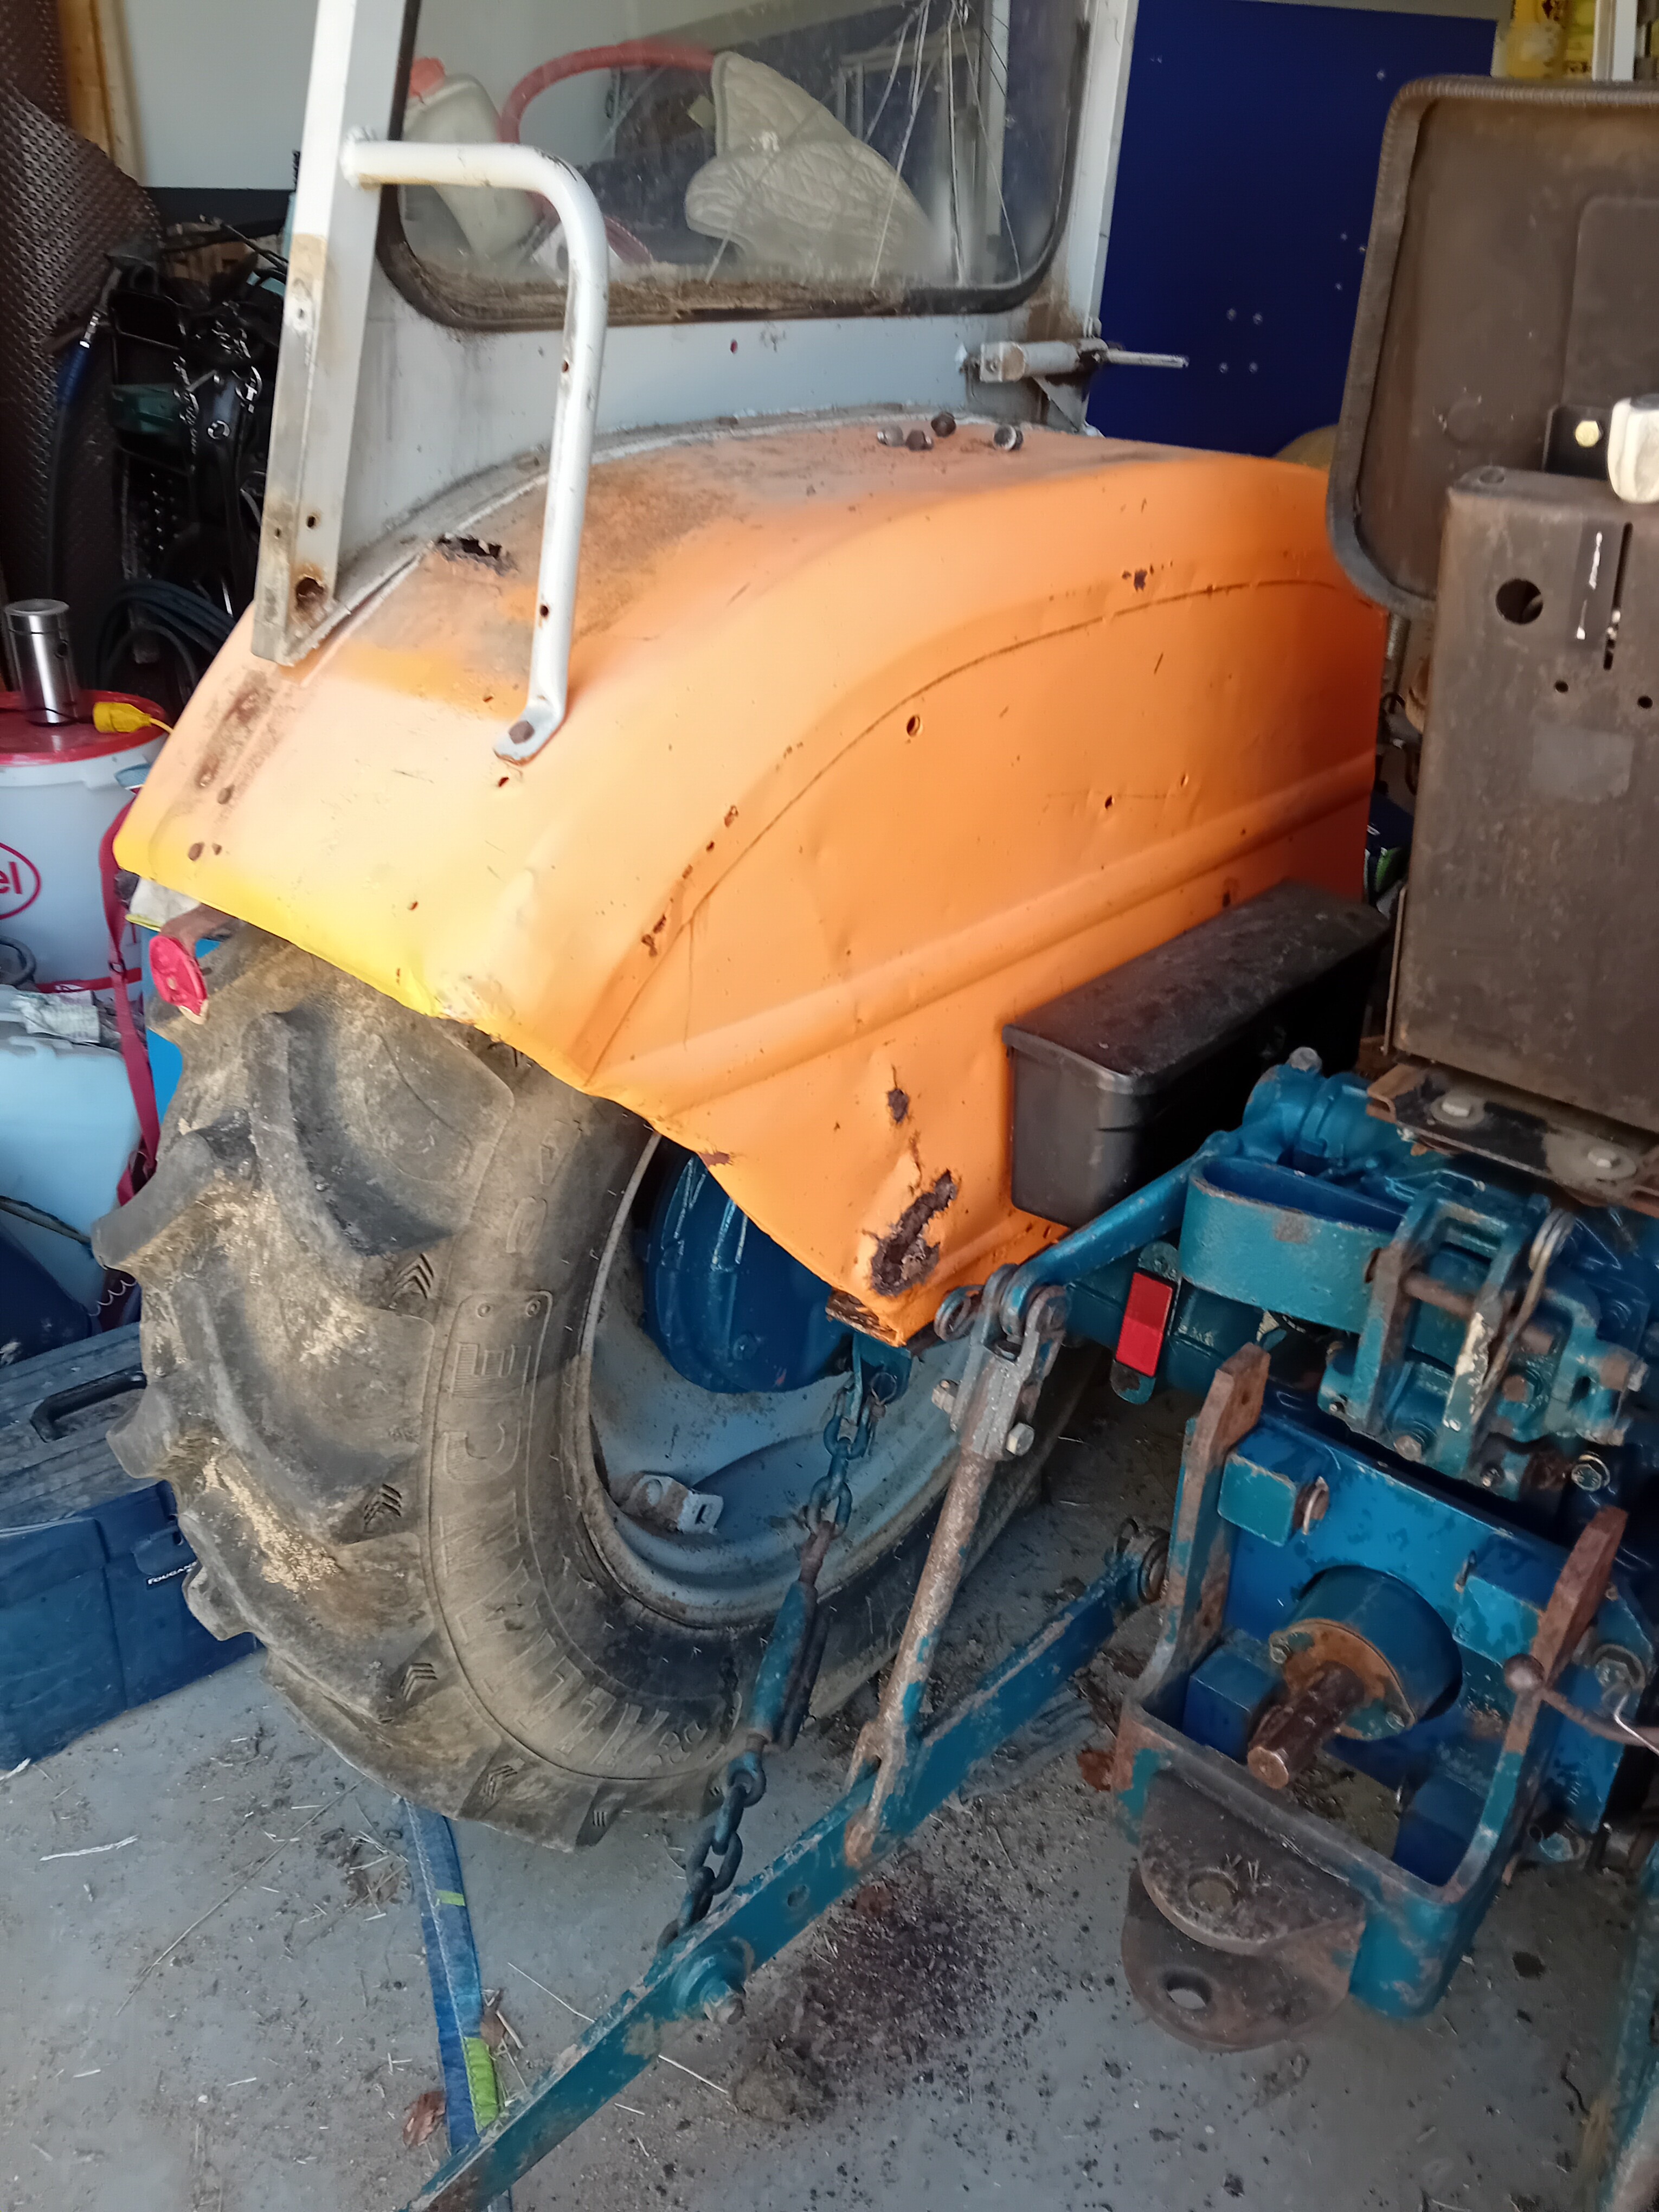
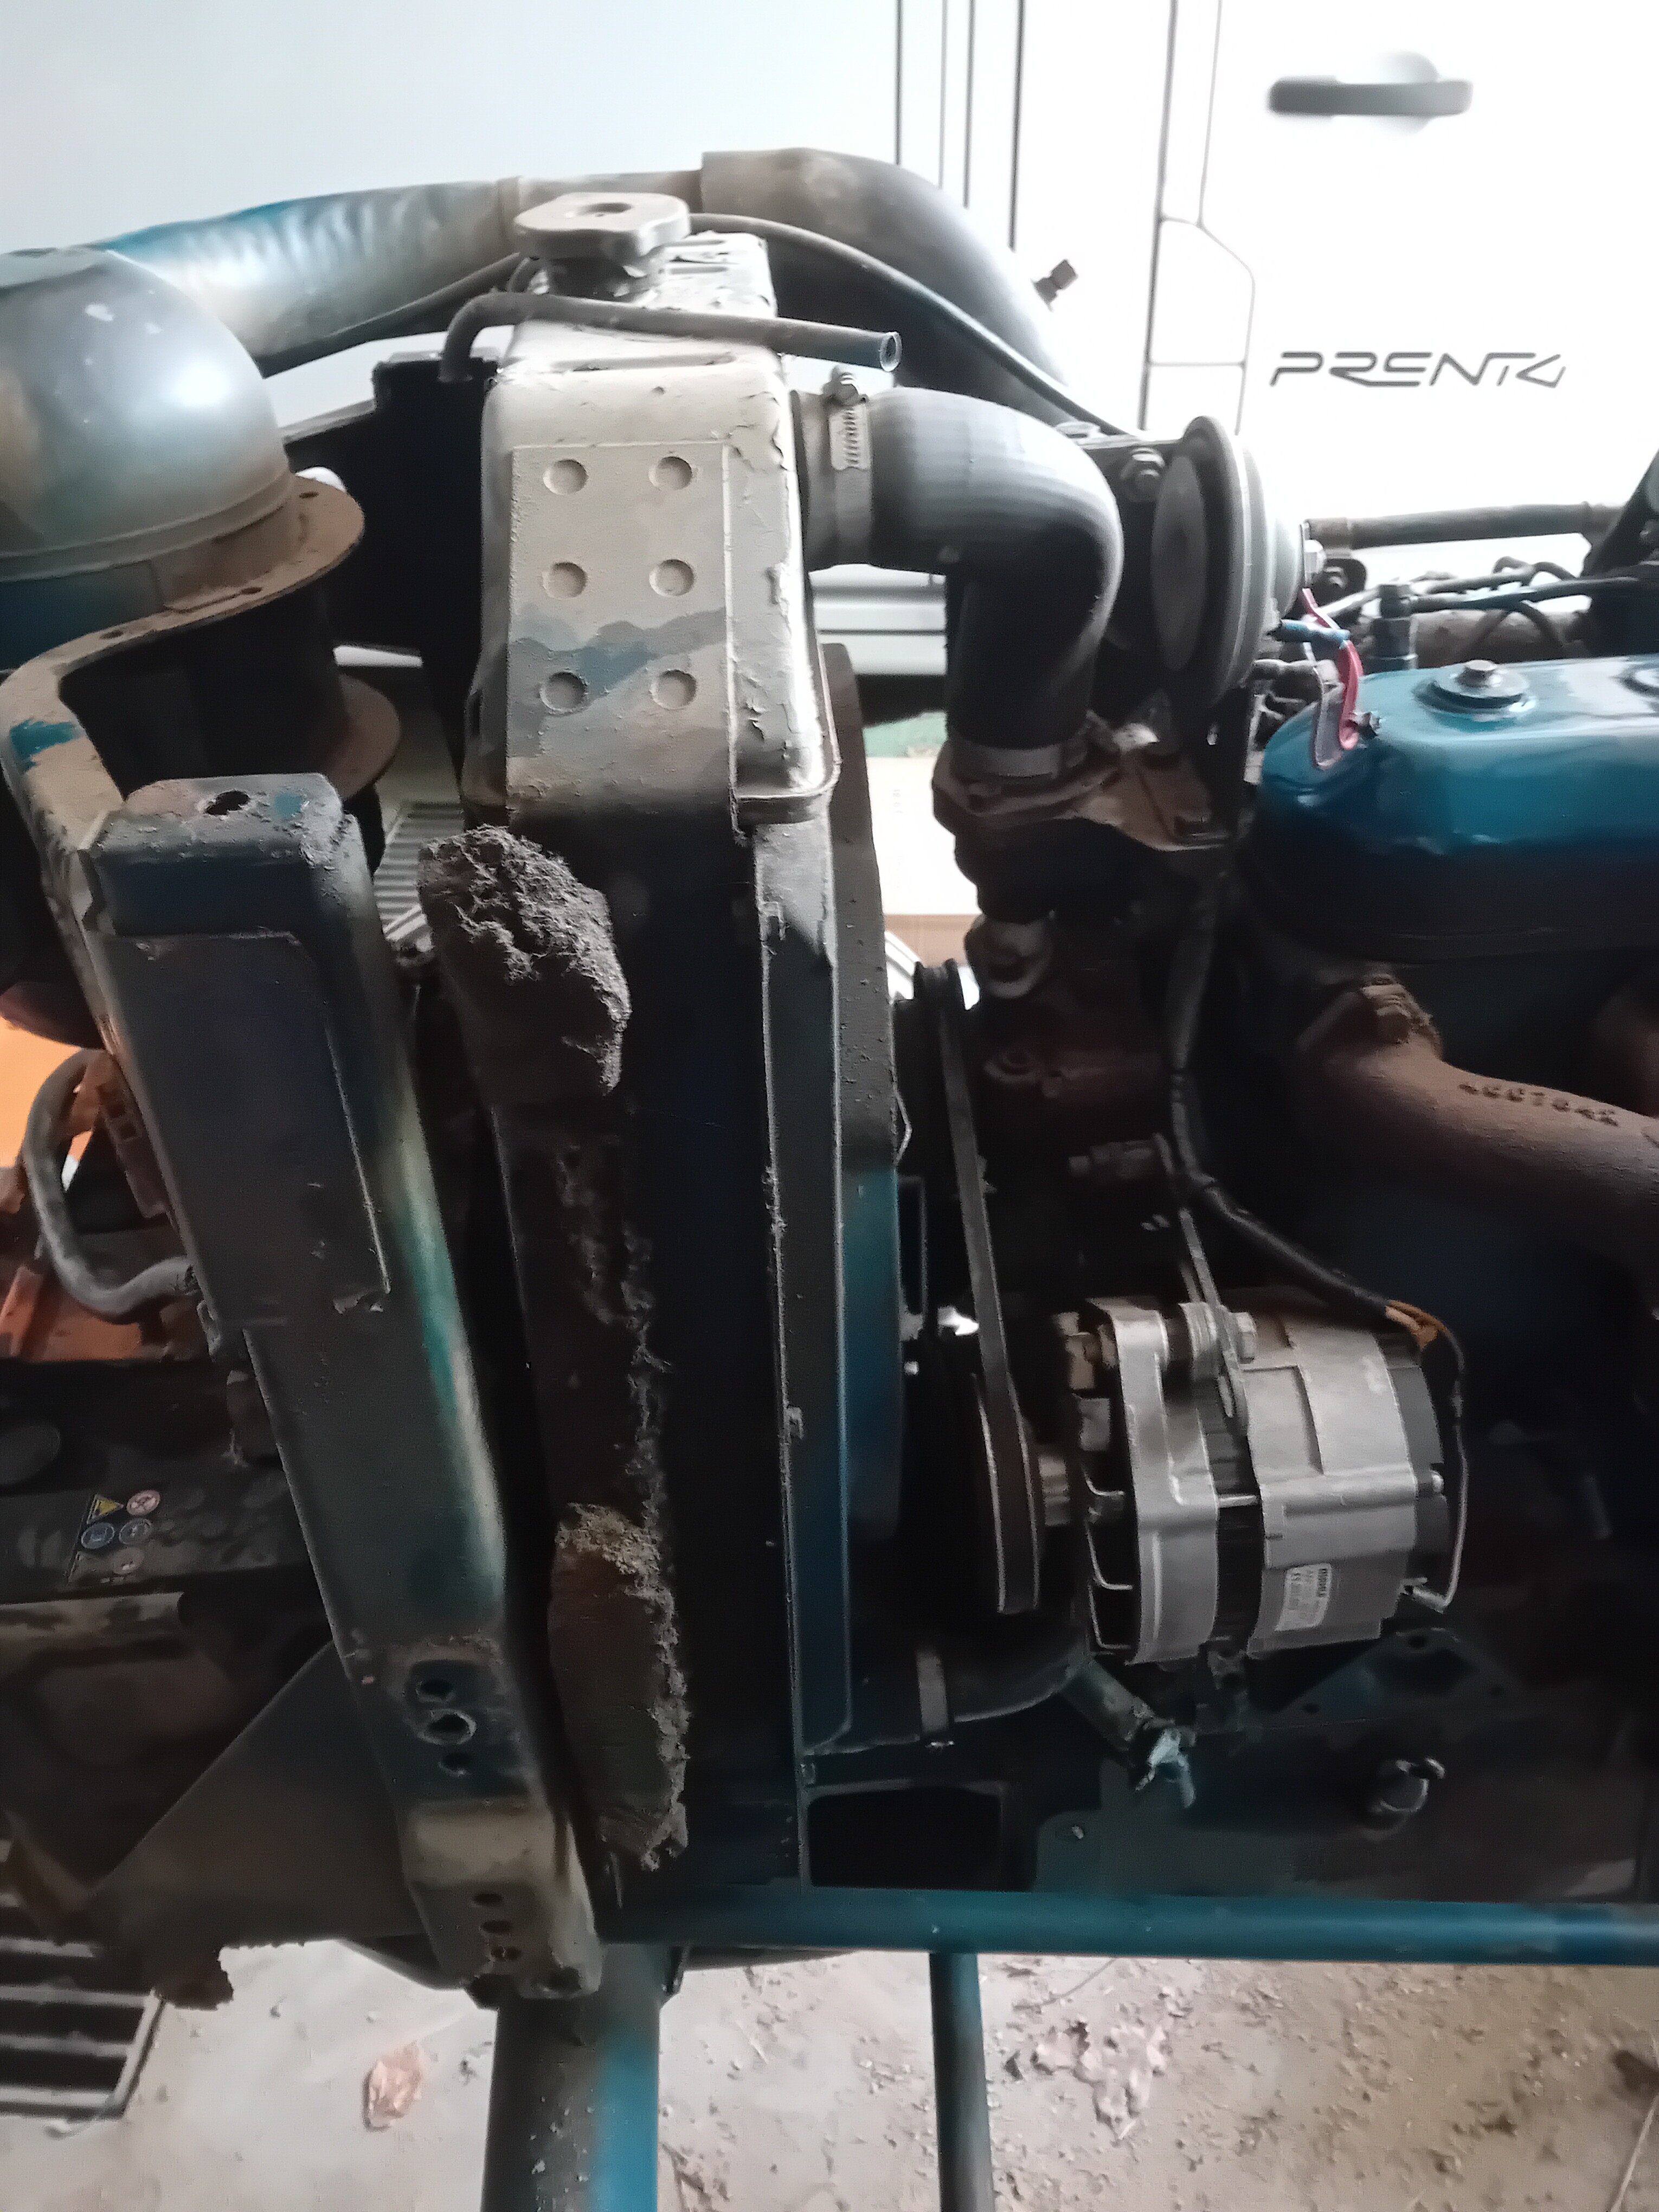
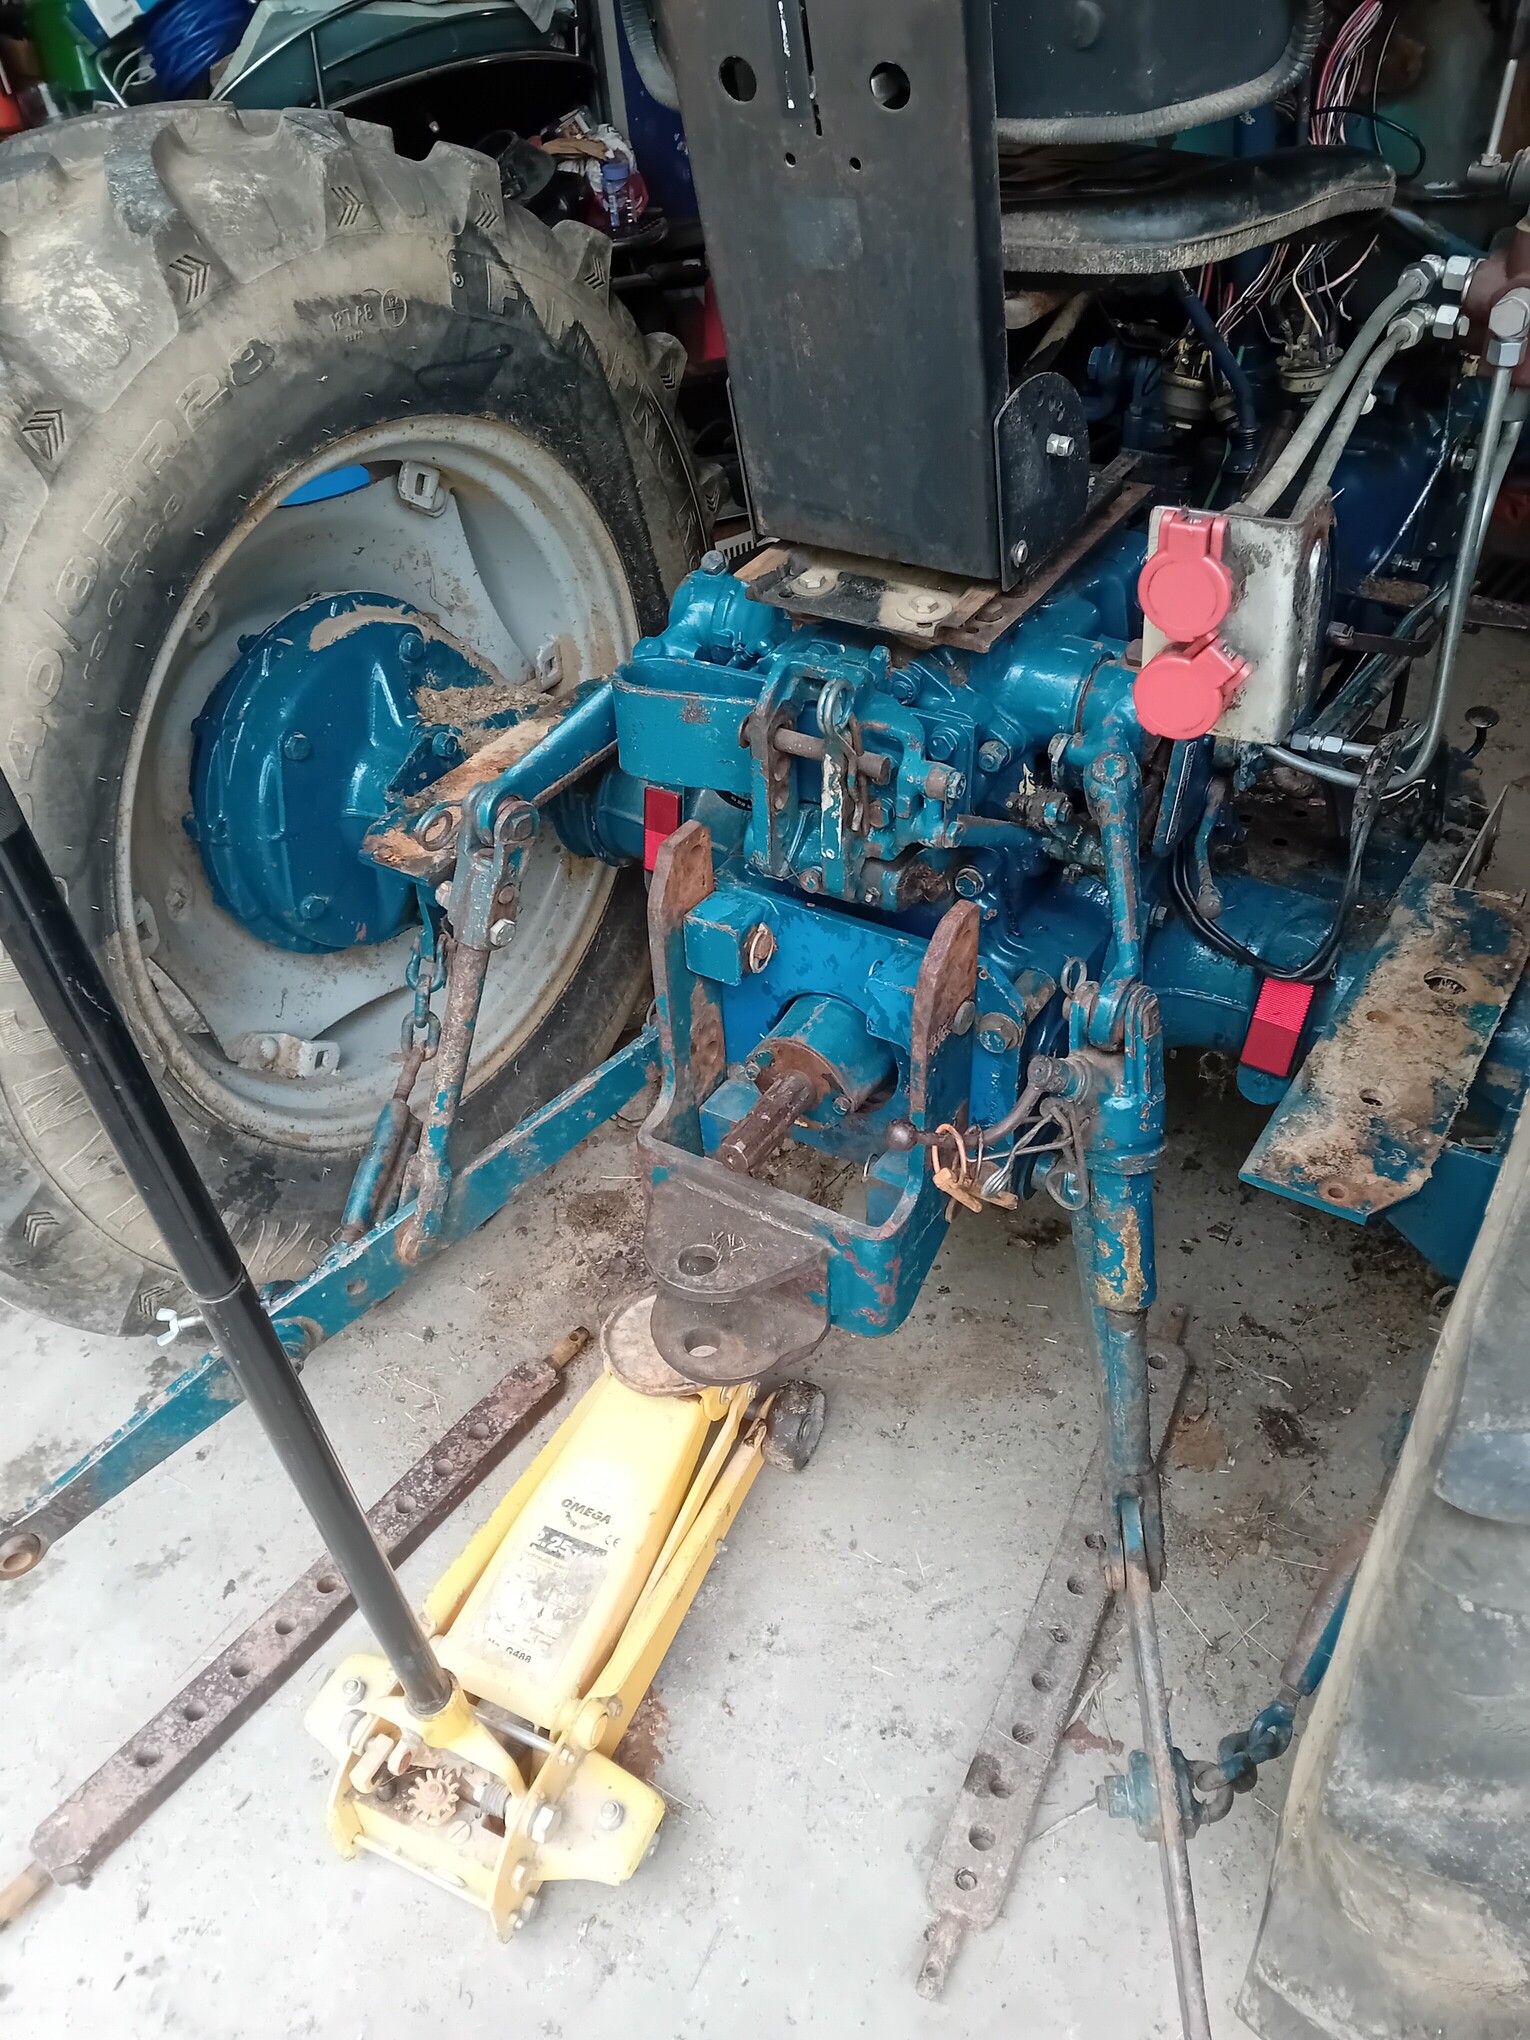
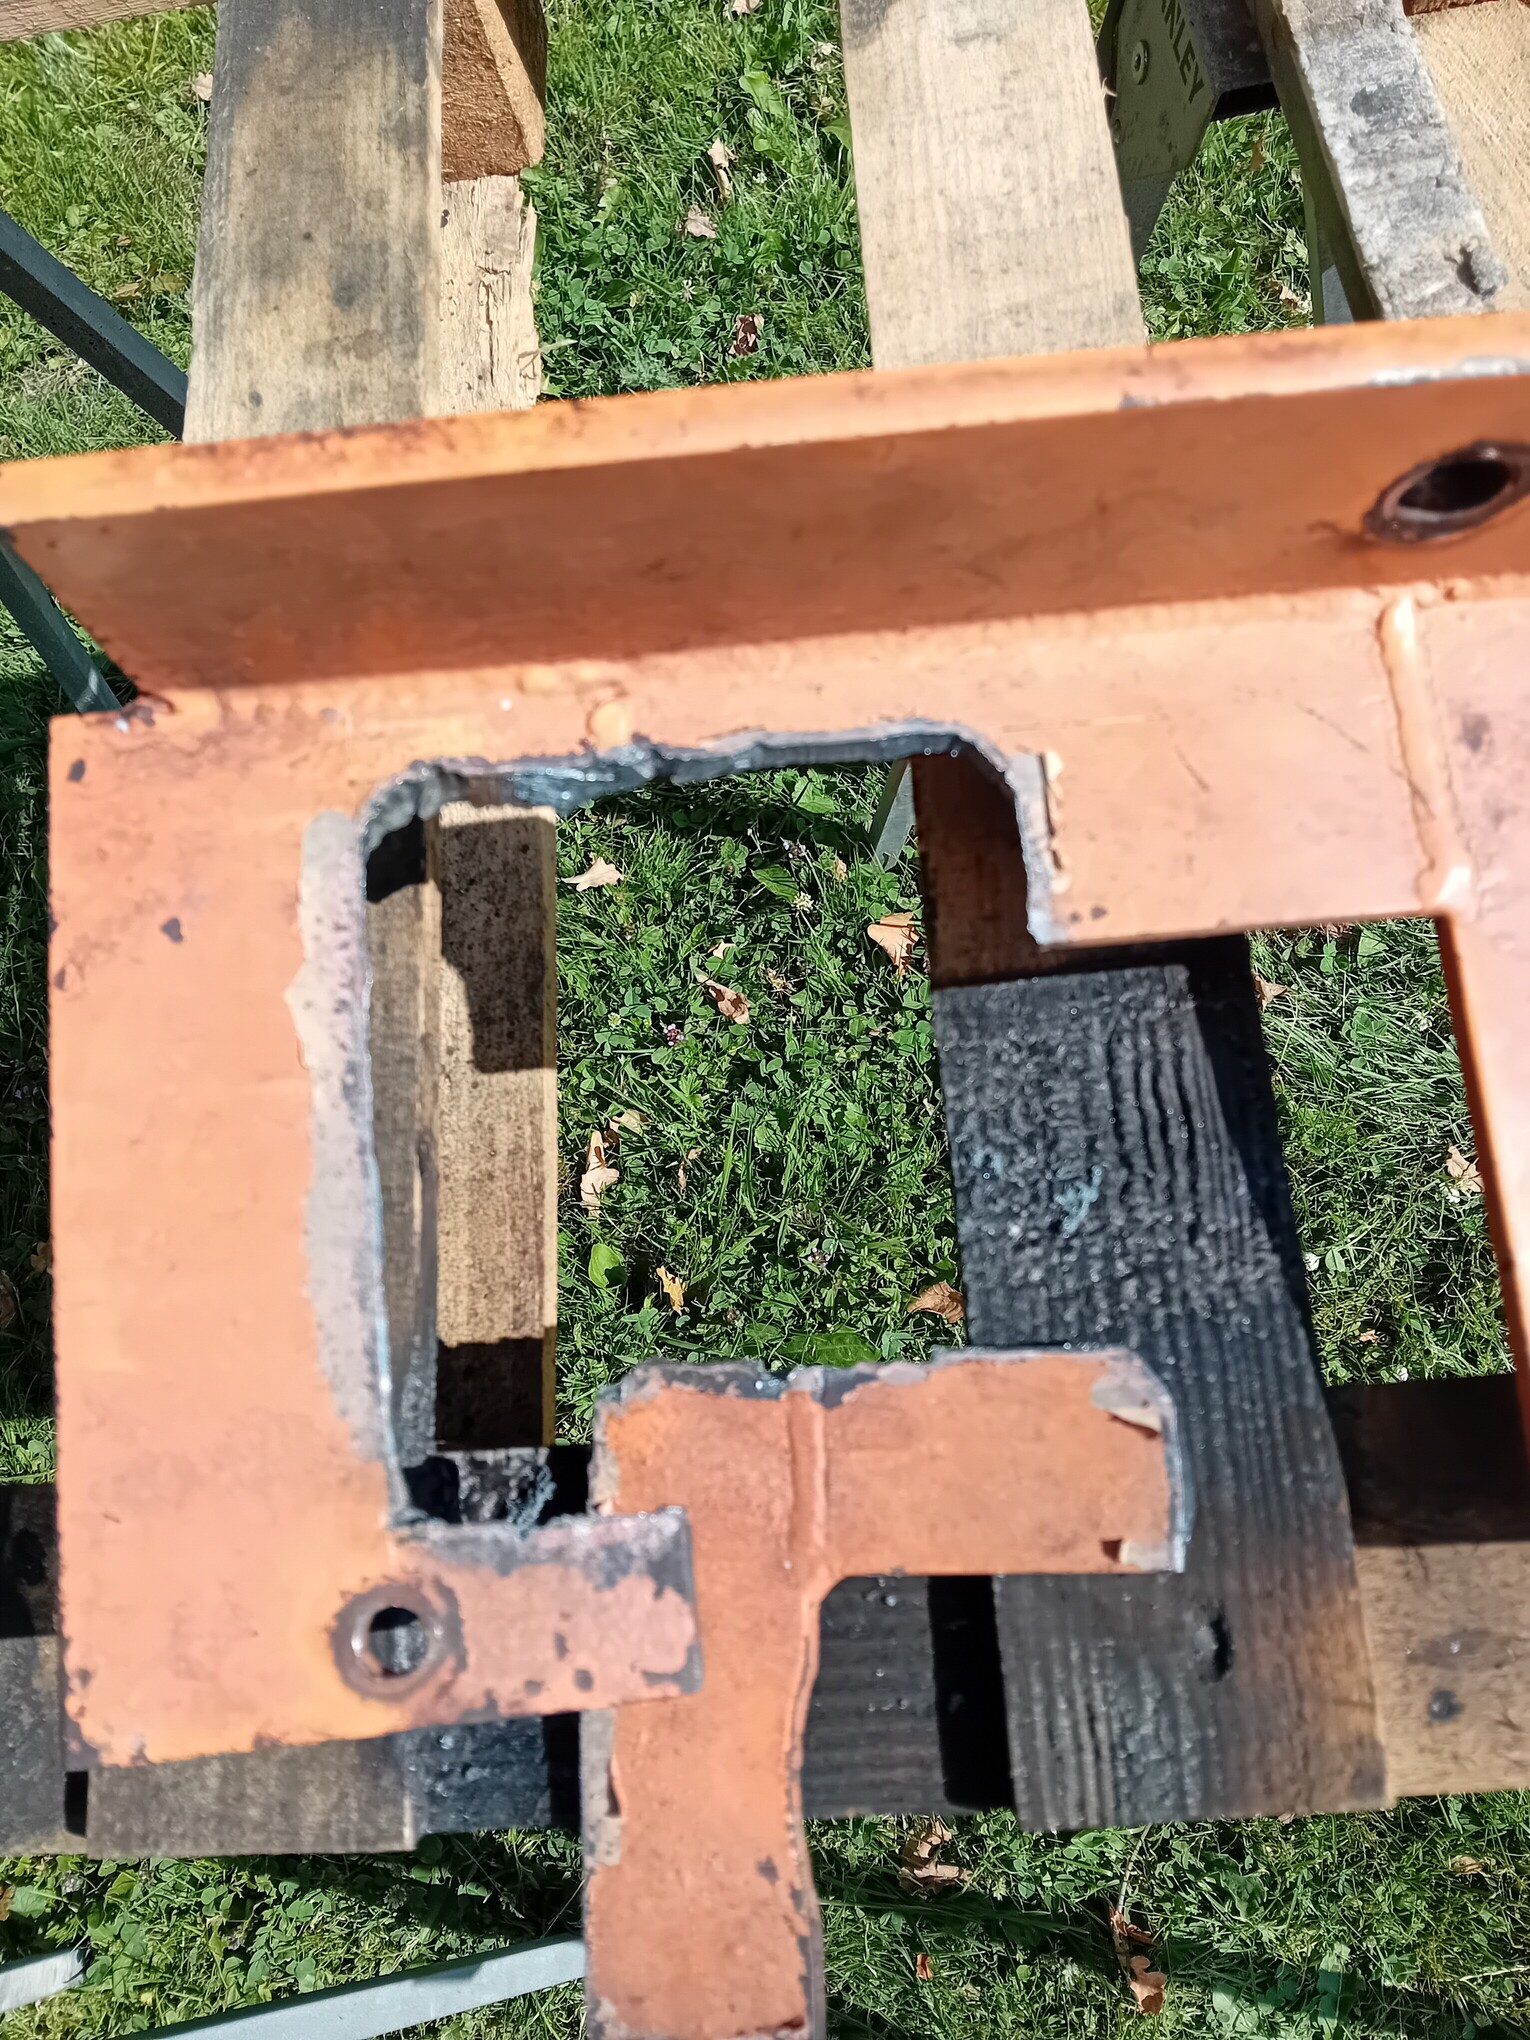
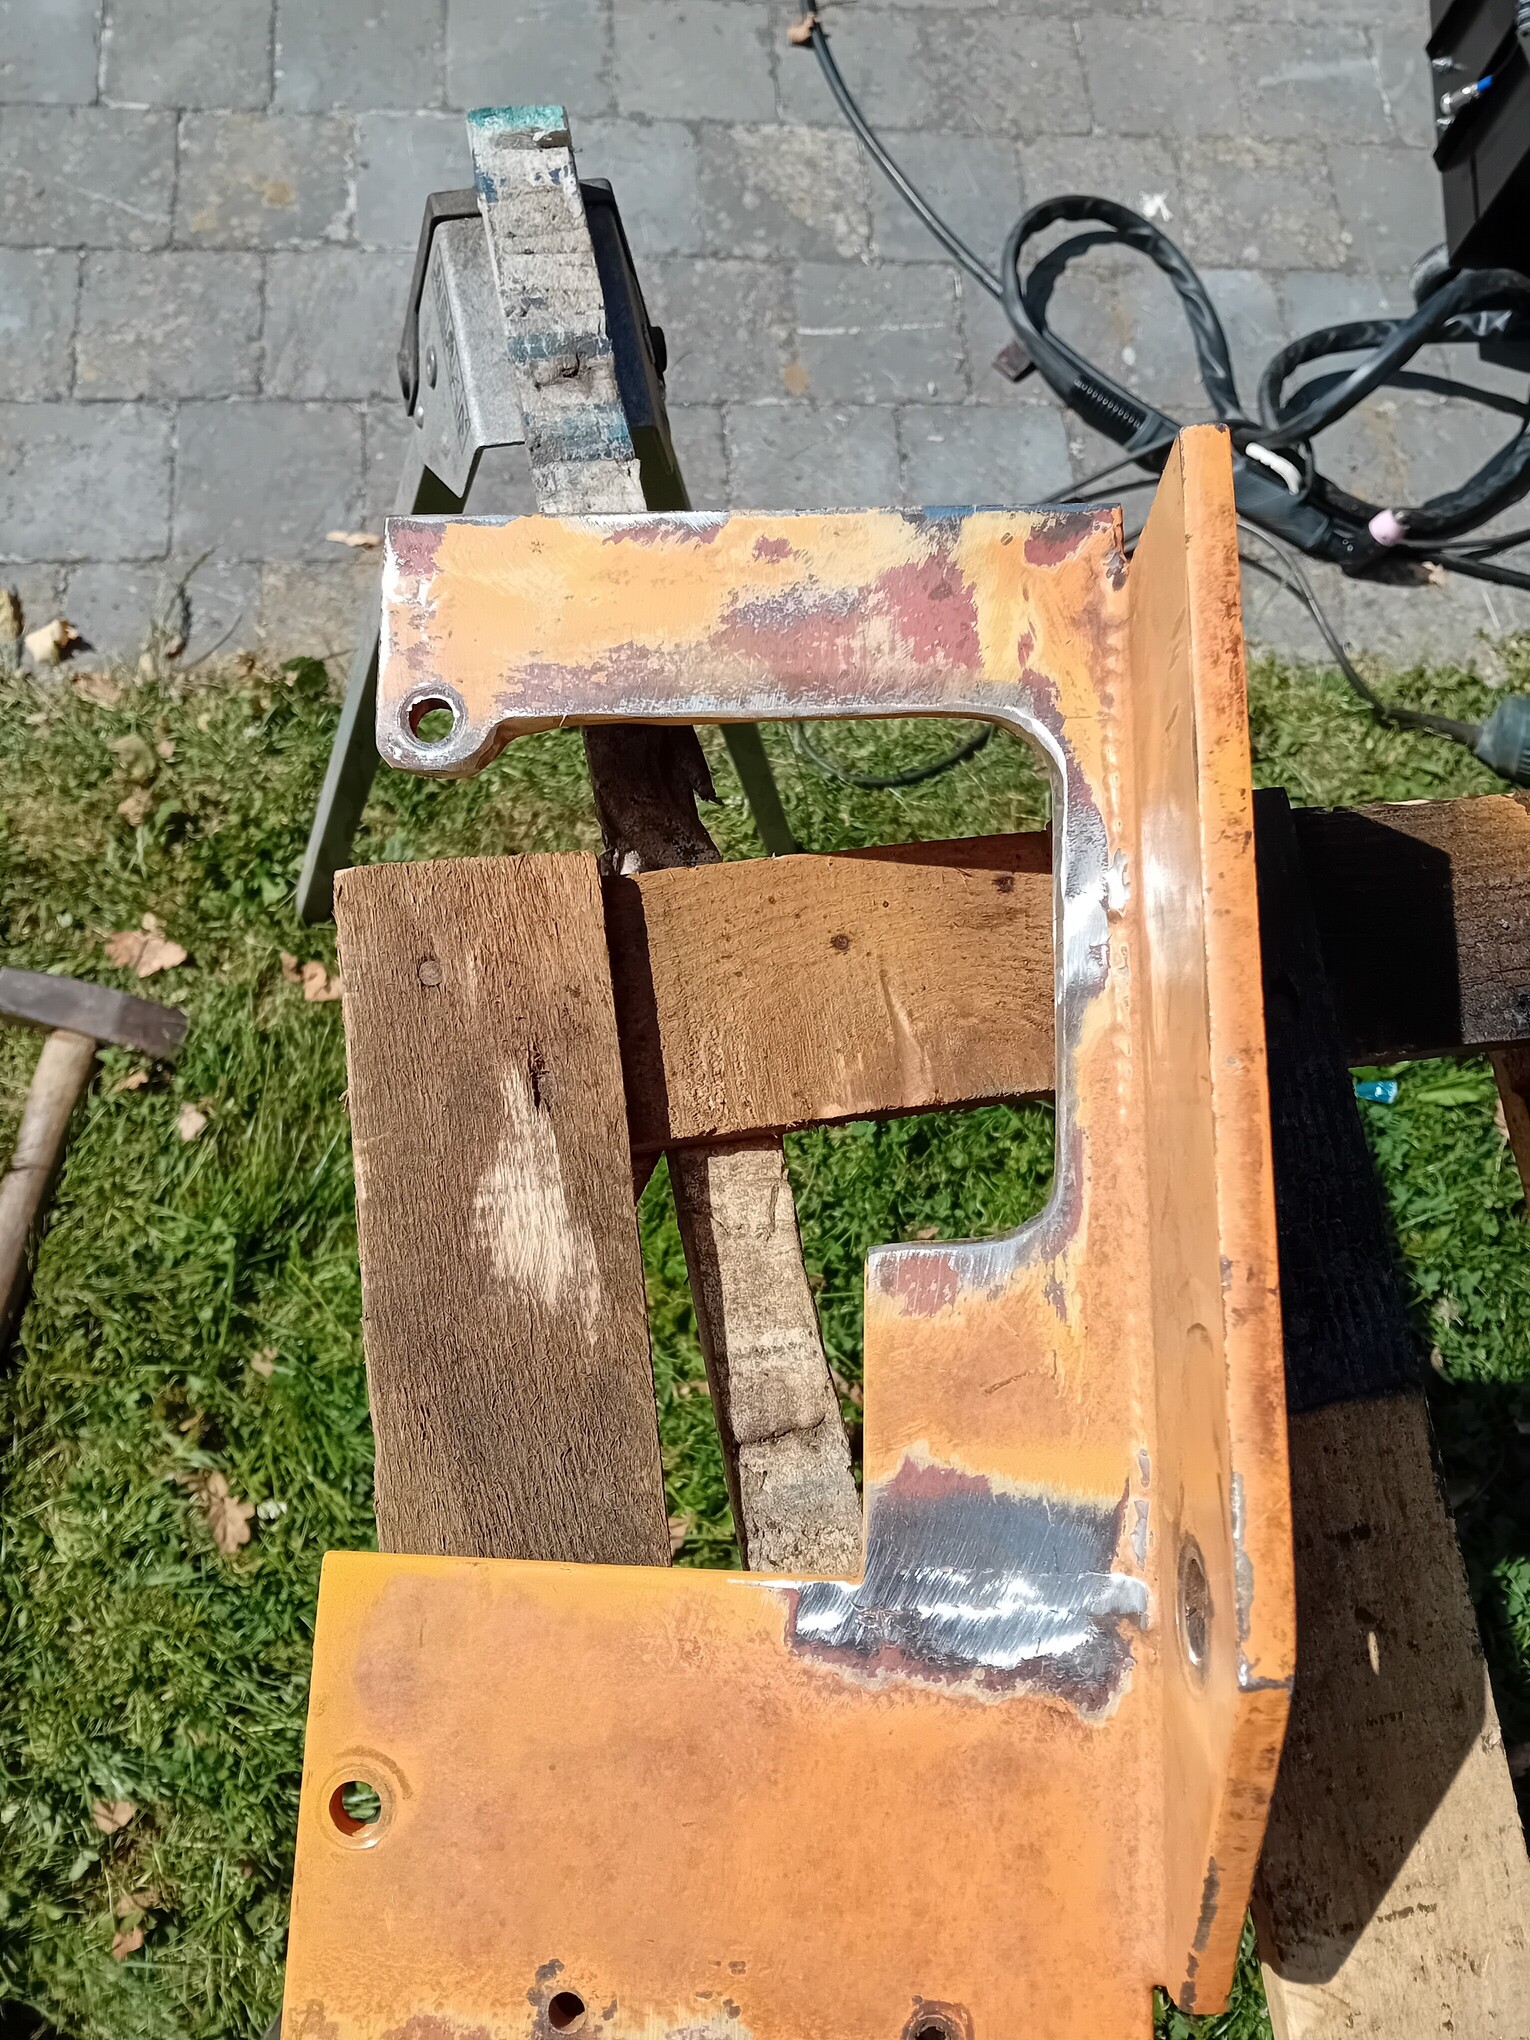
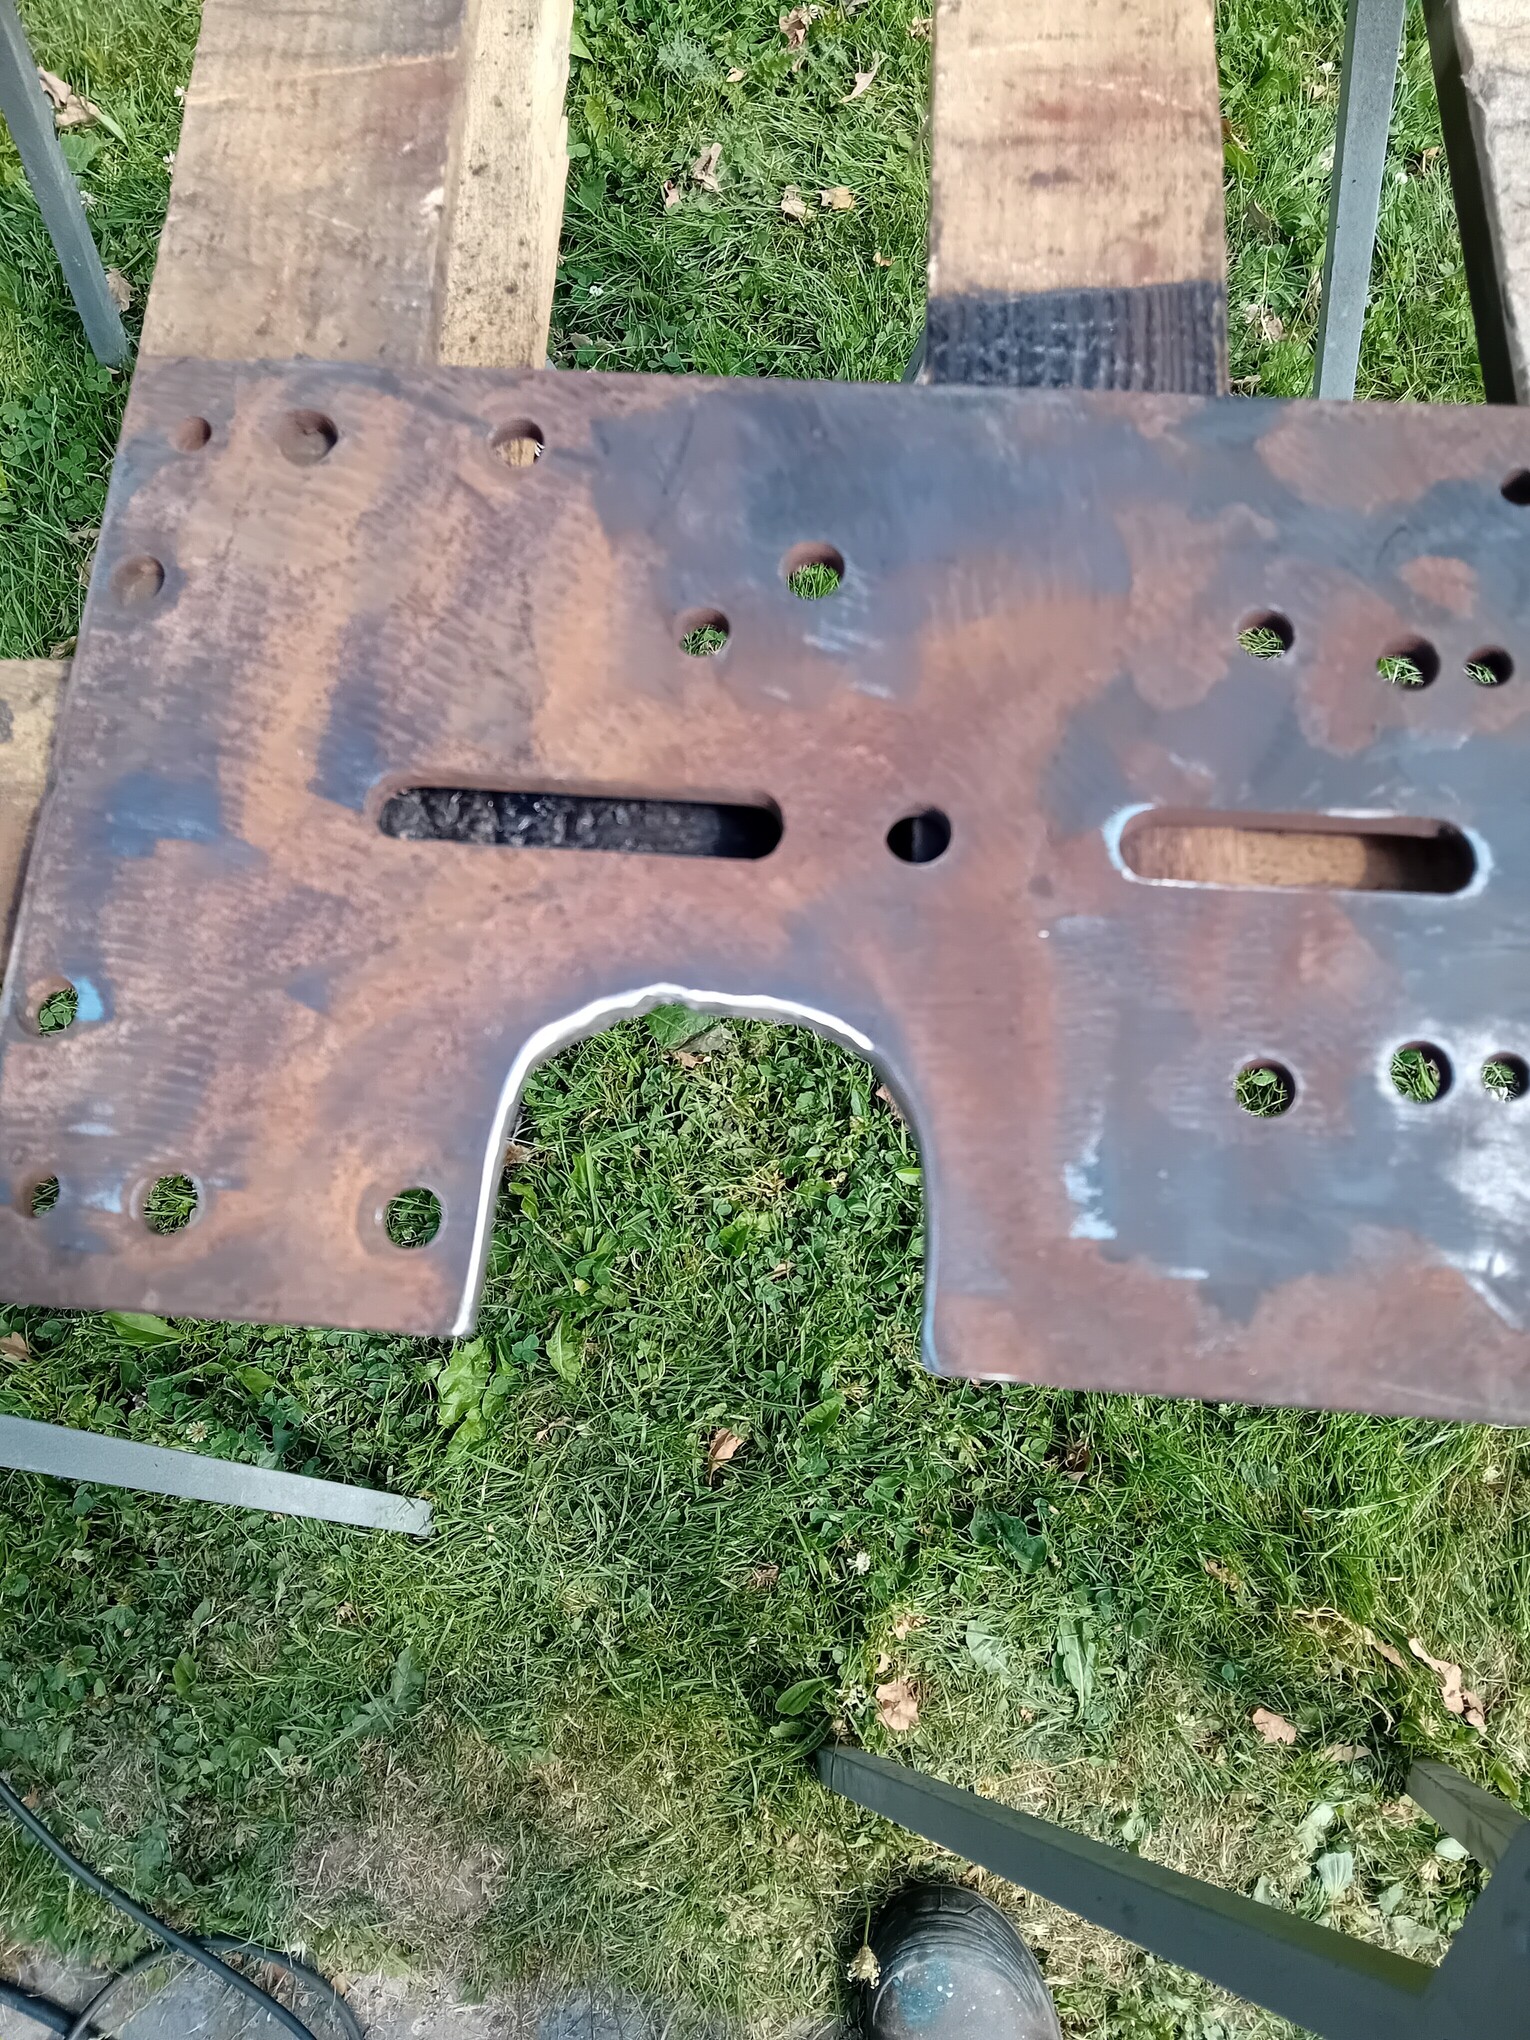
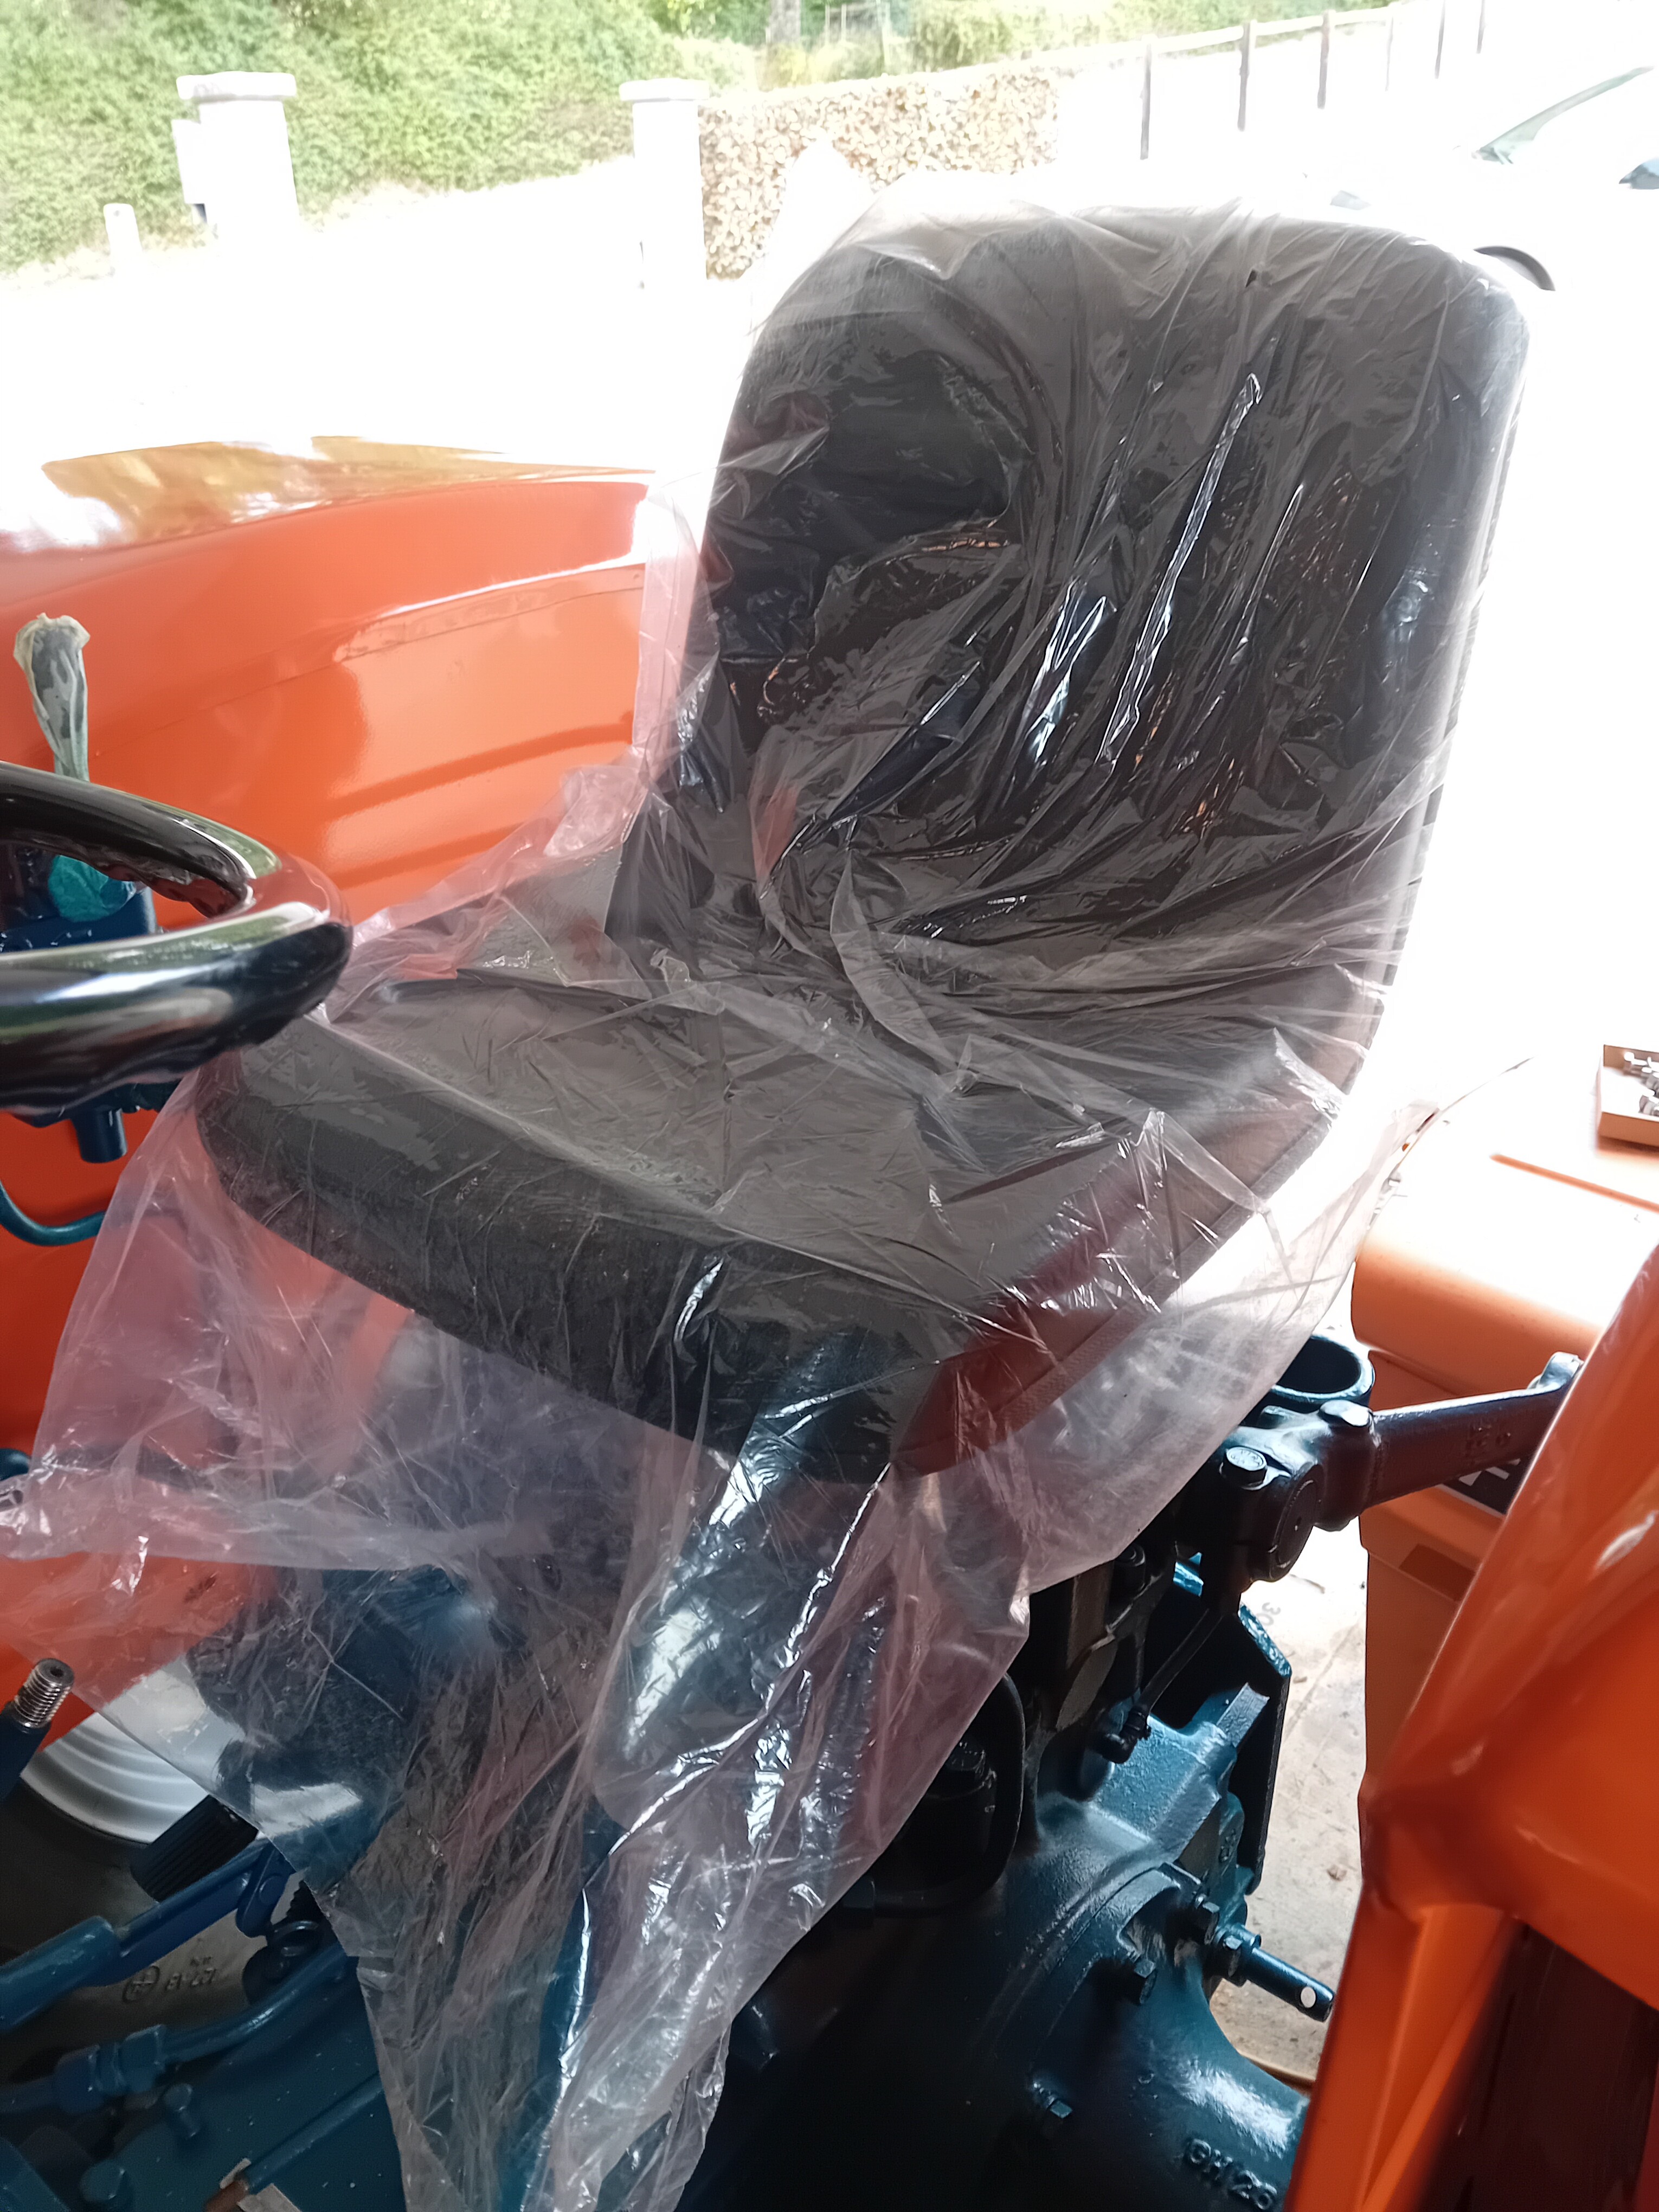
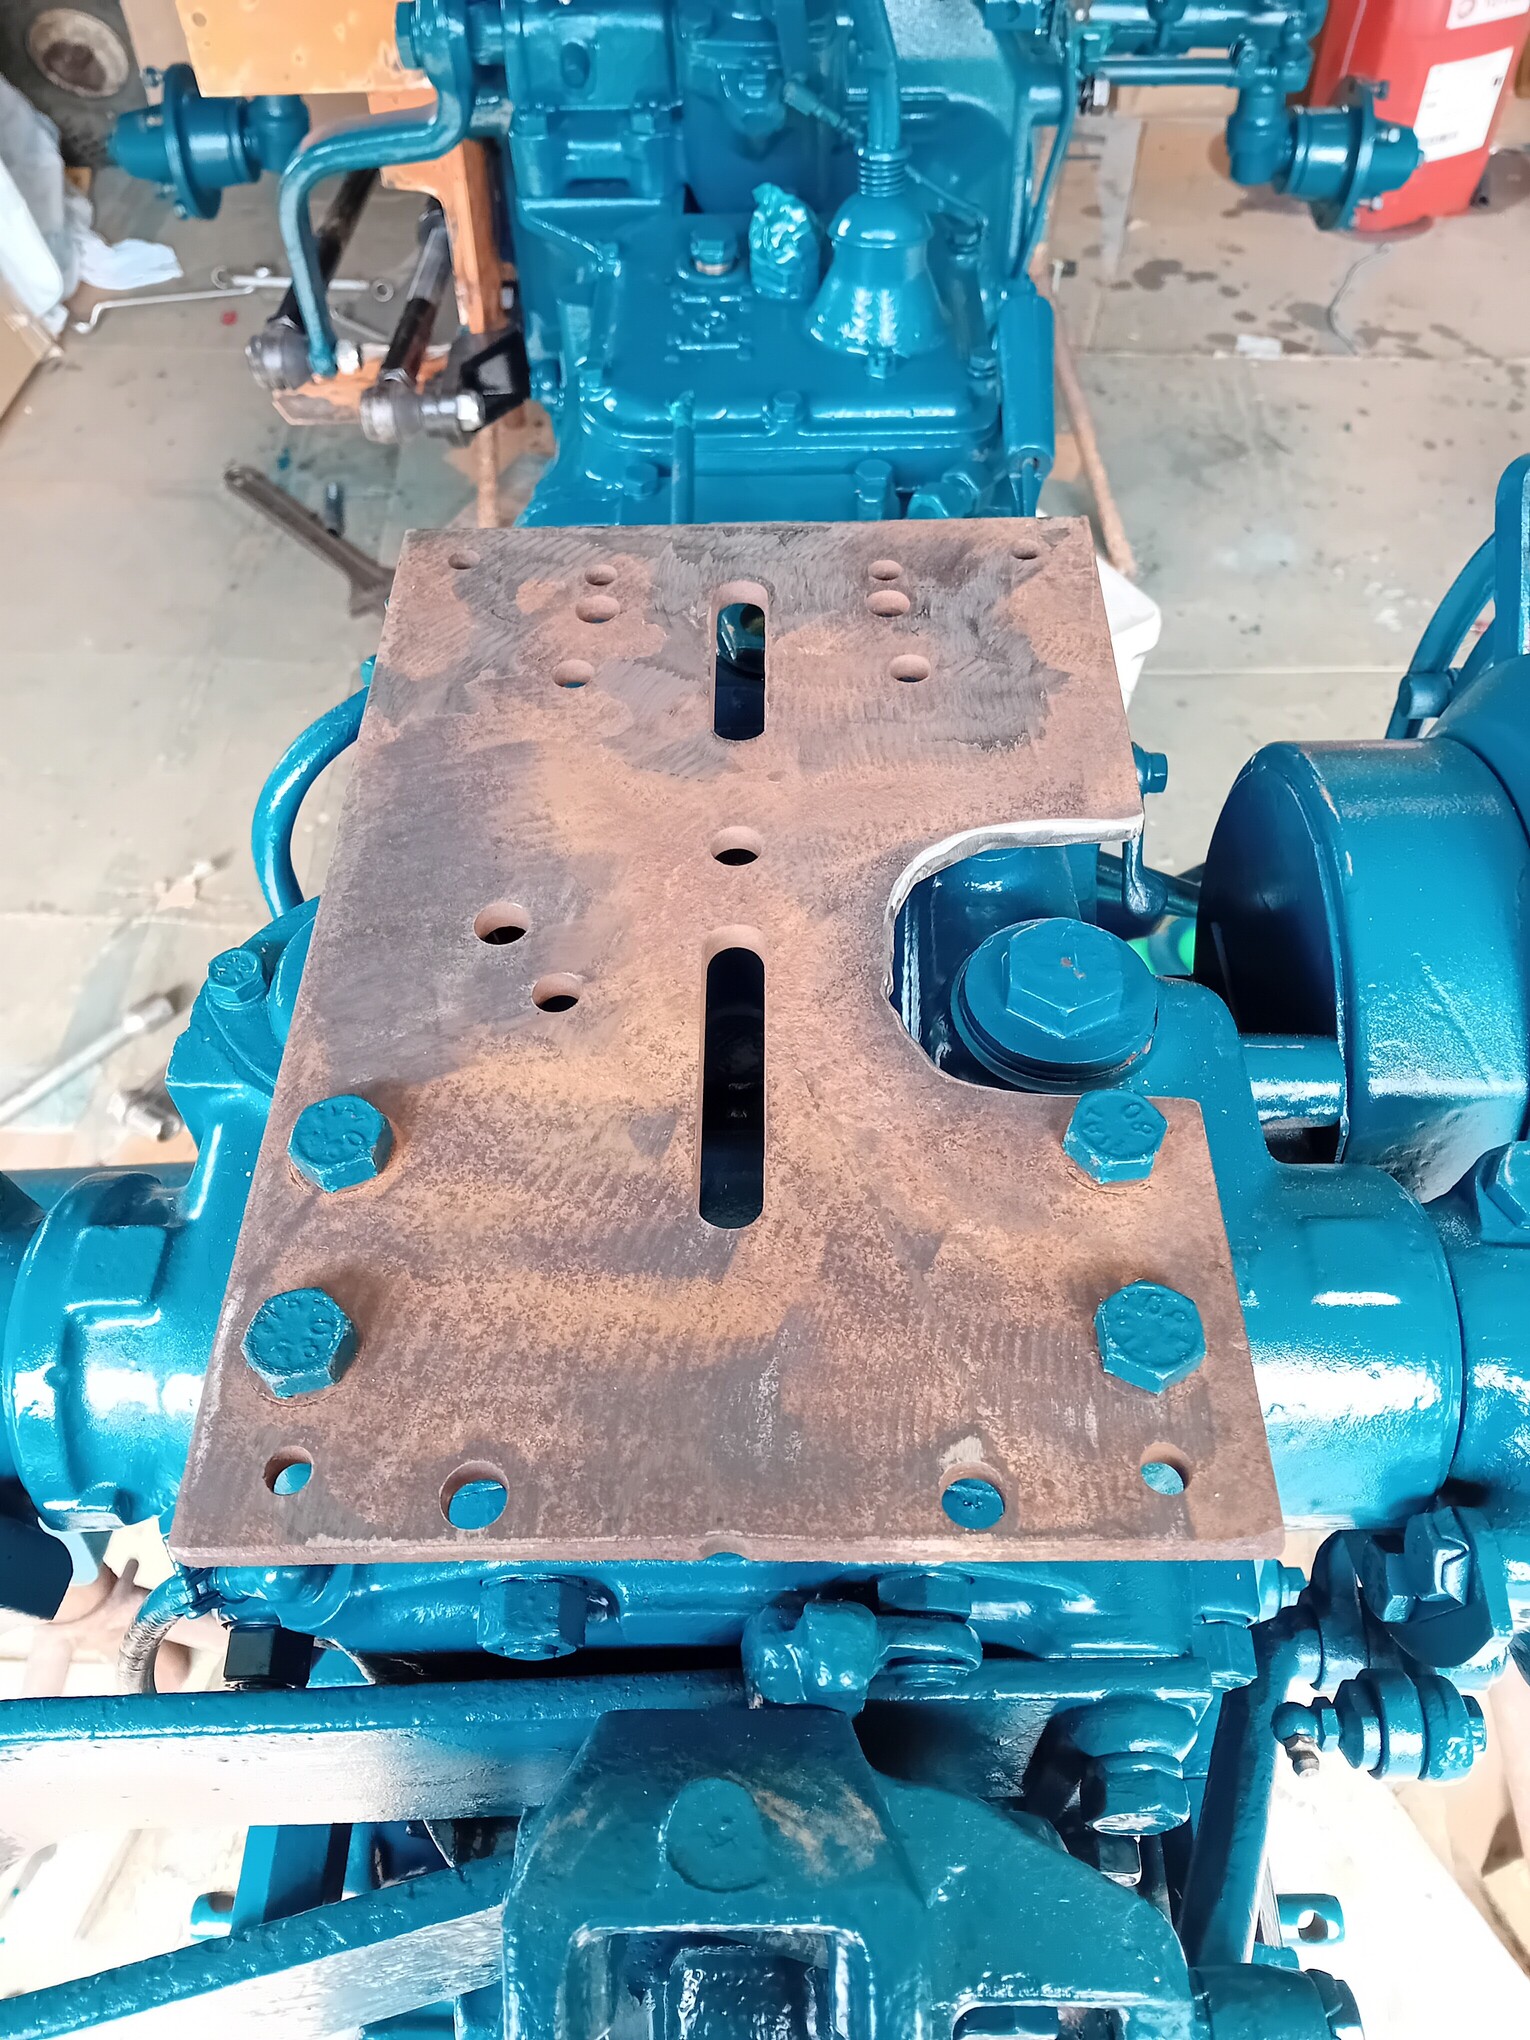
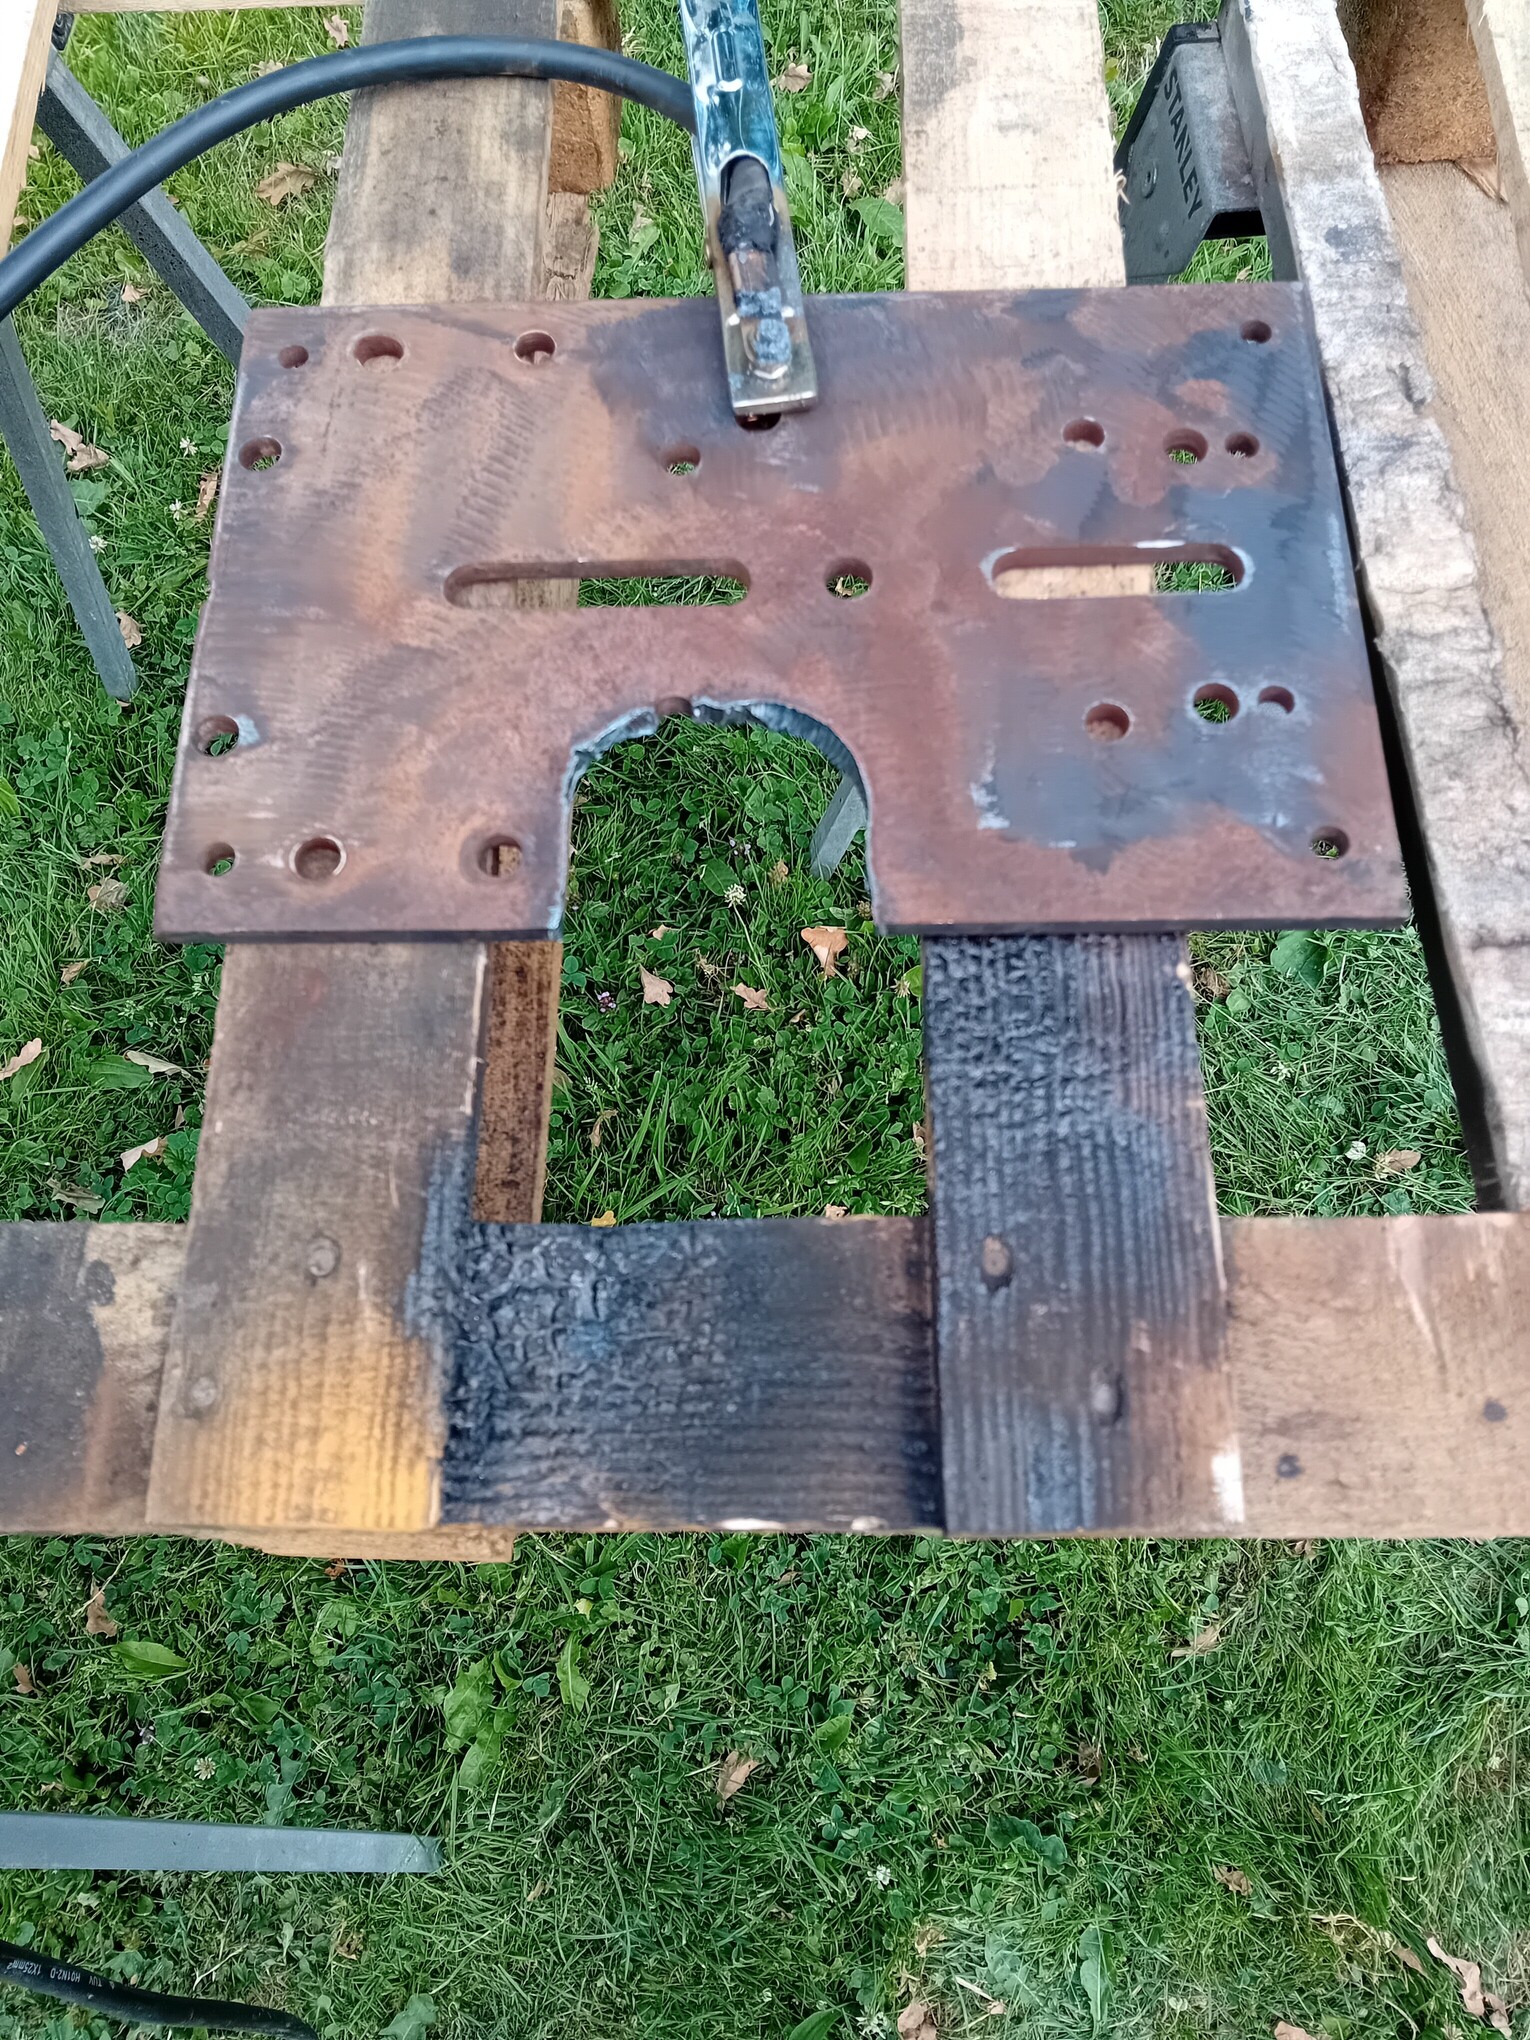
After moving all that clutter aside, I noticed that the fender was deeply rusted; there were holes in the structural framework. You can see the rust holes in the photos.
Great job David, and thorough too.
My guess is, when you are done with the restoration, that the retired previous owner would much appreciate a viewing of his old tractor all done up as you mentioned that it looked well taken care of
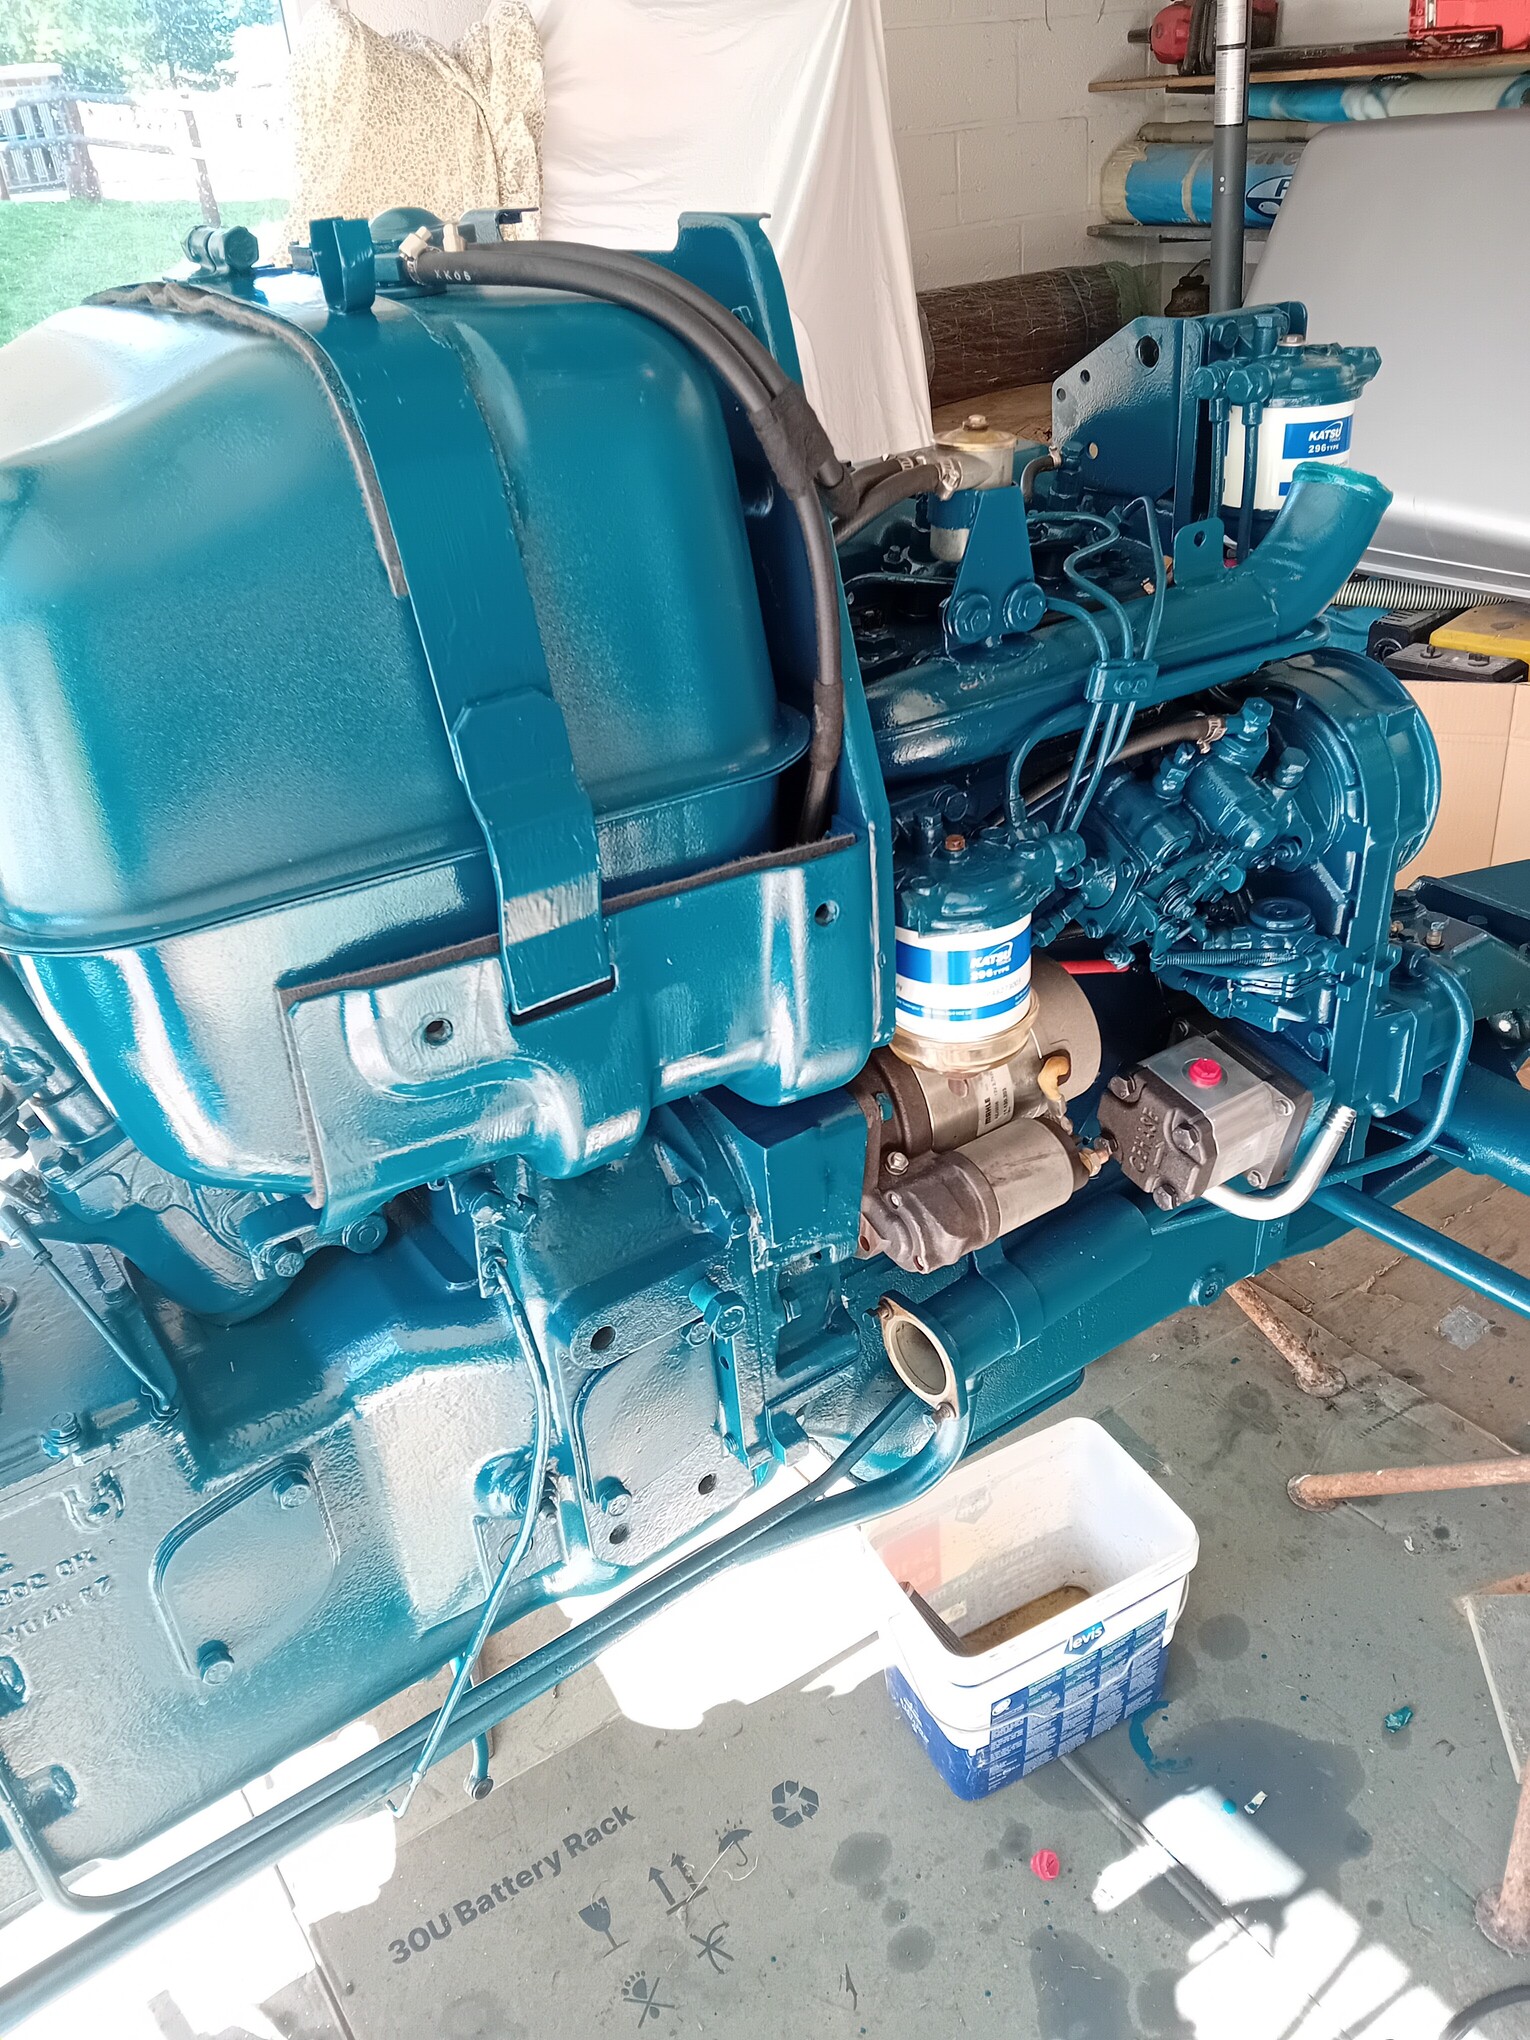
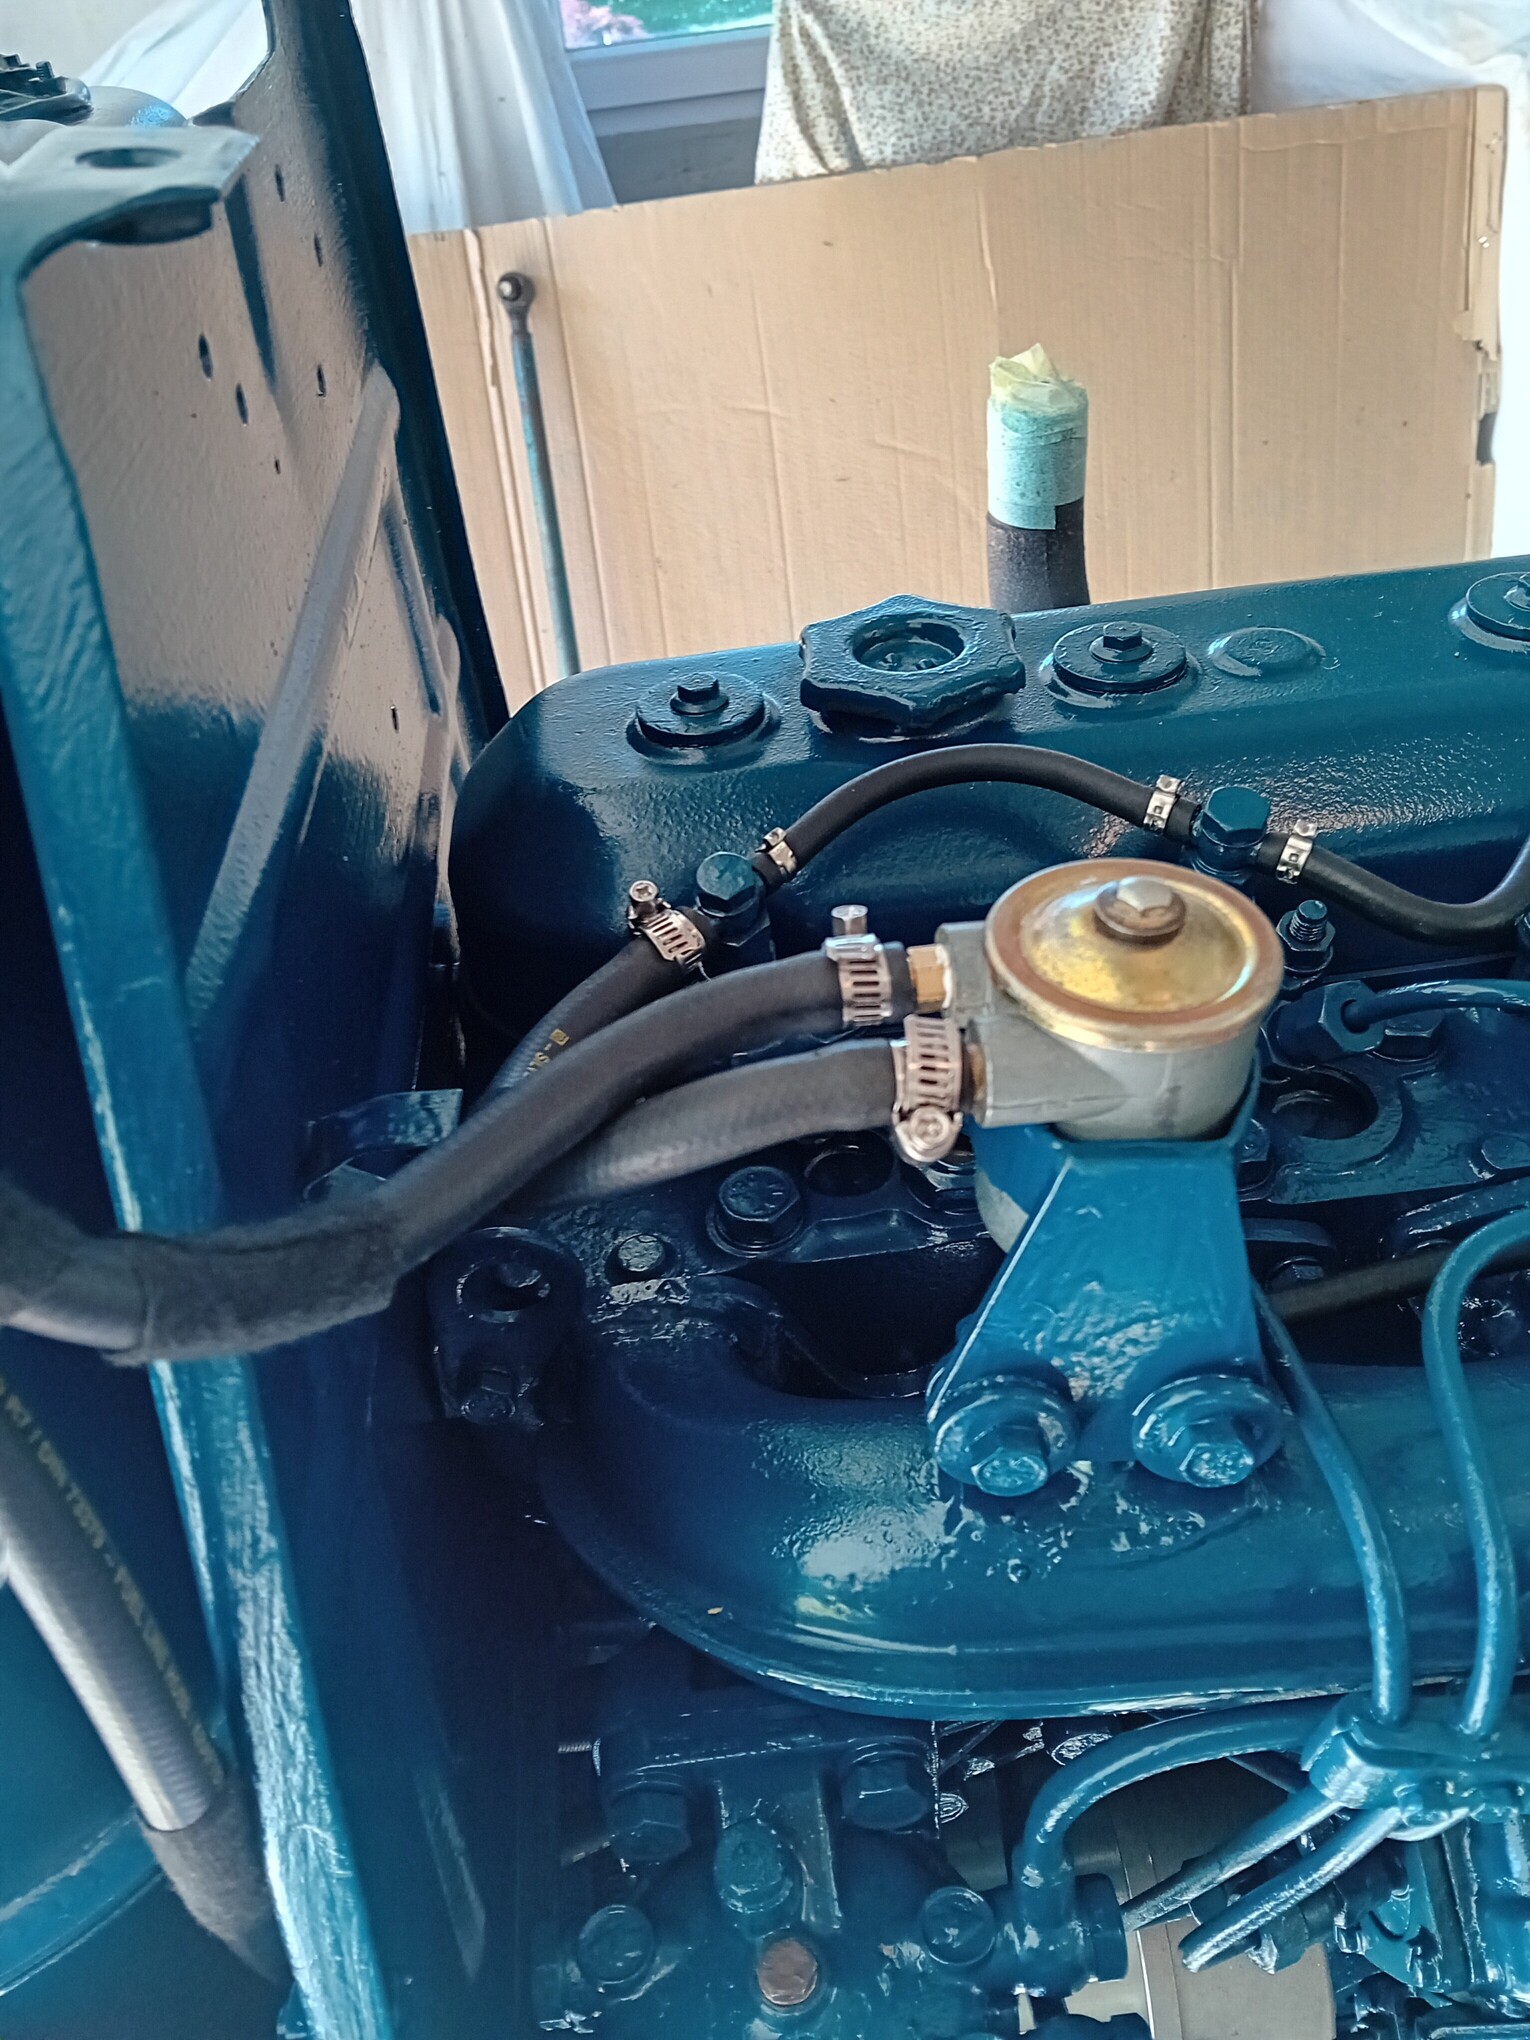
I also completely drained the cooling system and flushed it thoroughly with clean water (the old fluid was clean, but it was the type meant for modern engines, so I was right to drain it all and buy the correct product),replaced the hoses. I haven’t refilled the coolant yet because it hasn’t arrived, but it should be here soon.
One of the problems you will run into after an all apart equipment painting it that you have paint insulated all of the electrical ground contact points.
The big-one will be the starter mounting surface. Ahead of time learned experiences was to grease dab all of the grounding points. Then after paint dry just wipe them clean. Or cut tape squares; taped them. Now you will have to wire wheel buff them clean. You can then spray them with cold galvanizing zinc spray. It is conductive.
The tricky one will be devices that mounting self ground. And all of the various single grounding wires points. Best at reassembly look-think; paint clean and protect; versus later chasing electrical functioning gremlins that you bred.
Thanks for the heads-up; I actually repainted using a polyurethane paint that provides excellent insulation.
I did consider that, though: in addition to the standard chassis ground, I ran a dedicated ground wire from the dashboard directly to the battery, where I’m tying in the ground connections from every device.
Except for the starter and alternator, which require higher current, I masked off the contact areas with tape.
I took a short break from painting to make some electrical modifications: I replaced all the wiring conduits, swapped out damaged wires, and so on.
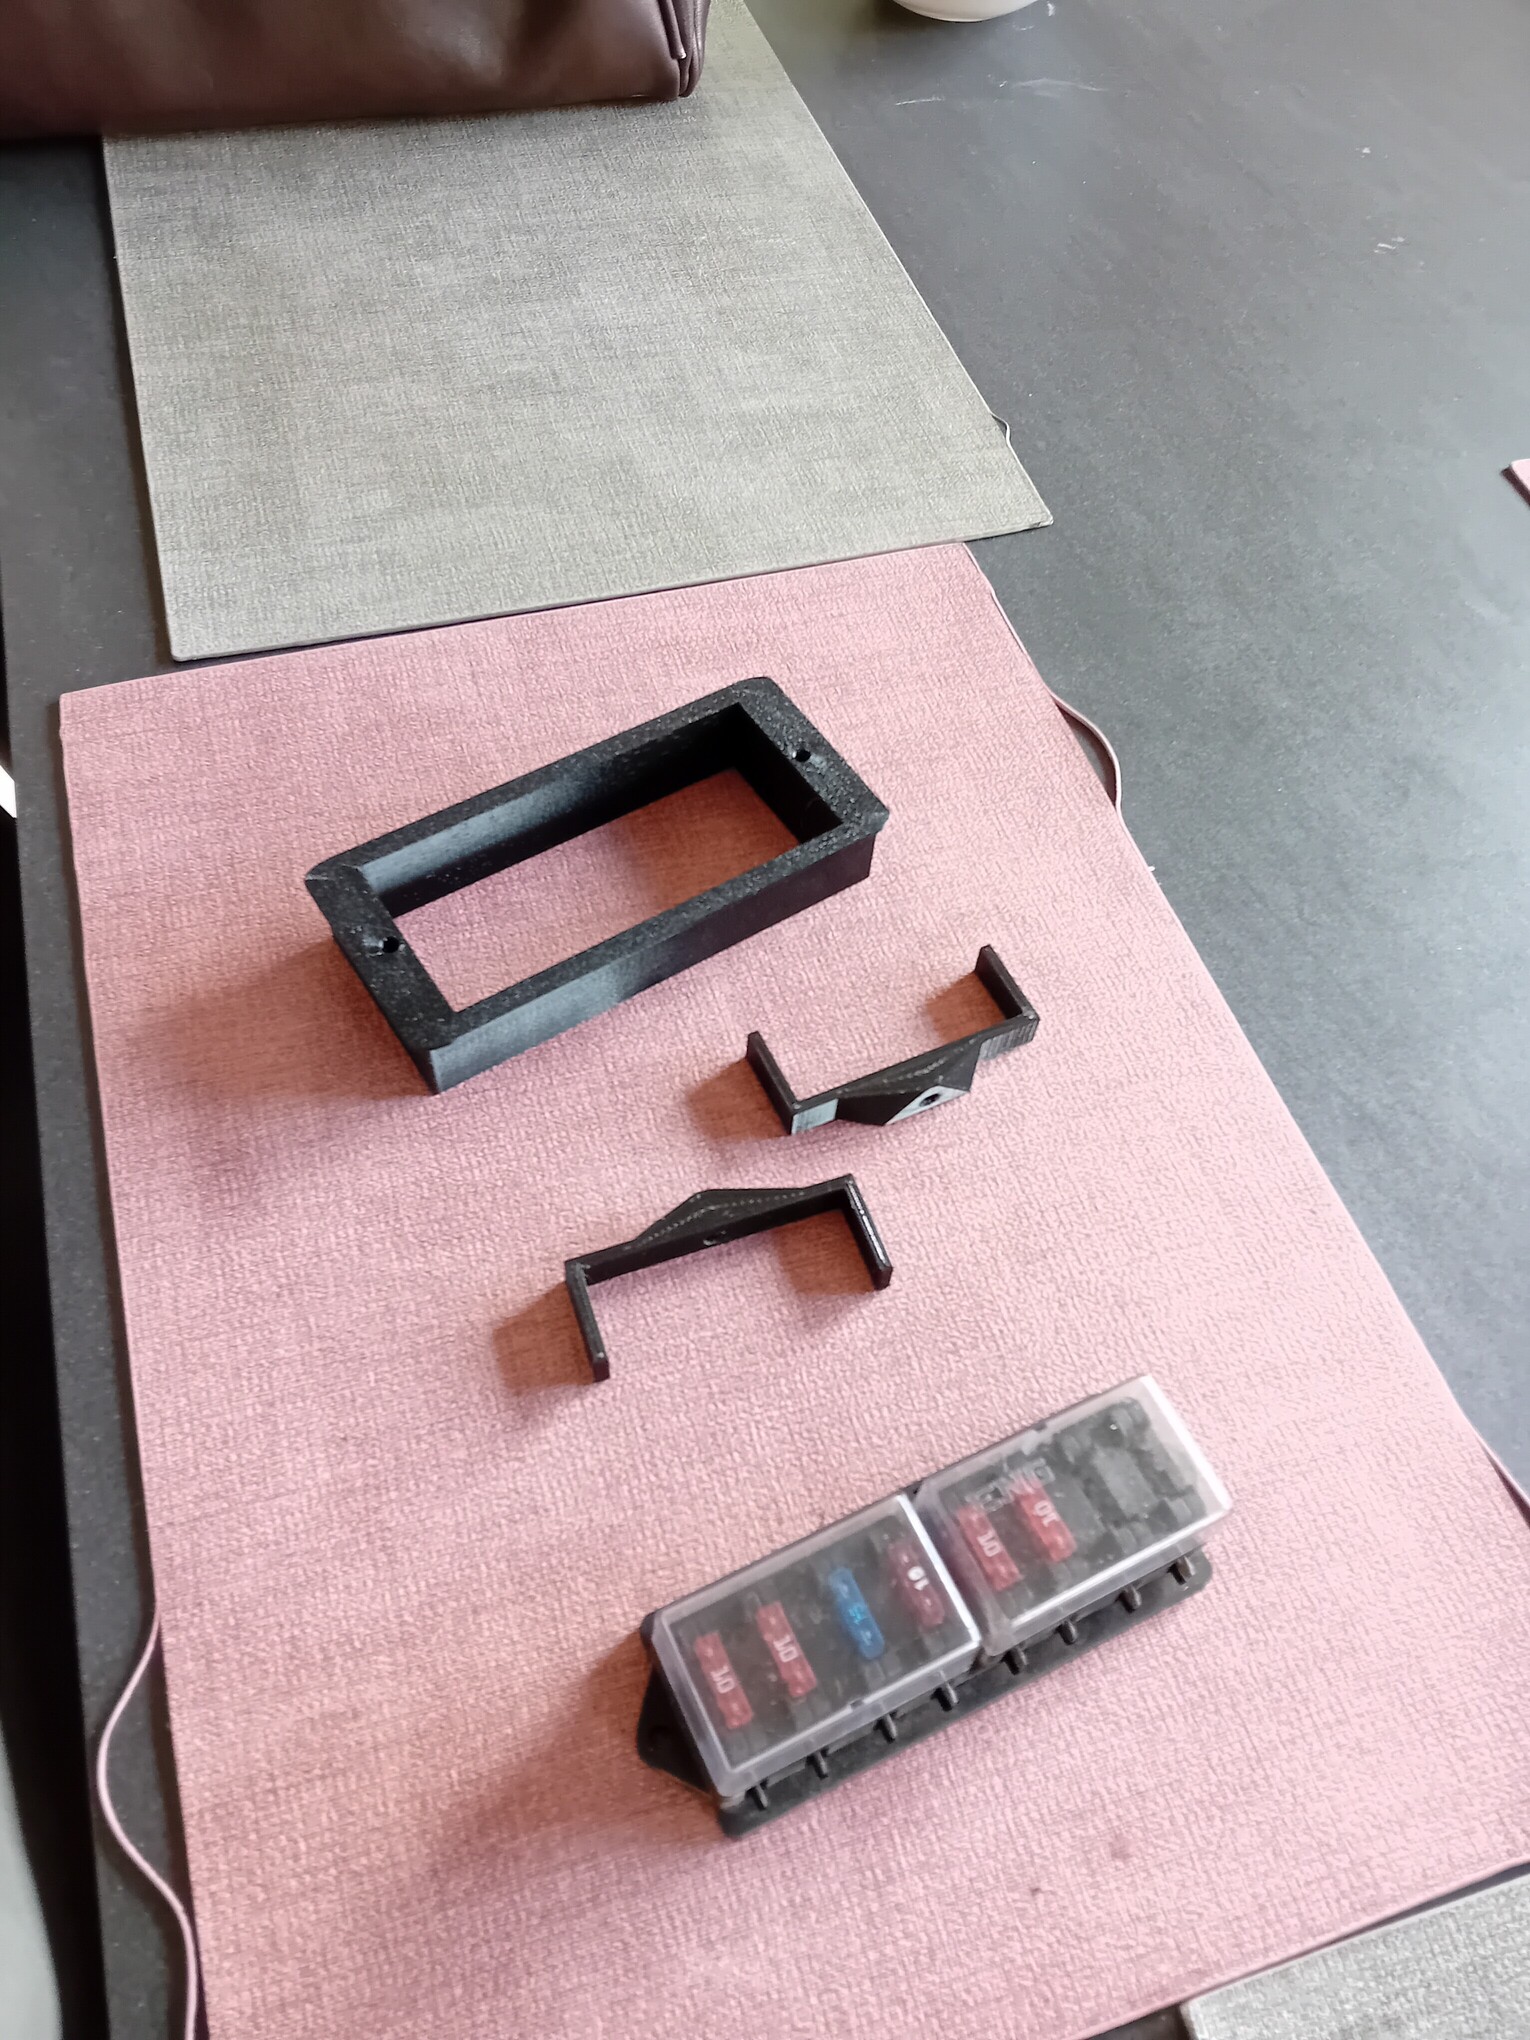
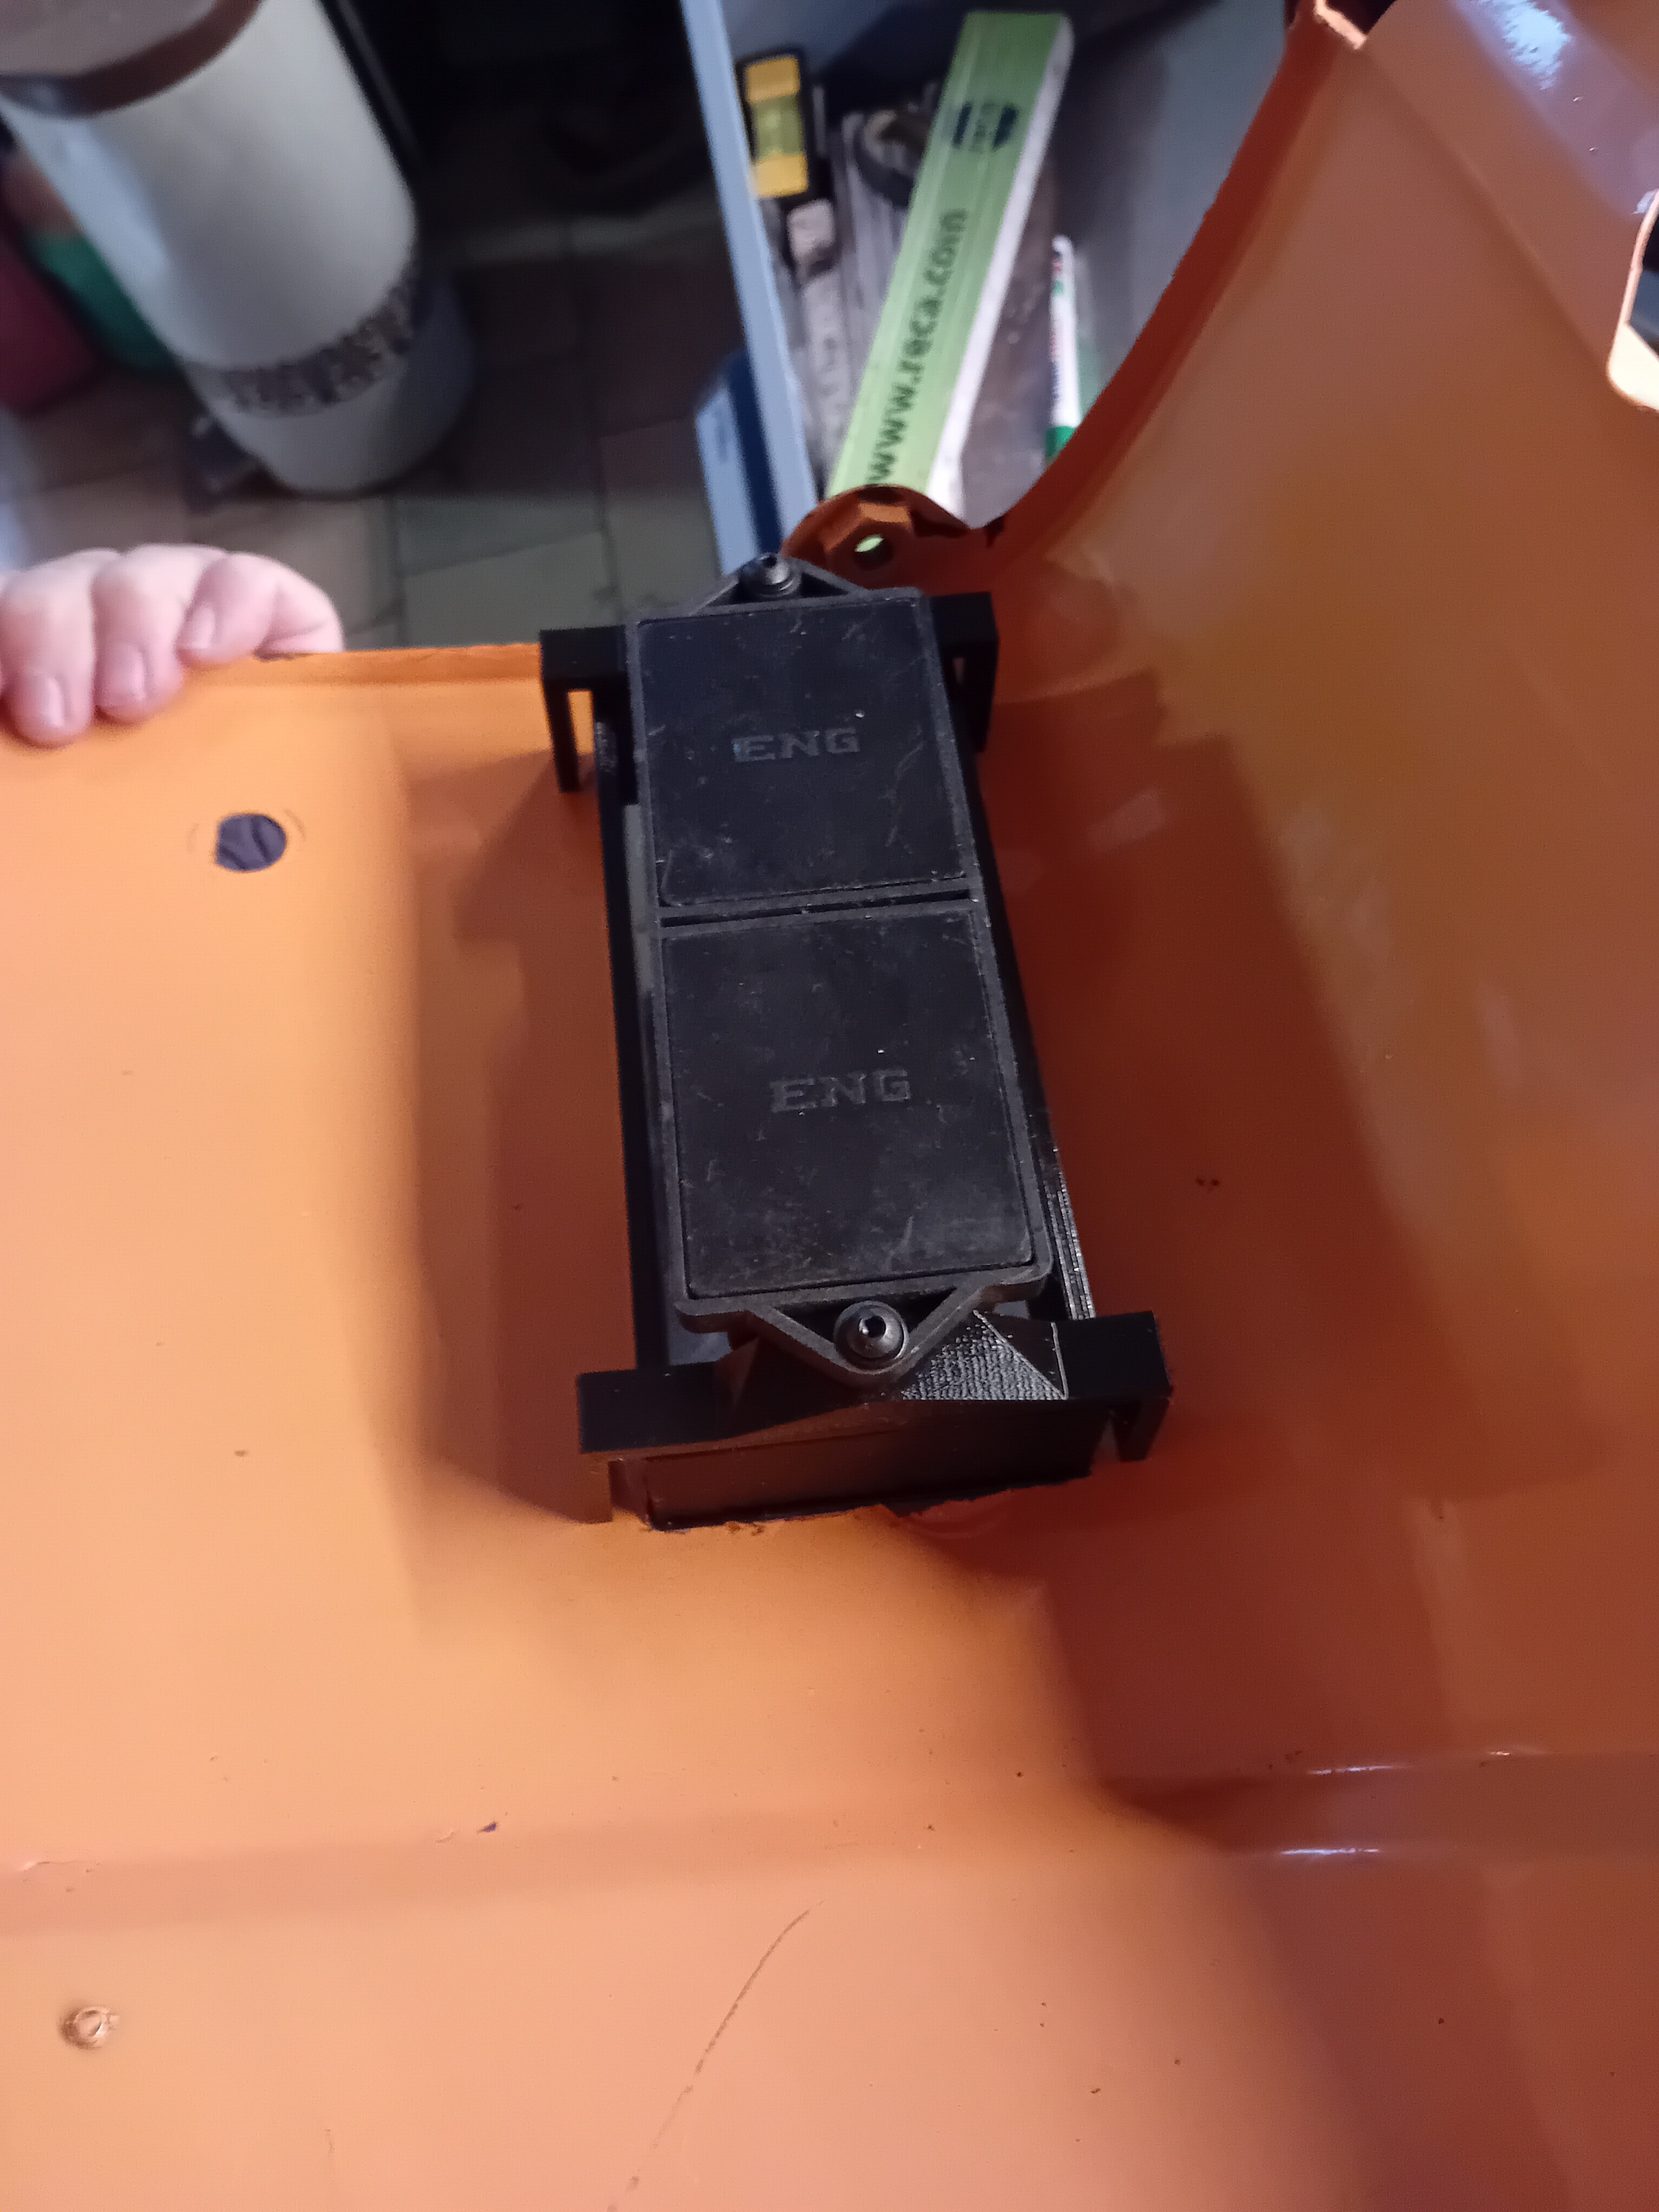
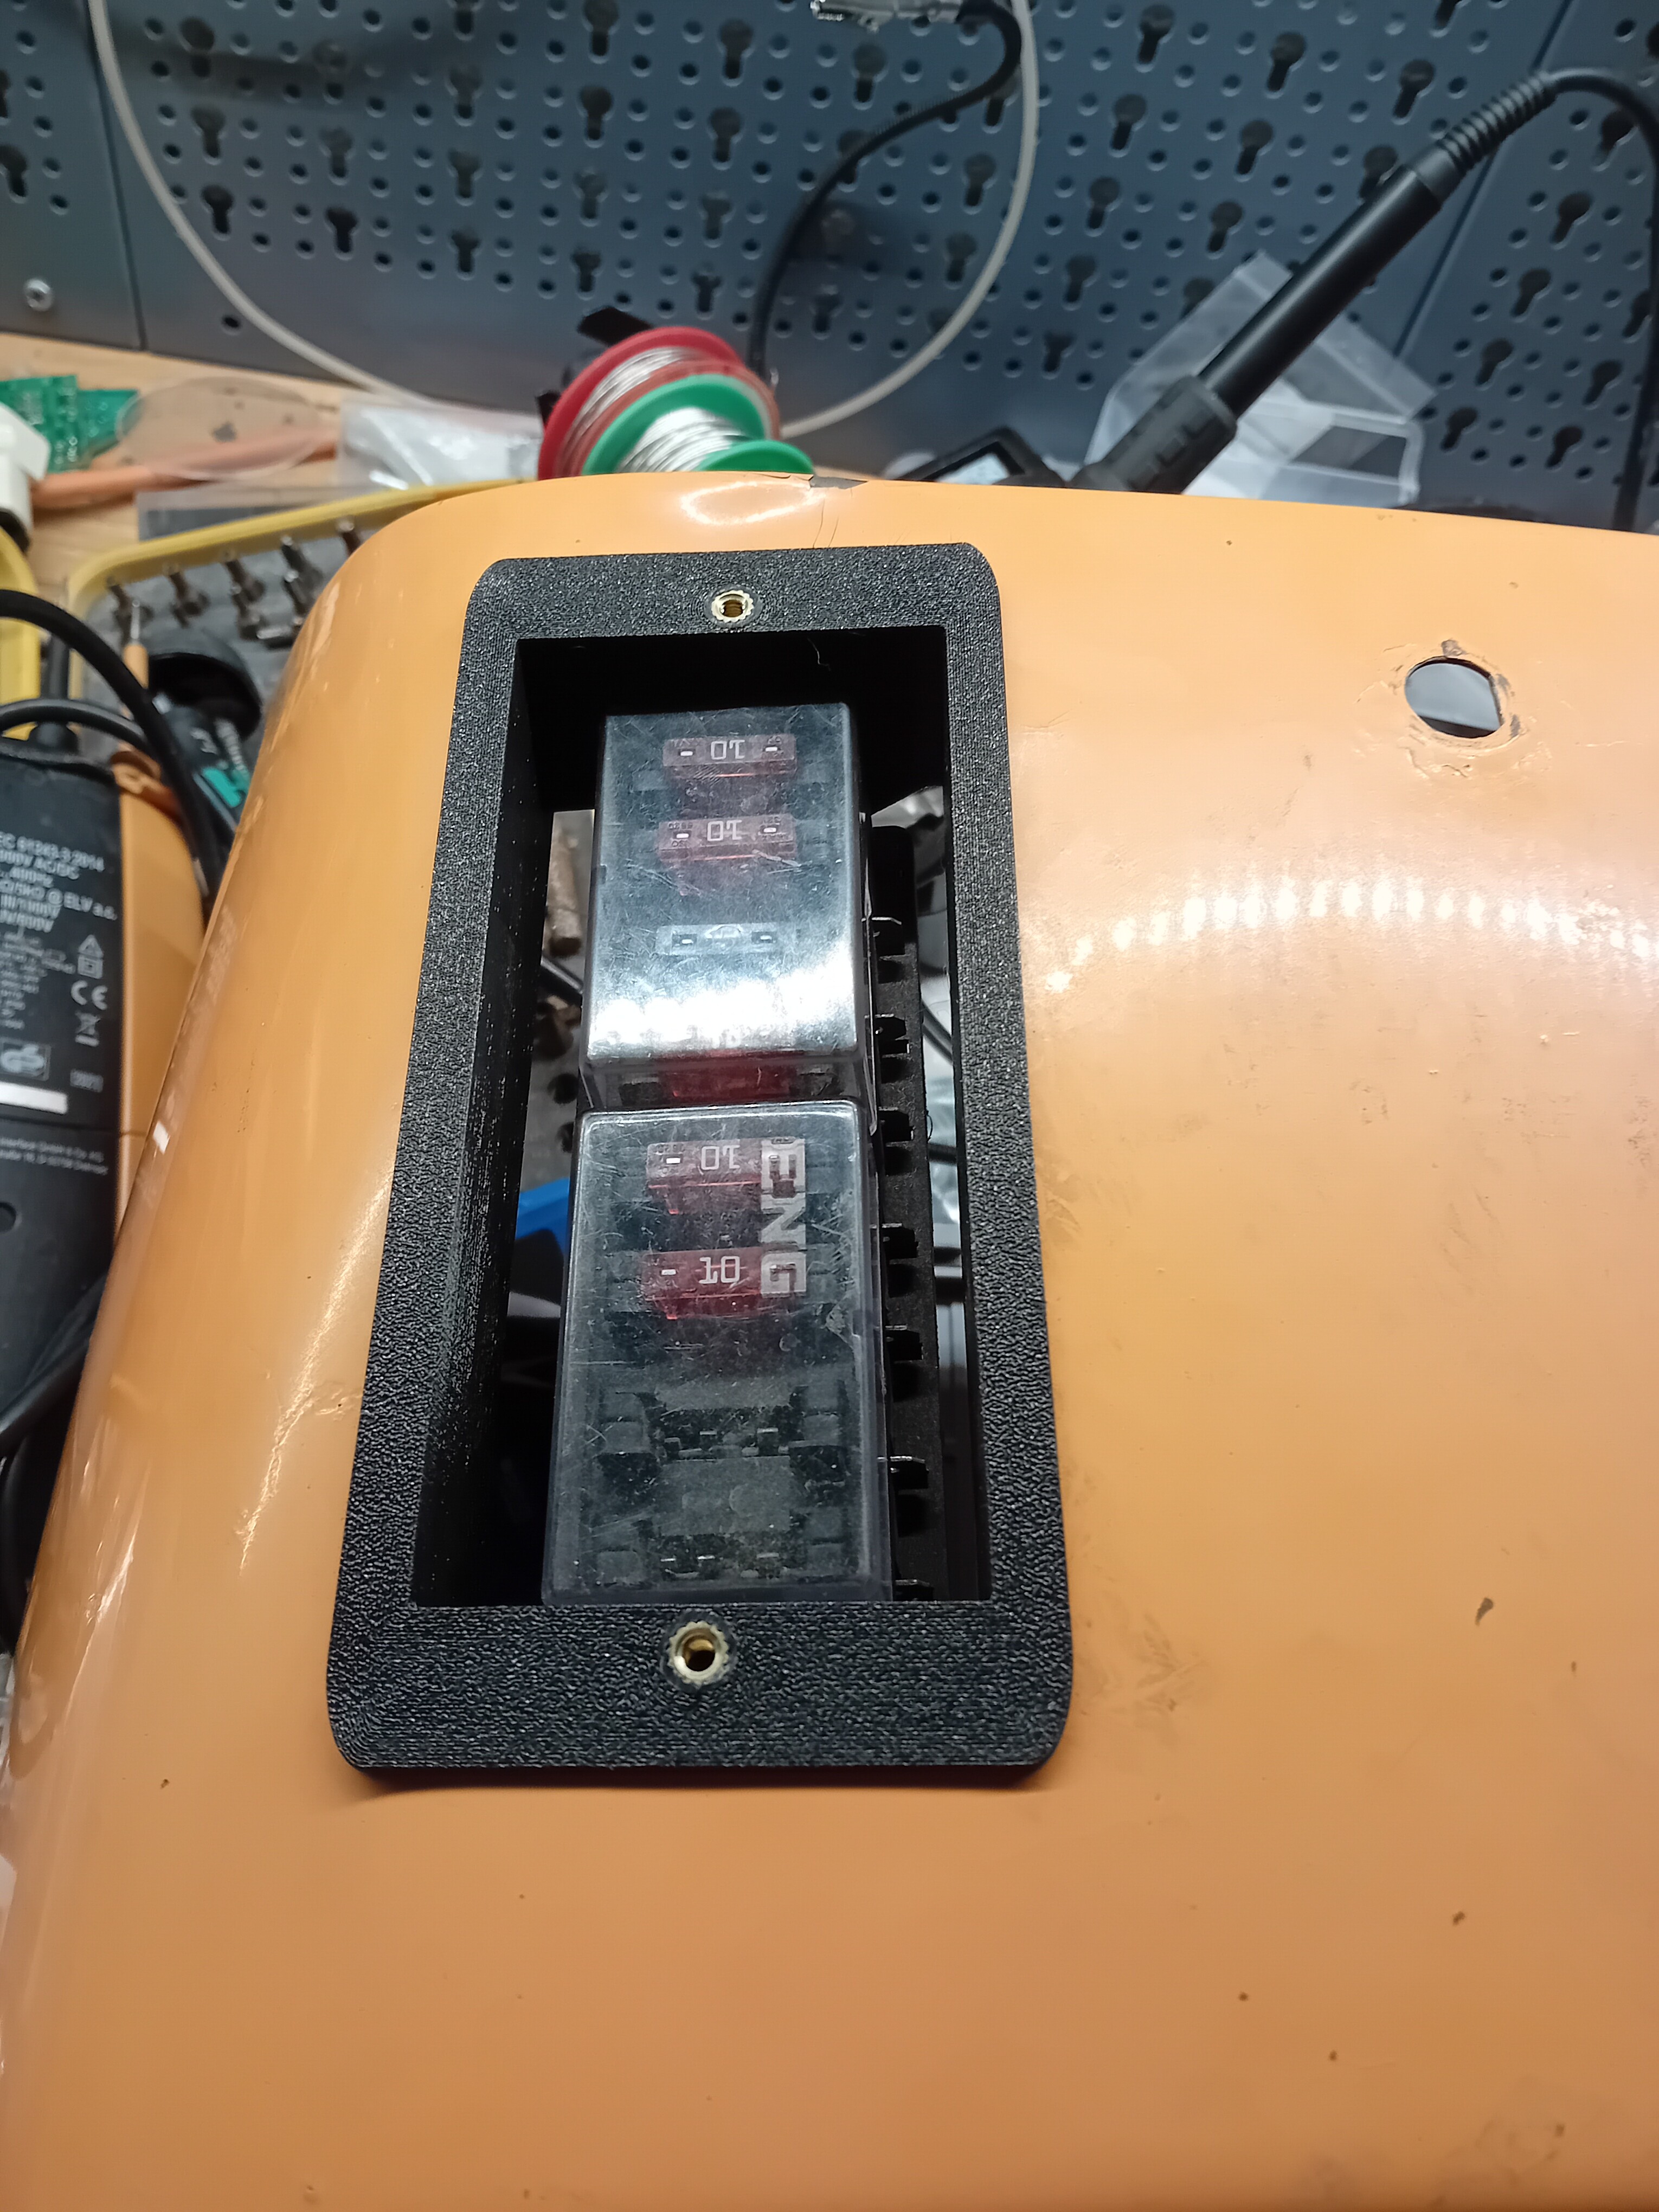
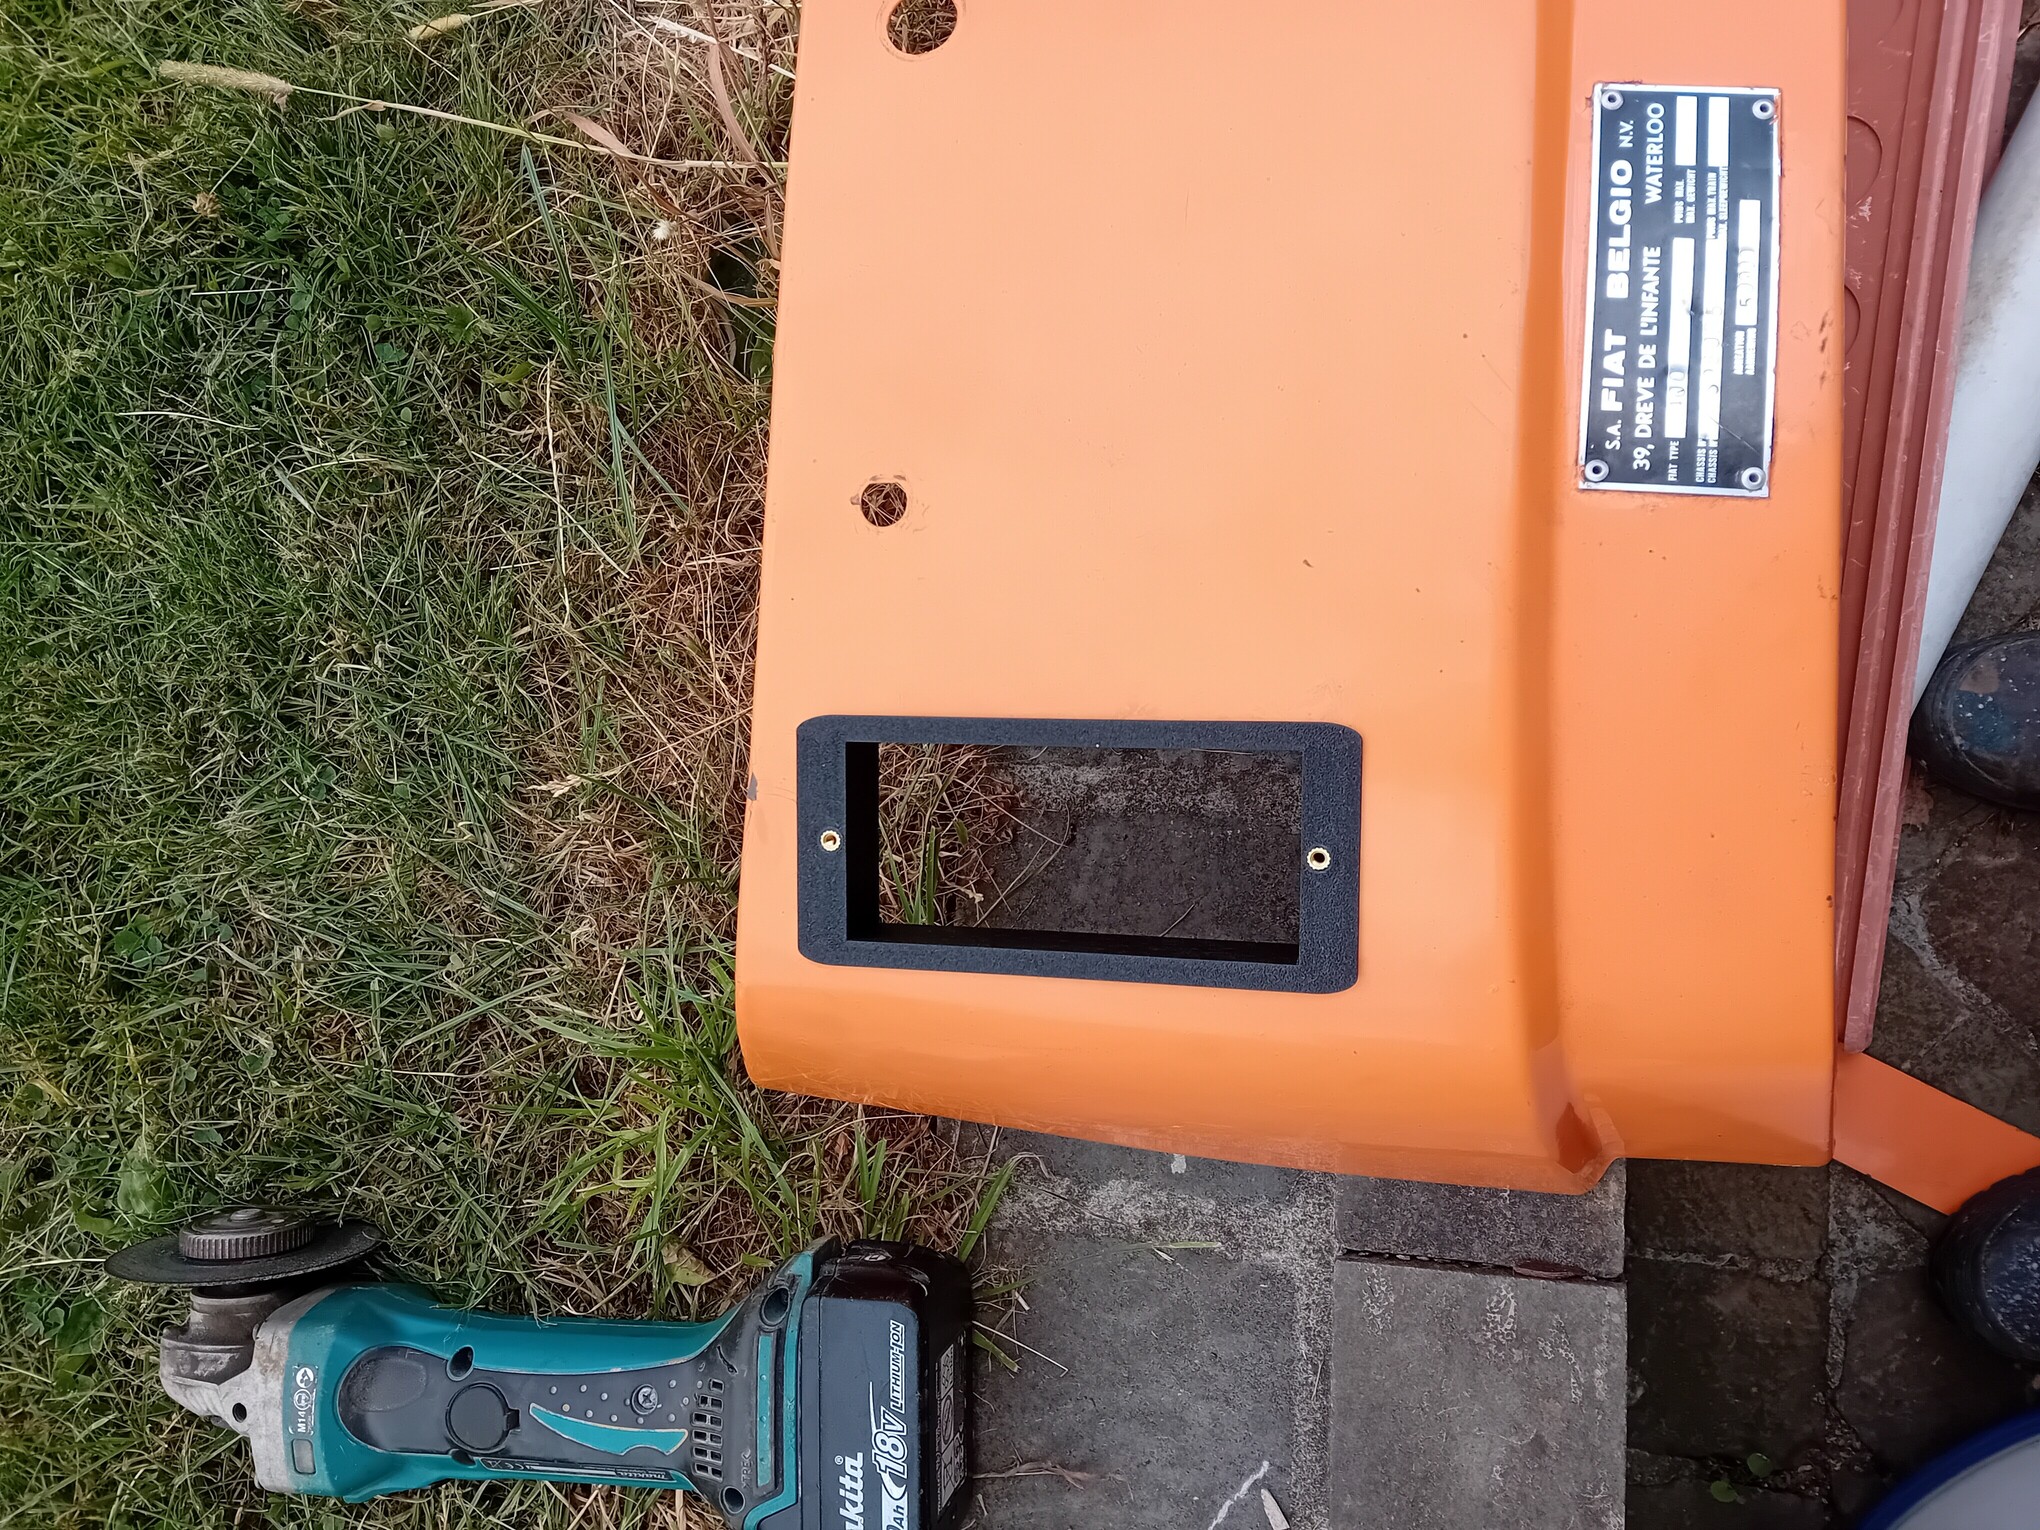
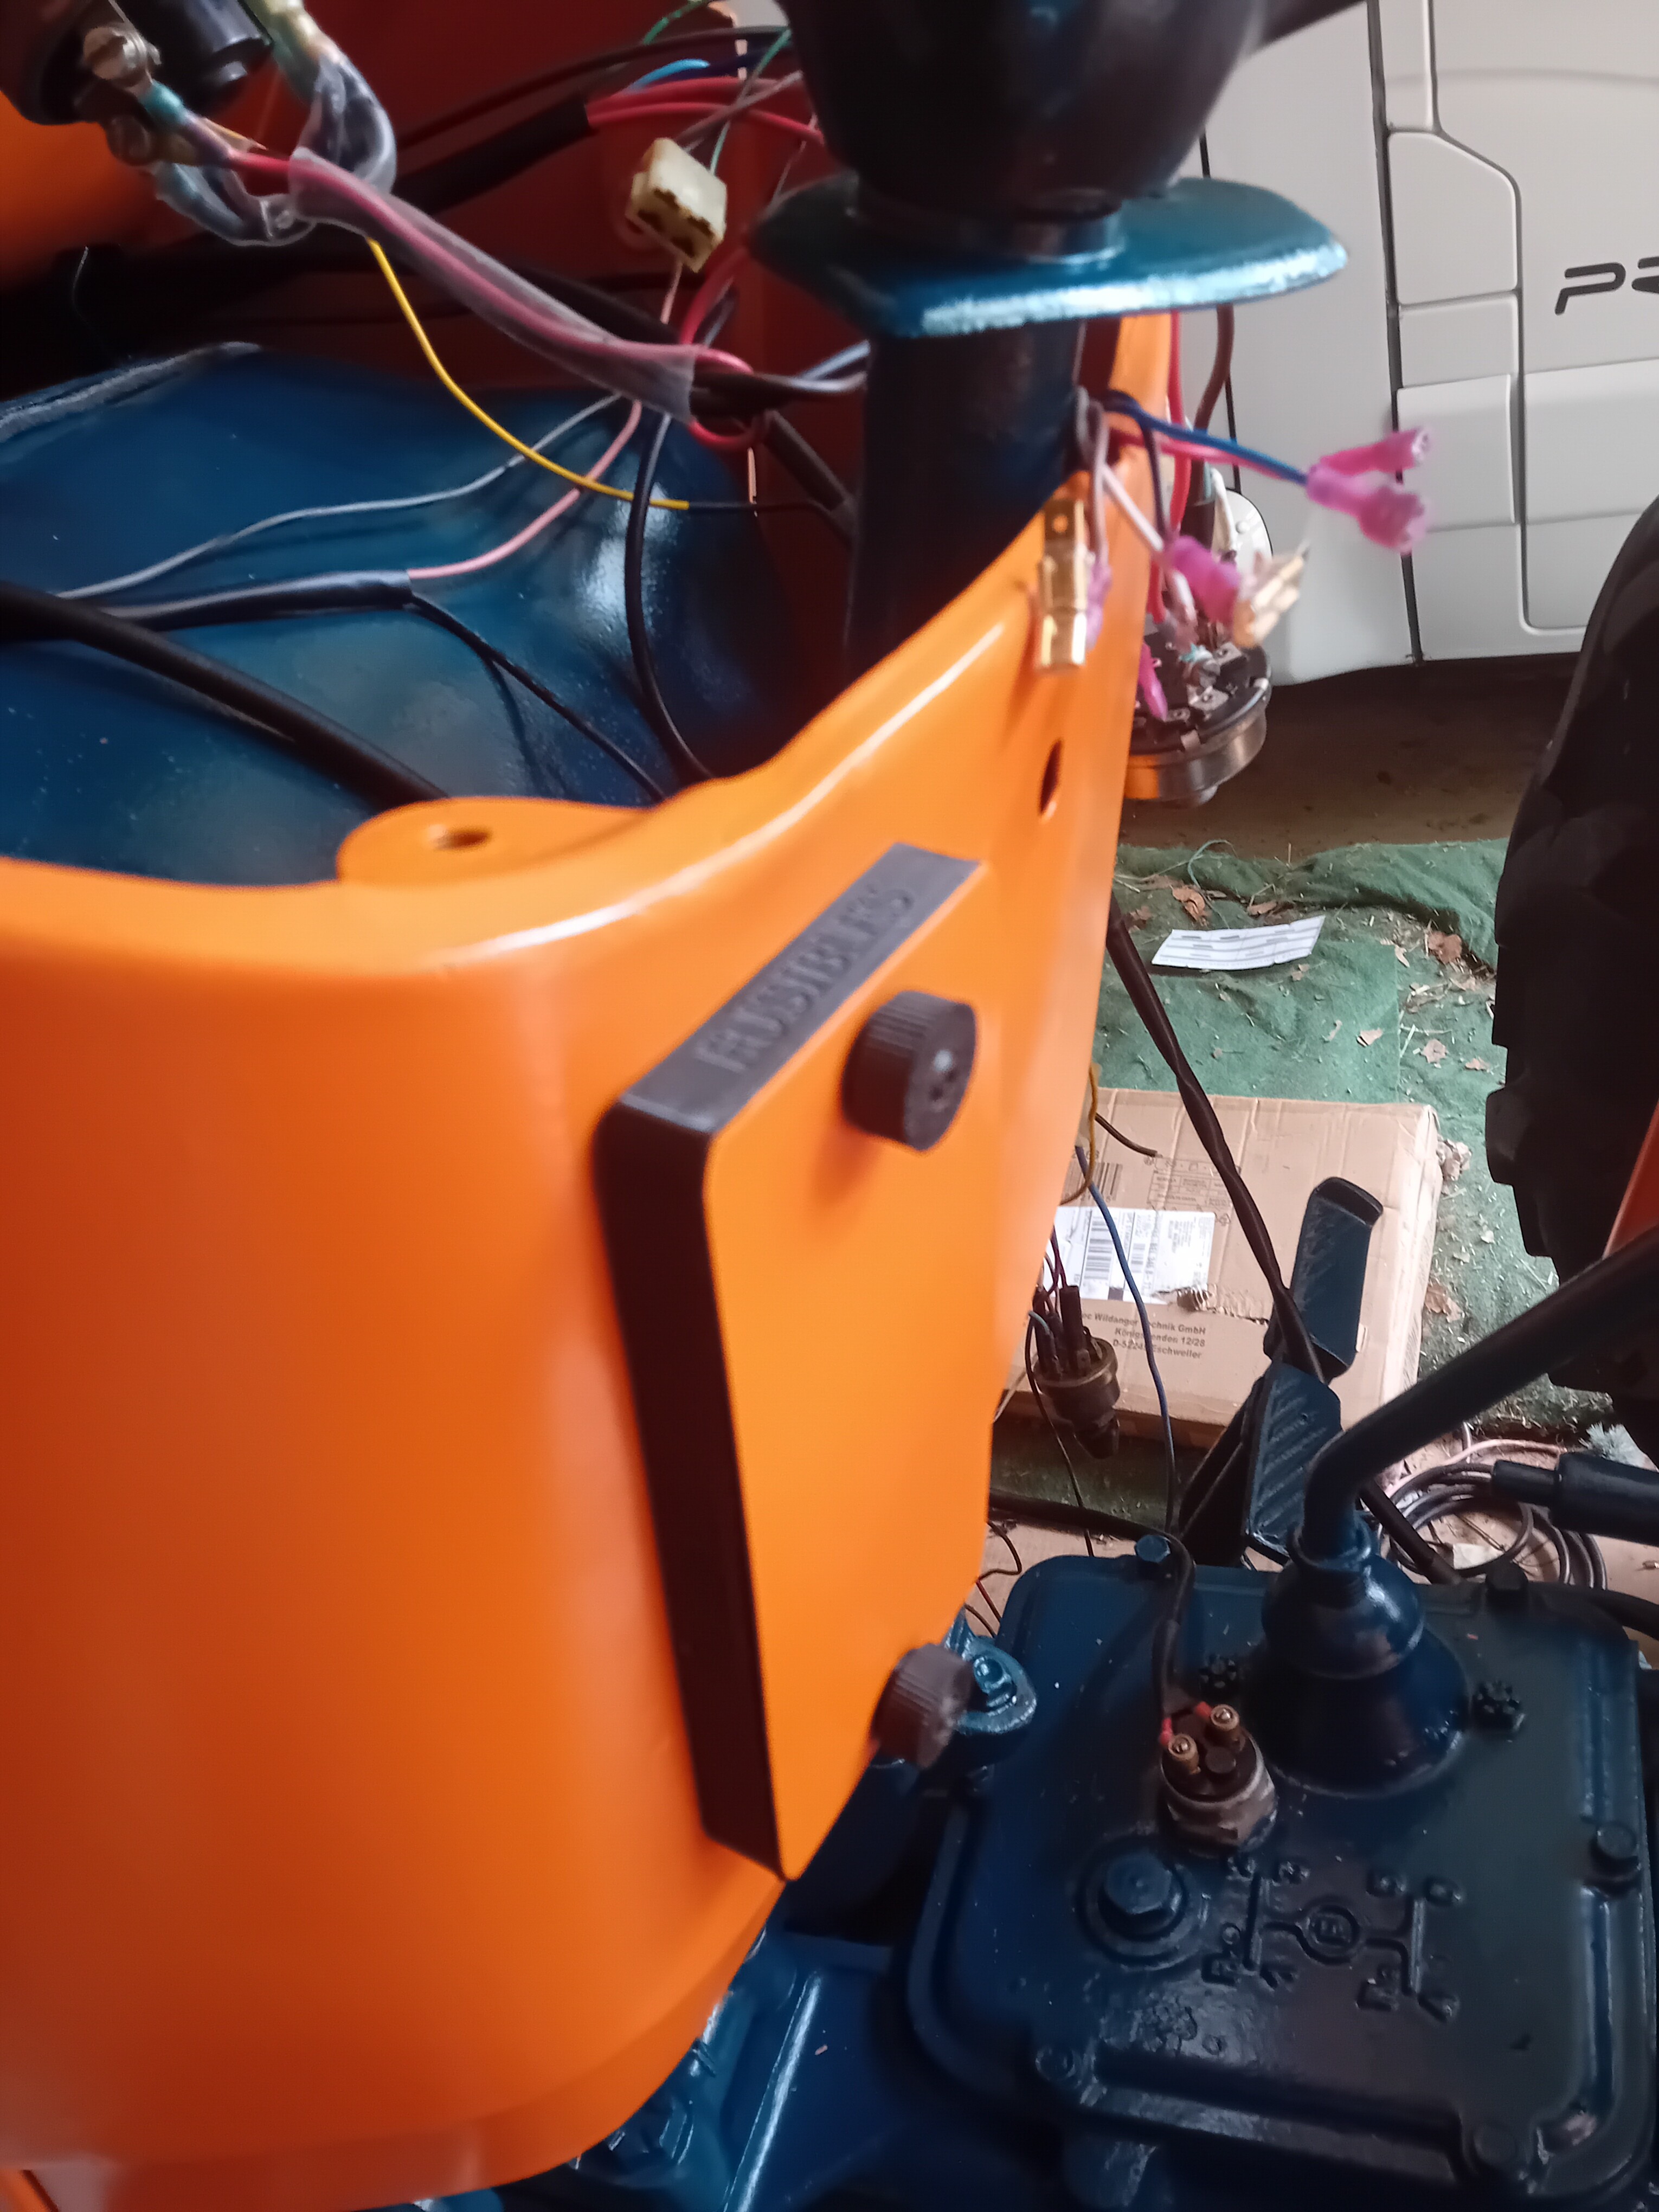
The most essential modification, in my view, was relocating the fuses from above the engine to the dashboard.
That original location had two drawbacks: the heat and the unnecessary back-and-forth routing of wires.
So, I tidied up, sheathed, and secured the entire front wiring harness leading to the dashboard (I found it convenient to use small spade connectors for the headlight connections).
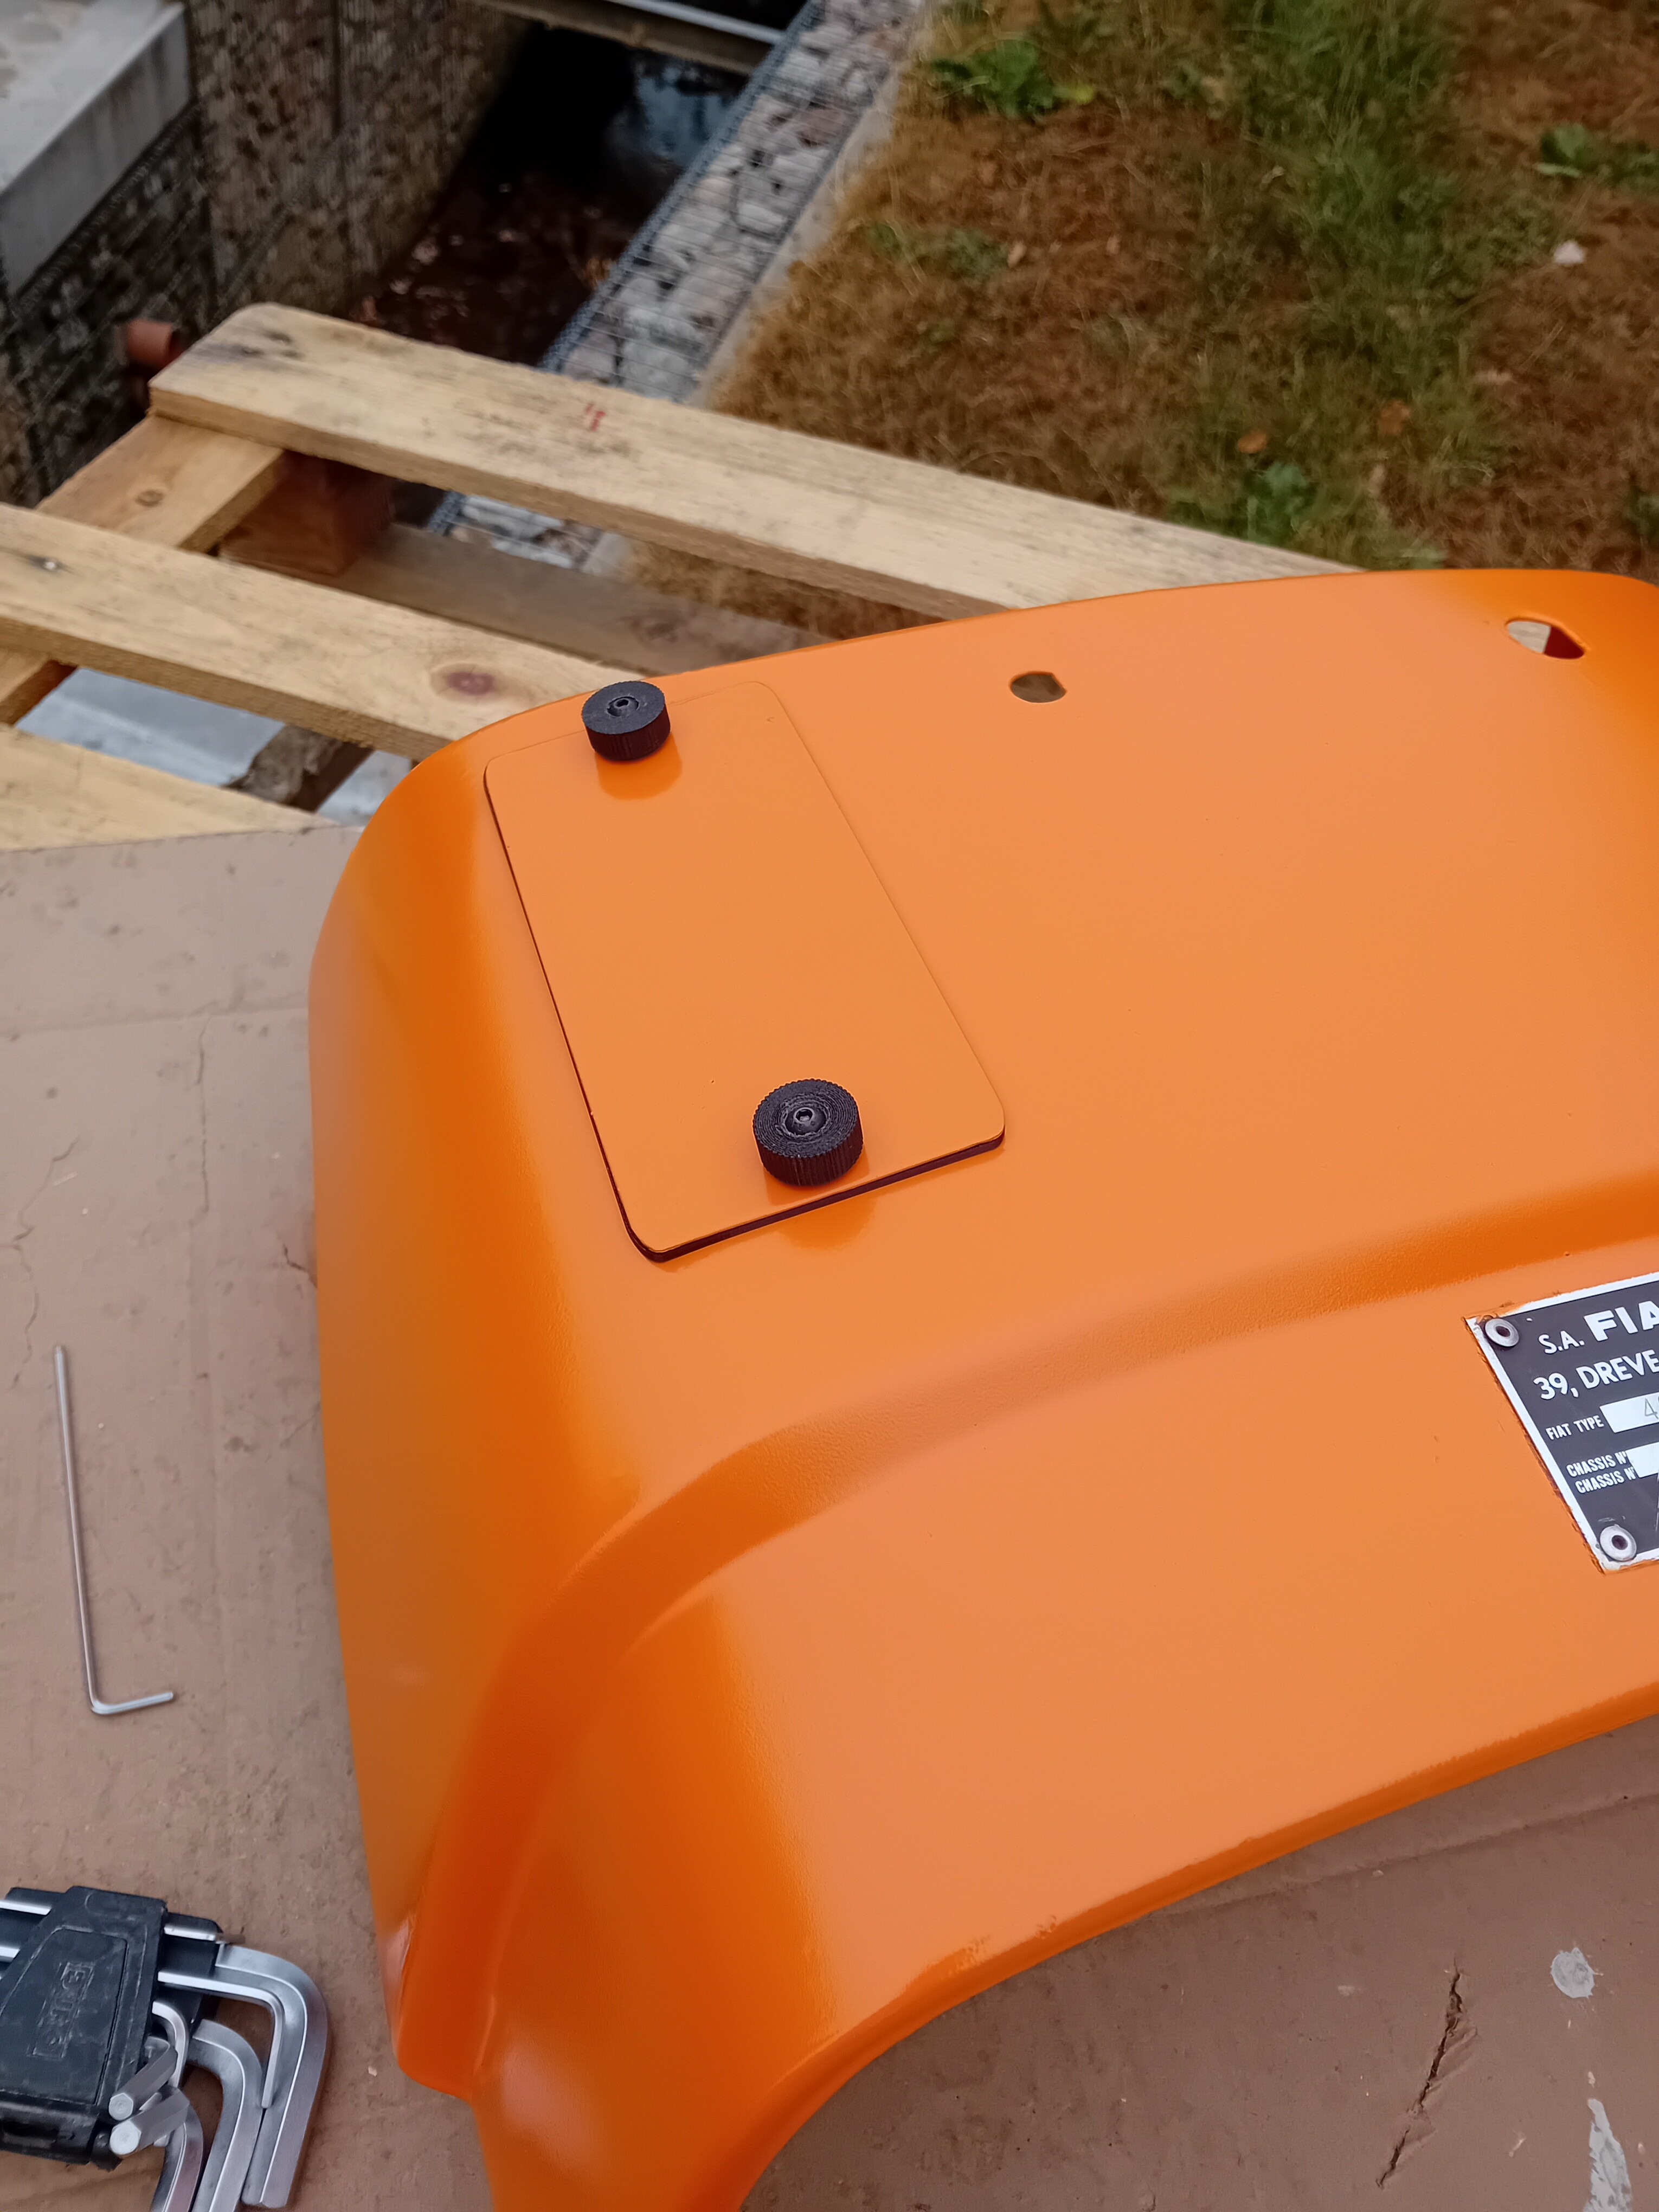
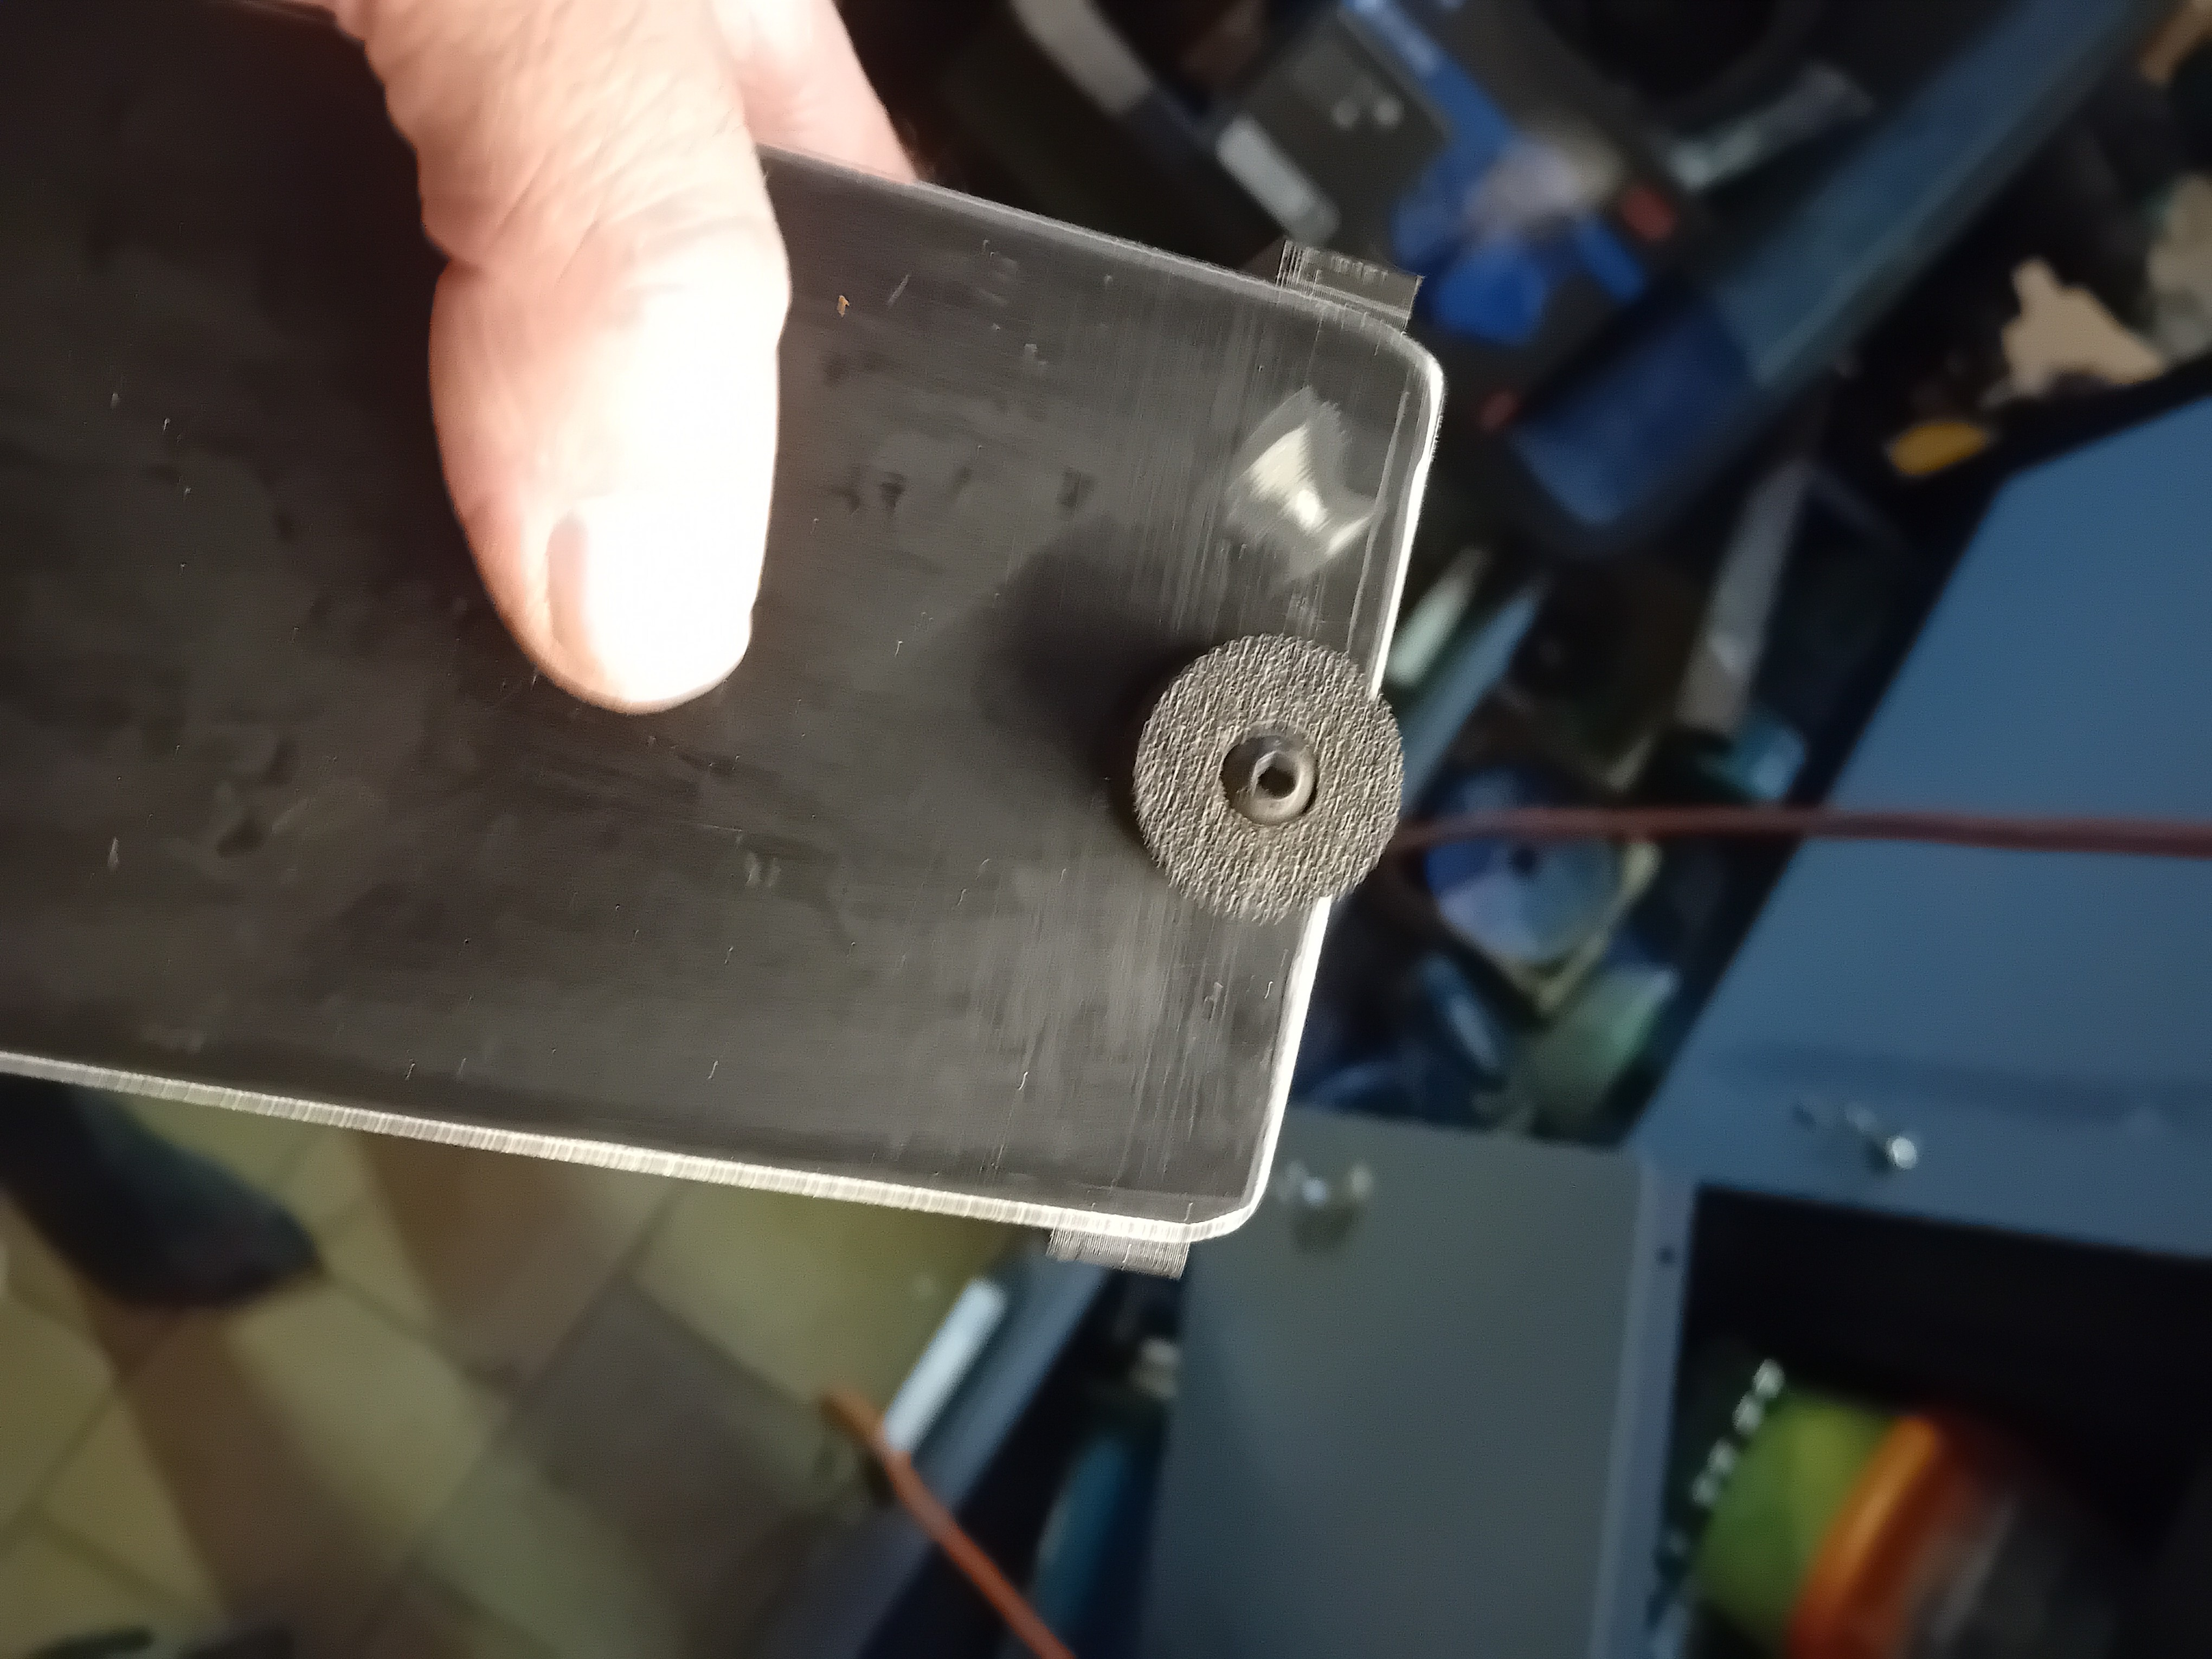
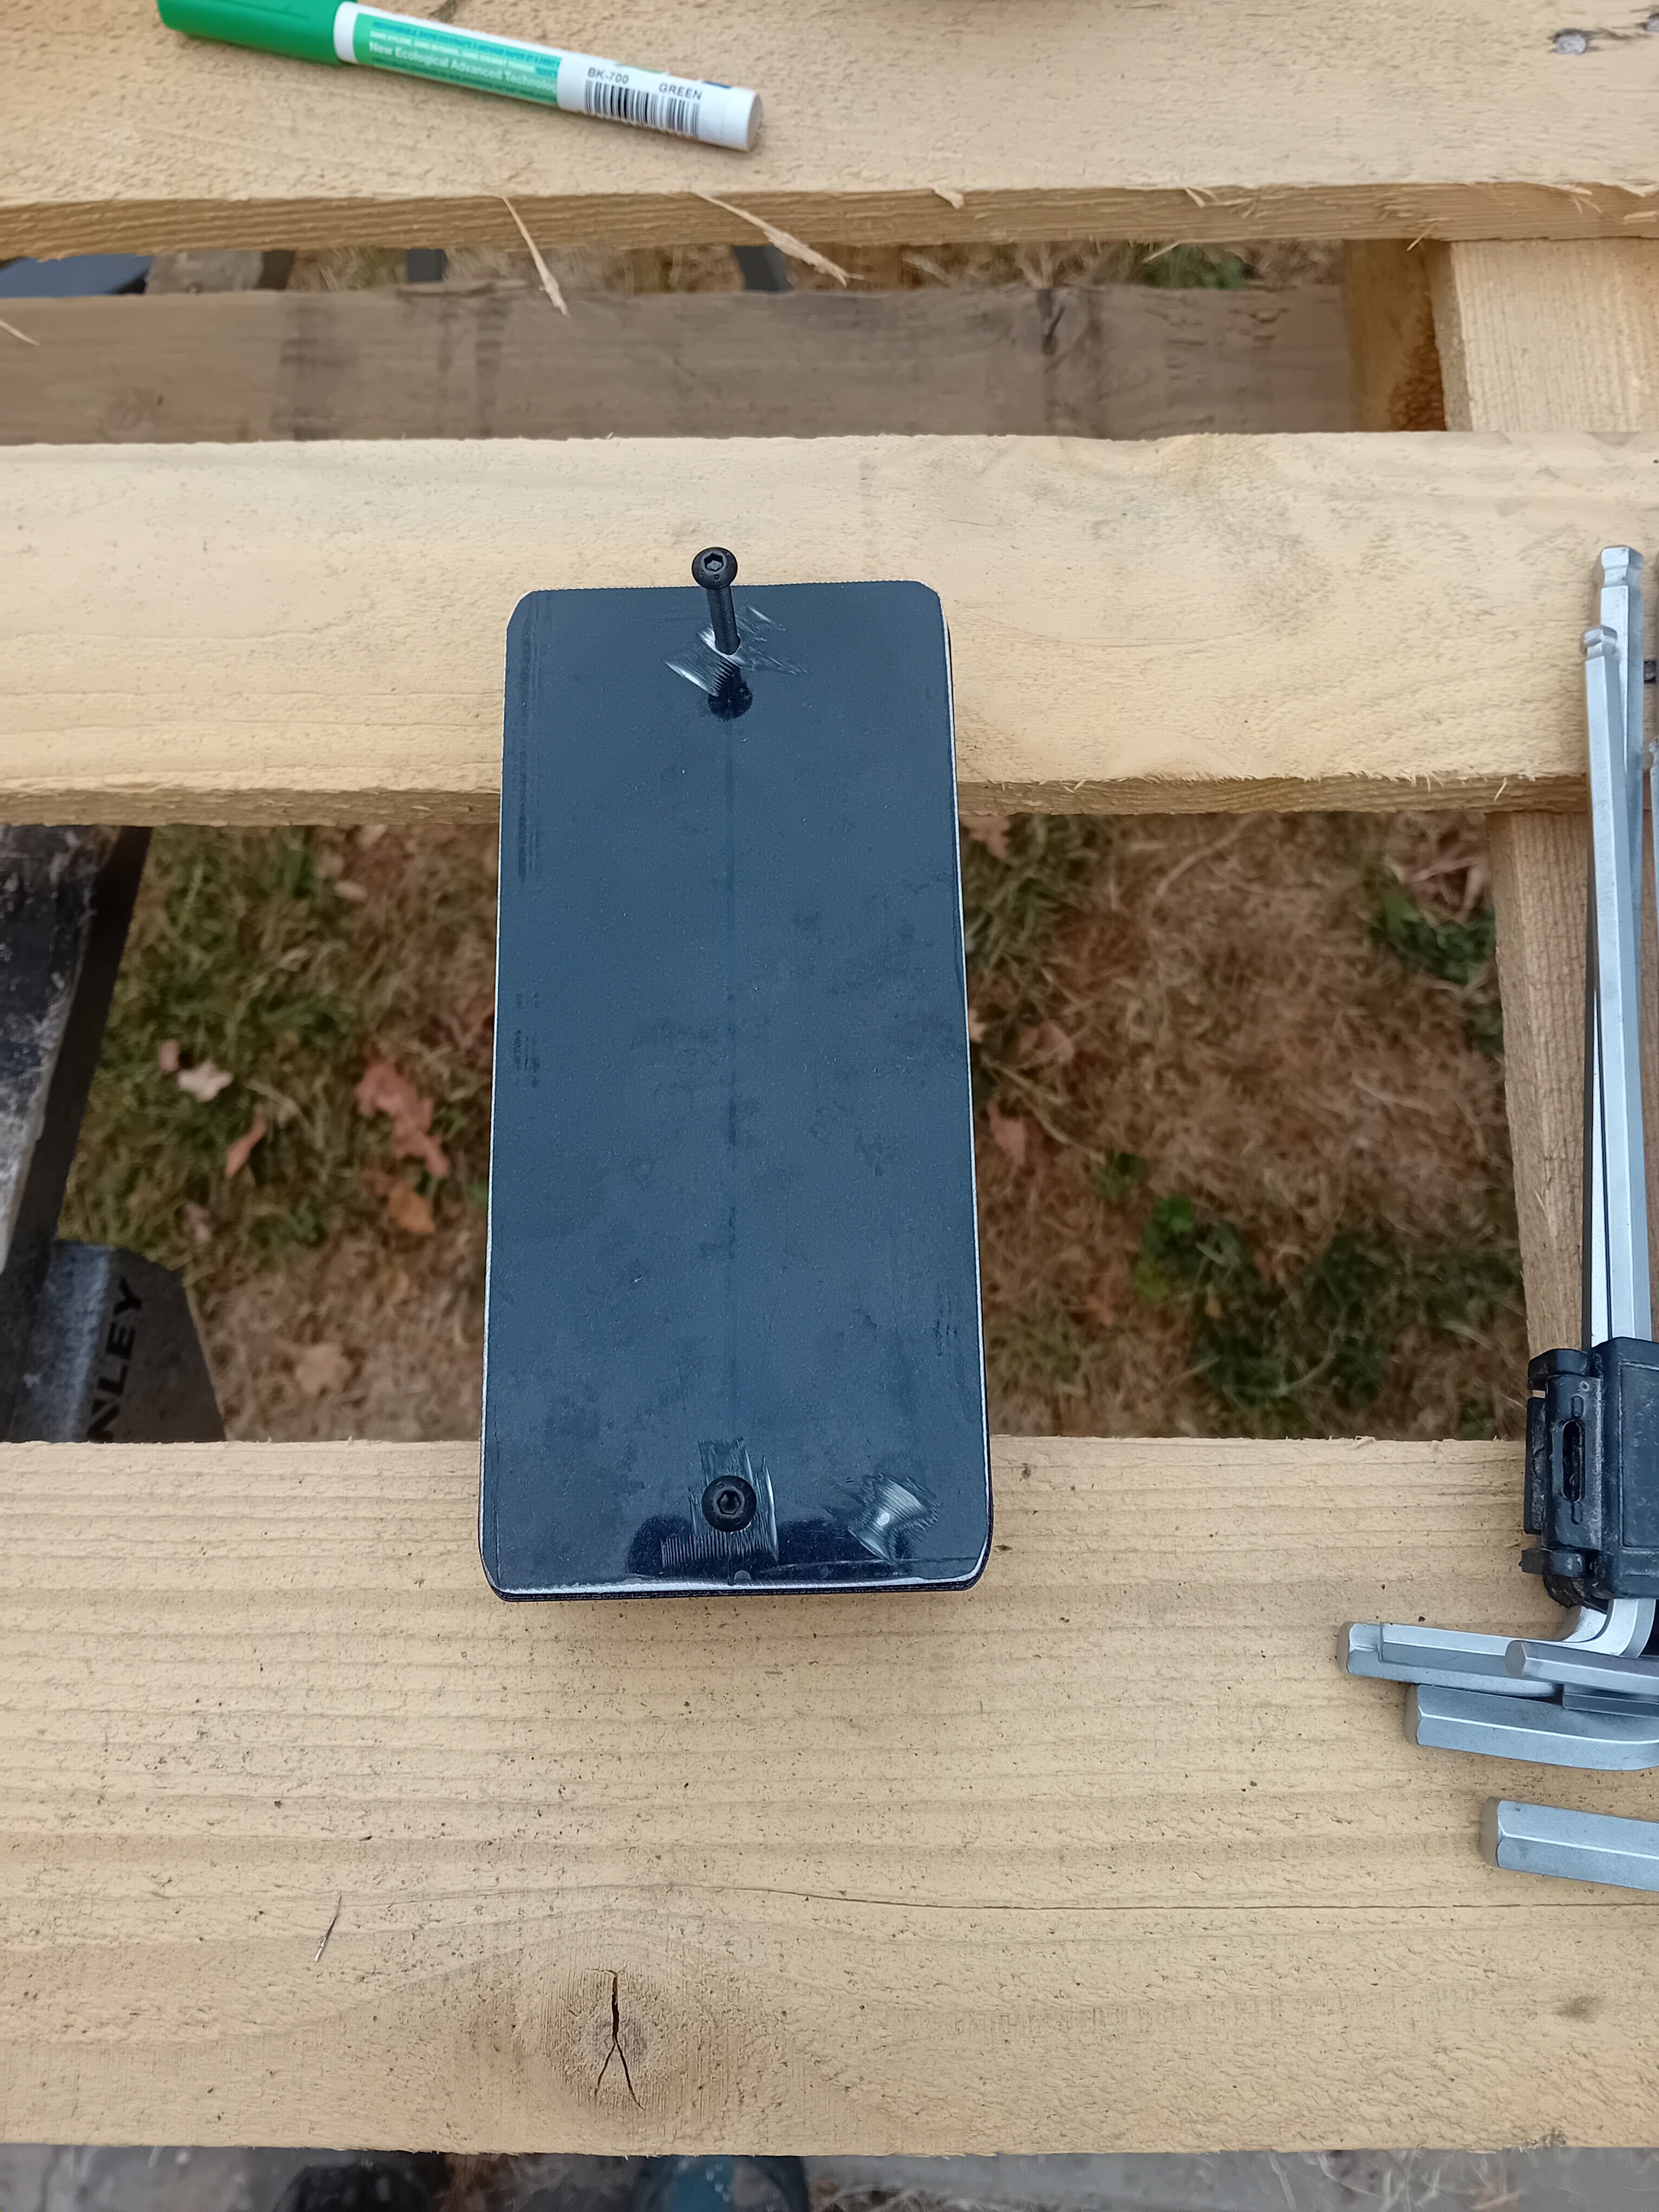
That’s where the 3D printer comes into play. I’ll let the pictures show you the rest.
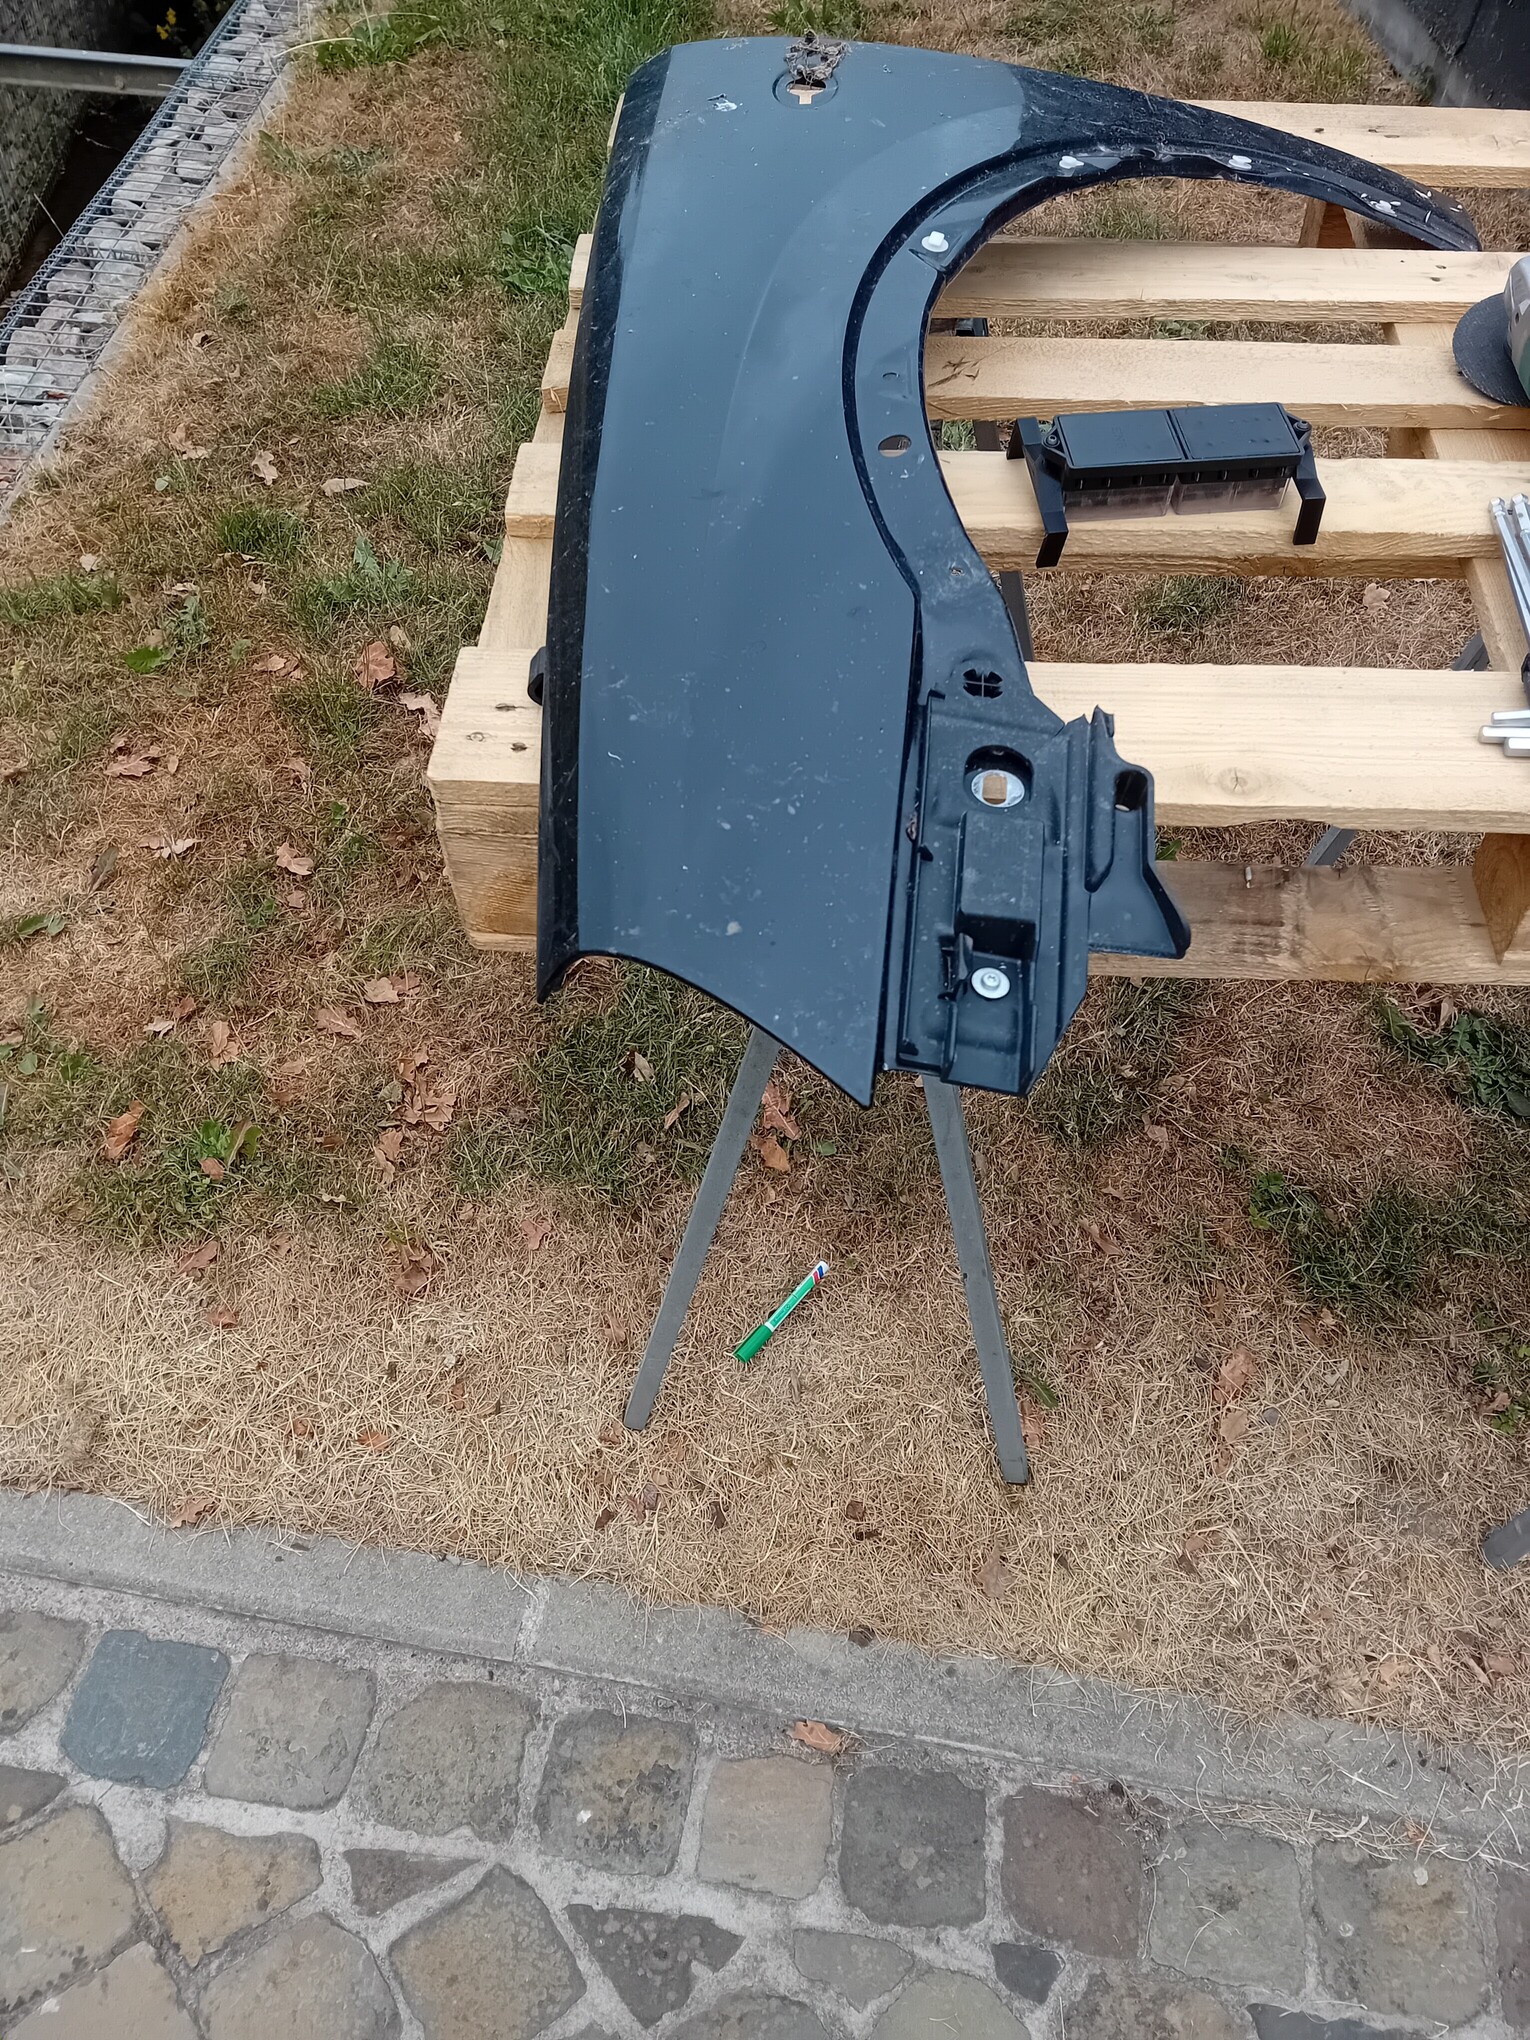
You can see in the photos that I used part of the fender from my wife’s old car; since it was attached to the vehicle, I told her that its soul was now in the tractor haha.
I didn’t think it through quite enough—there was a slight lack of depth, so I modified the part, and since I had the space, I added a label (“fuses”).