I am sorry to disagree with Max, but you are too far along to just throw it in the trash and have Maz design you an all new one. I doubt very mush if this is going to work the first time you try it but you WILL learn from it. I’m sure after one try you are going to have many ideas that you think will help. At that point you can decide if you want to continue on or start a conventional design ( which I don’t really know what that is)
My suggestion would be, since you don’t know what size engine this is going to run, get a good vacuum source. Shop vacs and house hold vacuum cleans seem to work well. Put a light dimmer switch in the line to control the speed of the vacuum. I have a pipe coming out of the gas/ash chamber that I connect a vacuum gauge to. With this, you can pull very hard similar to what a larger engine would do or turn the vacuum down to simulate a small engine. TomC
If your 1/4" nozzles are actually 1/4 ID I’d try it like that…
The reduction tube could be half the length it is and it will make gas… I suspect it will make gas the way it is… I’d make my grate 5" OD nor so and have it adjustable by screwing it up (threaded rod) from the bottom… start with the grate 4 inches up inside the reduction tube and thread it down to see what happens. Just my 2 cents… take them for what they are worth.
You will need some form of cooler if you are goin to pull on it with a shop vac… outlet gas temp will be too high for the hoses and motor to survive for long.
Trust me, this is either going to be THE ONLY gasifier you build or one of many… probably the latter… lol… and you will learn from it just the same.
Hold your horses Tom!
I have NOT suggested an all out discarding of the build!
My text is twofold; reread it and you see that the second part is about modifications. Only if it is too much welded together and impossible to reach for modifications one has to resort to some drastical measures!
Comment what you actually read…
Max
Max I sold off all my horses over a year ago, so no problem there. I just think your comments are a little late for this build and will require major changes. Let’s let him try HIS ideas. If he has problems, we can suggest changes. At least then we will be making suggestions based on something besides it doesn’t look right, or this could happen or that might happen. We will have a finite problem to address. I’m sure we can all see things that “we” would probably do different, but if he listened to and tried to do everything all of us suggest, he would just go back to sawing logs…TomC
Working OT. When I got home late and started to log in to DOW I thought I smelled gun smoke
I´m grateful for any input. What I don´t like I`ll just ignore. In this case all suggestions given are doable, except for the “throw in the trash” one. That won´t happen.
Nozzles: Welded ss nuts are already in place on the outside of the burntube. I can screw in any nozzle length I´d like.
Restriction: Top donut plate welded to the reduction tube has a 4" hole. I can put in any restriction shape smaller than that and/or pile as I wish.
Reduction tube: If charbed will prove to be to tall I think I´ll try Arvid´s suggestion since the reduction tube bottom flange is welded to the burntube. Reason for my reduction length was that I read somewhere that average distance from restriction to grate in WW2 builds was 23cm = 9" and that was just about what I could fit into my propane tank.
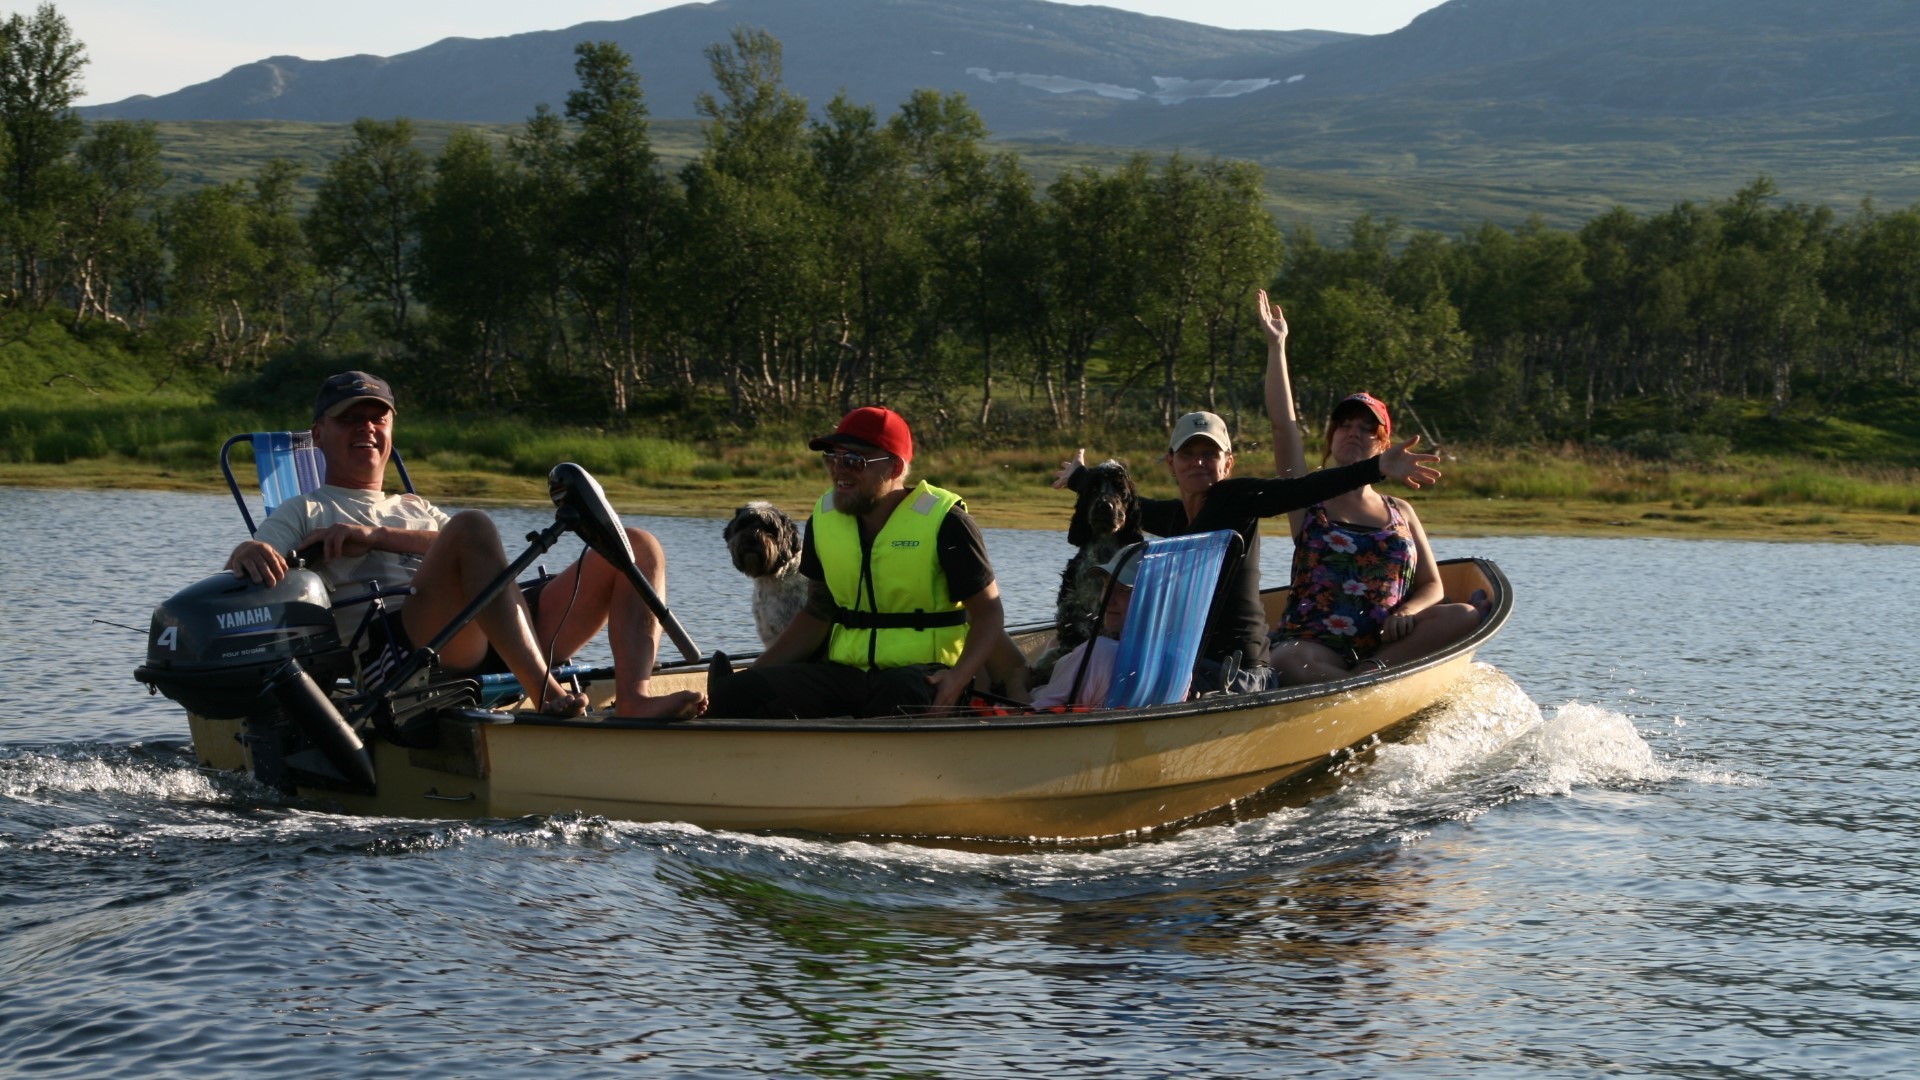
This weekend we will go for a ten day fishing trip in the Norwegian mountains, so I´ll be out of office for a while. No phone, no internet, no DOW.
Below is last year. We hope for that kind of weather again.
JO,
To quote a song, “up the lazy river how happy we will be, up the lazy river with me”, or something like that.
I grew up on the shore of Simon Pond in the Adirondacks in upstate New York and we lived on the water. Your boatload of smiles with mountains in the background sure did bring me back home! Great picture.
Pepe
Thanks! We’re home again. Had lots of rain and cold winds this year. Got some char and trout but not much. Better luck with chanterelles, raspberries, cloudberries, bluberries, and lingonberries since we got home. Freezers are getting packed
It’s like trout. Generally a bit smaller. Red belly. Relations I don’t know. Probably sammon family all of them. If there is one. Tastes like food for gods.
Thank you, JO. Trout truly is food for the gods. My dad was a fly fisherman who loved fishing for rainbows. I always loved watching him casting his line and putting that fly on a floating leaf if he wanted it there, lol.
Rain or shine, it’s priceless.
Pepe
I read “We had char for dinner…” and thought to myself “If you’re getting char(coal) in your mouth, you should be more careful cleaning out your gasifier!”
A bit slow on DOW lately when it comes to project reports, except for Wayne of course - he is never slow.
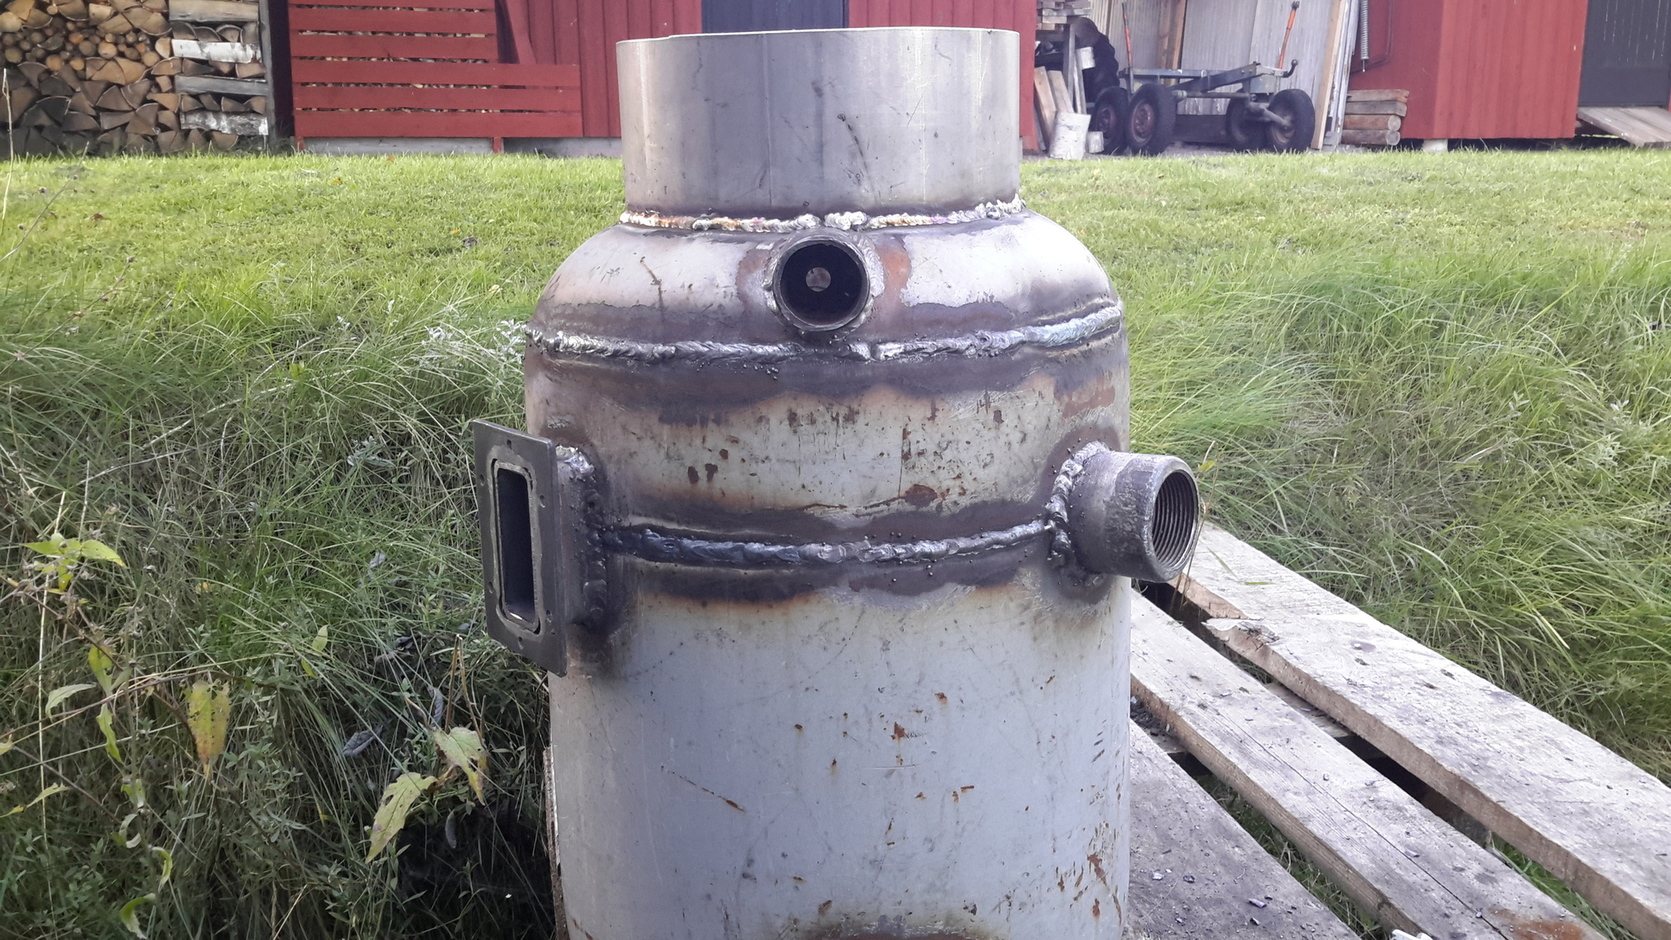
My progress seems ridiculous by comparison, but I thought I´d share it anyway.
Looks closed and tight; hardly leaking welds anywhere it seems.
I note, that you are taking the sucking return stream into account and adding cooling fins on the outside benefitting the air pre-heating a bit too.
Are you going to weld the silo to the hearth-part too?
Important welds are water tested. I don’t trust my welding skills enough not to.
Air will enter the outer container at the bottom inlet, shown only at the top of this topic, and swirl around the gas container. It will then enter the fin jacket through “blowholes” and hopefully cool the nozzle area some. When I know I won’t wet the cyklone I’ll start first heat stealing there.
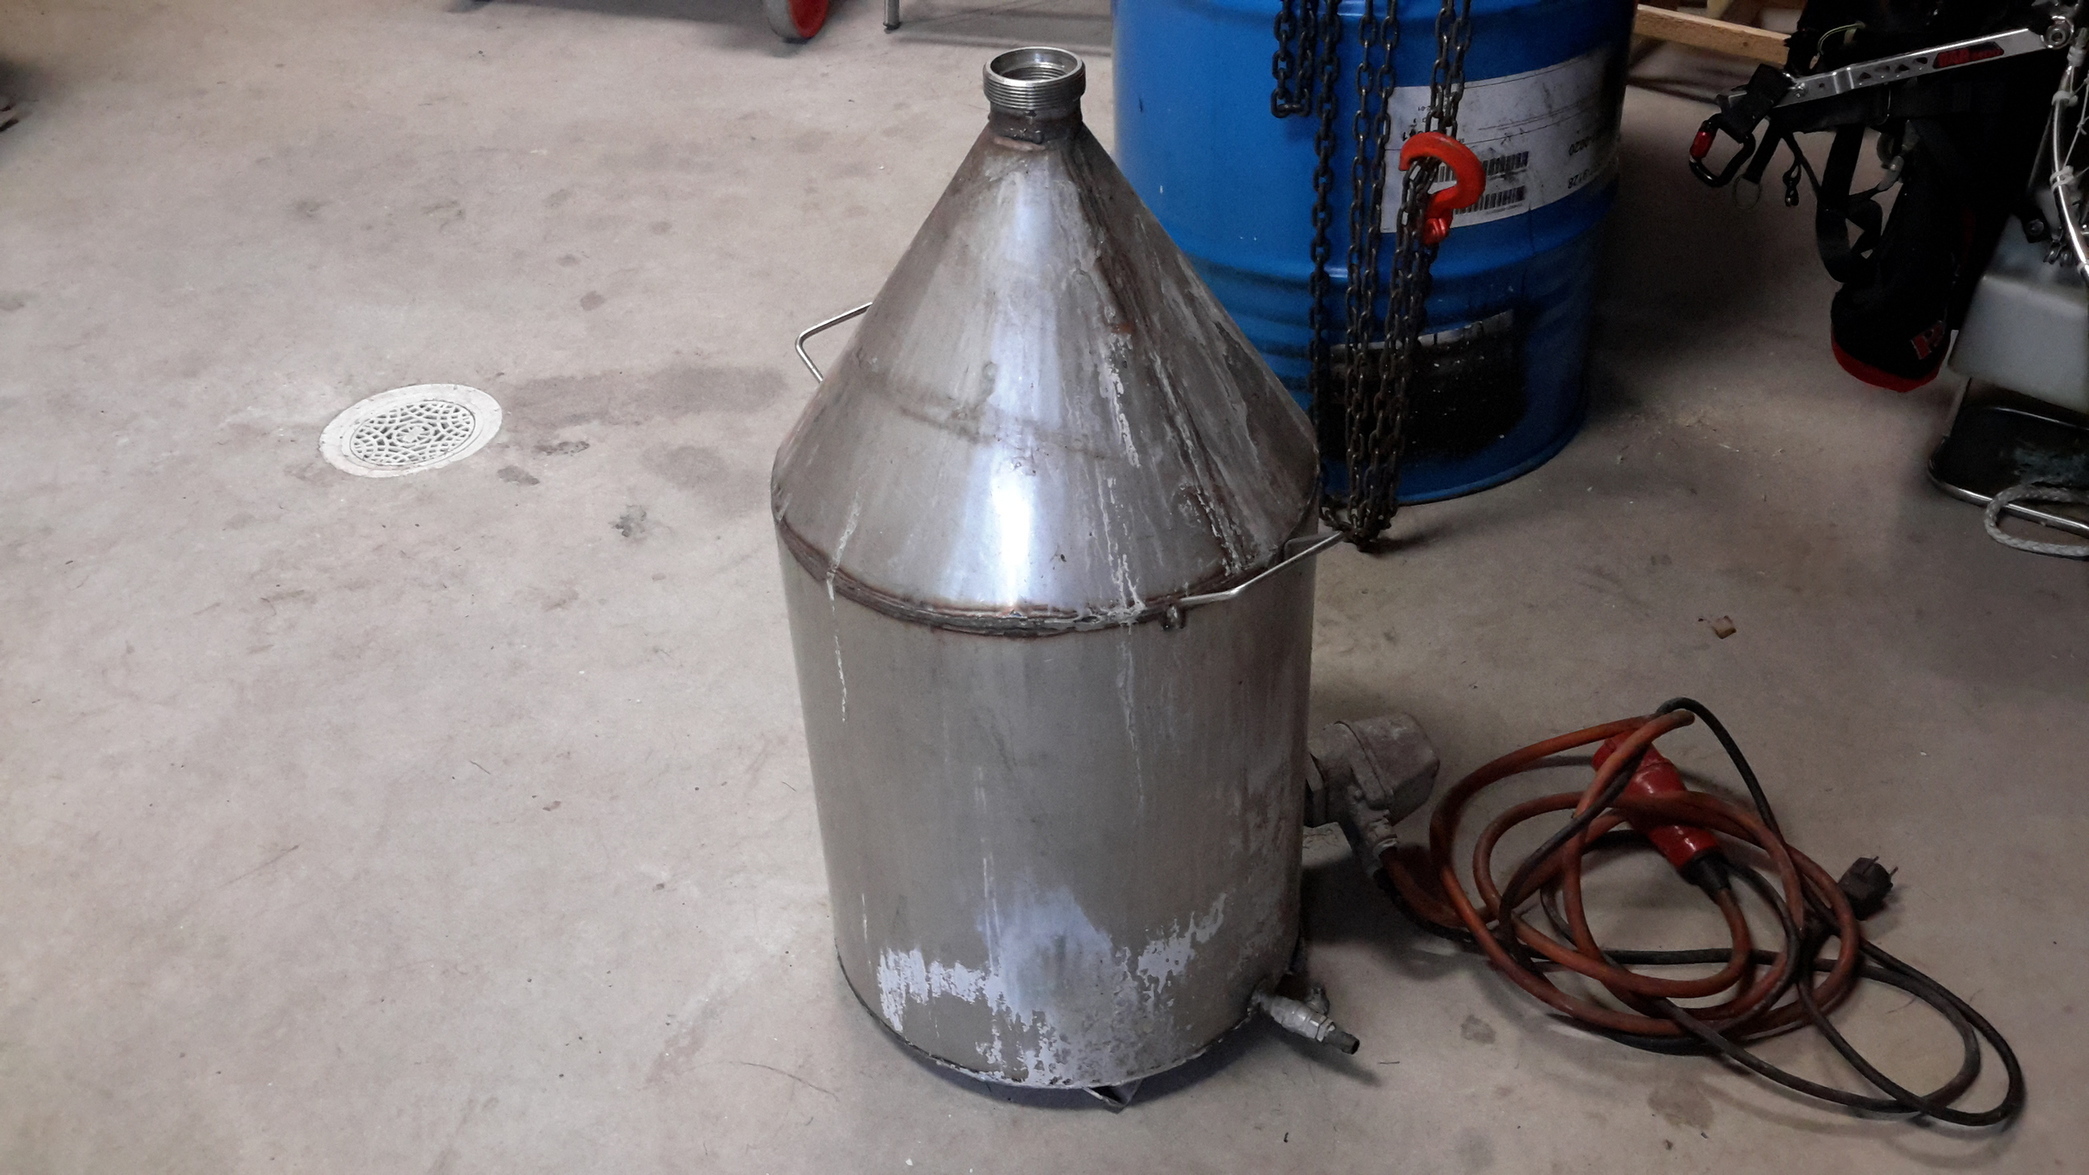
I’ve made a flange (pictures soon) and welded to the upper dome. The silo will be bolted to it for easy removal. Thinking of making a loose fit funnel almost reaching silo top (double wall)
I’ve decided to go for longer nozzles (and smaller restriction = 2,5") to start with.
If you make the top lid for full silo diameter, you have the advantage to be able to lift up a loose condensing inner mantel, standing in the gutter, where the conical tapering starts.
The loose cylinder should have slant ventilation slots near the upper edge and just above the gutter edge.
It will form a “negative draft chimney”, much more effective than a net or mesh, which is all the way disturbed and inteferred by “mixing in” hotter gases from the center parts.
This way you will get an effective convection circulation, yealding more condense.
Spot on my thinking, except I first planed making funnel and inner mantel one piece. Might catch even more water If I do it your way (mantel in gutter). Adding WK tubes as well is of course an option too. One thing at a time.
“One at a time”, but in the same region of build: The U-profile gutter has not to be welded, neigther has the loose inner condense mantel.
They can both be easily lifted out for cleaning.
Make the gutter as a “piston ring”. Make it 1" short of a complete circle. Make 5mm (3/16") thick stainless gables welded to the ends of the gutter.
Before welding them in place, bore and thread one of the gables for a 13mm (1/2") bolt. Screw the bolt 2" long all in (from outside the gutter).
Then put the gutter in place and unscrew the bolt, so it pushes hard against the other gable. This will enlarge the “piston ring” enough to keep it in place.
This makes it easy to vary the tilting angle for good flow.
Make the inner mantel accordingly “skew” in the bottom end, so it stands vertically in line with the silo.
Make a “hack” in the mantel, so it can “step” over the gable area.
Make a bent plate over the gables, from one gutter-end to the other one, to avoid dripping condense between the gables.
The gutter draining point (lowest point) opposite the gables of the “piston ring”.


 …and homemade blueberry icecream for dessert