My name is Gordon Ooghe. I have been having a hard time uploading photos. I’m just not computer literate anymore. I have a video of my gasifier on Youtube and would love some feedback from the pros.THANK YOU WAYNE KEITH for you info and this site! Gordon
Howdy Gordon,
Welcome to the Machine!
Ya got a real good start there… Looks like wet wood and not enough suction are issues from what i can see.
If ya can get some pics of the build posted, it would be very helpful for those trying help you.
Looks like Don’s got a twin
Happy motoring!
TerryL
Gordon; I’m not a WK builder; mine is a Imbert. One thing I do not like is nozzles that stick way out from the fire tube. It allows pyrolic gases ( of which tar is one) to pass behind of the tip of the nozzles and not get the cracking heat from the nozzle. If you don’t want to cut the length of the nozzles back, then you can add a “tar fence”. That would be a cylinder the diameter of the nozzle tips ( just slightly less) that goes from the restriction up to just above the nozzles, with 8 holes in line with the nozzles. ( you could come up to just below the nozzles if you want with the cylinder)
Need more information with the pictures and more pictures. If you aren’t building to exactly the WK design, a drawing of how the gas comes in and goes out. Like I see the fins on the fire tube (?) but din’t know how the gas passes through them or where it comes from. Are your nozzles angled down toward the restriction? I see a lot of “white” on the gasifier. Are you trying to seal the joints with “furnace cement”? TomC
Bill S
I wasn’t really going for that but I did run some big stuff (2") at first. The wood was wet and I didn’t get a hot enough burn. Then I got smaller stuff (1"). It burned much better and I had a better flame. Then I just threw everything in there (even chainsaw dust) and that is what is on the video. I was thinking the space above the outer ring would help keep the grate clean and breath better. I want to run any size wood(2-1/2" or less)…I also want sacks full of $100 bills but I keep waking up in that dream.
Hi Don Mannes. The holes are 5/16 w/9 center holes 3/8 inch. My drill kept burning out in the stainless for a bigger hole…I figured God was tellin me to stop. I also have a 95 GEO Tracker…same color even.
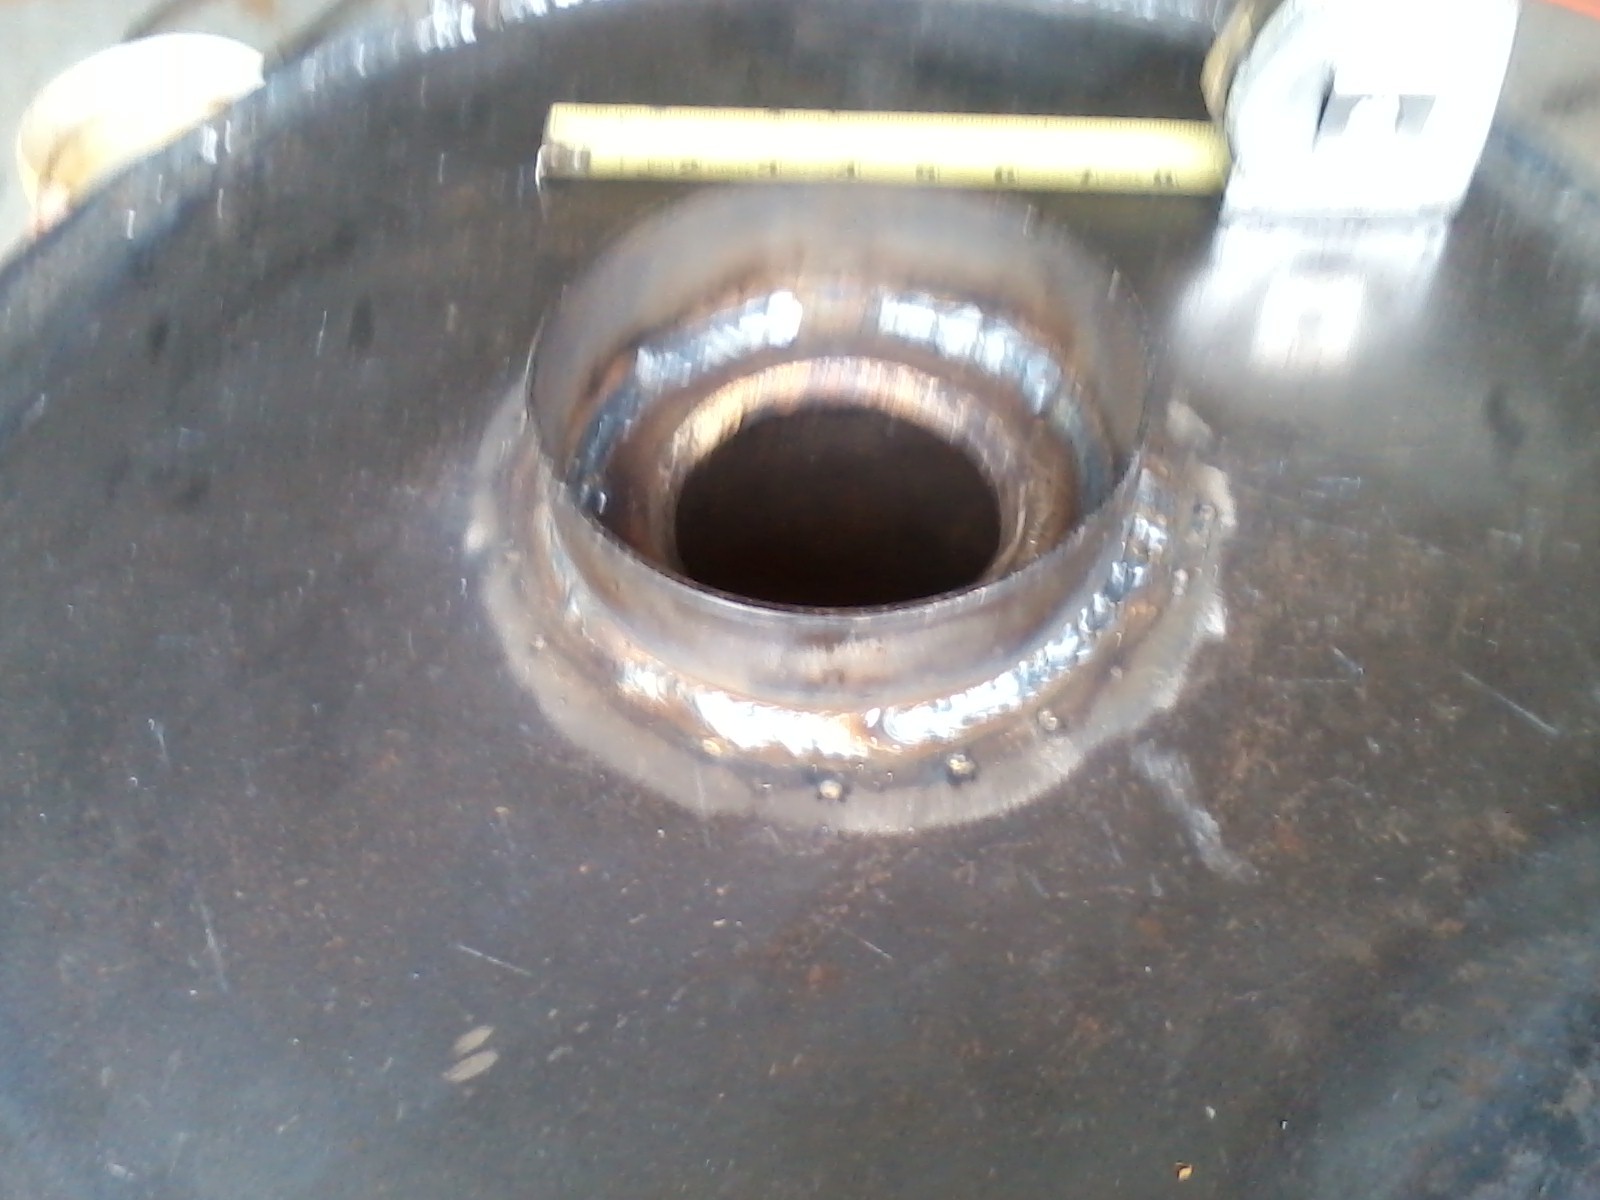
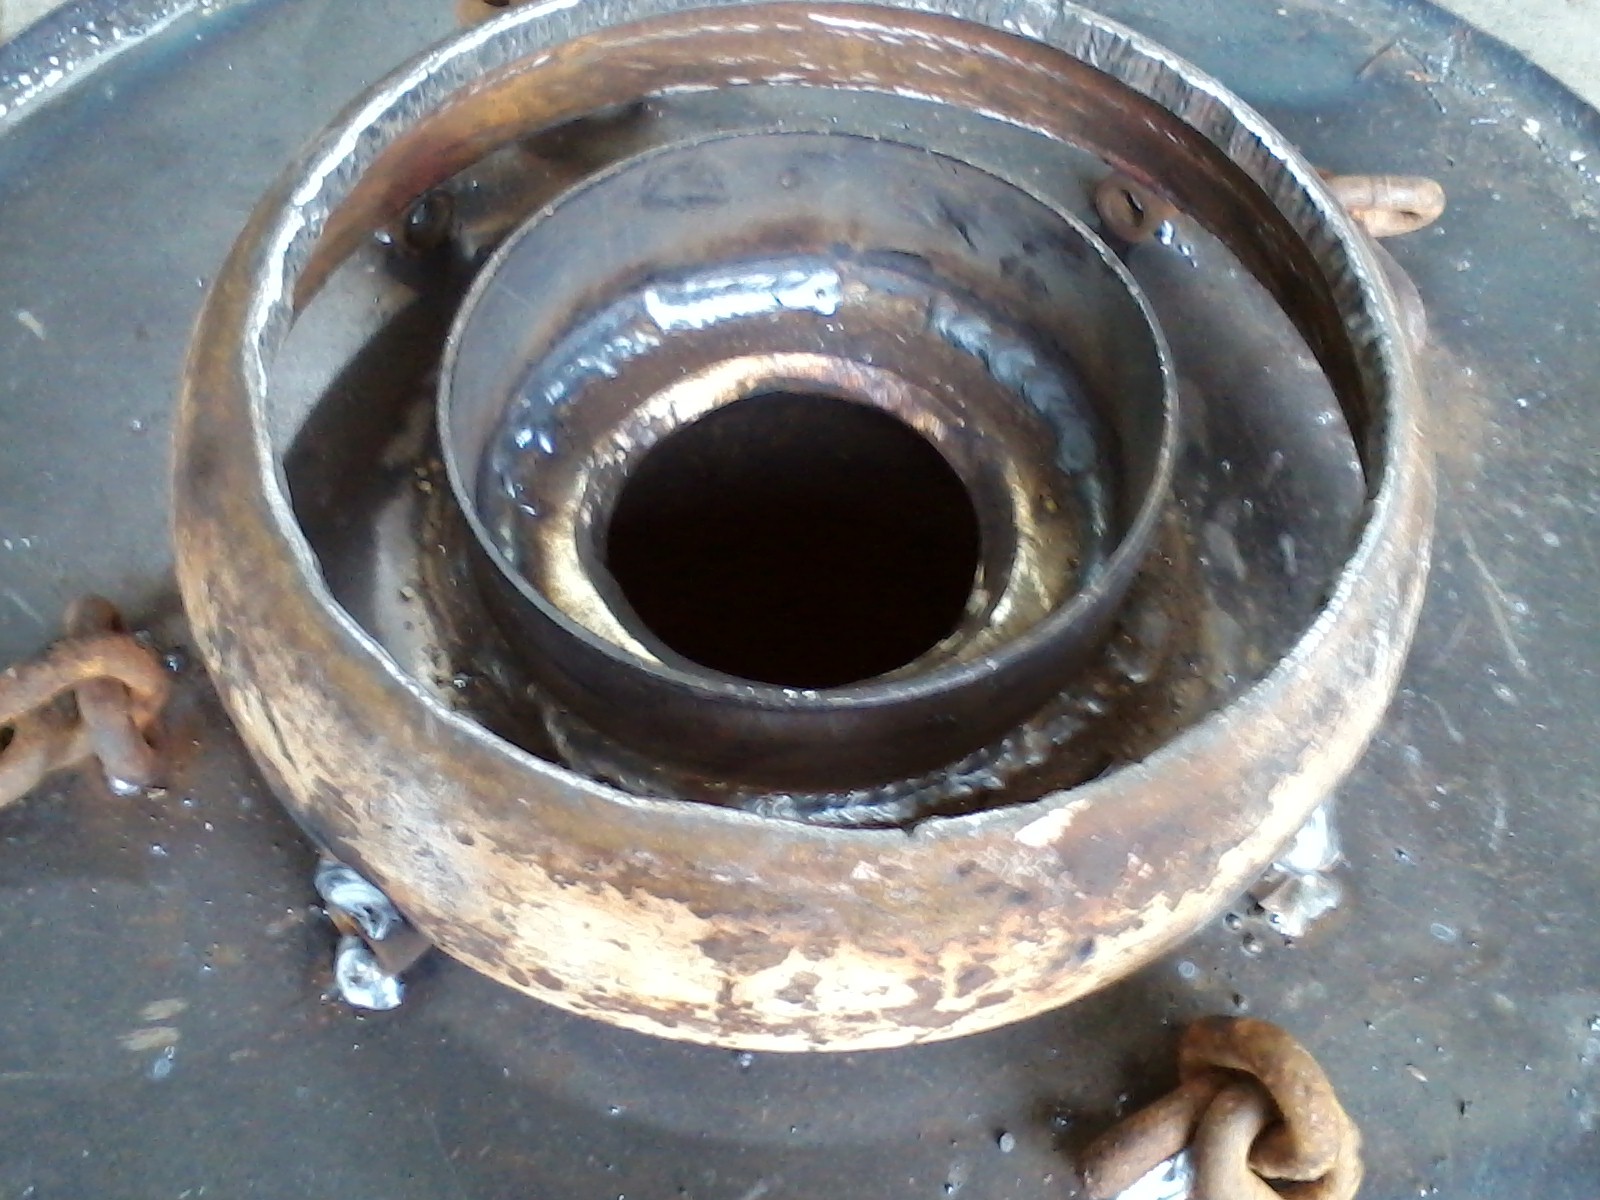
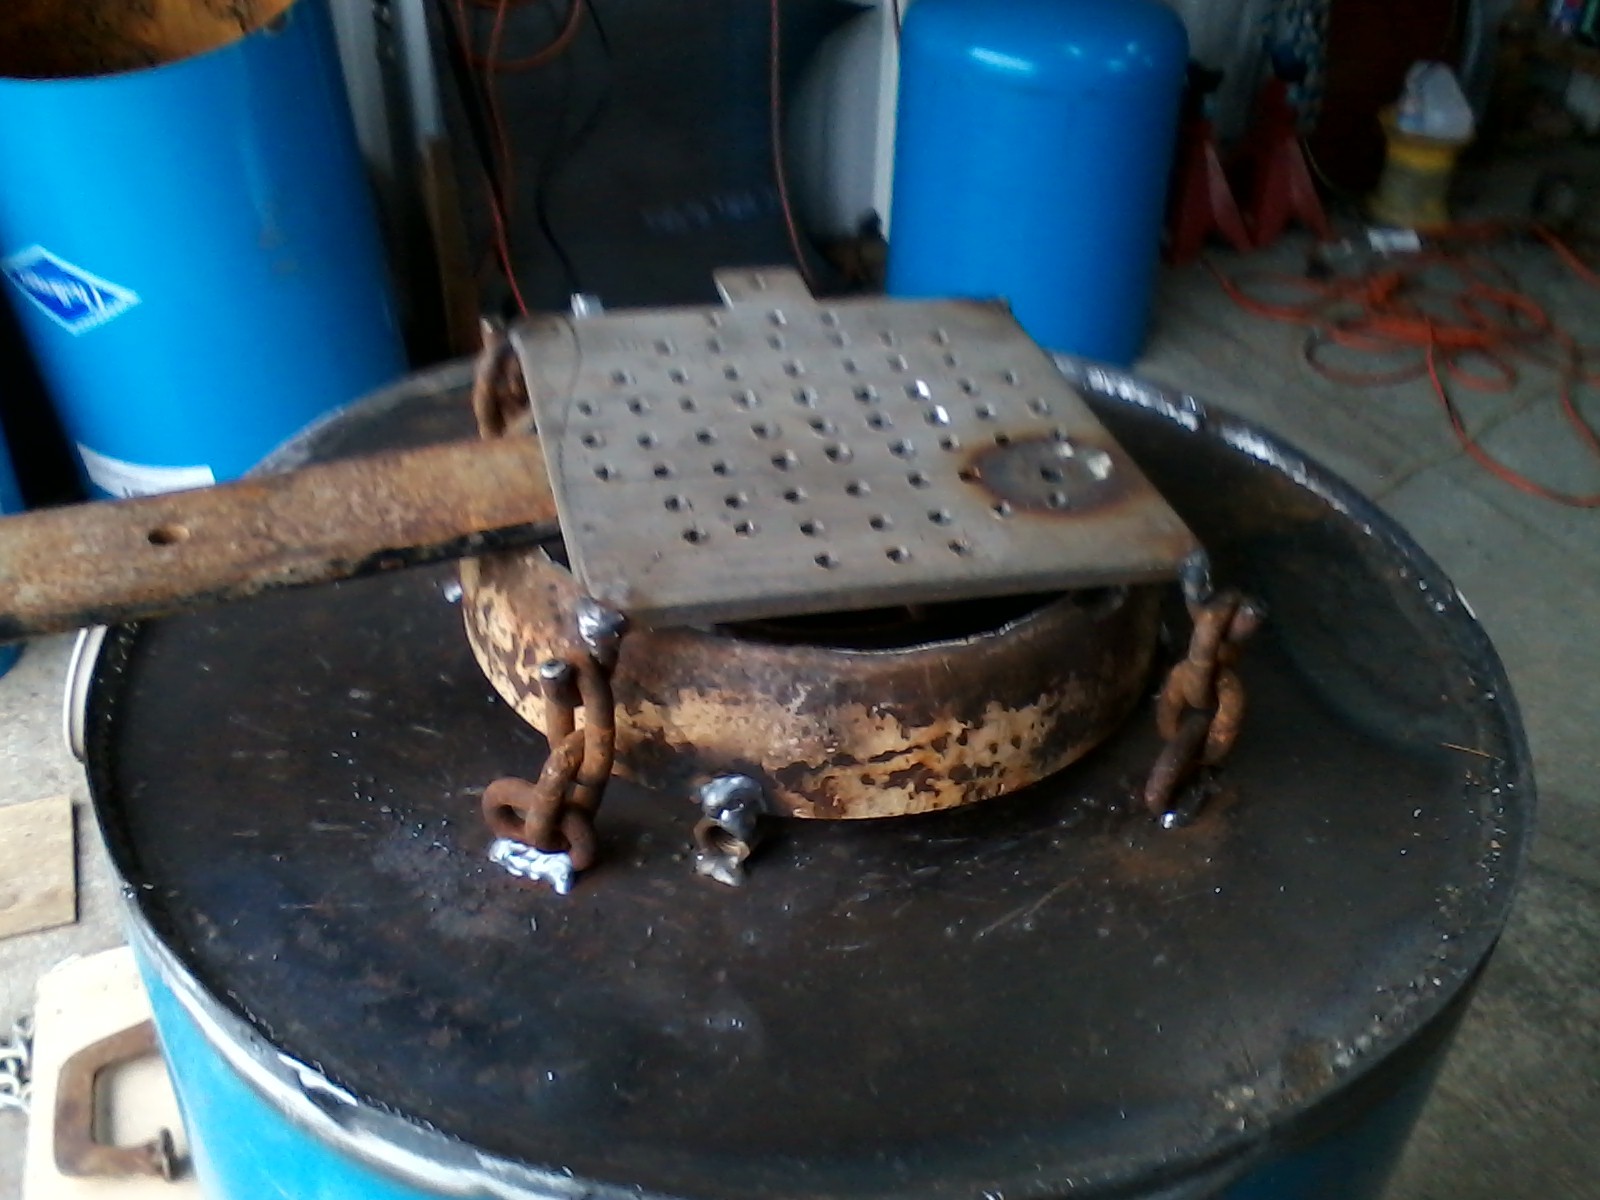
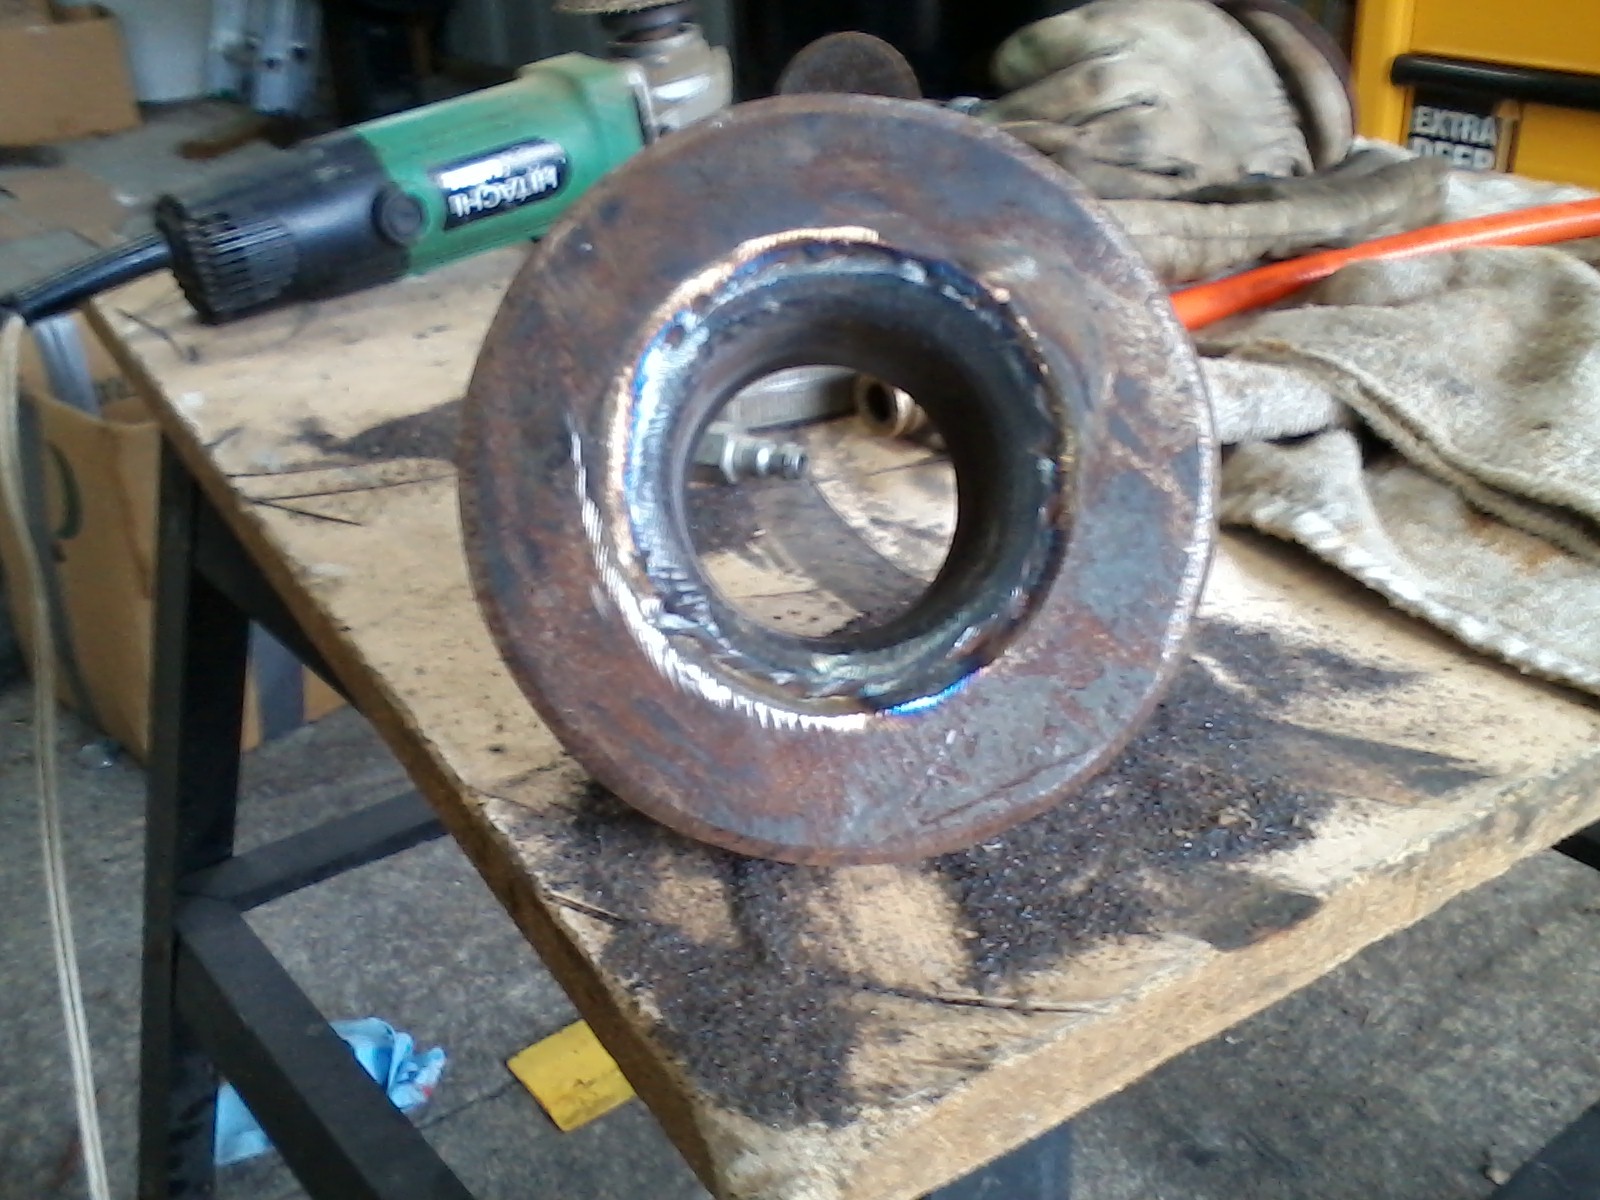
HI Tom C, I too was thinking that my nozzles were too long.Prob easier to cut them than build a tar fence. The white was furnace cement but it burned off.Said it was good for 2000 degrees but I don’t think so. was just a safety measure for possible air leaks in my welds. The nozzles are angled down slightly. The air does go down from the inlet and thru the fins. I wrapped the fins with 20 guage all the way up and welded to hopper underside for preheated air. Thanx for all thoughts. I will make a drawing soon. Gordon
Looks like you are making good gas !! Congratulations .
Keeping your fan in the gas stream may shorten it’s life span.
A lot of us use what we call a pusher blower . This blower will push air in at the fresh air intake of the gasifier. This air is clean and should allow the blower to last a long time…
I haven’t been able to see much difference in the quality of a flare whether the air is pushed through the gasifier vs pulled thorough it . .
Hello Mr. Wayne Keith,
I am humbled at your achievements in woodgas. Thank You. I have read every word from your book and it was your info that gave me the motivation to finish my thoughts in building my gasifier. Bens book is a great set of plans but I was looking for more theory. ( and your family here is very smart and experienced) Your book is worth more than its weight in gold.
I will try a pusher blower since I ruined my fan sucking tar thru it. I know I need to move more air for a higher temp. Once she warms up tho it sure seems to make pretty fair gas. My reduction tube is 7/16 thick.(a little over kill I think). I will make some drawings of my changes. I’m somewhere between a WK and Imbert. I’m not using the Imbert demension chart .formula so I guess I’m closer to a WK. Gordon
Gordon; From your comments, you have “one foot in two different canoes”. Each canoe will work very well separately, but not so good together. You need to decide to follow the WK type or the “Imbert” style. Roughly speaking the Imbert relies on the nozzles forcing the air out at high speed to " burn" the char coal in the entire circle between the nozzles. Then the "reduction occurs as the speed of the gas increases going to and through the restriction.
In a WK the “air” just flows out of the nozzles and “burns” the charcoal along the fire tube wall. As this flame front moves down the wall the restriction is slowly pulling the flame front towards the center of the fire tube. The flame front is an exothermic reaction but as the flame front goes down towards the restriction, it moves from the fire tube wall towards the center of the FT. Following the flame front is a cooling “reduction” front that continuously follows the flame front across the tub. It take more time for the char to burn to the center of a WK than a Imbert, so you must have a longer fire tube (nozzle to restriction distance).
Others may say this isn’t a “complete” description of what happens but I hope you get the idea that they are quite different. TomC
Well, well said TomC.
“Fish? Or Fowl? Sir” Either one makes for a fine meal, but mix poorly.
Best Regards
Steve Unruh
Hey, GordonO.
You want laws of gasification thermal dynamics, with the maths then you really want to buy VesaM’s book too.
He does have lots of practical experienced varied fuels, loaded IC engine usages too. With lots of pictures, graphs and charts. Dimensional plans set for three different sized/fueled VesaM use evolved gasifier systems.
“Many, many Euros!” to build up one of his all SS “Scandinavian works of art”. (not my quotes - others)
After years and years, and thousands of hours explaining, face to face and in video the H, C, O’s and BTU Whys of it; and building up his own BenBuilt all SS works of art; Ben wanted to now make up a garage DYI level carbon steel, See-Do “just build it” plans book. For the just show-me-what-to-do folk.
Waynes/Chris’s motivations are well spelled out in their book entry statements.
Read VesaM’s book will explain some of his.
Now Skippy right on past the flare-stare/Jail and go directly to Go/do-learning by IC engine running. Any engine.
Save your a whole year off your life right there.
Regards
Steve Unruh
Hi TomC.
. This helps me very much. Thanx for the short version of the two types of gasifier burns. Many times I get confused in longwinded explanations. You are right! I am wobblin in those canoes. My nozzles are to far from the hotzone to ever be concidered an Imbert. I got Waynes book after my start and decided to move my nozzles to the top of the firetube and use the fin preheat area with a sheet metal wrap around my firetube for incoming air. It will be easier to cut my nozzles and become a WK than be a true Imbert. I could extend my nozzles down closer within Imbert demensions or like you suggested and make a tar fence.
The hopper is half full of wood so I’m going to burn it today with a pusher blower (shopvac). I will move much more air and findout if I have any major leaks,and see if my grate plugs. I’m hoping for a cleaner burn. I really appreciate you taking the time to examine and comment.
Hello Steve Unruh,
I really have fun reading your input on all things woodgas. even like the rants! Wish I had your knowledge. I’ve been a “hands-on’ workin man all my life. No pencilpushin here. However…with woodgas I am shown I need to study more. I’m older now and my bones hurt a bit.(58). but still got some yrs left. (if I don’t fall over dead from being a “Chemical test guinipig” from my car painting days)
I will get Vesa Mikkonen’s book since I have a hard time understanding his English.I’m sure it much better than my Finnish tho. I have watched his vids for a long time. Love the stainless.
Got the stuff yesterday to hook-up an engine to my gasifier. My flare stare will go on today in my burn. Thanks for makin me go ahead to the next step. I spent too long watching and reading about gasifiers before starting my own. Ben says” just get out there and start welding something…just start doin it" (something like that) So here I am…
Thanks for the kick, Gordon
I am using leftover Char. I try to shut down before I burn it all out. I am sending a link to a youtube video that I just made that shows the inner guts of my design. I would appreciate all thoughts and comments.I explain my design and some of my thoughts as I was building it.
Grodon; I don’t want to disagree with anything that Steve U. says because most of what i said earlier has come from his posts in the past. I do need to say he is correct about watching flare after flare, but the other side of the coin is; I have spent many many hours taking my engine apart to replace push rods and clean out guck from the valley. If you have an old junk car, I would recommend sticking the gas tube into the carburetor or air cleaner of that car before you put it into that nice Tracker. ( I love Don Mannes Tracker). I am concerned about that foggy cone right at the end of the pipe where the flare starts. I perceive that as being water vapor. Also, I believe you said the water runs down the pipe to your blower fan and shorted it out. Again, too much water. Don Mannes has given out a suggestion that until the “grate” gets up to 900 degrees F, you don’t want to put the gas into you engine. I recently put thermo couples in my unit so that I can follow that recommendation. That is a big thing to do, so I might suggest you get one of those inferred thermometers that you can point at something and get a reading. I would suggest that with one of these you should see temperatures of about 600 degrees F at the point where your gas comes out of the gasifier. ( I would welcome comments from others if I am incorrect on this)
I was admiring the nice blue paint job on the unit and thought “oh yes, he was a paint/body man”. but then in the video, it appears that was the powder coat on the tanks.
If you haven’t done it already, I think it is very important that you review all of Don Mannes build. You are trying to get to where he is already. He has some unique things about his build to fit in the Tracker, that you may or may not want to follow. If you have any questions, I suggest that you contact Don through DOW- contacts.TomC
I am new at gasification and I found out when the exiting gas temp reach 600- 700 degrees, it is ready for the engine. That has been my gauge. Unlike most, I believe some initial flaring can be used as a learning tool.
Again I’m with Tom believing that is a water vapor cone in the flare. The first few times I ran the gasifier, I opened it up and found some air leaks. As I fixed these leaks, the vapor cone would disappear. But too as mentioned in above posts, it could also be because of wet wood.
Hi Tom and Bill
I just went out and fired her up again. I had to shut down because the fan was turning off and on. Most likely water dripping down the flare pipe. I tried pushing with the shop vac but my Hopper lid spring was not strong enough and smoke was leaking too much for my comfort level.(shopvac too powerful) It is right next to the flare. I did get a good chuff when my flame went down the flare tube and I guess it worked its way to the hopper???
I heard the flame go down the pipe but thought it would extinguish…nope. Hopper lid spring worked good. Bit of a startle. Part of the initiation I guess.
I’m sure you guys are right about the water vapor. Wood is too wet. I don’t think I’m able to get it hot enough. I am getting 350 degree temp on the gas exit pipe. Warm air coming out of the filter and the flare pipe is cold.
I will look at Don Mannes video and blog some more and studyup on making the Tracker go.It will be on a small trailer behind. I have an old VW motor and an engine stand for my first 4 cyl. test. I’ll get the bugs out first and then work my way up to the GEO.
I ran across an old man when I was young (1975) and he would run a bottle of water mounted on the firewall of his Studebaker and a tiny vaccume hose up to his carb. He said the water vapor raised his compression and the steam from the fuel ignition would clean his valves. I have seen this more than once. (oldtimers trick). I wonder if this steam at the end of the flare tube is that bad?? . If steam is full of tar…no good. but if tar is getting to valves then maybe this old trick might be good?.. just a thought. Gordon
I fired up my miniWK for the first time in Argos at the end of May this year. With none of my bugs worked out, I had a difficult time getting a flare. Some of the guys did what they could to help make a flare possible. There was a fan, tubing and lots of duct tape. When the flame crawled back into the make shift tubing is when Wayne’s boots turned into running shoes. This is when I found out that the flame will go back to the place where oxygen is being introduced into the system.