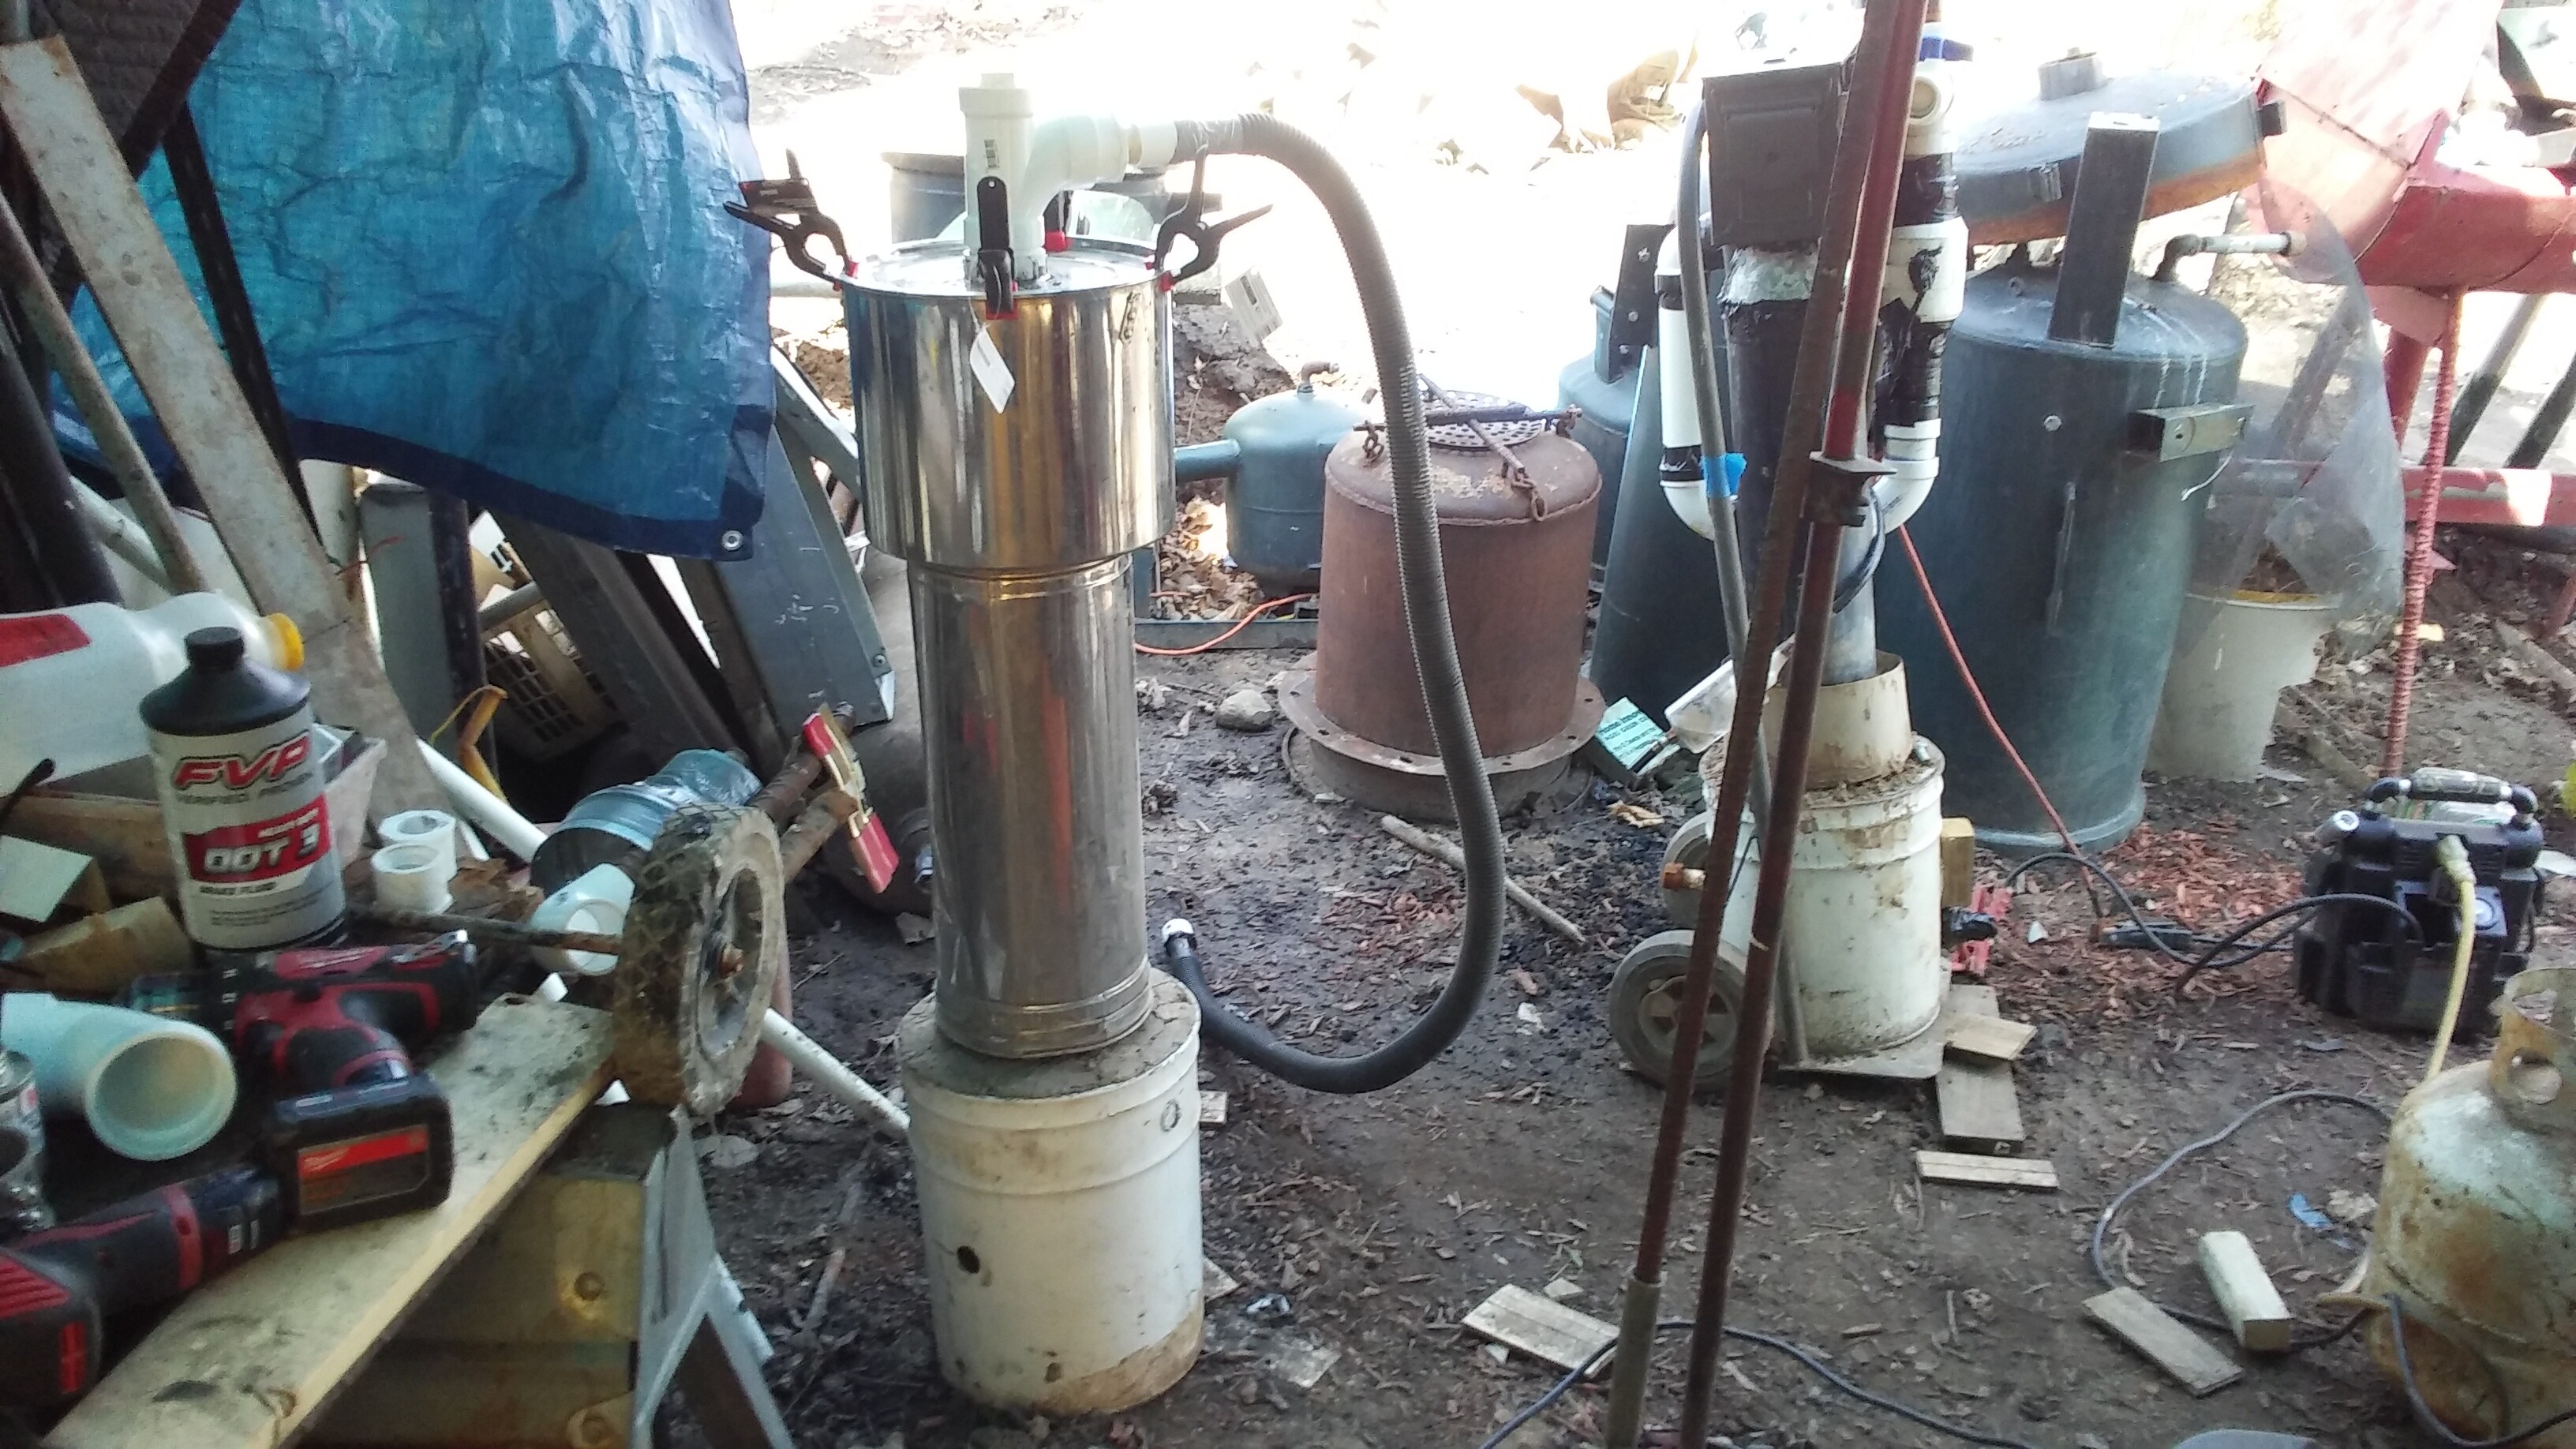
Very little nutritional value in a hat Dave unless it’s made out of broccoli. Decided that drilling out that piece of fire brick would probably bust out the edges. The simple fire I put together last week only has a six inch reactor space so I’m just going to stick that pipe cap nozzle in it. Here it is
I’m just going to pipe it into the blower and flare from the other homestead gasifier to test it.
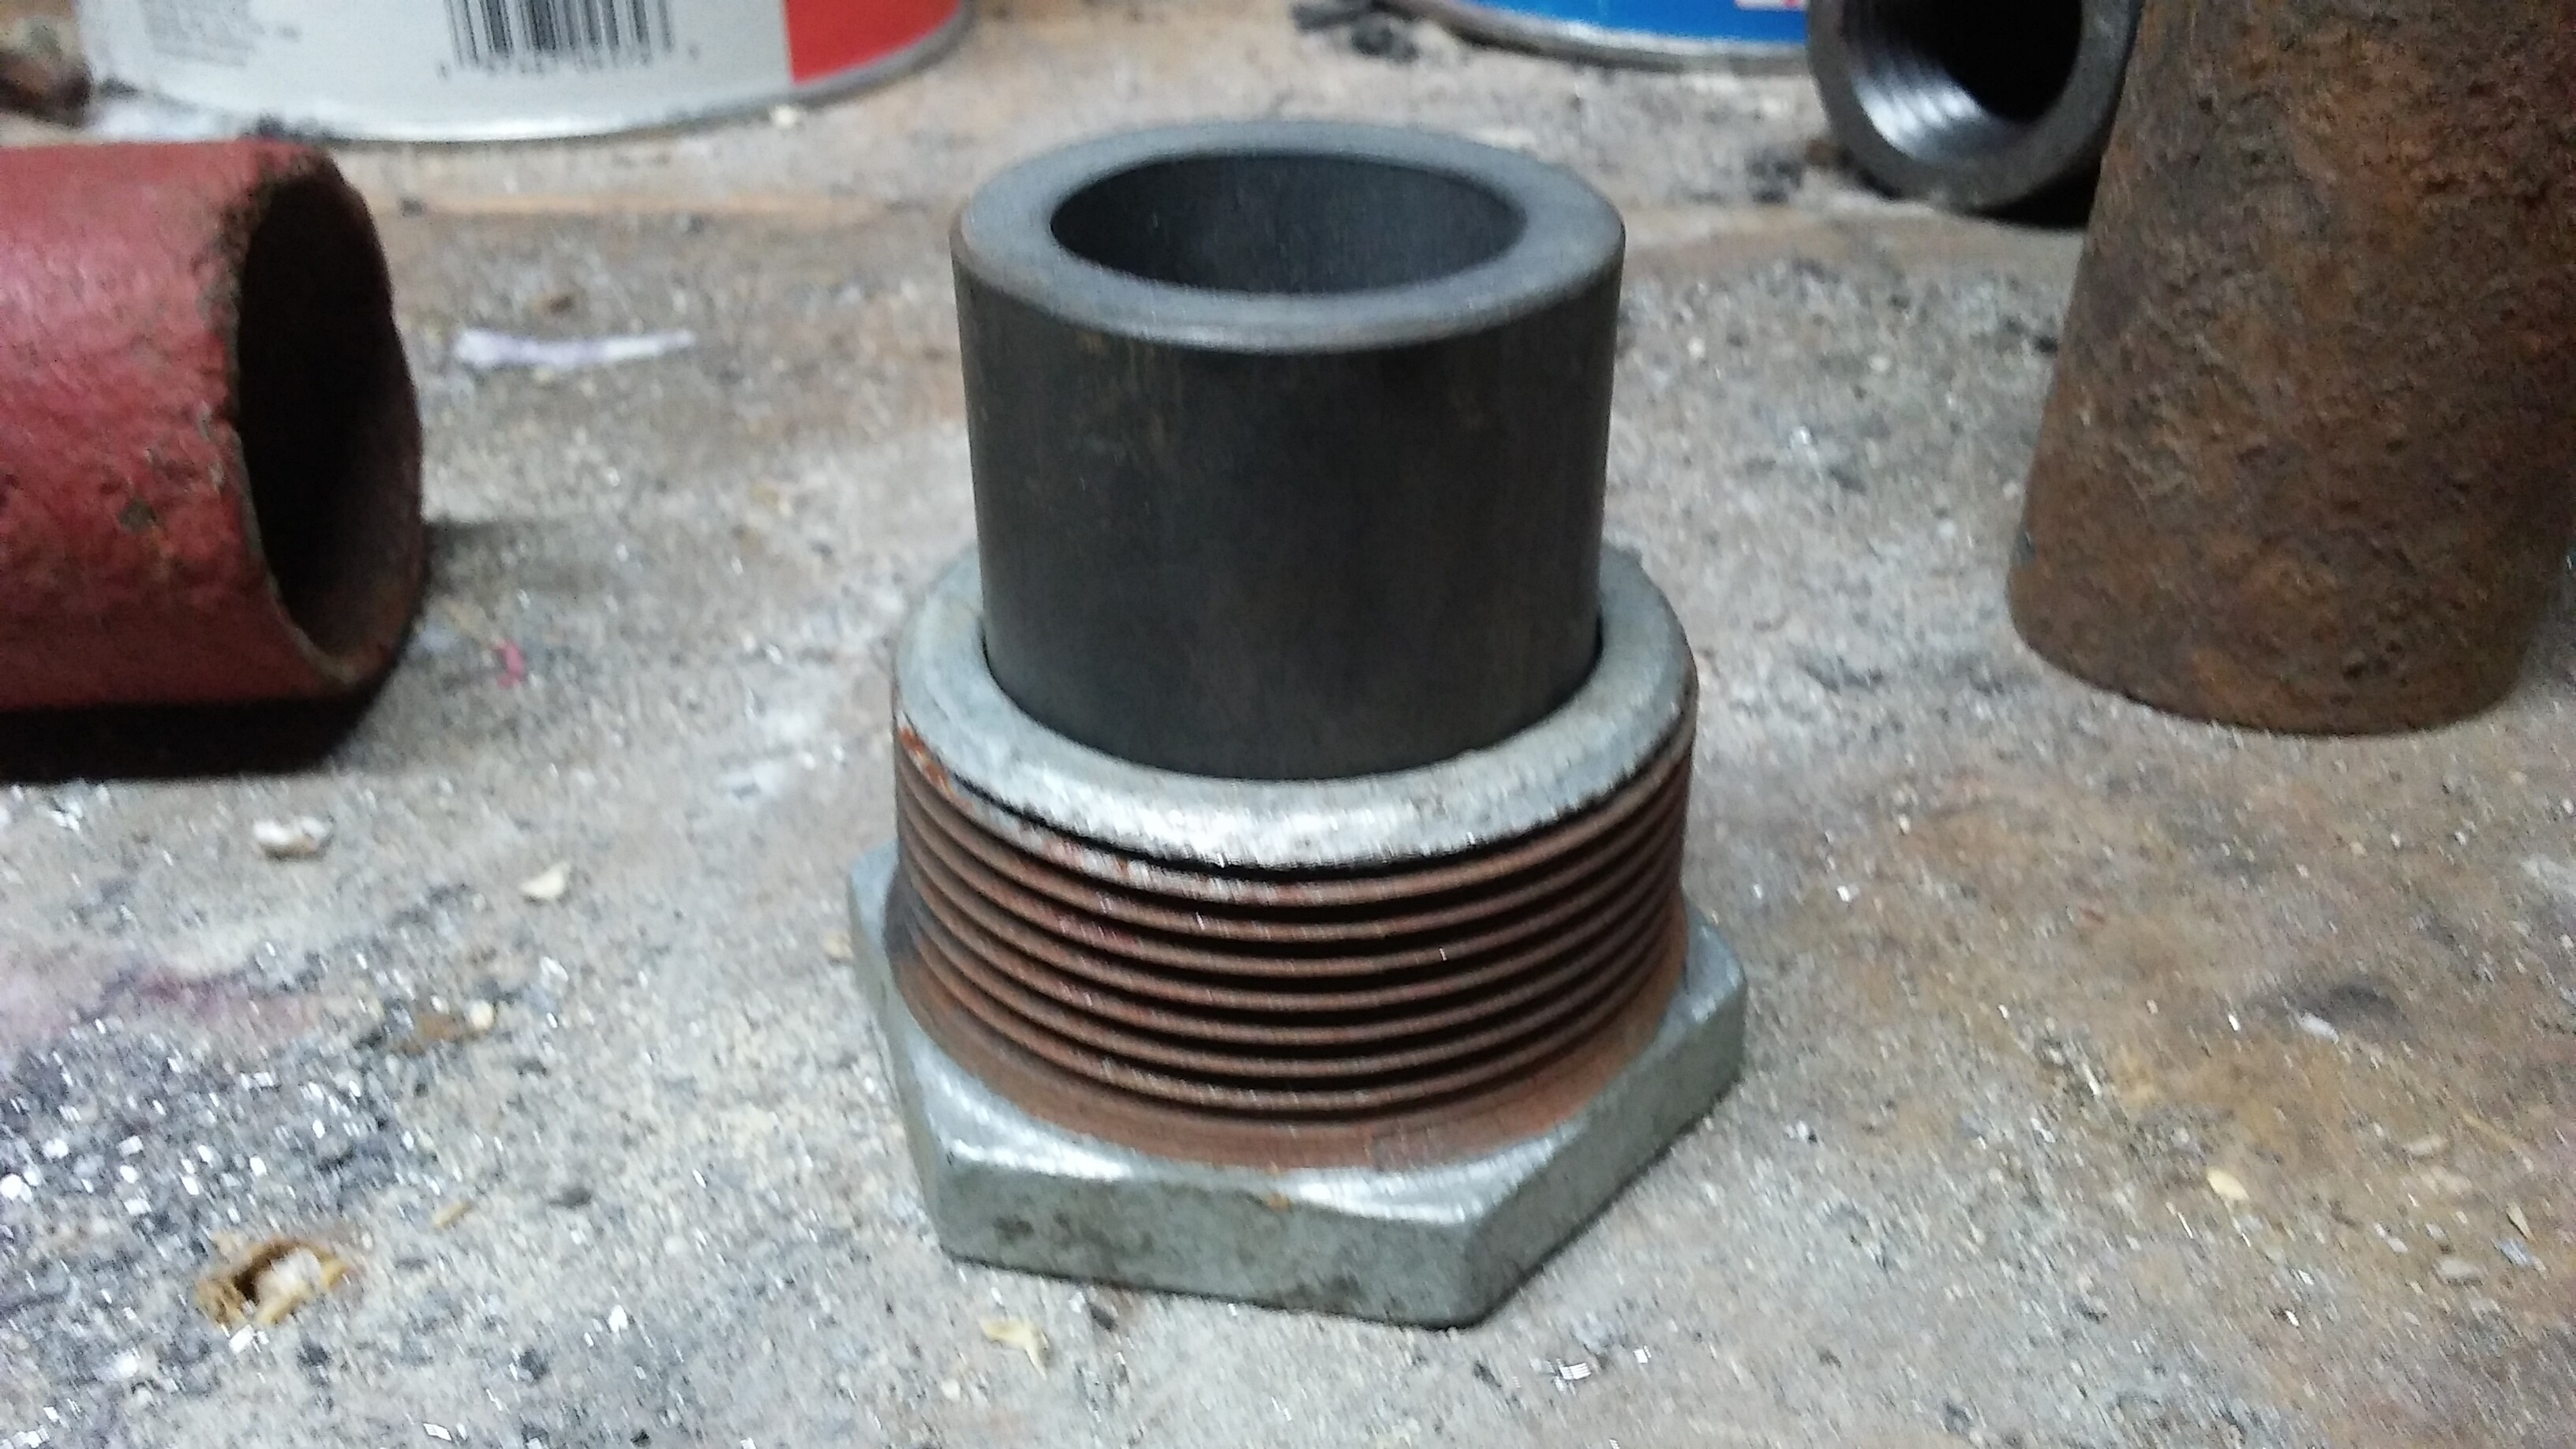
I think that those hexaloy tube must be all different sizes. I took a precise measurement on mine which I got back in March. it is 7/8 ID and 1 and 7/32 OD. These are the things I had on hand that it would fit into.
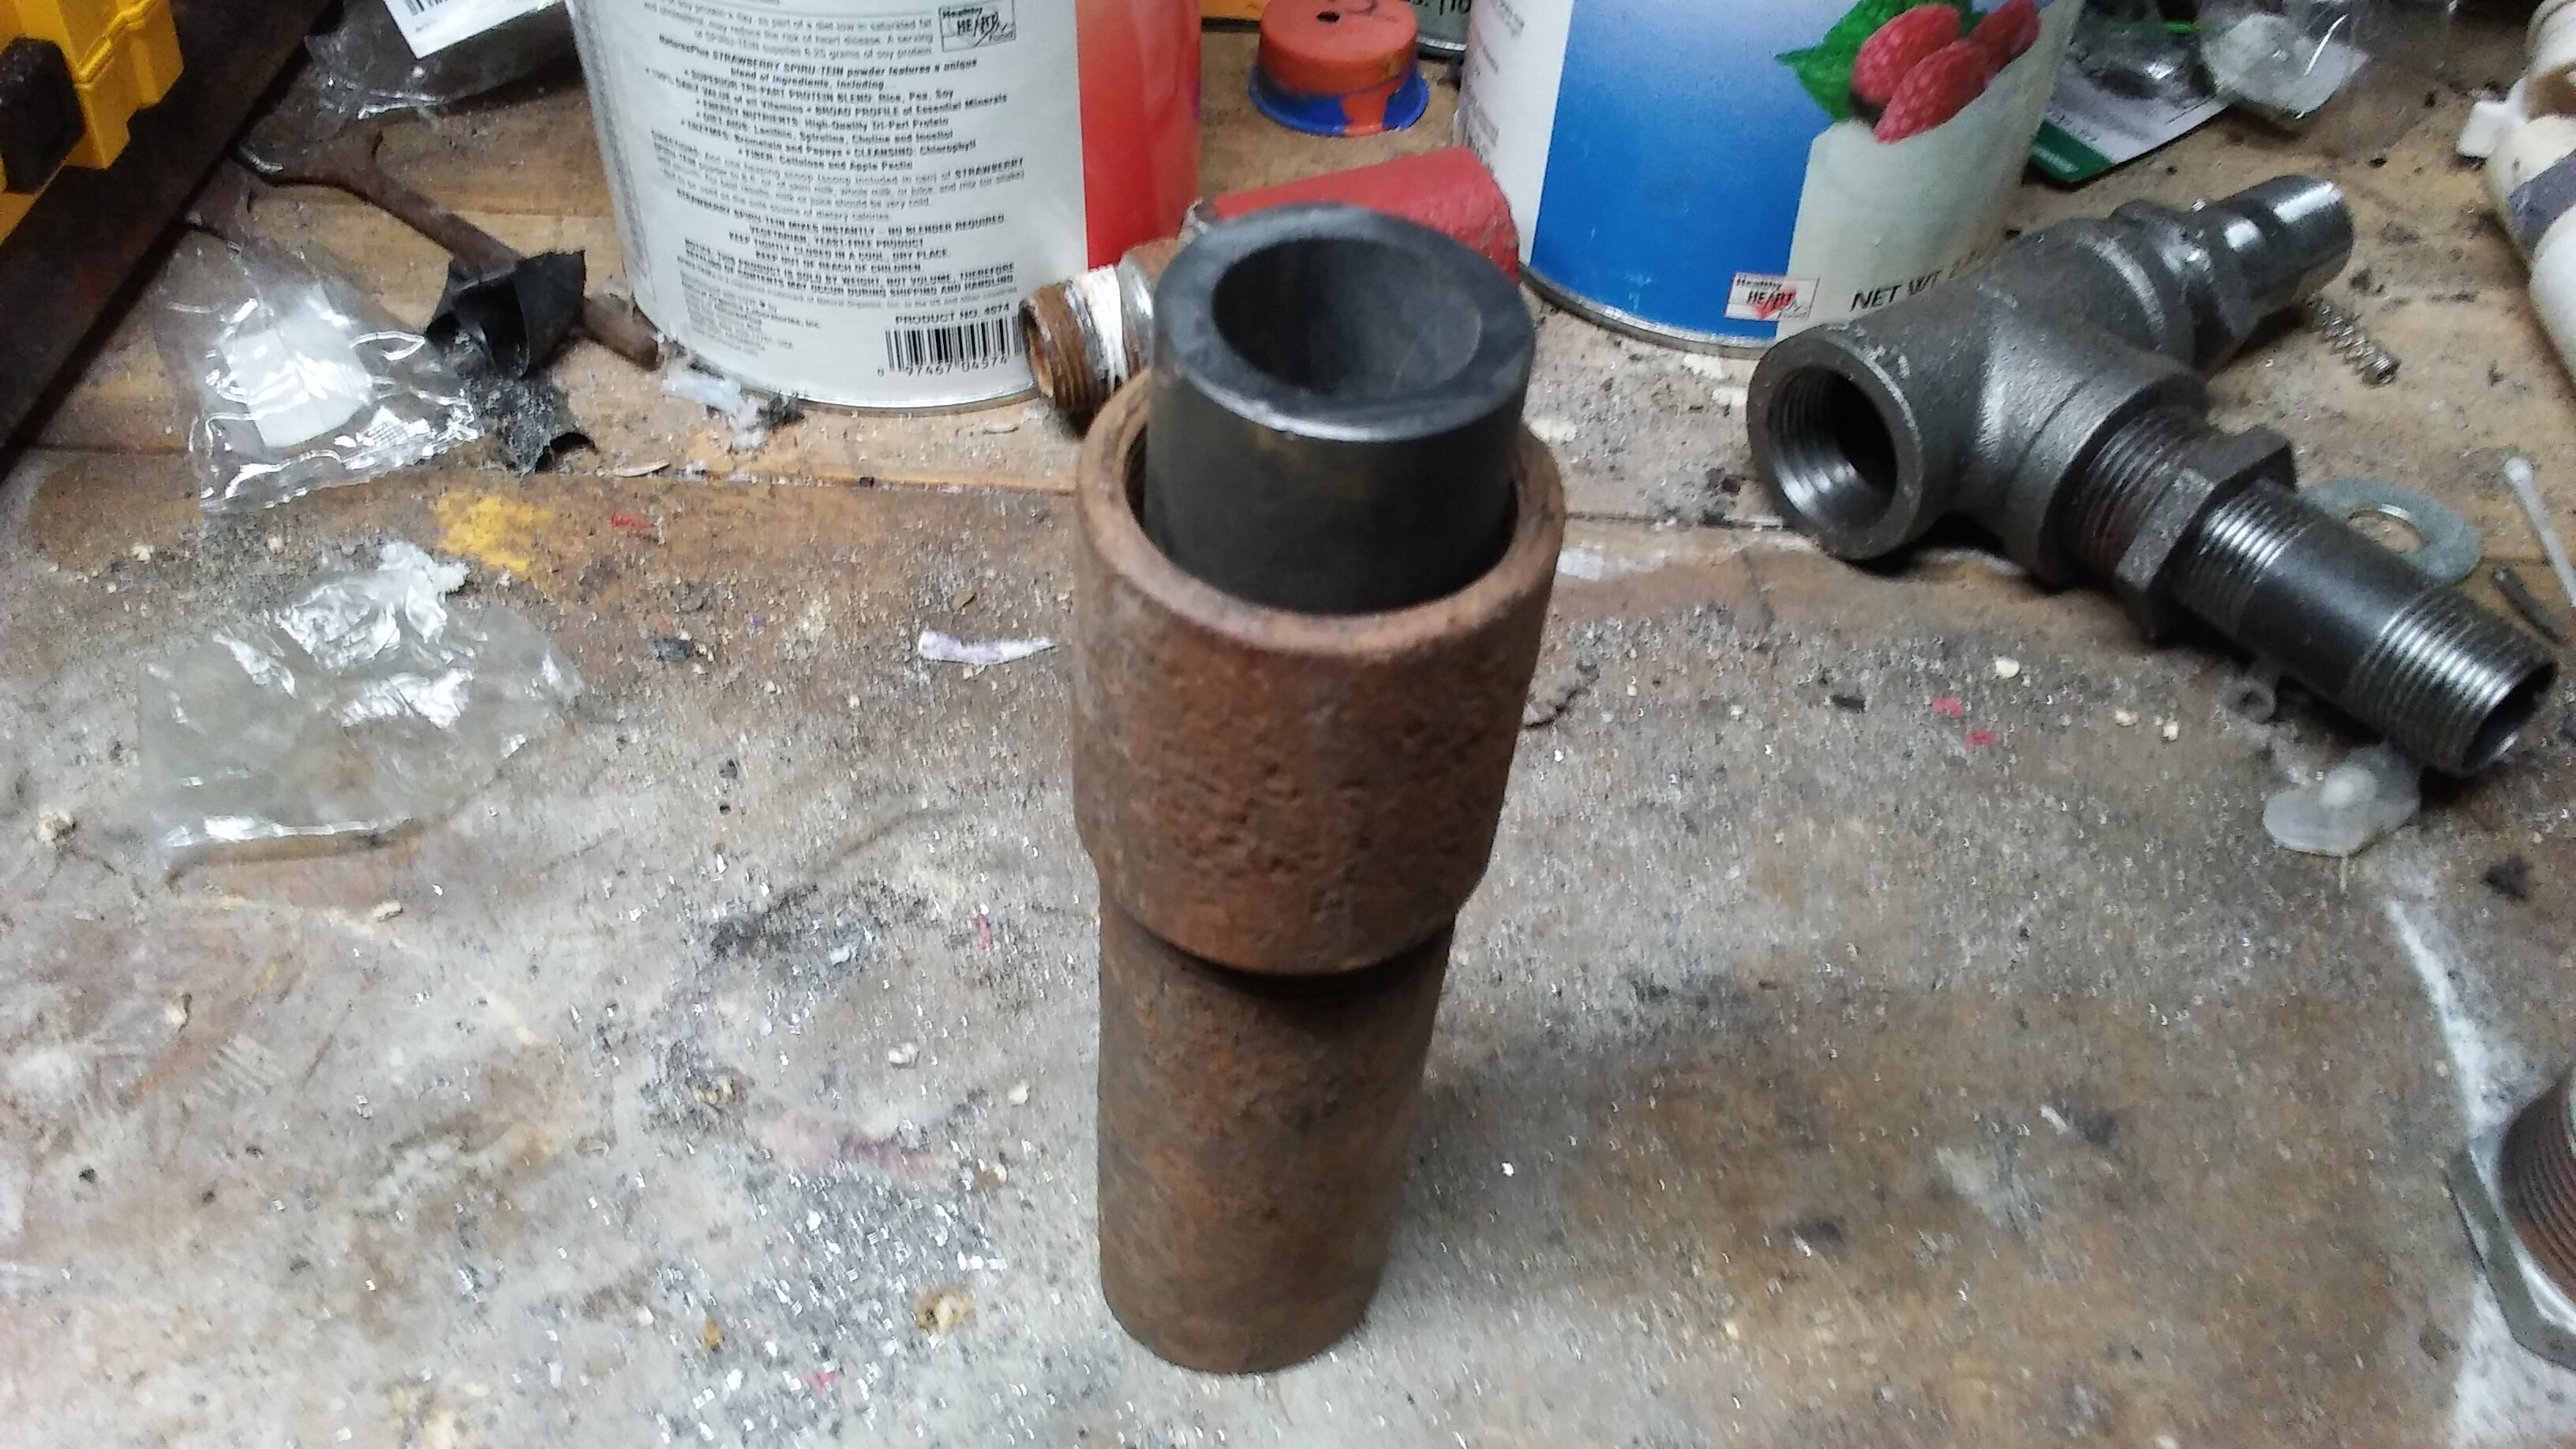
This is the hexaloy in a piece of inch and a half tubing with a half of a dielectric union pounded in the other end. I’ll tack the union on to the tubing and test this in the Homestead gasifier with the 8 inch reactor. It won’t be getting two years of testing in there but I say that if I pull it out in a couple months and it is still fairly pristine then it would last for years. I wish I would have bought more when I got that one. Shipping probably would have been about the same. I may order a few more.
Hi Tom , i notice a small chip on the Hexoloy in the last photo just be aware they are somewhat brittle , i took a large chunk out of my one when i was poking a rod up from below to clear the clinkers on top and must have gone too hard with it , luckily i just turned it around so the chipped end is now in the holder
Can you remember how much they charged you for postage ?
I just took another look i think they charged you about $4.15 they want $18.25 for 1 or 2 or just under $30 for 4 to Australia if i convert that to AU $ thats about $13 each and $39 postage hmmm bit pricey but might be worth grabbing a few more in case anyone local wants to build a charcoal gasifer or i smash my old one when cleaning up
I had thought about a water jacket setup for the Svedlund type build I want to try. Mostly to protect it while it’s sitting in shutdown mode. Use natural thermal siphoning for flow, probably hold the tank higher than the nozzle itself.
Nozzle was 10 bucks and the shipping 5 Dave. I’m definitely going to order more. I stuck the red tube one in the 8 inch reactor yesterday and it worked fine. Generator wouldn’t run though on any fuel so I’ll have to get into that today. I hate that thing. That shipping seems nutz. Seems like a place as big as Australia someone would have something like that for sale.
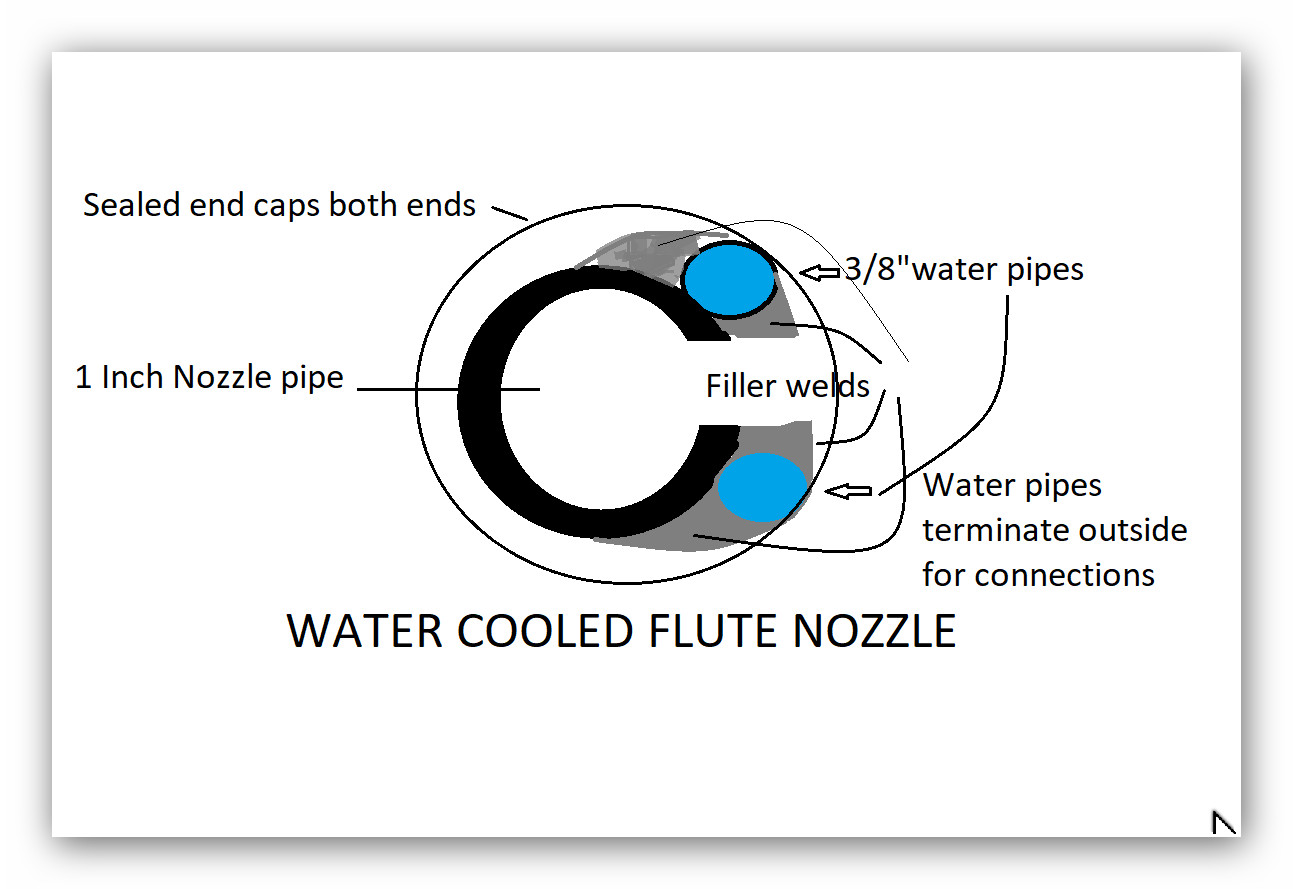
I’ve been planning to do something like that Don. I thought about a fluted nozzle inside of another pipe and that casing pipe running through the reactor shell with small diameter stainless tubes through the casing into the flute holes. There would probably be enough slop where the tubes went though the casing for the water to flash to steam and escape but most of the water would just circulate back around for another pass. It would look really similar to your picture if the outer line around your nozzle was the casing pipe.
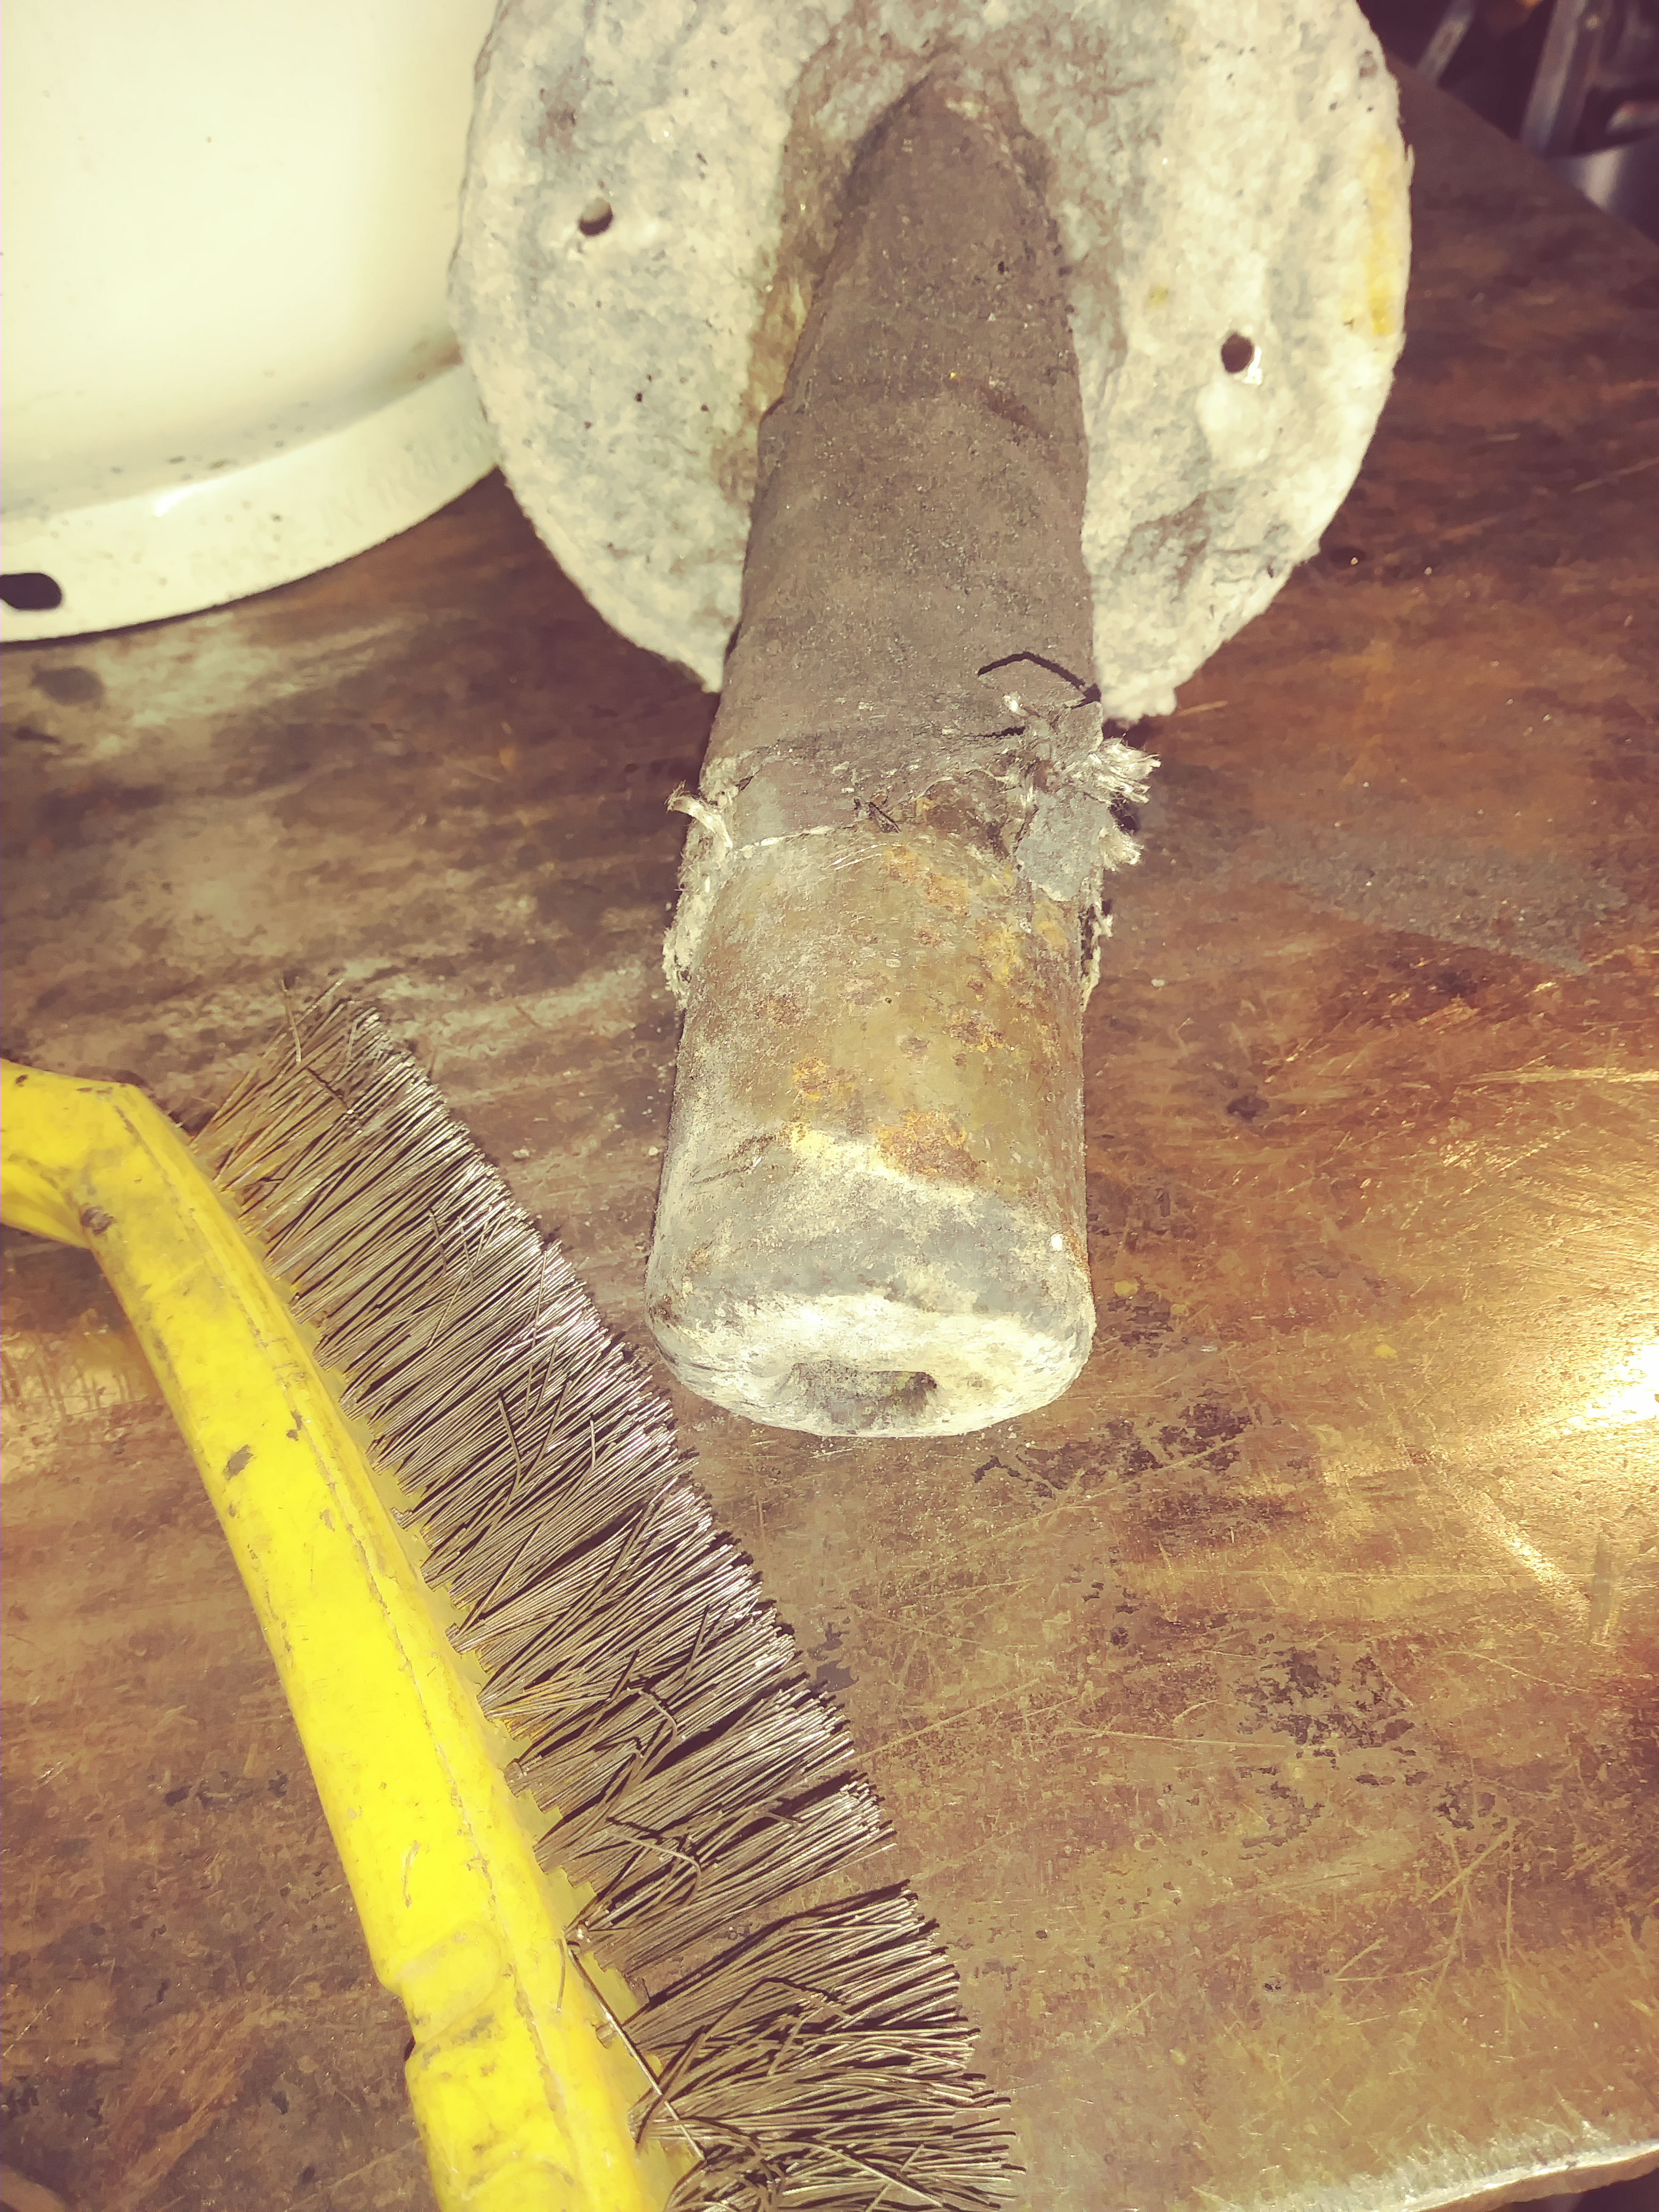
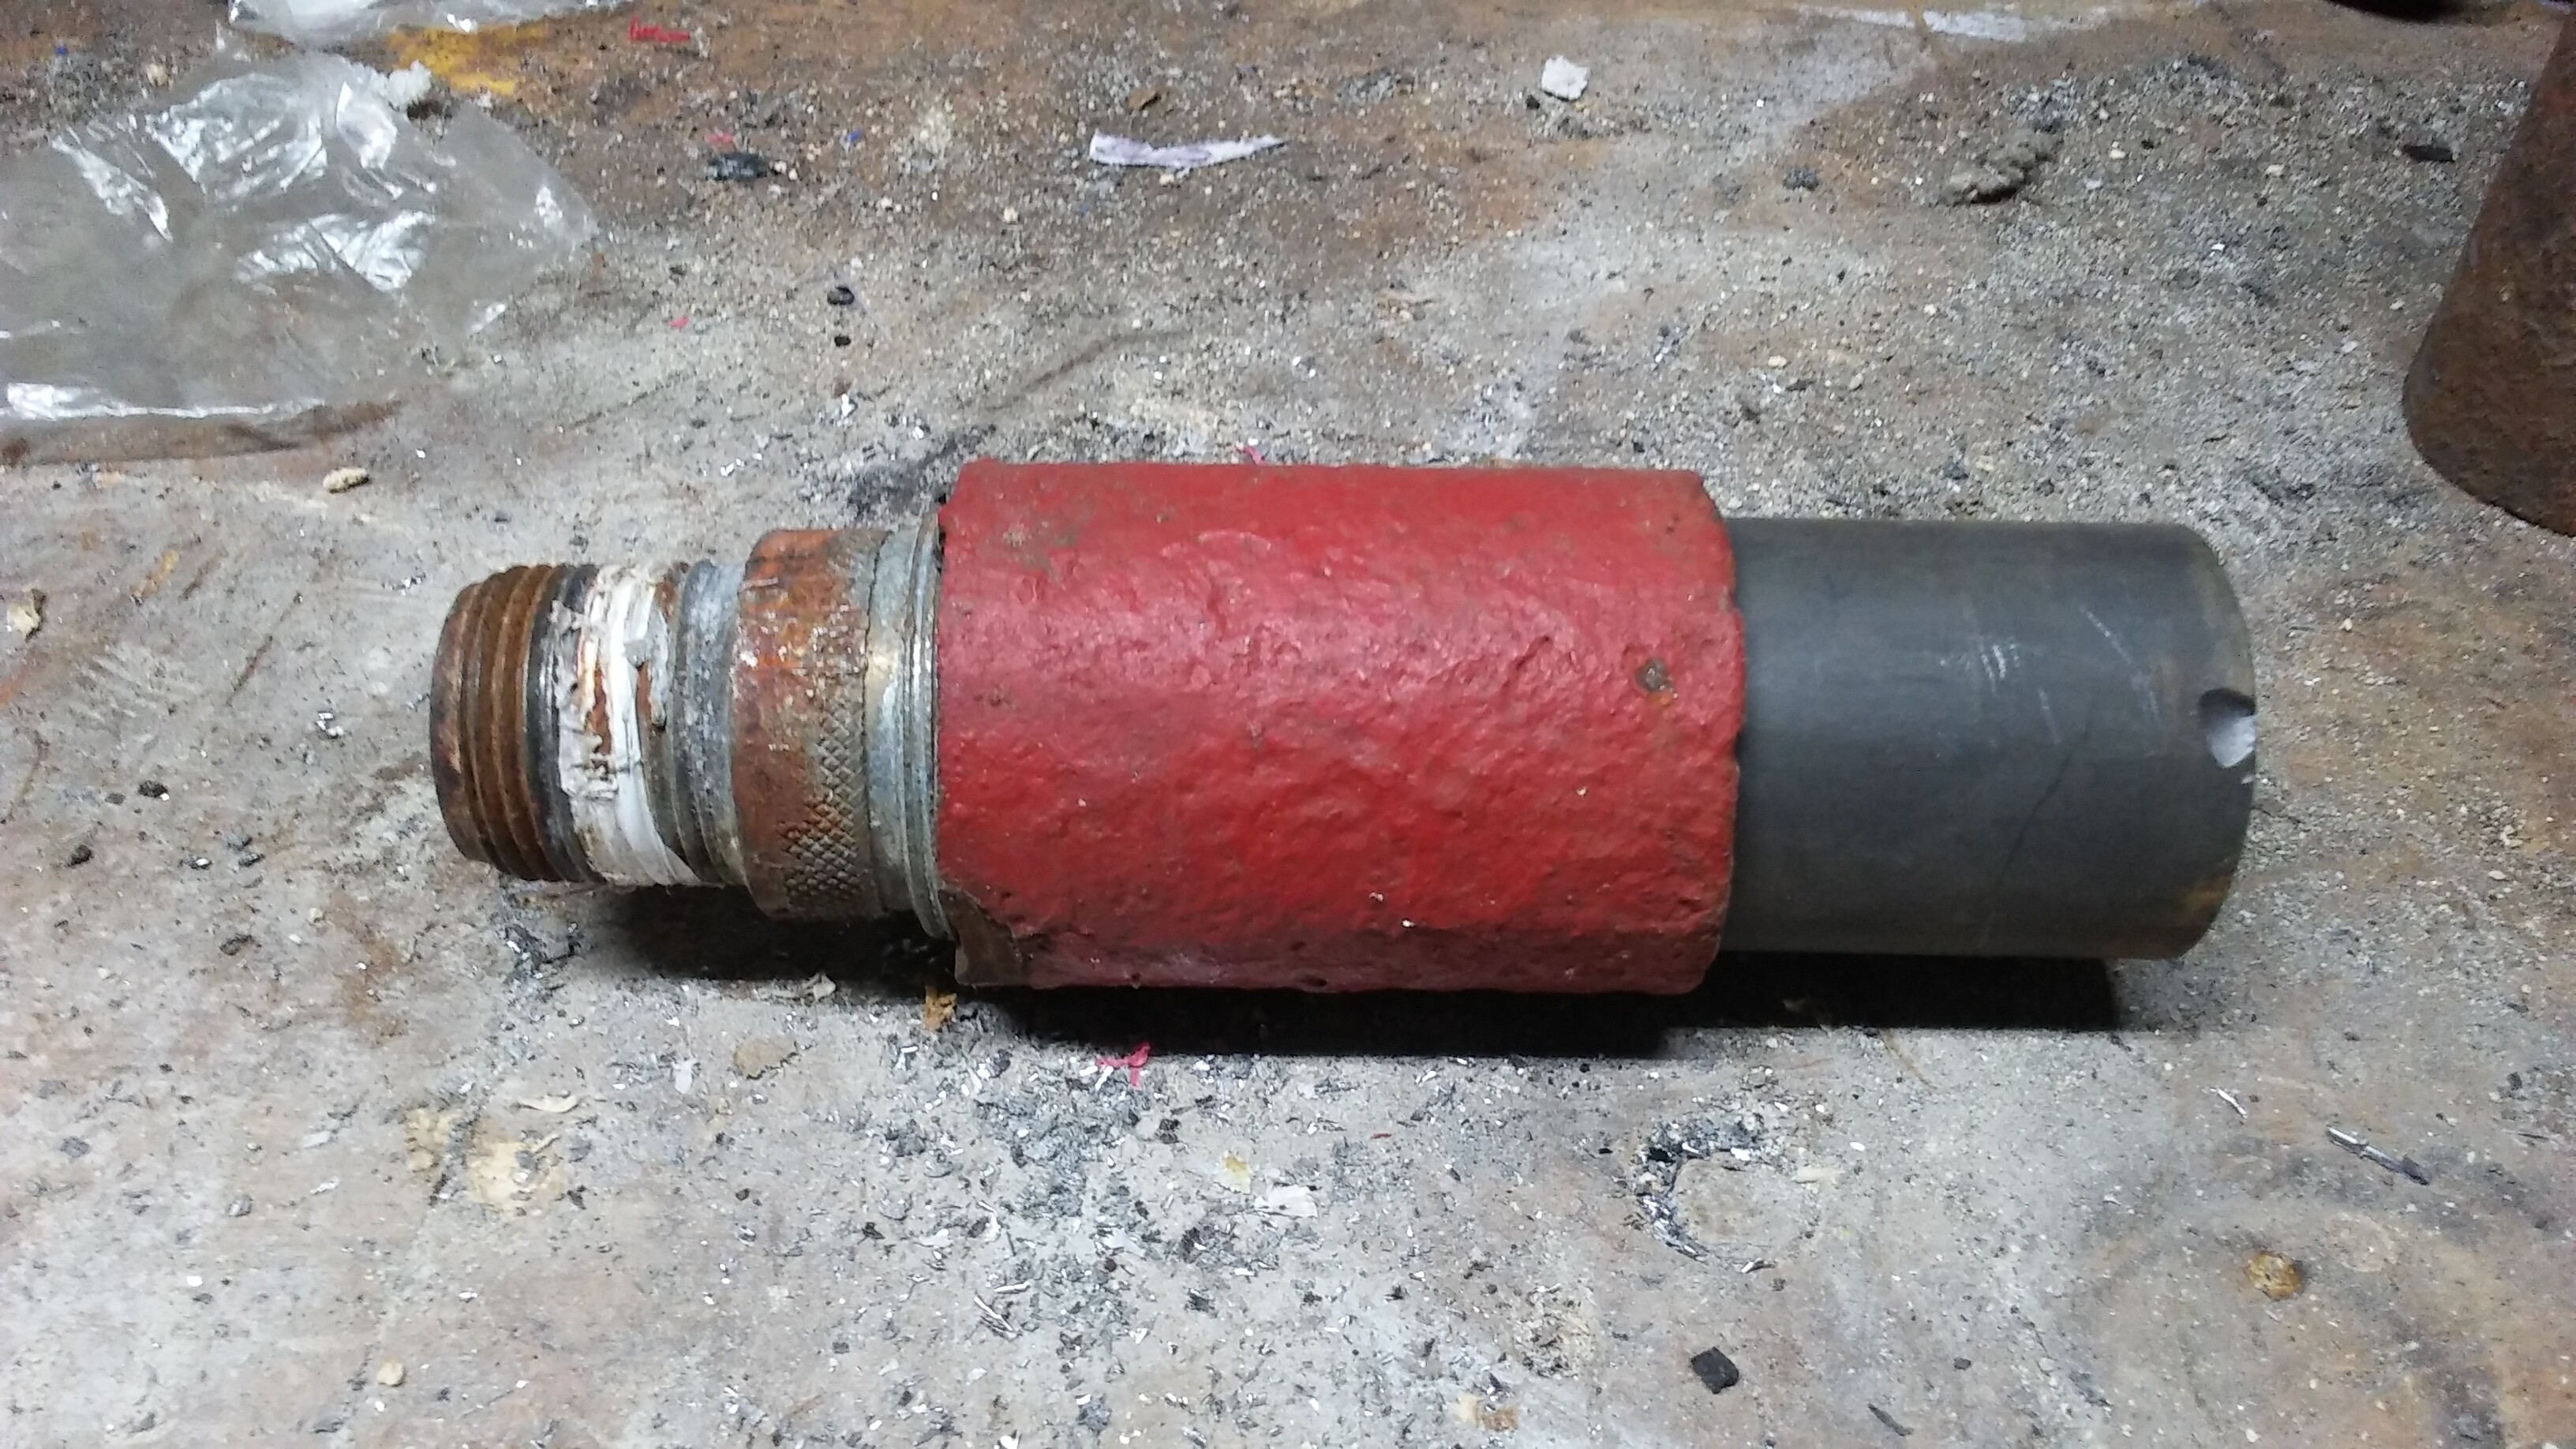
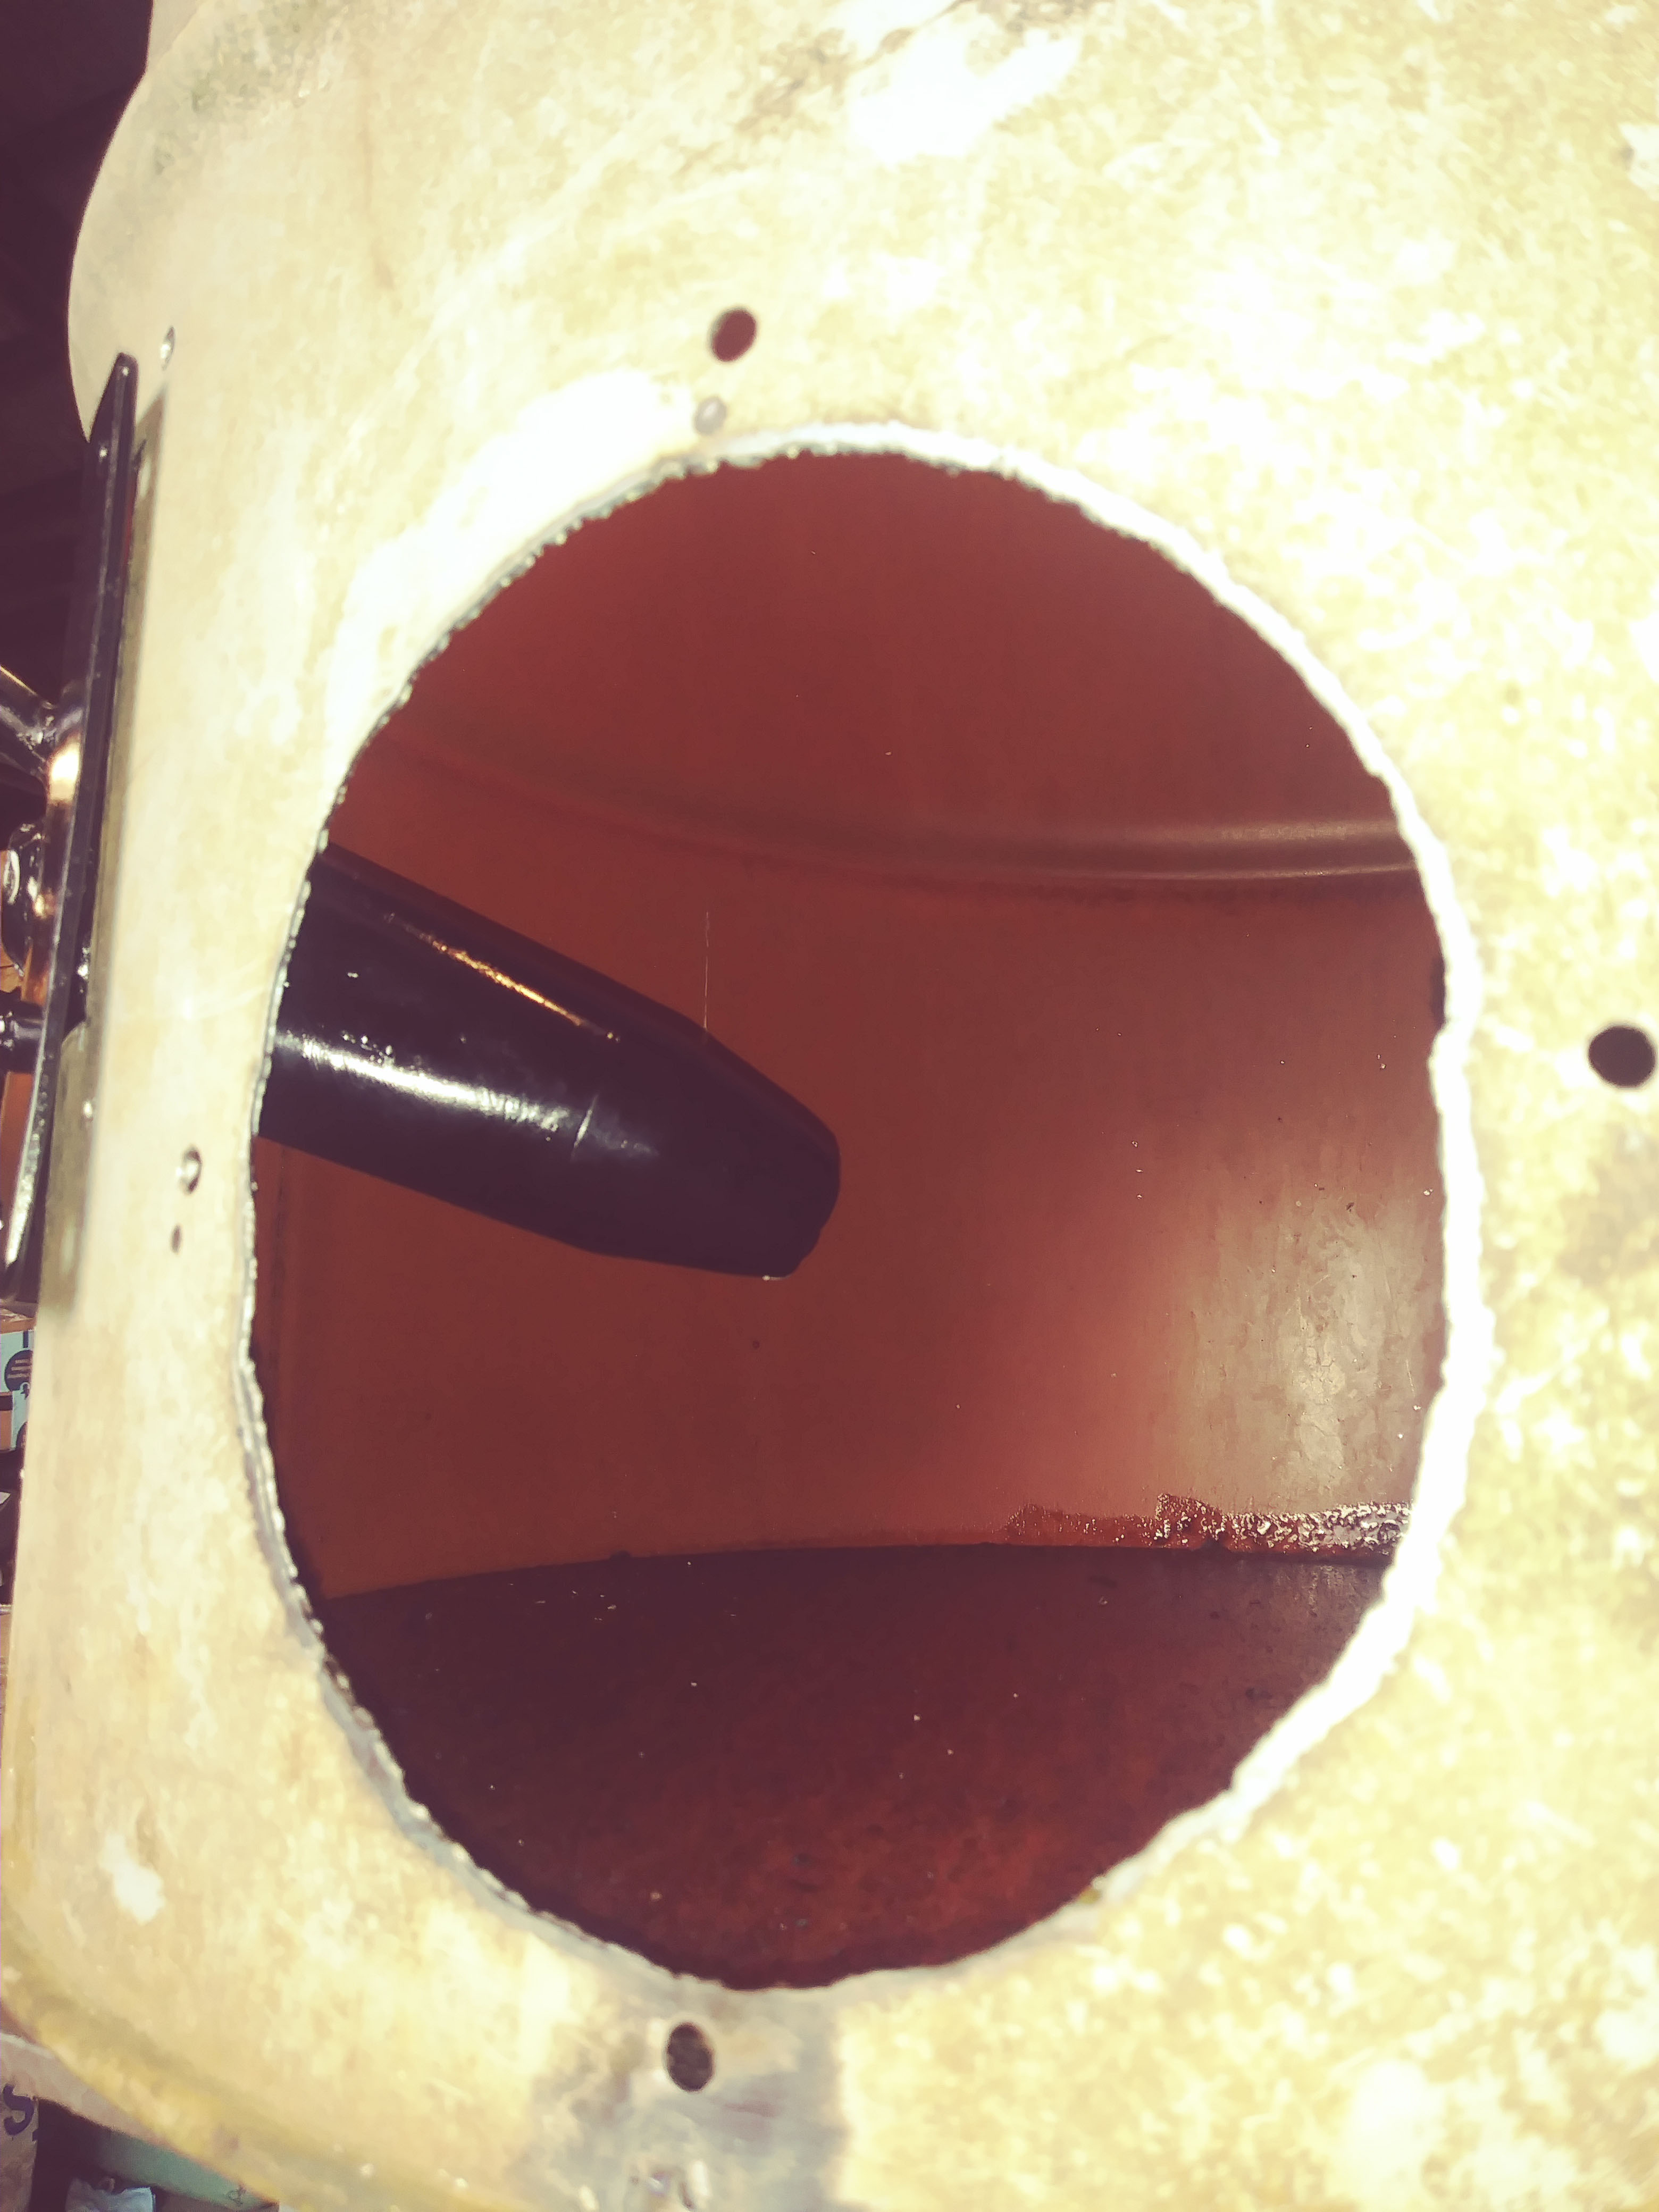
I got tired of melting nozzles of all kinds and copied a WW2 design (French I think) liquid cooled design. It is mild steel, half inch ID for a smaller generator.
It has about 20 hours on it (I repainted it for a new build), with no detectable degradation.
The ports are oriented to promote thermo-syphon flow, which works well. No steam is generated. It does remove A LOT of heat. It will heat a five gallon reservoir to boiling in an hour or so. This is with the bulk of the nozzle insulated, only the tip being bare metal.
I was worried that this heat removal might chill the reaction but it slags the ash and runs at about 1kwhr per gallon of charcoal.
One idea is to integrate the nozzle coolant into the engine coolant flow for complete confidence in your nozzle.
The downward angle is ideal for the heat flow, and it also directs the clinker formation off the lower lip, preventing air flow obstruction. This is especially important for very small engines.
It sounds like you guys have found some good uncooled nozzle solutions…
Disclosure: I intend to sell these some day
Chuck from Sandy, Oregon
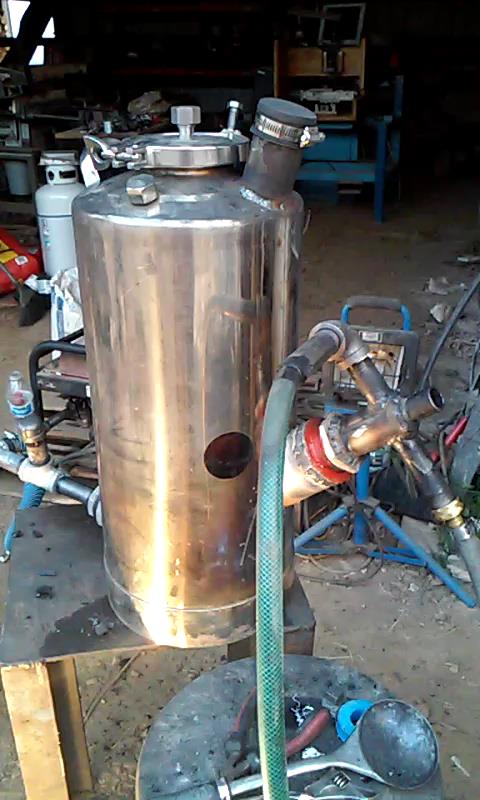
Cold startup of very small gasifier targeting 1kw output using the liquid cooled nozzle.
Notice the heat in the approximately 5 gallon coolant tank after less than five minutes from cold start.
You old timers can tell from the flame color it’s cold and wet. Keeping your charcoal dry in the winter in the PNW is not easy.
A small, high velocity nozzle makes cold starts with questionable char possible (though not desirable).
It did continue to run, warm up, and carry a 1kw load.
That coolant tank would start to boil over after 45 minutes or so with only 1kw load.
The hoses carrying the coolant are 1/2 (I think), the vertical distance between hot and cold is minimal, and the thermosyphon works flawlessly.
Chuck from Sandy, Oregon
Good works you are doing ChuckW.
The other thing about PNW wetside is although we don’t need the heat the really cold, cold folk do . . . we need a lot of days heating to keep our shops from internally sweating and rusting.
And boots, socks, raingear and wet dogs drying.
Your nozzle system CHP’s the heat for that.
Plus I like hot strong black teas. You are making the boiling hot water.
Regards
Steve Unruh
Sort of an updraft really. Nozzle points down a little, but the exit is at the top. Pretty much a direct copy of that WW2 gasifier (which I will now have to find the source material for)
**A grate is too much hassle, parts to make and break.
**The updraft preheats the descending fuel for a small efficiency boost.
**The clinker is always in the same place, just beneath the nozzle but never blocking it.
**The angled nozzle prevents descending fuel from choking air flow (important for small engines).
**The fuel bed surrounds the nozzle/fire zone and insulates it very well.
**Ash and dust settle somewhat into the fuel bed beneath the nozzle which you then remove partially with the clinker and screen for re-use.
Nope, it was page 74-75 (pdf page numbers) of this document. I didn’t see this in the Library… did I miss it?
I took especially close note of the information on pg 79- 80 about blast velocity and the implications about gas quality, lack of classic reduction zones, and the simplification provided by ignoring grates and reduction zones.
It’s all mashed together in my unreliable memory.
I bet that downward angle helps to get that last bit of char.
So just by looking at it you’ve added a “simple” water jacket with two nipples for water in and out? No baffling or whatever to make the water dwell longer in the jacket?
Hi ChuckW,
No you did not miss this in the DOW library. It is not there. I’ve heard partial references to this publication but never a link to a clean copy. Thanks much for this.
Hopefully DOW Administrator Chris Seanz will be able to add this to the library.
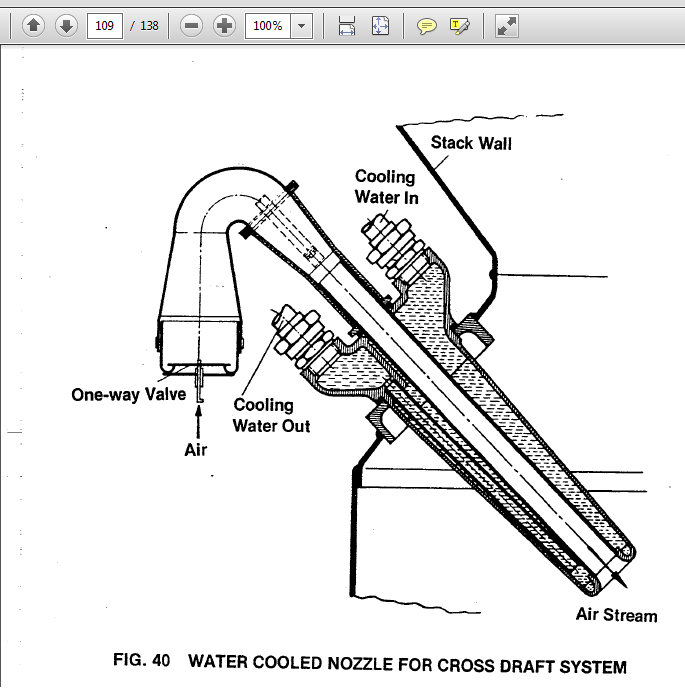
I think your nozzle design is very close to what had been used successfully. Compare here:
And your links to the Making Charcoal topic about flame capping are original to the DOW too.
Best Regards
Steve unruh
Hey SteveU, glad to add something to the library!
After looking at all those drawings, it looks like a sorta-suedo copy of a lot of things!
It’s all been done before, eh?
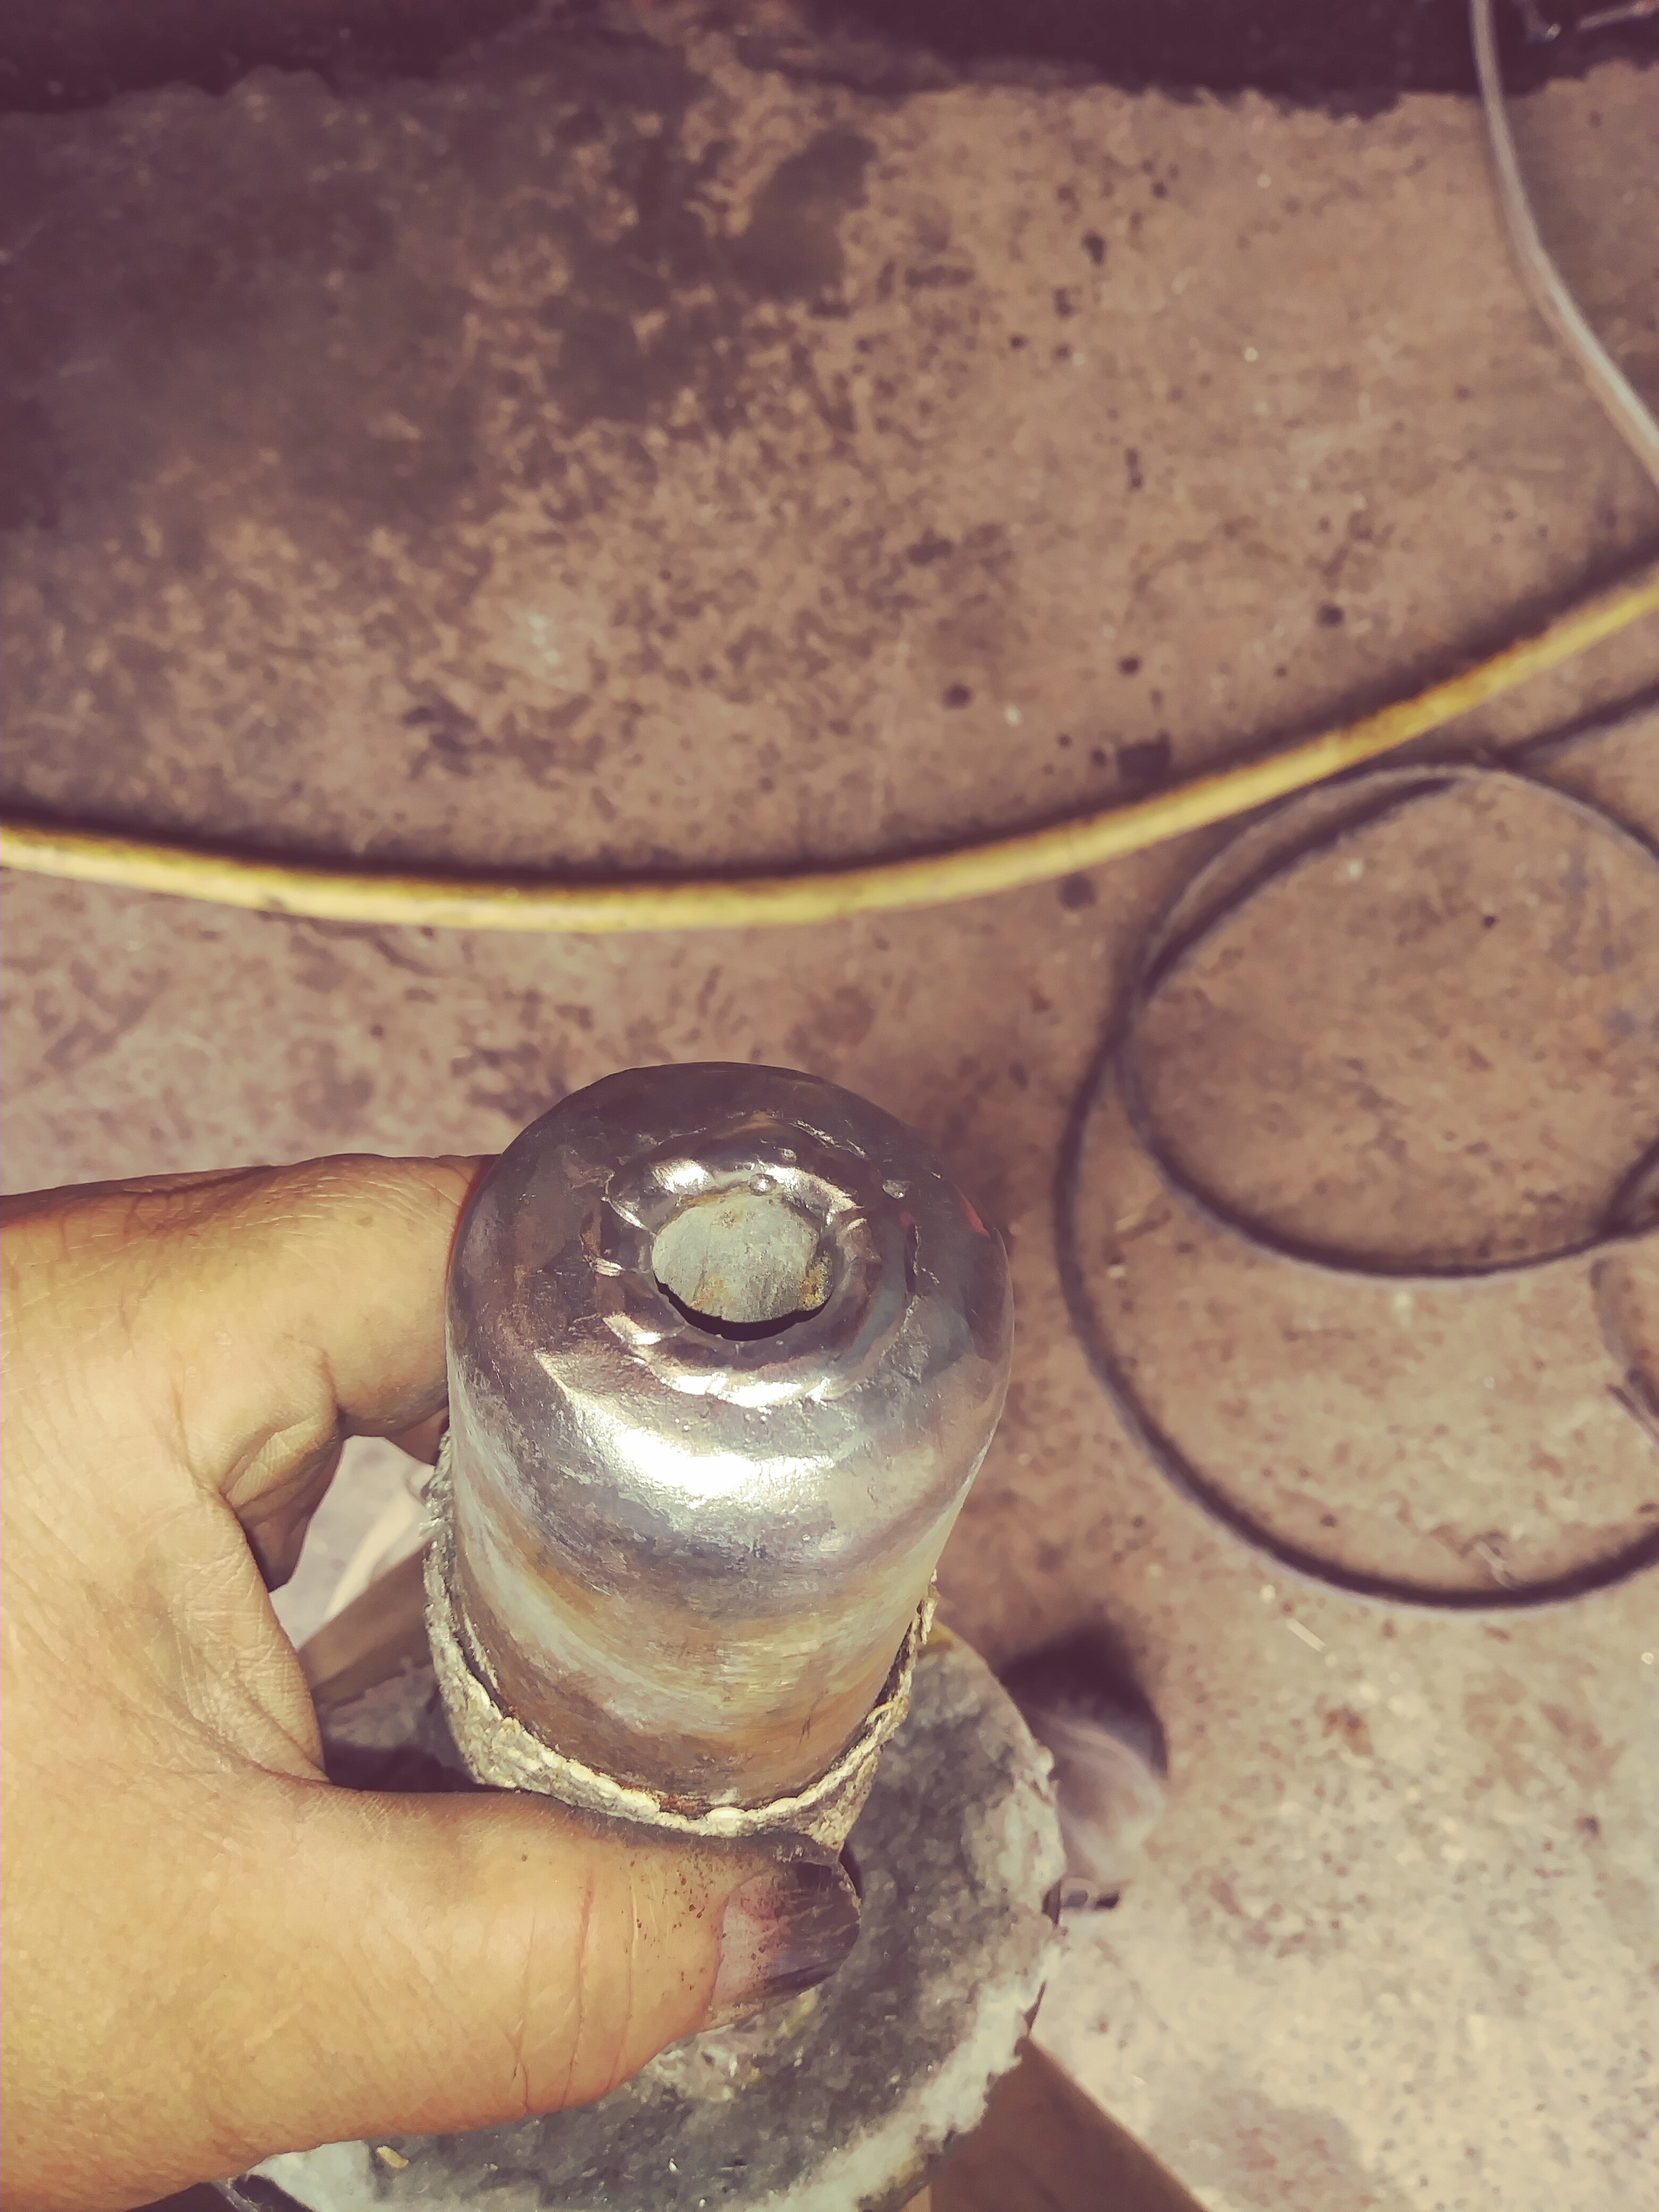
Hey Cody, the nozzle I made started with a 2" pipe with .095 wall. The inner pipe is half inch ID, so probably 3/4" OD. The water space is whatever fits between them when nested.
You’ll notice the 2" pipe is ‘smashed’ flat at the flange until it touches the inner pipe. The oblong shape is ideal for locating the input and output pipes. Reducing the outer pipe to meet the inner also segregates the hot and cold flow somewhat so the coolant is encouraged to flow toward the hot end of the nozzle before rising through the outlet.
I don’t think the shape is terribly important. The heat carrying capacity of water/coolant is very high. Here is an earlier design with a square end. It worked well but the increased surface area facing the fire caused it to absorb significantly more heat.
The blunt end protected the nozzle opening from fuel blockage, however, and allowed very low turn down on a tiny gasifier.
Note the eroded exhaust manifold wrap material I used to insulate it somewhat.
Thanks Koen, I’ve been absorbing your work for years. Yikes! That’s a lot of reading material in your drive! Lol!
You have very good conversion numbers on your gasifiers (.4kg/kwhr), I’ve wondered for awhile now if the liquid cooled nozzles would seriously affect that. It is removing a lot of heat…
The whole goal was to have dead reliable nozzles you never had to worry about. But if that can be achieved without the complexity or heat penalty…
Chuck from Sandy, Oregon


 ). Very appropriate to small engines.