Thanks Billy. For the pasquali contact Tom Branch at
https://www.italiantractorparts.com
As far as I know he is the only dealer in North America who sell pasquali parts. He is a great guy and has really helped me out with this project.
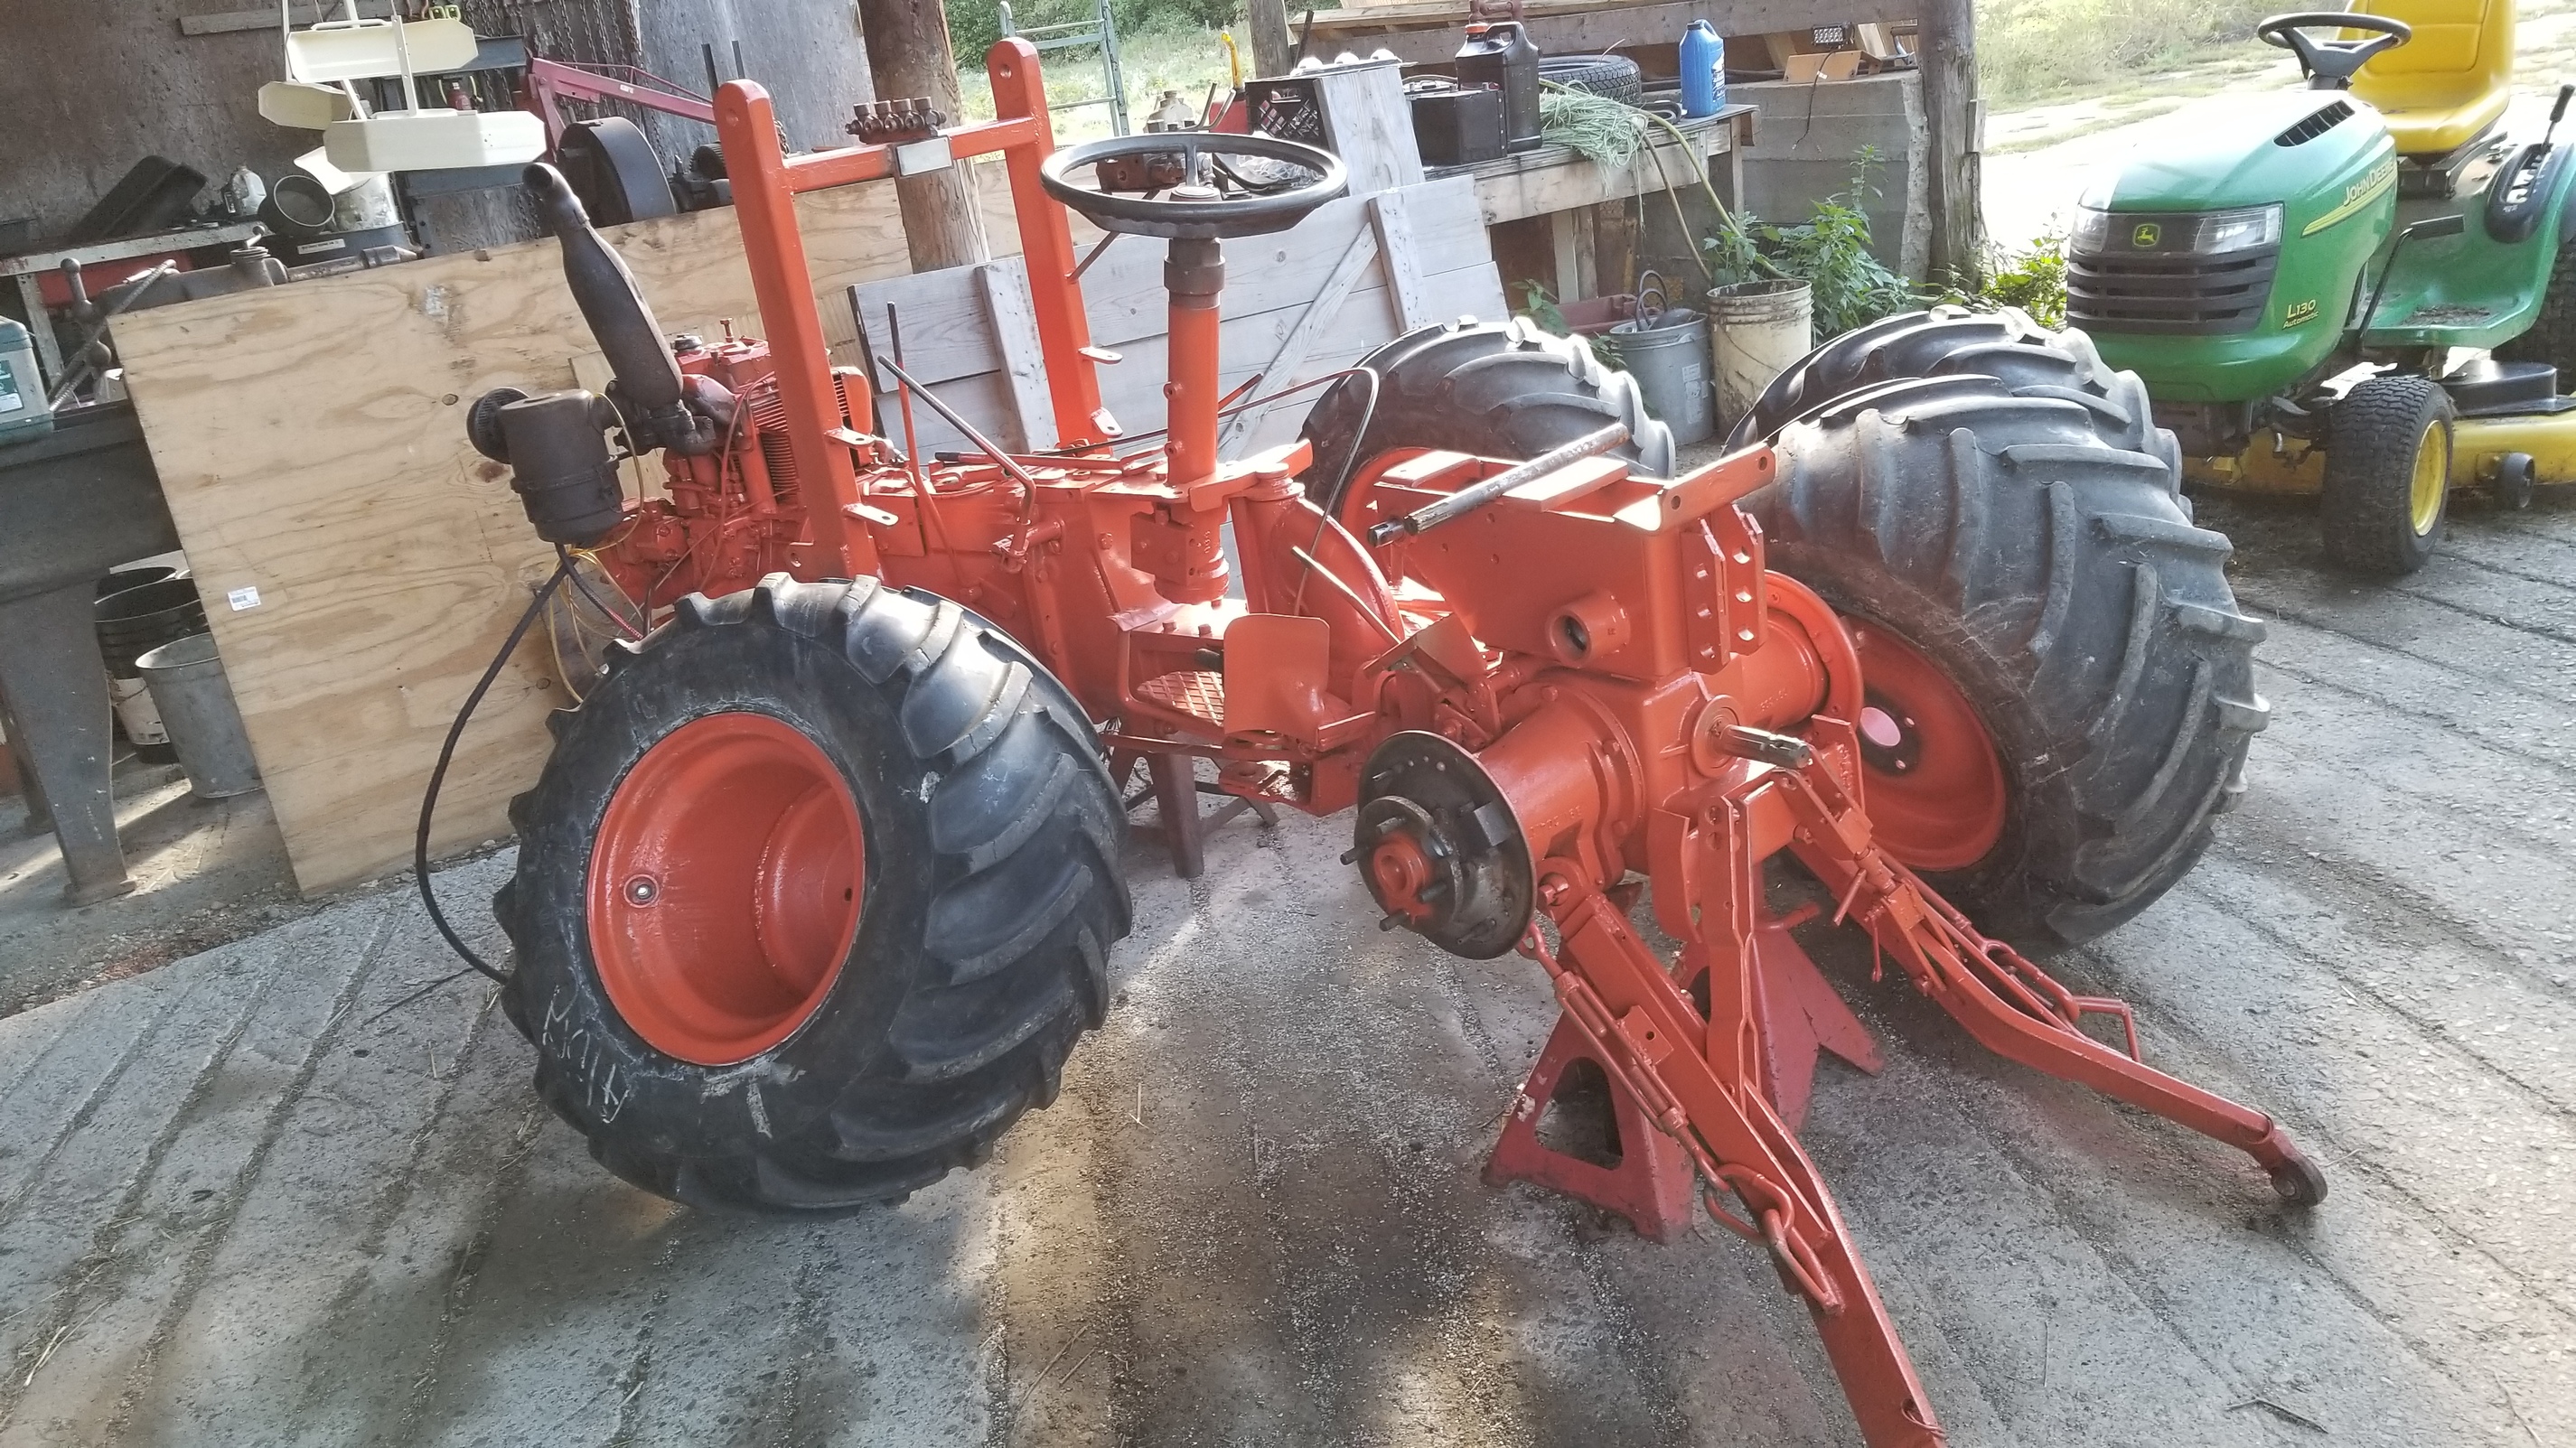
My pasquali has a loader which is why I bought it to get into the tight spaces in my barn to clean it out better then I can with the Allis Chalmers D15.
The pasquali is an amazing little machine. I really can’t wait to get it back to a usable state it is close but haying season has really slowed down progress. I have way too many projects.
5 Likes
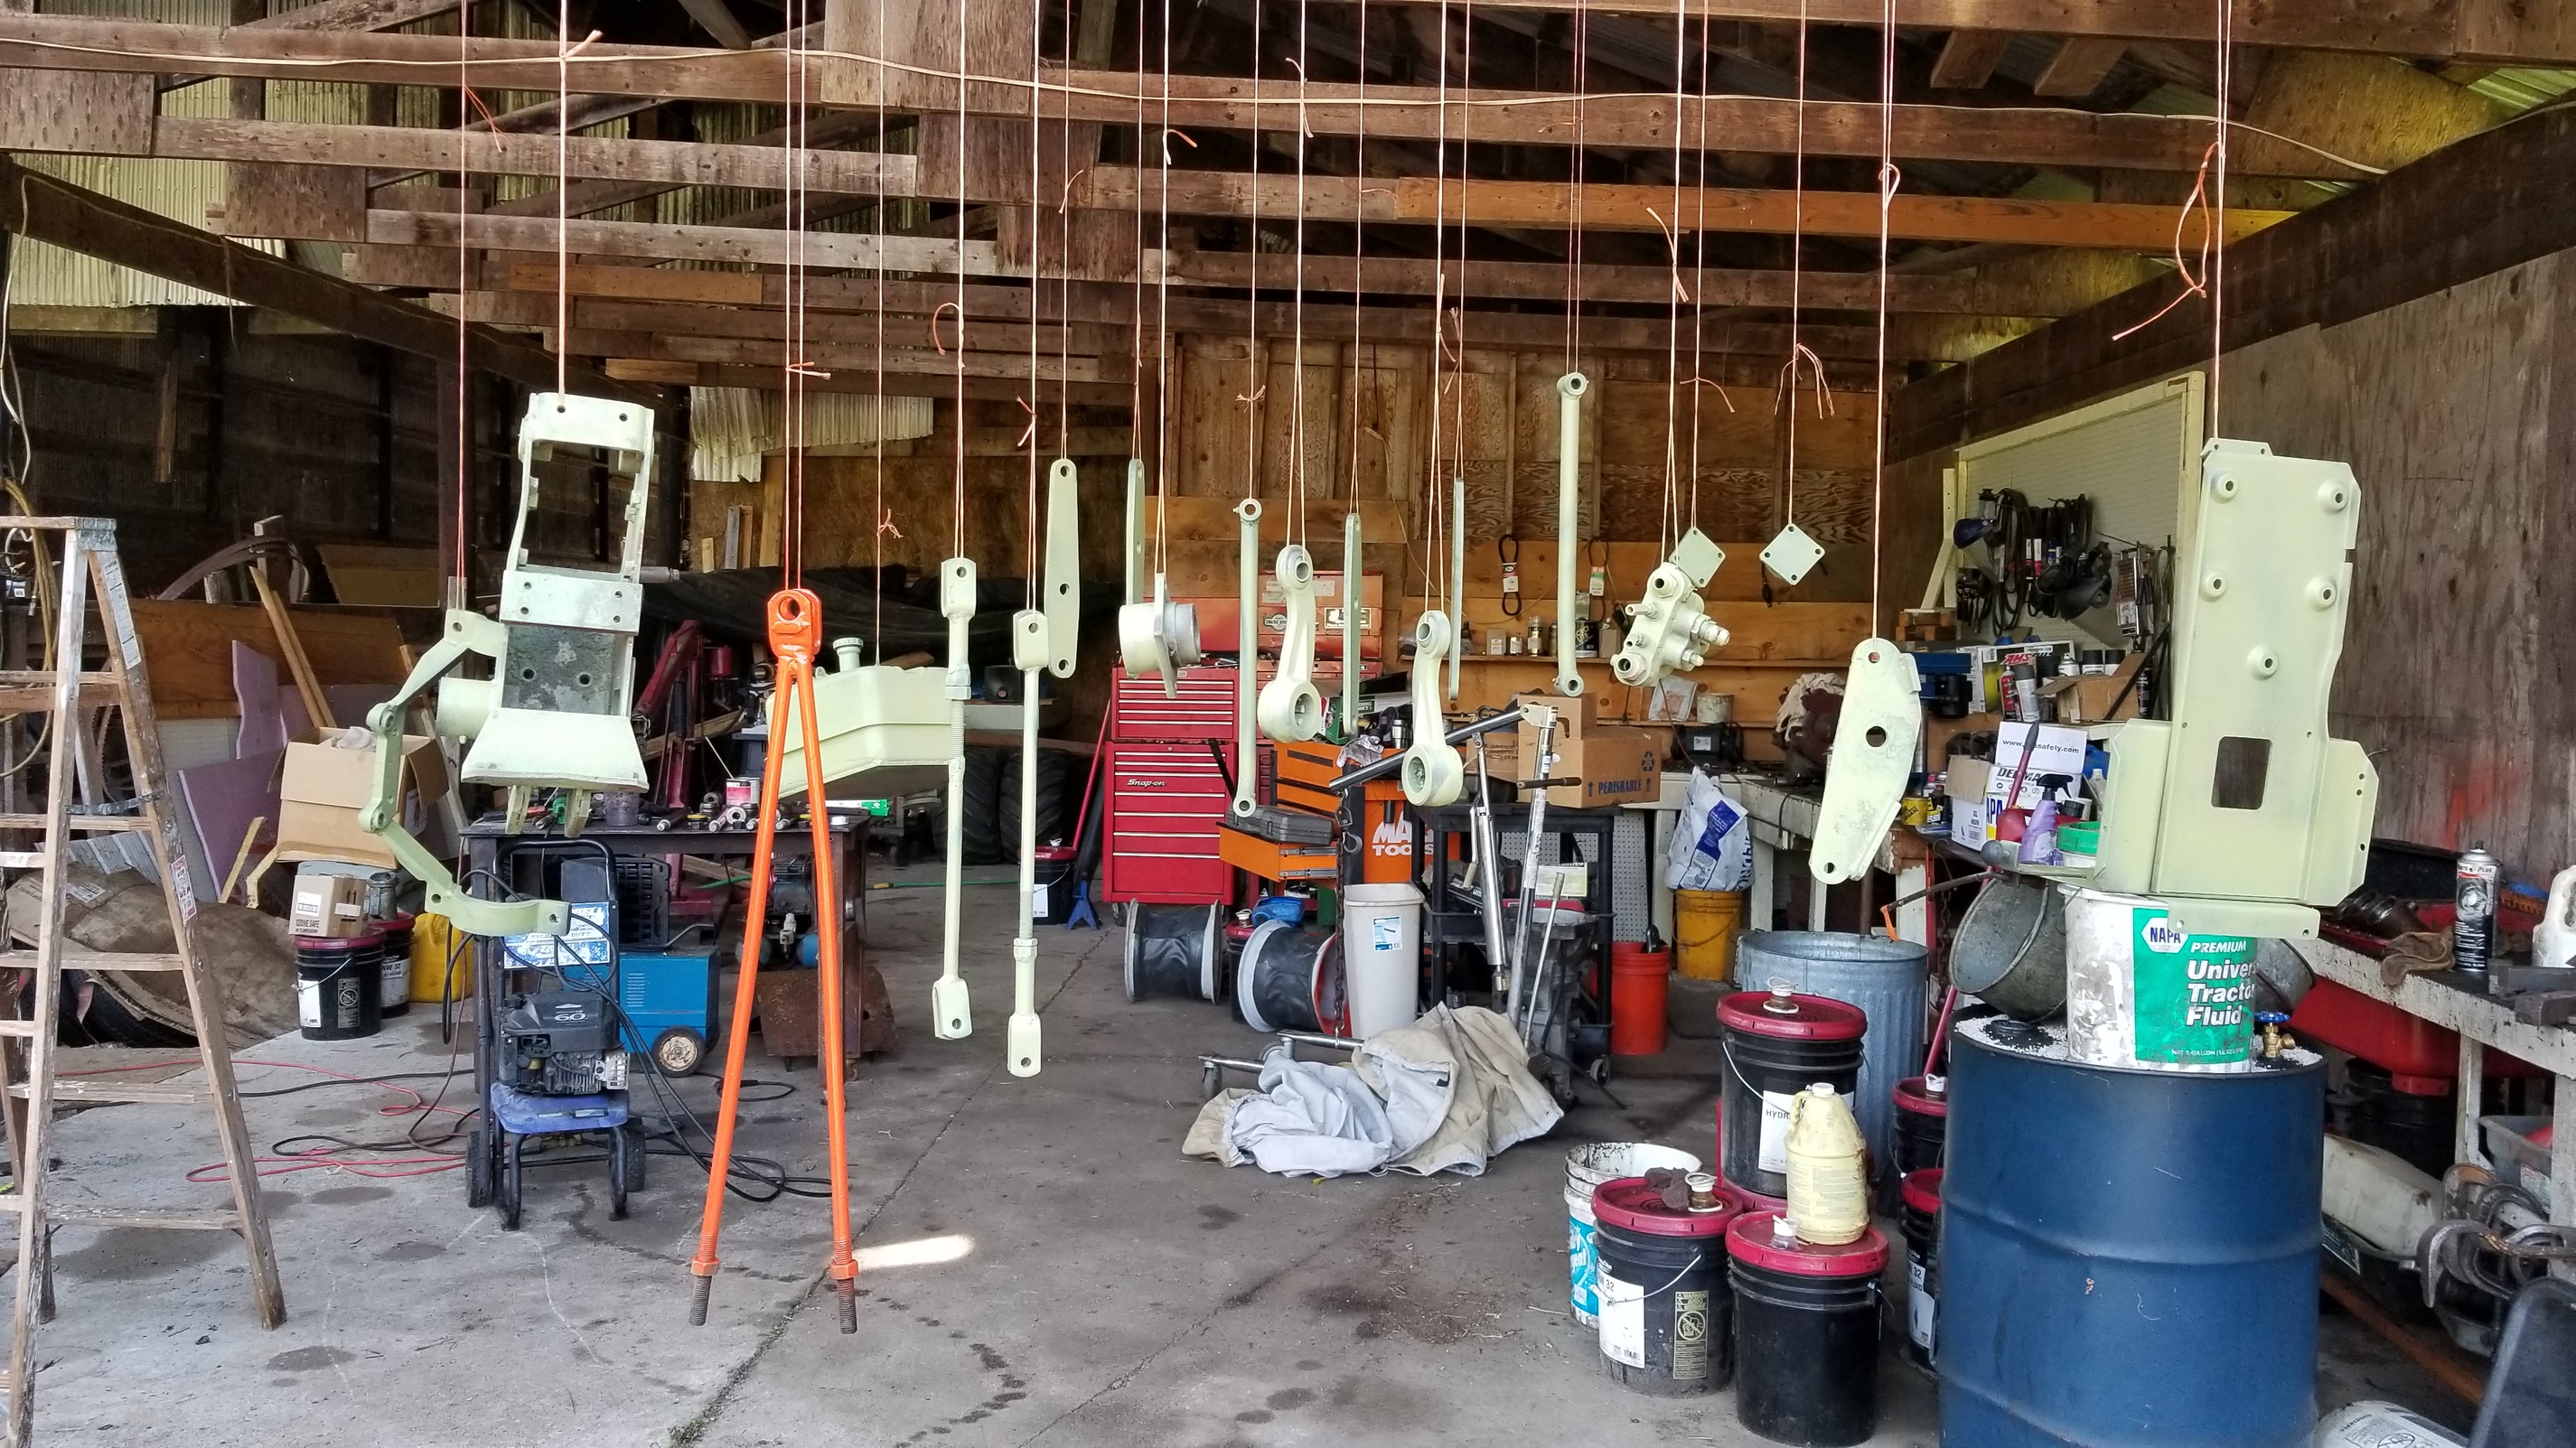
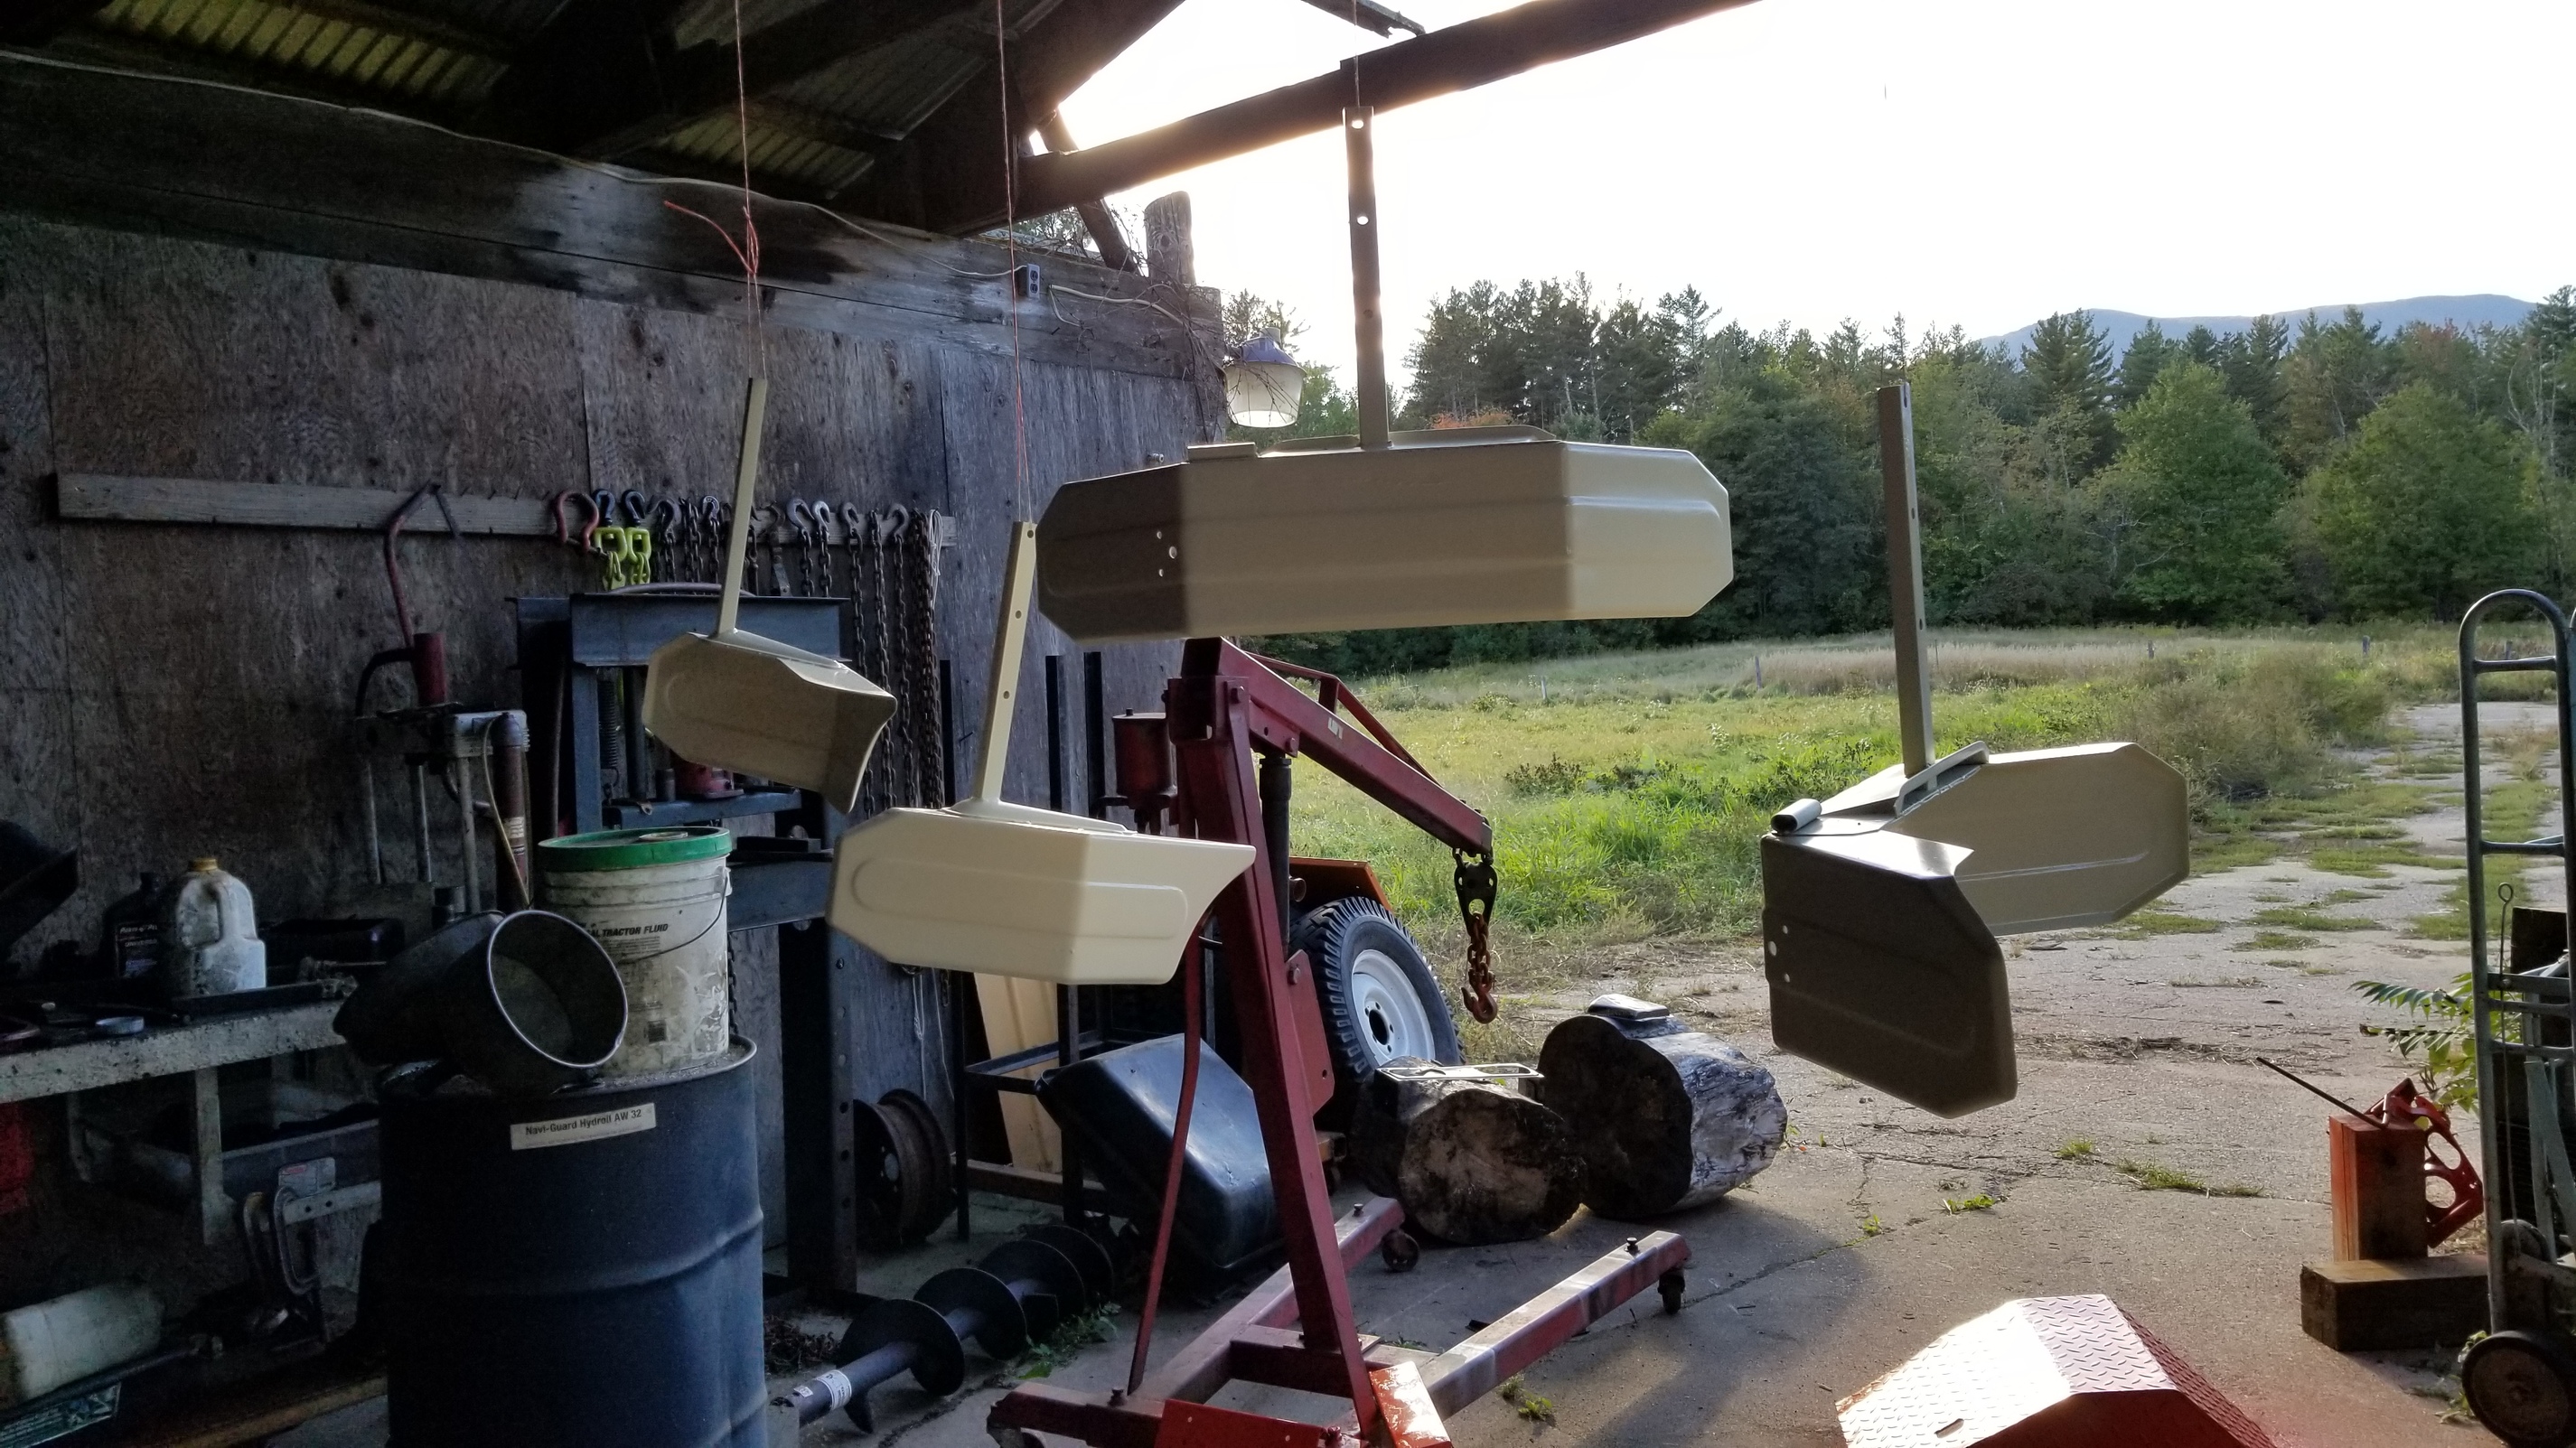
Quick update got some primer on the pasquali yesterday. Gary wanted to talk to the paint store before starting on the motor as it is aluminum.
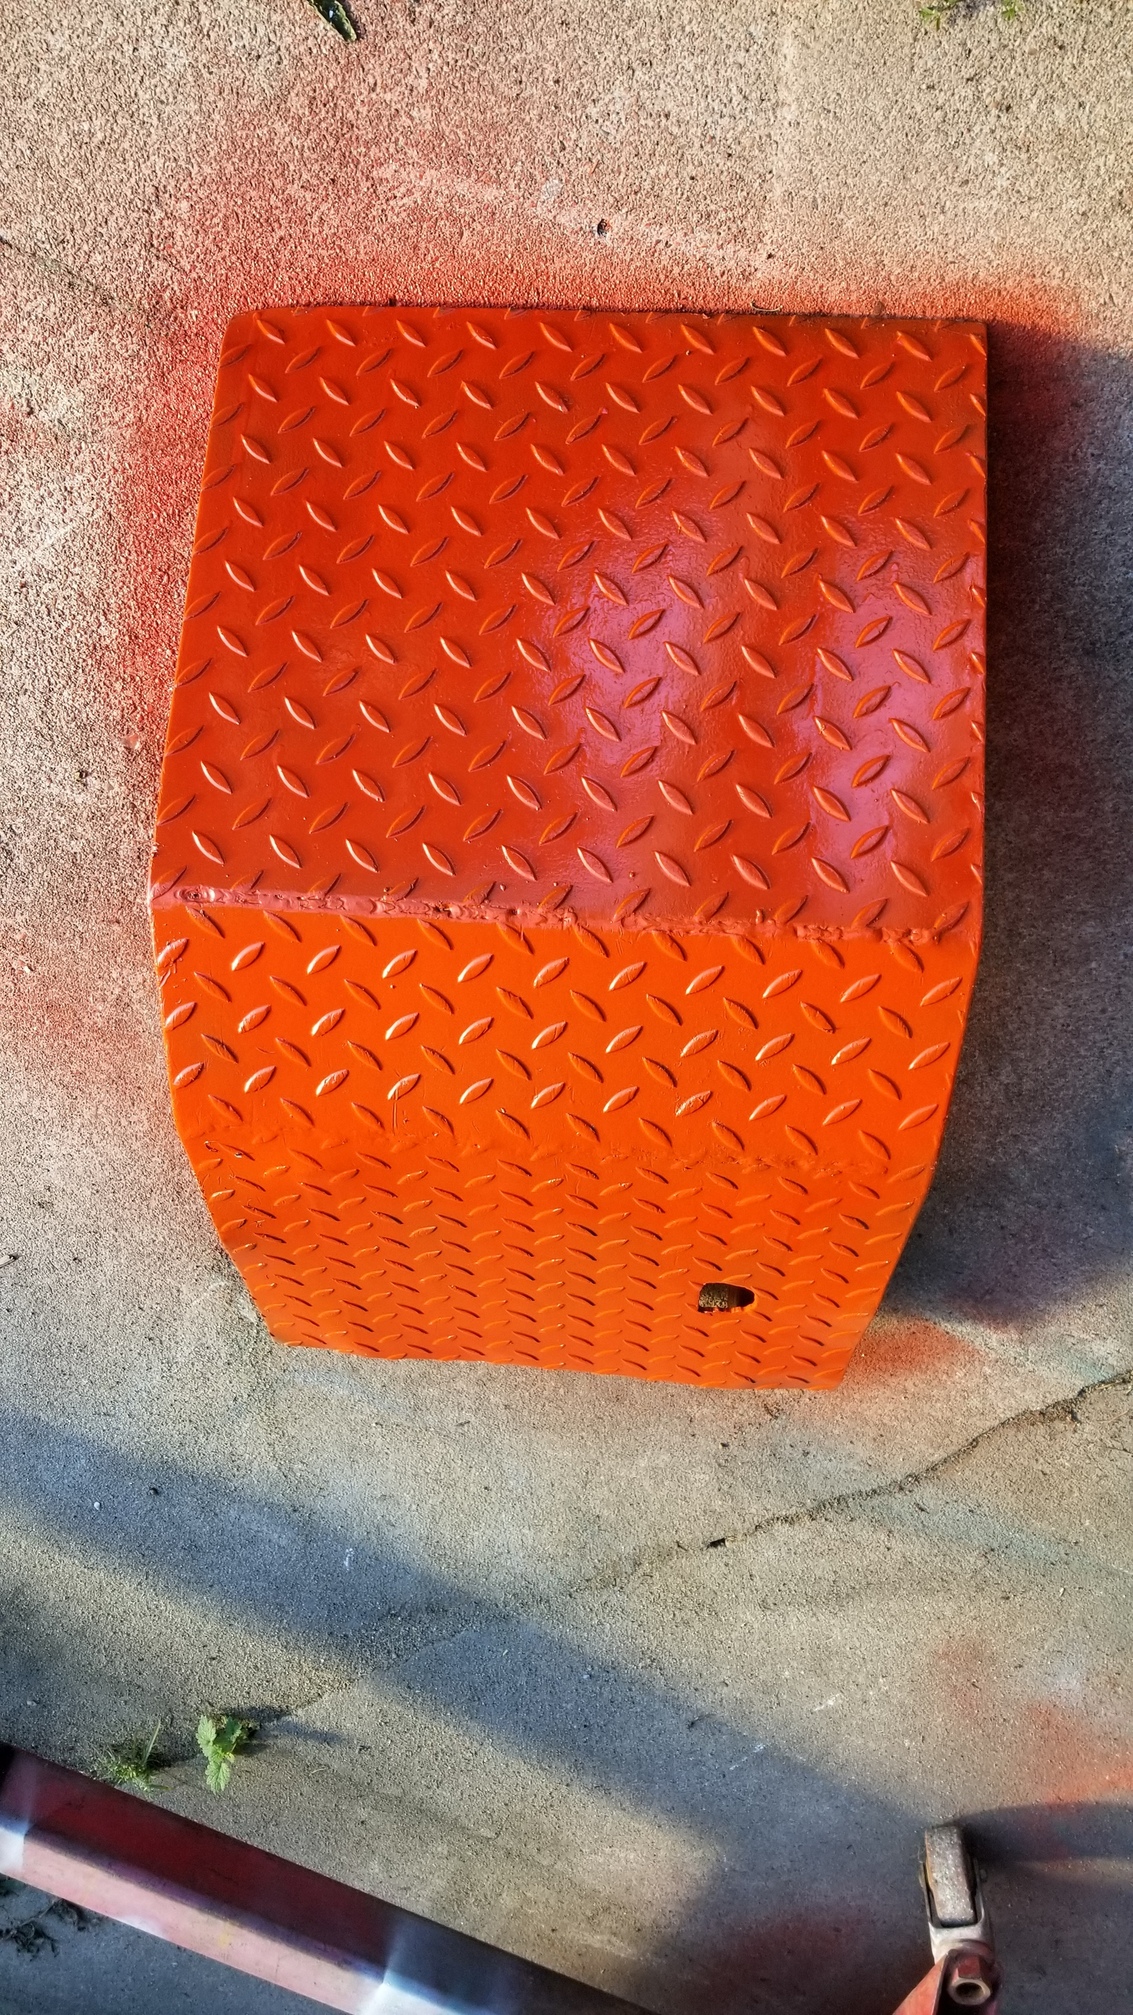
That is the loader frame and bulk of all the parts which will be orange. There are a few other parts but it is getting modified to a new seat and some other changes so we need to work out just how the seat and new hydraulics will be mounted. Anyway got a break in the hay weather so I am making a little progress on the tractor restoration.

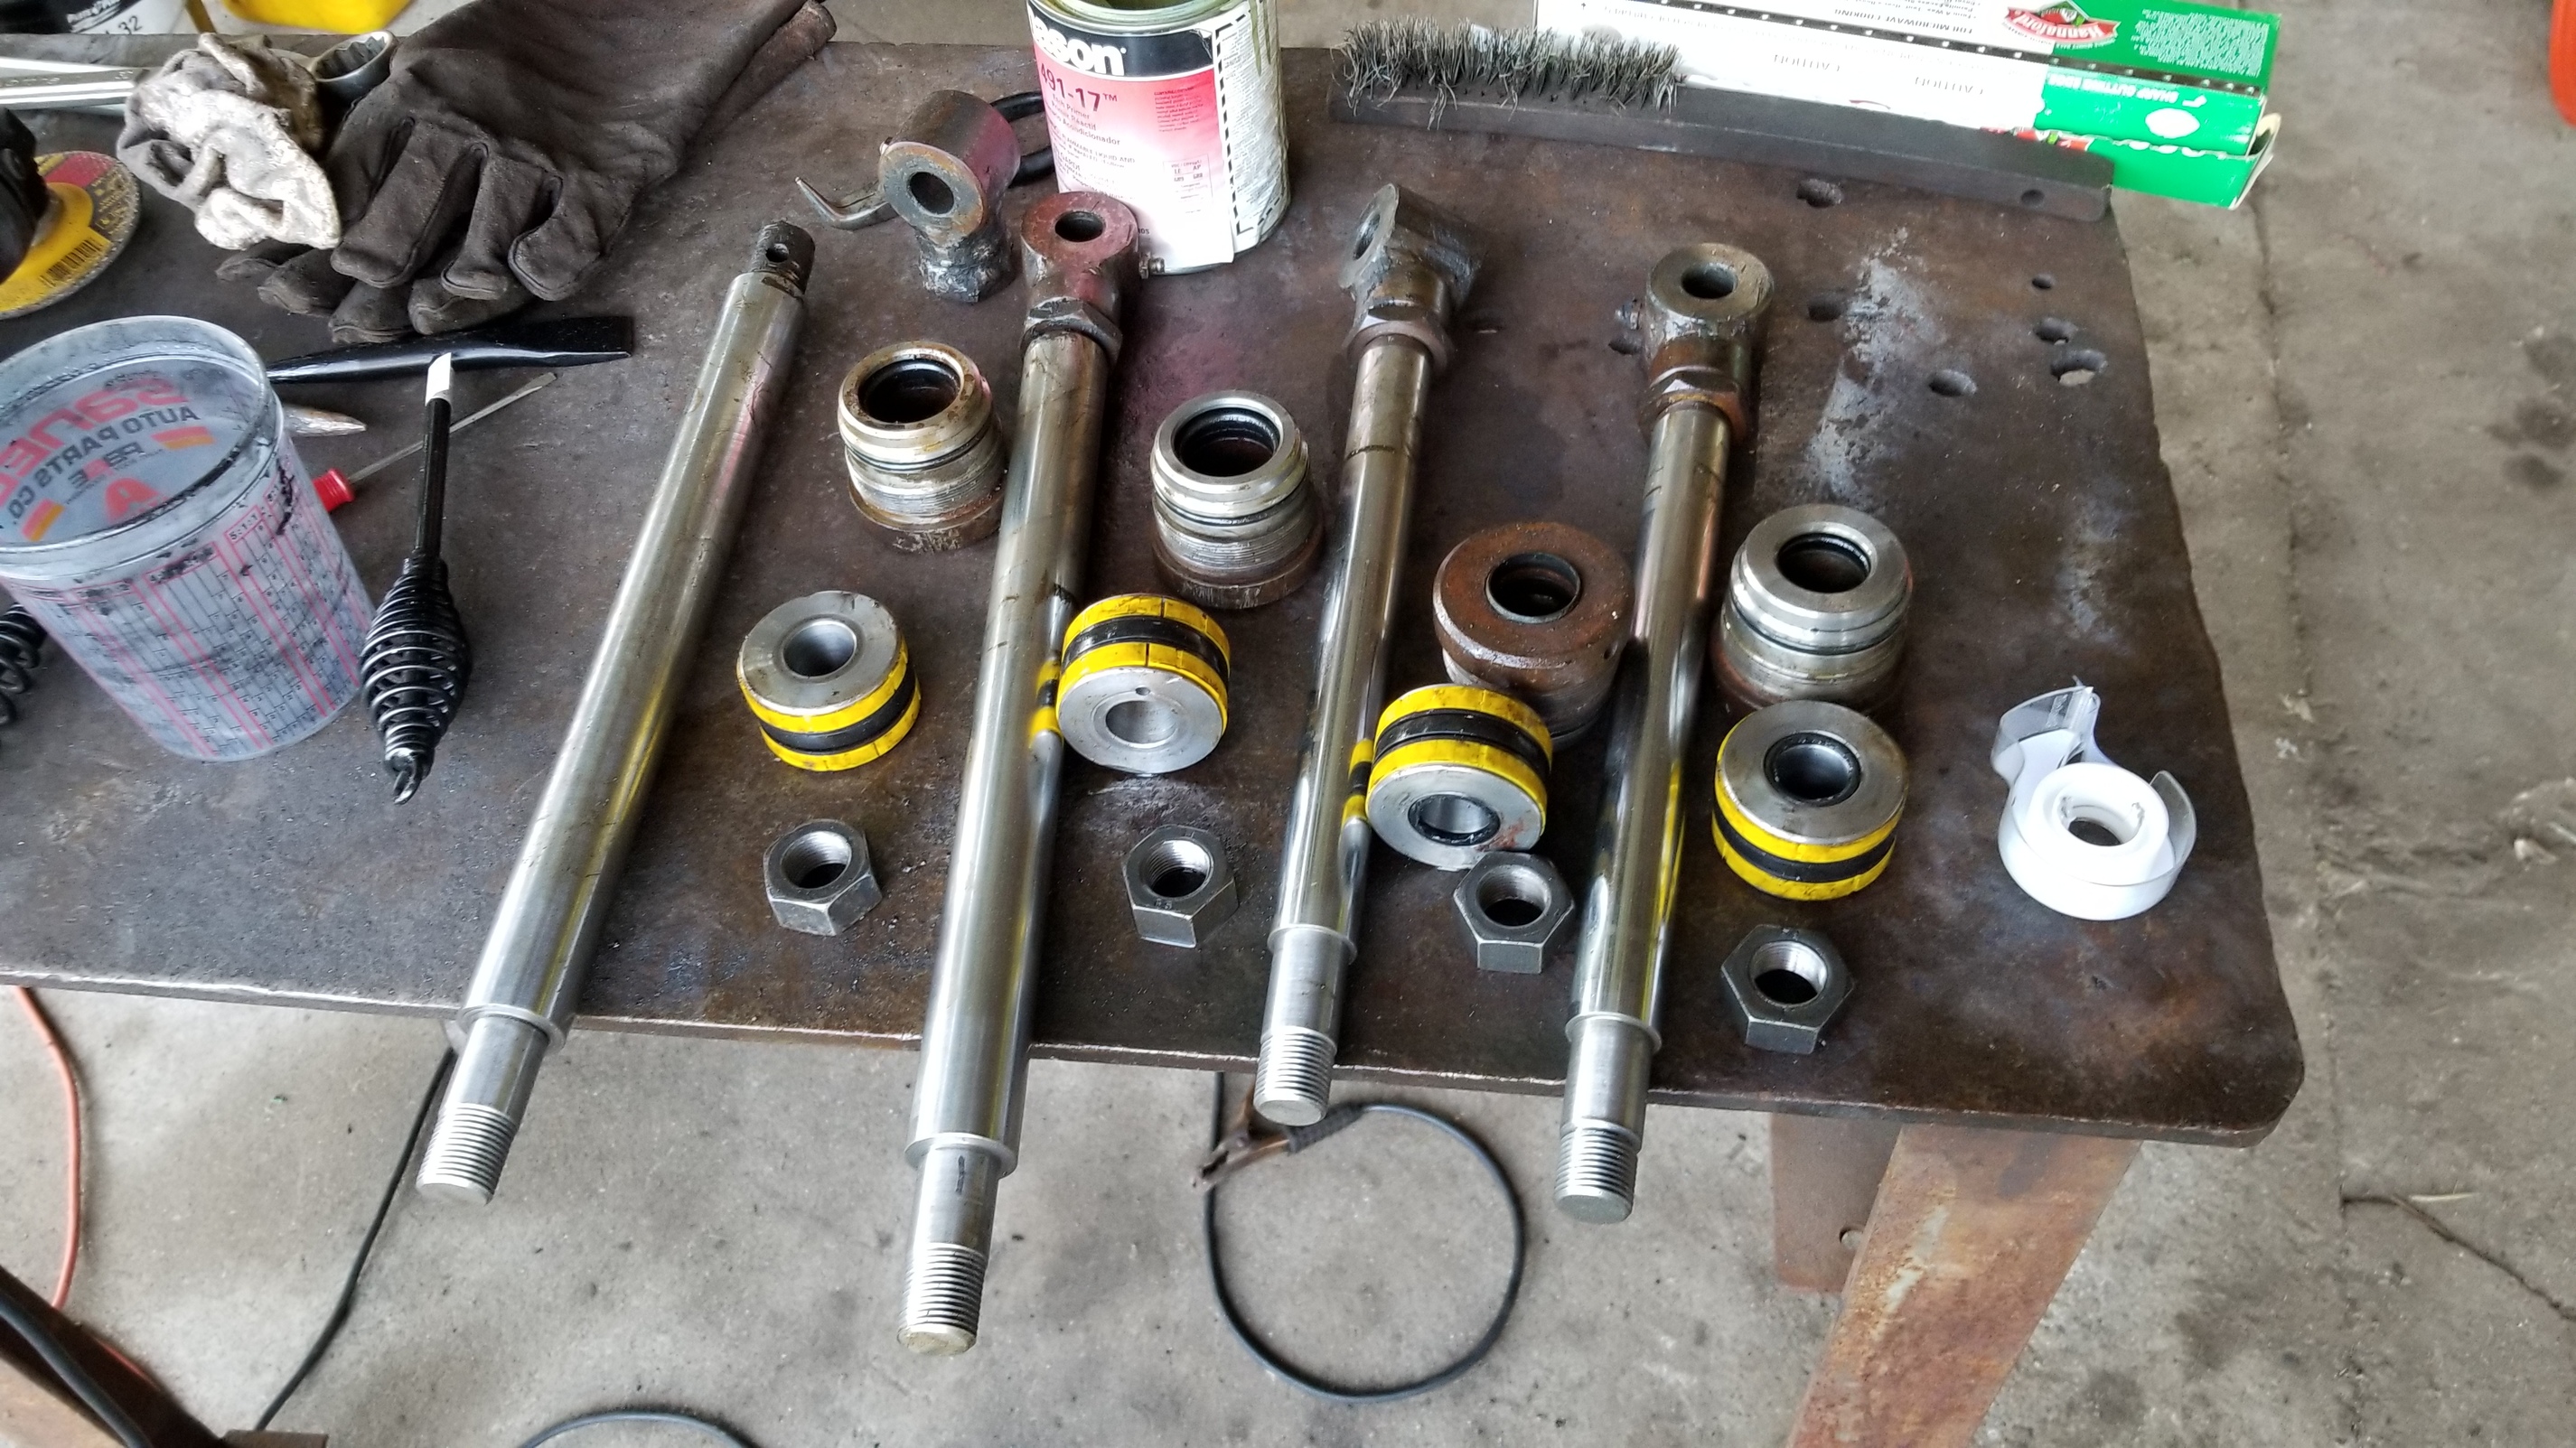
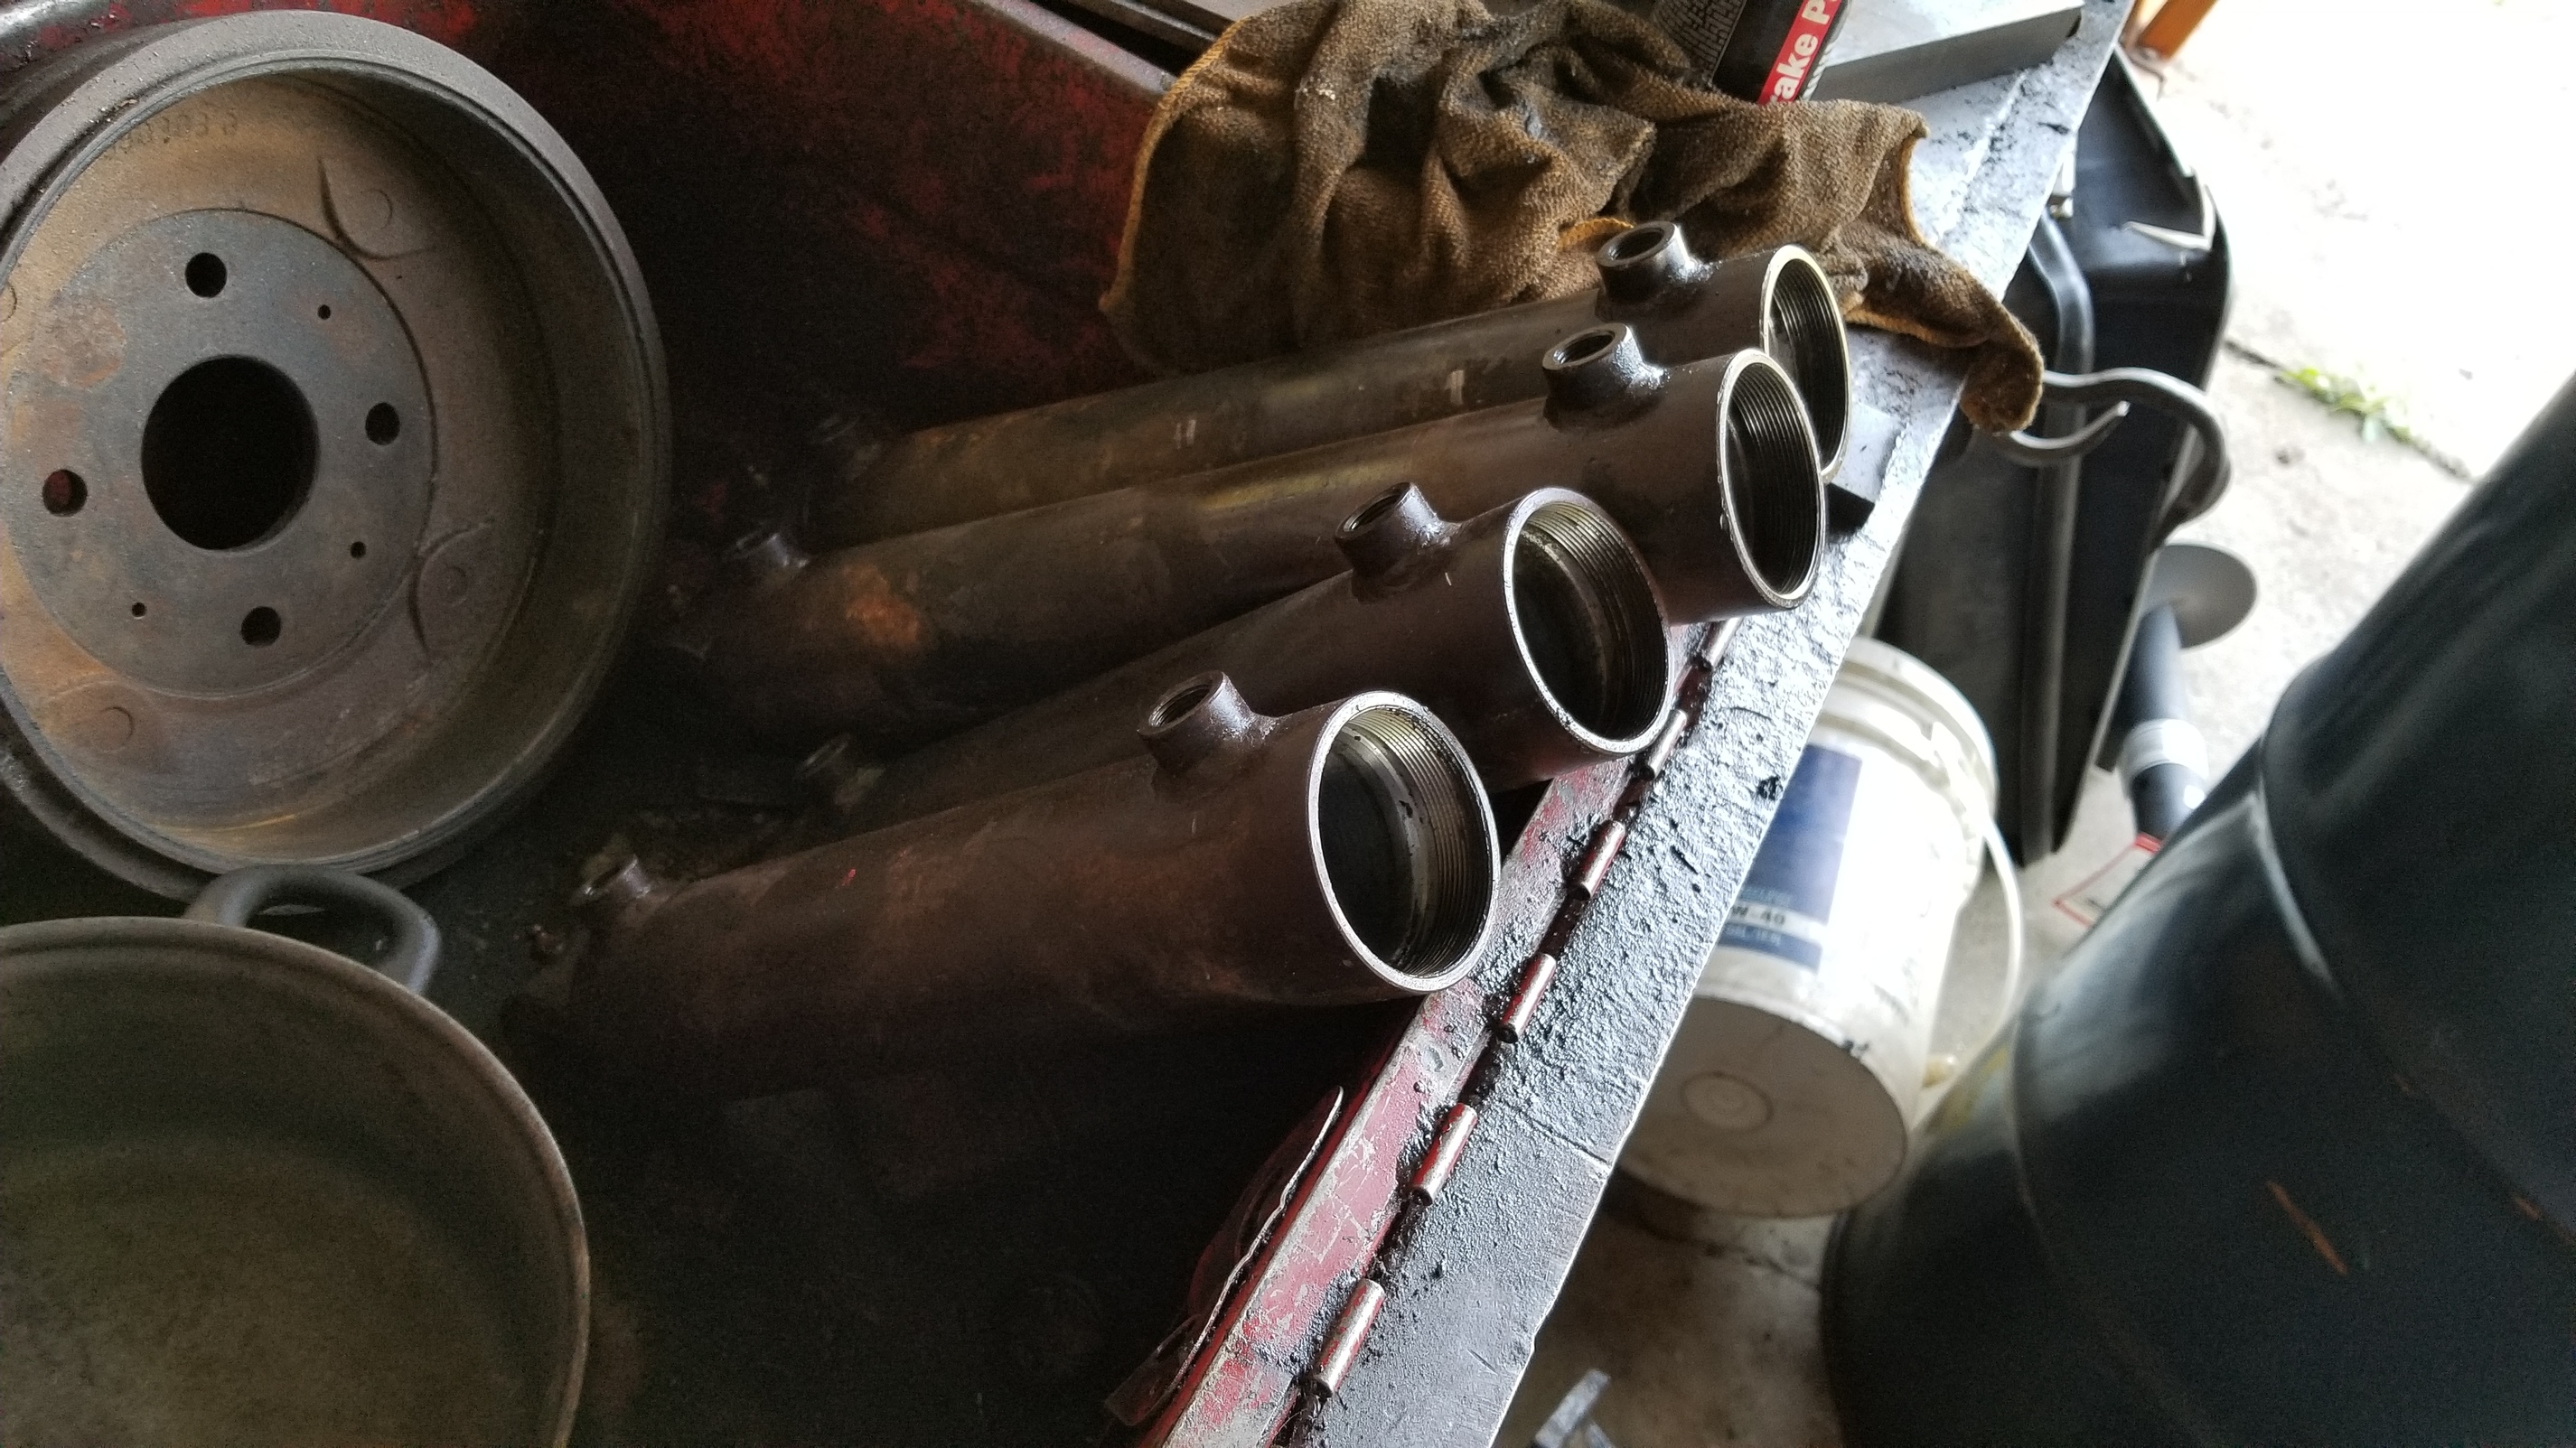
I also took appart the hydraulics cylinders the first photos are the 4 cylinders that make up the loader. Those are pretty straight forward I just need to get the end fixed where someone stripped out the threads and then bolted it on one cylinder. It fits loose now and breaks the bolt. I think I can put the seals on from the other end and will just get it welded on tight.
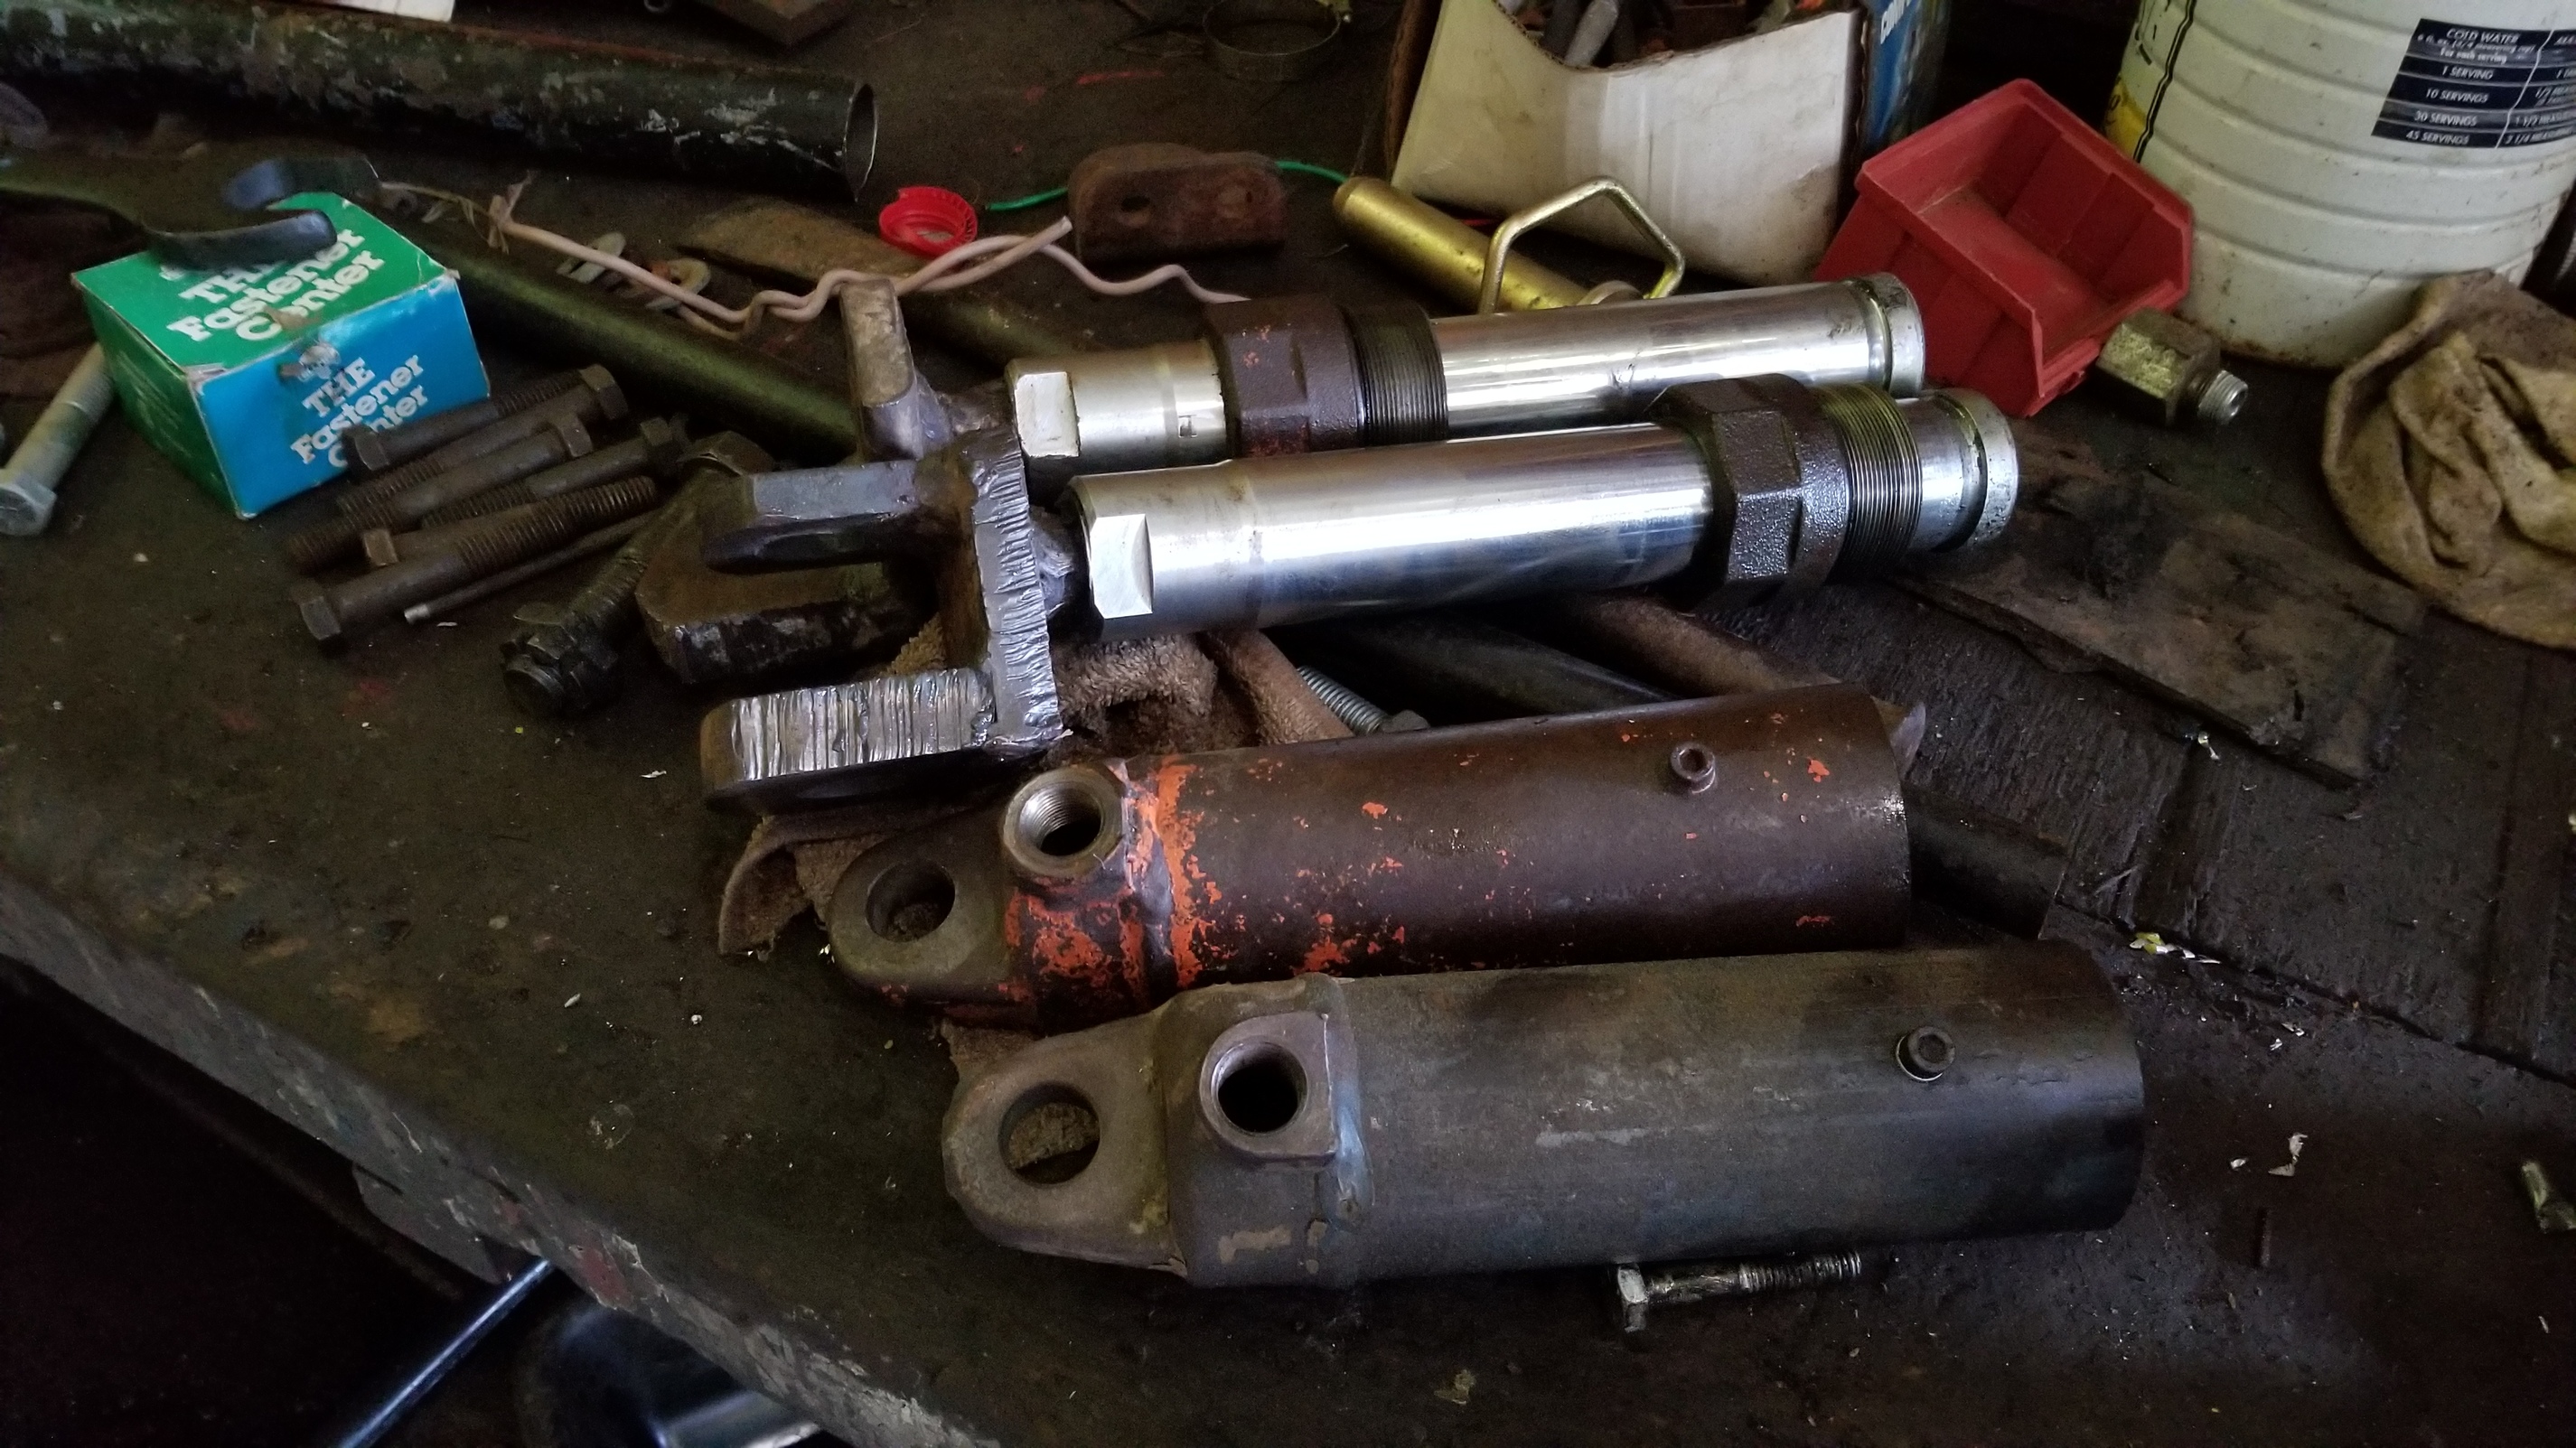
The other two cylinders are something I have never seen before. They are single ended cylinders which dont really have a seal just a larger metal end on the rod. No real piston. Someone has welded the ends on them and the o rings leak so I need to get that apart. But to be honest I don’t really understand how those steering cylinders work with one end sealed and the piston not really sealed to the cylinder. Seems like they wouldn’t work at all. I am by no means a hydraulic cylinder expert but those have me scratching my head.
Oh the one orange thing hanging was a test to see how the primer would cover as it is an odd green. Looks ok to me.
8 Likes
Hi DanNH,
I do not know this for sure . . . I’d have to see a hydraulics flow diagram to be sure.
But . . . on some power actuator systems the power-side is given constant pumping power/pressure . . . then the"control" is by letting cylinder out on the opposite side of the leakage by pass flow.
Think of it like air brake systems. The pumped air just retracts the piston rod diaphragm loading a very strong spring. Brakes/actuator is applied by venting out the air pressure out allowing the spring to apply power/force.
Just like most all EFI systems have positive side power constantly applied when energized. The “control” is down circuit of the load (ground side) by letting “out” the electrons flow.
So, your actuator cylinders may need piston bypassing flow to work. IF your actual control valve is on the opposite of the piston as the pump side you’d know this was true.
Regards
tree-farmer Steve unruh
1 Like
Thanks Steve, what was driving me nuts is those rods are actually loose inside the cylinder. But they cylinders are closed volumes with no air vent so it works by simple volume displacement the pump forces fluid into the cylinder which displaces the rod and forces it to extend. The single acting cylinders I have seen before still had a seal on the oil side and an air vent on the other side. These two cylinders are one on either side of the pivot so the cylinder on one side is forcing the fluid out of the other cylinder on the other side as it turns. I guess the good news is the o ring seals are the only failure point on these cylinders but it is a new design on me.
3 Likes
Ahh. I see now.
The non powered side cylinder having it’s cylinder-full of fluid forced out would add a dampening effect onto the system too.
S.U.
2 Likes
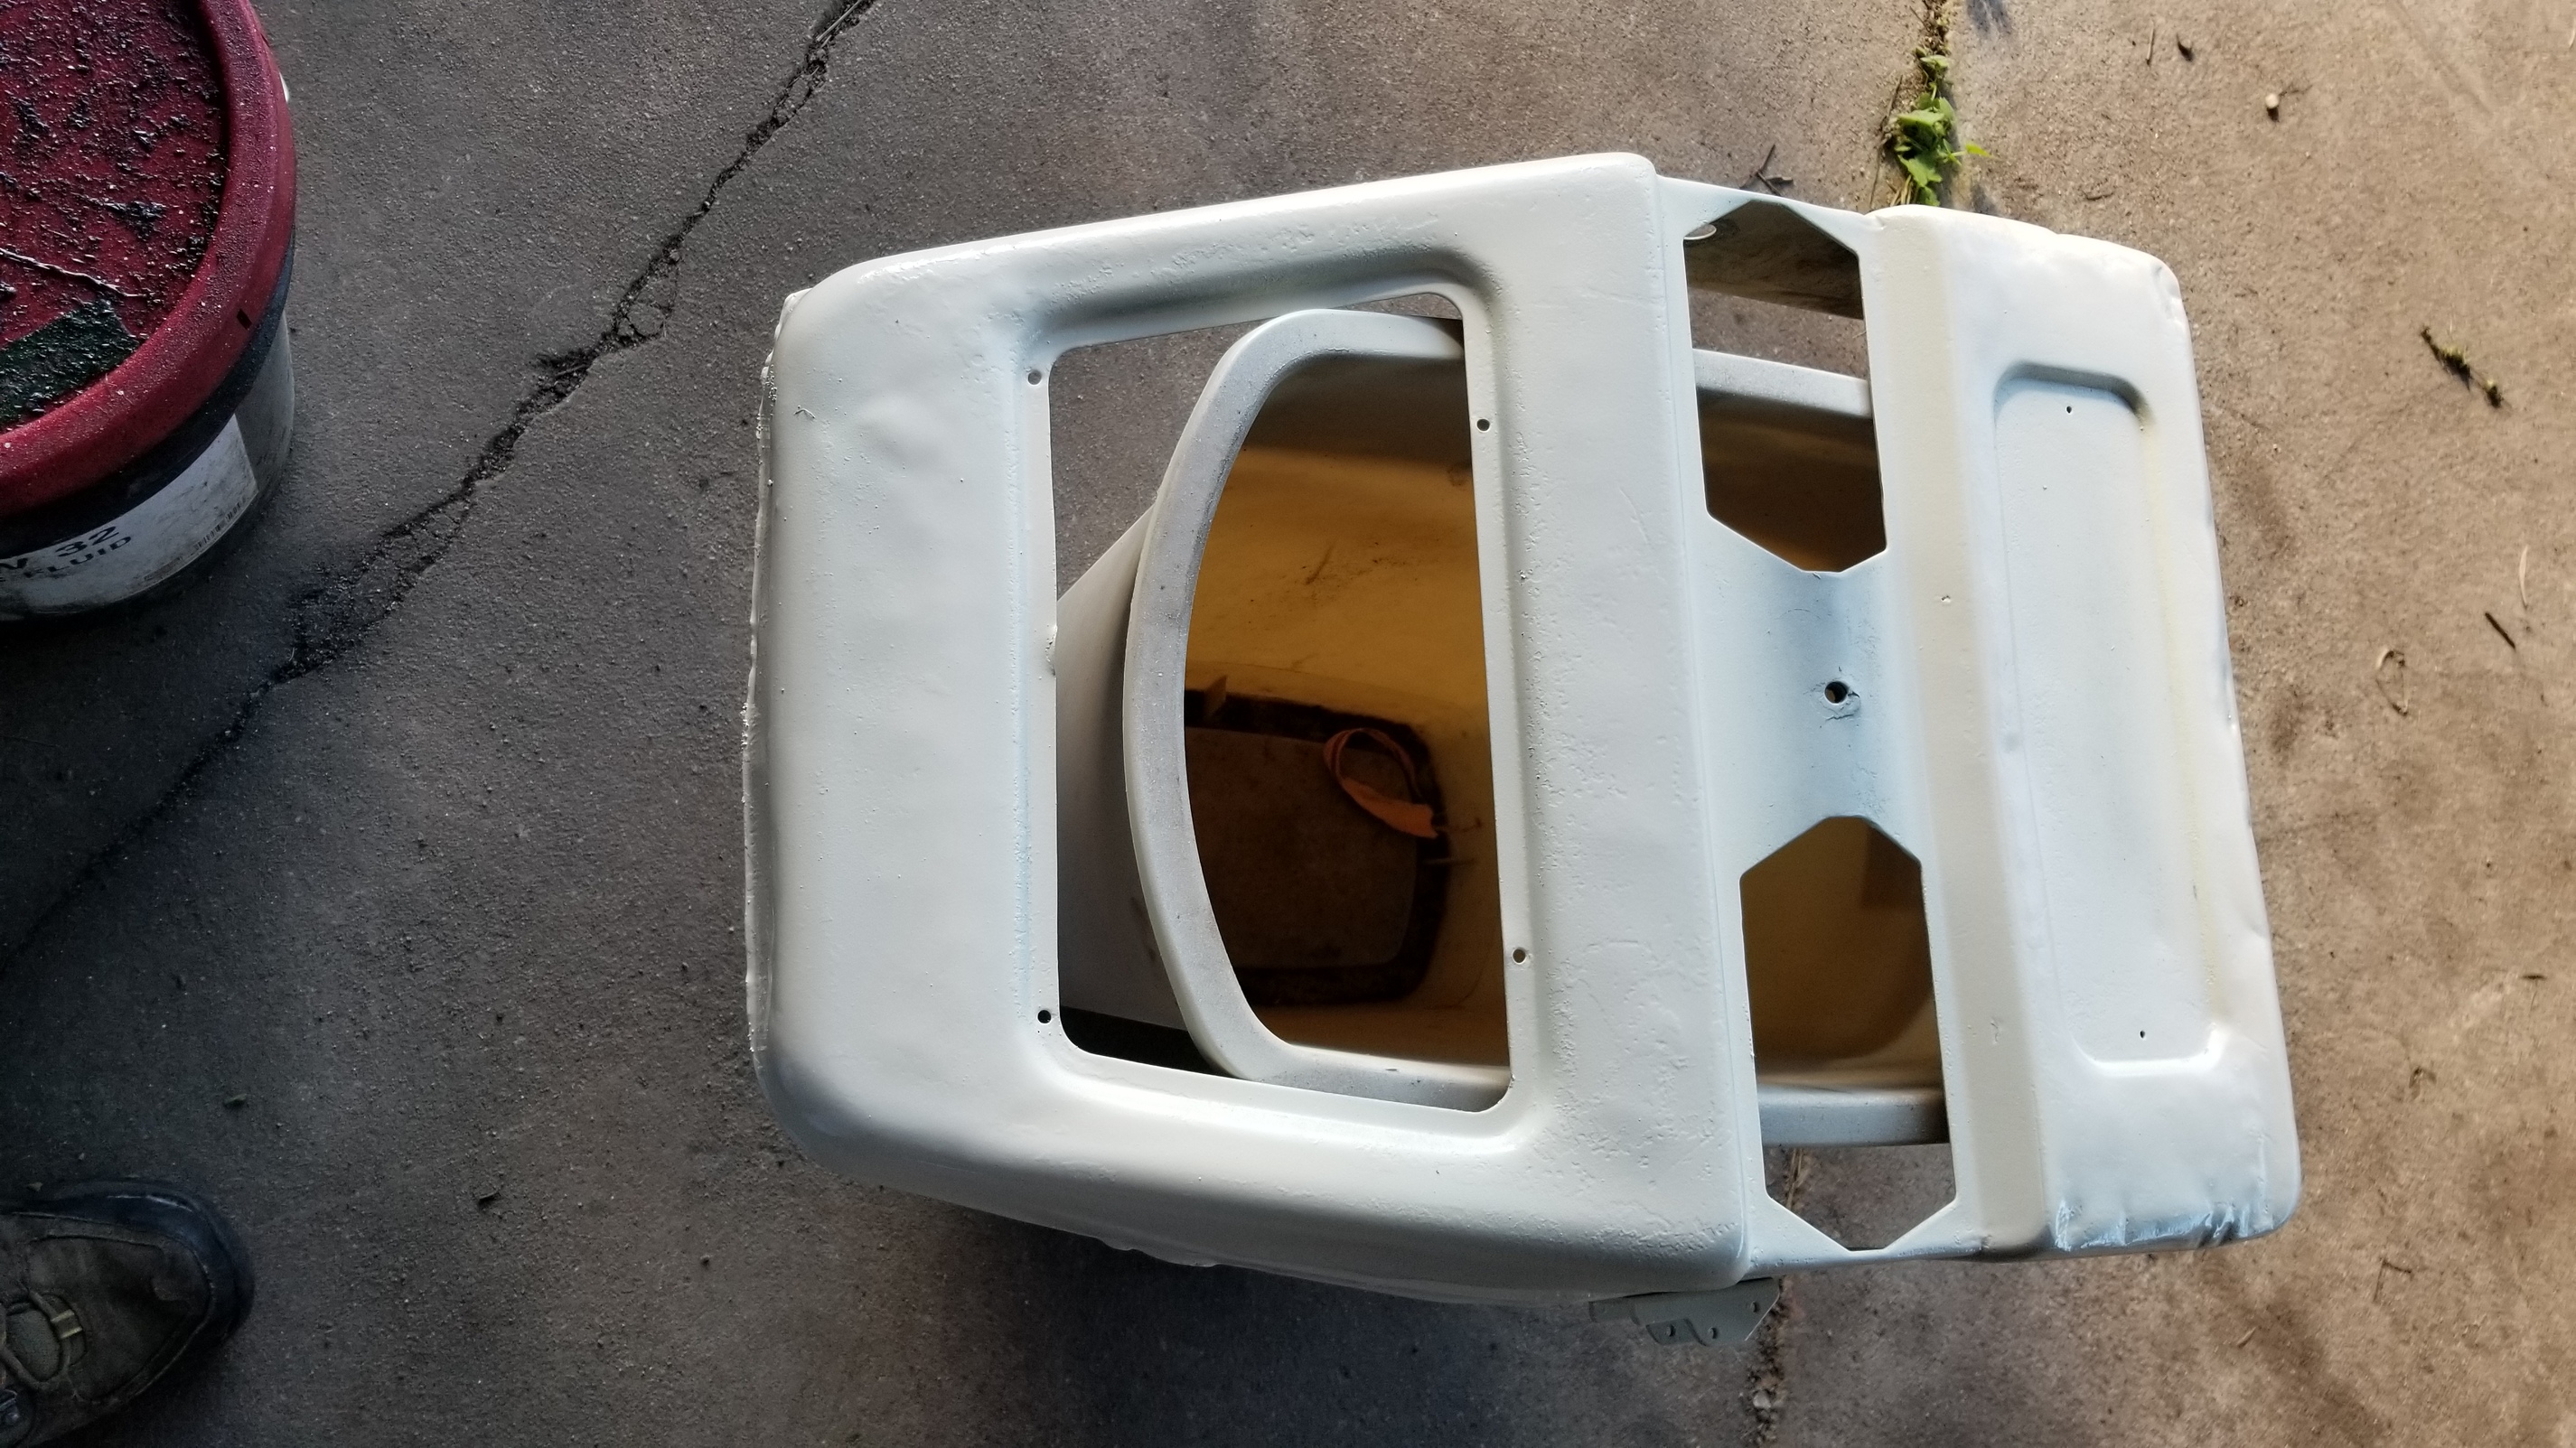
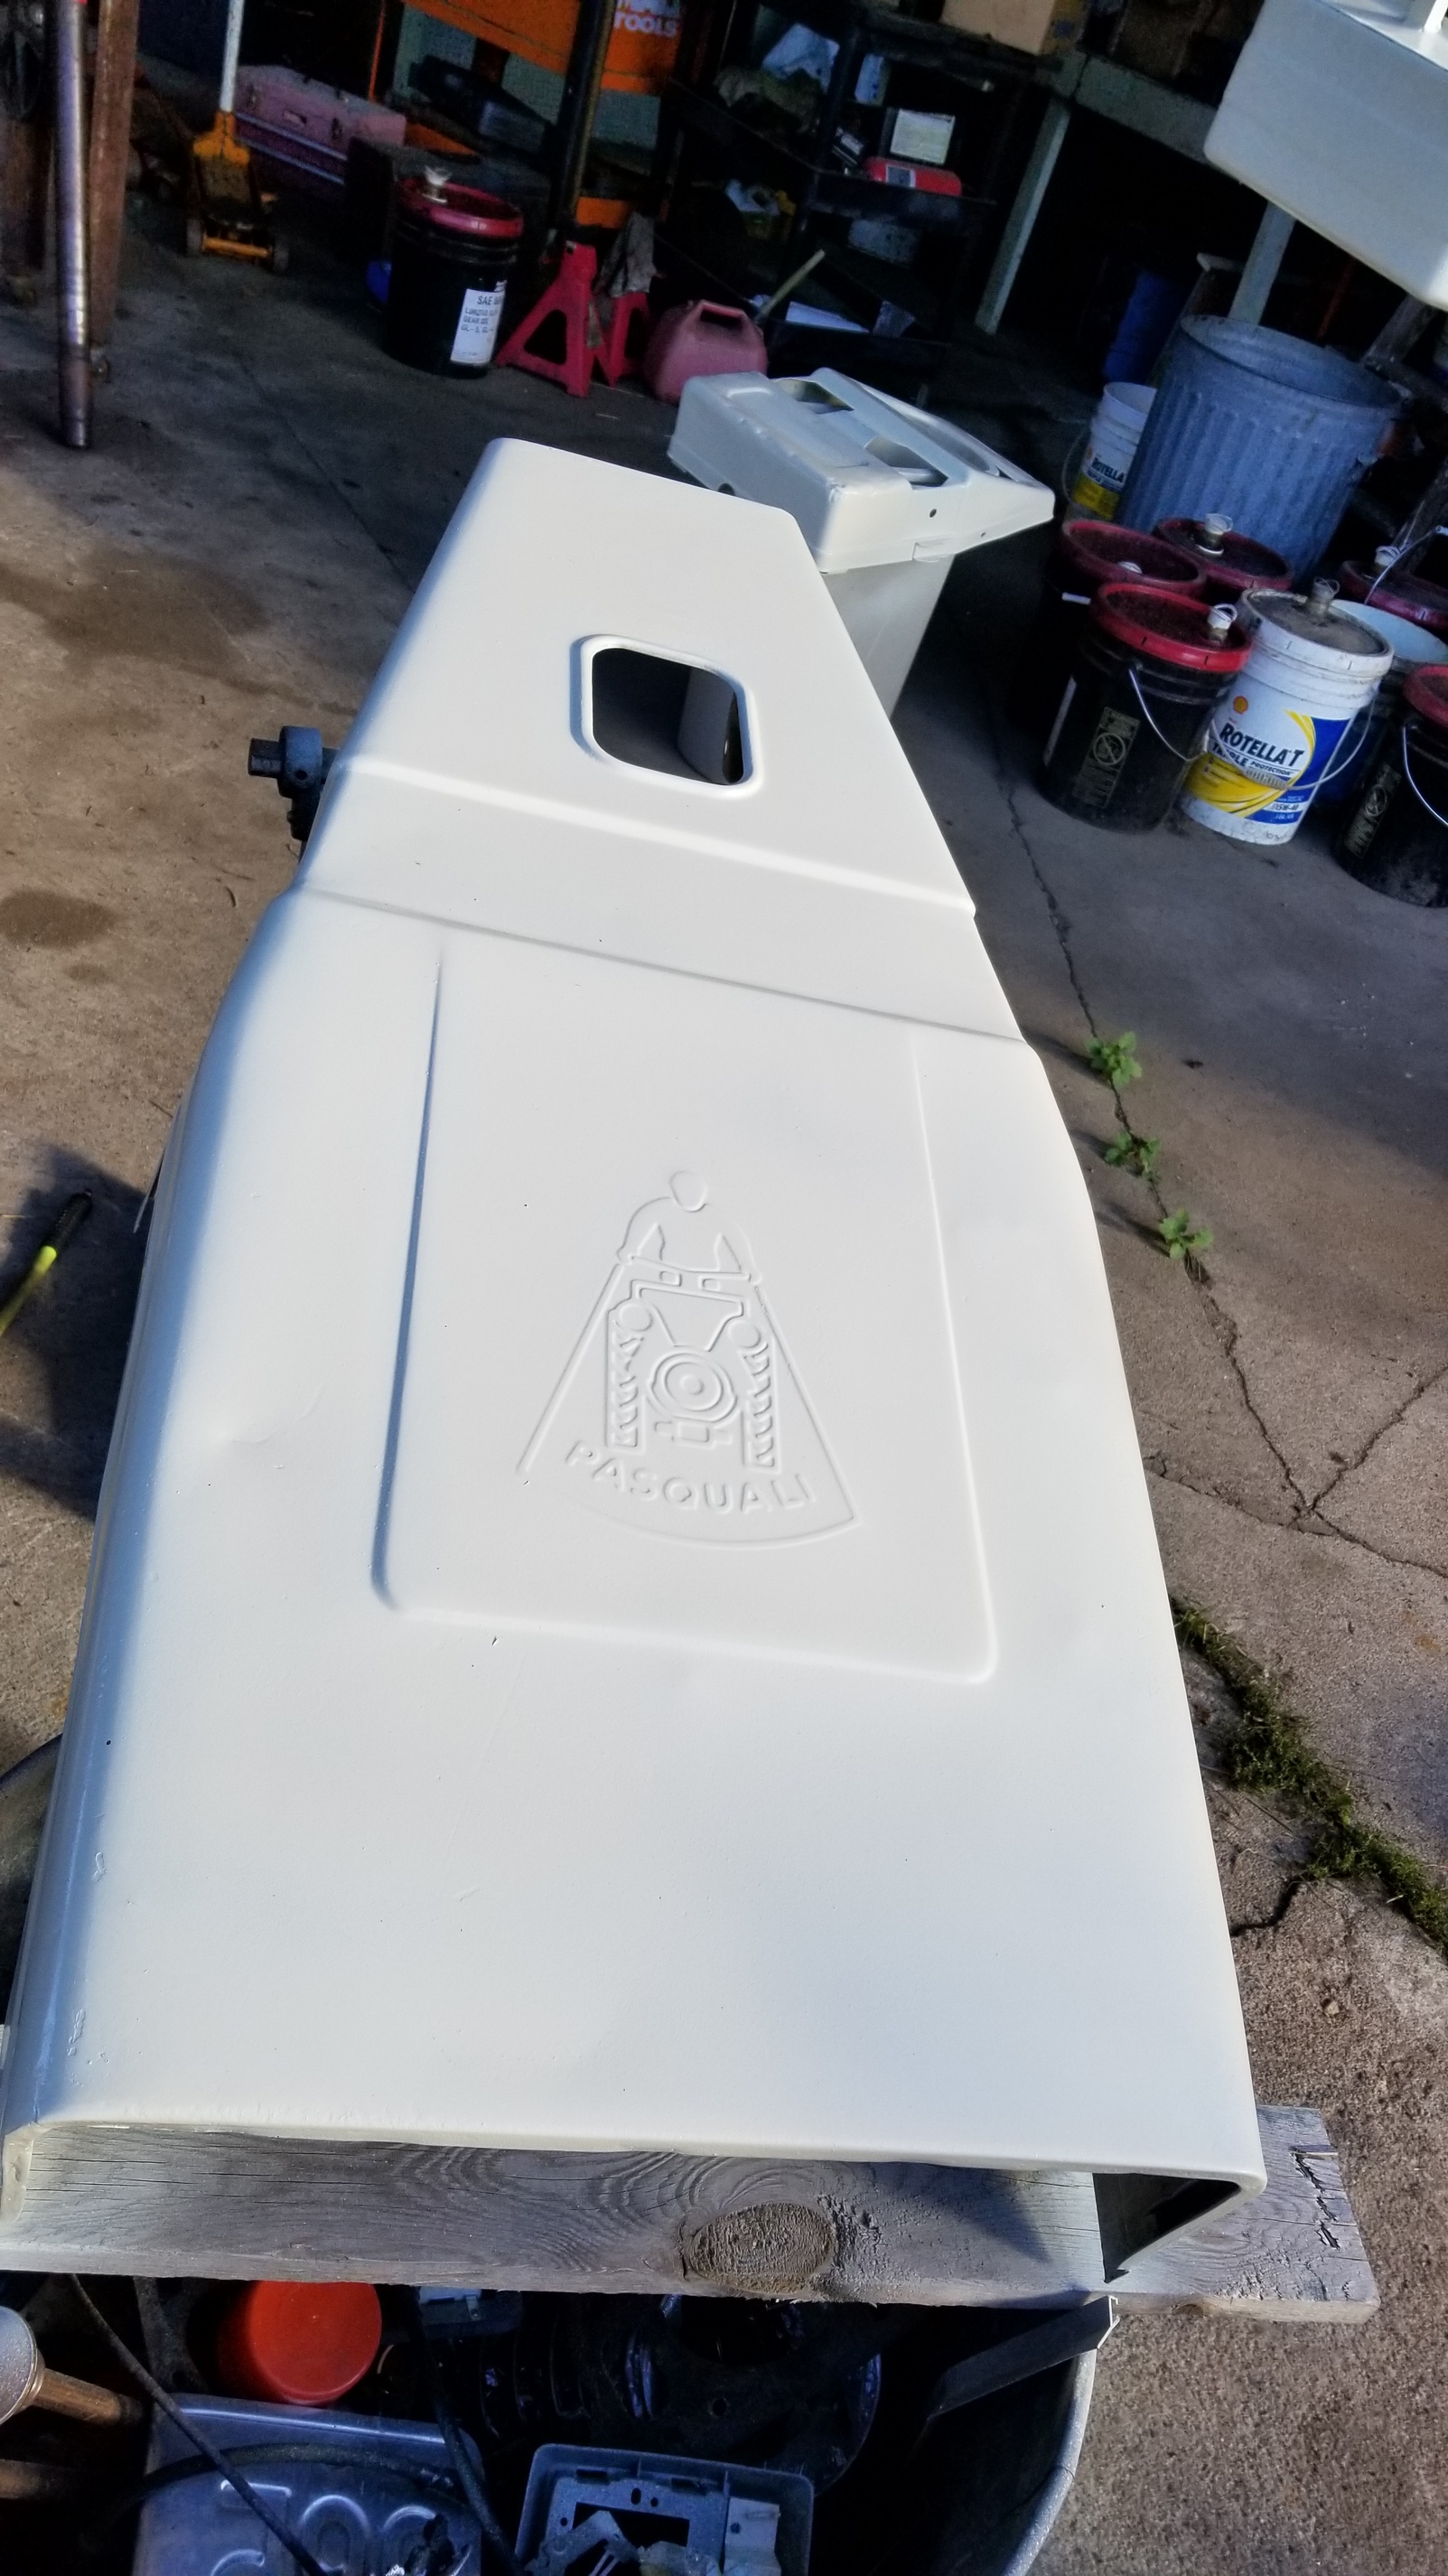
Not much to report on the pasquali project it has mostly been just waiting as I work on other more important farm projects. But we did get most of the painting done so i decided to upload some photos of the progress. It is getting closer to finished at any rate.
11 Likes

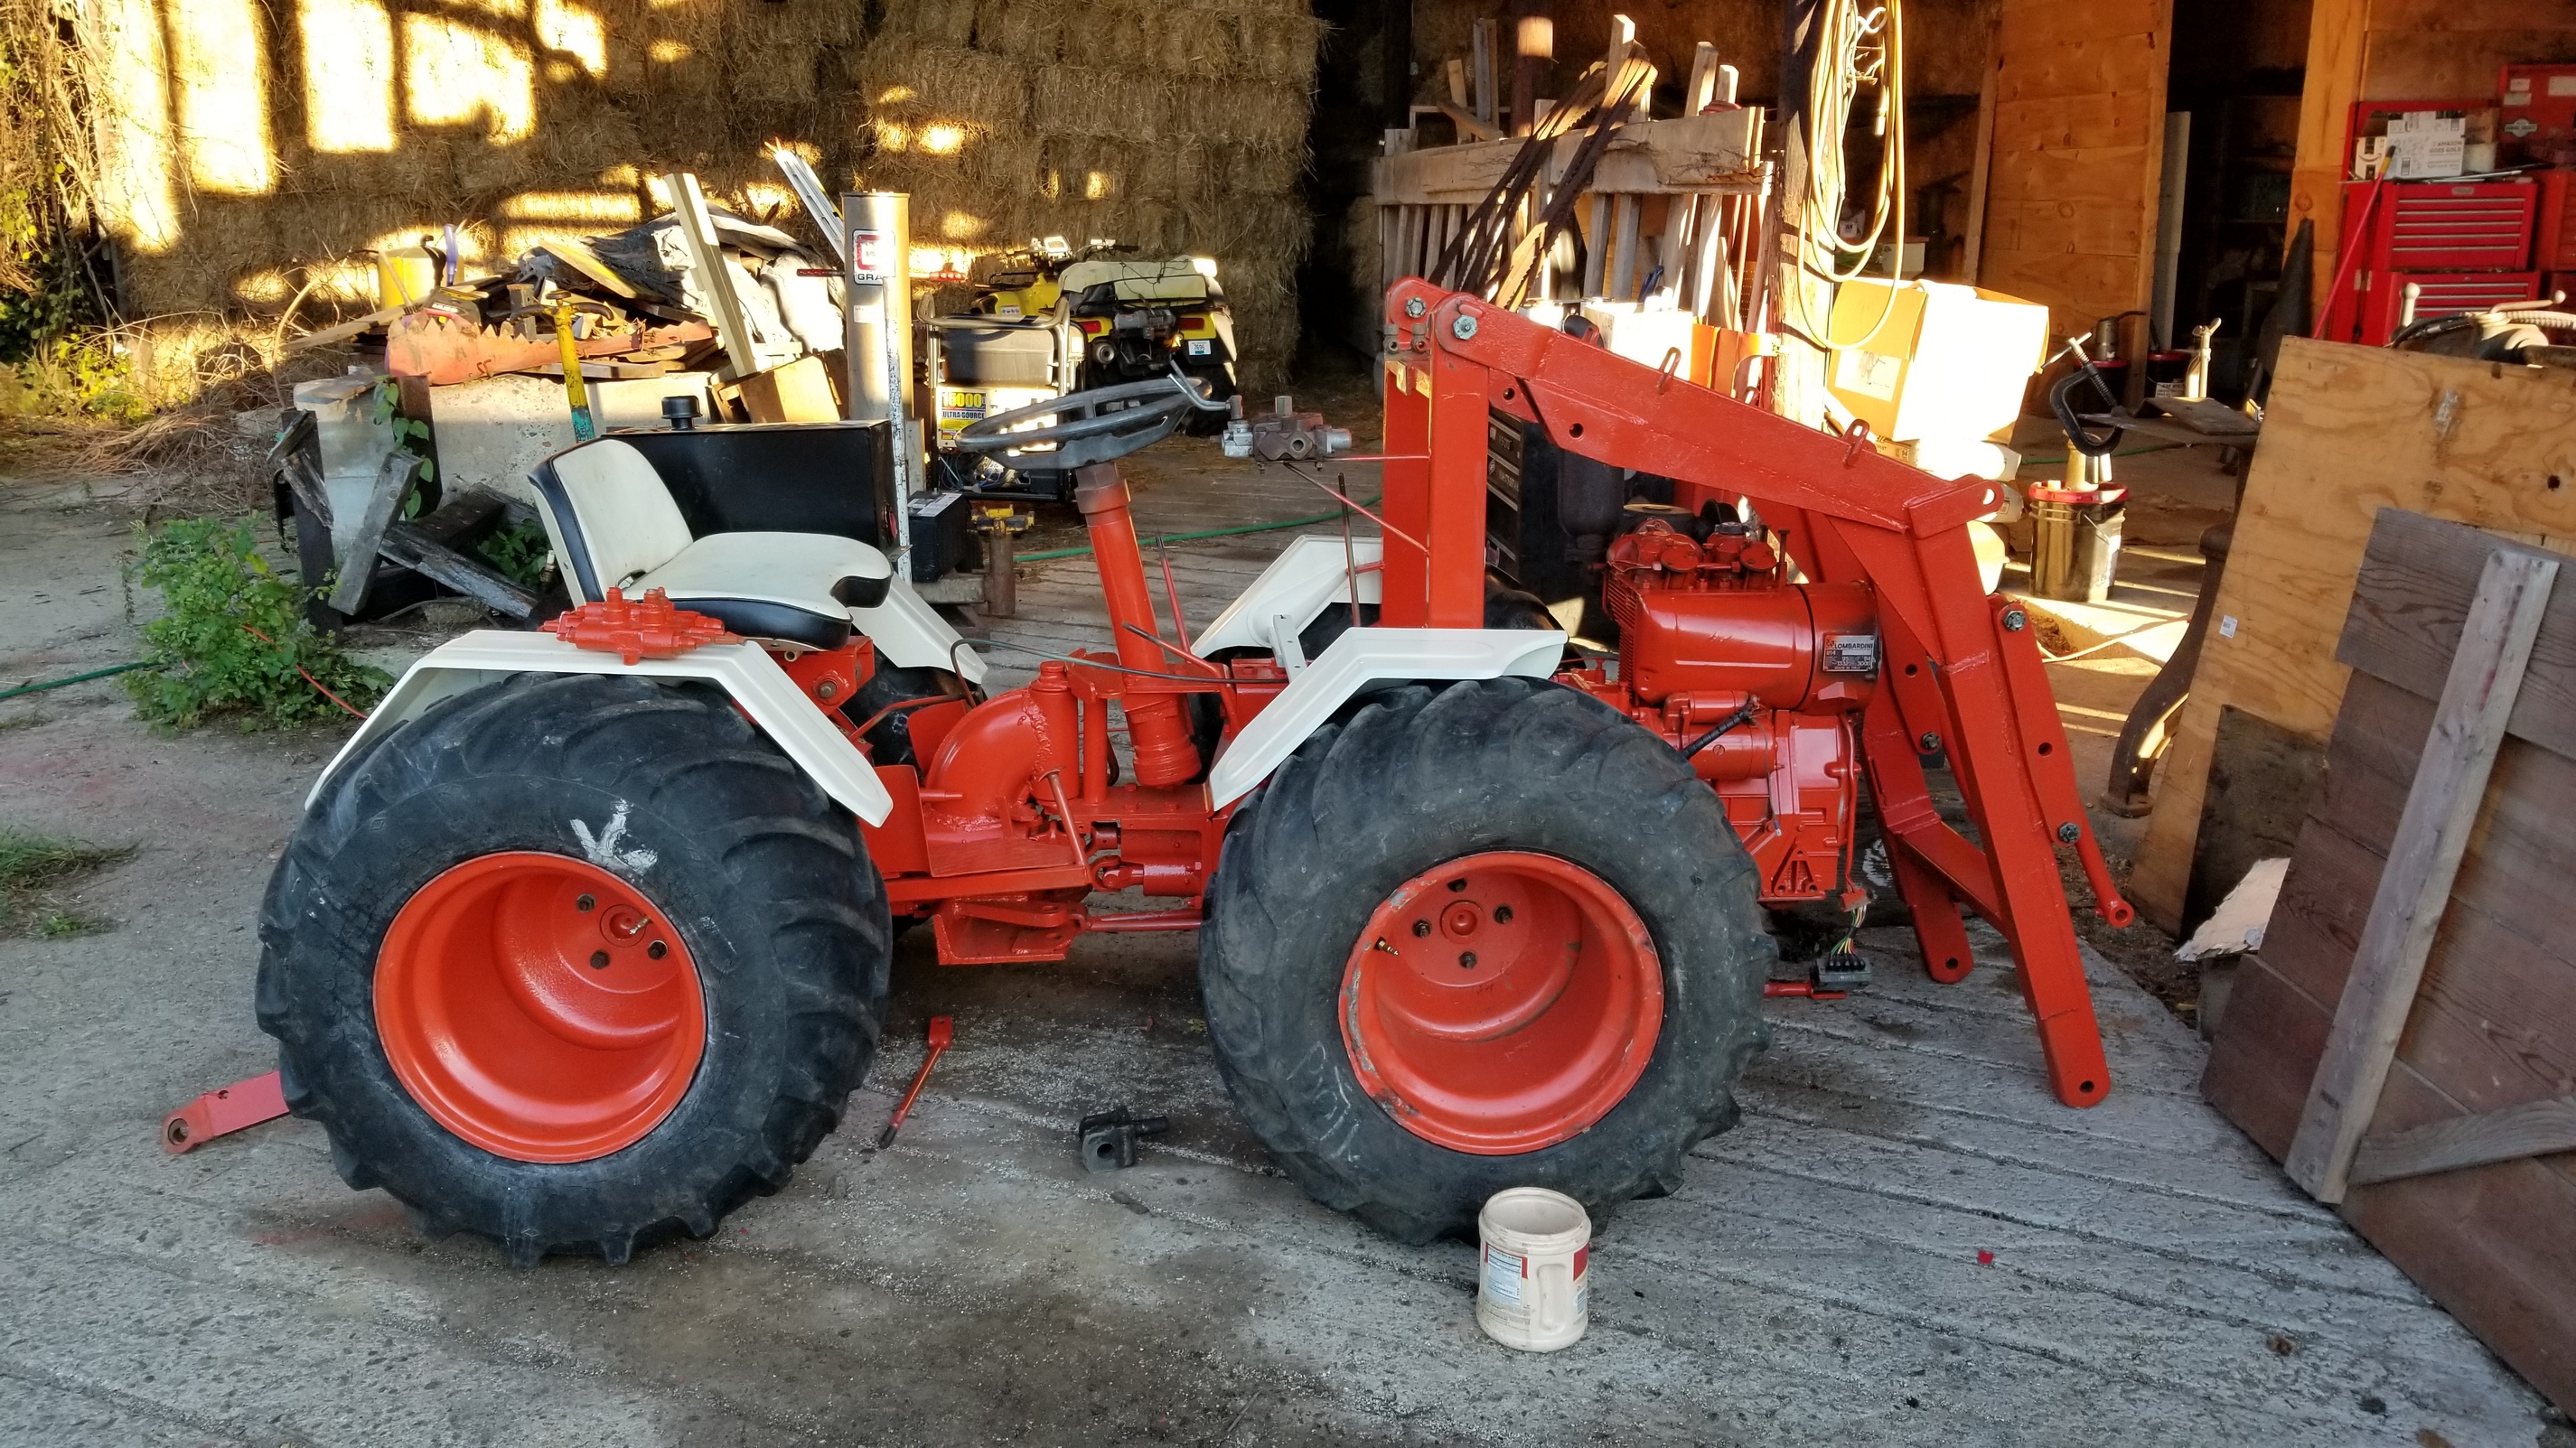
Not much new. Went to put the tires on the other day and one of the rims I has fixed had a sharp edge which punctured the new tube so I had to take that back to the shop. Got the tires and brakes on today. Still waiting to get the cylinder back from the friend who is doing some welding repairs for me. I find the trading favors system can be slow but the price is right.
The fenders and seat are just sitting there for a mock up. I might have to modify the rear fender mounts for the new seat bracket but I have a front to back adjustable spring loaded seat mount I can use it will be really nice to have a little bounce in that seat it was a rough ride before.
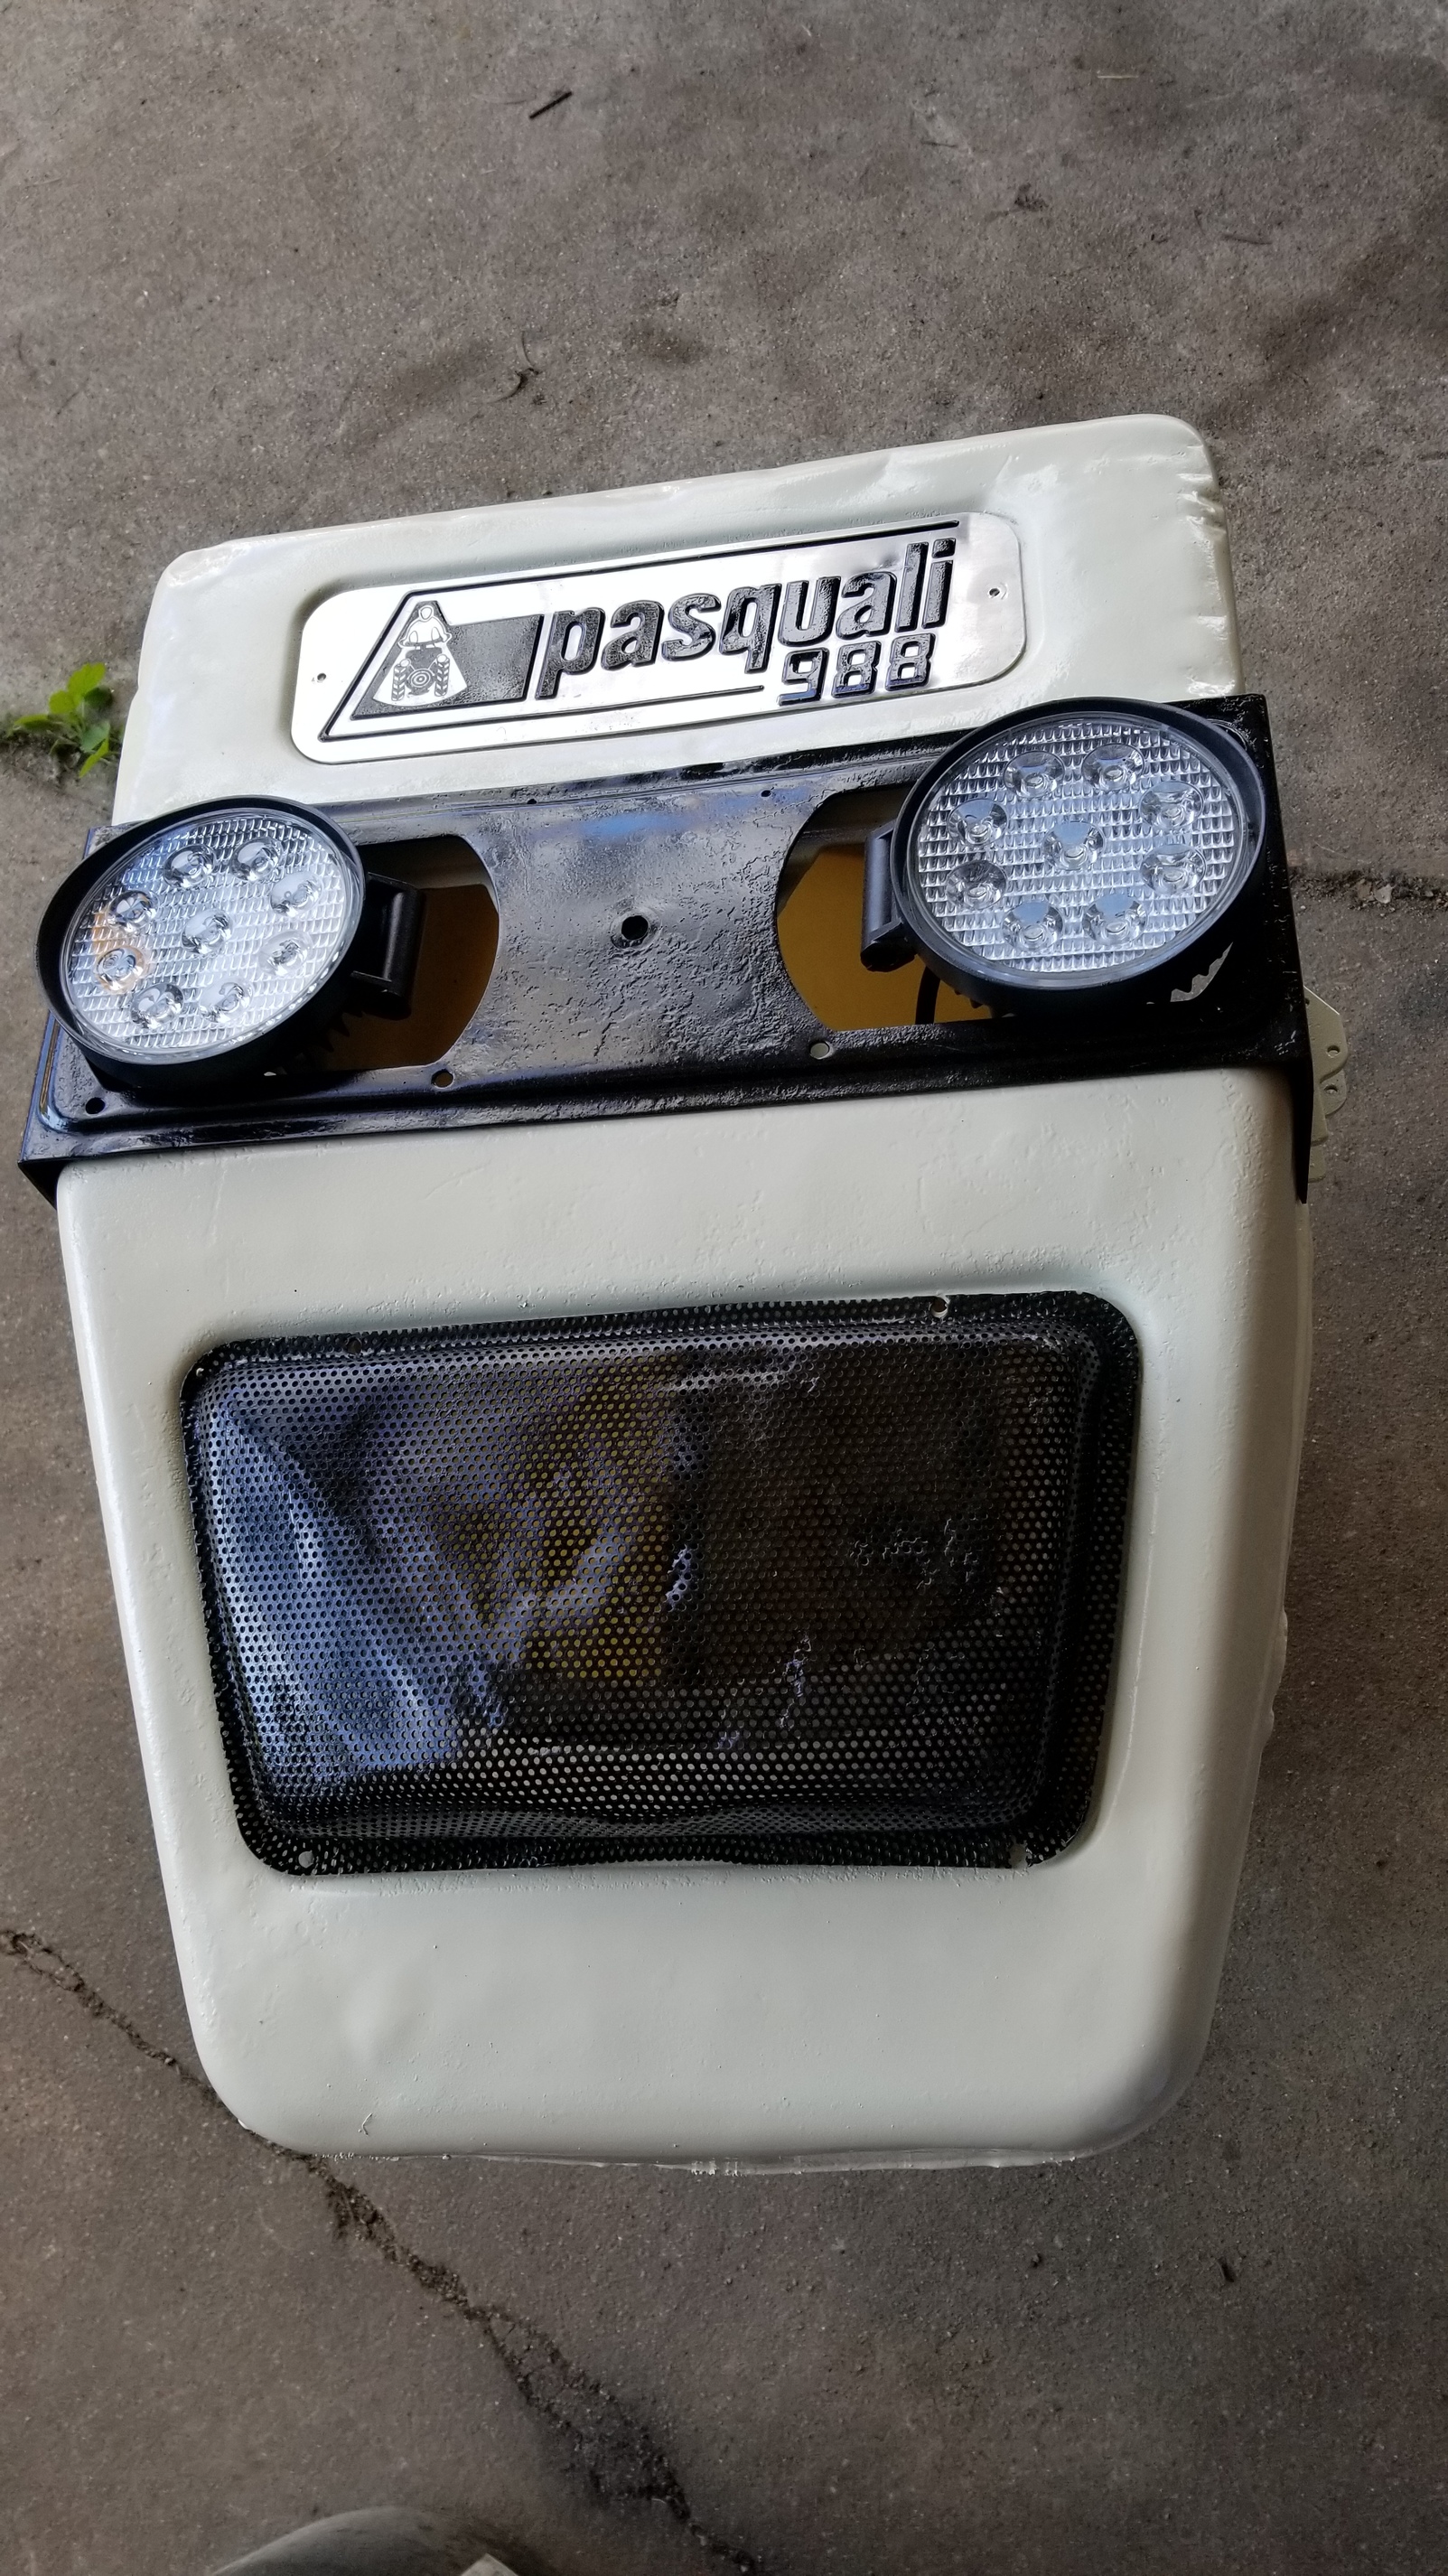
There is a quick mock up of the front grill as well. It might need another coat of paint on the cream I am not sure. I will make a filler plate to mount the round lights and I think 2 more maybe on the front fenders as the buck blocks the grill lights half the time.
I am also planning red marker lights on the back fenders and a work light on the back as well.
12 Likes
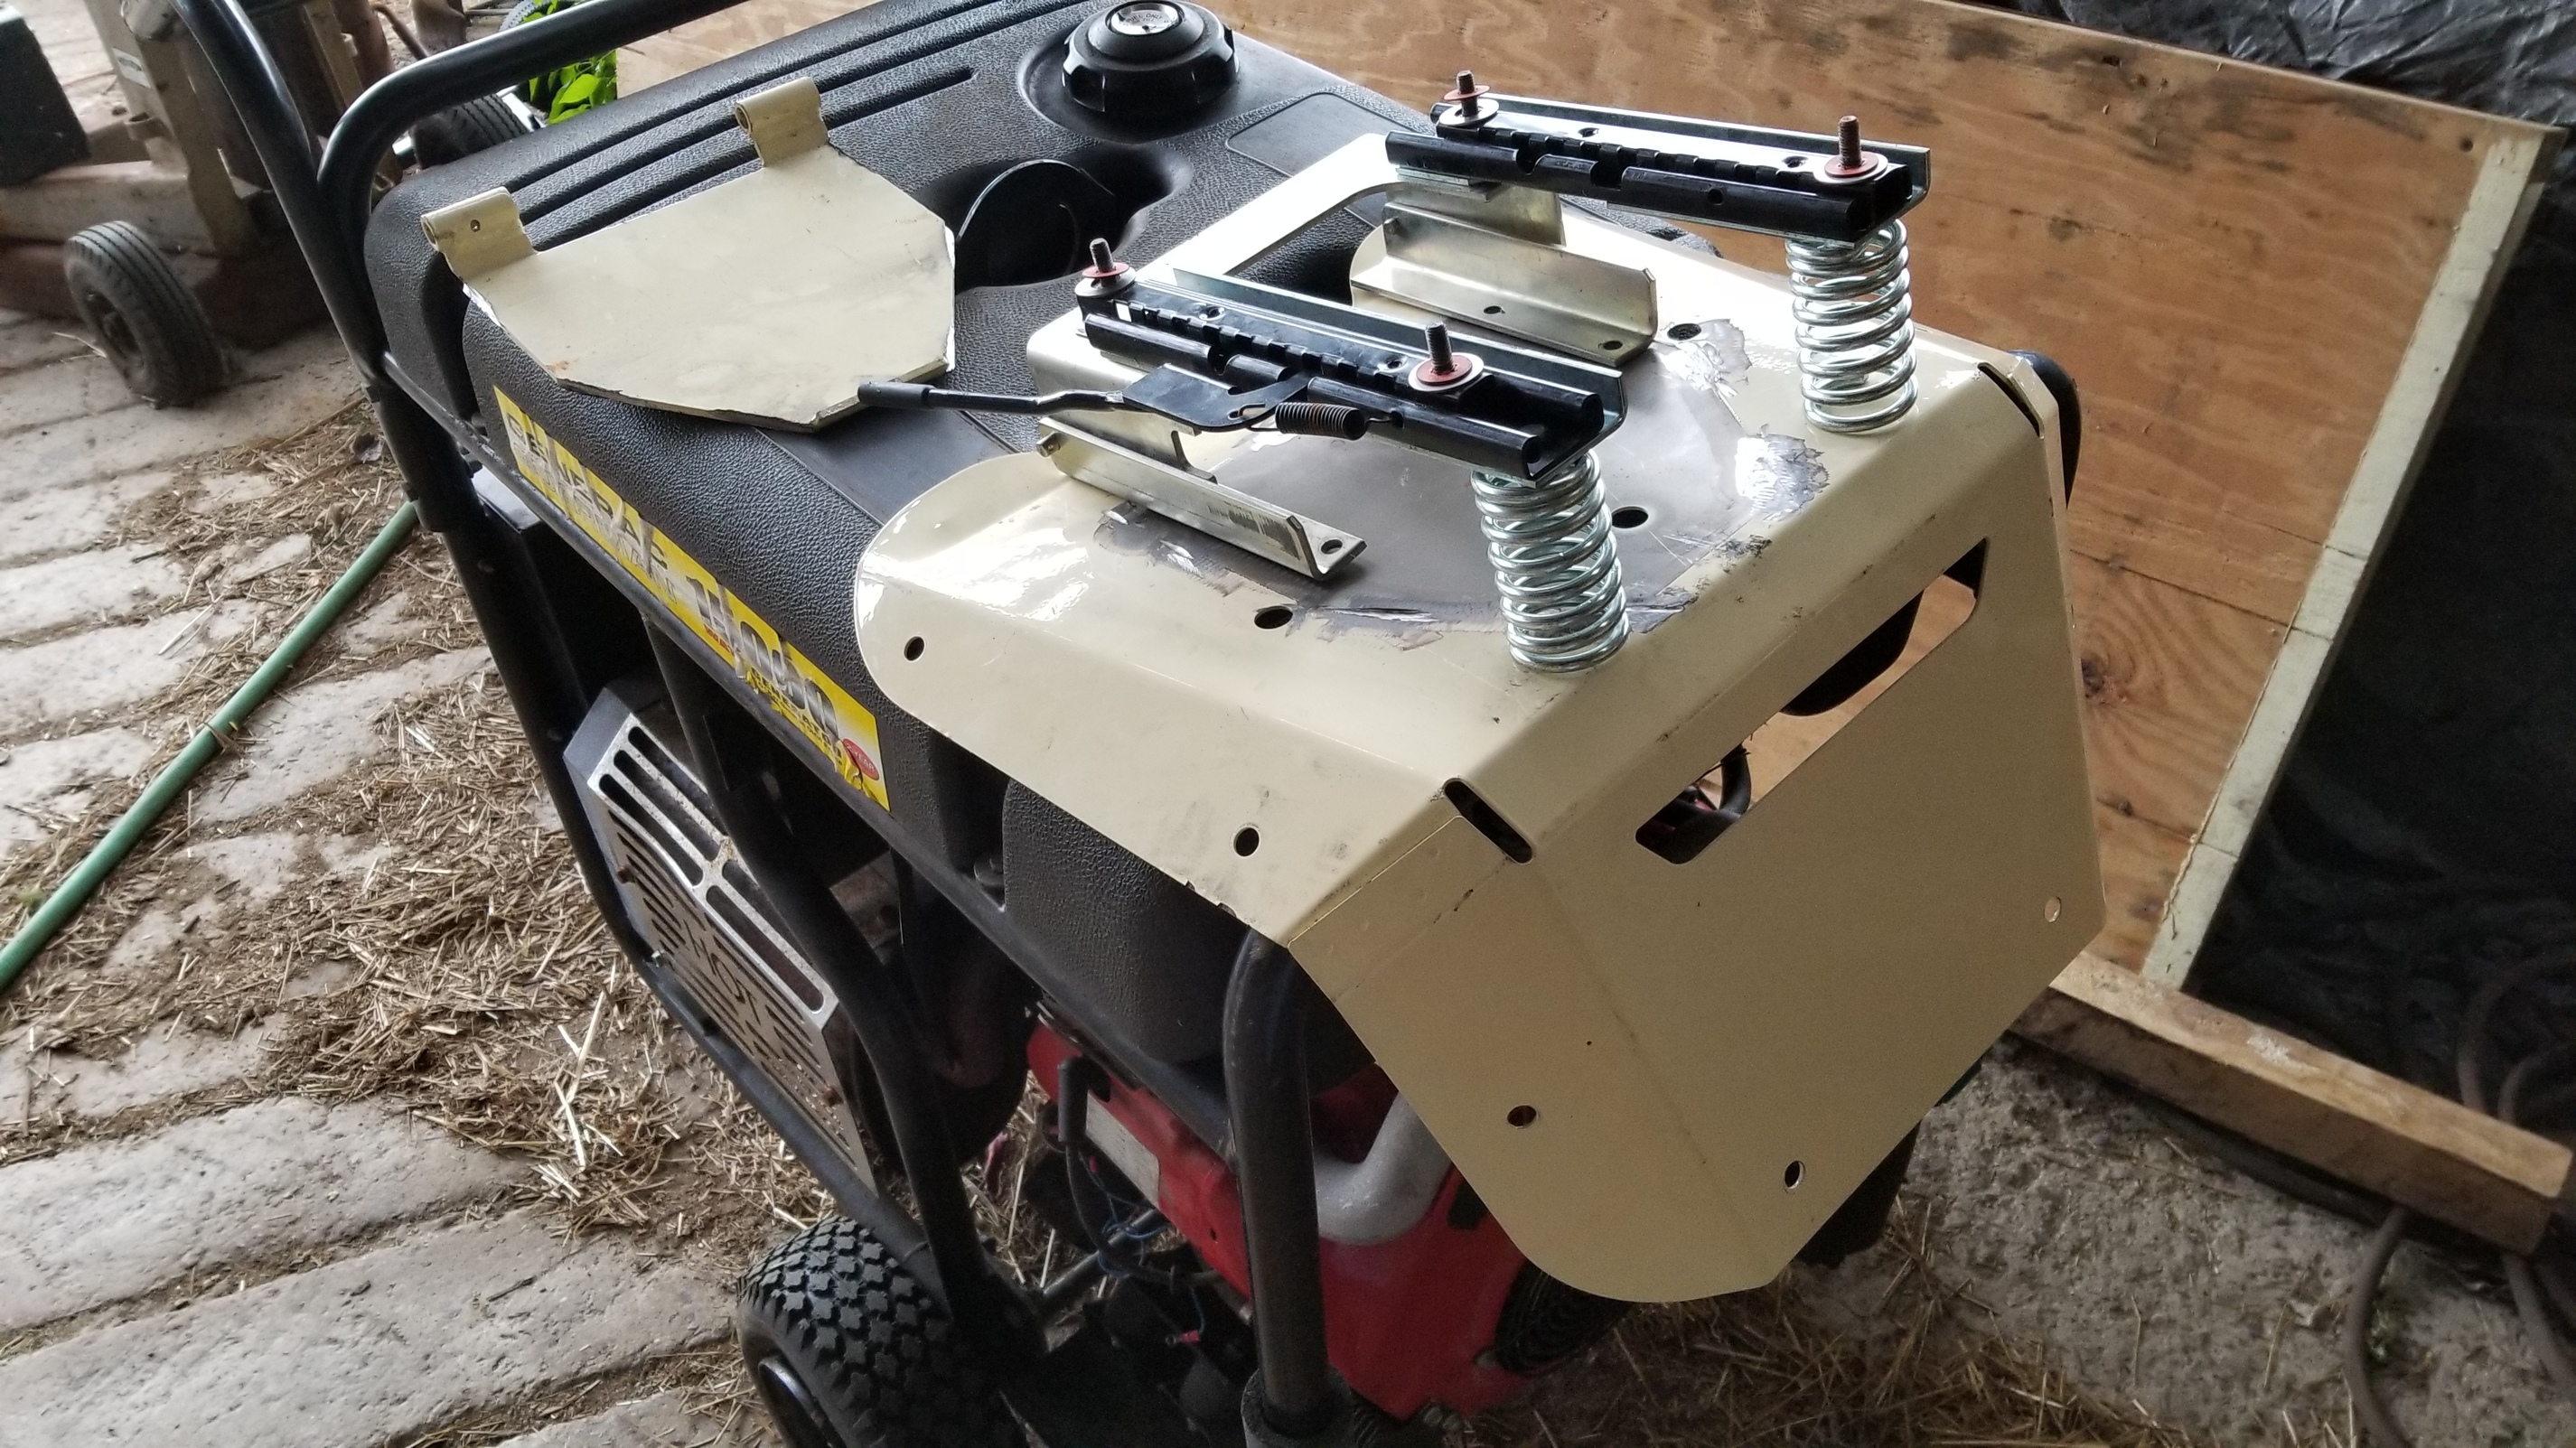
Sometimes you just need to walk away from a problem and come back the next day. Yesterday I was looking at that seat with the cushions on it and couldn’t see how to make the old Allis Chalmers hinge work with the Kubota seat frame I have. The AC seat mount is way too big for this tractor. Today I walked back there to do something else and in one glance I went well remove the cushions and take the angle grinder and cut those 4 welds then you have a flat seat pan to work with. Now I just need to decide if the seat pan is thick enough to support the springs because that plate I cut off was giving it alot of support. I might take an old piece of steal around here to stiffen it up a little before mounting the new bracket to the seat.
6 Likes
That’s going to be such a sweet little tractor. To me it looks like it’s begging to go in the bush to skid logs…
5 Likes
That is how if got broken by the last owner. They where a favorite for loggers on small lots where they didn’t want to cut roads but the center pivot is a little light for the job. You can see where this one was broken in two by the logging winch they used on it. But they did a good job repairing it. I saw that when I bought it.
2 Likes
Ok, scratch that idea, or go easy on it - maybe using a log arch / fetching arch?
3 Likes
I suspect it is like most things and you just need to know the limits of the machine. The logging winch which was on it looked about twice as big as I would think was reasonable for a machine this size. It was category 1 3 point hitch but it looked really big and heavy on this tractor.
One of my dreams for this tractors is a dump trailer and wood splitter powered off rear remotes so I can take the splitter out and split wood directly into the trailer in remote places where you don’t have to worry about hauling out big stuff. Or to load logs on a trailer and bring them back to the mill. I so like a logging arch the only down side is they are one more specialty tool if I can get by with a flat bed trailer I can do more with the same tool.
5 Likes
Depends how tight it is in the bush, and how rough. If you have a nearby field / landing area it is likely more efficient to skid out to an open work area.
A fetching arch is a pretty easy build, you need to hone up on welding and fab…
Community colleges often have evening short courses, well worth the time put in
3 Likes
Hi Dan,
I have 997 I’m rebuilding, had to get the engine kit from Italy, WOW what a deal this has been… I believe our tractors are the same except for the motor. I’m replacing the hub seals do you by chance know the part number for those?? Thanks, Mike
1 Like
Michael I don’t have the part number for the seals written down. I simply measured then and ordered replacements based on the measurements from the local auto parts store.
I haven’t tried ordering directly from Italy I have gotten all the parts I couldn’t find locally from Tom Branch at Italian tractor parts in Canada. He has been very helpful.
https://www.italiantractorparts.com/bearings-seals.html
2 Likes
I was dealing Tom then he quit responding. His last response was he only orders from Italy twice a year and he was going to place an order in december, get the parts sometime in january so I would most likely not get anything till march. So I decided to go out on my own. I found the rebuild kit, gaskets, rings, valves, guides, injectors, rod and main bearings and a few other items for $350 which included $30 for shipping and I’ll have them next week. The outfit I went thru is Asvarta https://www.asvarta.com/gb/ go to there contact us Aitor Fernandez is who I’ve been dealing with and he understands english quite well. They work strange hours and are 7 hours ahead of mtn time. They have a lot of engine parts you can’t get here.
3 Likes
I took the crank in last week to get it ground, the mains were toast, took the rods down to .50mm and the mains to the max .75mm. For about 800 bux I could get a new crank from Italy but how much do I want to spend on my Pasquaili??? I picked it up for 1,500 it came with a big snow blade and a rototiller which is what I wanted. The poor thing was gushing fluid out the 2 lift rams and oil out the pushrod tubes also came with a set of extra dual ag tires and rims. I love this stuff…
4 Likes
Well your into your pasquali for less then I am into mine. The are pretty rare around here. I paid $2500 for mine with a wood splitter I didnt need. When all is said and done mine will be completely rebuilt from one end to the other and repainted for an additional $2500 might be a little less when I am done but I am also upgrading the hydraulic tank and adding a rear remote and down pressure on the 3 point hitch. If you have a loader the tank in the front is just too small. I used mine for about 18 months before the motor just gave up.
When I am done I figure I will have less then $5000 in it and around here used abused but still running they typically sell for about that.
As to how much you invest depends a lot on how much you plan on using it. Here I have a small farm and it makes since to invest in doing it right because I will use my equipment hard and I personally feel rebuilt the old equipment will serve me better then the modern stuff.
Oh the old crank ground to the max is perfectly fine I wouldn’t replace one that you can rework.
3 Likes
I enjoy working on these old foreign rigs, the challenge getting parts isn’t that bad. I bought mine for plowing snow with the giant blade and tilling my garden. Just now ordered seals for the hubs, they are proud of them 30 bux eachX4…
I don’t have a loader for it as I already have backhoe so I’m going to leave the hydraulics alone. I do plan on adding a multi direction hydraulic lever so I can angle the blade without having to do it manualy…
3 Likes
If you setup the blade pivot with two cylinders similar to how the tractor pivot is done it will not change the volume requirement for the oil tank. Basically the oil volume is just moved between the two cylinders. Surplus Center is the best source I have found for most of my hydraulic projects.
https://www.surpluscenter.com/Hydraulics/
1 Like