I’m Senne from Belgium, first time forum post, and I would like to share my experience building my first gasifier and to get some feedback from you guys. I have read a lot of information on this forum on charcoal gasification and I decided to join the dark side !
My goal is to use a TLUD stove in combination with a charcoal gasifier to process and cook food and do some work on my 1 and a half acre hobby farm.
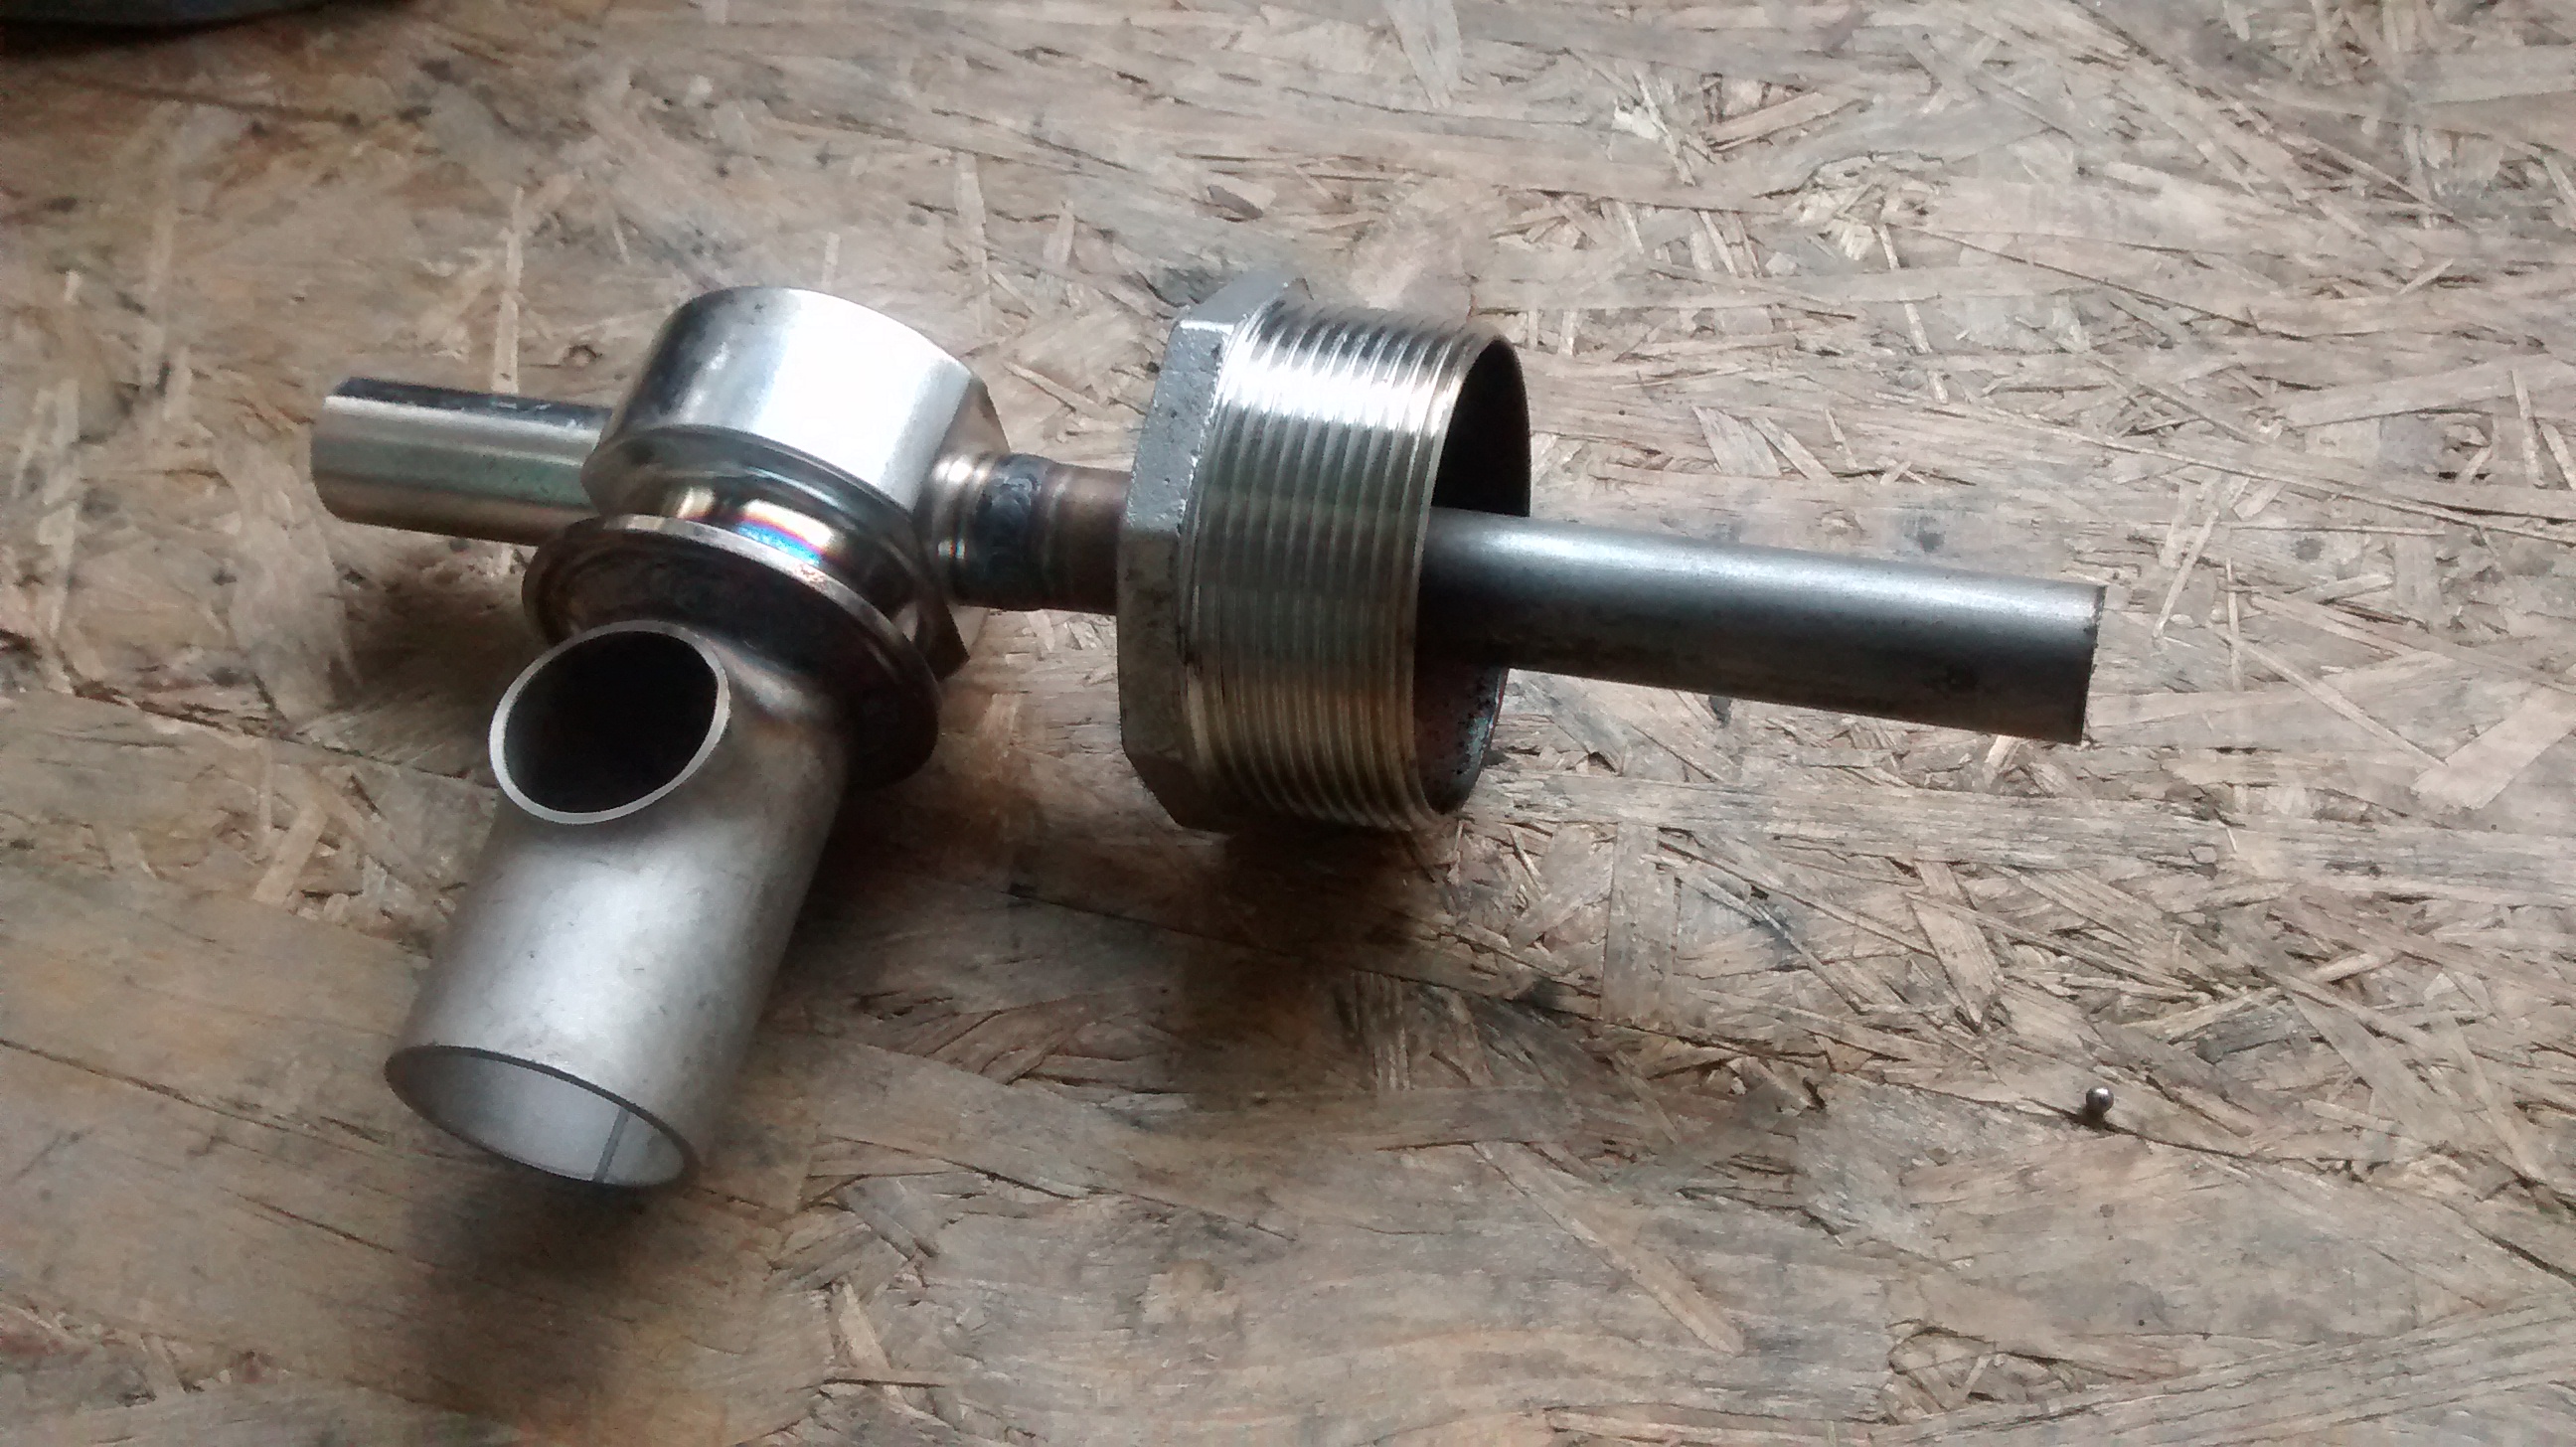
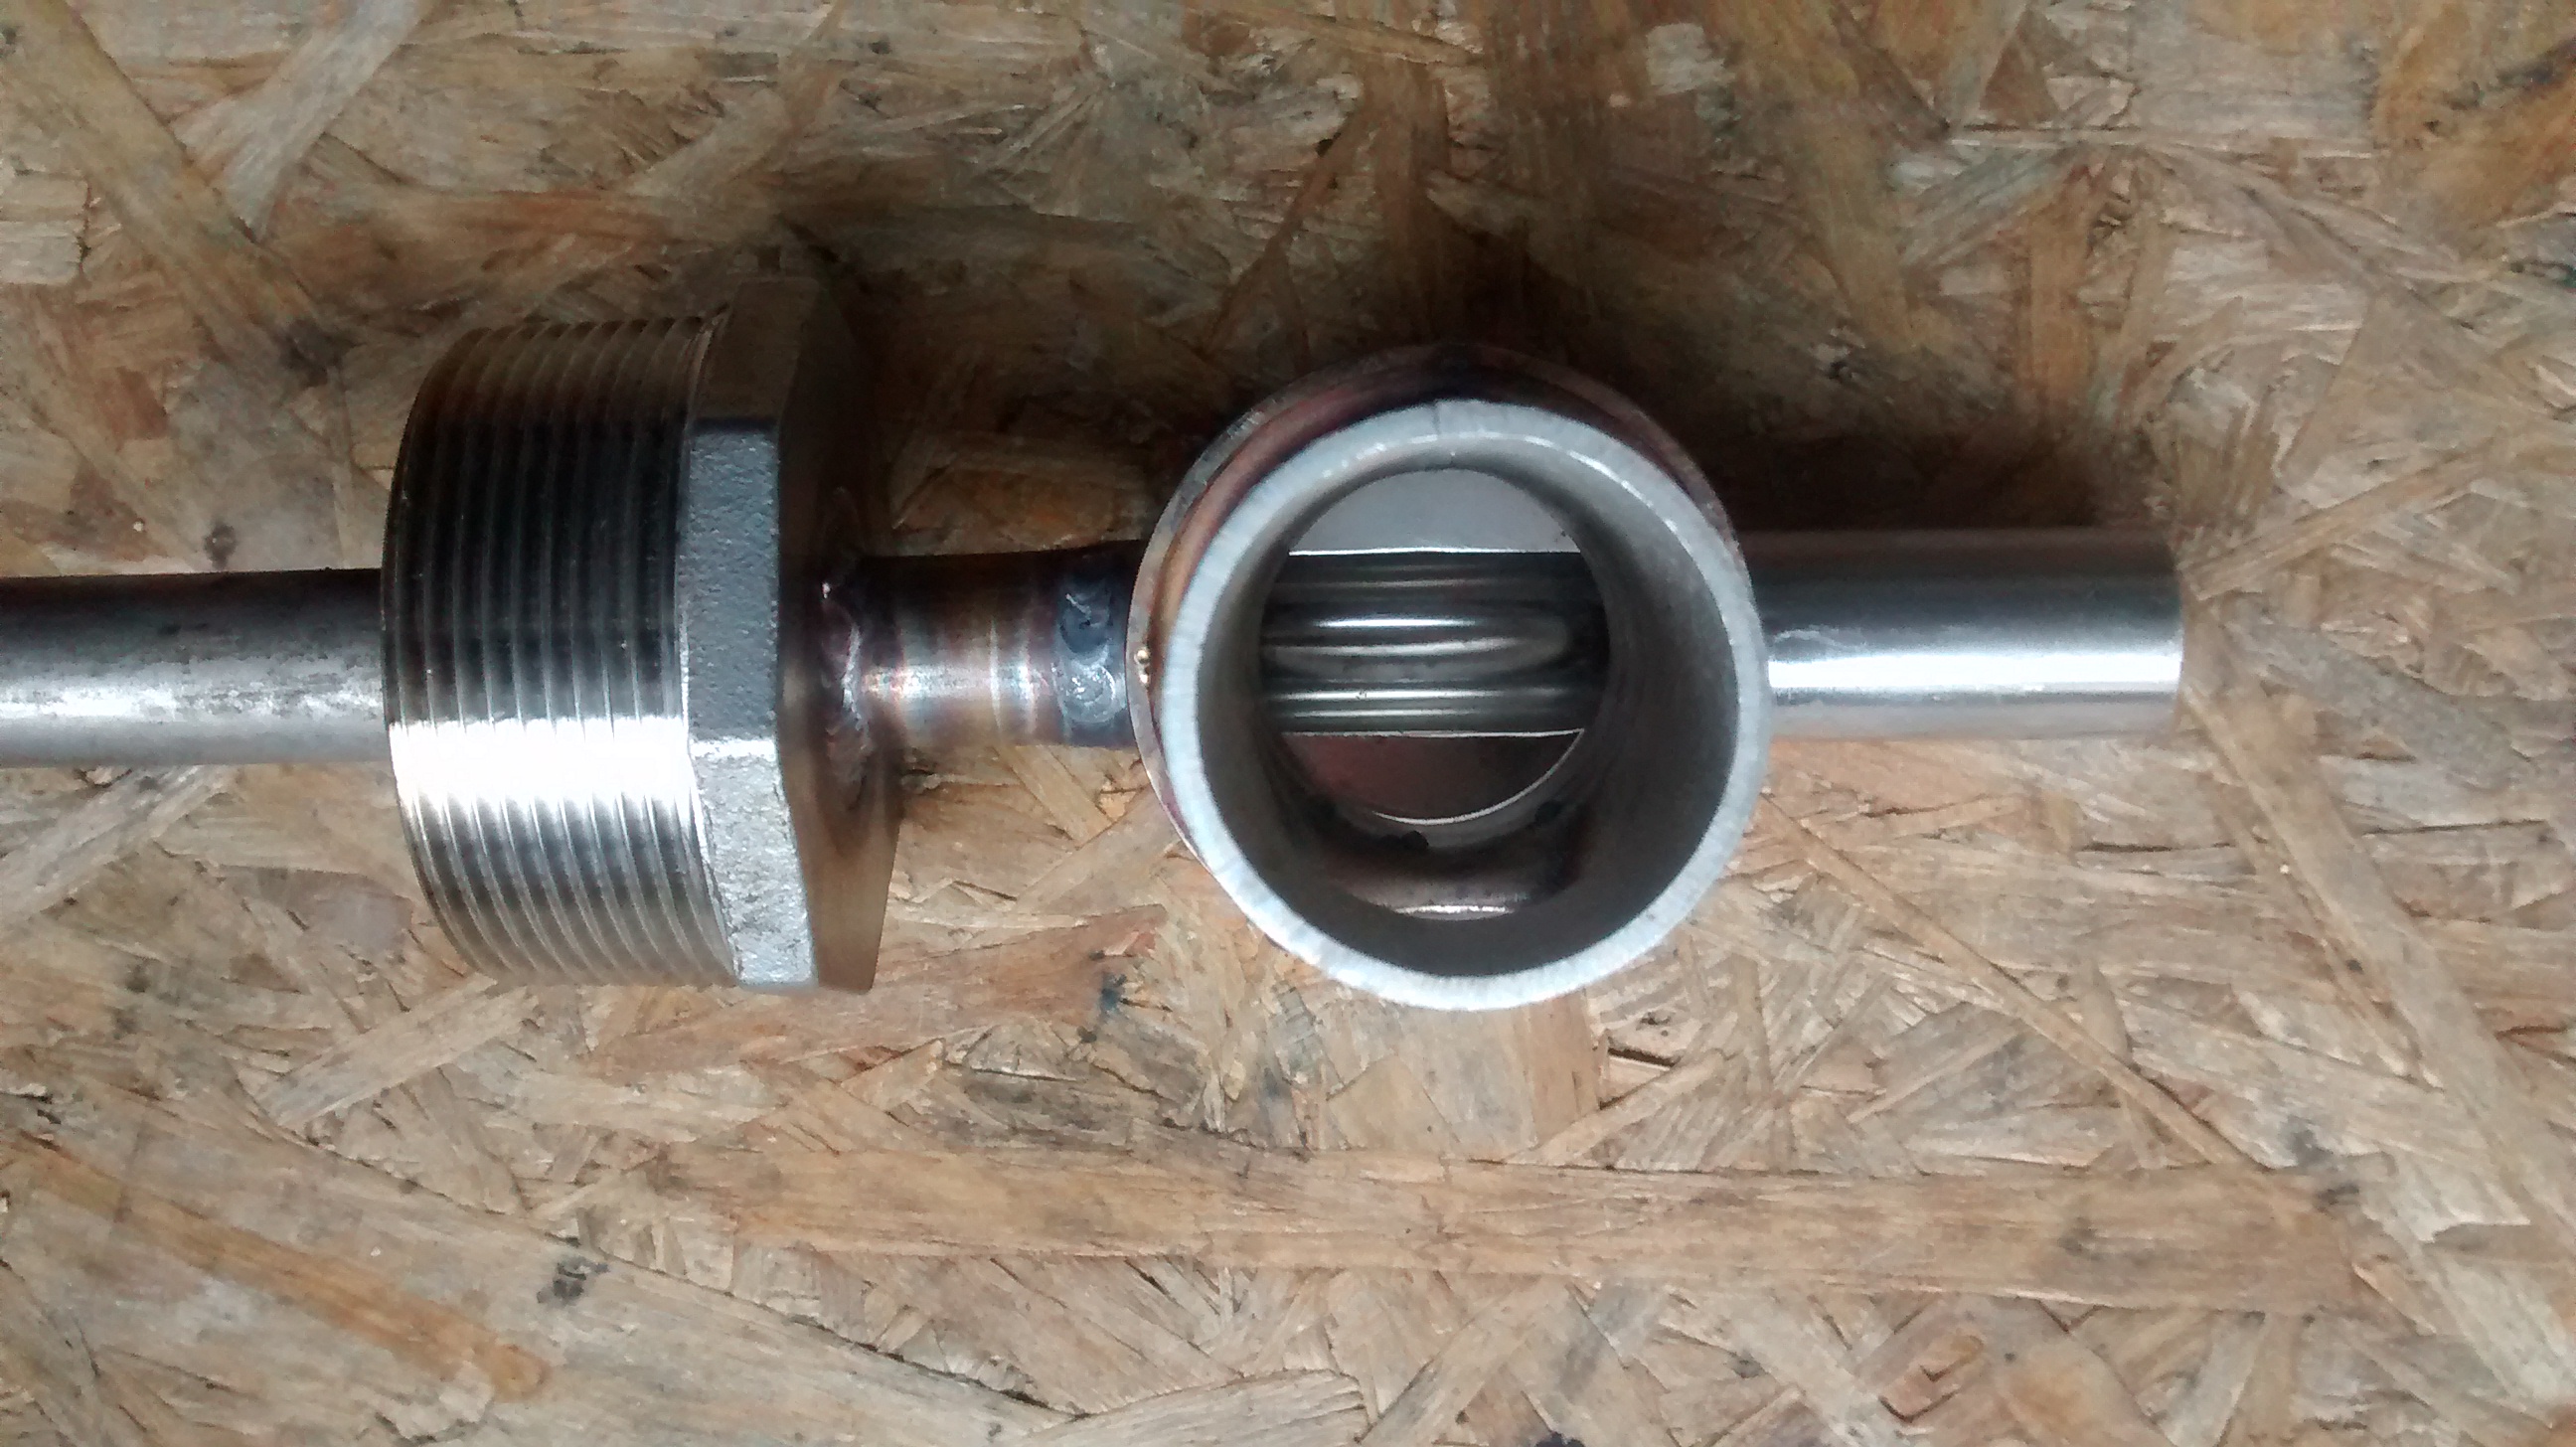
The design of the gasifier is based on Koen’s design of the small farmer gasifier.
the reactor cylinder is 5" diameter and the hopper 10".
I haven’t got a lighting port yet but I was unsure about the necessity of it for testing the first time.
Will it be possible to easily light it trough the nozzle?
There was some sticky yellow oil like residu in the hopper when I got it from the scrapyard, anyone has a suggestion for cleaning it thoroughly?
For lighting you could try lighting some small charcoal and letting it be blown into the gasifier nozzle. If the nozzle is open and the system is under vacuum lit paper may work.
Like Gary sayd. If your sistem is under vacuum you can put a flame from a burner near the nozzle and the flame will be sucked in the charcoal.
As for the residue in the container, l usualy pour some gasoline in paint buckets and let them burn clean, then scrape with a wire brush.
Be sure to use small charcoal (nail size) and report your tests!
Nice work, Senne. Light a fireworks sparkler at the bare wire end so that it burns upward. Insert so the unburnt end contacts charcoal.
Please tell us about your charcoal making process.
Thanks for the helpful replies,
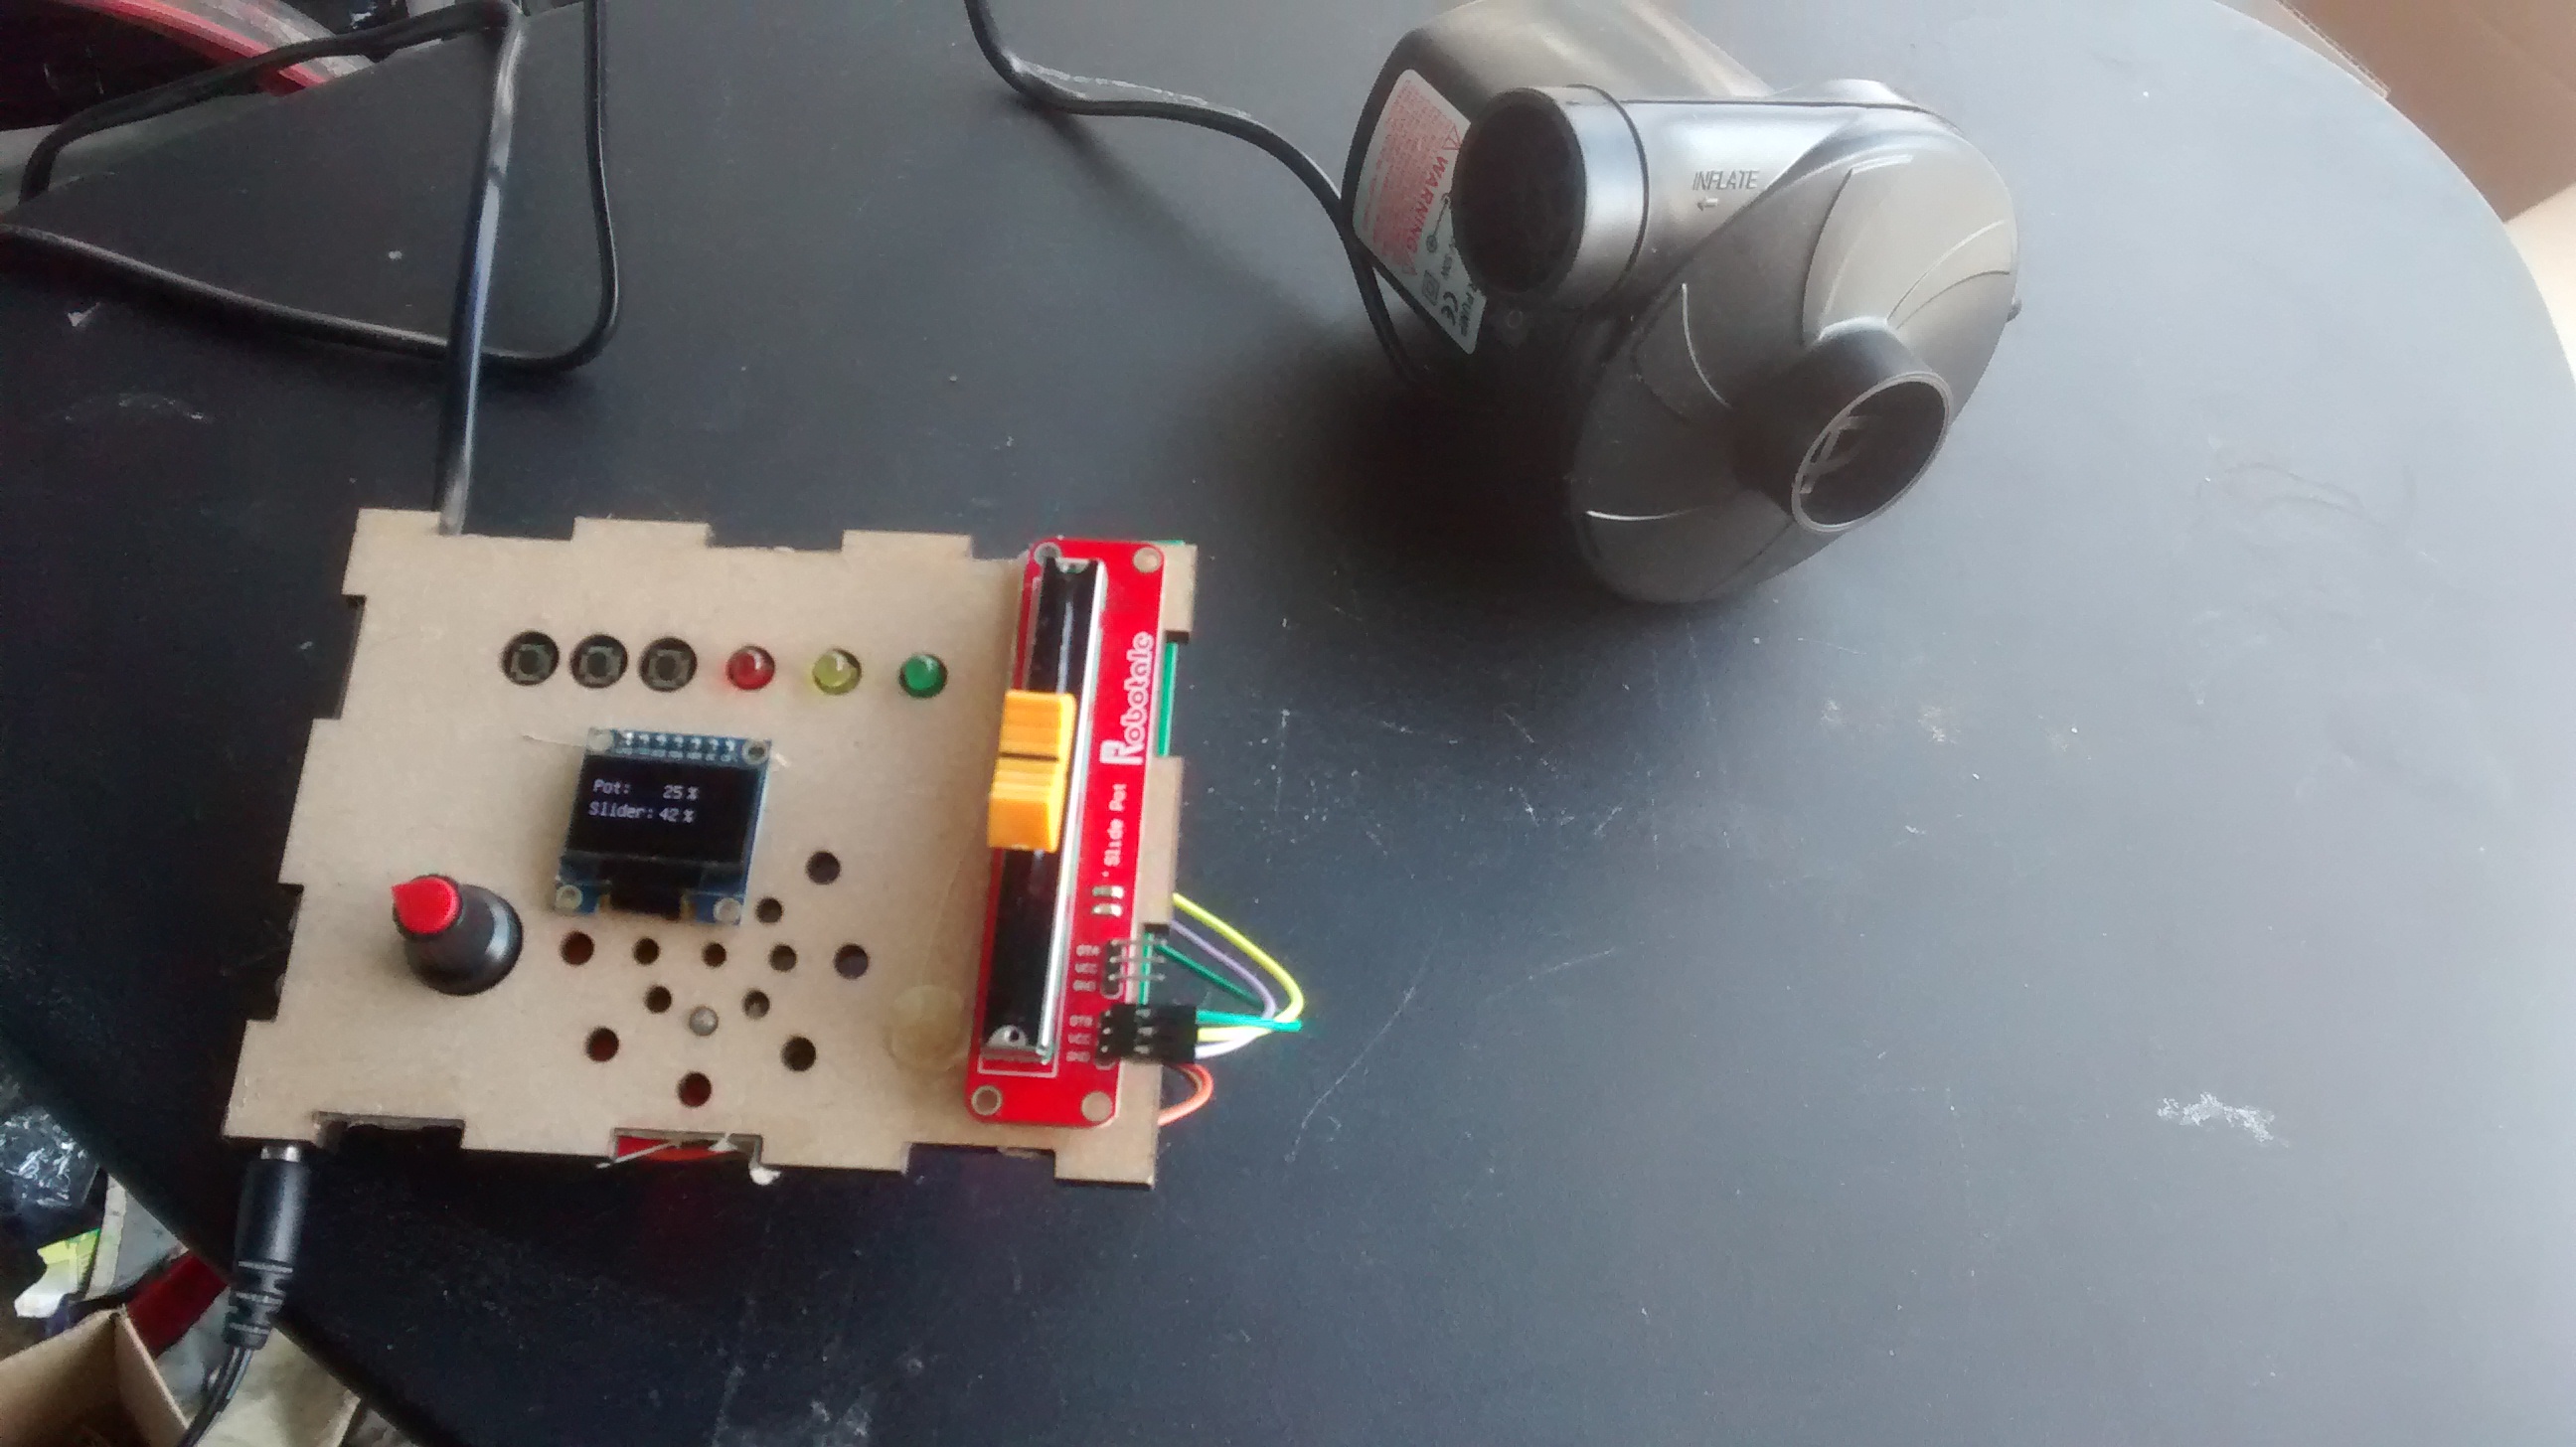
I will be putting the gasifier under a vacuum at startup. Already made a little fan PWM controller and the beginnings of a “controlling board” to read out some sensors that I would like to put in and maybe do some automation in the future if i get there (I have a little knowledge of Arduino and programming).
Another question just came to my mind:
Is it necessary to be able to cut off oxygen input completely at cooldown? Or is it okay to leave the nozzle open but only cut off the vacuum?
Charcoal can burn for days if there is eaven a bit of oxigen present. But it is not nessesery. On my cars gasifier l dont close the air and the gasifier dyes in about 12 hours completely. But myne has a insulated hopper and the heat pushes naturaly absorbet water steam out of the nozzle, displacing air. Yours miggt bot do this snd you might end up with a empty gasifier a few days after shutdown
Most I have seen either use a ball cock valve to shut off air intake or a simple plug or cap. I don’t see any provision on yours. simple no air, no burn. lol Good luck I envy your welding abilities. I am gathering parts to put a simple gasifier together soon.
I know what you mean Kristijan. I forgot to shut my ball valve air intake once and came back 3 days later and the outside barrel was hot and about 1/3 of my charcoal disappeared!
Looking good. A TLUD stove makes excellent charcoal. I like to use hardwood feedstock cut the size of a pencil and about 7 CM in length. Load the stove carefully, putting some damp charcoal on the grate, then larger pieces of wood, smaller pieces, and then a bit of charcoal soaked in cooking oil or alcohol fuel. On top of that, some kindling of small paper pieces folded in "V"s. I like small holes in the grate, supplemented (at least in the beginning) by forced air using a small computer fan blowing into the primary air inlet through a plastic bottle or small can. Cook until the flames go out. Dump the contents, and when the charcoal is COLD screen it to get rid of any ash, and to test the “doneness” of the charcoal. The pieces should break easily with your fingers. No brown stuff. No hard pieces of wood.
To light the gasifier, just stick a propane torch into the air inlet with the blower sucking on the output of the unit.
To shut off the air at the end of a run, I like to screw a threaded plug into the air inlet. No air leaks. It is very important to have no air leaks anywhere in the system. The only air introduced into the system (after the air inlet) should be at the mixing valve near the carburetor of the engine. When you get the engine running, mark the location of the lever on the knob of the air valve. I suggest using a watt-hour-meter at the output of the generator so you see how much power you can get out of charcoal with or without EGR or water drip. Inverter Generators are coming down in price. These are neat because the output voltage waveform is a pure sine wave created by an electronic inverter. All the engine does is supply high voltage, normally around 400 volts to the inverter circuit. The carburetors have a servo so they can run at low rpm until a load is added, and then they speed up. (Called ECO mode) My tendency is to run the motor wide open to get maximum power output. No worry about rpm affecting frequency. The inverter takes care of it.
Looking forward to your progress.
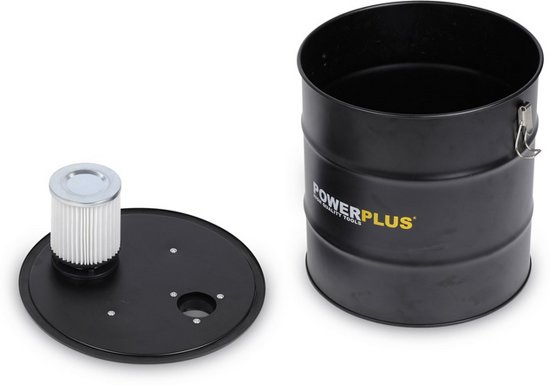
I was already planning to make this one! I try to use recycled materials for my builds but the medium sized buckets where too hard to find. Then I came across this one in our local hardware store.
Its a vacuumcleaner adapter to suck ash, so it comes with an airfilter and a vacuum hose so I figured I should support this company for making gasifier starter kits
It seems that I will have to adapt or find a solution on the air nozzle shut-off.
I’ll give the gasifier a test run before doing any welding related adaptions though.
I’ll keep you guys posted, thanks for all the great comments!
TLUDding as we speak, got the air/gas mixture reasonable so the flares don’t die. The stove makes higher flares than expected! (Its running on pellets at the moment)
Too much air from underneath?
Yes, too much air through the grate. Here is a photo of a worn-out rusted ten inch saw blade that I used as a grate. (The center air is blocked by an inlet pipe, so very little air goes through it.)
To me, it didn’t look like overkill because the example I followed was the seachar TLUD example:
I will do a test again because the moment I took the flare picture the fire had been raging in the bucket for quite a while when I was adjusting the nuts where the cans rest on (adjusting the air/fuel). The flares got a bit smaller later on. Also note that I only tested with 1/4 of the bucket filled with wood pellets.
The grate looks o.k. The intensity of the burn or the height of the flare can also be controlled with the fuel, and the method of loading the fuel. I only use pellets in my Uuni3 wood fired pizza oven
and they are very expensive, including freight. For my TLUD stove, I use junk wood that I cut with a saw and split with a hatchet. You might try putting a bit of char on top of the pellets. They will slow down the velocity. My TLUD is based on the Anderson Champion, and uses a restriction. The bottom of the pot or fry pan is about 18 cm above the restriction, so the flames just touch the bottom of the pot. Sometimes, if certain very dry wood pyrolyzes too fast, I will add even larger cubes or chunks near the grate. I can always tell when my cooking time is about to end because the flames under the pot will suddenly increase in size. If I still have some cooking to do, then I’ll throw in some cubes or even pieces of charcoal, one at a time to slow things down. When I screen and size my charcoal, sometimes there are pieces of wood that didn’t get converted. I save these for in the stove, and they get a second chance to be quality charcoal.
I might add that I live in the Sub-tropics and pellets are not sold in the stores, so they have to be special ordered. However, there are many invasive species of hardwood that can be cut up into little pieces for fuel.