Now with the slag on top. Still melting down some nails in every run.
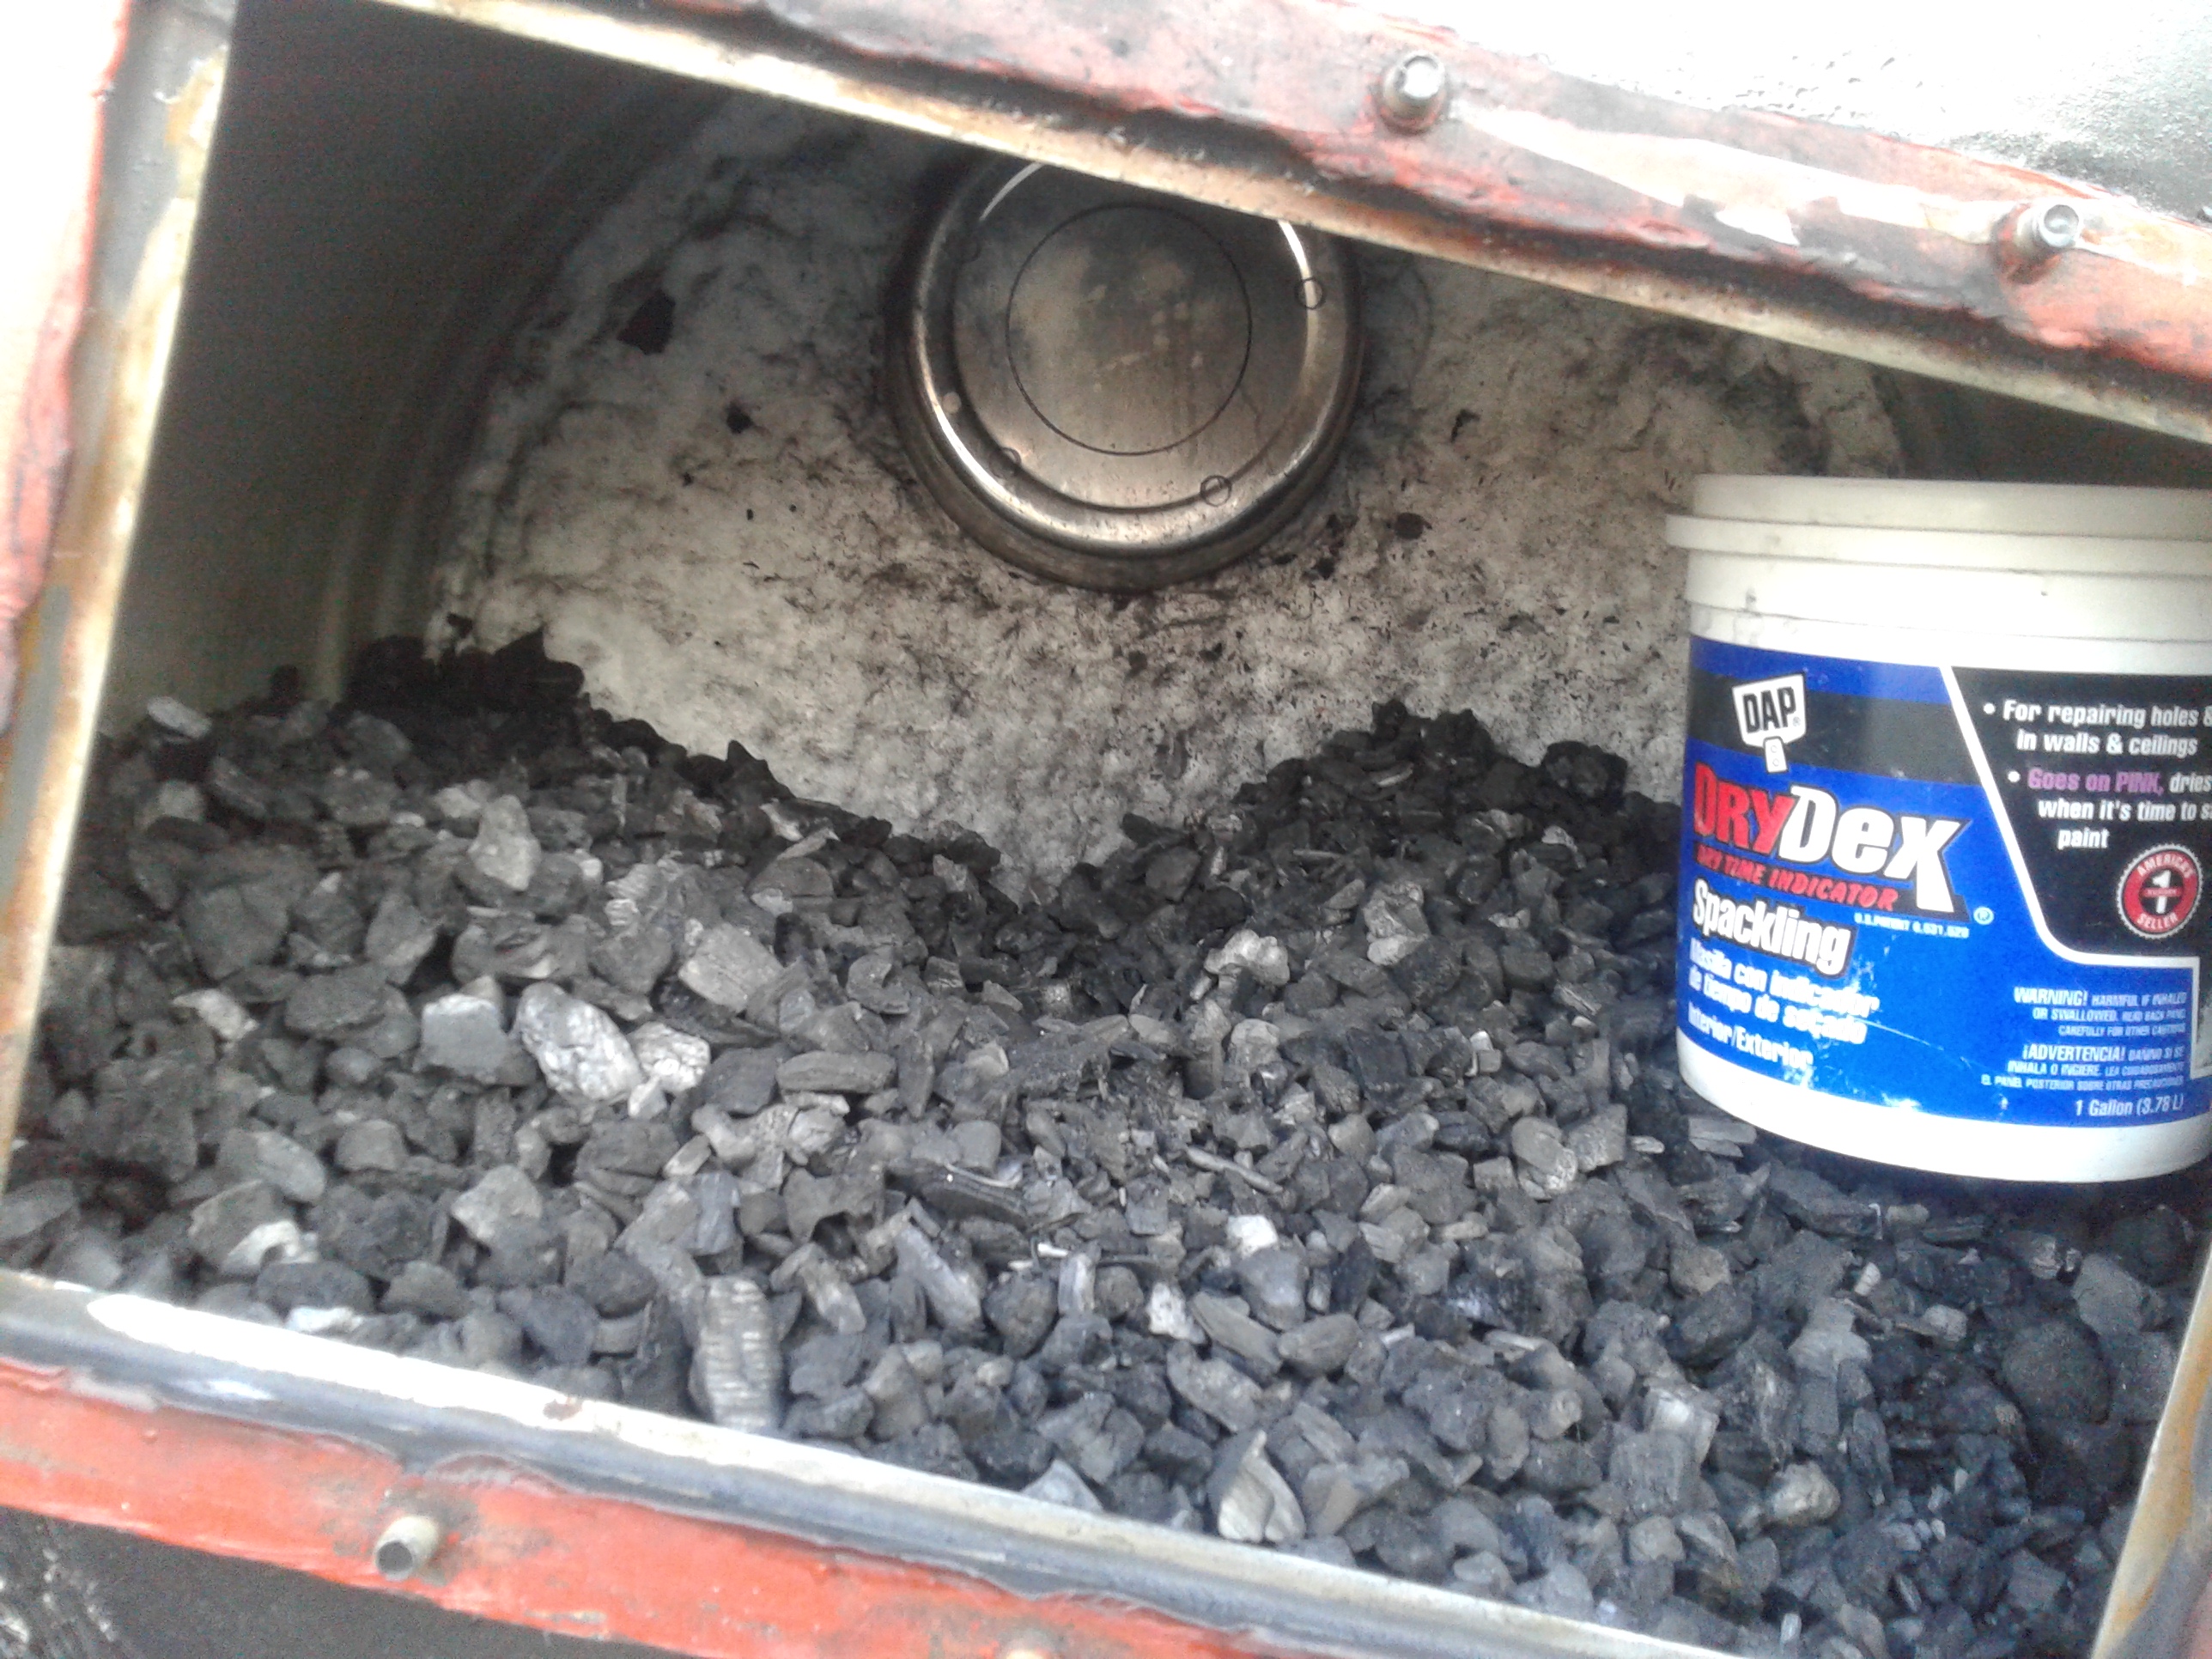
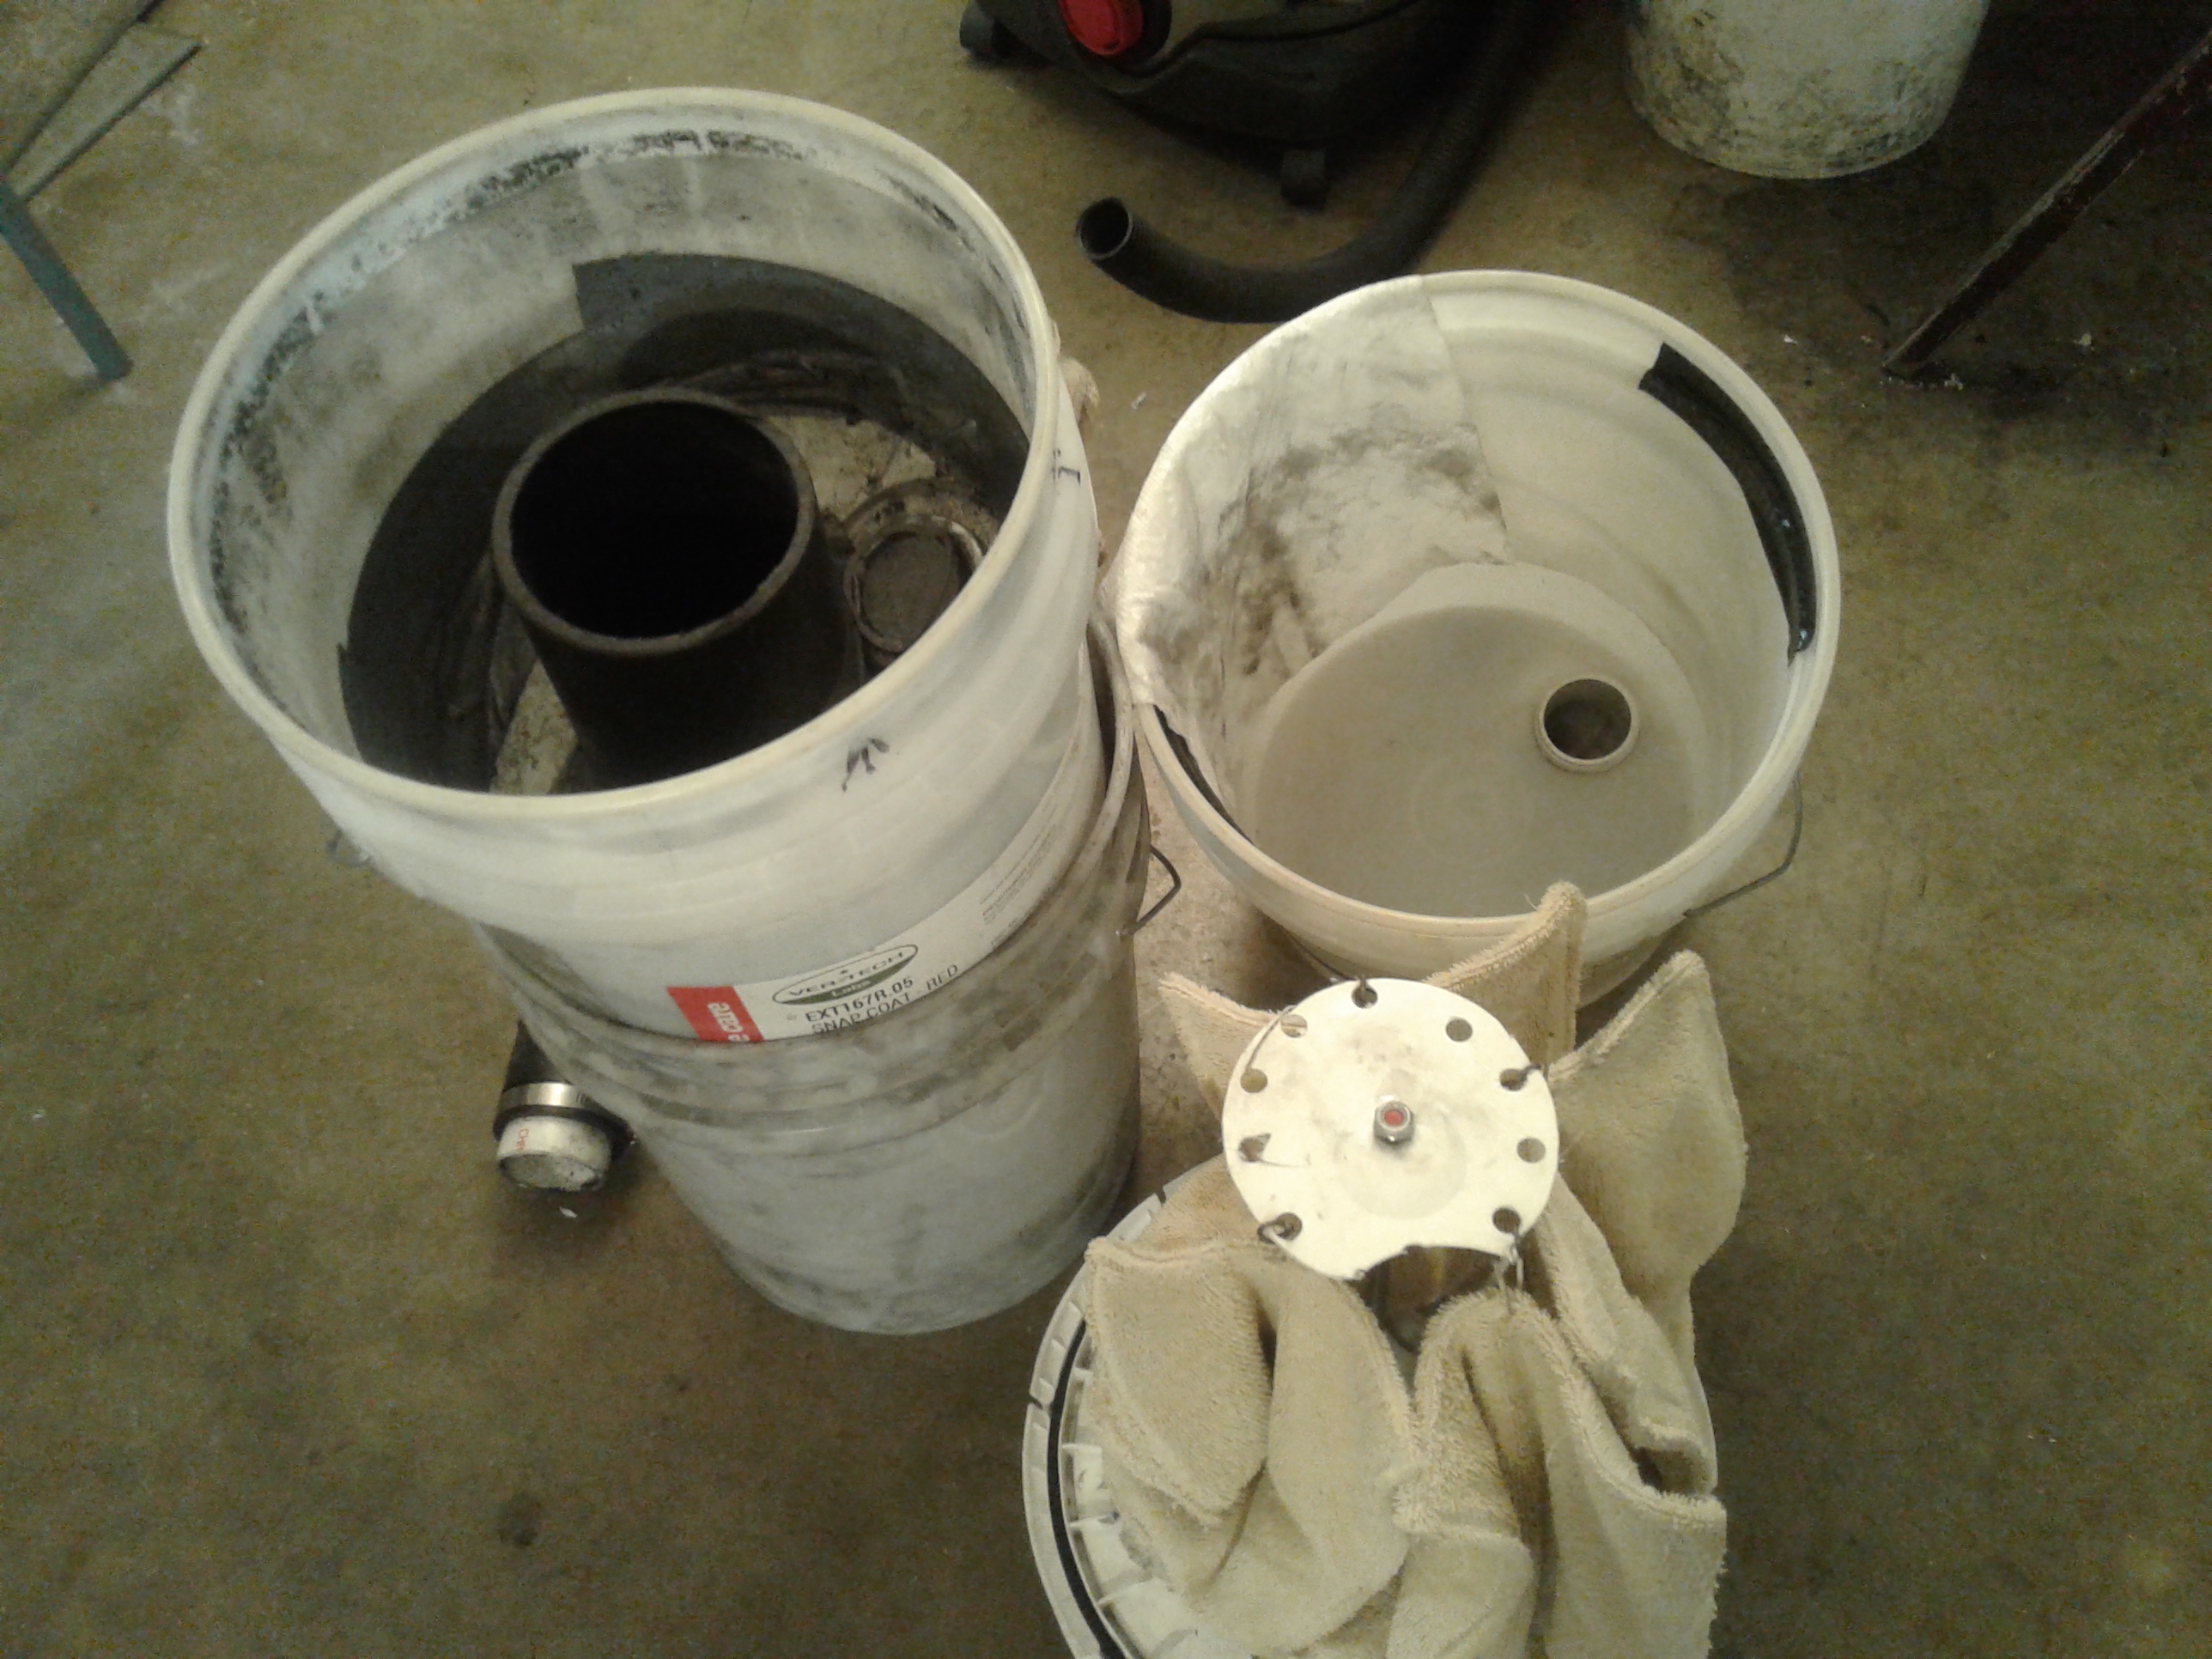
I needed to make a inspection of the clycone/sock filter to see how much ash/soot and water had been collected.
Not as much as I was expecting but the water ash/soot is in the bottom.
Okay here is some to think about for everyone: I ran the gasifier twice as long as the last run and at the last part of the run at full throttle on the vacuum blower, and there is less ash/soot. I put more exhaust into the nozzle and my Charcoal had more moisture in it.
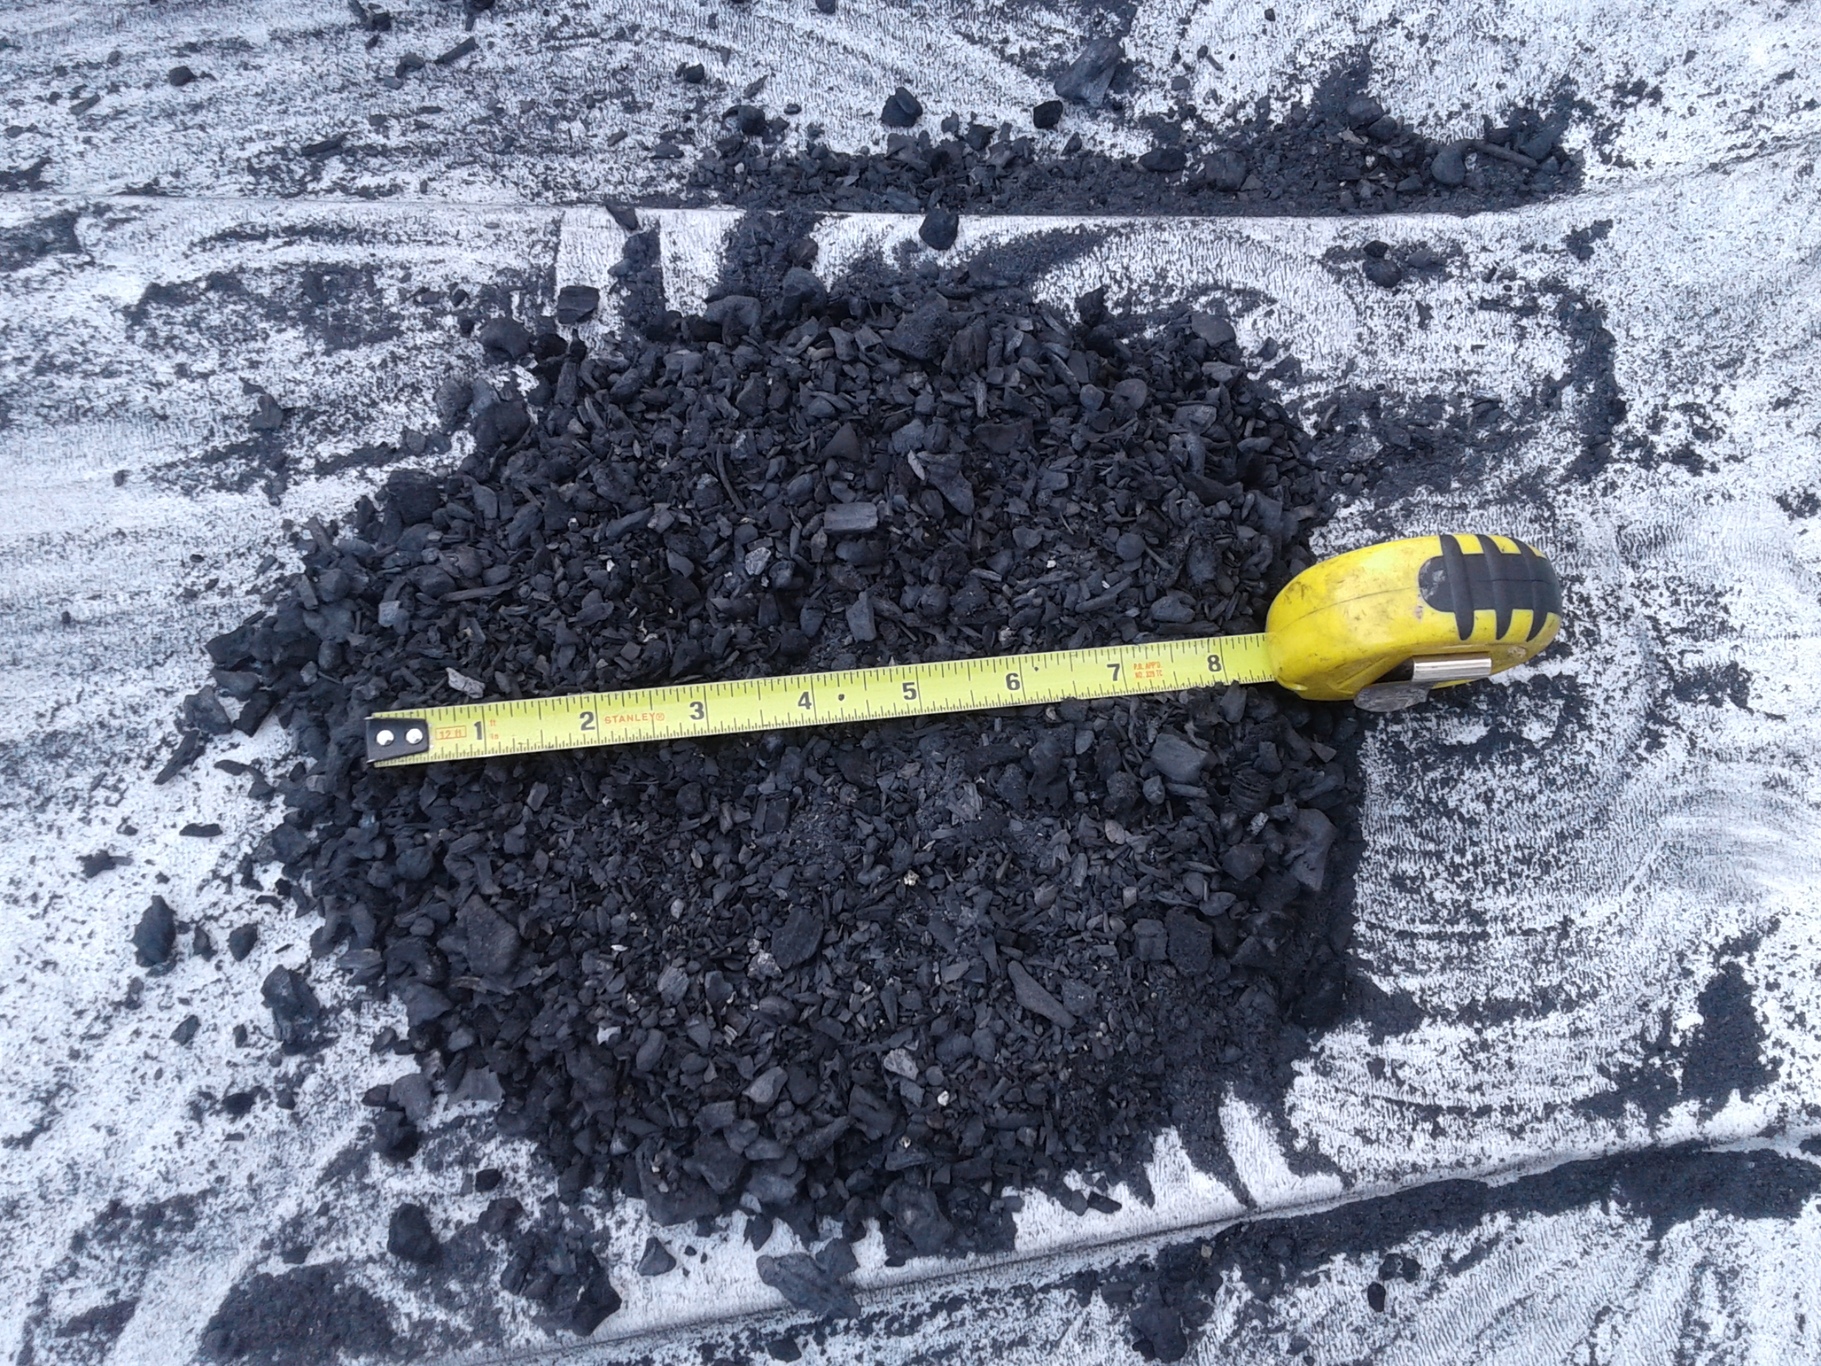
I took the hole batch of charcoal and ran it through my grinder/trommel classifier it looks great the big pieces are smaller now. The ash/soot is all gone, ready for another run.
Bob
Hi Bob,
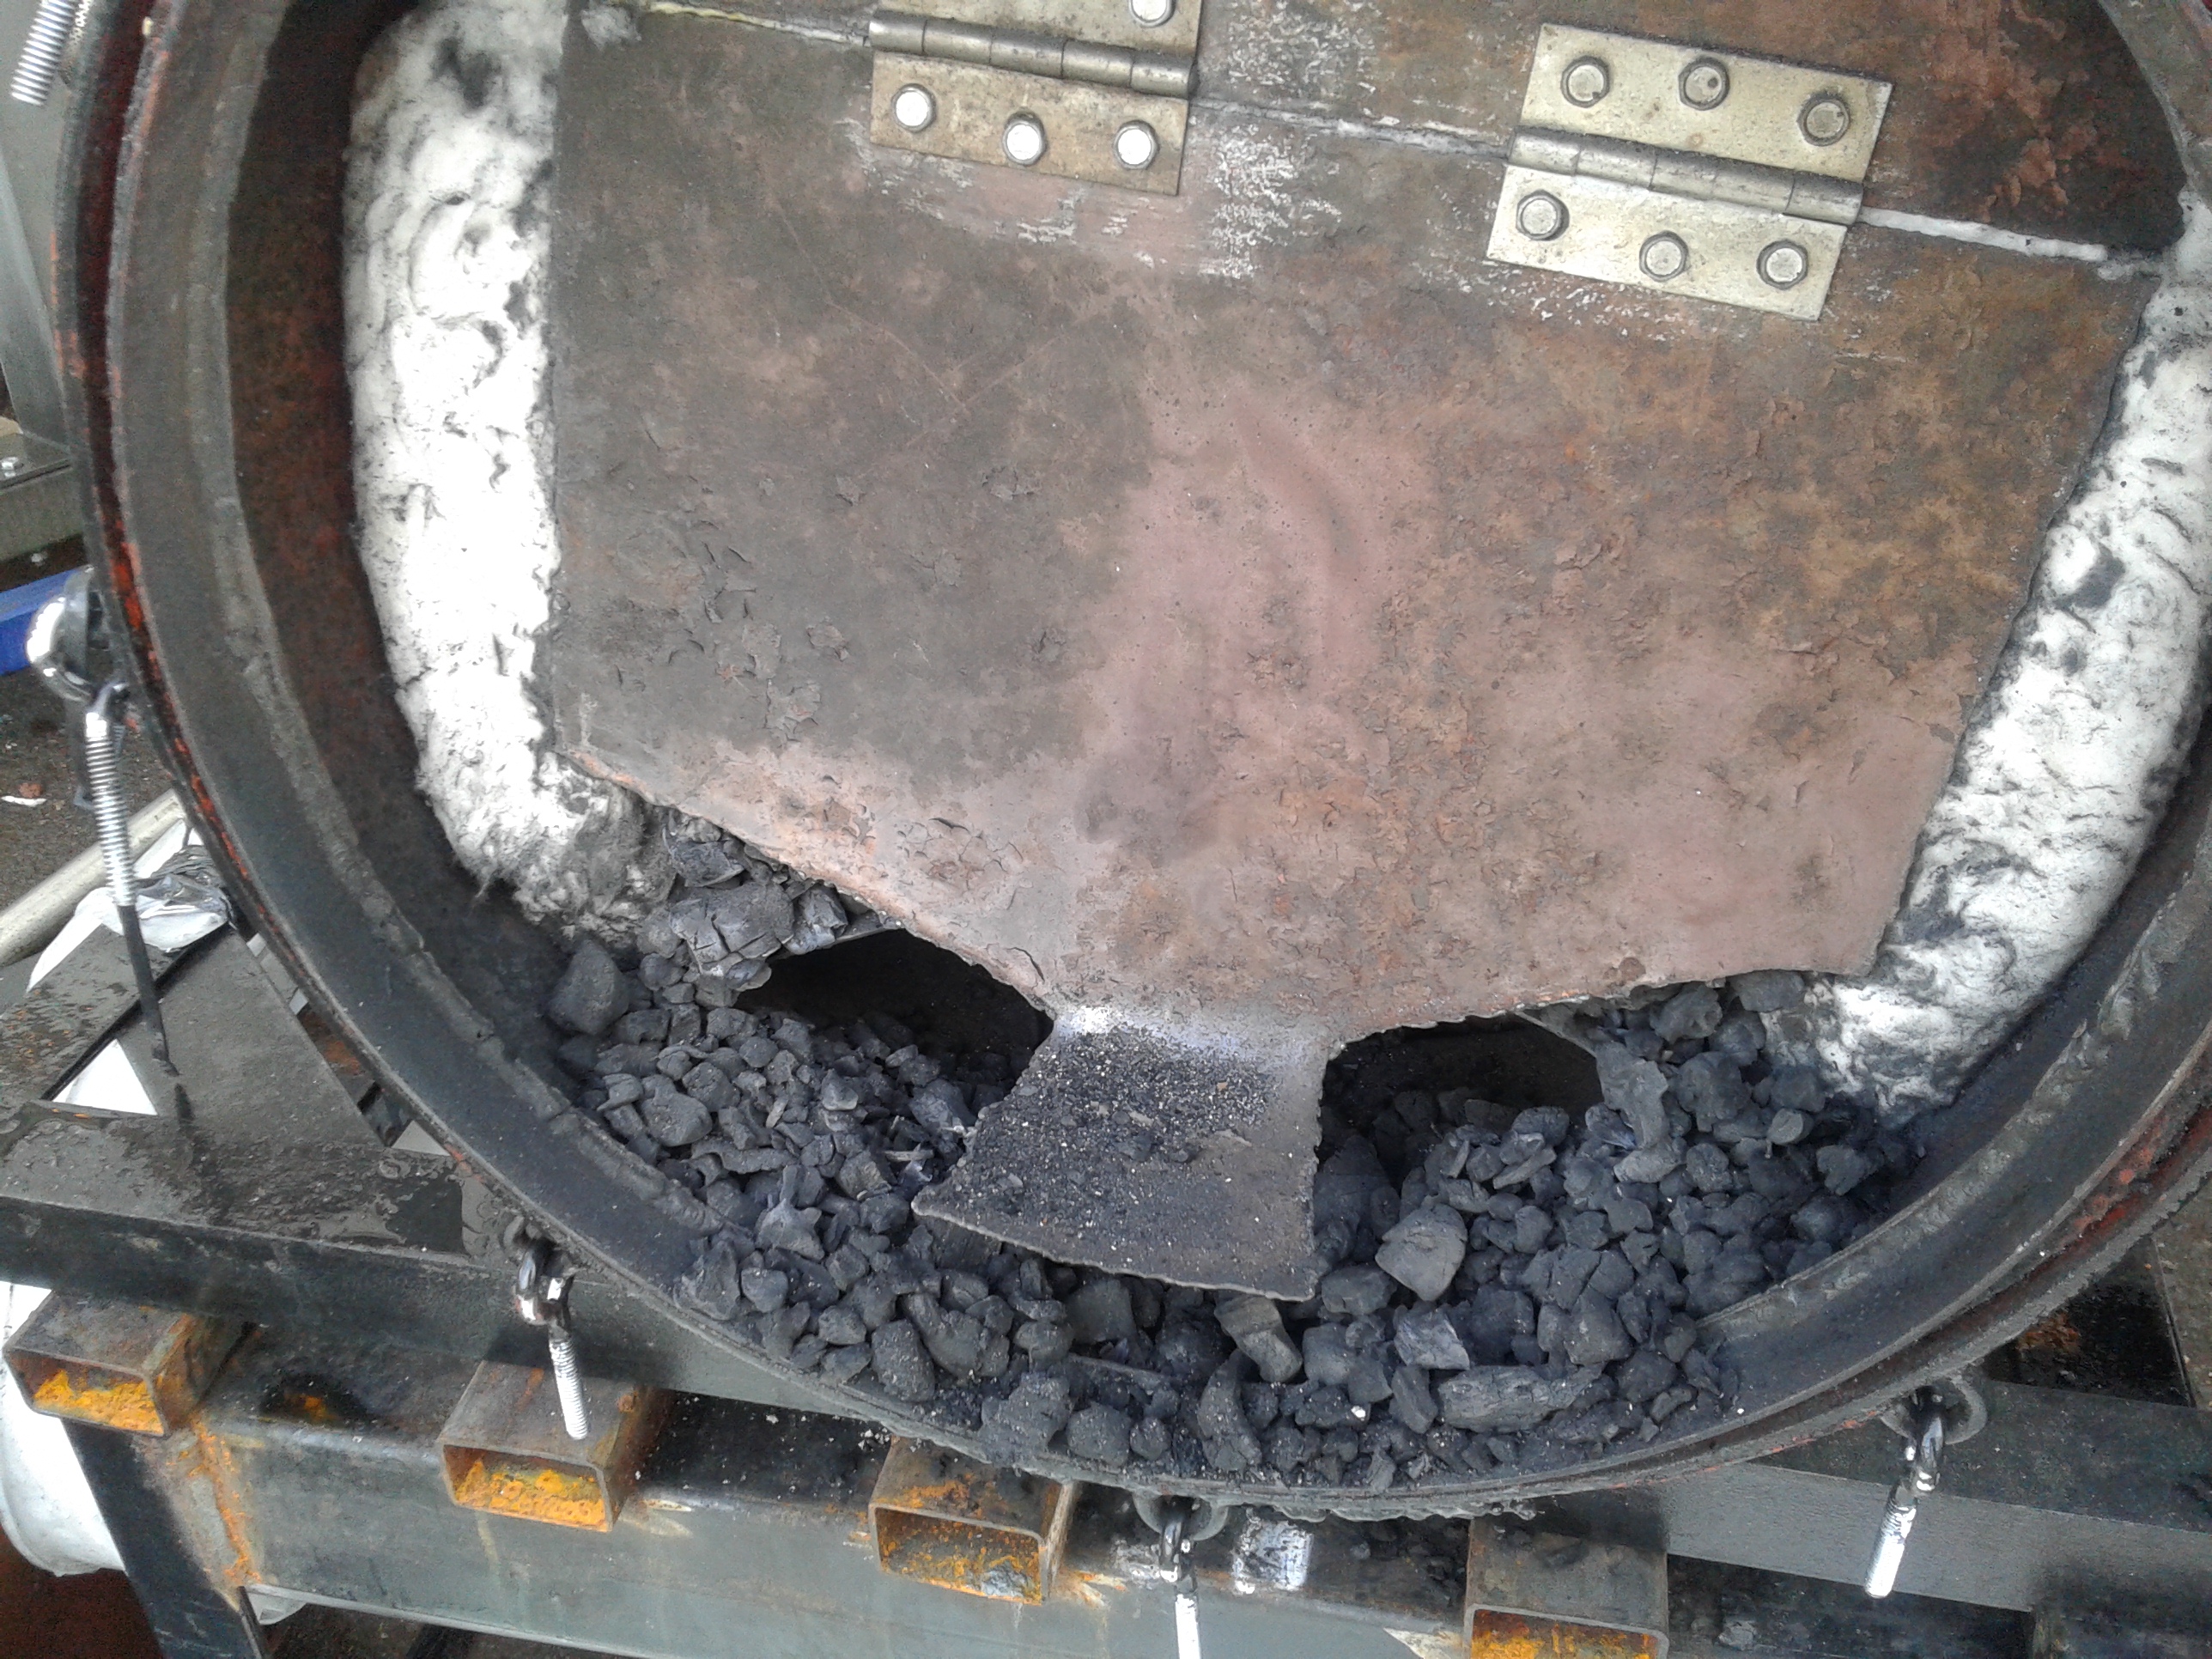
regarding the ash and slag built-up in you gasifier: This seems to be a problem with the grateless char-coal units. The char is consumed in a quite local spot, leaving the ash behind. More charcoal is sliding down as it is consumed, but the ashes add up more and more.
Why less ash than last time? Maybe less nails? Or you sieved your char a different way so you had less initial ash and dust?
To extend the operating time between clean-outs, it could be helpful to give the reaction zone more room to move, if slag accumulates somewhere. Maybe lowering the curved plate could help in this respect.
Easy cleaning and servicing is another important thing. Maybe a not too large clean-out hatch below the point where you get most of the ash and slag could make cleaning easier, just where it is needed. But must be totally airtight and might be hard to keep sealed and clean.
Well, in the end, it is just try and error, isn’t it? Extend testing will show how long you can run it before there is too much slag, and if effort is needed to change this or frequent clean outs are easier.
With the filter, I think you made an award winning design!
Looking forward to read more about that and maybe some test runs on a vehicle soon.
Til
Bob,
Congrats on the new gasifier running great! I have a some comments, first, maybe a stainless steel or cast iron heavy plate above the nozzle area instead of mild steel. Second, maybe borrow a metal detector (big magnet?) and go through your charcoal pile looking for lost hardware! Third, and this is what @SteveUnruh pounded into my head, you will not know your true operating characteristics until you are engine-running. I don’t think a normal engine, auto or generator, is going to pull gas at that high volume as when you are running your vacuum blower on full. Love the remote thermometer (pyrometer) stuff!!
I did a night run last night, it was the first time I saw a night flare, I never had did a night flare on the Dakota truck. Sure is pretty at night in person and you see a lot more flare color too.
I was planning on making a long run, but one pipe came lose and fell off. End of that run.
The pipe going to the cooling rails fell off.
Fixed it this morning with good old aluminum tape, rubber coupling and a metal sleeves clamps on both ends of the pipe.
Started it up. Everything was running great, then the hopper temperature started to climb about 20 minutes into the run, shut down time. Probably should of loaded more charcoal in the hopper. It was a good test for my hopper temperature probe and gage it also has a alarm setting.
I have about 2 hours of run time on it now.
No water in the trap on the other end of the cooling rails.
It’s a beautiful day here, sun shinning getting warm outside. 46*f and climbing. Time to go for a drive in the 92 Dakota wood burner truck, and let the charcoal gasifier get good and cold.
Have Wood Will Drive.
Bob
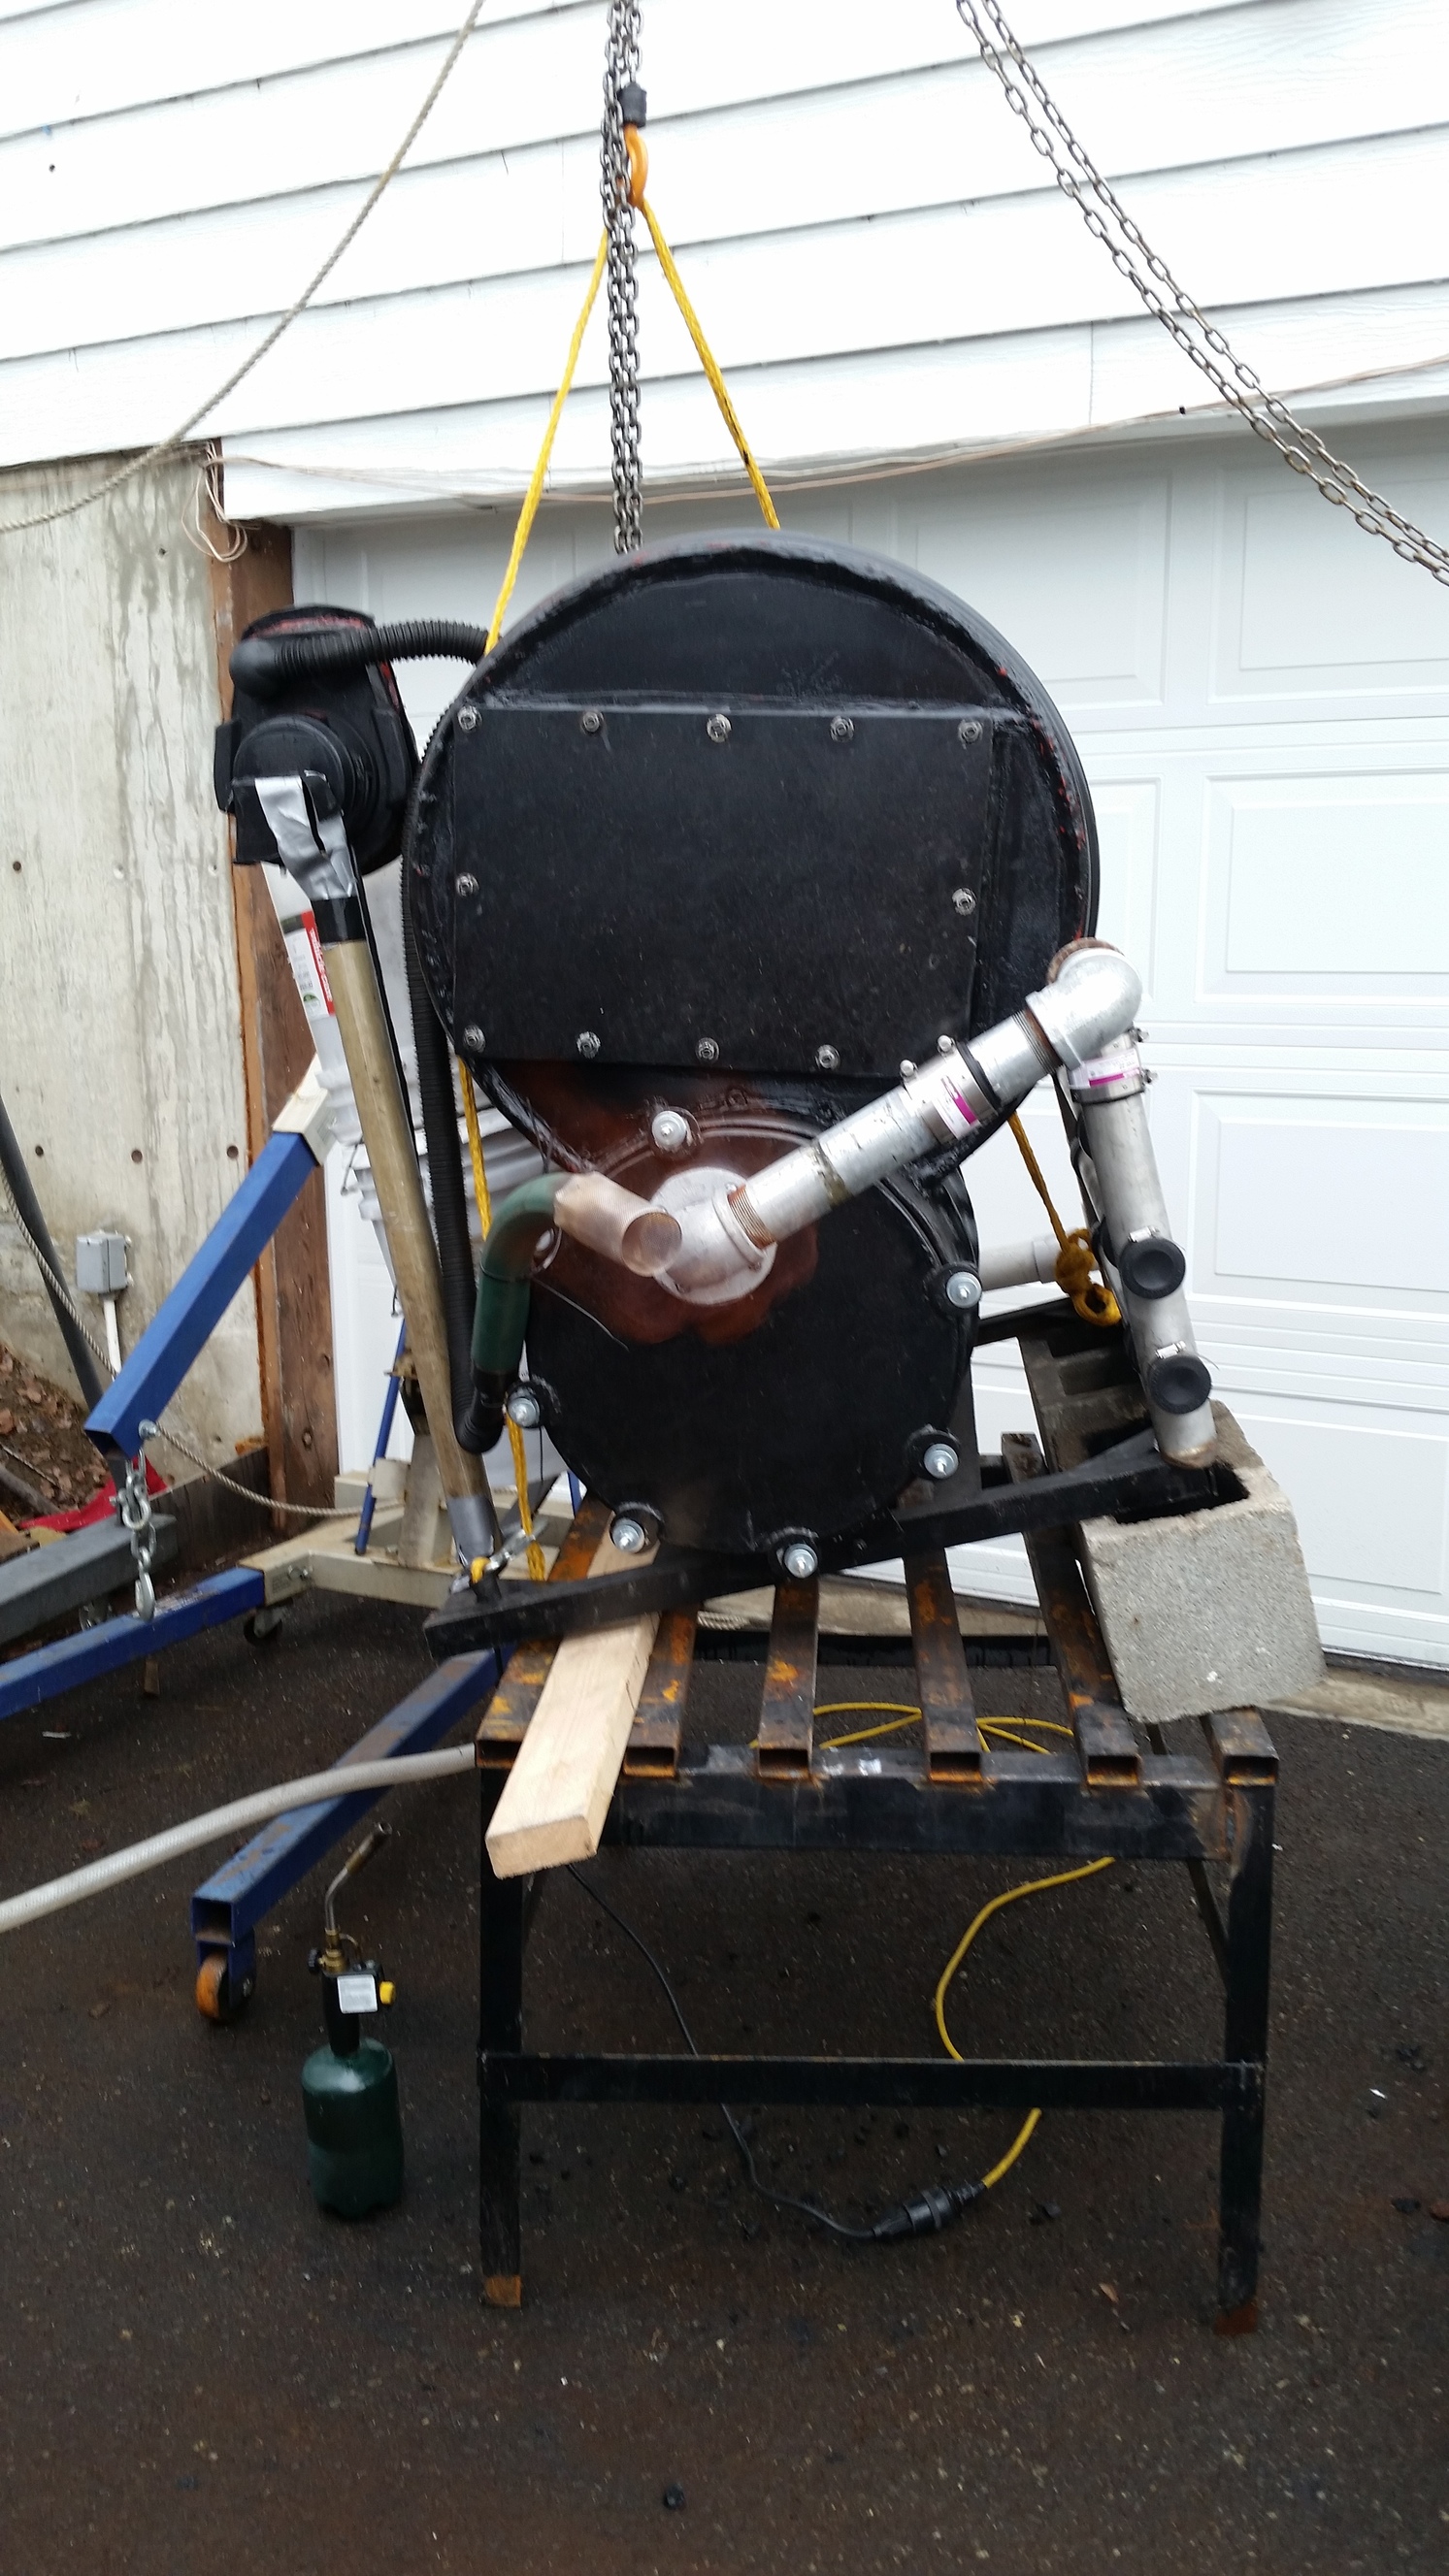
You might notice the tilted angle of the gasifier, just trying to get the char to flow more even.
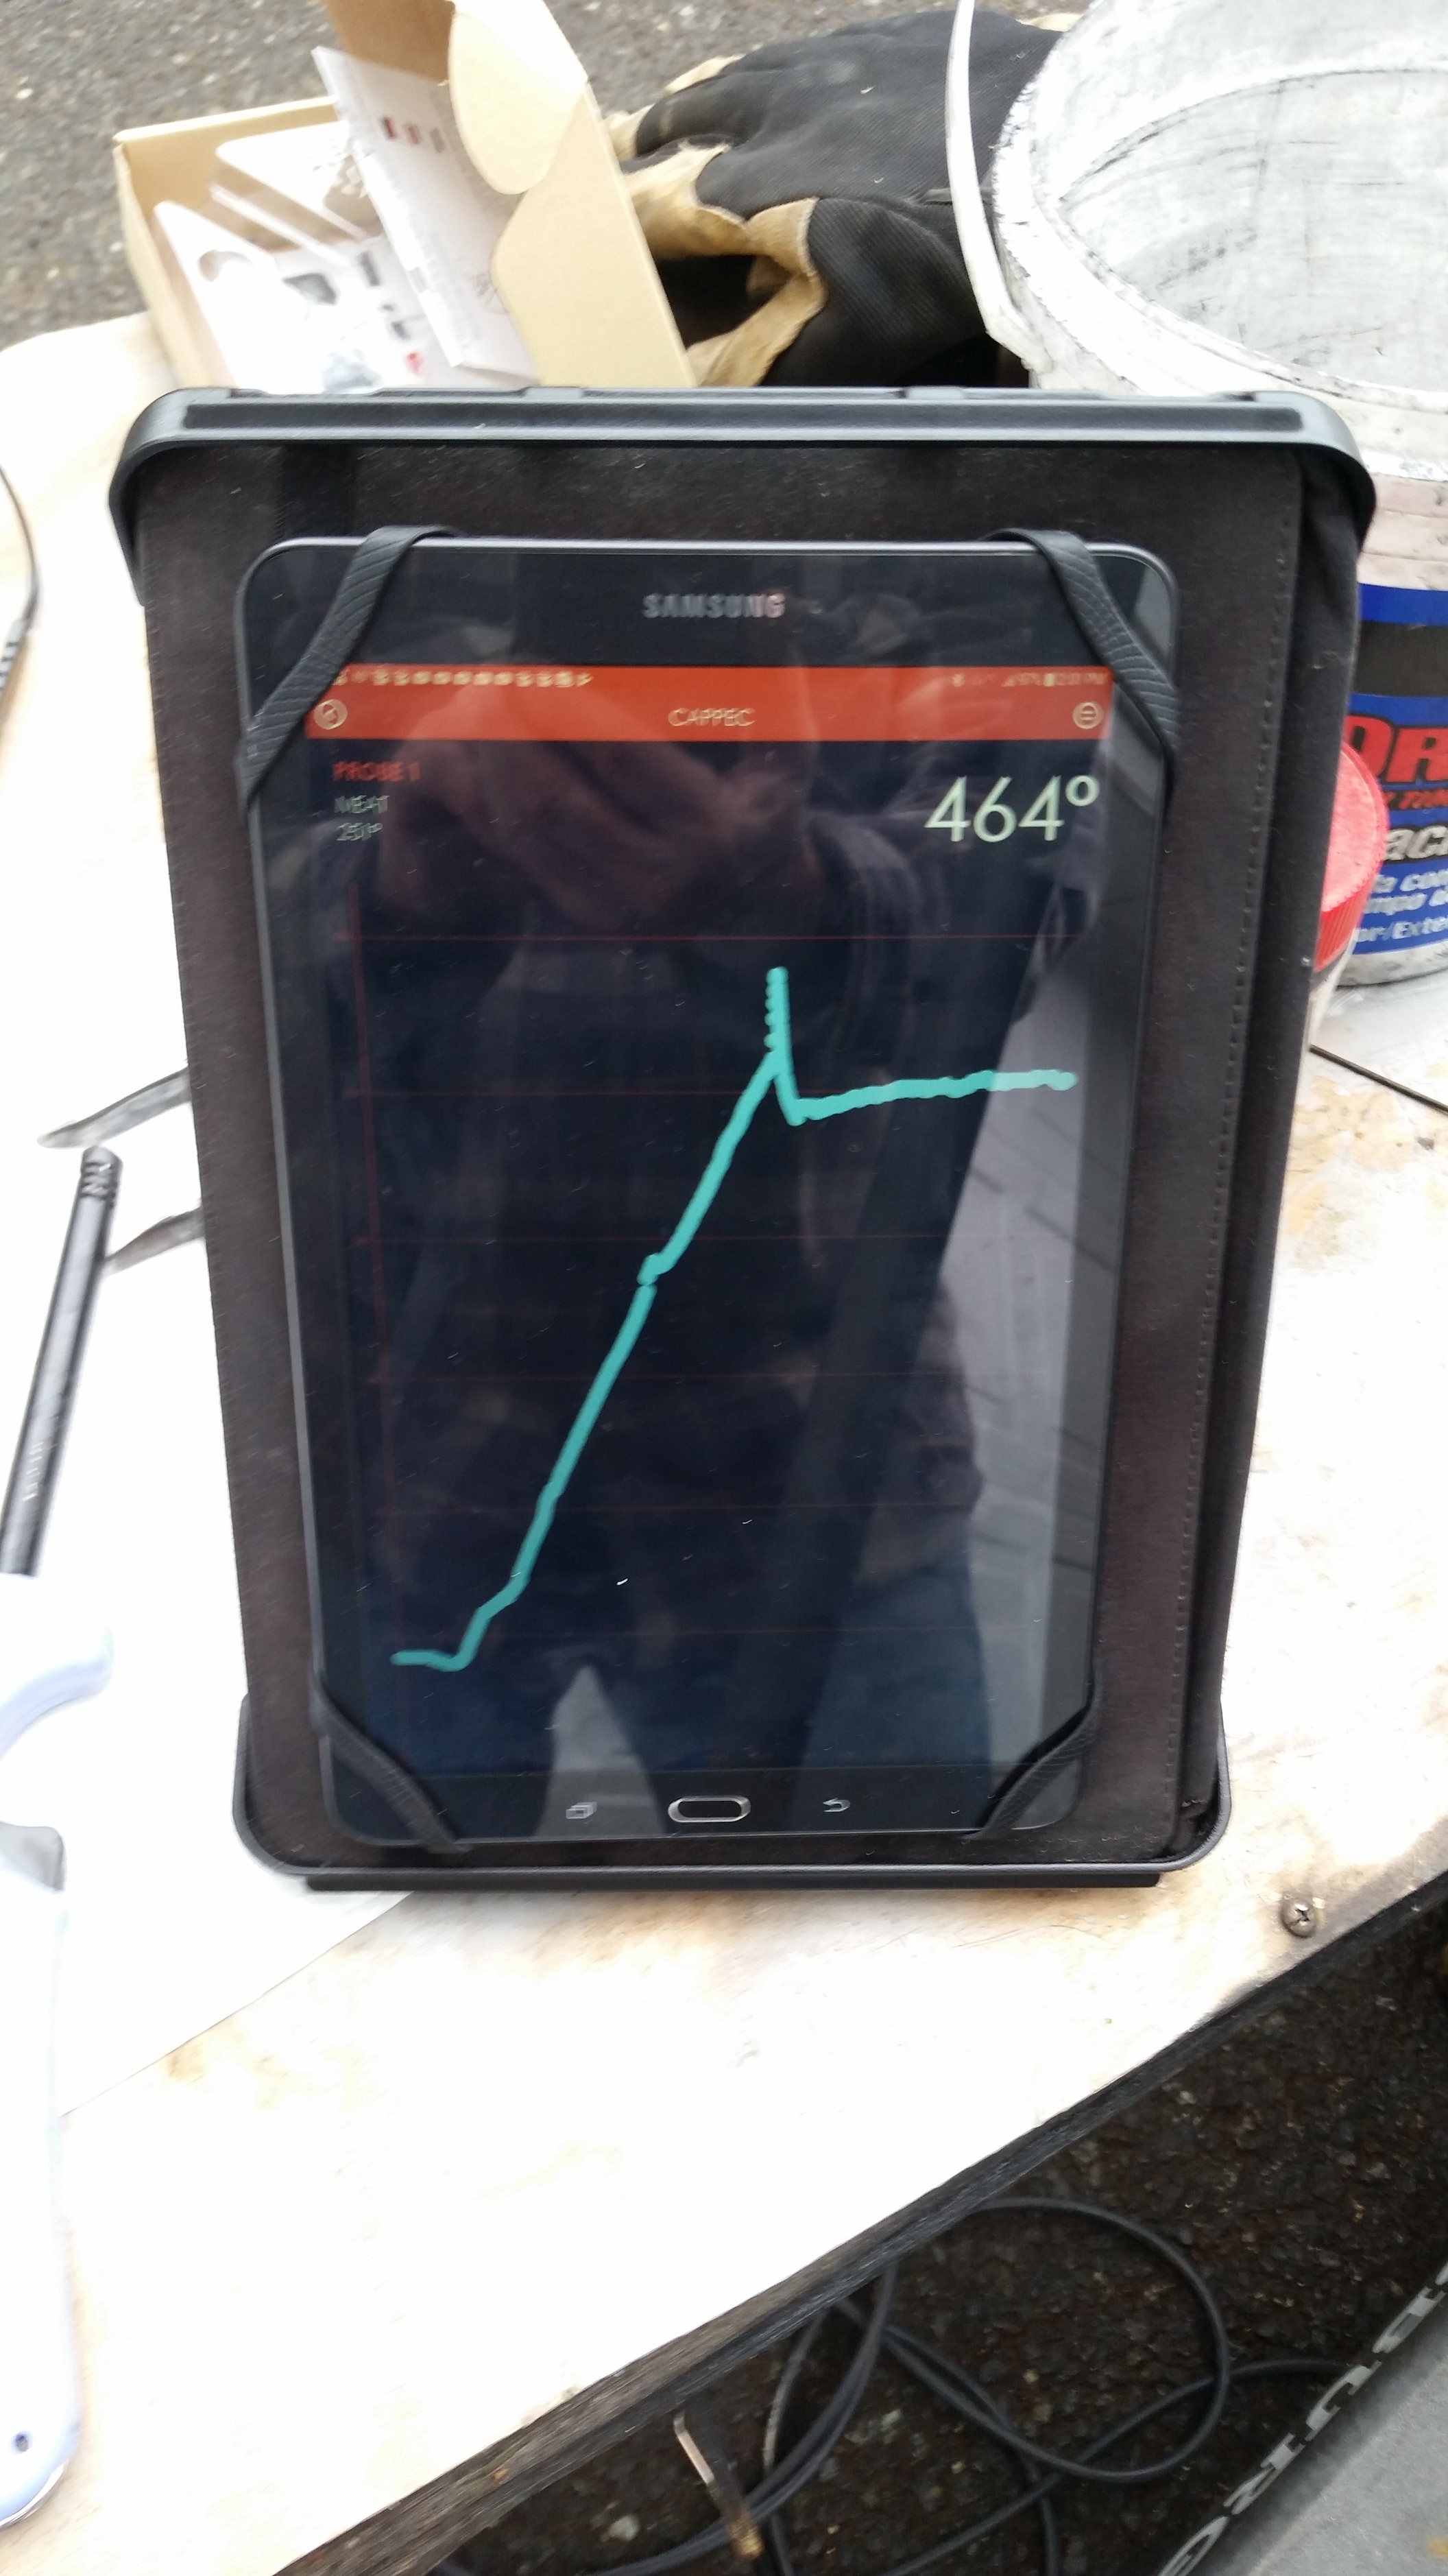
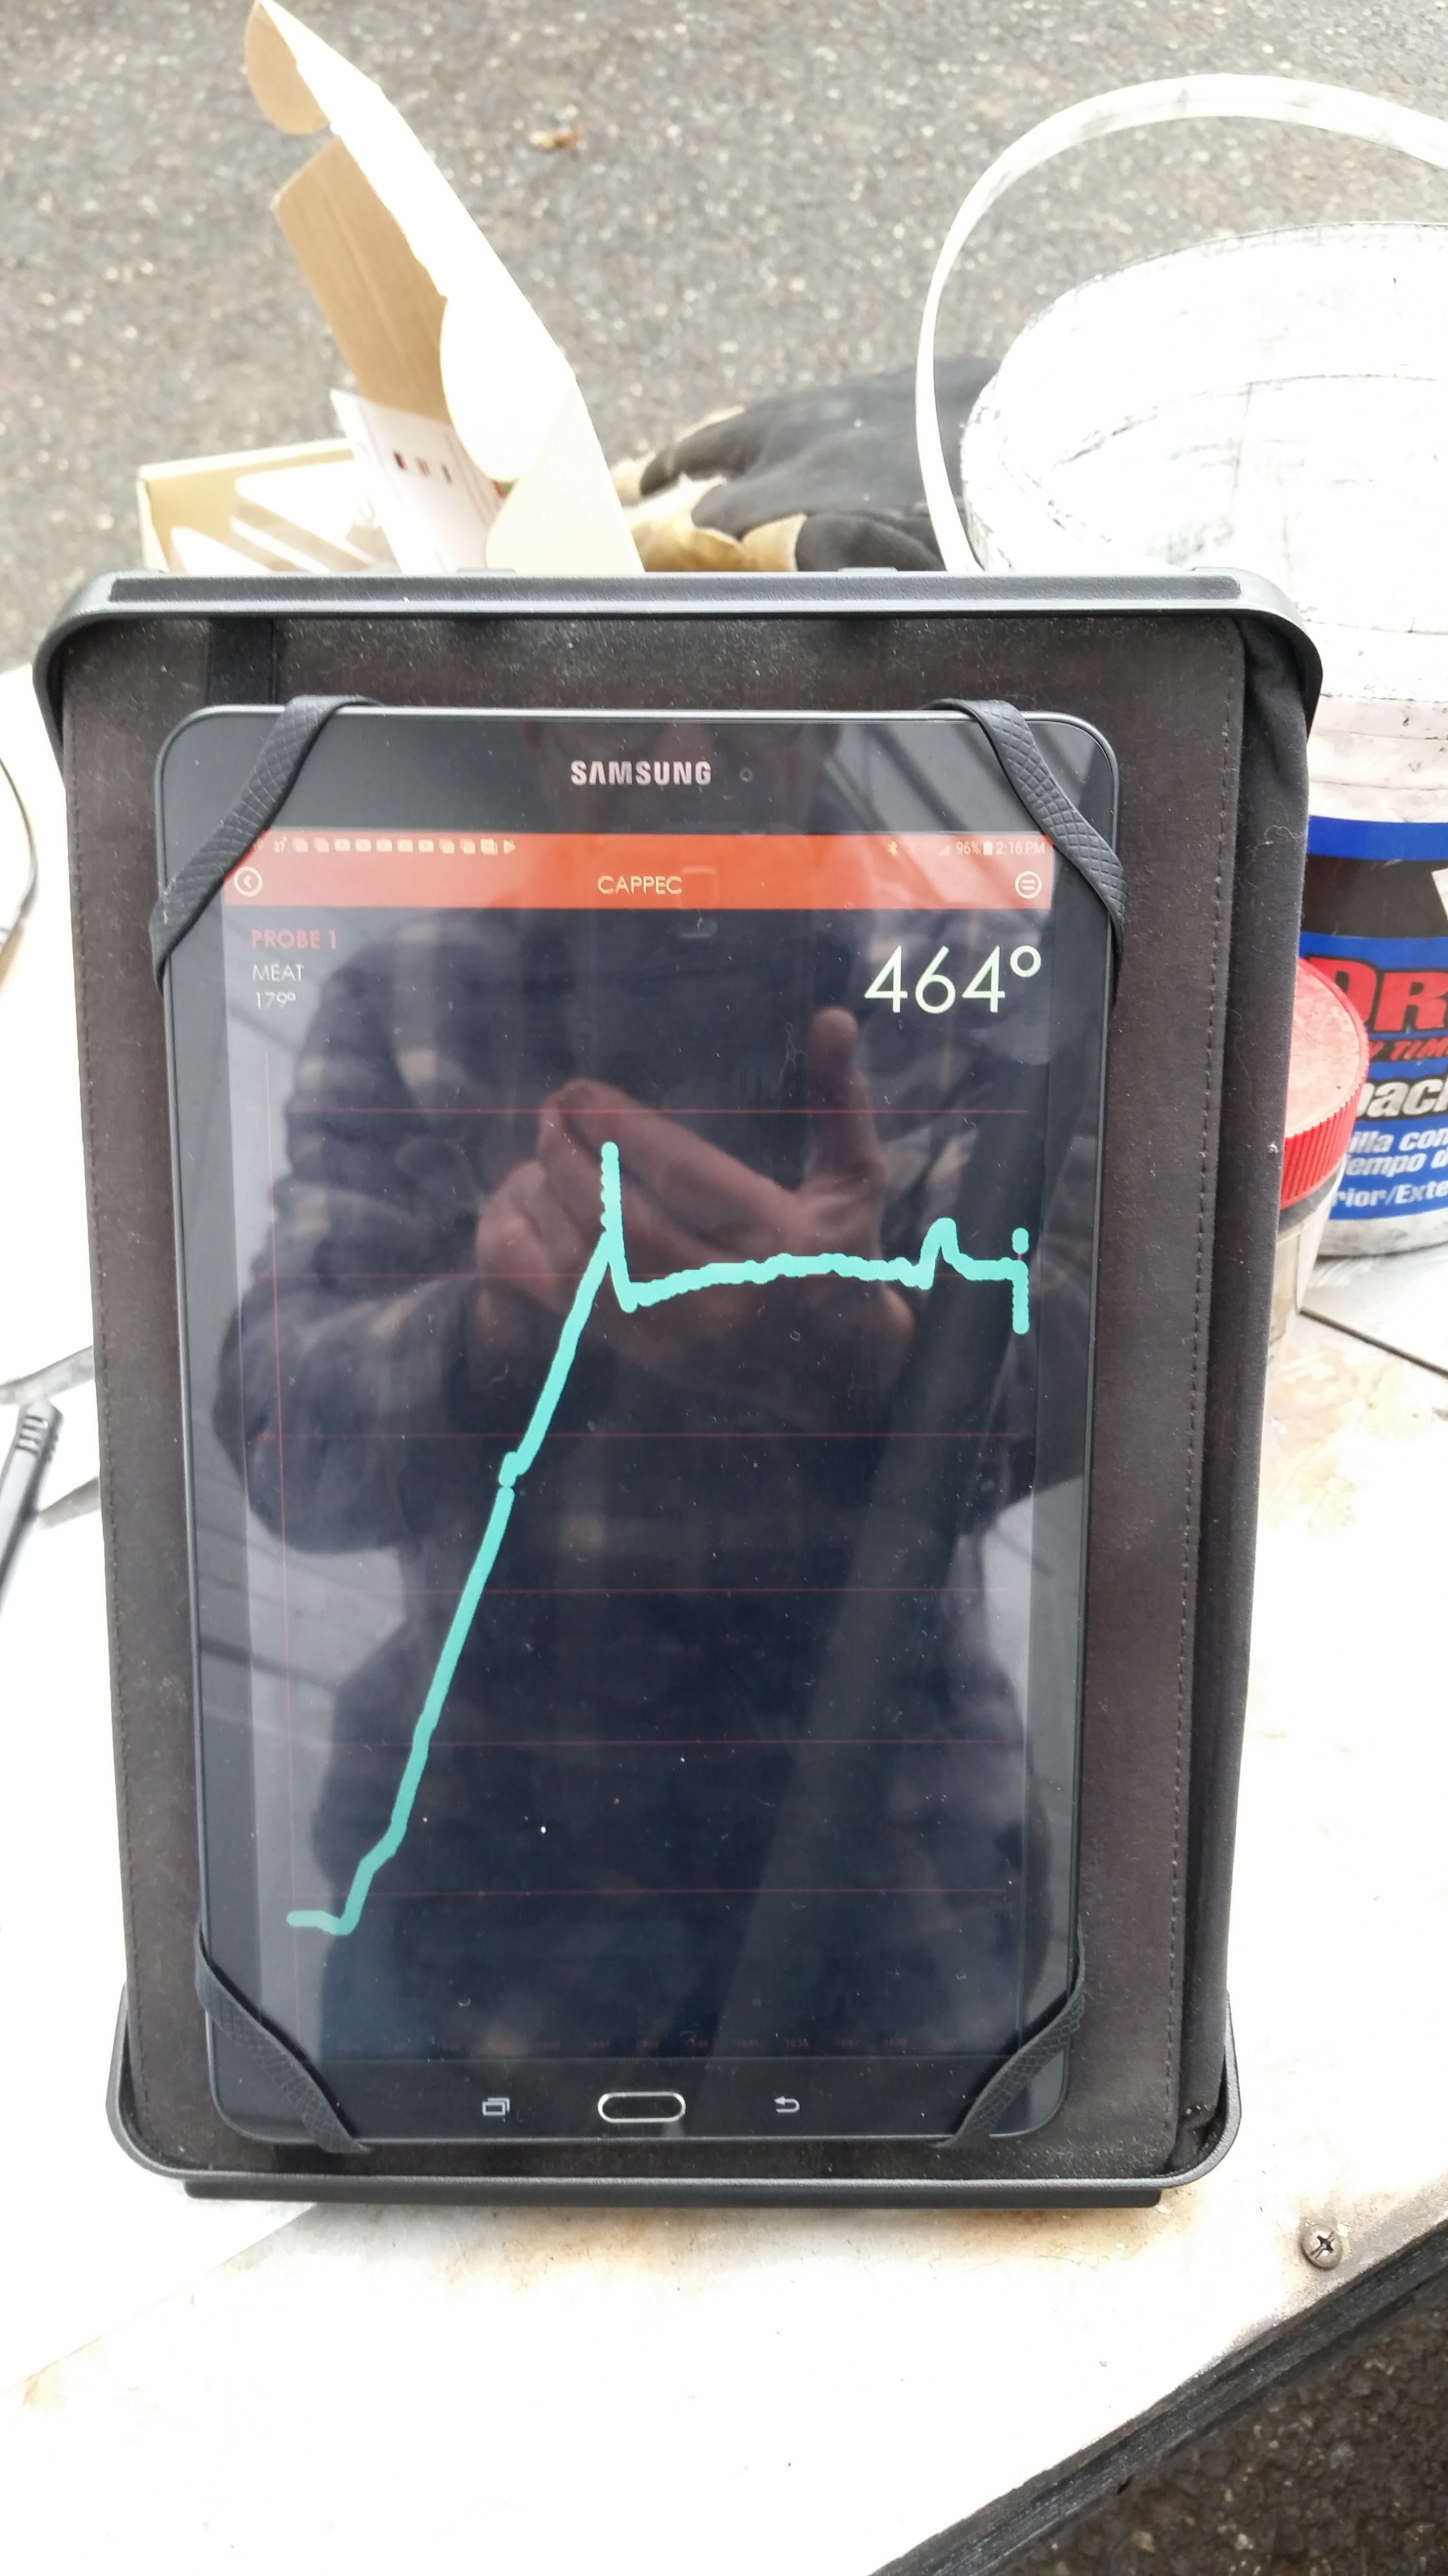
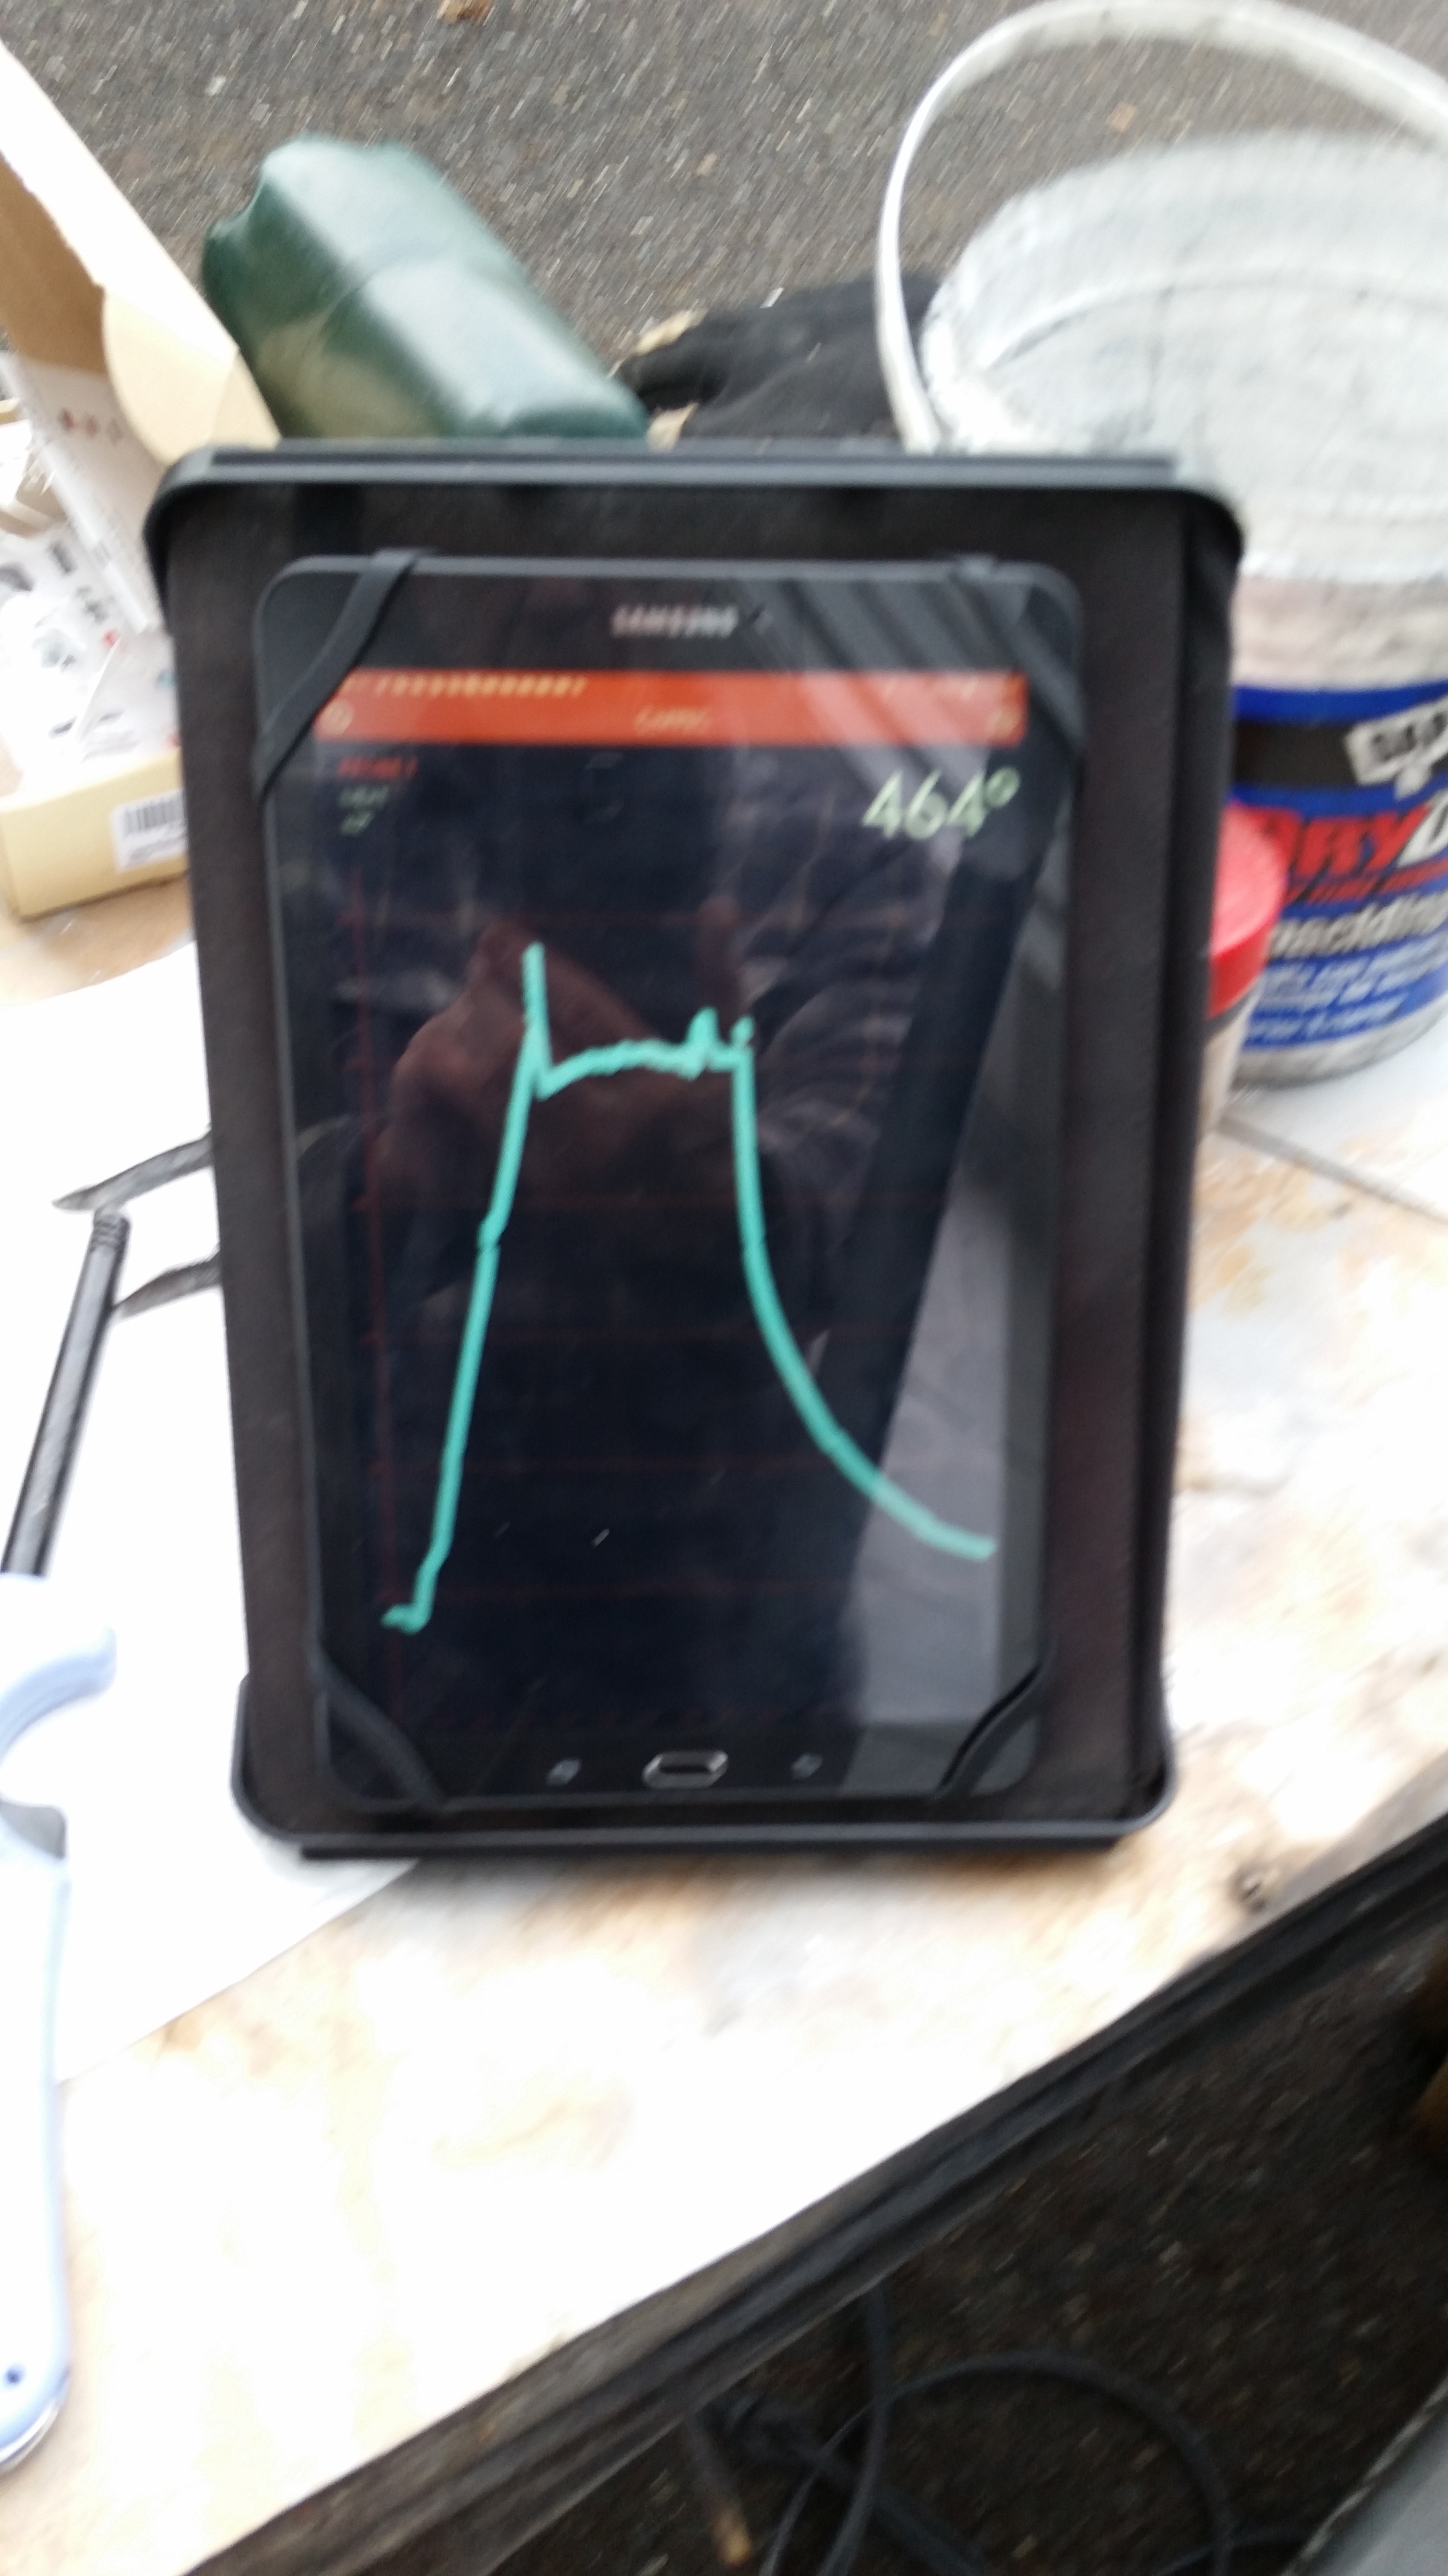
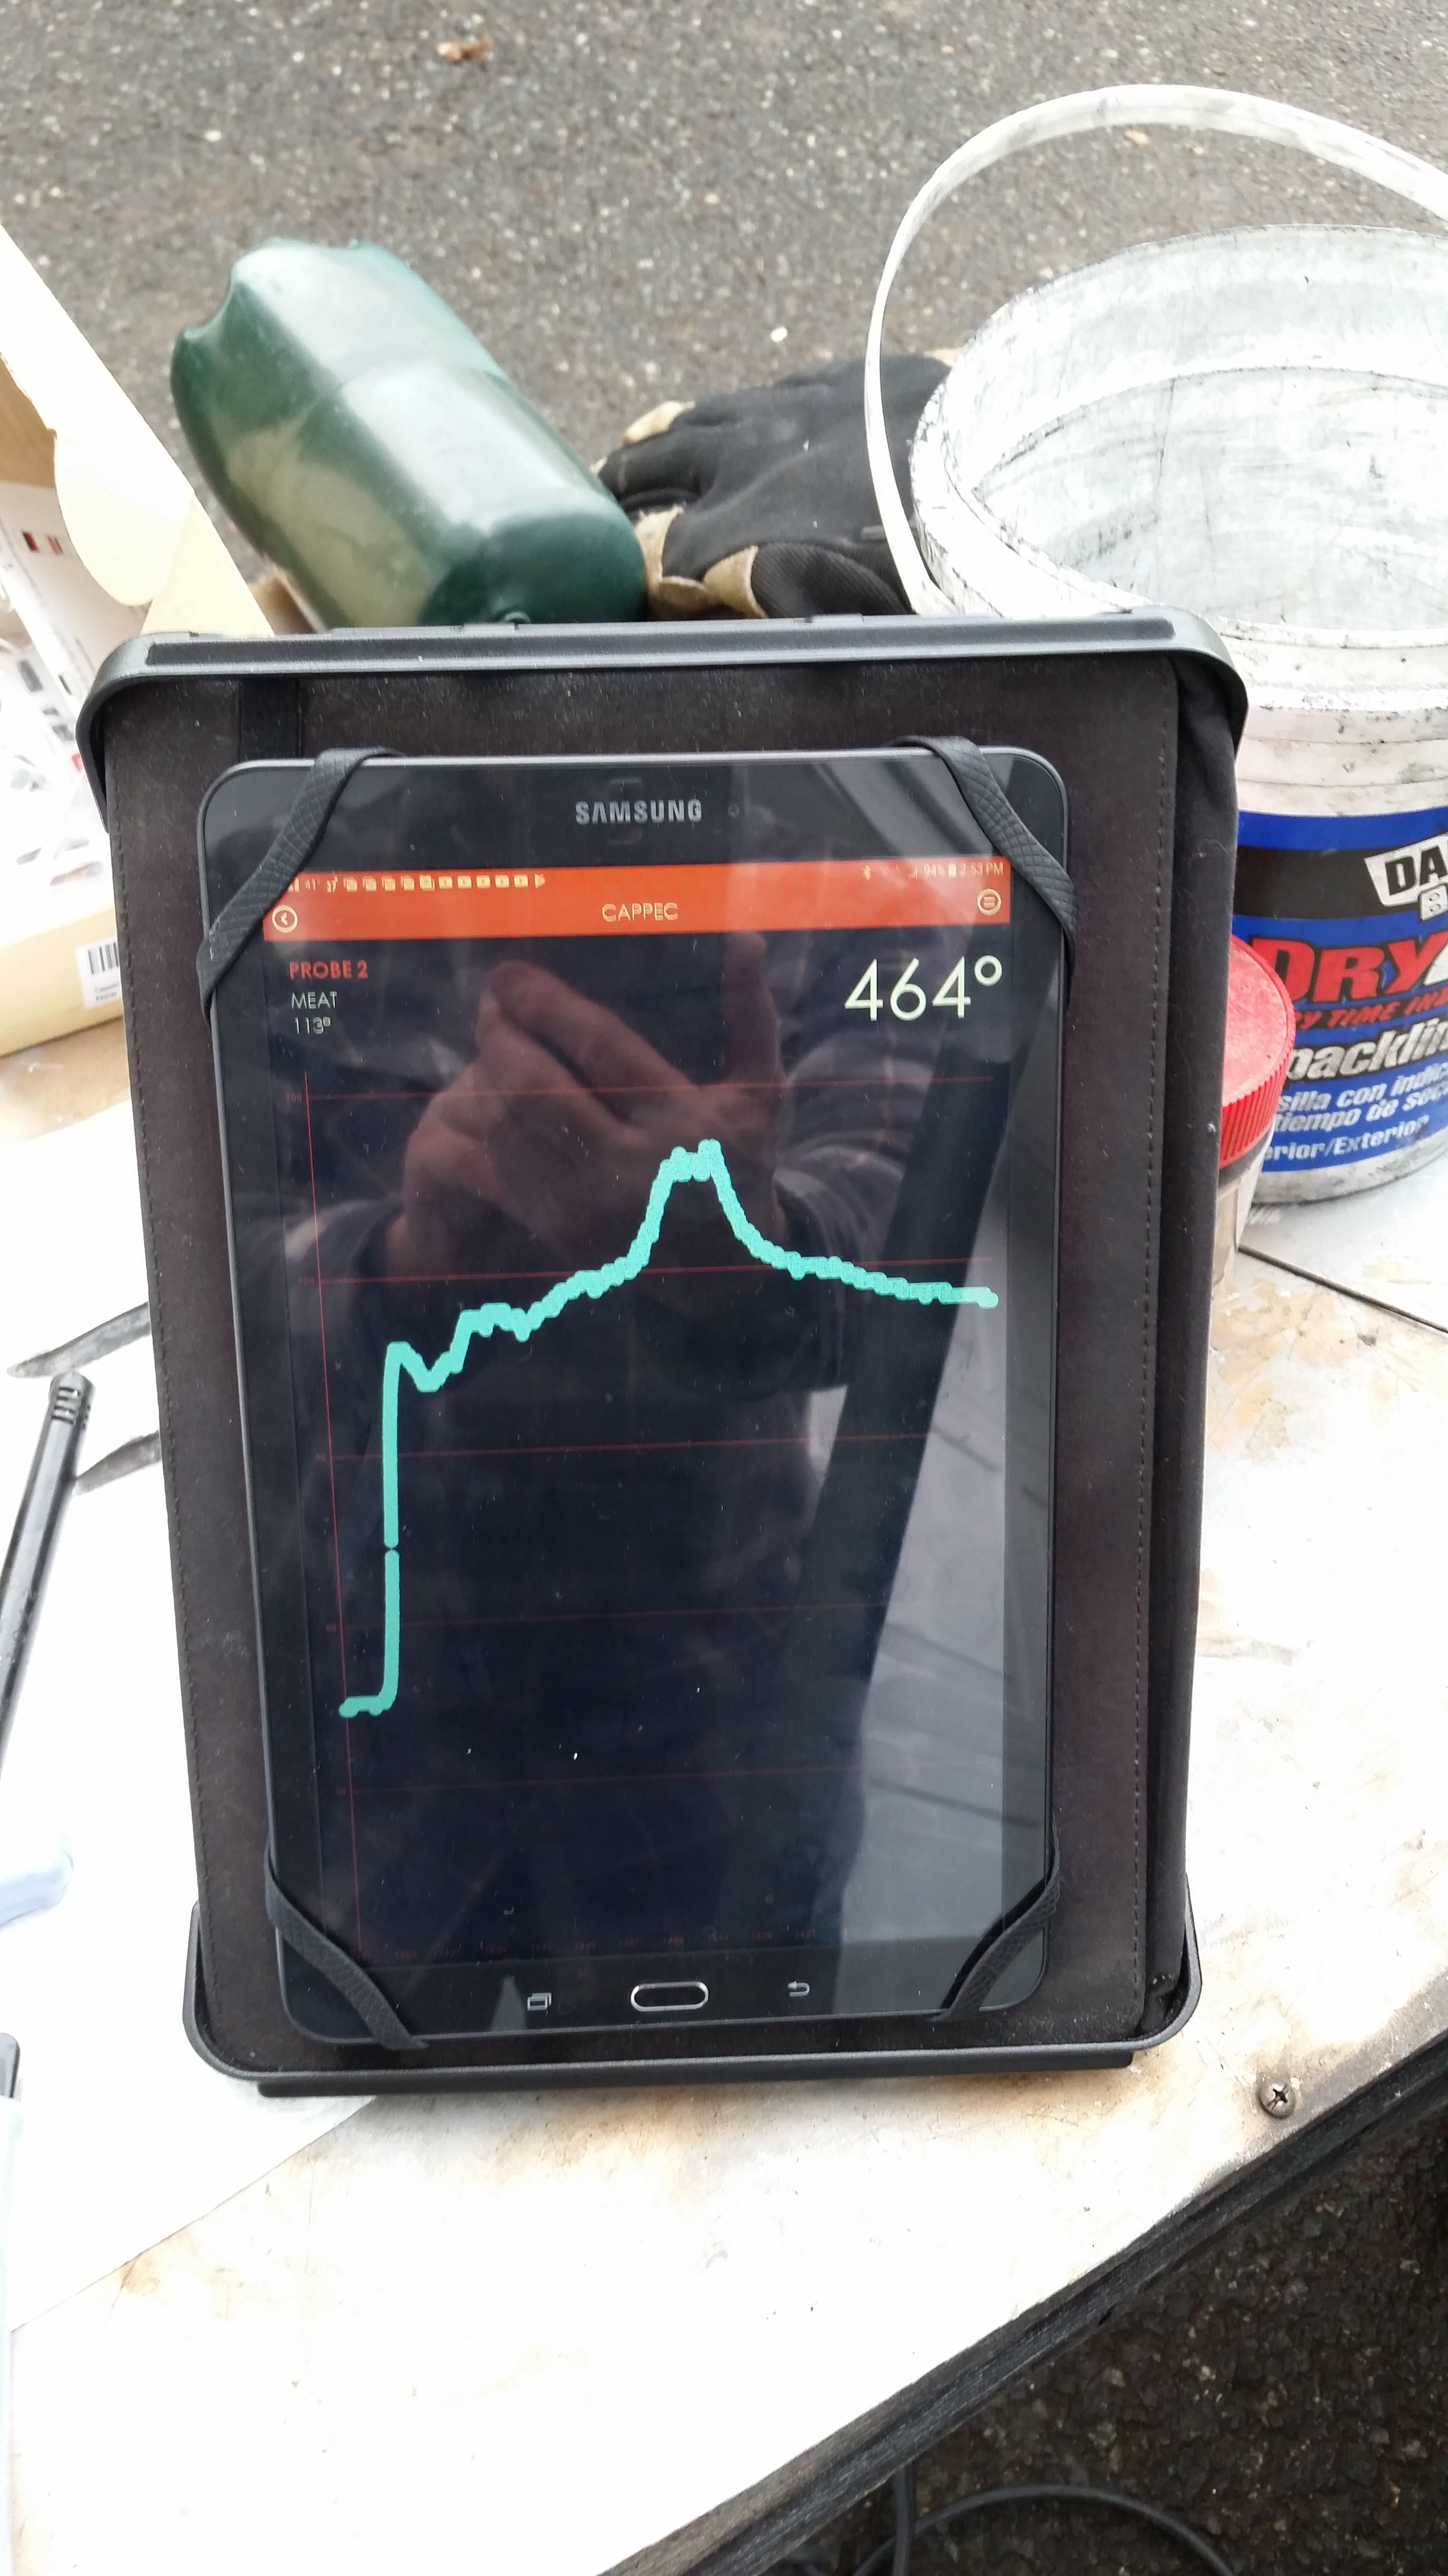
I will load up a video, pictures are for all the data users.
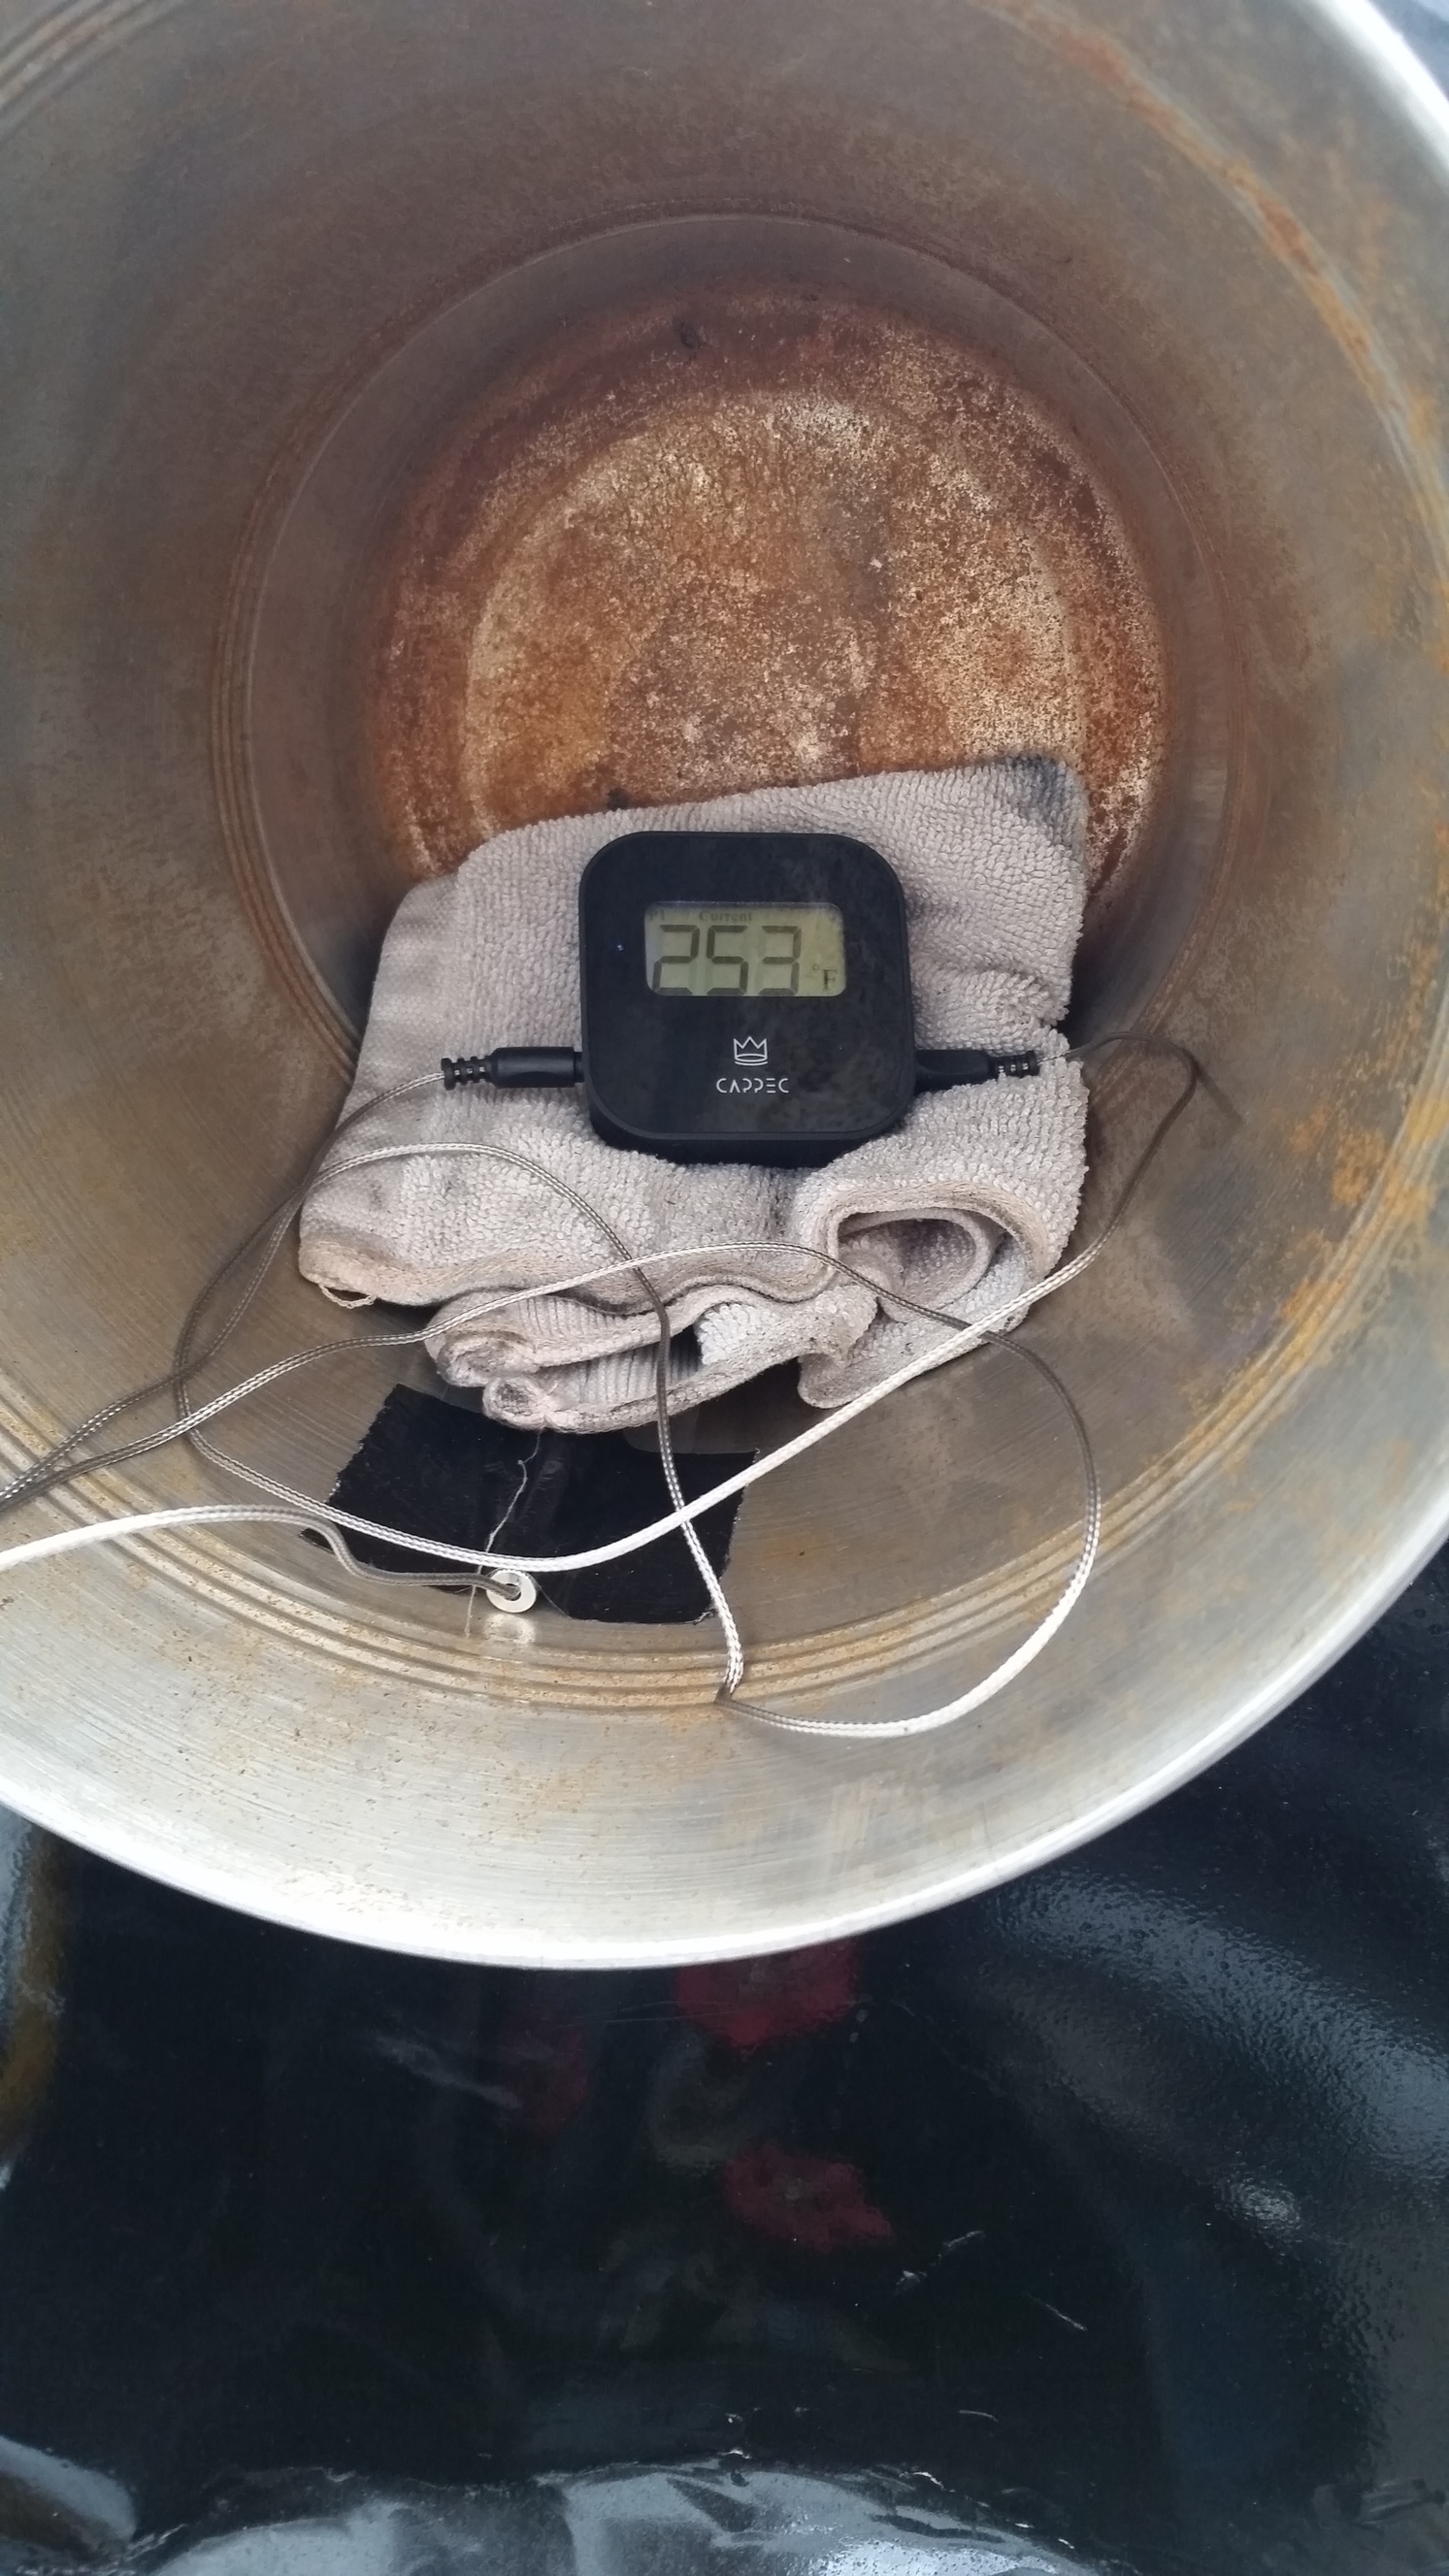
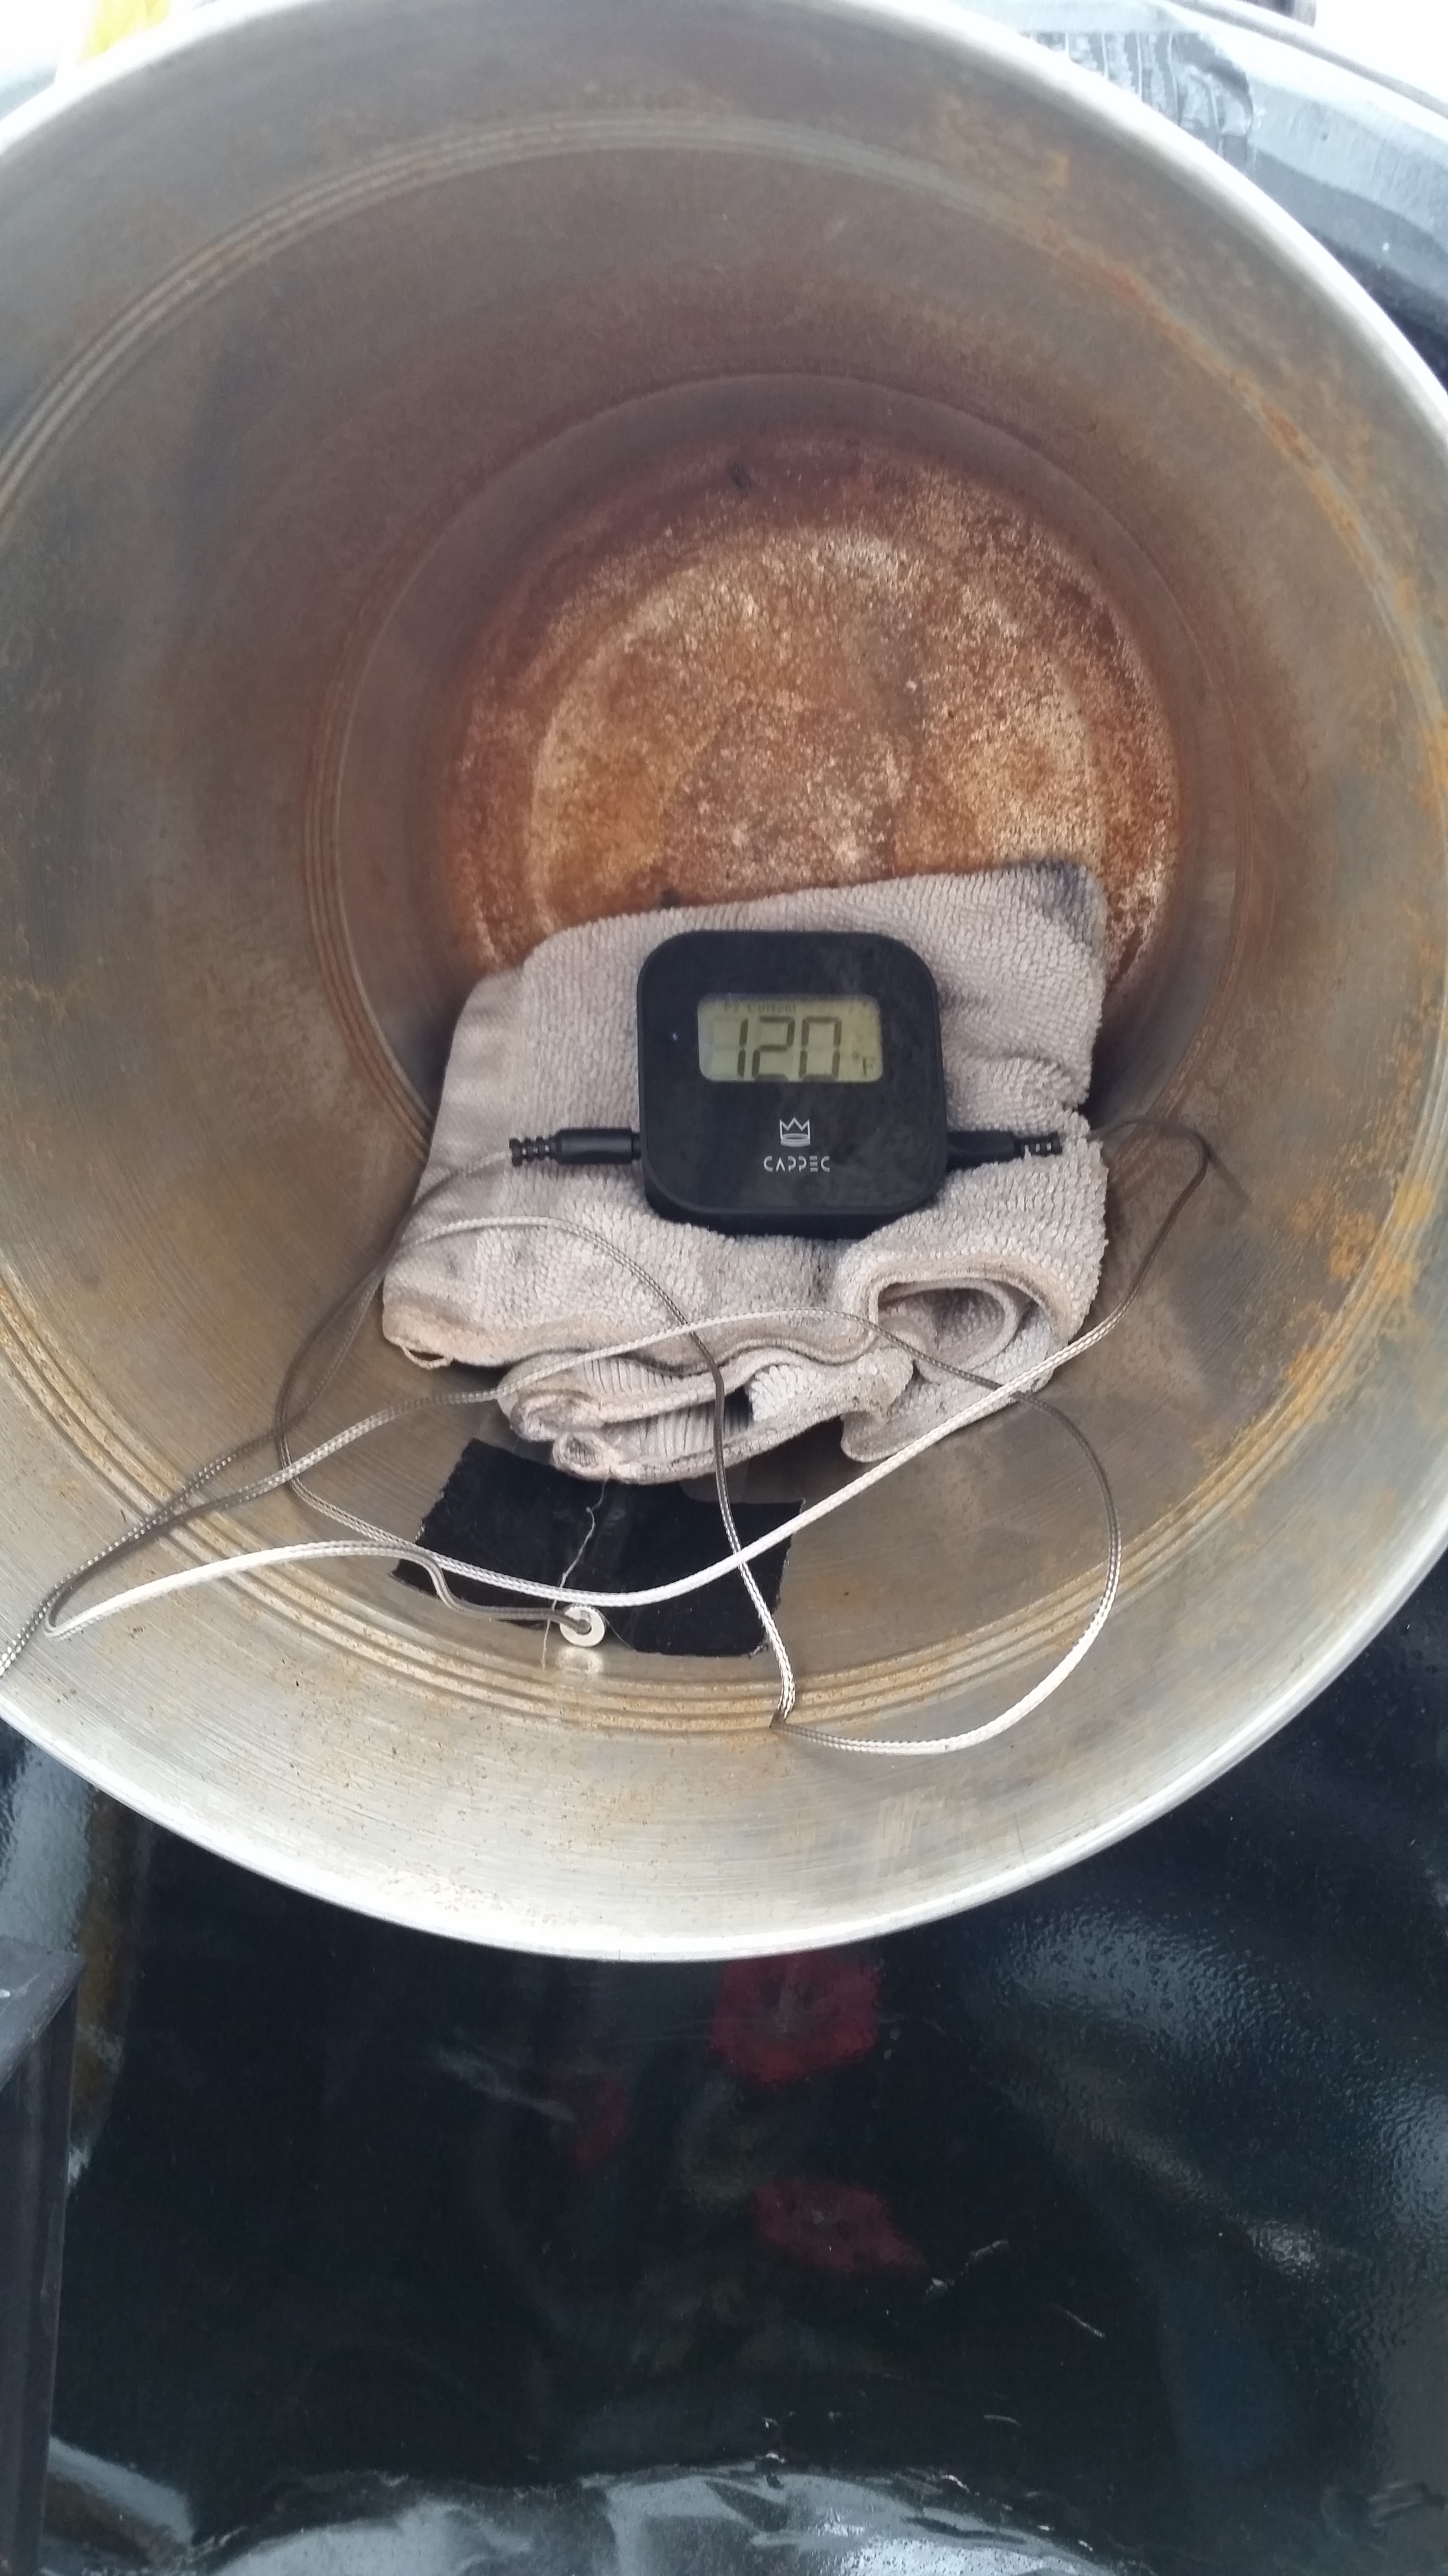
464f is not the top of the scale, it the highest temp alarm set point. The highest it got was 260f and 158*f .
Thats a nice low temp scale , how much char left too keep temps down the low. Would that air feed set up work down in a reg.barrel setup for space fitting reasons. Are you useing this unit for a charco 75% leaning rig for charco. Or are you well experianced with useing charco.???
This is the first build that I have done on charcoal gasification, running tests to see if it will be able to run a 318 cu. In. Engine, not looking good at this time. Was going to put it on a 2.5 L . It might end up just running my genset. Need more testing.
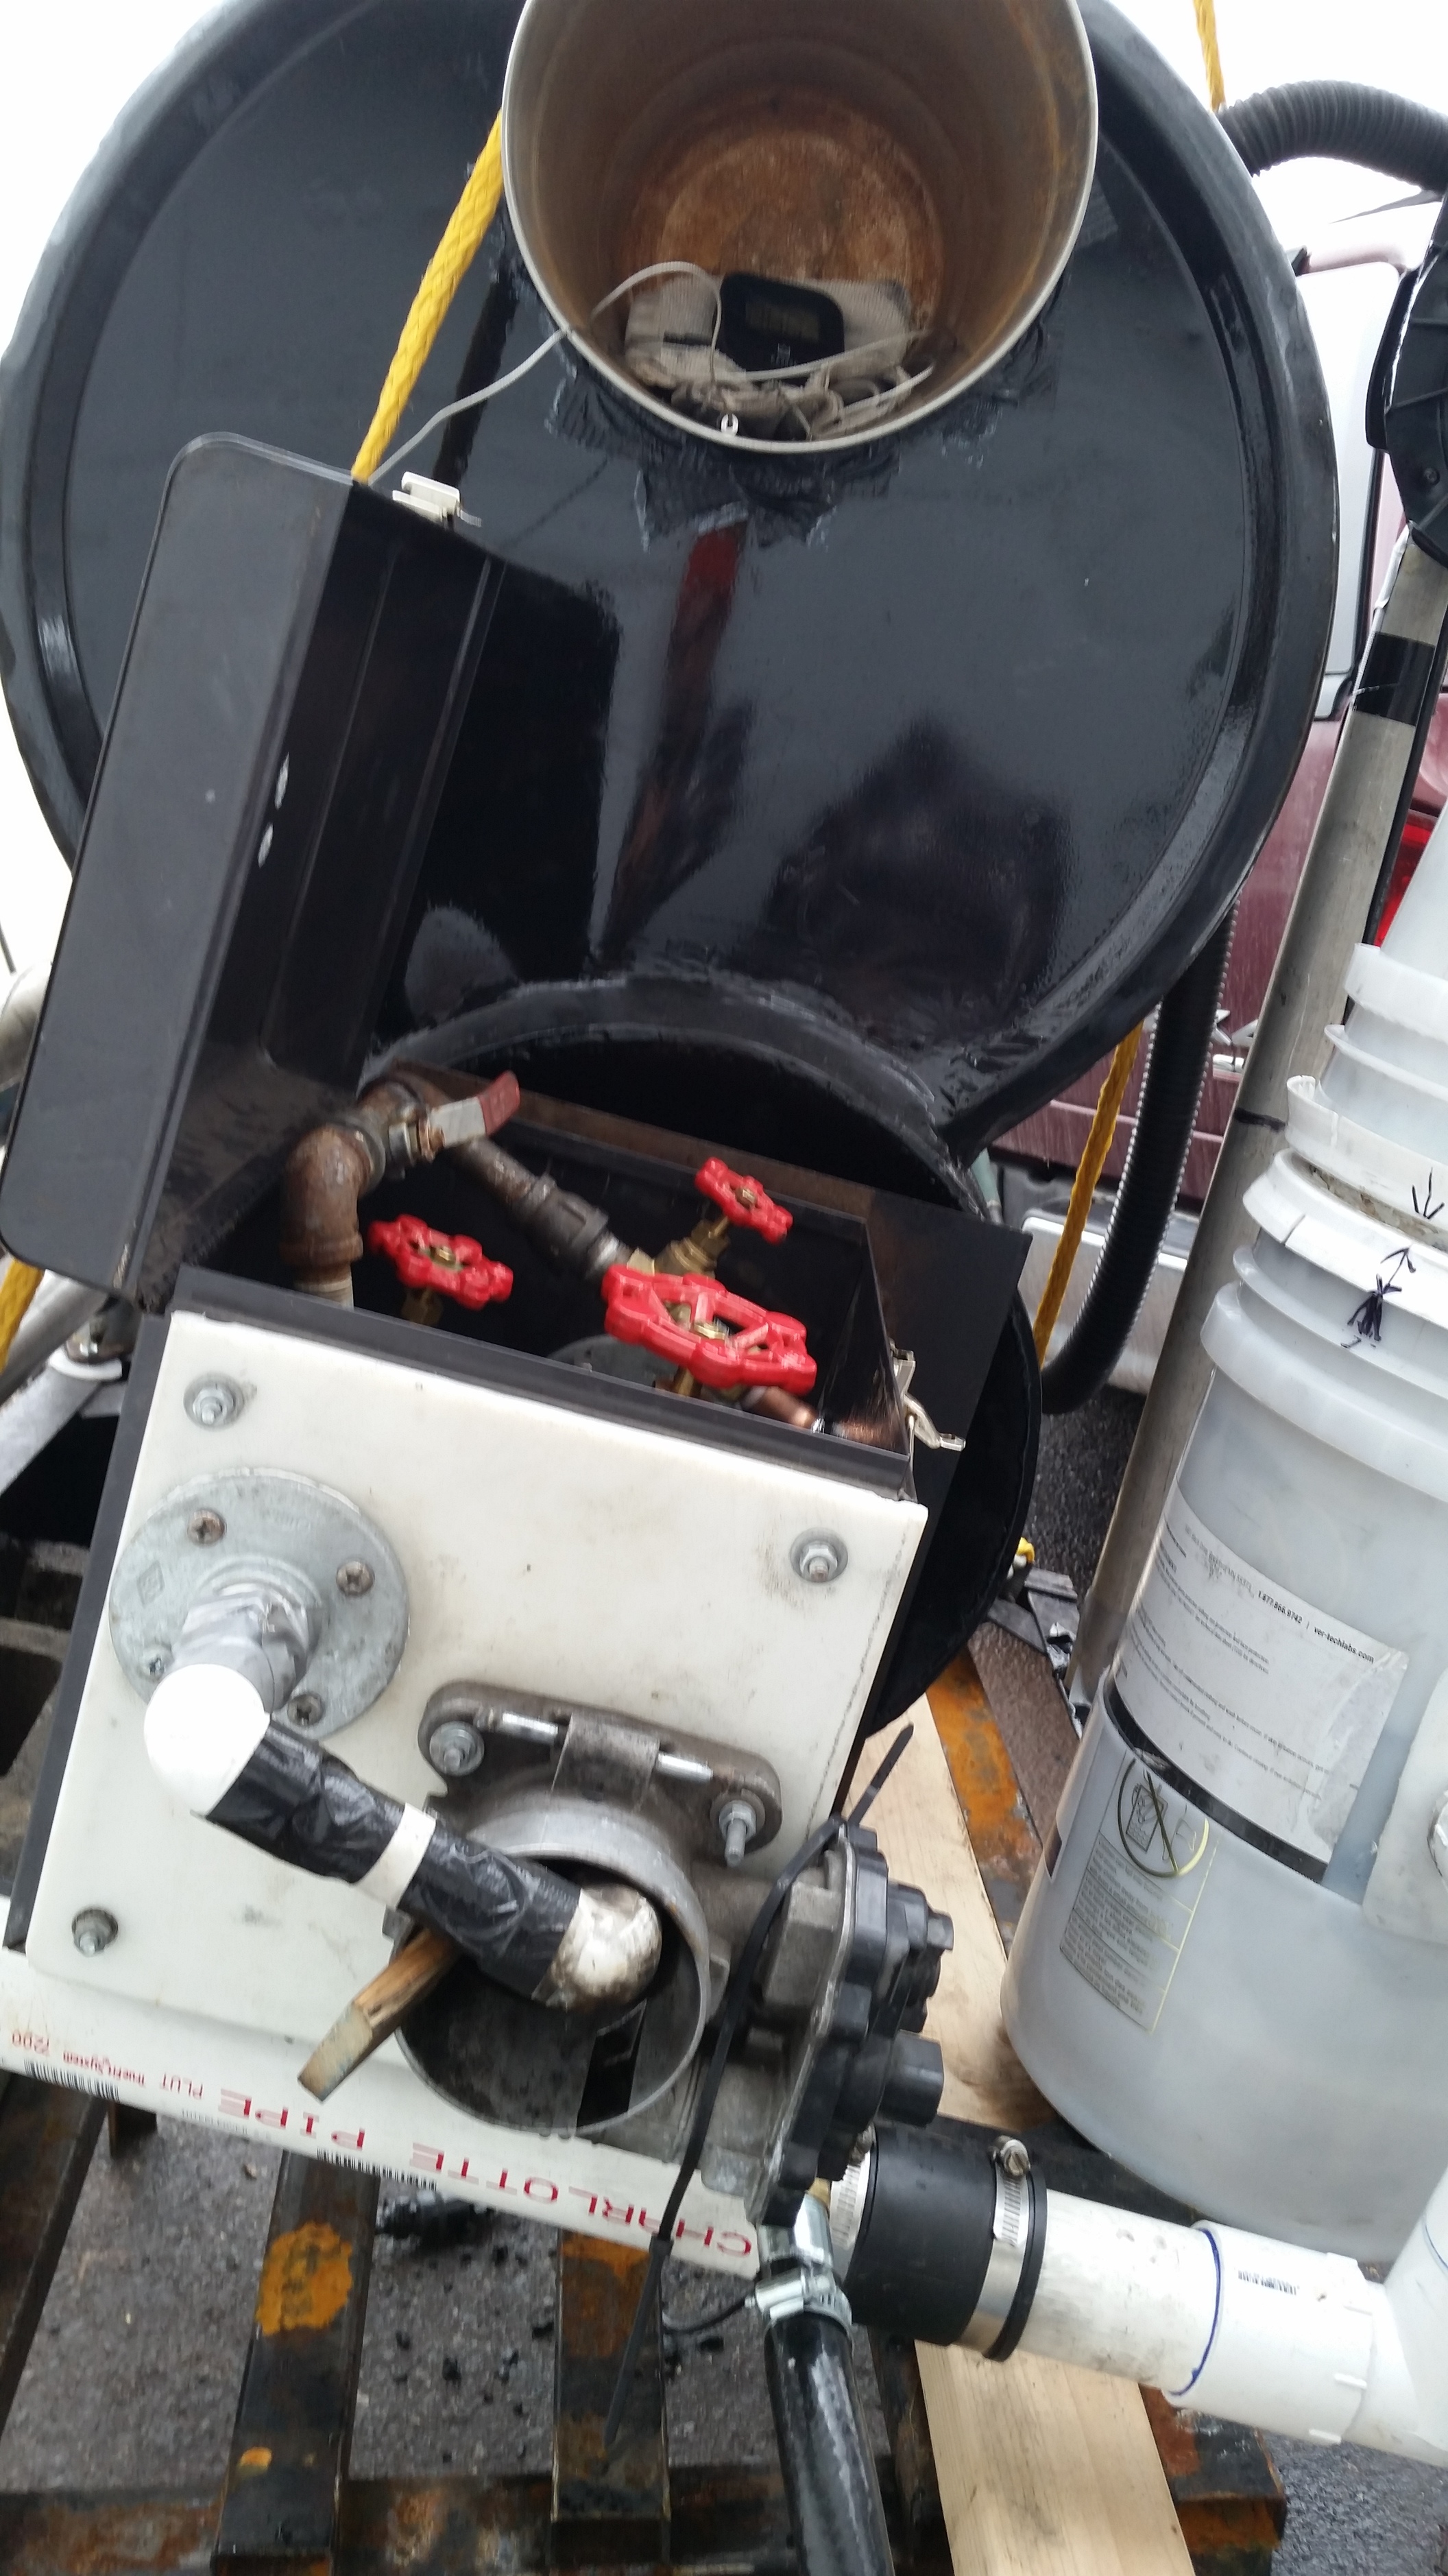
The NOZZLES and valve control box could be mounted in the bottom of a 55 gal. barrow. I came up with this more streamline design when I was planning put it on the back of a Subrau Out Back, but if I originally were going to put it in the bed of a truck, I would have used the 55 gal. barrow.
The throttle body came from a 350 cu. In. Engine, it was just what I had laying around so I used it.
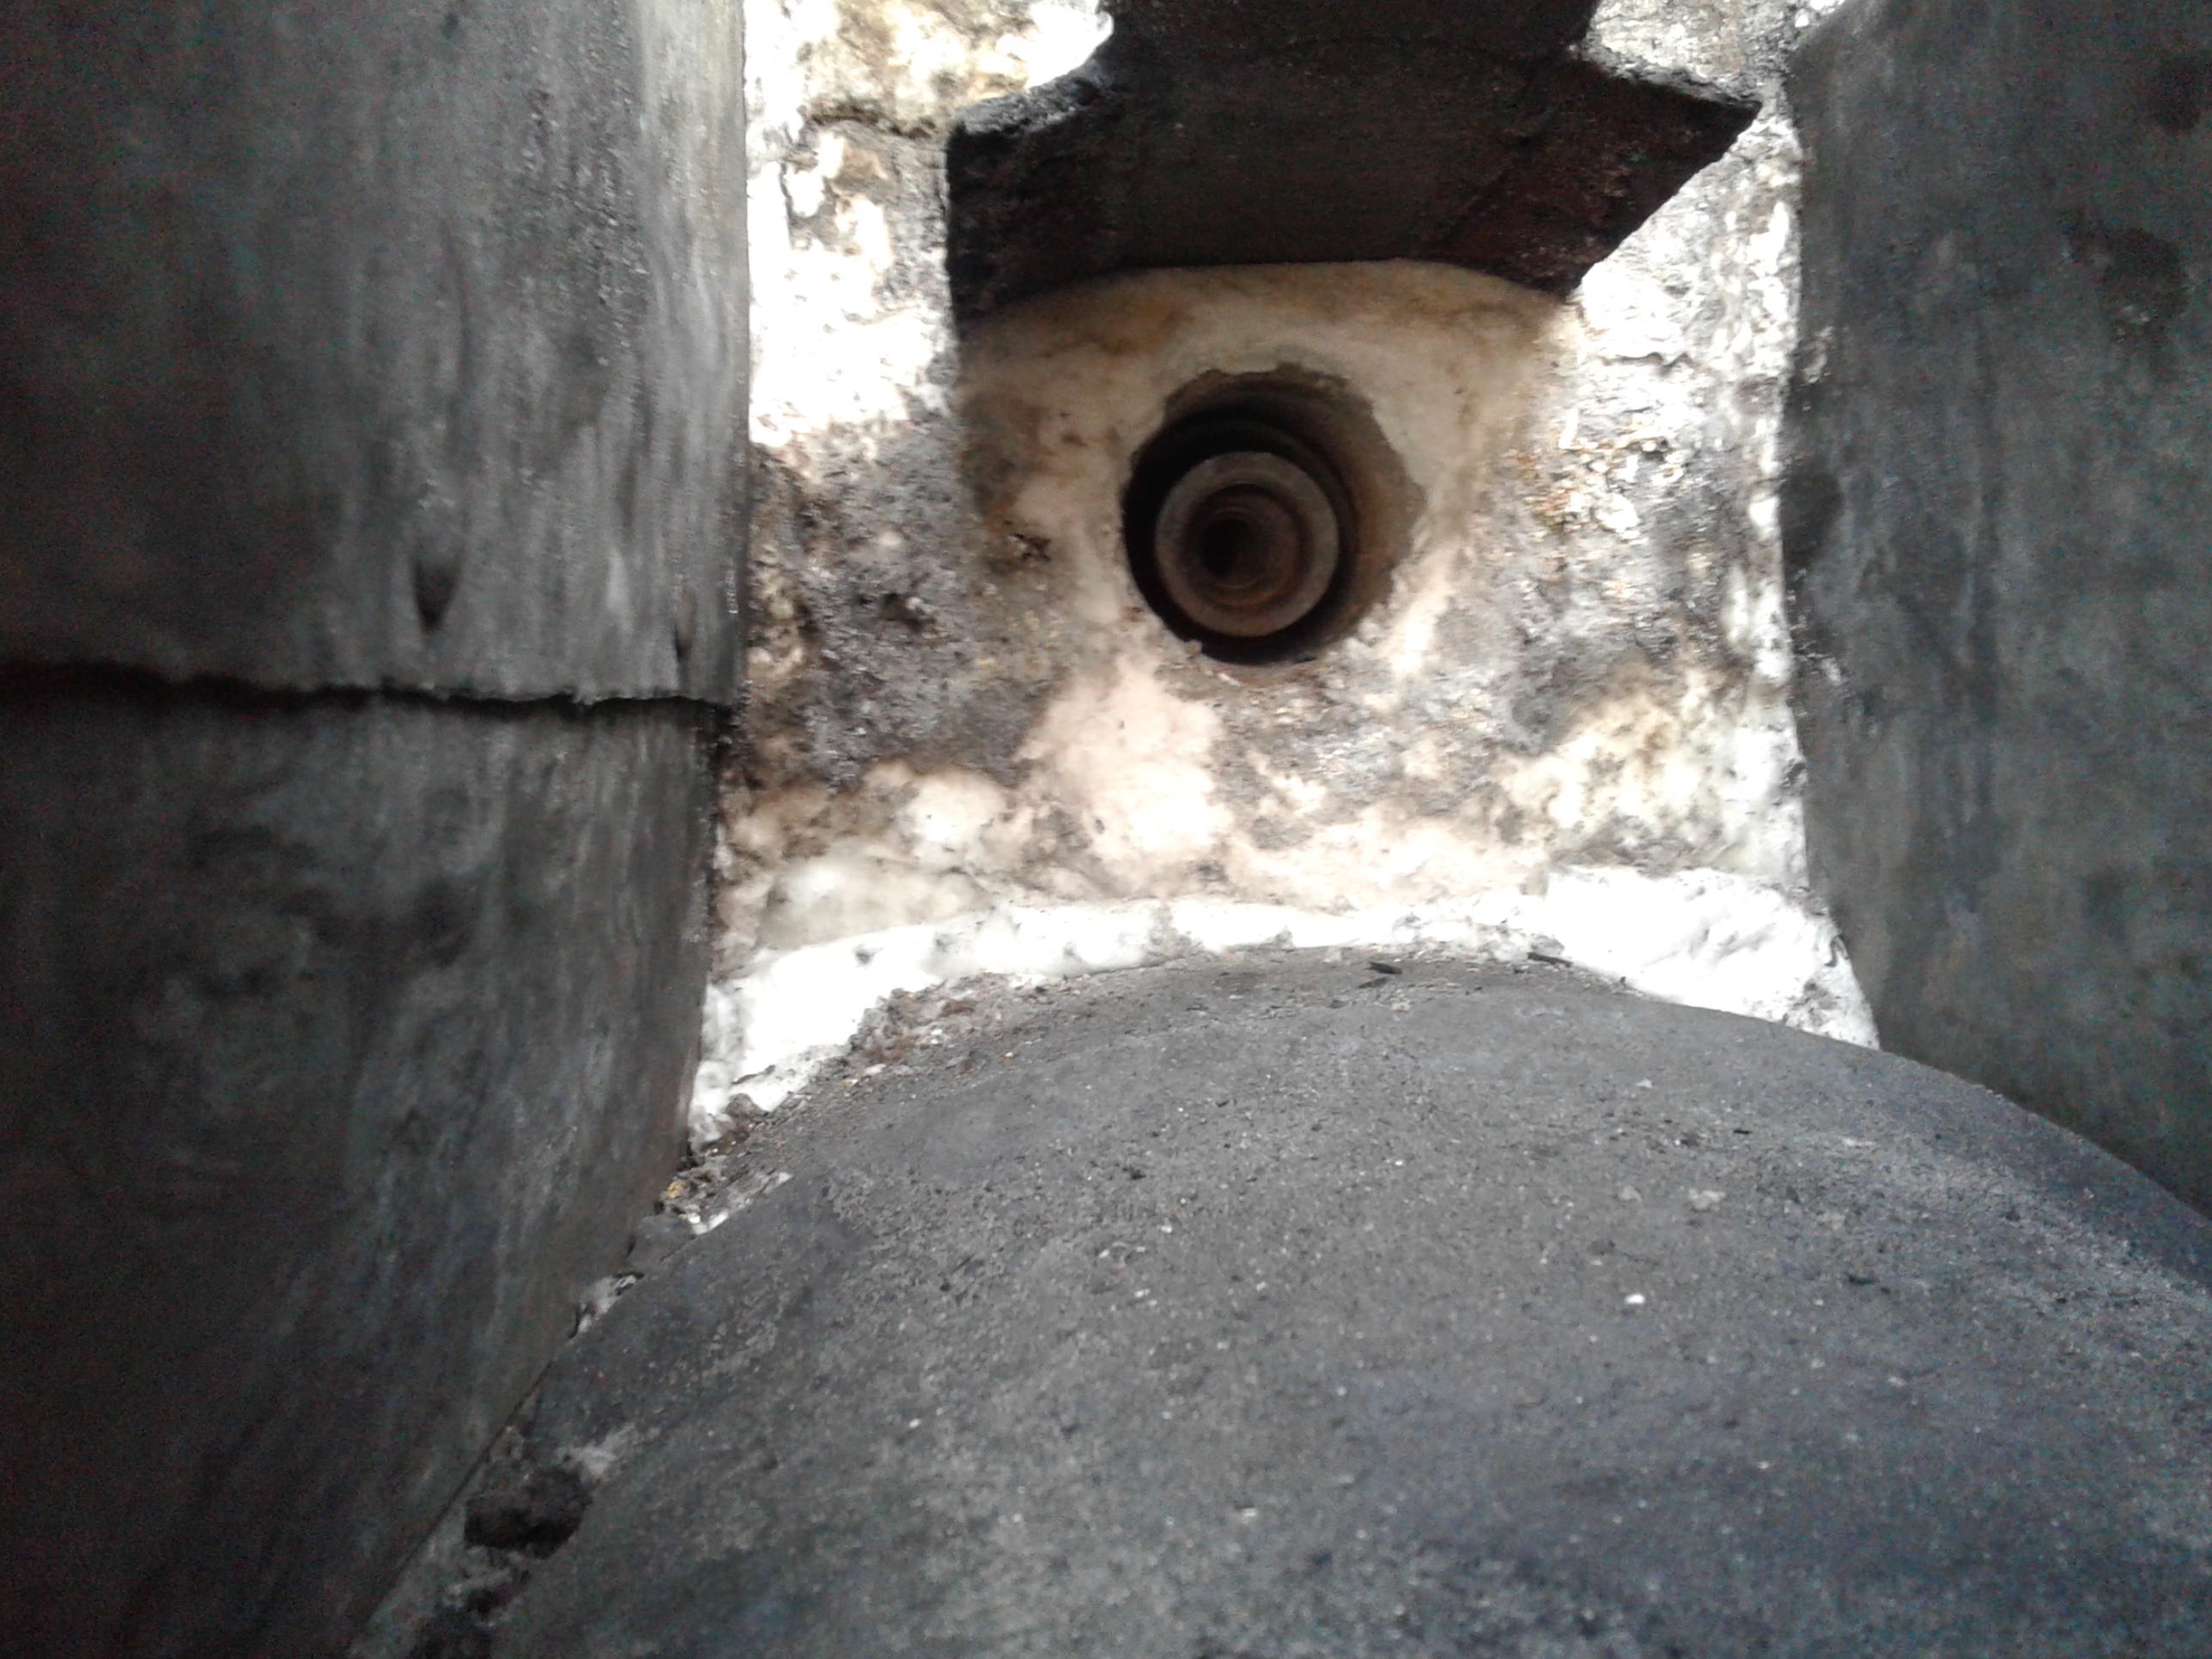
When the charcoal gets to the bottom of the hopper it starts to get hot.
The only thing that is different in the cross flow design is the nozzle inside a nozzle design. The trottle body makes them variable in velocity with EGR in each nozzle at all times. Lot more testing to do.
Bob
Ok thanks bob i am learning a little at a time with this charco nosel setup. You caint go wrong with this unit just learning some variables and basics is worth it.When built my first WK gasifier i over sized the burn tube in length in width and too thick than usefull for my driving speeds, takes longer too warm up and is too heavy for dakota or s10 trucks. So i learned to not build quite so heavy on my next WK build, Those finns on the hopper cooler has some good overall effect on performance ballance throughout the hopper level as well.***
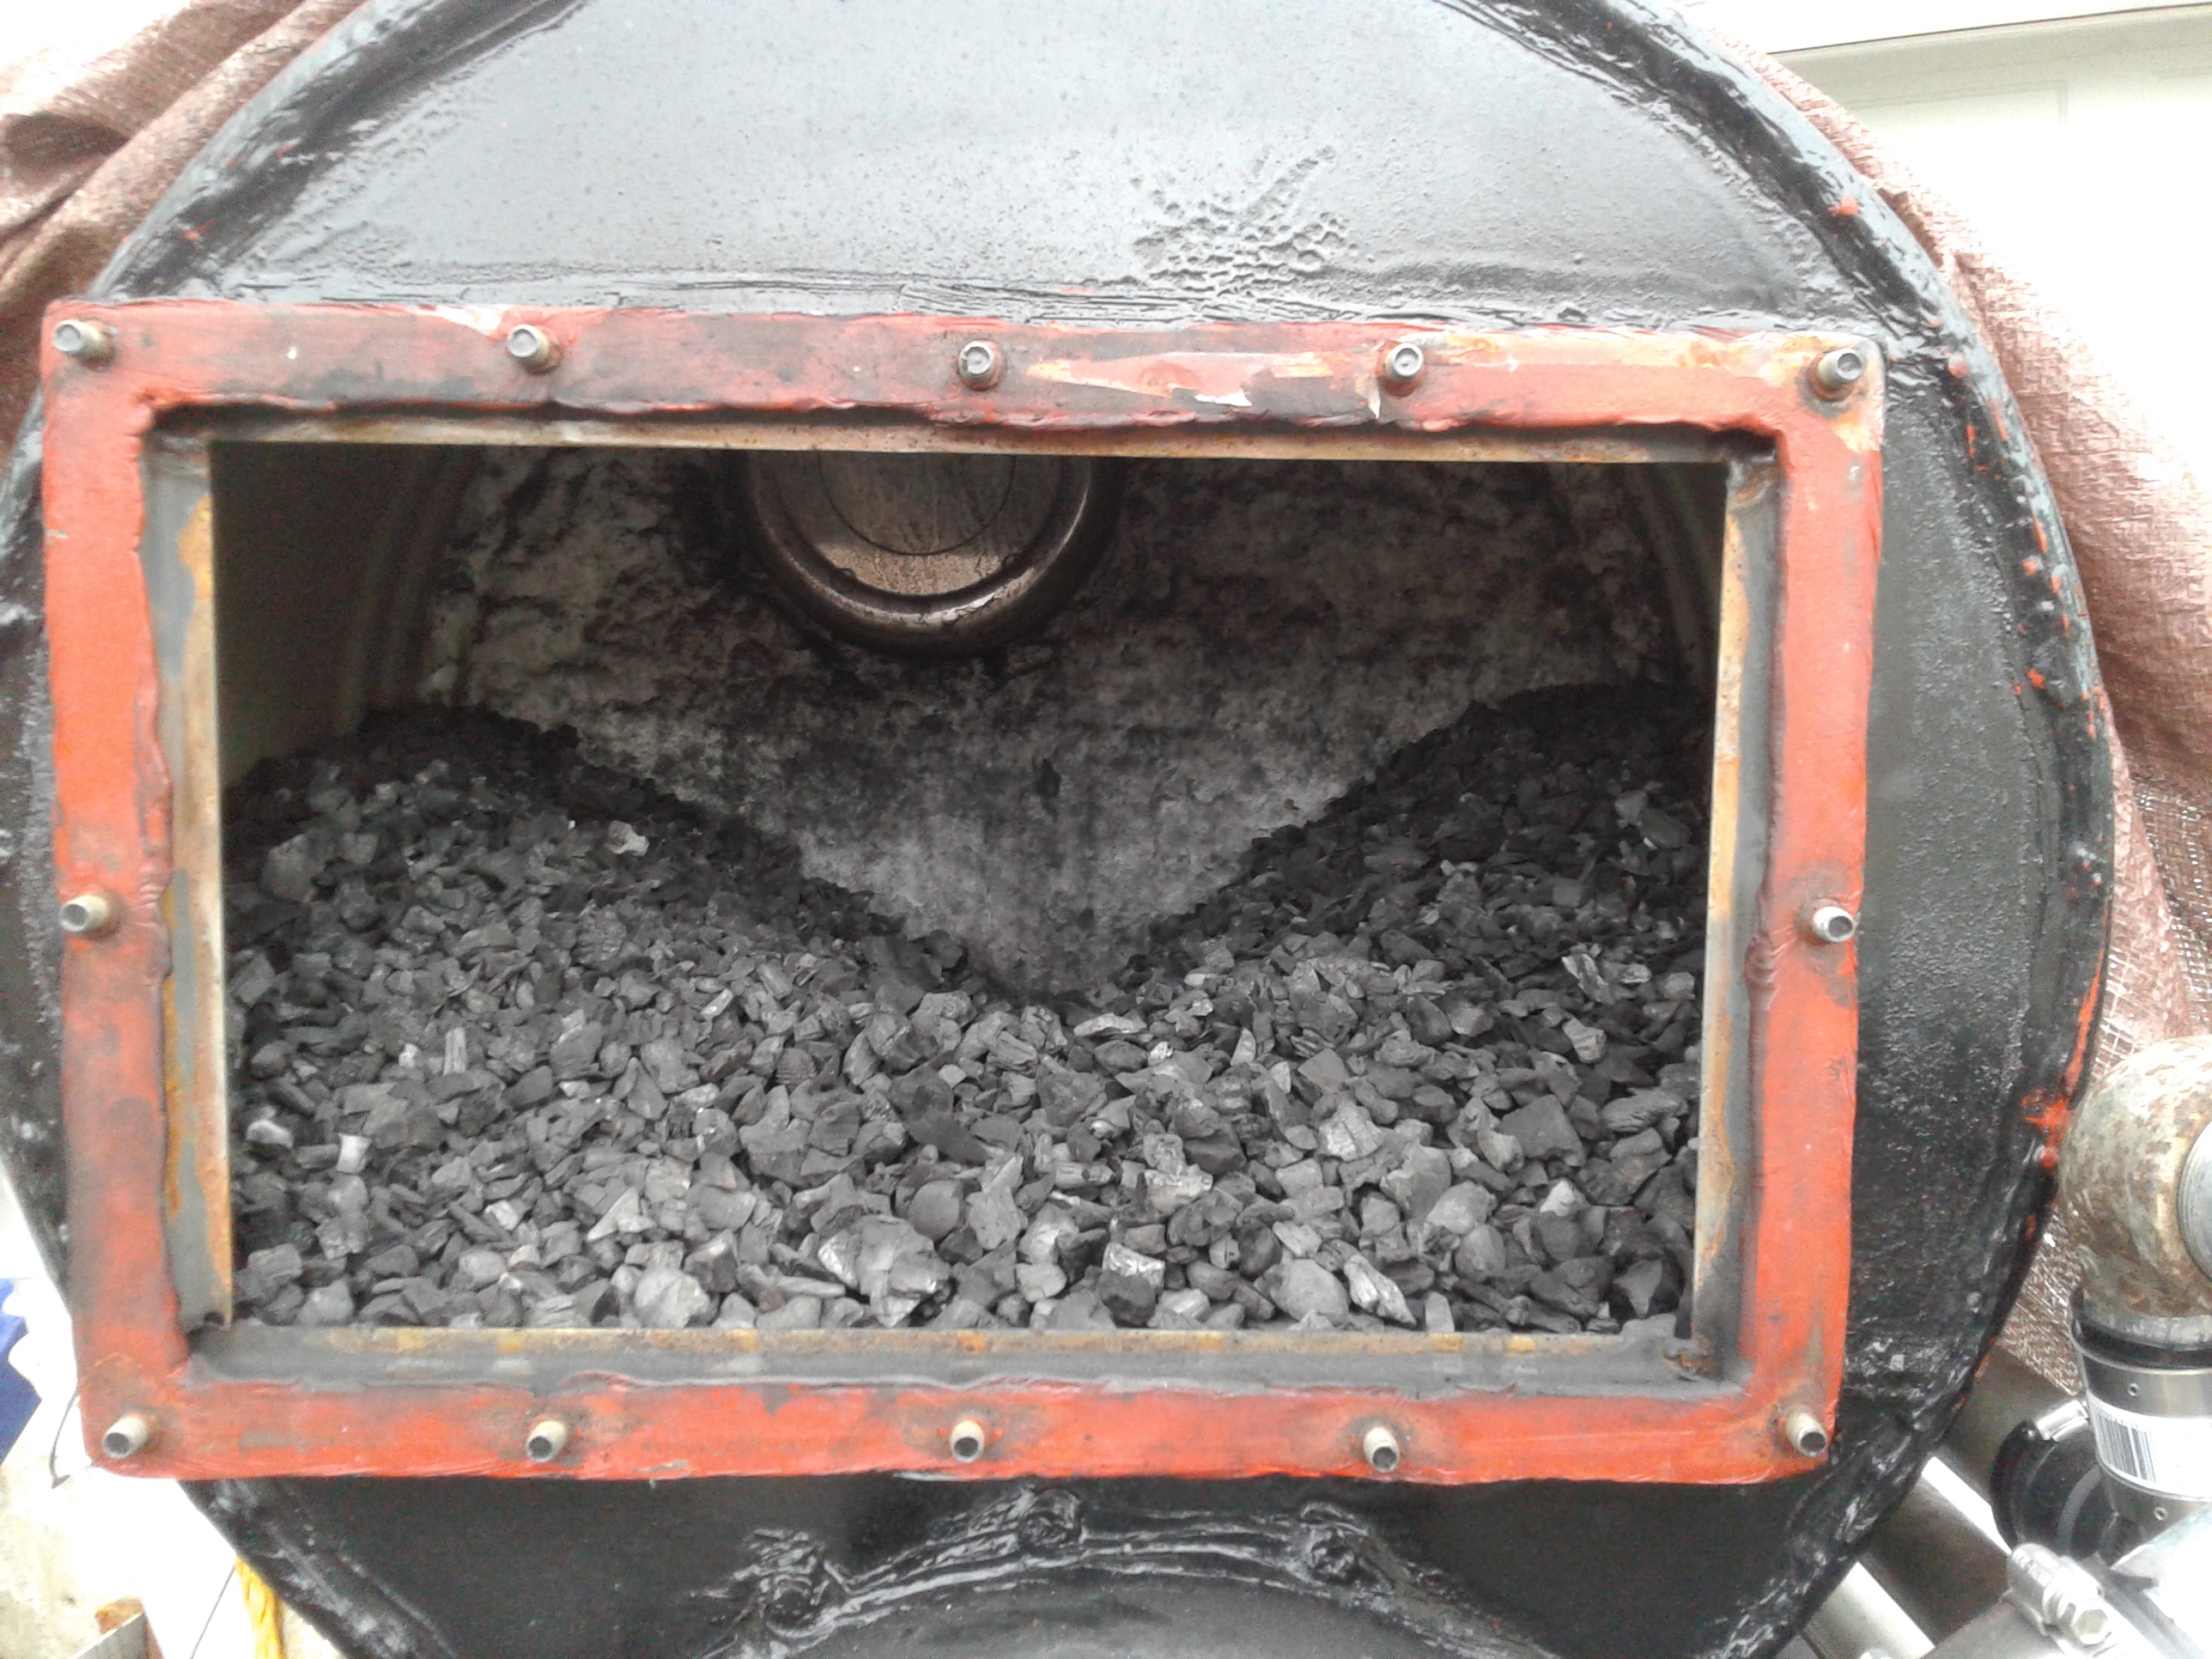
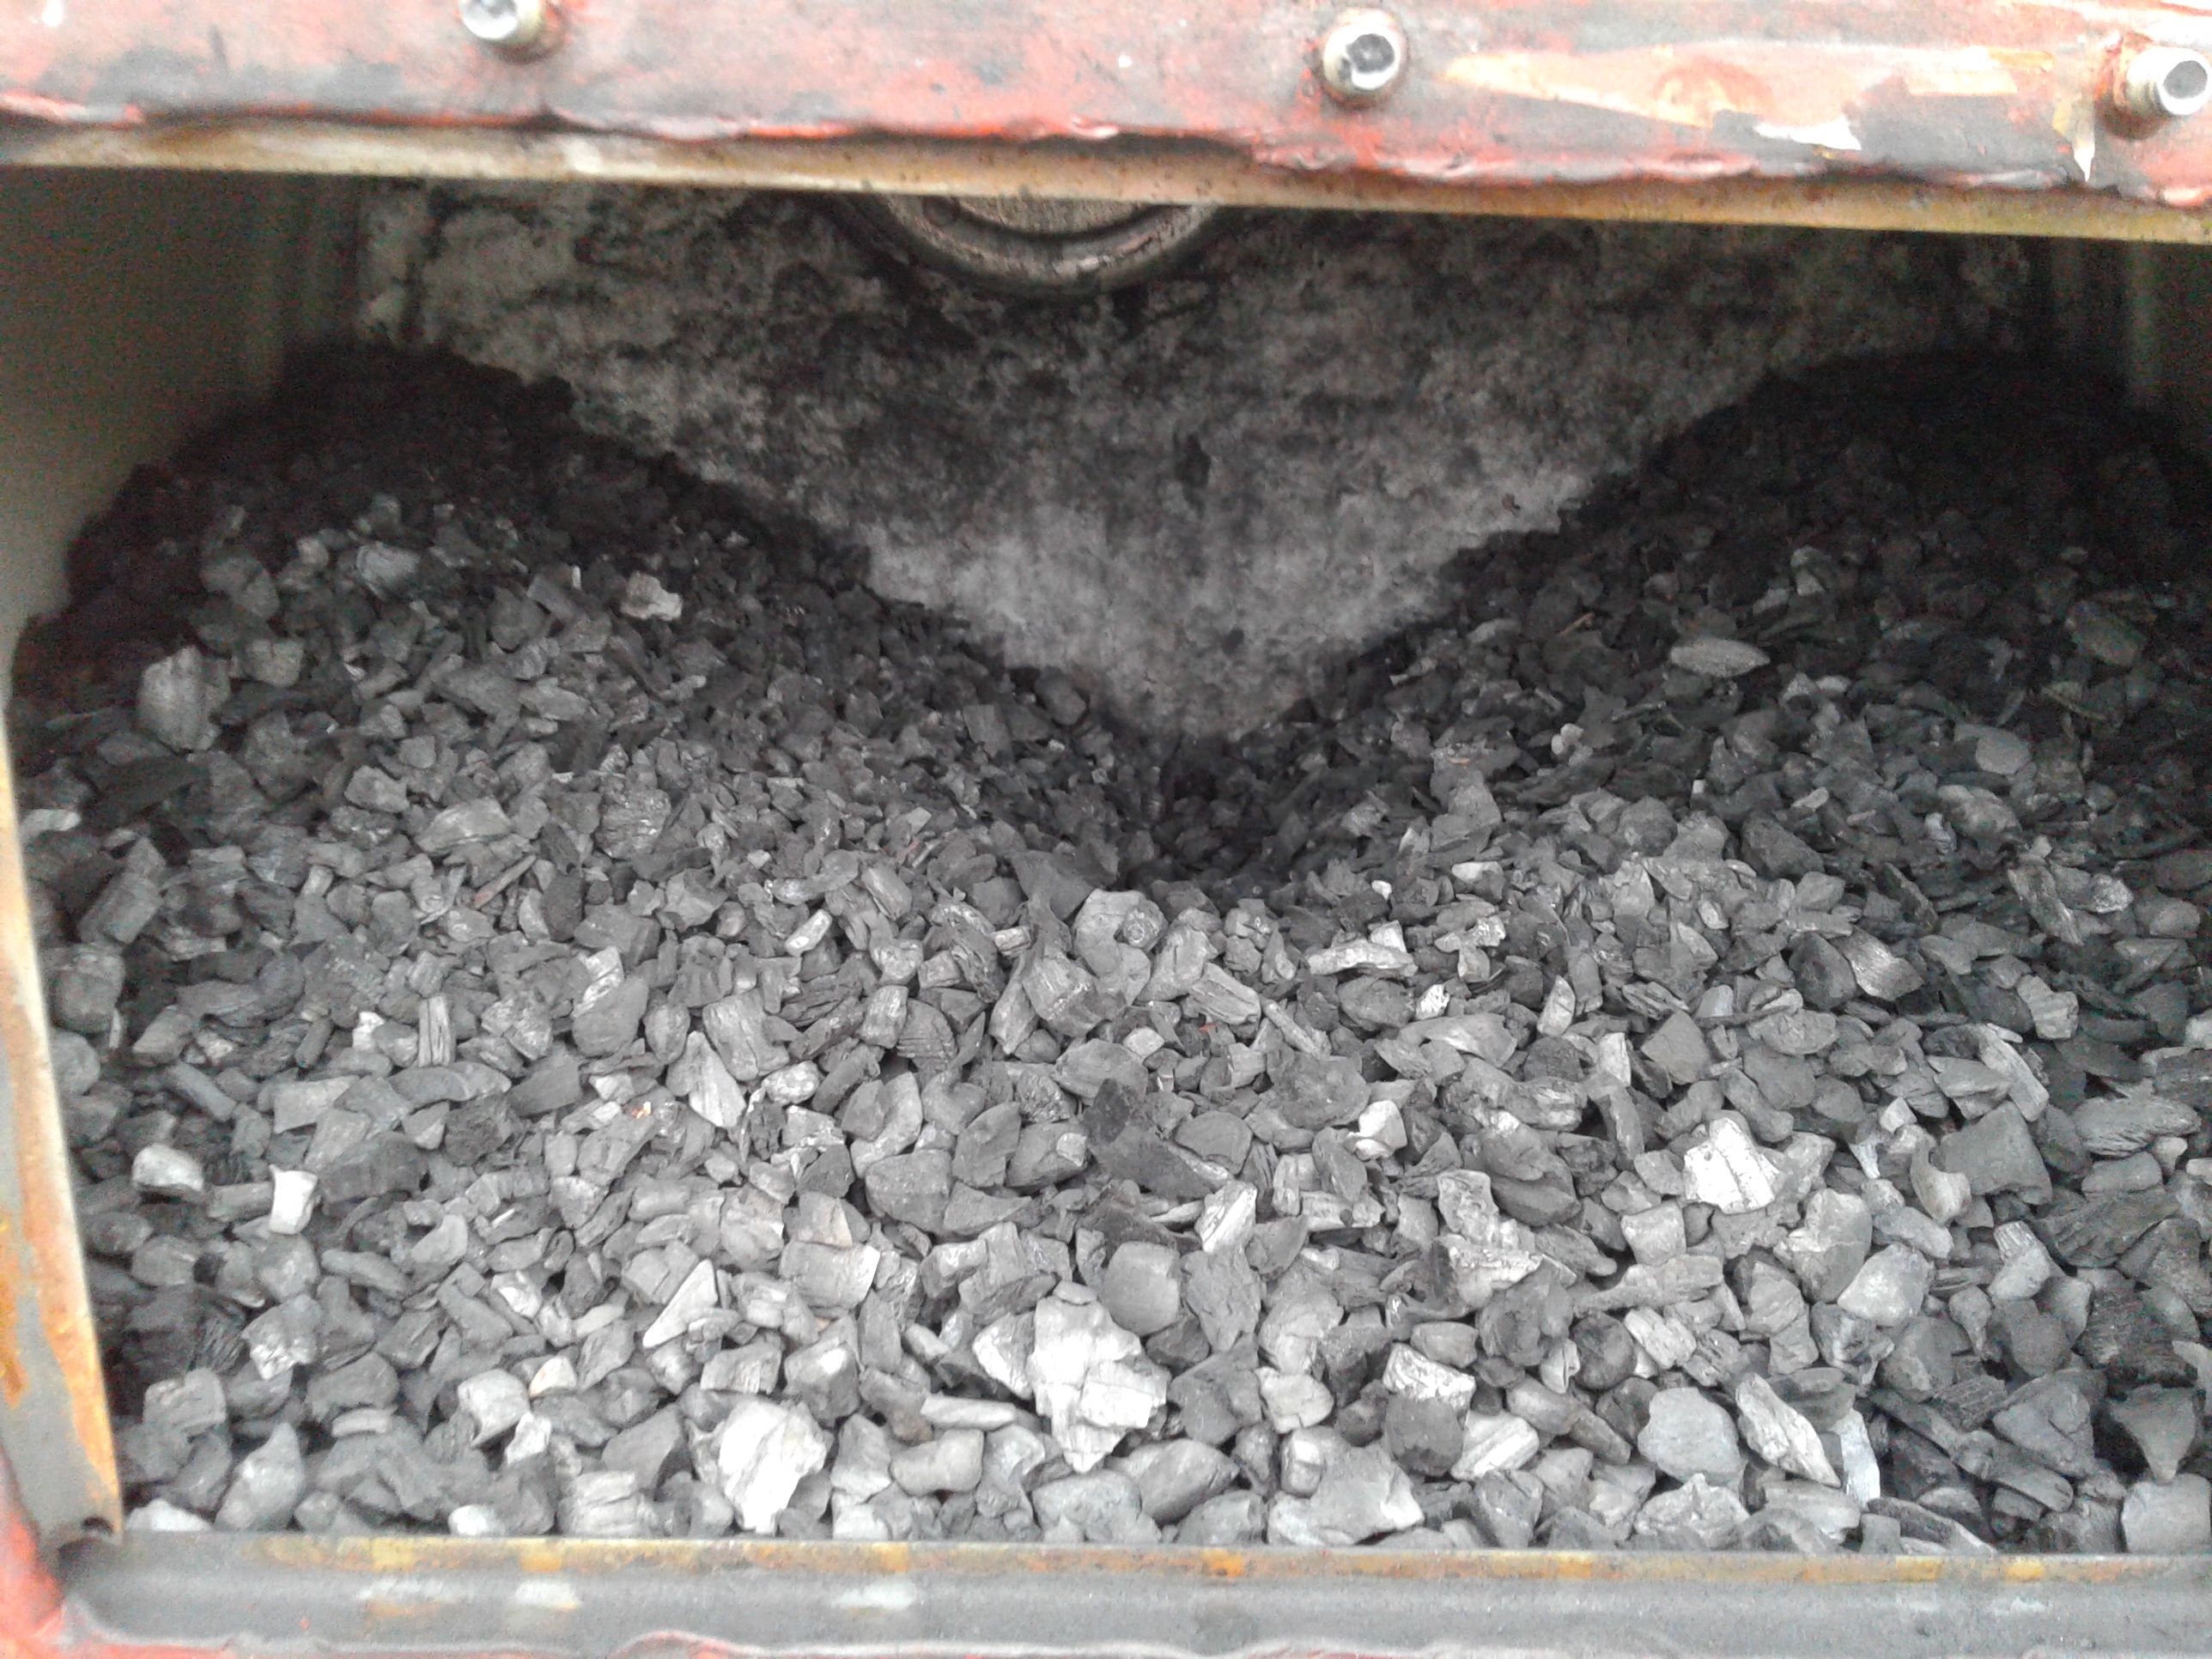
Okay the results are in, when opening the inspection hatch, the charcoal seems to be flowing correctly. The problem I see is the spacing between the 2 barrows. Originally I was going to have a 8" tall box connecting the burn chamber and hopper. But because of height I decided to leave it out. This Is causing a problem when try to get all the charcoal to empty out of the hopper. The char bed will be exposed before it empties, I need that extra 8" maybe even more to empty the hopper of charcoal .
The tape at 13" is the top of the nozzles.
I filled it to the level that I had it before, 6 gals. of charcoal. So 1 hour running time it used 6 gals. 20 mins. at high vacuum blower speed and the rest at low, moderate speed.
I had it planned correctly the first time. With the 60* slope and how far above the nozzle it should be. Oh well, on the next build I will correct it. But not on this one. The 55 gal. Barrow looks more promising all the time. And it will be a lot easier to build.
I have gone though 1 1/2 barrows of charcoal, I am with Kristijan on making charcoal if you are planning on doing it everyday. You need to make and process a lot of charcoal.
Getting the charcoal out of the barrow is easy just tip the barrow down to pore it out. I used this paint stiring wire to move the charcoal at the exit of the bung open and it comes out nicely.
Good afternoon Bob Mac. Slip that unit on a light trailer and we need too see a black top tire spinning charco per hour loaded too the tire track before the tire is gone. Jokeing.
You ask for this gasifier to run something so here it is, hooked up the 1750 Coleman generator. It rated 1400 kWh continues load at 20 amps max.
Ran it from 11:30 am to 18:45 or 06:45 pm not to bad for The Gasifier That Wanted To Be. It wasn’t a continuous run. Had to shut it down to remove the muffler extension pipe, it was to much back pressure. I didn’t need the exhaust anyway.
Videos will follow as soom as my up dates on my computer are complete.
Bob
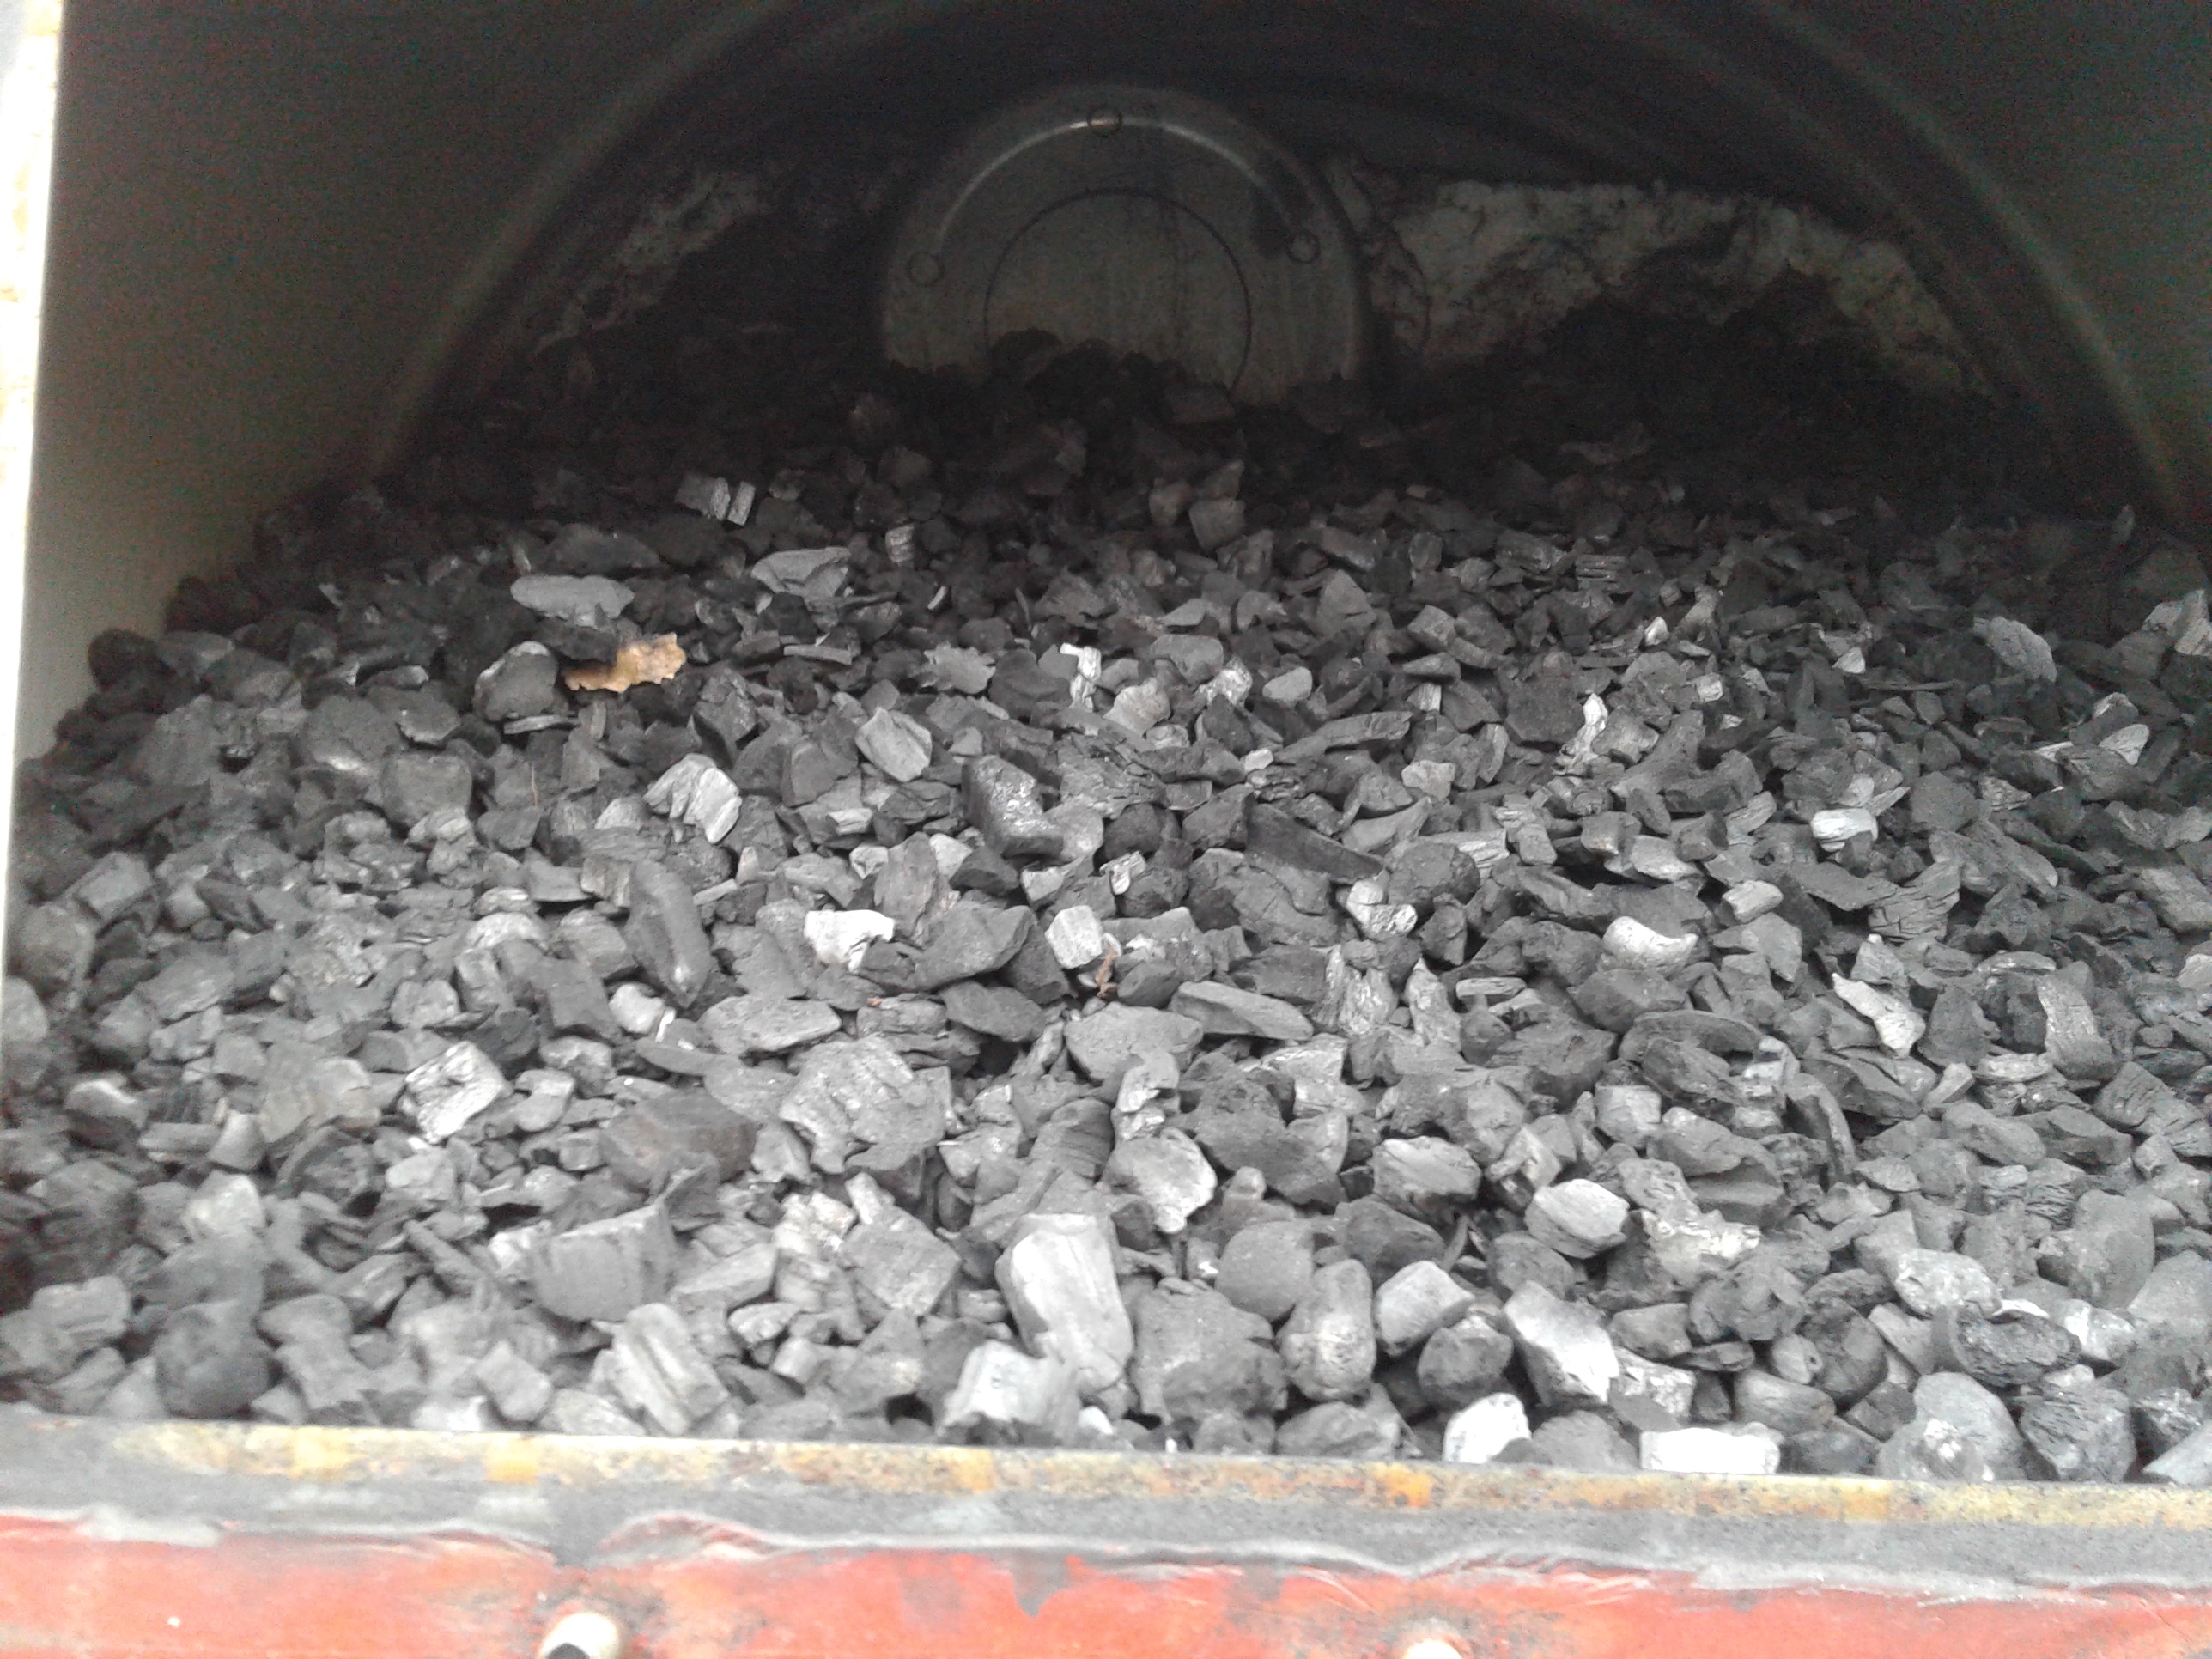
I shut the gasifier down and it still had charcoal left in the hopper, it was running cooler temps all over the gasifier when I shut it down. I will open it up tomorrow to see how much charcoal is left.
Bob
I also noticed that the air valve was wide open which shows almost zero resistance through all of the cyclones and filters.
But such a small motor would not be drawing much
Hi Michael, the way I set up the gas intake pipe, it is attached to the front plate the plate is attached to the original filter metal housing, yes this generator is over 20 years old so no plastic there. I found a piece of heavy duty thick foam rubber laying around cut it out for a gasket. The gas goes into the plate hits the back plate travels around and then into the carburetor opening. The air valve has to be full open, also on the elbow there are three small hole drilled into it it lets any moisture water coming in to go out the holes and not into the engine carburetor intake. The crank case vapor line is still attach to the filter housing. This genrator has been sit around for 10 years, hasn’t been used much. I just run it out of gas and stored it away, it fired right up with a little gas put into the tank. If I need power I normally use my 4,ooo kw genset.
Bob
I found that it did make a difference if the 2" valve was open, the gasifier 3/4 open and trottle plate at rest slightly open in idle position. Just blocked open for videoing. On a bigger genset it might need more opening, not sure.
Bob
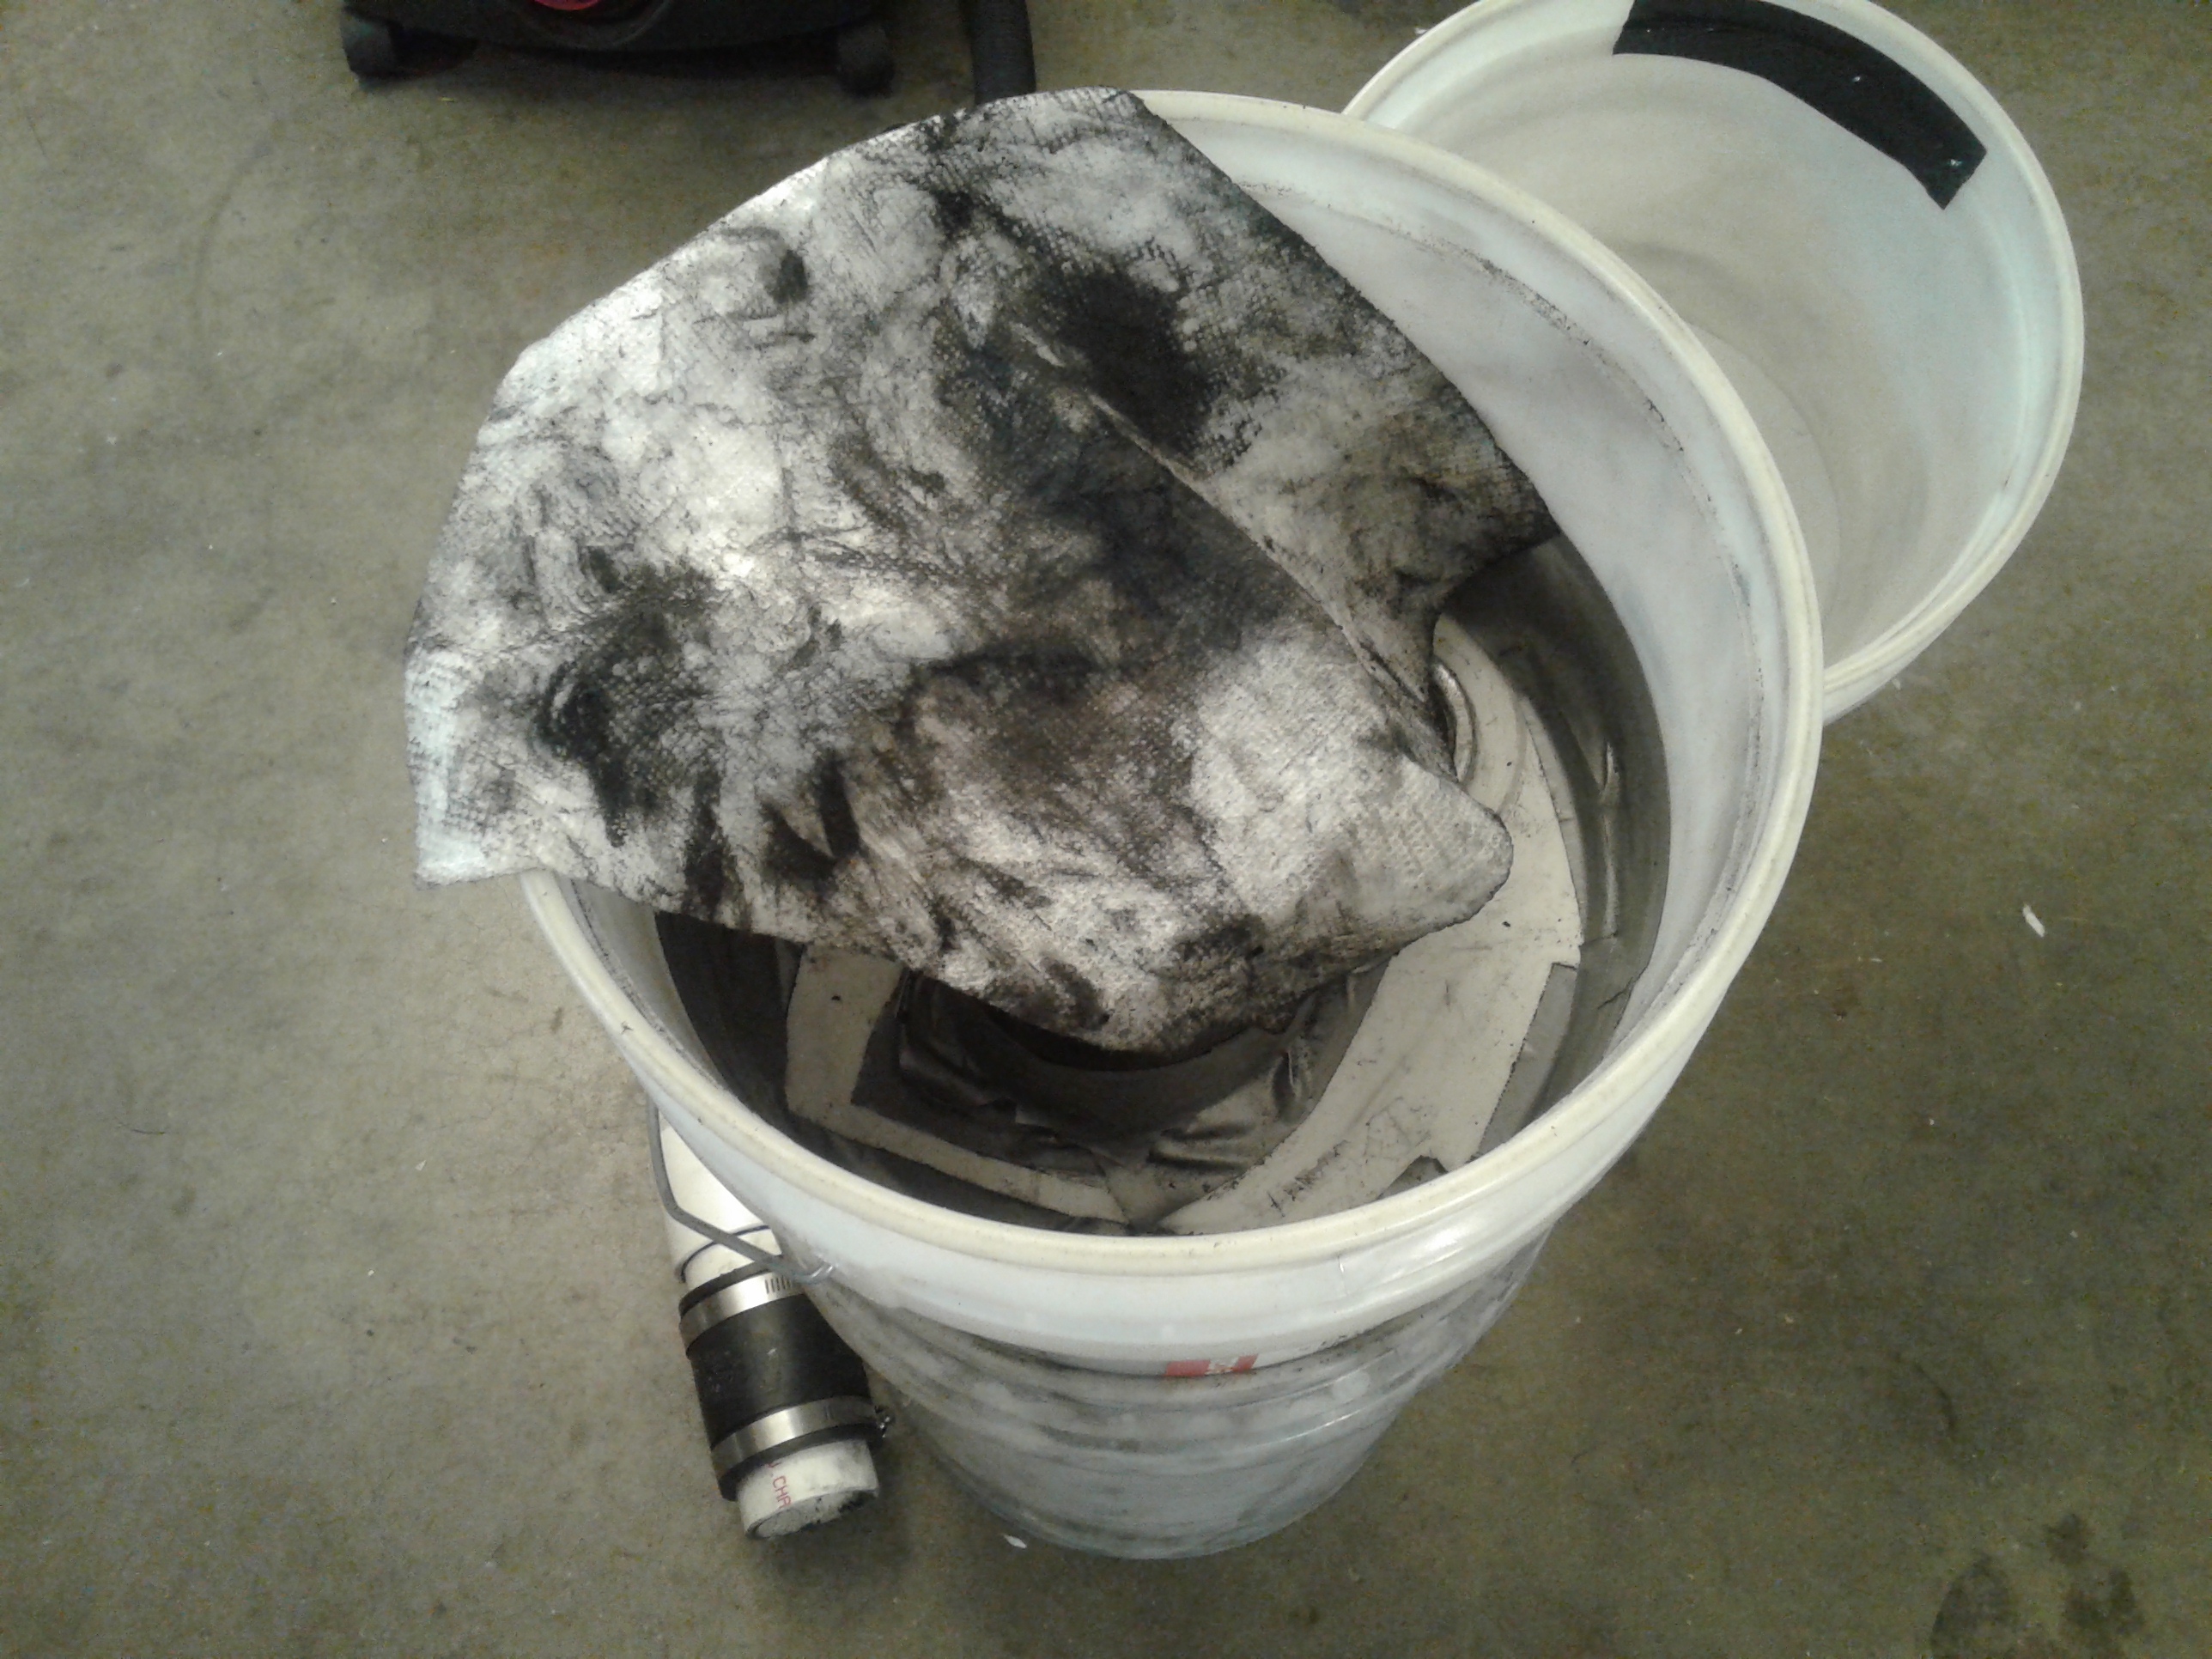
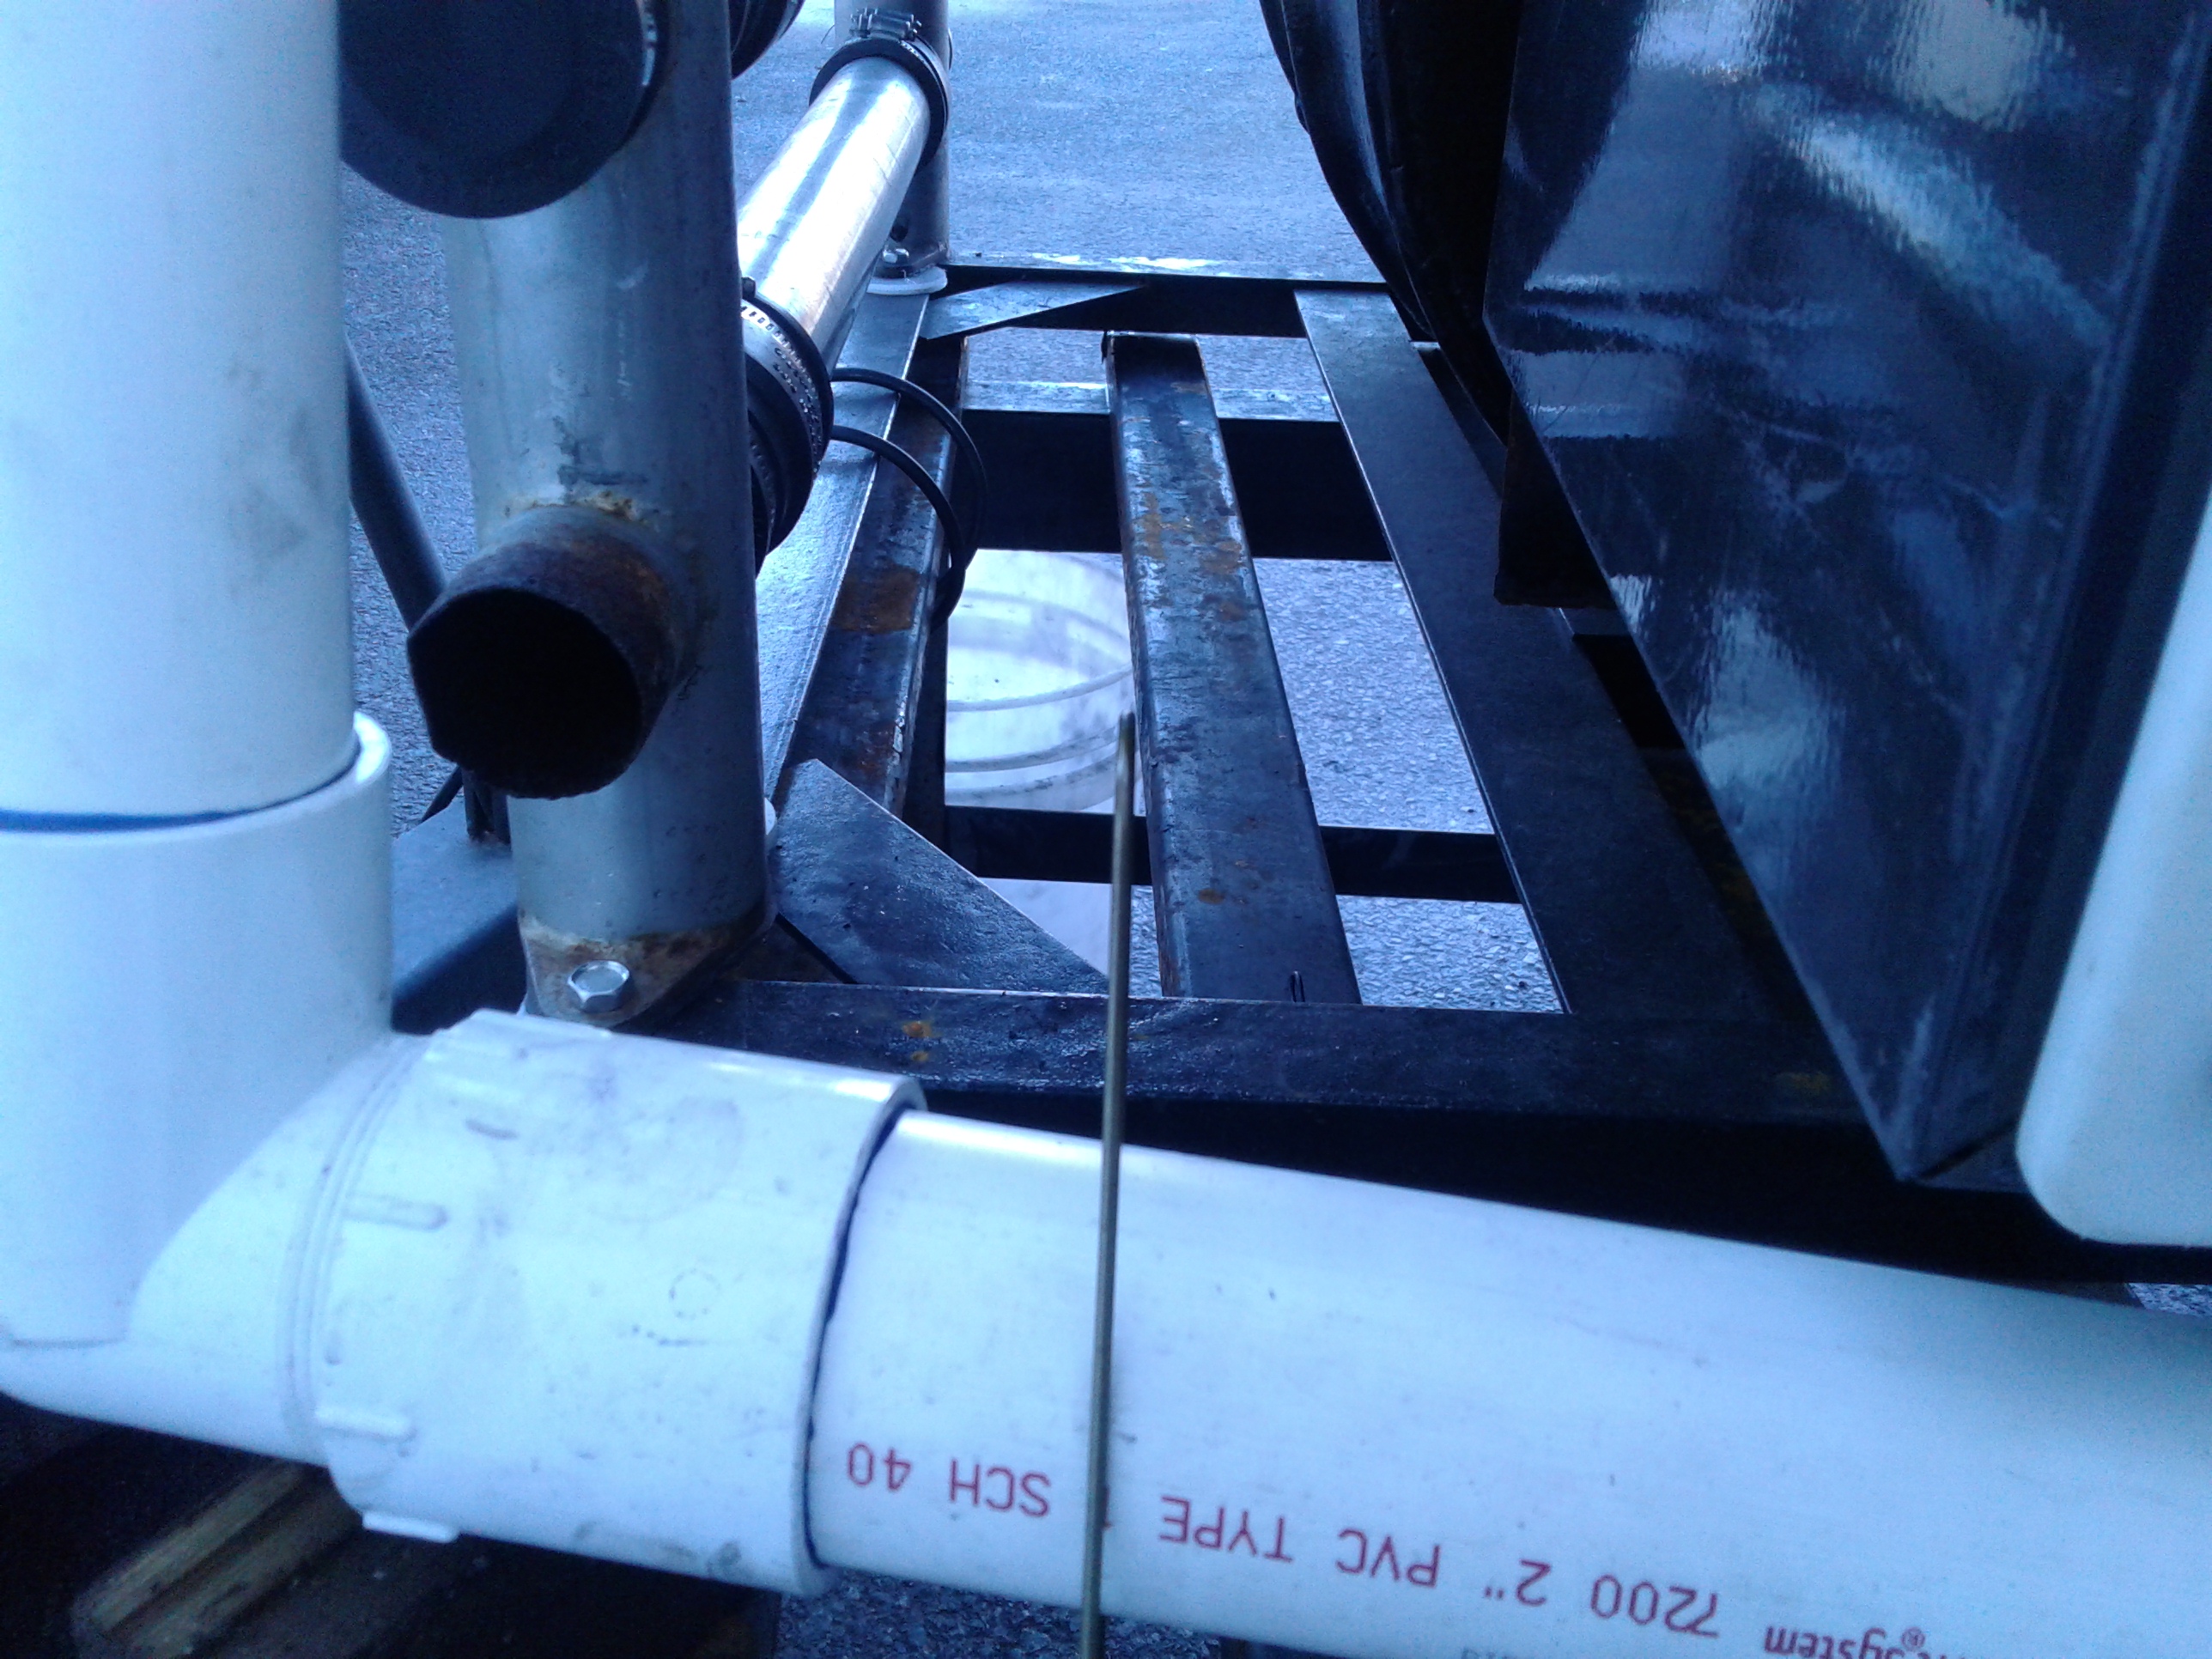
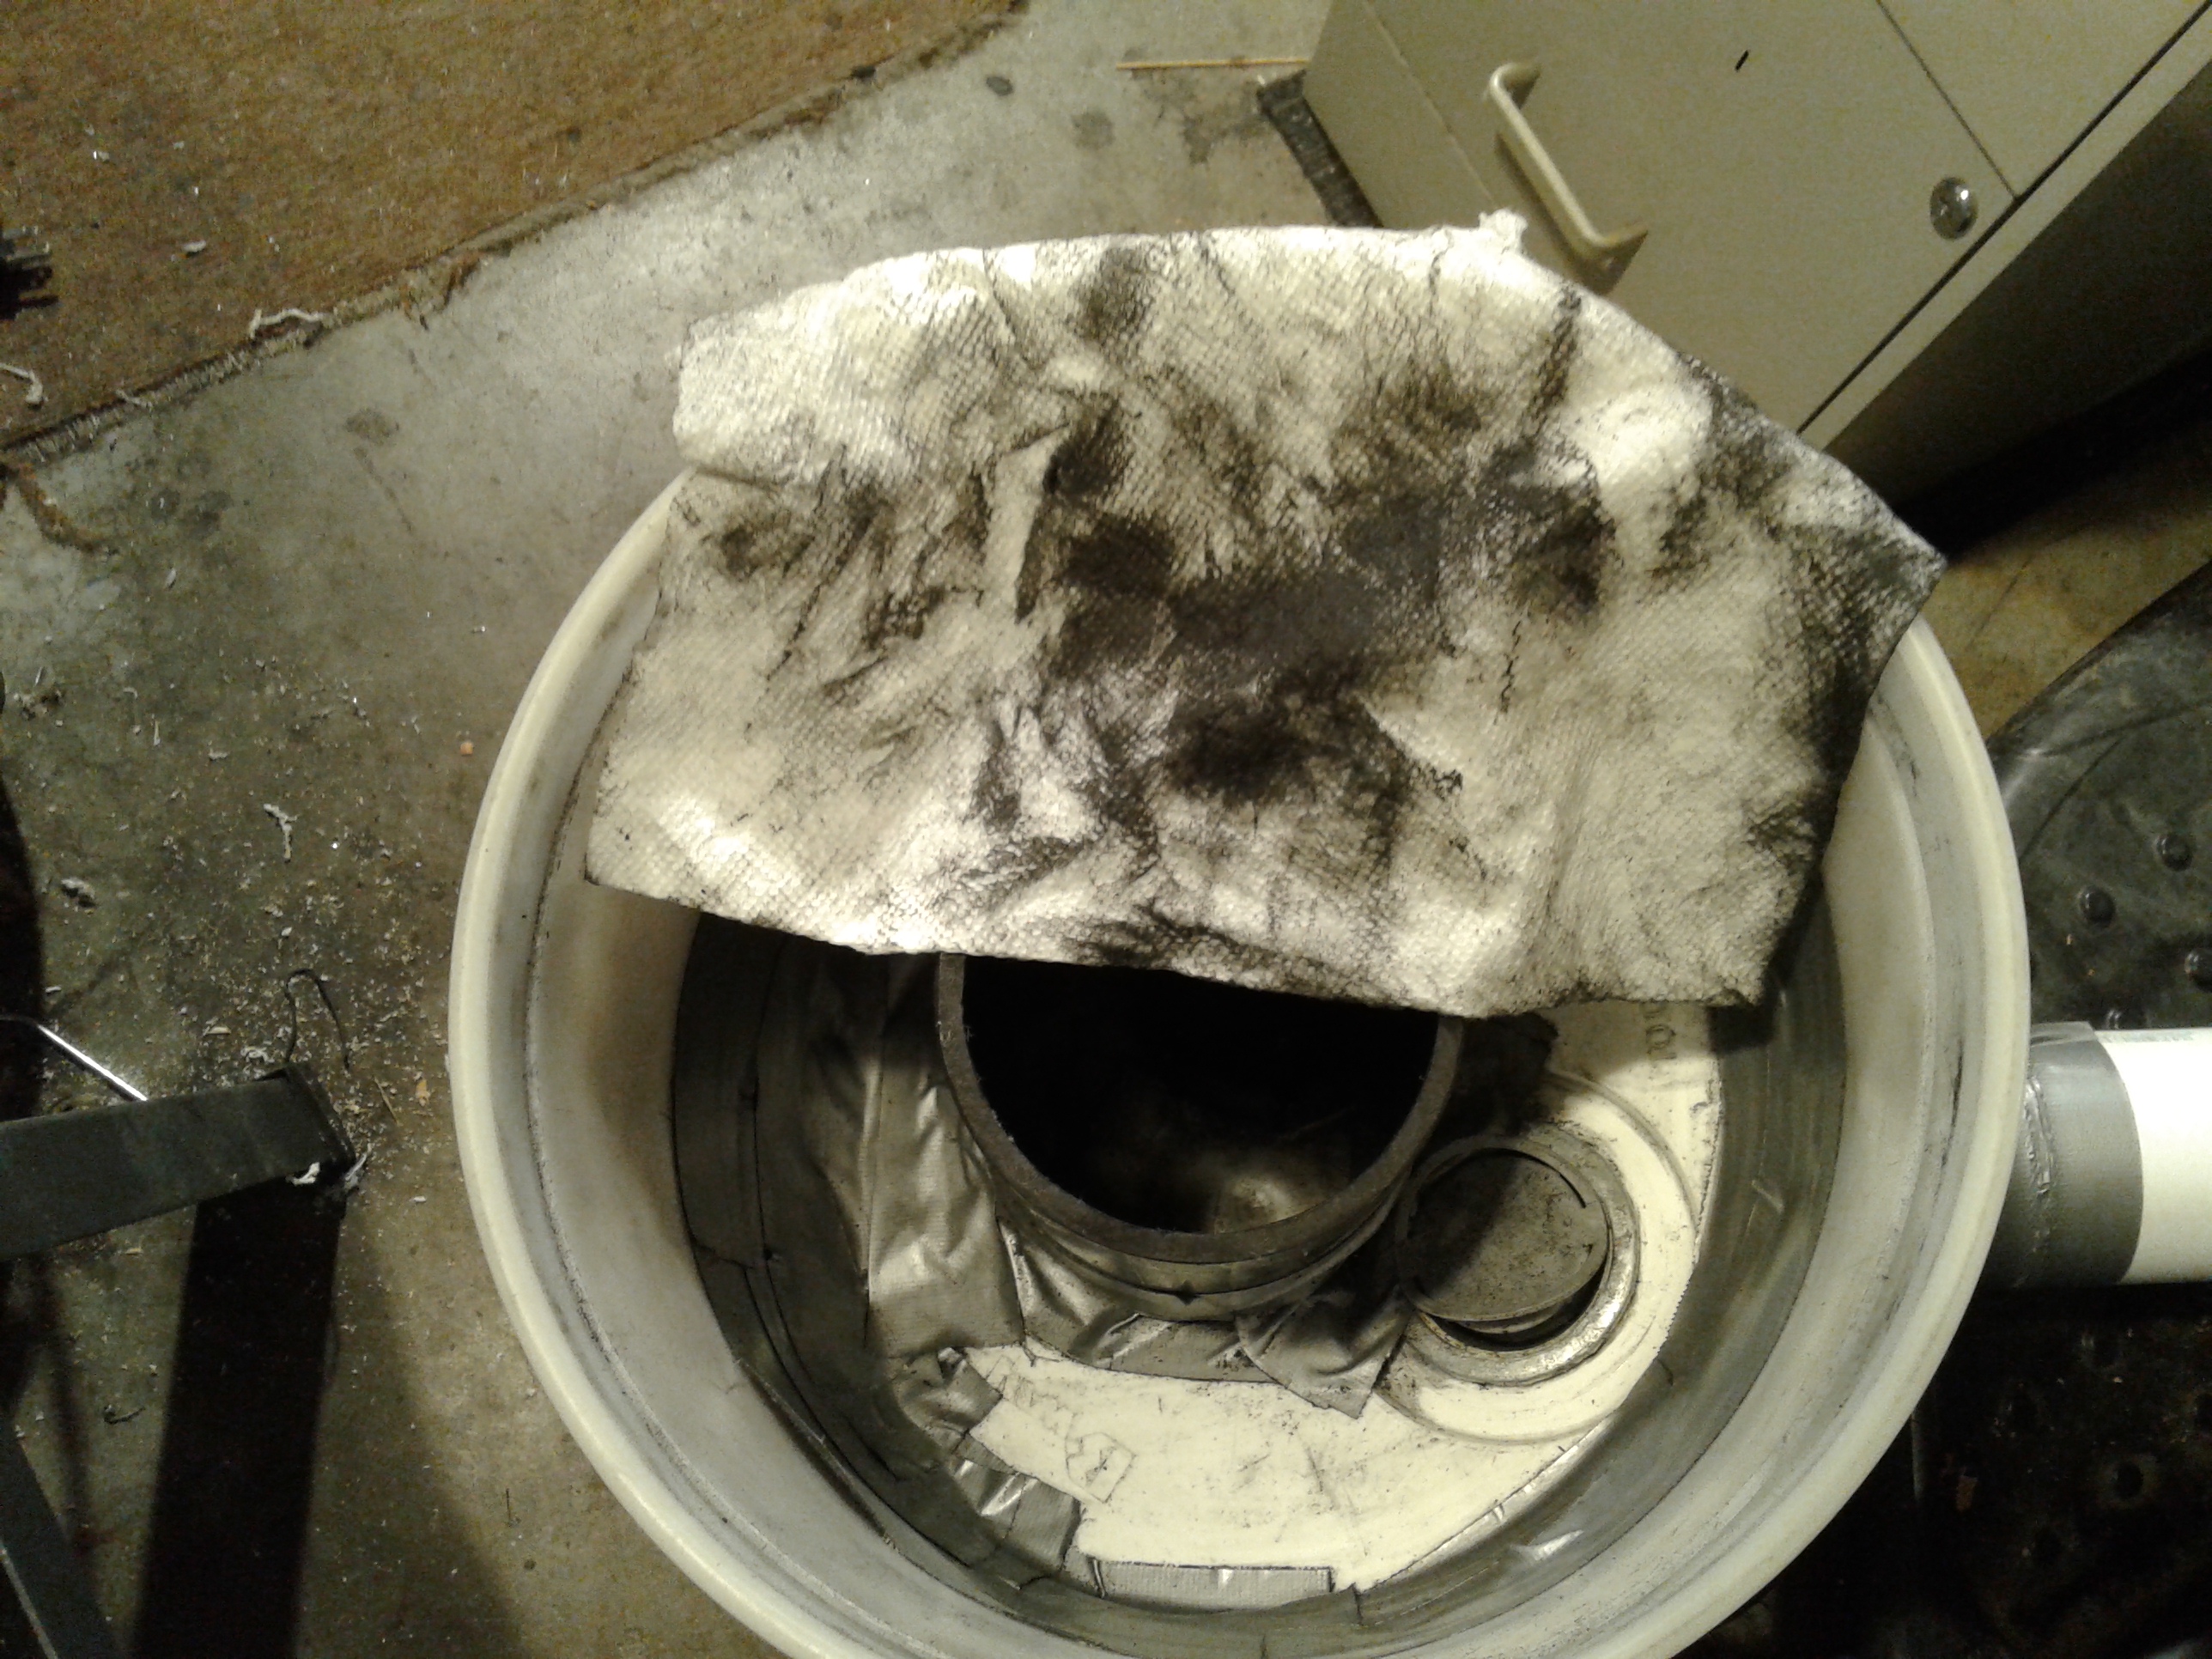
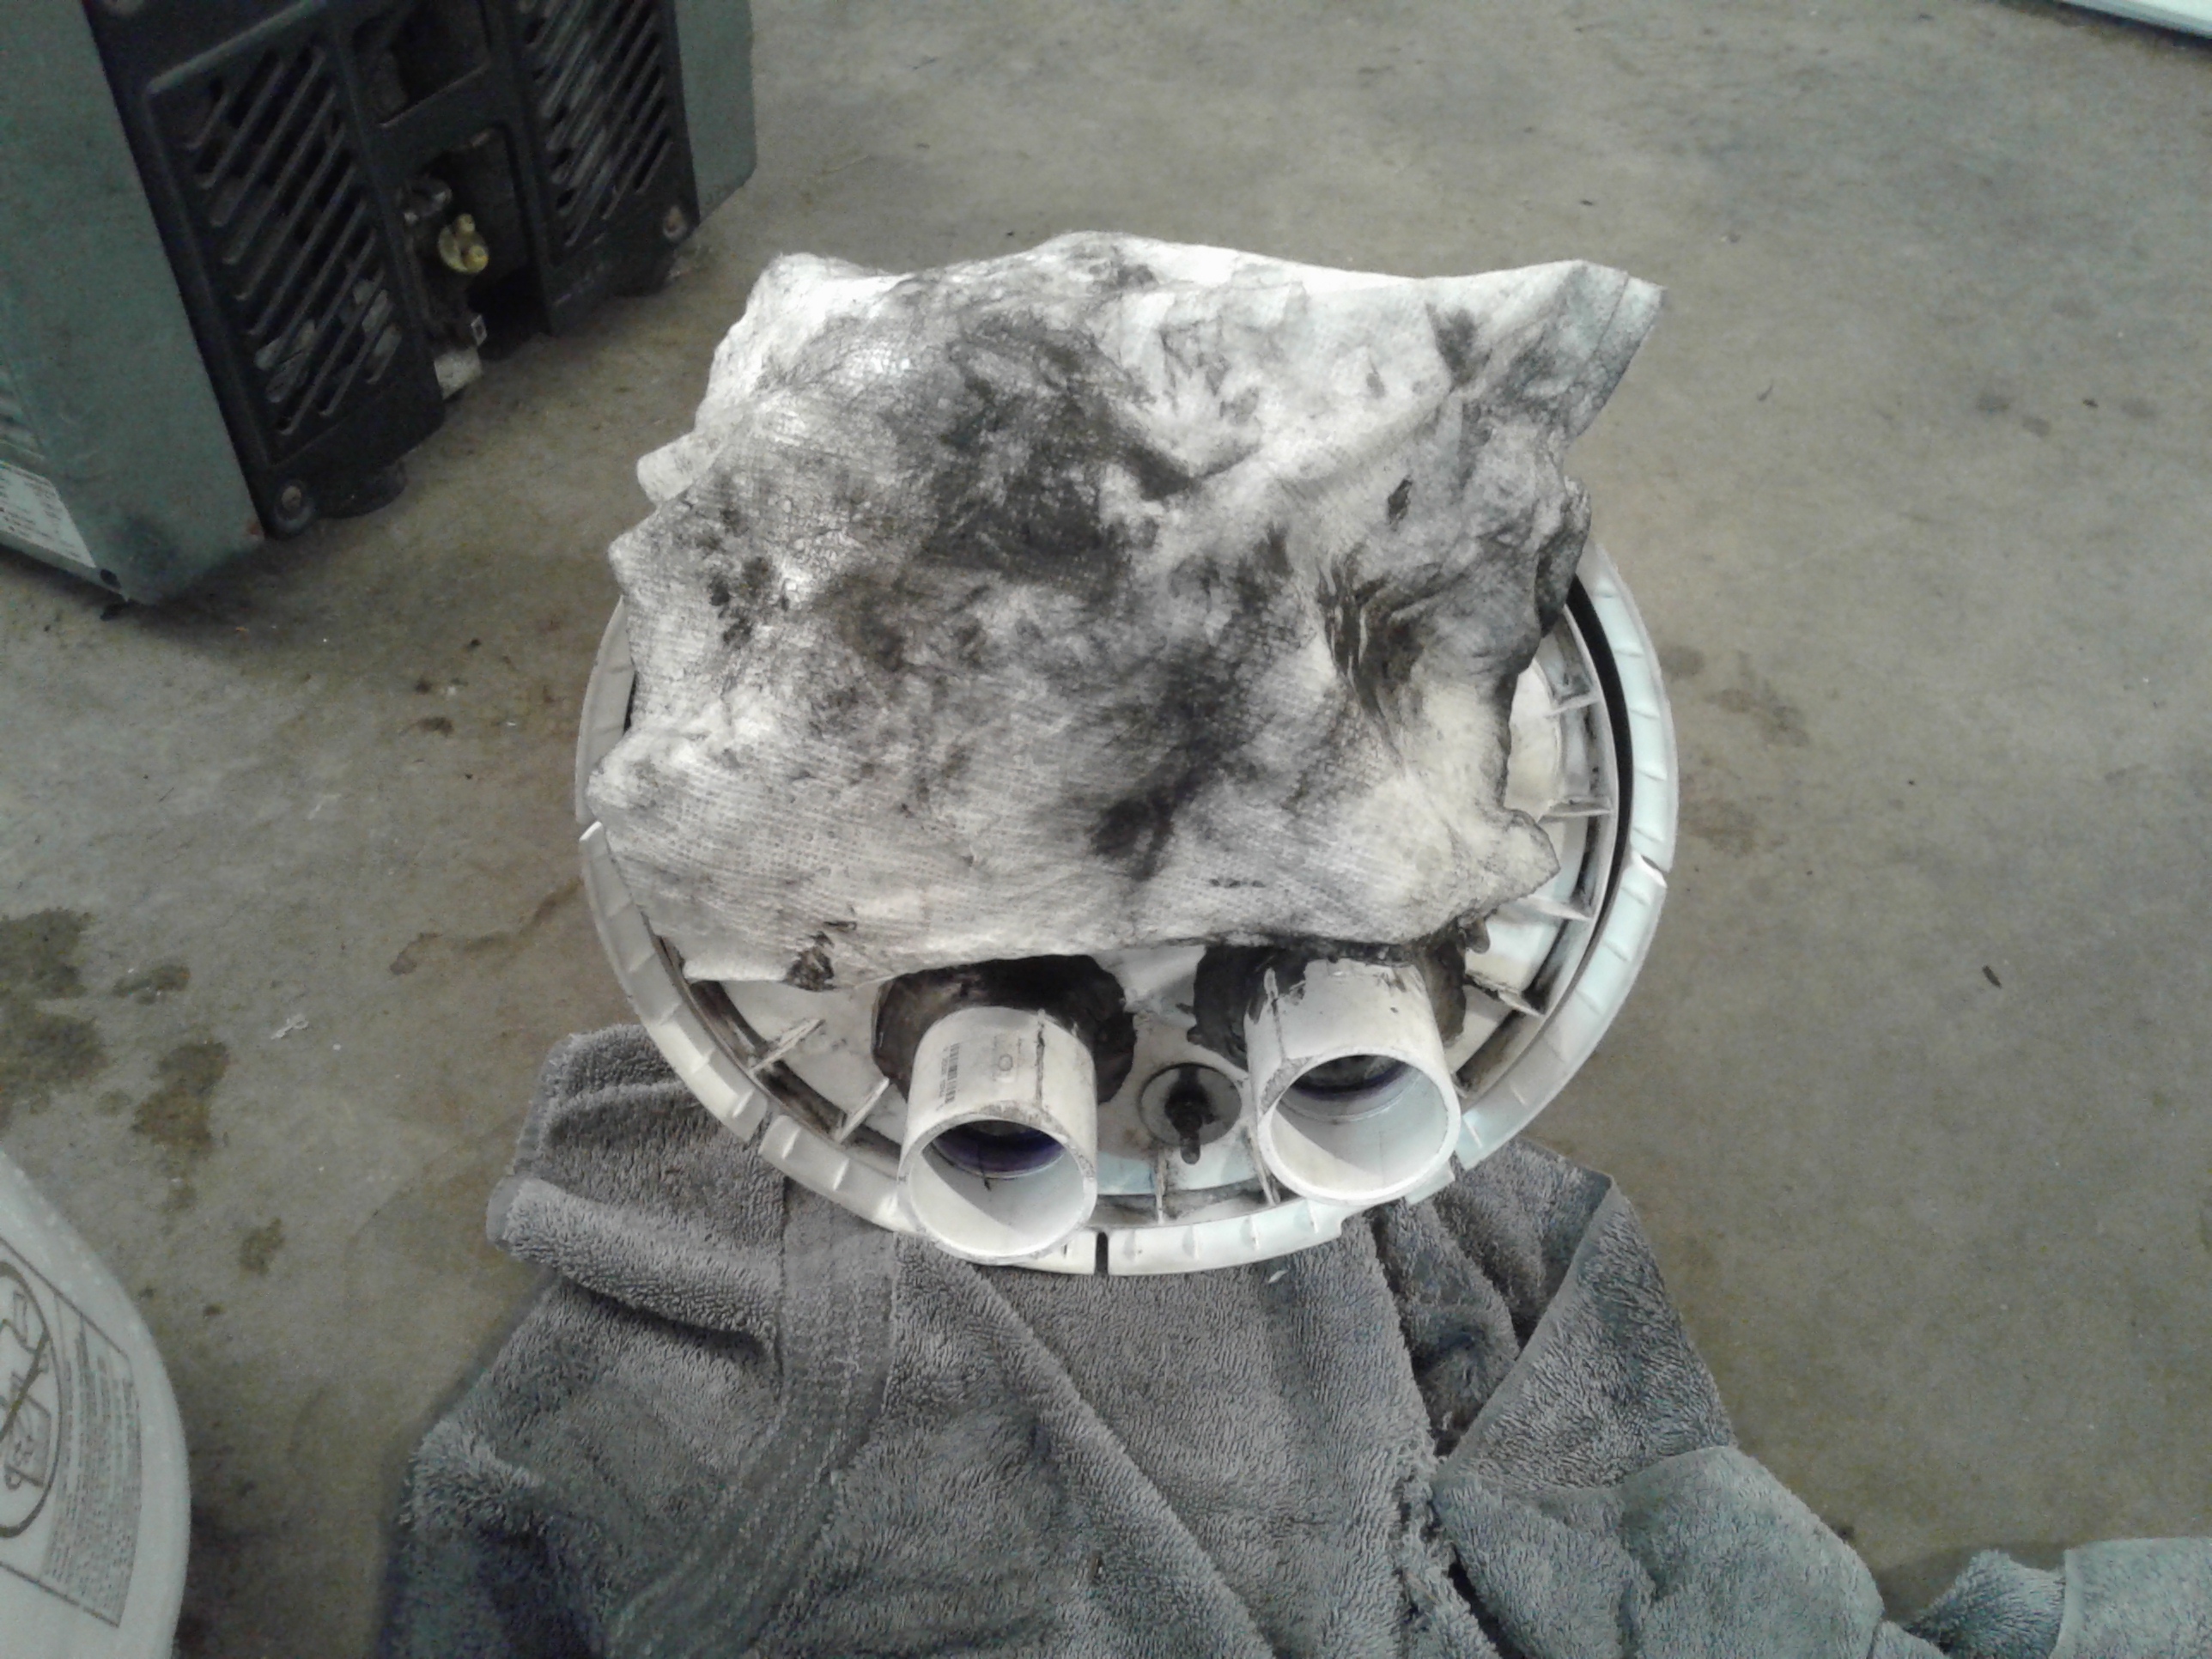
I hope I’m not boring you all, but I just had to look into my filter buckets again, and check out the filter socks. Here’s some pictures of what I found.
Socks slightly damp, water on the floor when opening the bucket seal, standing water on the lid. No soot on the outside of the socks, just dampness showing.
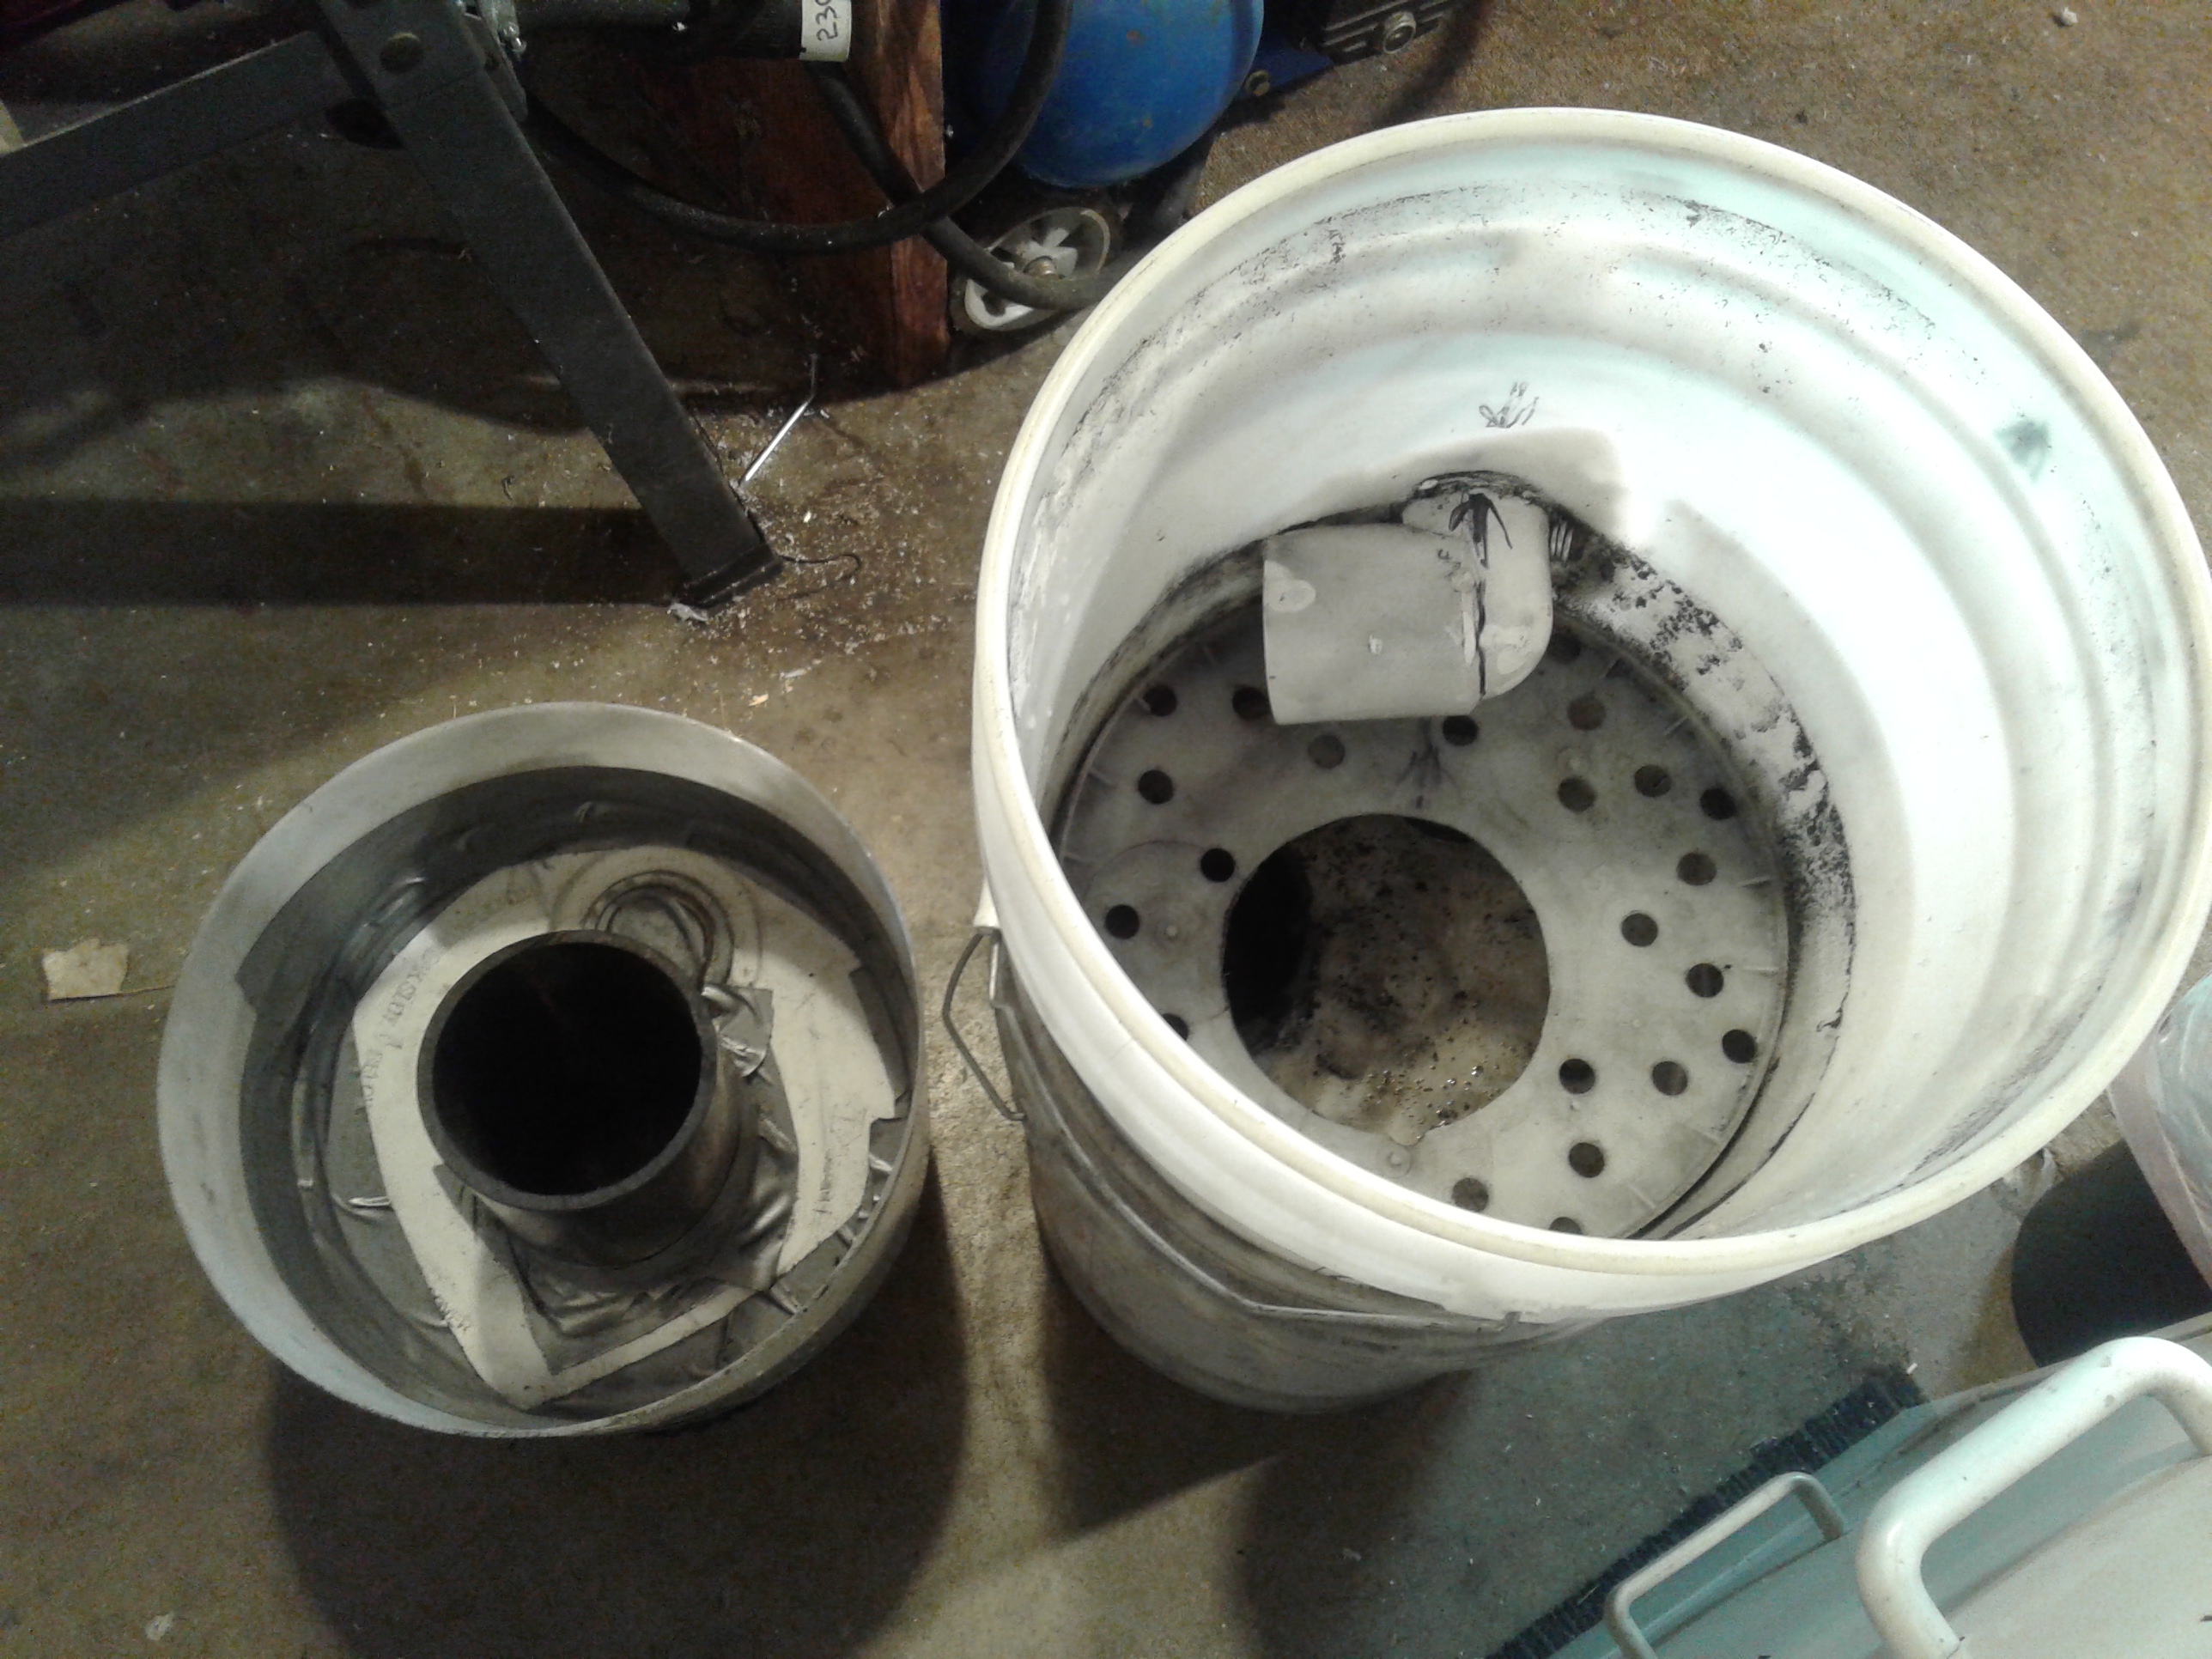
Where is all the soot, most of it seems to be in the bucket sump with about a cup of water, I had the sump drain plug dripping last night on the long run so more water was on the driveway with soot. It finally plug it self up with soot.
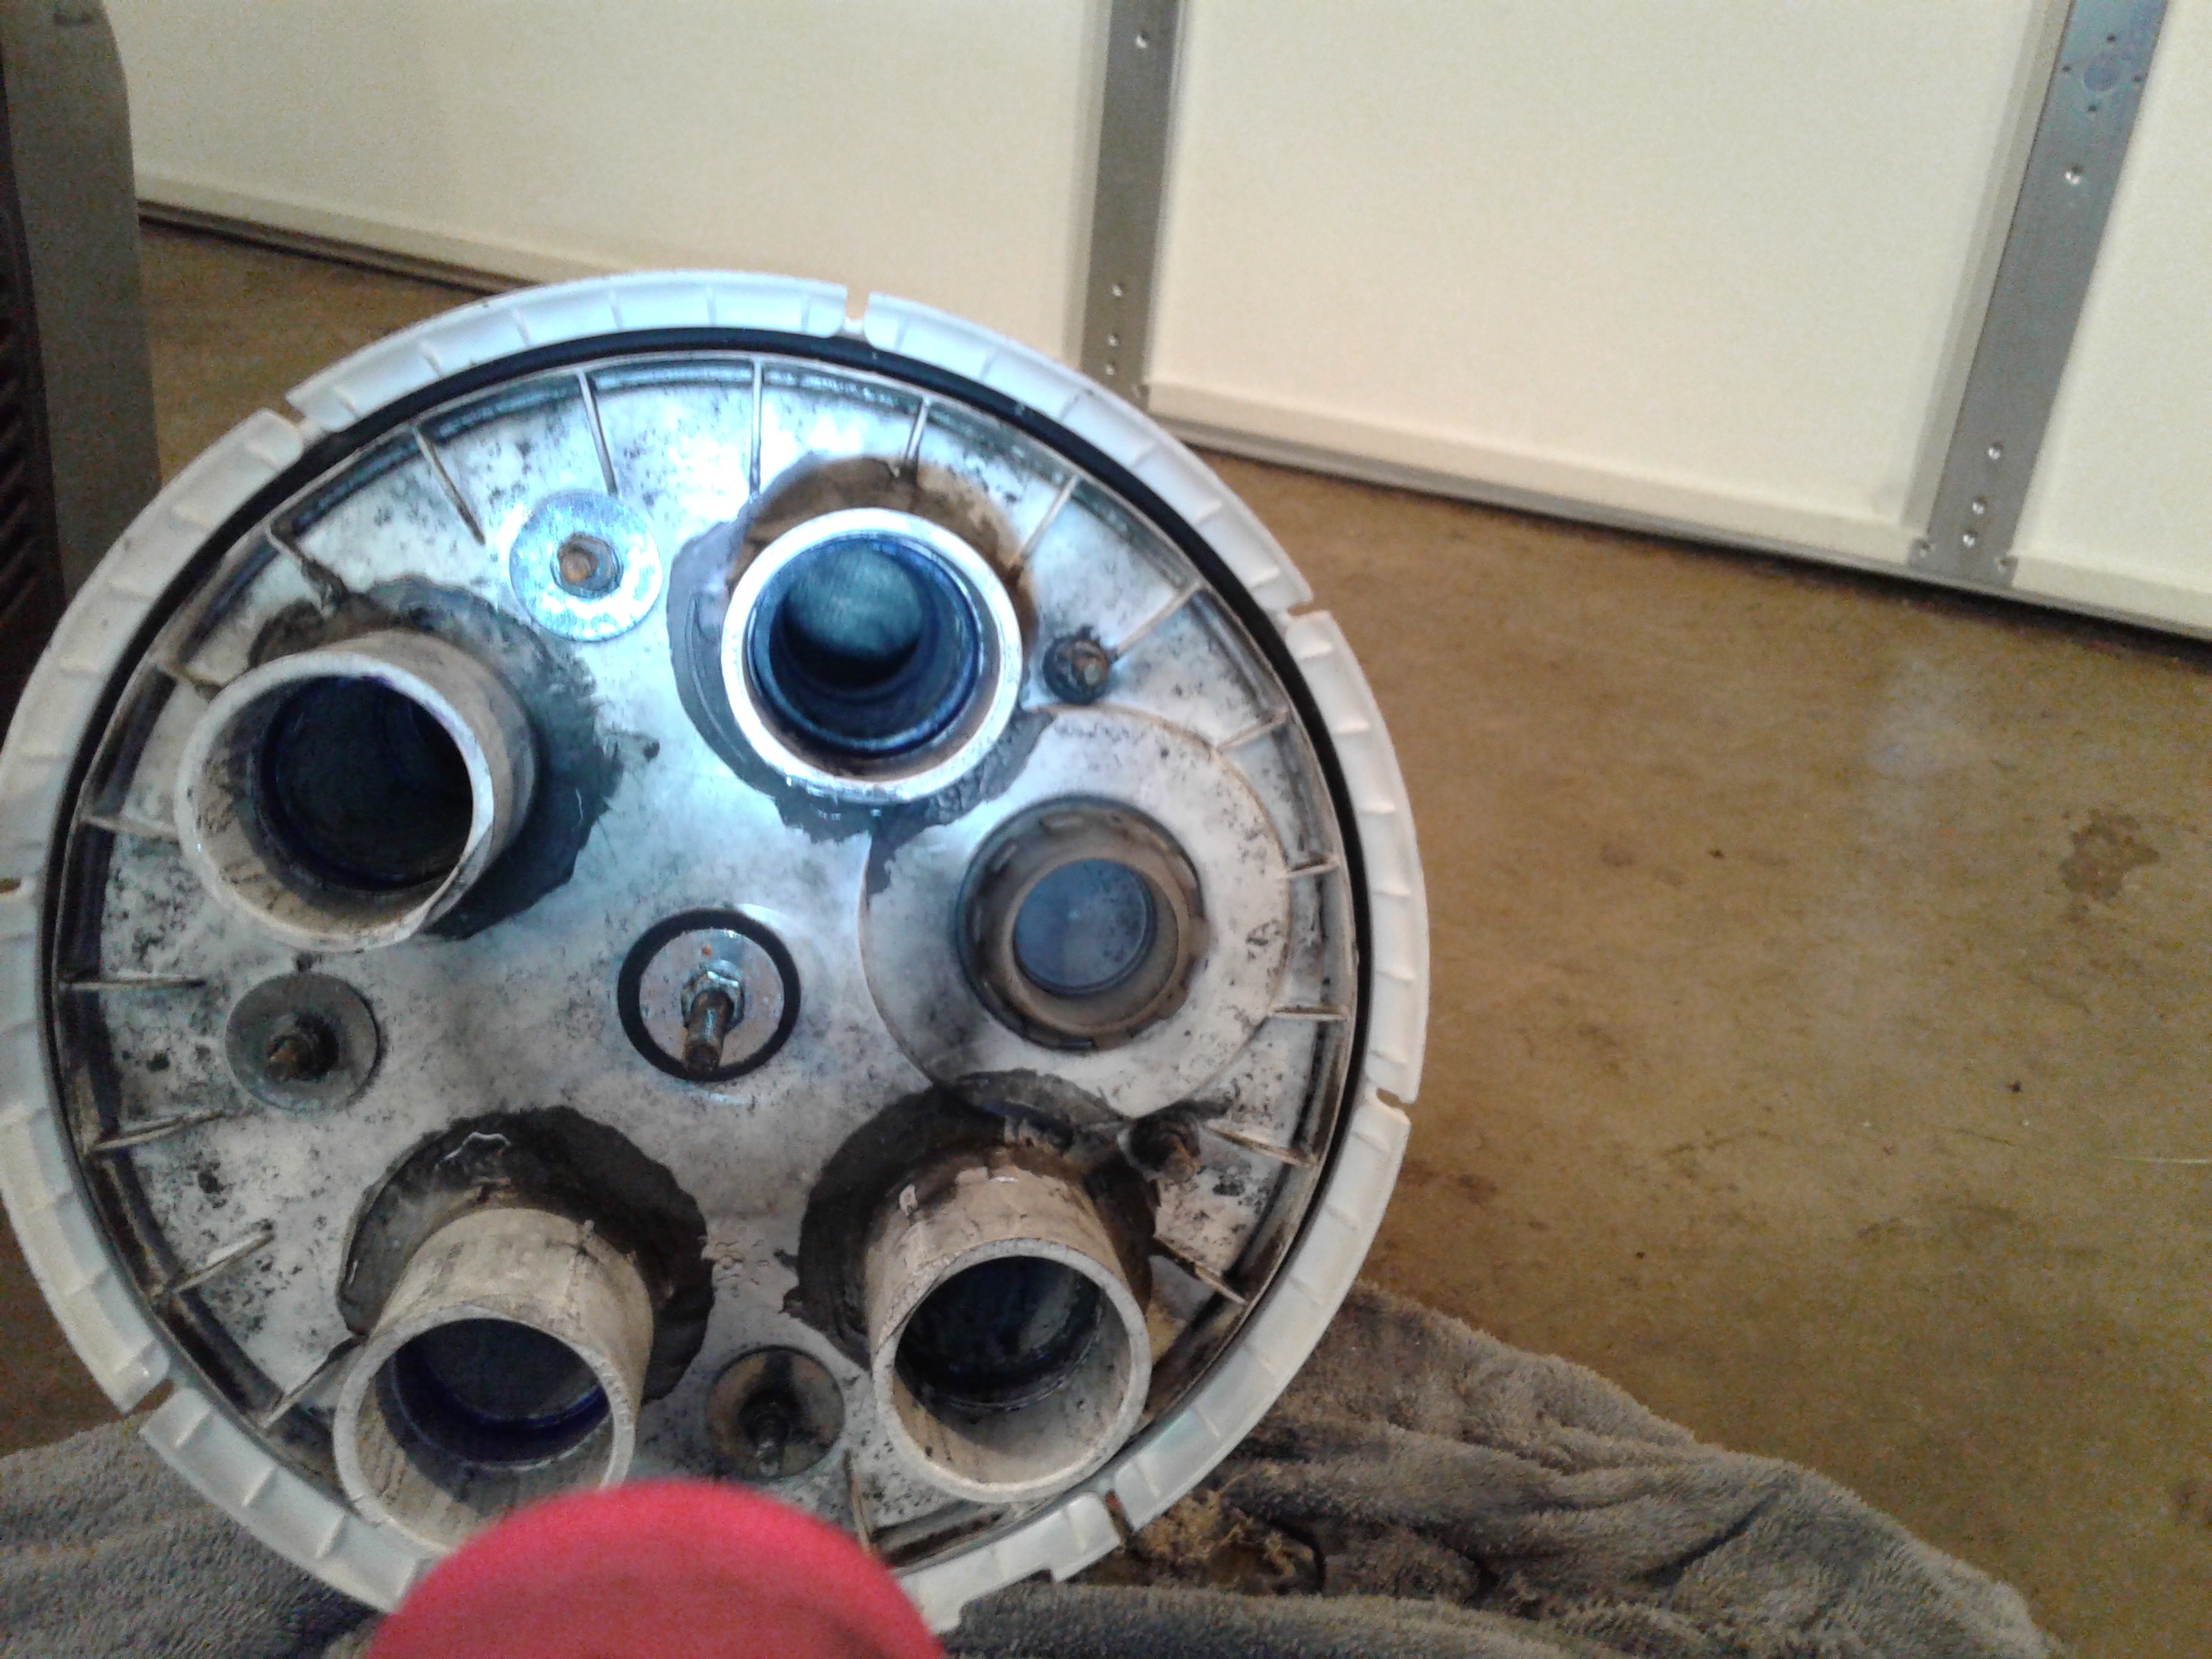
When I brought the filter into the garage last night , I noticed water was trapped in the inlet pipe going into the filter, low spot. I will reroute the pipe to correct that problem.
I’m very pleased with how this filter works at low, medium, and high velocity gas flows.
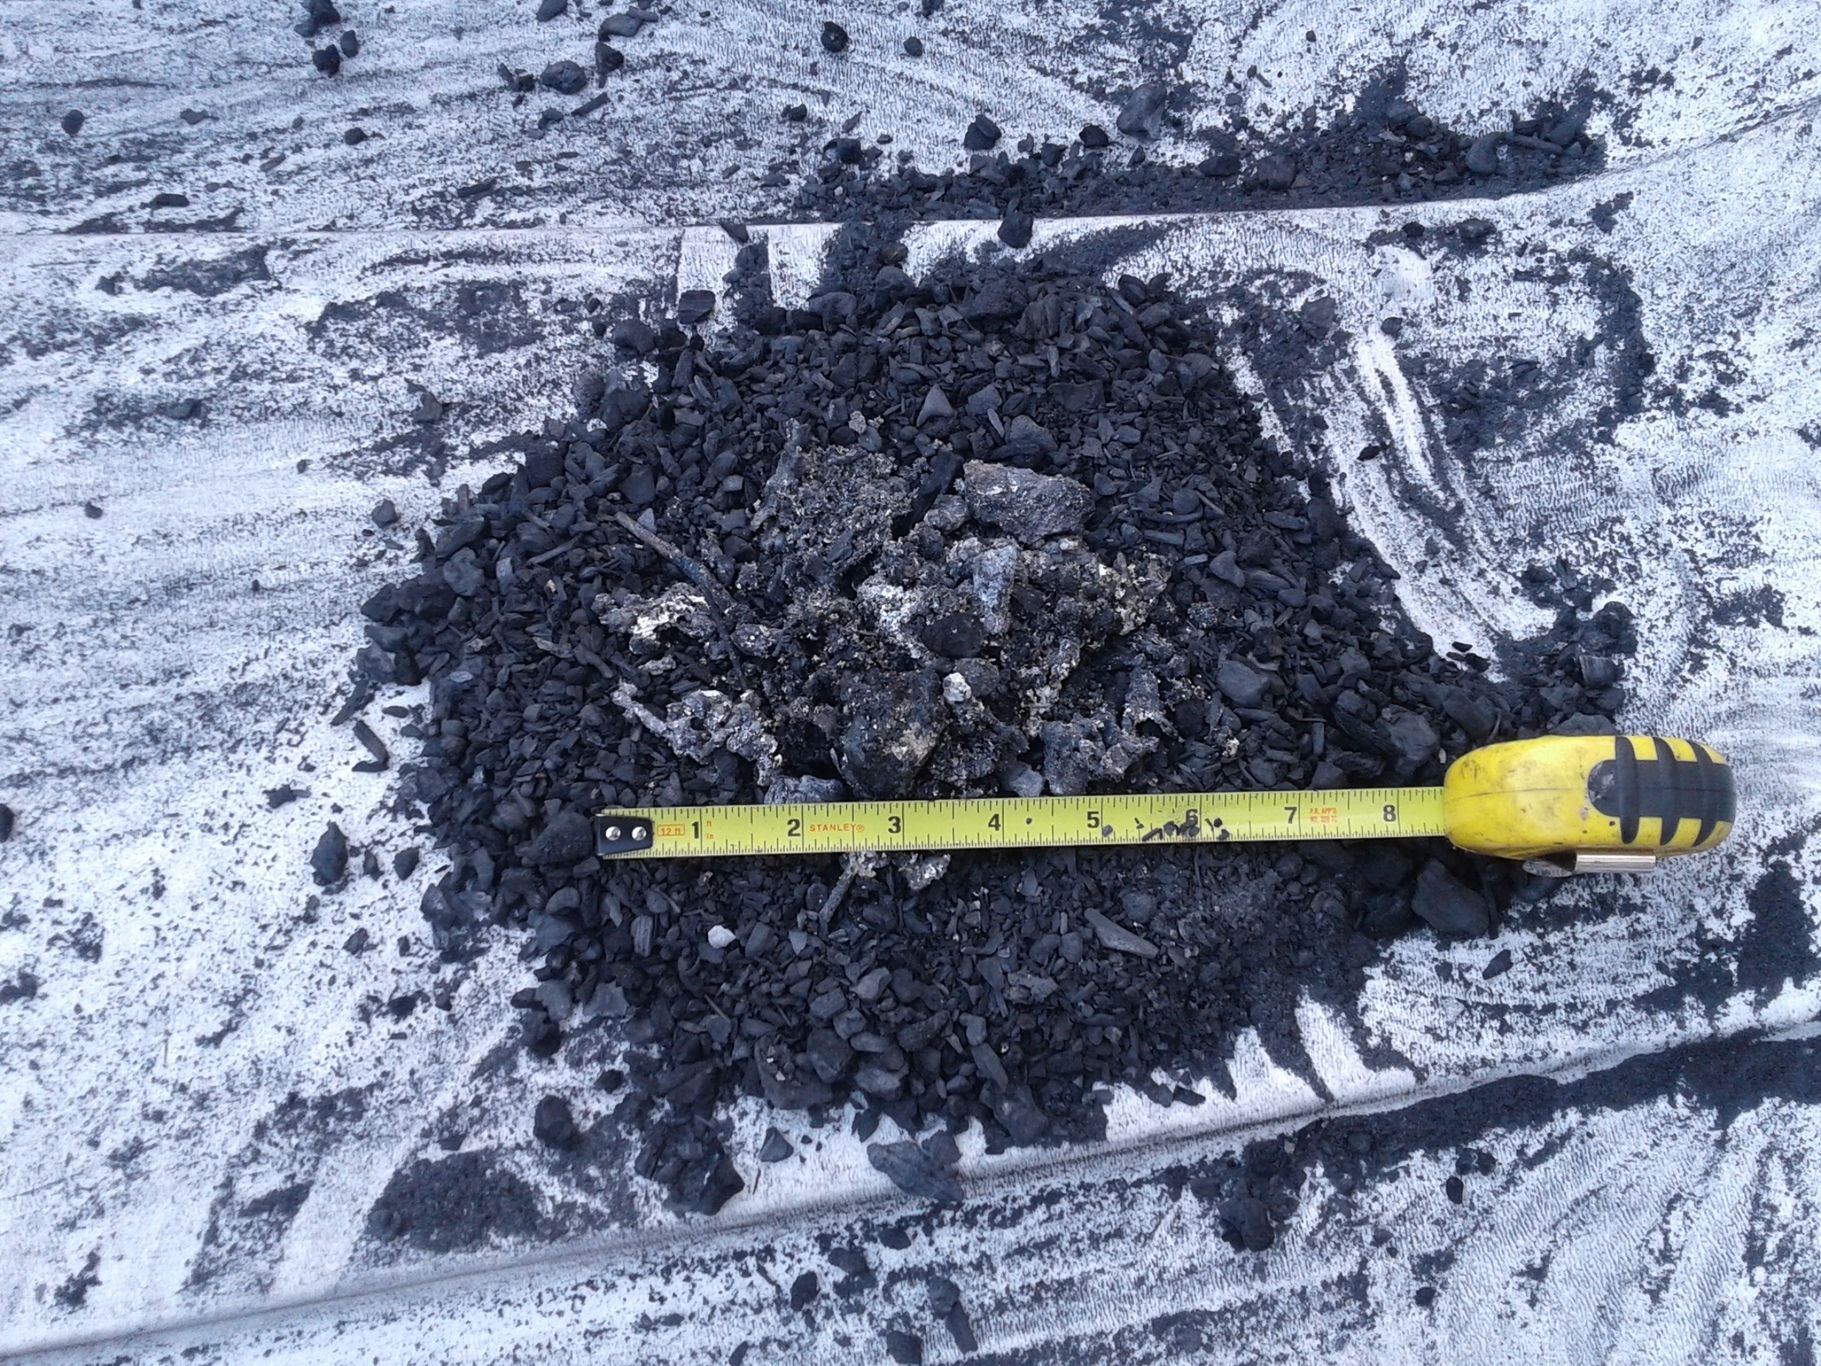
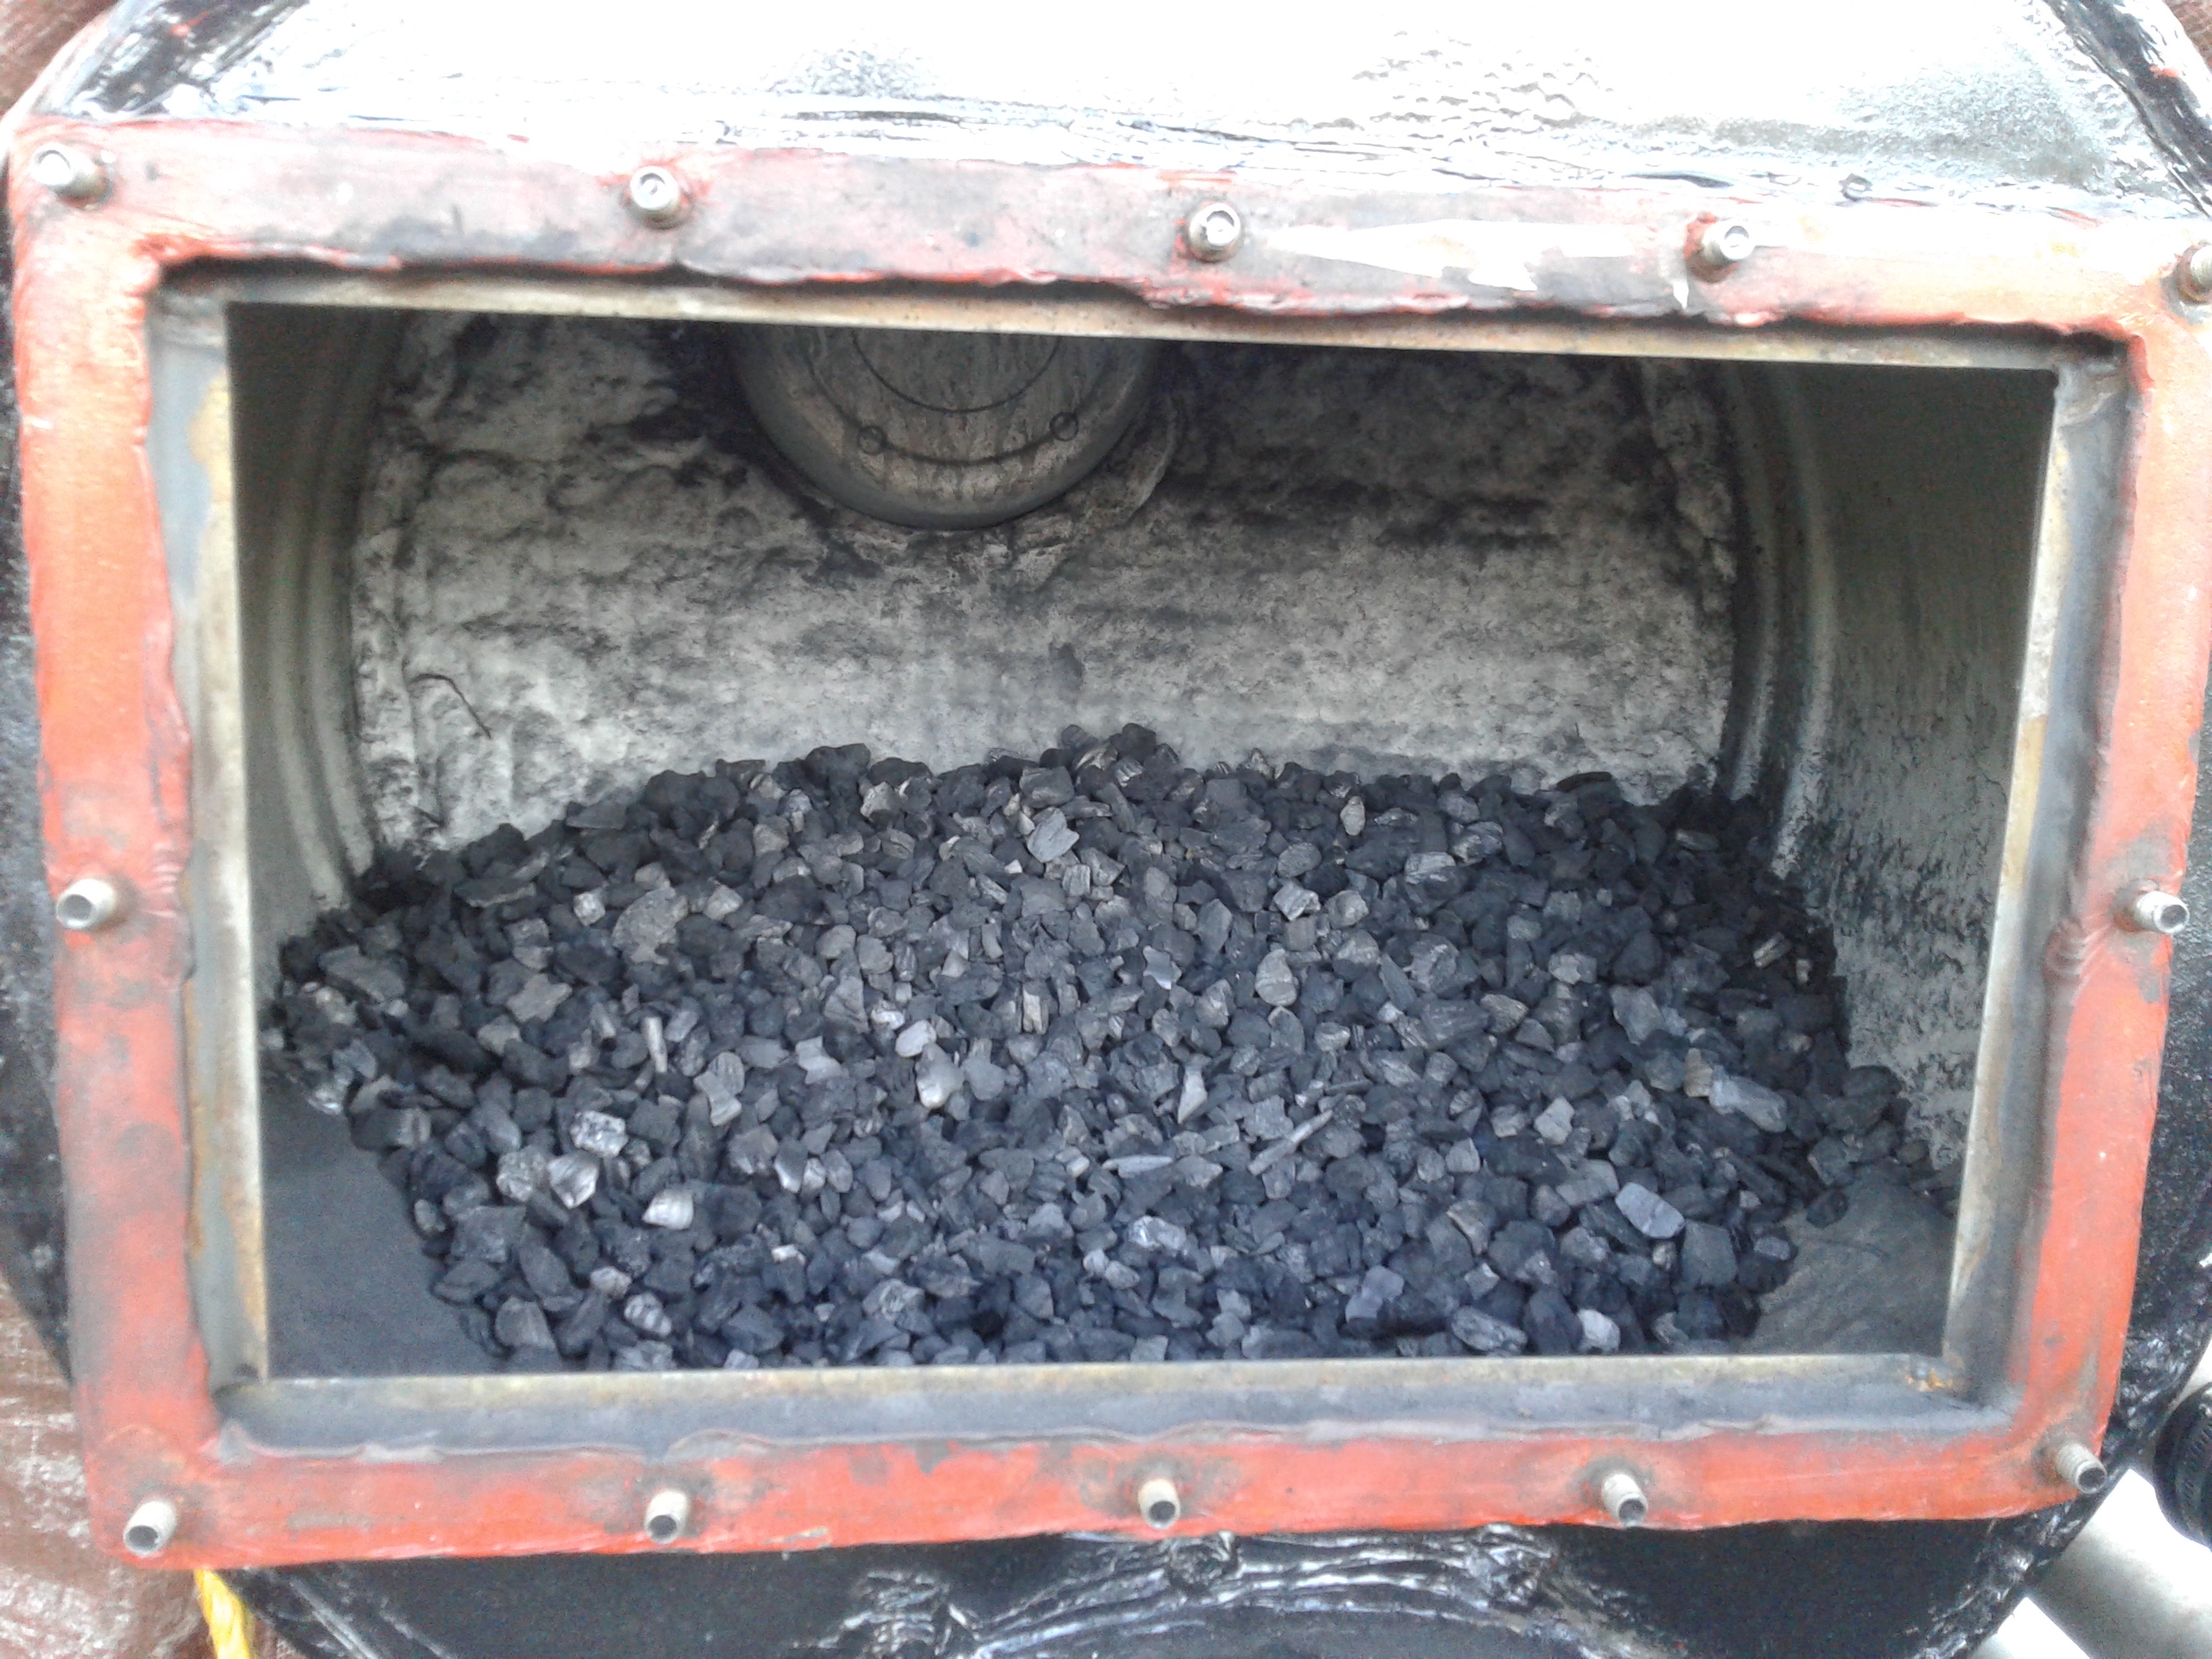
Here’s what I found in the hopper.