I am hoping I can get a 45* angle for feeding in the wood branches or straight feed for boards. Going to make the feed shoot adjustable for different angles.
I have been using parts that were cut off the bailer, the bracket bracing is part of the packaging carriage.
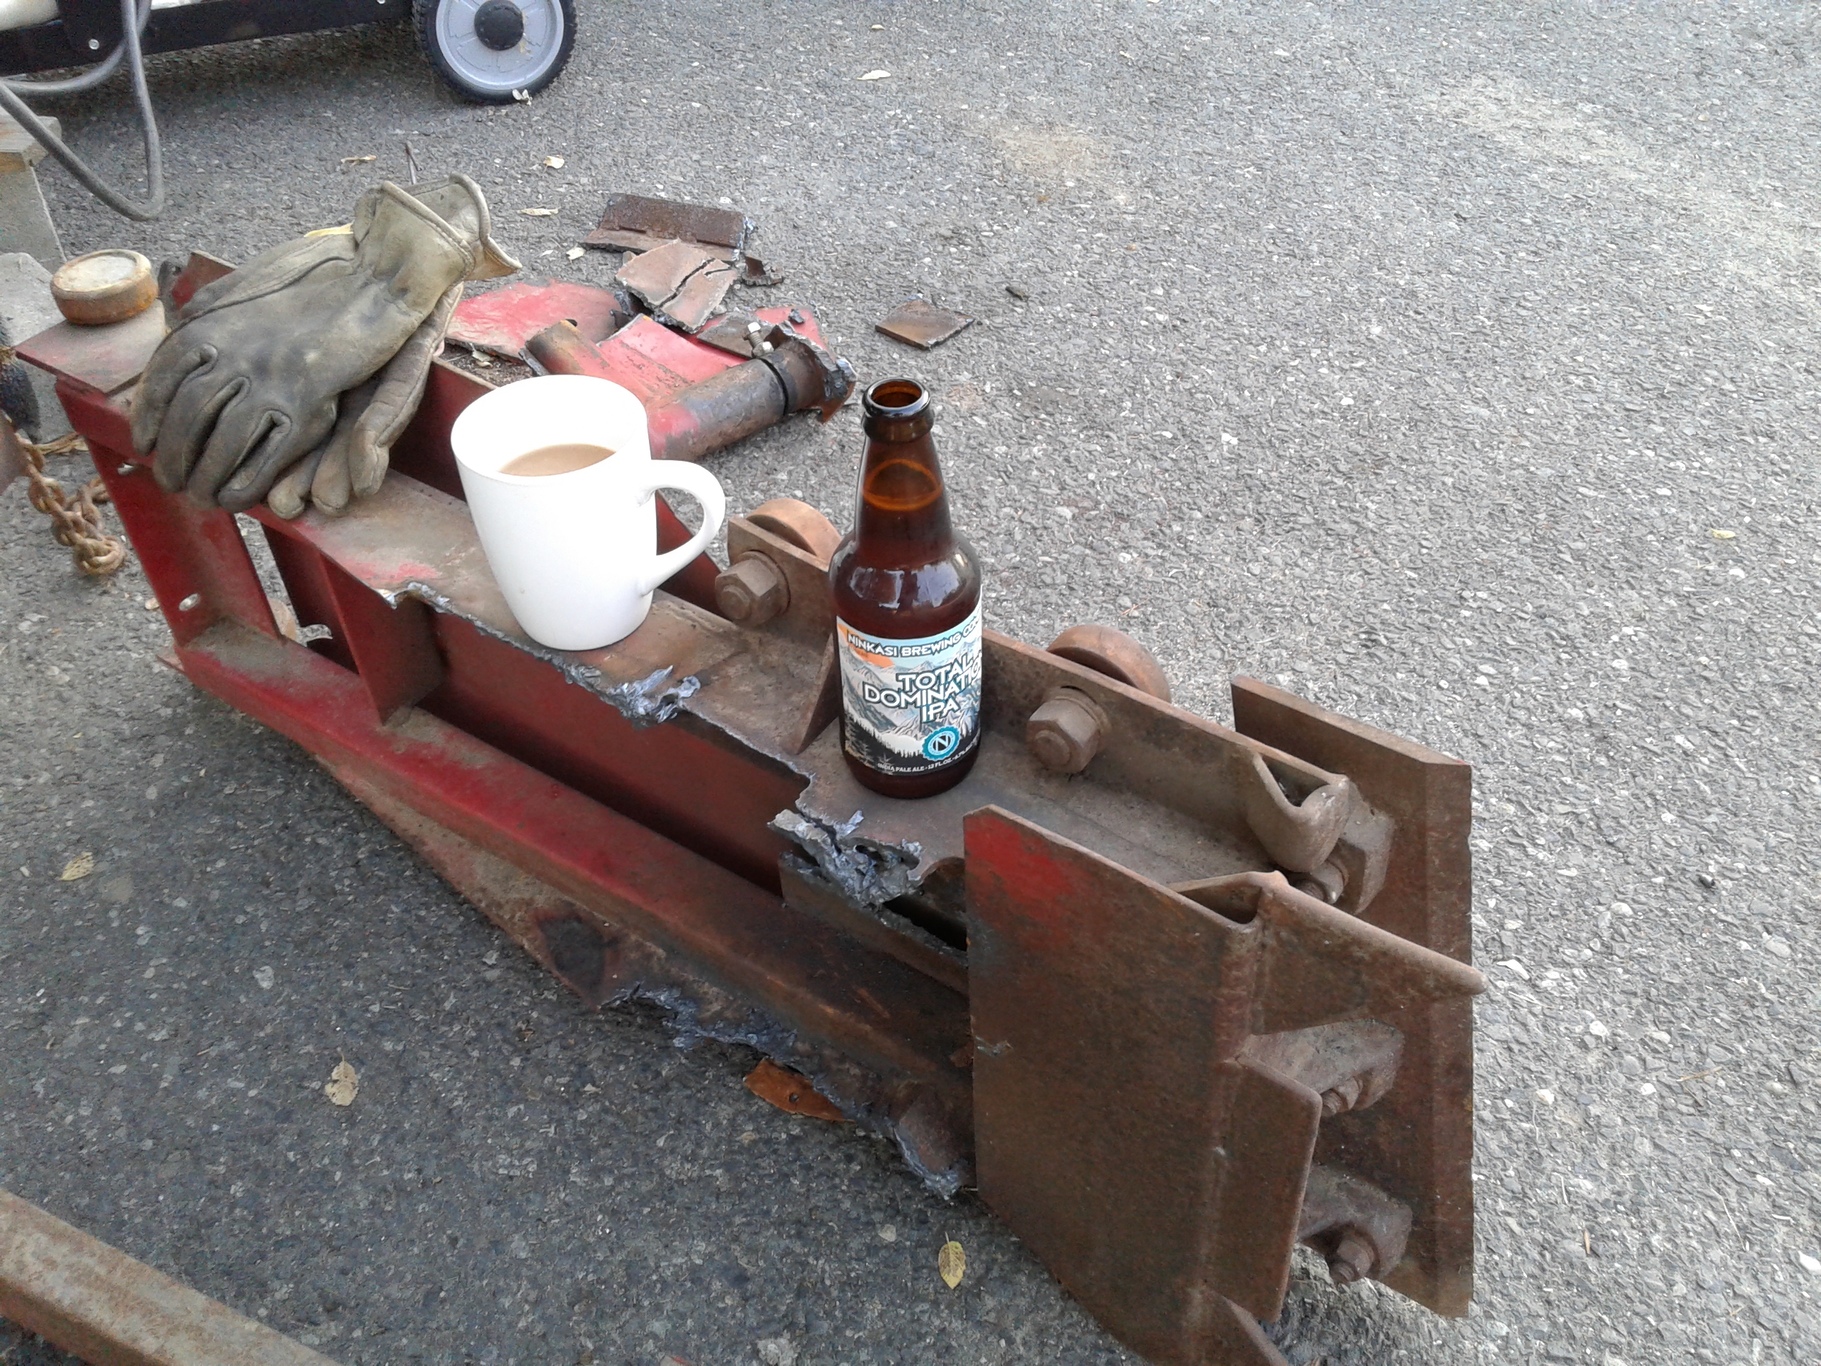
Coffee /lunch break.
Bob
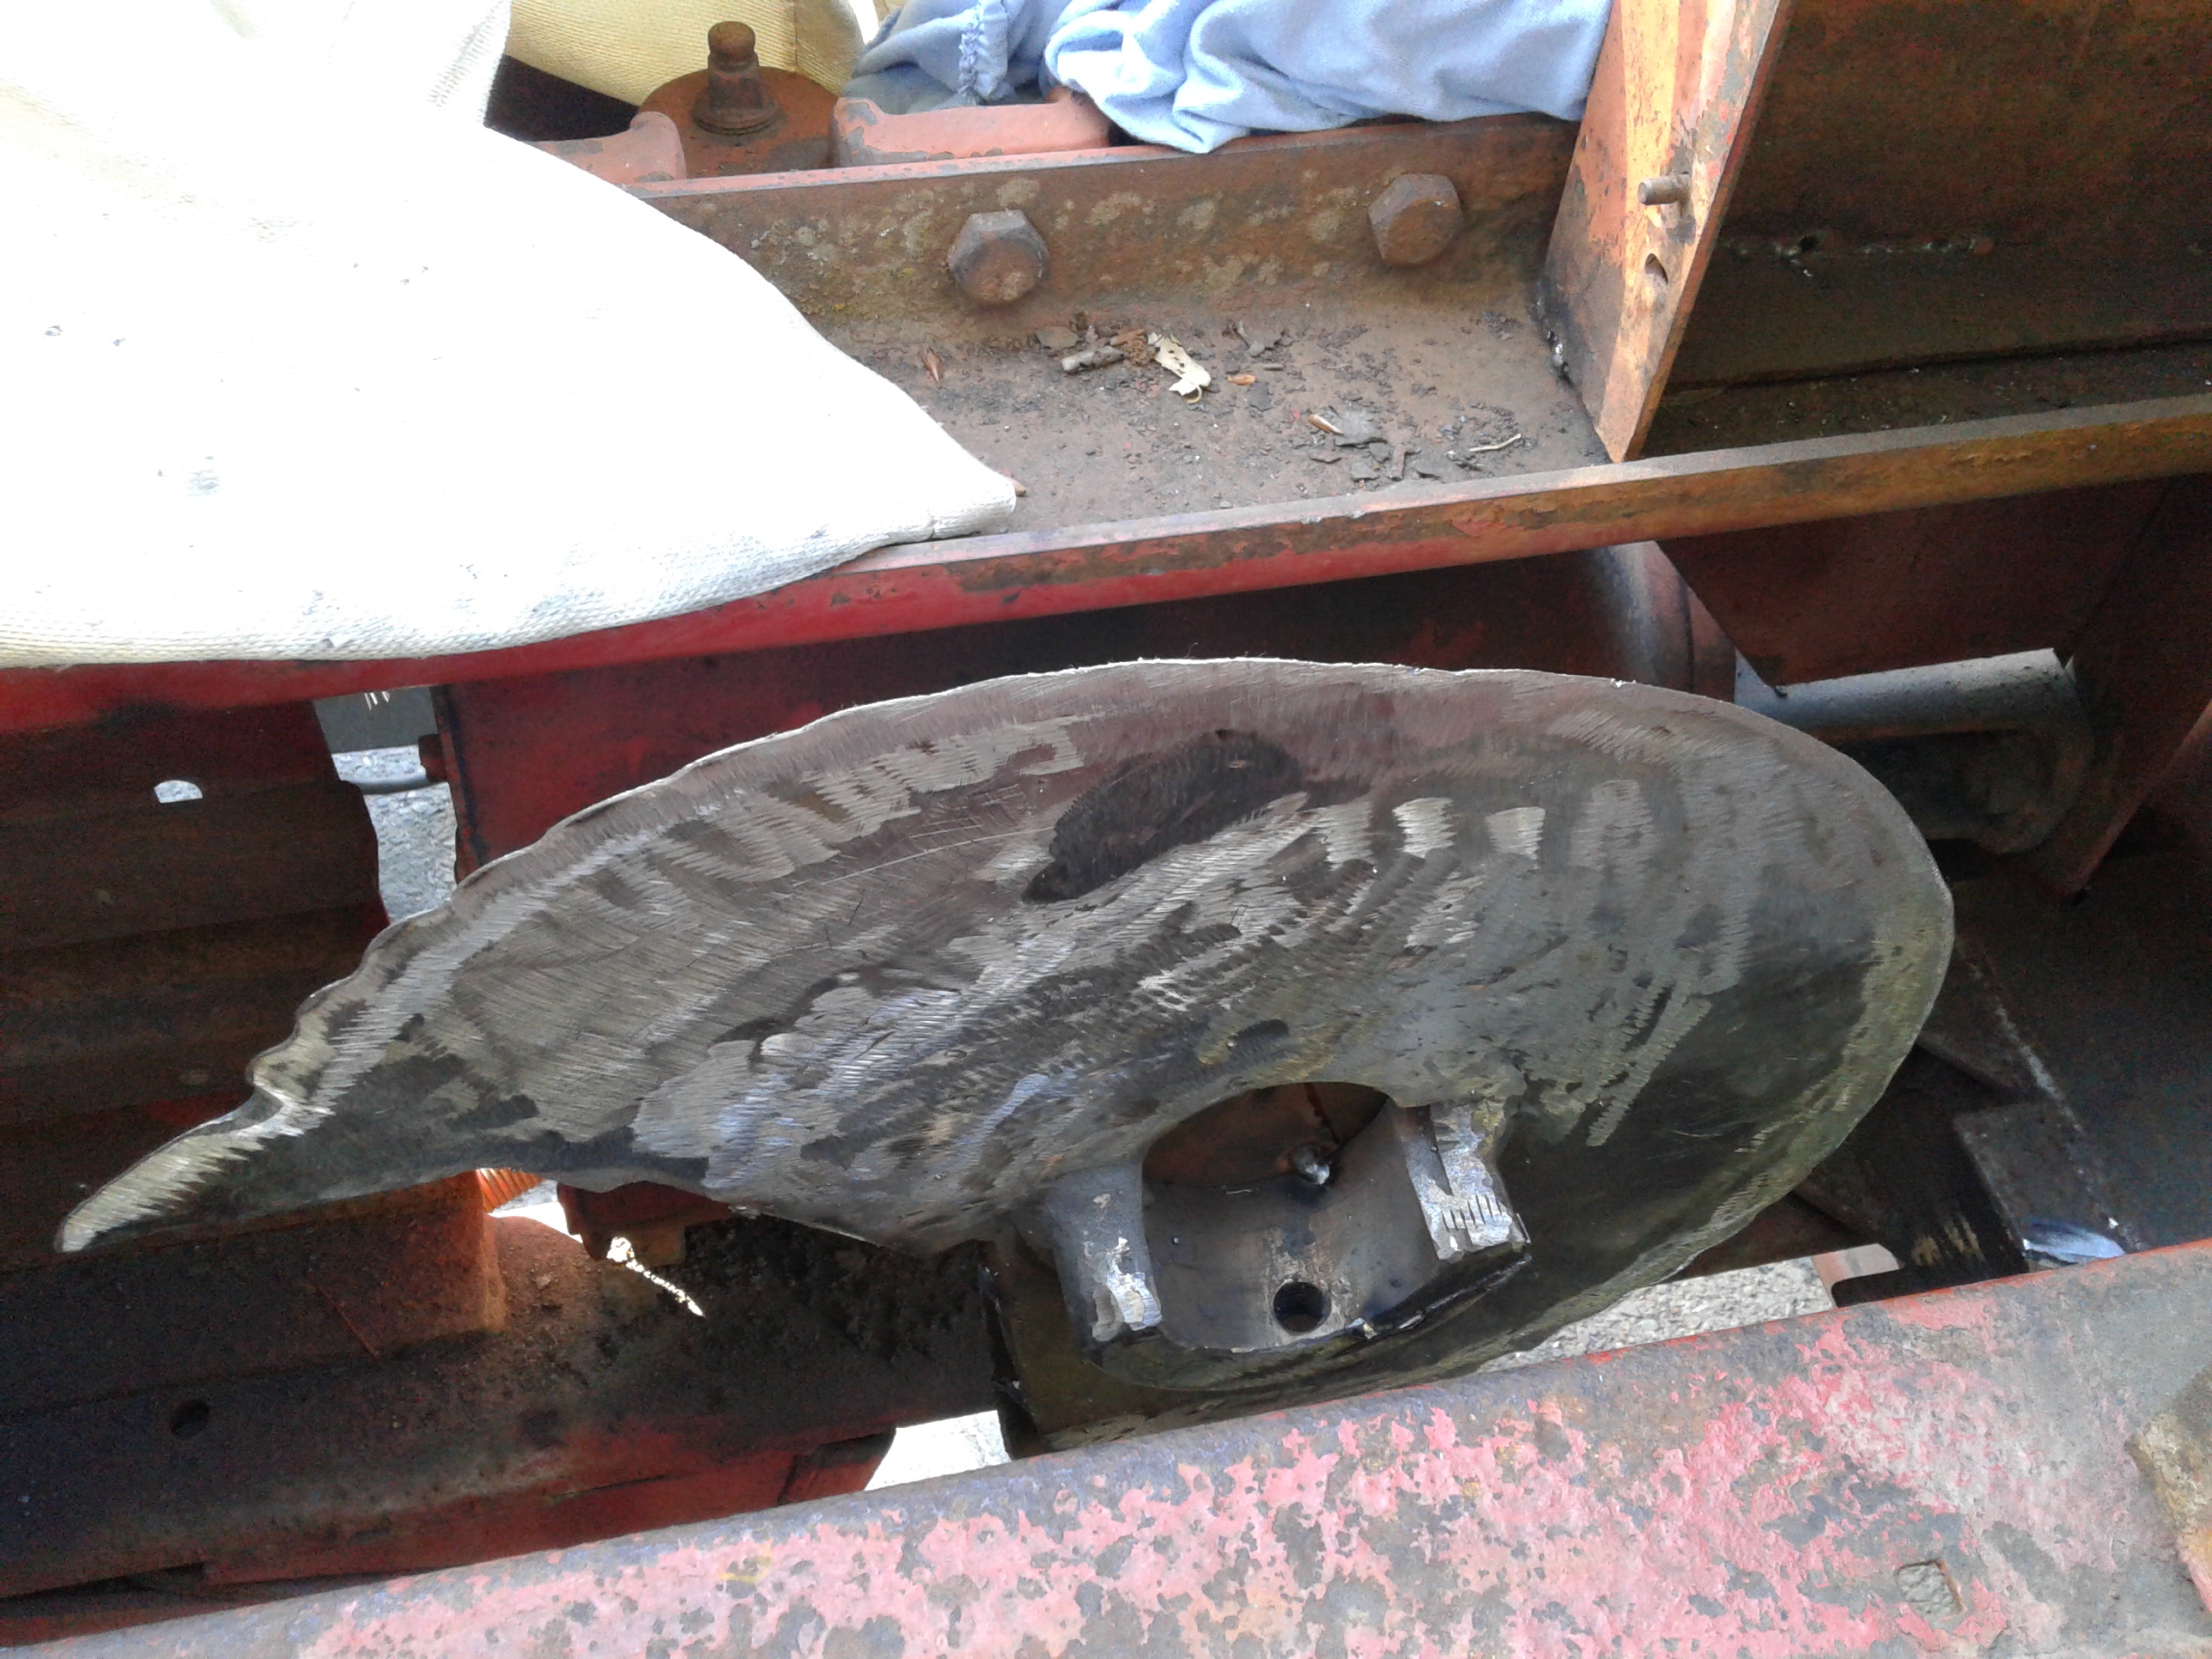
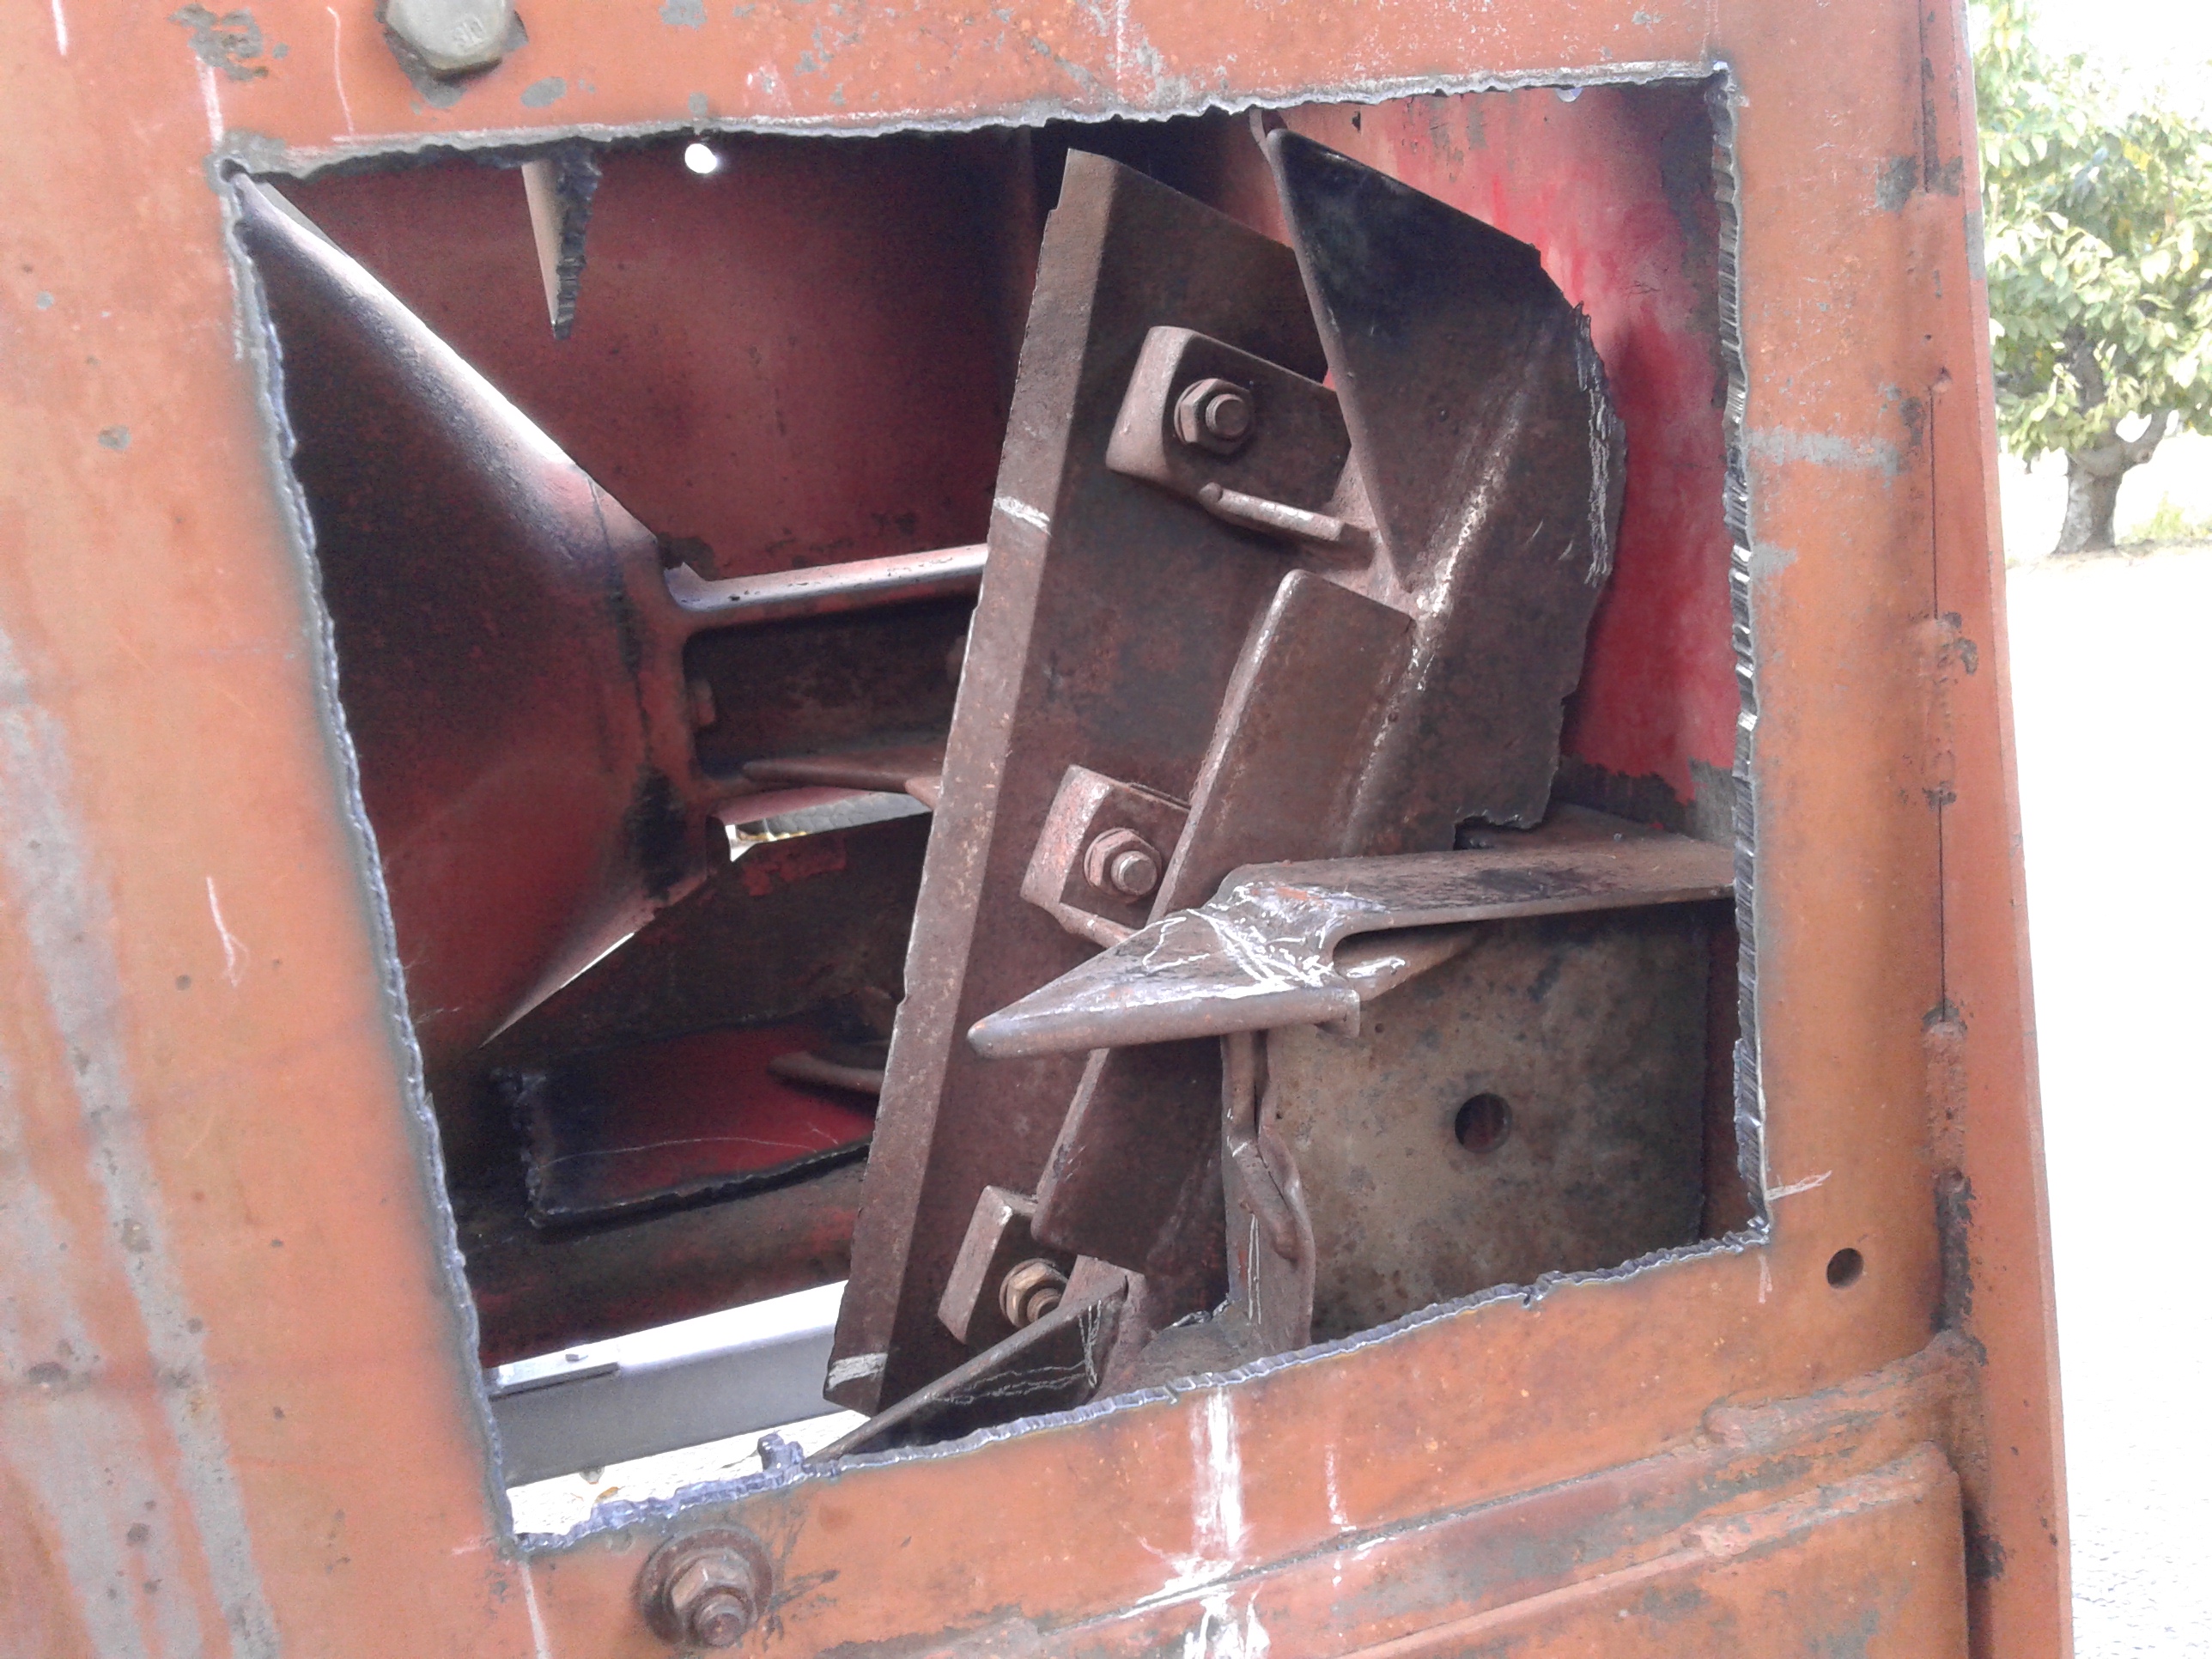
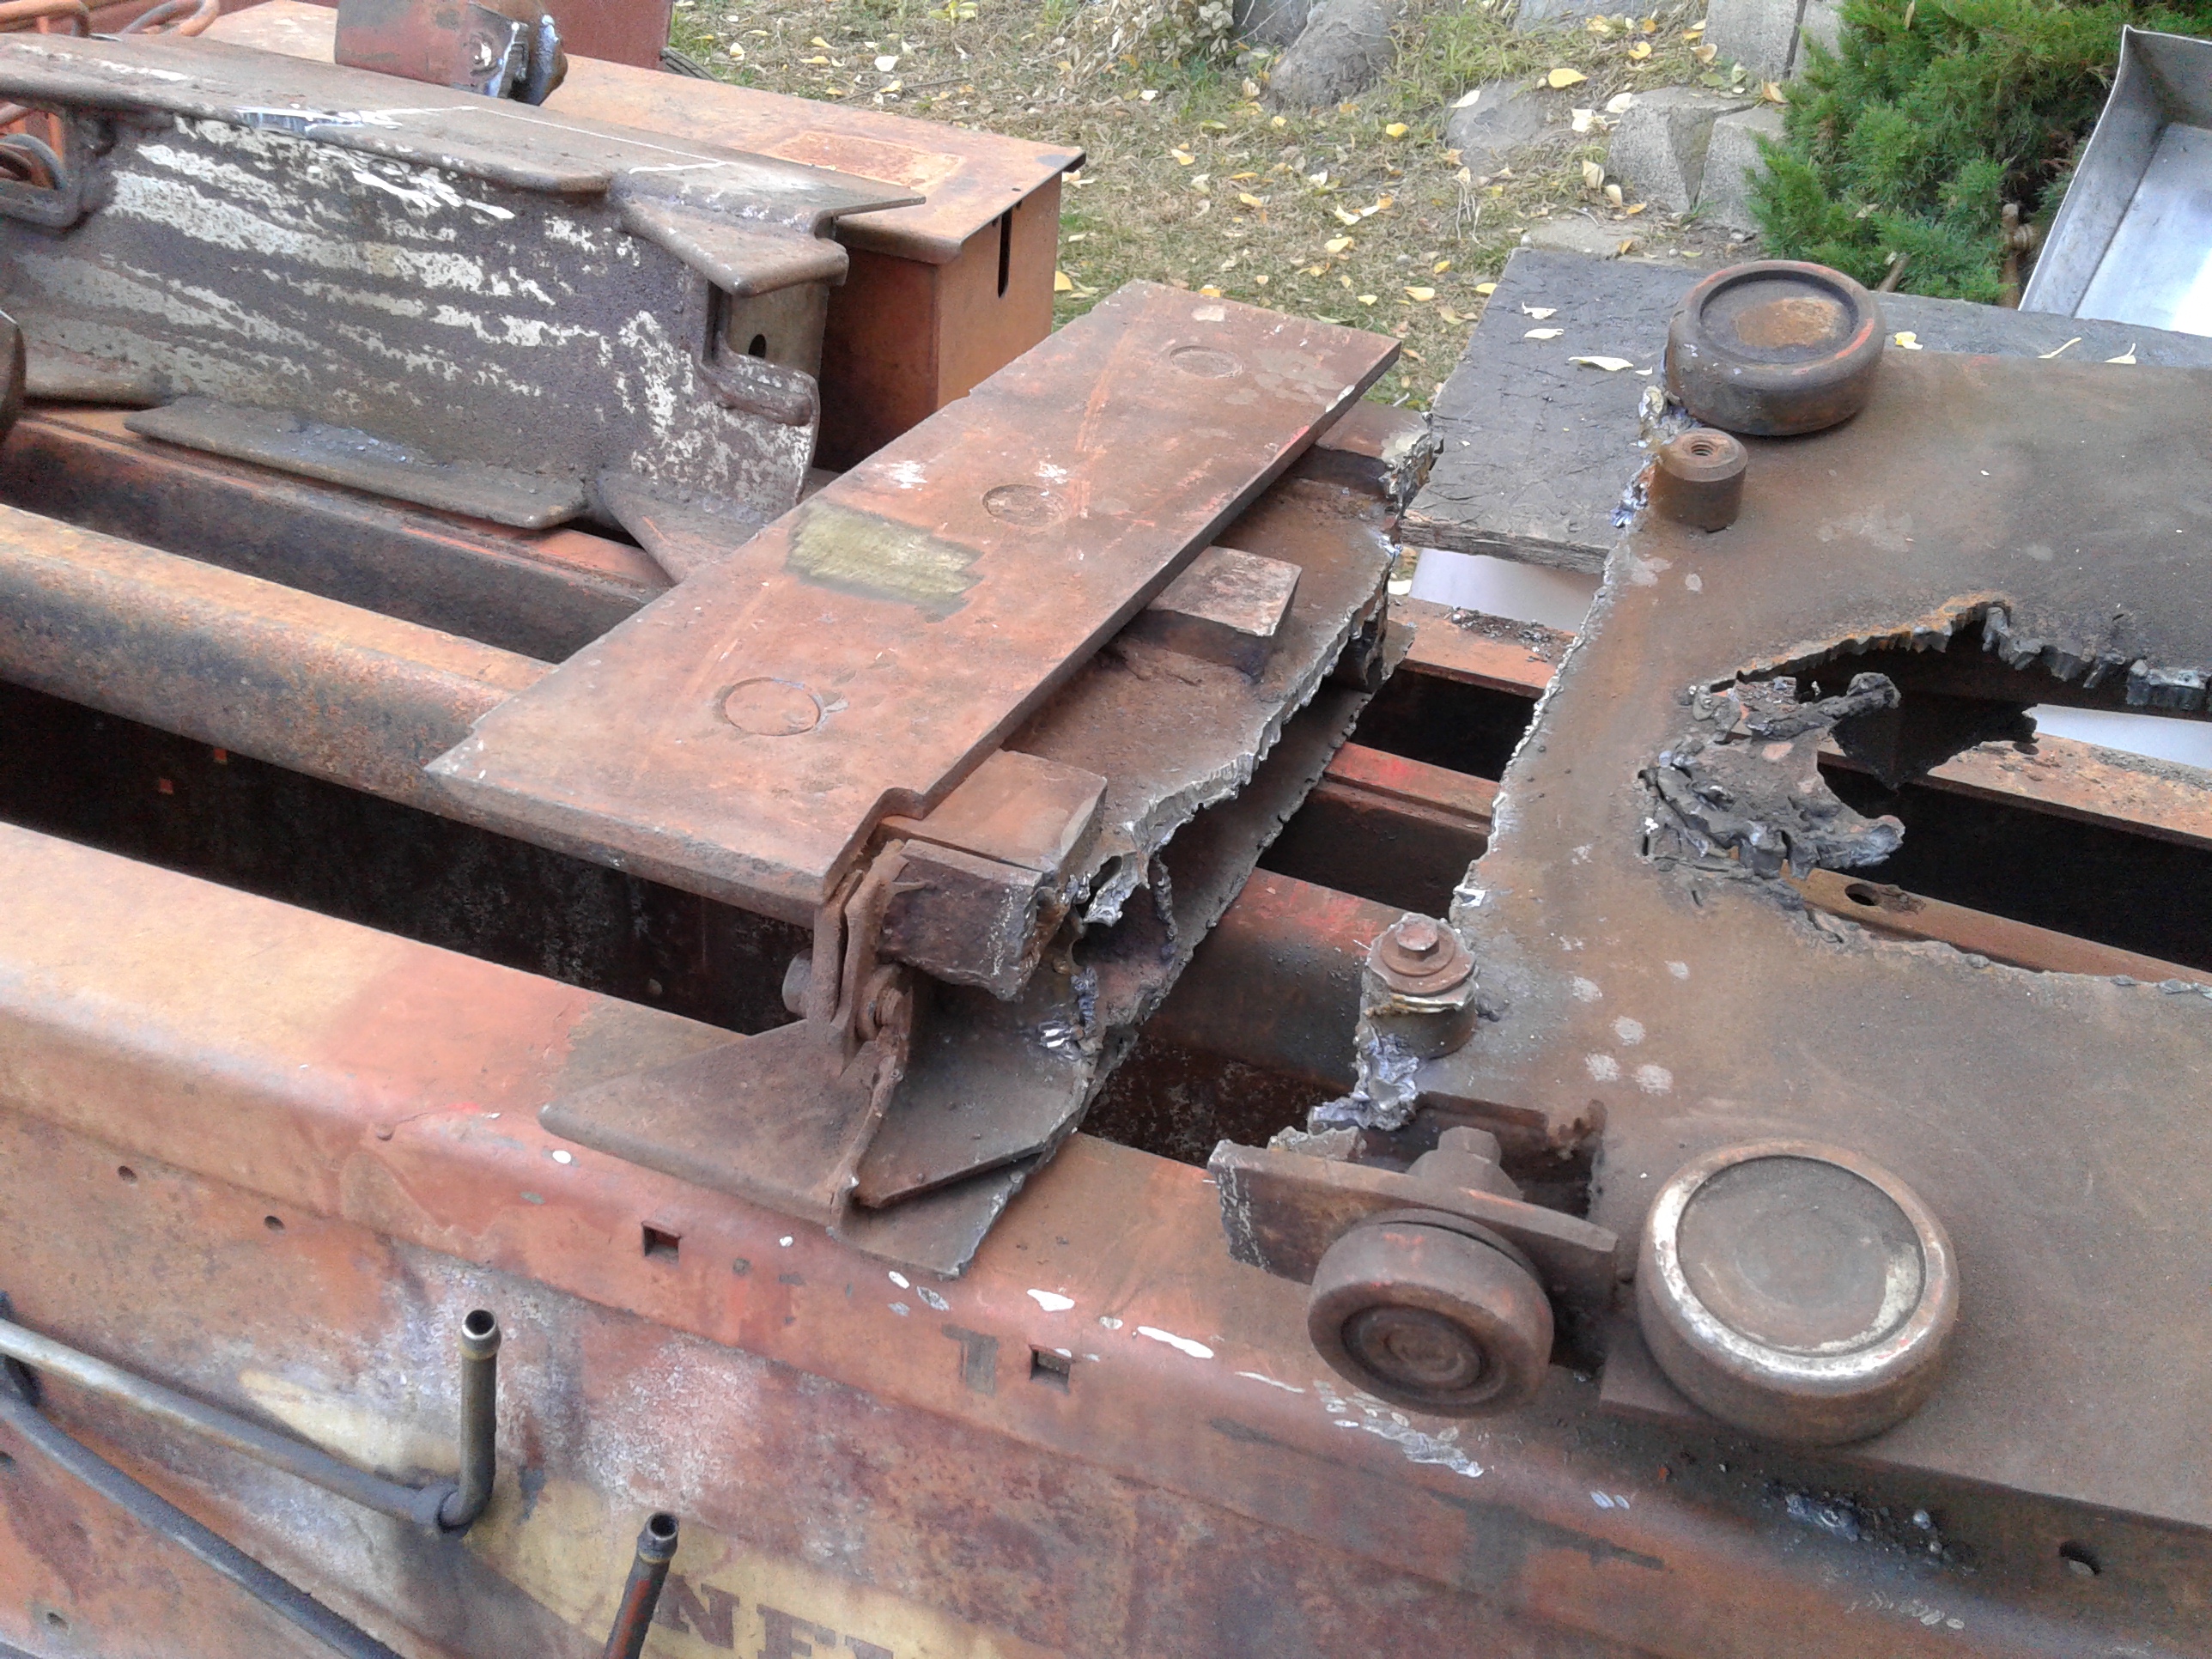
bob looking at the blade mounted on there I see what tom posted above about the cutout there don’t look like much taper from beginning to end it should taper all the way to the shaft at the beginning. so there isn’t a dead flat surface to hit.
Hi paul, the shoot guard goes up to the surface of the in side part of the blade. So there is no problem with hitting. But after @TomC and you have mentioned it. I didn’t take into consideration, “The BIG What If” a piece of wood some how get in behind the shoot after being cut and get stuck be between the metal sprocket piece and frame. Not good at all, it might stop dead and break something. So once I get the blade completely welded on the bailer pivot arm I will be cut cutting it off where it can not jam up.
Thank you both for bring this to my attention. And all the others helping me on this one of a kind build.
My next challenge is putting this…
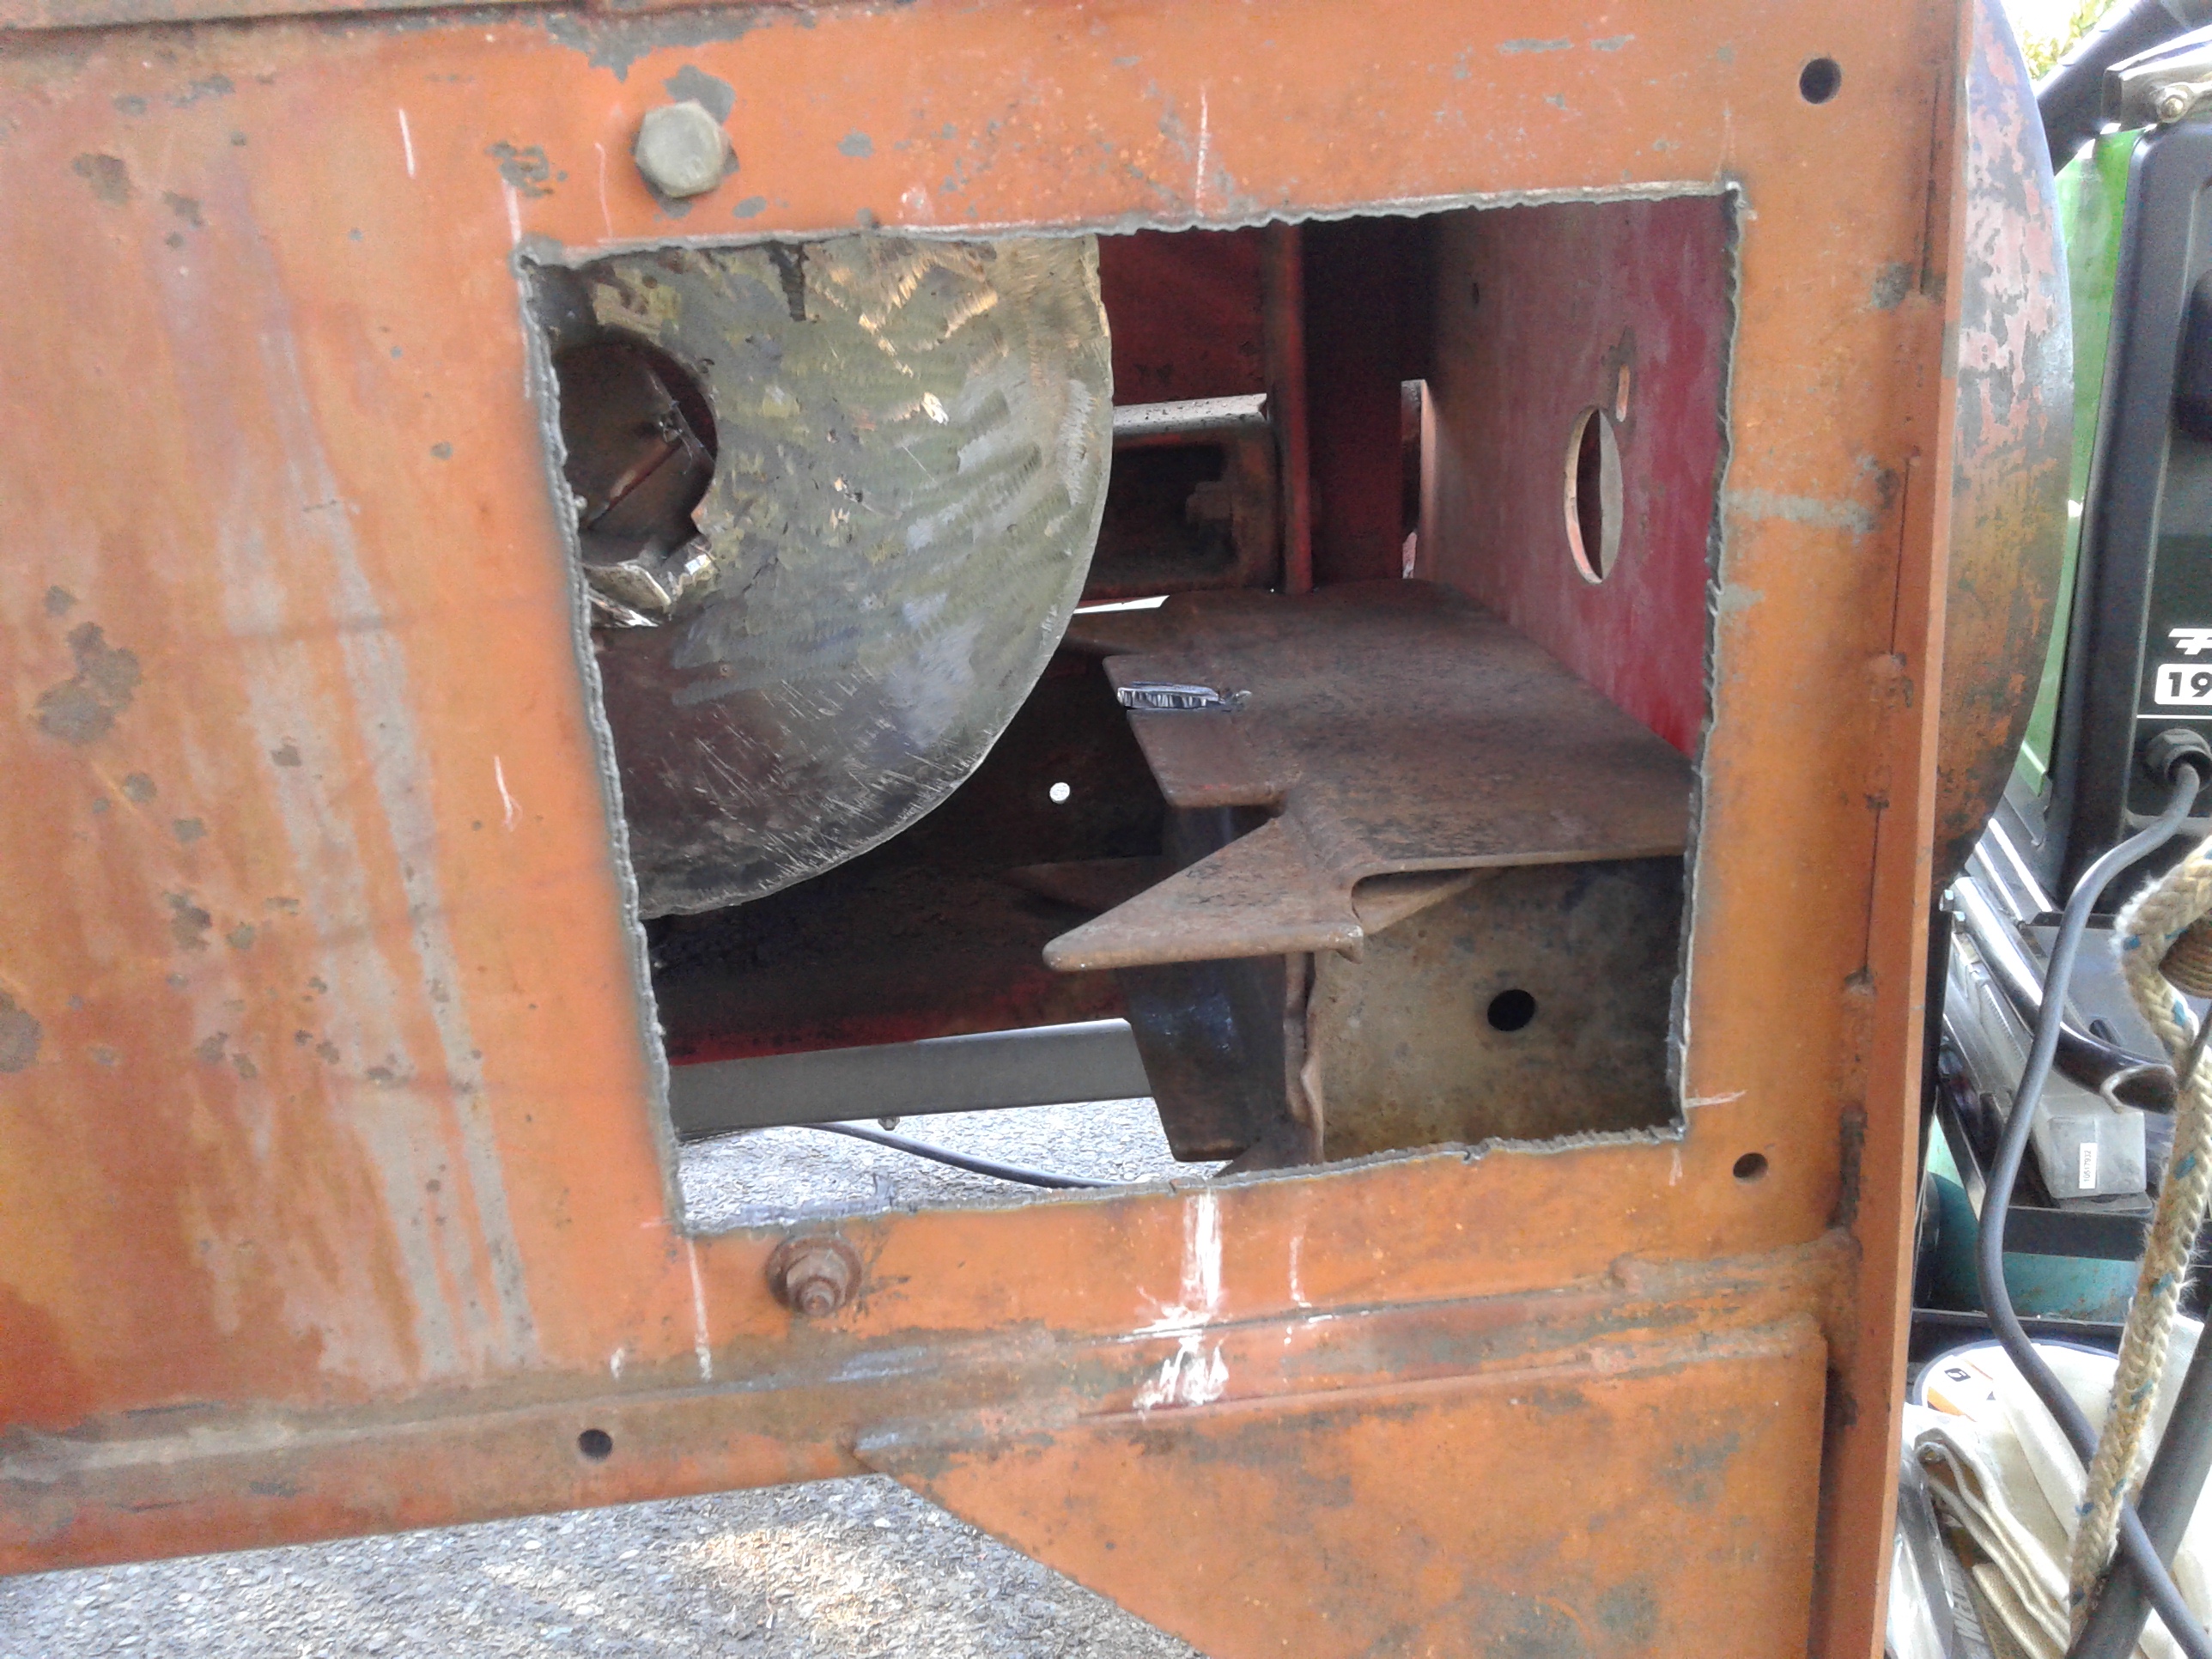
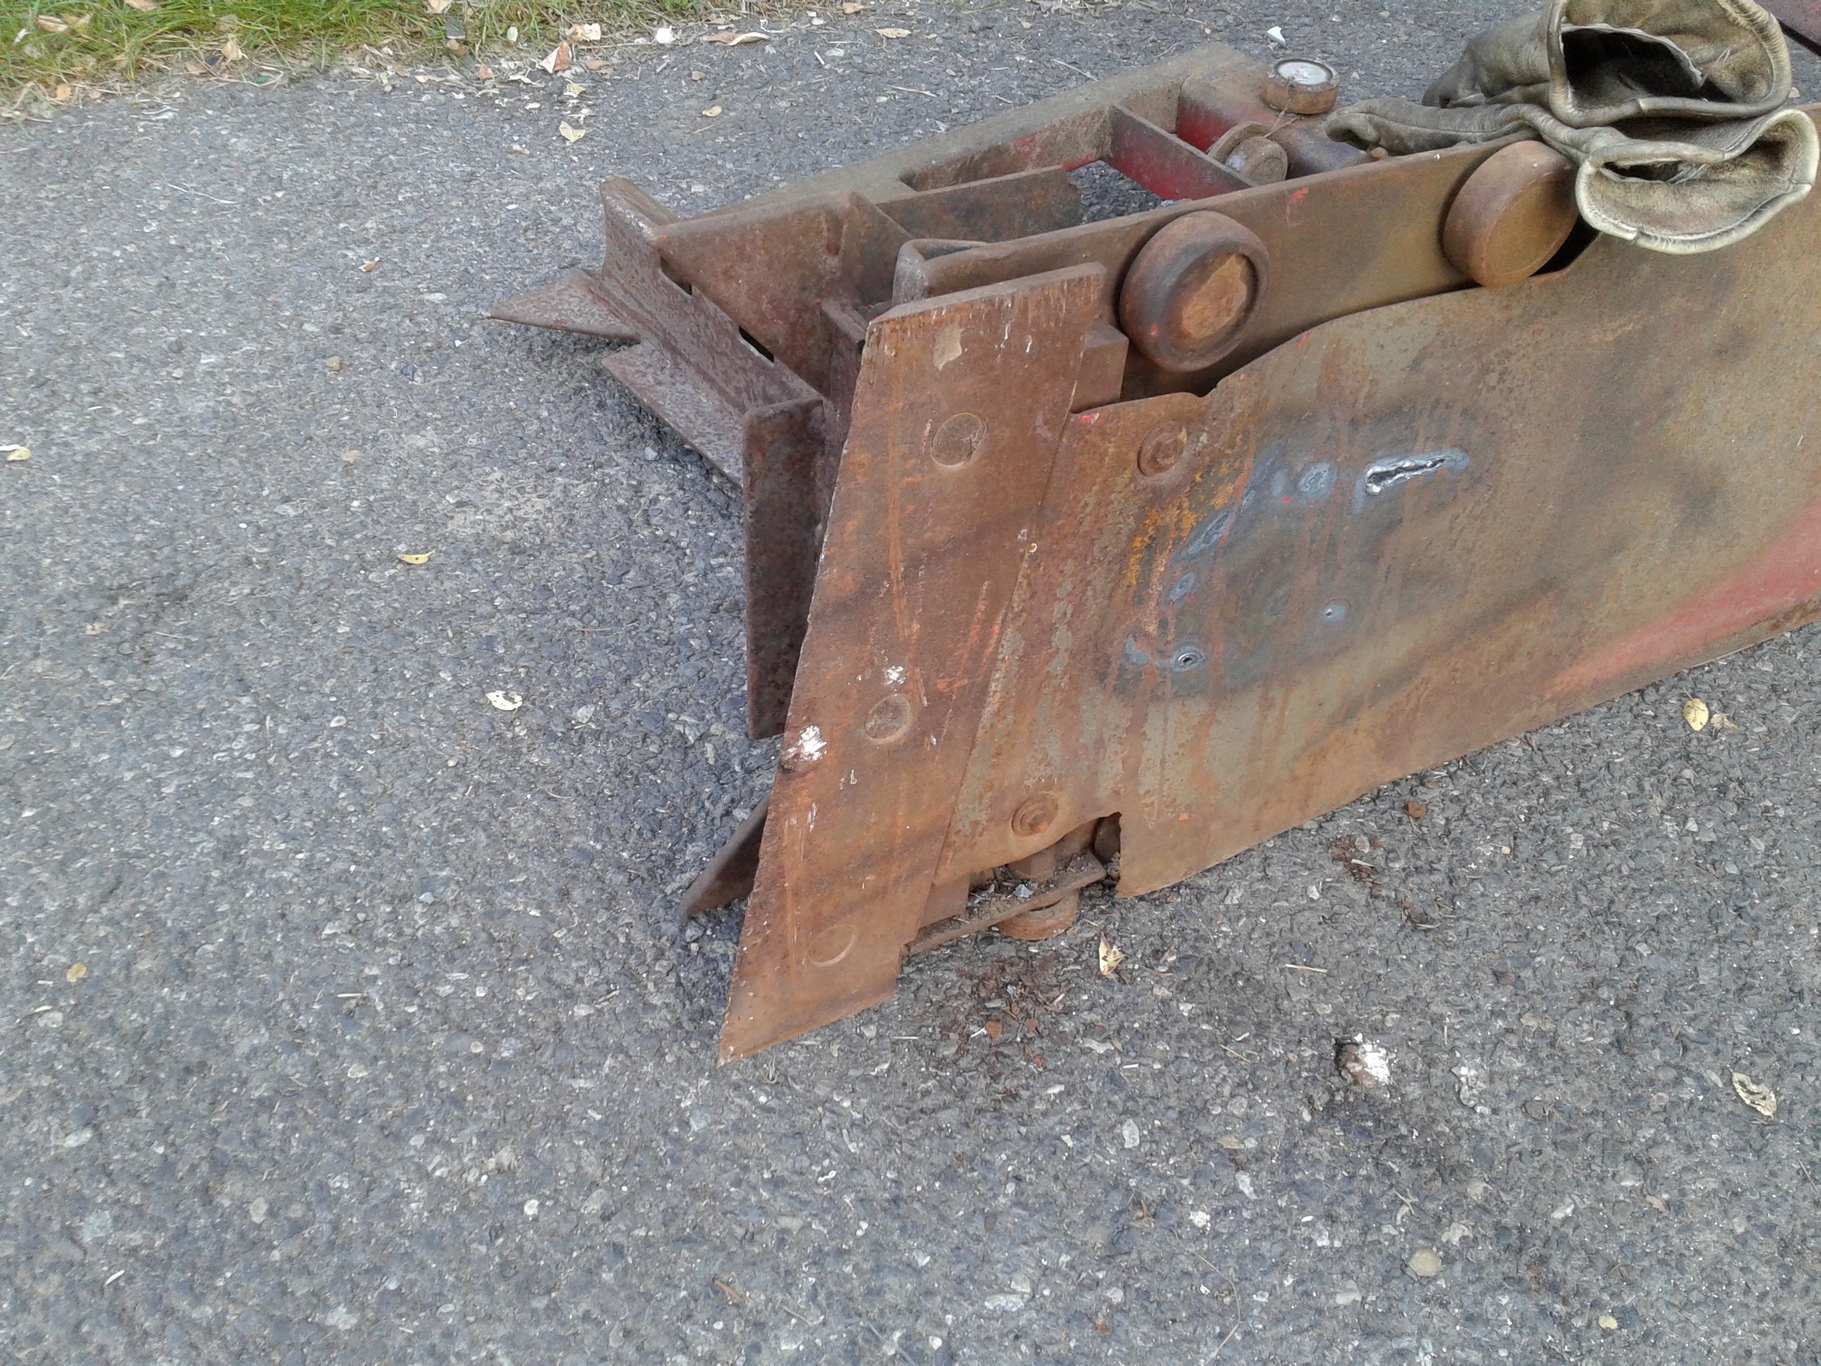
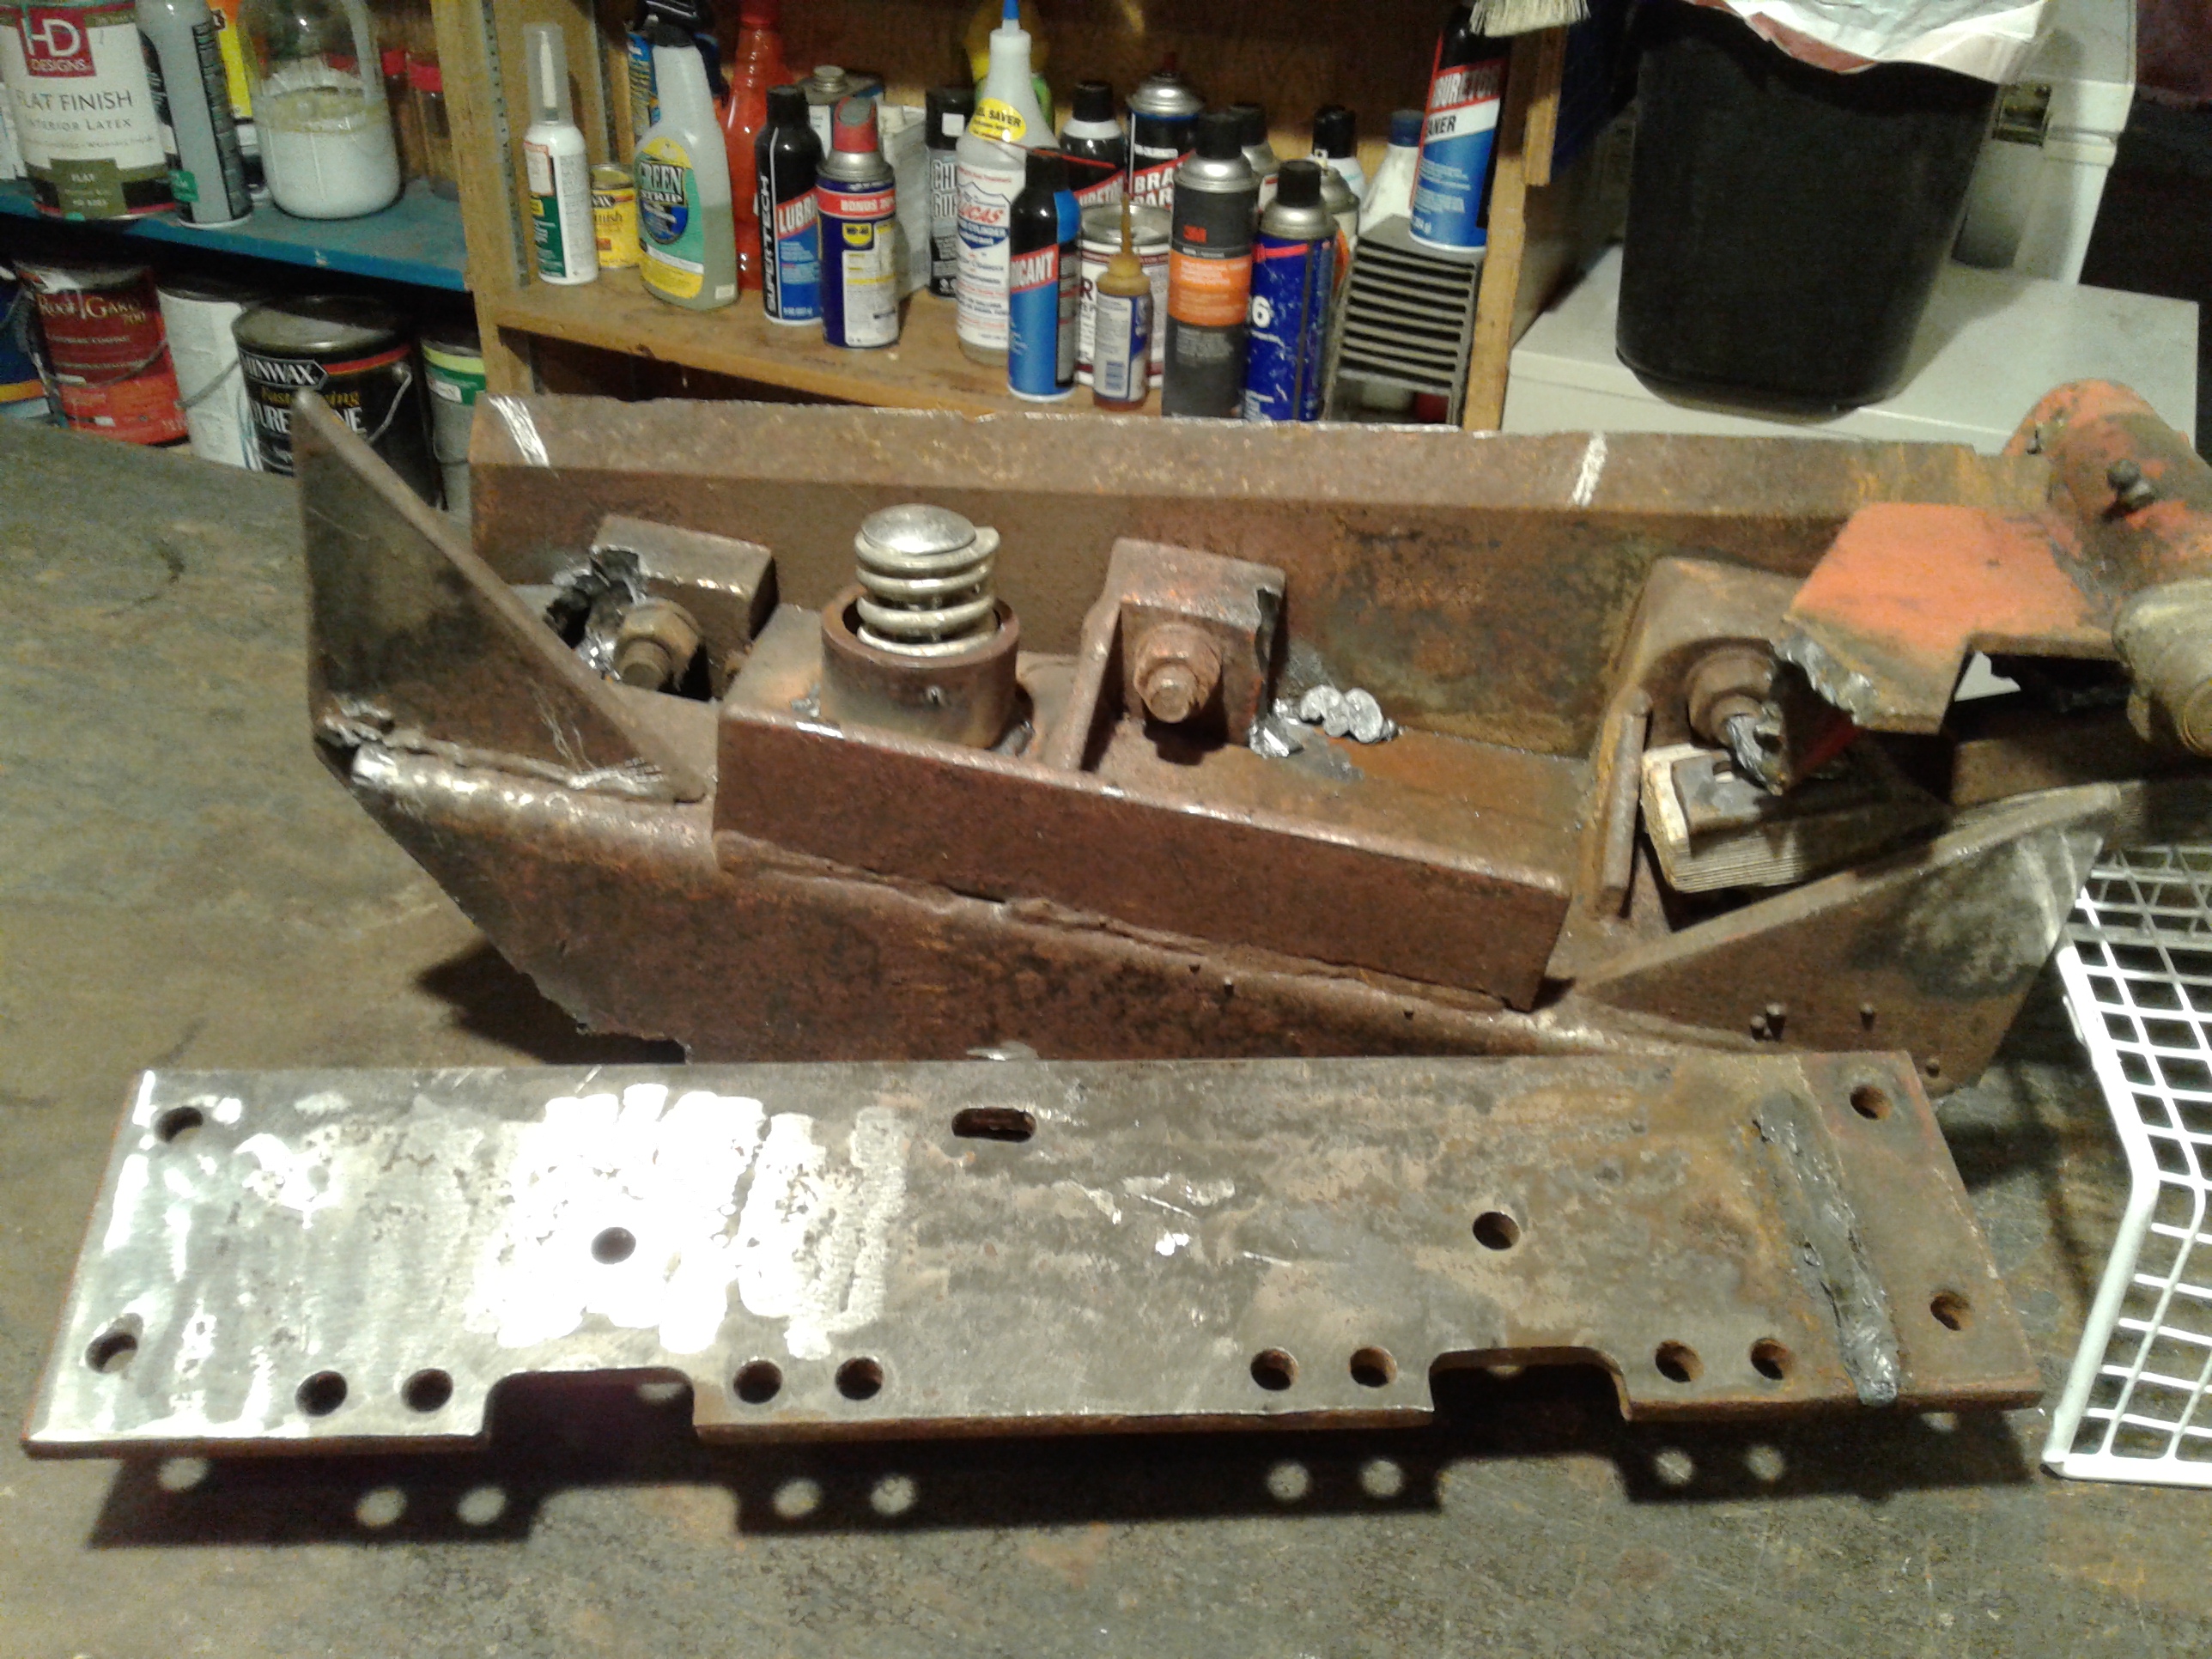
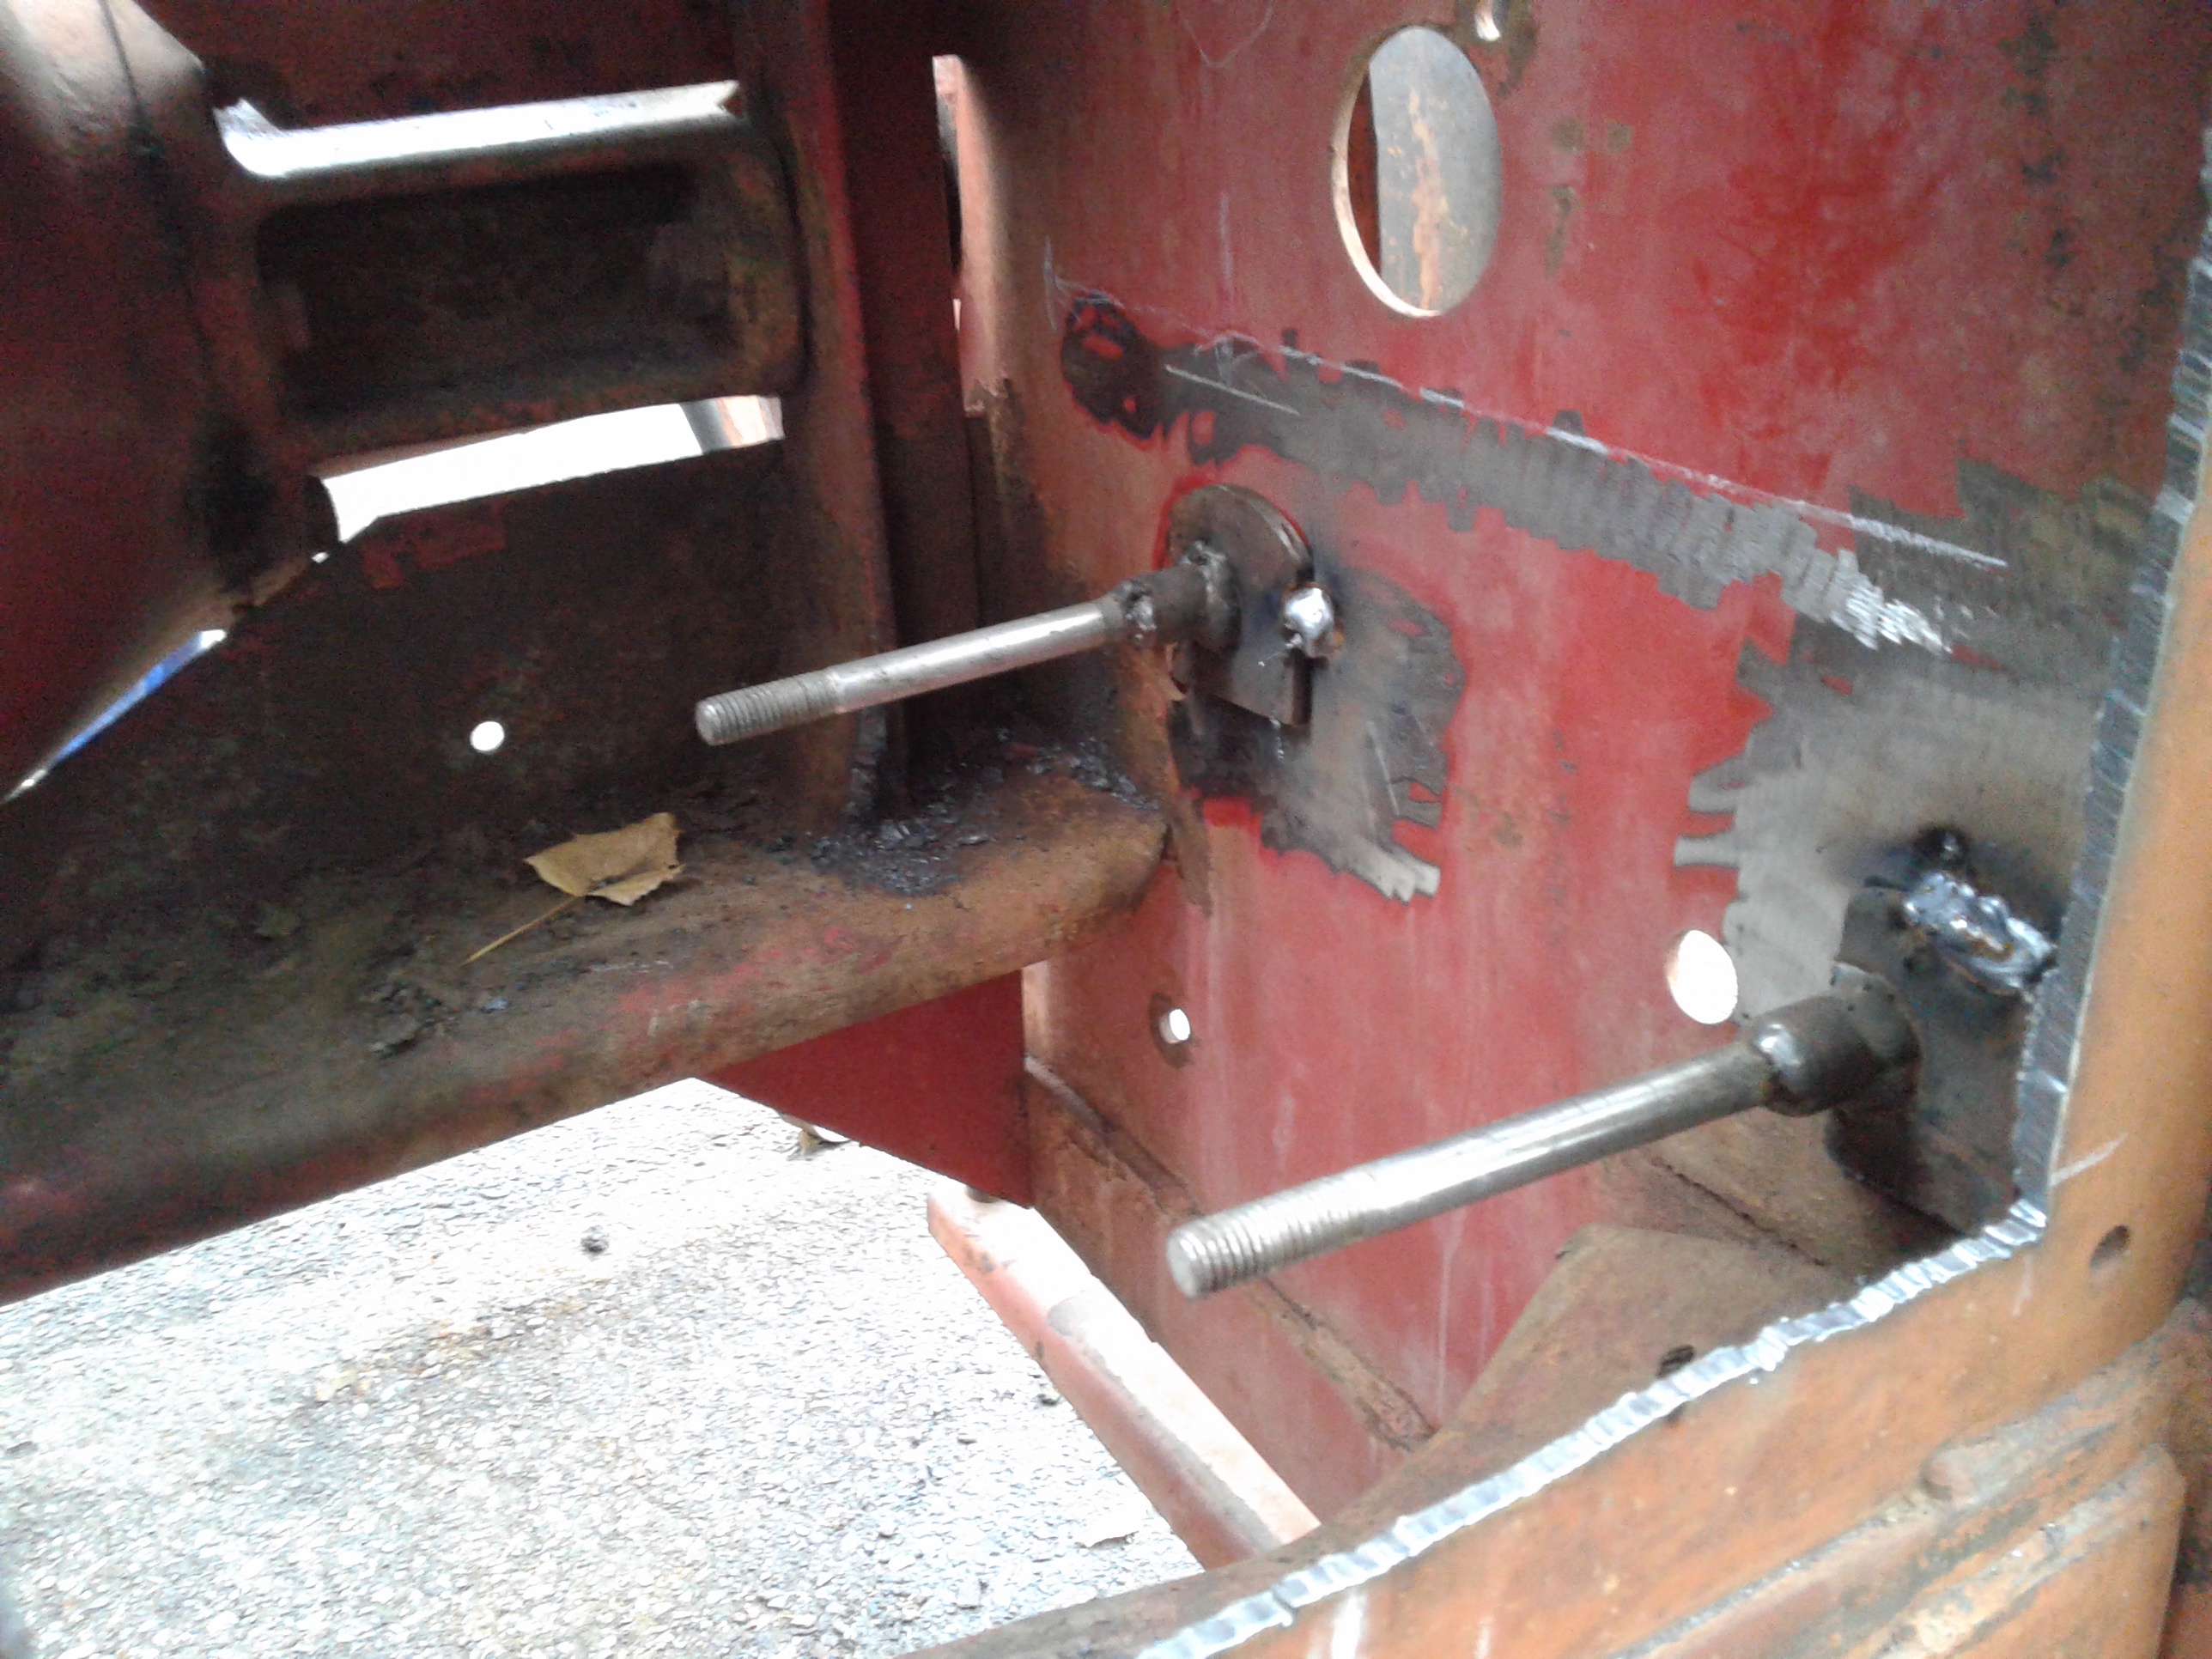
Bailer chopping blade in, as part of the back up right anvil. It is 16" long, just right and that hard piece of steel is bolted on to the heavy frame. This blade is adjustable so I can made to go closer to the blade if needed
I have a idea of using the steel carriage roller bearings wheels to keep the squealing sound down, can’t stand that noise. If the wheel are placed under the anvil so when the blade loads up cutting, the blade will roll on the wheels and not scrape on the anvil.
More head scratching on this one later.
It is getting dark time to put the tools away.
Bob
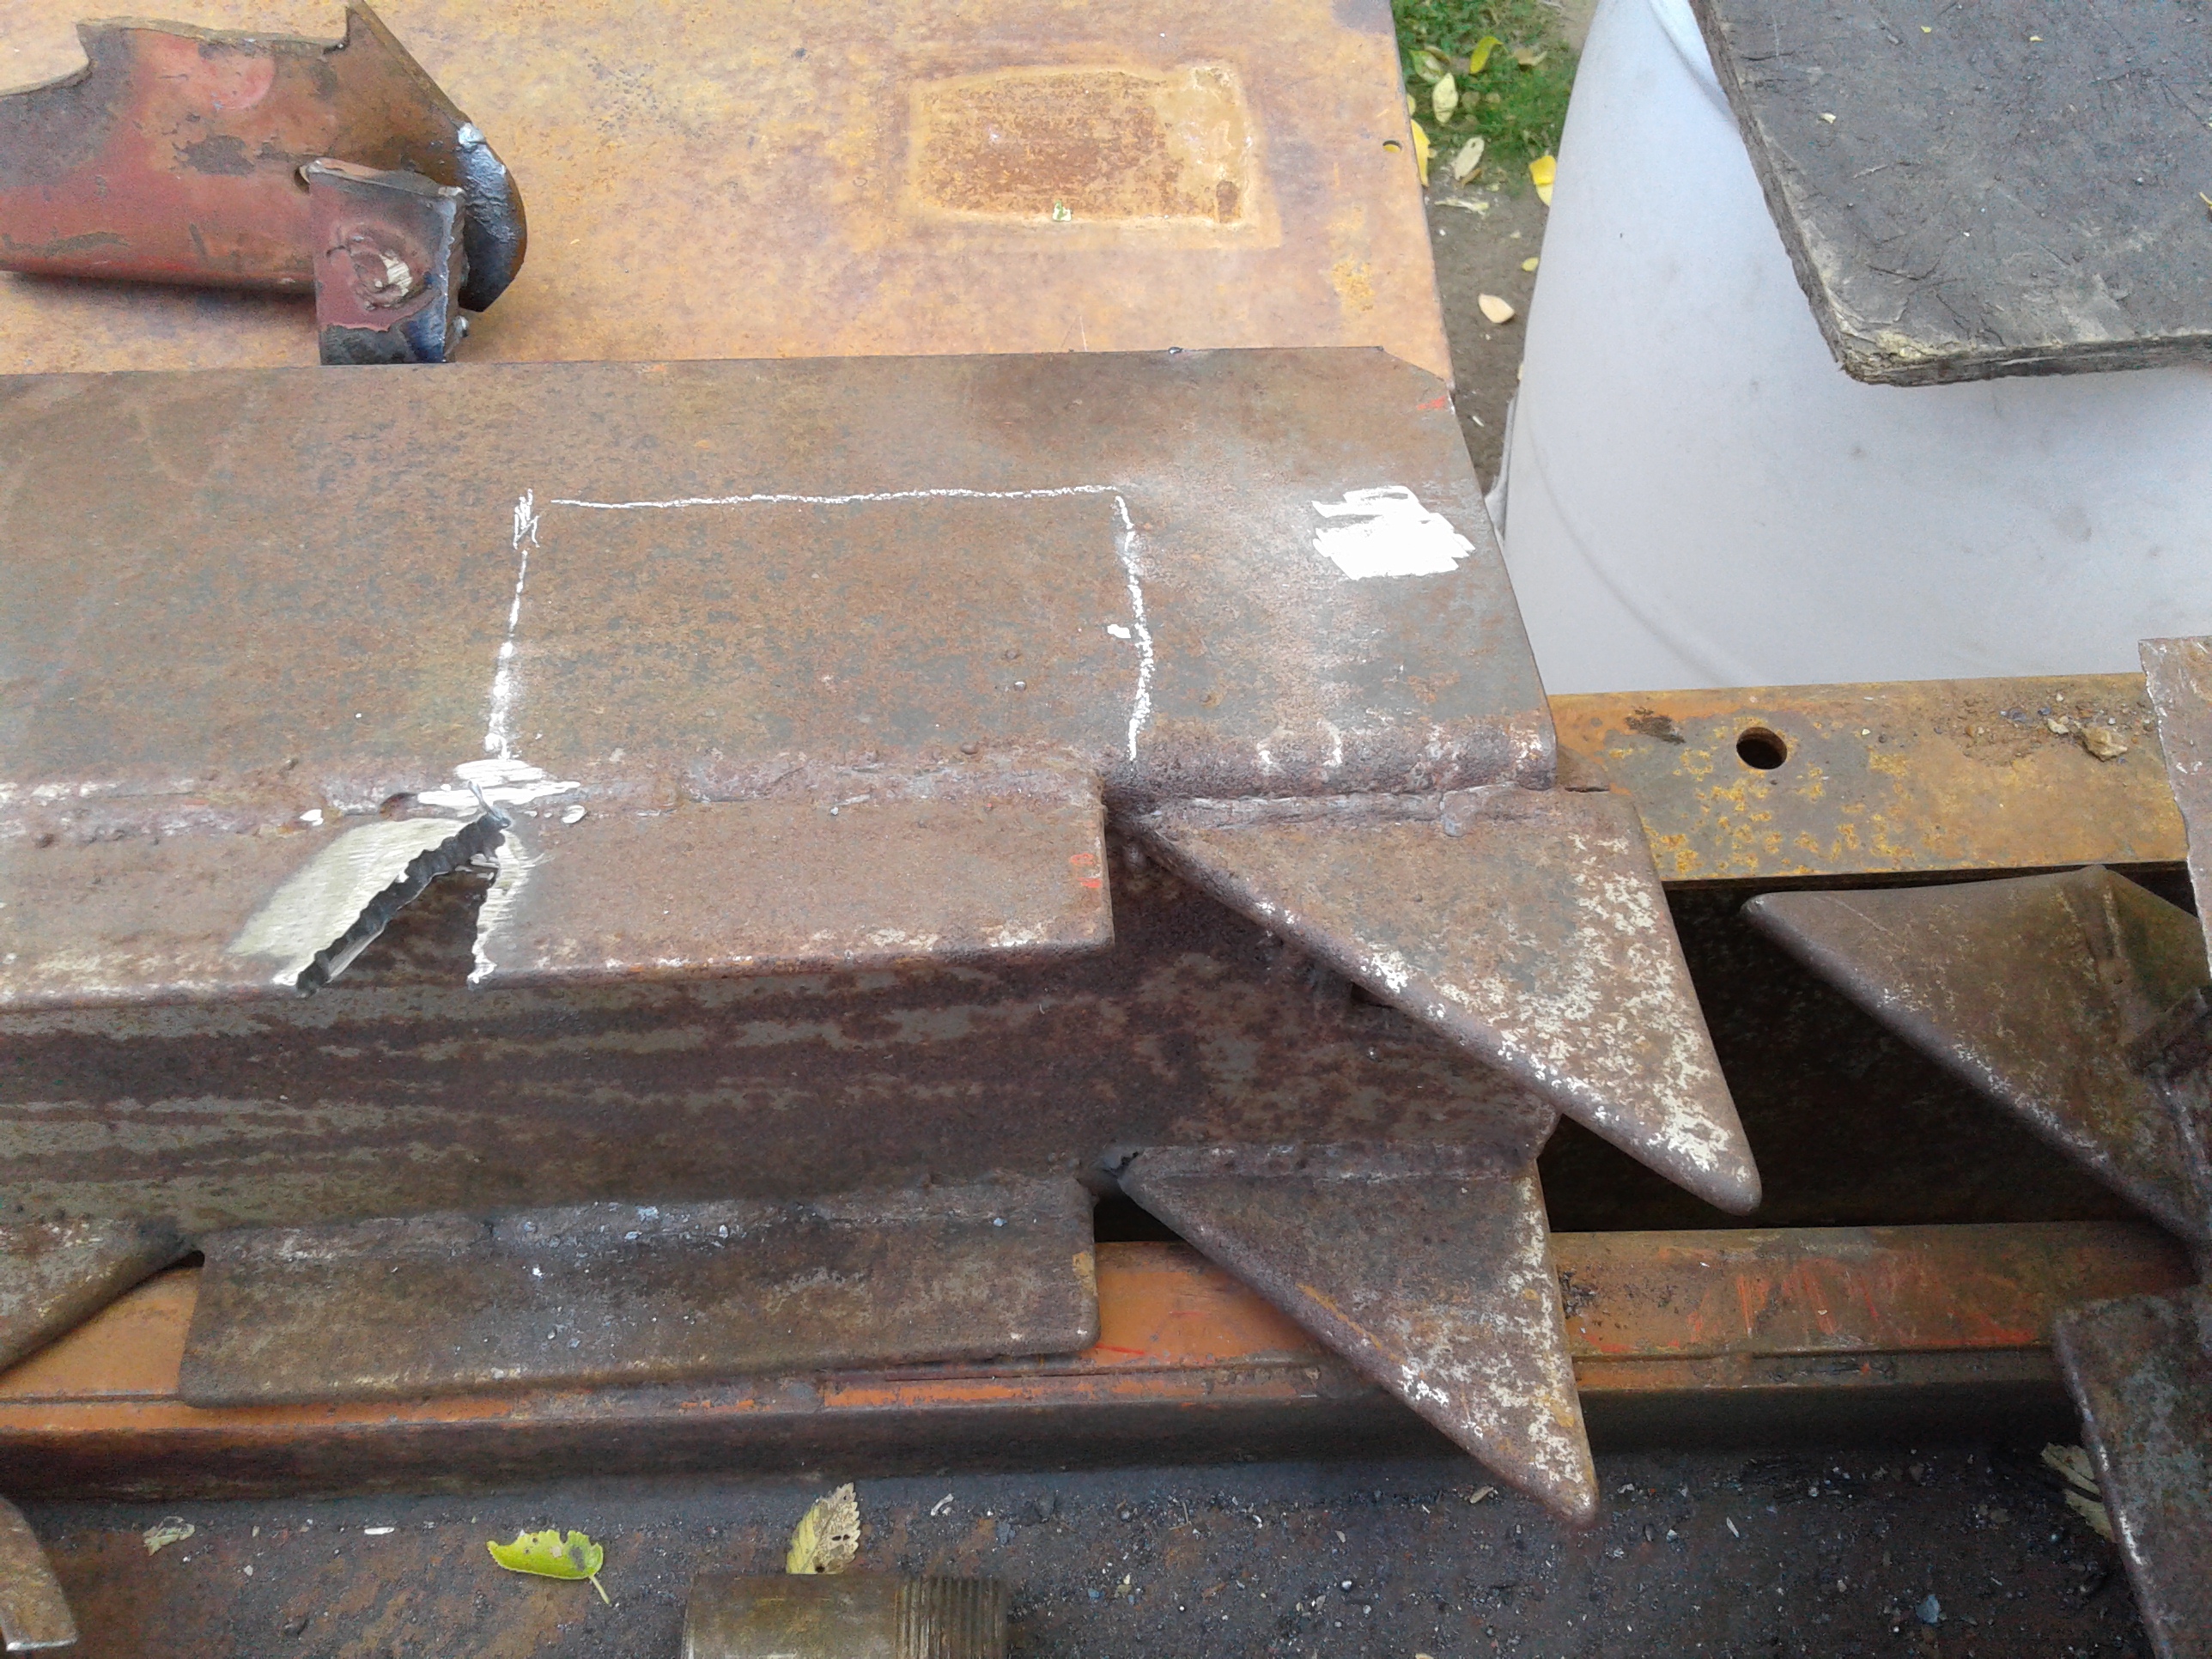
Cutting the blade off the carriage.
I am hoping that I can build the rest of this wood chopper with out having to go and get materials at the scrap yard. There is so many metal parts on this bailer that can be used for this project and other projects. It’s like having a scrap yard on wheels.
Bob
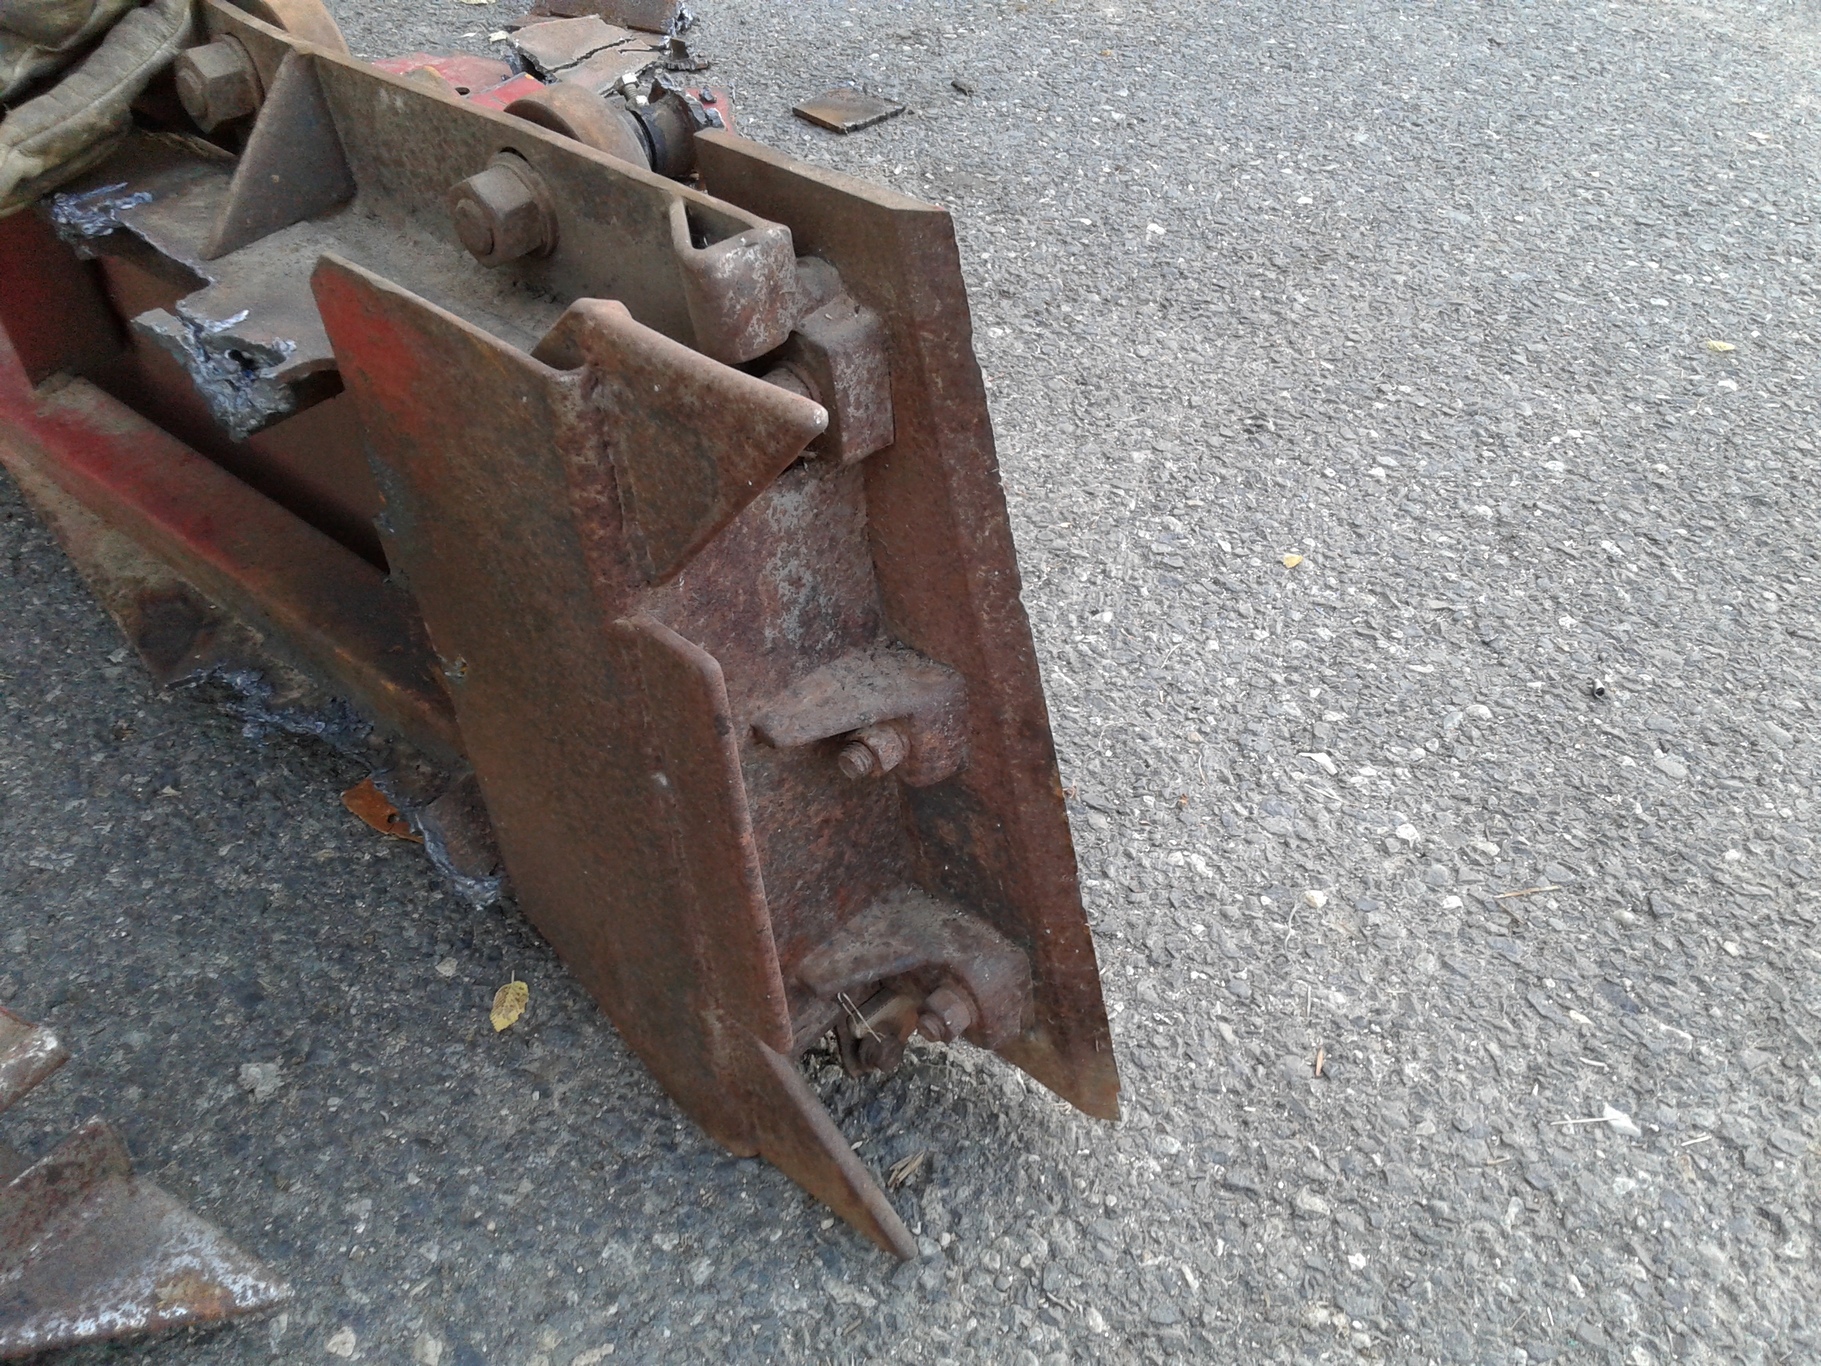
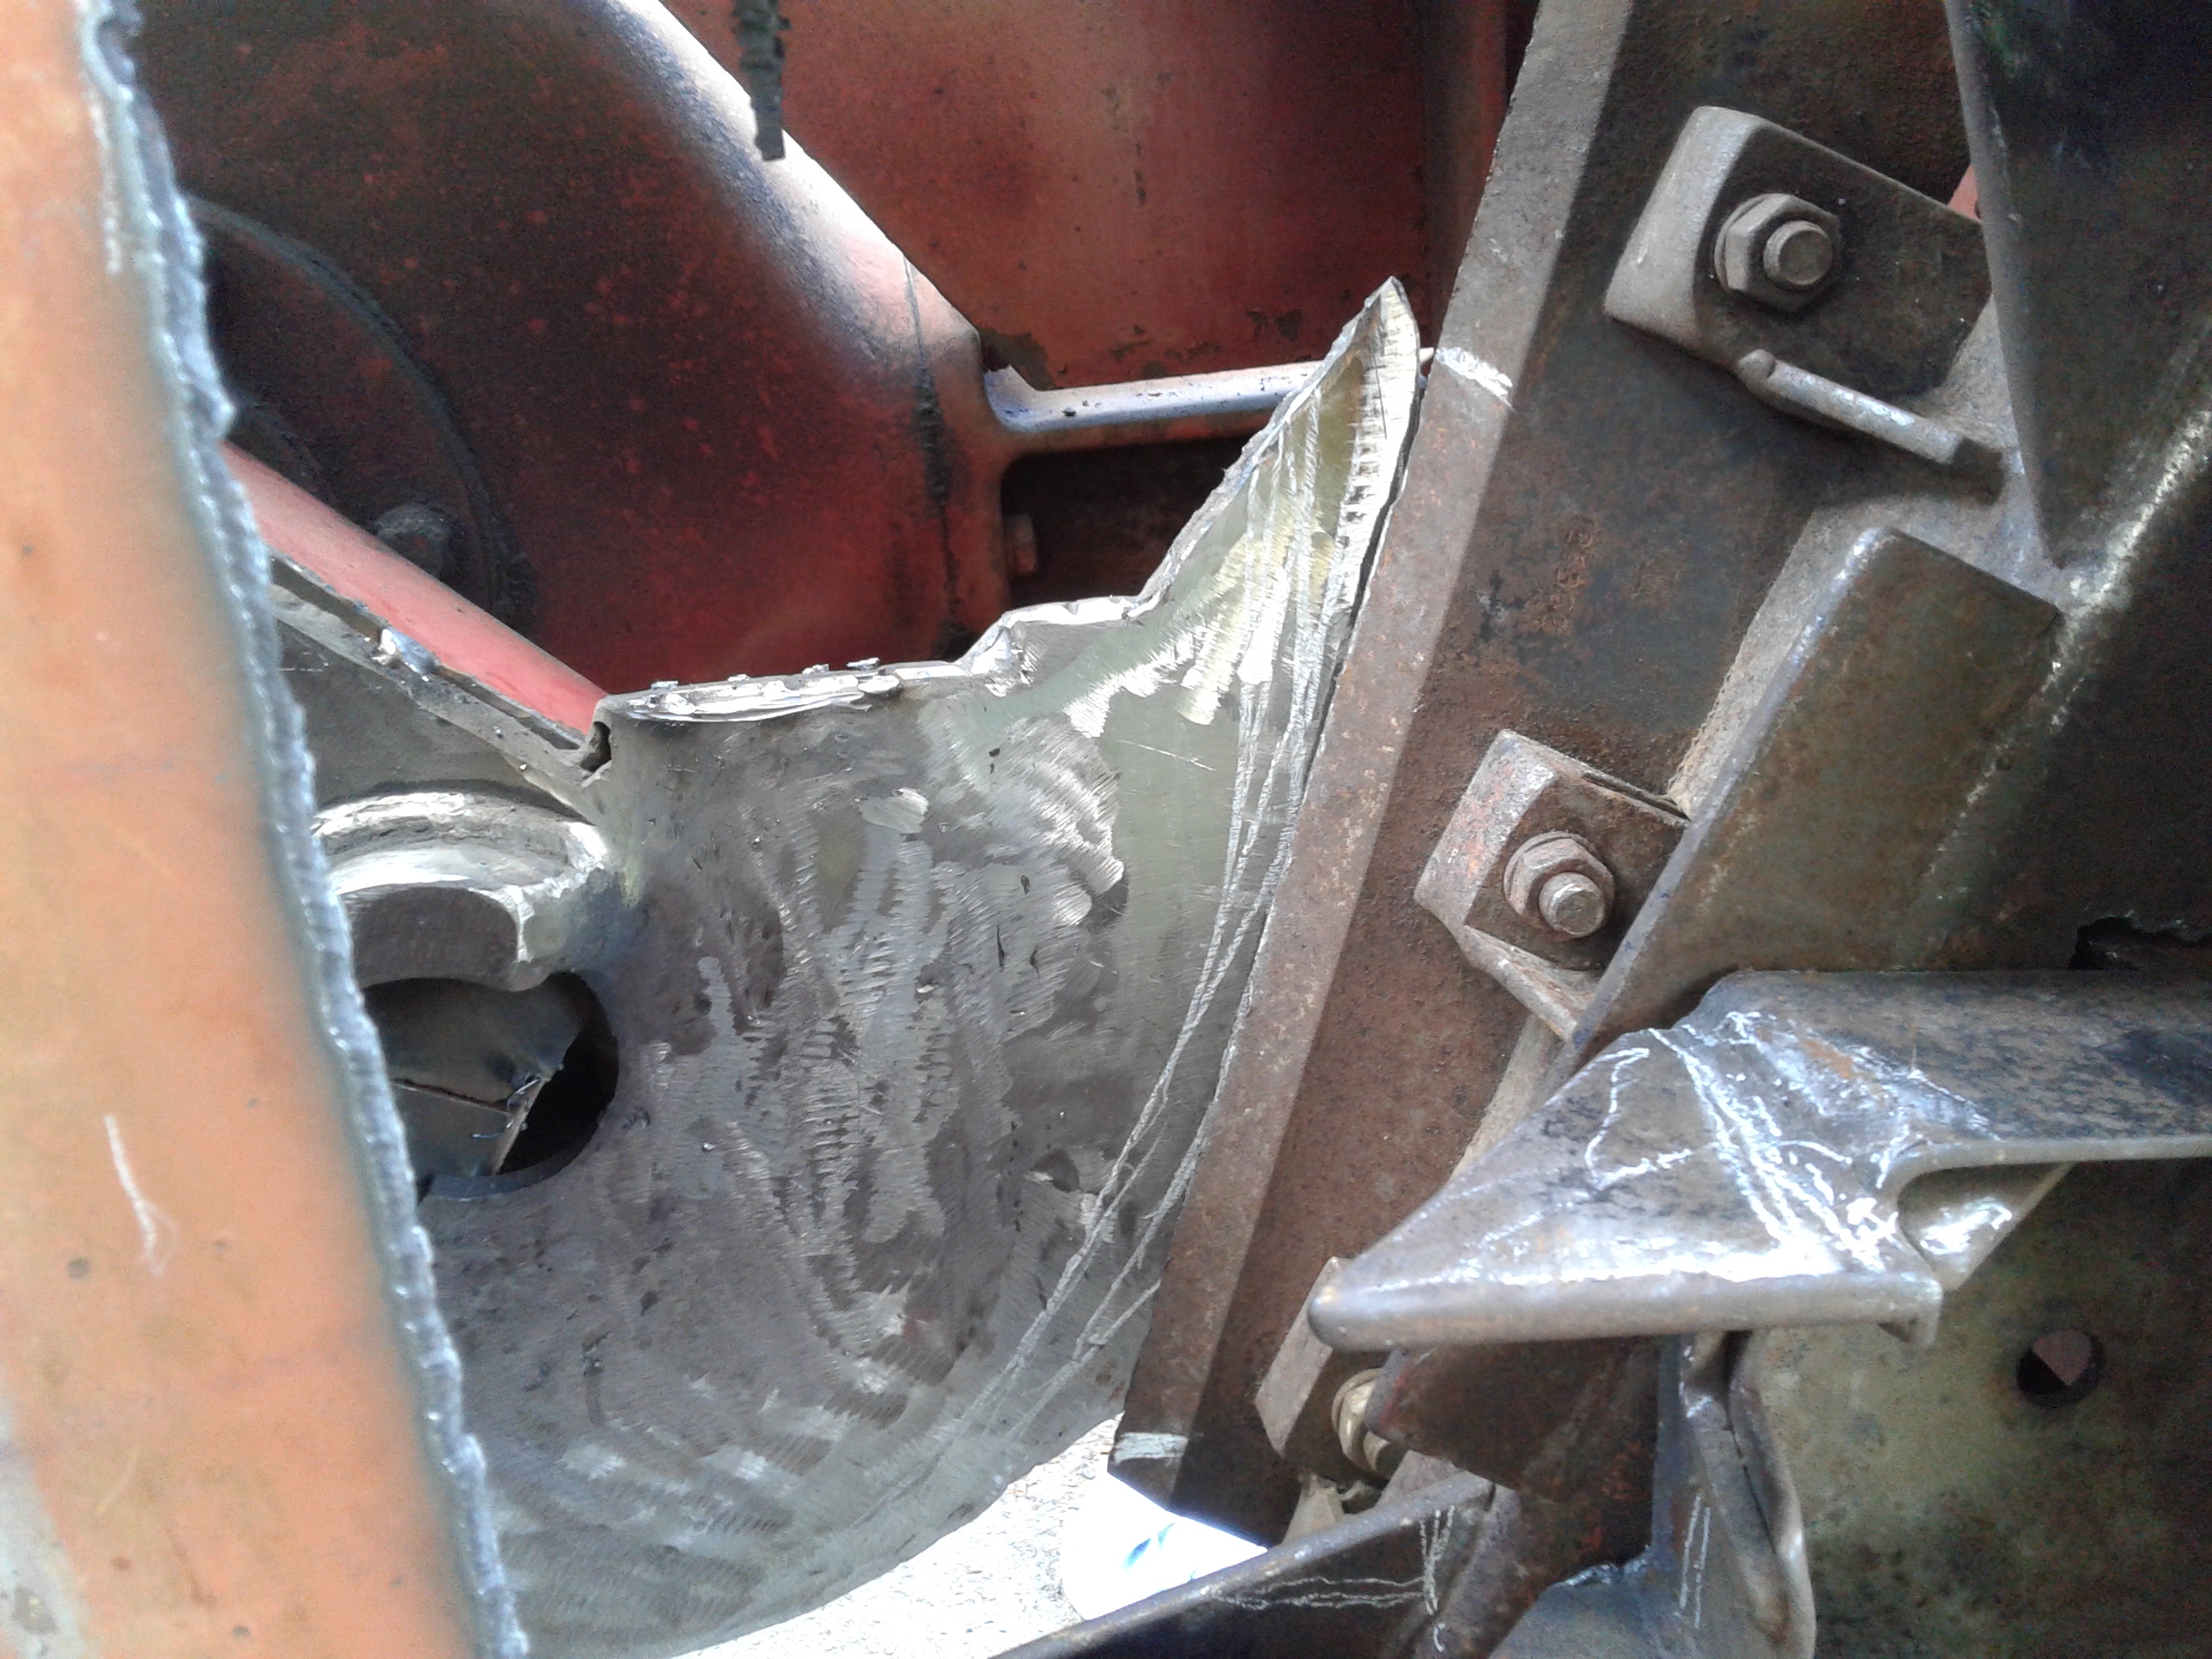
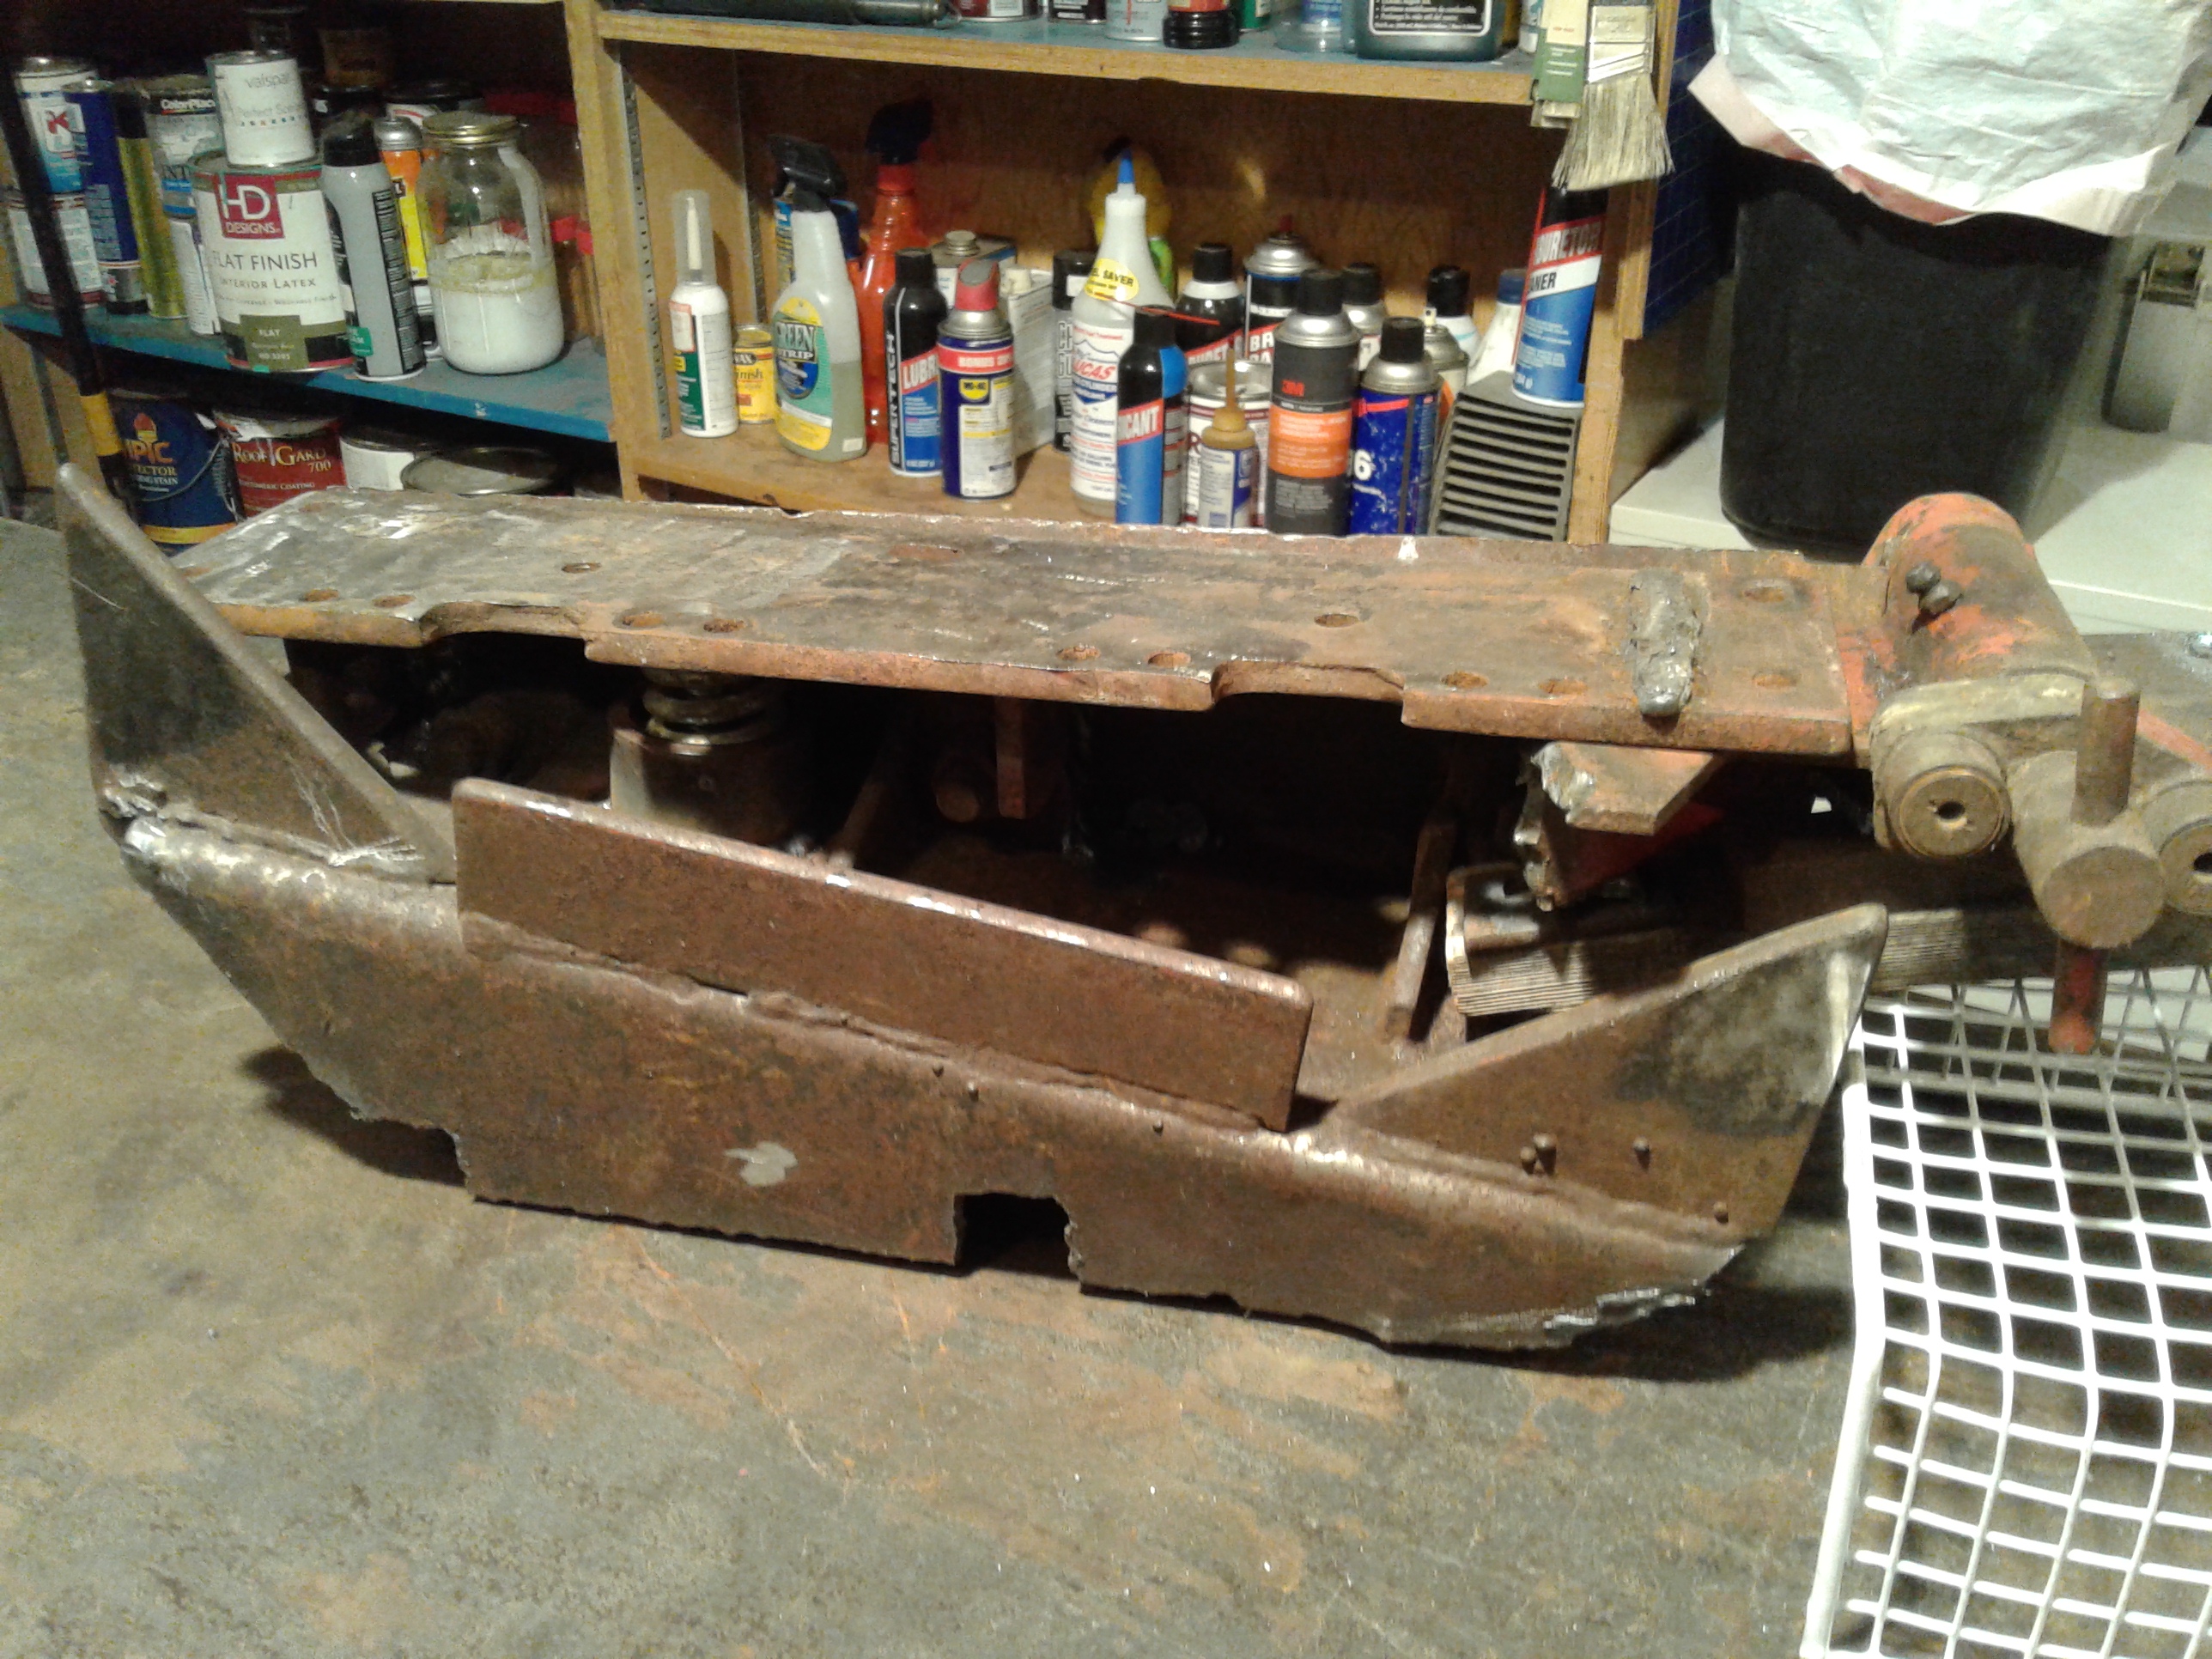
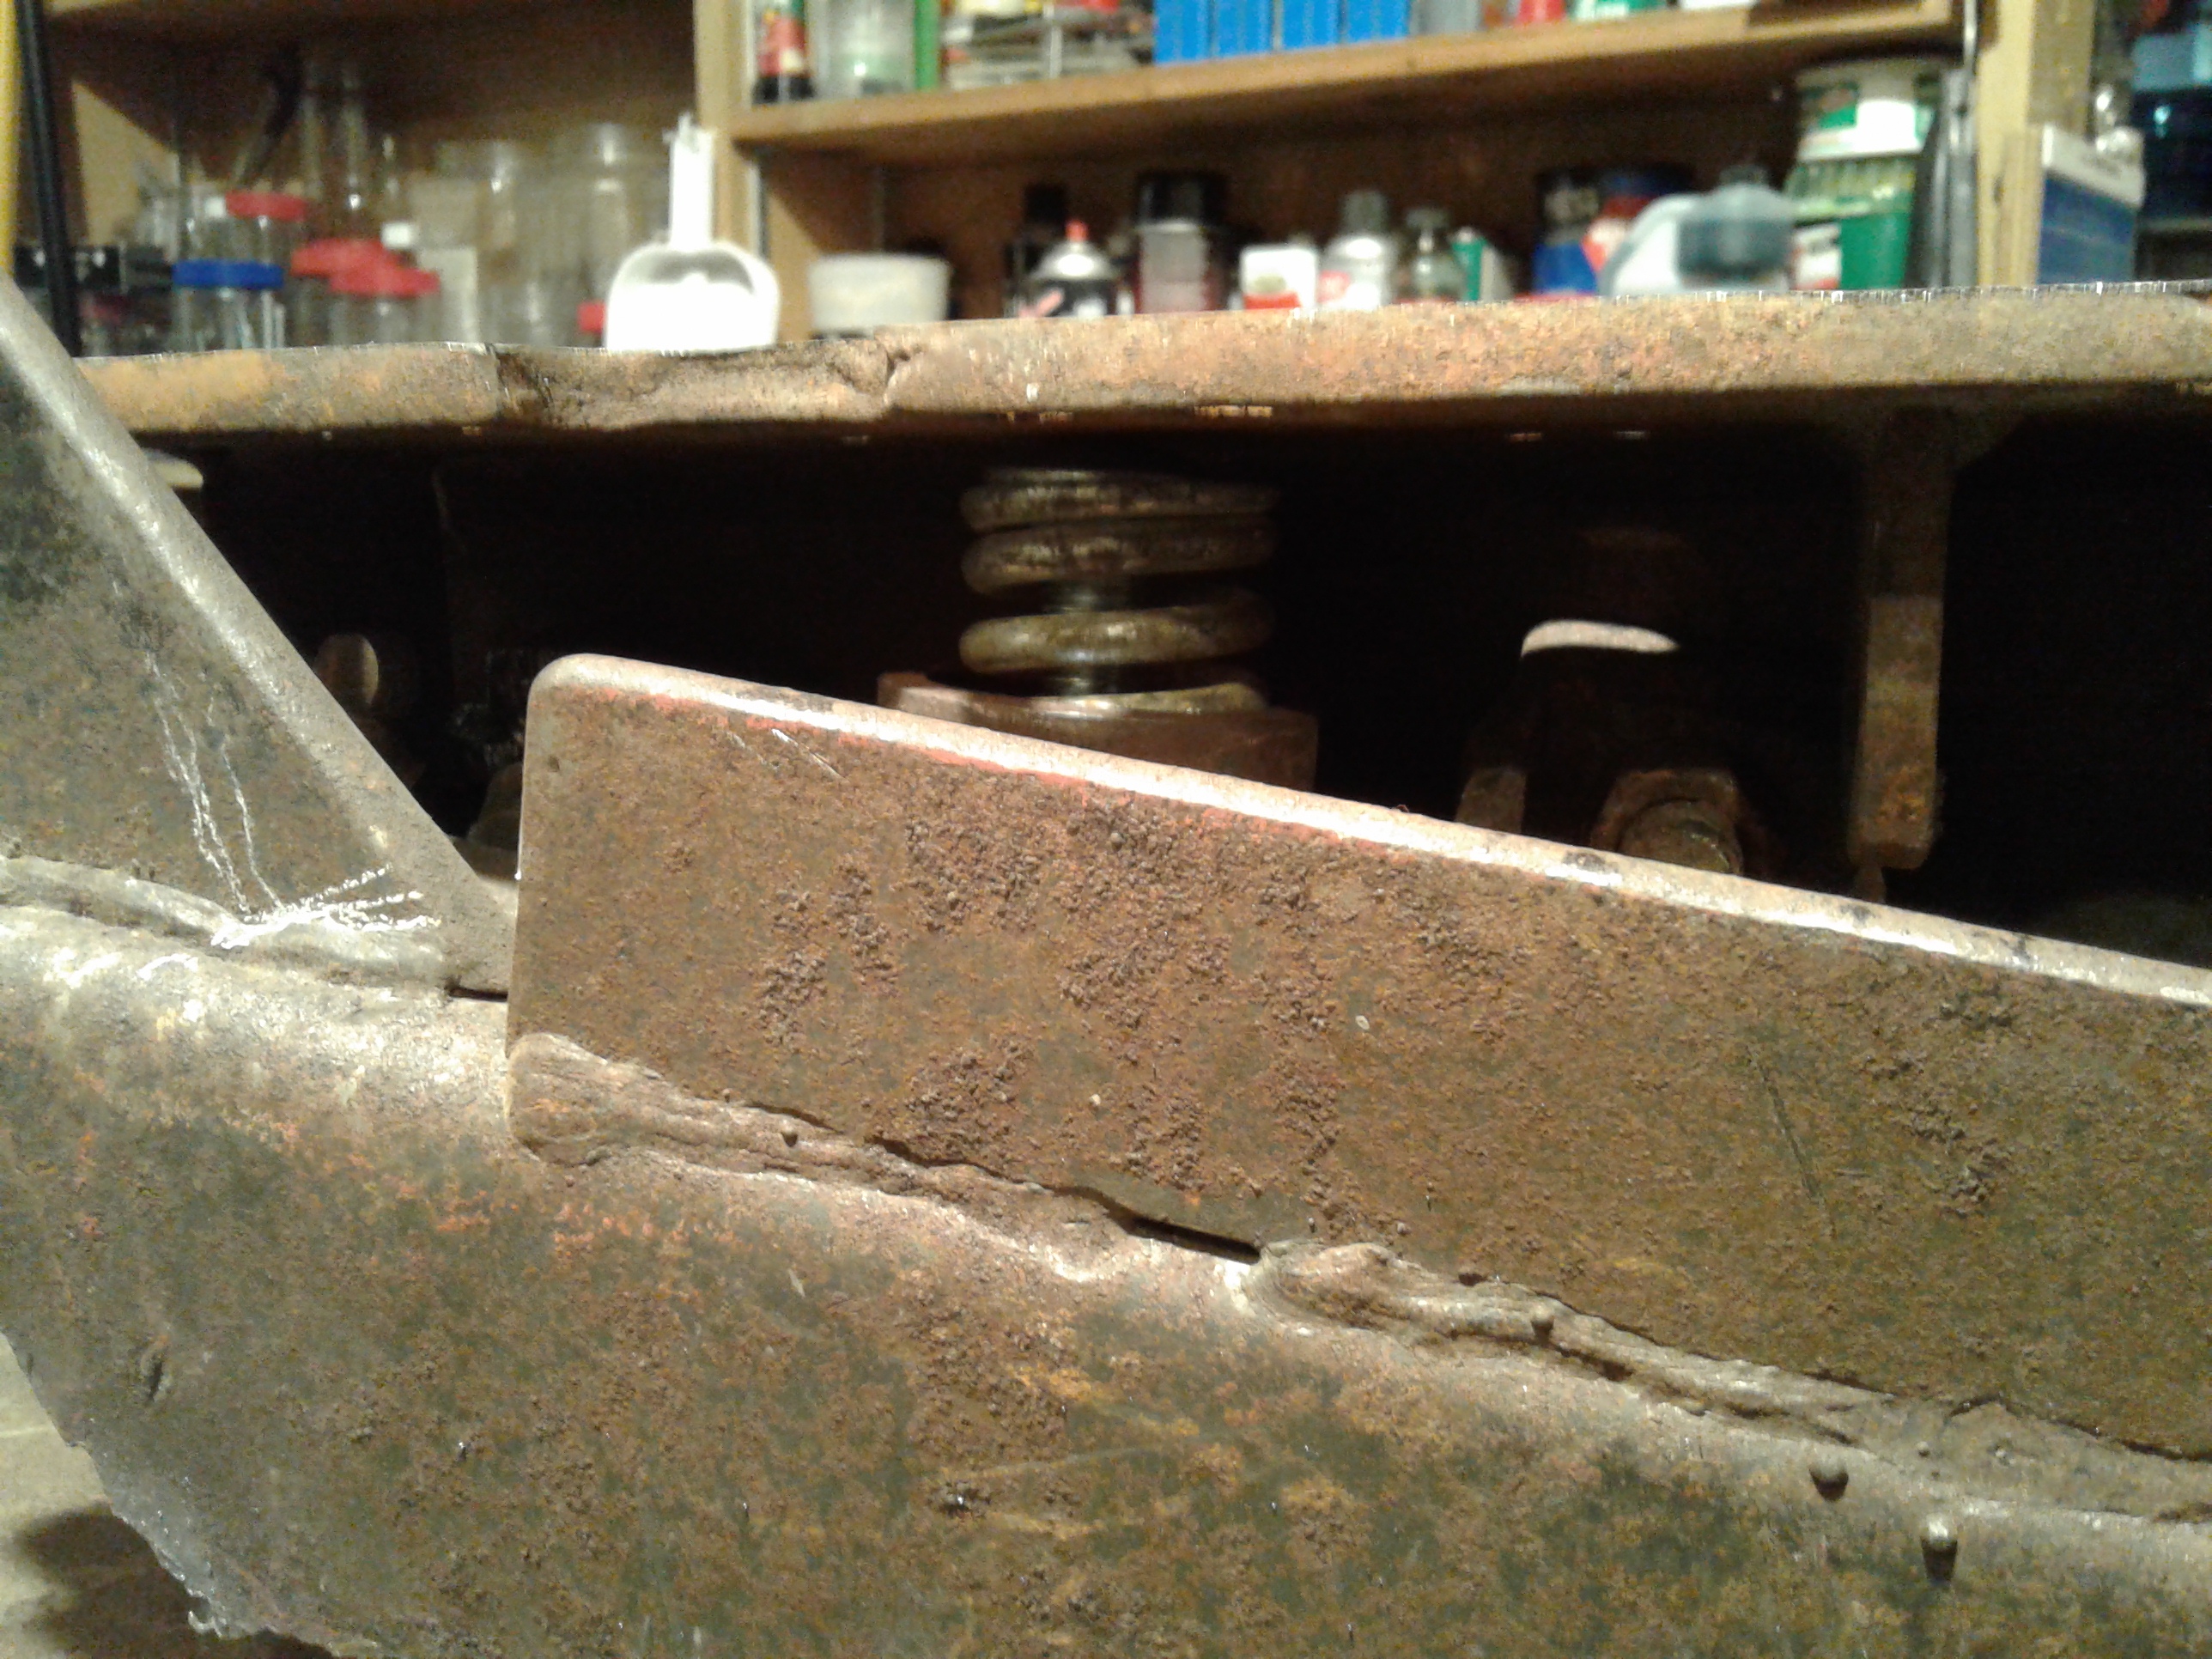
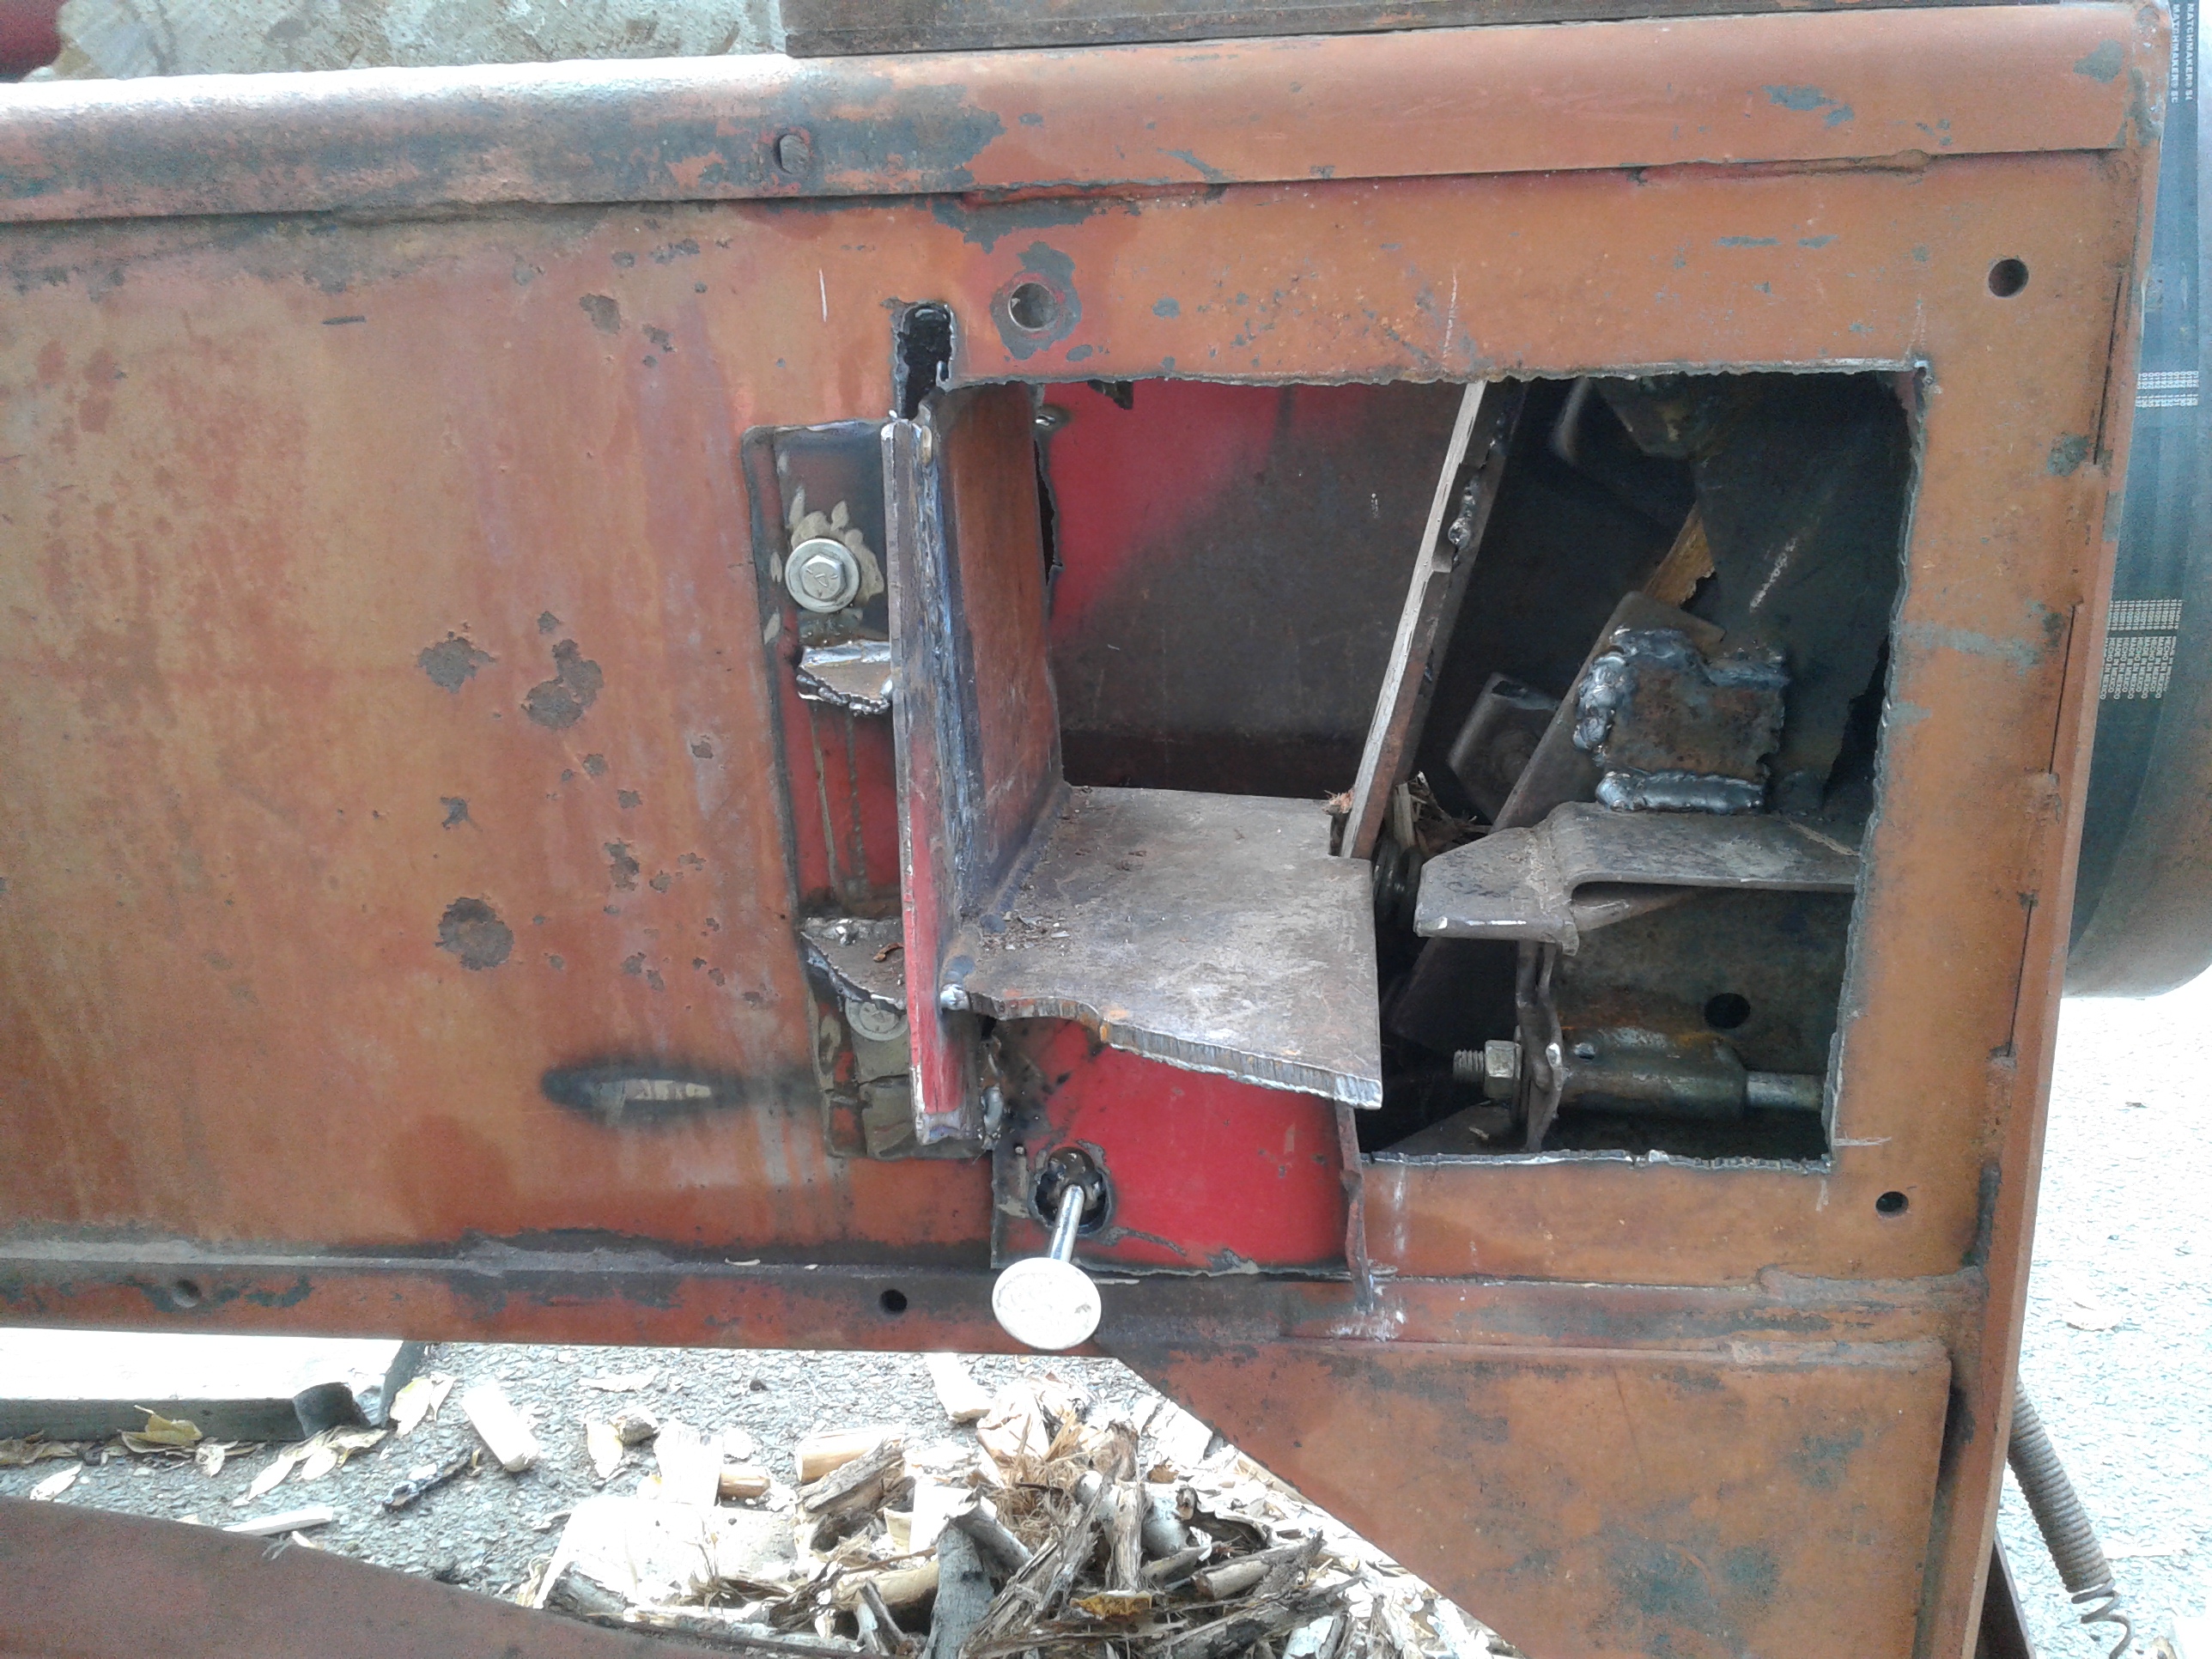
Not sure if my spring loaded anvil will work but I am going to give it a try. When the wood starts to be cut by the swinging spiraling blade the spring anvil will move exposing the cutting part of the anvil. It will move about a 1/2" . Two edges cutting instead of just one. After the cutting is completed, it will pop up and allow the next piece to slide in to be cut.
Well that’s the plan. I will be able to block it if it doesn’t work.
The piece I using for the hinge even has a grease fitting, it is part of the wire wraping tier for the hay bails. It should last awhile.
The days and day light is getting shorter. I am going to have to start skipping my after lunch nap, to get more accomplished in the day light hours.
Bob
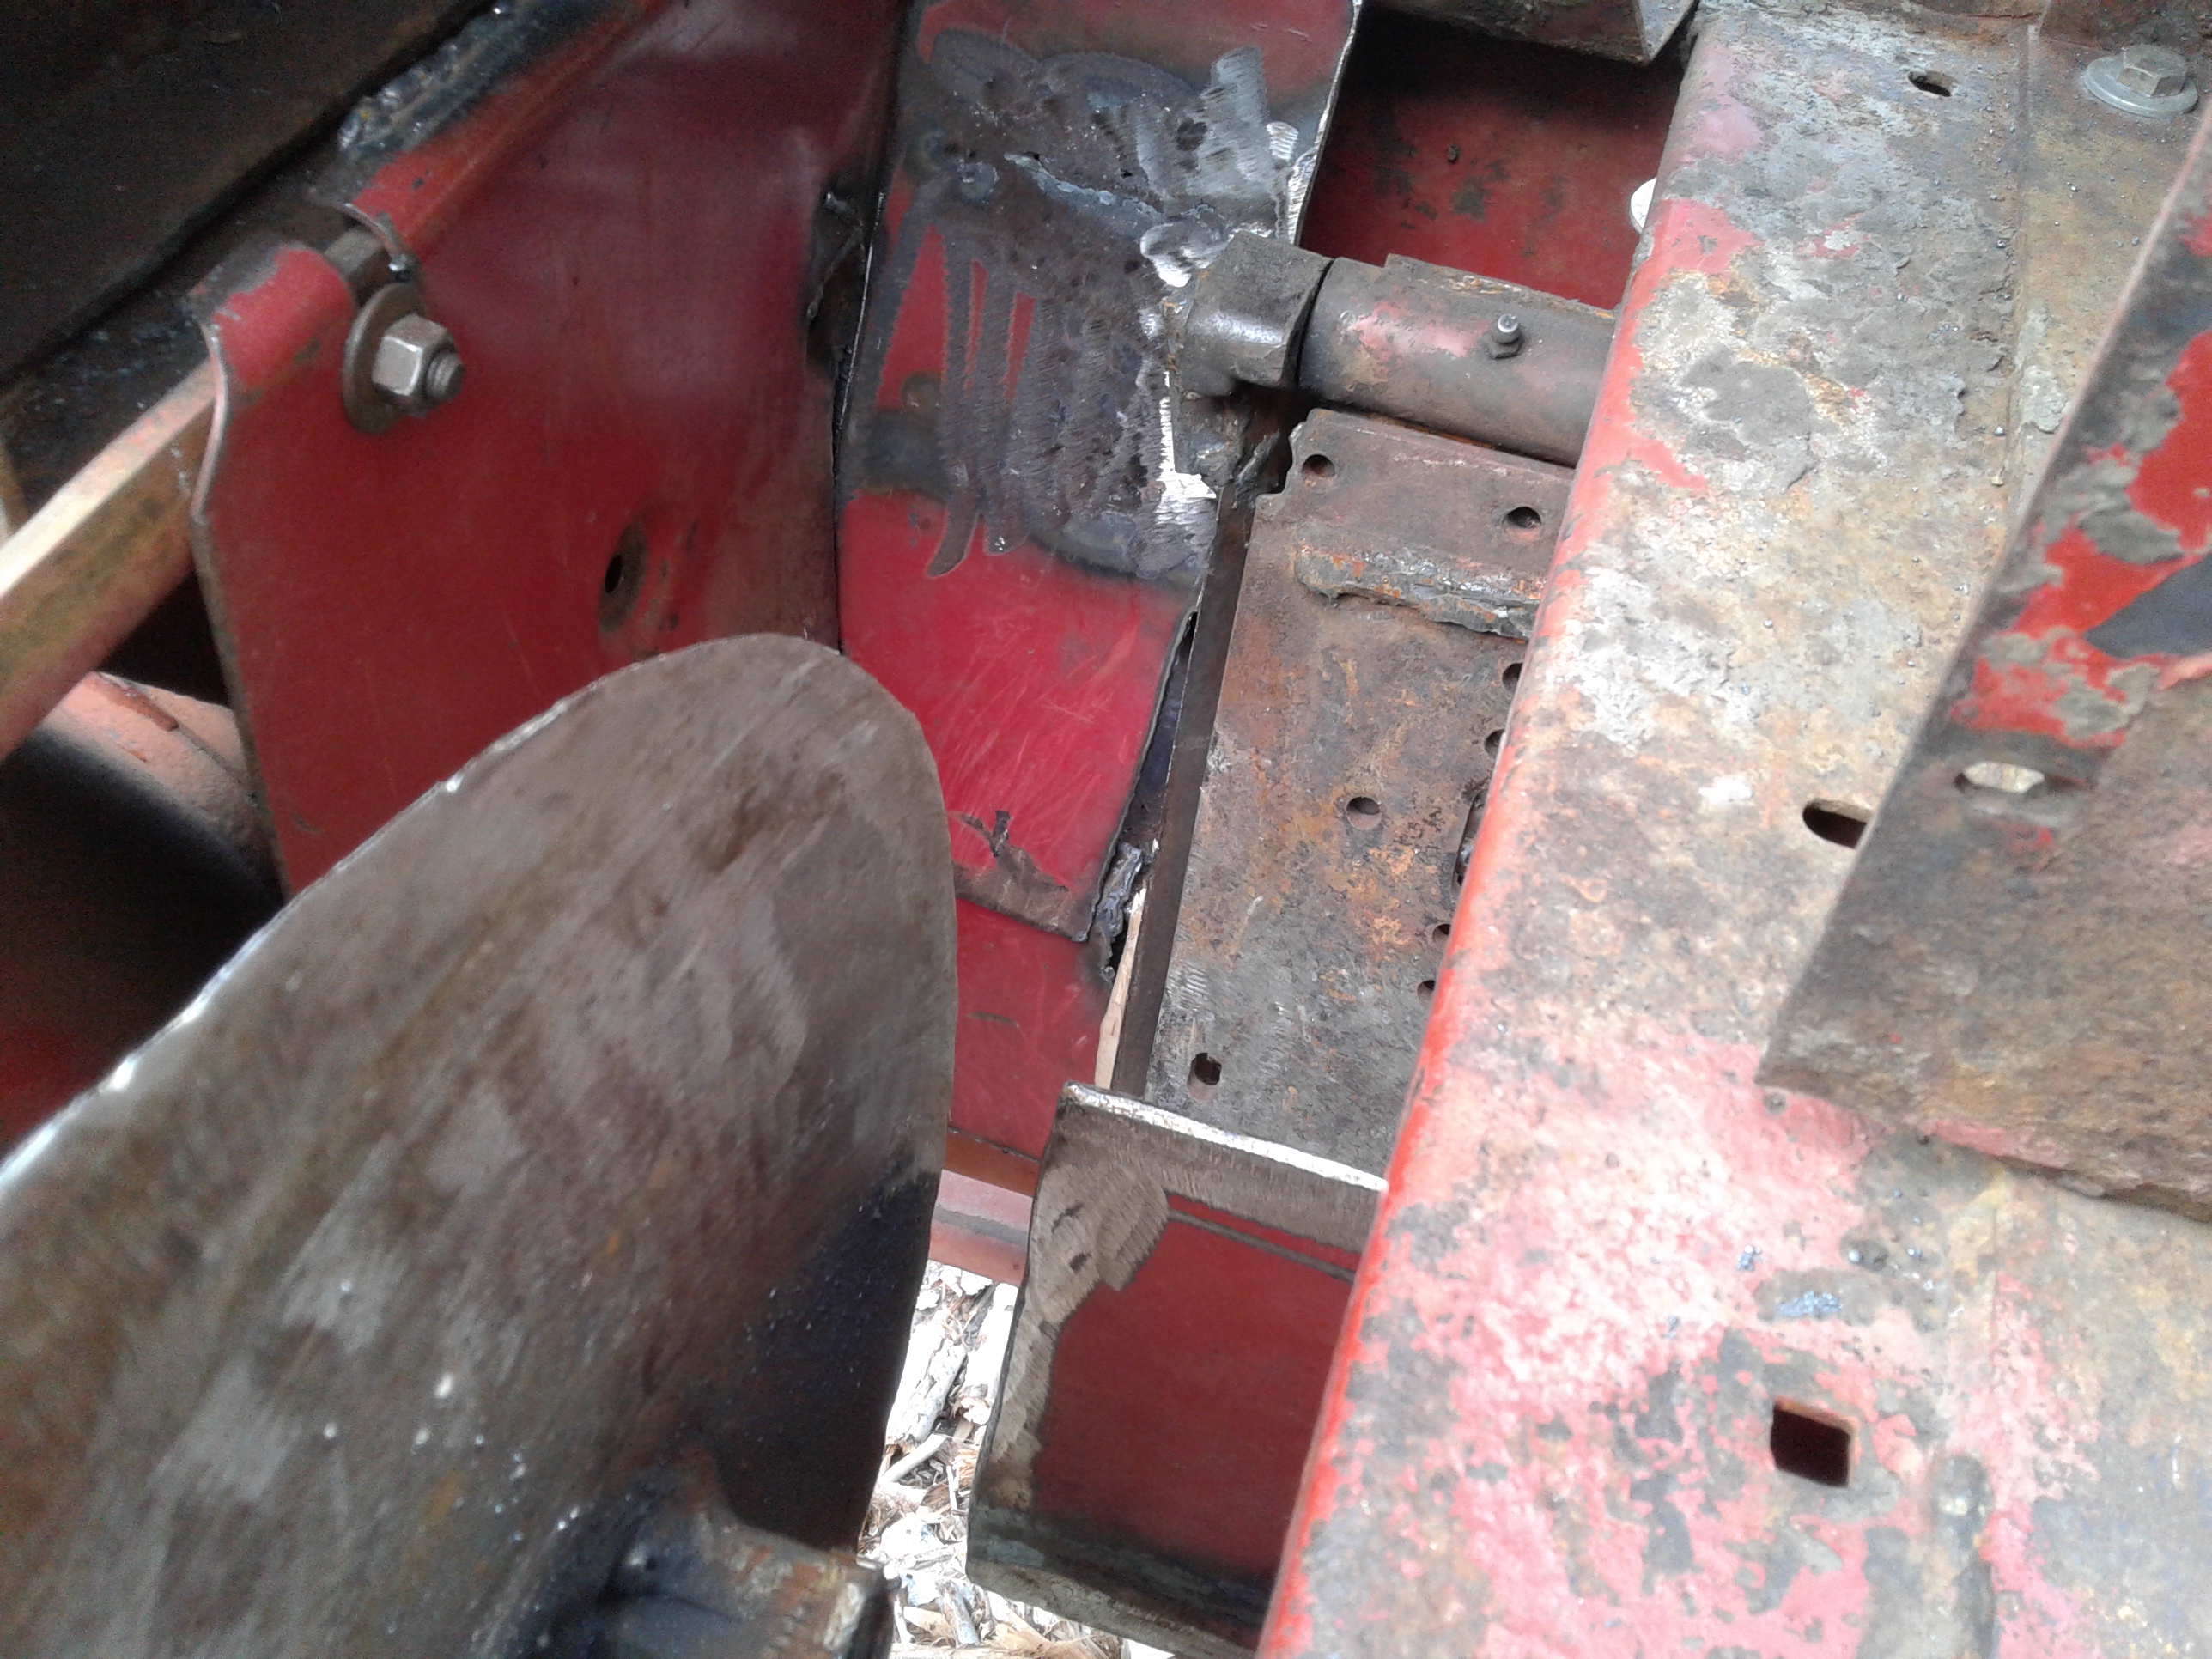
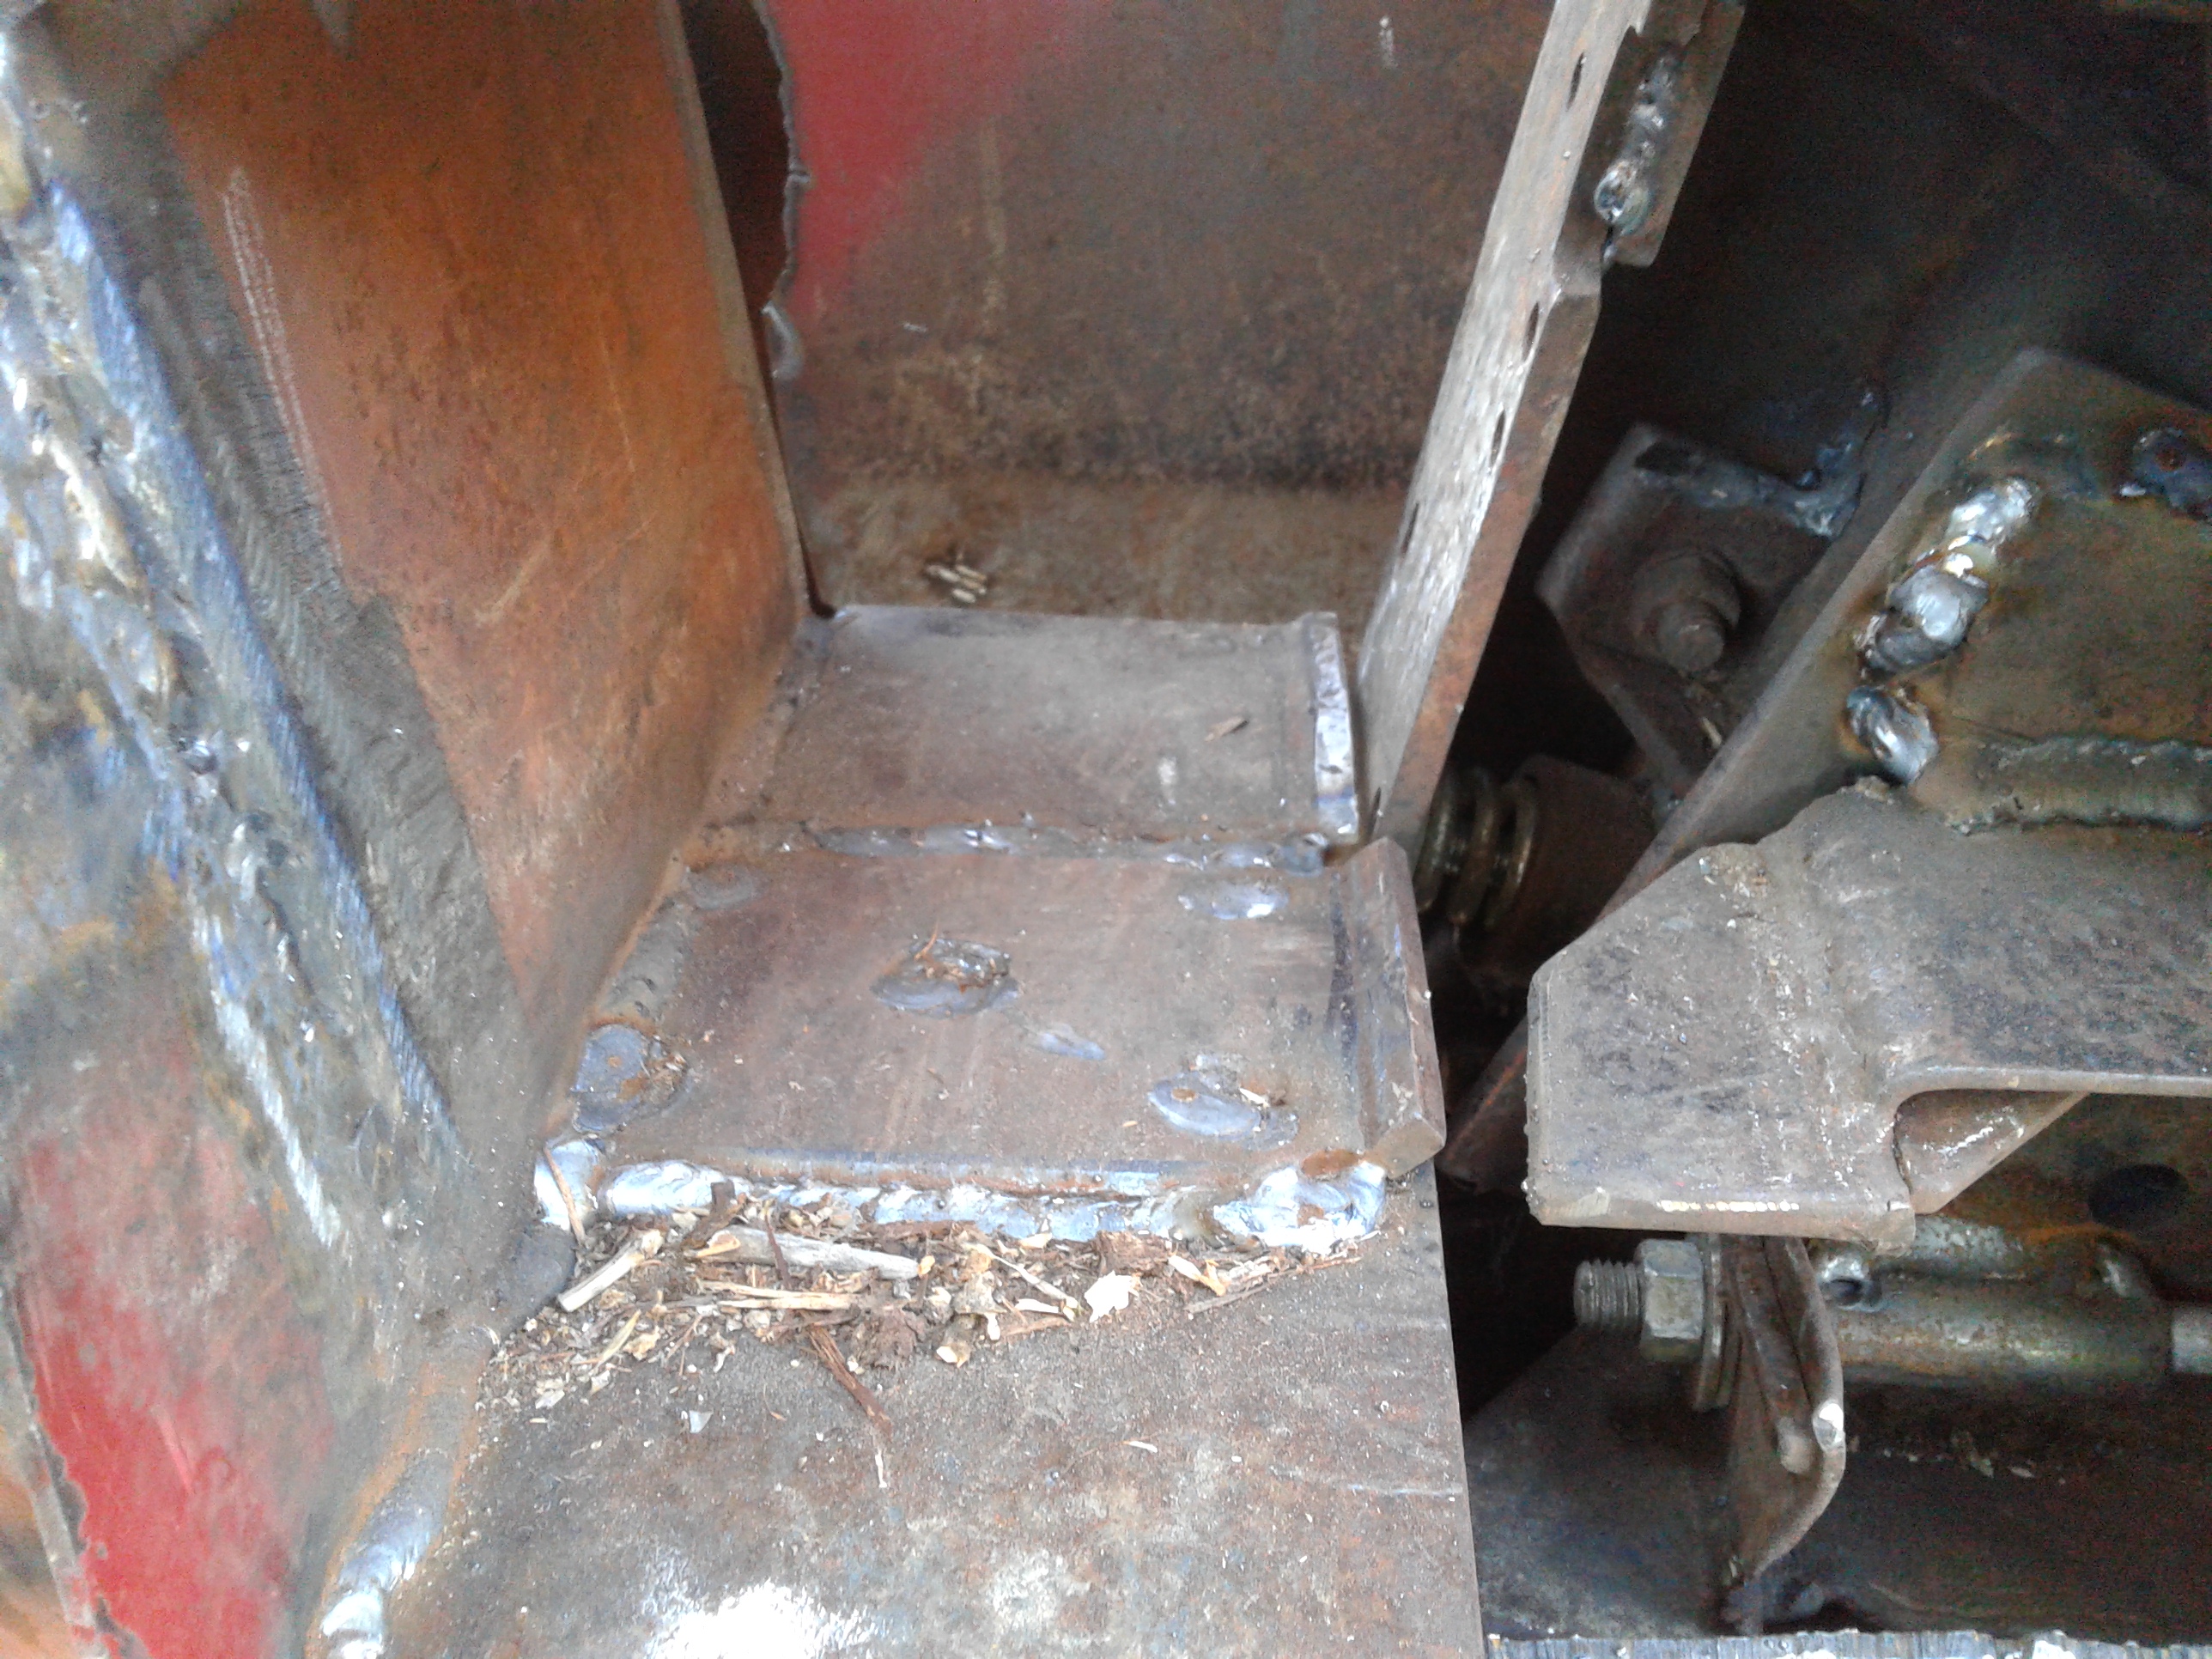
Well I could have welded my anvil in place to day, but that’s not my stile. Instead I am going to bolt the anvil assembly into place. The reason is for sharping, maintenance and repair if needed. It will bolt block three directions with shims so it will not move.
It’s raining so back inside I go.
Bob
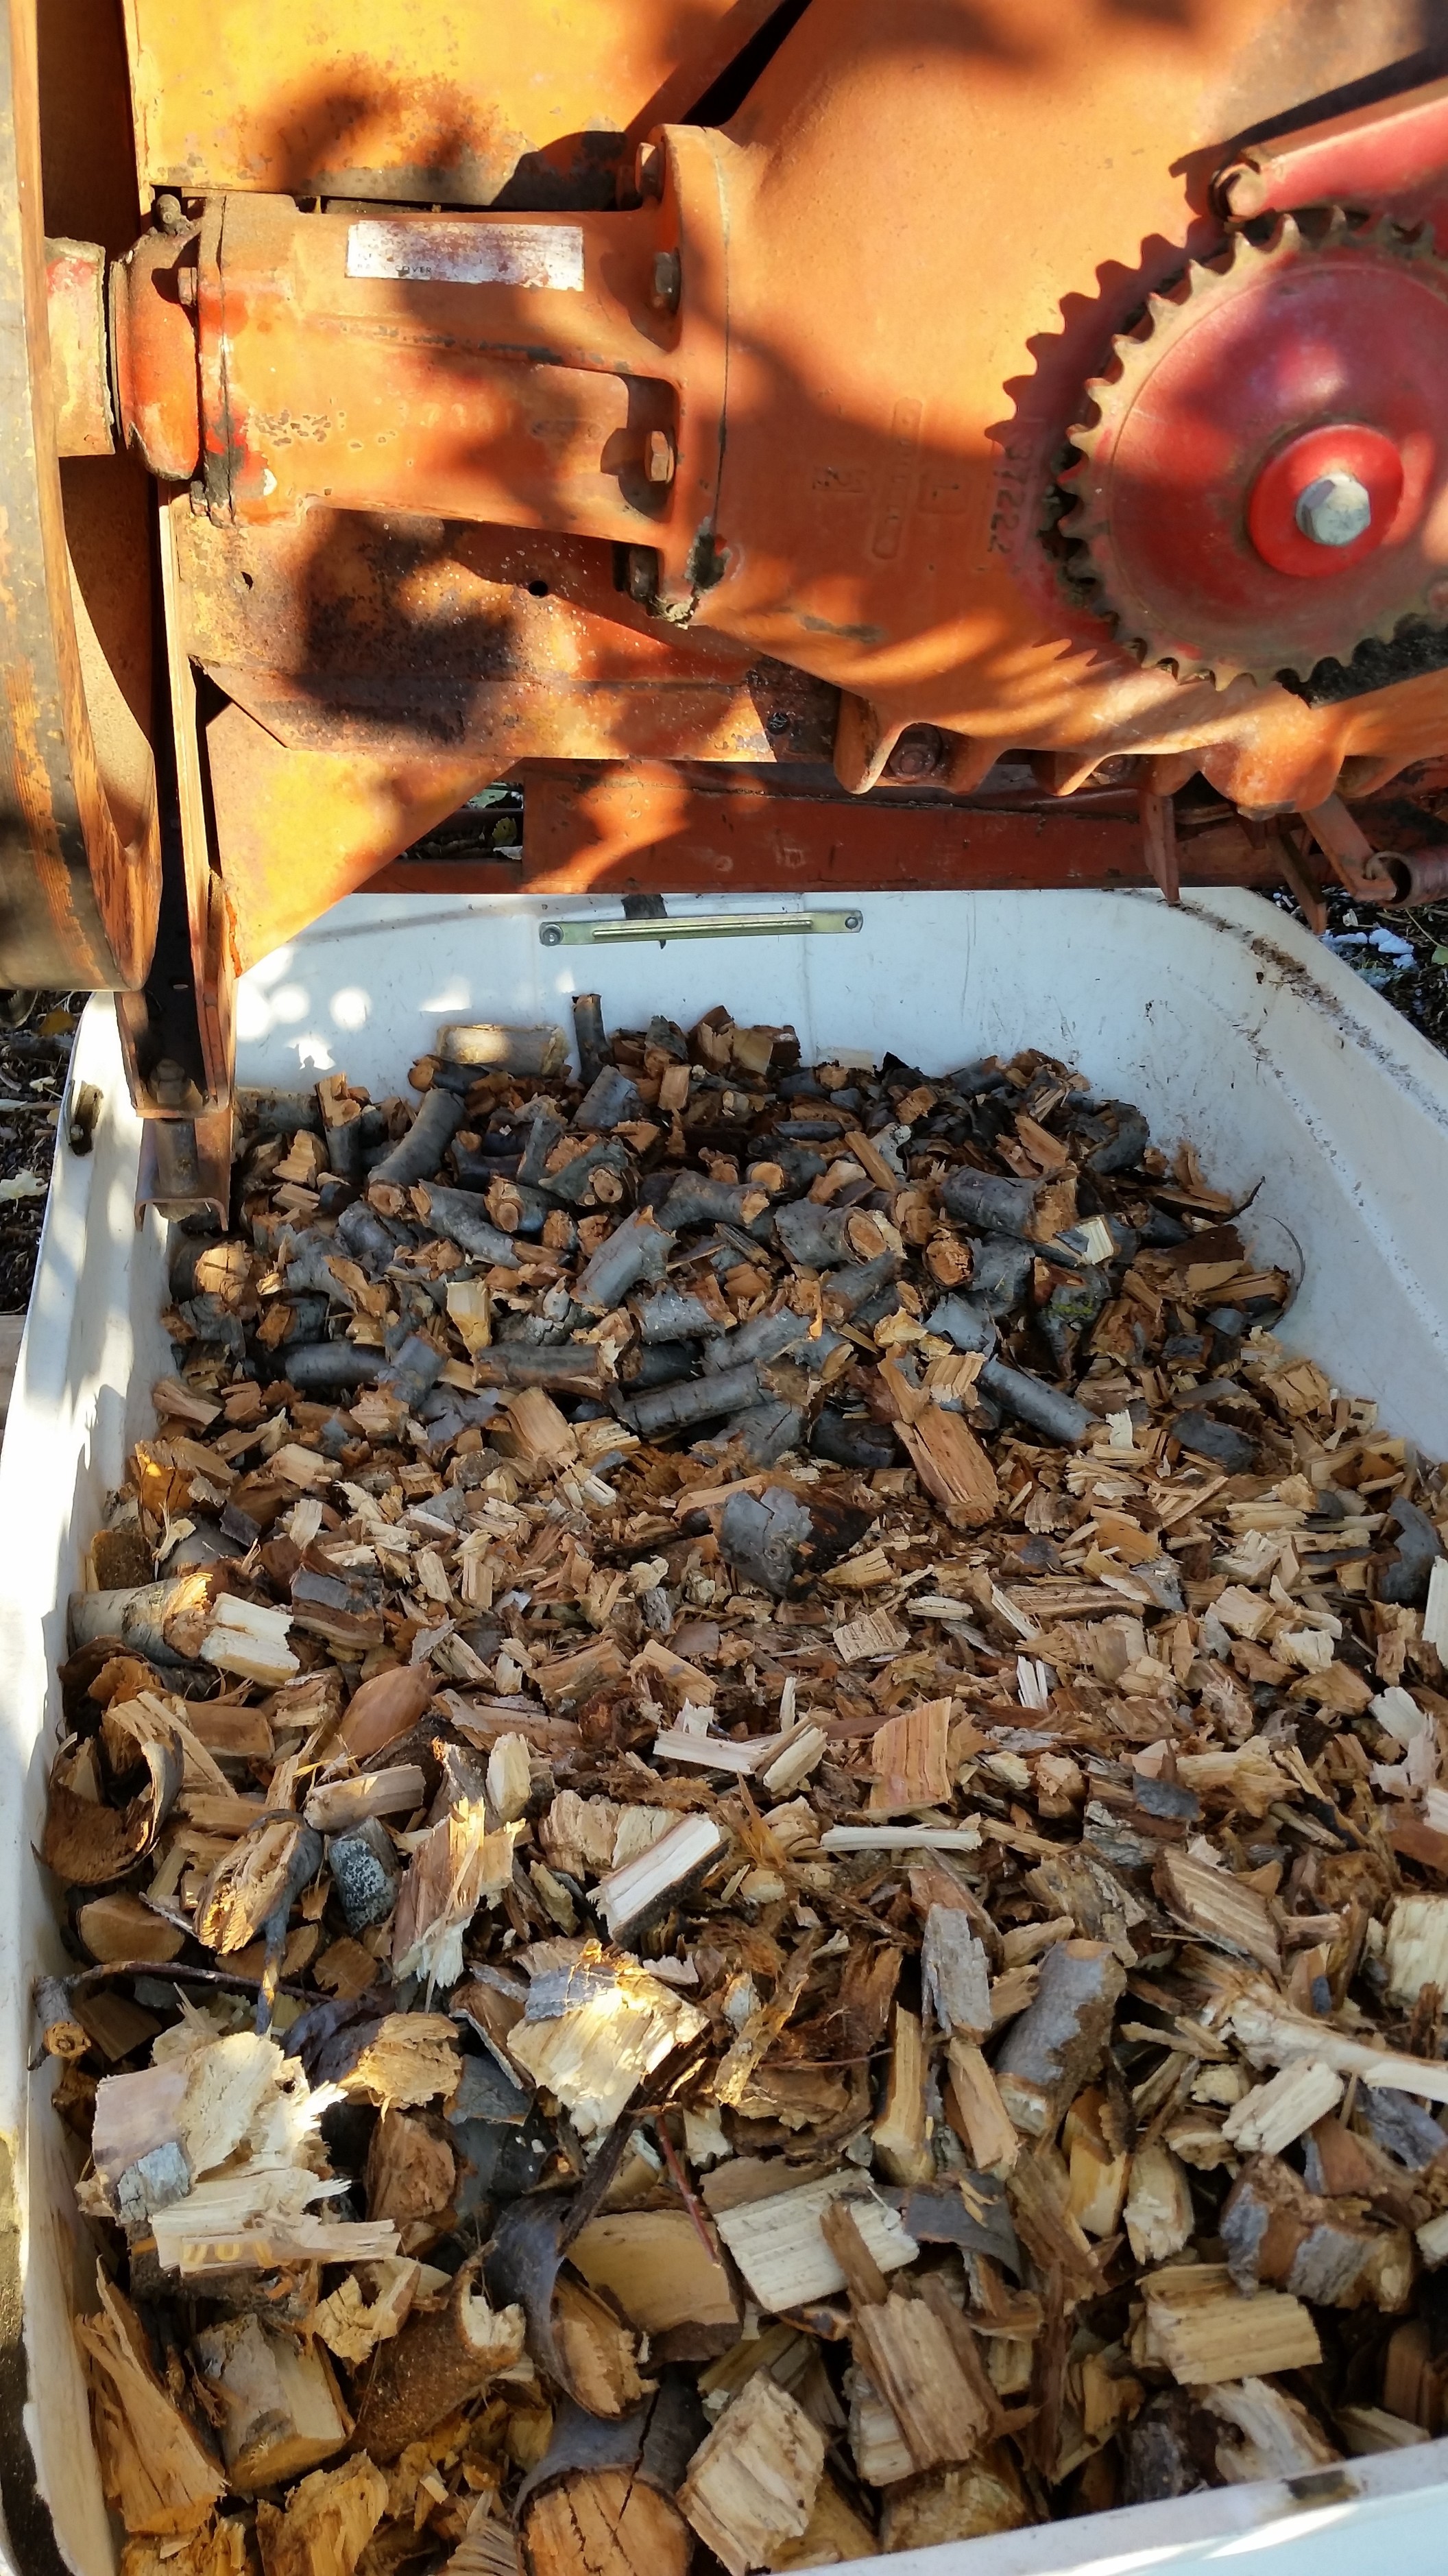
This a couple of minutes cutting some old hard poplar, sliced them like hard butter.
The bottom anvil plate is going to get one more plate welded to it. Finish up the belt and blade cover box plates and it will be done on the chuncker part.
The engine was just idling cut this wood. Didn’t even slow down a bit. I have plenty of power for wood gassing it.
MY WOOD CHOPPING ARM IS LIKING IT ALREADY!
Bob
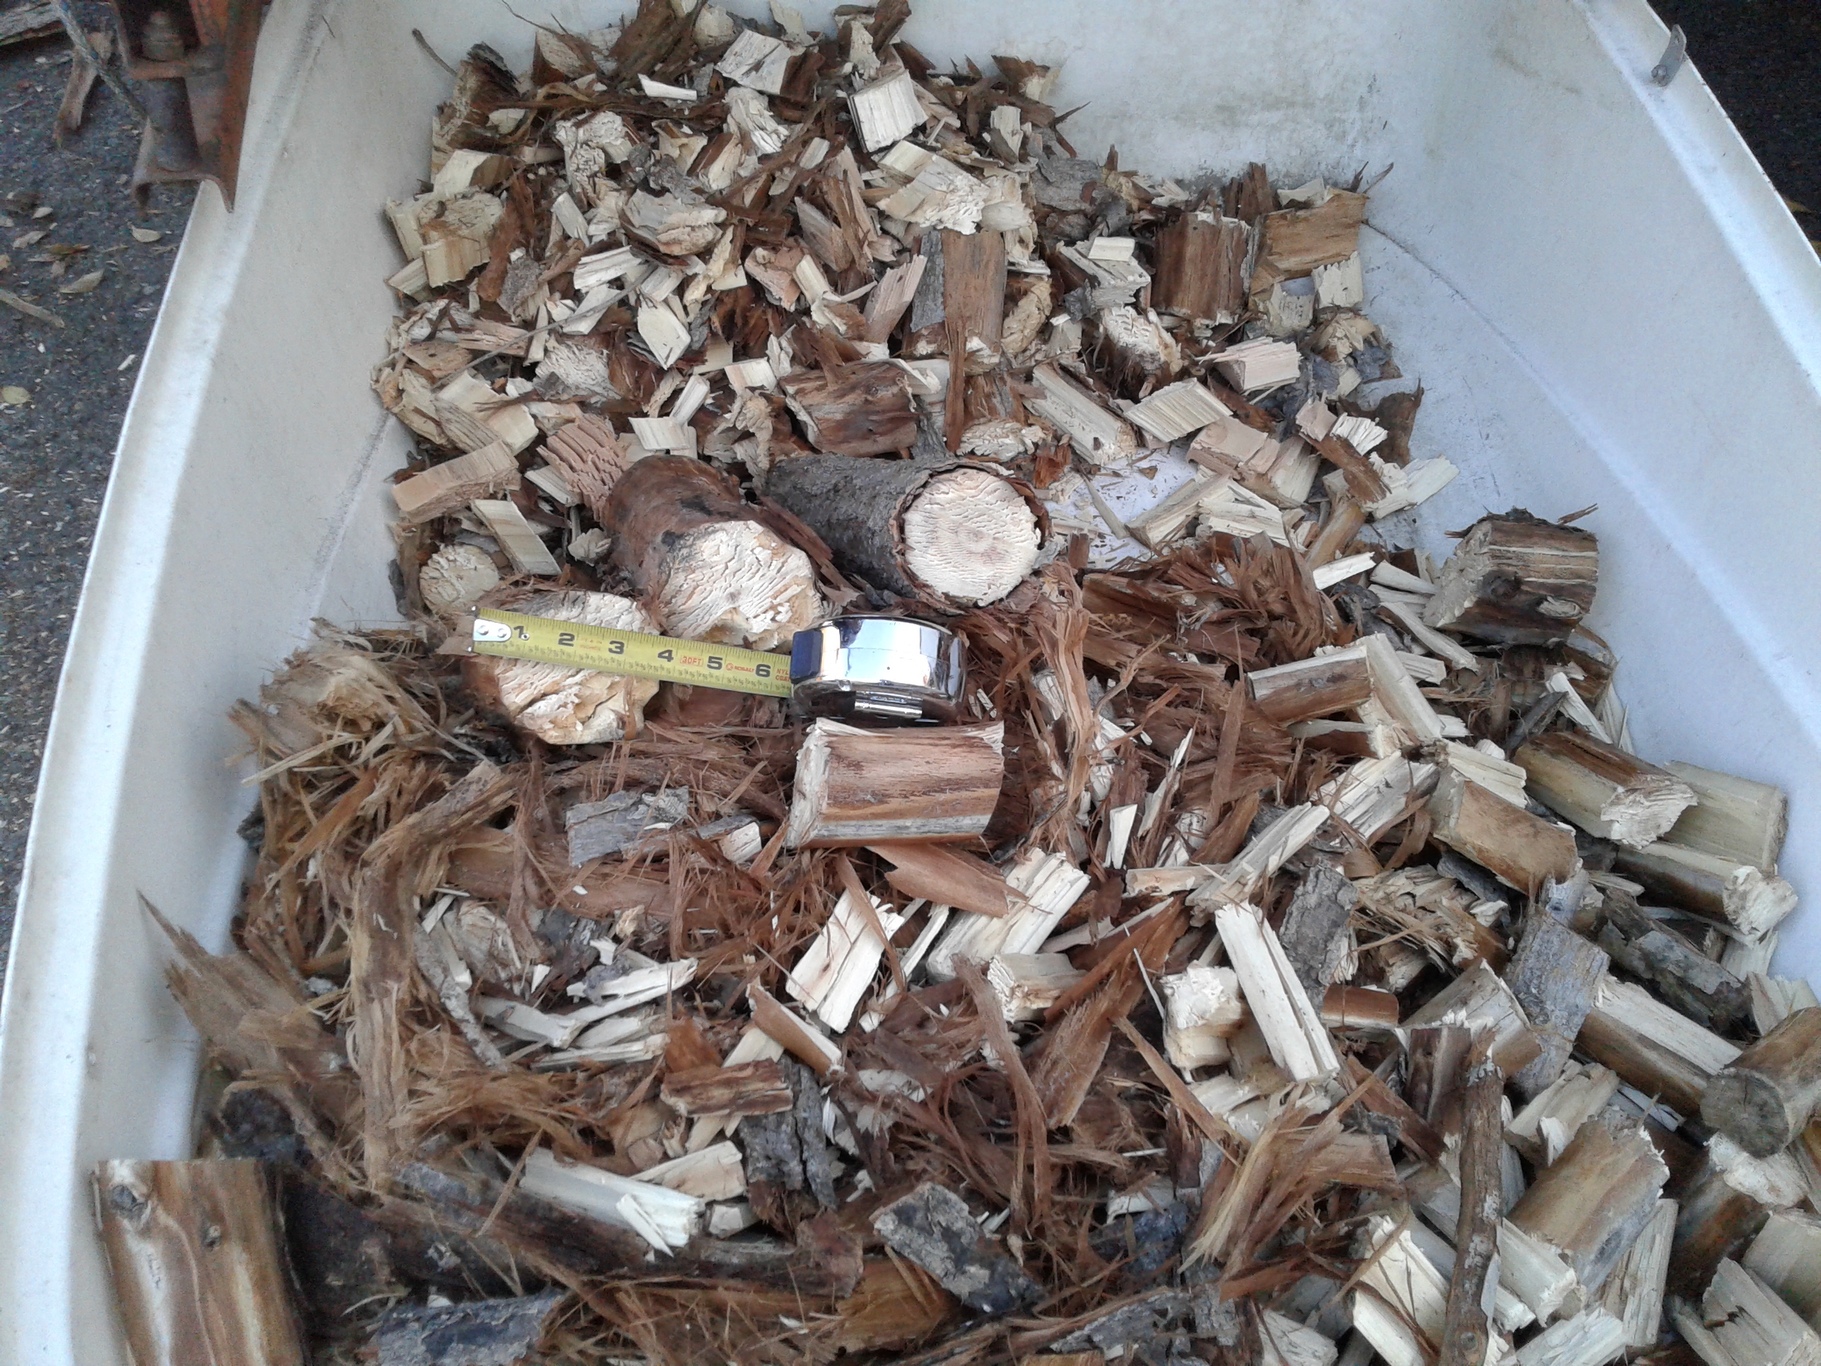
In about 20 minutes, from taking the wood out of the brush pile, to bring it up and running it through the chunker. Then bagging it up and into the back of the truck. Three full bags of wood at 70 lbs. That will get me 60 miles or so down the road. I was spending a couple of hours cutting and putting a hatchet to the wood to get it read to be burned.
The wood was up to 4" diameter and it is fractured on the bigger pieces.
Added some more steel to the anvil bottom plate, when the rest of the anvil is welded up to the front plate it well be good and strong. I have been watching the spring loaded part of the side plate. With the rest of the anvil plate attached I would not be able to see how it is operating. Looks good on that part.
A lot of that looks like it was ran through a chipper
The dry wood must fracture a lot
I am interested to see the difference when you chunk some green stuff.
Yes , that wood was 2 years old , planning on cutting some green stuff today, and try the chunker on a more green diet.
Need to first finish the front anvil plate.
Bob
Hi all, finished up on my split anvil and got it all bolted in yesterday. A lot pieces to cut and weld up to make the intake box. The side anvil on the right side is separate from the box intake and bottom anvil plate. Forgot to take a picture of the finished set up.
I was so tired by the end of the day. I did not even test it out.
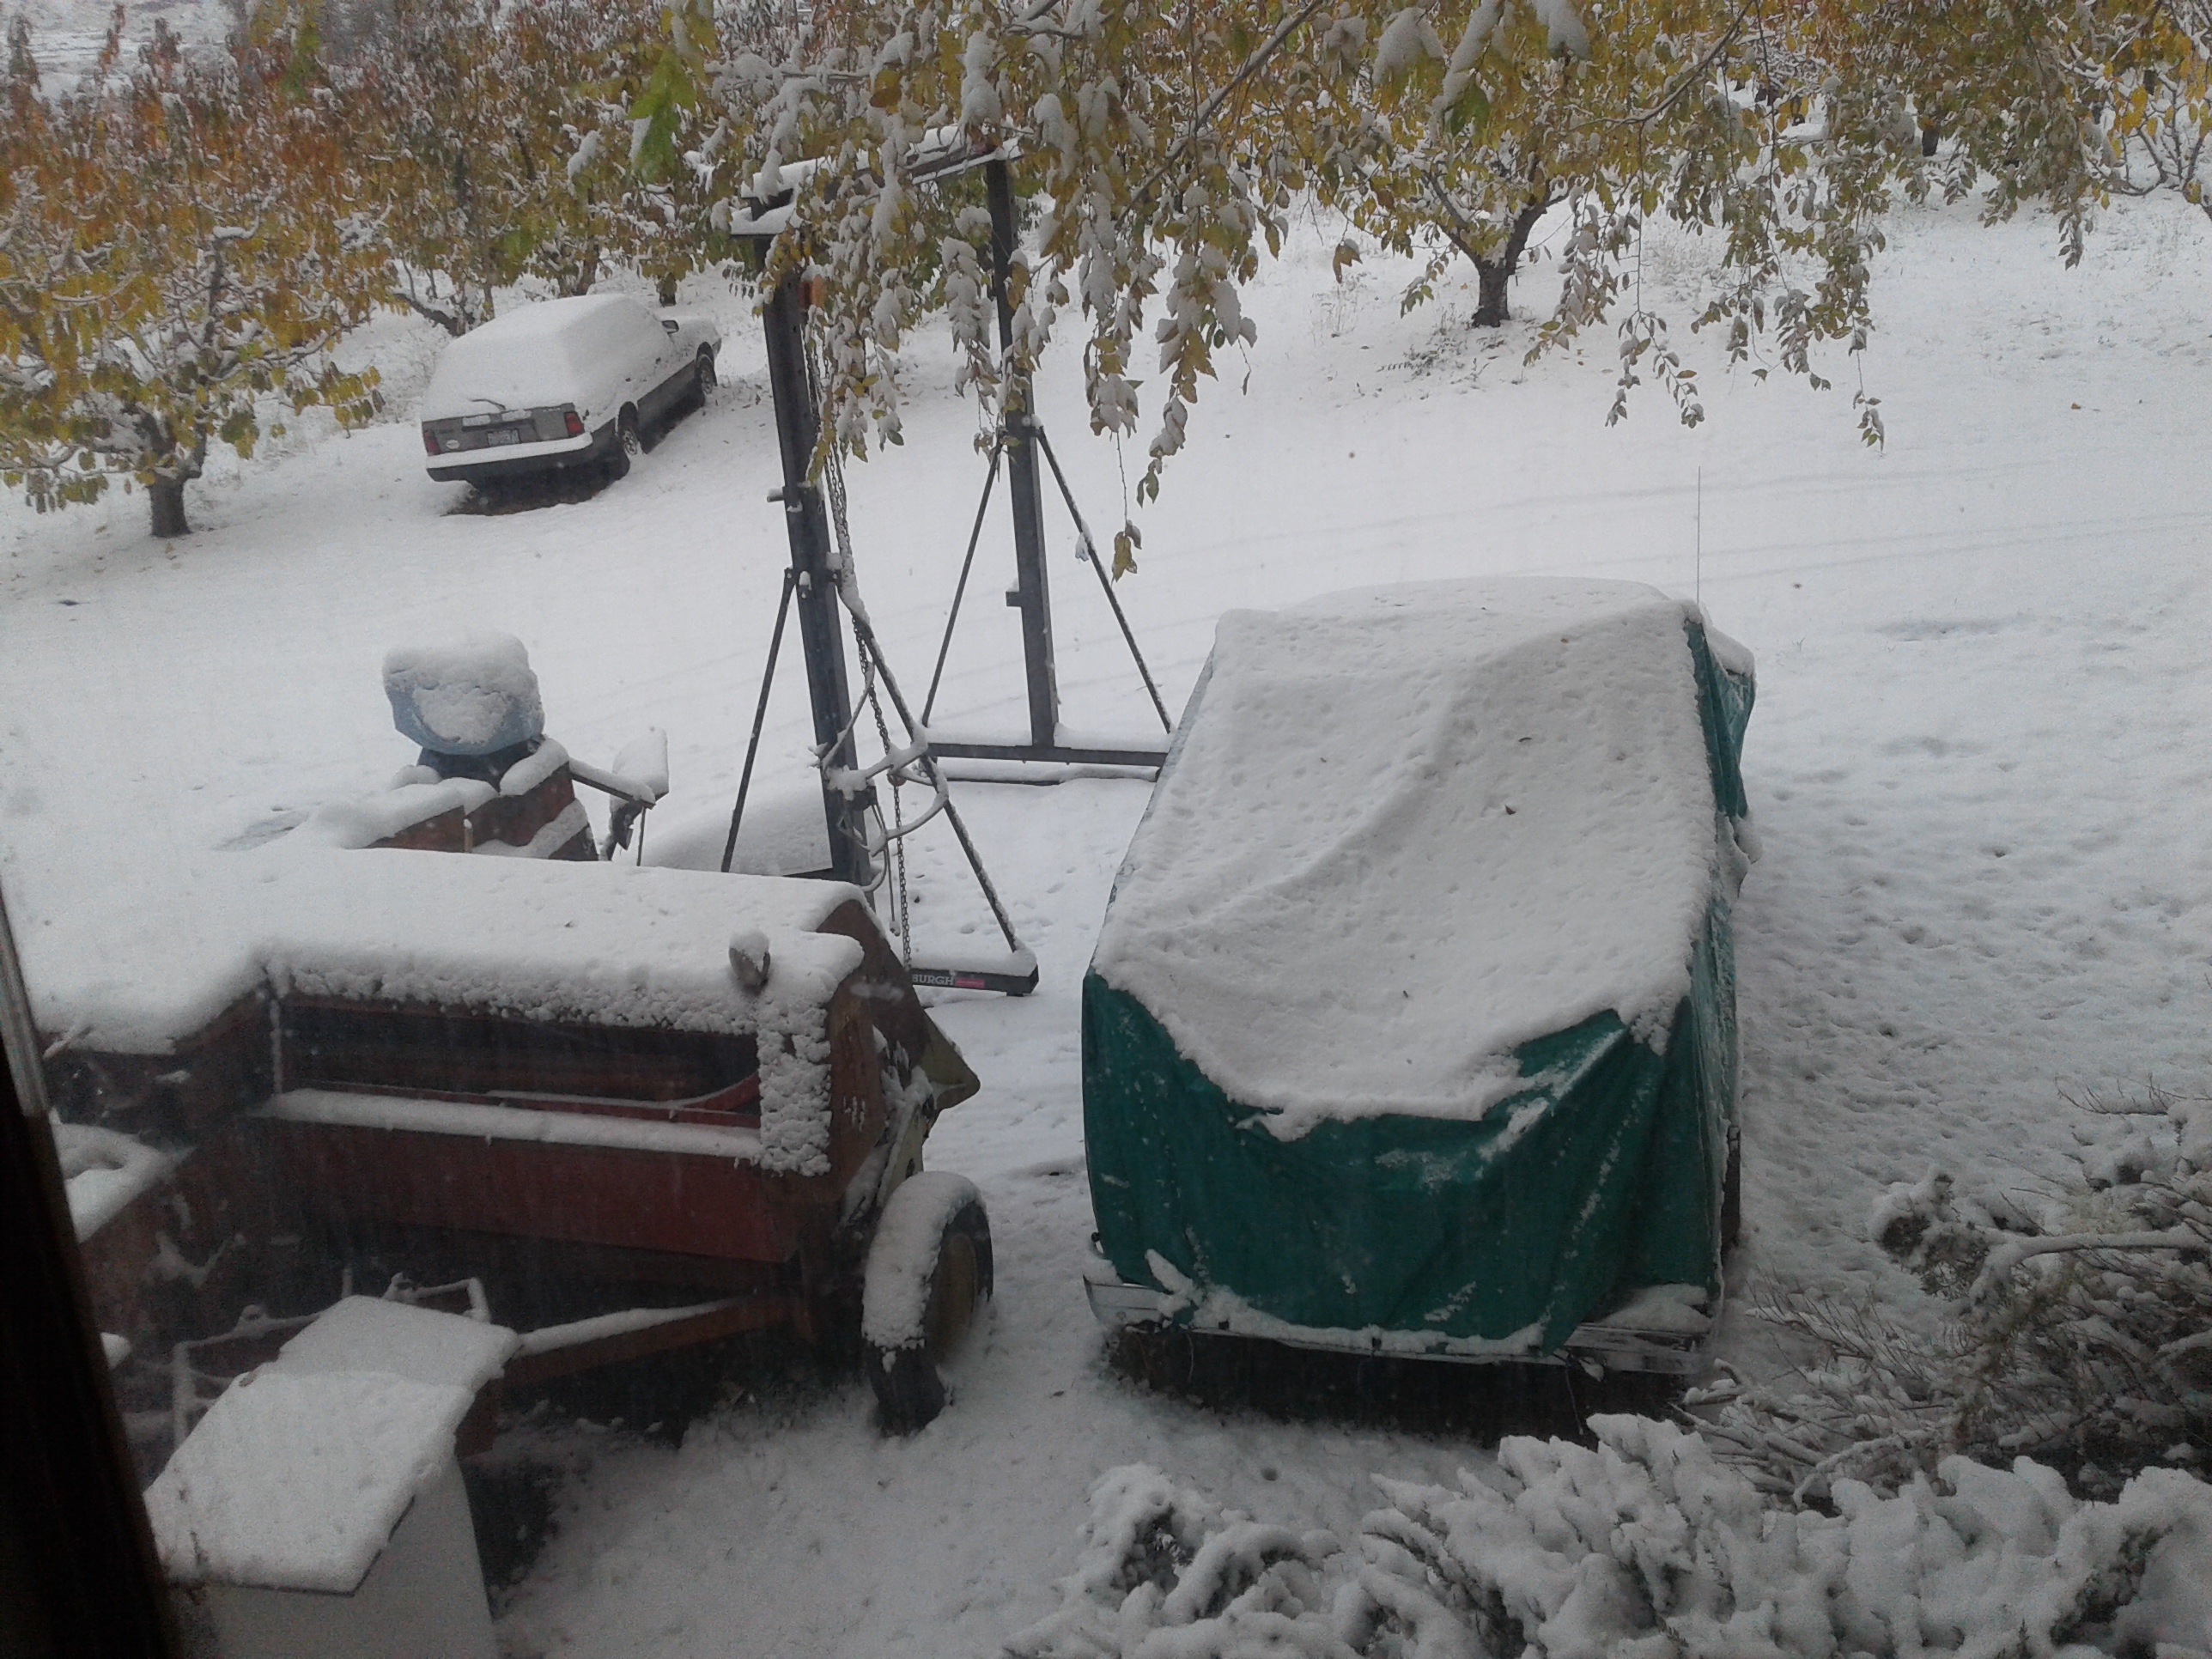
I still had the “Pray For Snow” outside event to go to down town, that Mission Ridge puts on every year, with live music, food, drinks and just seeing the Mission Ridge Family of friends. It was a nice turn out and a lot fun. It Worked!! A couple hours have the event was over. It started to snow. I set back the clocks and got up this morning to this. The event was scheduled 6 months ago. As they say. “Go figure”. Meaning, how did that happen. Prayer Works.
Winter is here. Hope this batch of snow doesn’t stick around to long. Still need to move the chunked down below between the row of poplar trees by my wood storeage area.
I will finish the belt cage guard later.
The tarp over the truck and bungey tie downs works great, and covers the front windshield so there is no scraping needed.
Time to wax my skies and snowboards and get ready for a new season of sliding down the mountain. At 66 years old, I am the oldest snowboard rider on the mountain. Getting older is not for sissies.
Bob
They started making snow Oct. 30th usually Mission Ridge opens the day after Thanksgiving, but if it snows and get good coverage on the slopes they will open up sooner. The weather is calling for rain down here on the river, may be a little snow. It is Sunny and warming up today, 40* outside right now at 11:30 pm. I think I’ll move the chunked down by the wood pile and do some chunking.
Bob
Here are a couple of videos of the chunker doing its thing.
I chunked up about 270 lbs. of wood in about 2 1/2 hours. that was taking the wood out the
pile and hauling up to the chunker and bagging the wood up and into the covered storage area, took my time didn’t break a sweat. It would have taken all day to do that much wood. Is a chunker worth building, YES! And as you can see my office is still in the same place with the view.
Sorry about the camera work, need to practice up a bit.
Bob
This car top luggage carrier top is the best thing I have found, I the bottom part too, keeps all the wood in one place and it is easy to run the fork or shovel through to pick up the wood chunks.
I still want to build the conveyor belt but that will have to wait until next spring. I HAVE WOOD TO CHUNK!
Bob
I like it Bob. It’s a very sturdy and powerful machine.
Maybe you have said, what size engine are you using? I use a 15 hp Kohler ith mine and is strong enough to use with wood gas. Is that your plan too?
It seems to be jerking the limb around as you feed it. It also seems it can cut the limb in at any part of the opening where the limb is advanced. As I see it, the blade positions the limb as it is cutting it. I imagine you can feel every cut. I wonder if you design the blade similar to Don M’s where it slides the limb away from the center of the blade as it is cutting it, would that make it easier to handle the stock you feed it?
 HWWT + 20 more tumbs