Filter Design and Descussion for Gasifiers

See if you can find a cleaner with this stuff in it. Diethylene glycol monobutyl ether (DEGBE)

It is in a lot of floor cleaners or de-greasers. This stuff will break tar down on contact and is the best I’ve found. If you soak a bag filter in this stuff, Im sure it would clean it. I used it for cleaning the marbles from the old filters and had a hard thick coating of tar / soot accumulation. Soaking them for an hour broke down this shell of crud and returned to new again.

2 Likes

So whipped up the coarse filter bag out of the felt. So there will be two stages first stage is the 100 micron felt and this will have the Purple Power pumped thru it, Then the Silica Cloth will be in the second stage tower. I can only guess but I think that silica cloth is going to filter at around 200 to 300 microns. There should be foam carried over from the first stage but I may run the pump thru this tower as well if there is not enough saturation of the cleaner.

5 Likes

Have any of you been able to test the new filter?
Am curious about if and how it works with fabric filters.

3 Likes

My old 5 gallon bucket filter socks worked but it has wore out. It also needed cleaning out way to much. If the moisture became to high in the gases it would start to plug up. Not a good thing to happen when your are running it needing power.
Now that I am building a new bigger charcoal gasifier with a nozzle protected by water around it and it will run on a higher moisture air content of steam at the intake and exiting the gasifier with a more moist chargases and new filter is needed with hay filter medium for filtering. I will still will be running my double flute also with a higher moisture air intake. it was time for a new bigger and better filter.
I love my filter that Chris S. Designed it does not rust, being it is a all plastic barrel.
A no weld is a must and building for a low price.


A hack saw no a sawall and jigsaw is needed to cut theses barrels. My father in law works at the car wash and brings home these barrels good quailty for the solution that they use to clean vehicles.
By cutting them a curtain way they will fit tight and seal even using a top of a barrel as a lid and a 18" bicycle intertube for a seal casket.

It is going to be over 5’ tall. Did I say it was going to be big? lol
Okay I know that is going to be a lot of chargases stored in a container.
Safety , safety, safety, is needed here. This chargas spin cycle , and water separating hayfilter has three stages like my little 5 gallon bucket did. But using hay instead of 4 socks that would plug up to quickly in the wet gases mode. The three stages will not be bolted together so in case of a sudden gas puff it will burp out the seams with only weight of the barrels and spring tention between the barrel seals.

I tested the sealing of it with my shop vaccum and yes the upper stage of the filter barrel did start to coalaps from the vaccum on it. So I will place four 2x4’s on the outside. The 2×4’s will need to be fits to also serve as the stand because the drain pipe, and chargas intake will be from the bottom.
Here is a diagram to refresh what I built before with the 5 gallon bucket but this is much bigger.
The fine treads on the barrel fit the 2" pvc fitting treads the course thread plug will be drilled out and pipe fitted tight and glued and secured with rubber couplings.

13 Likes

i think the entering gas should at least touch the water surface…the vertical filter i have on the pasquali and on the crawler works good

7 Likes

Yes Giorgio you are right. I looked at my old 5 gallon bucket and that is what I did. So I will be removing the middle stage part and incorperating it all into the bottom with the water so the dirty gases will spin around the lower part over the water to be collected as the ash drops out. Also the buckets need to be larger in diameter so I will use a larger barrel and offset it so the gases will move faster at the entry and then slow down in the drop out zone area into the water. Then the gases will go into the smaller through a 2" pipe and be directed down again to the water serface. Need to think of a way to be able to flush this lower stage out real good with water and not have to take it apart. May I will need a plug opening on the side of the lower part of the barrel to place a water hose into it.


Trying to Keep It Super Simple. KISS

7 Likes

Okay before the sun set and the first three stars began to shine in the night for my day of rest. I got the parts cut out and fitted together. Everything just fall into place. I love it when a plan just comes all together.


I reduced the 2" pvc pipe down to a 1-1/2" pipe using a rubber coupling. By trimming rubber down on the smaller end it would screw into the fine thread of the barrel with pipe. The pipe can still be adjusted. The pipe has a 45° connection on the end, found it in my misc. pvc box of stuff. And it was the right length too.

Found some pipe wrap or insailation a couple of zip tights to hold it all in place. I will make more secure by wrapping it with some duck tape.

The spin nozzle can be rotated back and forth to the inside or outside of the barrel.

Offset the bucket hole so the bucket will slide in tight to the spin nozzle for a tight seal.

Lined up my arrows on the barrels and pressed it together with a rubber mallet.
The light in the upper barrel reminds me of Argos wood gas meetup back in 2018. Someone there made battery powered led light buckets. They were bright.

Looks good lets drop the 5 gallon bucket in.

As you can see it will be a tight fit.

It fits nice and tight. I will test it after my day of rest. Thank you Yehovah Almighty God for showing me how to build this new filter. And for the DOW people here on this site. May God bless you all.

10 Likes

Testing time.


I put the return air nozzle and filled it up to the bottom of the bucket now all the air spining around has to go into the nozzle and be directed down into the water a second time.

I put it to a good test my floor in the area needed vaccuming up so I attached the vaccum hose to the intake at the bottom of the filter and picked up the dirty mess on the floor all around the filter. It worked great.


I did have a drip leak where the riser nozzle is connected but I have not sealed any thing up yet.
I now need to build some wood side pieces to keep the side of the filter barrel side from bending inwards when have a strong vaccum pull on it.
I am calling this a success. Now on to some new cooling rails to go with the new Spin Hay Filter and the new Water Nozzle Charcoal Gasifier.
And yes I am still working on the Jeep Gasifier too.

15 Likes

After duck taping my gas intake riser spin nozzle up and checking it for a proper seal. I silicone the gas intake where it was drip leaking.


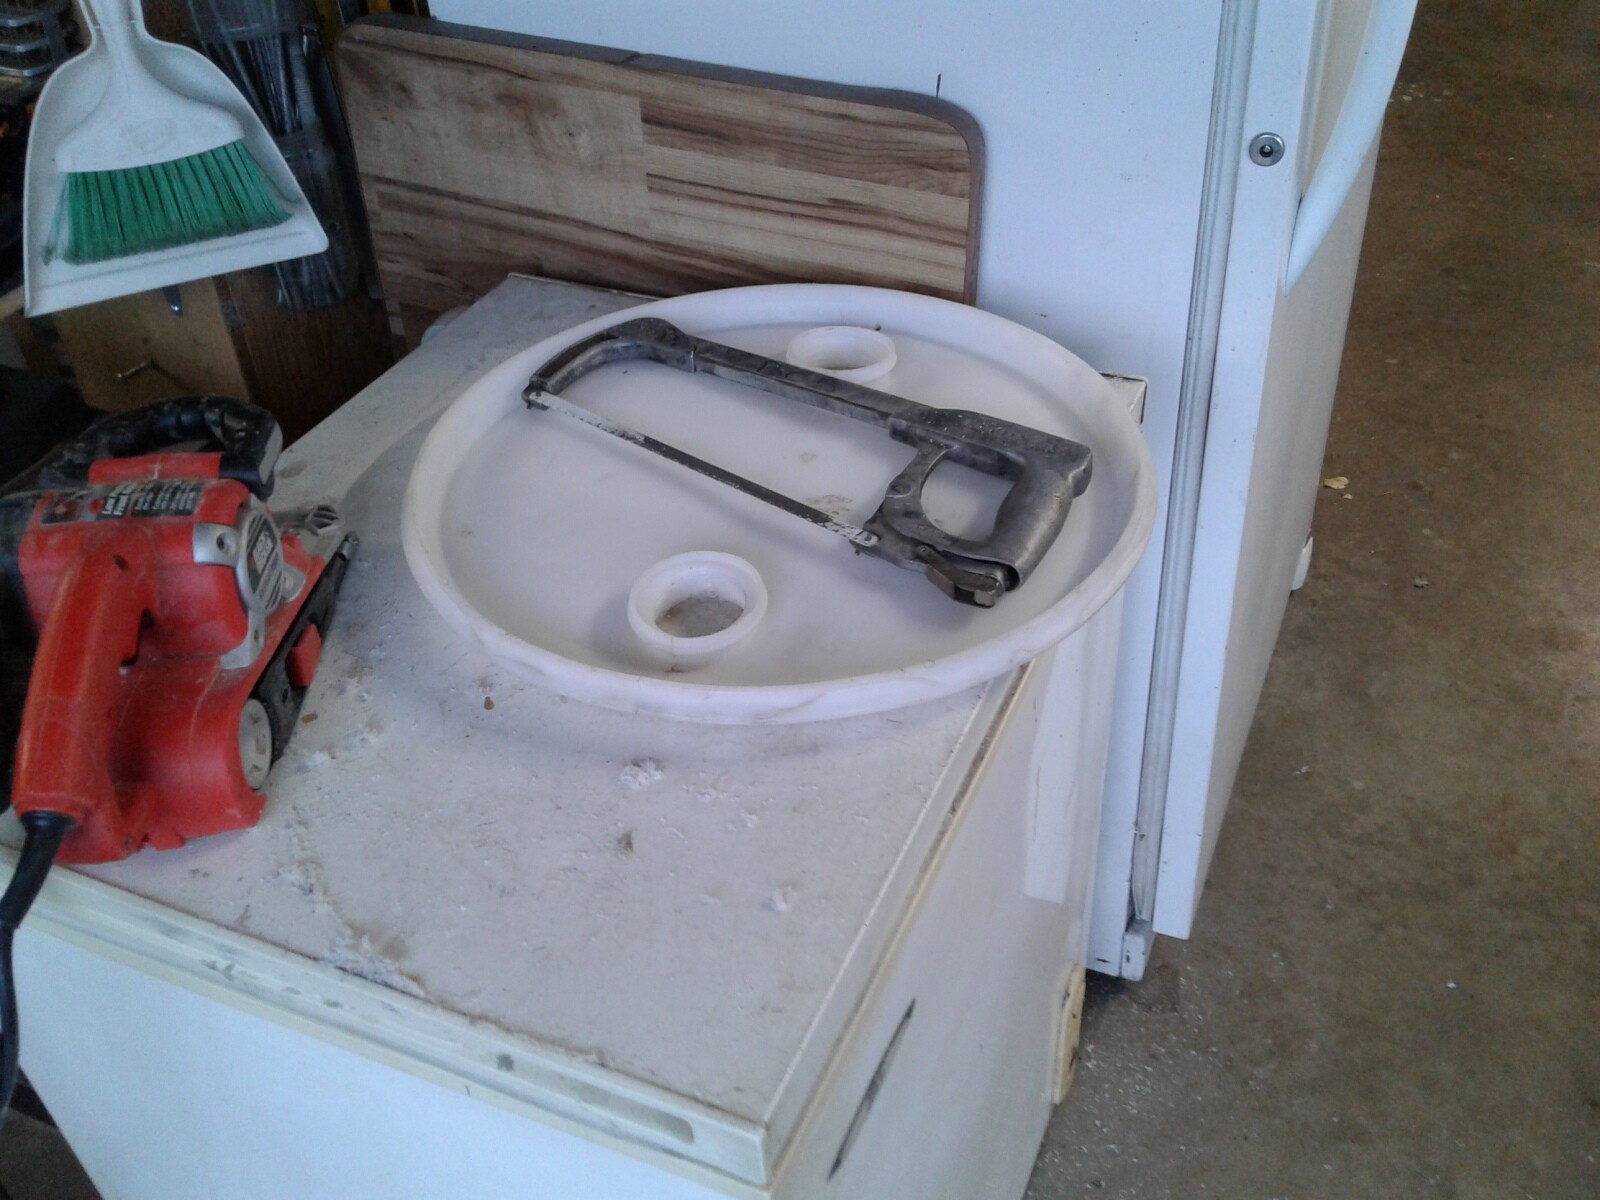
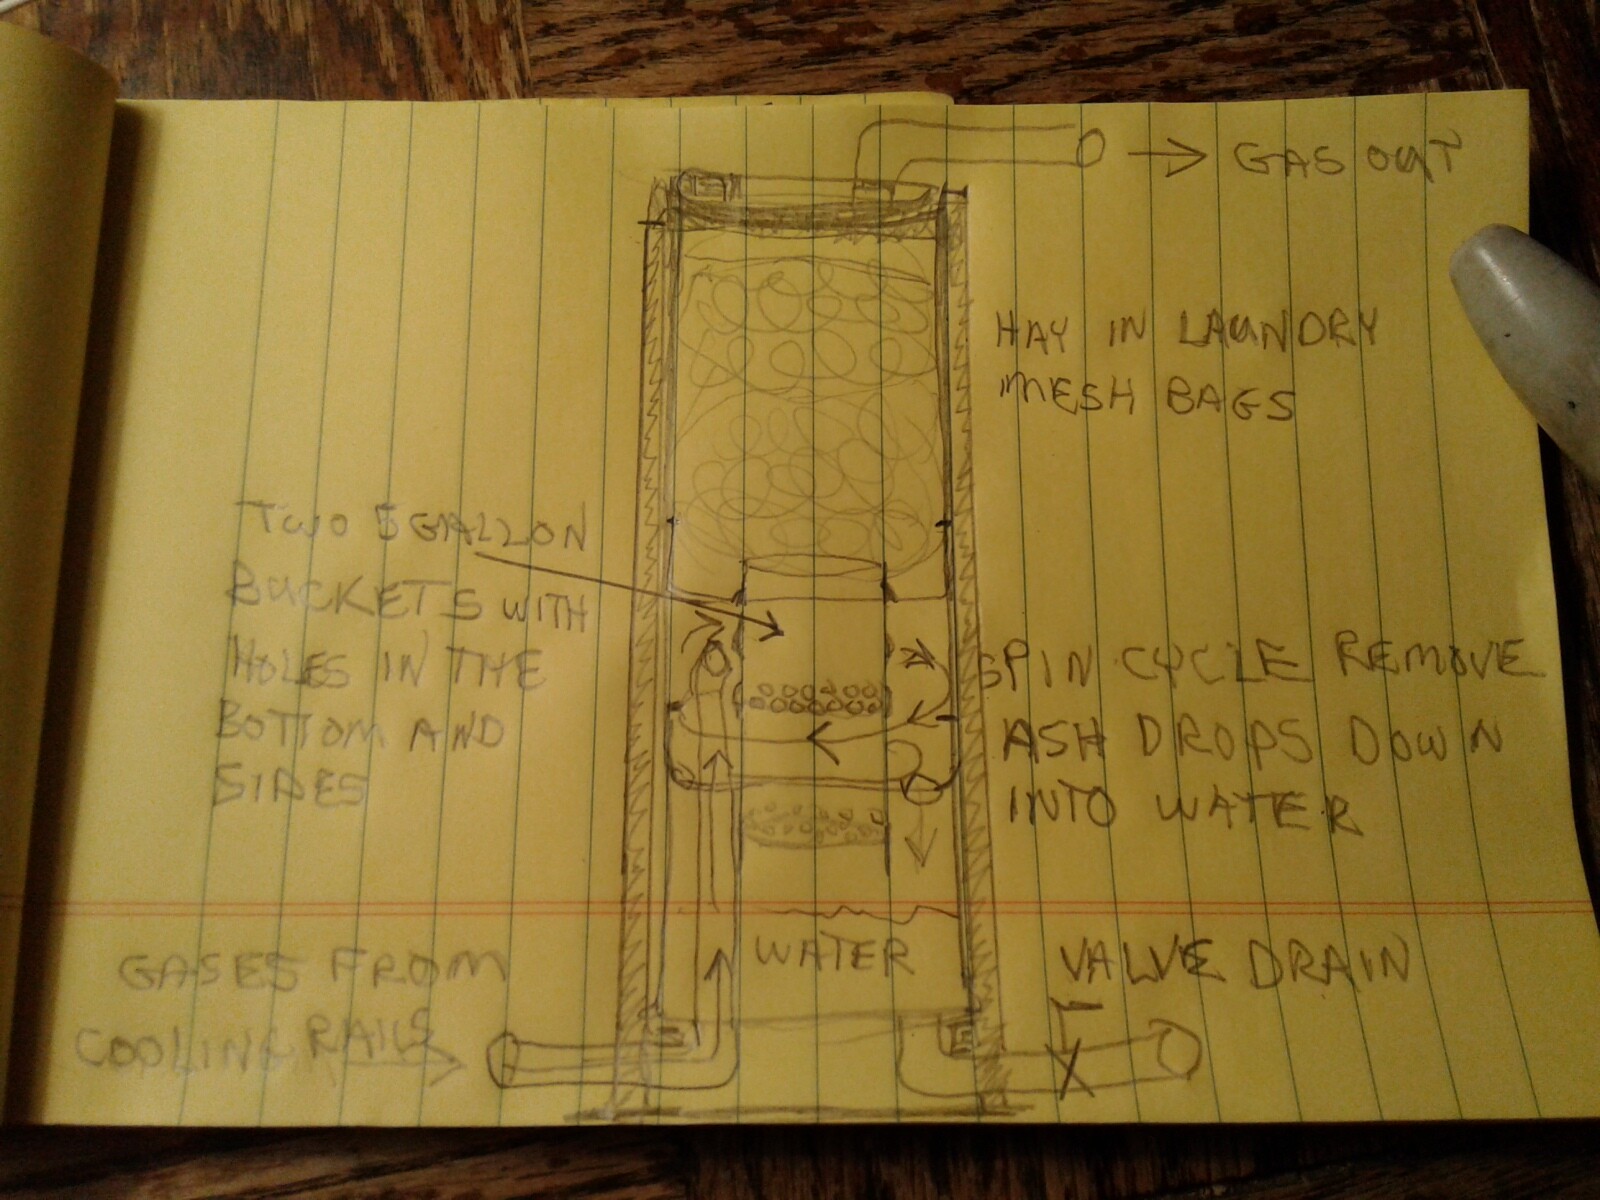
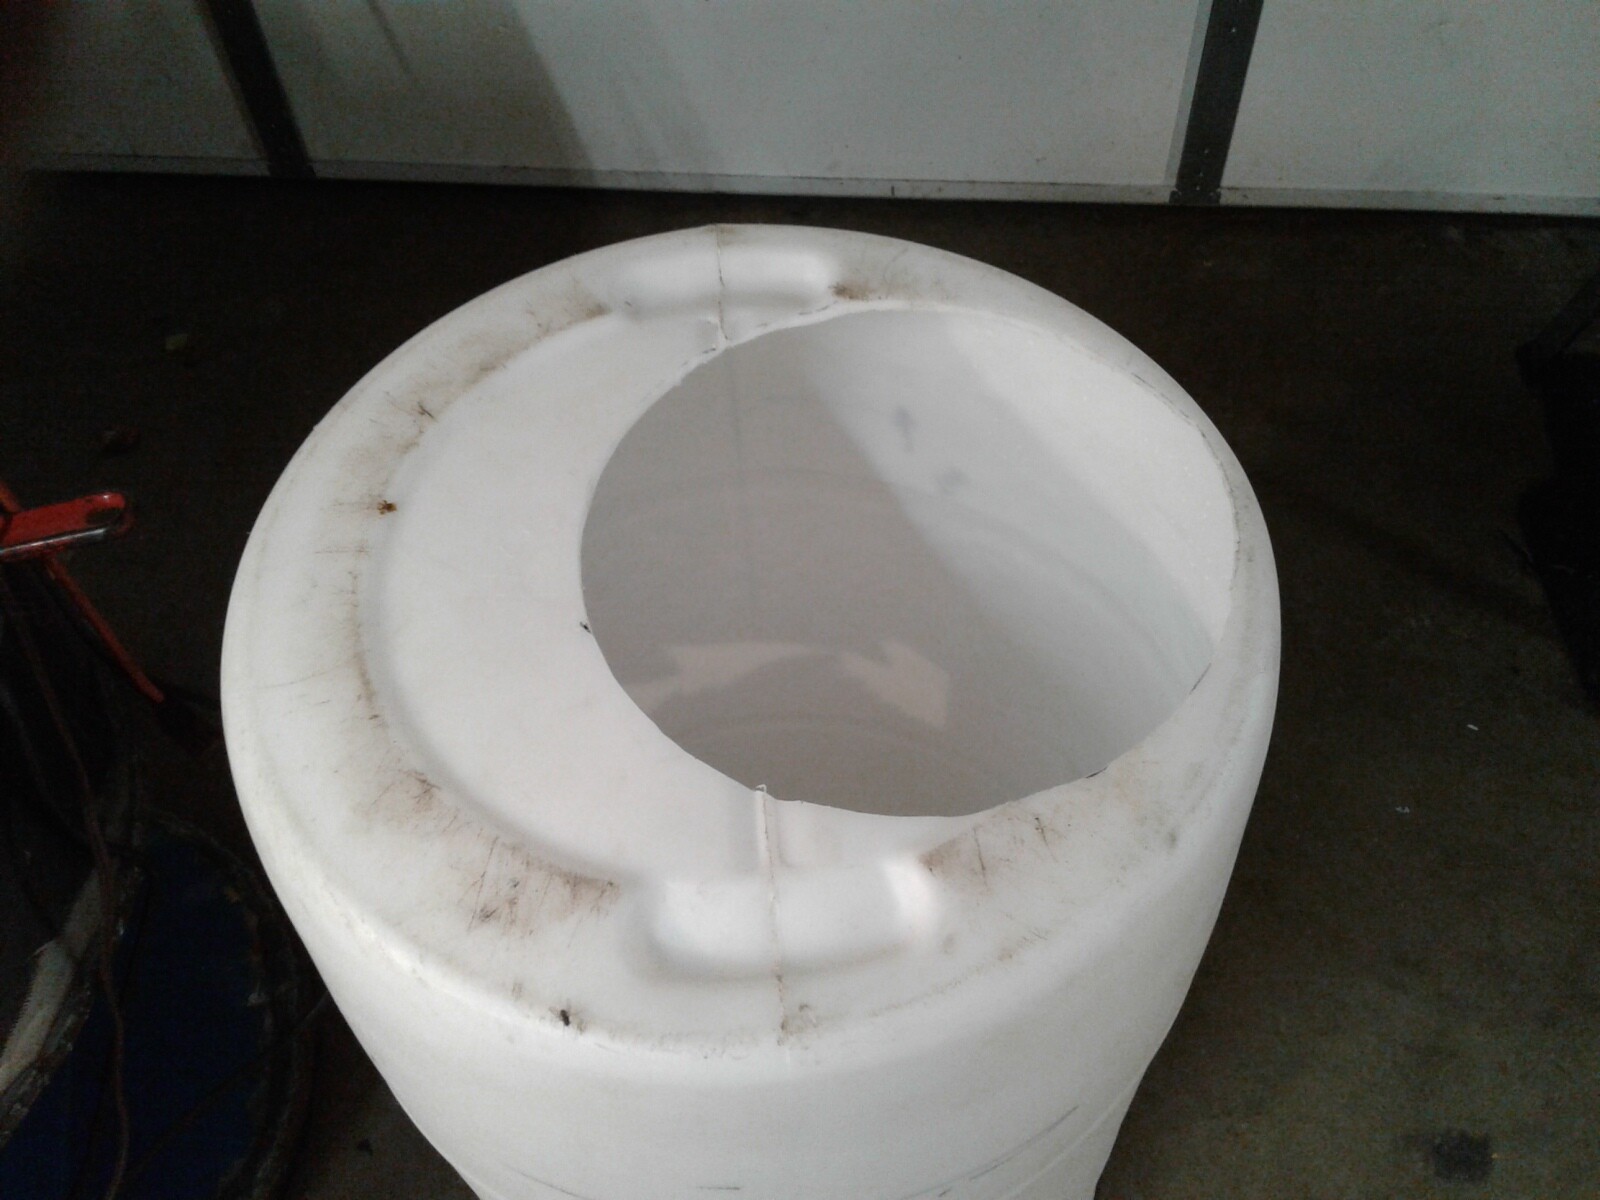
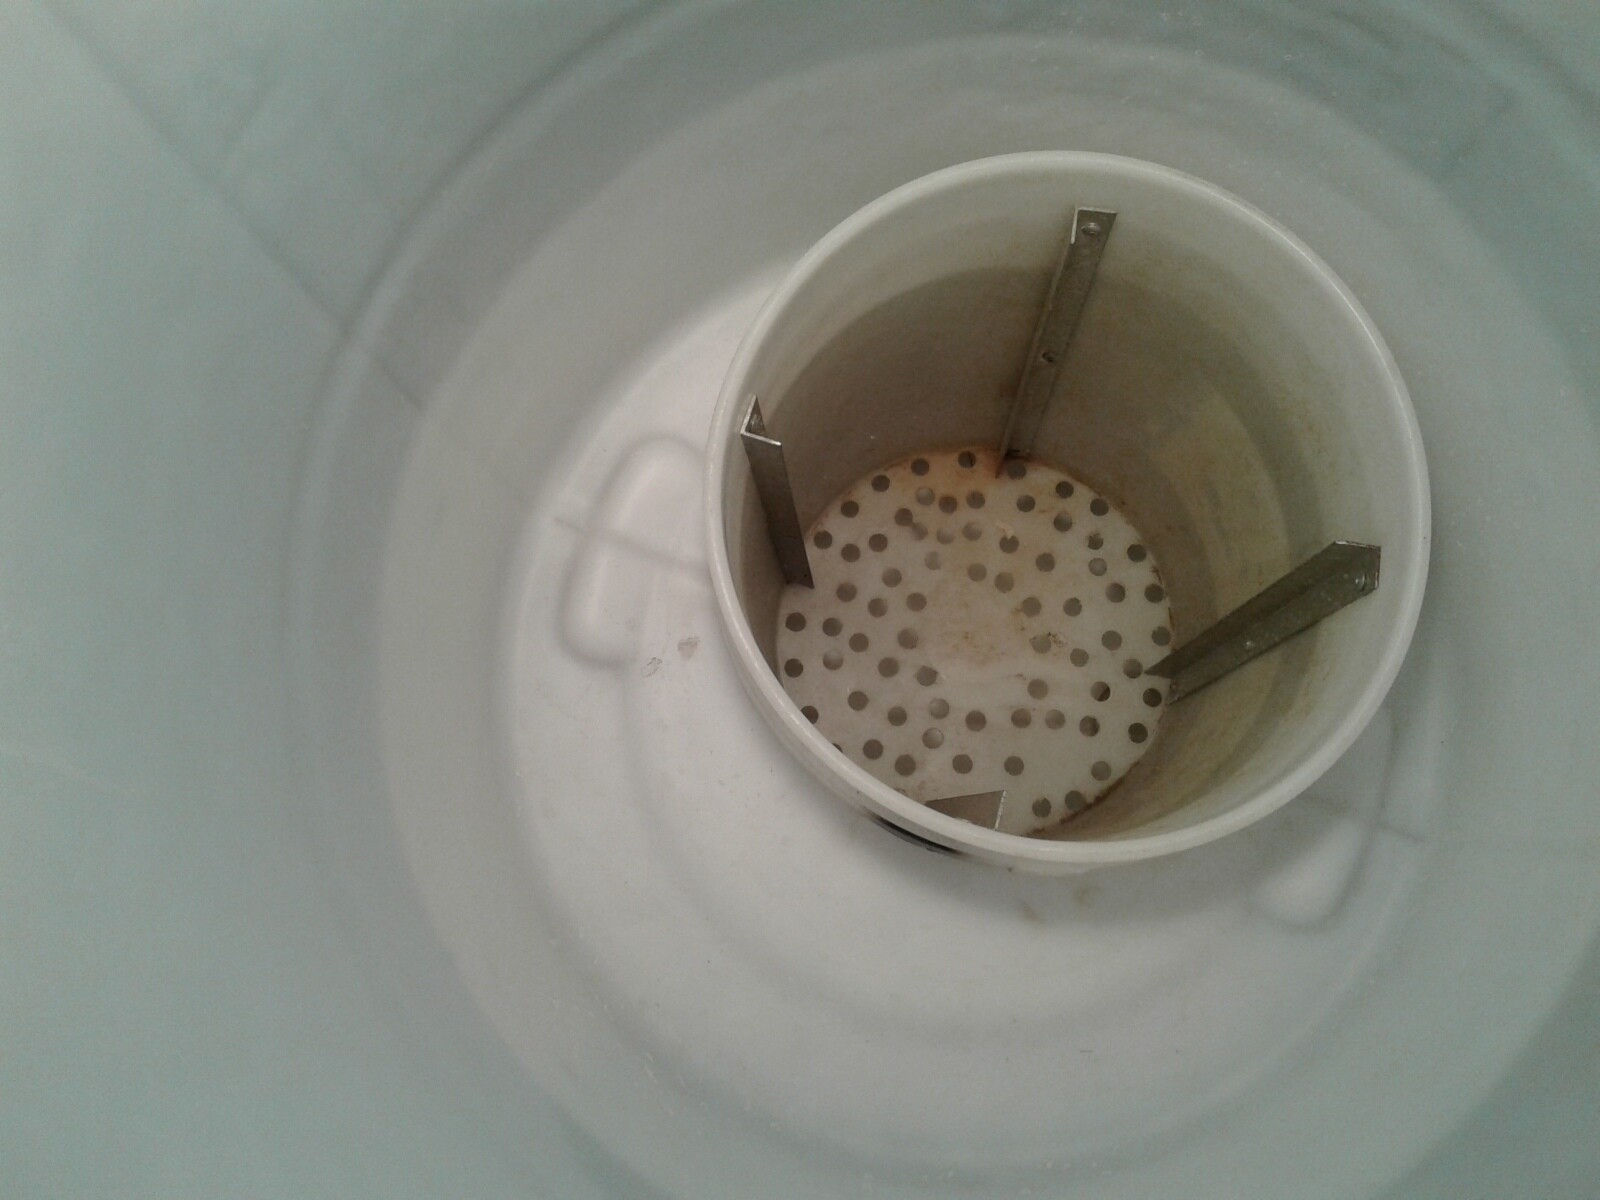
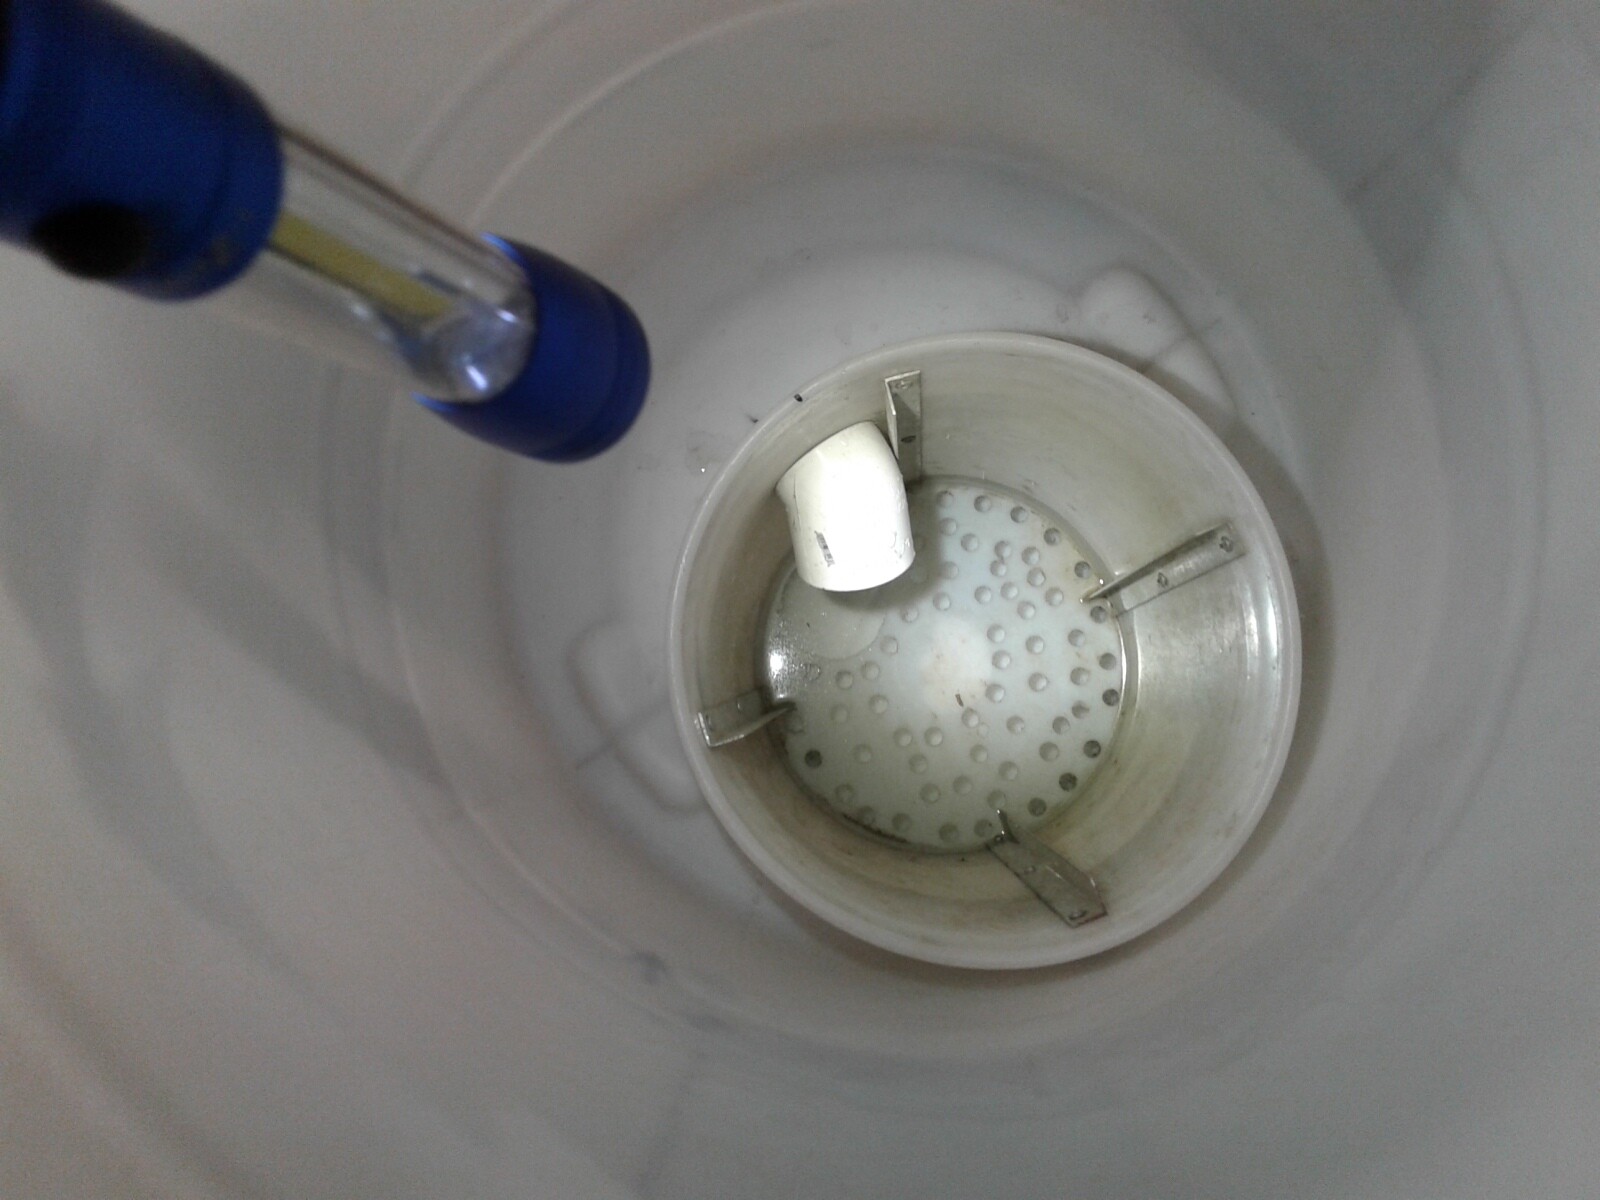
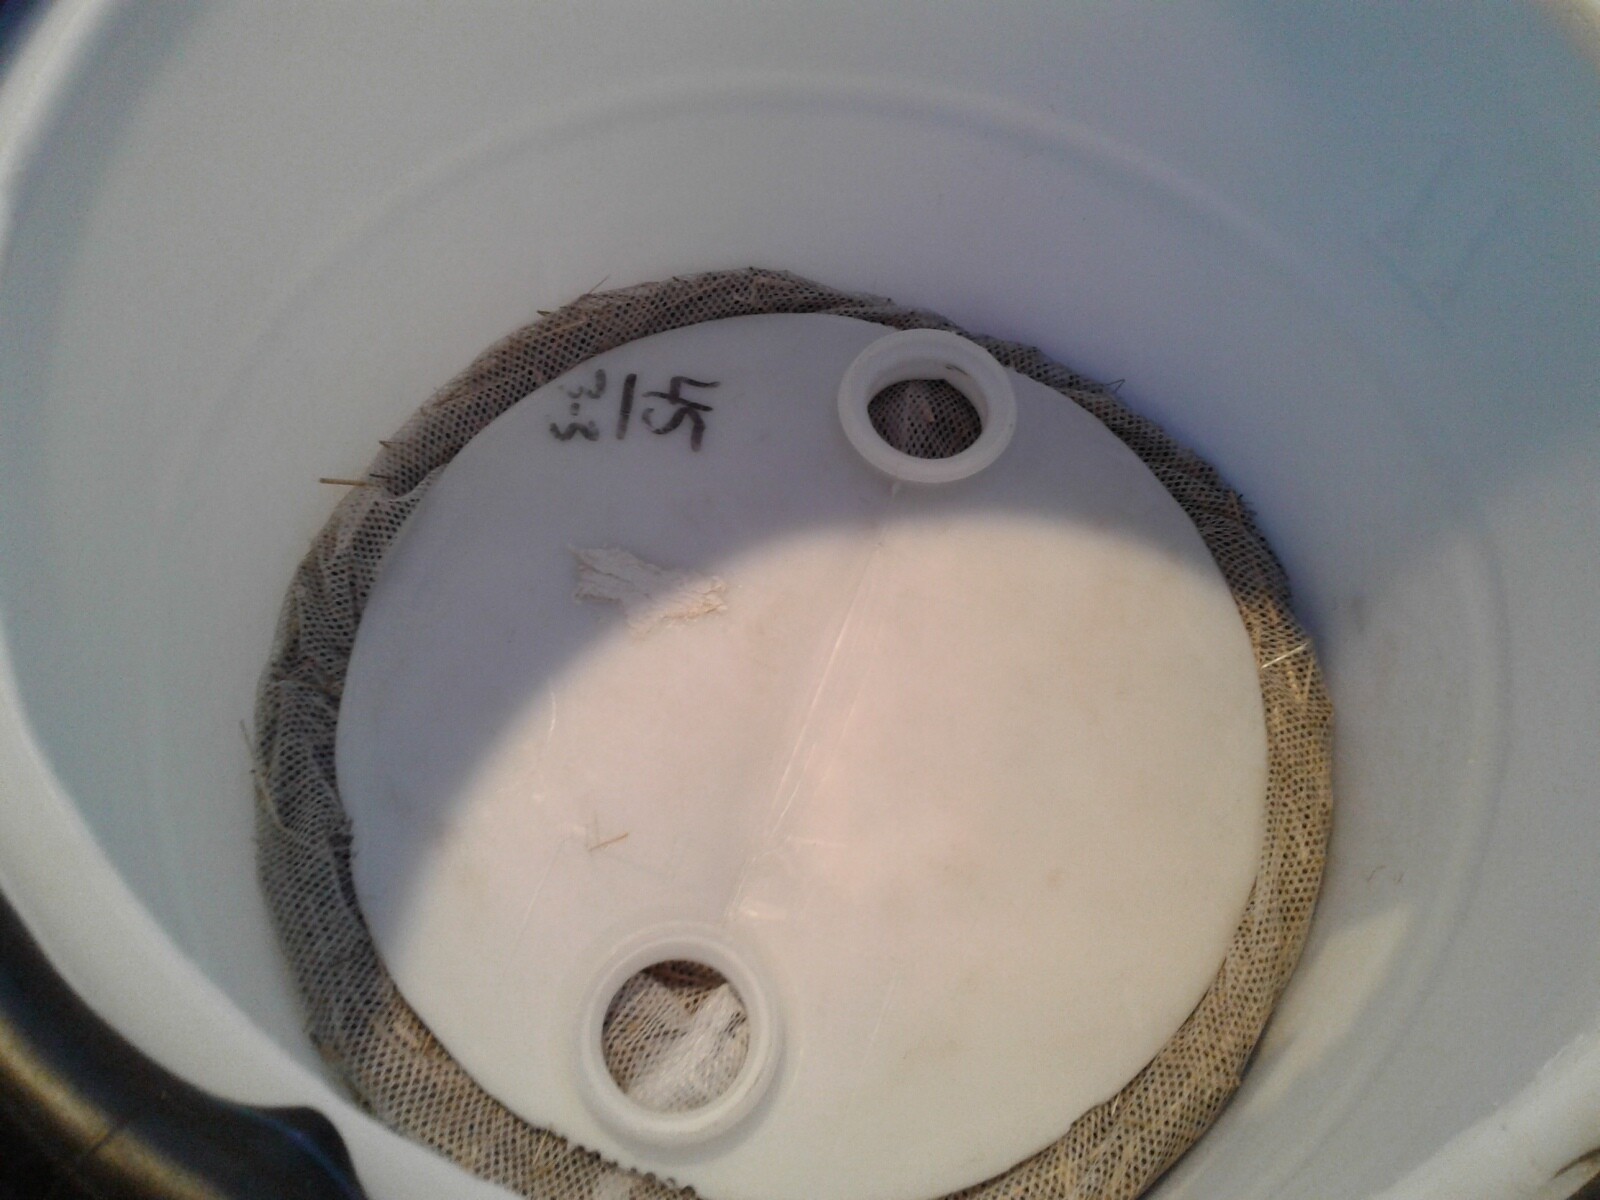
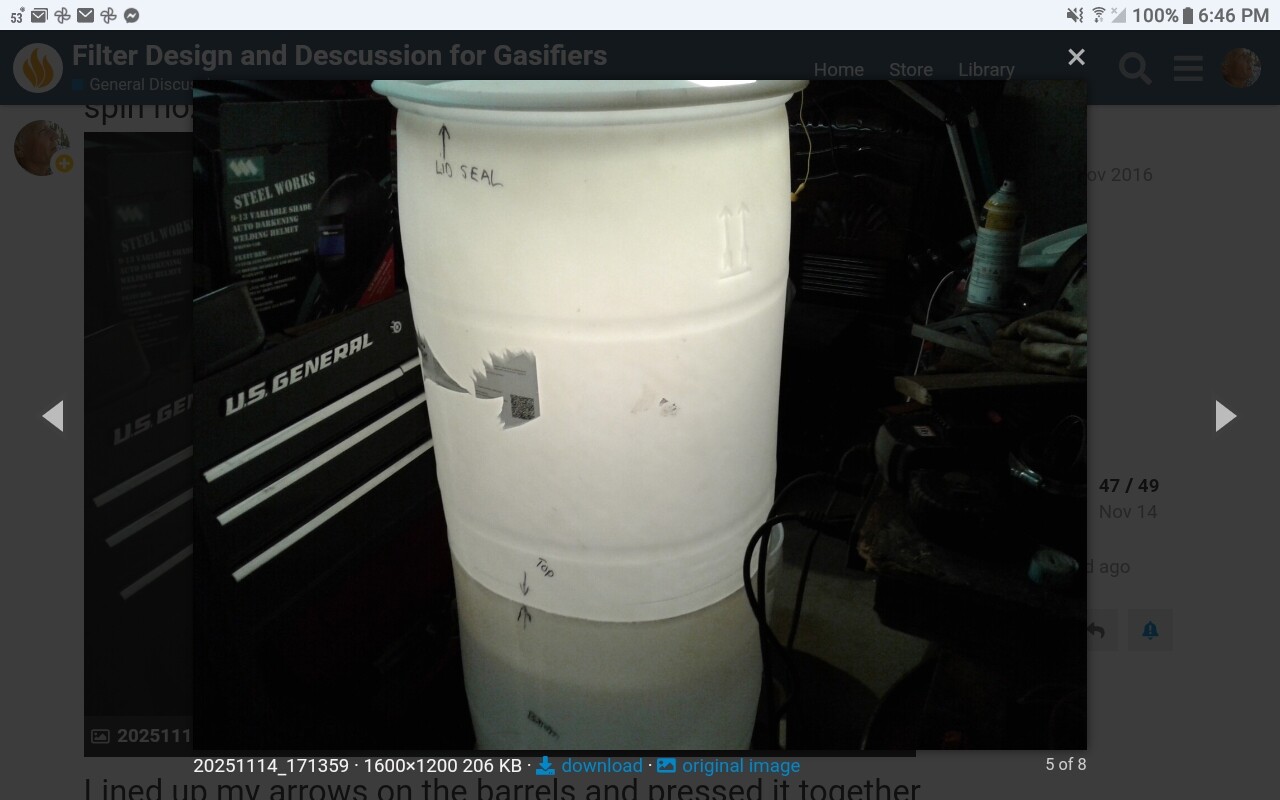
Look down into he bucket rim I realized the only way for water to exit the hay filter barrel was for water to seep around the bucket edge, so I hole saw two holes so water can not build up there when washing my hay down to clean it.

This is some of the grass hay that I use that grows wild all around here below the orchard and house. I washed it after pulling it in a clothes laurdry mesh bag. Then I let it drip wet dry a little.

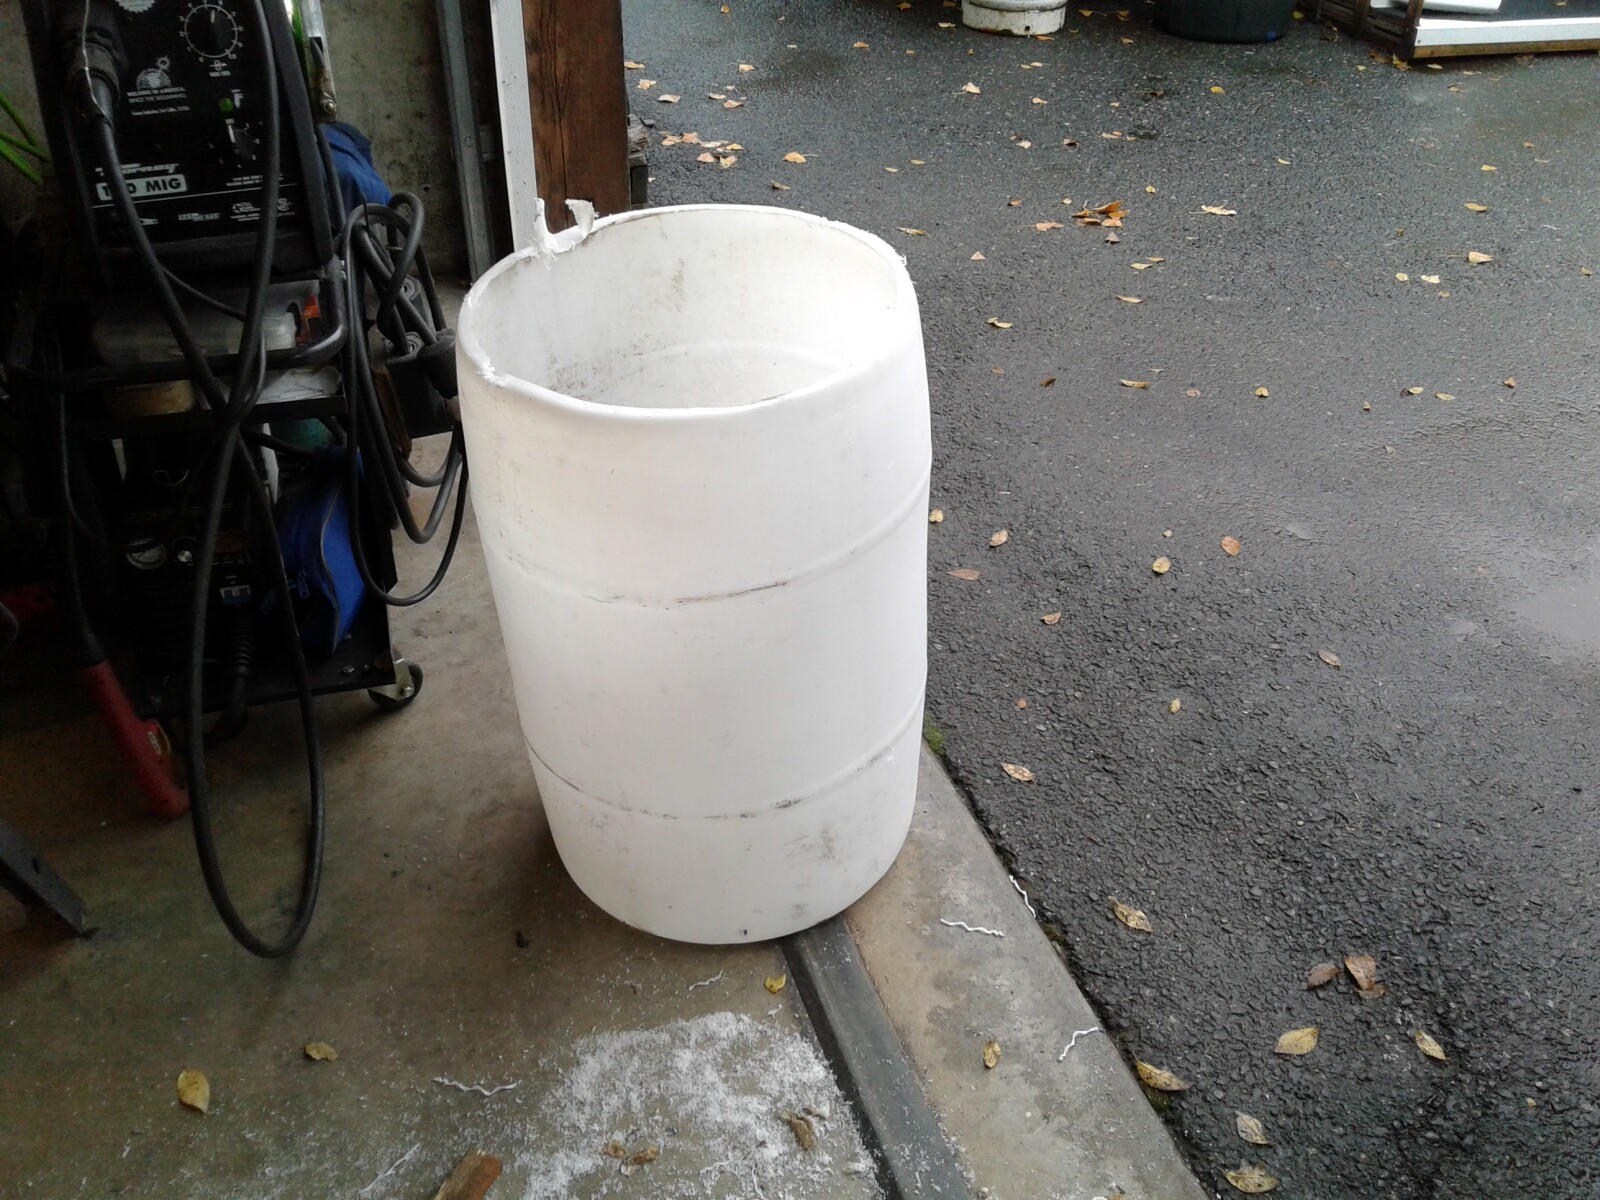
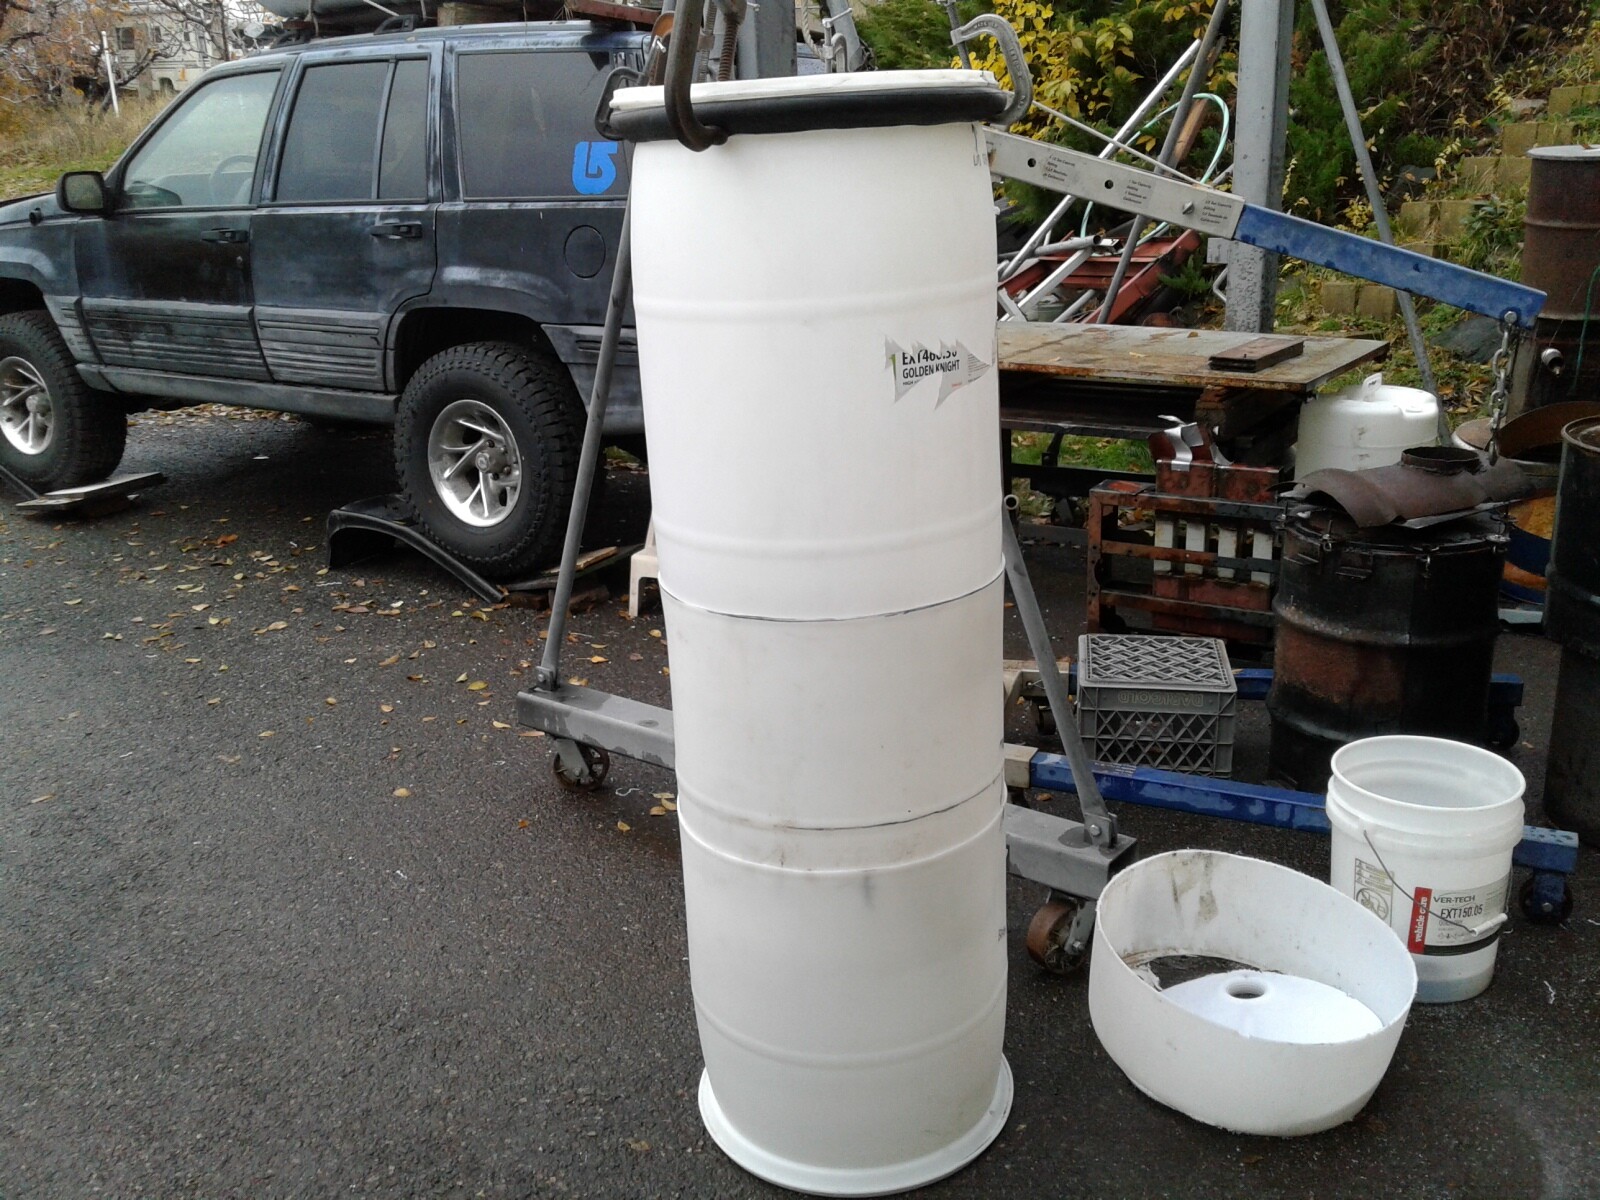
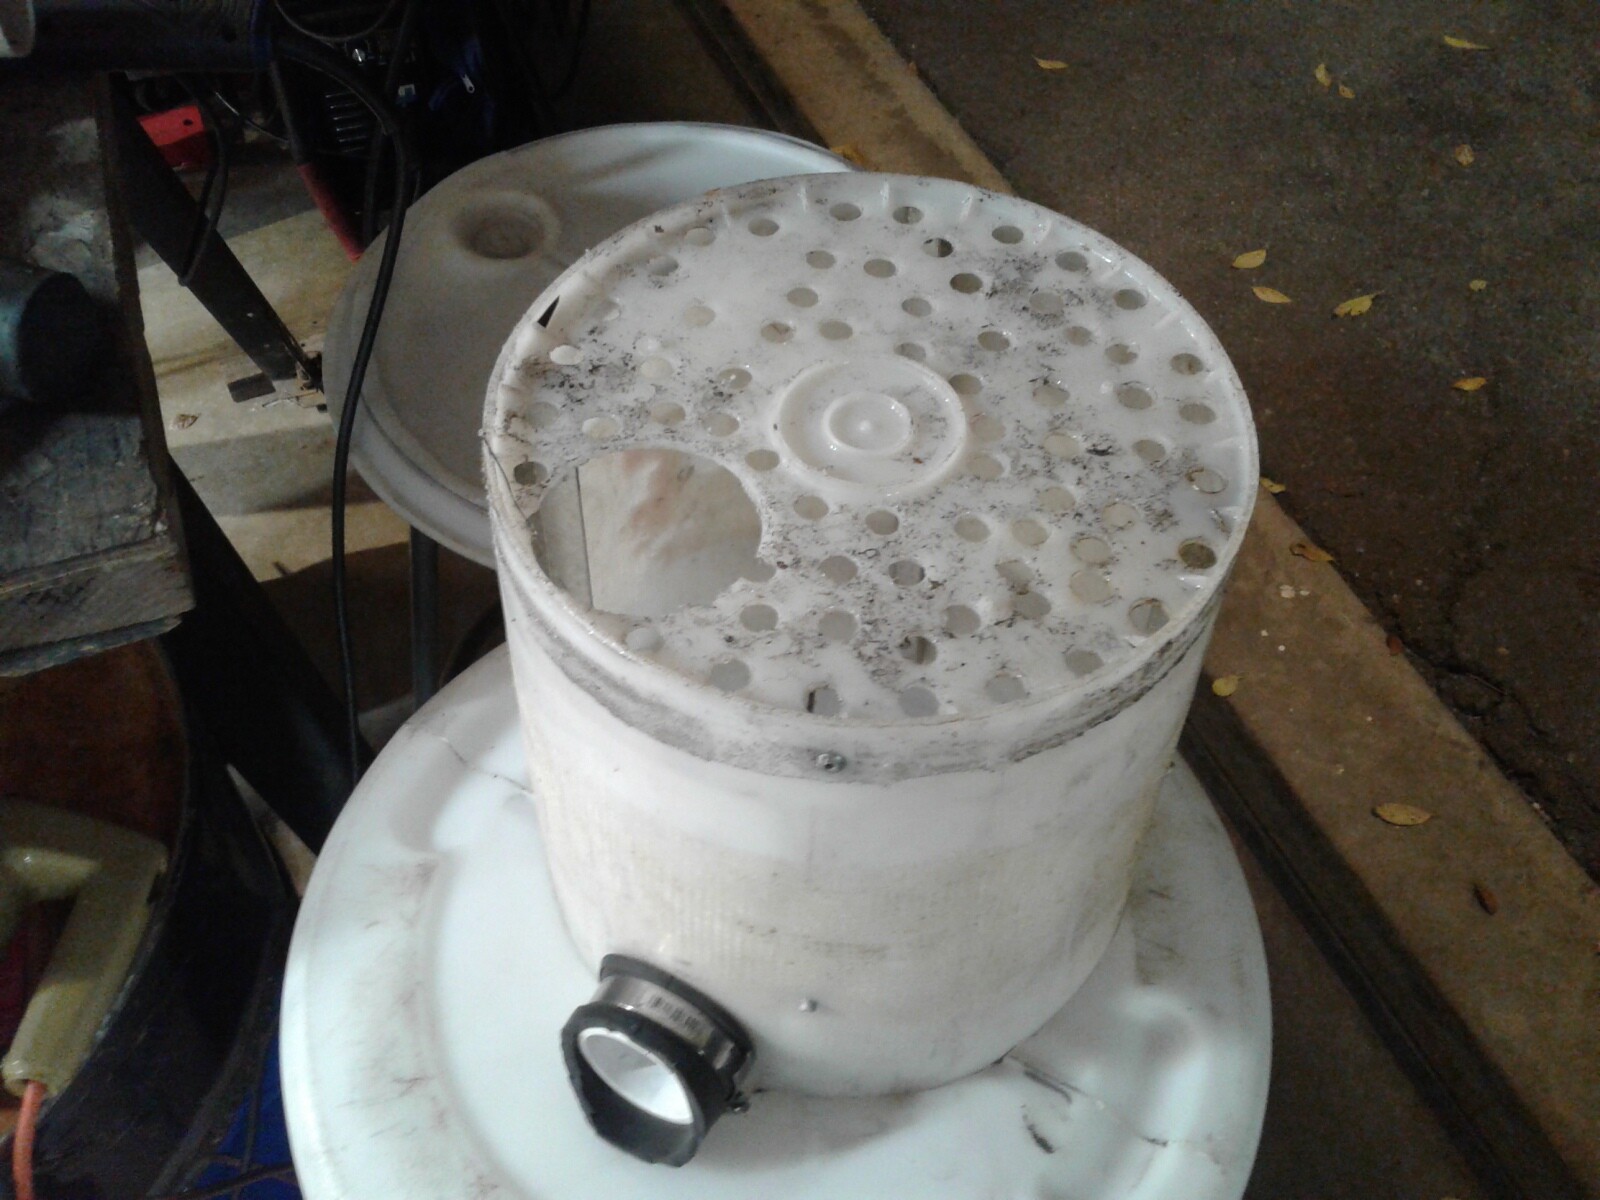
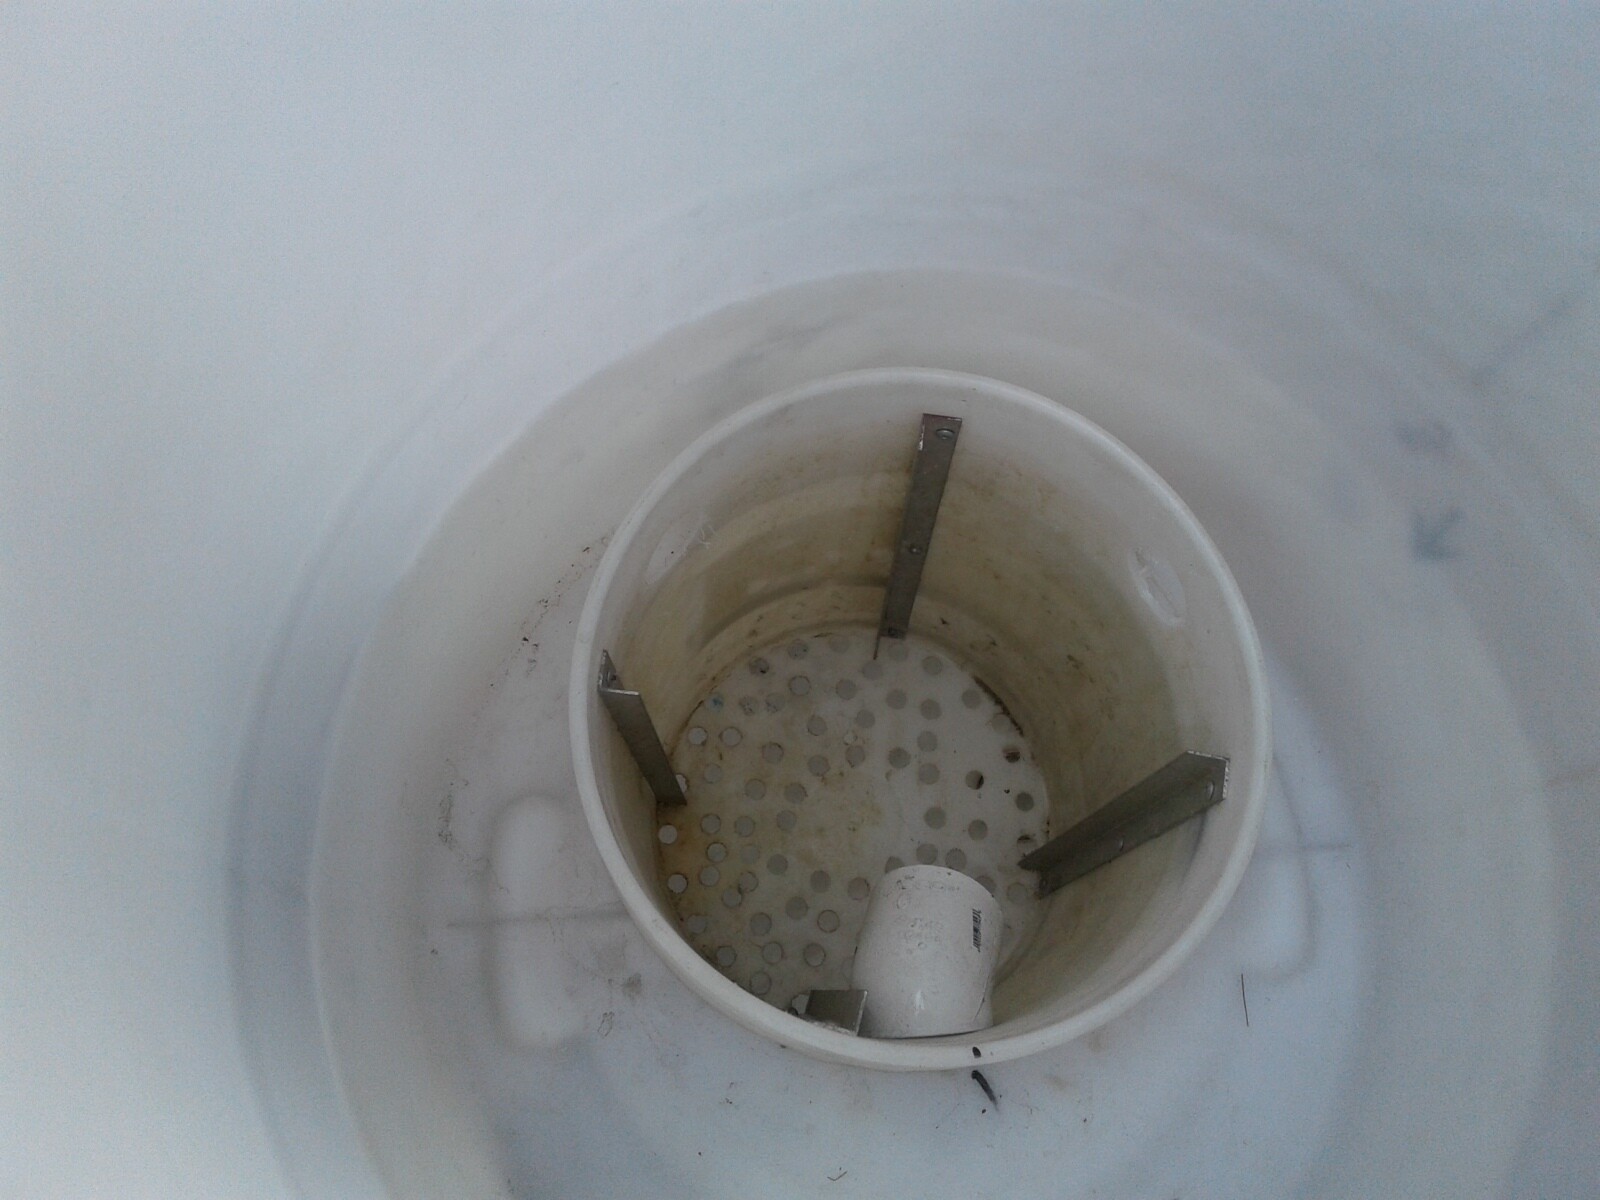
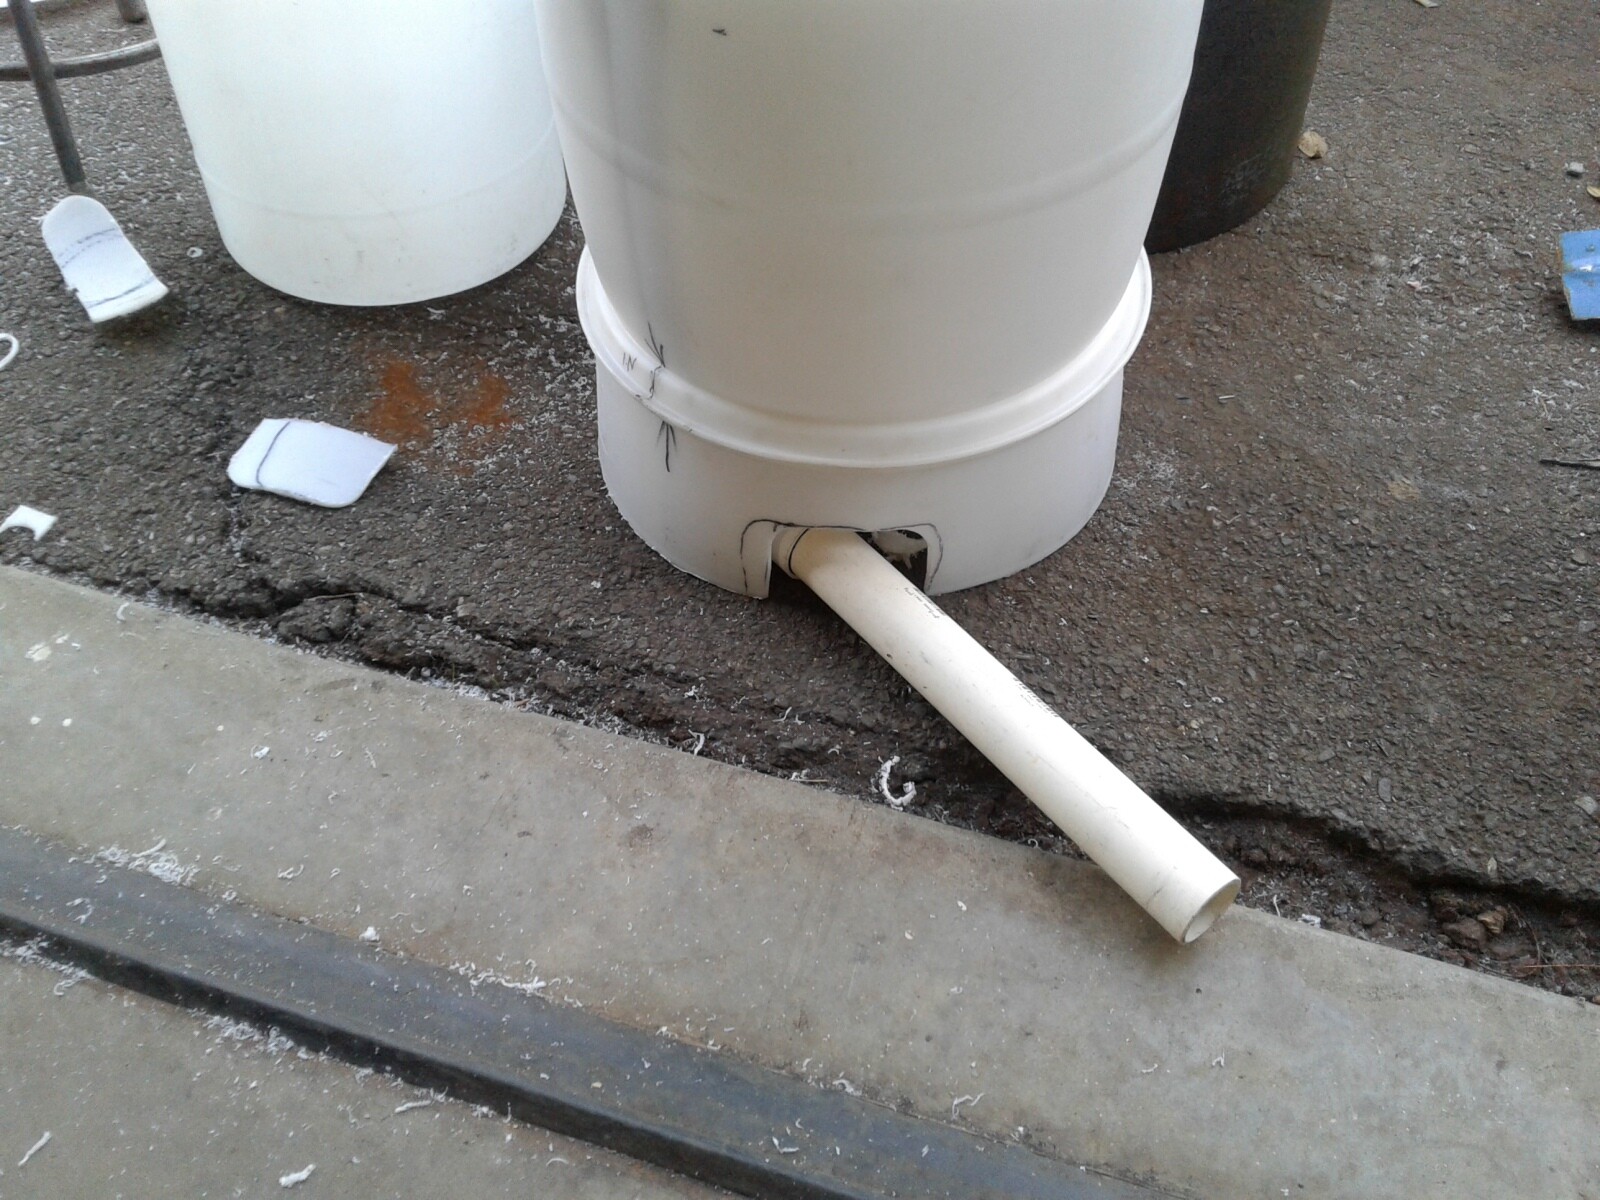
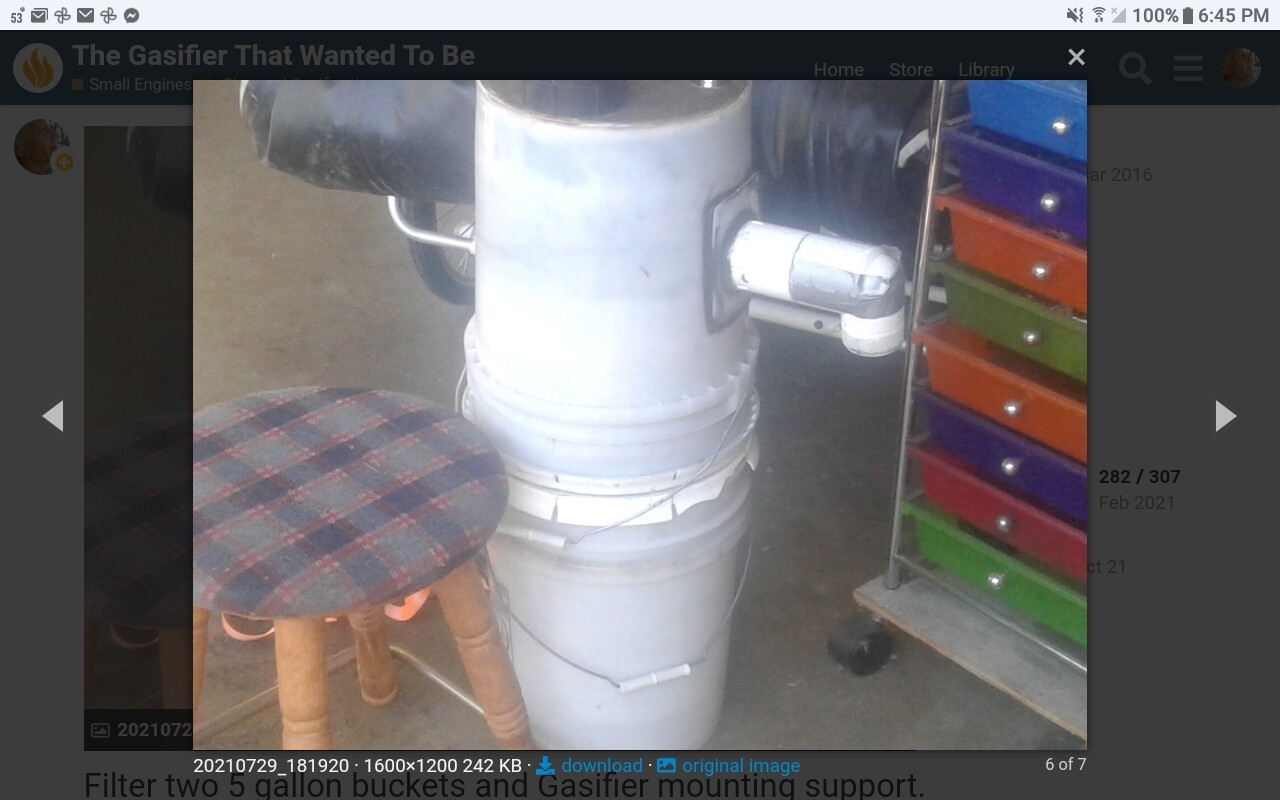
I cut 6" off a smaller barrel from the carwash barrel supply I have and hole saw holes in it. Cut to center over the offset bucket the hay will sit on top of it.

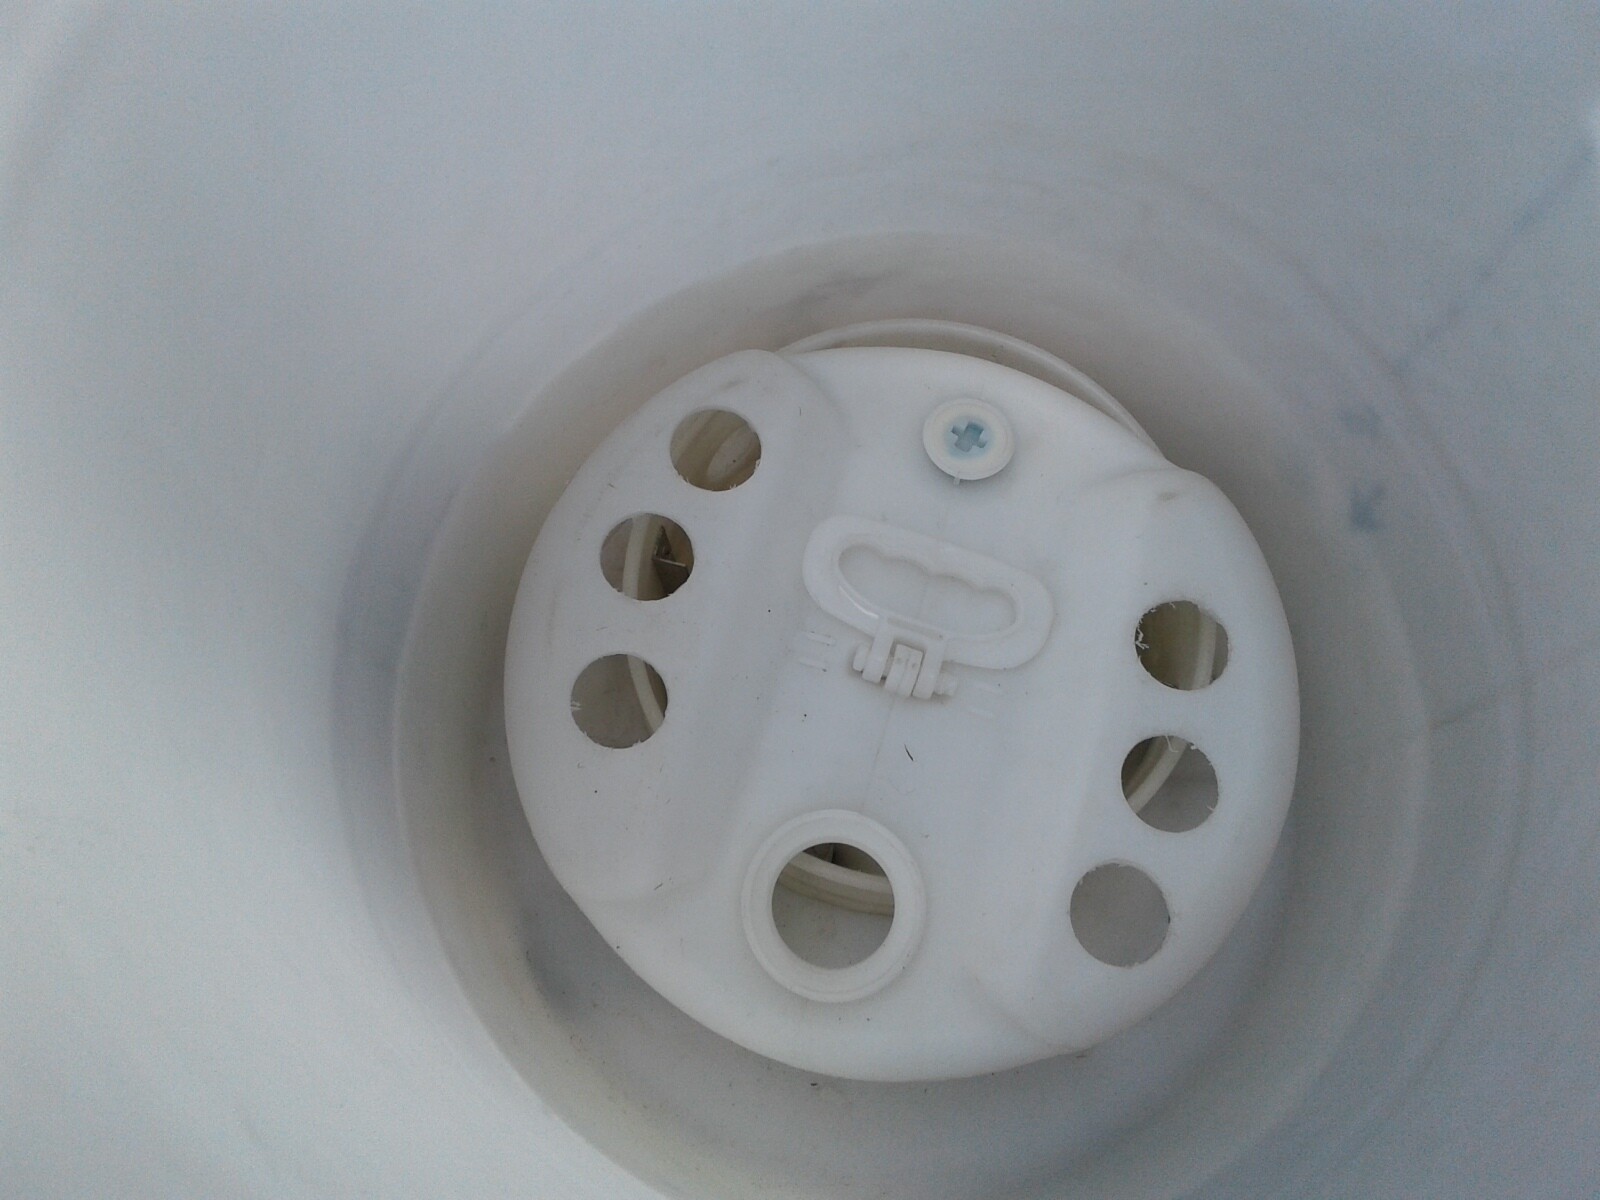
This is the tope of the hay filte barrel laying on top of the hay. I will put more holes in it to a let more gases flow through at a slower flow rate.

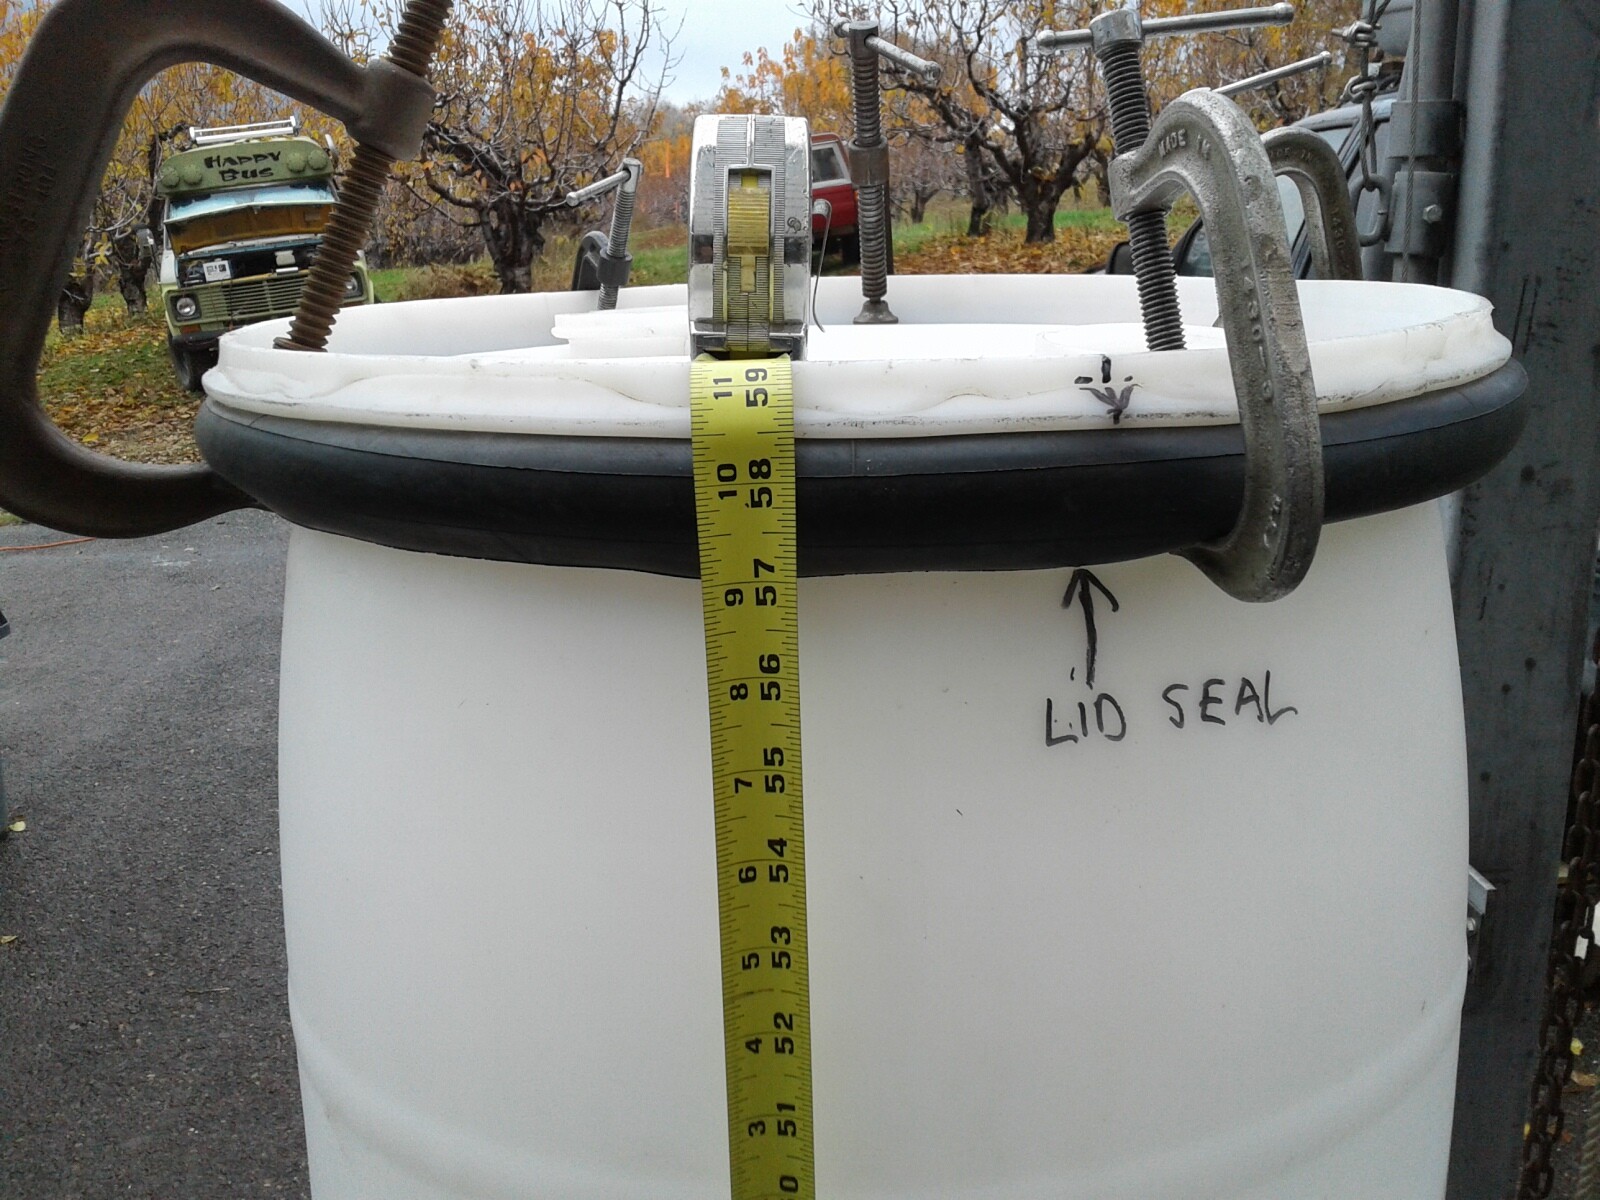
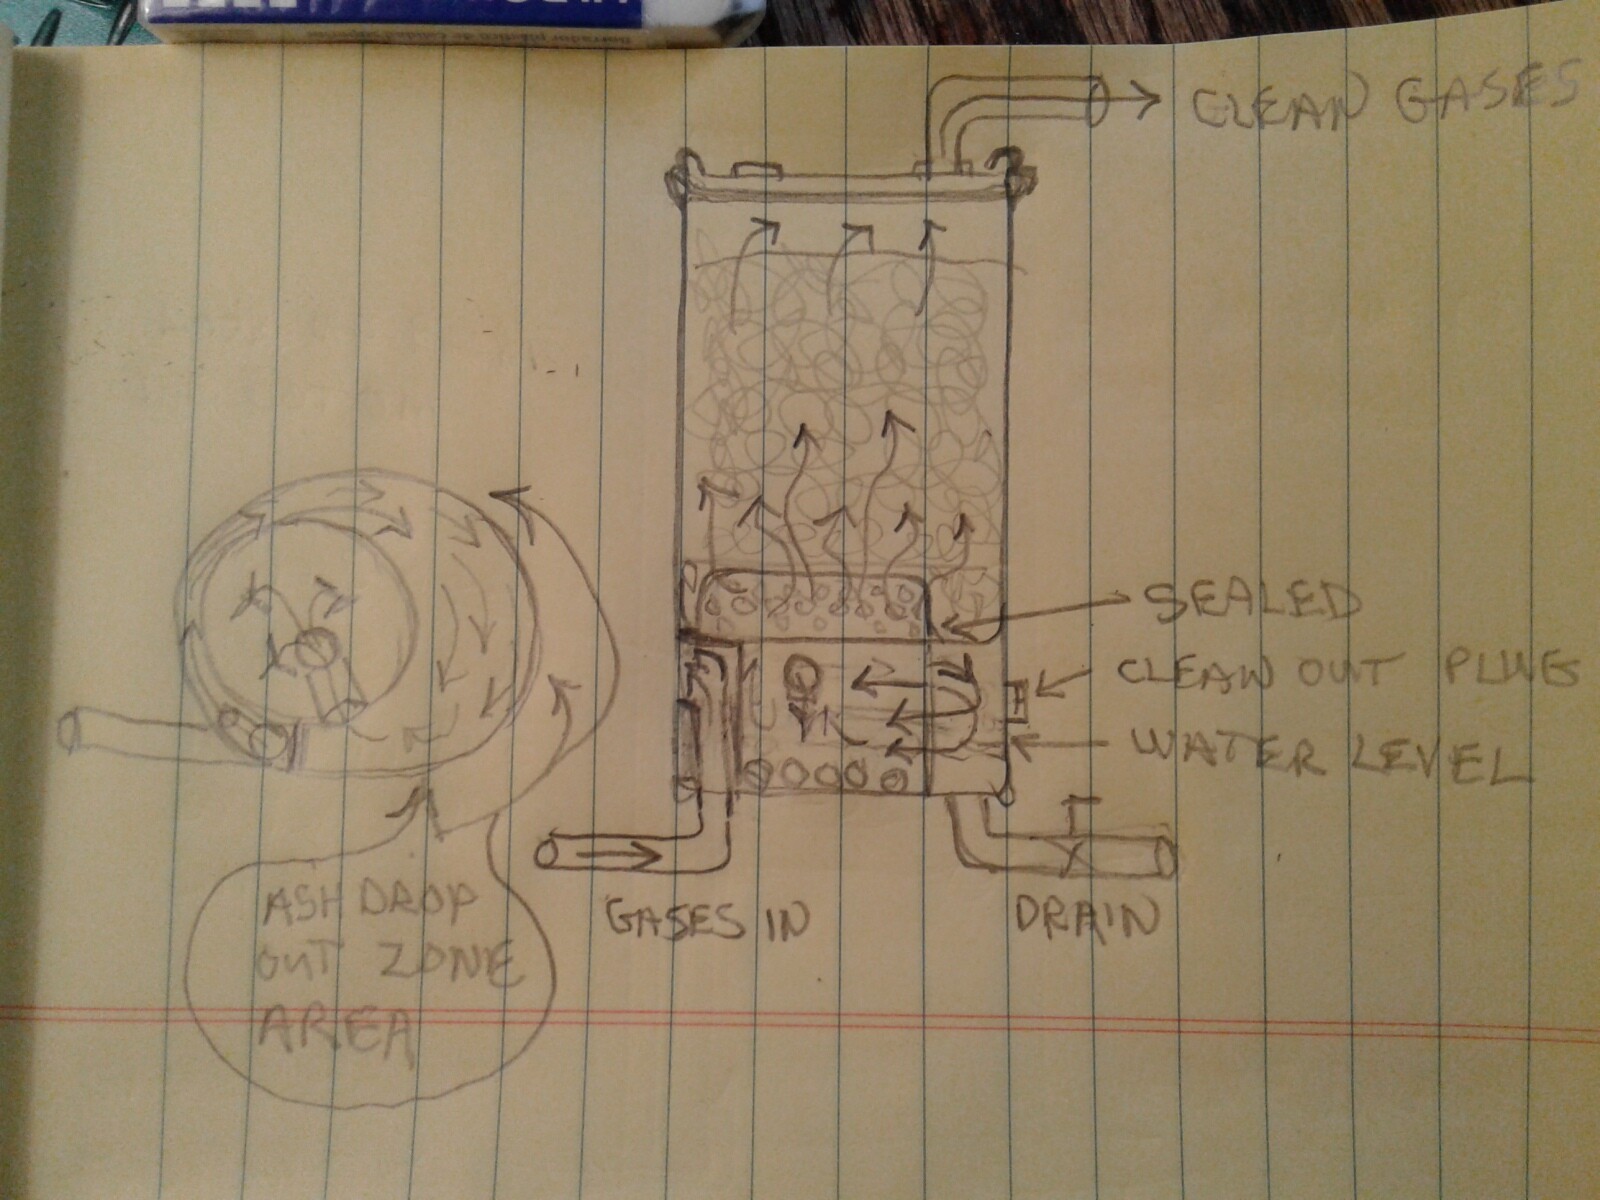
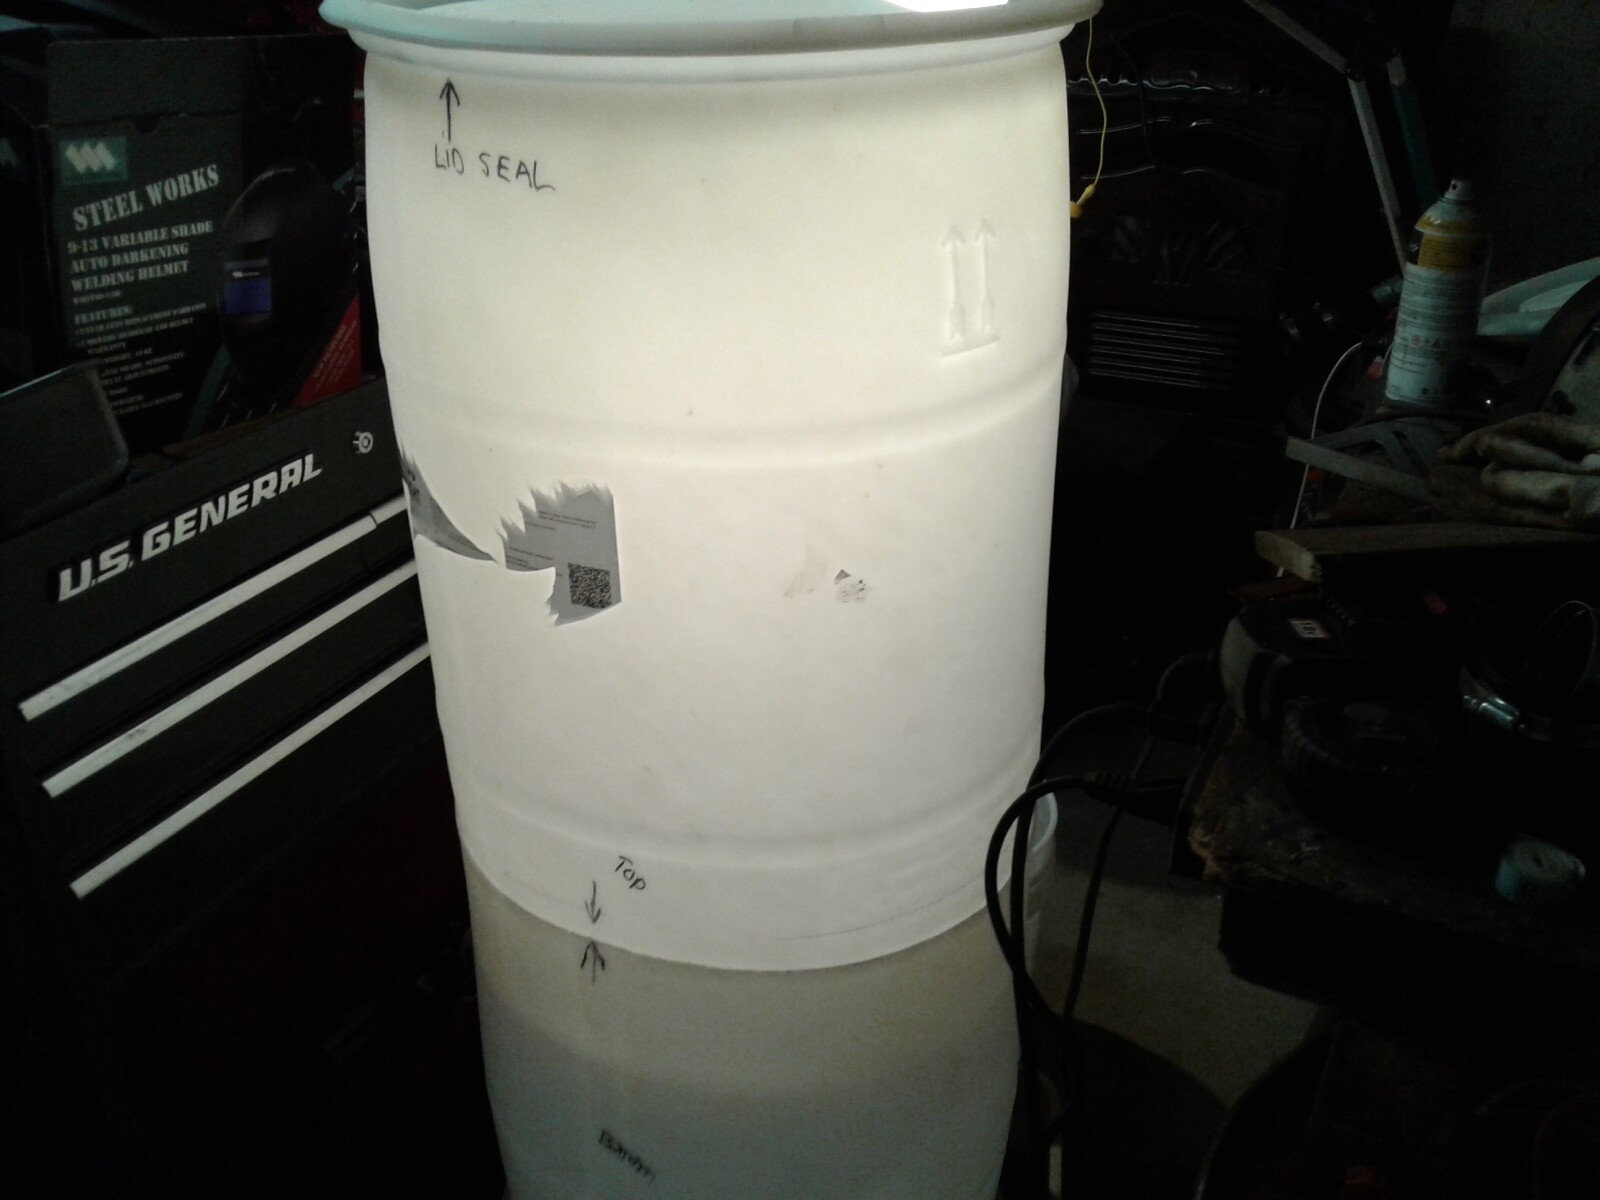
This is the lower part of the barrel that was cut off. This barrel ring keeps the hay filter barrel stable and gives the gas intake pipe and drain plug clearance to remove plug when cleaning out and washing the hay down from the top of the open filter lid.


Here is a picture with the shop vaccum hooked up but off.

Here is a picture with the shop vaccum on. With the hay added it did not colapse on the side like it did when there was no hay in it.
With just a genset engine pulling vaccum on it at a much lower velosity it should be okay. This is my thinking anyways.

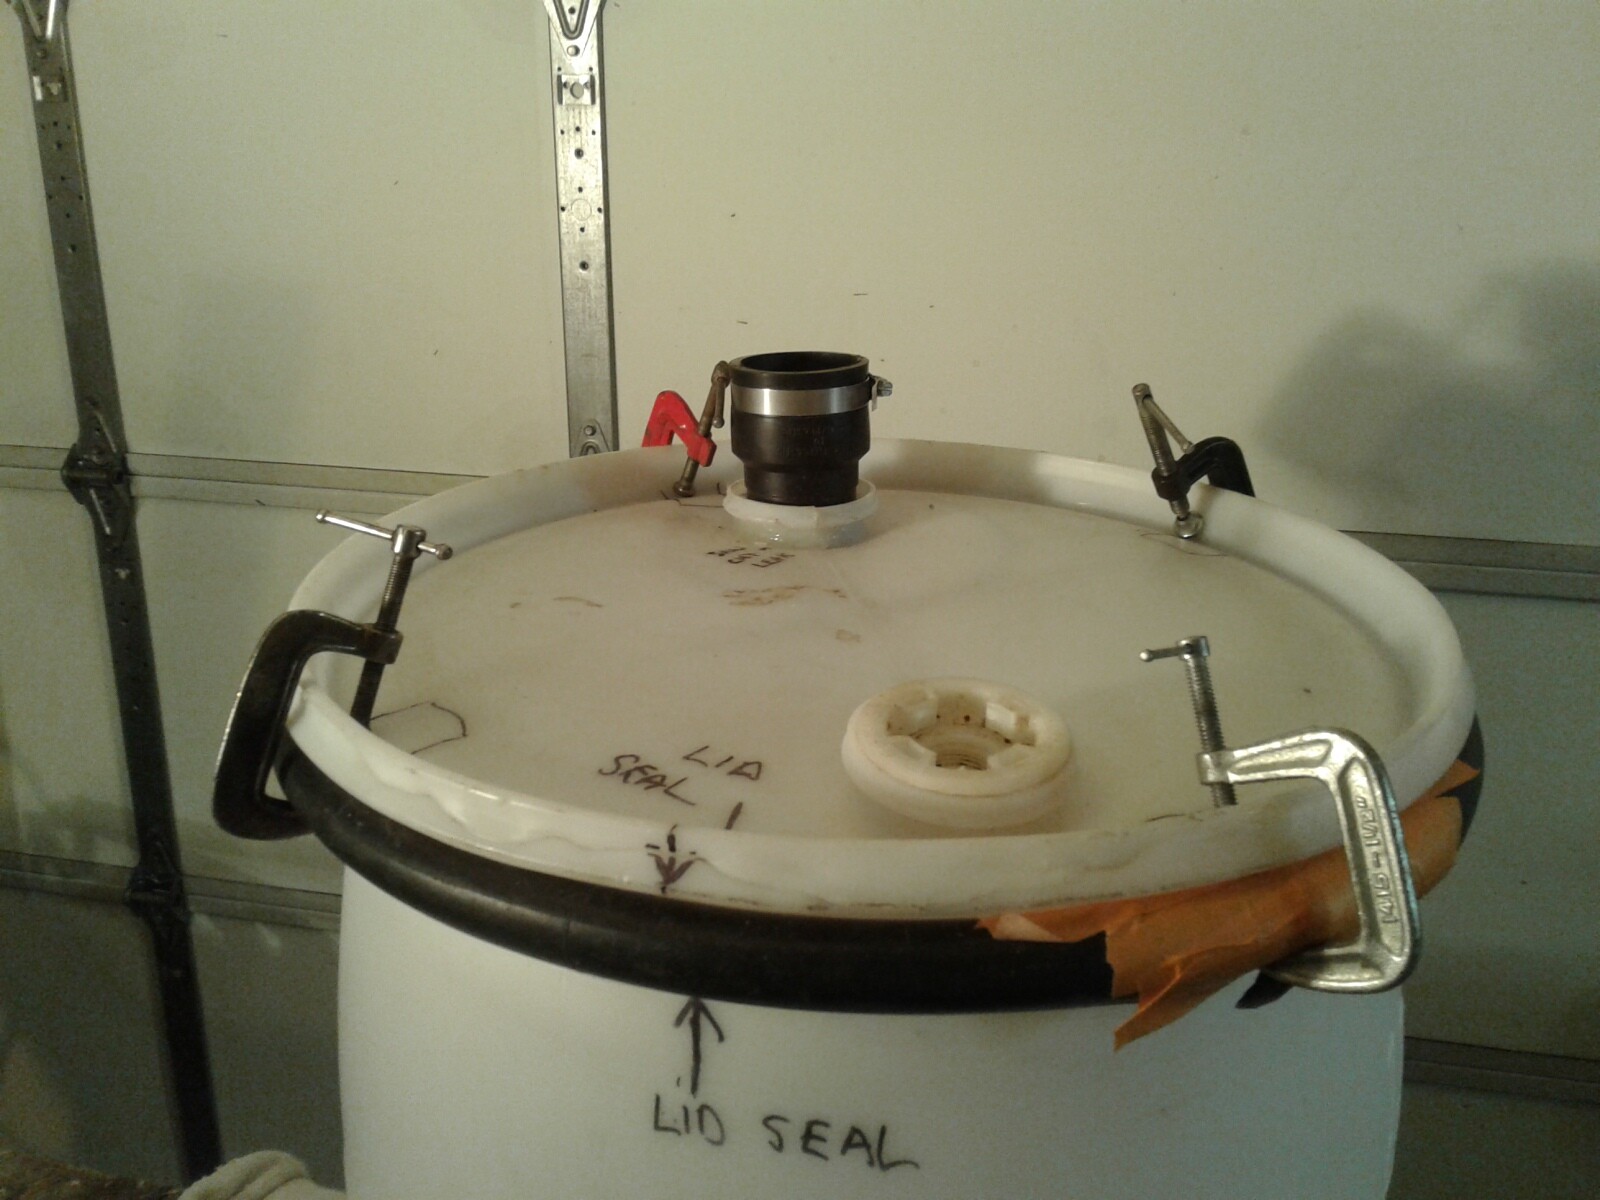
I did some final grinding on the lid for a better fit and now it has a good tight fitting seal when running the shop vaccum. I just might be able to put springs on it to hold the lid in place and for a burb if it backfires for some reason.

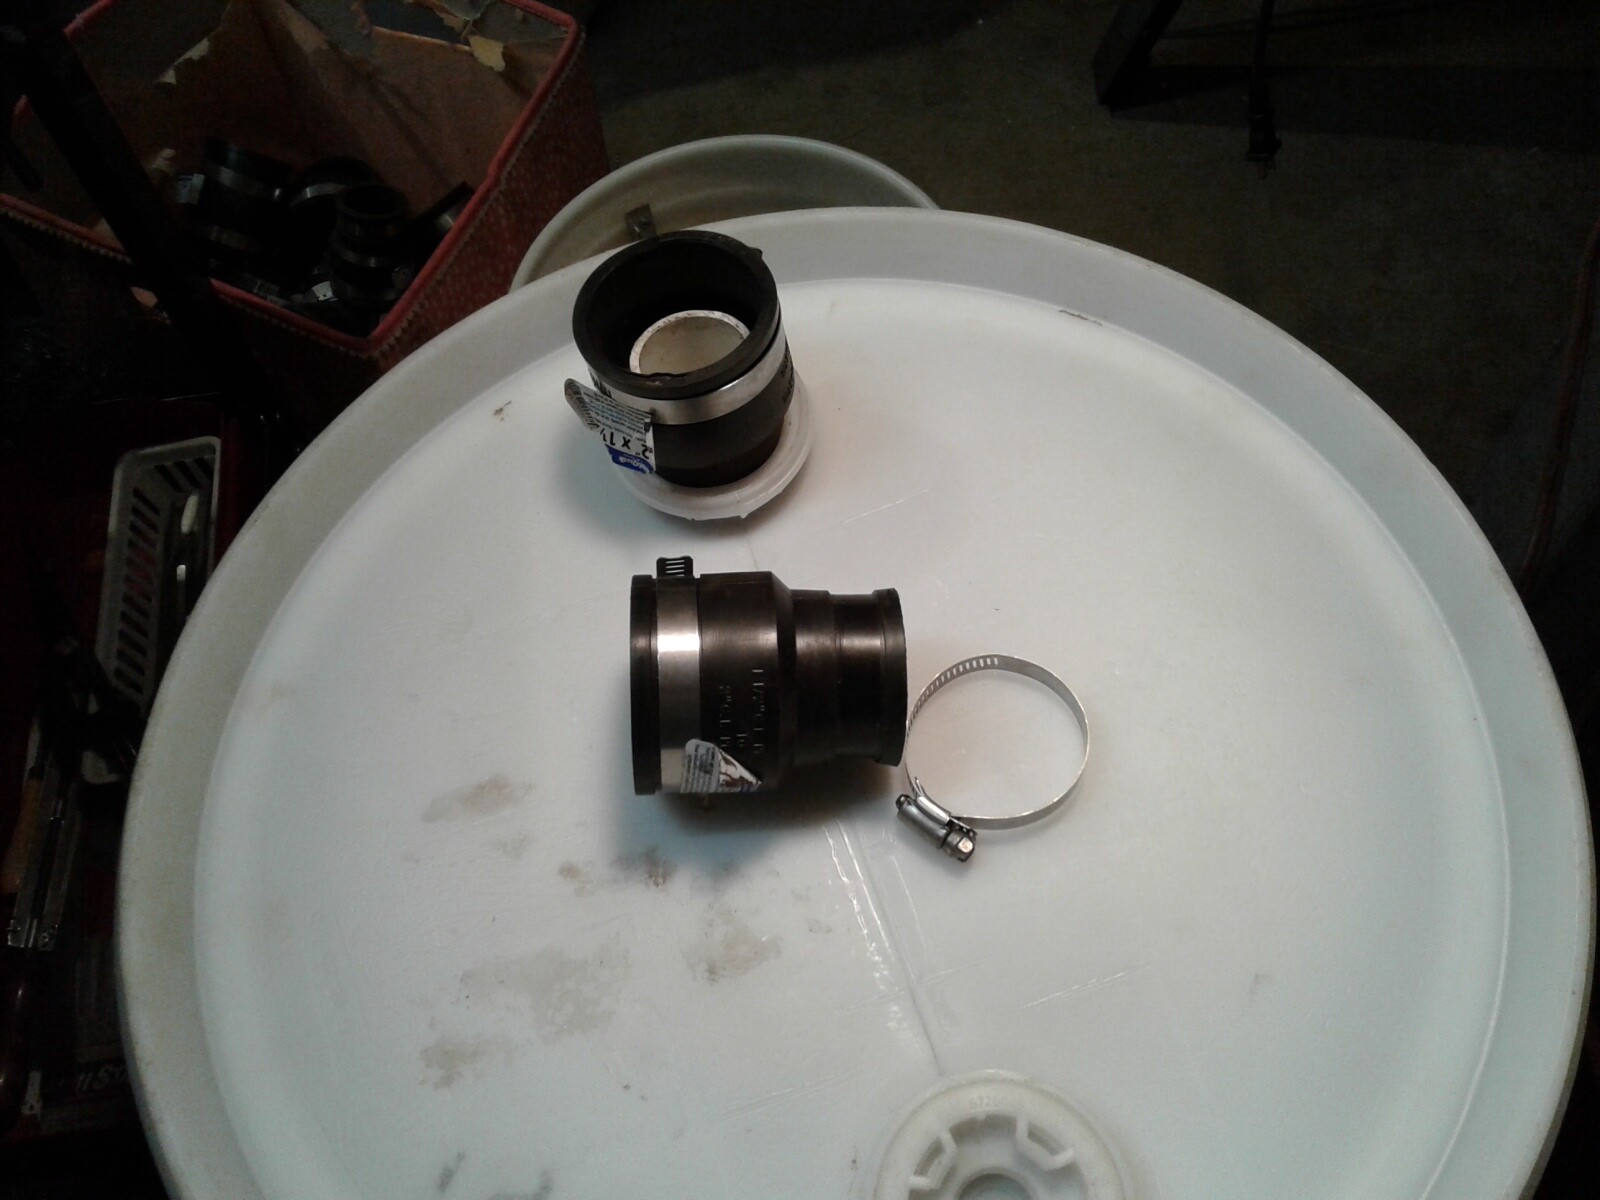
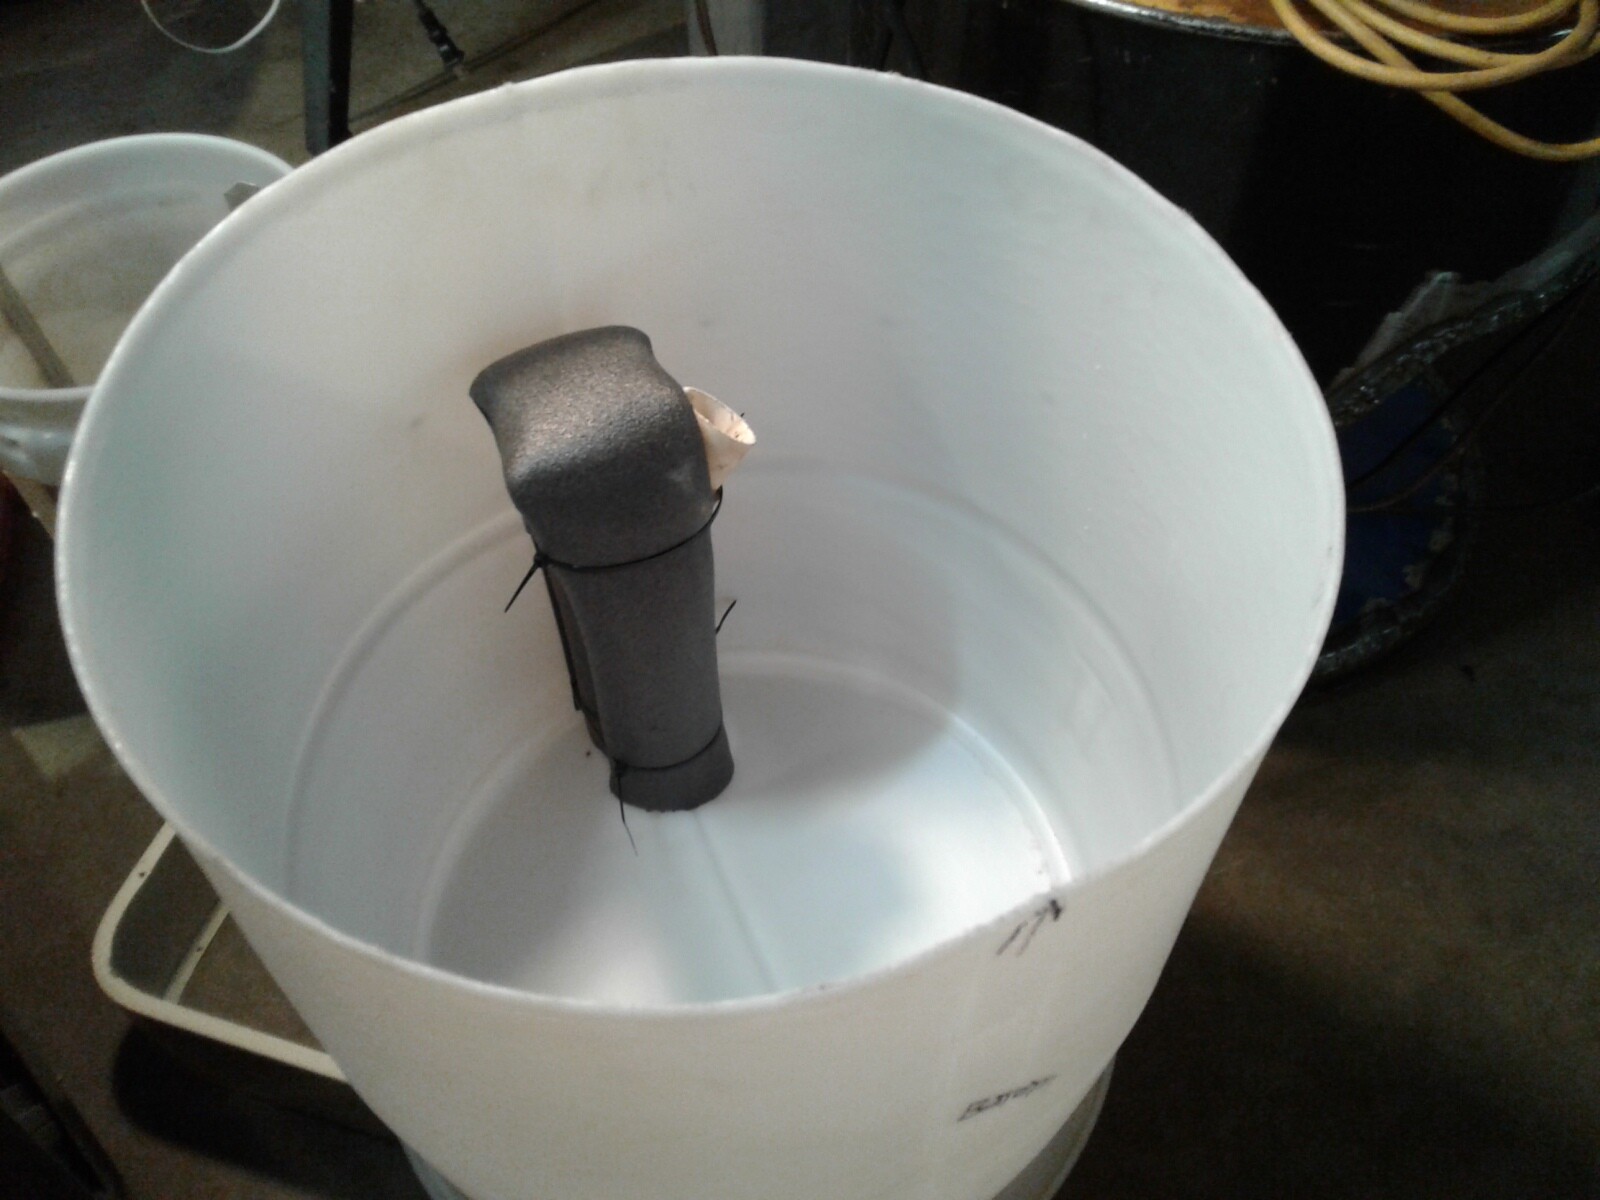
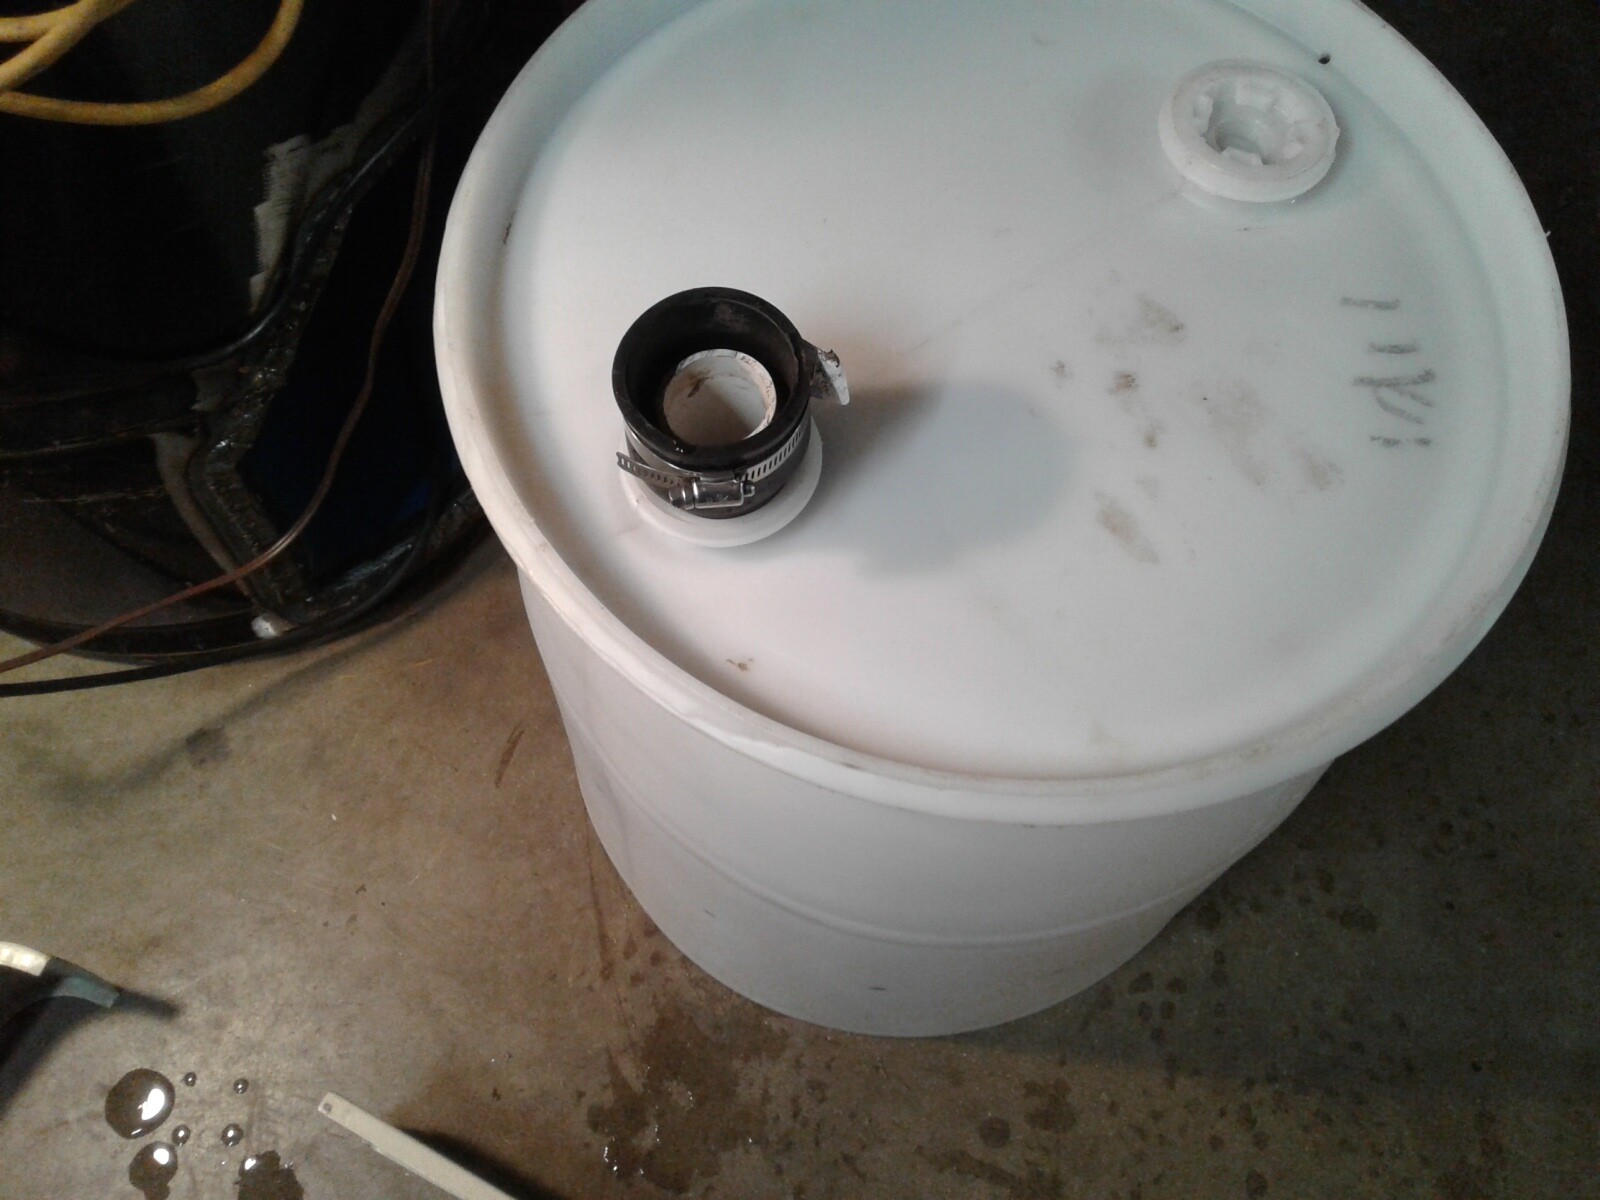
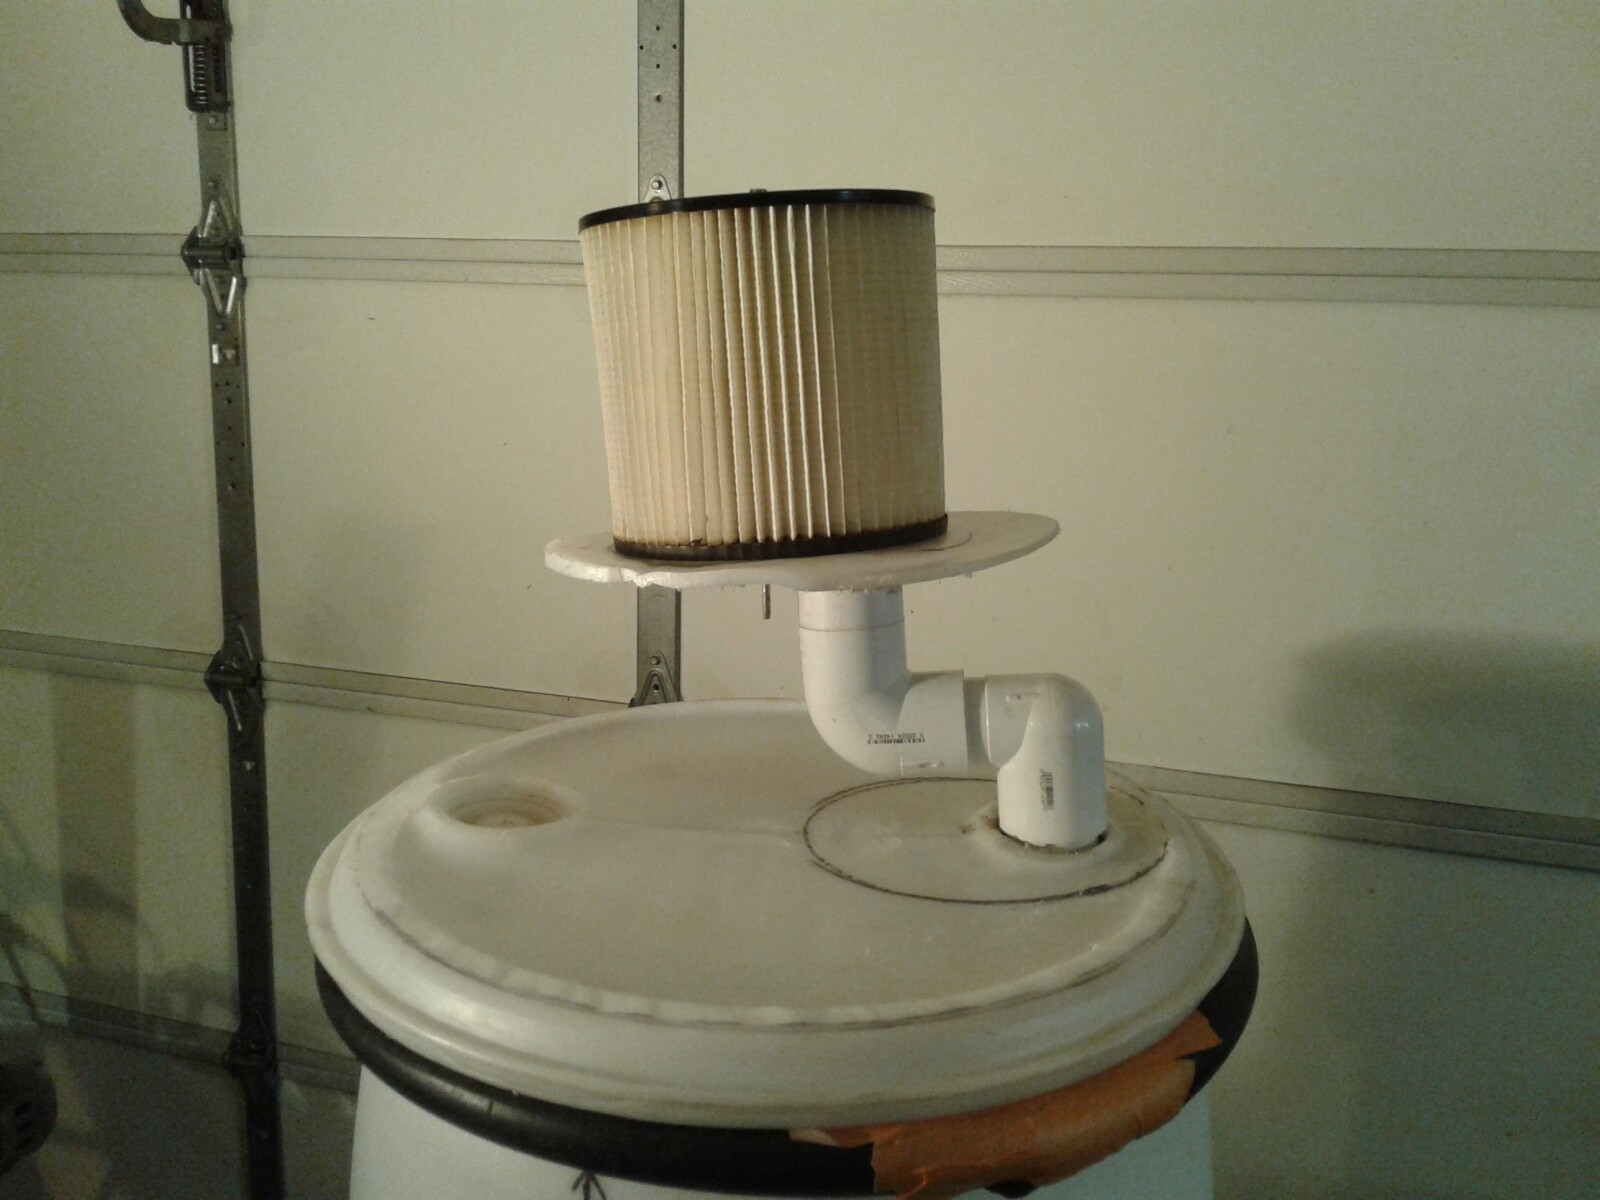
For the filter lid gas exit I used the same type of rubber coupling 2" to 1 1/2" did a little grinding on the 1 1/2" edge a put the 1 1/2" pipe into it. Then screwed into the fine thread of the barrel hole.

I decided to try something else. There is 14 1/2" from the hay top plate to the lid. After attaching the piping and shop vaccum filter there was 13 " from the bottom of the filter lid the the bottom of the filter. There will be a shop vaccum bag like use on my wet dry vaccum. It keeps my filt mantel from pluging up. It cakes up and then falls off. Do you think I am over doing it on this filter? I think I am. But you only live once in this fallen world we live in, then comes the ever lasting joy with the Yehovah Almighty God and his Word of Yeshua (Salvation) for all that believe. I do not think I will be doing any DOW or DOC in the New Heaven and New Earth there. But it would be fun if we all could.
I am calling this filter ready to test.

14 Likes


My old 5 gallon bucket filter got brittle from the heat it was exposed to from my tests.

The new bigger and better one is going to work just fine.
And oh yes my old 5 gallon bucket filter parts will be used in other builds in the near future.

13 Likes