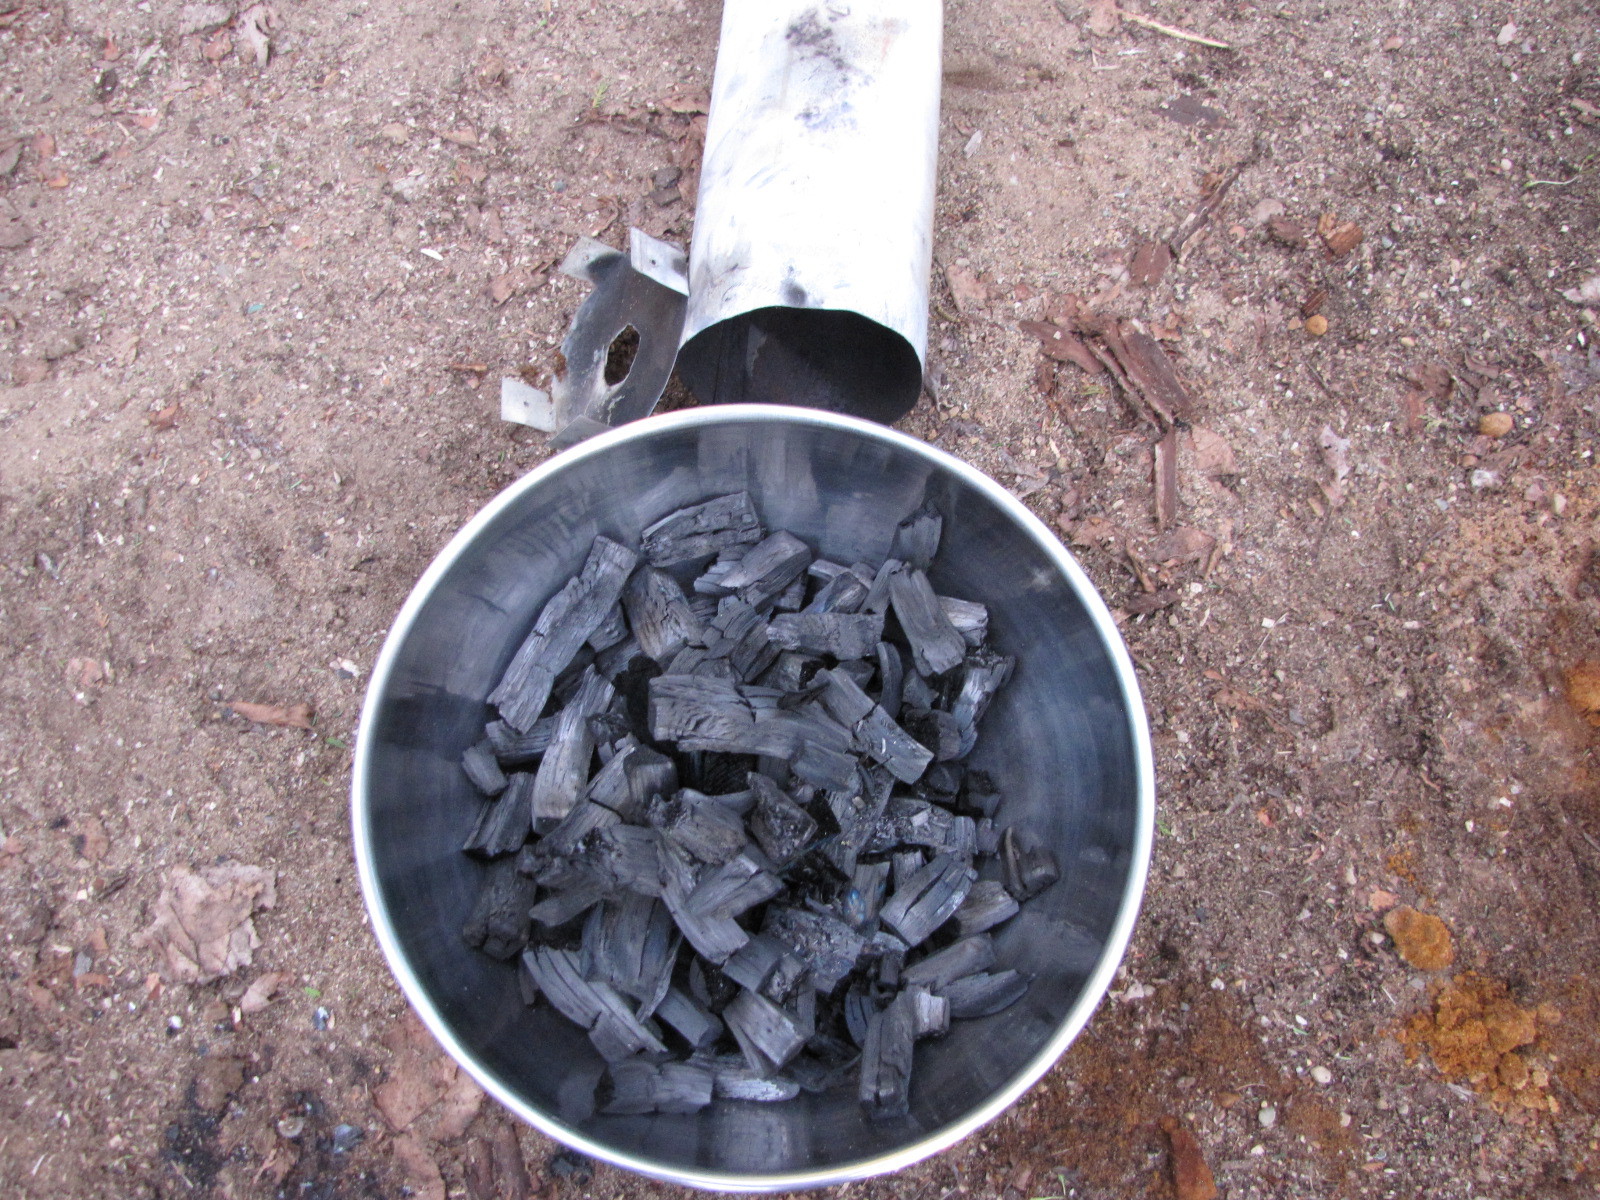
Groundup it feels like flour even though larger particles seem to be in the mix. We’ll see how it burns tomorrow
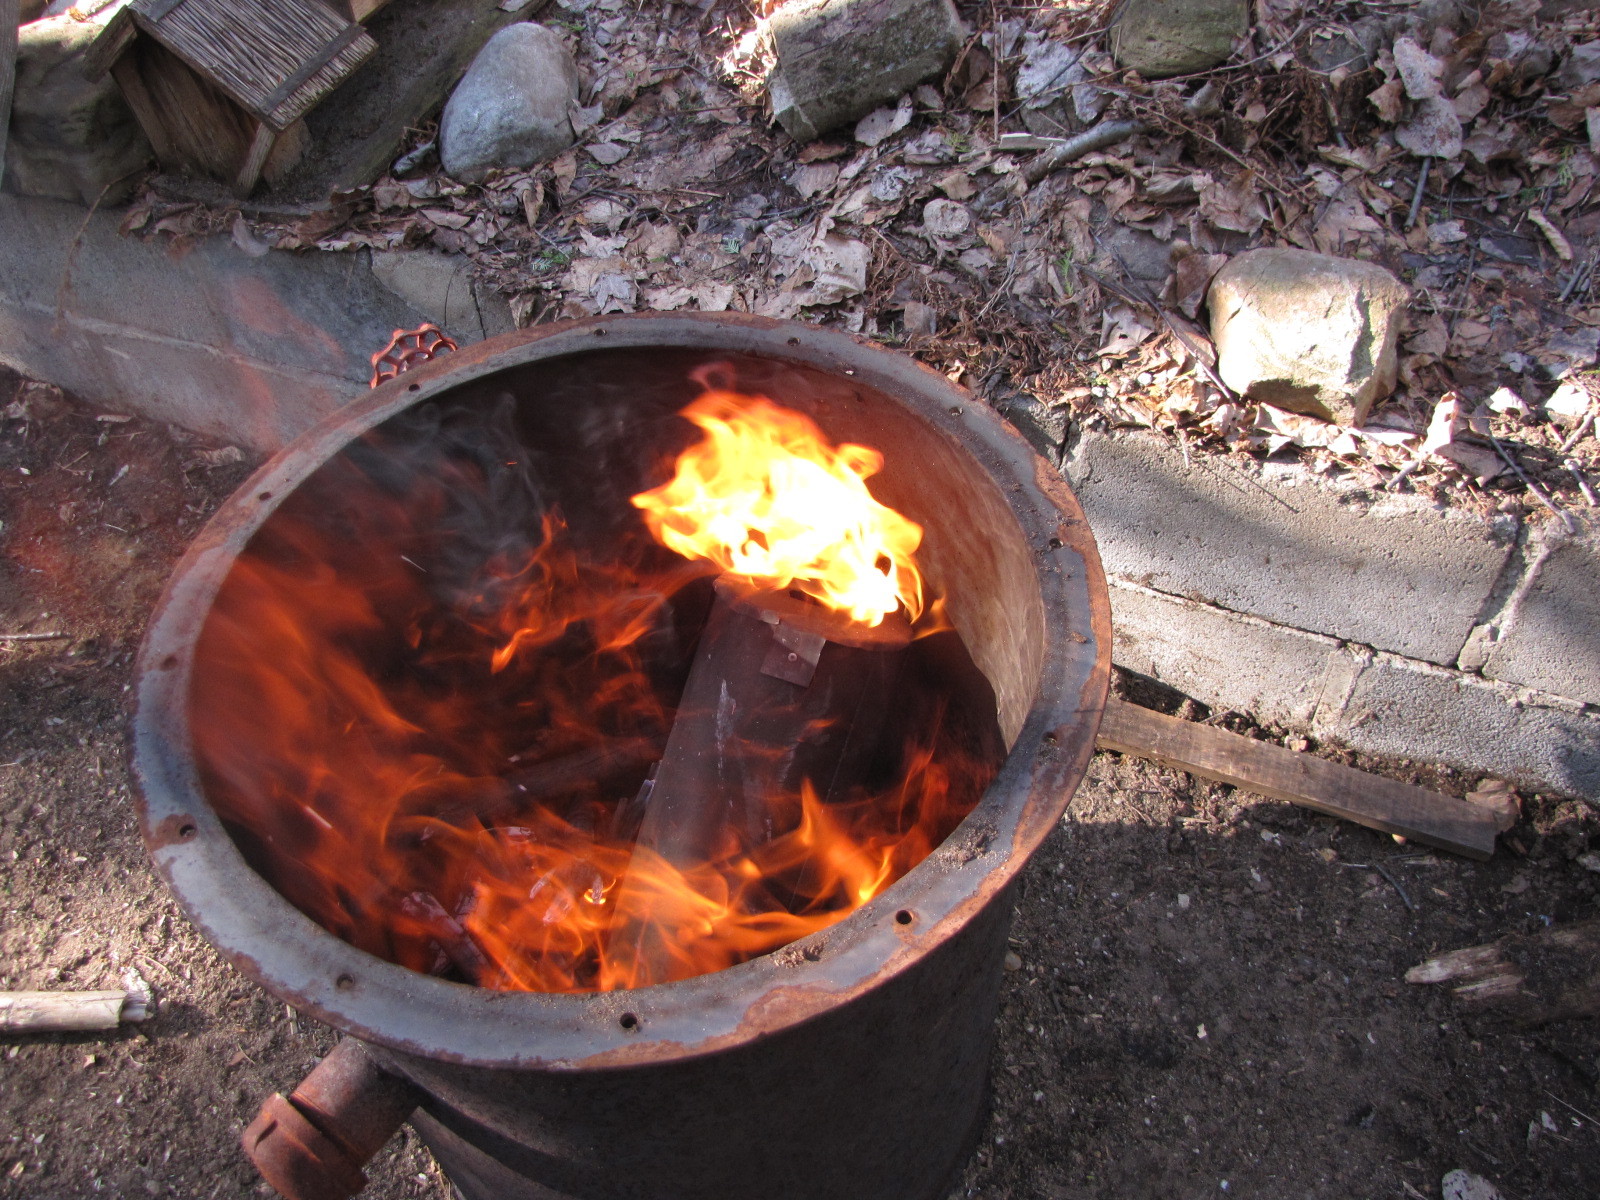
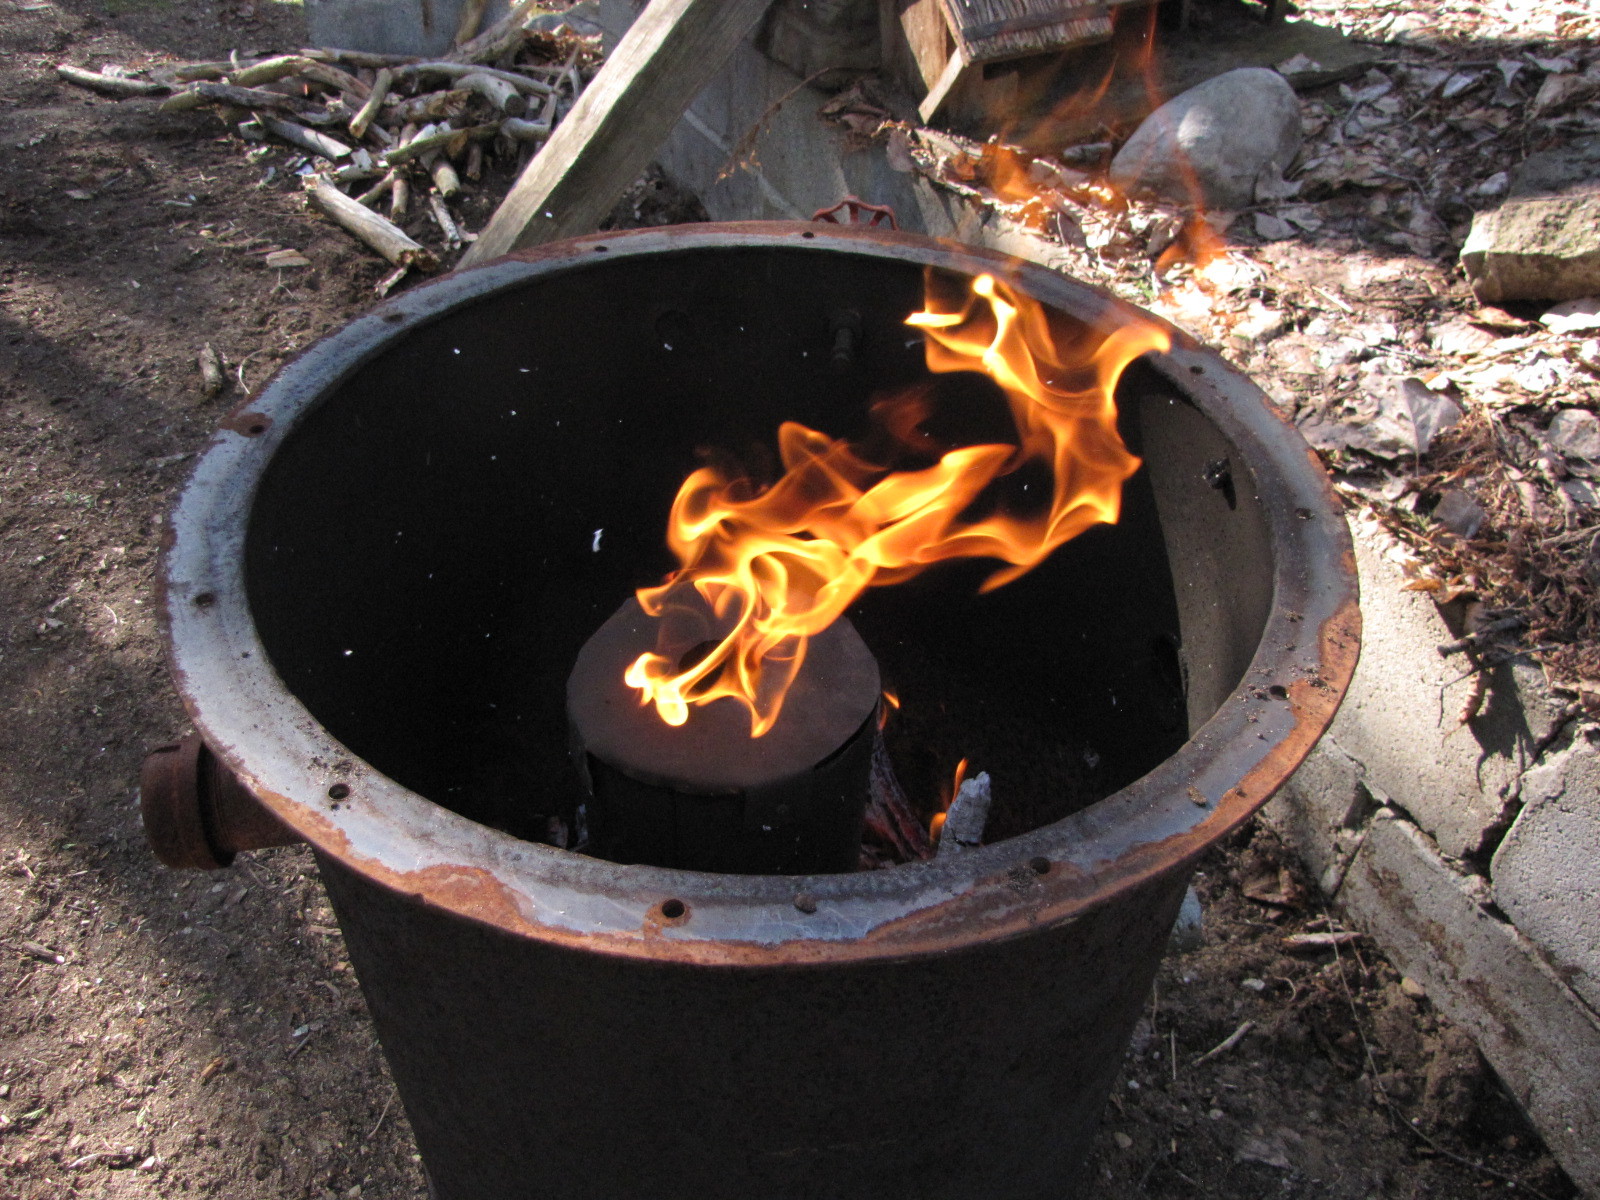
And now for a look at the height of the process.
Some of the better black powder used willow or grapevine. The bark was removed as it contained most of the ash. Not sure if you are shooting it or just letting the black powder flare, but it sure is fun to make. (so I’ve heard)
Gary in PA
I just happen to have a Willow down by the river, maybe I’ll do some pruning. I also have grapevine all over the place. Grapevine could be tedious, me thinks. Yes, it sure is fun. My first “fun” came in a Gilbert chemistry set for my birthday in 1953. I was 11. It started with an experiment in the book, entitled, “The oxidation of spices”.
Nice char you have there!
Its not hard to make black powder, but it gets tricky when makeing EXELENT black powder.
In short, willow, hazel, birch, grape and alder charcoal make fastest powder. Its allso important not to overcook the charcoal. Some volitiles are wanted as they aid to the products performance.
Lots of recepies down here, some eaven go as far as collecting the wood only at full moon at midnight for charcoal, but eaven BBQ char makes good powder if you mealit good.
Hi Kristijan,
Thanks for the comment and information. I have all of those species at arm’s length here. I have hazelnut " bushes, trees", I presume this is the hazel you refer to. They grow to 18’ with a 2" to 2//2" and are loaded with nuts every year. My cat loves to feast on nut fattened squirrels .
The video I watched indicated much the same, mentioning not to let the retort flame completely die out (like you said, don’t overcook the wood).
I will try Alder next, there’ some down and ready to cut up.
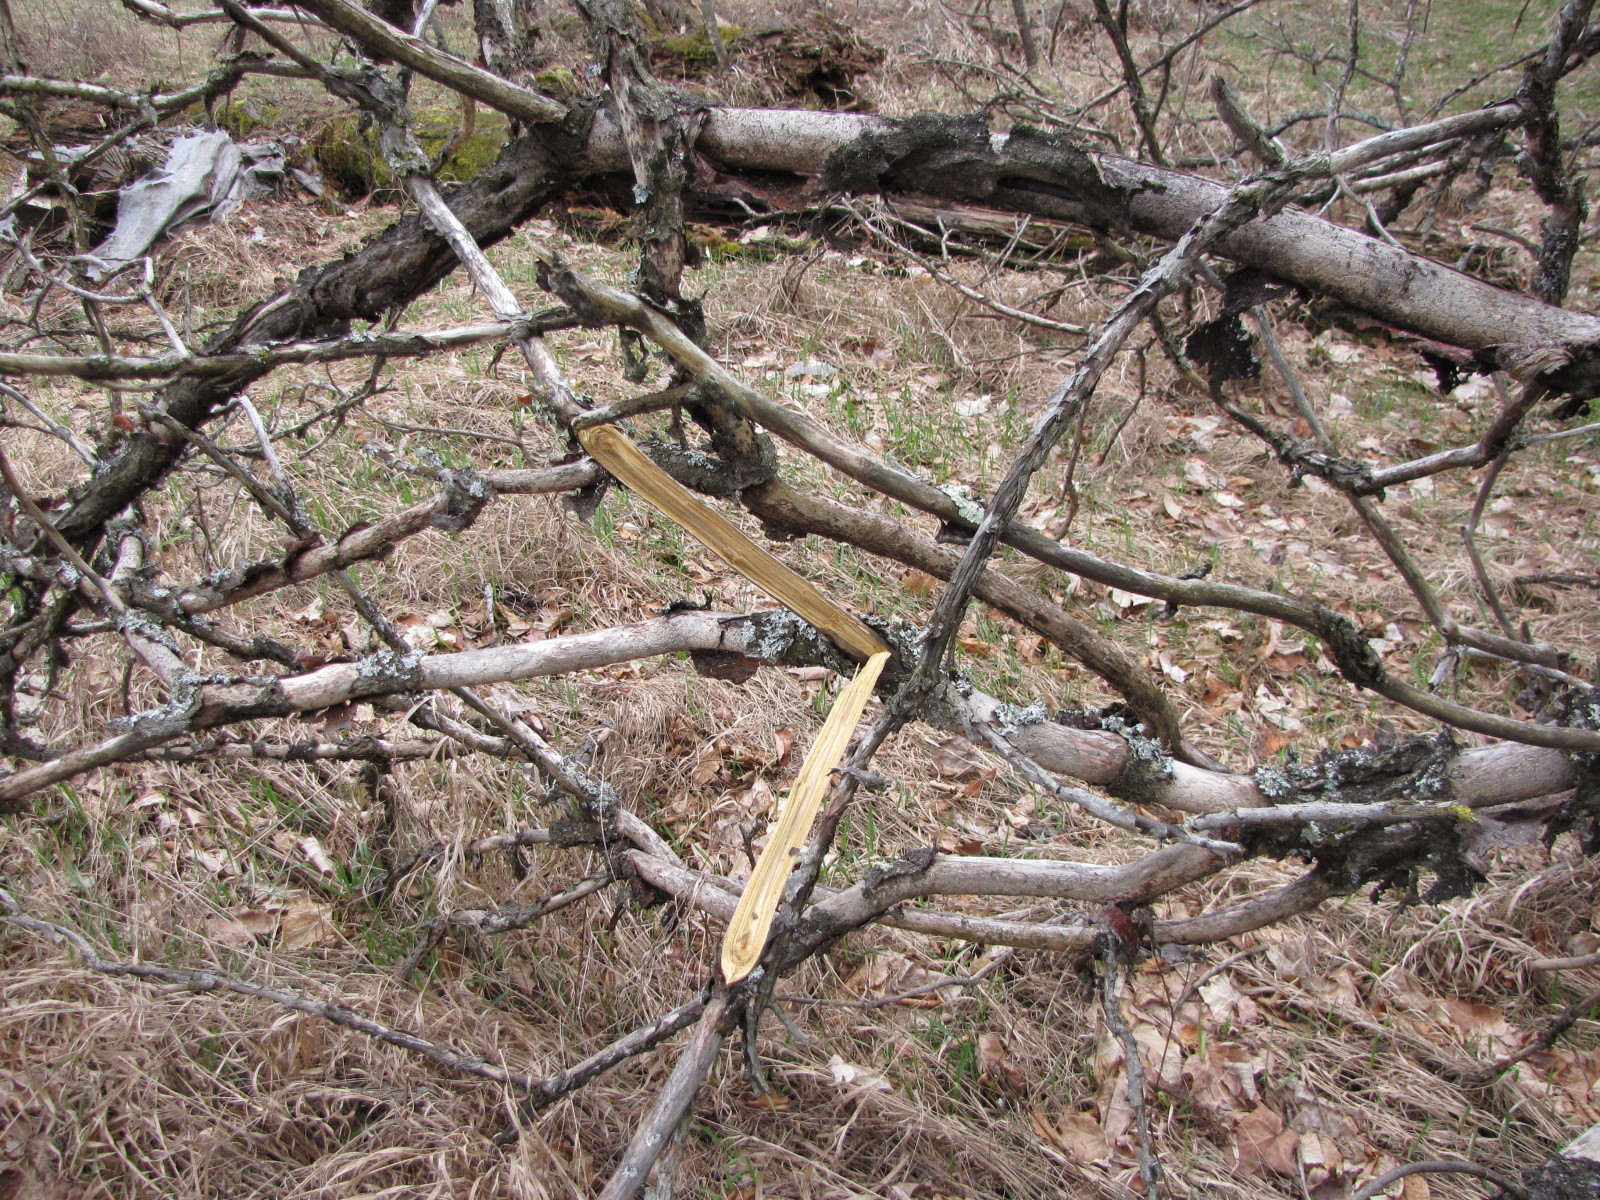
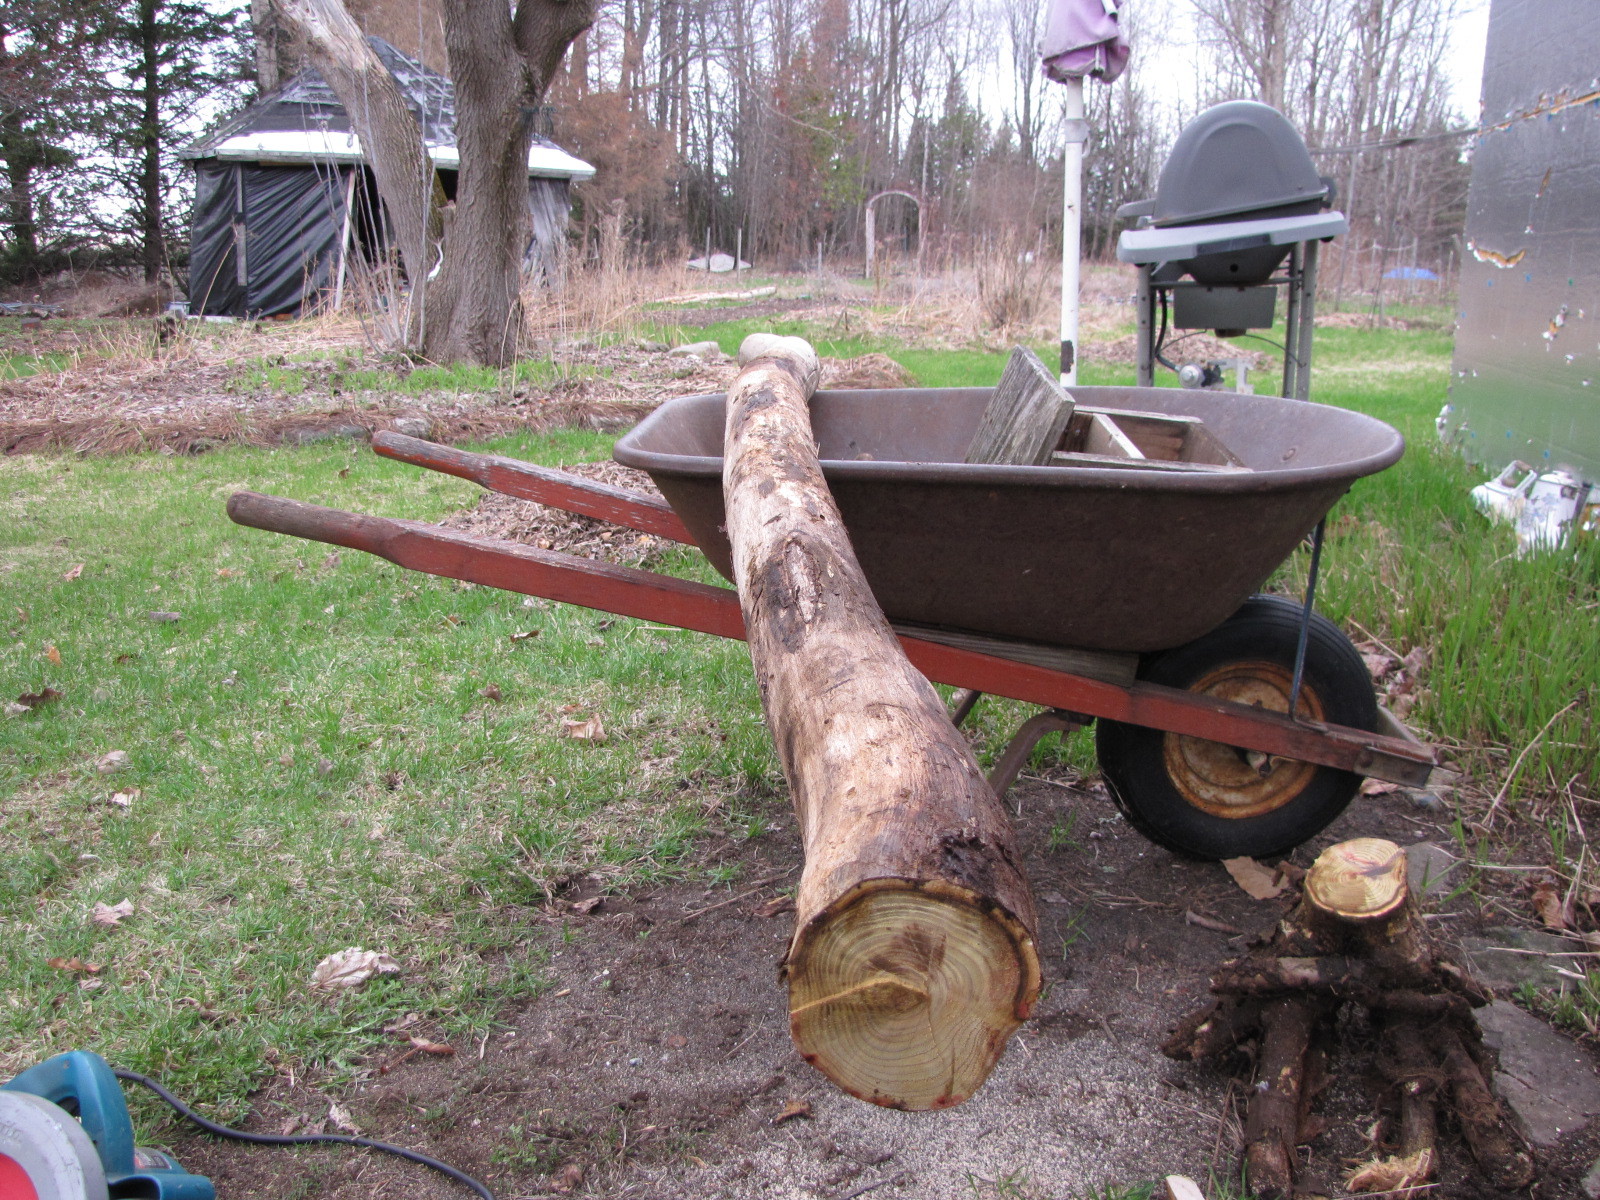
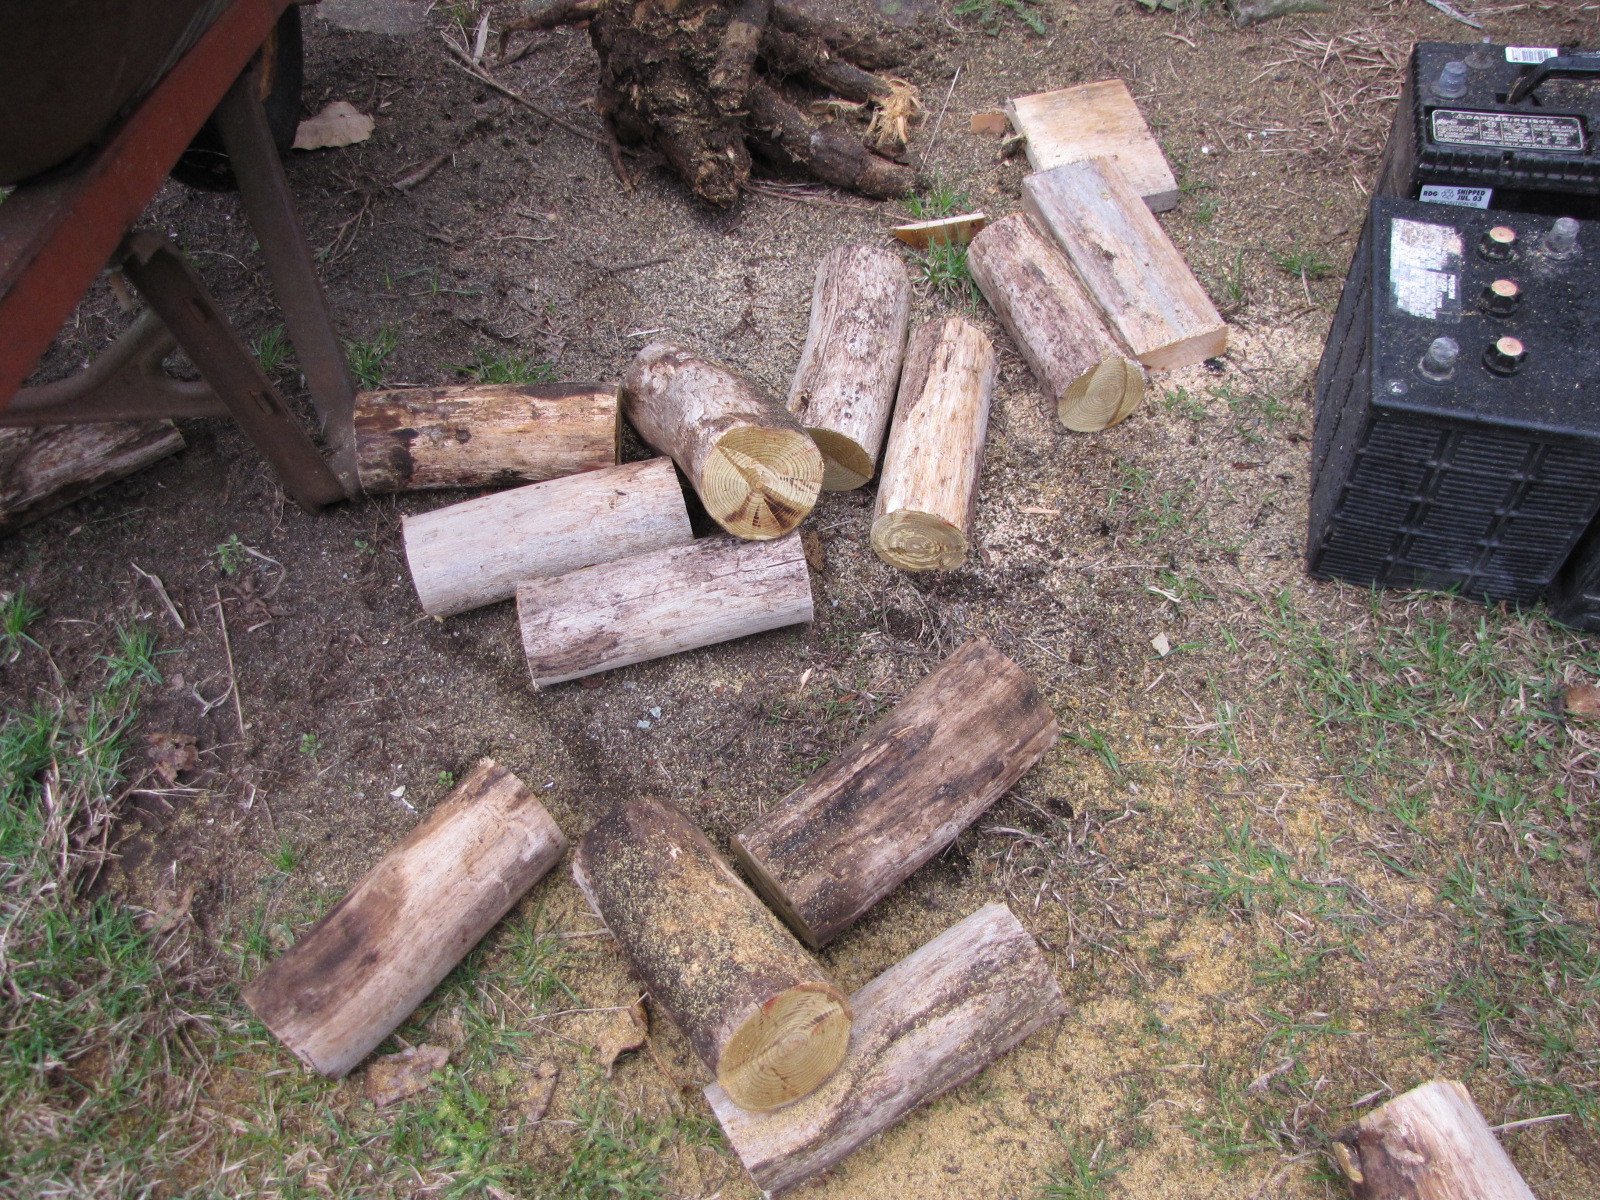
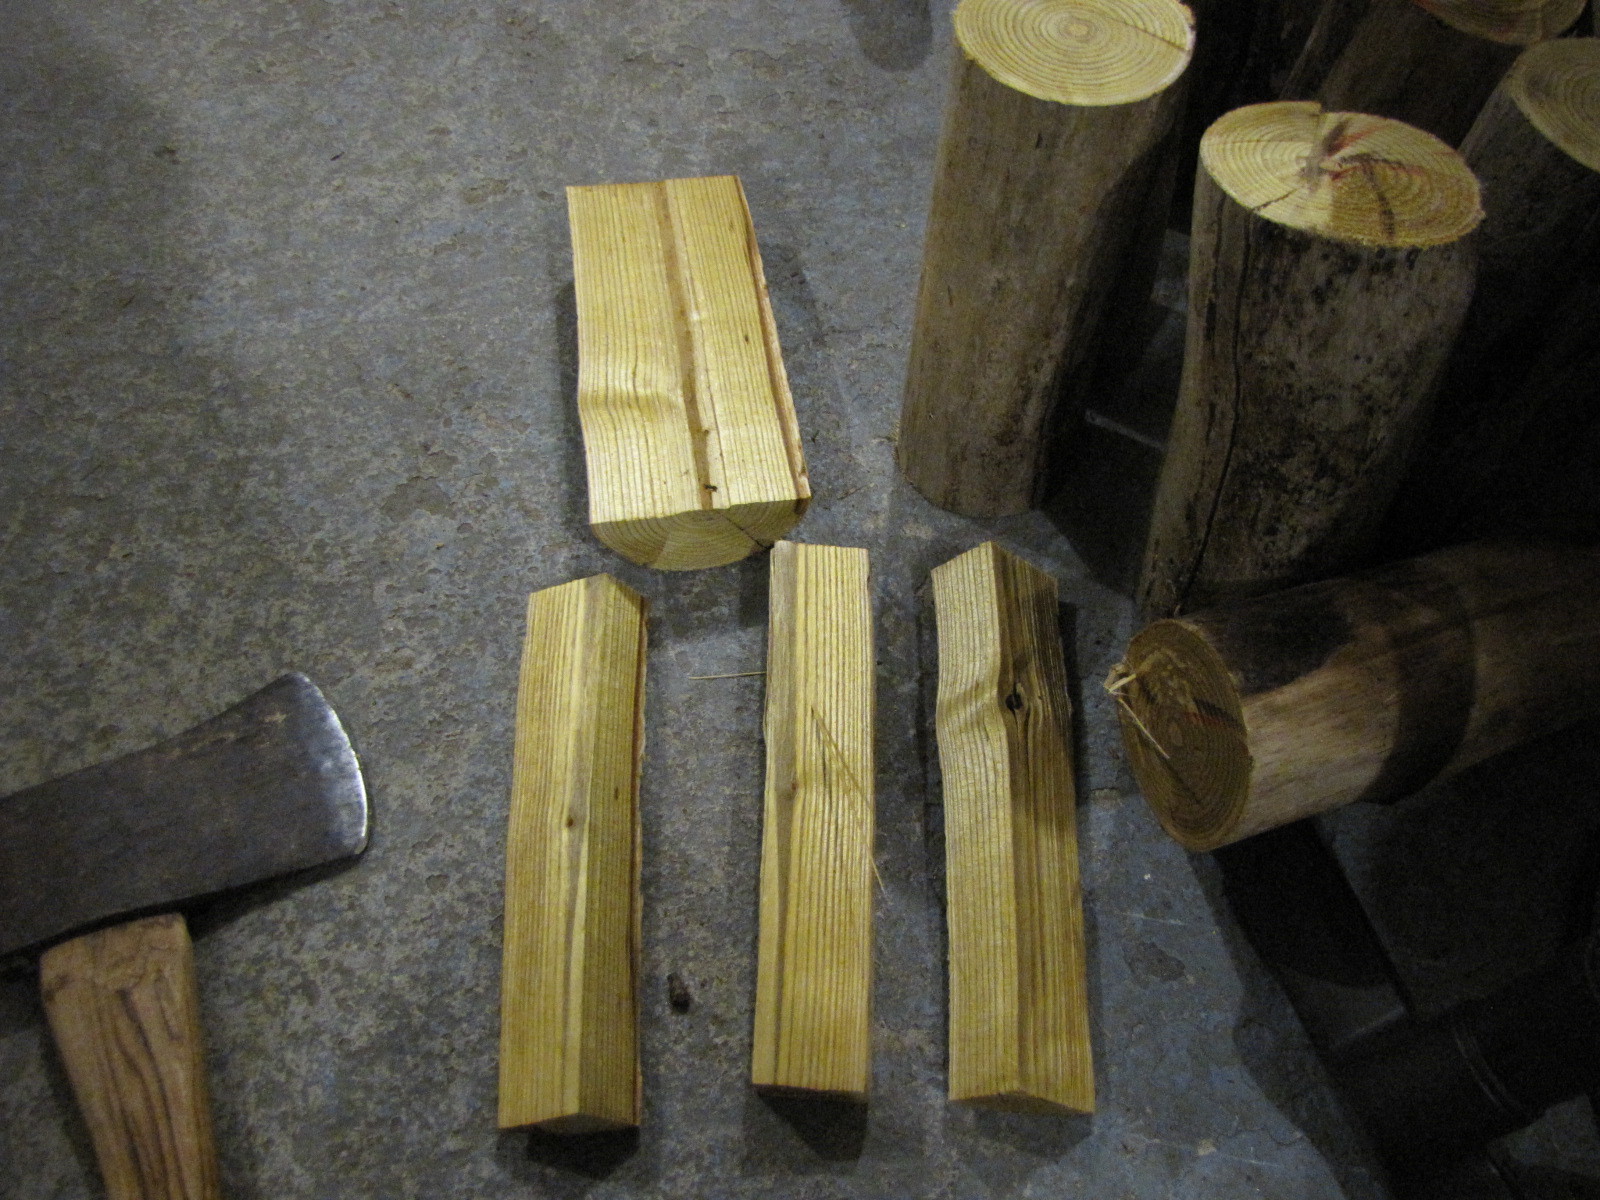
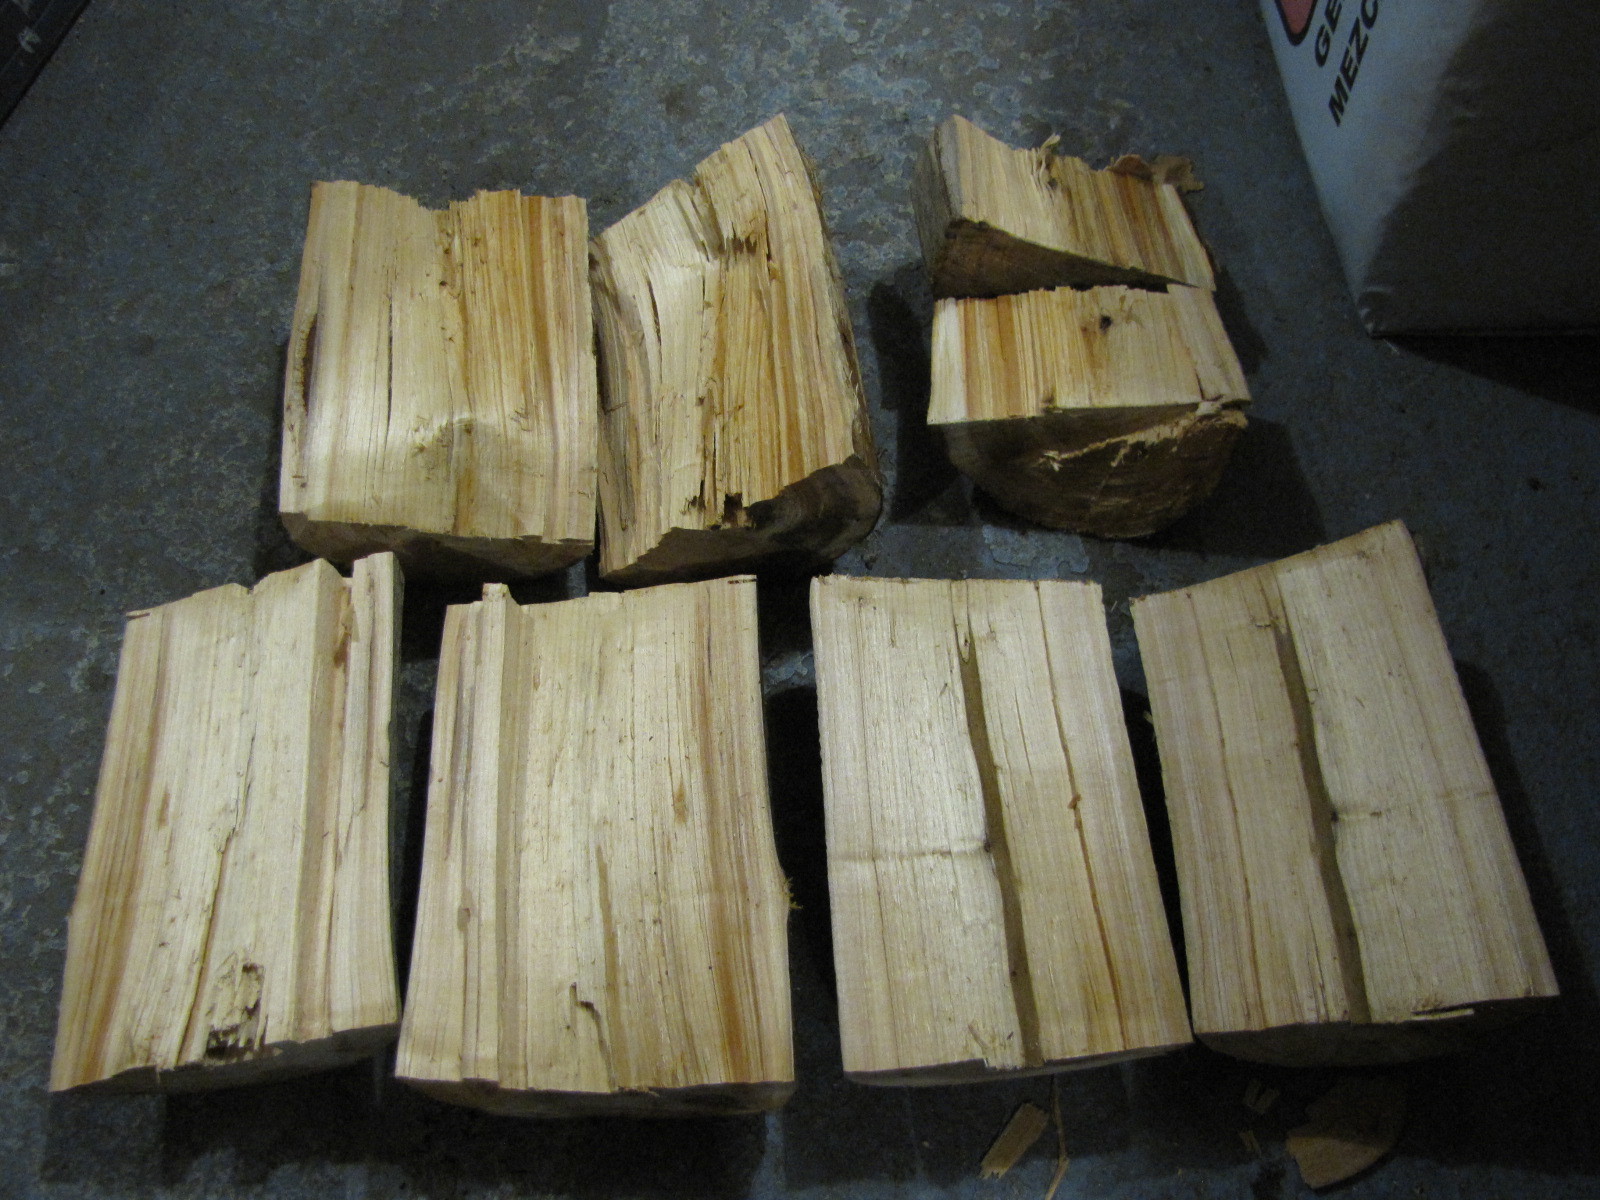
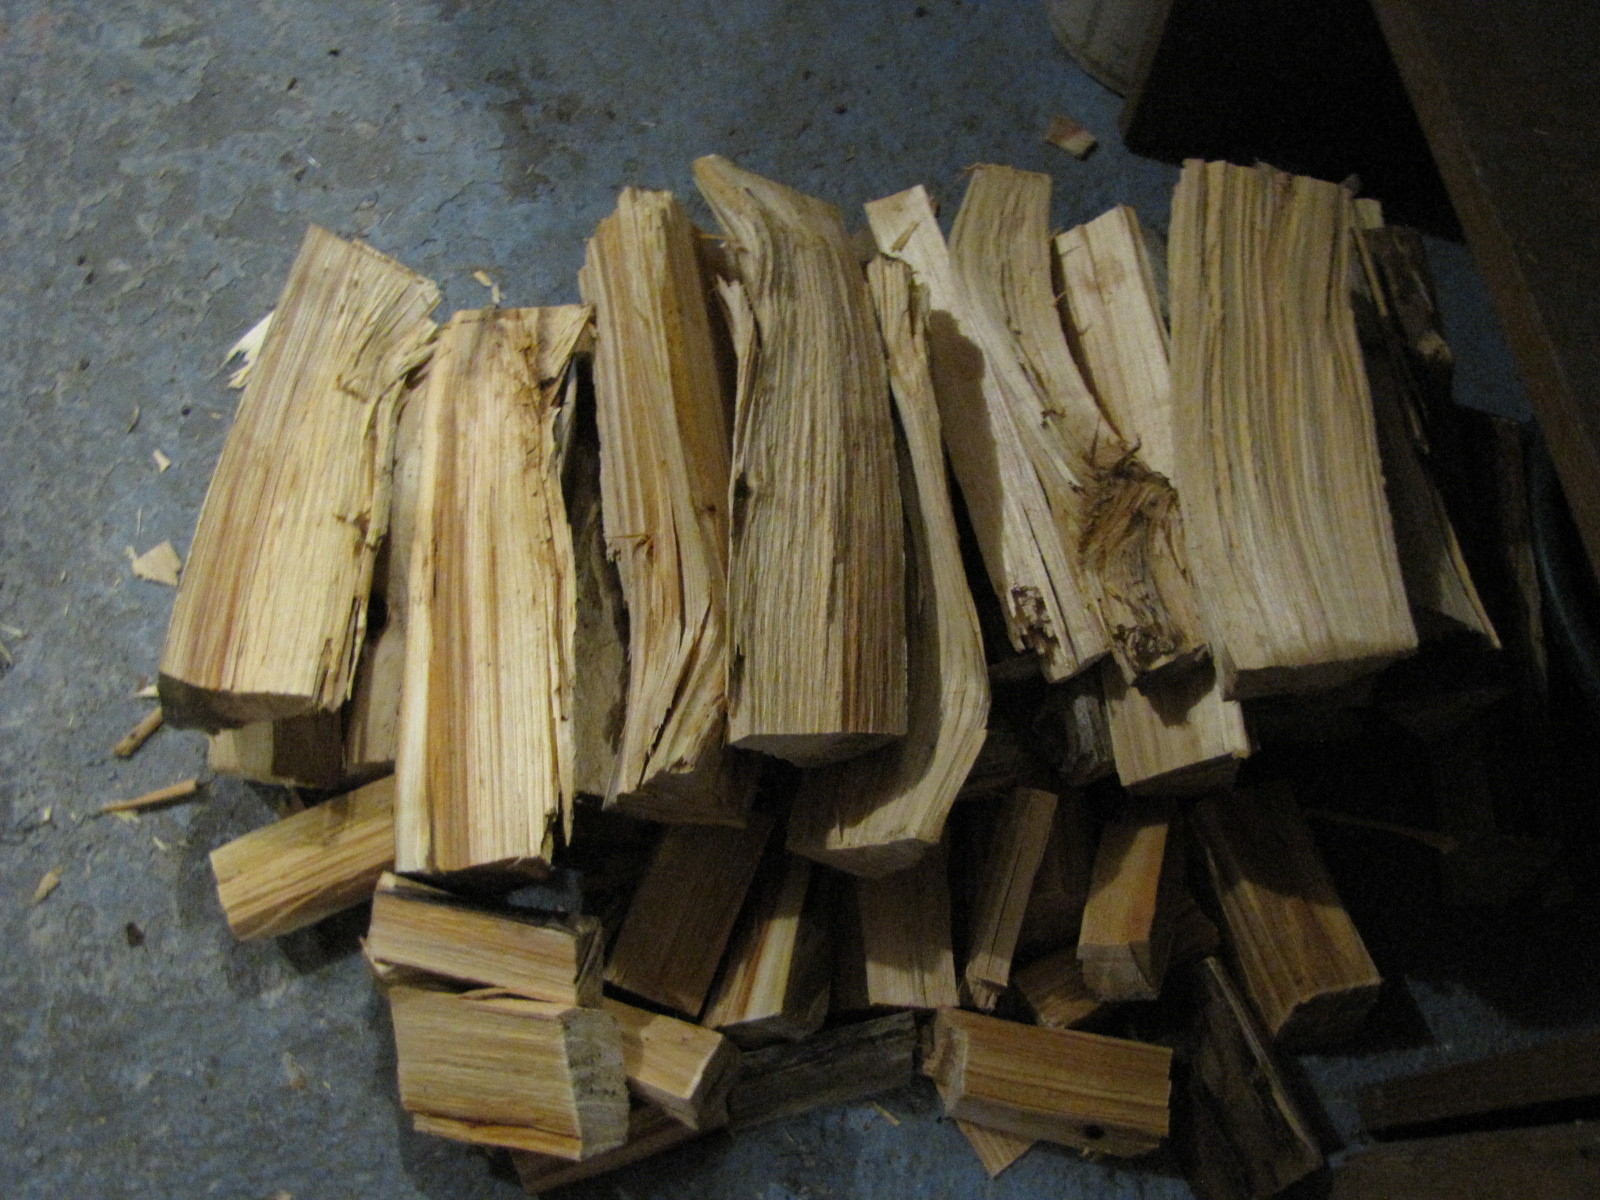
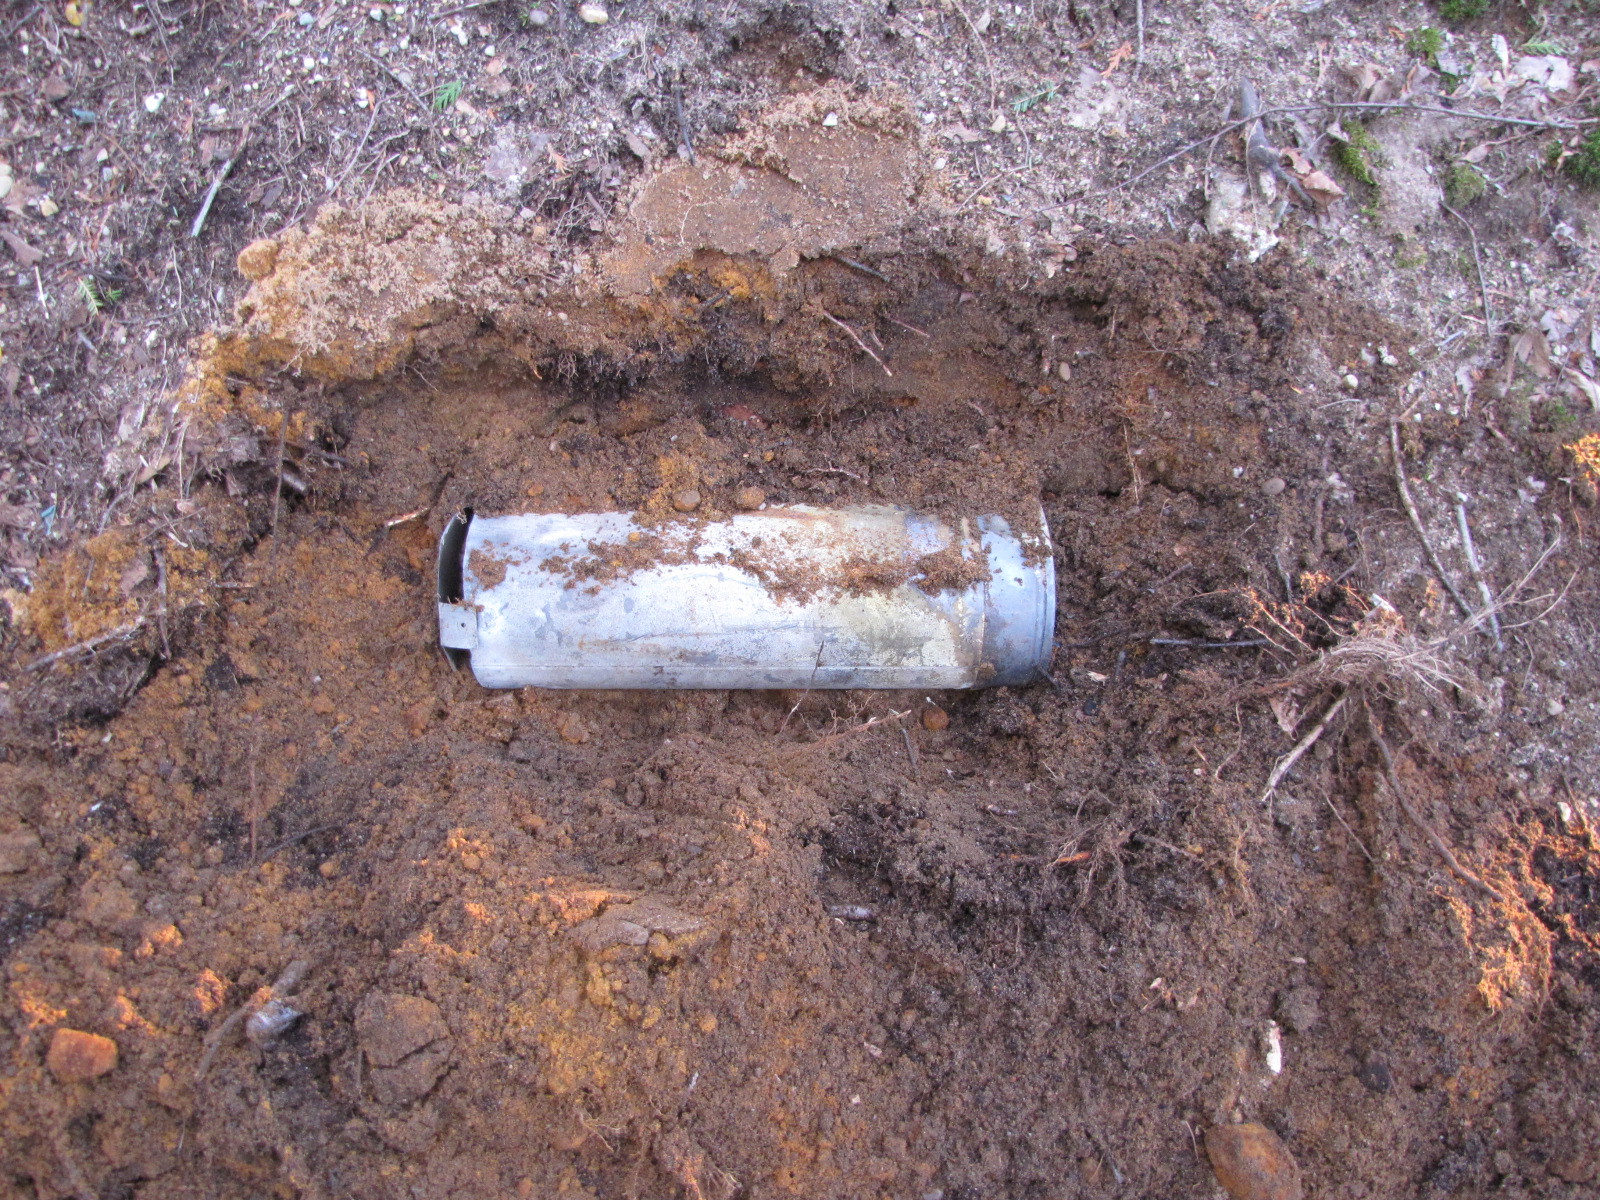
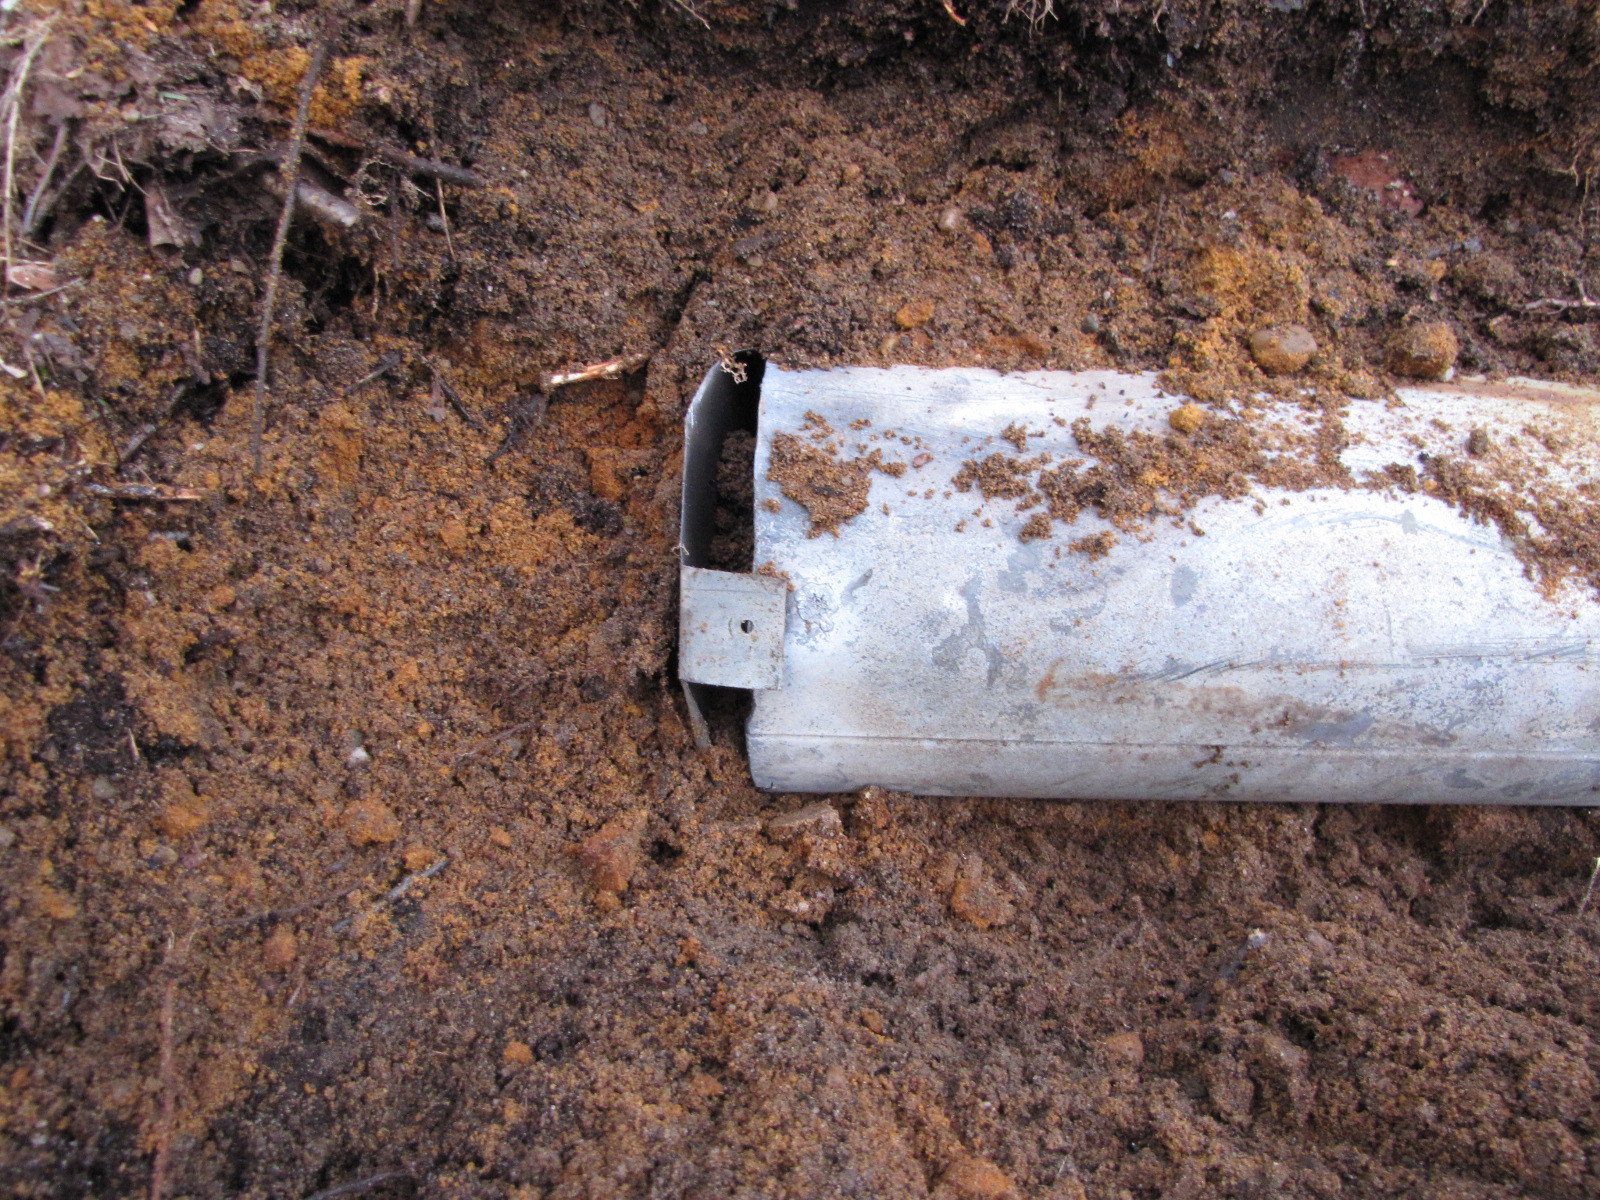
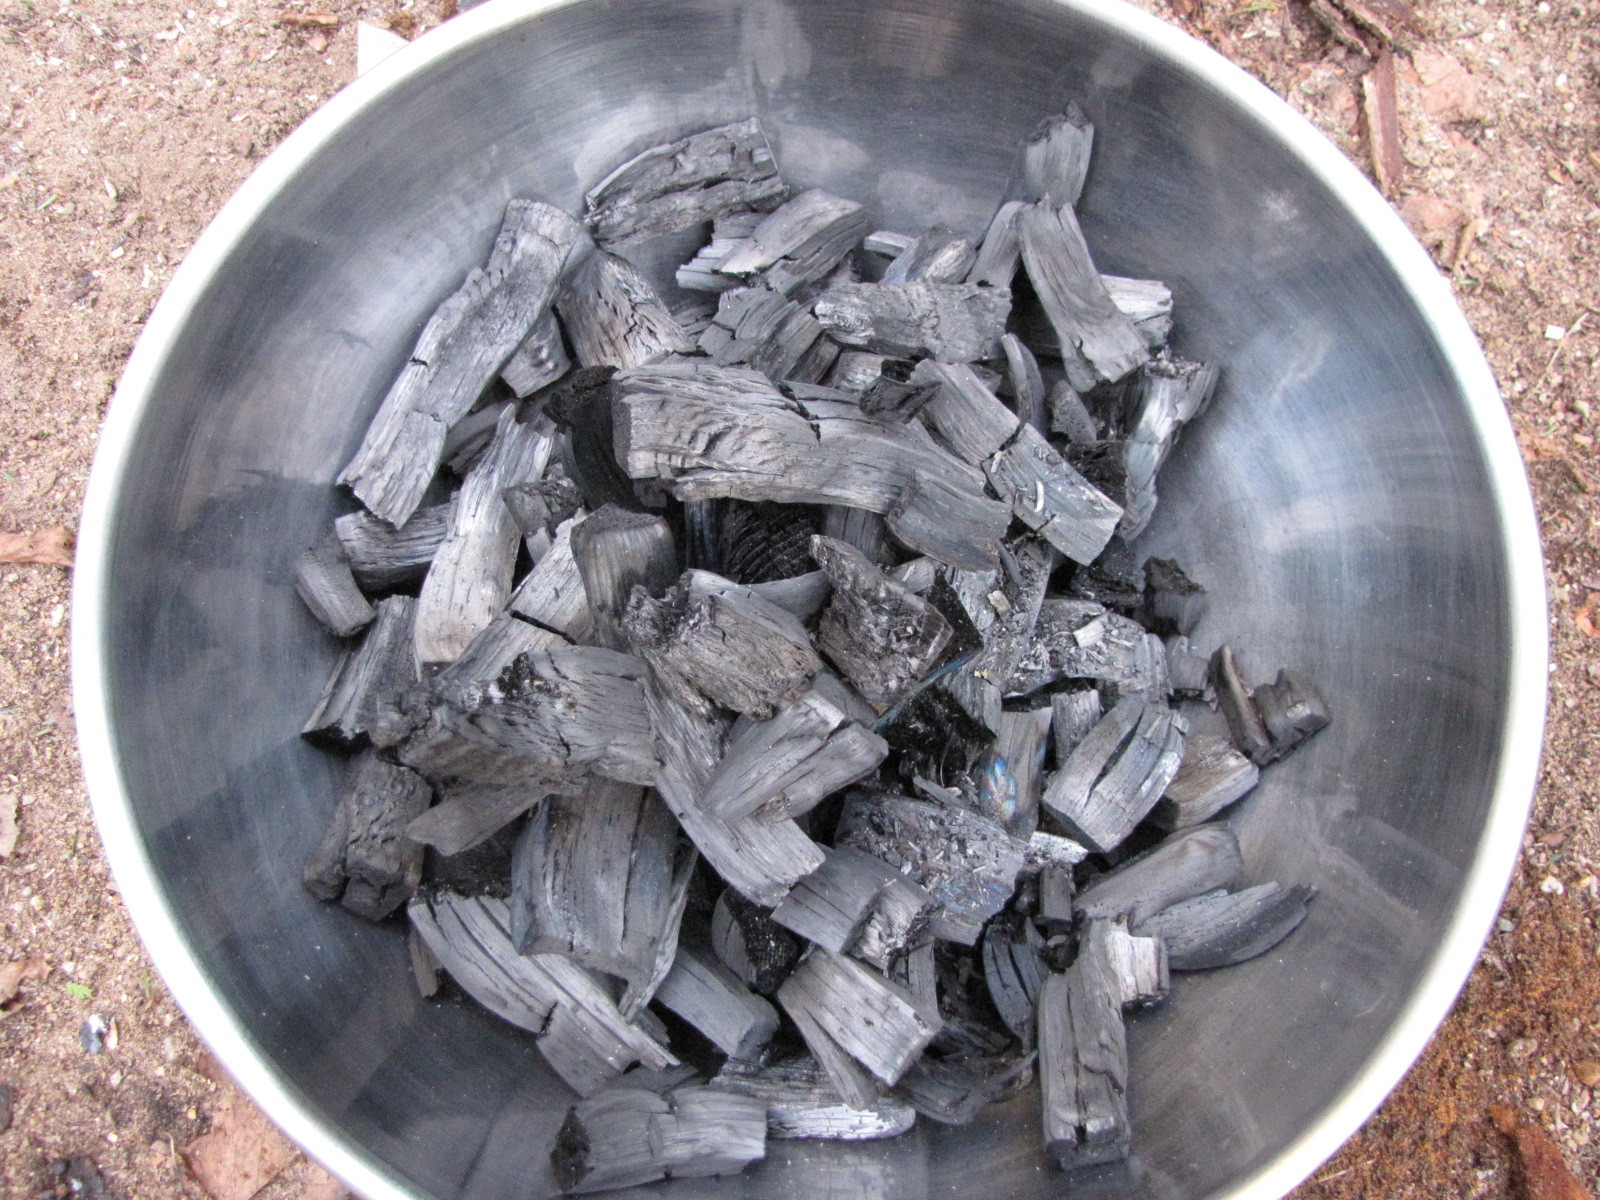
EDIT: I meant to say Sumac not Alder. Pics follow.
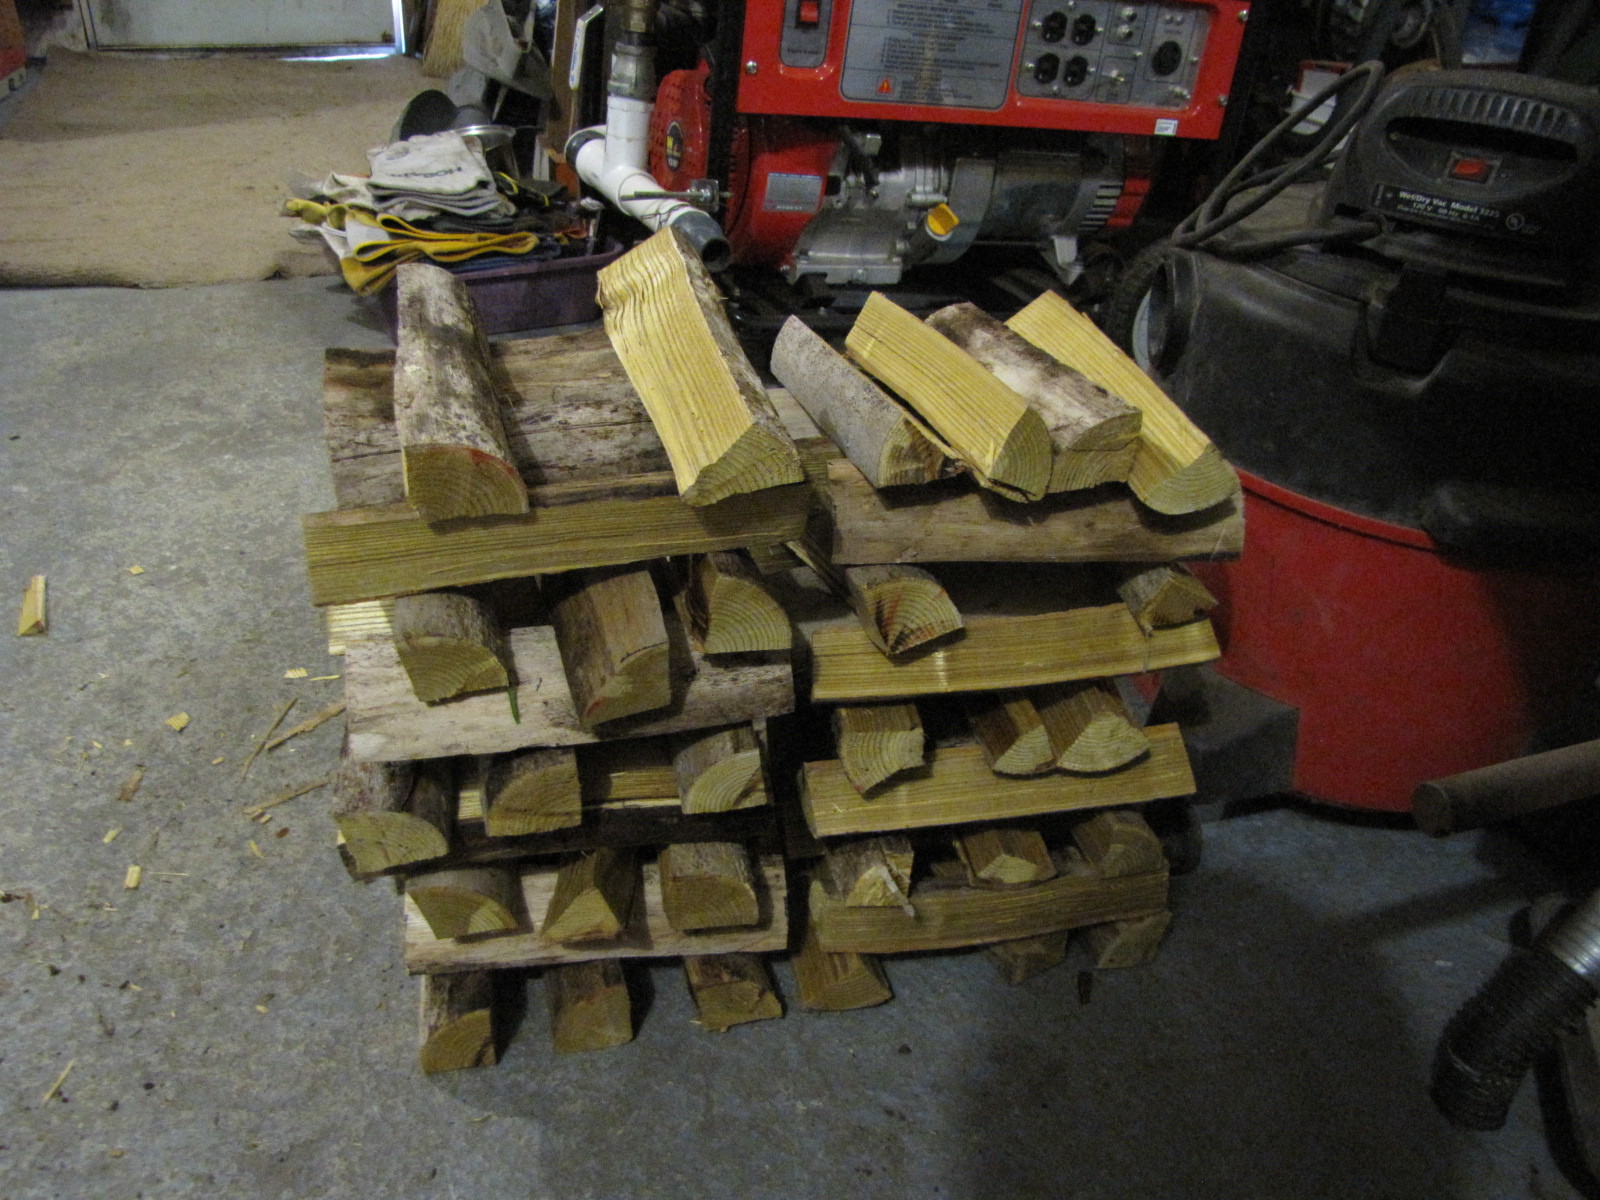
I cut a bunch of 8 1/2" chunks. My retort is 17 1/2" long and will be loaded with two courses of 8 1/2" bundles of sticks. I’ll take pictures of the loading this time.
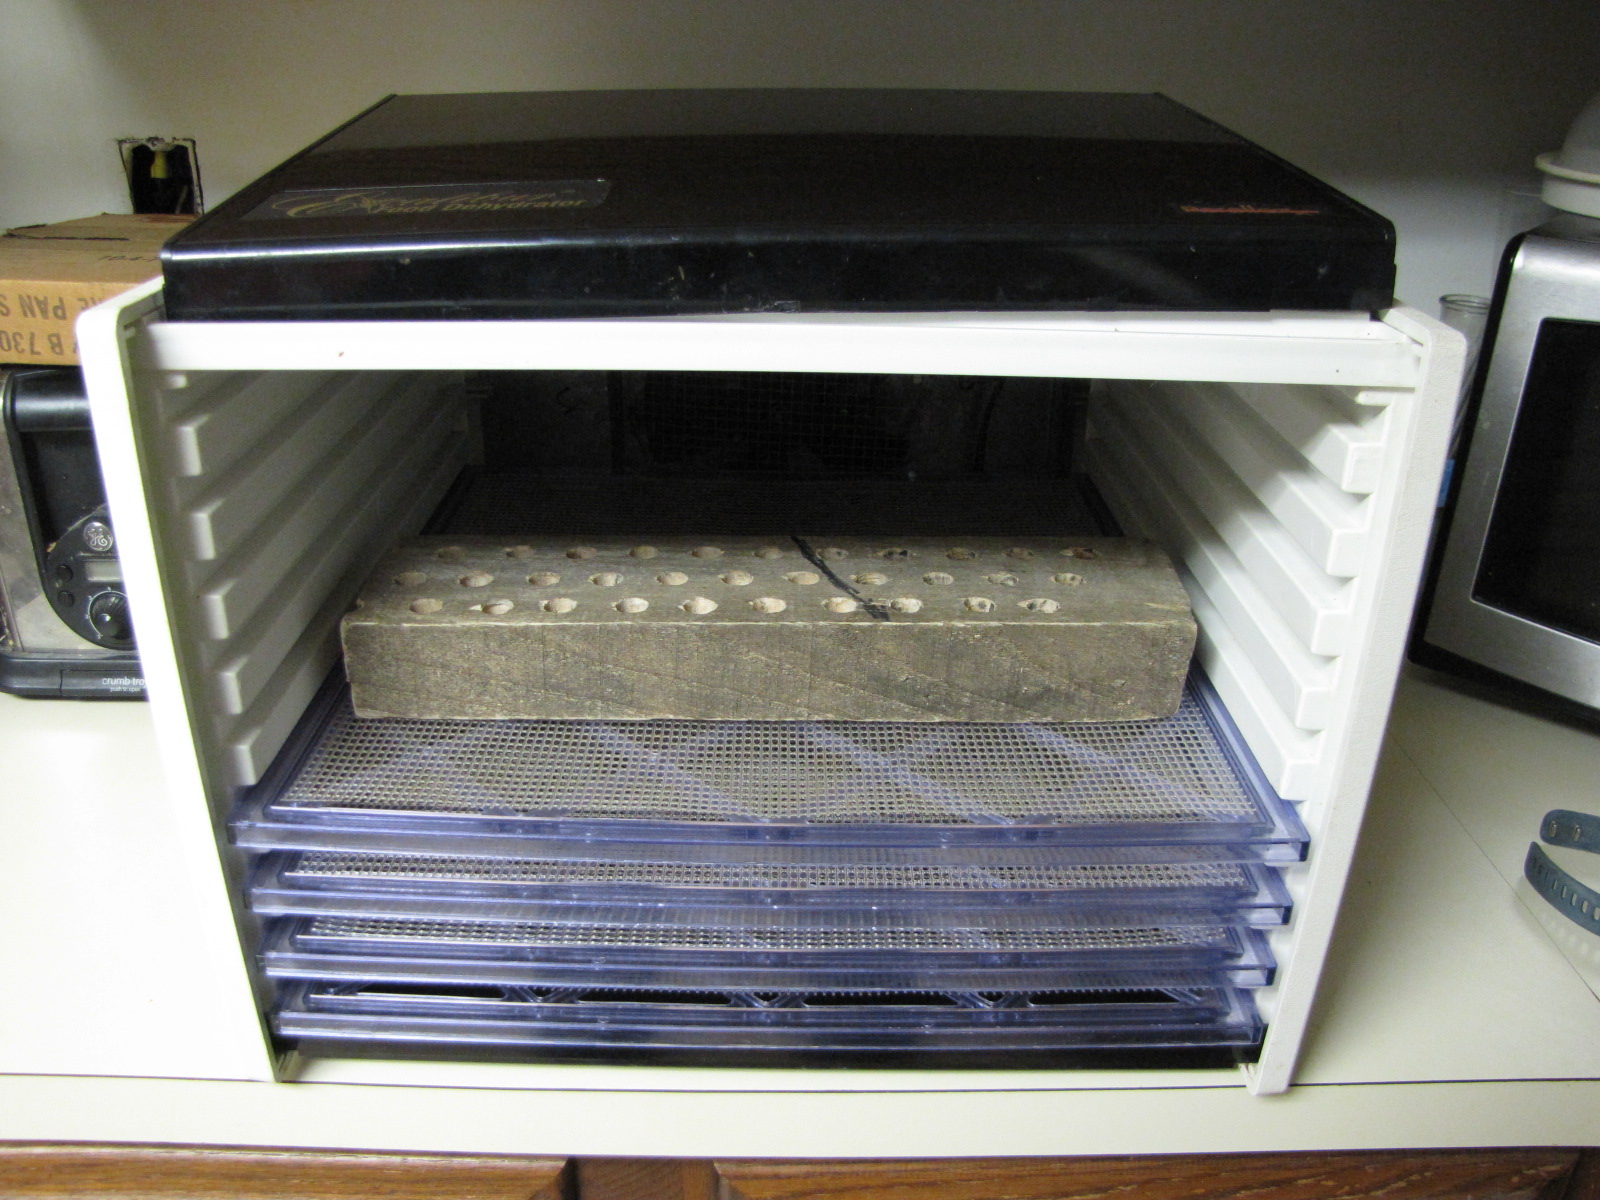
I’ll let these dry in the shop for a while before I cook them. Meanwhile, I’ll play with the softwood (Spruce, I think) charcoal. I found a very fine screen strainer and I’m aiming to reduce the whole bowl of charcoal to fine powder very soon. Then I’ll try some burn tests on the mix. I’m also going to try a mix using char from my cyclone. It should be interesting. Stay tuned.
Pepe
Edit 5/7/17 Don’t bother using cyclone char, it barely burns in the mix, fizzle, sizzle, sputter!
Hi All,
I’ve been picking away at the powdered charcoal production. I’m finding out that the best burning (fastest) mixes require being ground “very!” fine. To that end I am building a ball mill similar to the one below.
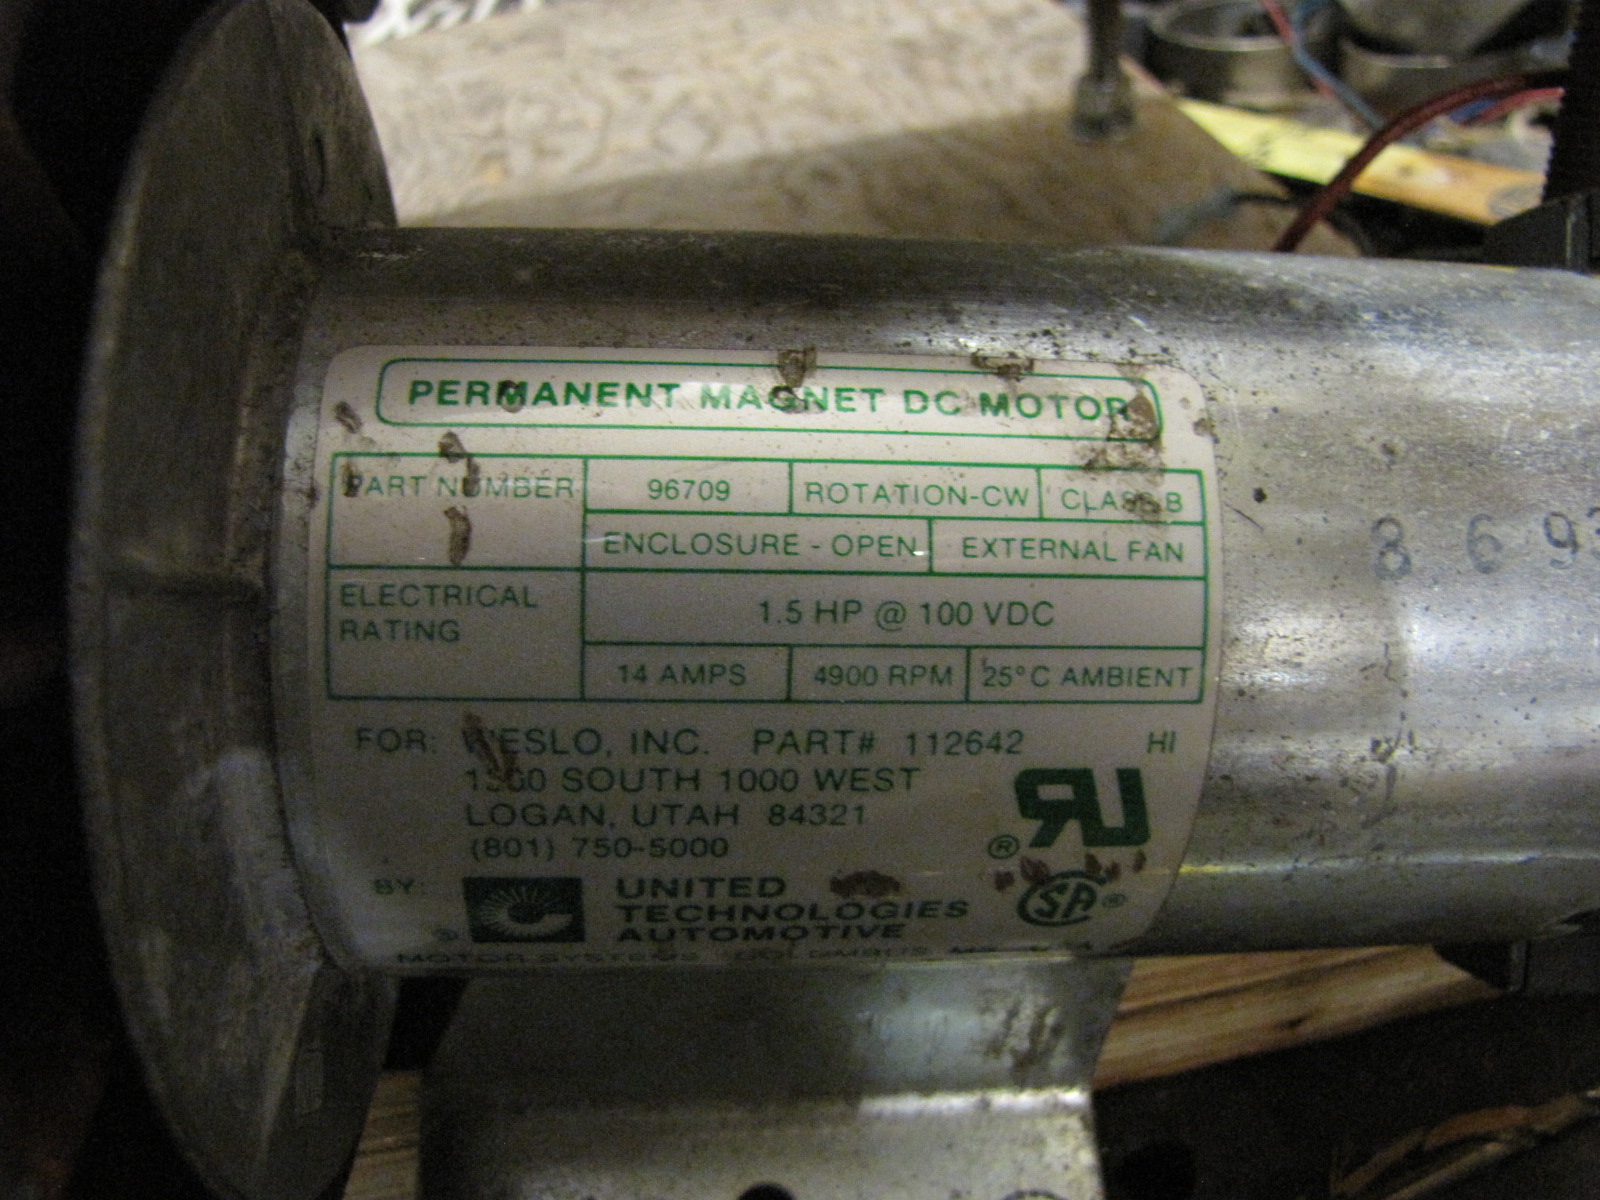
I have a 12V dc motor that I will power with a variable charge rate battery charger of 2 amp, 6 amp and 12 amp. This will give me some control of the ball mill rotation speed. I’ve read that 80 rpms is the target speed. Drive pulley size can also help control rotation speed. I’m stuck with the container dimension as a top “pulley”.
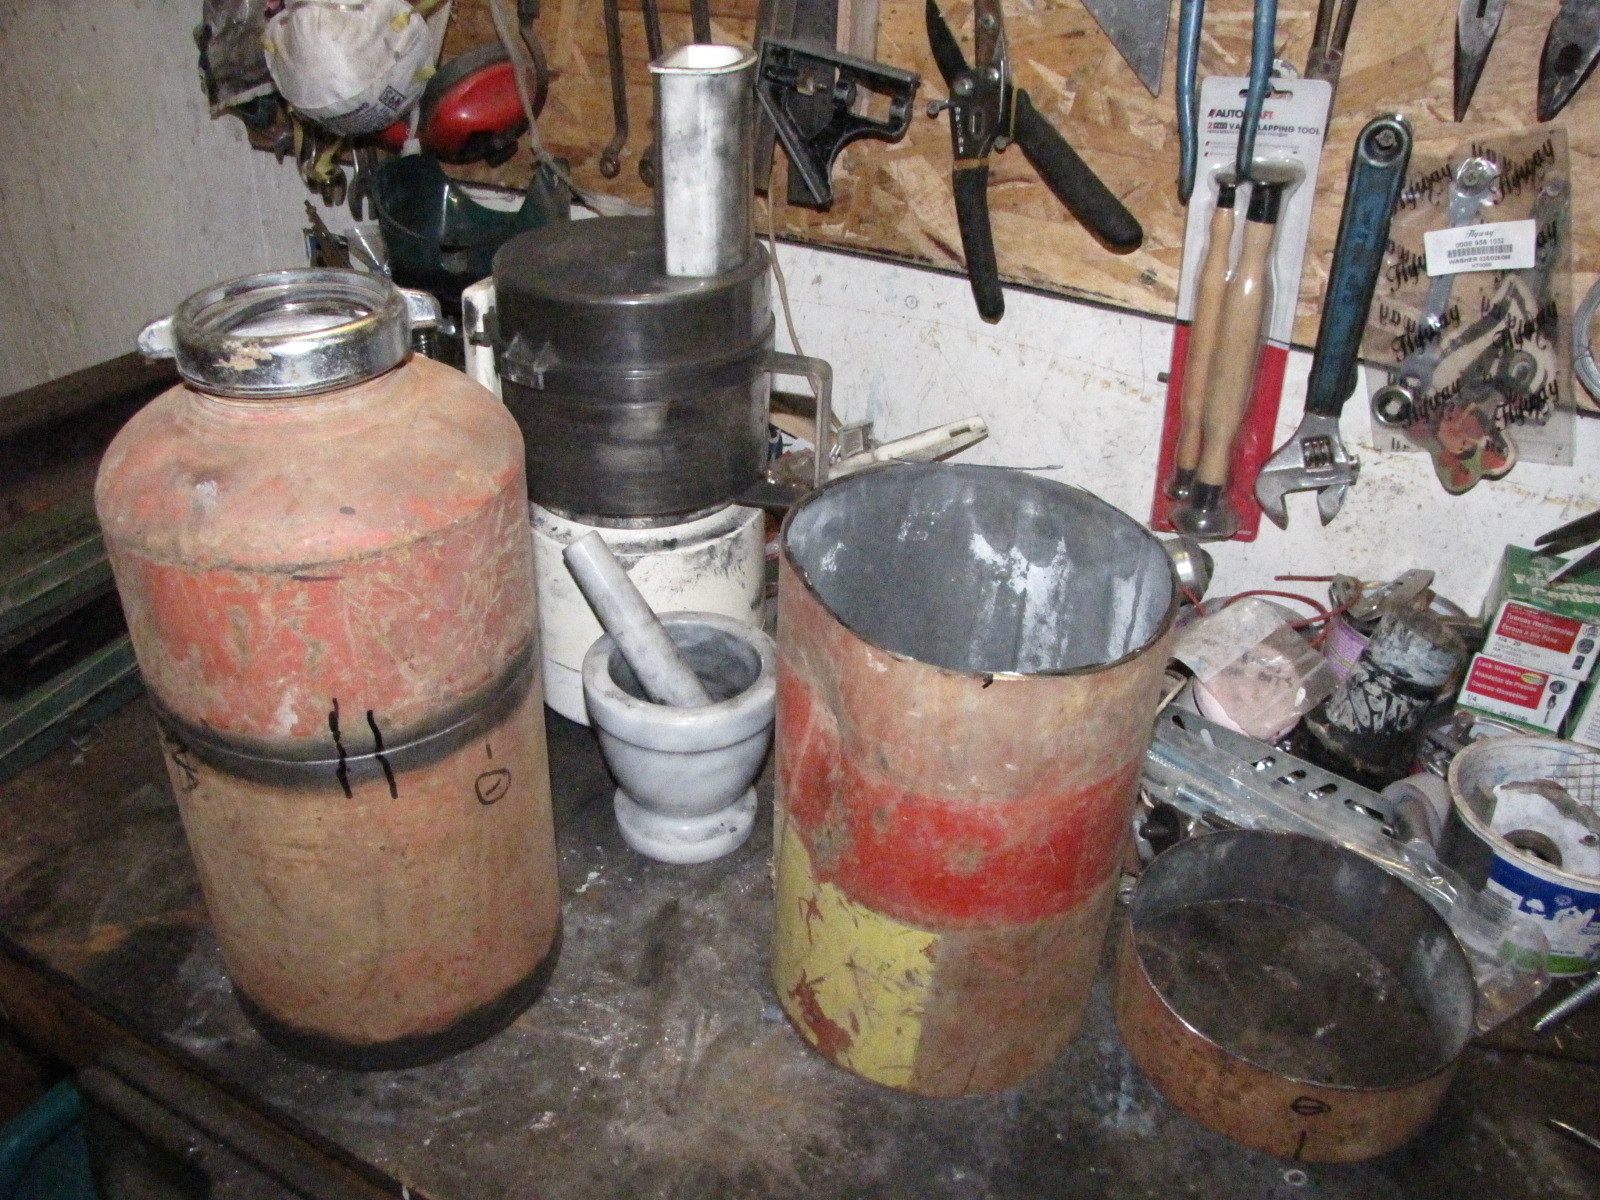
I dug some old fire extinguishers out of the local scrap dealer’s pile at a buck apiece. I cut out the best pieces to get to a length of 10" or so. The diameter is 6 1/4" od. Not to worry about sparks from the steel, my ever thoughtful wife picked up some 50 caliber lead musket balls at the auction. Yeah, she loves pyrotechnics and setting off fireworks. You gotta love a woman that likes the smell of gunpowder.
I’ll be welding this up today. Sorry, no pics or vids of the burn rates yet, but I’m working on it. Pepe
Alright! Doeing it the right way! After you make black powder this way with a premium softwood charcoal (did a batch of tilia/poplar man the powder kicks ass!) you will never buy it again.
Not a fan of steel drums thugh. Be sure to operate from a distance.
Ha, if your wife likes pirotechnics, be sure to throw in a batch of star mix. Tigertail is one, 44%kno3, 44% charcoal (pine is prefered), 9% s and 3%dextrine (roasted starch). Mill, wet, form cilindric or round peaces, dry, fill in a tube above some blackpower and you have a amazeing firecurtain effect.
I said the motor lowers, but it is the drum platform that lowers to allow access to the belt for replacement. I read that 80 rpms is the ideal rotational speed. I timed this at 86 rpms. What a great coincidence since I had no idea how fast the motor would run. Near perfect. Now to get some more 50 caliber lead balls.
Great machine!
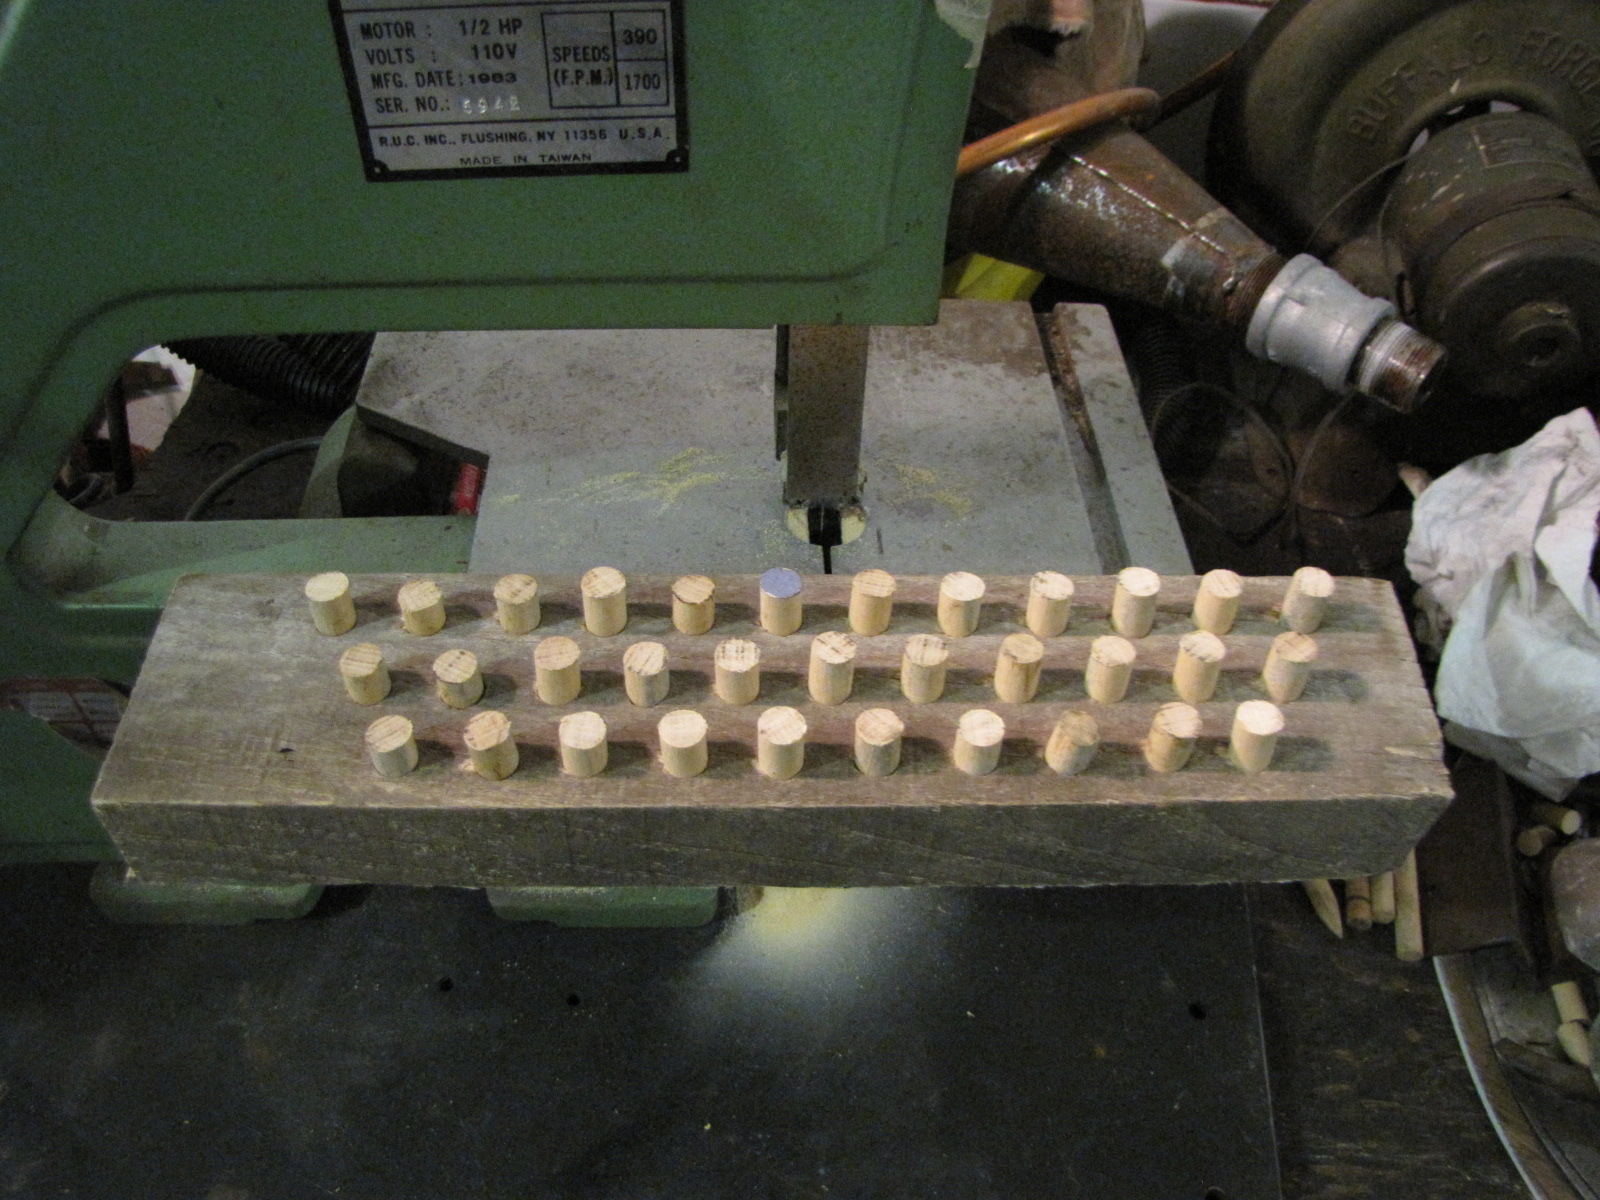
You can allso use lead cilinders, just drill holes in a hardwood plank and pour in molted lead. The cilinders work just as nice and will hammer perfectly tound after a while in the drum.
Thanks, Kristijan.
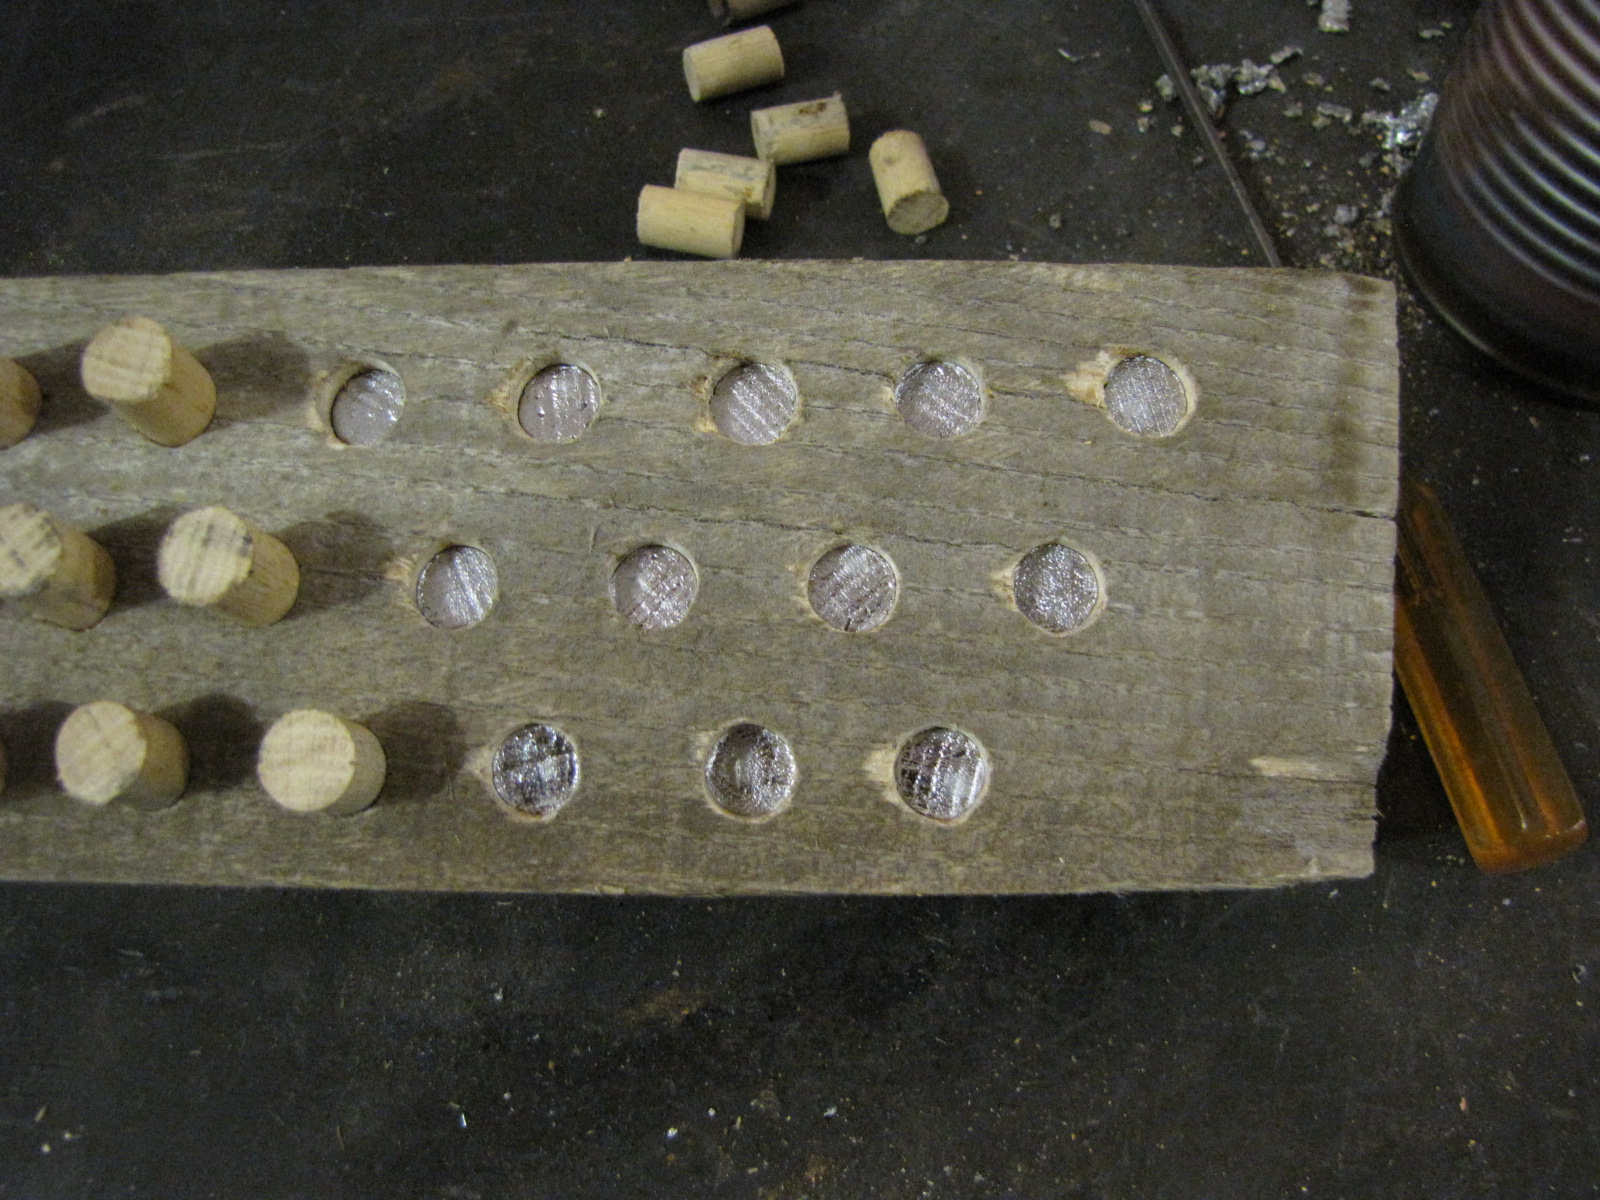
I have about 90 pounds of lead ingots, time to do something with them. They’ve been sitting in the corner for a decade or two holding down the floor I think I’ll use a one inch thick piece of hardwood with 1/2" holes. I think the holes will be smoother in hardwood. I’ll split the rows open with a 1/4" chisel and hammer or maybe try tapping them out with a 1/2" bolt shank as a driver. I don’t want to mushroom the end. I’ll let you know.
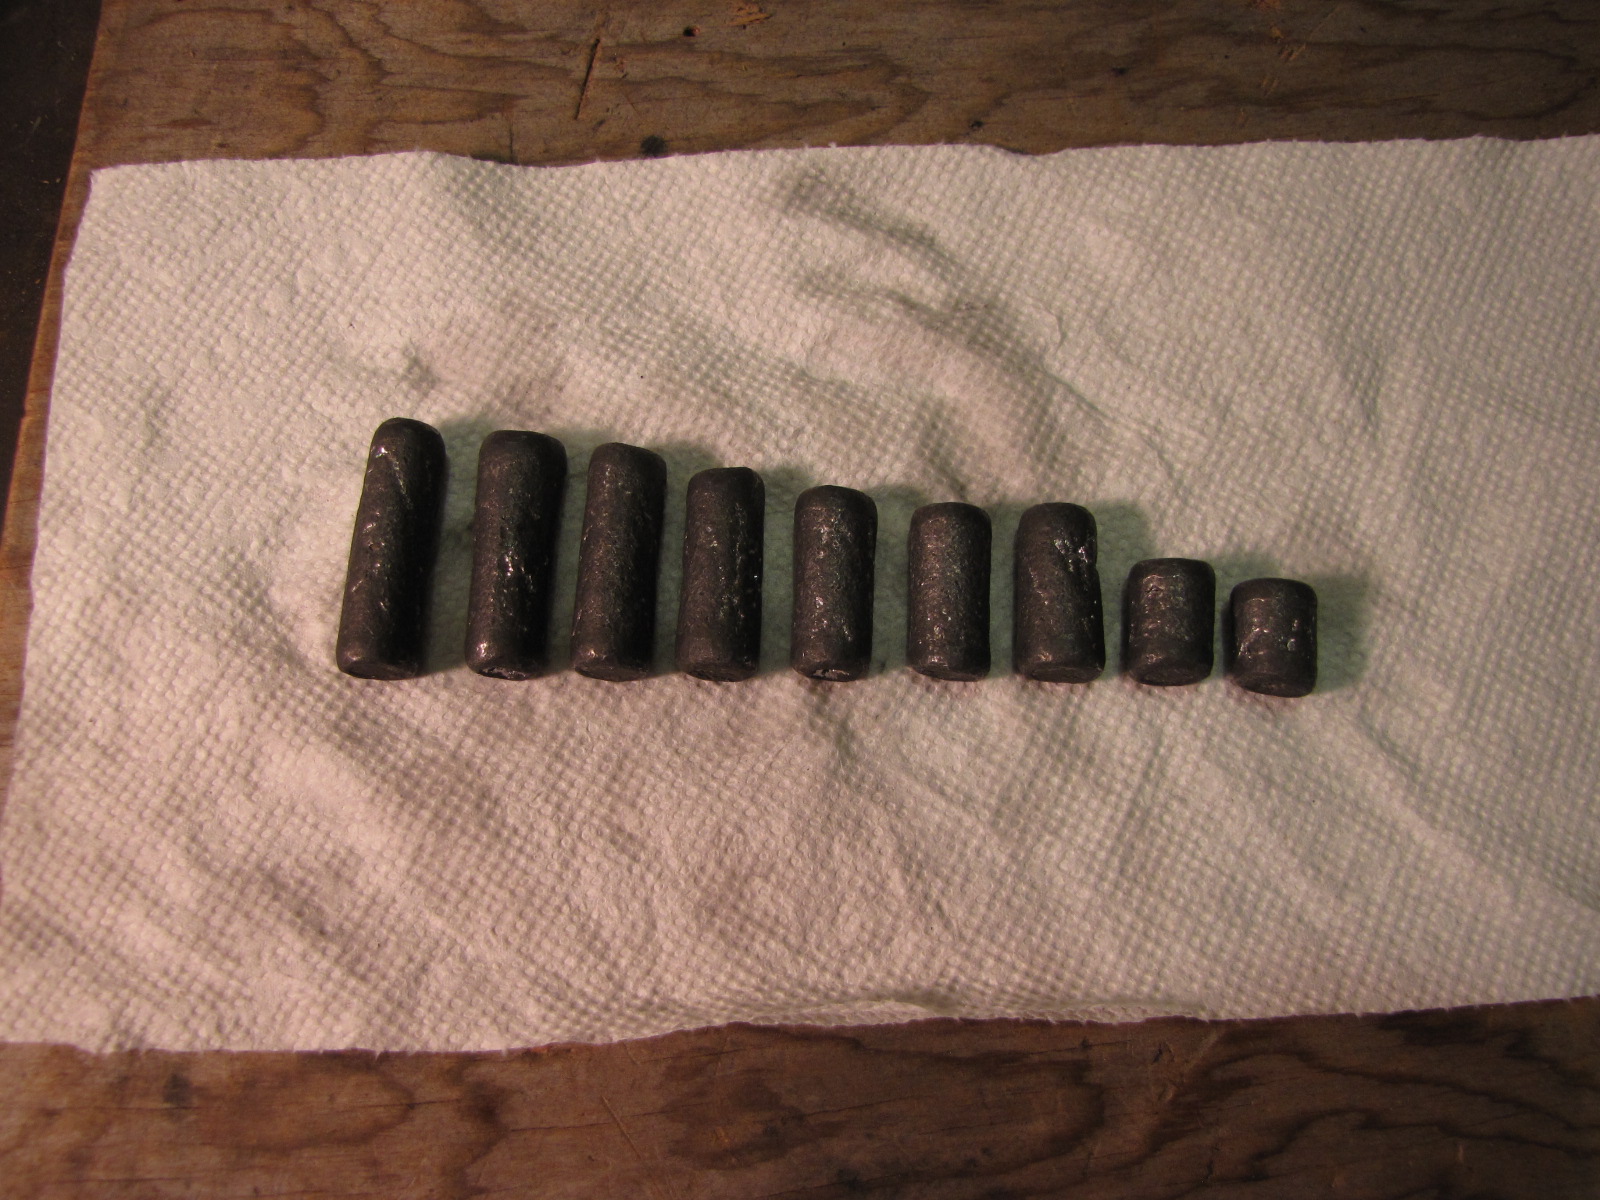
The drum roller works very well. The charcoal is like baby powder after only 30 minutes. Same with KNO3, silky as talc after 30 minutes. The drum can be coaxed out from under the belt to the rear with out messing with the platform nuts. Serendipity, I guess. Have to remove the rear stop, of course. Drum has a large screw on cap that’s for easy dumping. I’m very happy with the performance. The 125 volt permanent magnet DC motor runs at 86 rpms with the 6 amp (high) setting on the battery charger. In 30 minutes the motor is barely above room temp! Great.
Pepe
Good to hear that!
Do you plan to granulate your powder?
Mix with water to a hard dough and press trugh a screen with a spoon. Dry the litle granules and you have the fastest powder you ever saw.
If you plan to use it in a muzzleloader, and measure the powder by volume, you have to reset your load becouse of the speed and density difference.
Carefully pour the lead into the holes. Better not to fill to the top. I used a 1/2" pin to drive the cylinders out from the bottom even face. It worked ok, a couple tops got damaged and a few mushroomed enough to make removal harder. I noticed when I first poured the lead in, that it boiled up. HUH! Yeah, the wood was wet and the steam bubbled up through the molten lead, thus those cute tops. I would leave about 1/4" from full. Yeah, there was some uncontrolled fills on my part, too
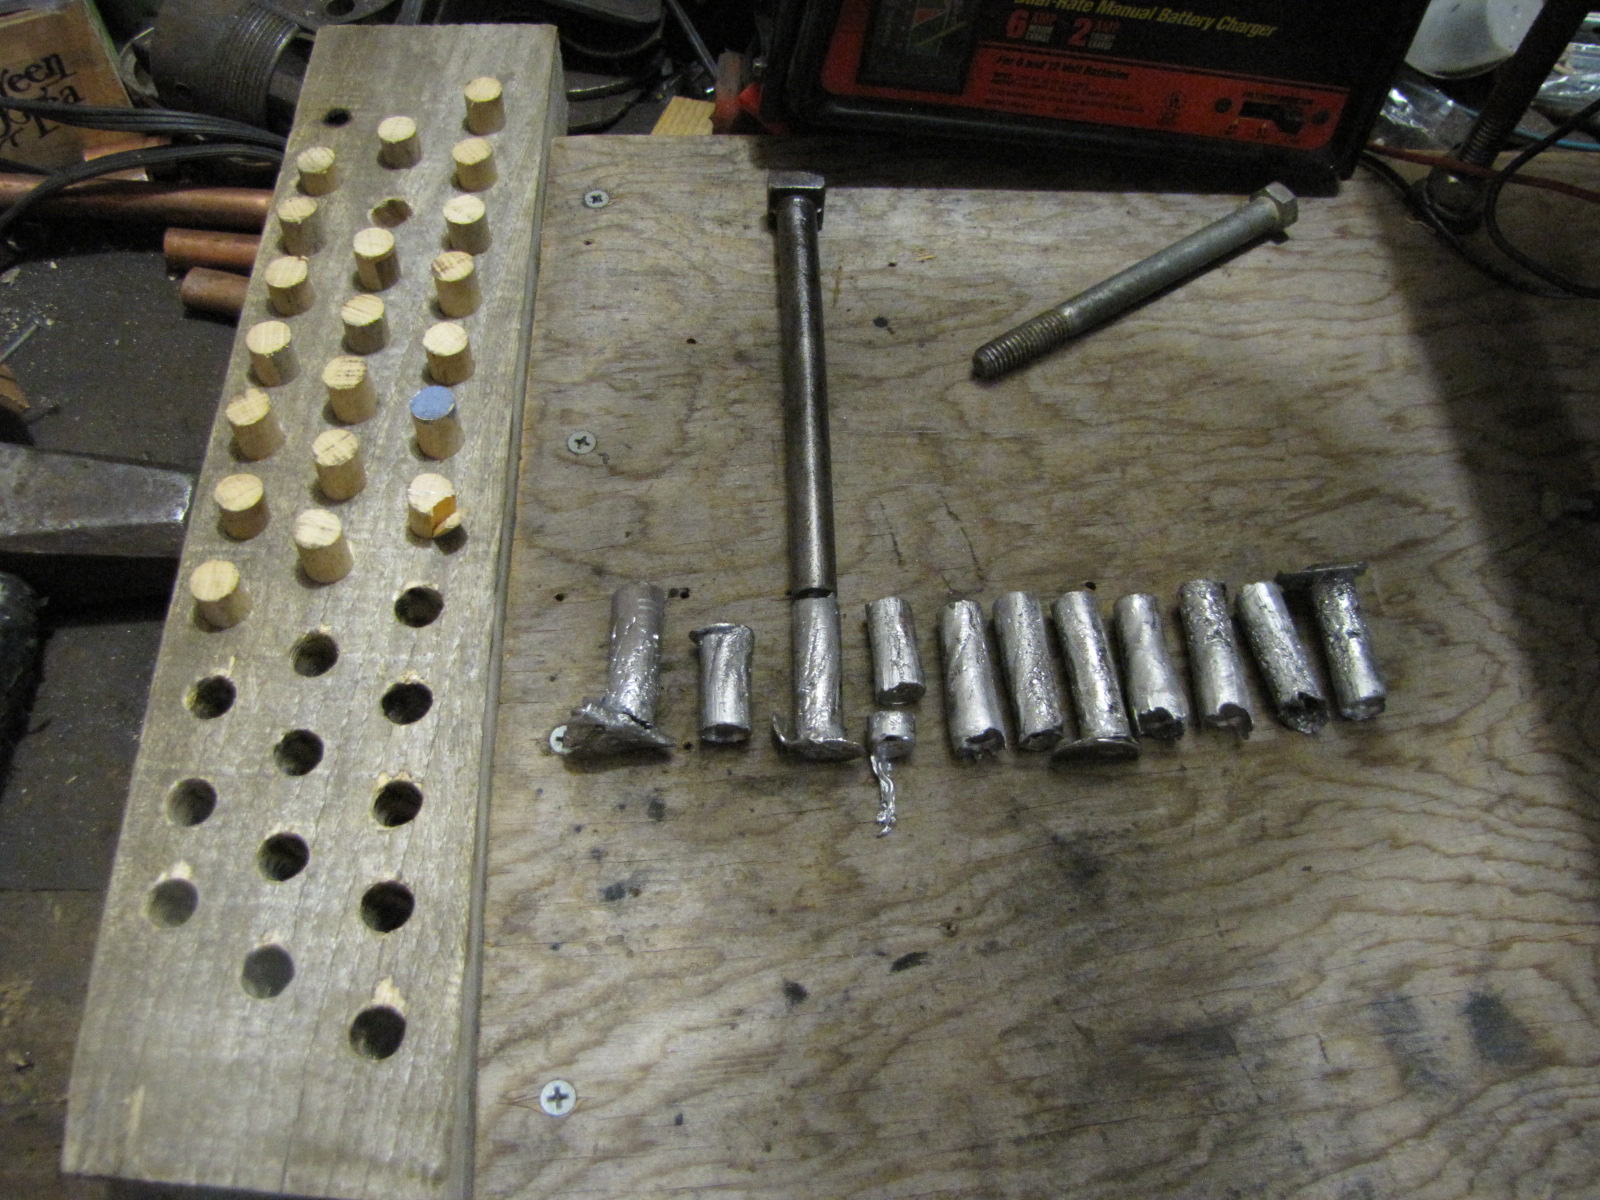
This is the bottom, nice even surface to drive the cylinders out with the matching 1/2" drive pin. LET the lead cool well before driving it. You want to avoid mushrooming. Harder to remove and I cut off the mushroom to even out the roller diameter. There is no waste, the scrap goes back in the pot.
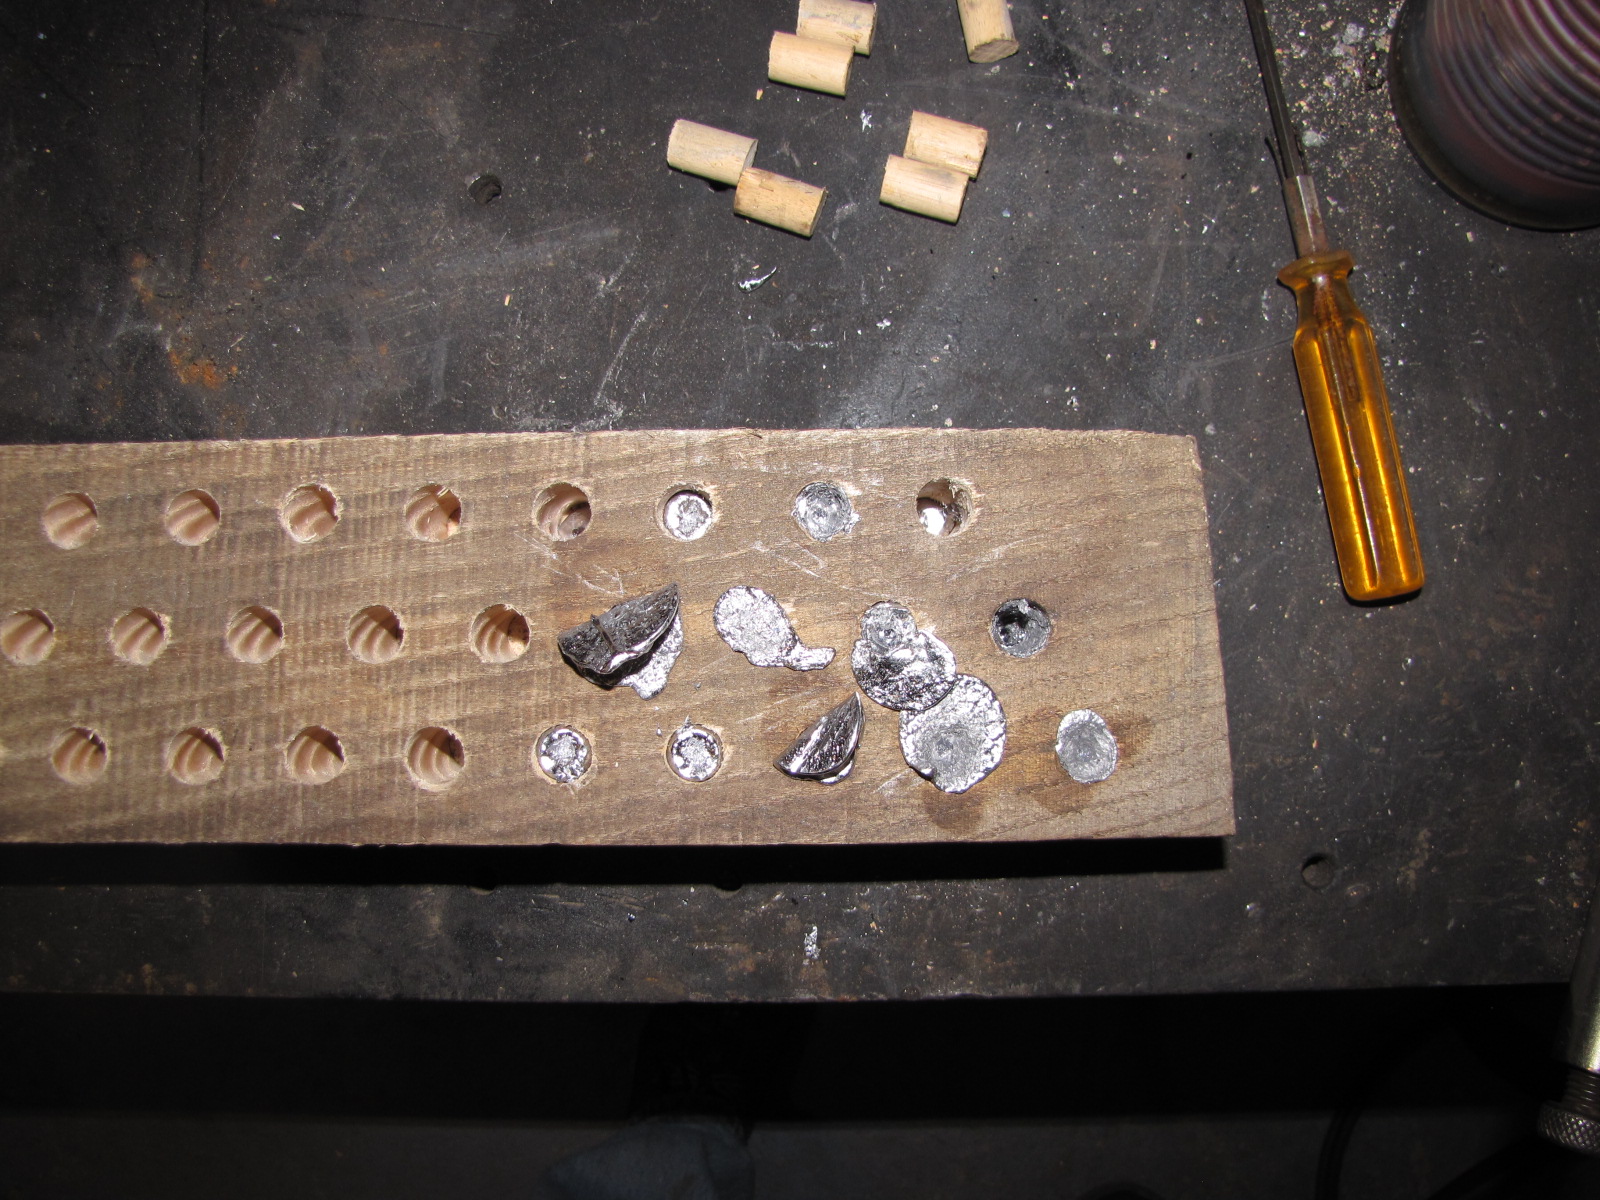
The cleanup. Note how the drive pin mushroomed the top of the 2 top long rollers. Some of the short pieces resulted from a double pour, no bond, don’t do it, the too short cylinders tumble not roll. I watched the action in the mill to see what was rolling and what wasn’t. Interesting that they seem to be a little different diams.
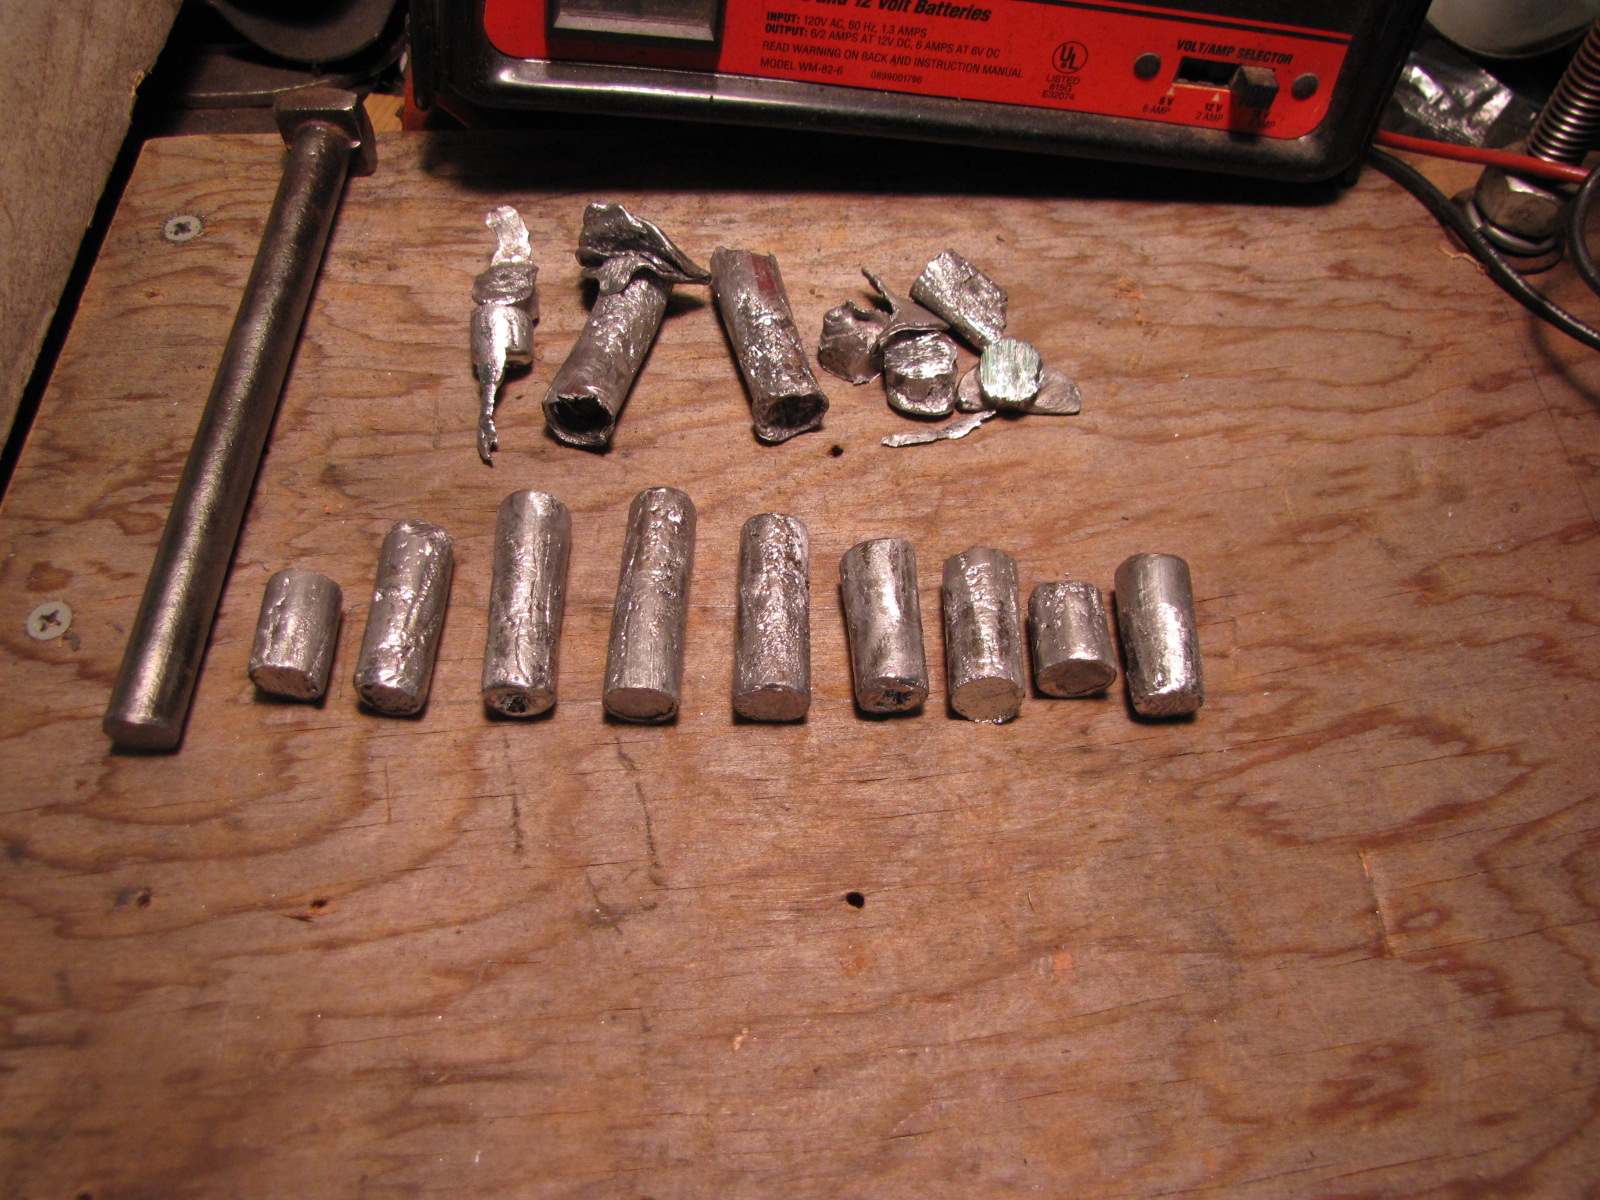
And a half hour or so roll in the ball mill. Not perfect but they roll like crazy in the mill. The next batch will be better, No steam pressure messing with the cylinder shape and hopefully the holes will be a little smoother from use. I put the 2 shortest ones (the tumblers) back in the remelt pot.
I’ll try another batch or two tomorrow and we’ll see how it goes.
Pepe
Actualy, you will get a lot better resaults with shorter, tumbling cilinders. The idea here is for them to hammer each other from cilinders to balls. A ball on ball has litle contact on each other, meaning it has more pressure, faster and finer milling. A long cilinder has big contact surfsce area, thus lower pressure.
What is the purpose of LEAD balls? Is the softness of the lead necessary? I have used steel nuts, even small rocks, that seemed to work ok, but maybe lead is better?


 .
.