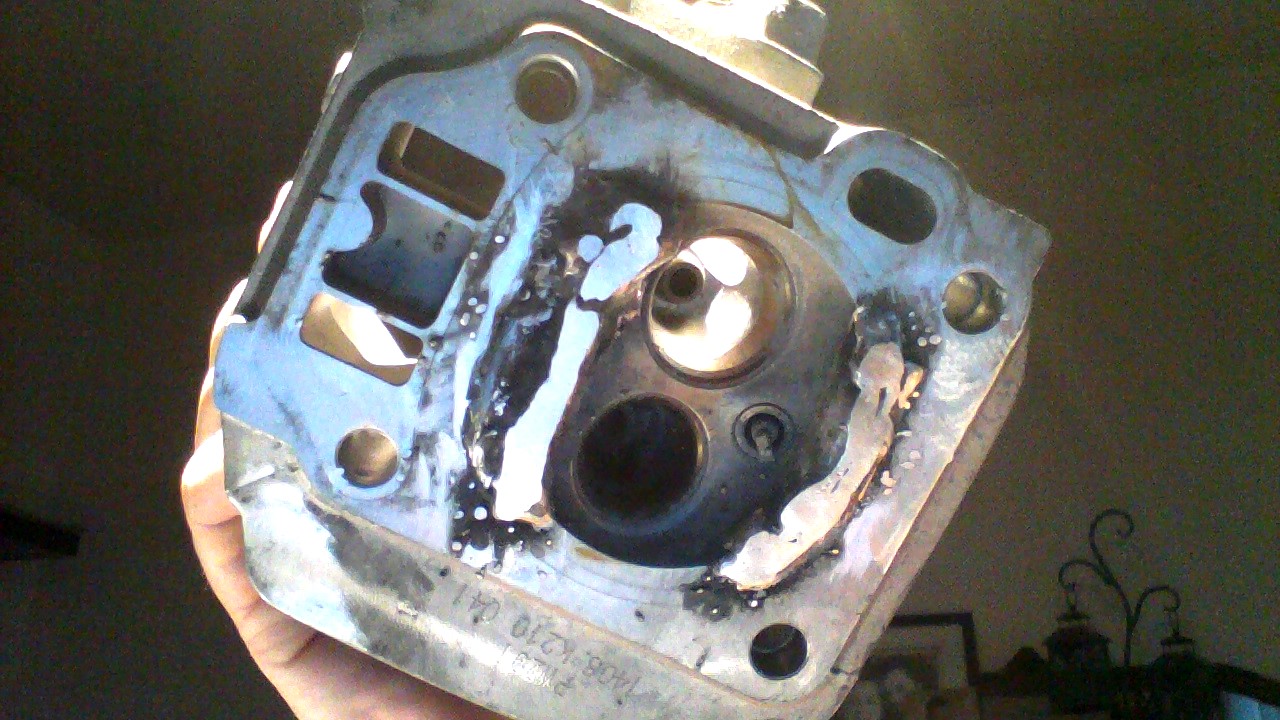
The welder was somewhat apologetic for the look of his welds.
This is a guy that welds rims so his standards are a lot higher than mine.
In reality he did much better than I expected and i think he sells himself short…
Its the quench I am after, If I get this to 9:1 that plenty enough for this application.
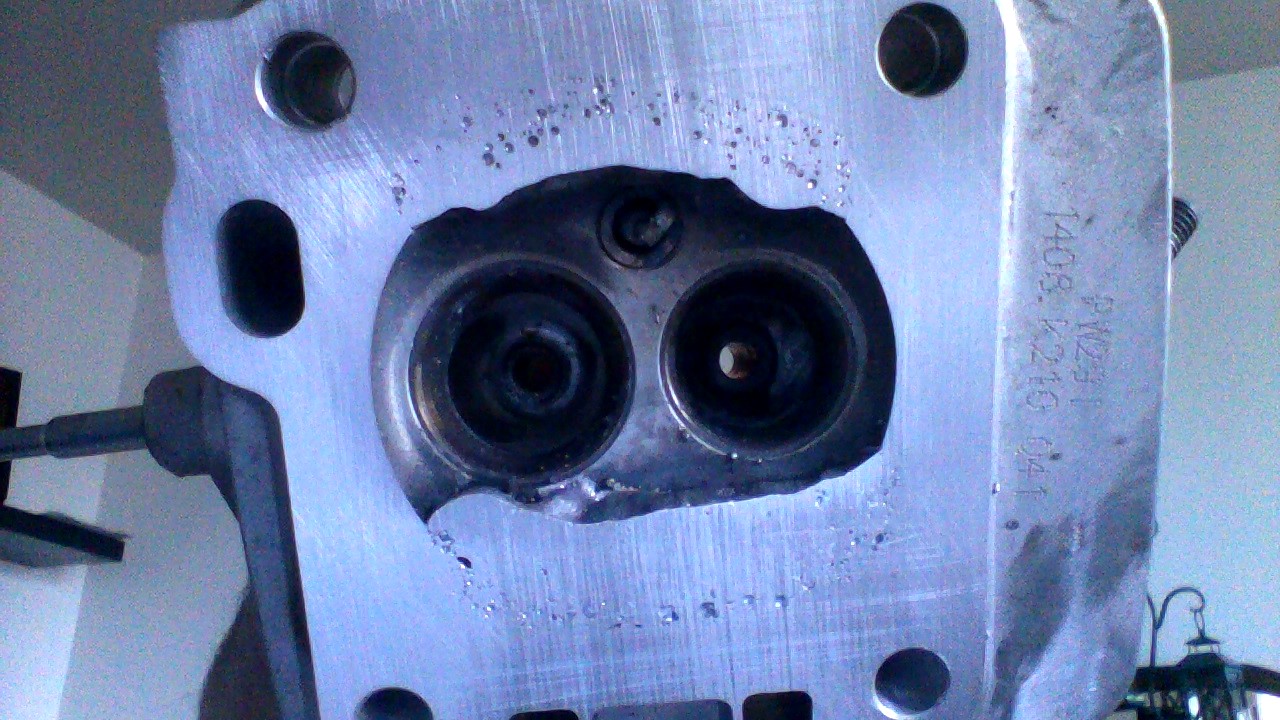
Today I discovered this is a big valve head and this is not something good,
Might mean interference with the piston.
I will not know until the first mock up.
If it turns out this is just a big flop then its a fantastic head for the 390 where the bigger valves will help that yet to be fully considered gengas engine.
Some grinding and shaping this evening.
I will post a photo later ( looks promising )
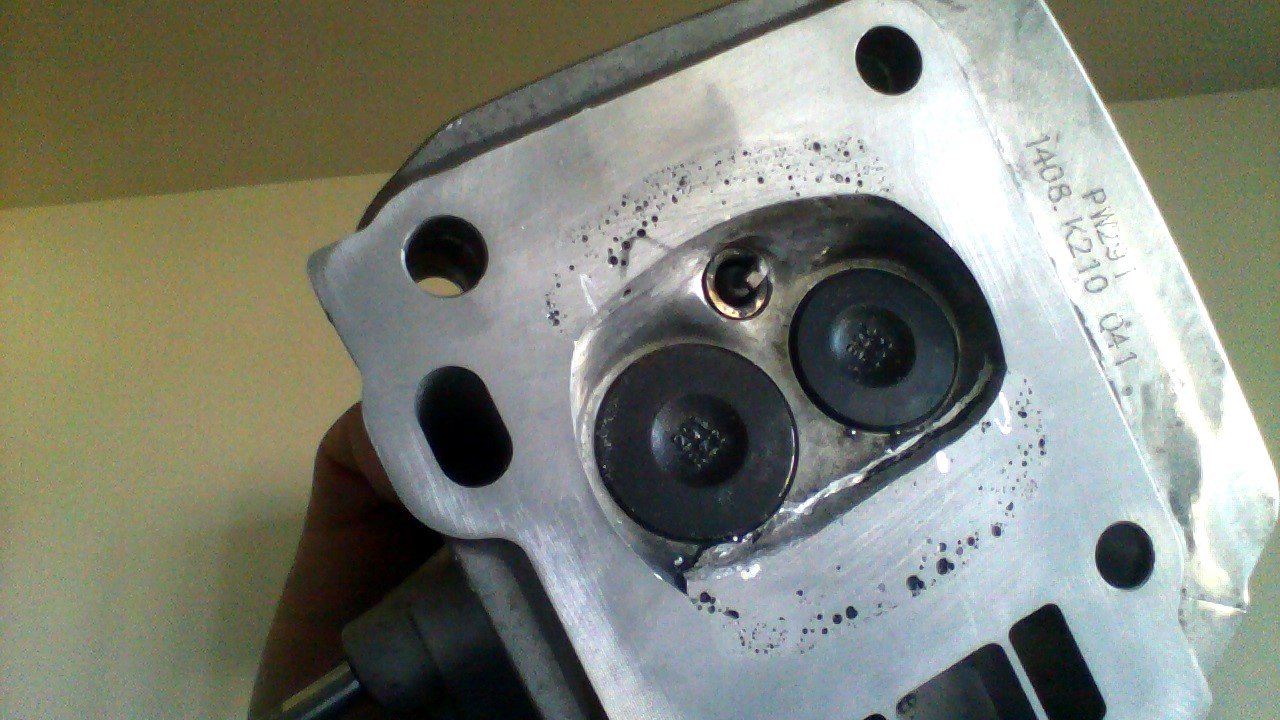
Everest sent me a bum piston and the issue is not resolved, rather I just gave up dealing with them.
I have looked long and hard at my OEM part and its not bad, its just not great.
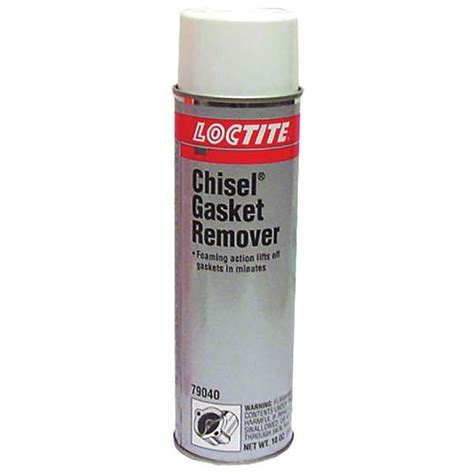
I sprayed some of this on it to remove the varnish and gunk.
This is a methyl chloride based cleaner stripper.
I am not even sure they make it anymore…
awful stuff that makes your skin crawl and tingle if you get any on you ( REALLY DO NOT GET THIS ON YOU )
By God does it work however…
removes carbon and wood gas tar and every other manner of things between metal and you.
Be careful.
Anything that works these days is bound to be toxic or banned in most places…
Wallace
Piston BTW looks OK under the crud.
Not much else to do so I pulled this projects little brother out and did the yearly service on
" Dooms-Day "
This little k90 powered 1.5RM21 manufactured in the 50s got an oil change, new plug, 1500 watt load test for around 45 minutes.
It’s now oiled up and wrapped in plastic sheeting until its next check in.
I will not start it again for a year, but I made an entry in it’s log bog
Take care of your stuff and it will work for you when the lights are out.
Keep a spare too!
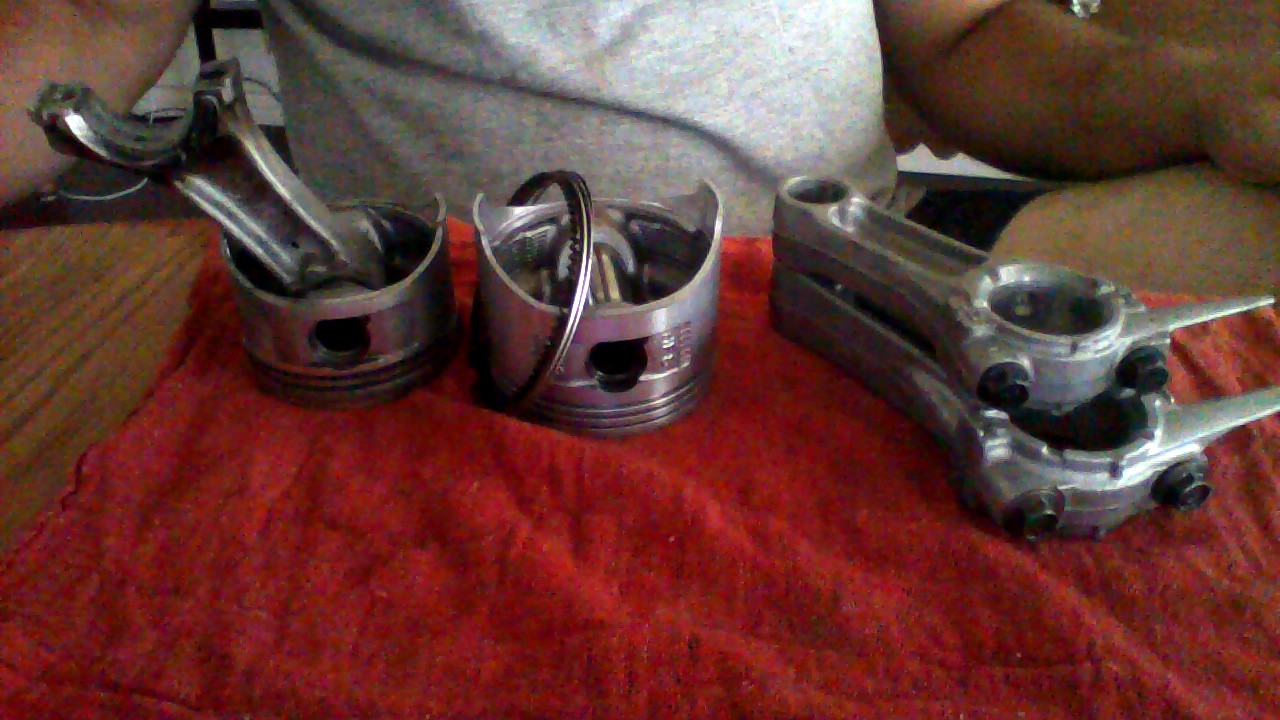
Old piston cleaned up nice and I was going to put the old rod up on the wall with the other sacrifices to the gods of speed and I thought it might be nice to show off some of the advantages of using a big block in a build rather than the cheaper small blocks.
for one thing the rods are much beefier like everything else.
A GX240 putting out 7 hp is not going to be stressing its internal parts as hard as a small block GX210 ( any one of a number of variants from 208 to 223cc built on small block clones these days ).
Some reference a small block 196cc rod and piston next to a 242cc big block.
Notice the longer rod ( this is advantageous to reduce side load on the piston skirt )
the 68mm piston next to the 73mm big block.
Notice the little piston is using the more modern narrow ring set.
This might have been out of a Champion I don’t remember, but I kept it for some reason ( not much use for anything but an ash tray )
So I went to the Honda dealer today and asked if they had any rings or seals for the GX240.
I expected the answer would be no, its always no they never have parts unless they order it.
I have had this discussion with them many times about sitting on a few universal fit parts ( like the Z4M piston ) that fits all basic engines in a family.
But this will never happen.
So they have no parts and worse they think I am the idiot because I expect parts from one engine to fit in another ( its kind of the point isn’t? standardize??? )
SO I will try and reuse my old rings too.
I remember when a parts guy knew his parts and disliked the microfiche so he would memorize things, learn patterns and often could sell you something that works in place of what he does not have.
No one has part numbers in their heads no more and no one can remember what a universal fit part was like.
The expect a computer listing to do all the thinking.
The never consider that dissimilar part numbers might only indicate third party suppliers and be used for defect identification and inventory control and rotation.
Going to check and see if they are in tolerance by end gap.
If they are I will buff them up with some 600 grit and reuse.
Yes that is important!
Factory specification for the ring end gap is between .010 and .020.
This is a very wide tolerance.
If I had my way with a new set of +.25mm rings, I would file fit this to be around .008.
( mixed measuring systems be sure when you measure )
But I don;t have the rings I want and I am forced to use the old ones for expediency.
we could all be old men by the time I get this finished if I do not stop being picky.
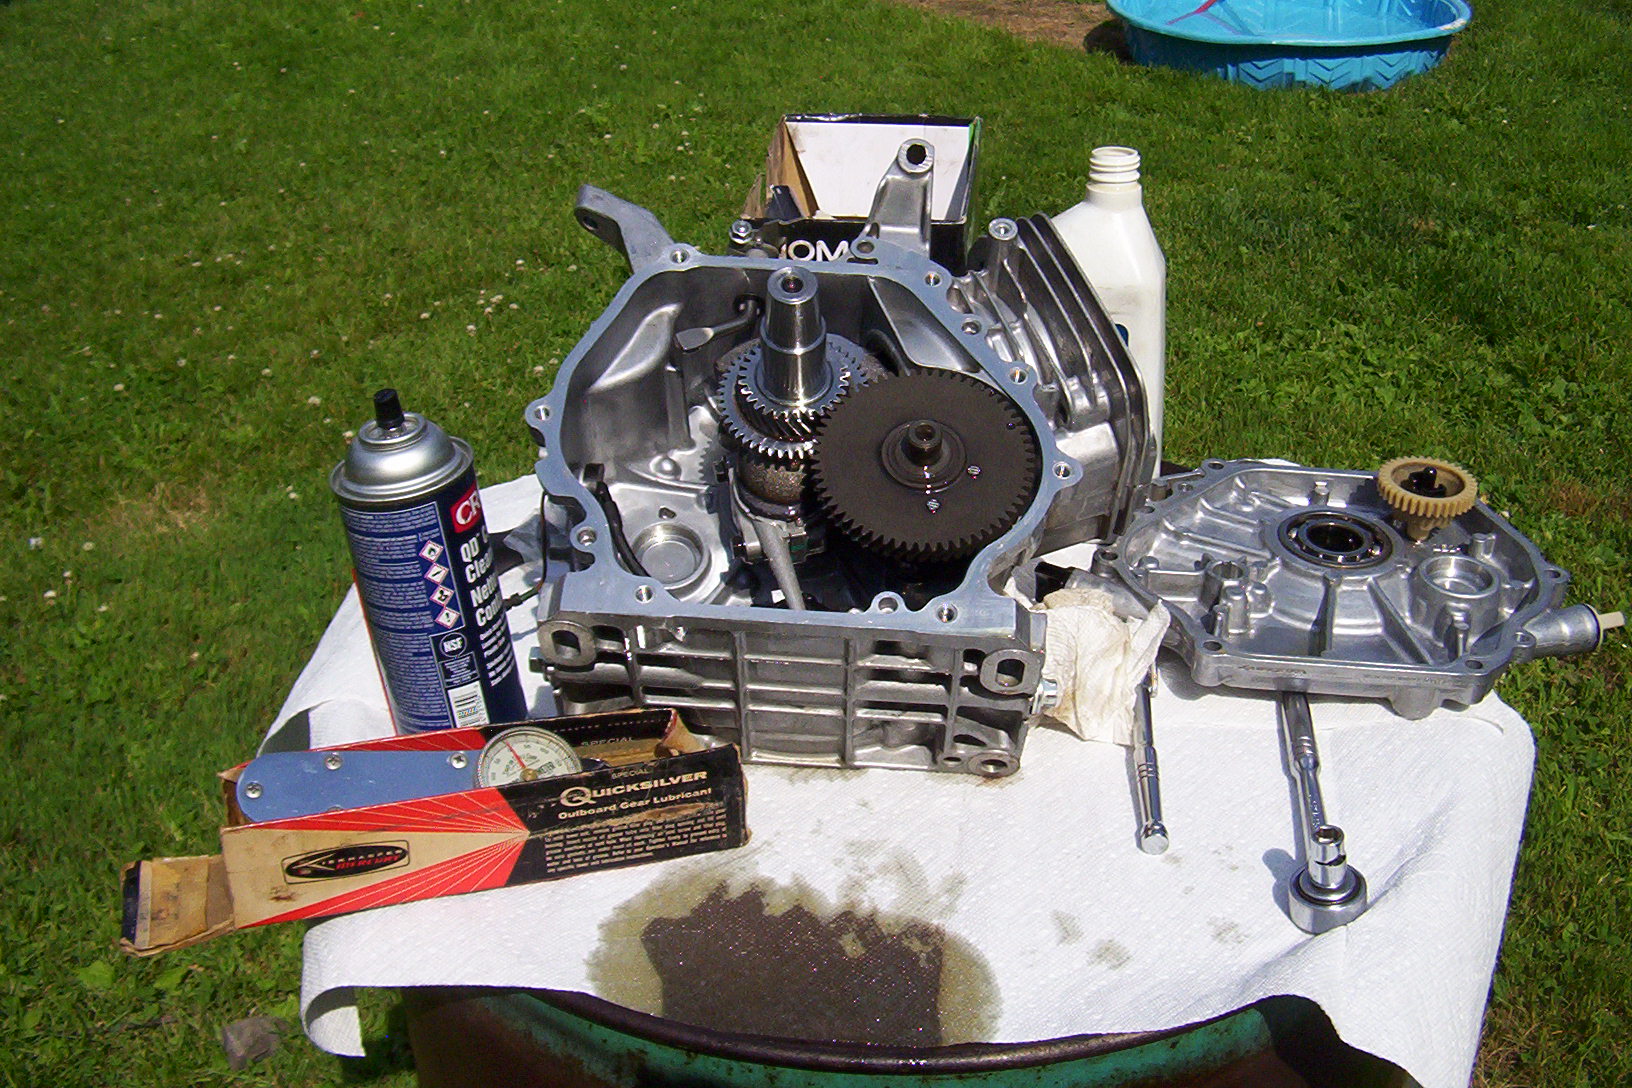
So I started to assemble the engine today.
New troubles I don’t know why I never clued into this but my crank is not compatible with the counter balance shaft.
I will not be able to use it…
Not that big of a deal the Chinese crank is balanced to work alone ( well you would think any ways ).
And its not uncommon to run any of the different versions of the big blocks in racing without the shaft and live with the moderately more buzzy engines.
But I am left with the bearings in the engine for thew shaft and I do not have a tool to remove them.
Hey, Mr Wallace,
Moderately, but thourally heat the cases around the whole bearings pockets. Use a hand held MAPP fuel torch to remain distortion safe. An oven works too.
Then drop a chunk of dry-ice into the center of the ball bearing.
Quickly turn over the engine case and smack evenly down onto a flat surface.
The bearing will fall out.
Ha! Ha! Of course this needs some setting up, thinking it through. Dry-ice. Gloves. And such.
S.U.
I once got the Merc marine dealer to give me a replacement bearing for a lower unit on a 9.8 Merc.
He said you need a tool when I ordered the part and I said nope!
I bet him the value of the part I could remove the bearing without the Merc tool.
I ran the lower unit under hot water in the back of the shop and gave it a sharp crack on a wooden bench and out came the bearing.
I got a new bearing for free that day…
Propane will also chill a part ( just don’t smoke )
Dry ice mixed with methanol makes poor man’s liquid nitrogen…
I am going to snoop around and see if anyone has a proper puller.
I have no dry ice but I am pretty sure your way will work too
Stuff, I do on my own stuff, eh.
Now I have actually opposite side carefully drilled 2-3 holes and tapped out a pocket bearing with a small punch.
Filled back in the holes with a good grade of two part epoxy mix. The original slow cure J.B. Weld is rated for 550F.
Ha! Or I suppose those holes could be threaded and small pipe plugged. Maybe need them again.
S.U.
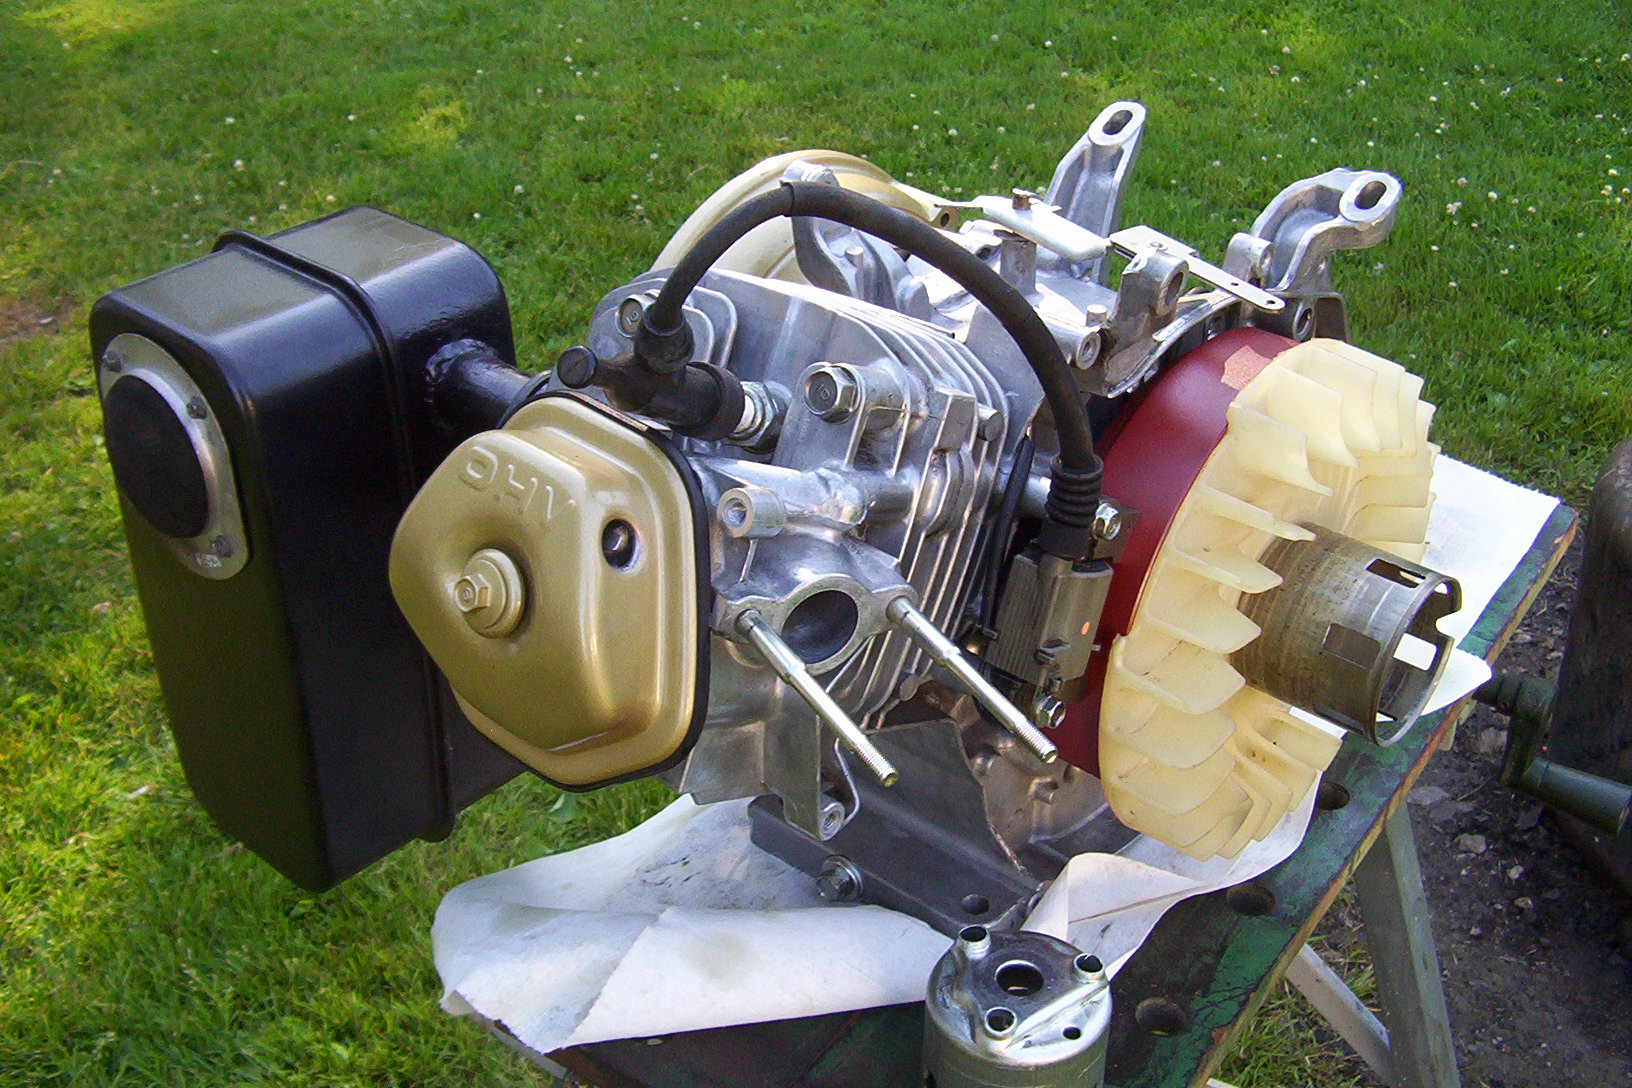
First real progress in a while.
And the compromises I have made ( Ugh!!! )
But there is an engine taking form now.
There will be no heavy flywheel for now and no high output lighting package, no high compression head and a host of other thoughts and plans untill I see it all run.
Then I can work up too it…
Special thank you to Garnet the Honda shop Foreman who knows me and wants nothing to do with anything I do or hows or whys and will not even look at the cool bits. ( its all a mad circus of parts to him no one will ever be able to work on but me )
But he had a very small bearing puller and took those bearings out for me, and he deserves some credit.
Its Hot outside, I wait until the sun moves behind the trees to work.
I find its easier to work outside than in, the shop is like a furnace and it feels dark in there although I know I have good lighting.
Must be something to do with summer…
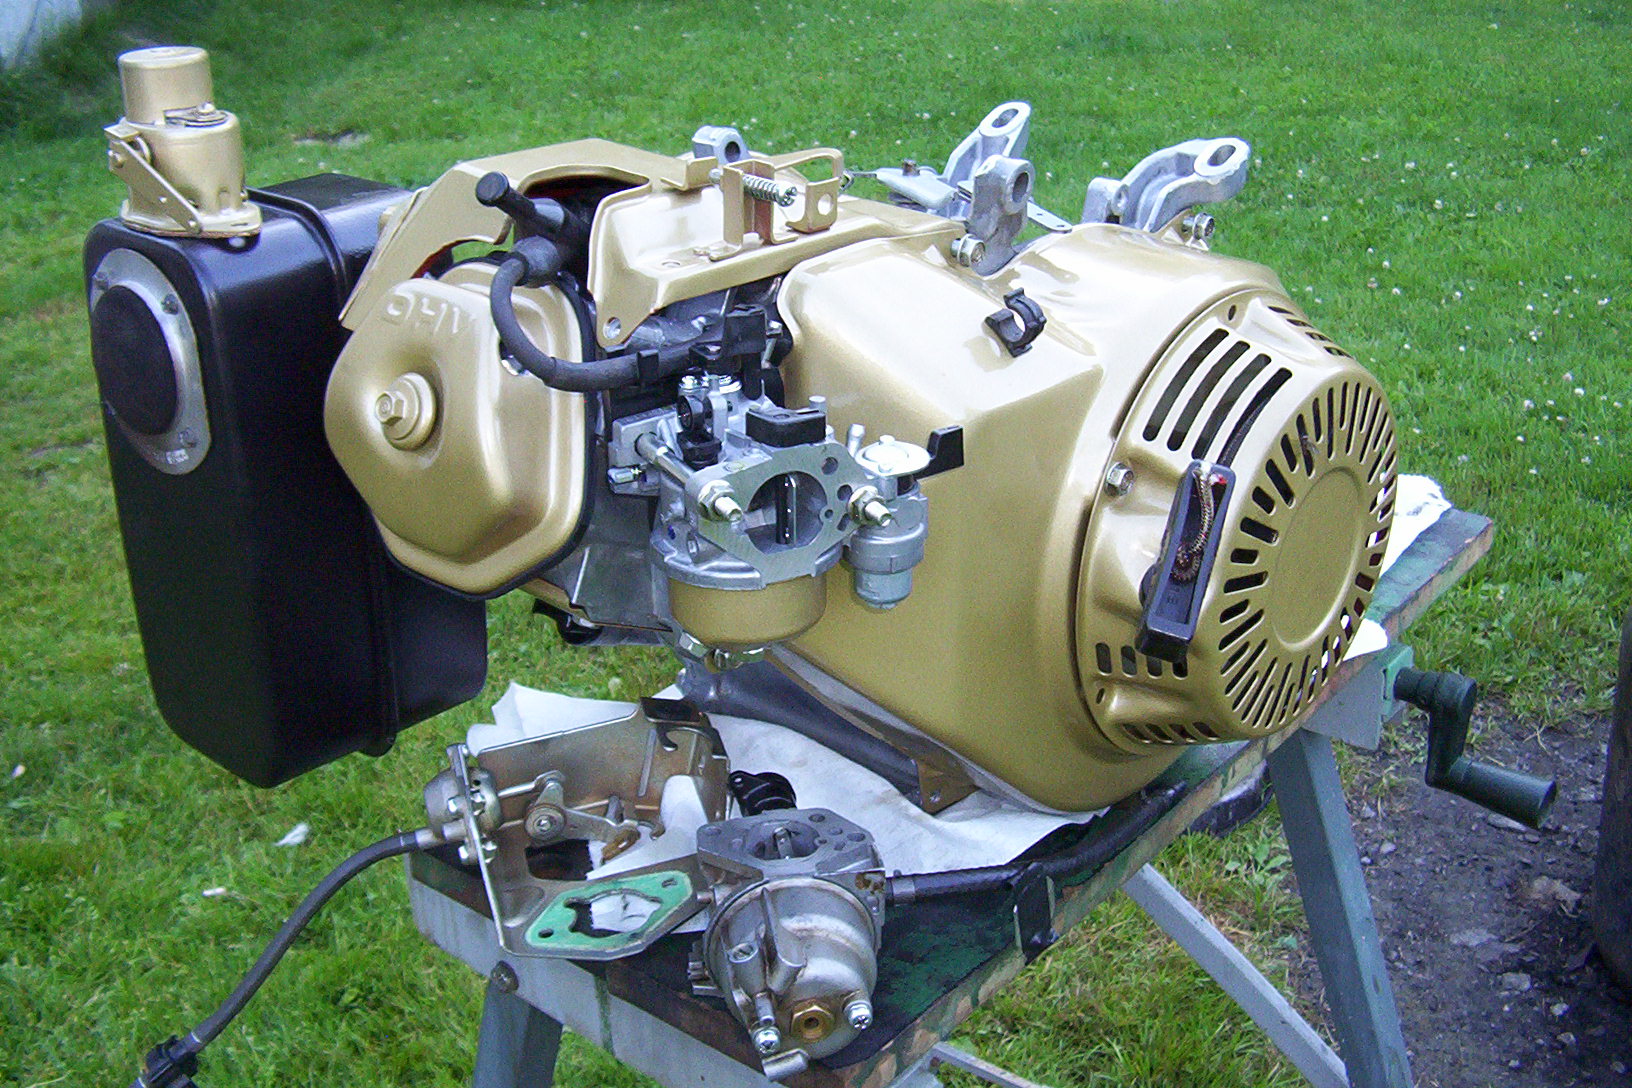
The abomination is almost ready to test.
Fuel system and tin work, adjustments, and a short run will tell.
I hope this works, I had no idea it would become such a circus to build.
Sisson electric choke.
This is a simple divorced choke design that uses the heat from the exhaust to slowly open the choke.
It does not use any sort of vacuum pull off but has an electric solenoid that pulls the choke closed on start up and releases the choke operation to the bi-metal spring once the solenoid is released ( tied to the starter circuit ).
Kohler controllers like the one on my generator are completely electro/mechanical.
They have some very clever tricks that can sense when the generator is rolling fast enough to disengage the starter and release the choke solenoid.
Devilishly clever stuff…
Room for added features and safety devices, I wish I was as smart as those fellows where.
Chrysler as far as I can tell started using these in the 30s or 40s.
Kohler also used a version of it into the 60s I guess ( also still used on Chrysler flat head sixes made into the 60s for industrial use )
I’d really like to try and find a way to continue on and use it again with this engine, but it just does not fit anyplace.
Advantage of it is simplicity reliability.
If you go back to post #11 in this thread you will see a pair of Kohler generators that are equipped with this same choke.
The little blue fellow works like a swiss watch and this choke ensures an easy start every time.
The big blue fellow is a future project ( one I will not make the error of trying to modernize and molest with modern parts )
Here is a Youtube video of a Briggs engine with a different ( earlier design ) version from the 30s
If a moderator is willing to post a PDF file here for me I have a copy of the generic Kohler TI- EL8 series controllers.
This is a 28 page document published at least 60 years ago that will help you understand and repair most exciter cranked units made from the 40s to the 70s.
Sadly you can not download this anyplace and Kohler can’t help you.
My guess is they don’t have it themselves and I got my manuals from an old Kohler employee who just likes help folks like me fix stuff…\
And I forgot to add.
I started up the engine at 1 pm this afternoon.
I did two short heat cycles and I will do one more ( just a carb full of fuel ) before I re-torque the head and drain the oil.
Much to my relief the vibration is except able,
The engine has a noticeable rock to it at low speed and a slight eggs beater dance because it lacks the to the OEM counter balance shaft.
But its comparable to a small block and once its got some extra mass added to it in the form of the Armature I am pretty sure it will be more than smooth enough.
maybe even smoother than the K181 it replaces ( that was a bigger engine with vibration control and no one ever complained )