Hi Chris. Awesome progress! I would recomend a layer between the diagonal boards and the hardwood. If you are using a lot of shorts and ends there will be a lot of boards not spanning 2 boards. Also the diagonal floors tend to be of slightly varying thicknesses and with the cup of the boards facing different ways. All of that adds up to squeeky floors. As mentioned above screw everything down with deck screws. If for thickness sake you can’t put a subfloor screw it all down and rent a floor sander the large belt ones not the round ones to knock down the high points and irregular stuff on the diagonal boards. Just some thoughts from my own screw ups over the years.
Cheers, David
5 Likes
If you get a floor sander make sure you get the air mask to breath. I rented one of those once and thought how bad can it be this is just a small bedroom. Way wrong move and mind you when I say small bedroom it was just big enough to walk around a double bed with a dresser at the end of the bed. But that room was a cloud of dust even with a big fan blowing out the window.
3 Likes
You might want to consider putting a header at ceiling height over your cutout. Better now than noticing a sag or
crack in drywall later.
2 Likes
That is a great idea. I once built an entire wall with a post and beam type header because someone couldn’t tell me where she wanted the door between two rooms or if she wanted a wall at all. As far as I know she never did open up the other side but you could really easy I made sure of that…
3 Likes
looking good Chris. A layer of sheathing between the subfloor and floor cover wouldn’t be a bad idea. and screws…
2 Likes
Do them flores need glue rosin or liquid nails too keep out squeks or keep board from shifting on the nails. ?
1 Like
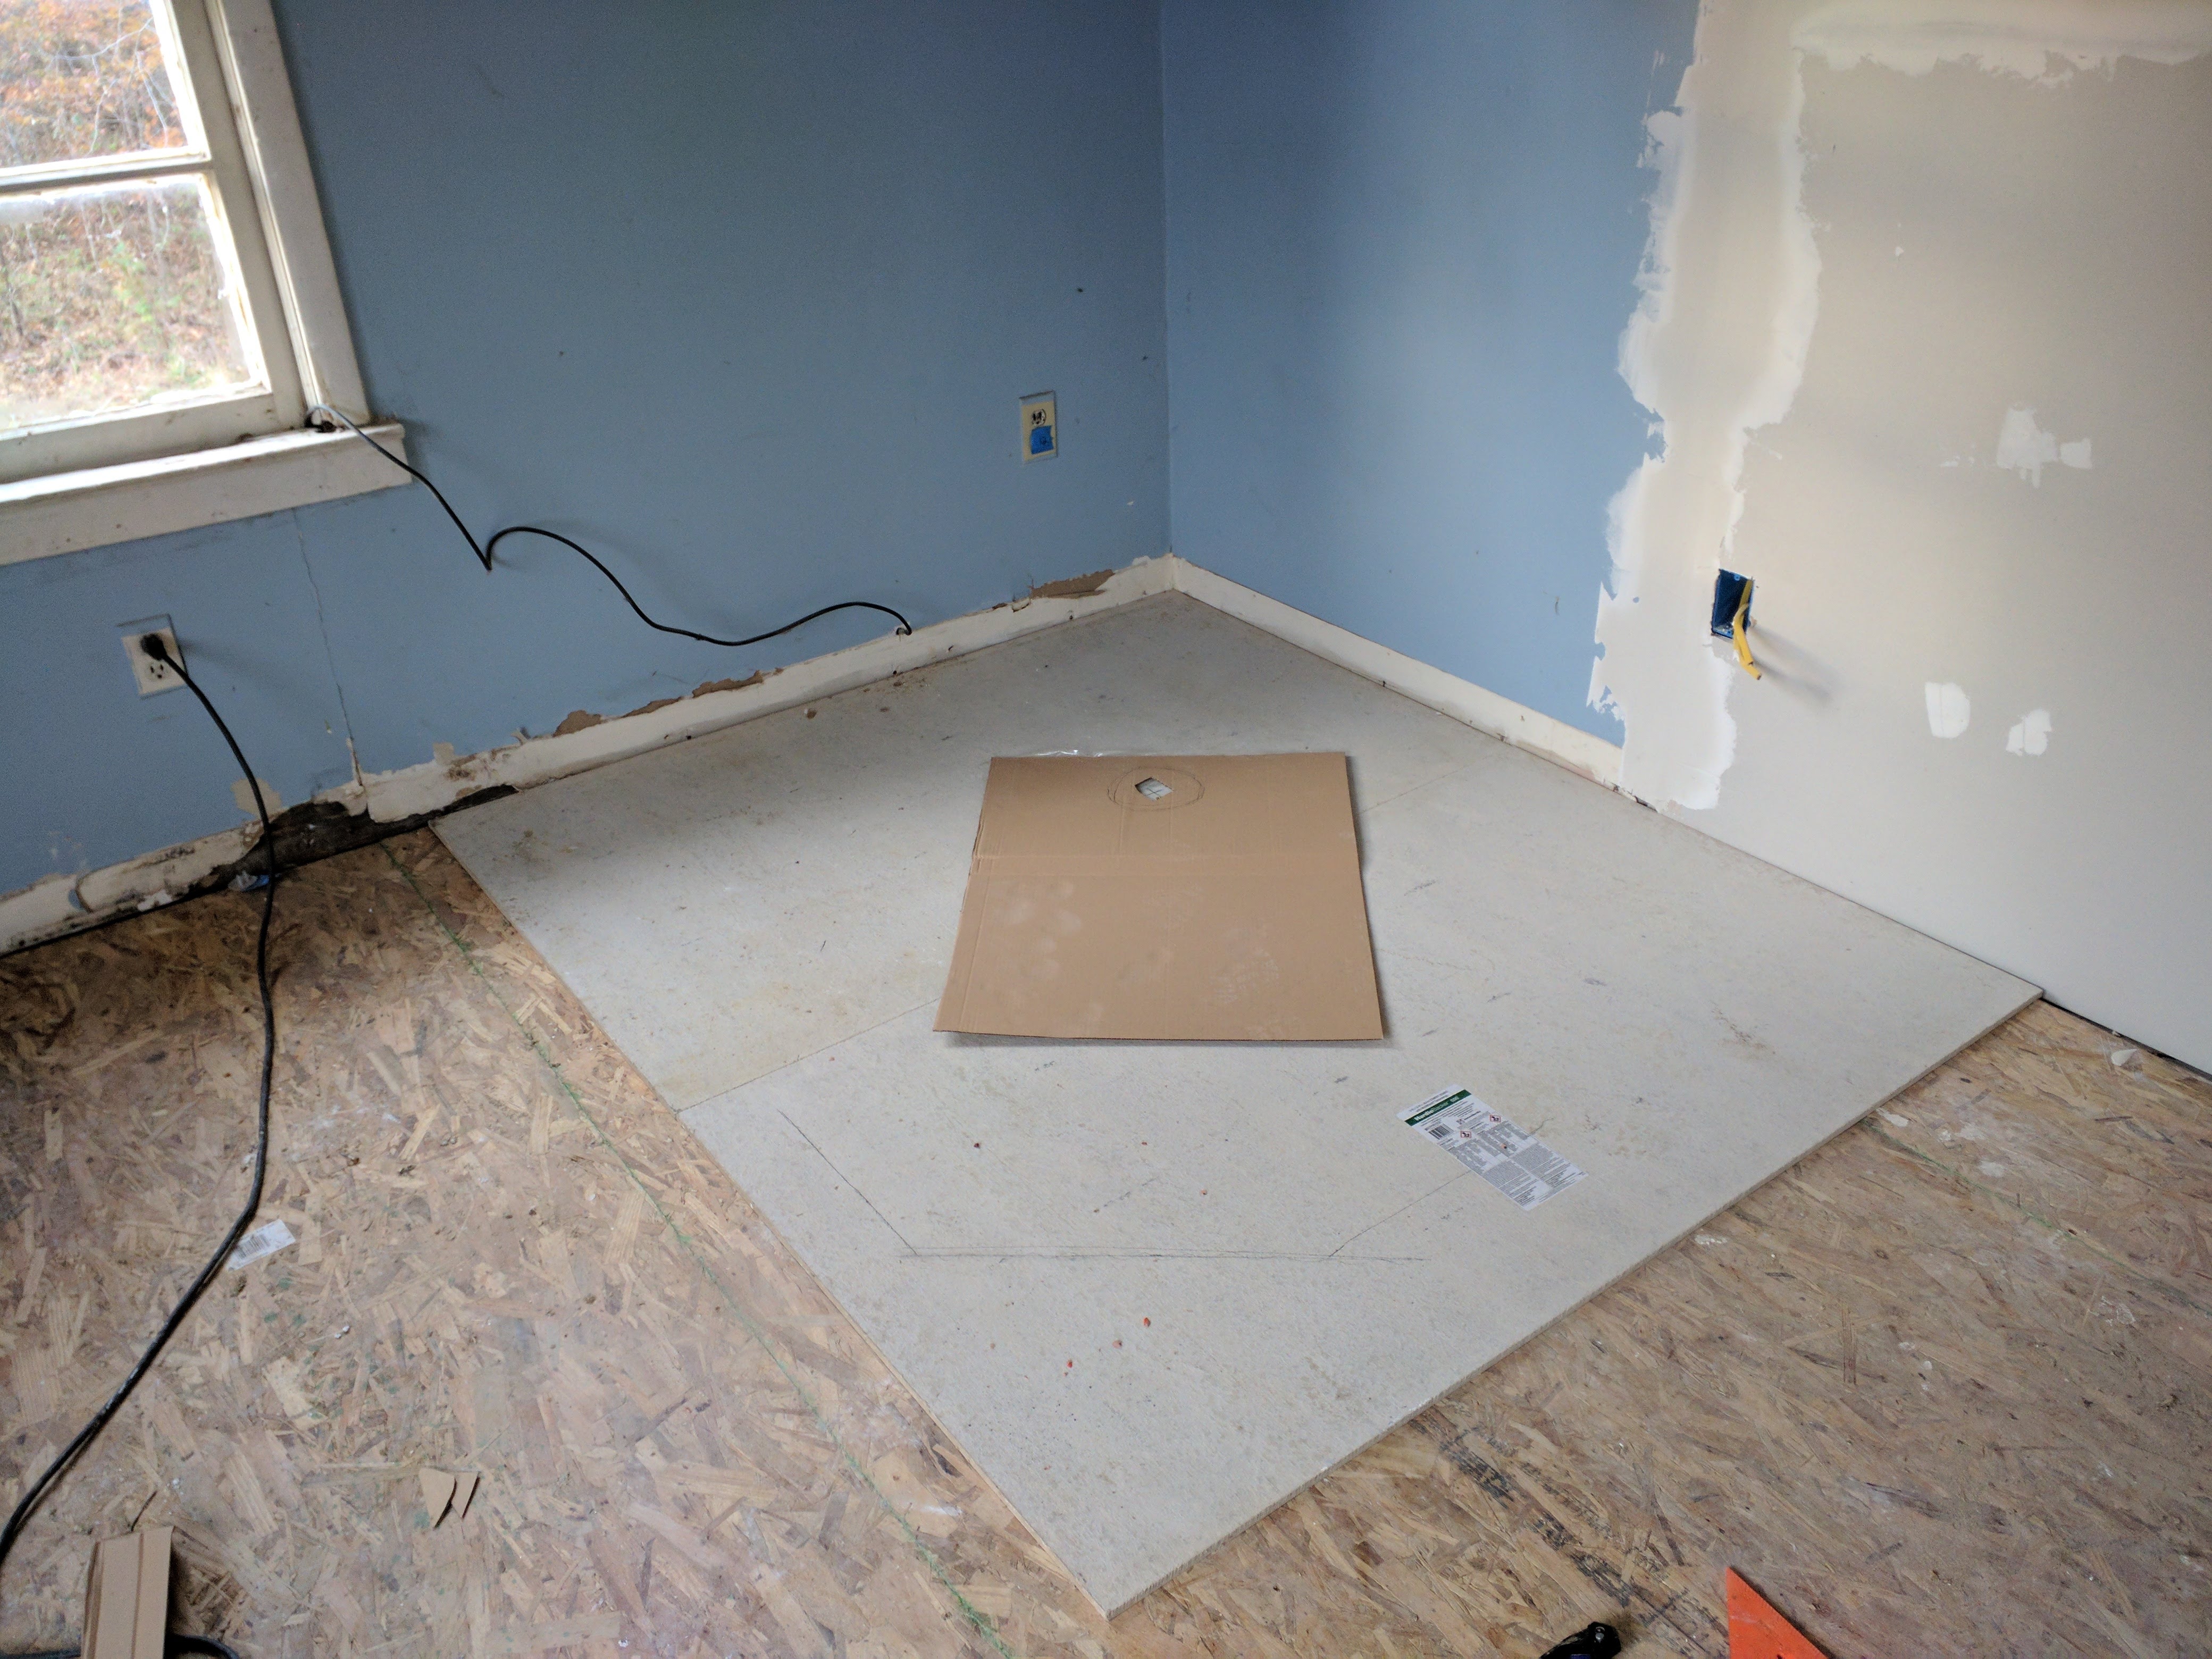
Update. Things are still moving along. I decided to heed the advice of several on here and put down a layer of 7/16 OSB as underlayment. This will help with the short pieces, and make the floor a bit sturdier and less squeaky. It’s cheap here at $10 a sheet.
Some photos:
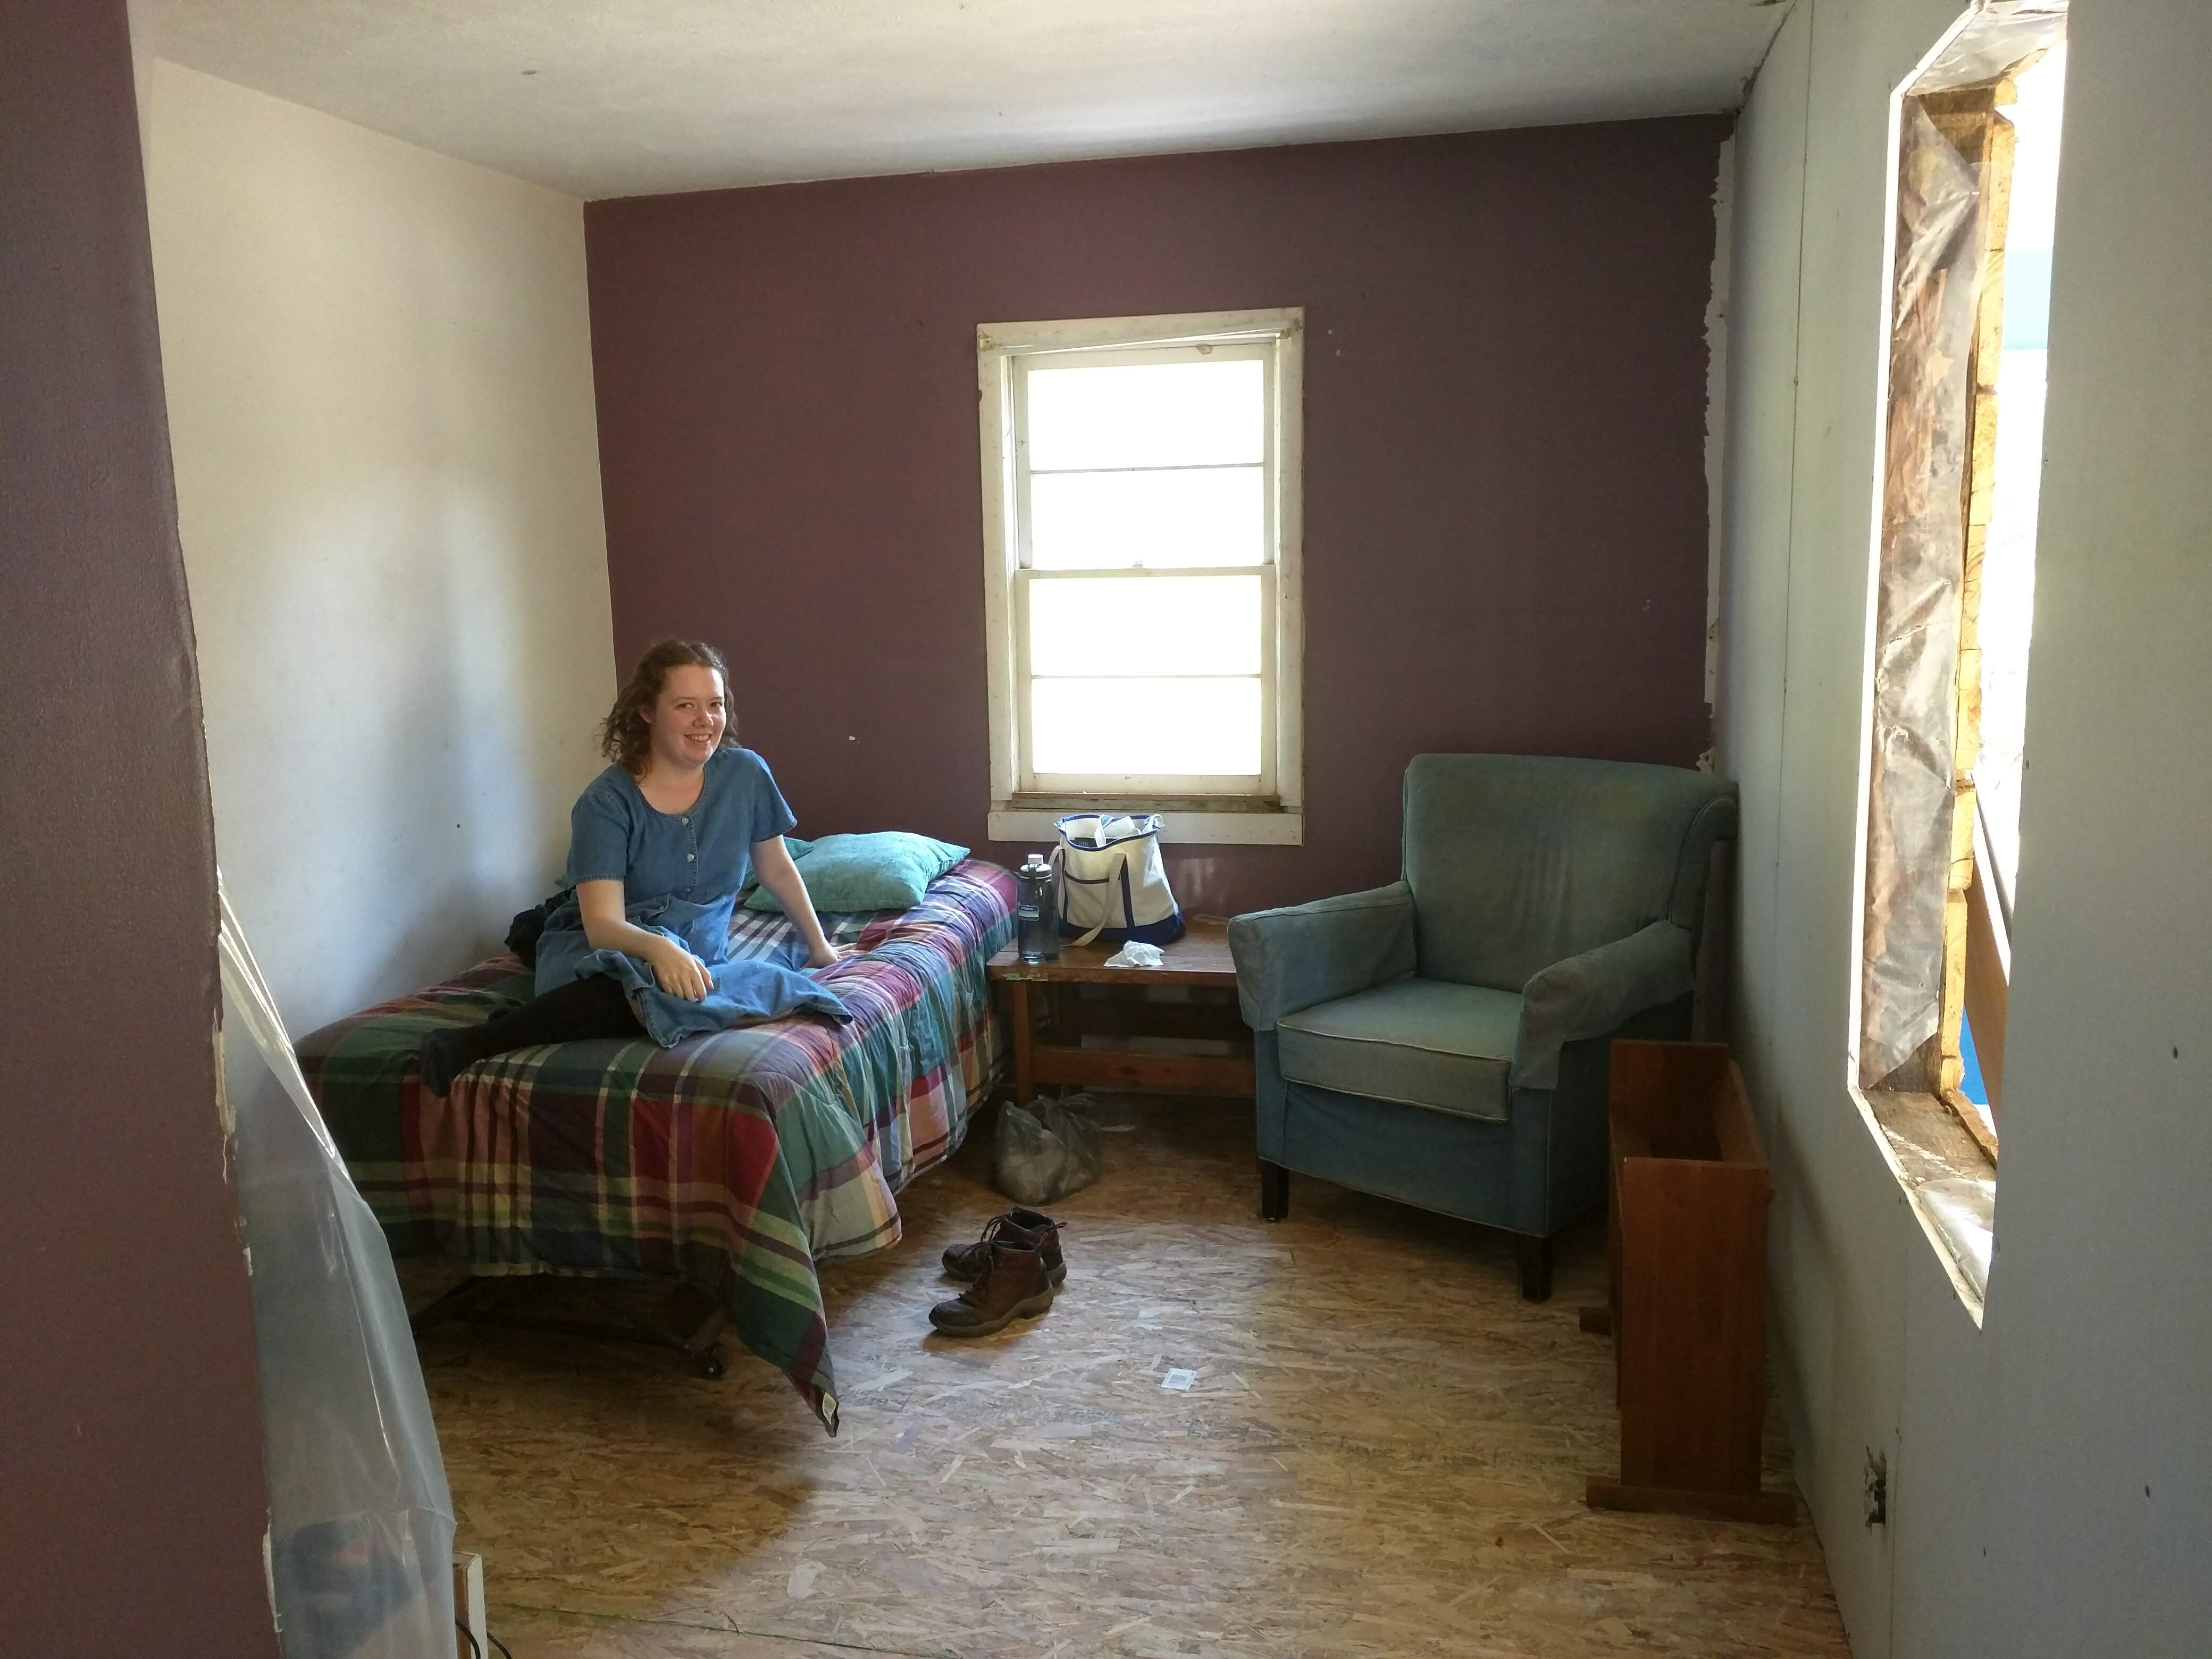
A clean room for Mary to stay in while the rest of the house is dusty / messy. Great for reading, napping, or watching a movie.
Framed in the old doorway, installed a header in the new one. Jacked it up good and tight, it’s definitely weight-bearing now. Note the underlayment.

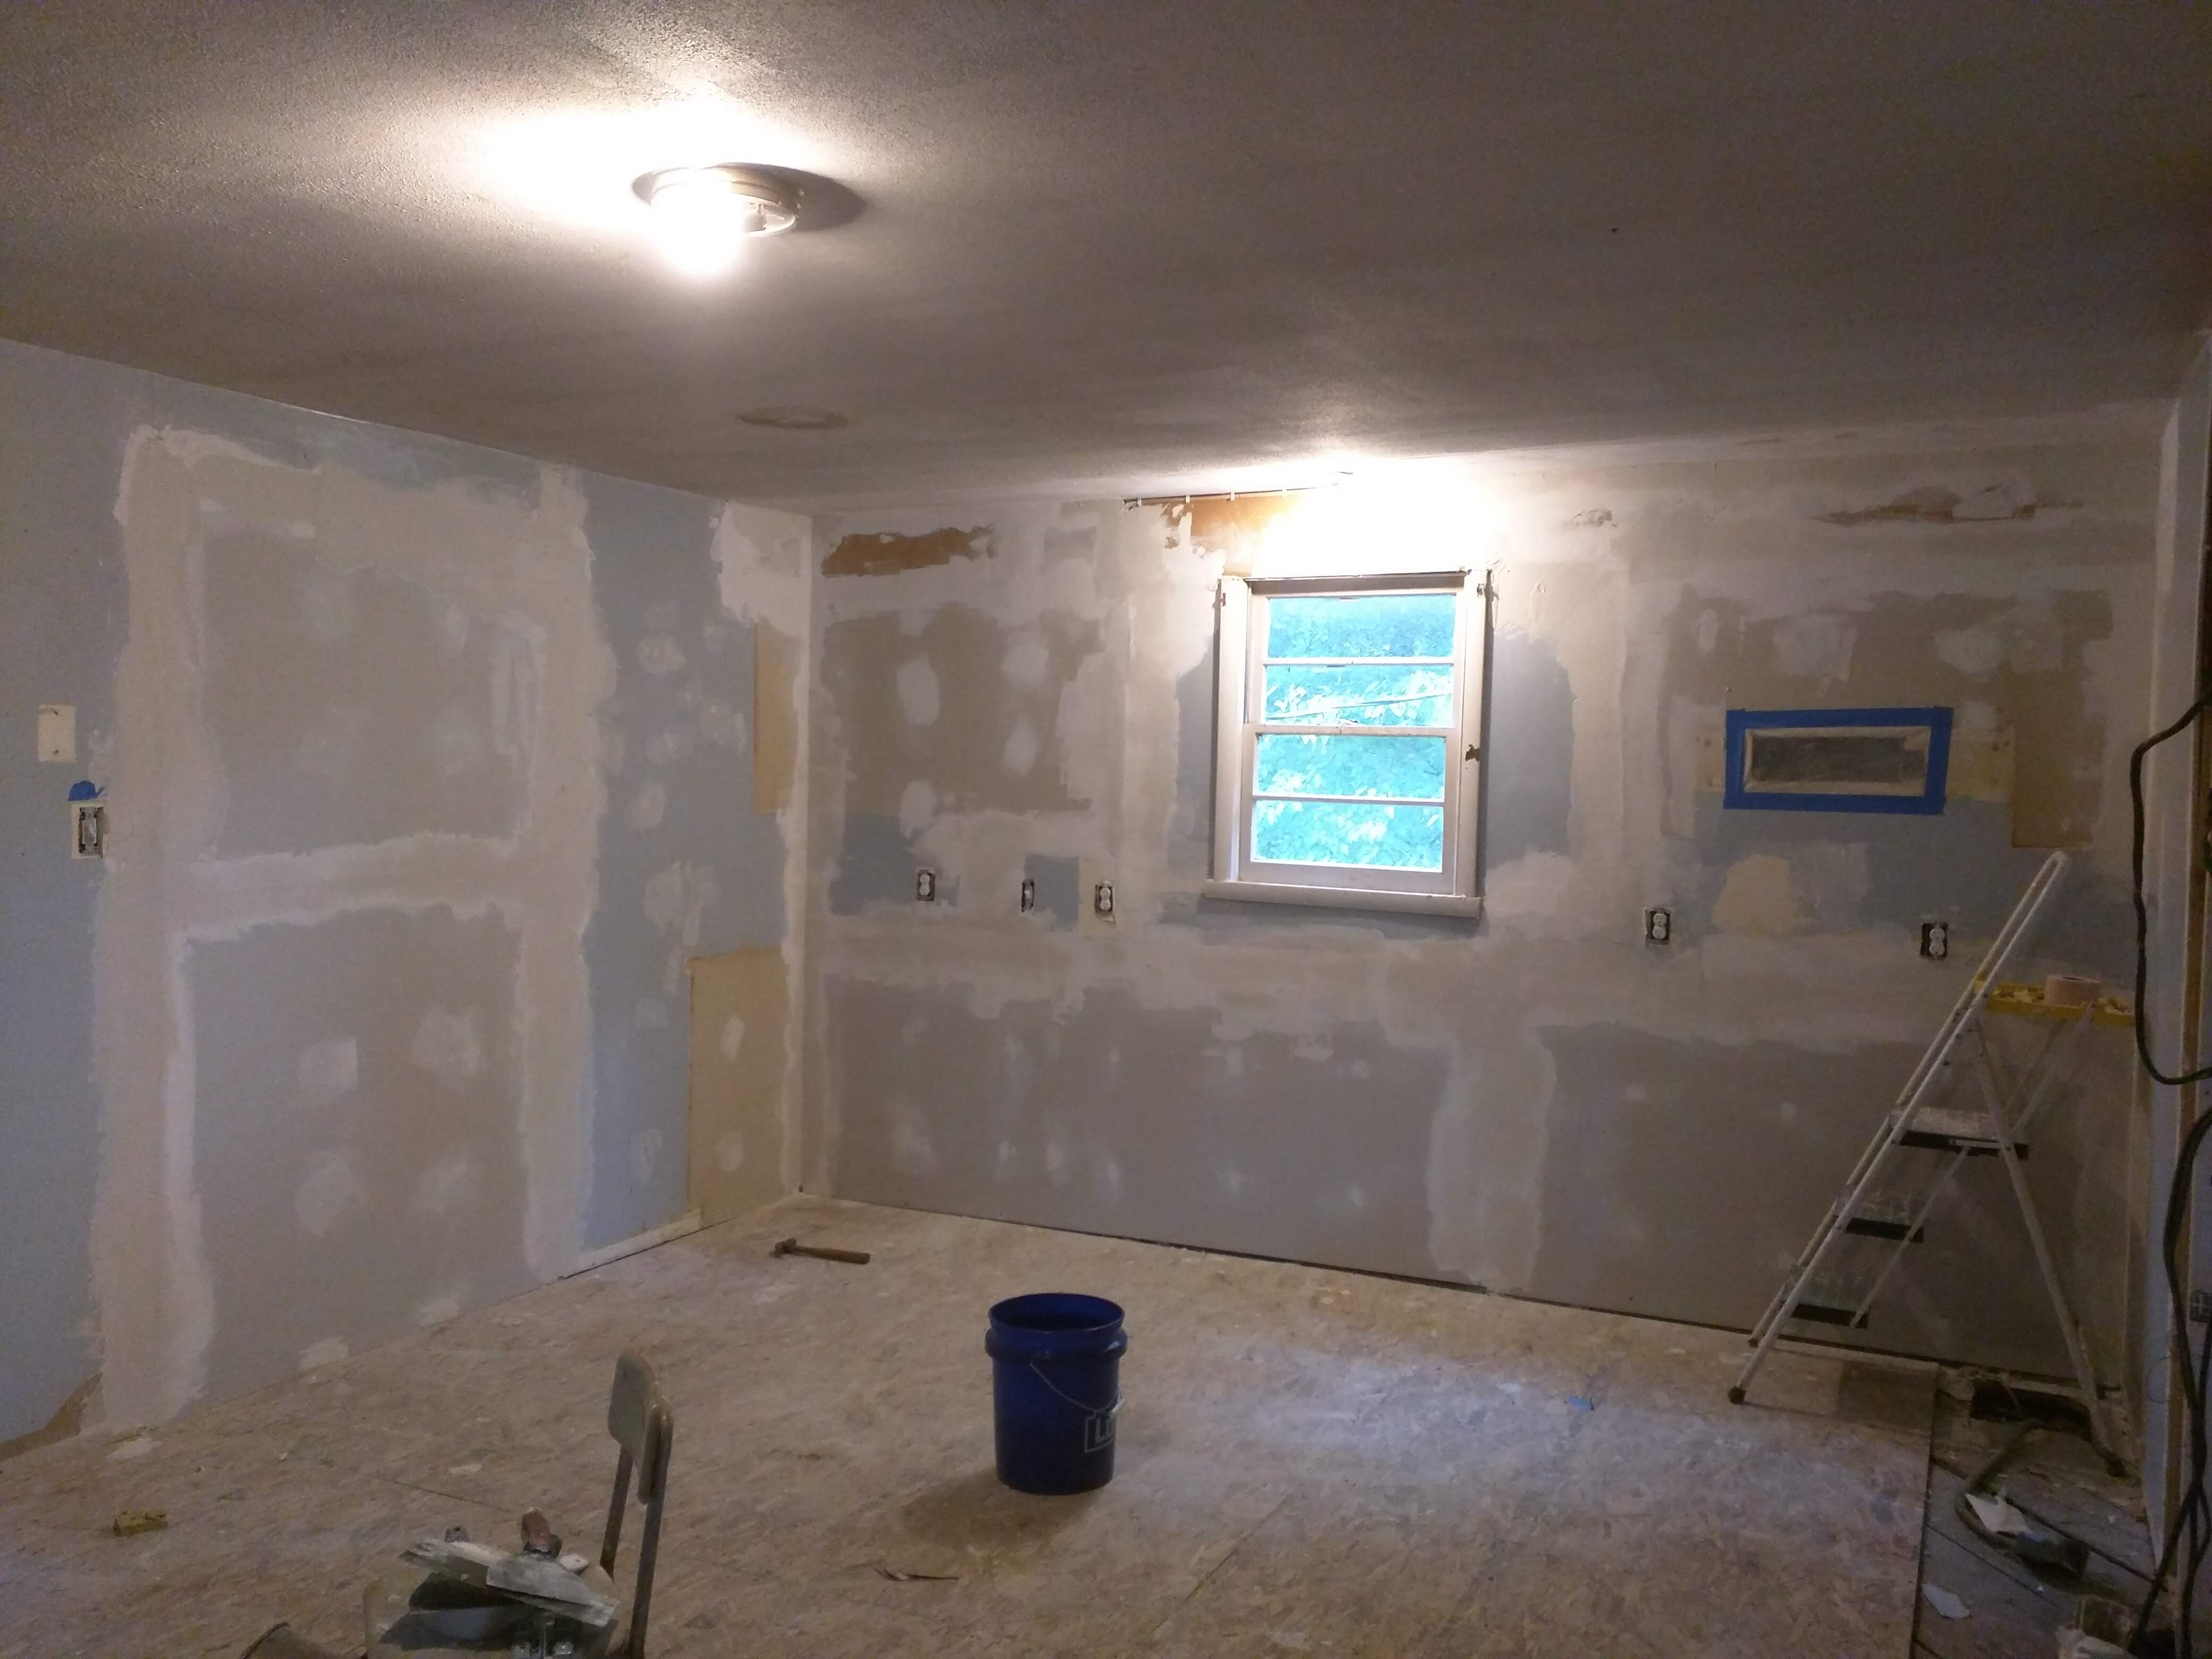
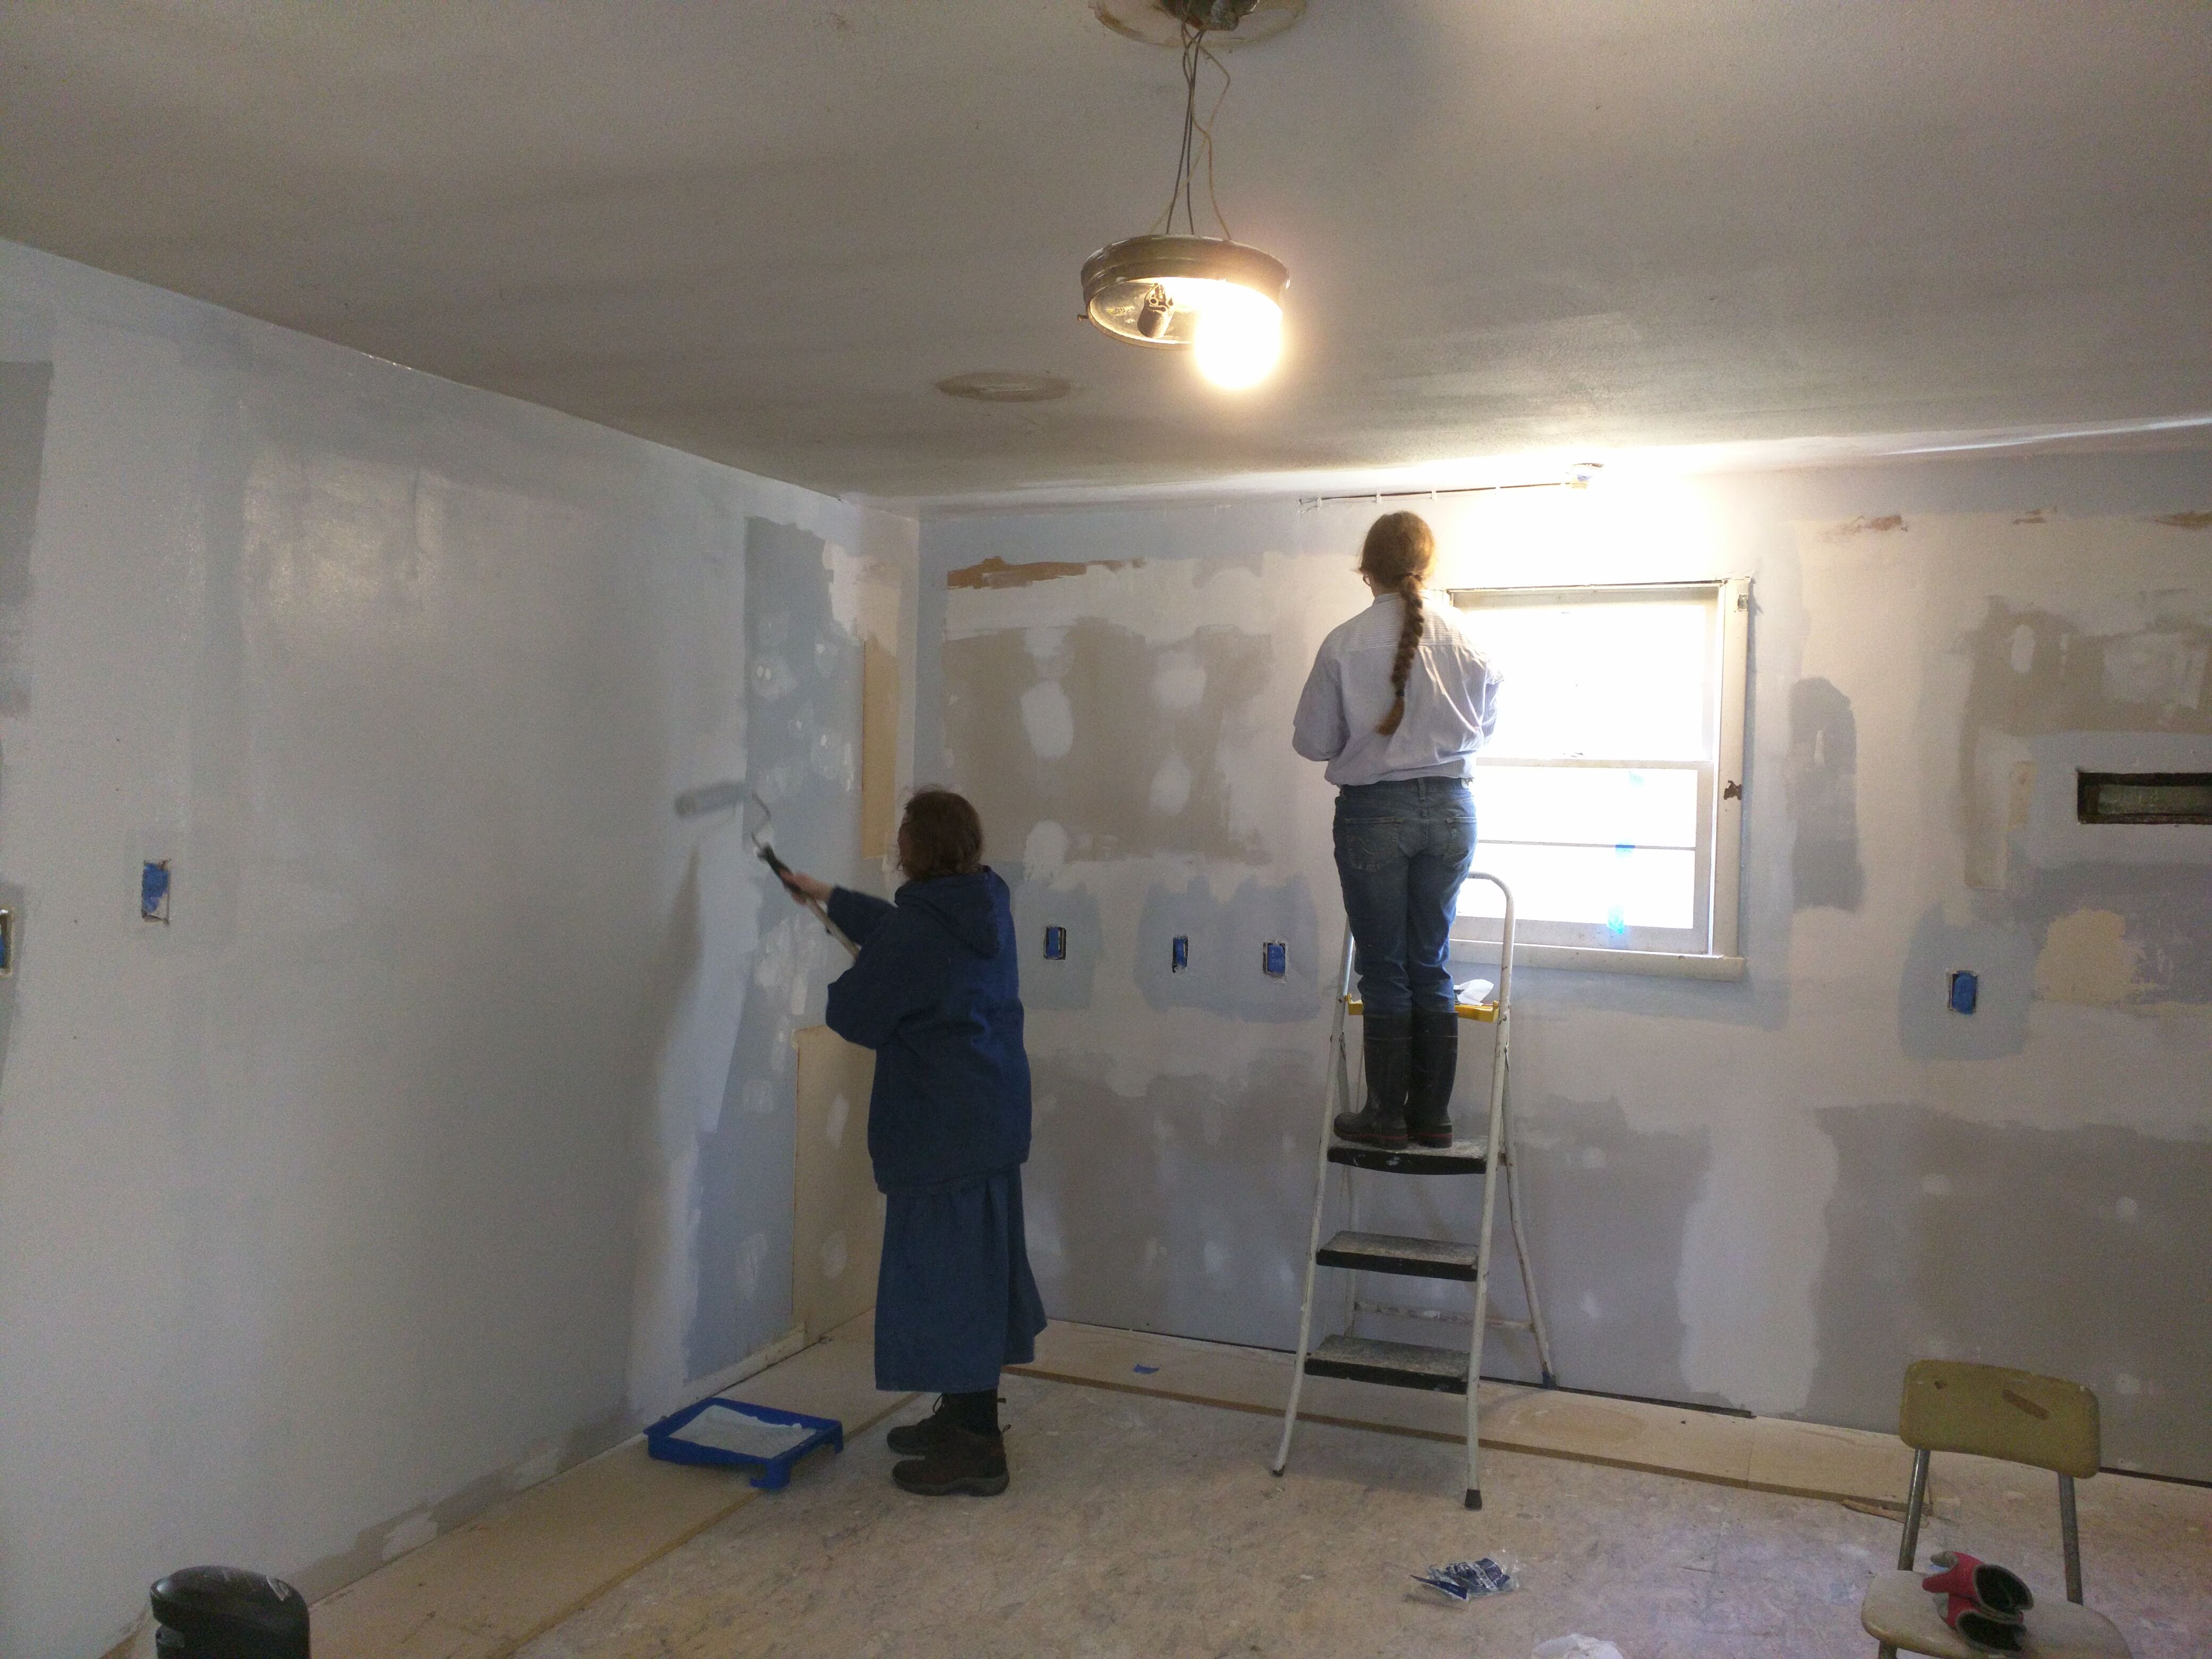
Old doorway drywalled over, and kitchen getting ready for paint.
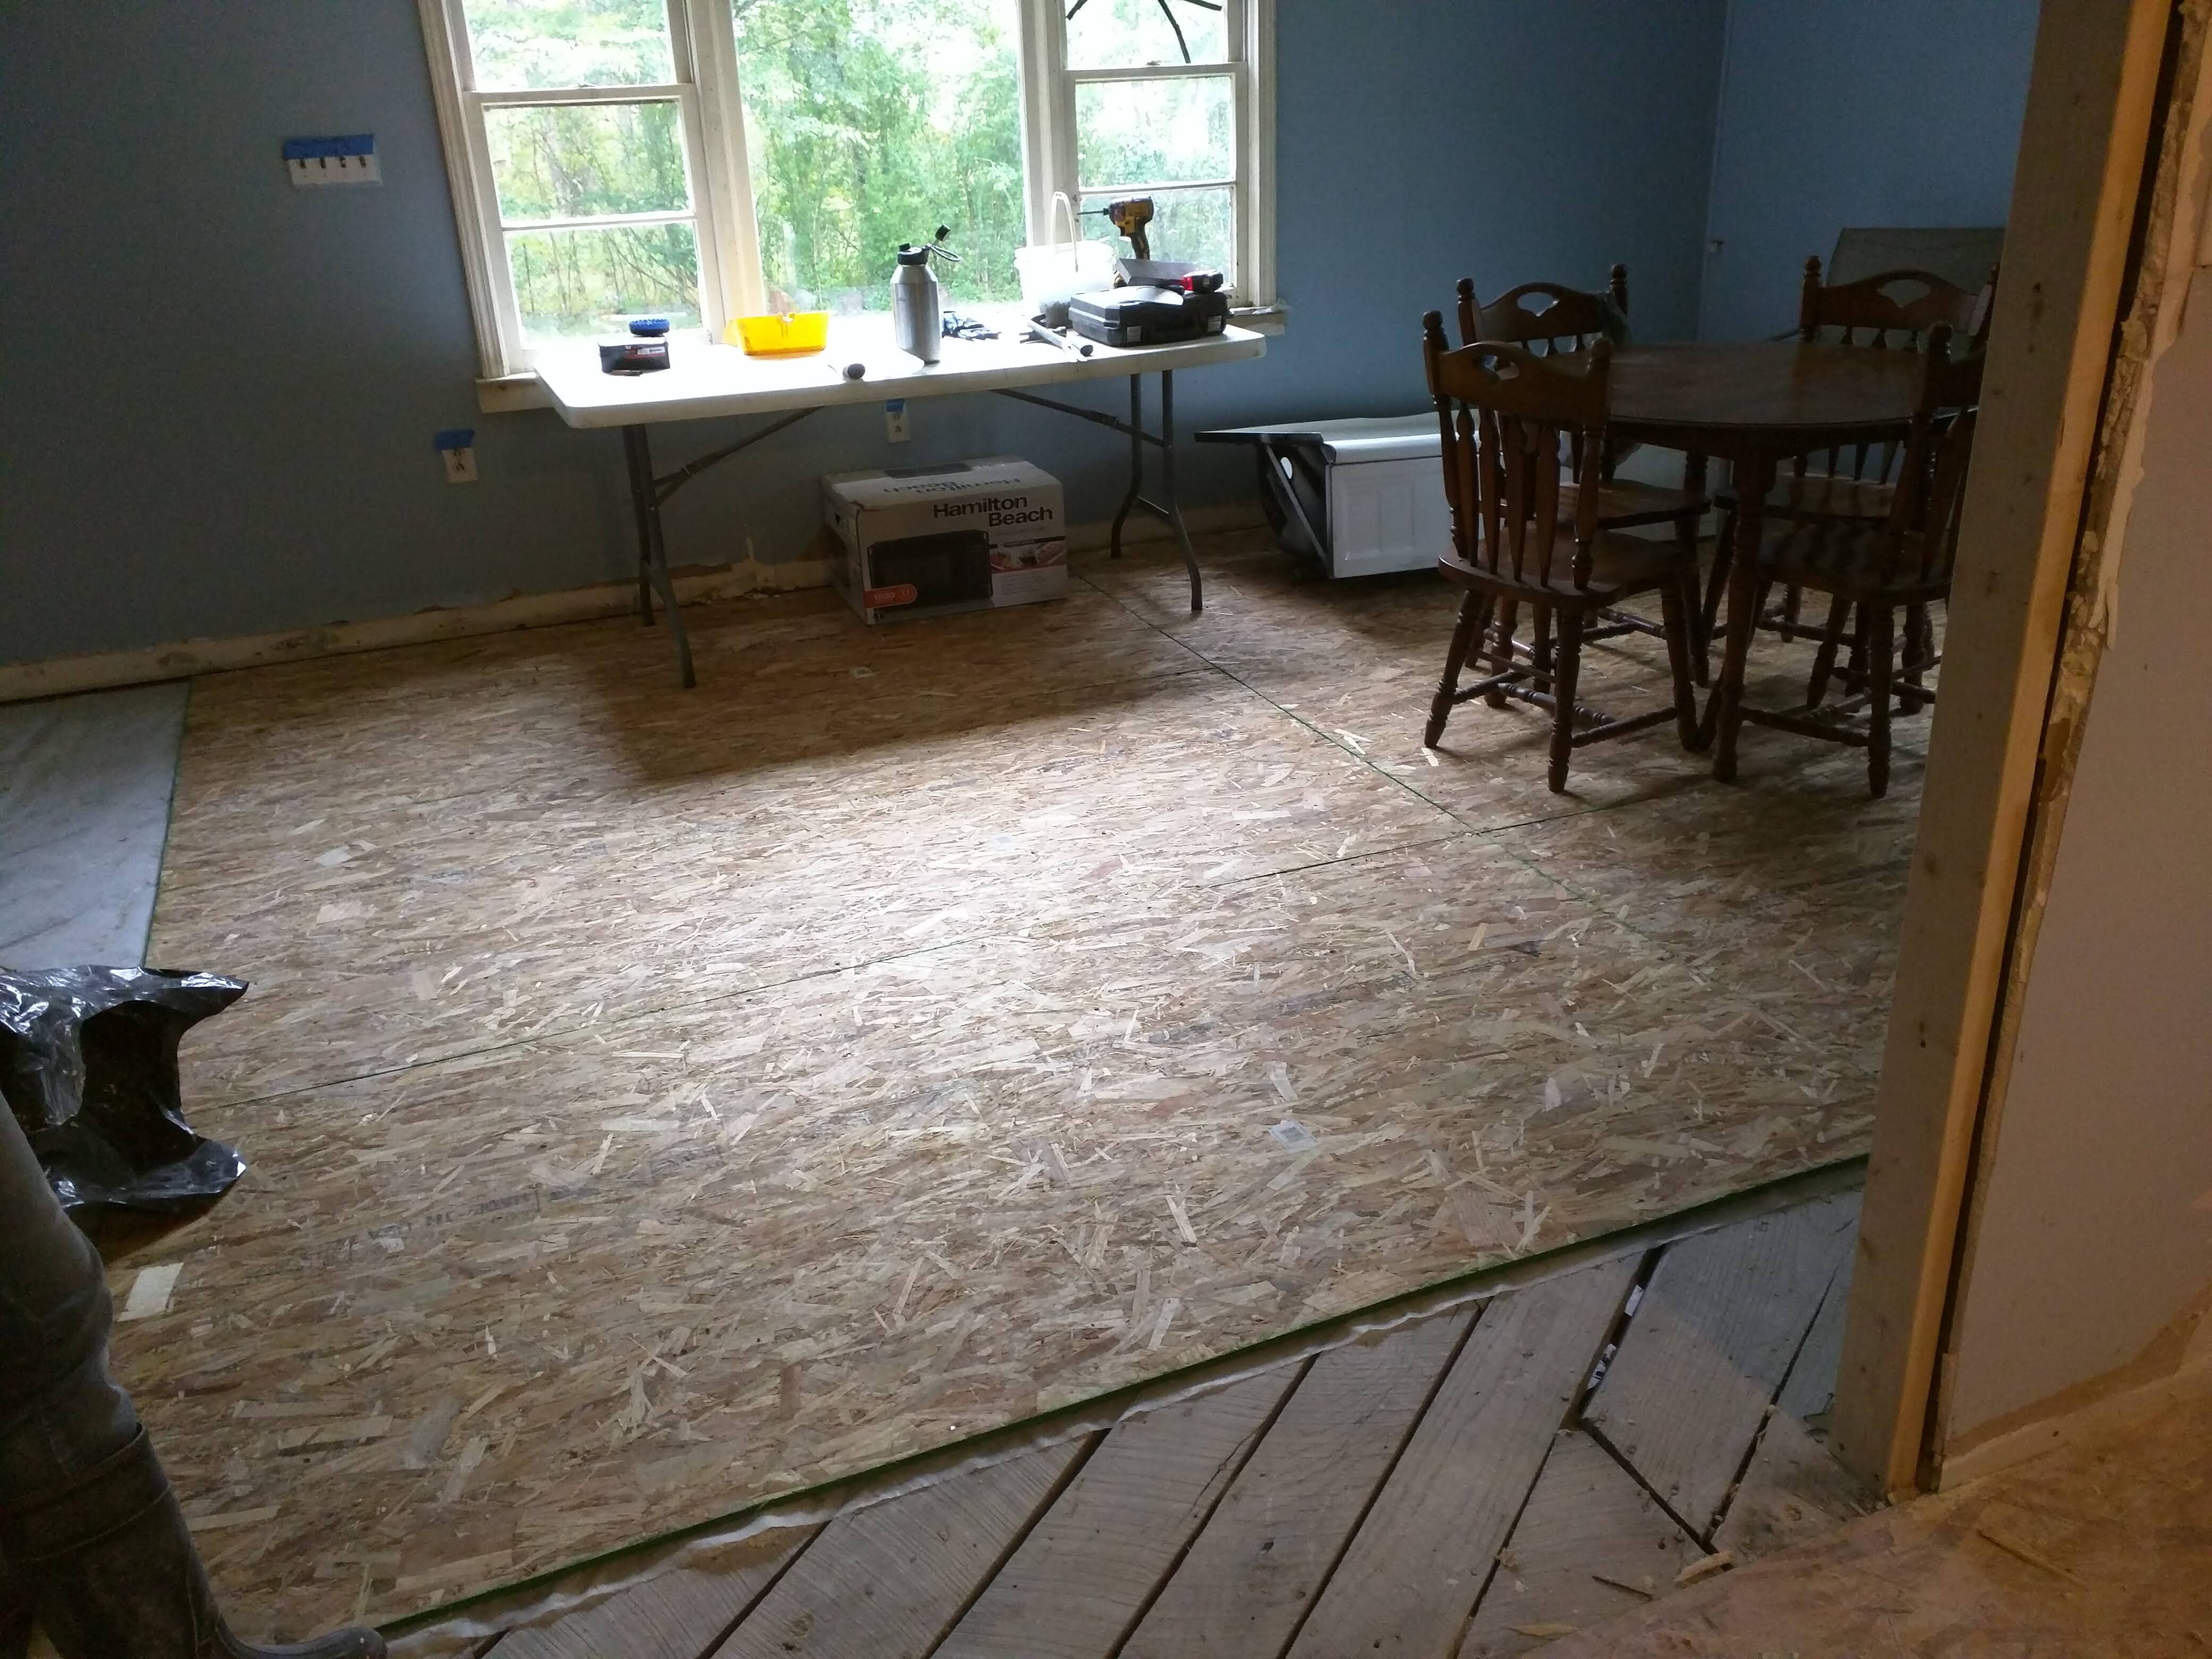
Underlayment in the living room.
Flooring is here! 4,000 lbs of it, and my lovely assistant helped me carry it all in.

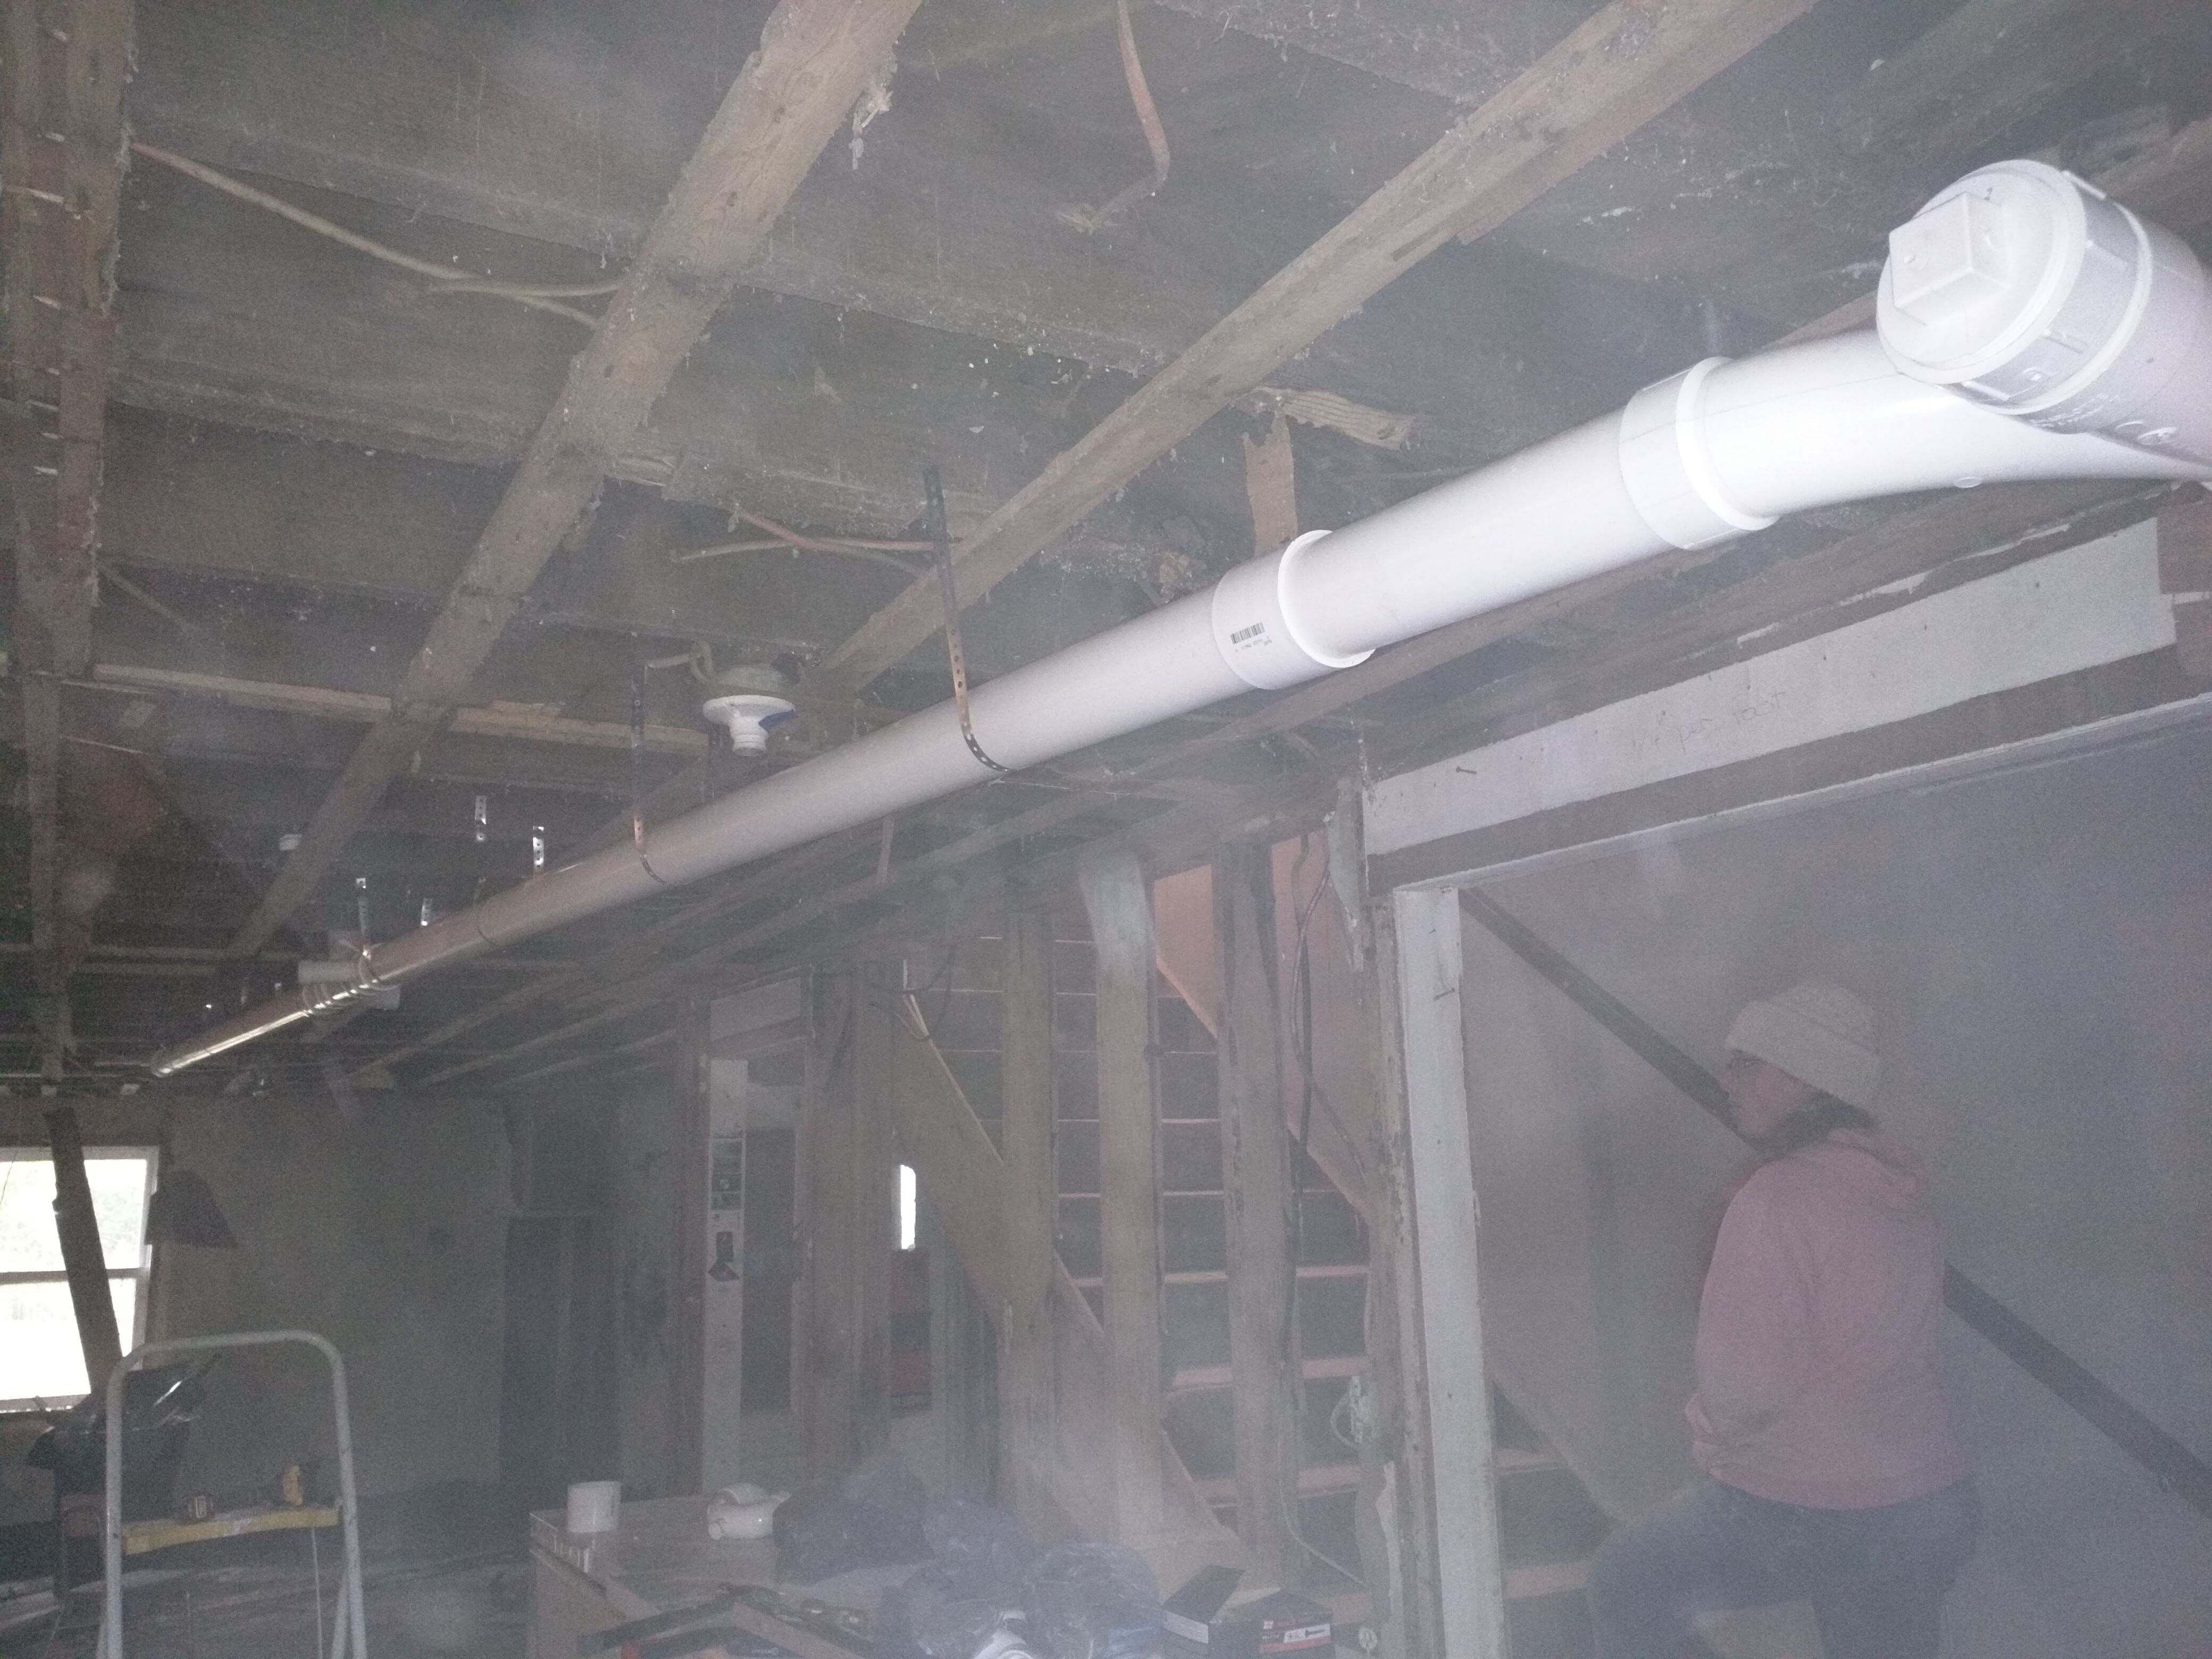
Installing a drain line under the bathroom / kitchen. I’m redoing the entire household plumbing right to the main stack.
Kitchen cabinets mockup. We’ll paint the walls before installing them.

A load of tires for the free tire dump day! Something like 40 tires.

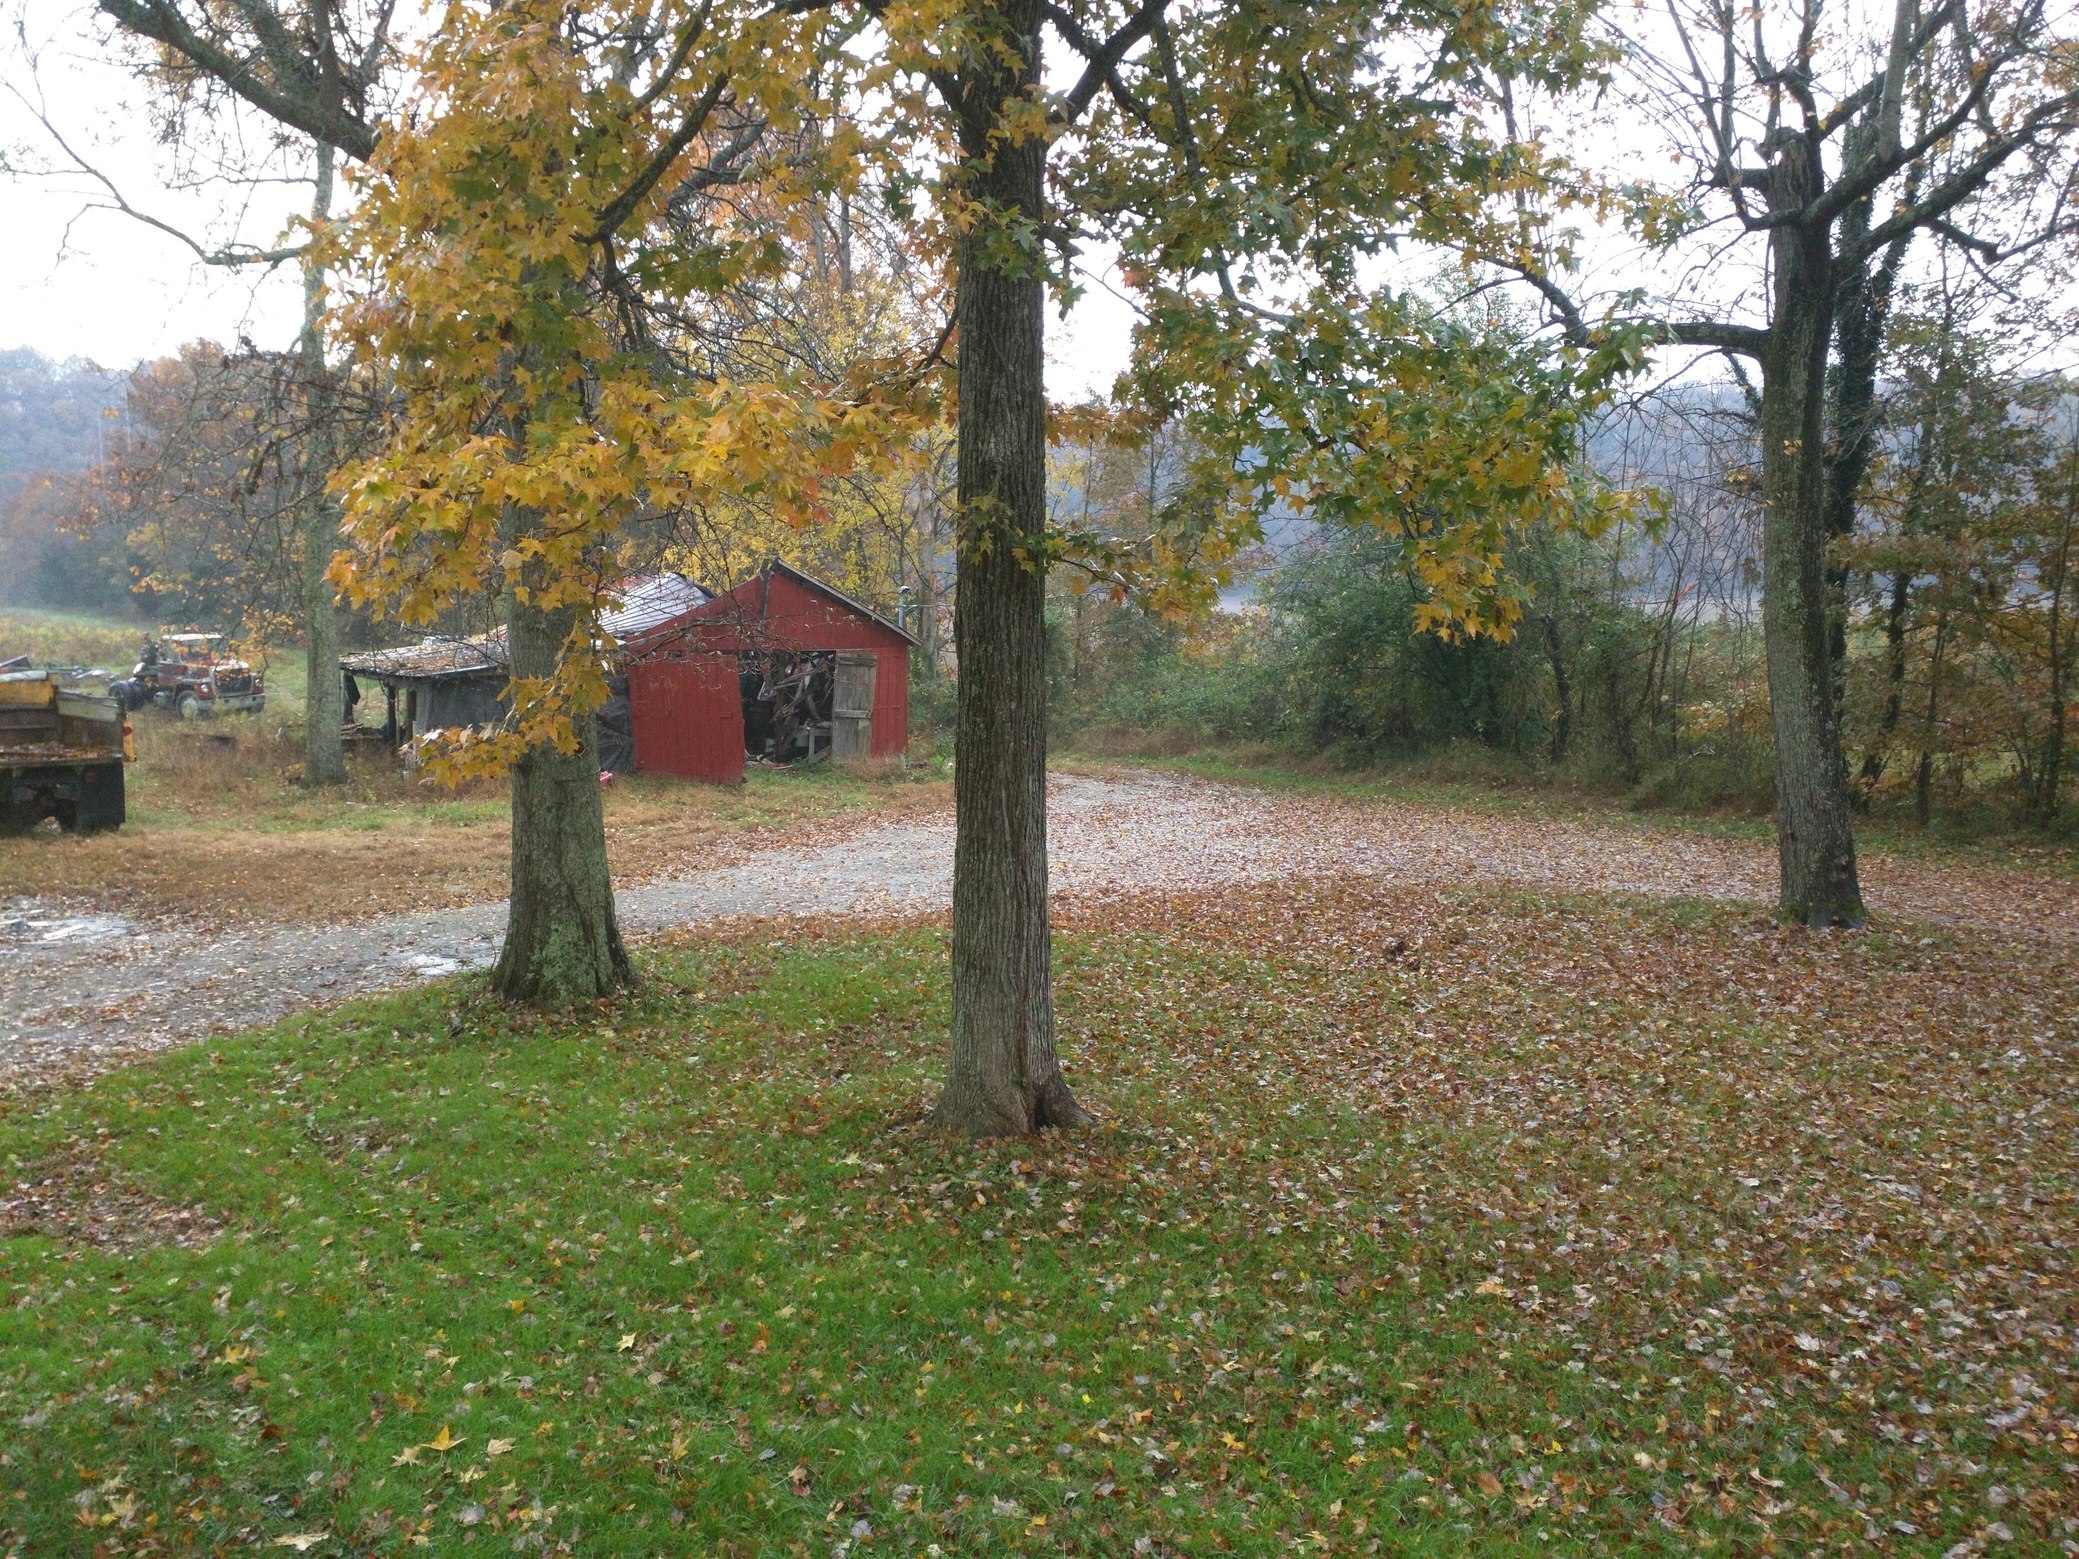
Two photos I took yesterday. The last of the beautiful fall leaves.

24 Likes
At the pace you are going with your wonderful helper, you have the in side of the house finished, before the Argos Wood Gas Meet Up Event next June. Have you set a date yet for us early planners to mark our calendars?
It’s only 6 months away.
Bob
2 Likes
I love drywall. Not…
1 Like
That looks great. I am amazed you could take so many tires to the dump at once. Here when we have an amnesty day there is a very low limit on each item you can take. I honestly think a town shouldn’t charge for anything because there are too many people who will find a way to not pay normally by dumping things on back roads or burning things they shouldn’t.
3 Likes
Doing a great job Chris. It all takes a while, but is worth it.
3 Likes
Hi ChrisKY,
I’ve felt your old-farm, old tires pain too. 171 of them!
Some of the old non-belted one’s I made into turned inside out flower bowl planters. Pointy tipped edges, or square cut crenelation? edges. Your choice. On a warm sunny day work.
Some I dug in as drainage ditch and farm road shoulder stabilization tiers. “She” did not like these at all.
And I three-four stacked some of the loader tires into solar black body stand up planter “boxes.” ( She objected and made me haul these away . . . 50 miles one-way and $15. disposal each.)
Just some ideas. And their end results.
Regards
tree-farmer Steve unruh
4 Likes
When we sold our house in the city to move up here, alot of people wanted a completely updated home. I totally remodeled the inside before than and just had the outside to do. We painted the house but people wanted a new roof even though there wasn’t anything wrong with the existing one. Now we are building a whole homestead. My point is, the blood and sweat we put into what we do gives us a great appreciation for what we have.
Chris, you will be able to look at every square inch of your house and know you did that. You made it better. You improved it for you and your family with your own hands. You can go to bed every night with great comfort knowing you fixed what needed to be addressed.
My hat’s off to you and your bride for all your hardwork. You all will be paid back for years to come.
15 Likes
I second what Bill has said.
Bob
6 Likes
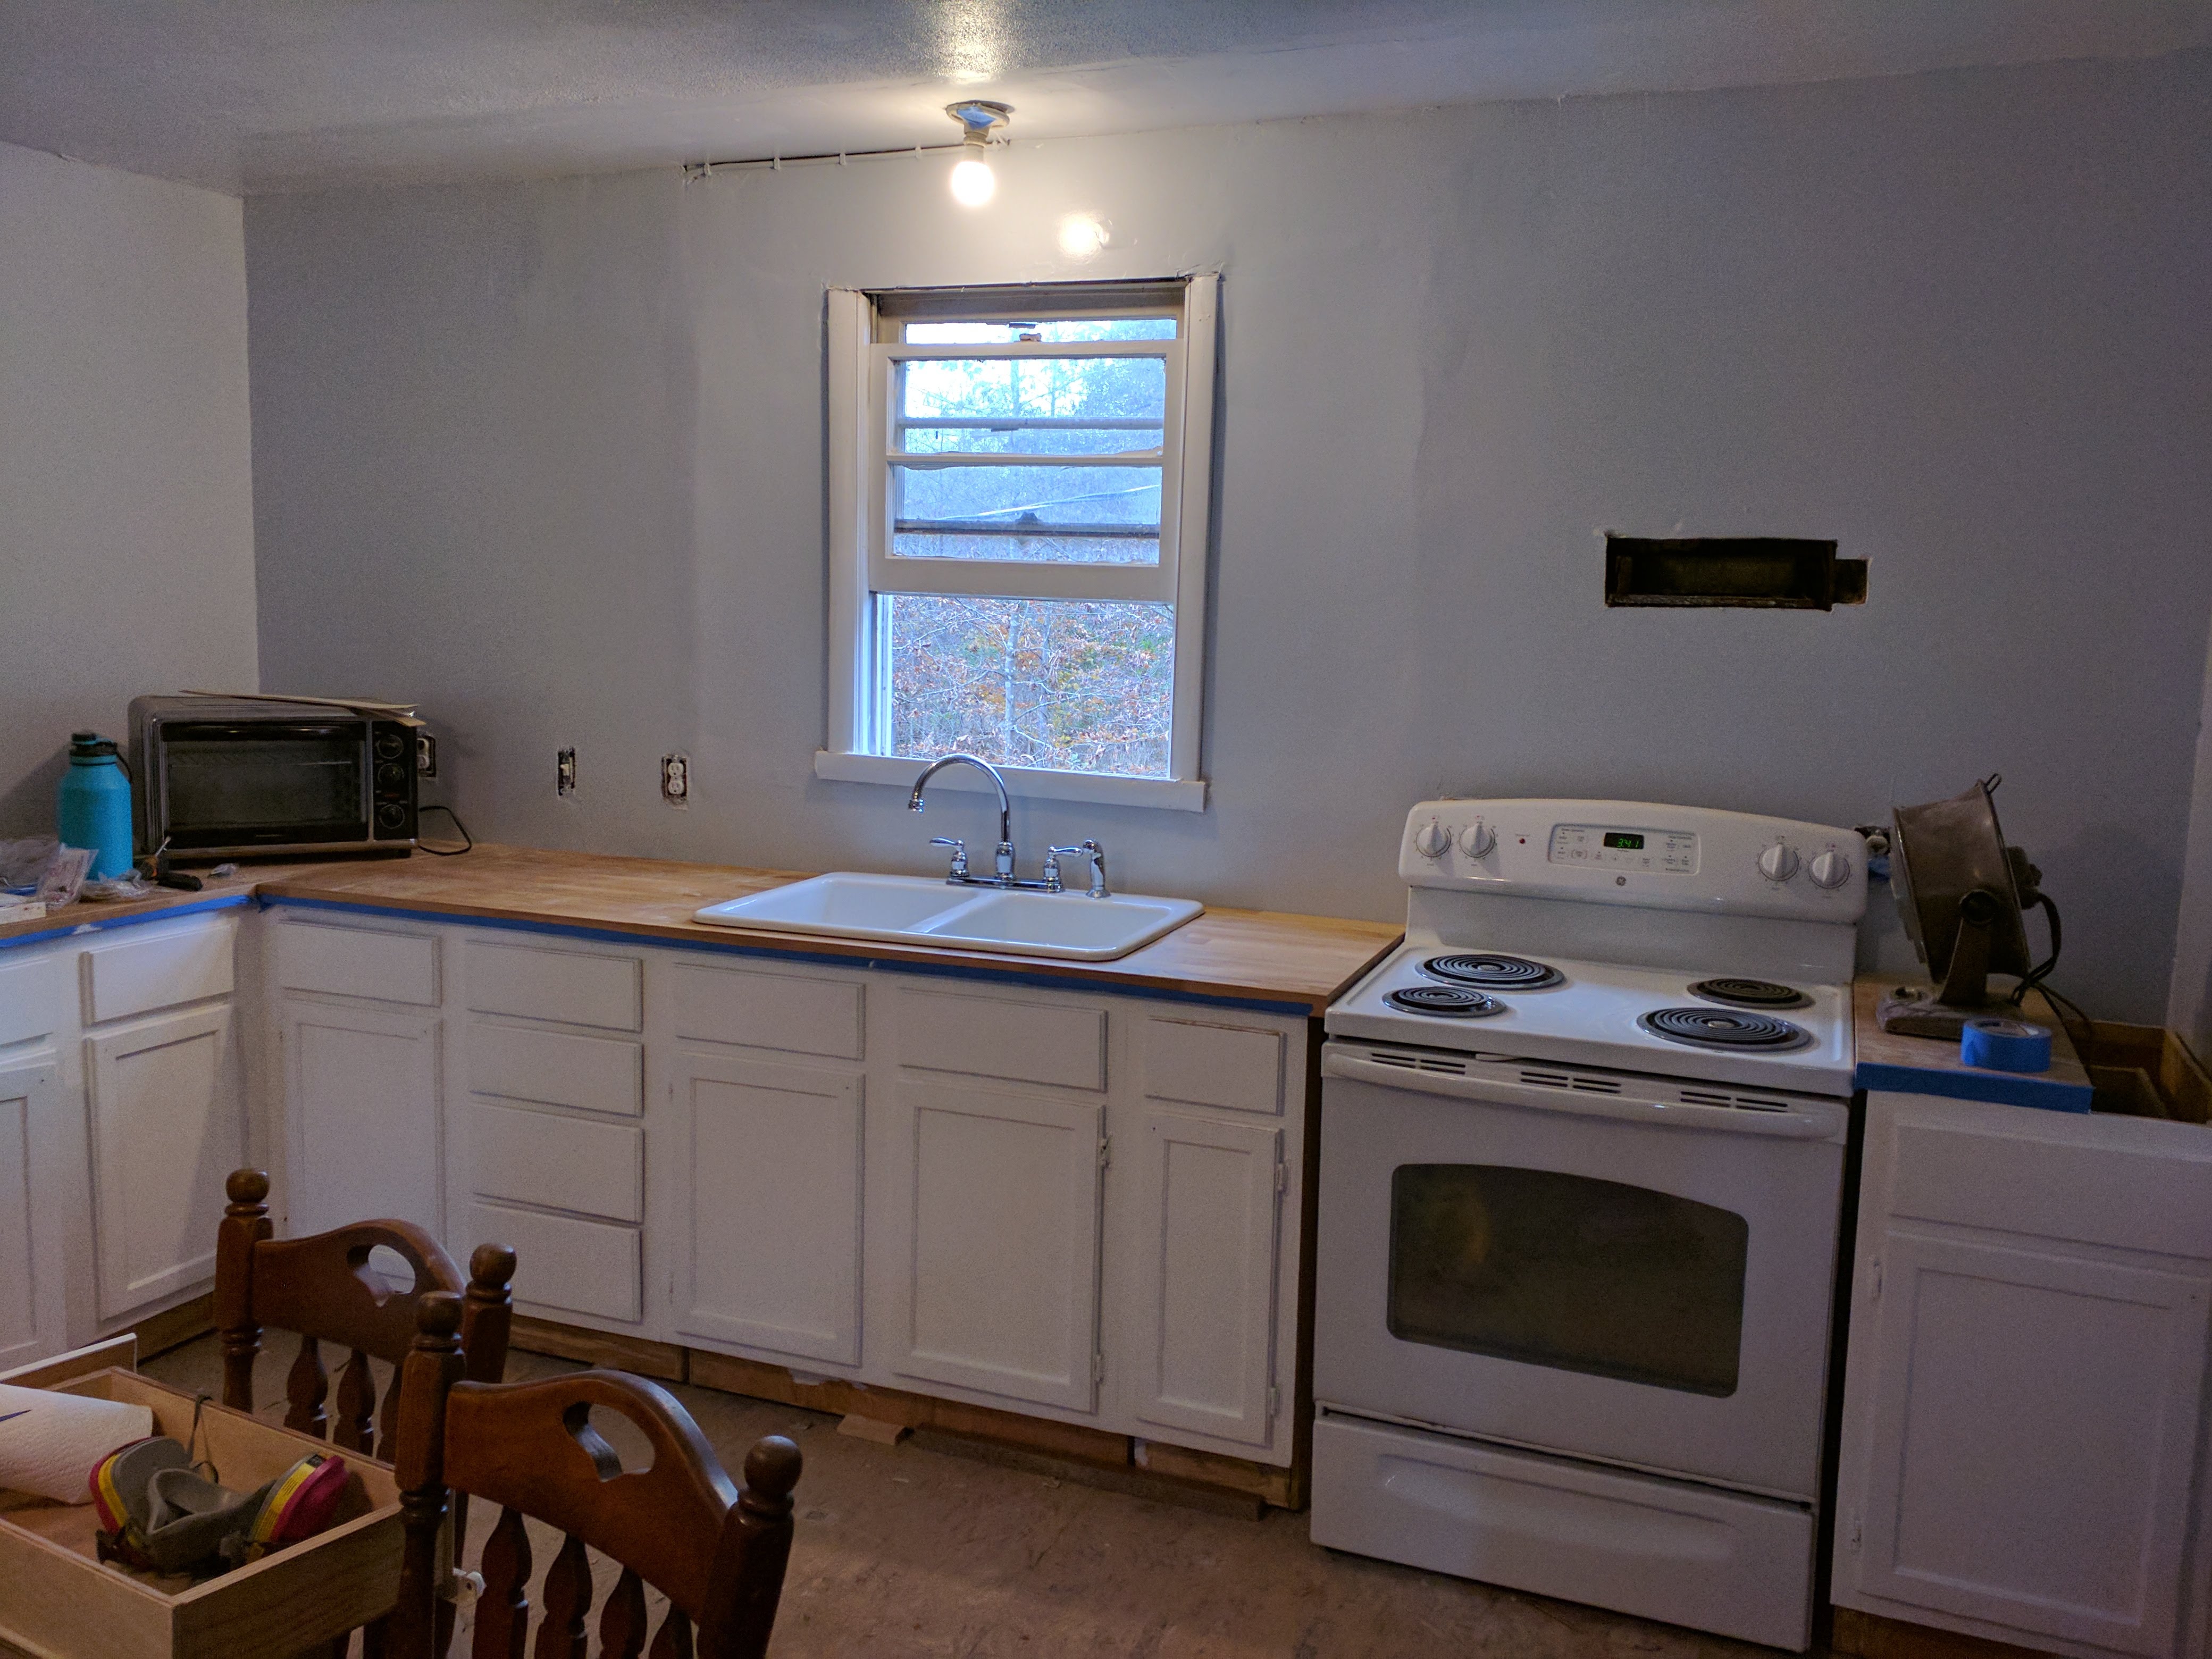
More progress! Kitchen is mostly done. Walls and ceiling painted.
Ceiling fan, stove, butcher block countertops and cast-iron kitchen sink are installed.
Bathtubs are interesting to install, I’ve never done one before. It’s going well so far. I put down a bed of mortar to stabilize it. Feels very solid now.

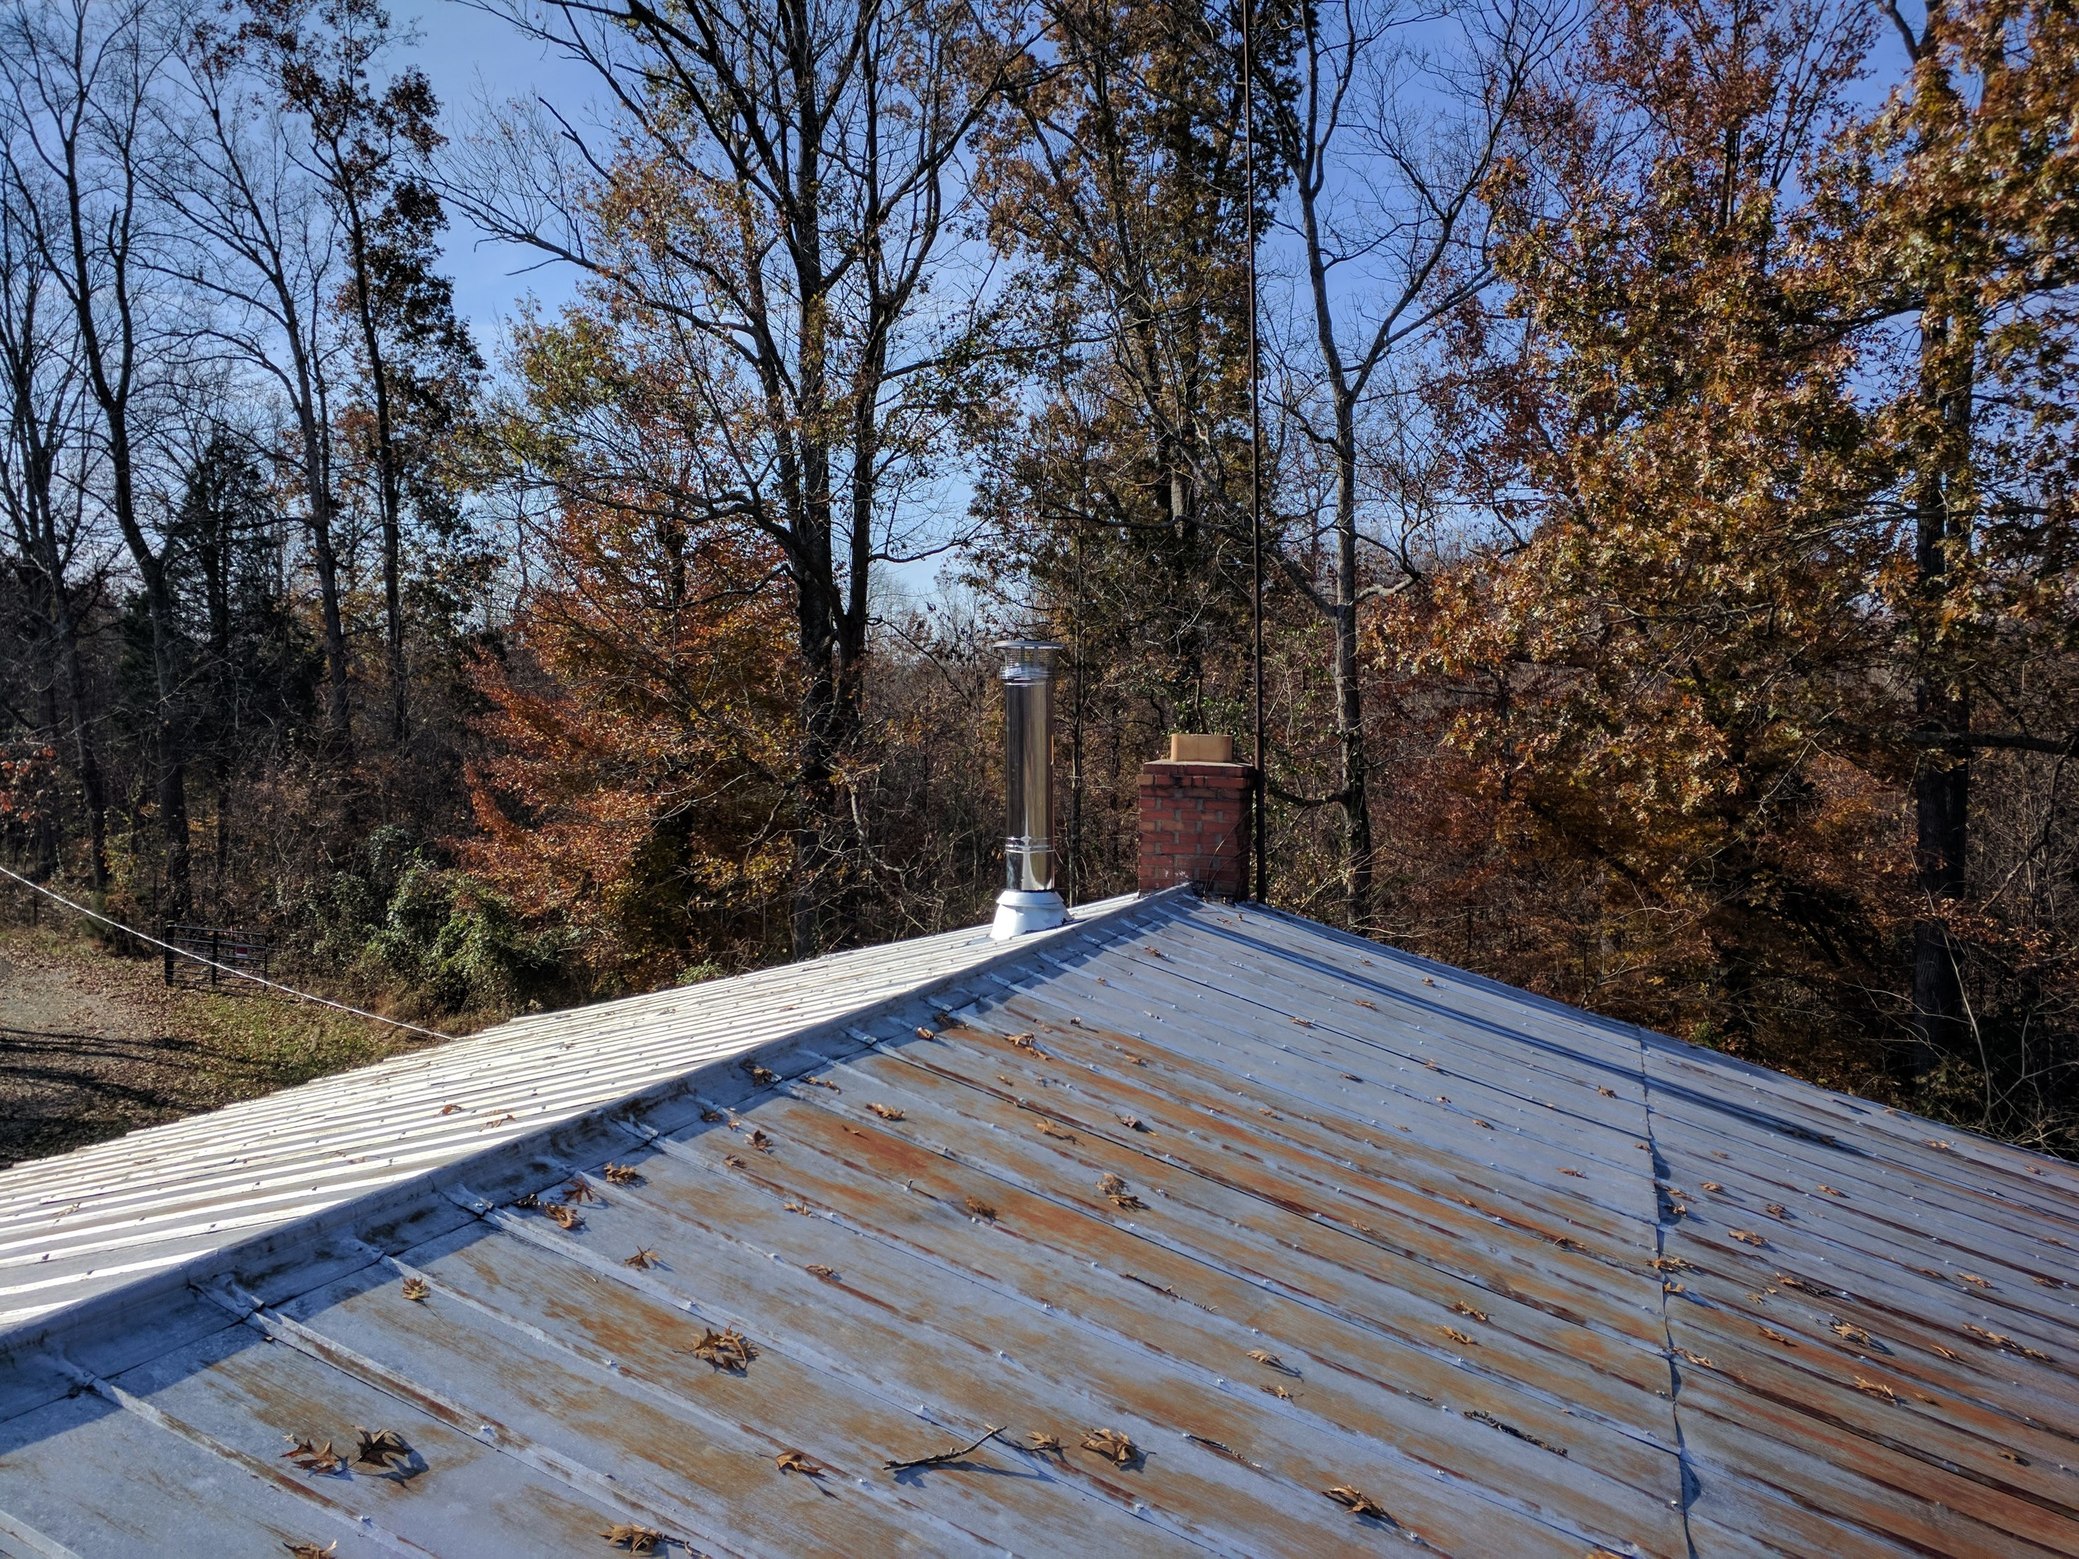
Triple-wall chimney is installed in readiness for the woodstove, straight up through the roof, no bends needed. Now I’m working on the hearth pad. The stove is supposed to be delivered this week, which is a good thing… it’s getting cold out there! I ordered the Englander NC-30, a bit bigger than the square footage charts call for, but this house is drafty and I like to be warm.

15 Likes
What? No Woodgas CHP system? 
It looks like you are making great progress and what is done looks great. 
1 Like
Is there a cleat under the wall side of the tub? I can’t tell from the pic.
Another detail, it’s easier to install the tub drain and overflow before putting the tub in place. (Ask how I know… ) 
1 Like
Another thing, after building and repairing a number of bathrooms, I’d say forget about the “moisture resistant” drywall. It’s hardly any better than standard drywall. Use the fiber reinforced cementitious board. That stuff won’t mildew or soften. Use thin set to have a gluing surface for a plastic / acrylic surround, or to set tile over.
I would avoid tile personally, better things to do than clean grout seams…
5 Likes
I believe the moisture resistant drywall, is required by code for buildings in the US. It has a chemical that is preventative of molds. Yes you can do it without moisture resistant drywall if you are careful, and know what you are doing and take care of it throughout it’s lifetime but it is faster and easier just to use the right stuff to begin with. Then when an accident happens, you have less chance of having to deal with black mold on top of it.
Yes. That’s part of the “interesting” that I learned with this install.
The surrounds I have another plan for.
4 Likes