I’ve built bathrooms, and then come back years later to have to repair tub surrounds. The aqua board, or whatever they call it has a mildew-cide, and different colour paper, not much more to say for it than that. When it gets wet, it will be a tear out anyways. It also wicks moisture just great, so I will never use it again. At least a strip of cement tile board with a slight gap to arrest wicking should be used at tub level. If using a glue in surround, plywood or PT plywood could be used above that.
2 Likes
In my expierence, after 2 years living in a boat (2006 - 2008) with my wife, MARINE COMPOUND is the best. Nice job till now Chris.
4 Likes
Looking great ChrisKy.
If you choose for your hearth base and back sides: tile setting gets to be fun.
Ha! Do the floor base first to practice.
And you get heat-resistance/code points for spacing out the sidewalls hearths with ventilating air gaps.
Mine is. Air-gapped.
But . . . did not realize for maximum points have to have lower edge air-in slots. And upper edge heated air-out slots.
Wifie now will not let me modify-improve for this.
Oh. Well. Next time. (that’d be you)
Regards
tree-farmer Steve Unruh
6 Likes
if you are tiling I like to fur out 1/4 inch to clear the tub lip and drop my board to 1/4 inch off the tub, silicone the gap. I use the newer grey board for my tile backer. it looks like gypsum but is not prone to wicking like the original green board was. run your factory edges at the tub not a cut one. it makes a great backer for the board tile products as well if that is the route you go. The project looks great chris!
7 Likes
Looks good Chris. …
1 Like
Enjoying some wood heat! It’s been far too long. 
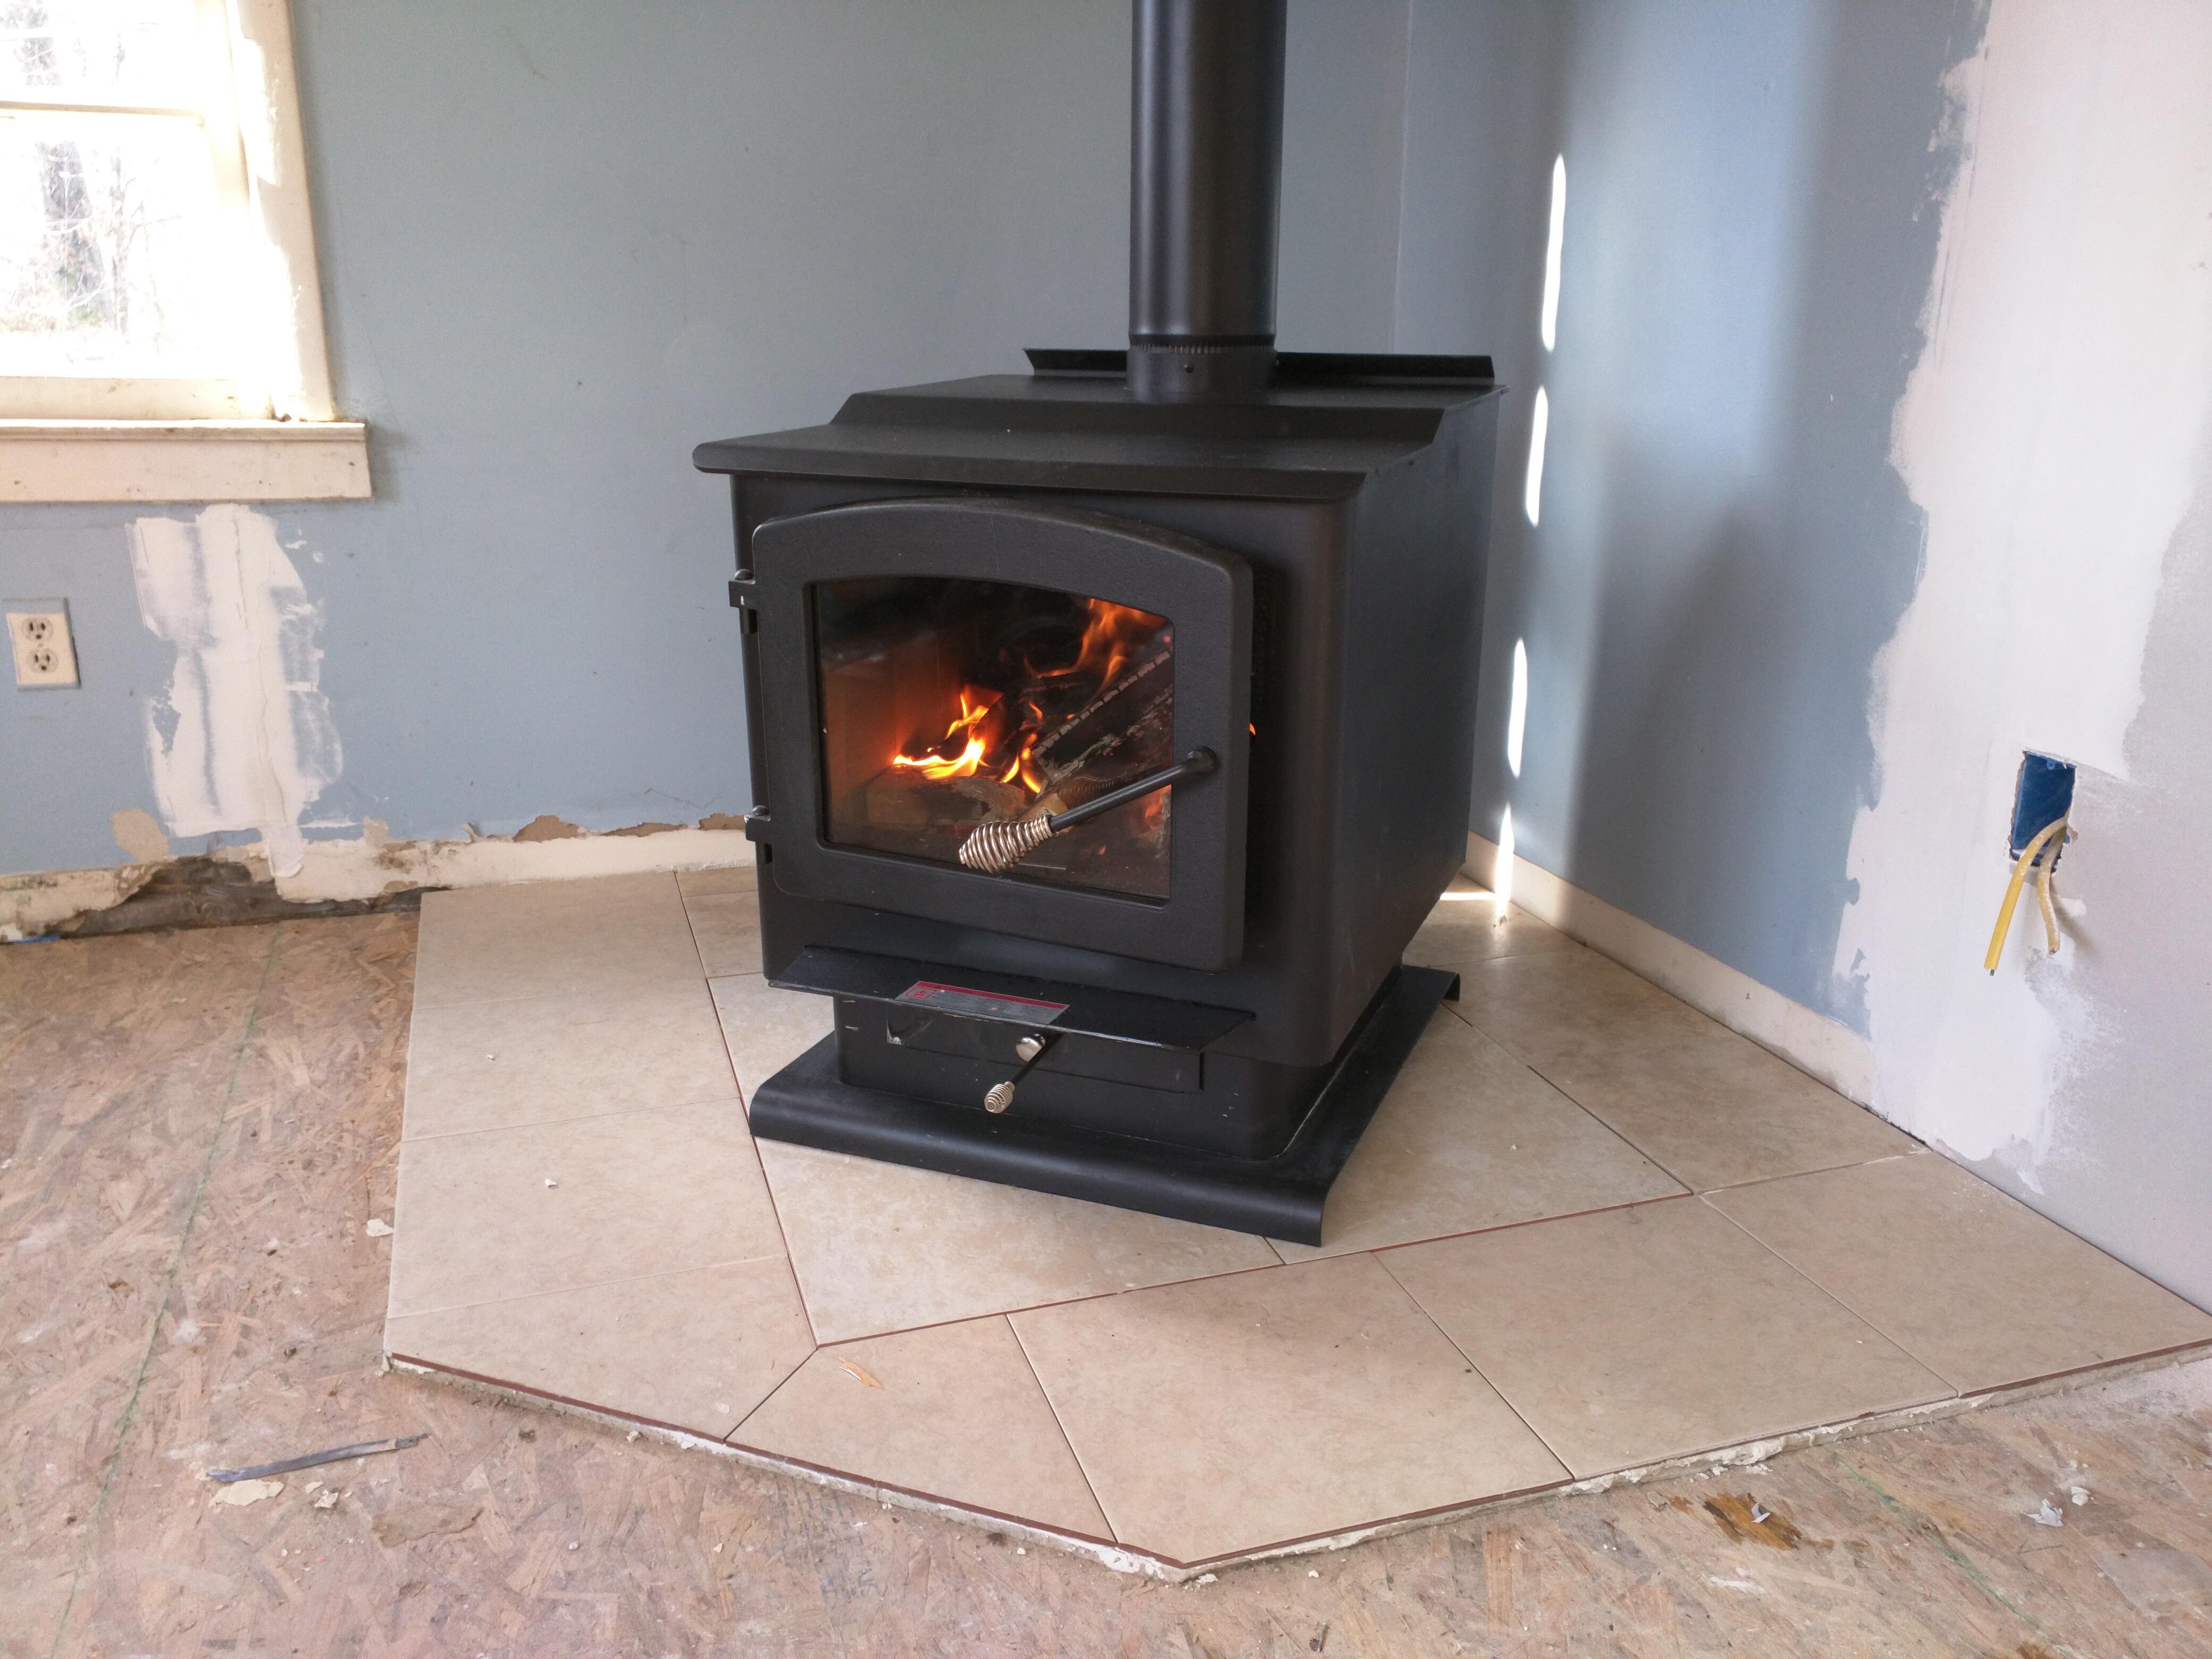
Stove is an Englander NC-30. Rated for 2,400 sqft, which should do well in our drafty 1100 sqft house.
Living room painted, walls and ceiling. Windows still need painted.

19 Likes
Great choice Englander makes nice stoves one of the best wood stoves I ever owned was an Englander.
2 Likes
You will never regret the extra size. It might hurt you a bit efficiency wise but it opens up opportunities as well. Just think of all the char you can make for a charcoal gasifier now!!!
5 Likes
I was just thinking of the water coil that you can add to the wood stove to get your domestic hot water.
2 Likes
My slow combustion fire has a wetback on 3 sides and is rated for 32KW of hot water , i got lucky on ebay and found 7 radiators brand new all around the 4KW output now just got to get a tank and some valves and pumps and hook it all up , still not cheap but cant wait to get it running next winter .
look at the flu’s that have a water coil built into them if its just hot water for washing ect , but make sure you keep the flu well swept .
Dave
1 Like
with all that space around the stove on the hearth you could strip a hot water heater and use it as a conditioner tank. so the water goes from the well to the bare tank to the hot water heater. it heats up slowly but will probably end up at 80-100 f. It saves you 3/4 of your electricity load and does not alter the stove voiding the warranty, cooling down the burn chamber, and annoying your insurance company… I have a 10 gallon tank next to mine which assumes I use hot water in 10 gallon batches. Its one of those easy to implement solutions that get you 75 percent of the way there instead of a hard solution that gets you 90…
My two cents
5 Likes
Very nice stove ChrisKY.
Very small room it’s in . . . . the unseen side is open?
This room begs for a big slow “pretty” ceiling fan. (we have one - a lowline Hunter)
And if the unseen side of this room allows, upper corner quarter-circle box fans will do wonders moving the ceiling heat out and about. Select these for noise quietness above all.
The floor level replacement air in will take care of itself nicely.
Beautiful, all in all.
tree-farmer Steve unruh
5 Likes
Yes, there is a 6 foot wide doorway and a nice window wall. That photo is deceptive, here is the same room from a different angle:
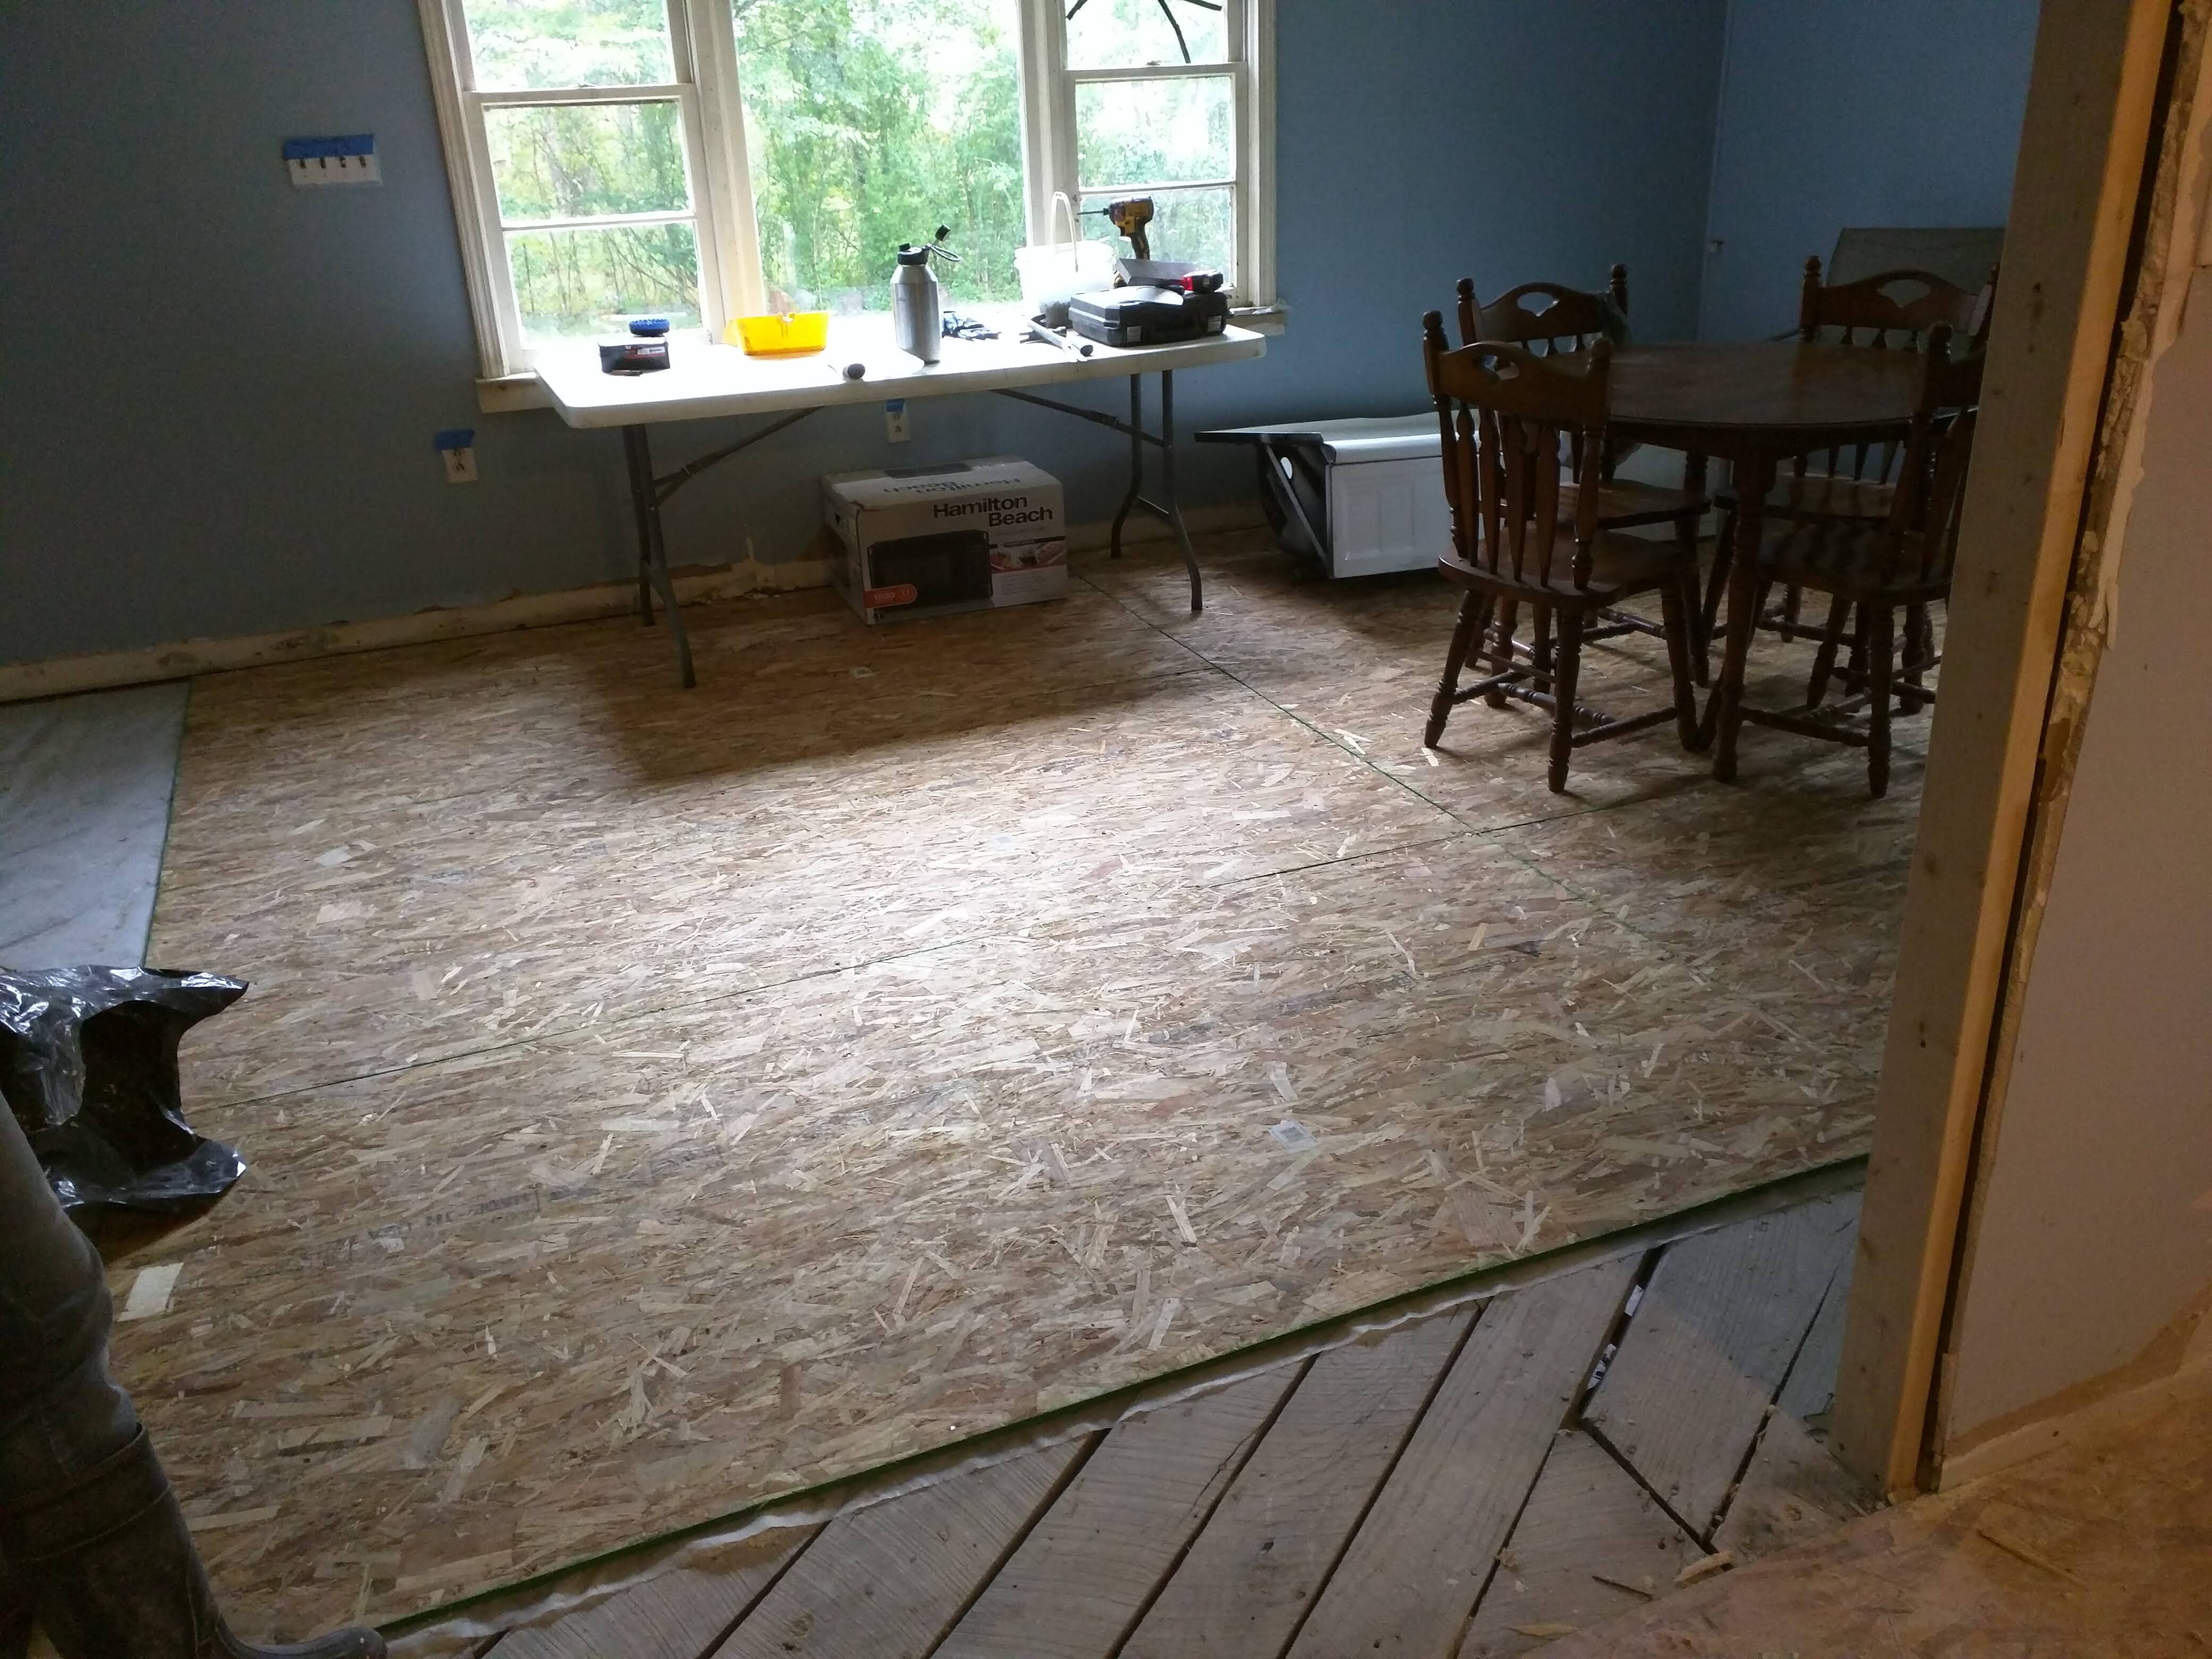
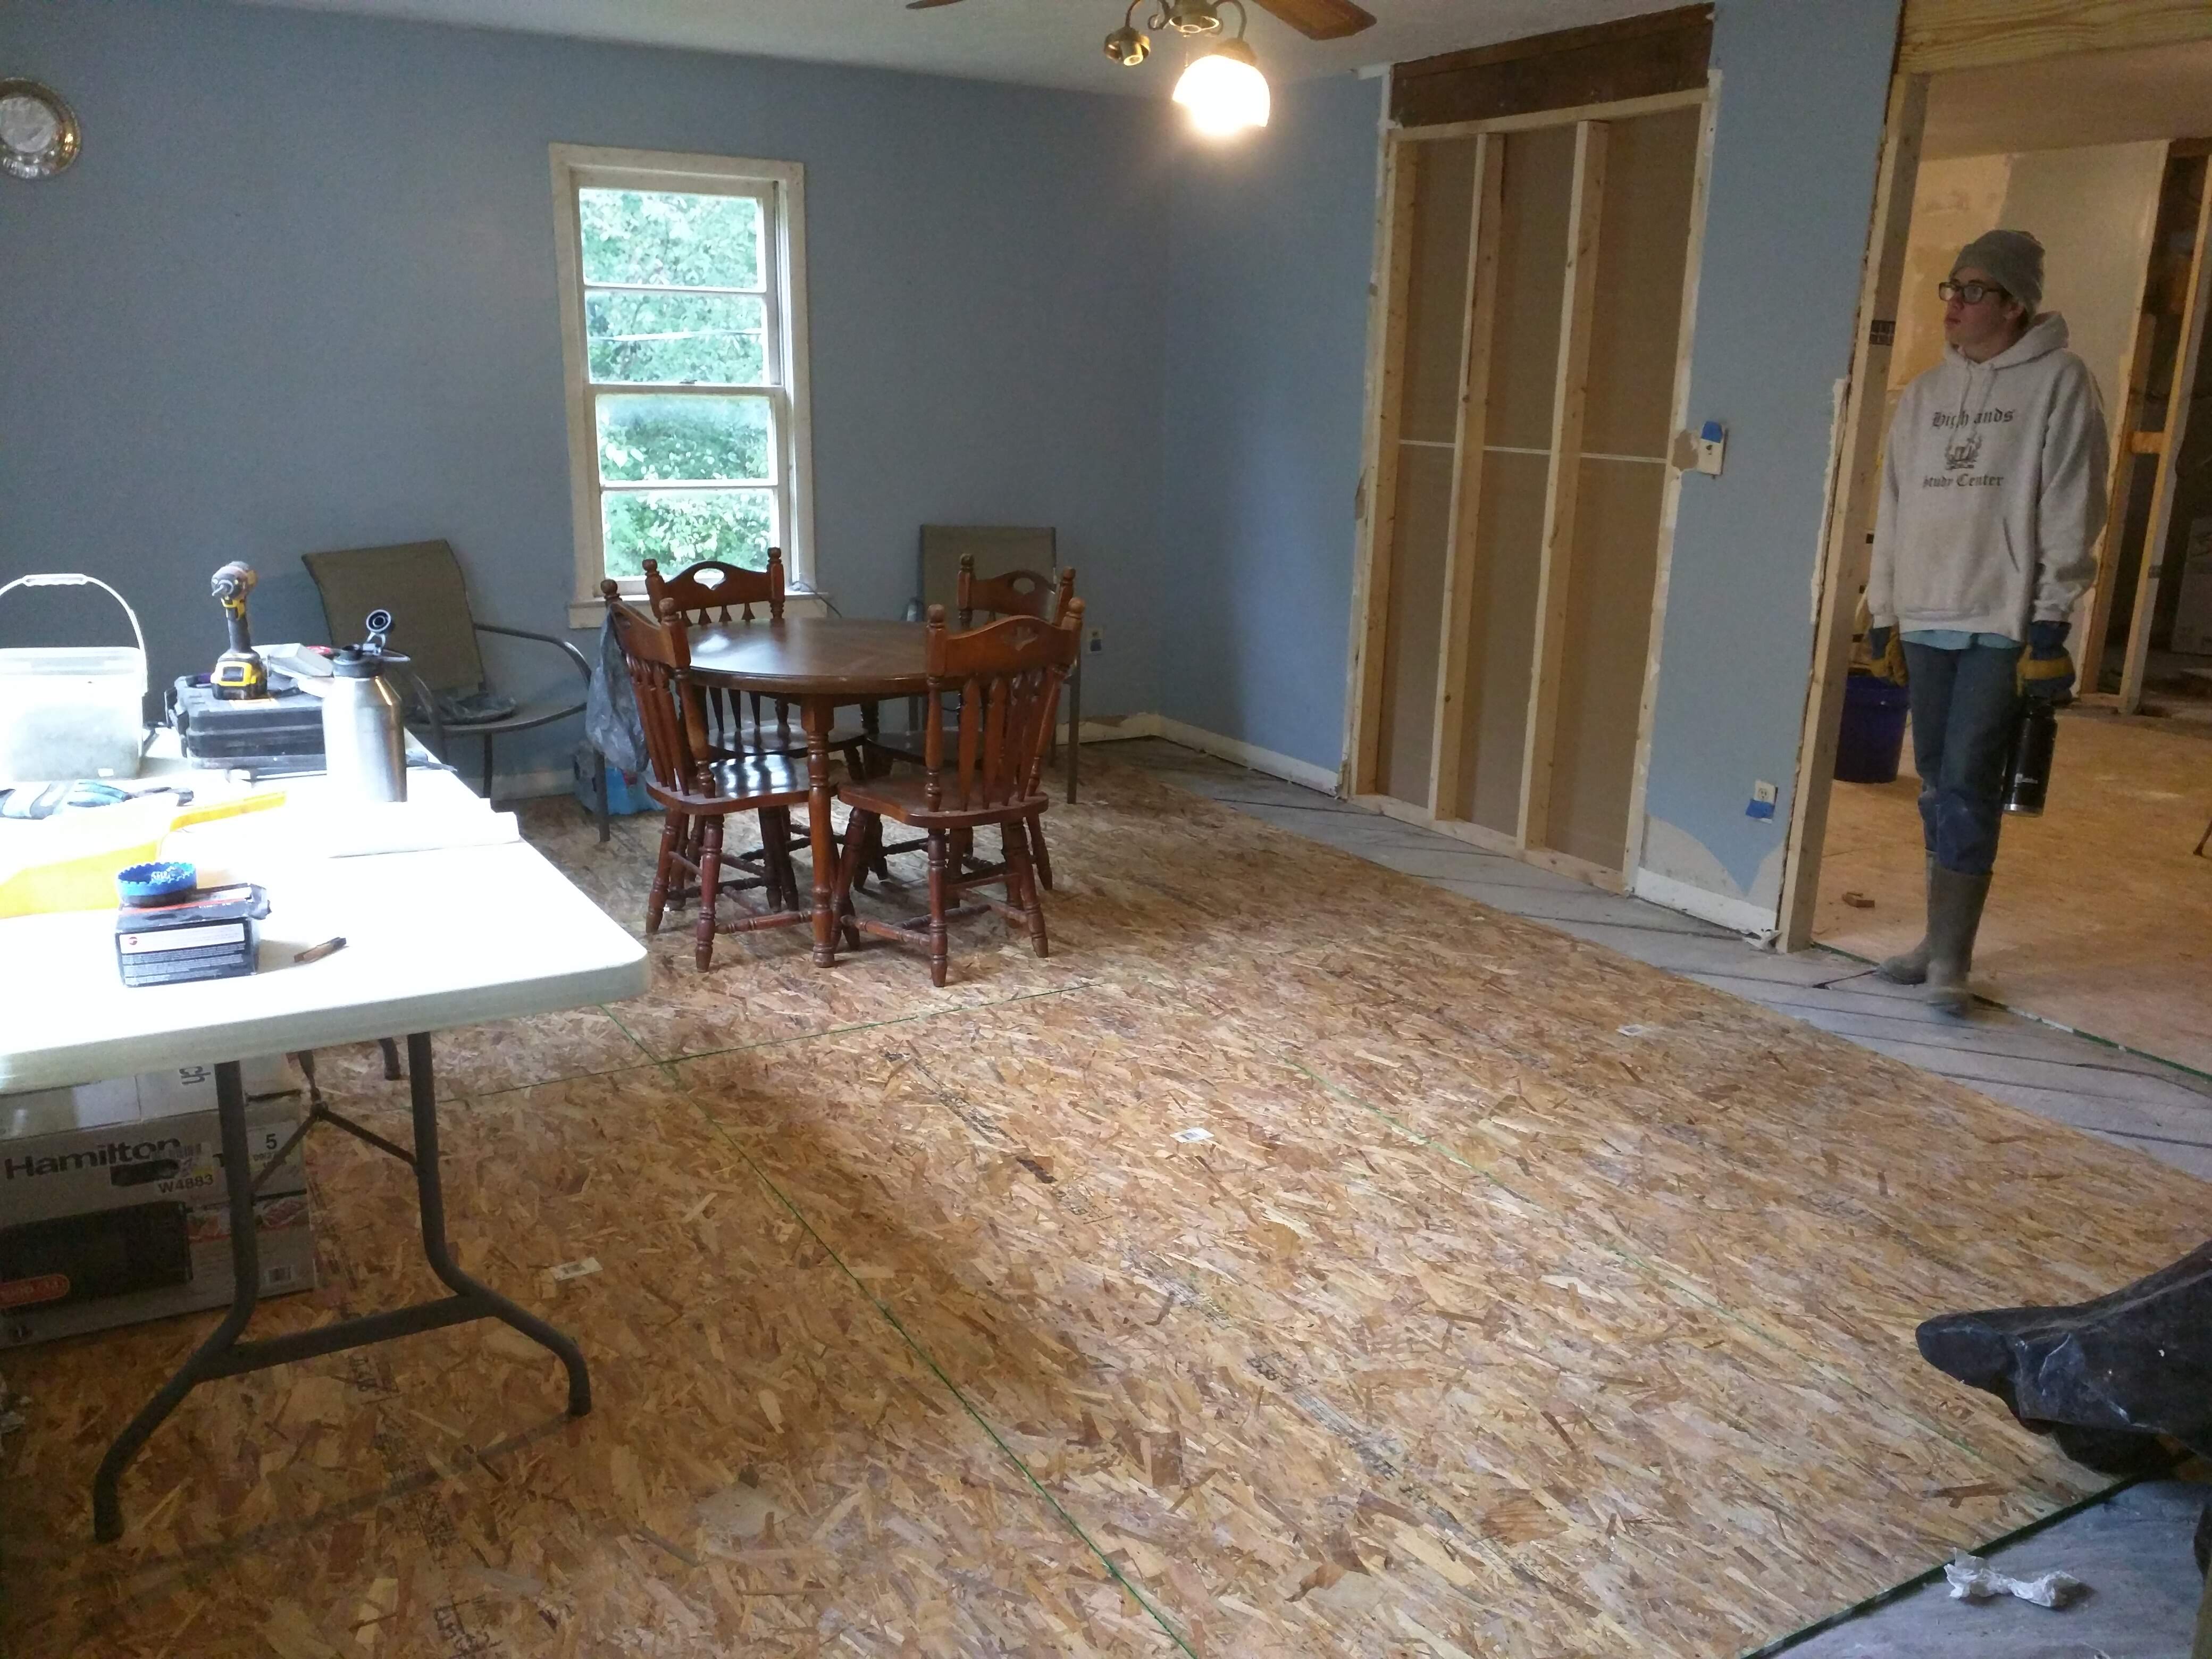
And yes we will have a ceiling fan and wall vents to circulate the heat. A doorway fan is a good idea.
8 Likes
I cannot remember seeing a left hand door on a wood stove before
But I don,t get out much
3 Likes
Many fans have a winter switch to reverse fan direction. Blowing toward ceiling pushes warm air down the outside walls to lessen stratification and warm air in the upper corners.
3 Likes
It also makes the circulation more diffuse, nobody likes a cool breeze in the center of a room in the winter.
3 Likes
all of mine are that way
I guess we have been blessed. The stoves we were given were right hand and that was necessary for our setup. I never thought about it until now.
Chris, I really enjoy seeing your home take shape!
7 Likes
Been a long time since I updated this. It’s been really busy, we’ve done a ton of work and I’ve been offline for a few months (!). And now, we’re officially moved in!
Some highlights from the photo album:
New Truck: I bought this 1998 Toyota T100 4WD. Got an awesome deal on it, clean rust free. This truck can go practically anywhere on the farm, and haul most of my trailers. Simple, sturdy, capable. And yes I have woodgas plans for it, but not right away.

We sent the Ford Ranger back to Ohio… it tried hard, but it really was too small for the work we were asking it to do.
Bathroom: This was a learning experience, but I’m happy with the results. We aren’t “bathroom people” ie I don’t want to devote any more living space to bathroom facilities than absolutely necessary. So to maximize utility, I separated the tub/toilet from the sink, and put a hallway down the center. Here’s the “cross section”:

For the surrounds, I went in a very different direction. After pricing out the cheap plastic, expensive plastic, and expensive hard-to-clean tile options, I came across a few DIY’ers using corrugated metal roofing. The end result looks like this:

It’s not for everybody, but I like the look. For details on what exactly I did, check out this video (not mine, but I followed it closely).

The finished shower works great, it’s cheap, water tight, sturdy and won’t rust. If you’re wondering, it does NOT sound like rain on a tin roof - that was a concern I had. The backing layers absorb all the sound.
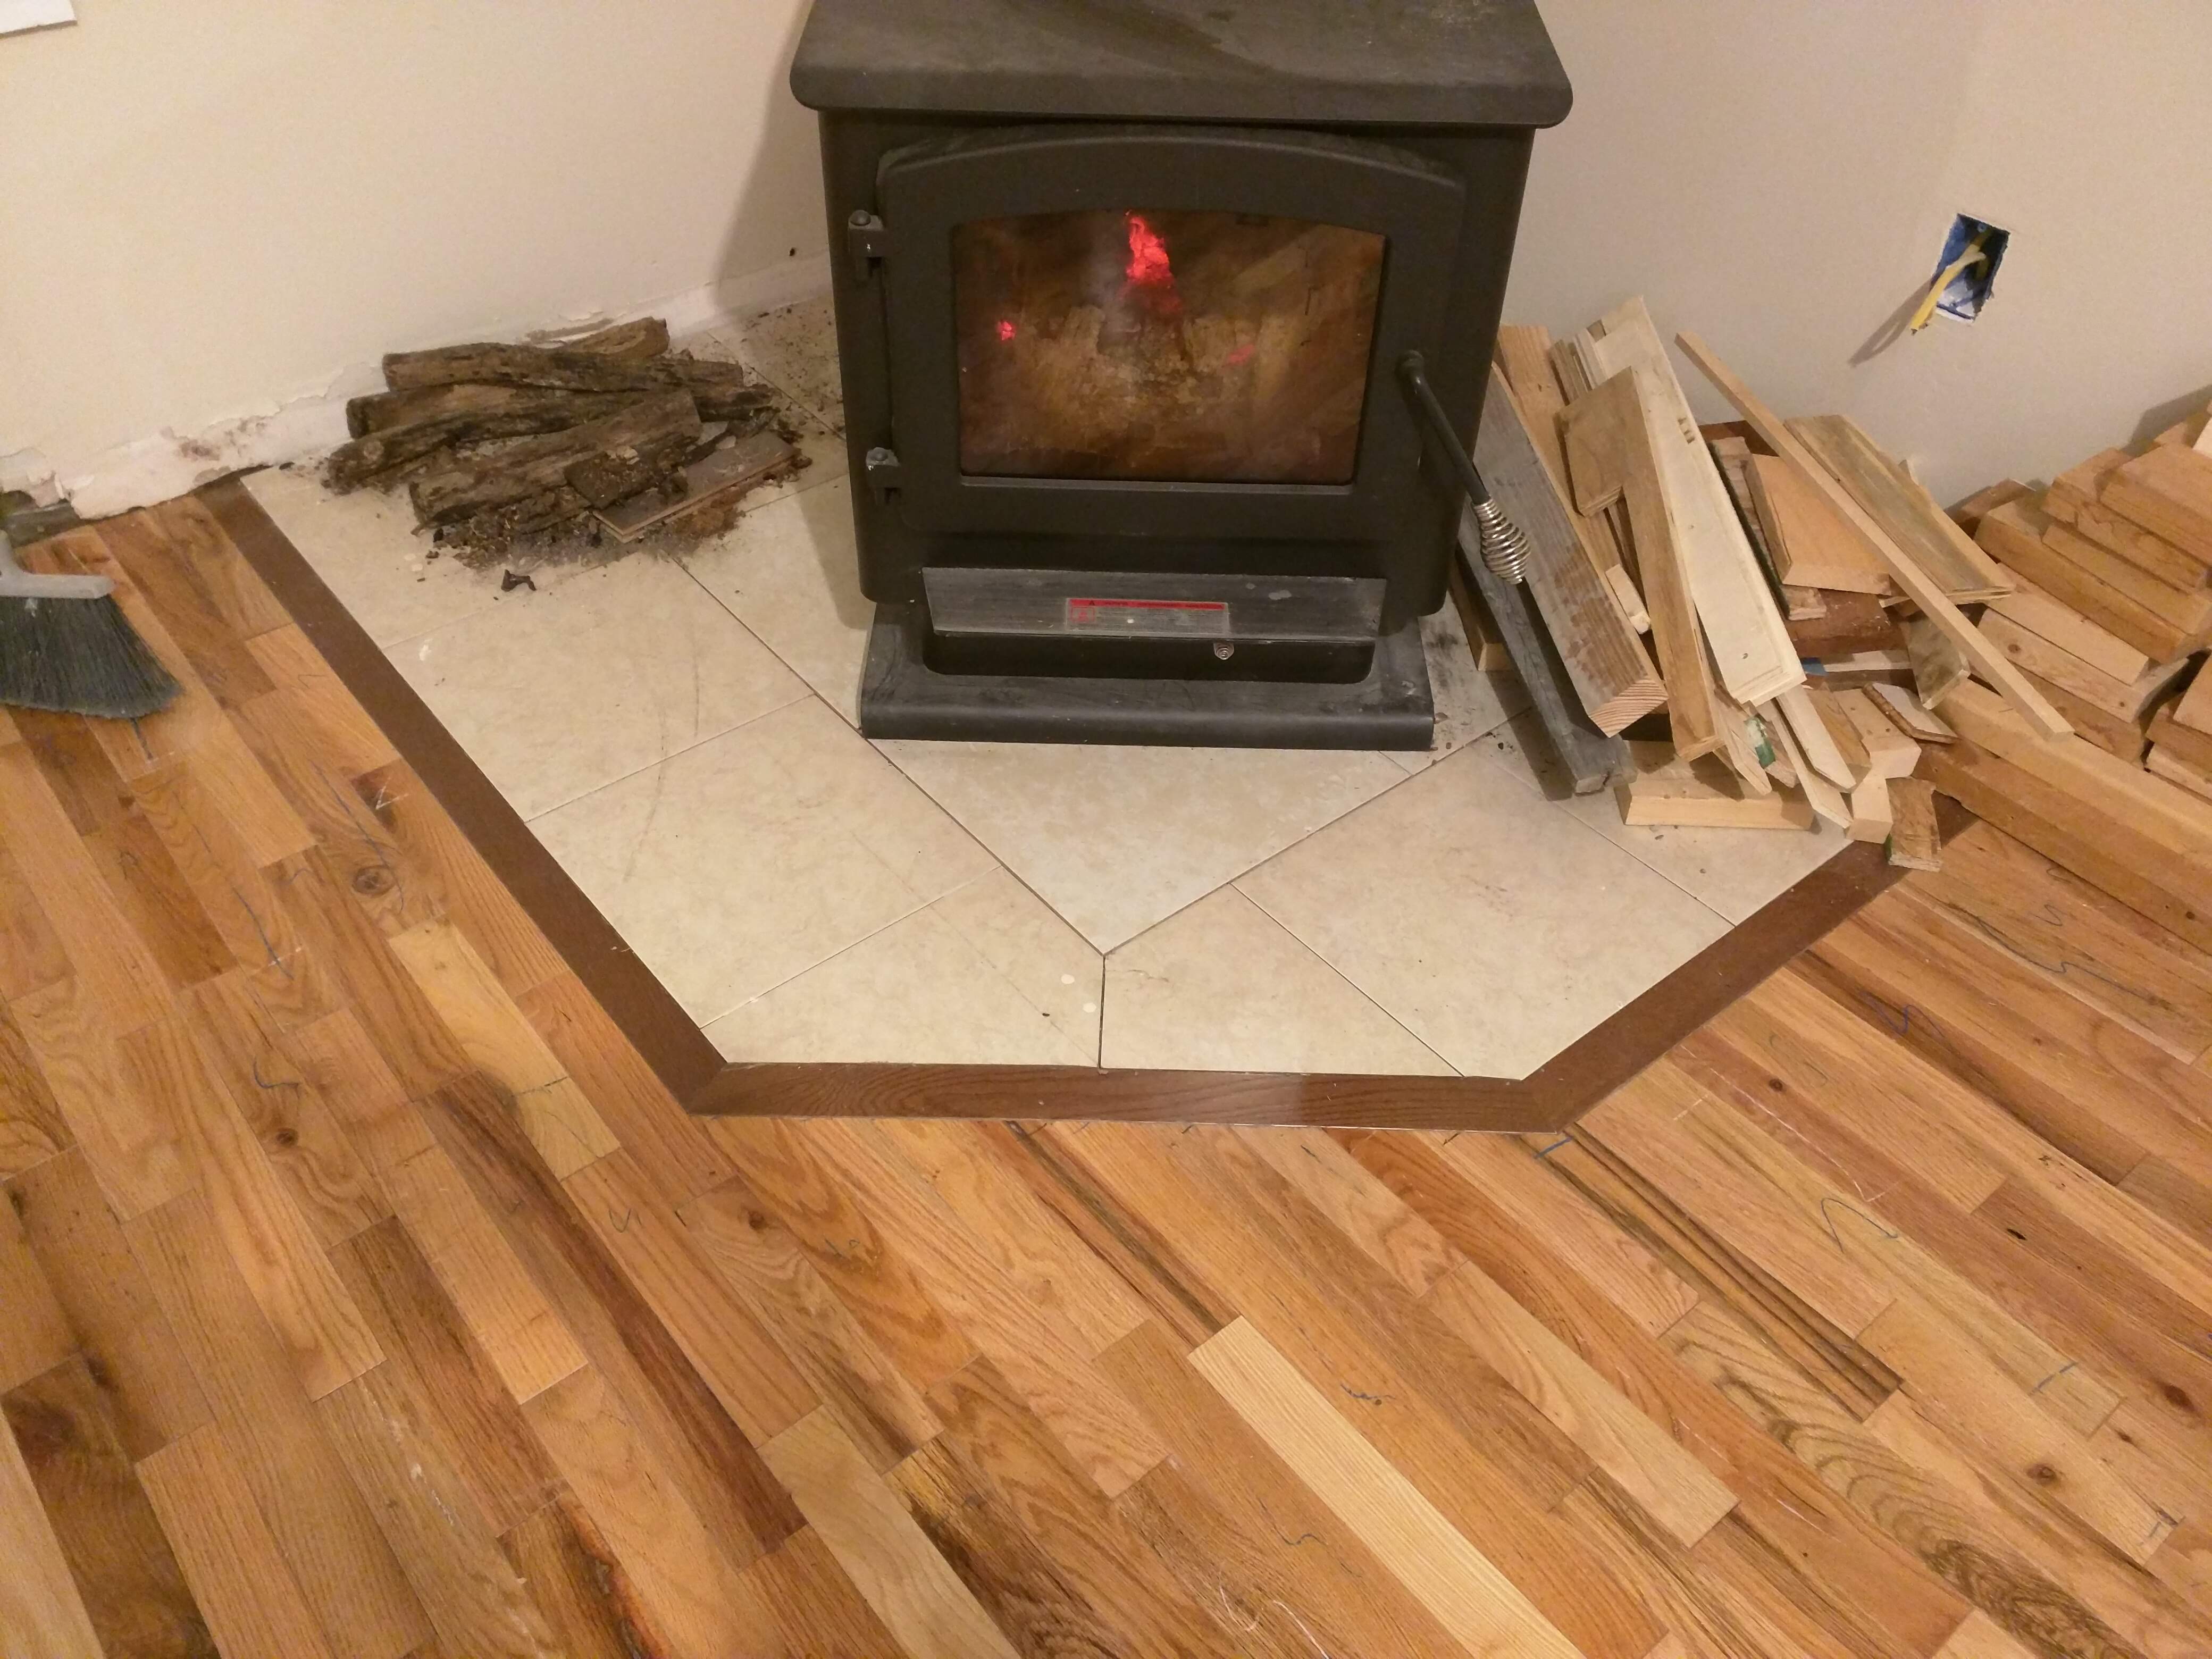
Living room floor: This came out very well. These are the $0.99 / sqft floors mentioned previously.
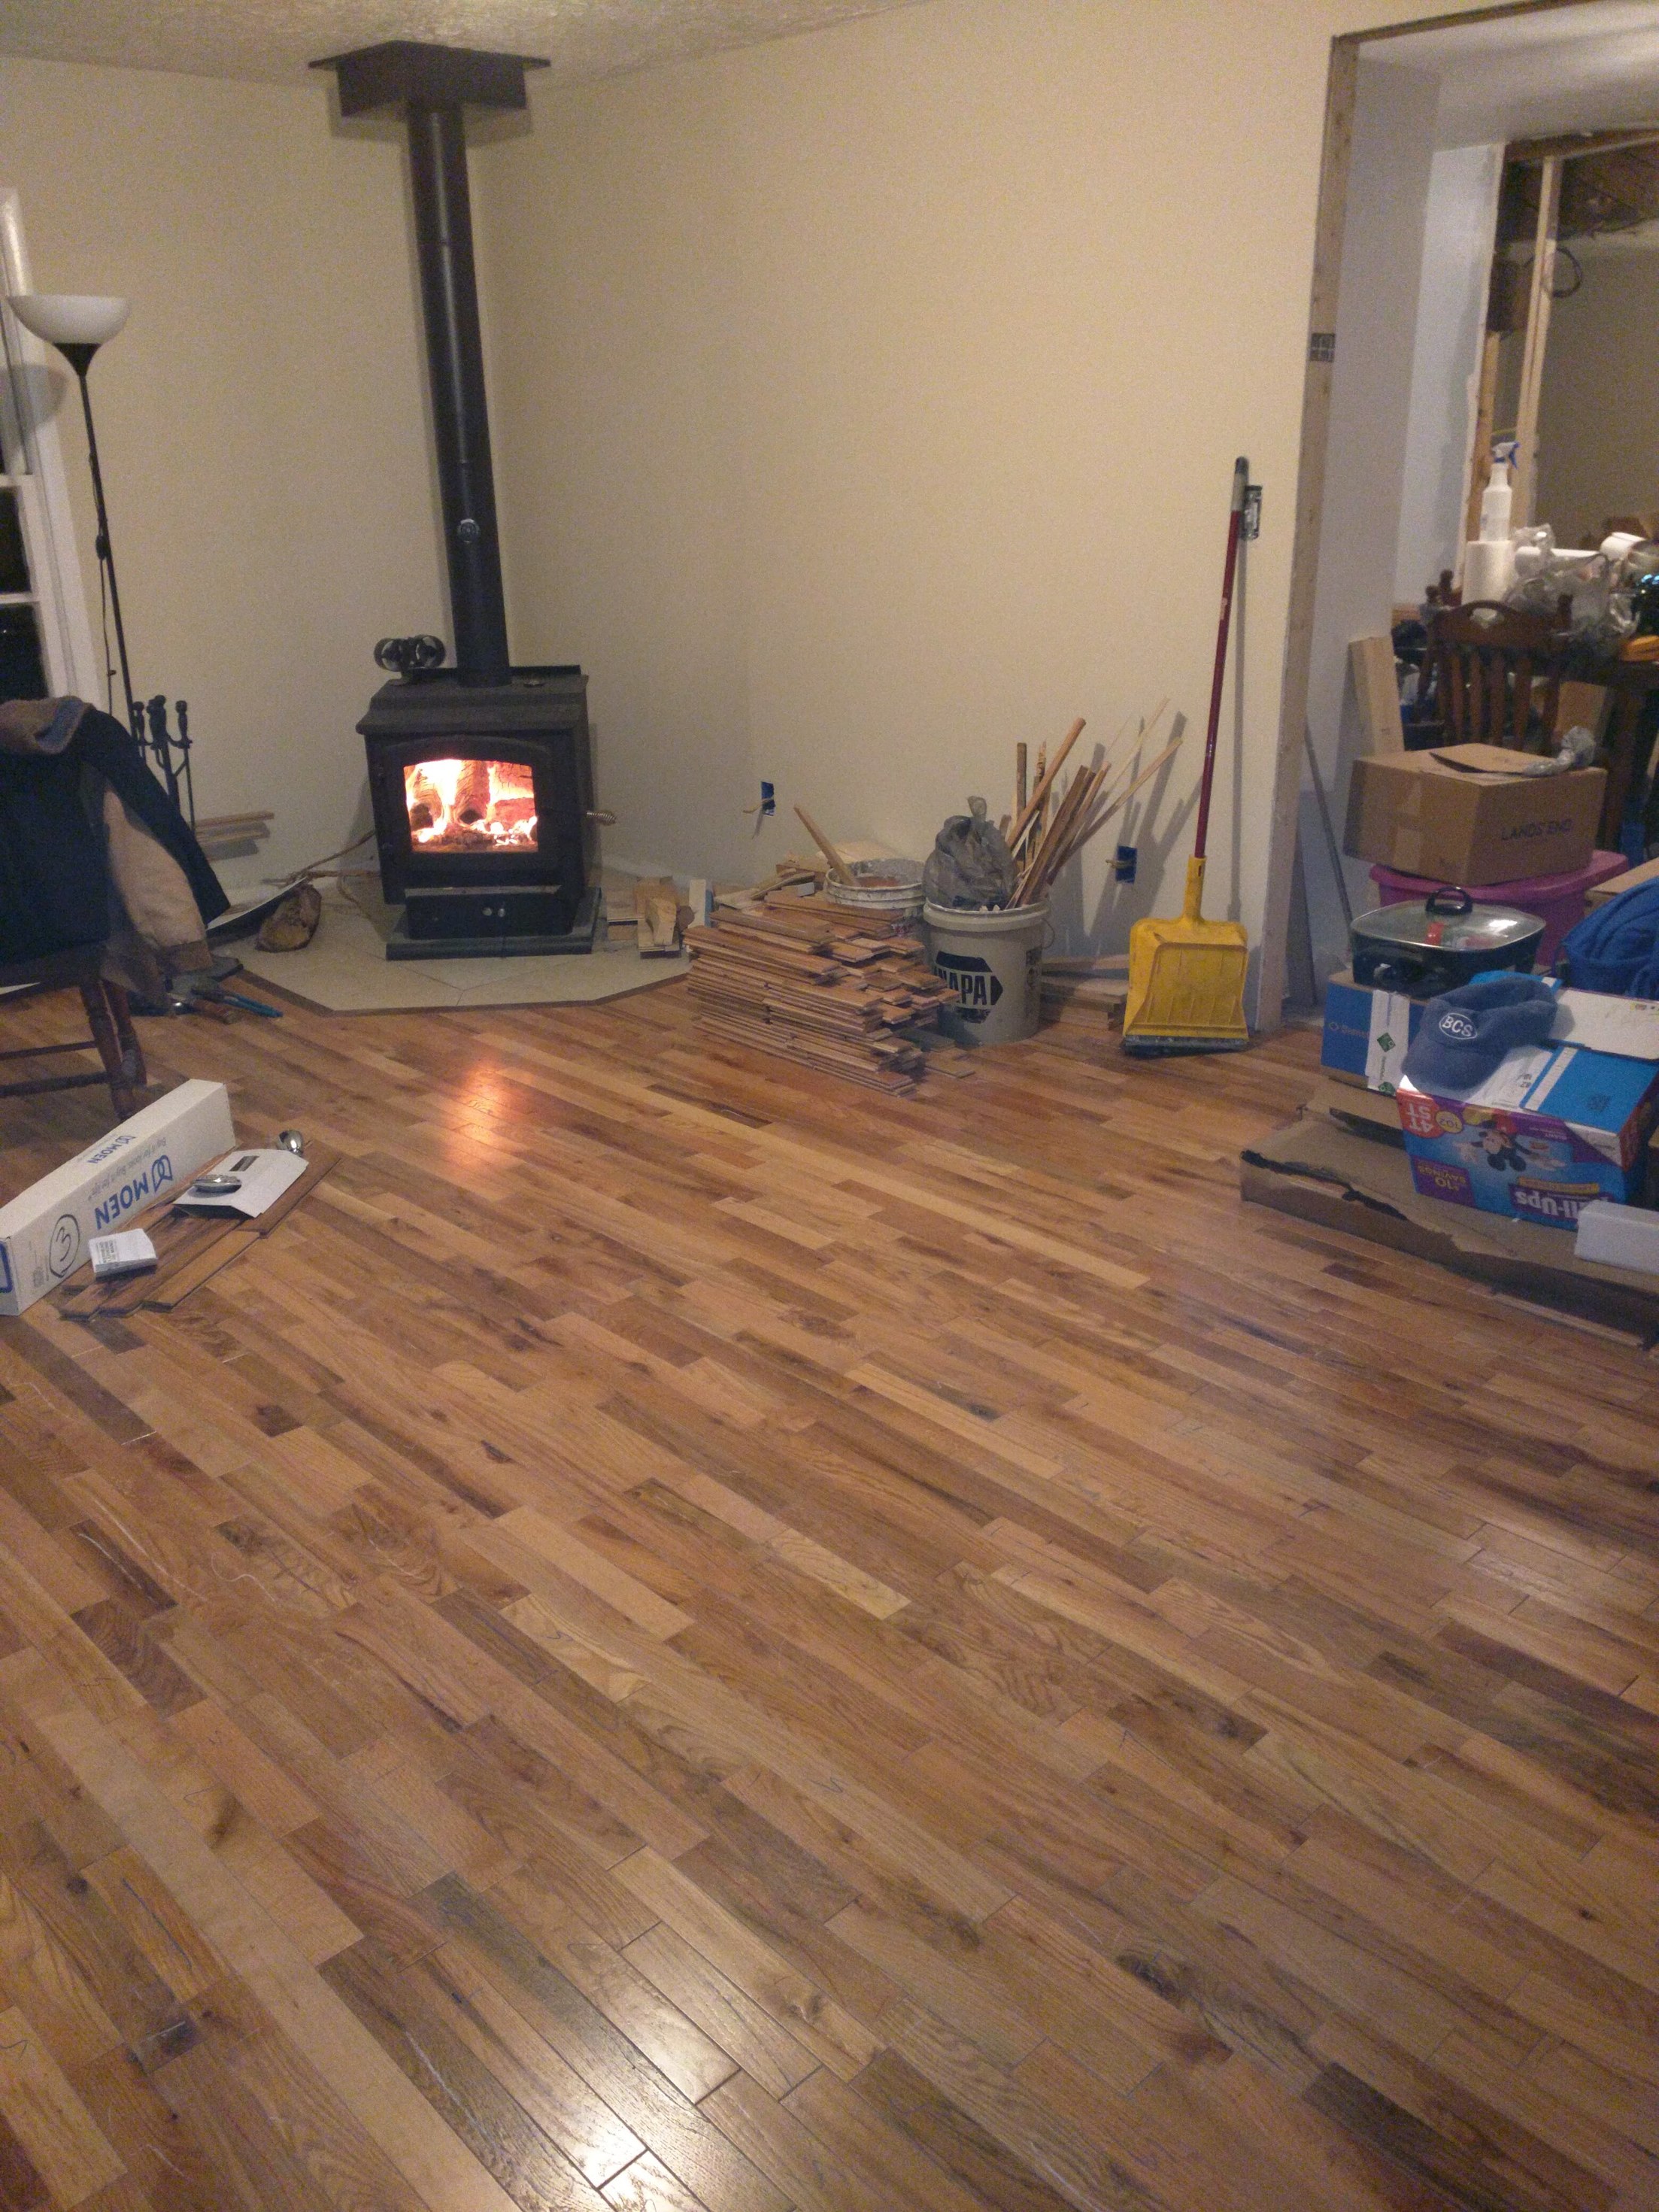
I got to make a nice little border around the hearth pad.
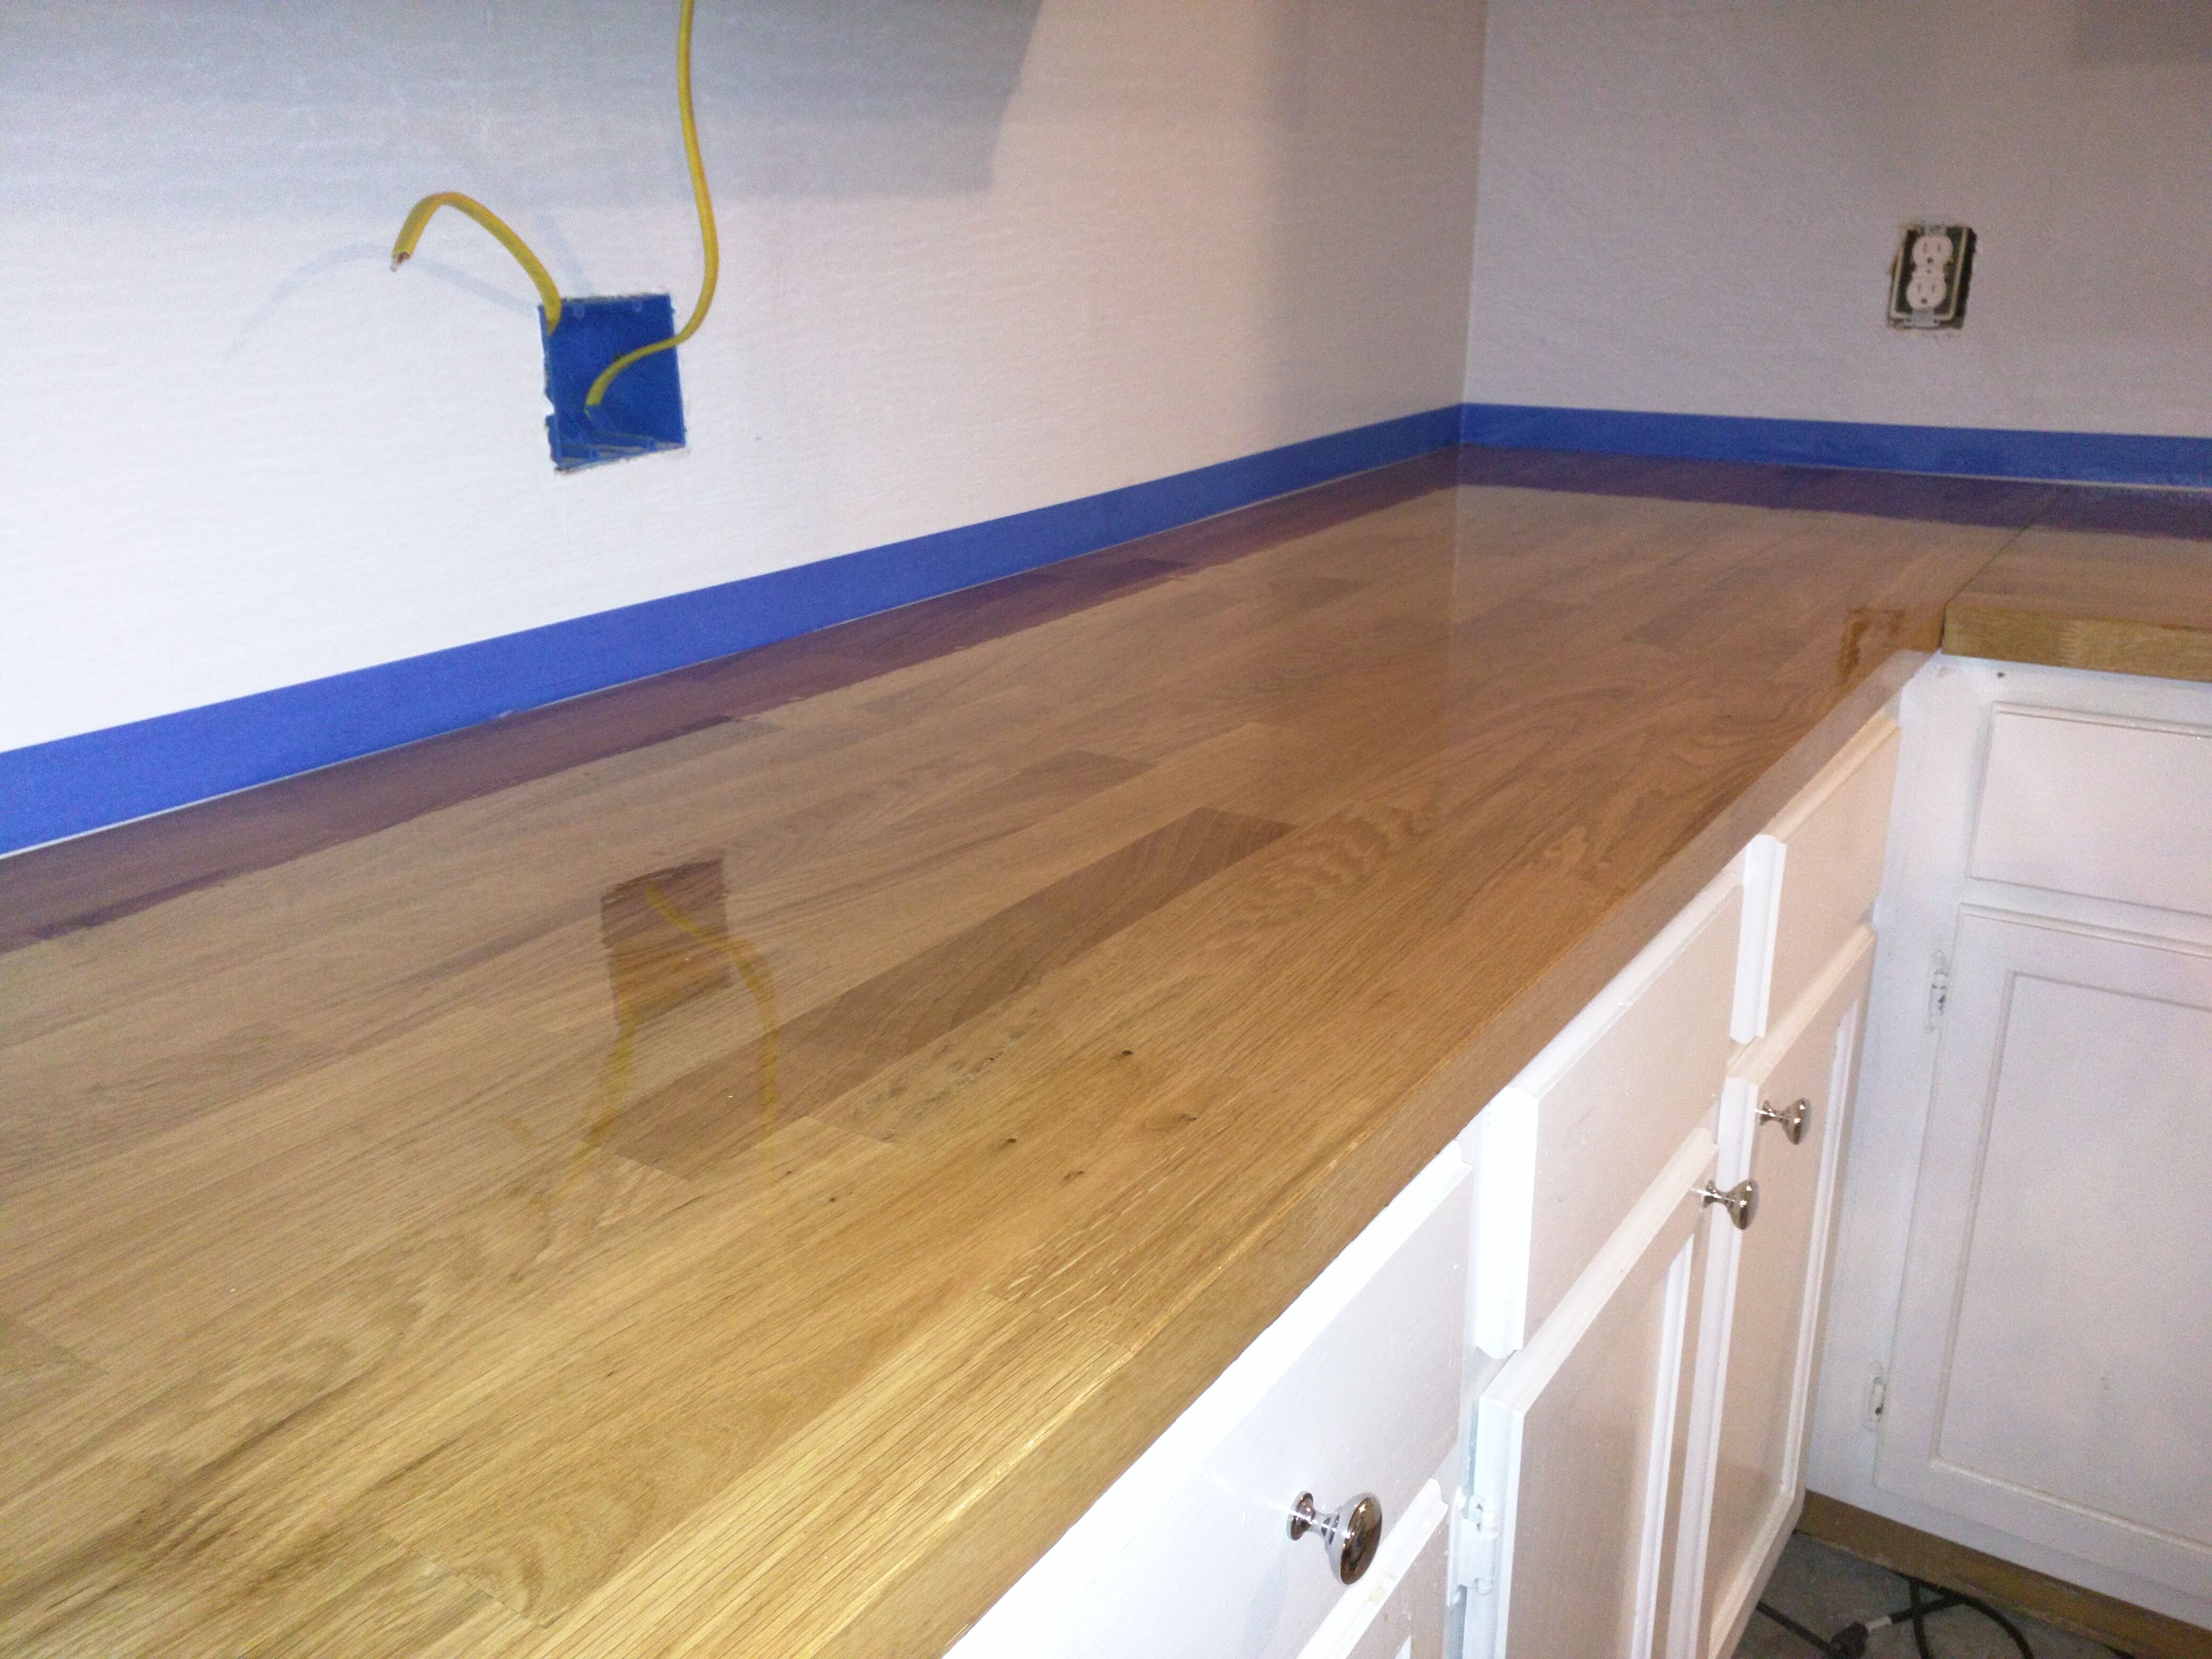
Kitchen: New counters have been finished with a spar urethane. Shiny!
All moved in! First night in the new house:
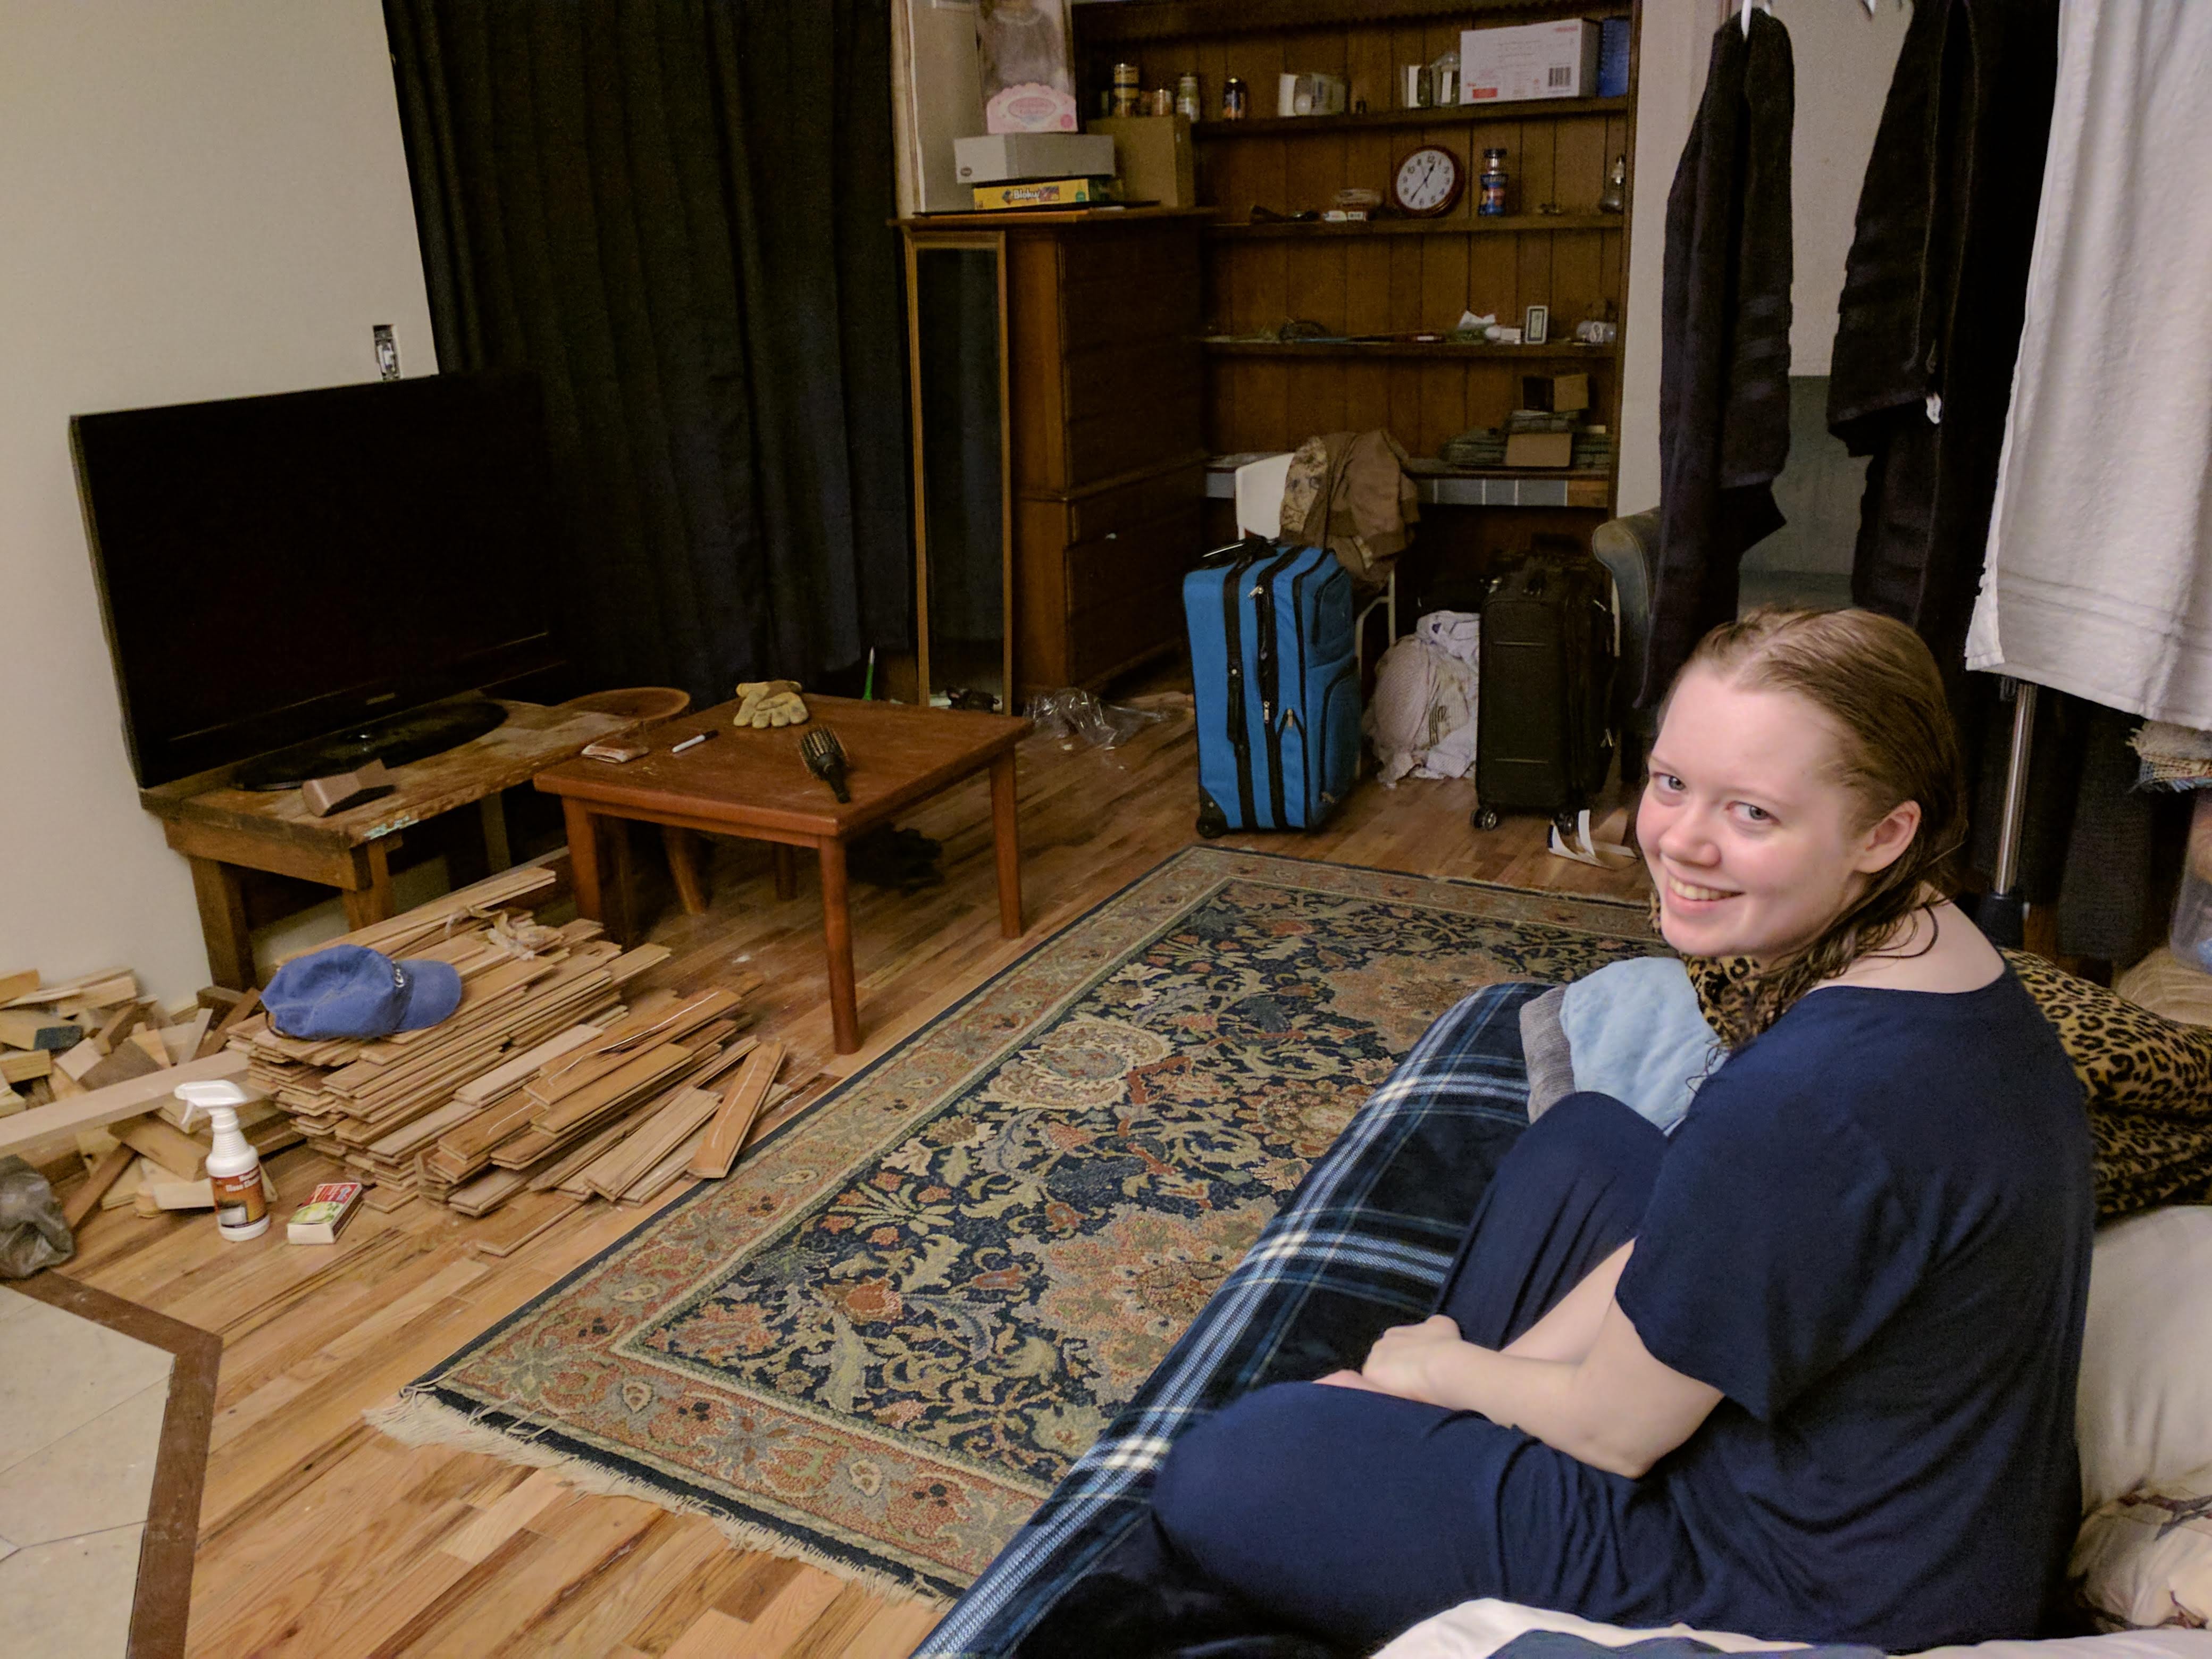
Yes we’re sleeping in the living room. The other rooms haven’t got flooring yet. Besides, it’s cold! And the stove is warm!

It actually got colder, we saw -1 F on two separate nights. The house stayed warm, sort of - the curtains you see above kept the heat concentrated in the living room. Partitioning turns out to be a wonderful method of heat control with a wood stove.
Still, some more insulation is in order. Load up the truck!
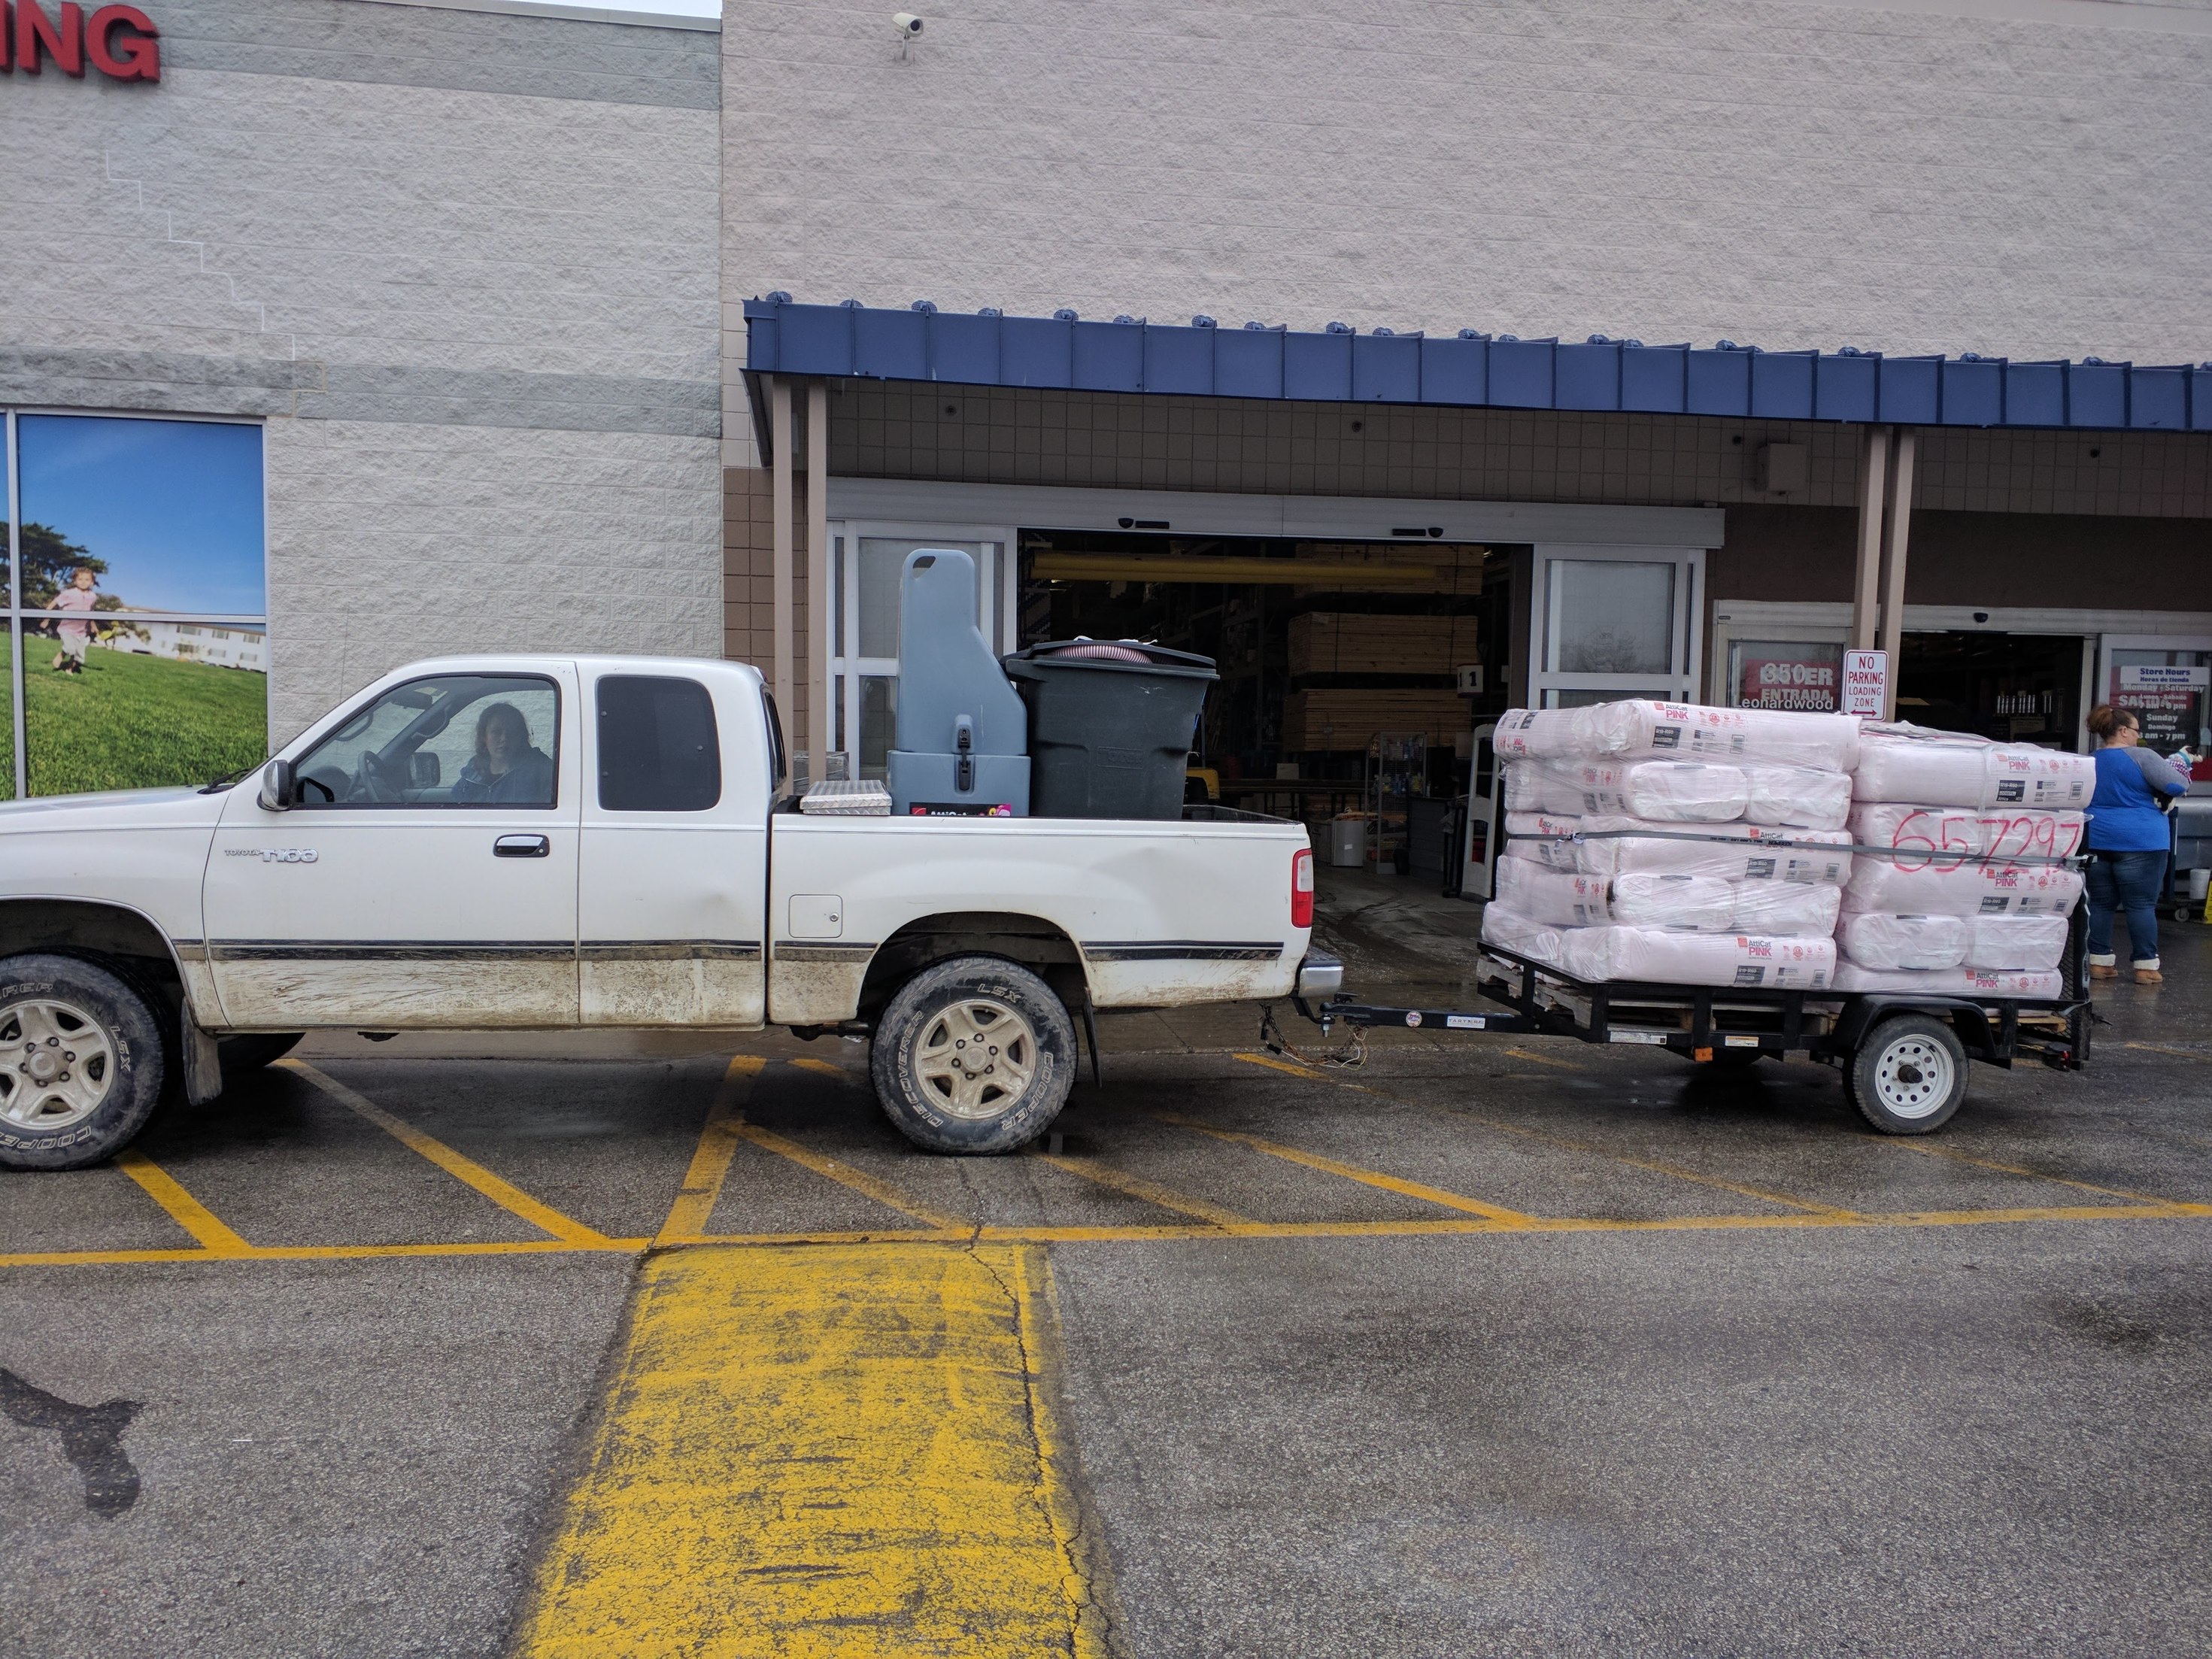
30 bales of blown fiberglass insulation over about 1000 sq ft. All together about 18-24" on top of what was there. Something around R-60. The house is toasty now!
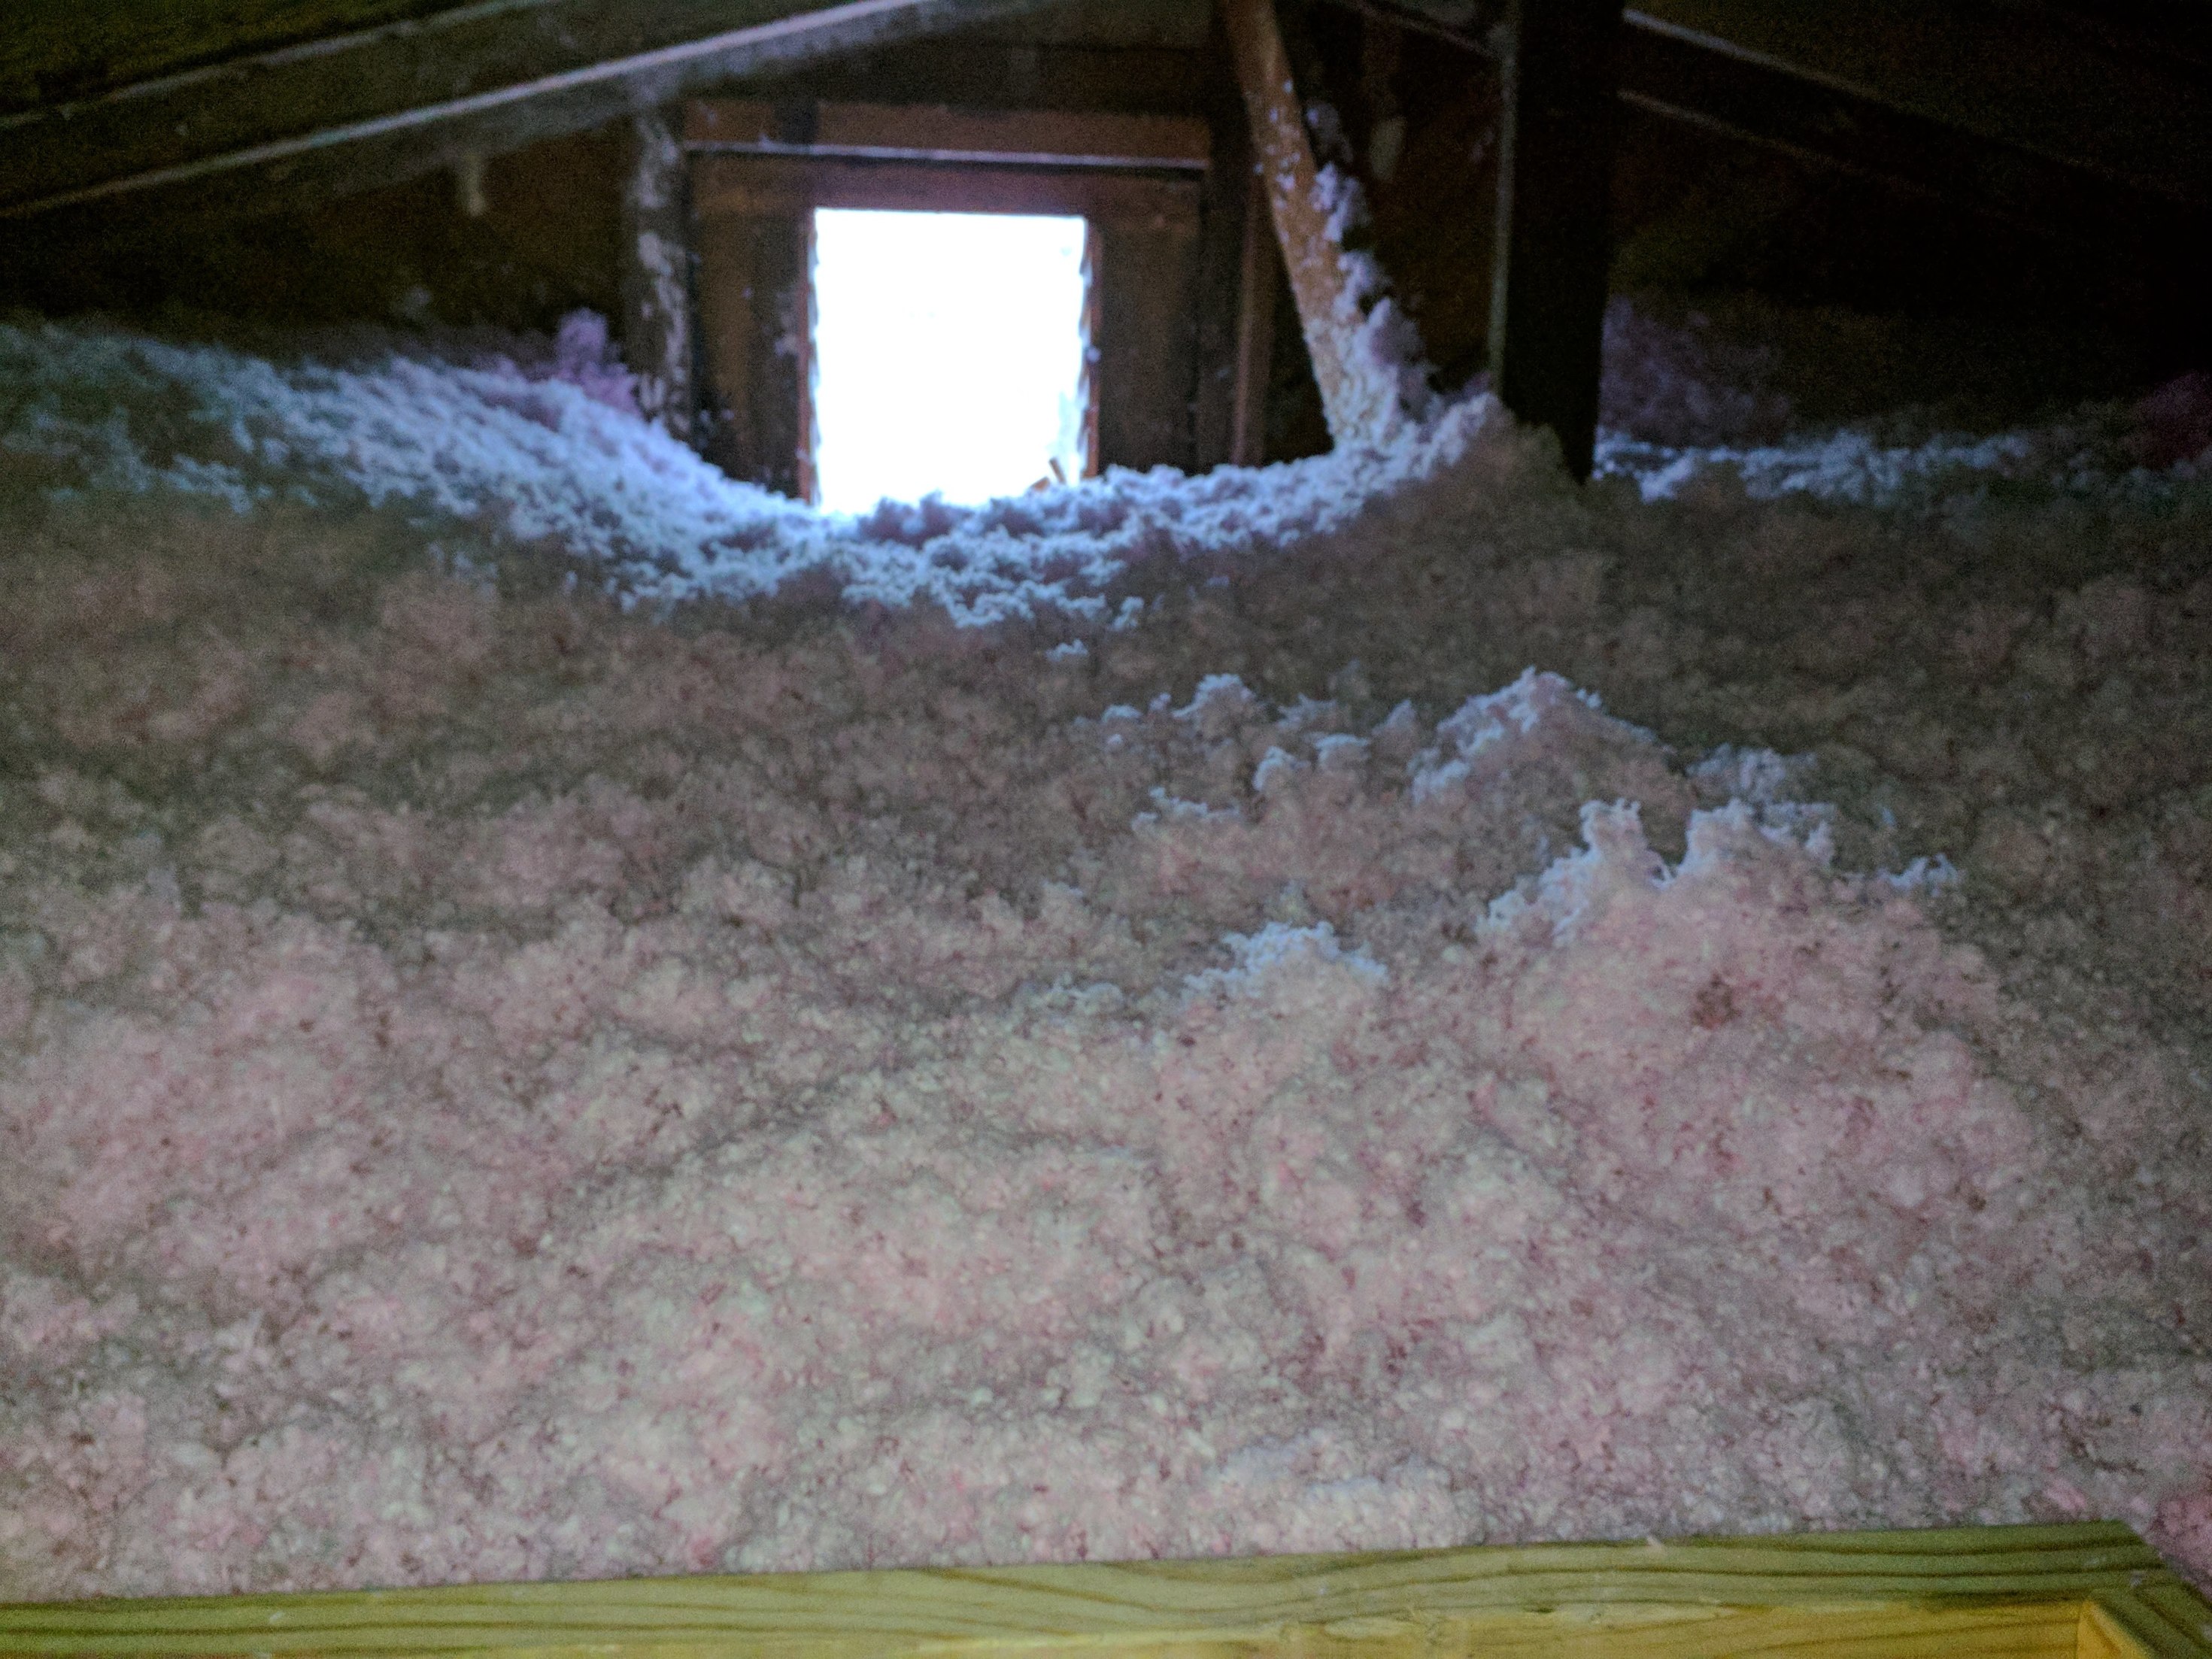
Because of a mis-marked price at the store, we got the whole shebang for about $480. That’s a lot of fluff for your buck.
Now the roof is warm, but the very old single pane windows leak badly. I’ve sealed them but there’s a draft coming off the cold glass. So, the next step in keeping warm is making insulated window quilts. Here’s what’s inside:
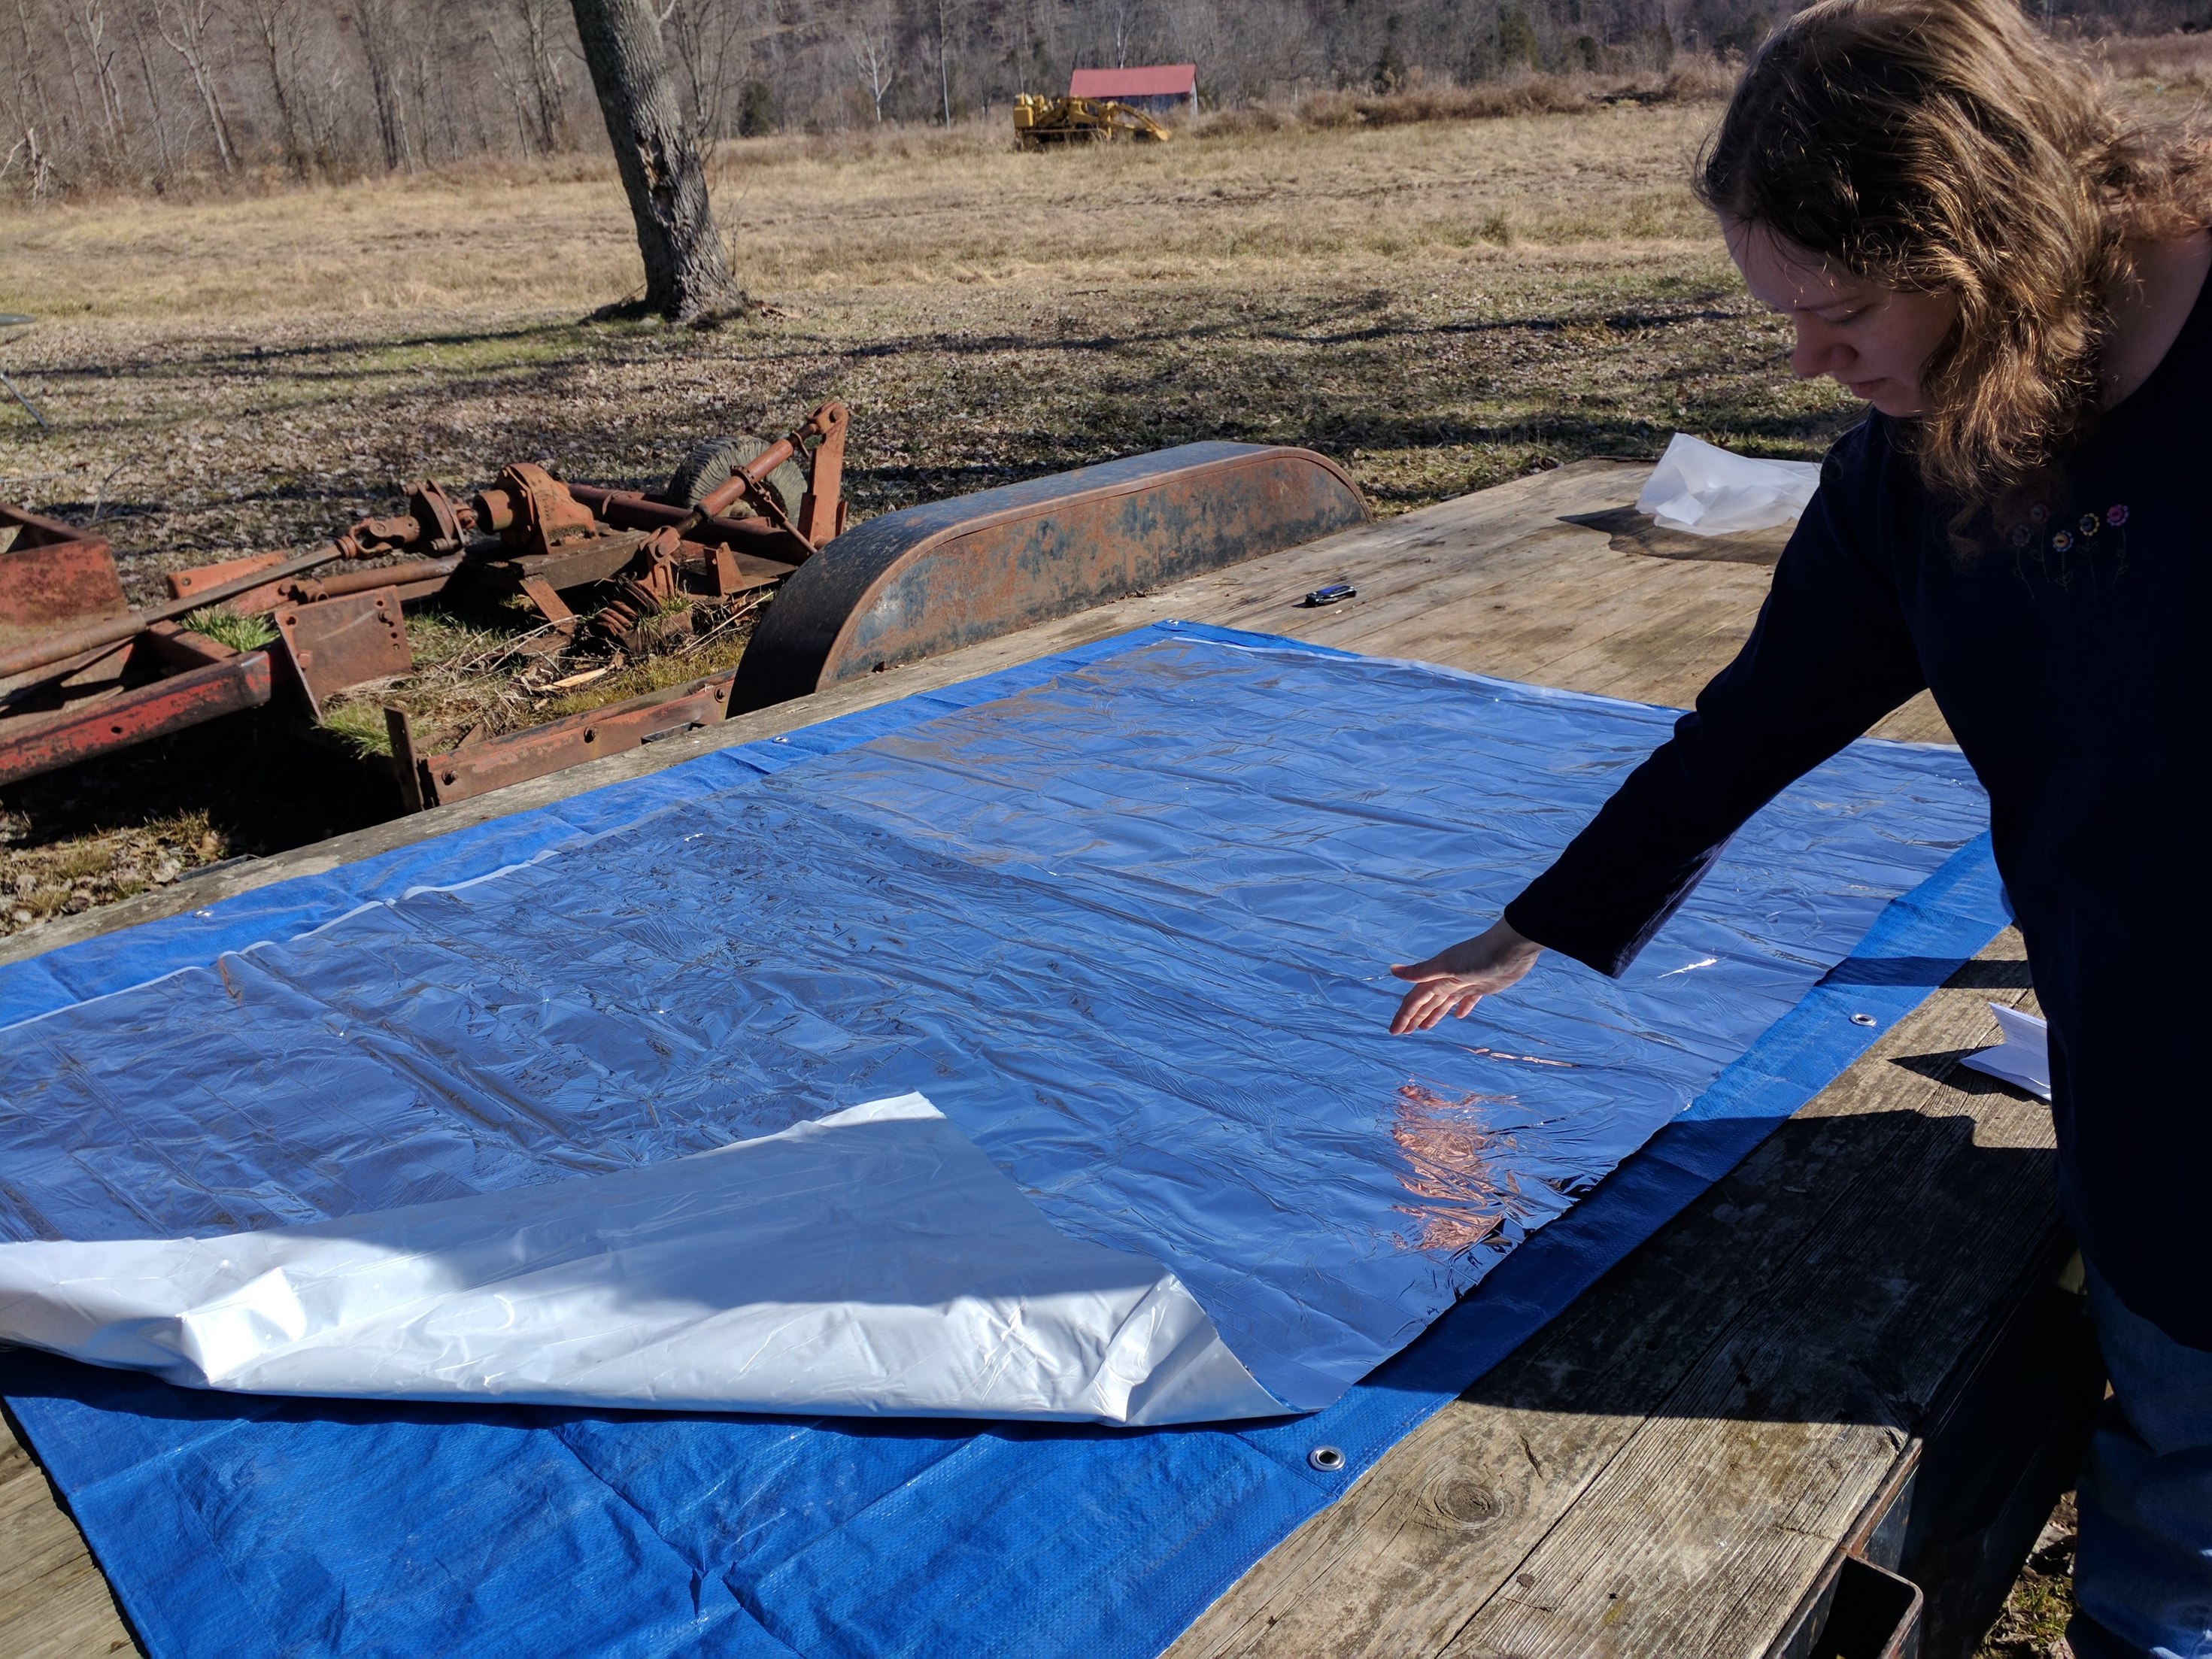
The layers will be: muslin, batting, mylar (space blanket), 4 mil plastic, batting, muslin. All attached to the window with velcro. We had to glue the mylar to the plastic to stabilize it, it is too thin to sew.
Water supply: This has been the other marginal area. We’re currently on a 300 gallon water tank. Short showers and no old-fashioned automatic washing machines. Mary has been experimenting with hand-washing the laundry, because she loves doing laundry. It’s an interesting process and not nearly as hard as you are imagining.
And always, run the initial hot water into a bucket and send it back to the tank.
I’ve been collecting rainwater that drips off the eaves in 5 gallon buckets. This works pretty well, but carrying buckets around is a challenge.
I’ve invented a bucket water filter, which is a bucket lid with a hole on one side, and a piece of gauze that the lid seals over. We strain all the rainwater through this fabric, into the tank. It’s still not clean enough to drink or cook with, but works fine for washing and showering. However, a gutter system and rainwater filtration is high on my list.
Our next target date is May - not for the Argos meetup, but for the baby on the way! We need to have a nursery set up and a clean place for baby to play. Progress is slower when you live in the house, but we’ll make it happen.
We’re enjoying being out here now. There have been some challenges, like when the water pipes froze up (it was -1, remember) but we got by.
21 Likes
Wow., it’s looking great. Love the shower.
2 Likes