I’ve gotten a bit started on my copy of Joni’s single nozzle chip generator.
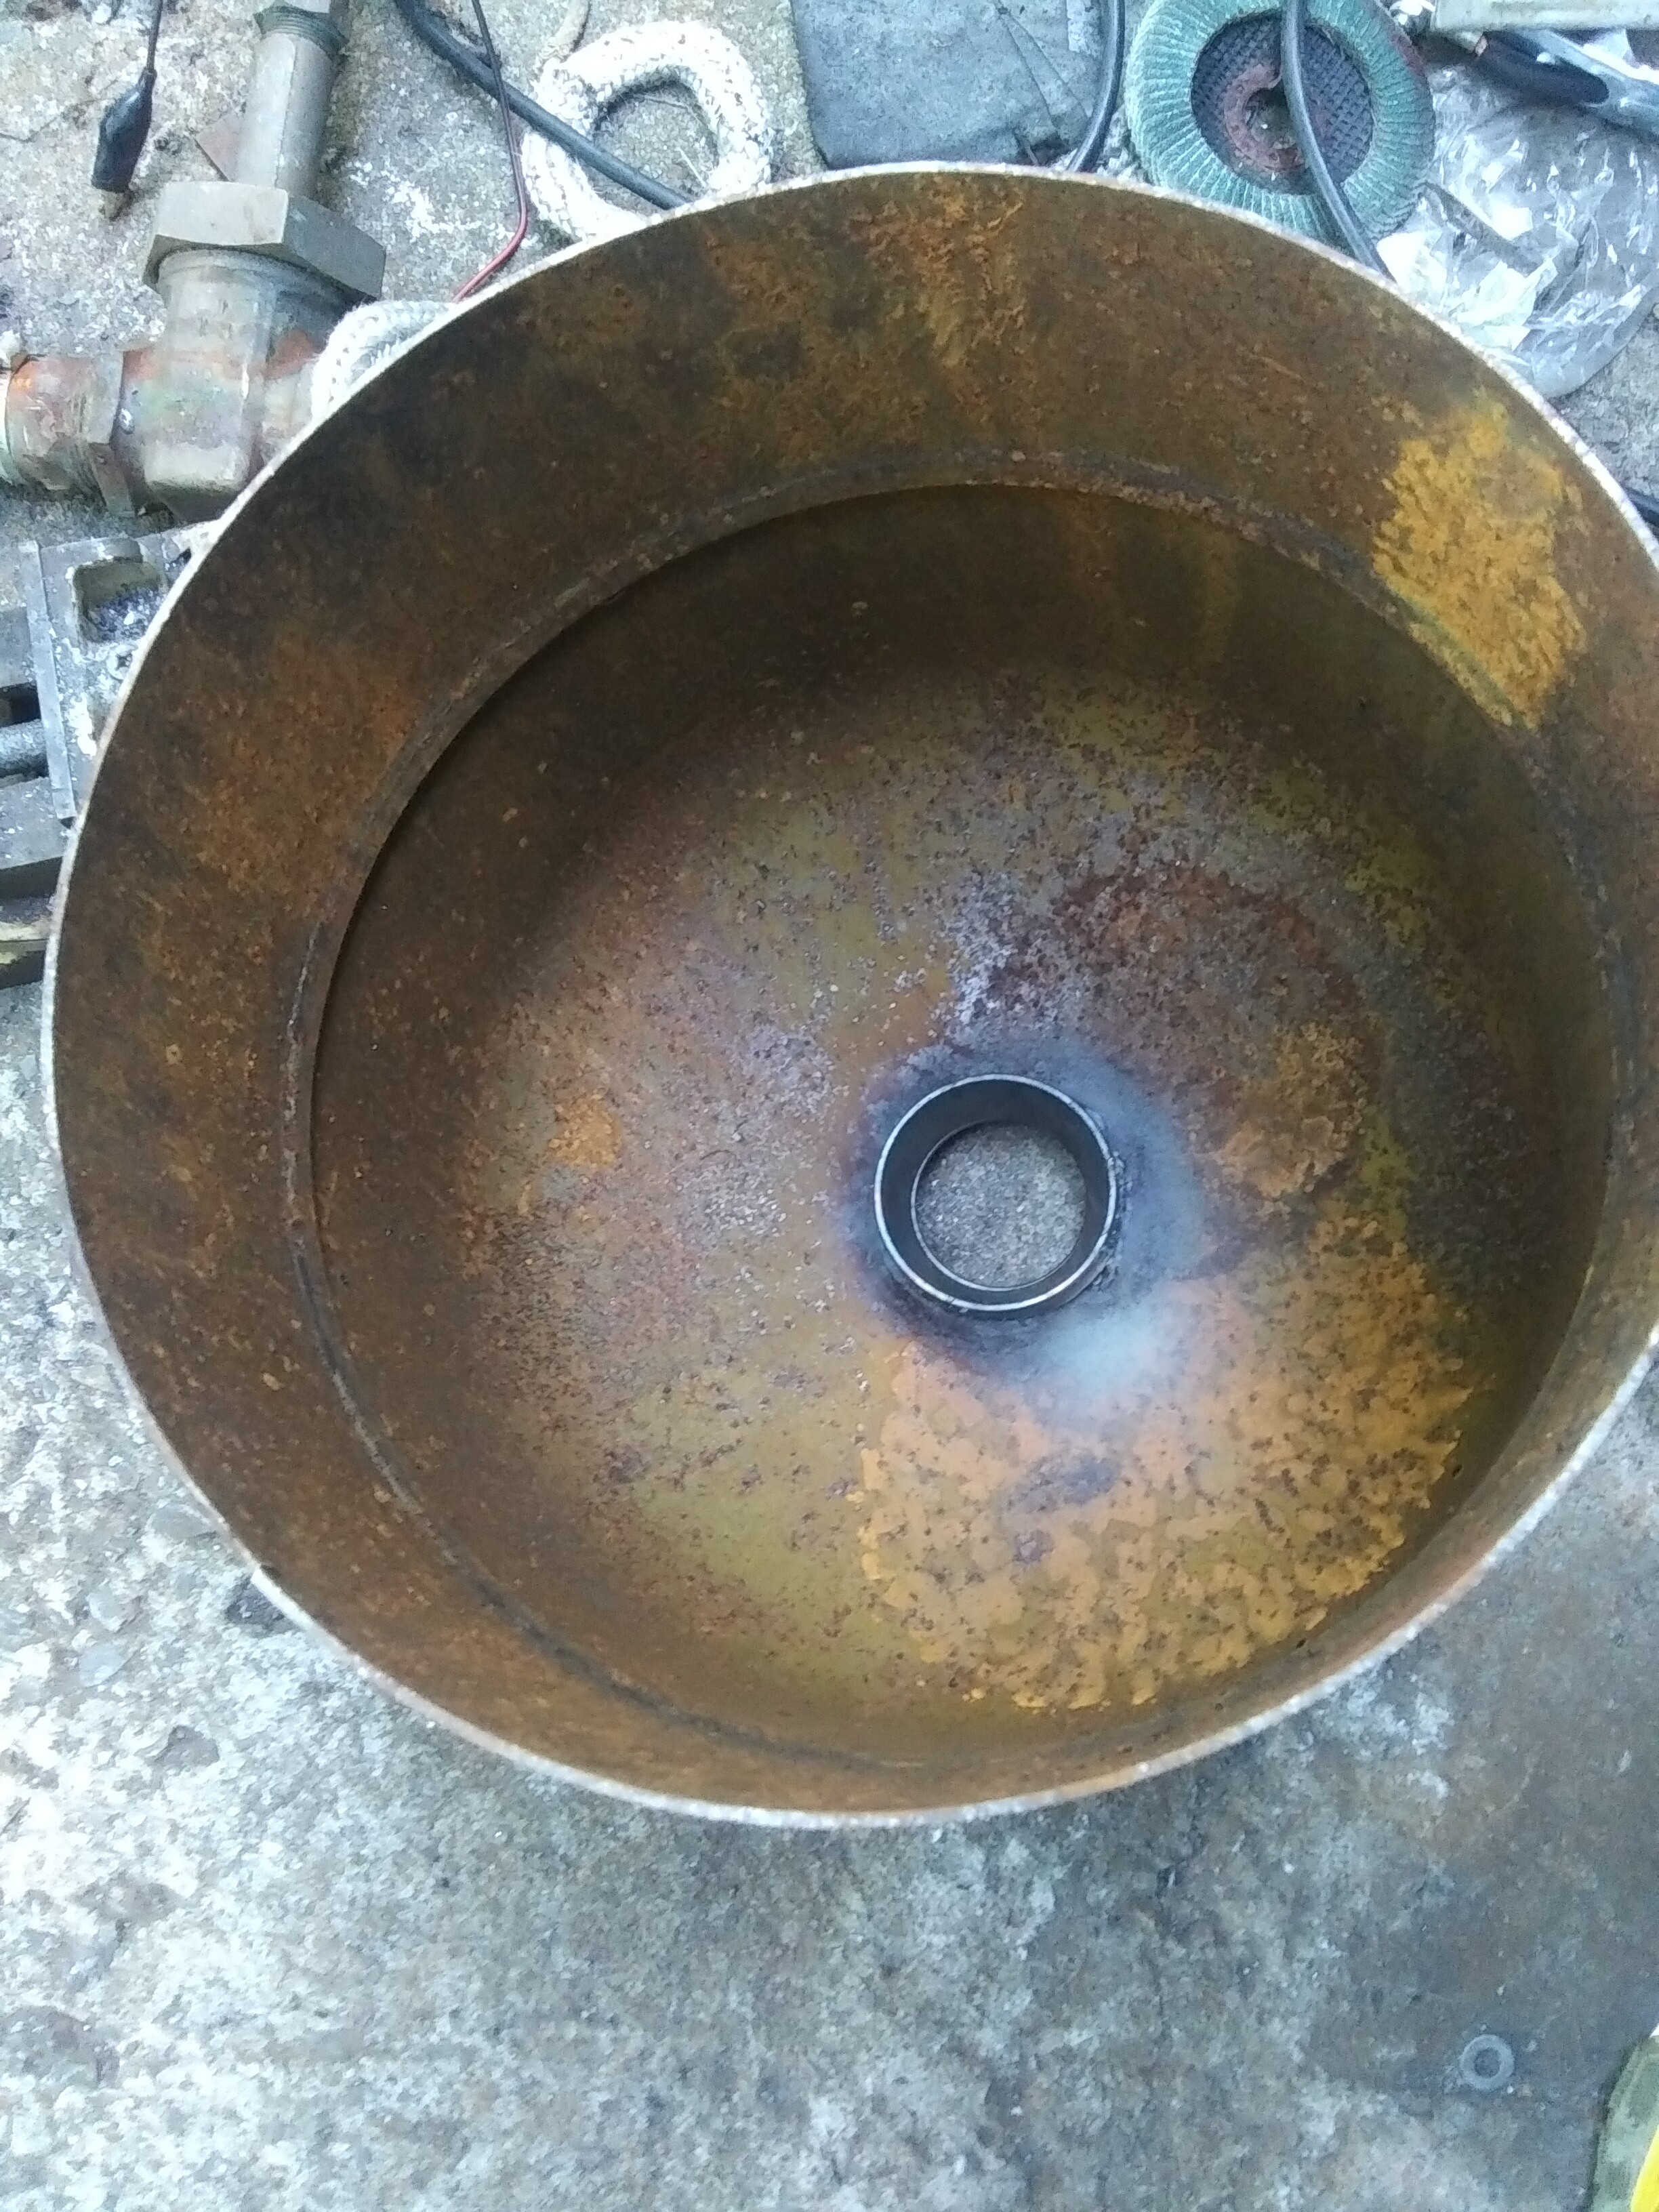
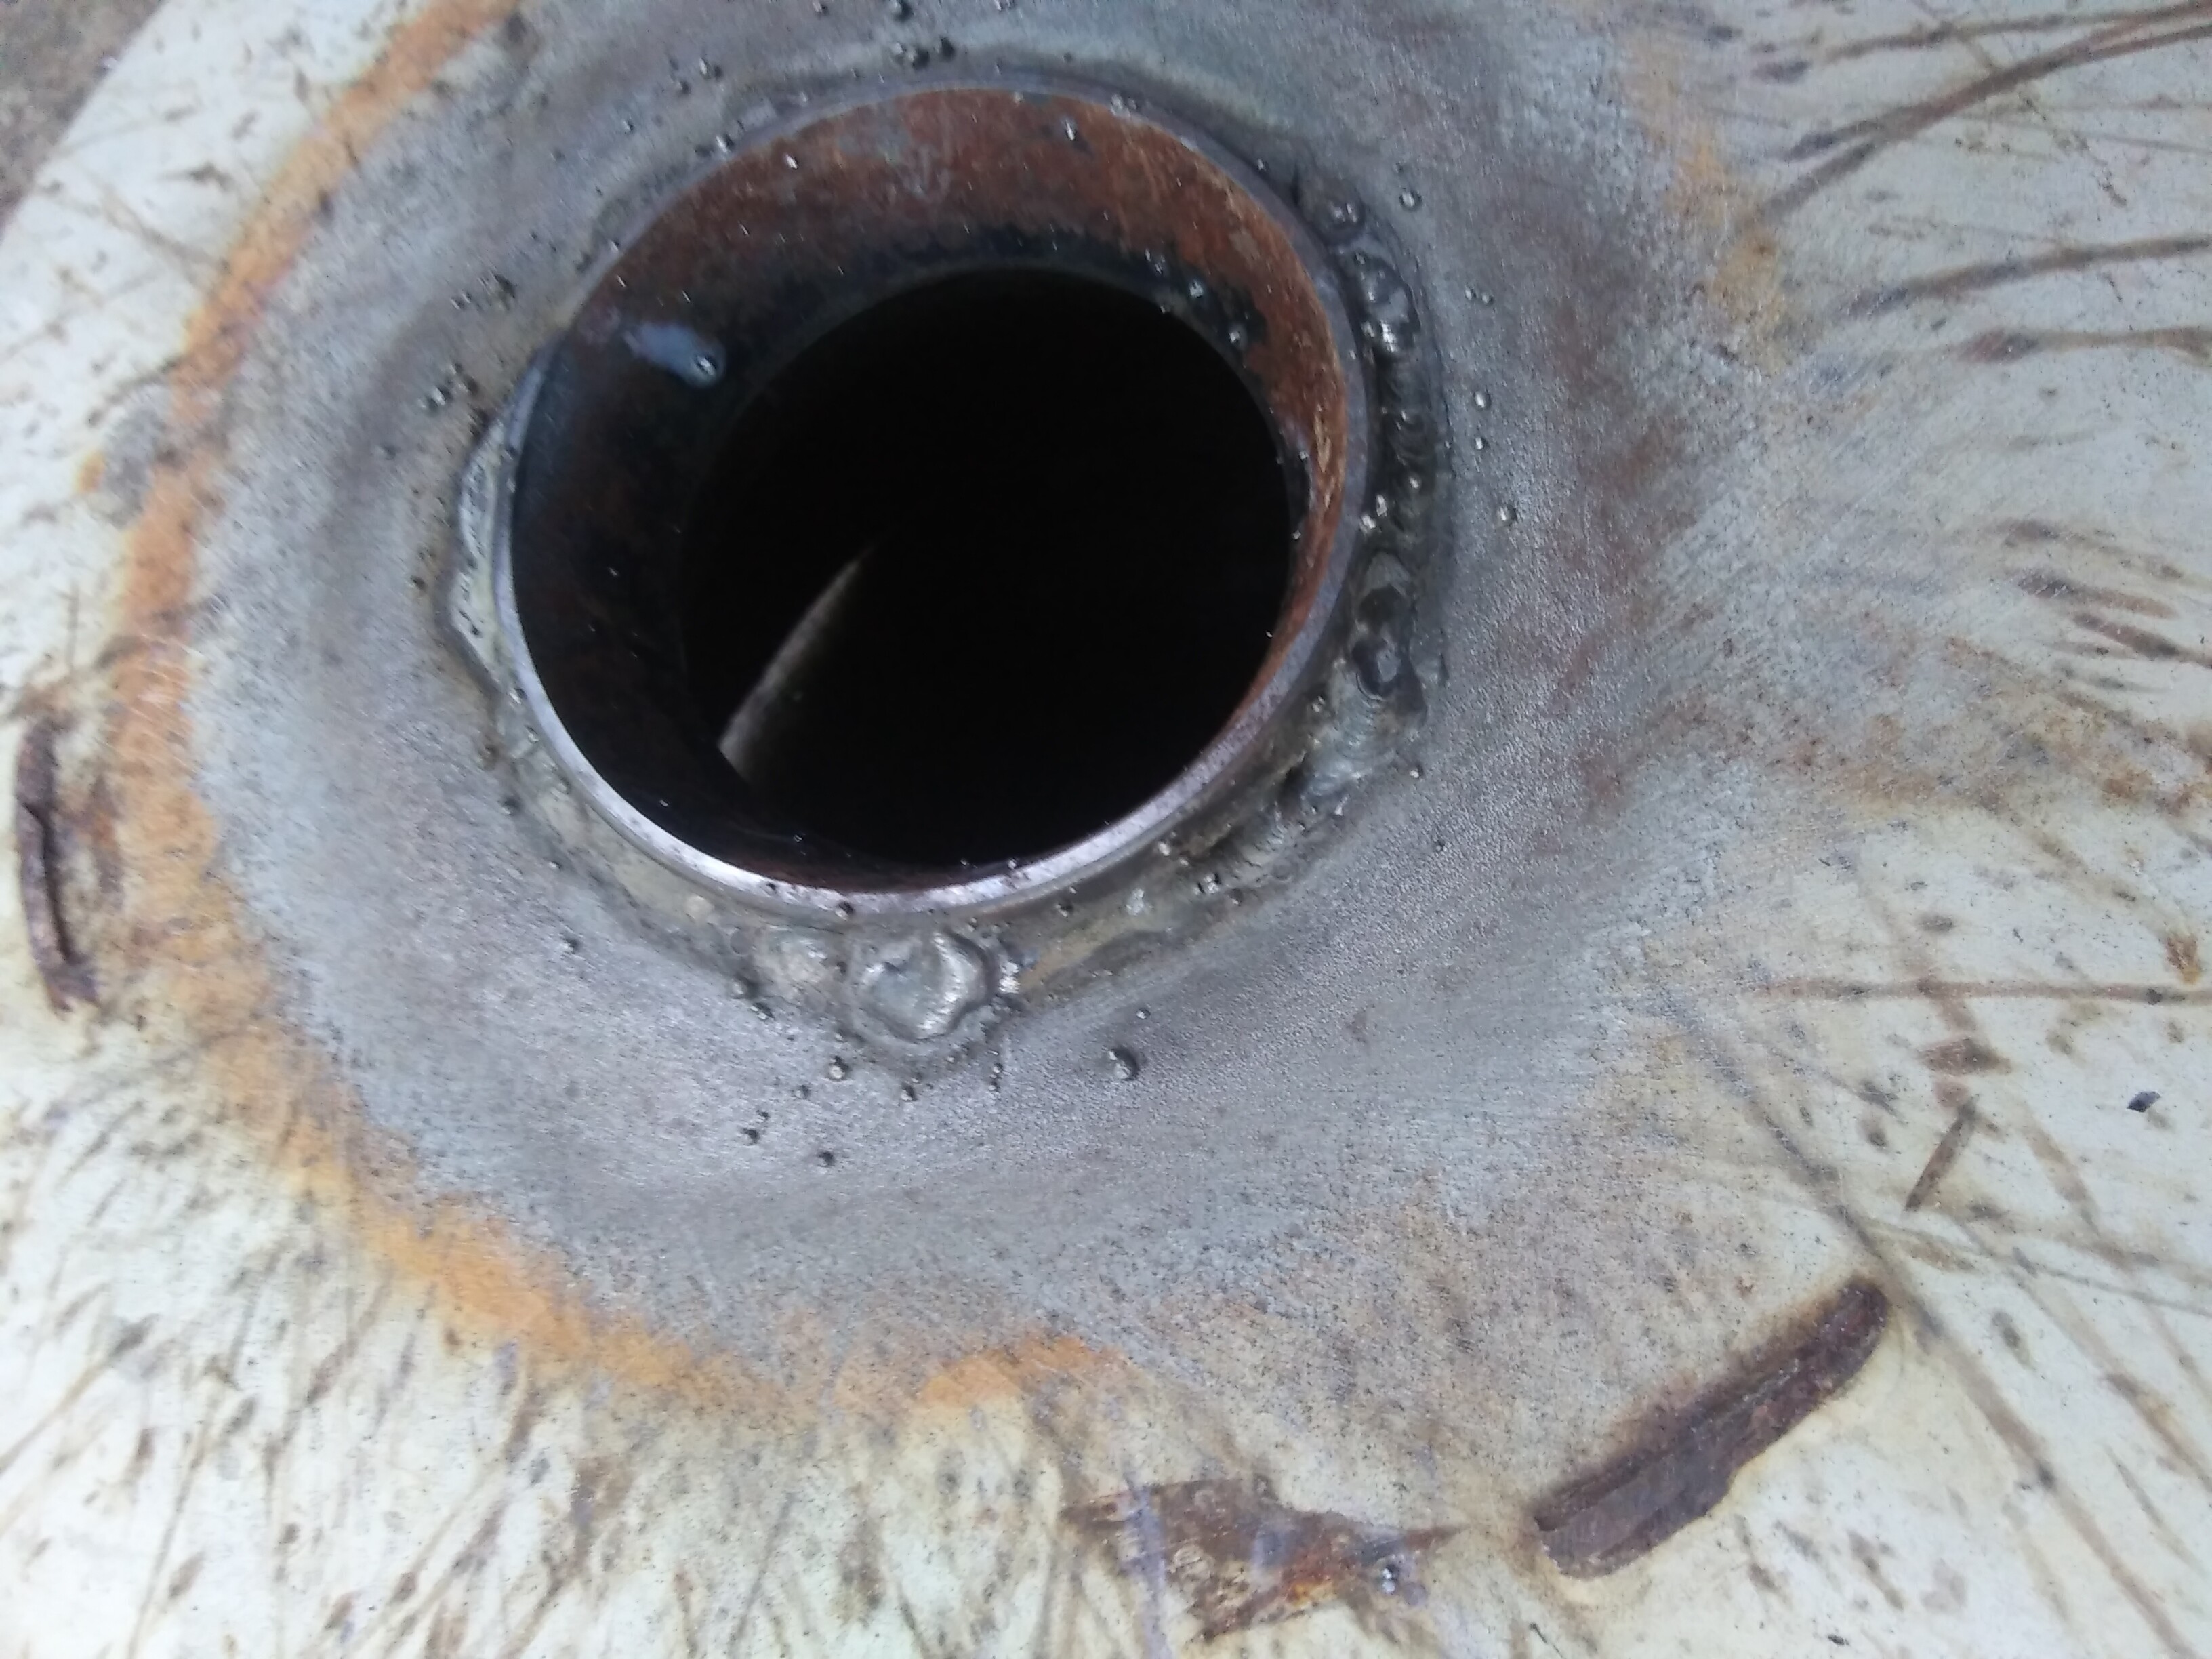
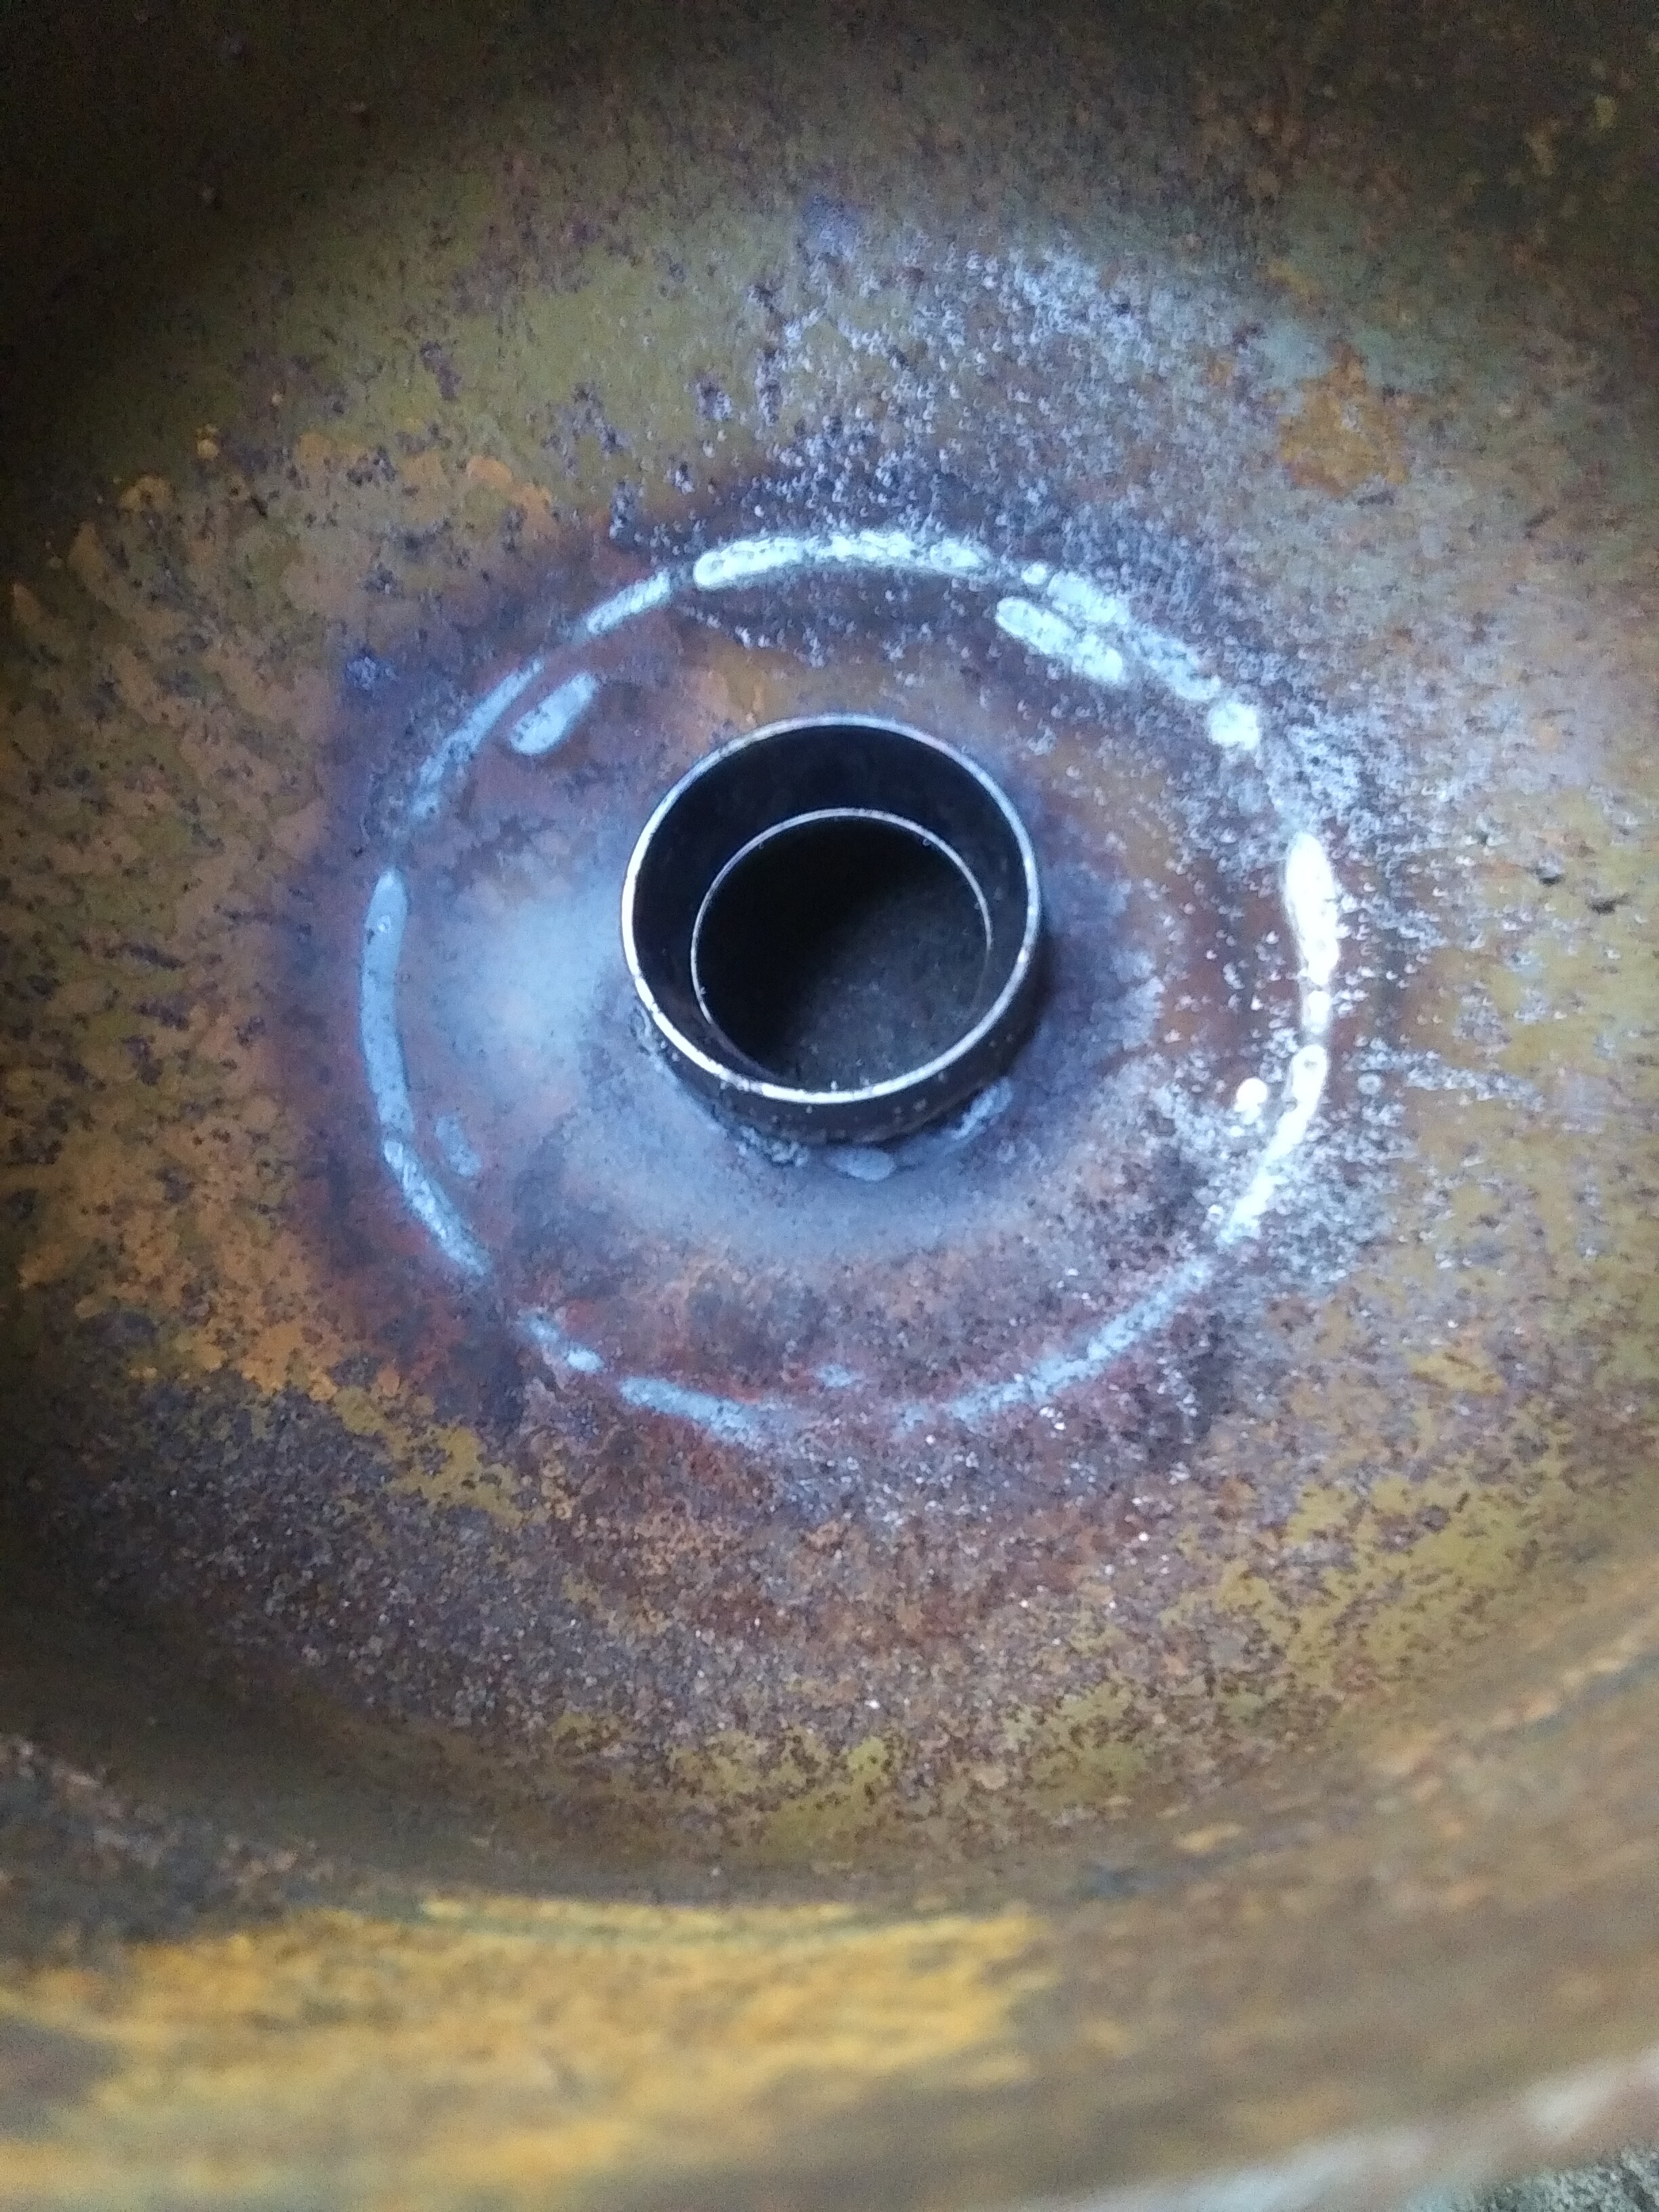
My dimensions are to his drawing but scaled by x1.27. Using the original 10mm nozzle diameted of his drawing I could not find a sturdy enough piece of steel. I have a roughly 12.~mm bore piston wrist pin however. It fits loosely in 3/4" black steel pipe so I welded that in place. Yes yes, the welds are ugly.
Joni prescribes the grate be attached directly to the recovery zone. I haven’t added this yet I am still looking for a thick enough tube to make for that.
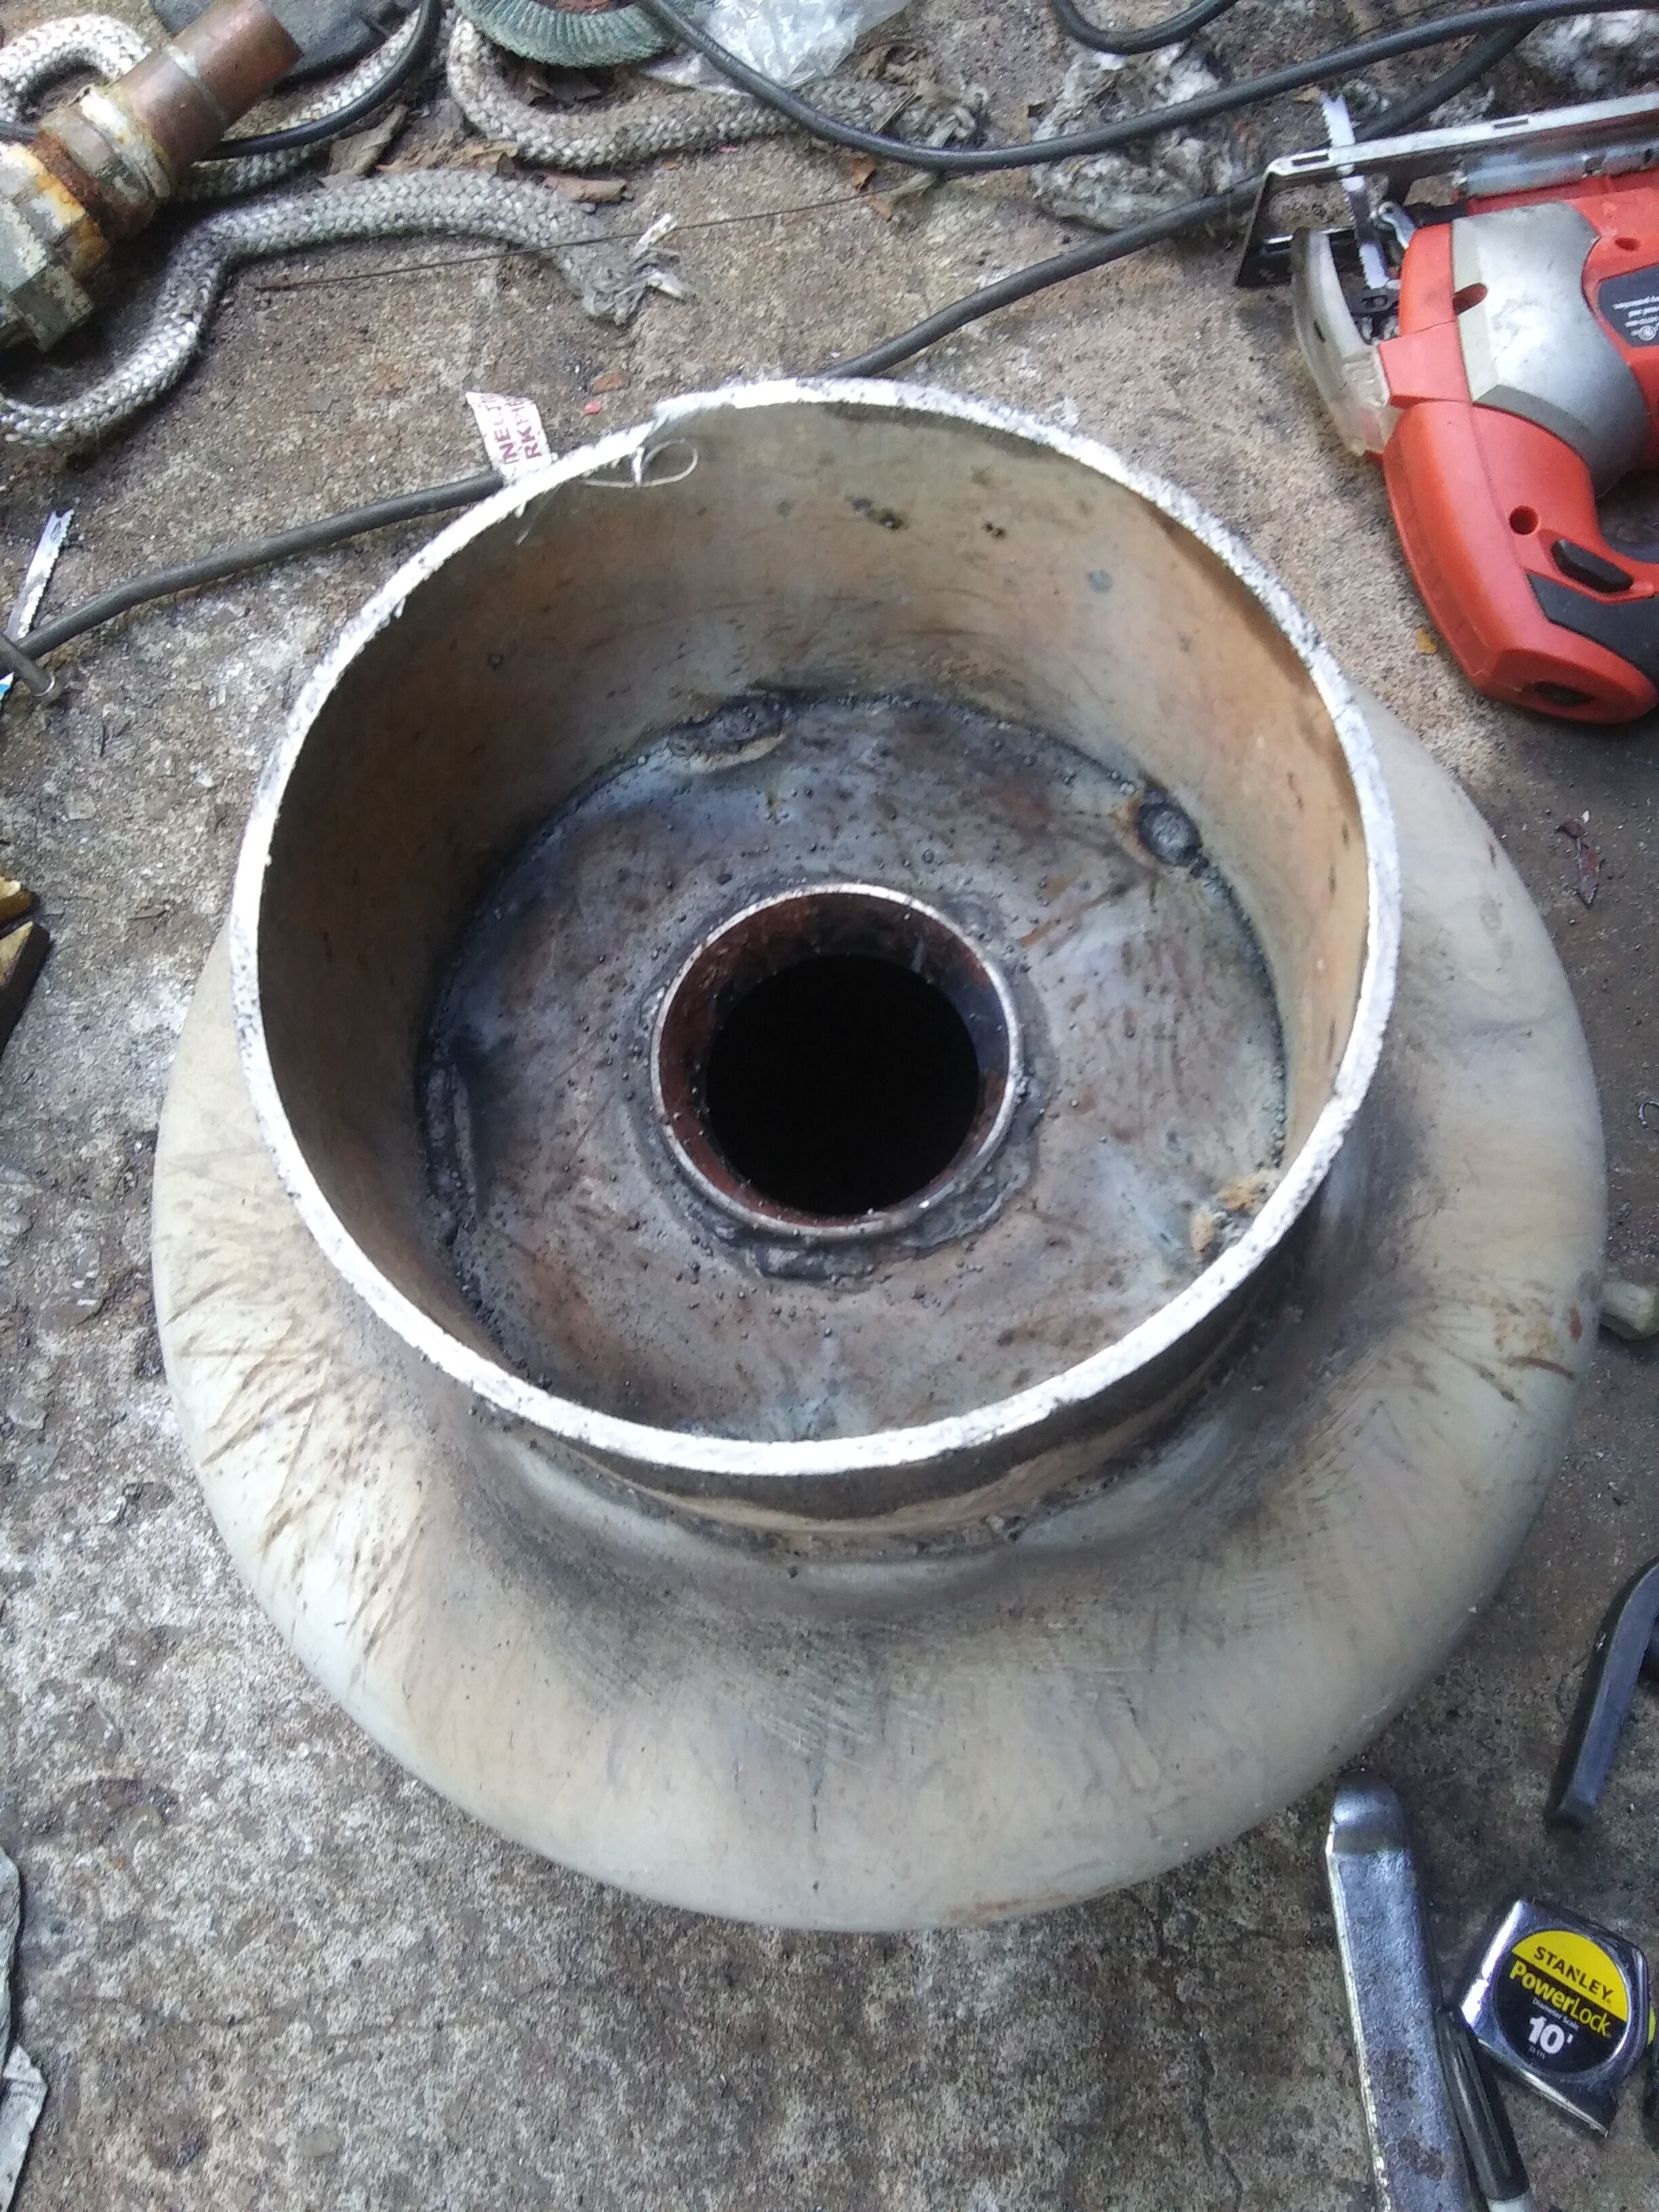
After I get the reduction welded in, I will use another propane tank as the bottom. The top will be that car rim to size up for my other 20 gallon drum not being used for the Mazda reactor.
I’ll place gas exit high on the base to avoid grabbing as much char and ash as possible and I’ll weld in a pipe clean out at the bottom.
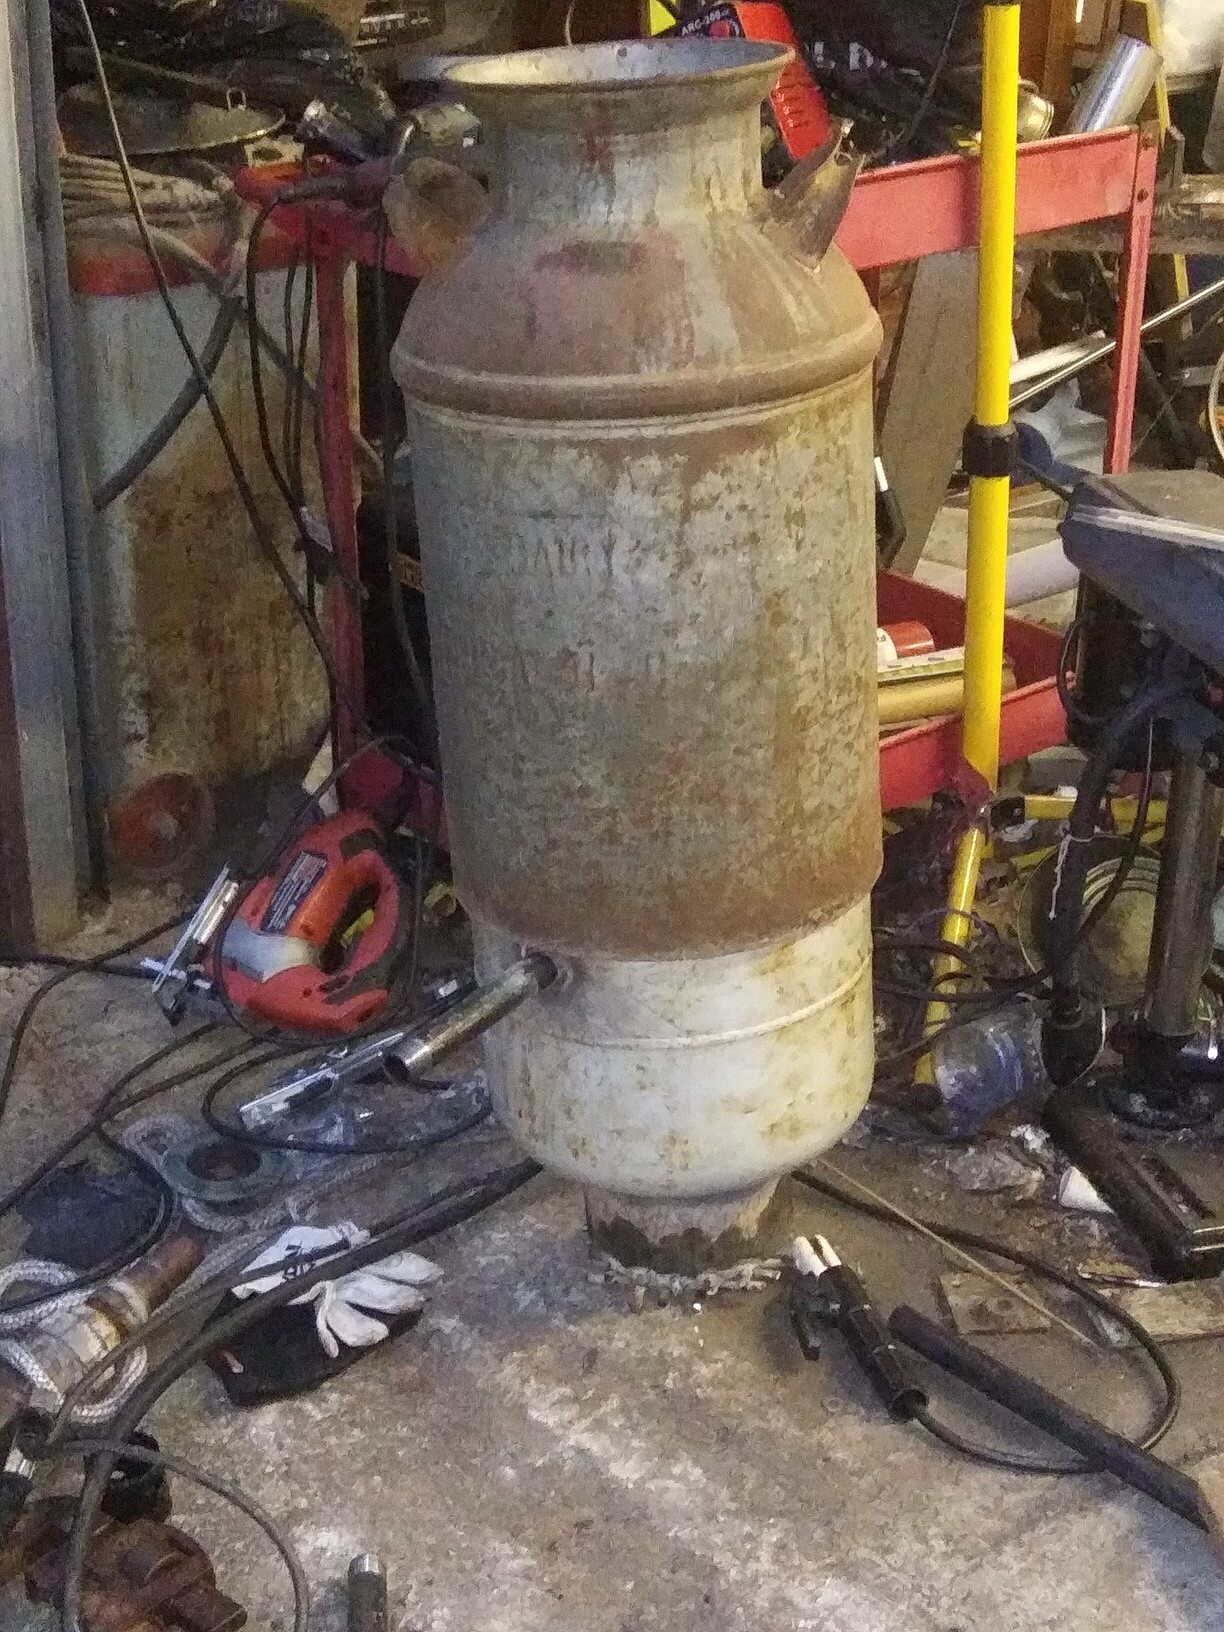
Forgot about a piece of pipe or tubing that Steve Bowman gave me. Cut it down and welded to the body. Complete weld on the outside and some tack welds on the inside just in case.
Got the nozzle welded into place. It measures 5" from the top of the restriction mouth. I will probably place a check valve on the other end of the intake.
I’ll just go to a thrift store and find an old steel pot for my constant use lid and save the main lid for maintenance.
It’s getting too dark to weld without damaging my eyes so I think I will put a pin in this build until tomorrow or later.
I’ve got some uncrushed char I can pre load this with, I’ll probably fill the whole propane tank with the charcoal and then break up a bunch of limbs for the raw fuel.
When you load a grate like this, l like to first put in corse charcoal just to cover the grate. Just to plugg tge holes temporairly. Charcoal sliping trugh leaving a void behind is the last thing you want. Then fill everithing with engine grade char above the nozzle, then your decided fuel.
Sounds good. I was thinking of doing that but not necessarily with engine grade. This unit is so small with a direct blast nozzle I think engine grade will be perfect though.
It seems with any size or style of a gasifier engine grade size charcoal is what is amed for. If the charcoal is bigger the charbed is called to have “diarea”, wich overheats the system, and if the char is much finer it causes “constipation” wich means what it means
I might sift out the smallest of my engine grade to avoid constipation. With my stuff being more in flake form that could be an issue. I’ll just run it through an 1/8" screen and keep the big stuff for pre loading.
I have used 1" pipe for nearly all my builds running engines up too 750cc twin cyclinder engines down to 50 cc single engine generator , no problems at all .
Dave
I went with 2" at least for the immediate exit from the reactor. I already had to cut a nipple in half for the ash dump so might as well use it now.
Got the bottom welded on and the gas exit, almost finished ash dump and wouldn’t you know if I ran out of welding wire on the last HALF INCH of bead to lay. Grrrrr.
The garden truck will mostly be for scuttling around my trailers and to take the garbage can up my driveway, and maybe a trip to the store to turn heads. Gotta get an Amish triangle for the back end. If I can drive my Kubota into town with just a triangle I should be able to take this into town.