Hey Everyone,
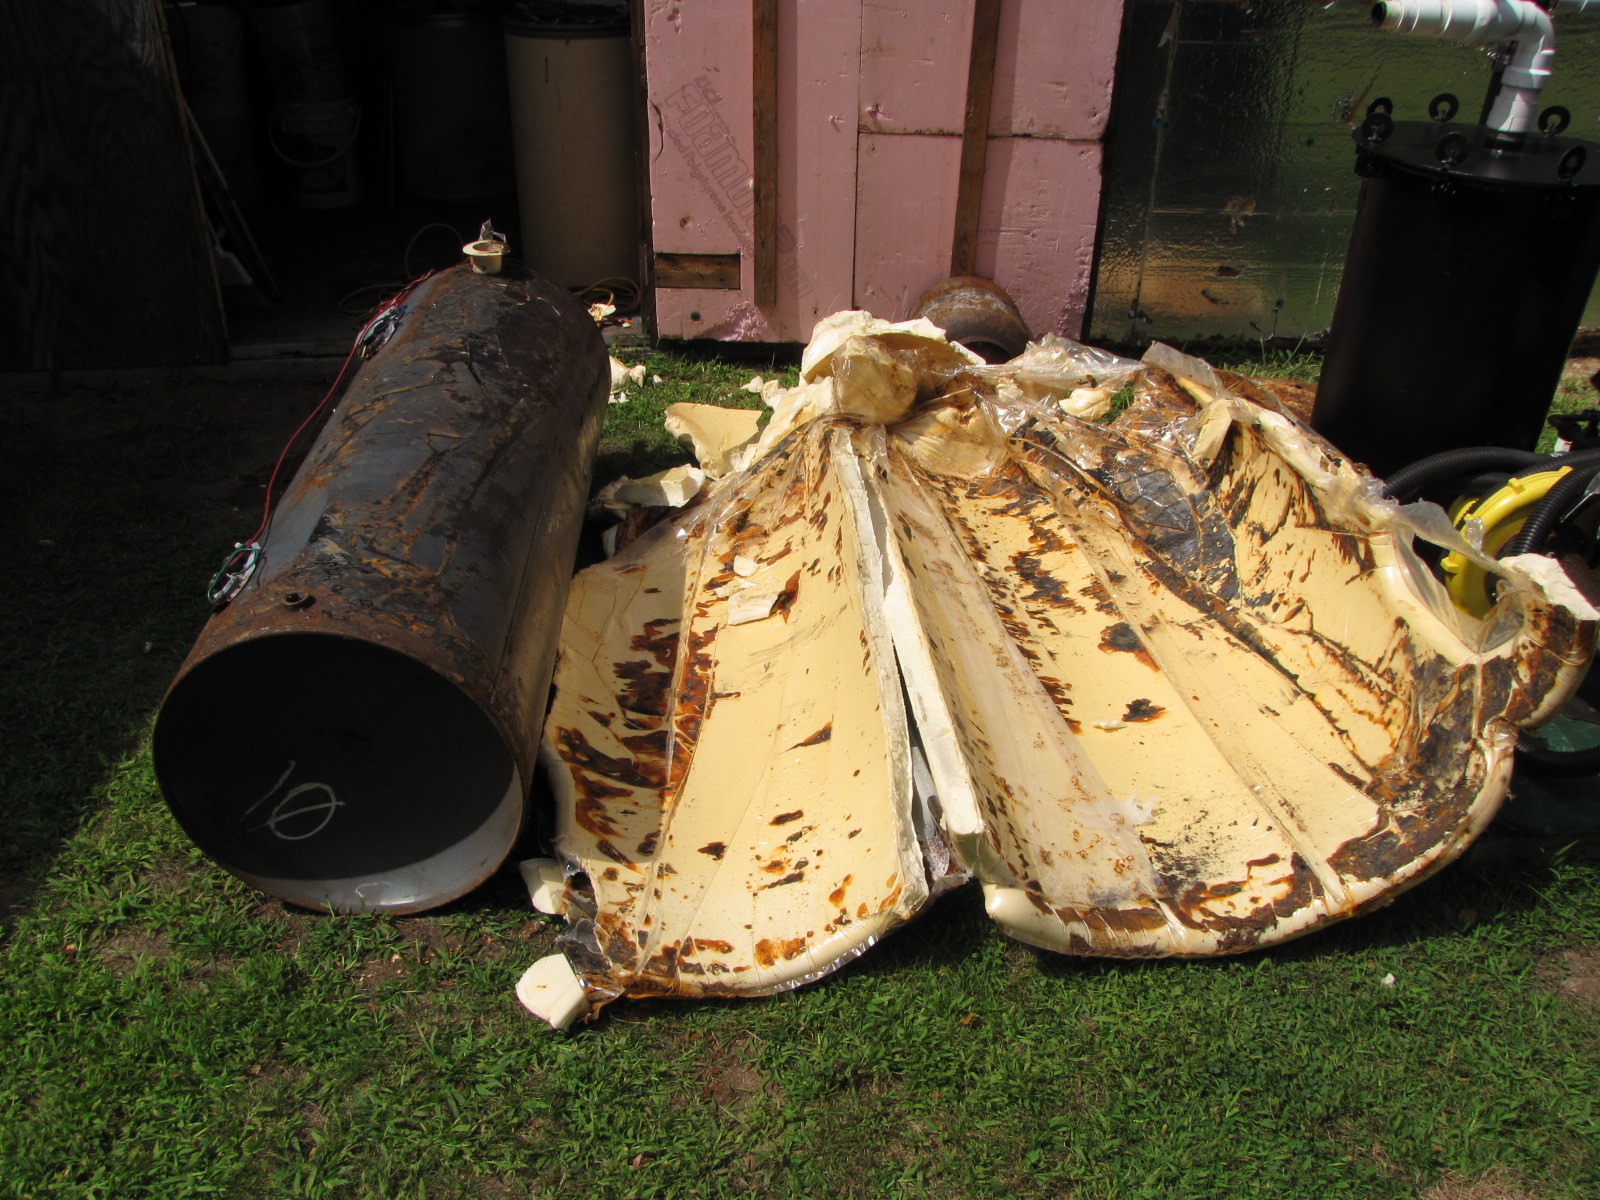
What a pleasant surprise I got this am when I started stripping a Reliance brand hot water heater. The shell has a plastic coating before the insulation is installed, so it comes off basically in one piece. First time I’ve seen this.
Pepe
Aren’t you the lucky one??? If you go for a hot water heater that is in tack, how do you know what diameter the tank will be. Do you go for a certain gallons. I have never used a hot water tank, but my be thinking about it.TomC
Hey All,
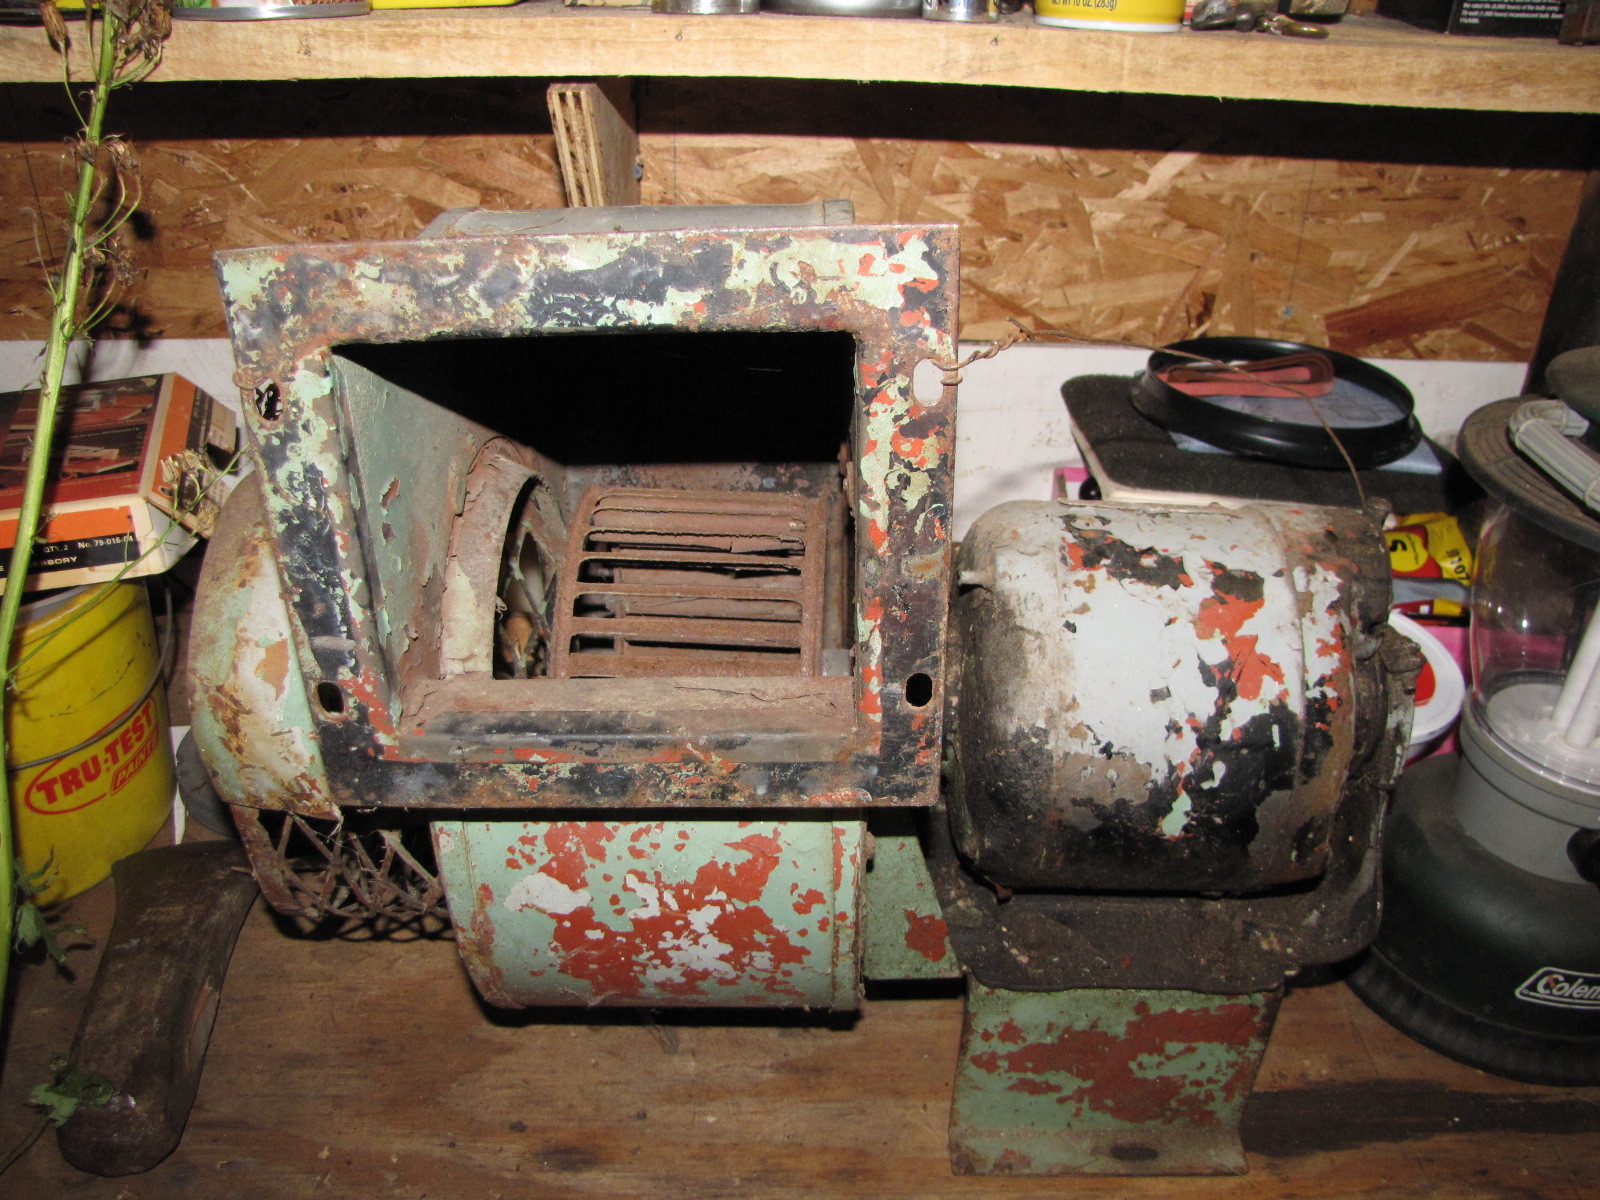
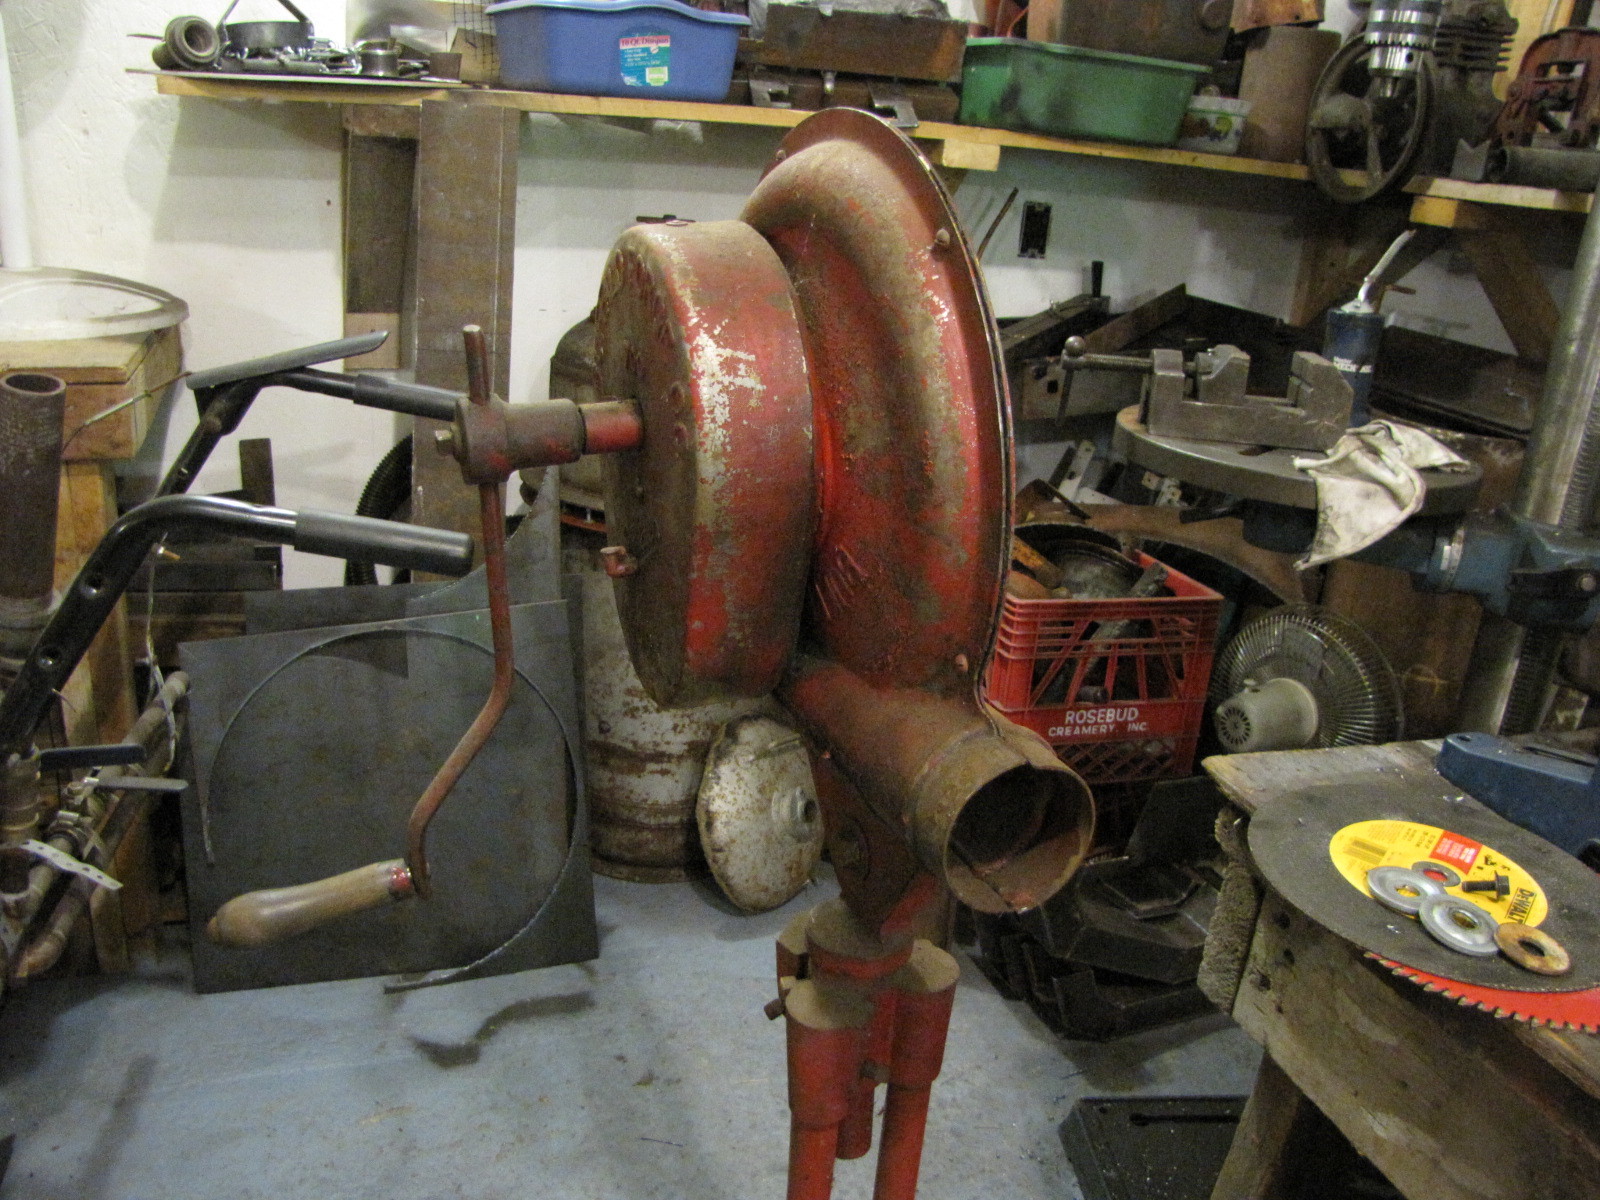
My wife picked up a some goodies for me at a local auction. The first item is a medium size squirrel cage fan I can use for drying fuel or moving air around. Five bucks and it runs well, just needs some minor housing bracing work, cleanup and paint.
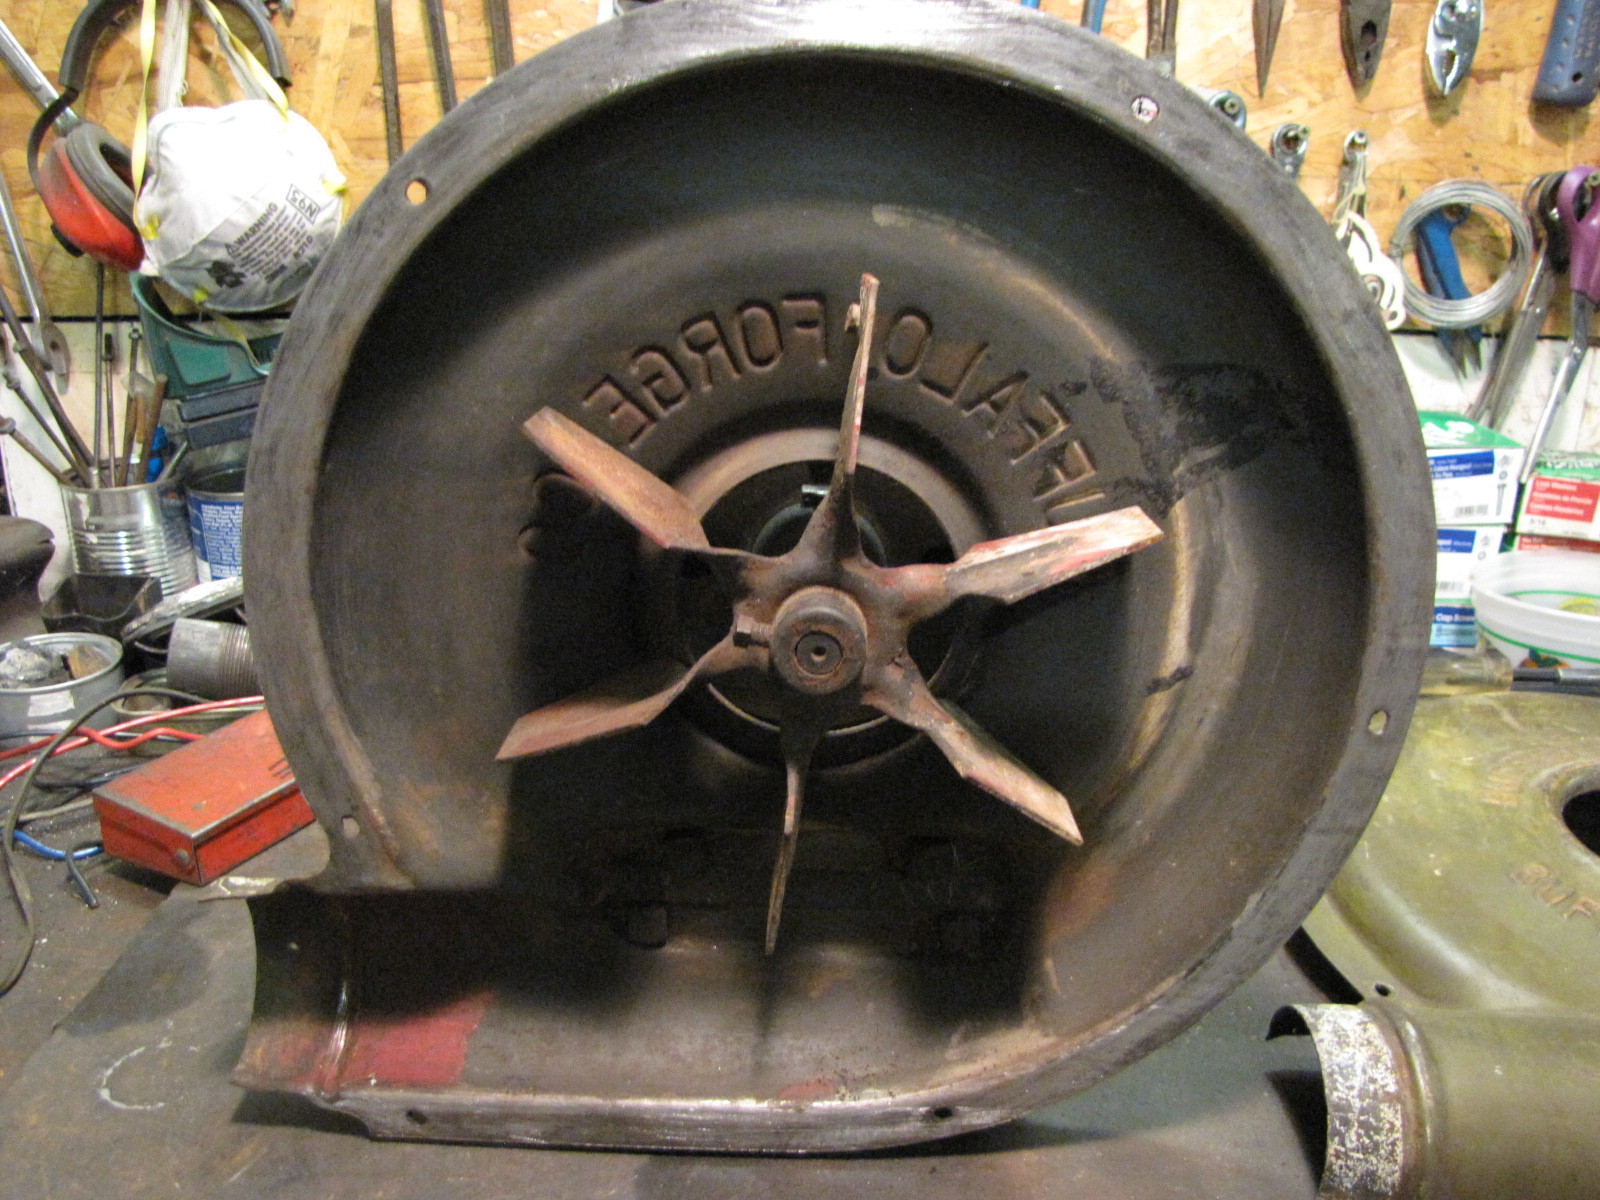
This unit had one slightly bent fan blade and scraped when turned. No one bid on it and my wife got it for a buck, $1.00. Can you believe it! I took the cover off, used a pair of vice grips, tweaked the offending fan blade and it runs great, no vibration at all.
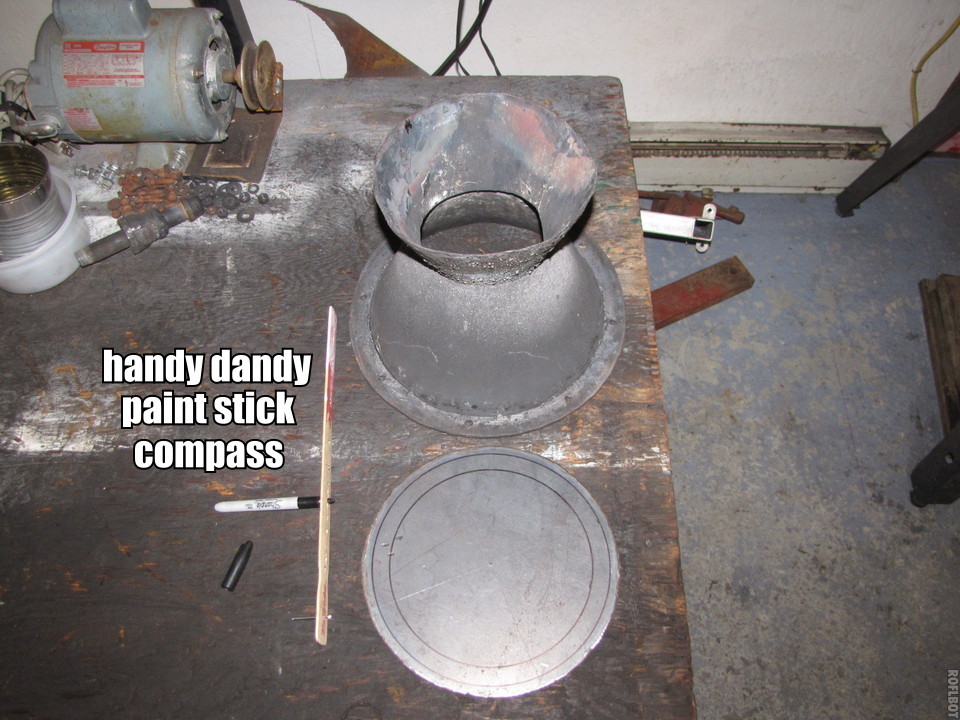
The fan has a 7 1/2" diameter and the ID is 11 1/2". Note the balancing weight attached to the top blade, quality unit. The outlet is 2 3/4". I’ll make a gasket for it, fabricate an inlet cone and give it a try. I really hate attaching anything to such a nice antique.
Pepe
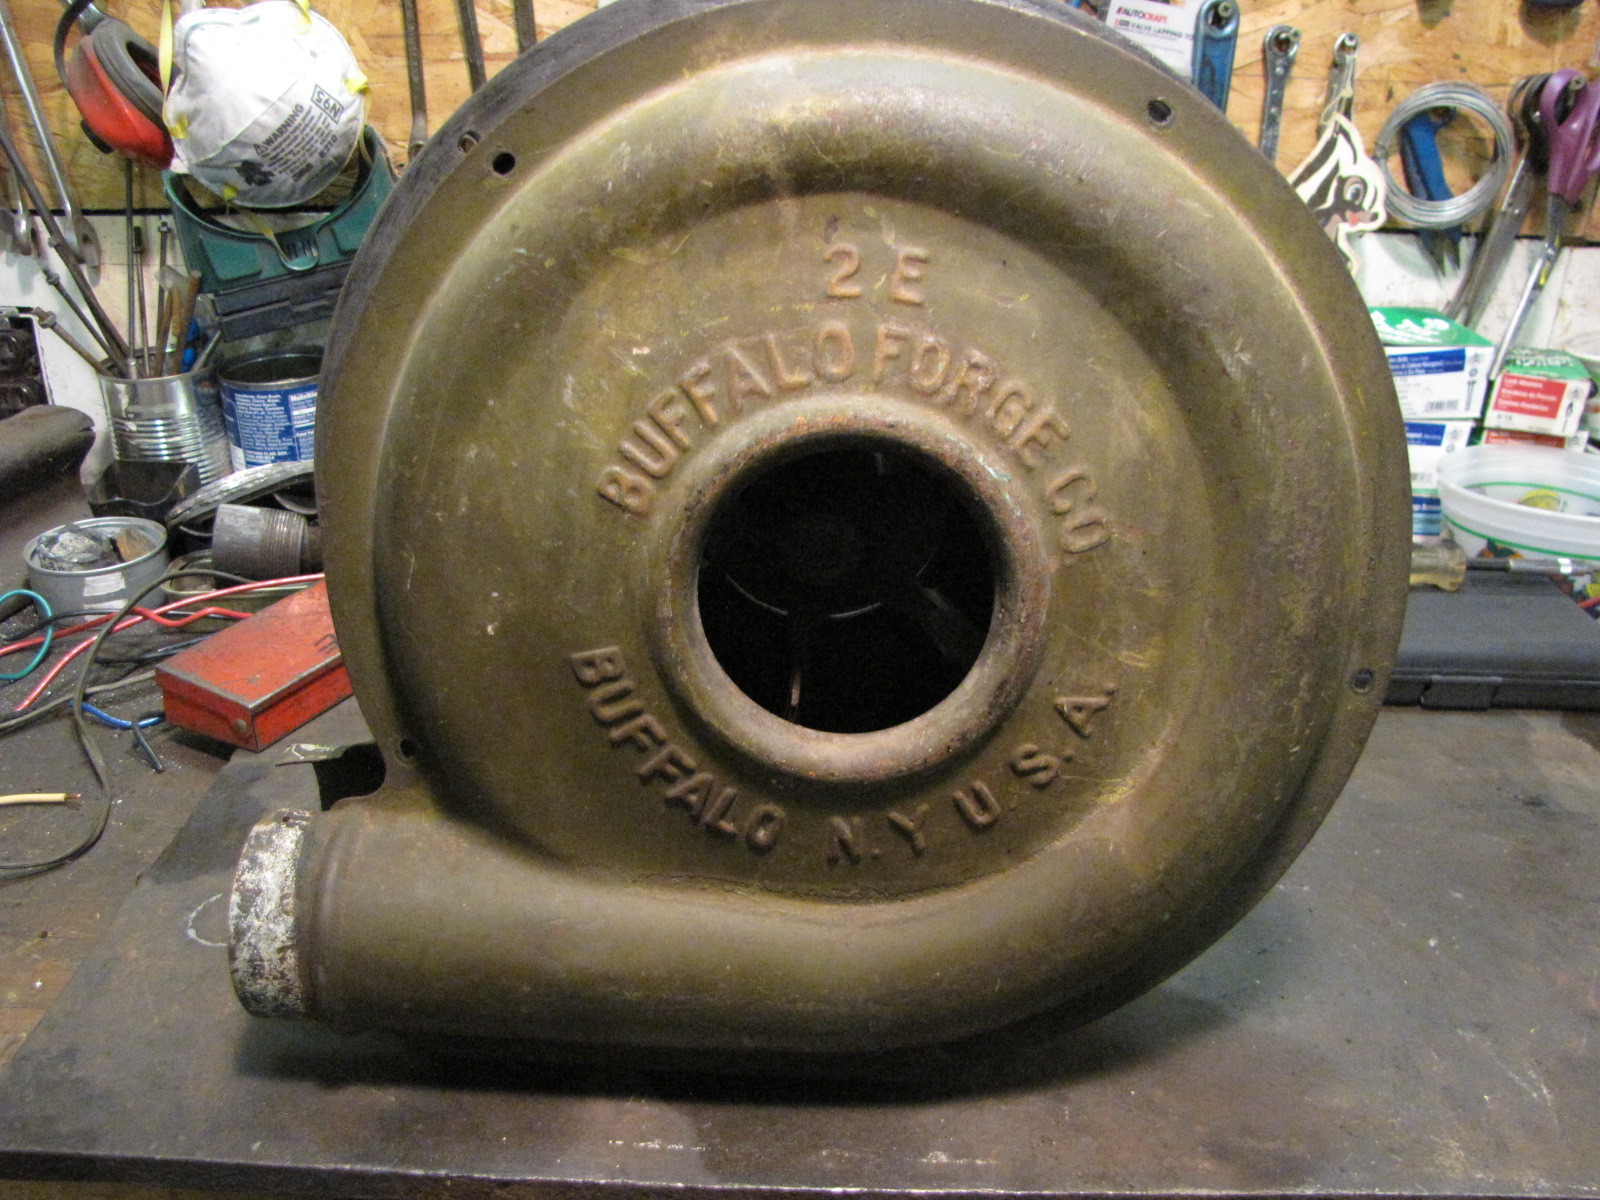
That forge blower looks really bulky. I just don’t know how you’ll store it. I do happen to have plenty of space next to my homemade forge and I wouldn’t mind keeping it safe for you.
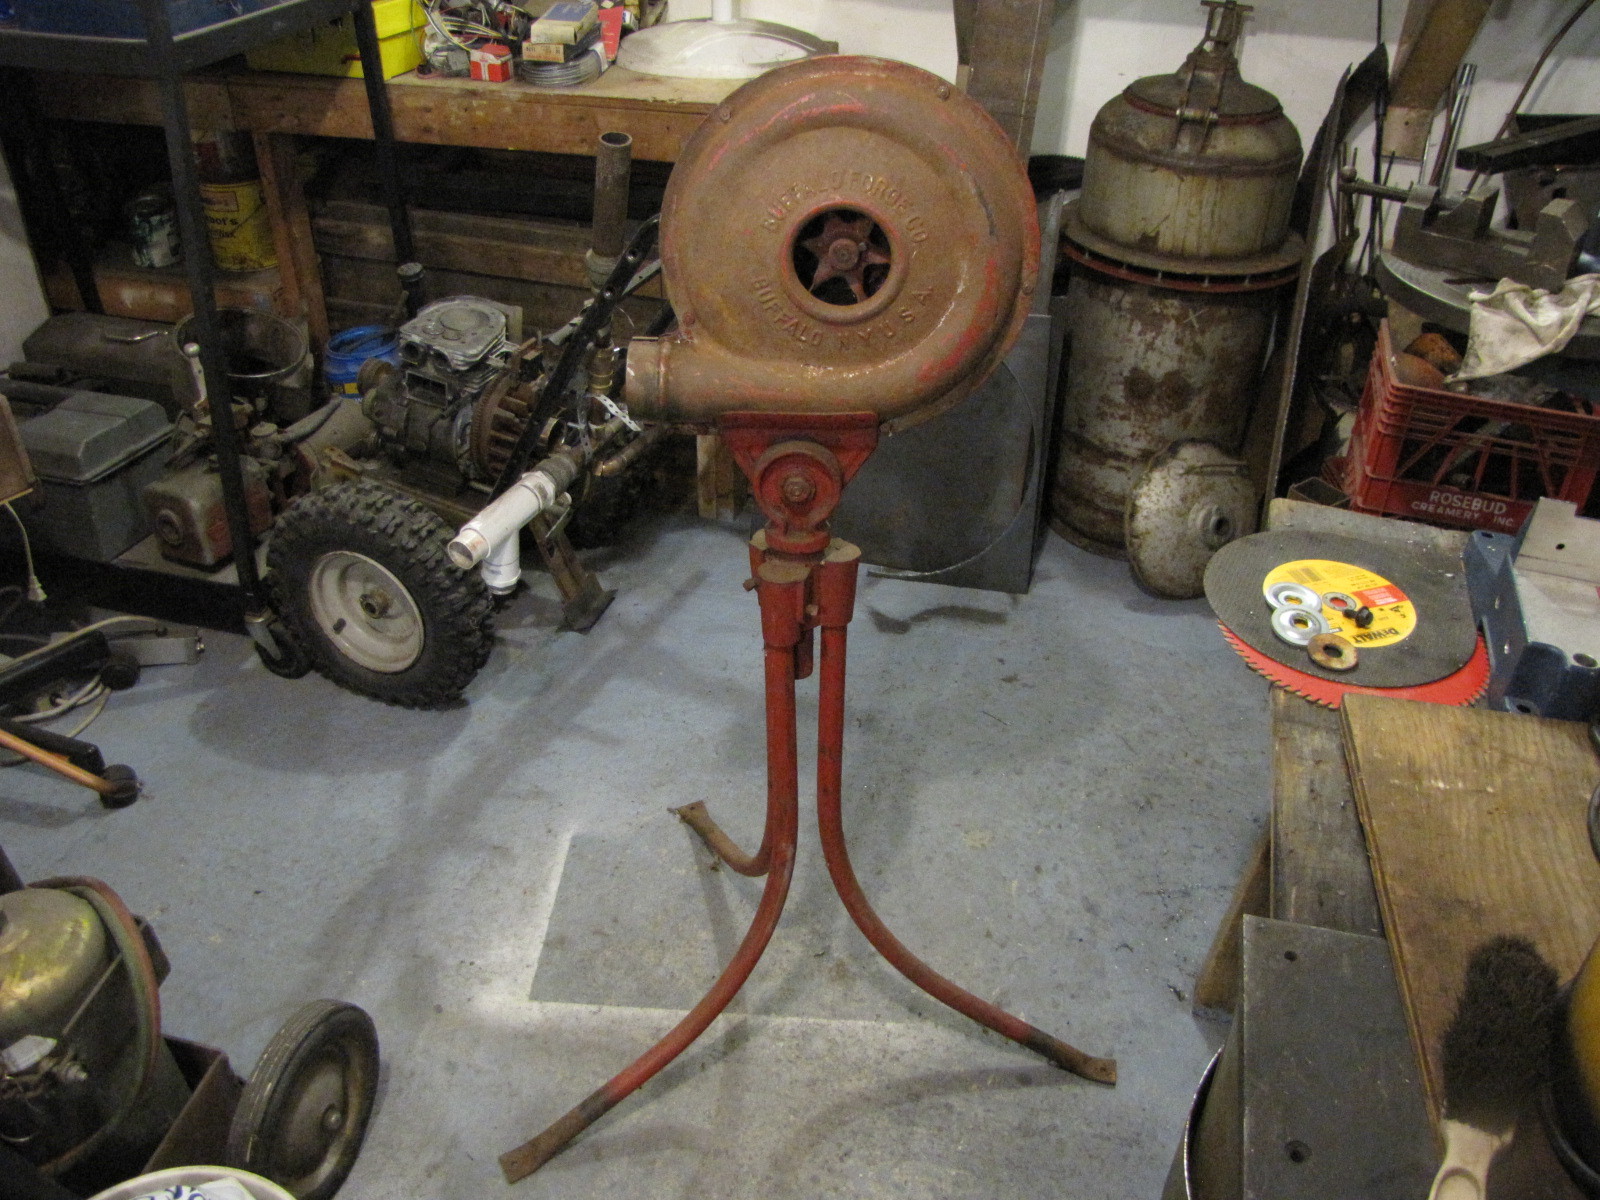
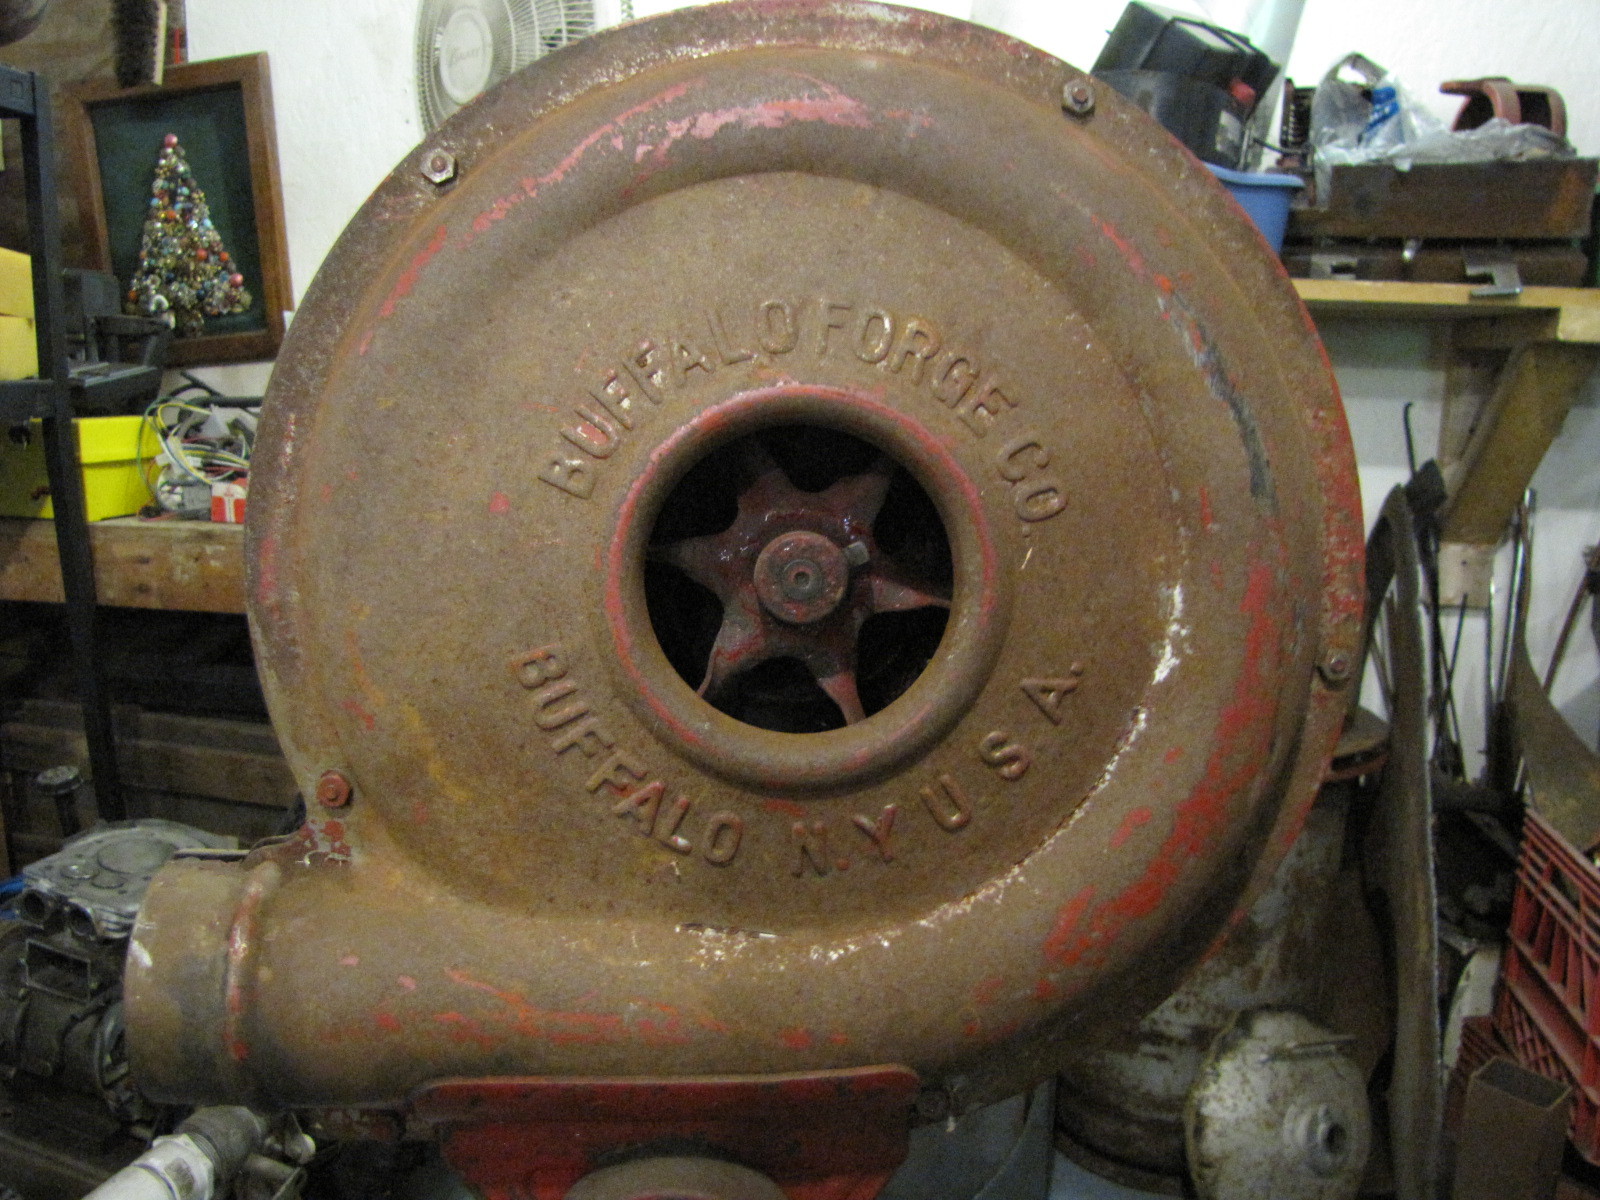
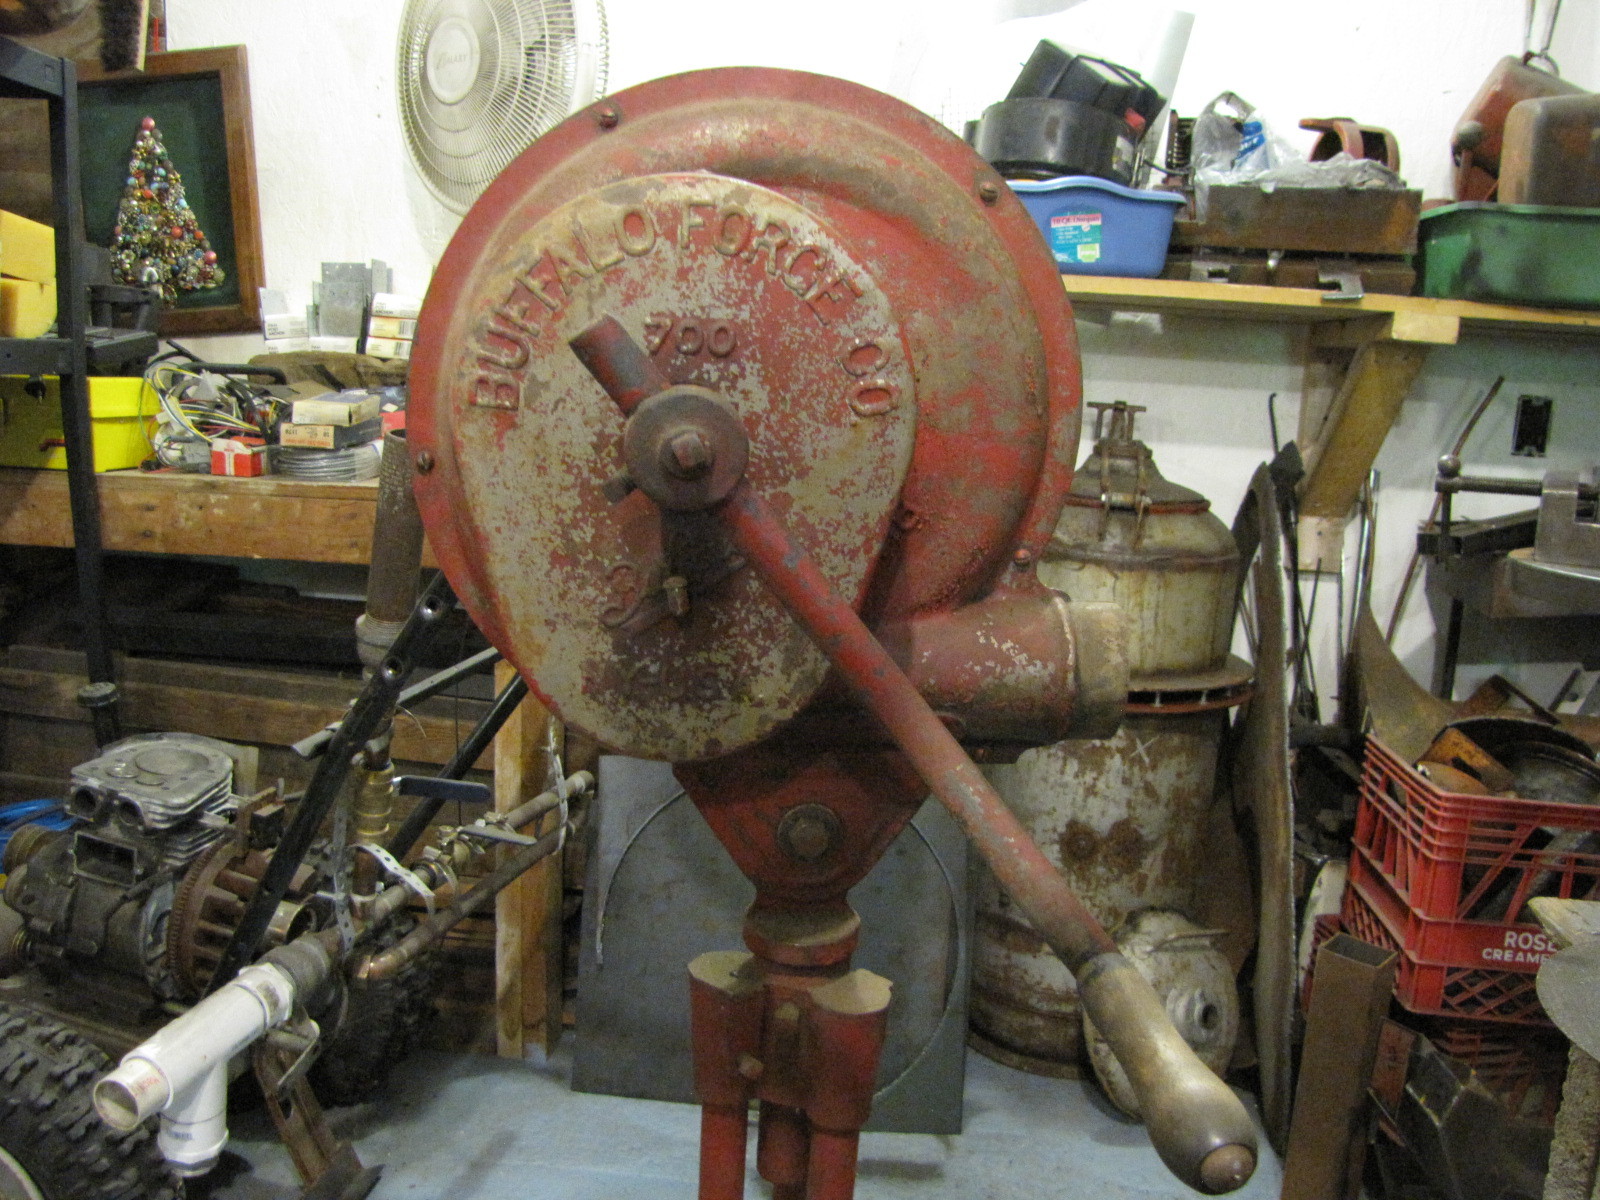
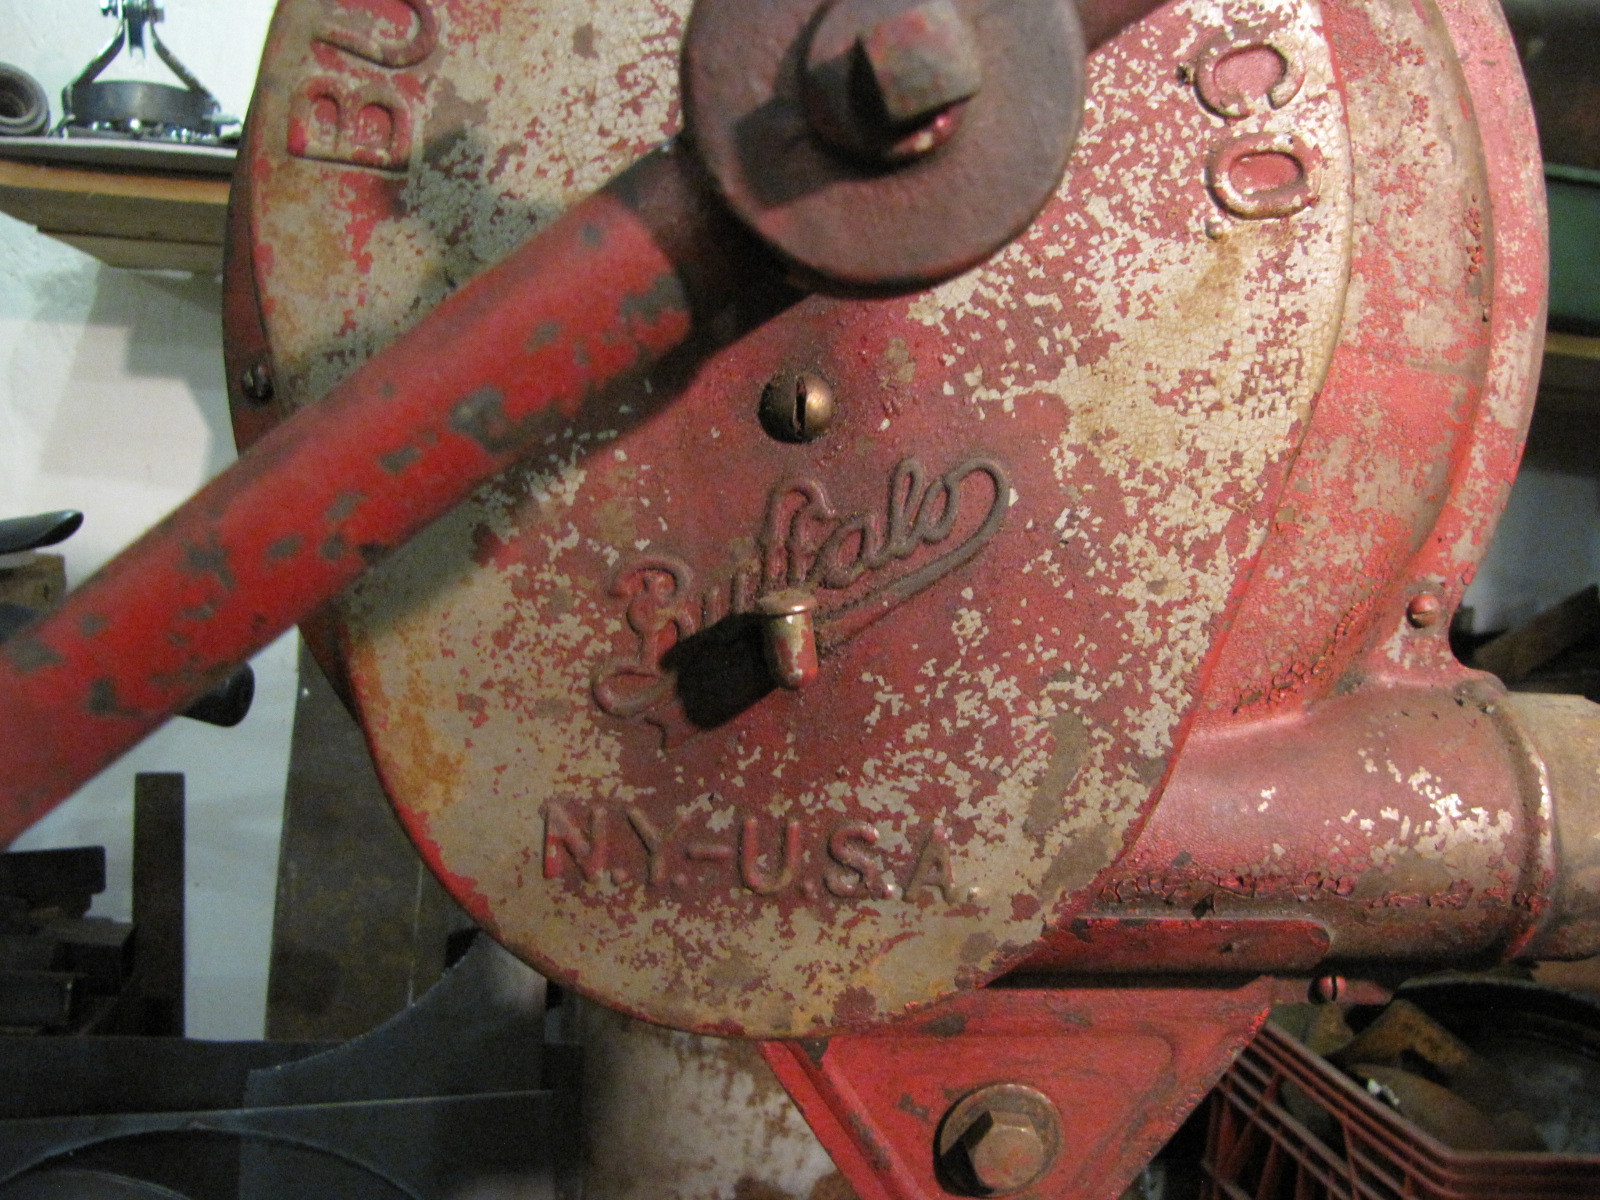
Too bad UPS doesn’t take bulky stuff, drats. Here’s another really bulky one, same size, but powered by armstrong. Price was armstrong, too. My wife gave a C note for this one at the auction, someone else wanted it, too. Drats.
Pepe
Hey All,
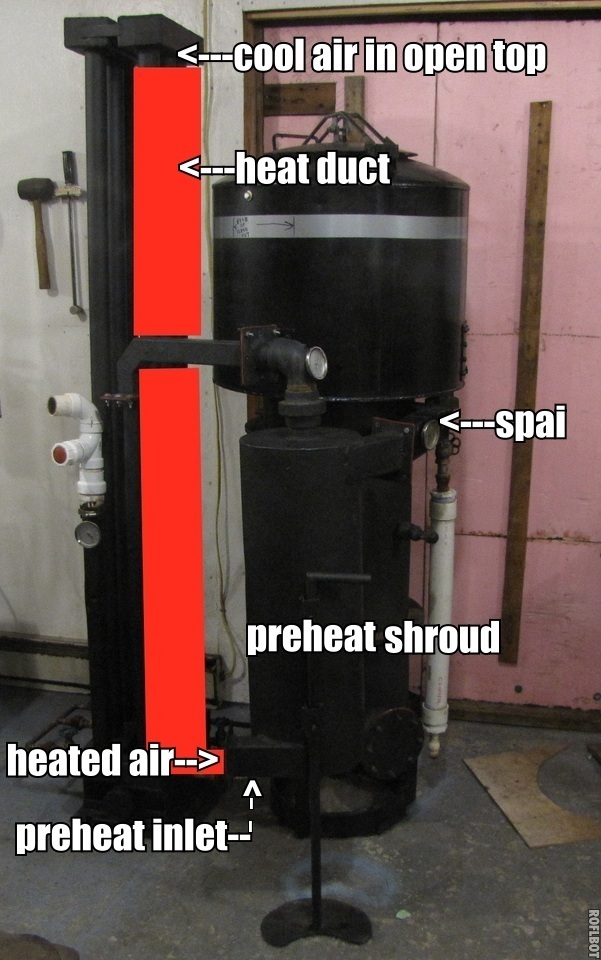
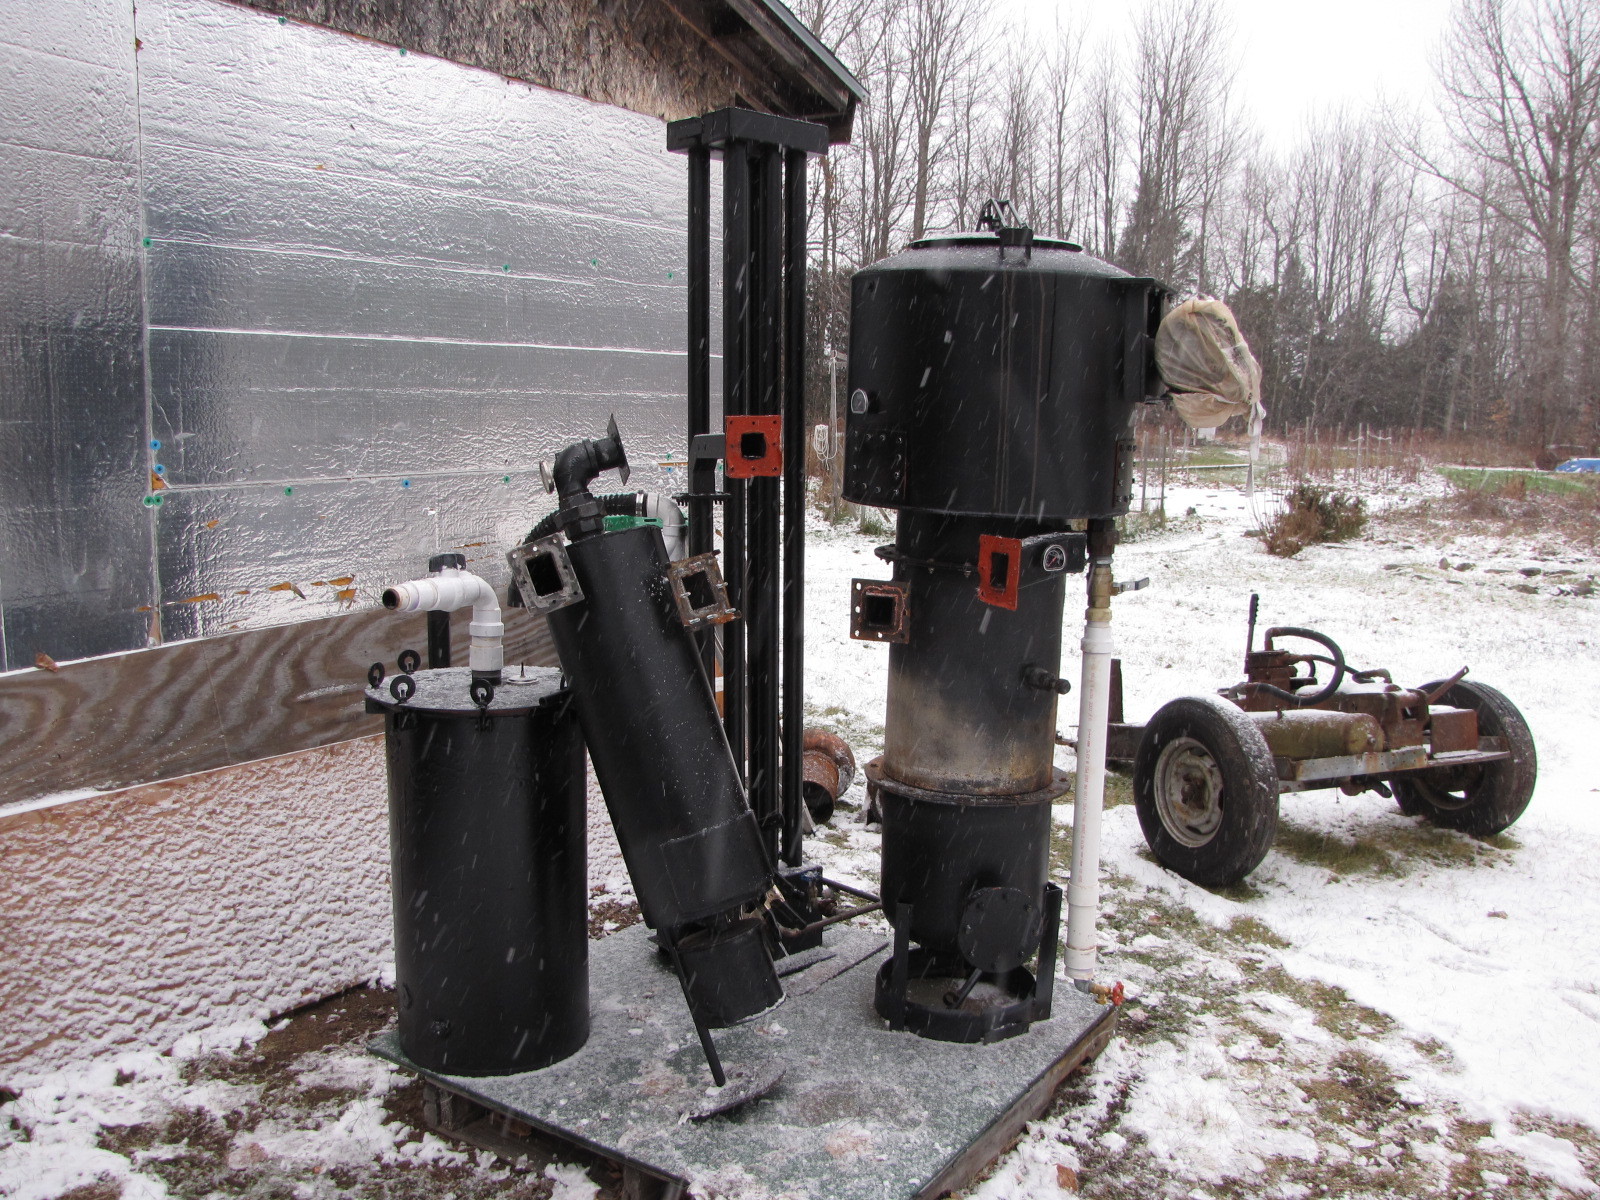
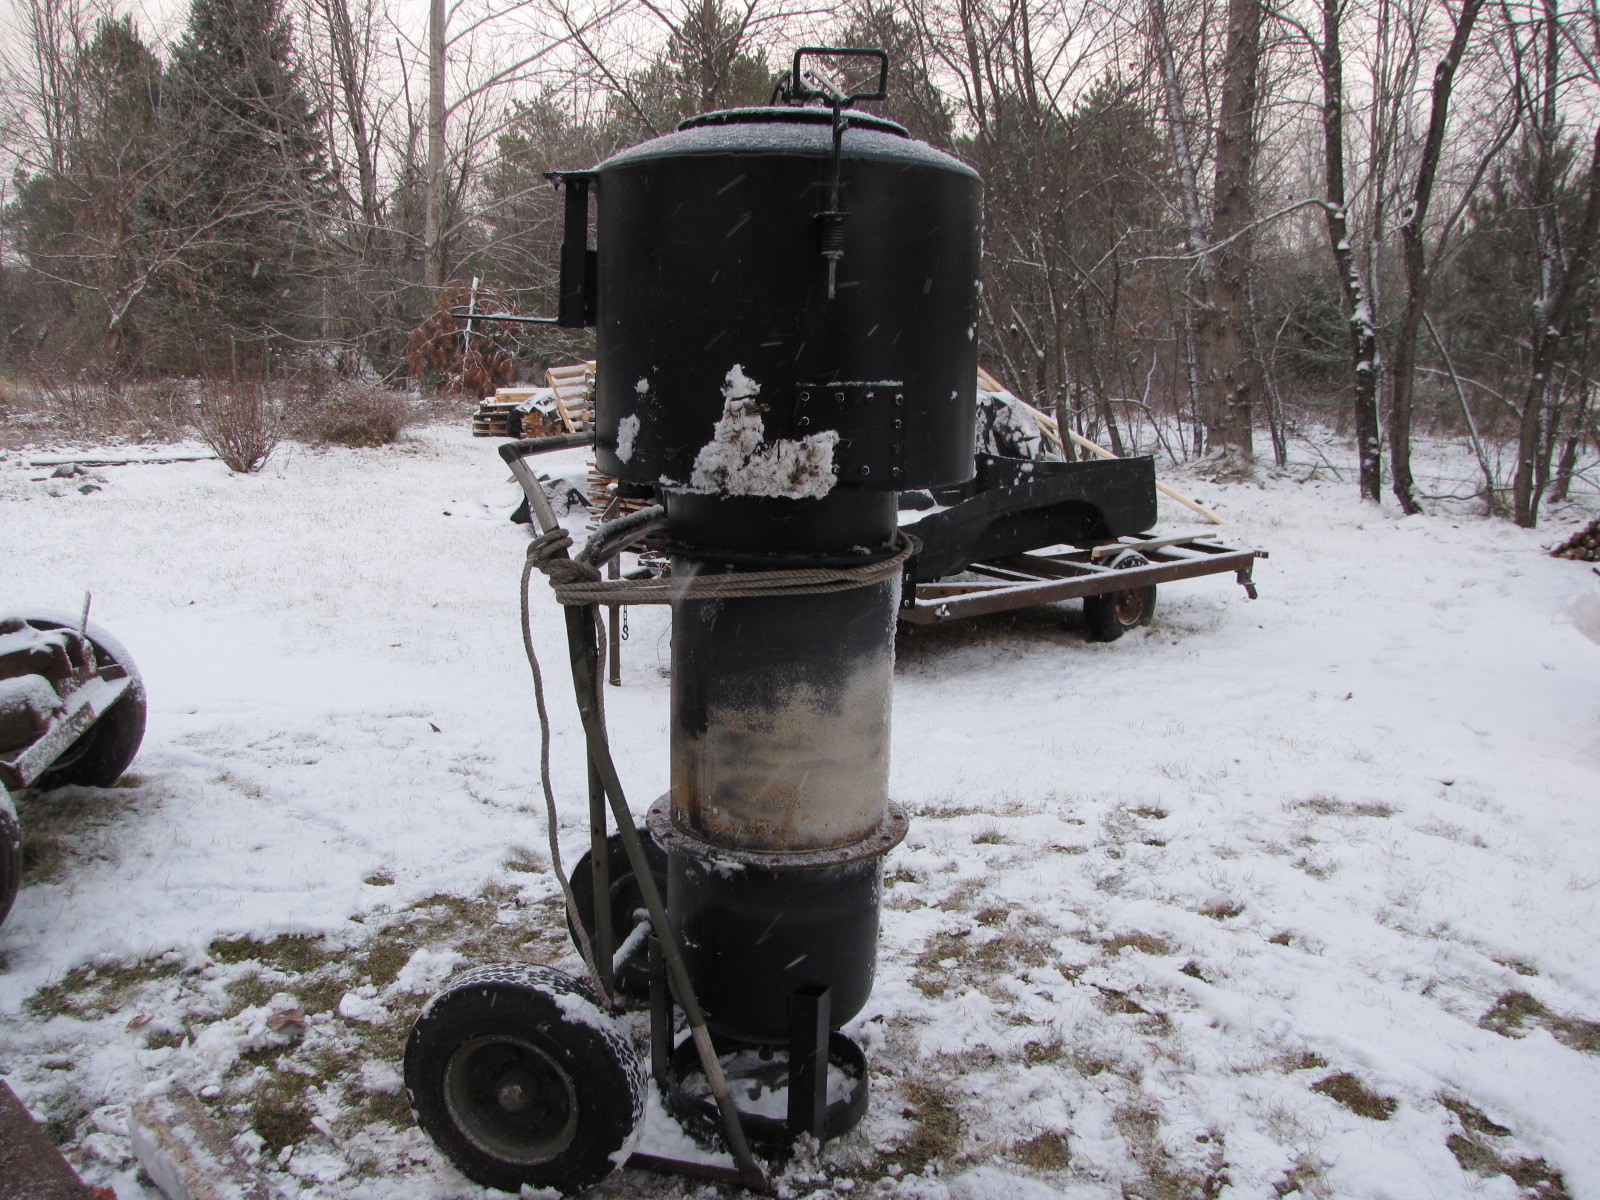
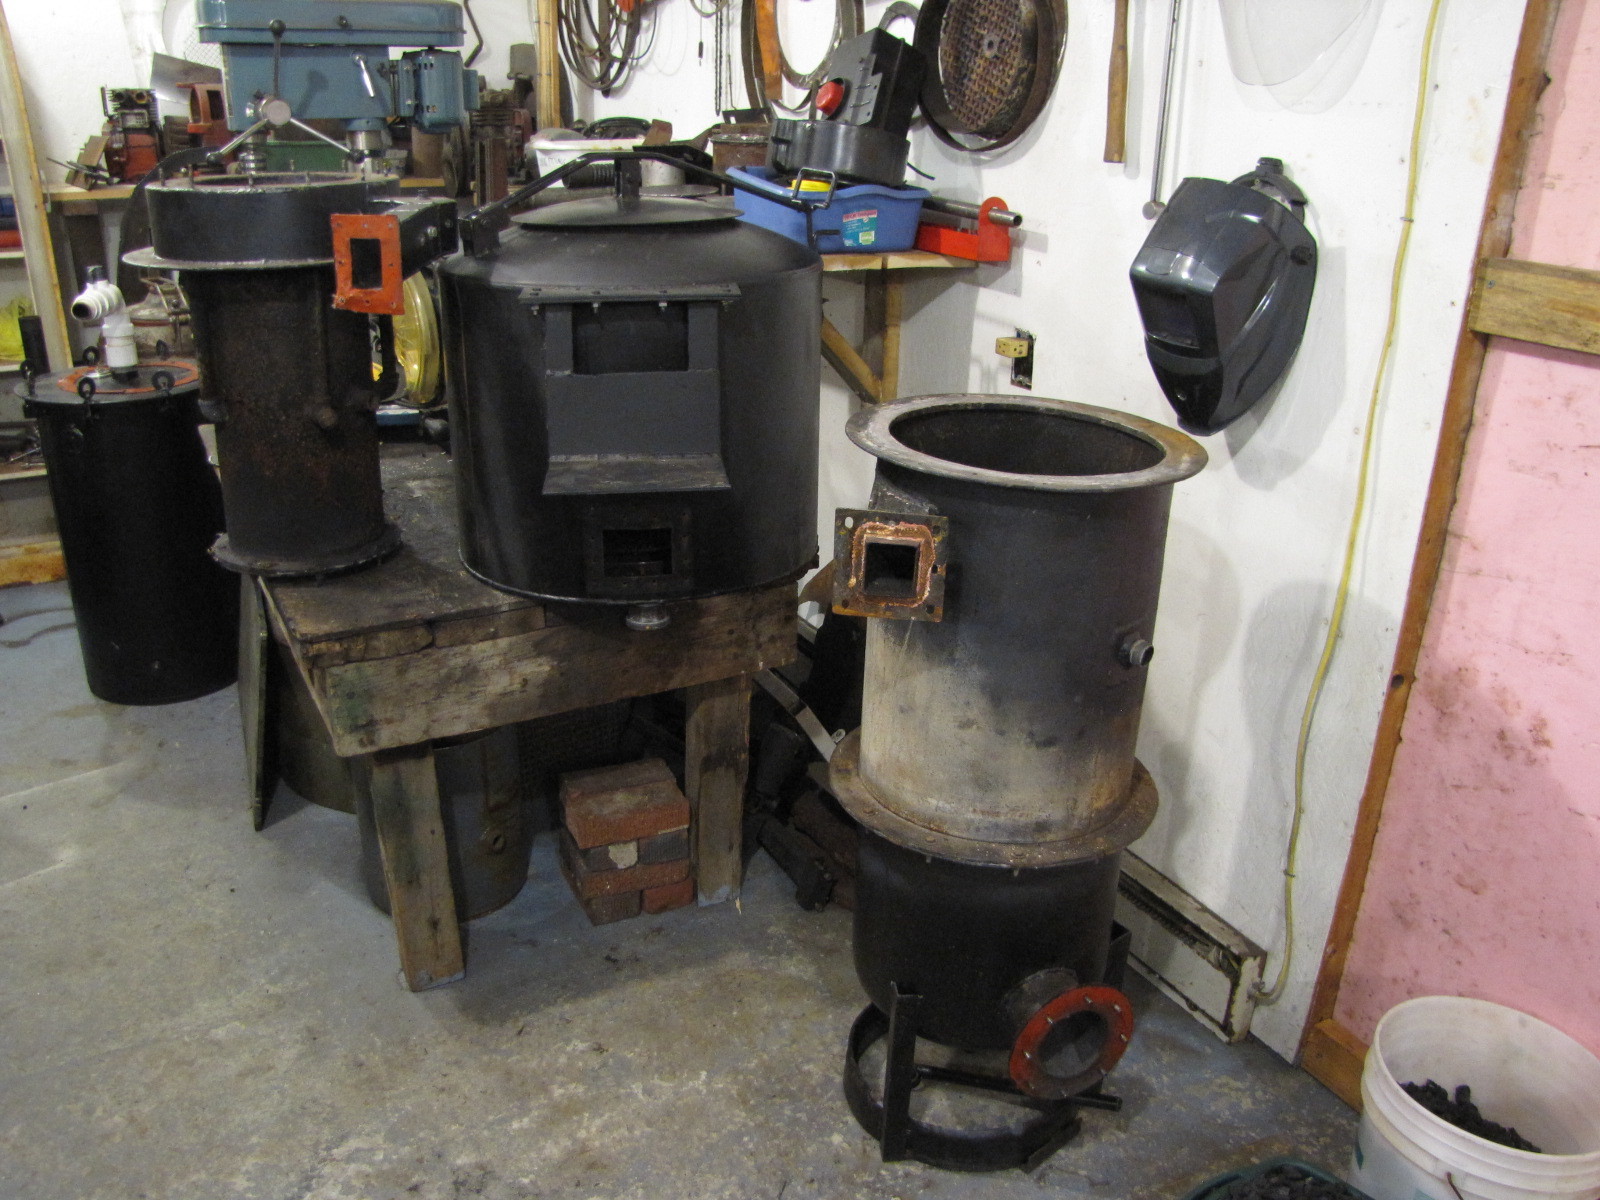
we’re going to be sunny and almost 50 this Sat and Sun. I’ll probably burn some wood before I retire my unit for the winter for teardown and further mods. One of the mods will be heat gathering shroud over the 3 hottest cooling pipes on my cooler. They are all in one row simplifying the duct construction (basically a rectangle). The harder part will be connecting the 2. Here’s a view from the front of the unit.
Here’s a link to the site I use for titles, etc. http://wigflip.com/roflbot
Hi Brian,
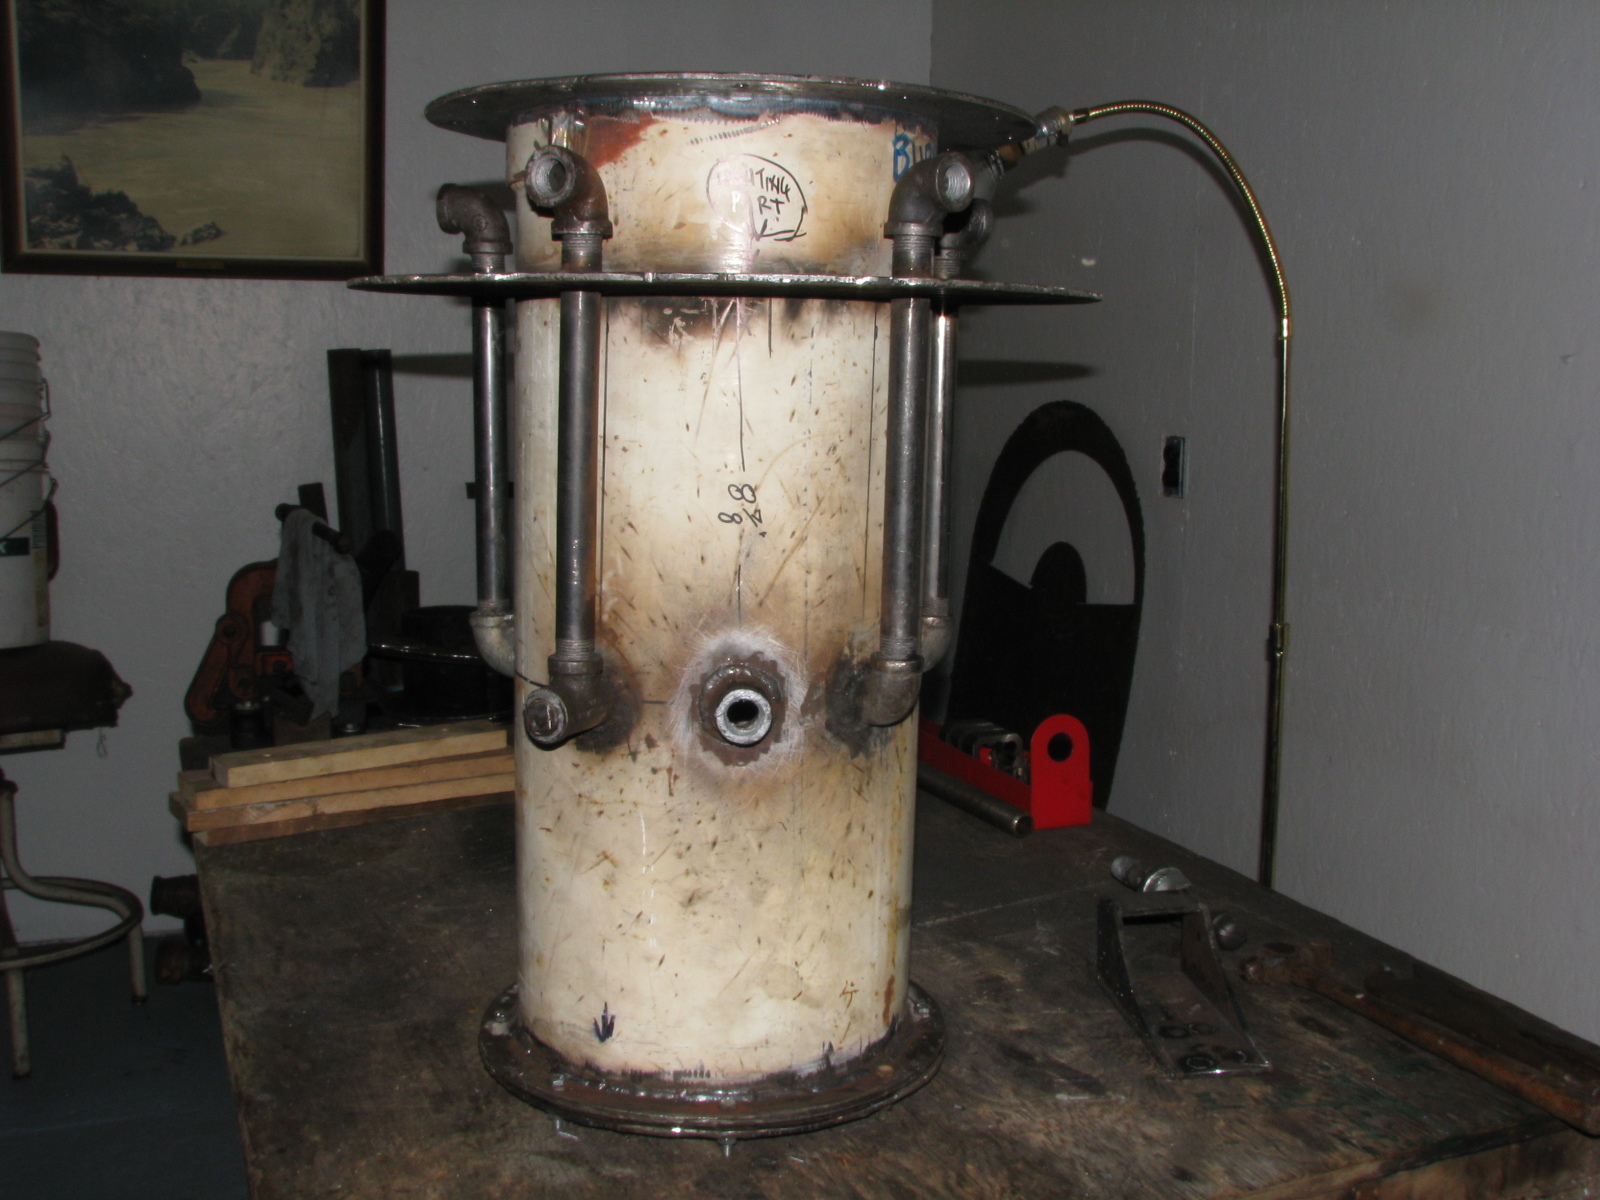
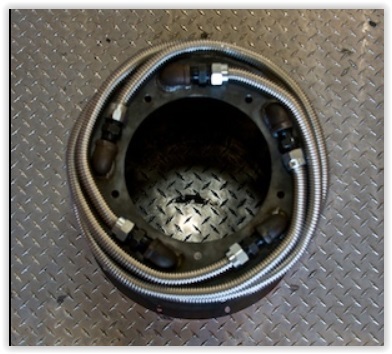
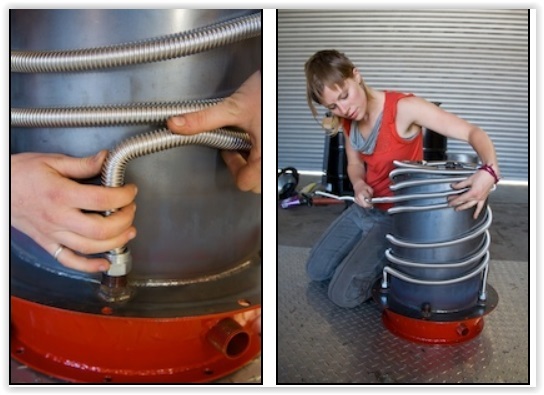
SPAI is a single port air inlet on the circular manifold enclosing the tubes to the nozzles. This unit was a fluidyne design (third pic) before I started modifying for the better. This is the point where my experiences and reading finally began to come together, namely “preheating incoming air” by putting the air inlet tubes in the hot exhaust gas stream. It works and was well worth the effort. (last pic.
Pepe
Hey Everybody,
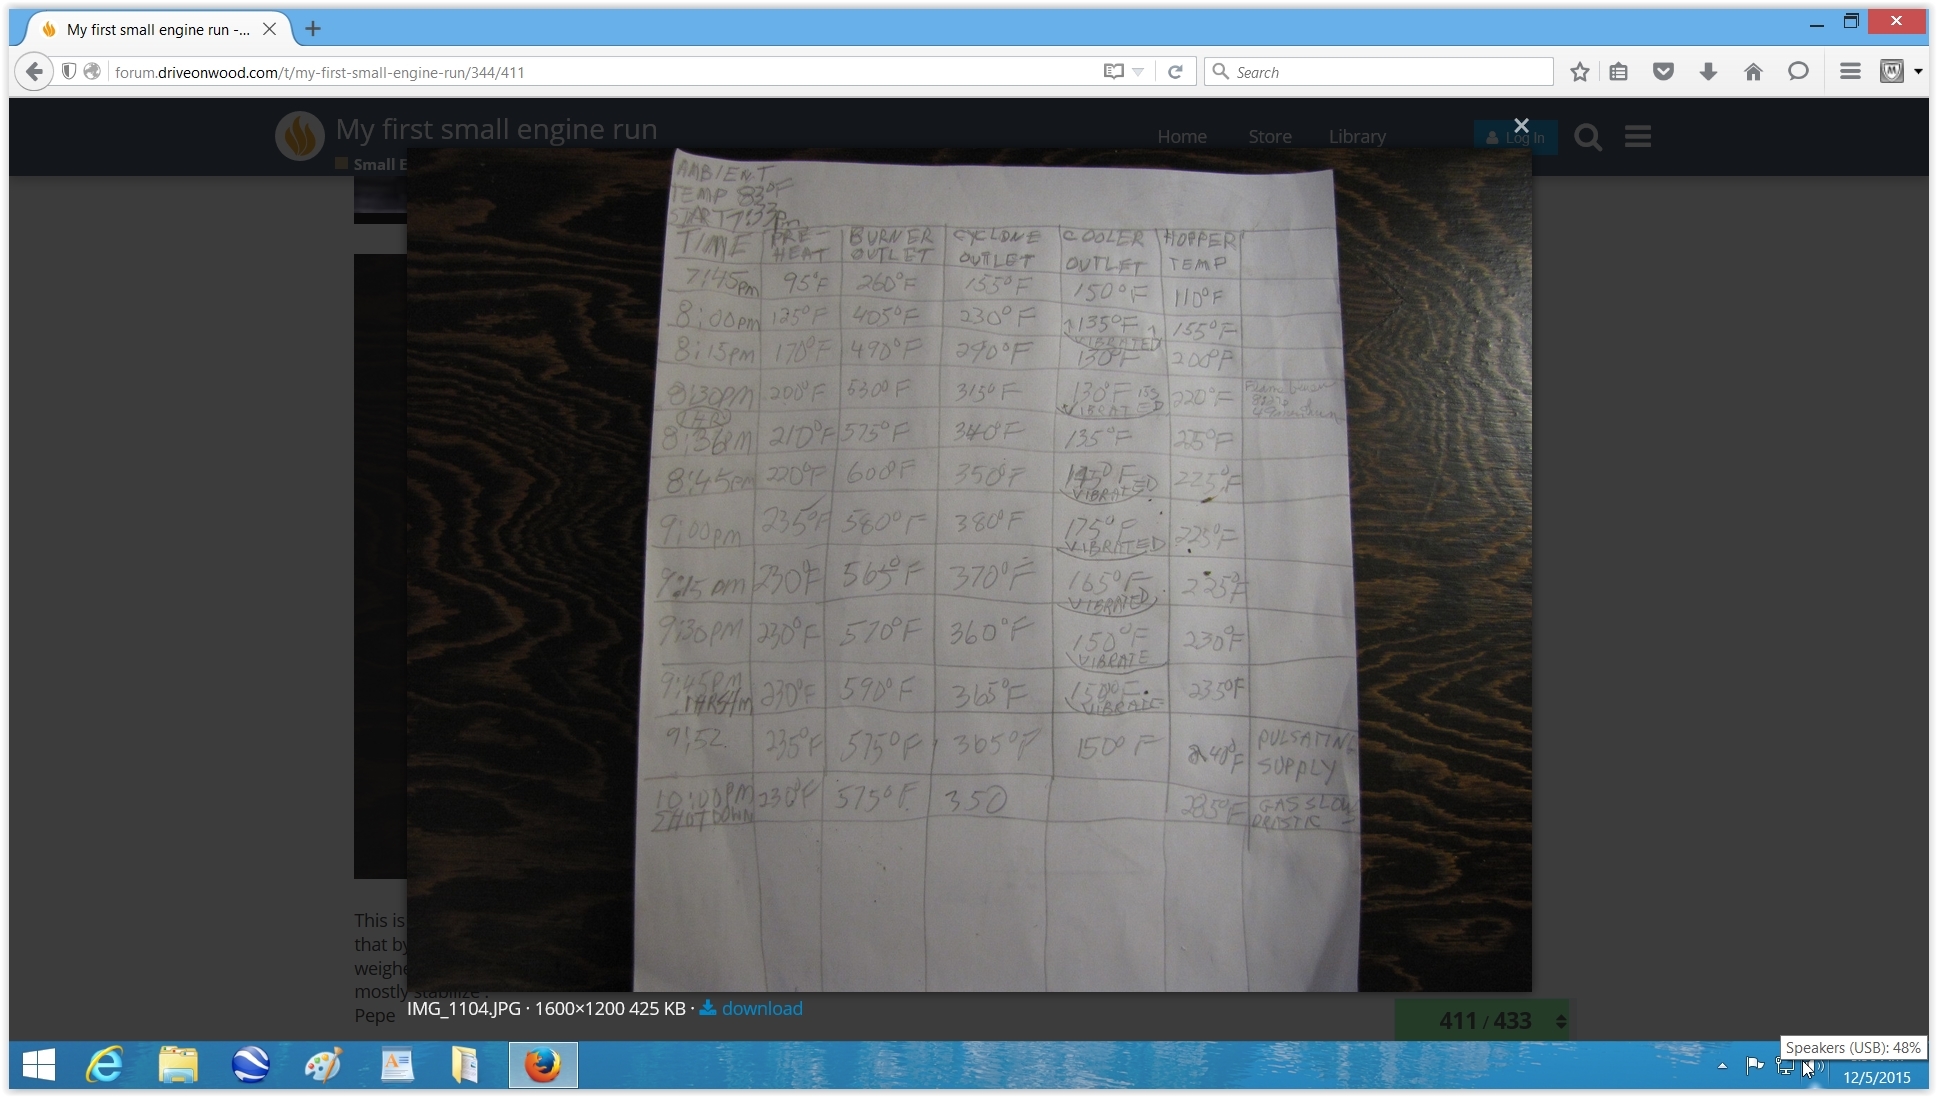
Refer to the chart on comment 411, August 18, 2015 @ 5:22pm. When I find my hard copy, I’ll post it here.
I took a few minutes to analyze my temperature readings from 5 places on my gasifier.
The PREHEAT temp peaked @235*F @ 9pm. It stayed fairly constant to the end.
There’s a reason for this that I finally recognize after all this watching and reading.
I’ll get to it after I tell you the other temps.
The BURNER OUTLET temp peaked @ 600F @8:45pm, cooled on & off 20-35F, but
remained fairly constant to the end. There’s a reason for this.
The CYCLONE OUTLET temp peaked @380F @ 9:00pm and only cooled 30F in the
rest of the run. There’s a reason for this.
The COOLER OUTLET temp peaked @ 175F @ 9:00pm and only dropped 25F in the
next 45 minutes. There’s a reason for this.
The HOPPER TEMPERATURE was 225F @ 9:pm and remained mostly constant
almost to the end when it rose to 285F.
The next day I opened the hopper and found I had burned down to the restriction. In my head I guess I had burned a half hour or so too long. OK, now do the numbers tell me anything. Yes, another piece of the 75% . Here’s what happened. When the fuel load was consumed down to 4"-6" or so inches above the nozzles, pyrolysis stopped (no wood left to pyrolize) and the charcoal/char bed became the fuel and burned up. The preheat, burner outlet, cyclone and cooler temps stayed constant because to them it was business as usual (heat).
The only real trend I think is the cyclone outlet temp. It peaked @ 9:00pm and steadily declined to the end. I will probably watch for this decline trend and let it run for another half hour. This kinda jives with my half hour too long guess from looking where the burn ended. Darn, I guess I’ll just have to burn some more wood
Pepe
After you bring up the picture use the arrow key on the upper left hand corner. Click once to enlarge, then click again to close the picture. I usually don’t have to use the back arrow key but I chose the wrong capture option from the choices circle. Here’s a link to the site to download Gadwin Print Screen. In the instructions you’ll see a circle with choices on how to capture what you want. This is Gadwin Print Screen 5.4, it’s free. http://www.gadwin.com/printscreen/
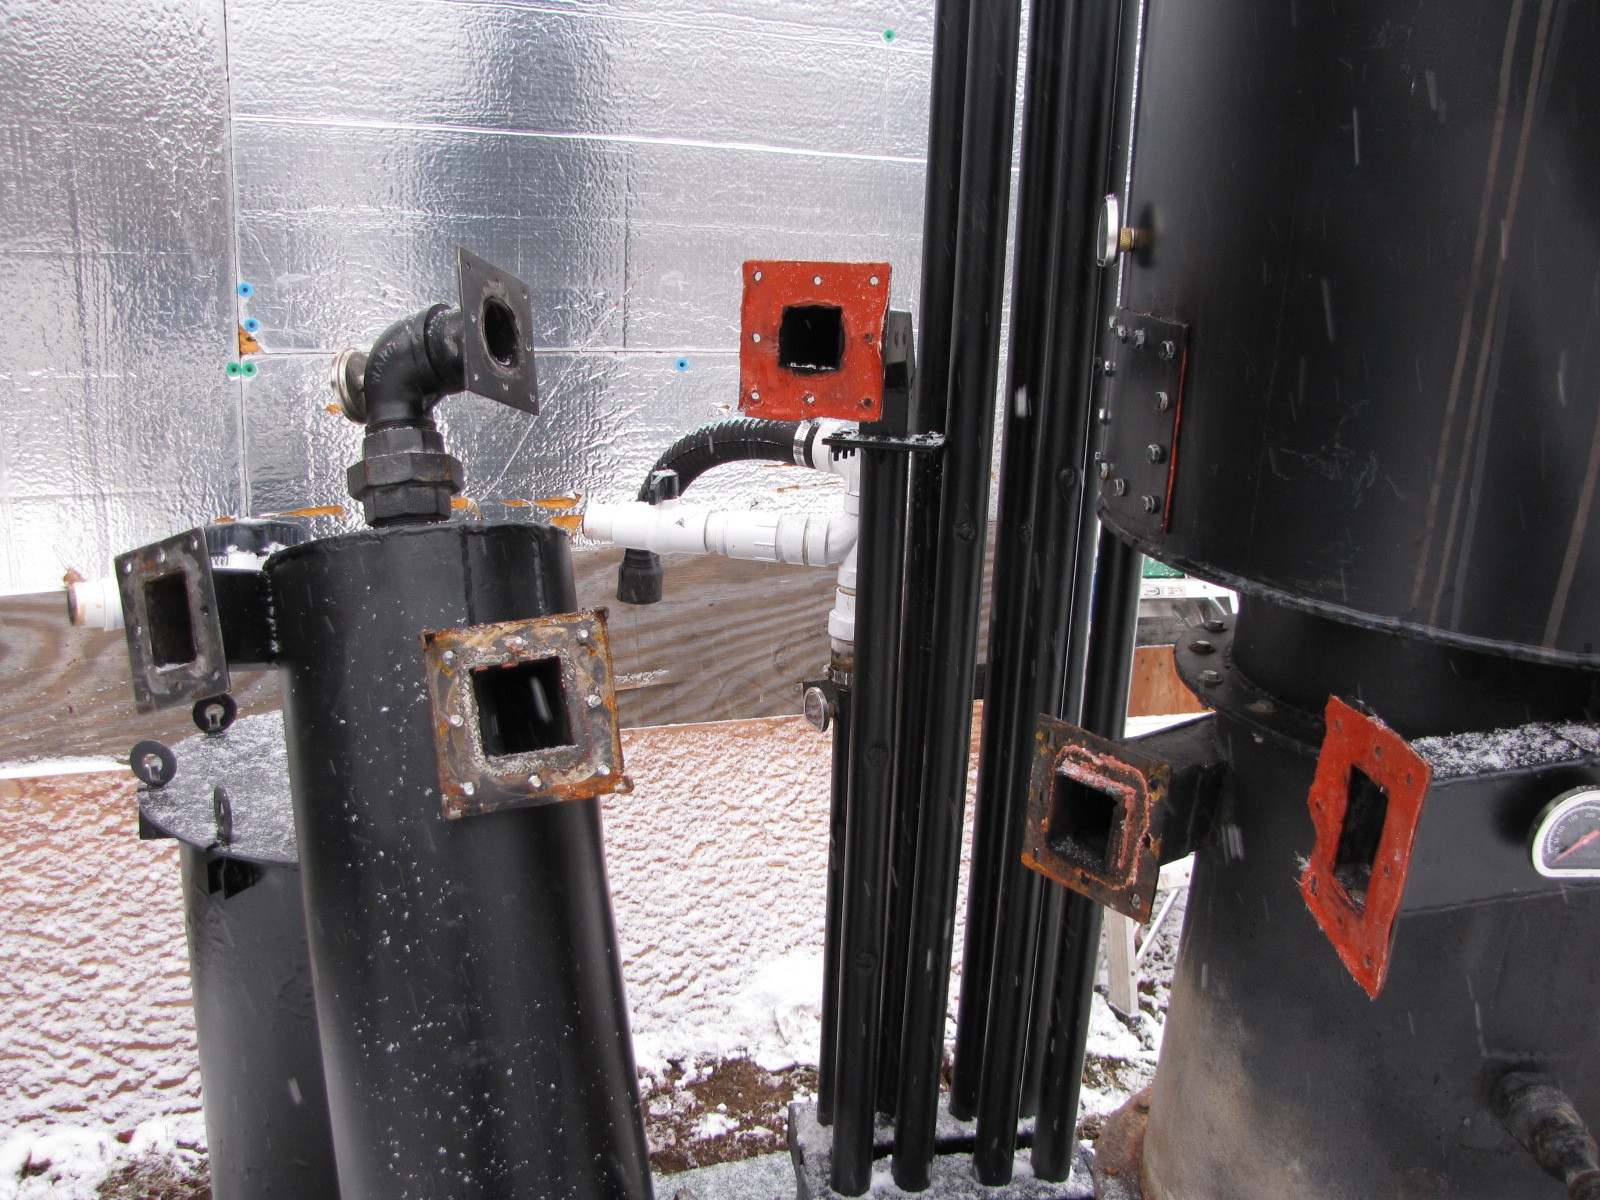
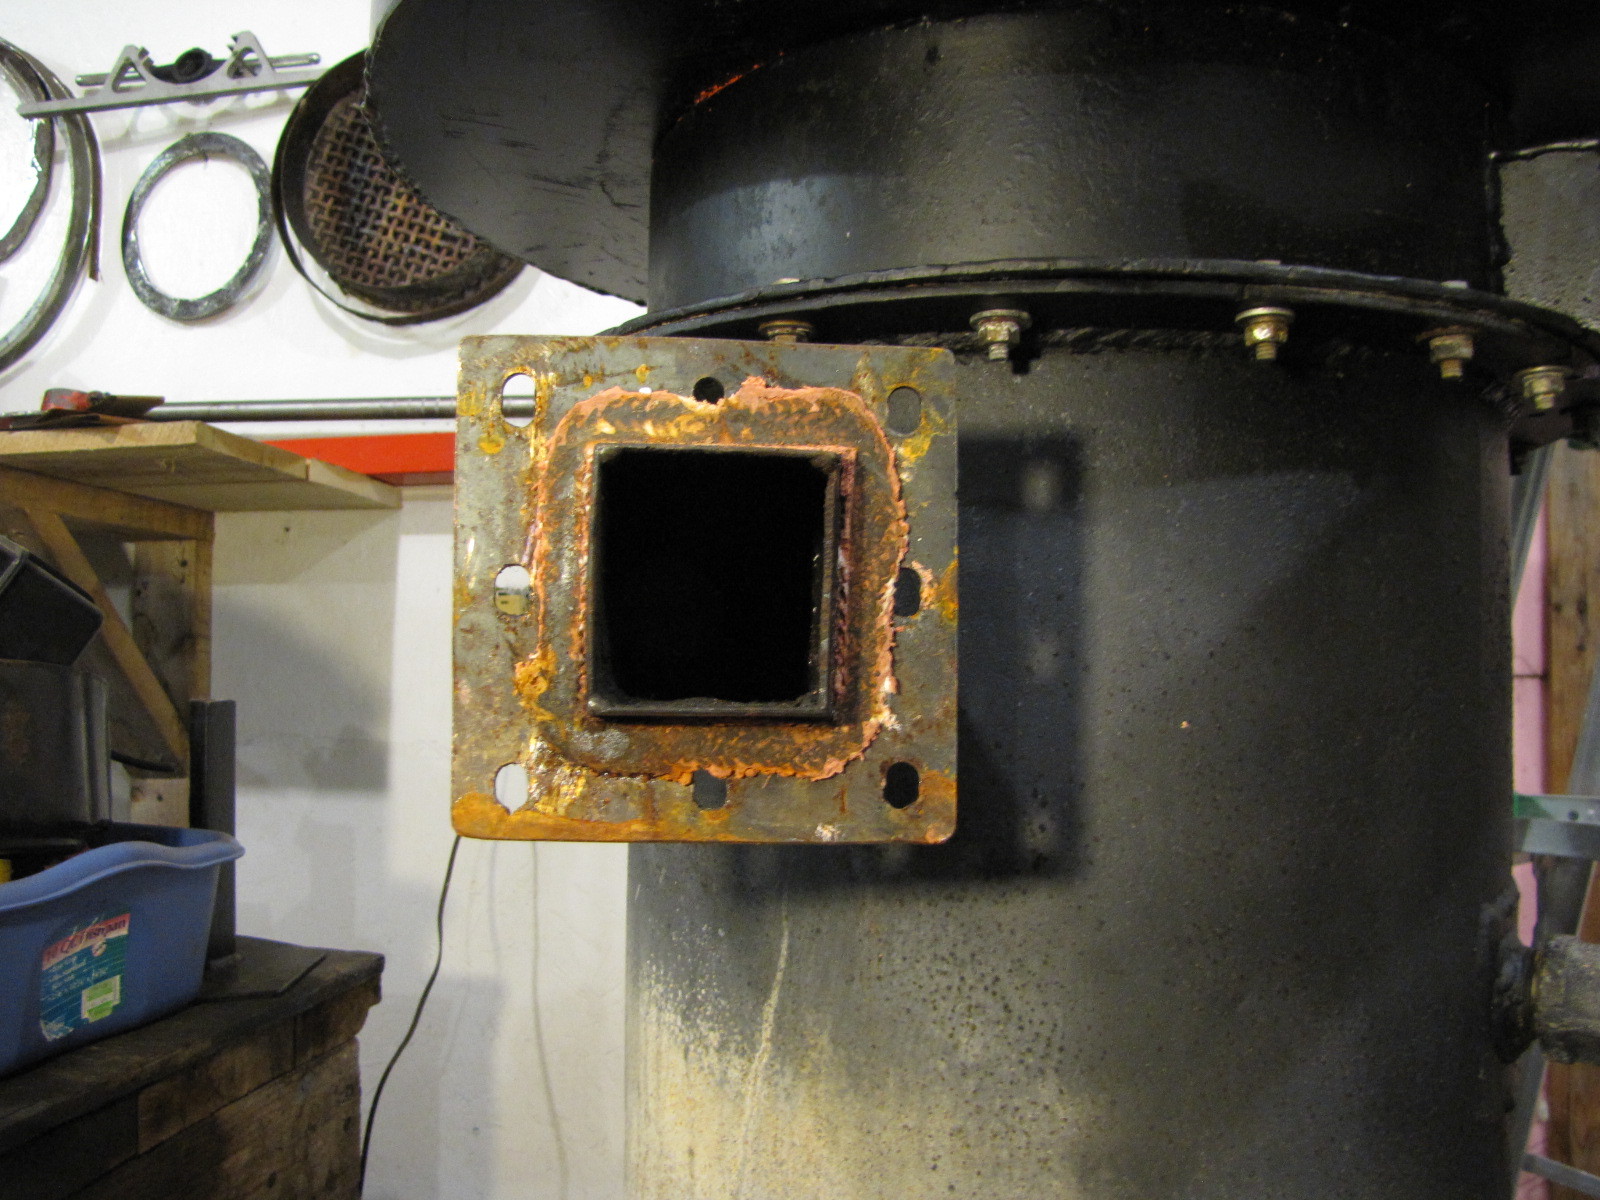
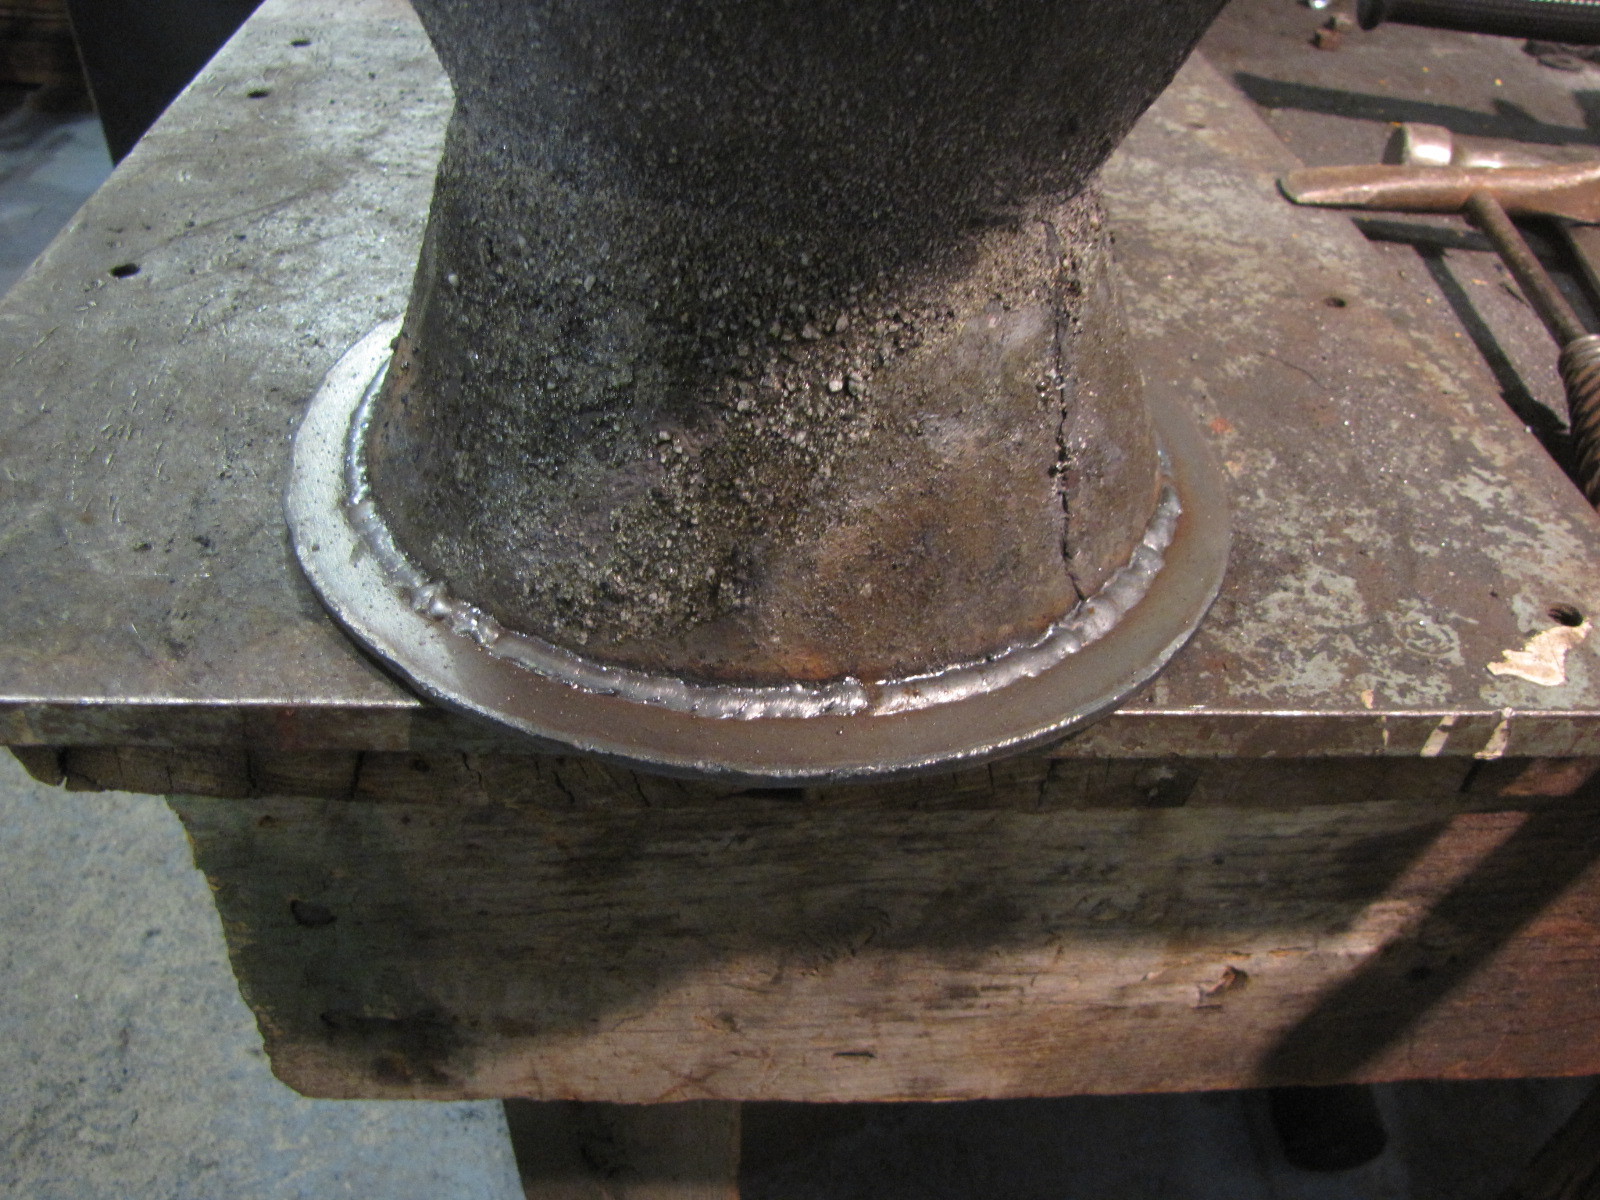
This is using a new gasket material Tom C. suggested. Used 1/16" high temp flat gasket smeared on both sides with Flamebuster latex caulk. It’s hard but it sealed great and took the heat. The heat shield extensions were definitely worth the effort. Yes, I’ll have to redo this gasket on each teardown. Gosh, what a chore, I don’t know if I can take anymore! ha,ha. It’s really a pleasure to make changes that work well.
This is the old connection. I moved the gasket to other mating face protected by the extensions. I then cut out the sides leaving just the corners for line up assembly. No more heat trap here to destroy the gasket material.
Hi All,
Here are some highlights of what I will be doing this winter to improve the performance of my unit. I’m sure some of you are as interested as I am in monitoring the temp at the restriction. There are other spots, too, but this is most interesting to me.
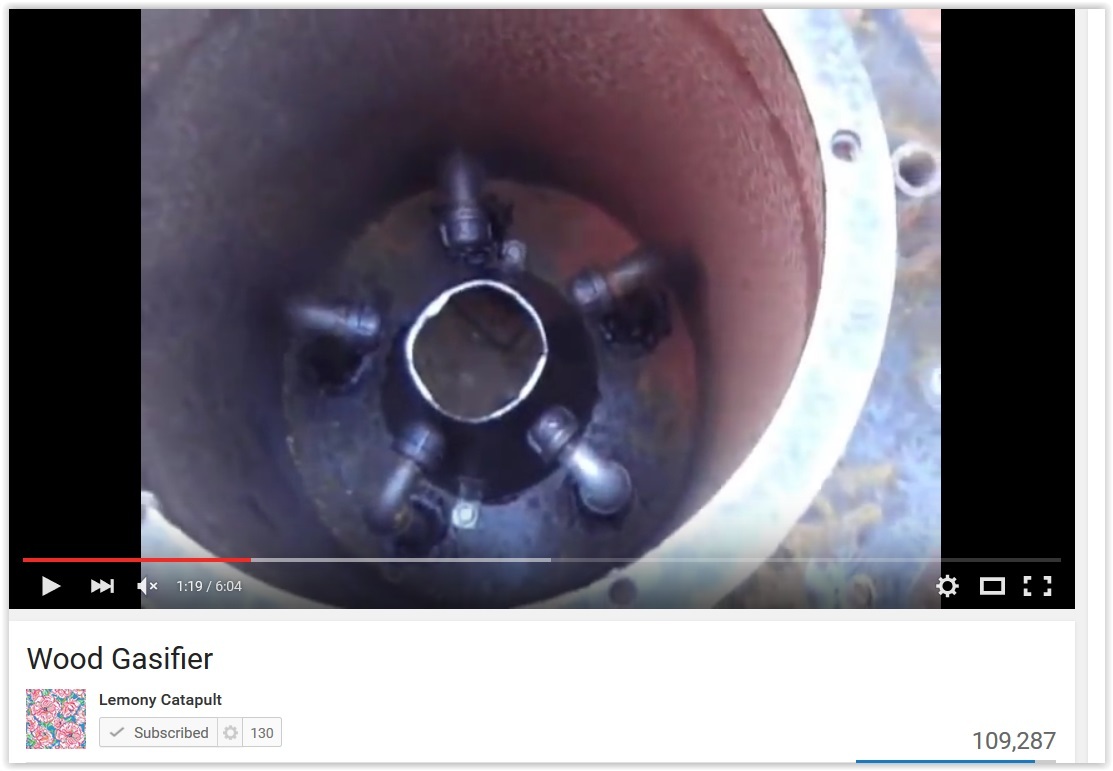
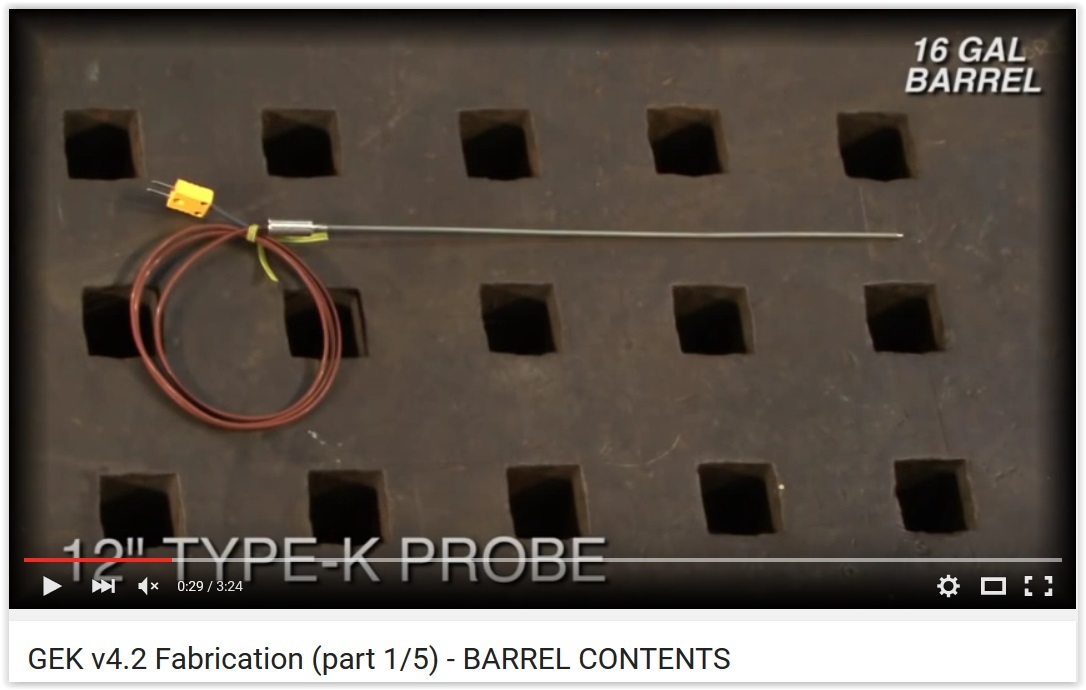
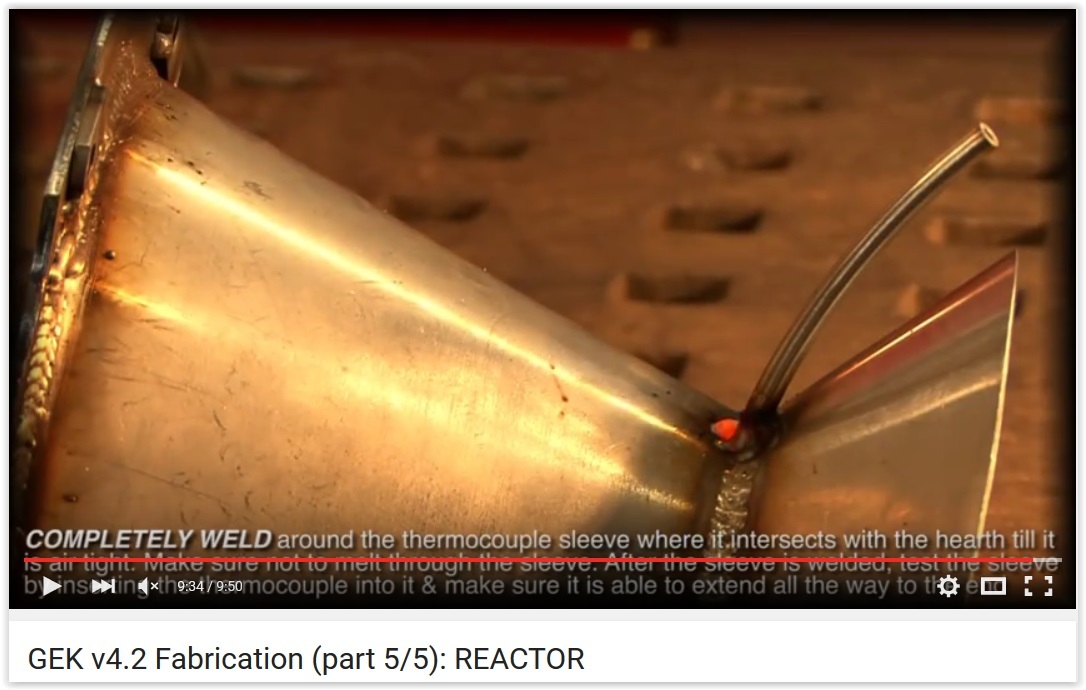
Looking for an alternative to the Fluidyne, I ran across Jim Mason’s AllPowerLabs and the GEK design. Youtube yielded this GEK derivitive posted by Lemonycatapult.
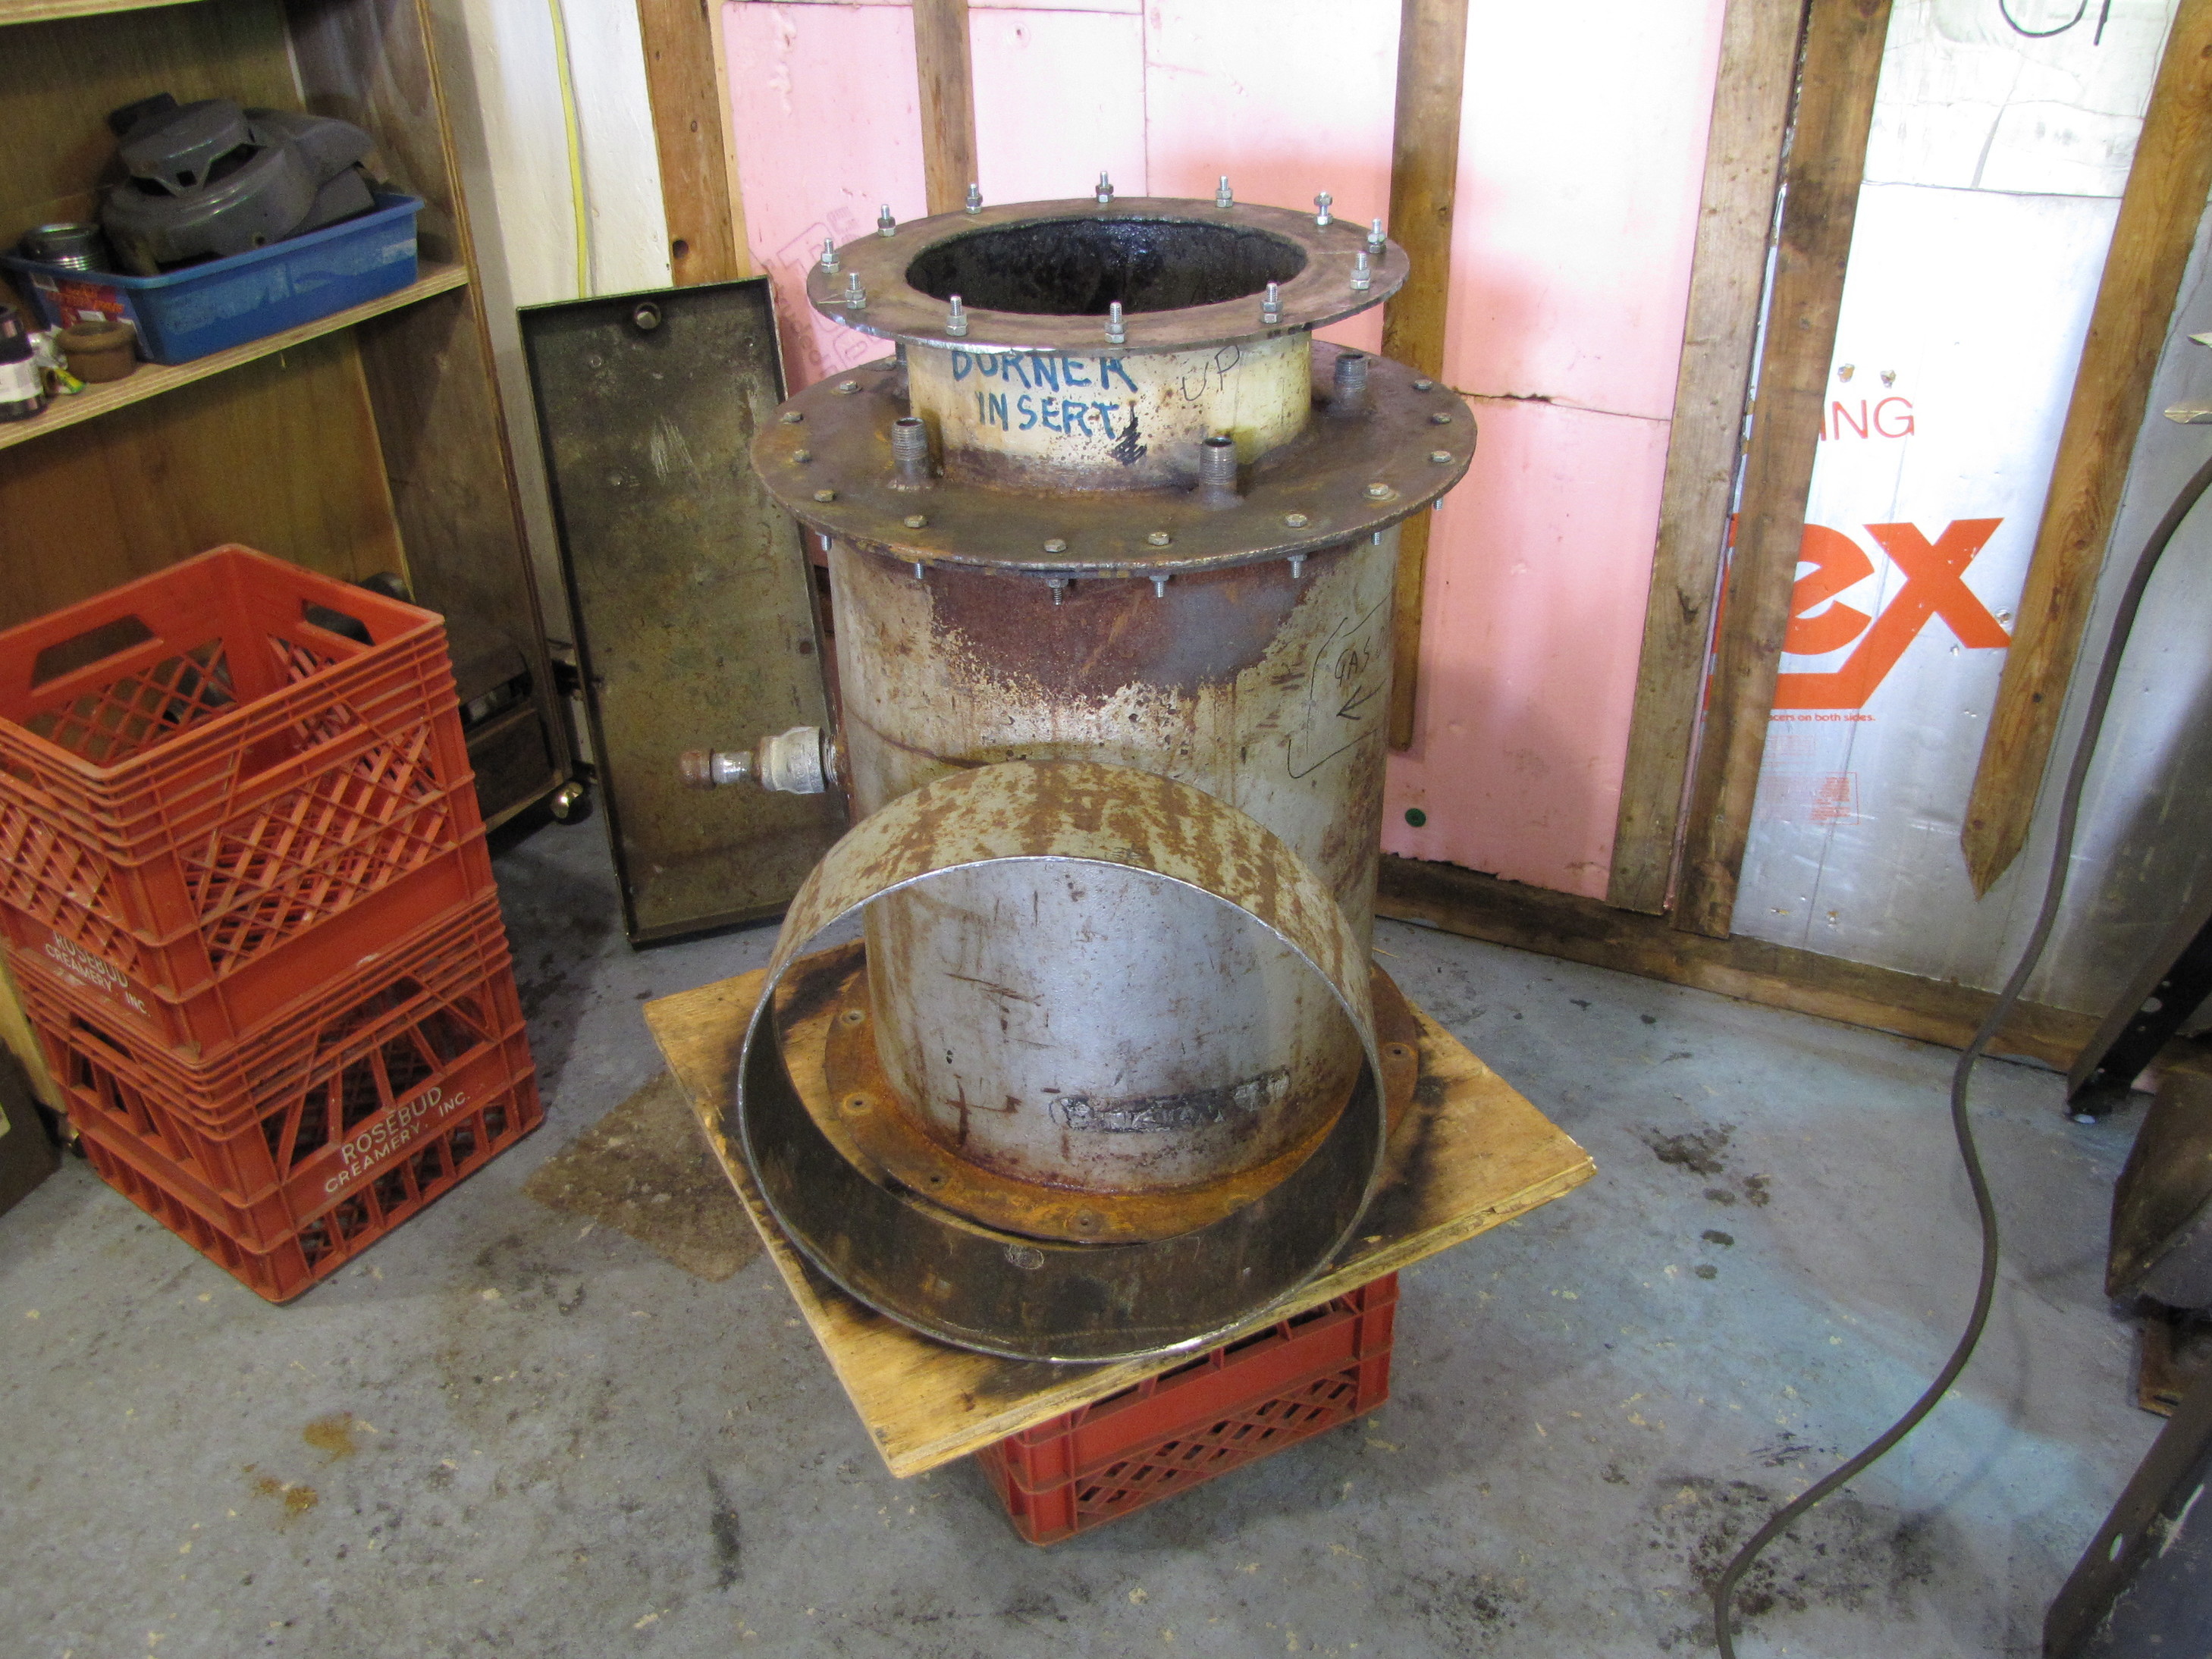
1c. My lines come through the firetube wall via a threaded 90 degree elbow. The nozzle is a 1/2" pipe cap drilled with a 1/4" hole and threaded on to a short nipple which engages the threaded elbow. Next time I would come through the wall with a 1/2" threaded pipe coupling. It would be easier to establish the nozzle ring diameter. I think it would easier to remove items from also.
1d, 2. I will use 1’2" or 5/8" soft roll copper to make a preheat system like this.
One thing I like about the removable hourglass hearth is that I can fashion cones for diff gas/hp rqmts. I have one for line C and line D on the imbert chart. Of course you are stuck with the diams of your housings/firetube. I couldn’t meet all specs, but was pretty close and got real good results. So play with the numbers a bit if you like, but build your first one as close as possible to the “numbers” so you have an accurate base for comparison. My numbers are working great,imo, so I’m not changing them.
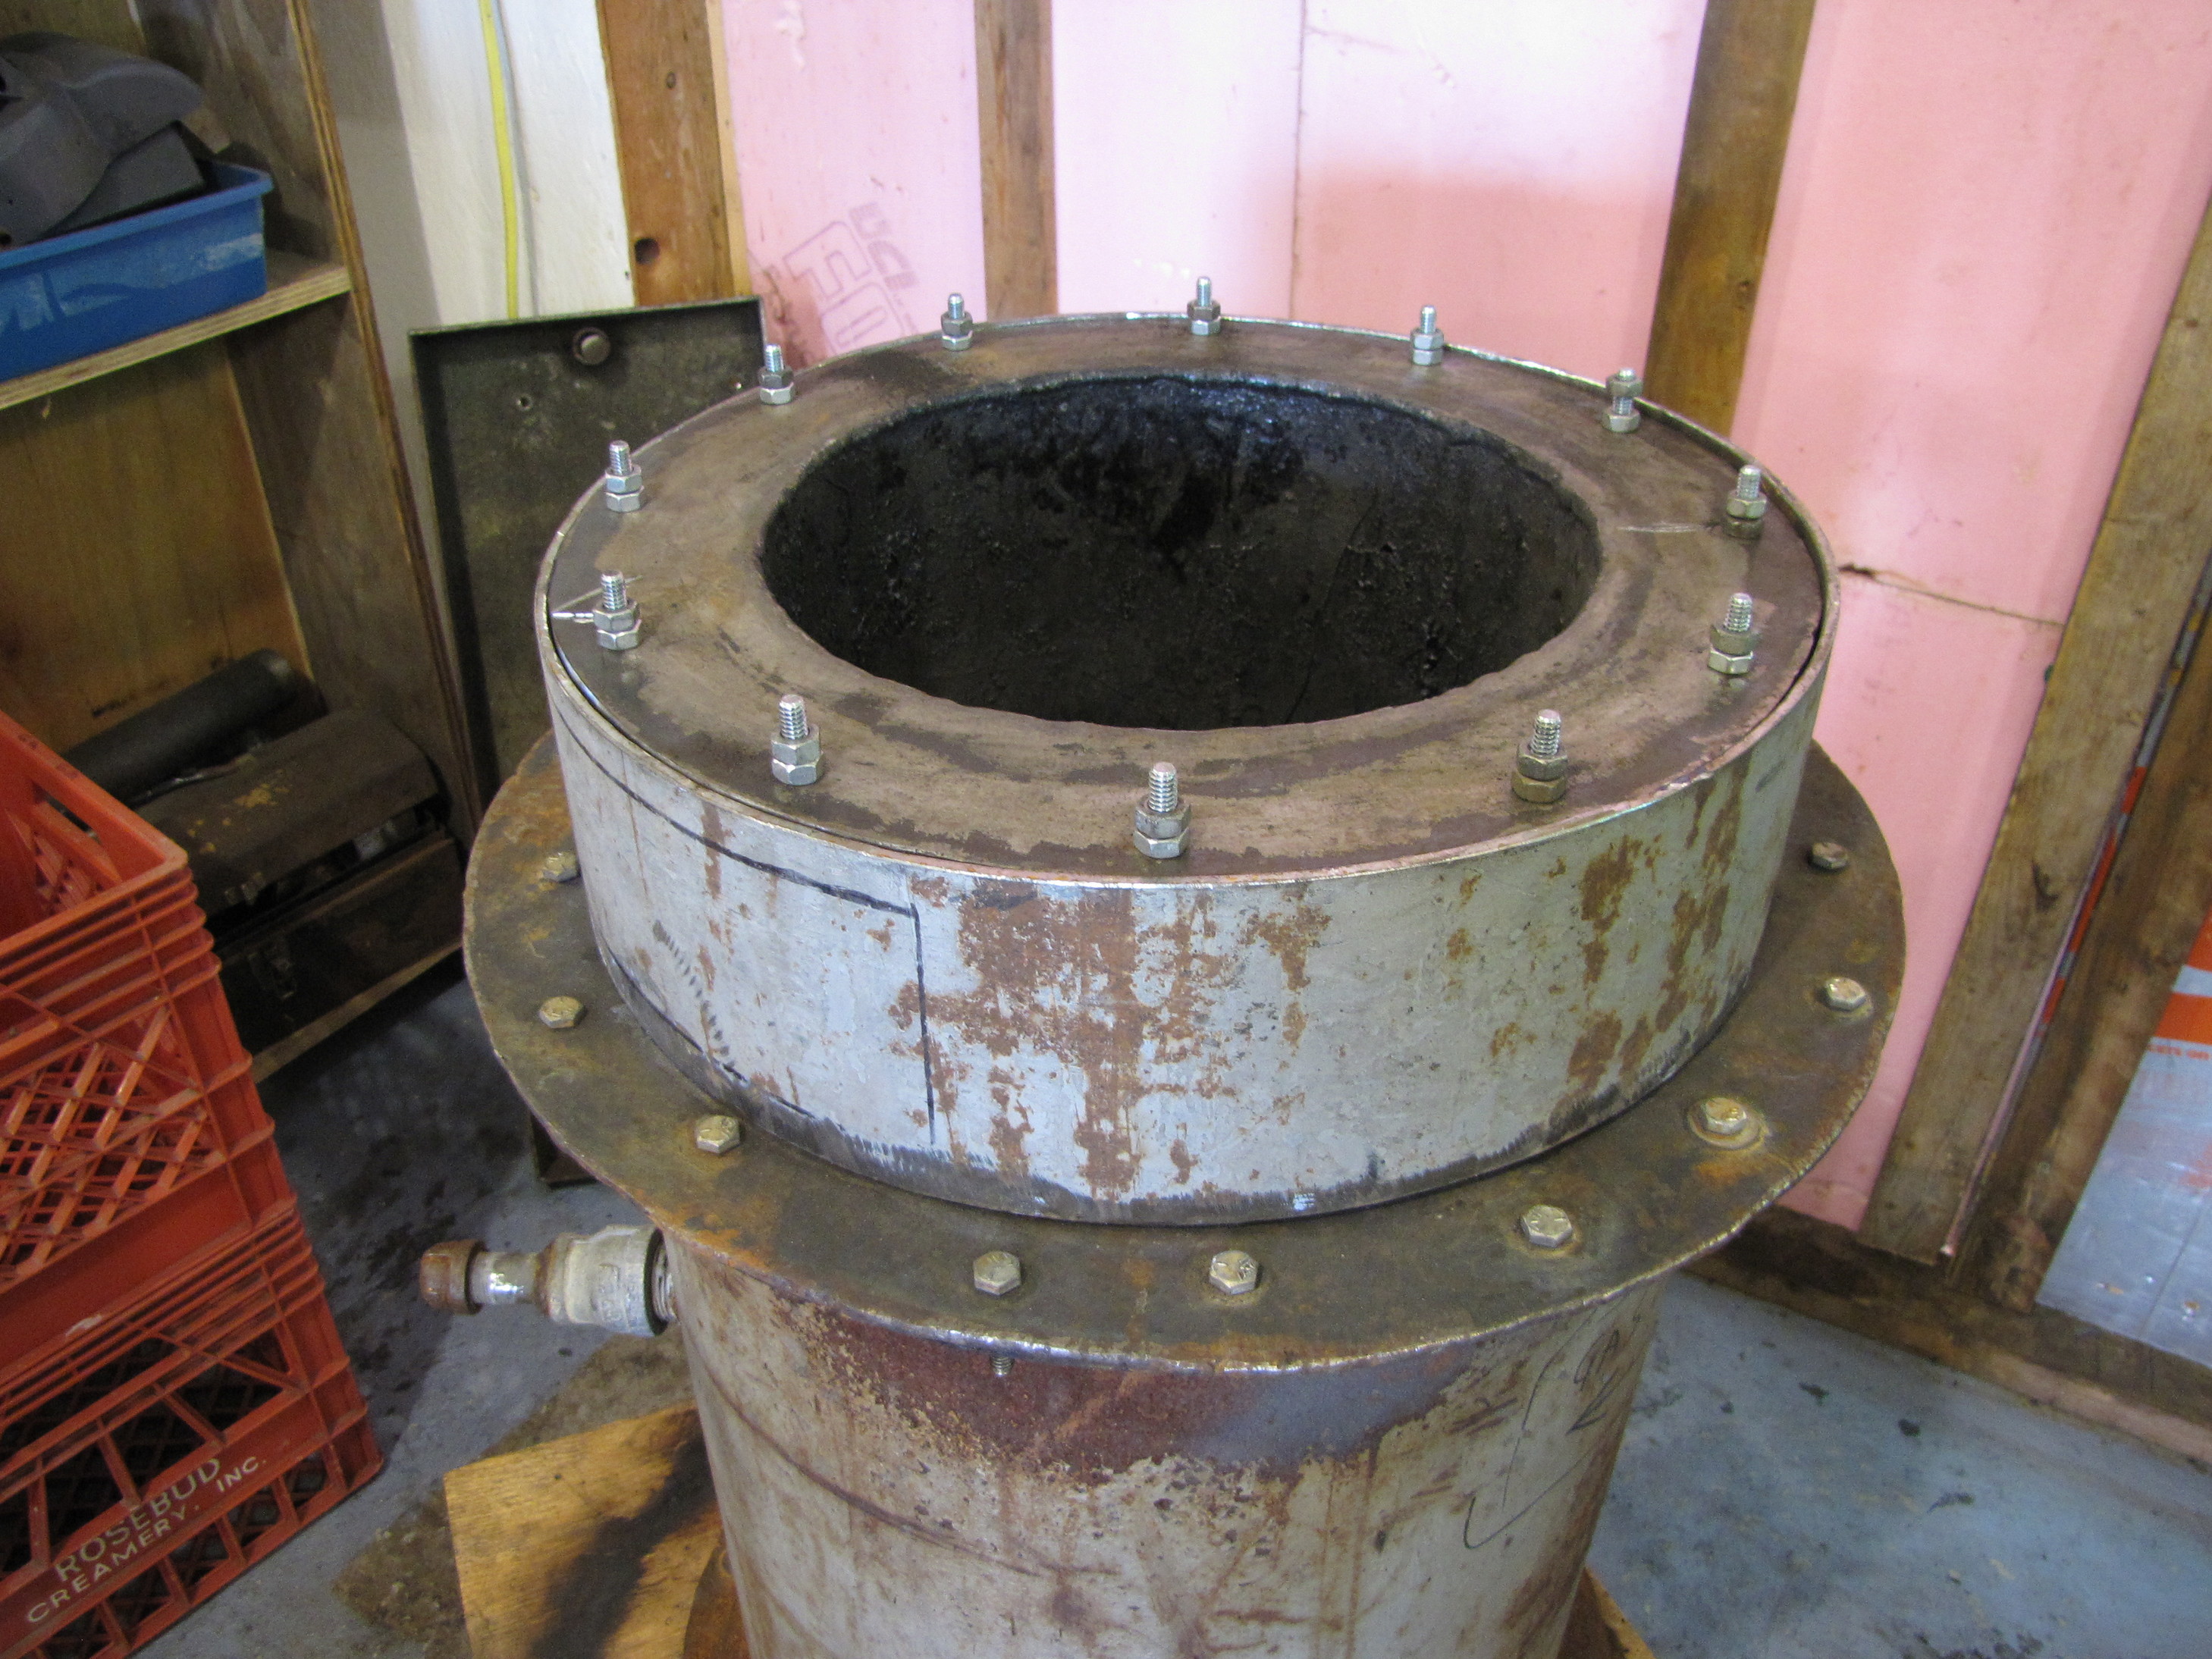
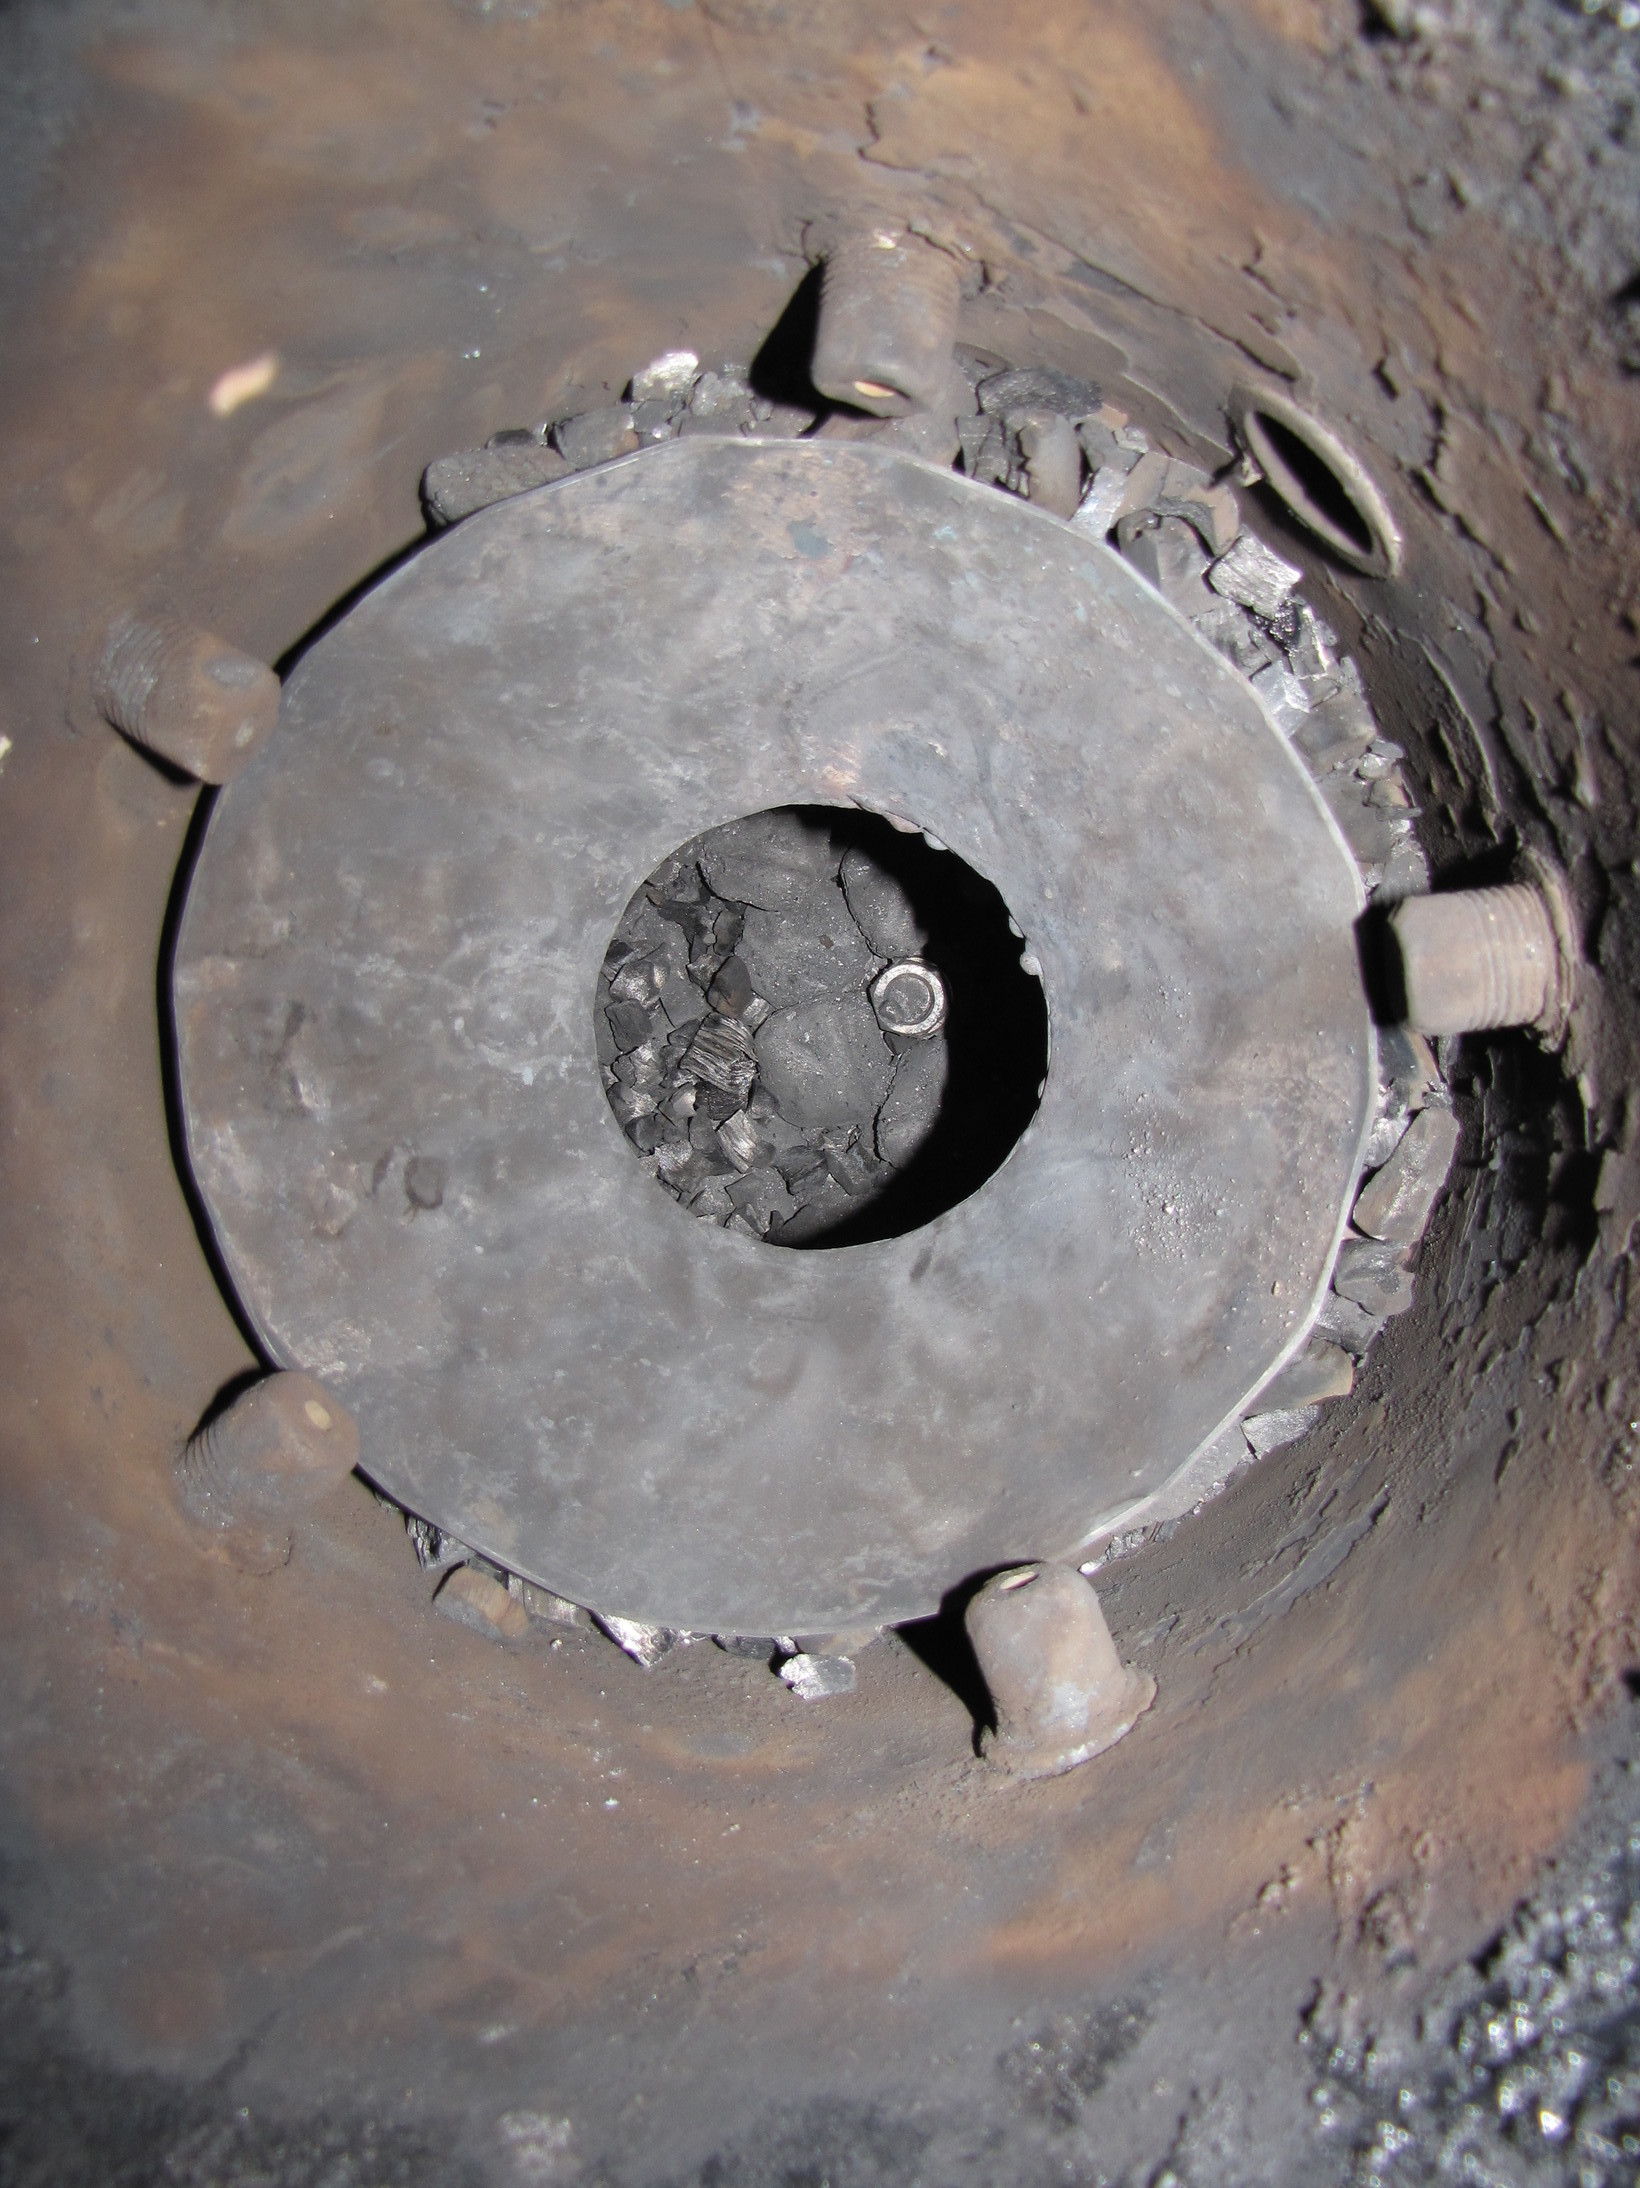
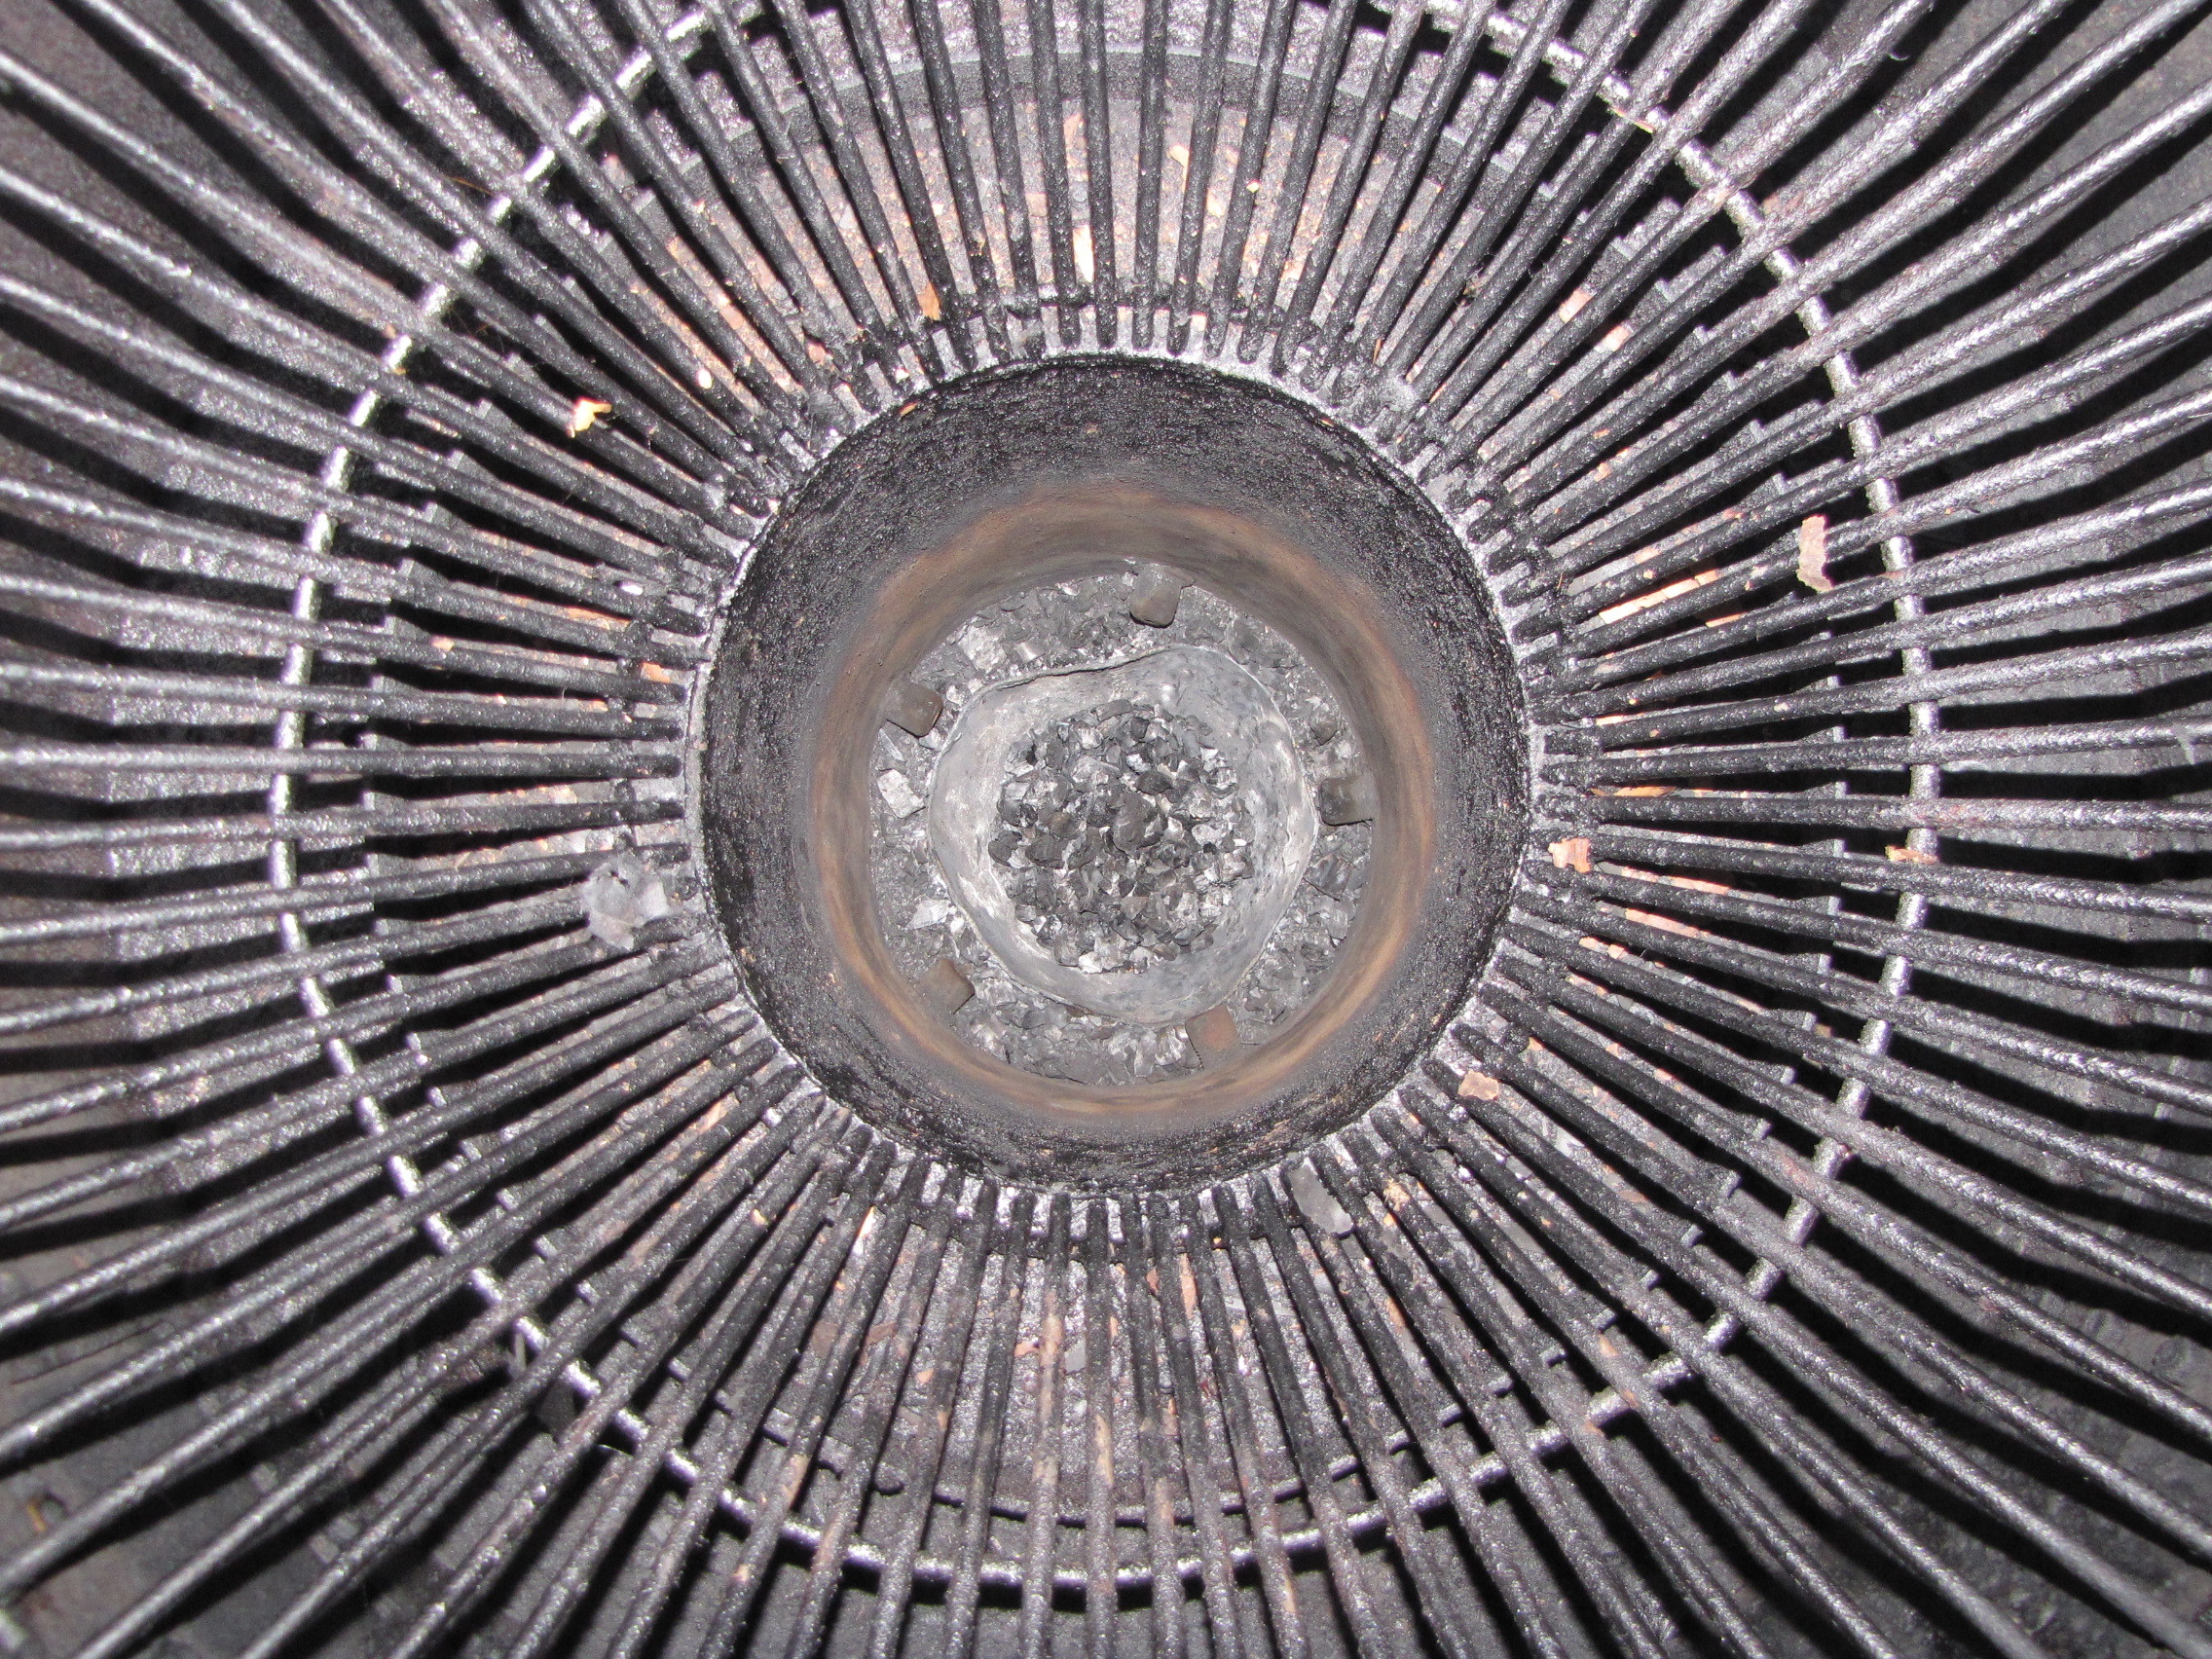
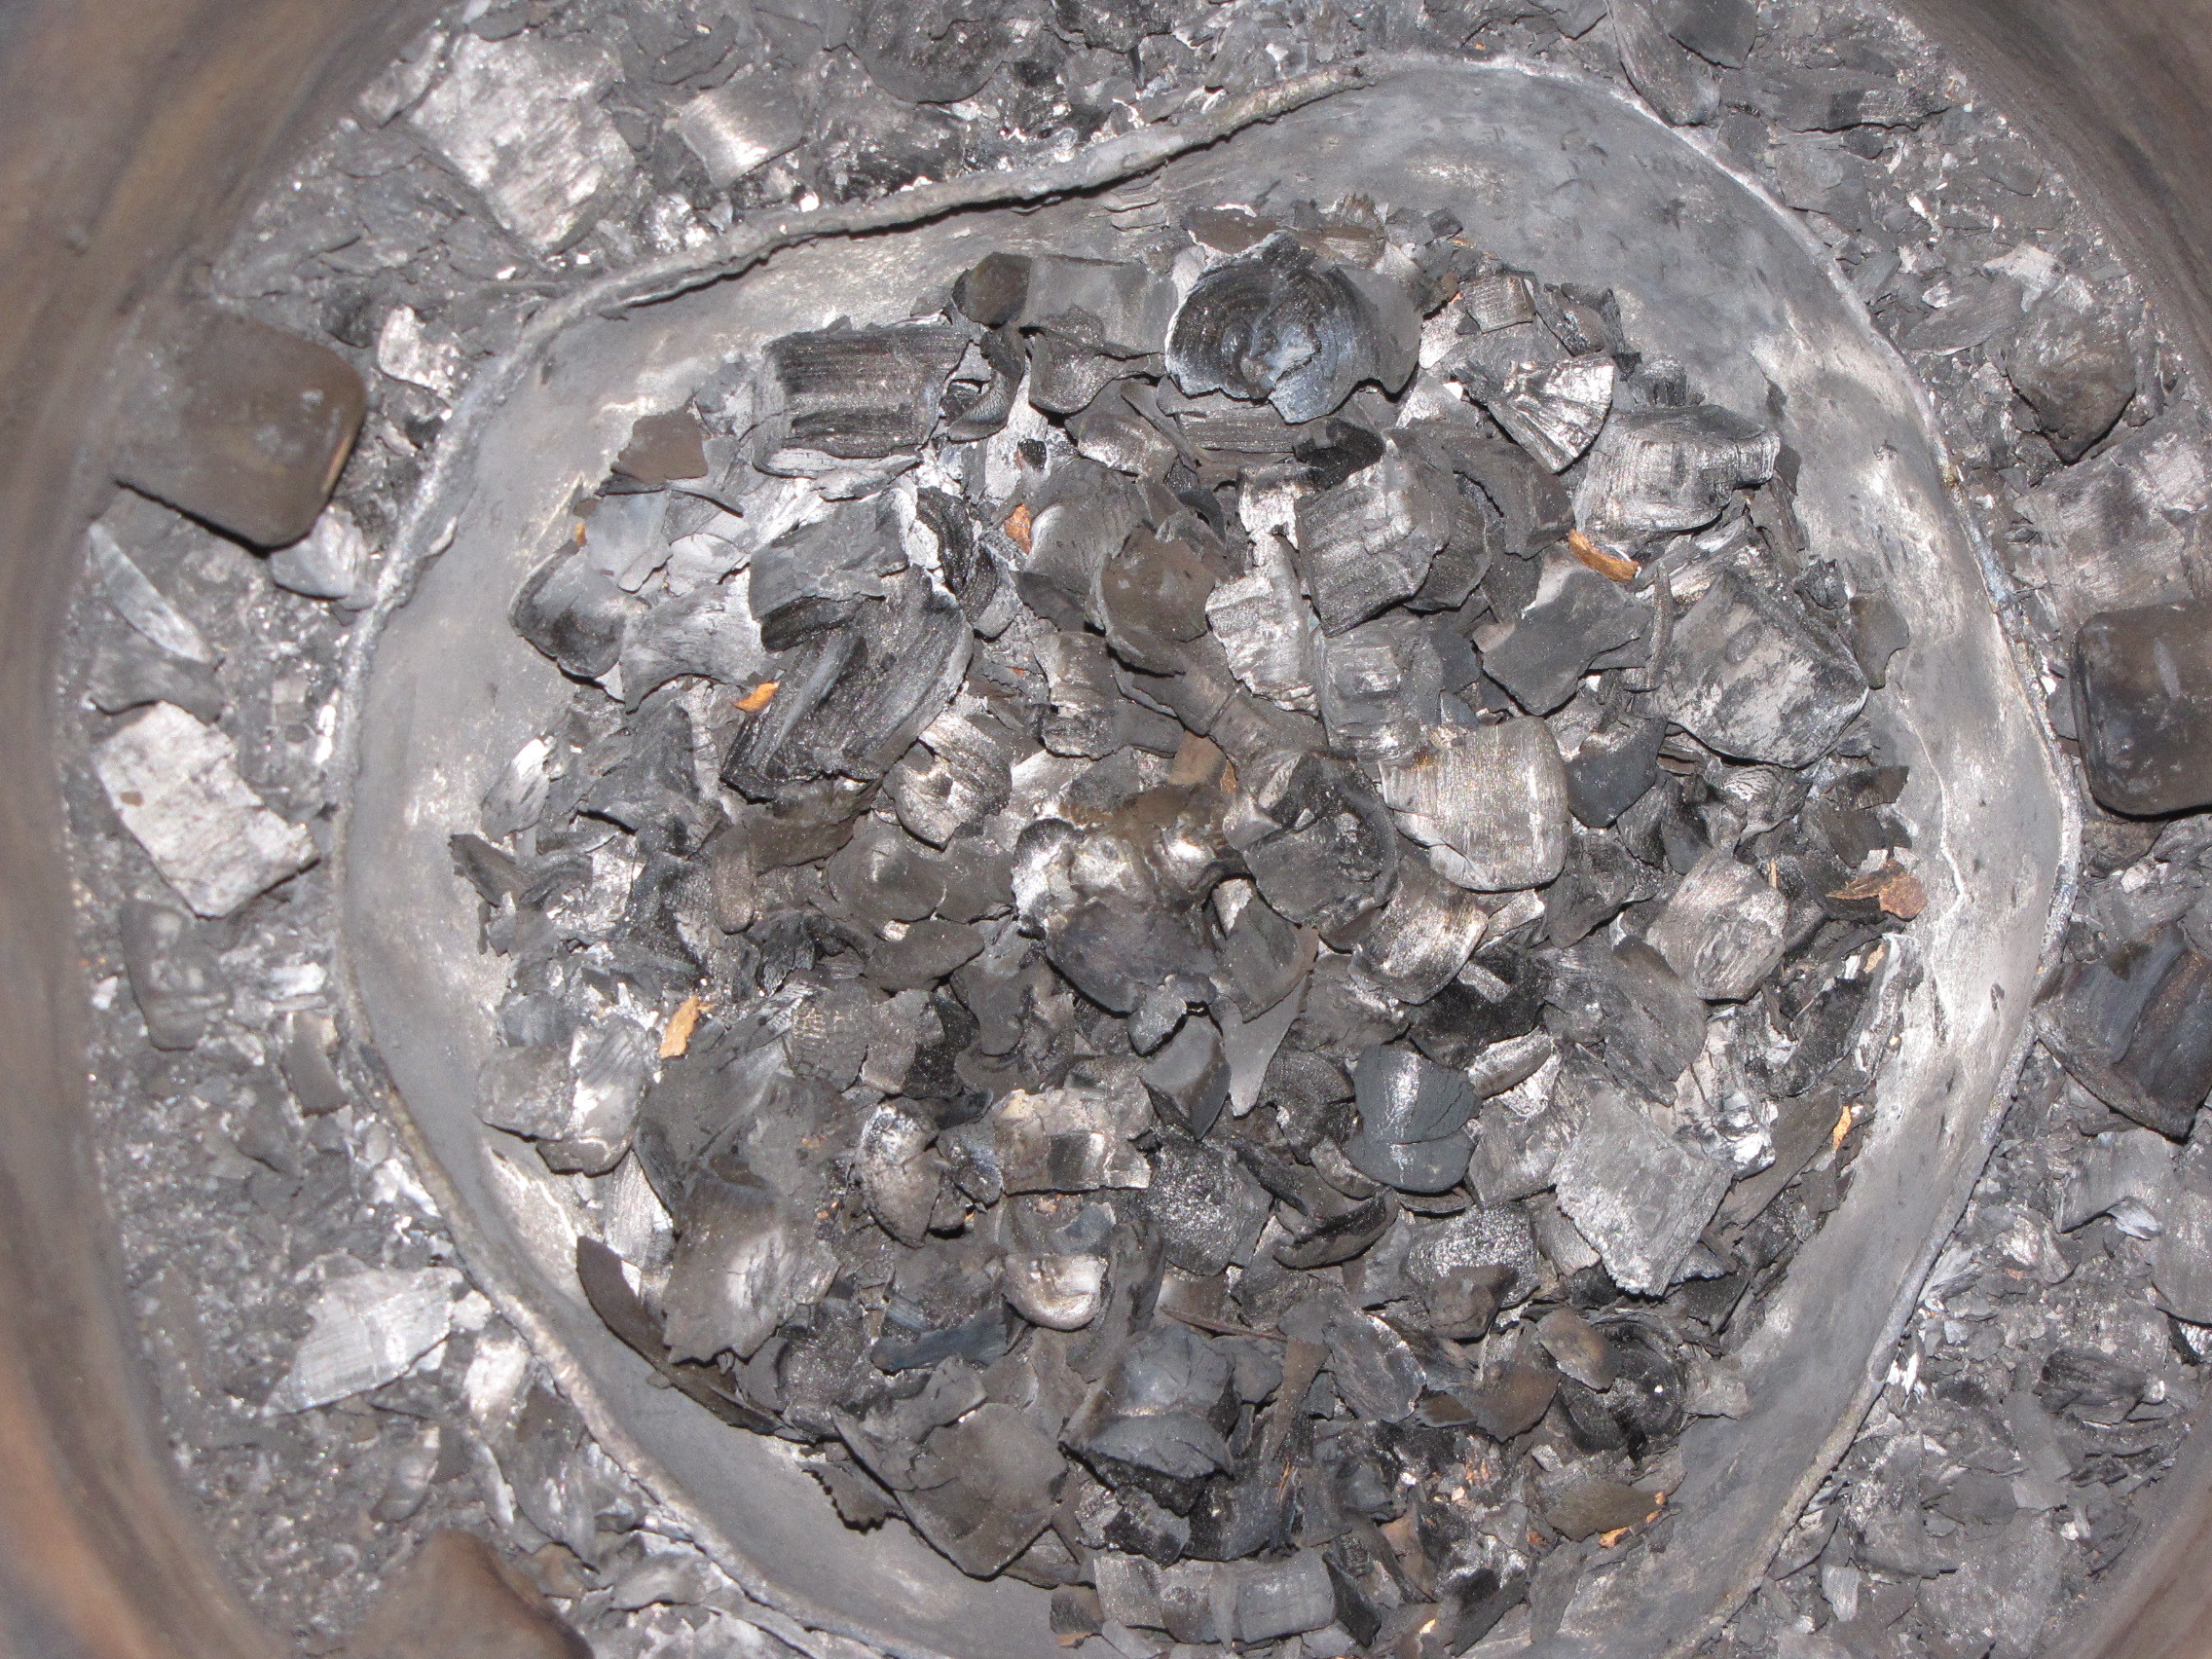
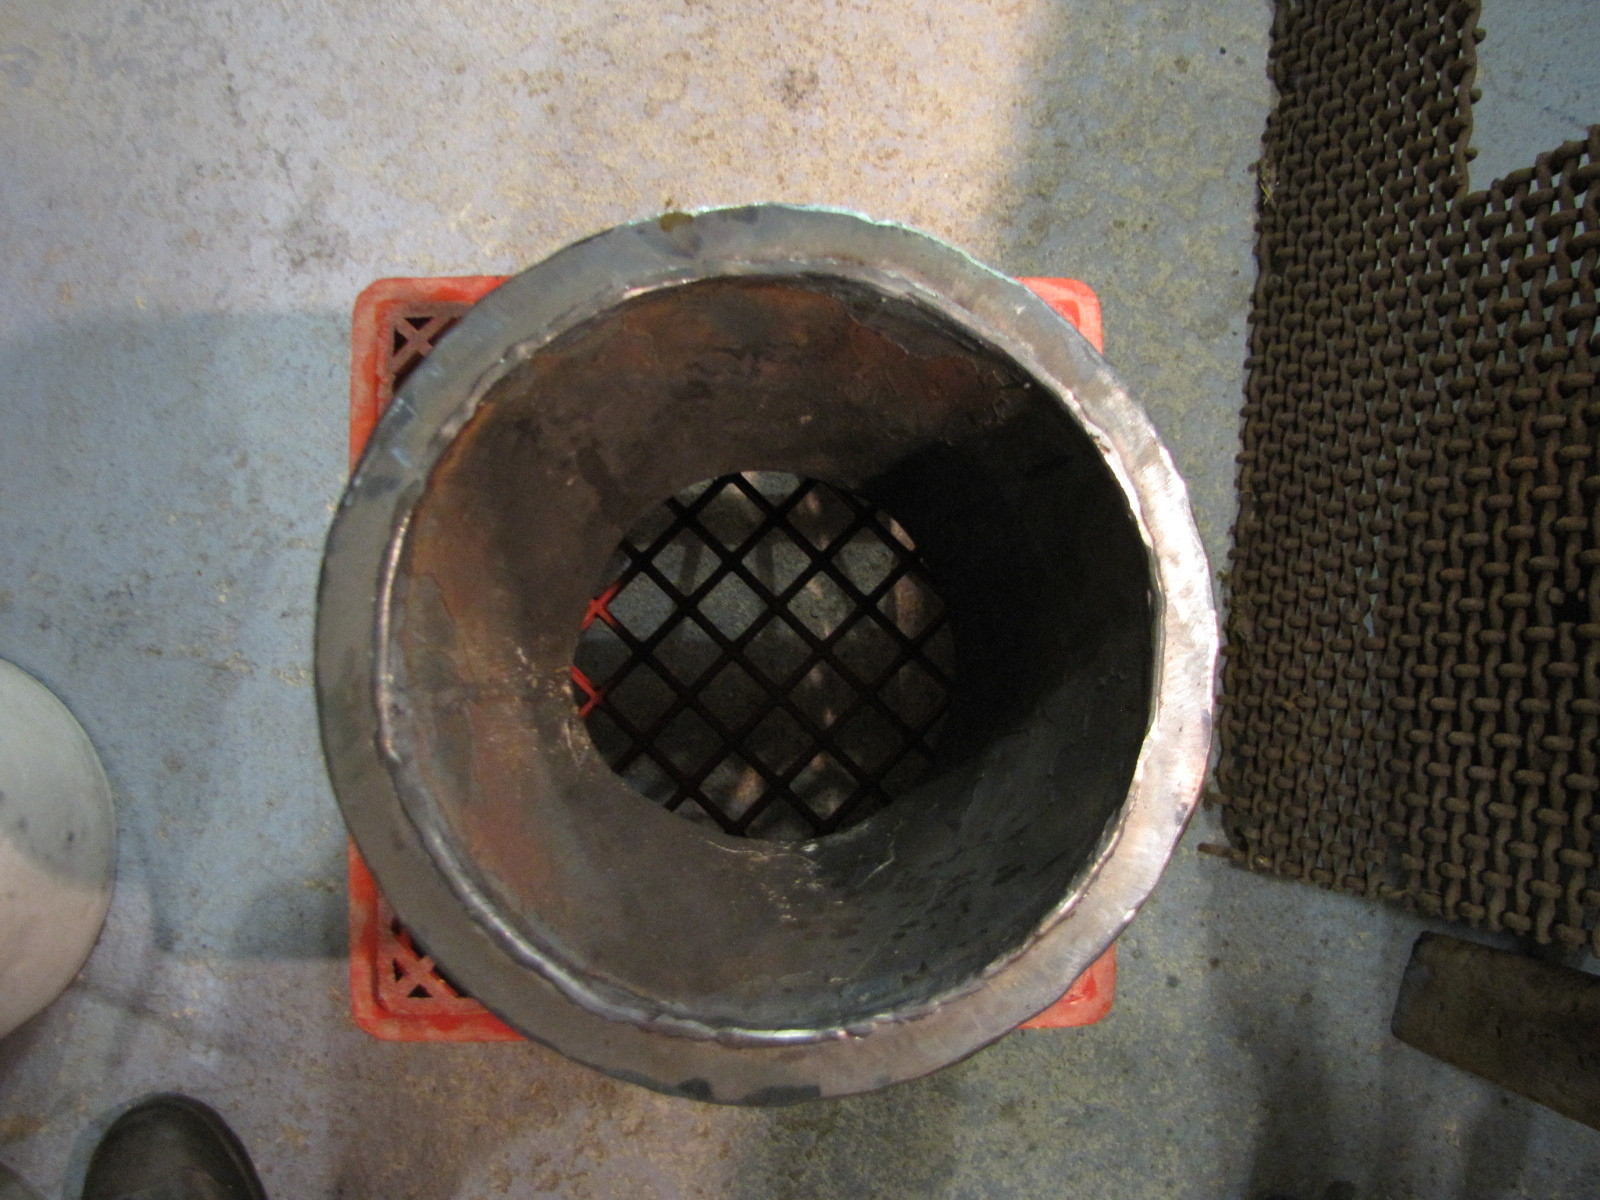
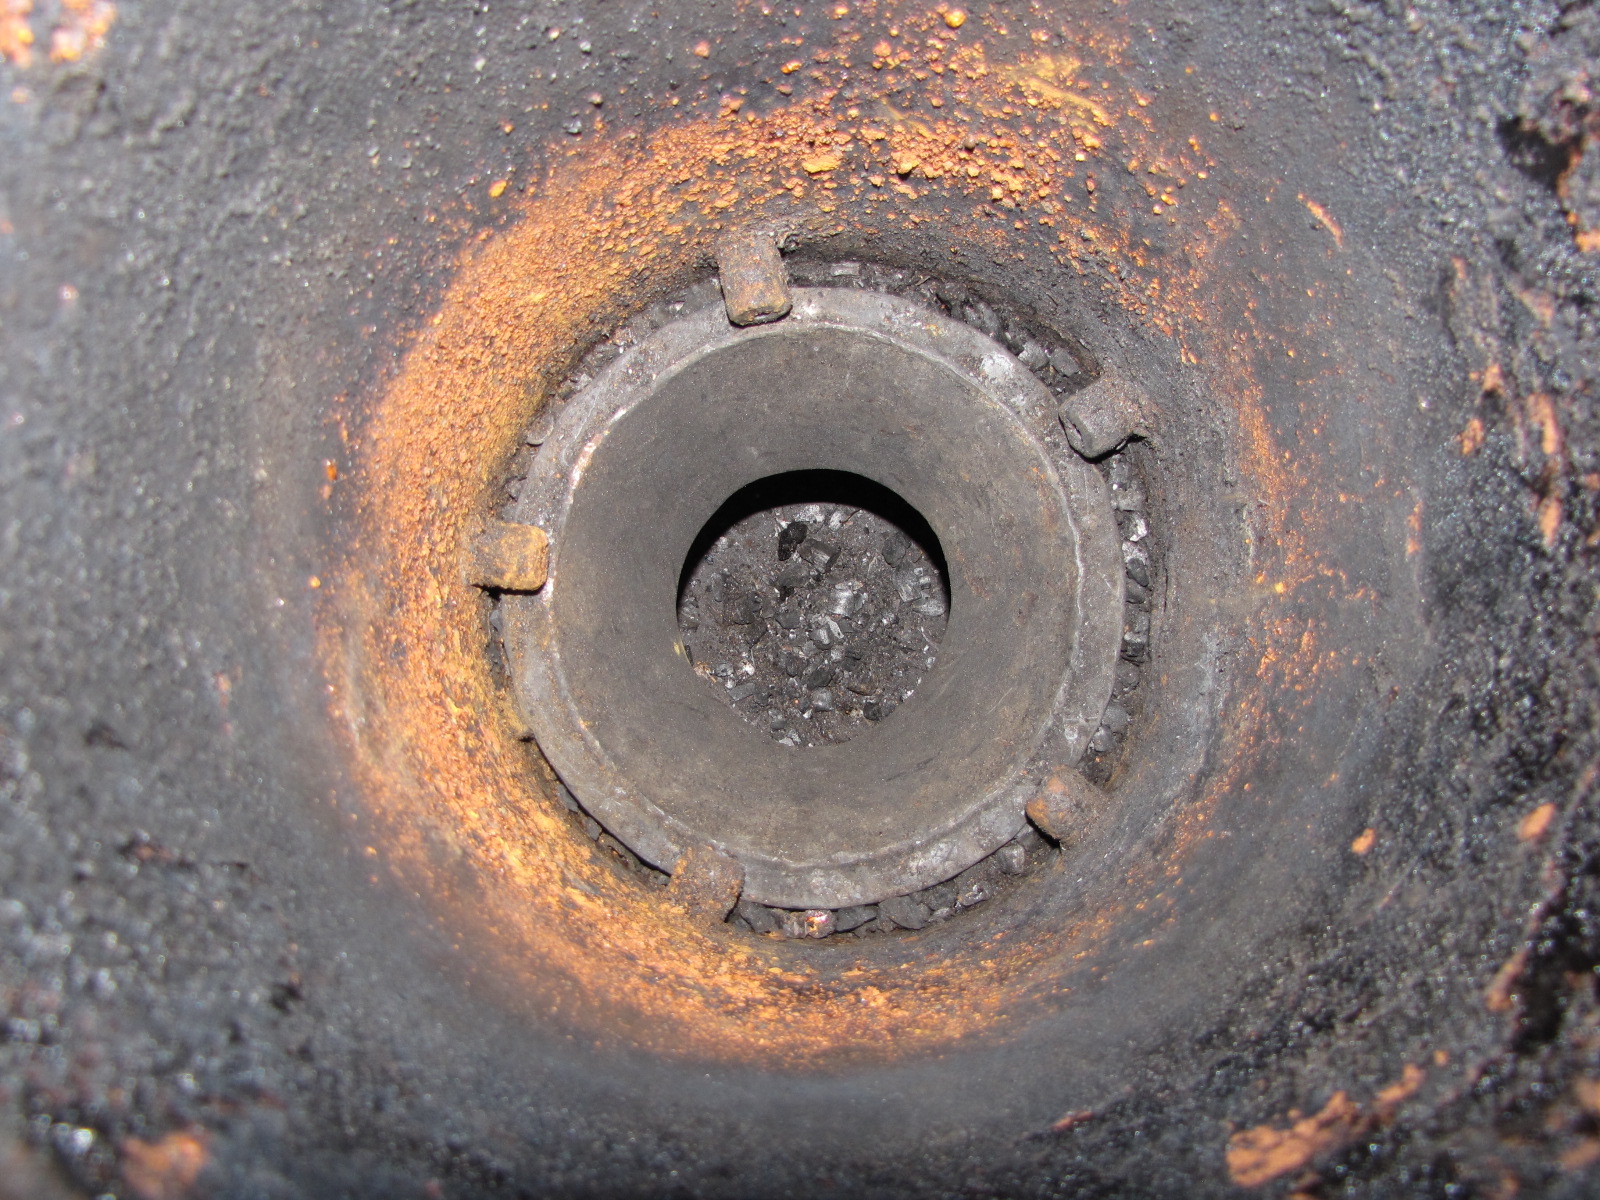
Well, there’s a bright spot in this mess. Can you see it? How about melted steel. I’d say that’s an indication the temp there was approaching 2600* F, the melting point of mild steel. A wow moment for me.
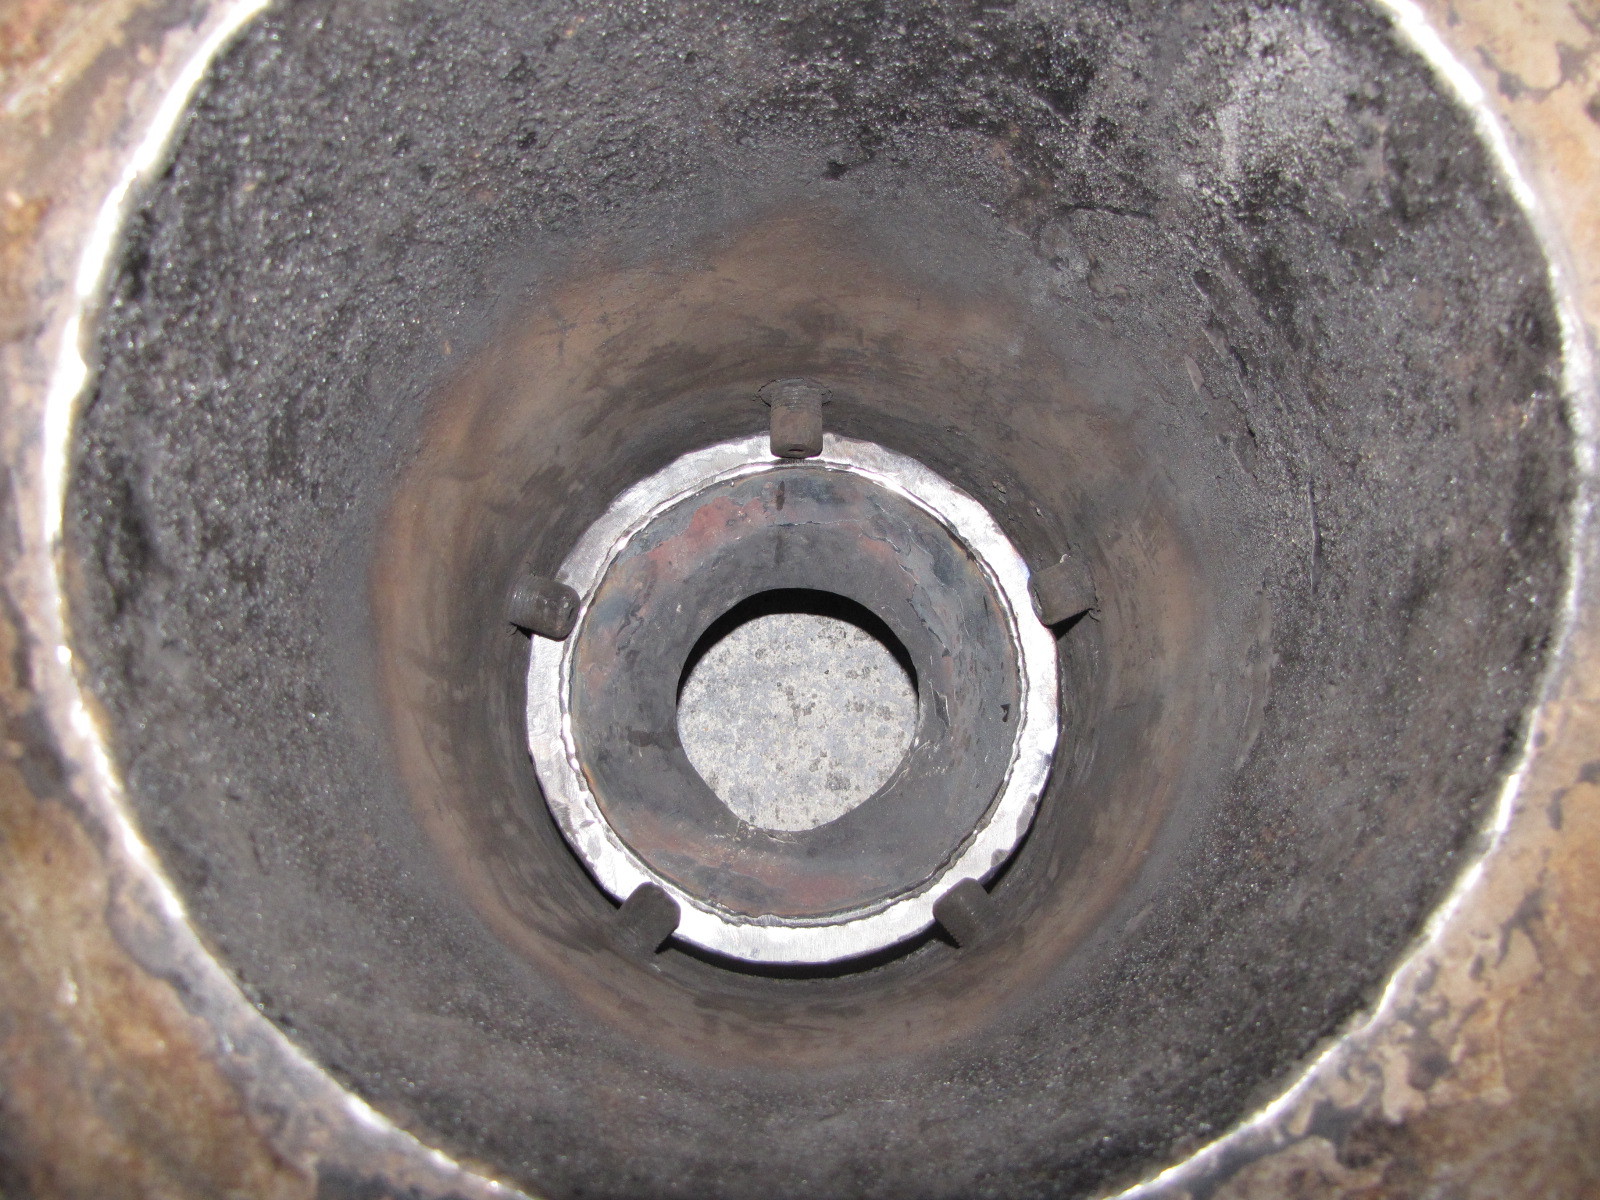
The hearth after 2015 operation. I recorded some of my hottest temps in my monitoring this summer , so I’m really pleased with the performance of my Fix.
Stay tuned for the rest of the story. Man, I liked listening to that guy. Oh, Paul Harvey btw.
Pepe
Pepe,
How much time do you think you have running the gasifier to get to this point? I’ve seen the video of you running a tiller before. Is there a particular engine you run with it?
Thanks for the pictures