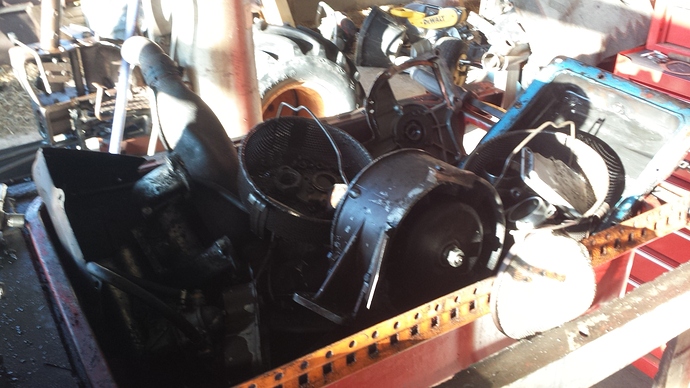
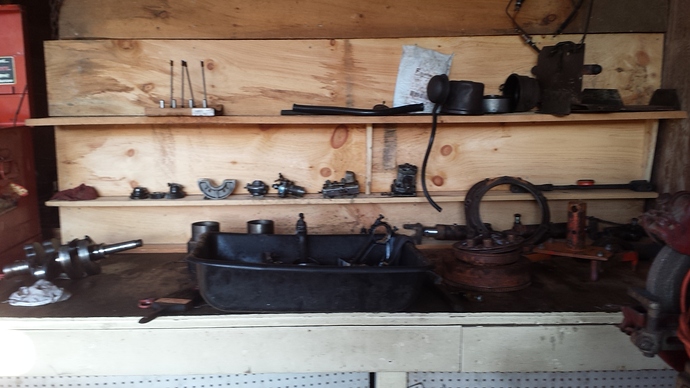
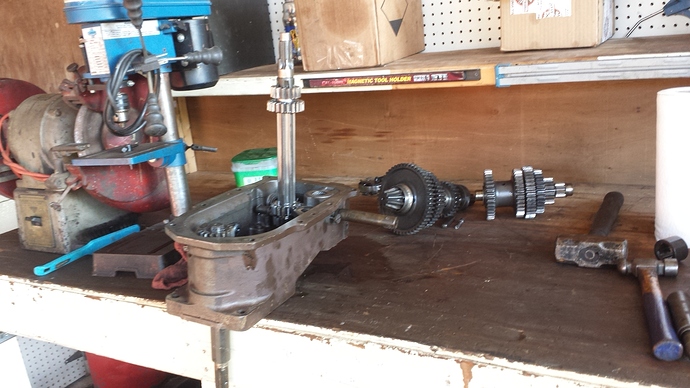
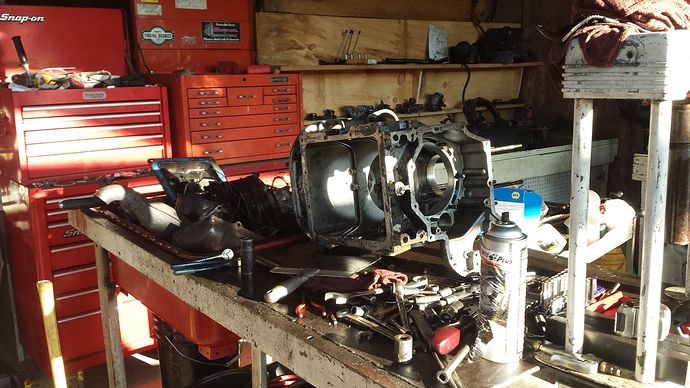
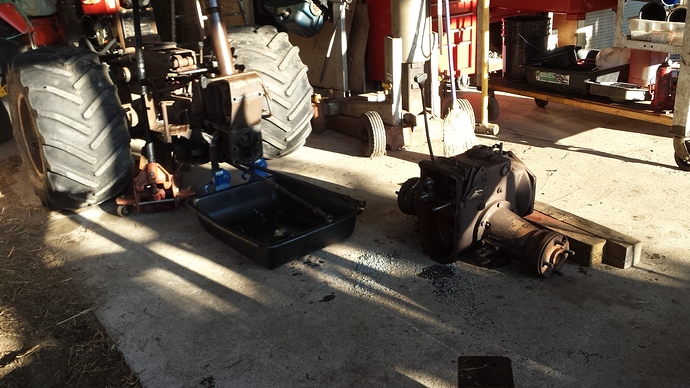
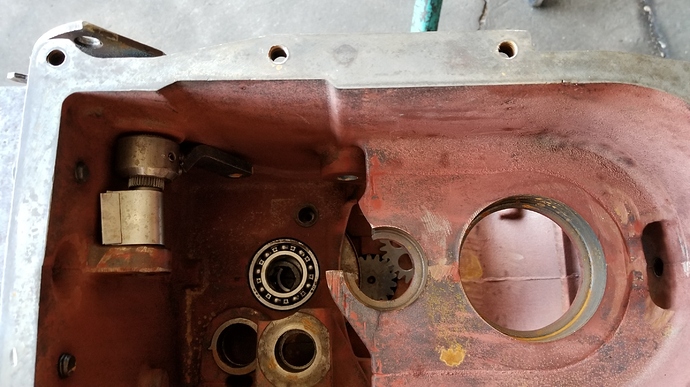
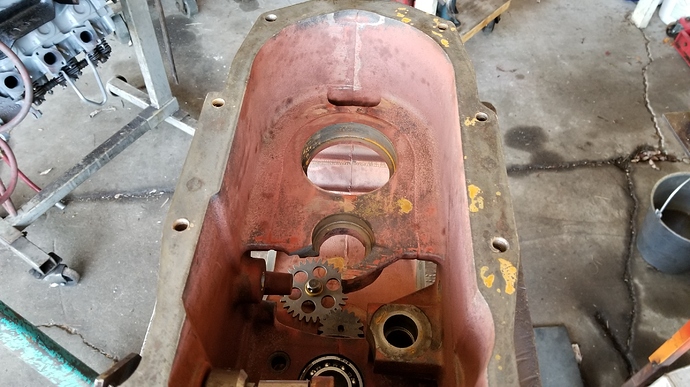
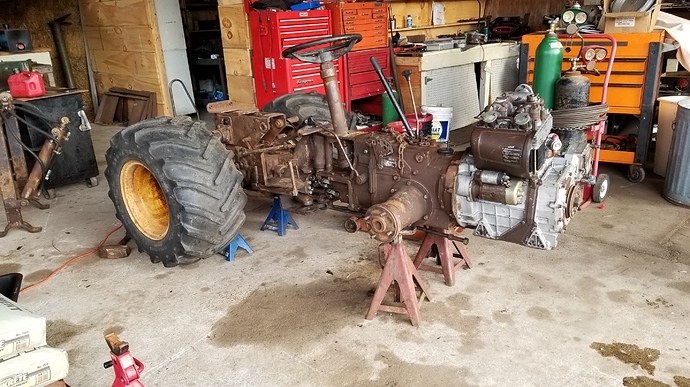
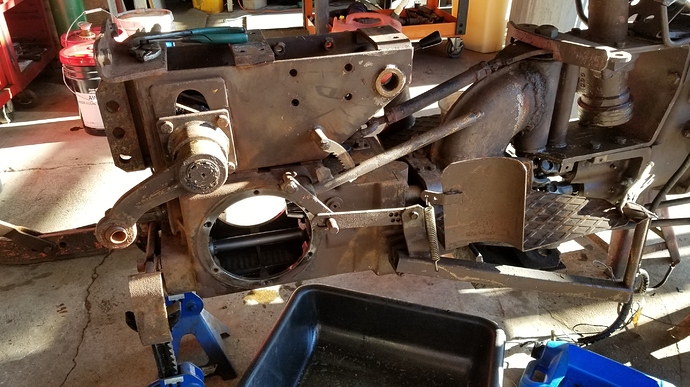
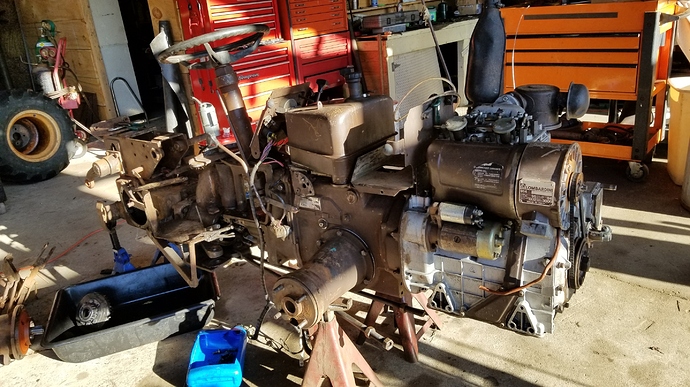
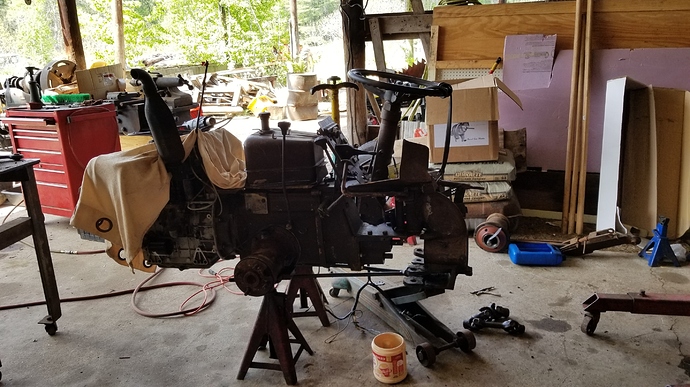
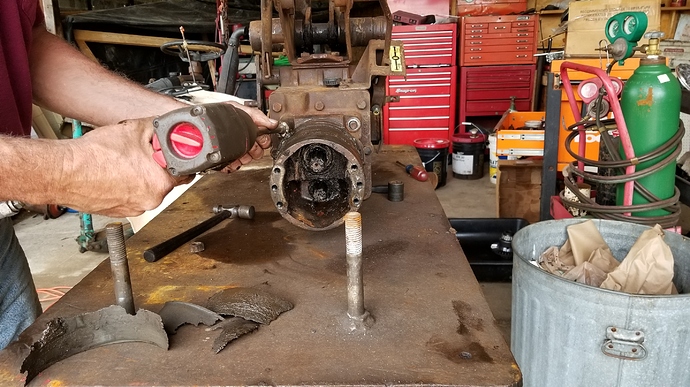
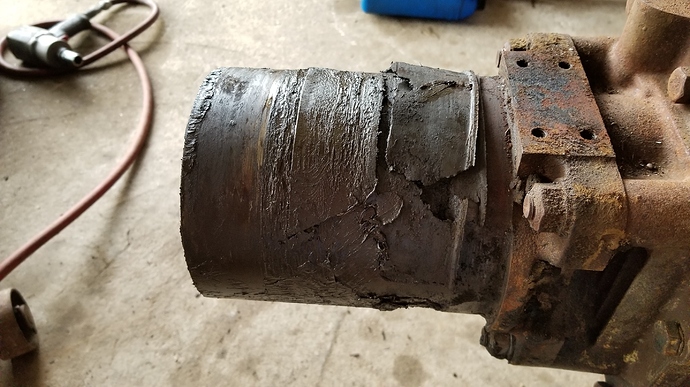
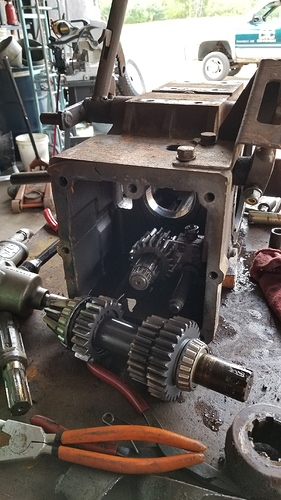
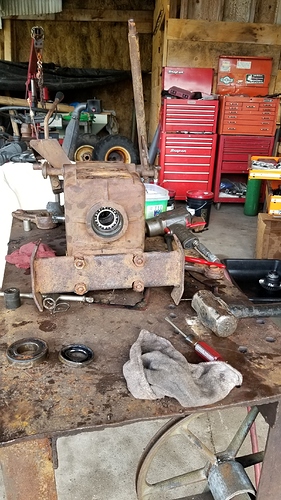
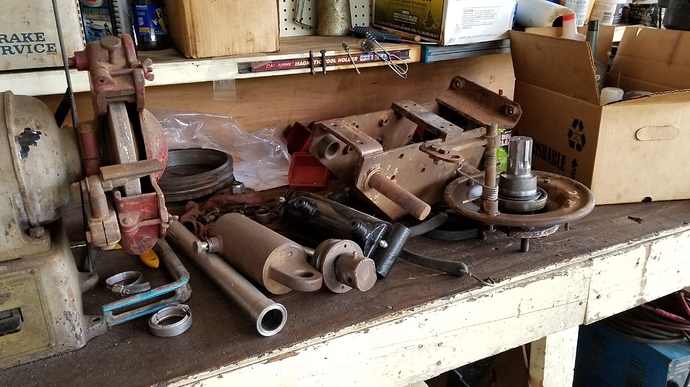
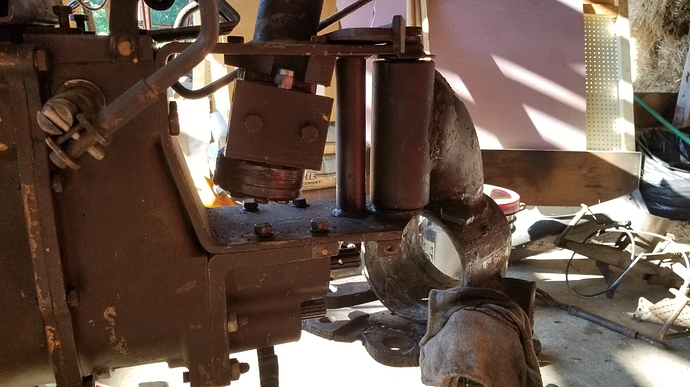
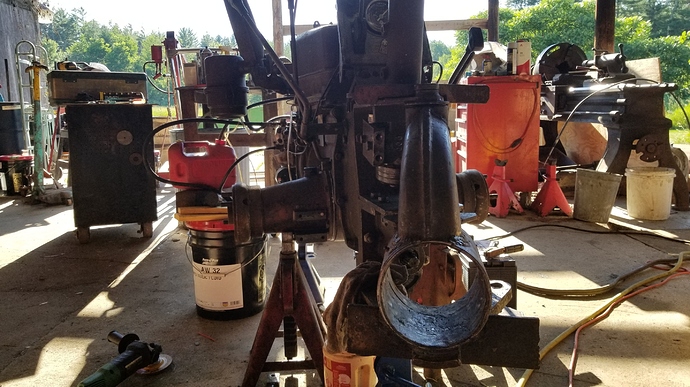
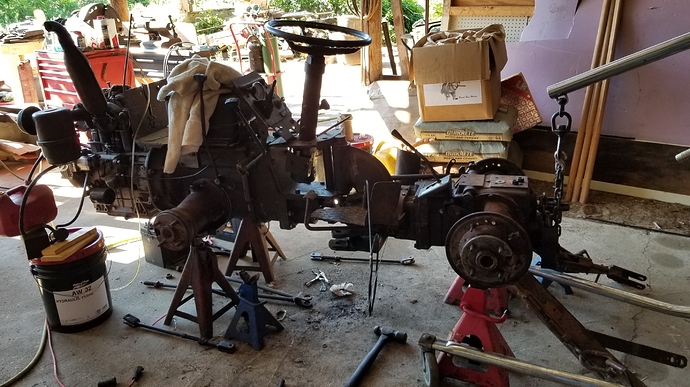
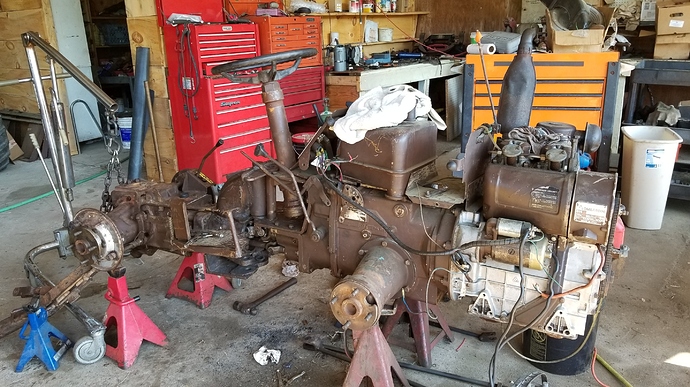
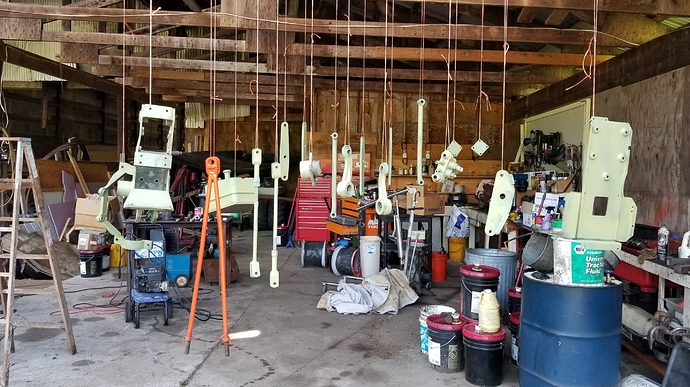
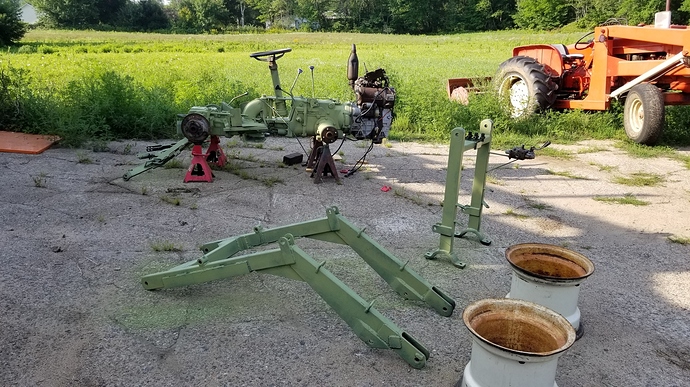
There are a few photos of all the parts… got the transmission apart today found the input bearing on the main shaft is junk but we didn’t find anything to really explain the shifting issues. I started cleaning parts today after mowing some hay in the morning. It was a long day but everything is apart now so that is progress. Well that is the update on that project just figured I would share a few photos.
The good news is I got the crank back the other day it is all set had never been touched so there was plenty of room to rework it.
The bad news my parts are out of stock and will be a month or so out so it will be cold when they get here.
I also got the rims back from a friend who was fixing the rust damage to them. They came out nice a lot of patching on one of them but it will last longer then me now.
The bad news putting the transmission back together the other day there was a large bang. The something didn’t line up right and one of the bearing mounts got broken in the casting. It is fixable but really sucks to have to fix it when it wasn’t broken before my mechanic started…
Looking forward to seeing it run.
Bob
Bob so am I. The transmission is back together and most of the motor. We where working in that yesterday. Well mostly Gary was working on it while I watched. It always amazes me how many little details there are to putting a motor back together right. It is a slow process when you can only work something in around everything else but it is making progress if all goes well it will be done in the spring and I will have one more fully restored tractor this summer. If it gets painted as well it will be my nicest tractor.
Any plans for it run on producer gas, wood or charcoal?
Bob
That motor is 19:1 compression so it won’t be a conversion. I do have a few other projects which I want to convert but they are a long ways off. 
I think I will have to get my WWII Chevy military truck 4wd single rear axle 1.5 ton truck back and that straight six is the first conversion I want to make. I think the same gasifier might also work to run the generator I have as well it is a big generator 60 amps at 220 if I recall right. My goal is to get the barn rebuilt this year and put off grid solar with a wood backup generator.
Well just a quick update on a slow project.
Got the rebuilt motor and transmission back on the tractor today. Now I need to take the rear end apart dismount the rims and figure out which set I want to load for the rear. Replace the axle seals and figure out what is up with the rear differential. For some reason when it was running it didn’t seem to lock but when you try it by hand it seems ok.
Once that is done I will just have to sort out the hydraulics.
Looks super, Dan. Nice to have the room for it.
Thanks the space is part a camera trick. The back wall of that barn fell down years ago and the north wall is a mess. But being an old pole barn that area is useable so long as you don’t mind some leaks. That is the barn by my saw mill that I have to saw all those logs to fix. Now I am off to work on filling in the holes in my fields which the winter flood left. I will probably spend about 2 weeks this spring cleaning up the fall and winter floods. They left a real mess. Who knows how I will find time to plant the garden… warm weather on a farm your crazy busy. Cold weather you cant get things done because it is too cold to be outside. Thus is life. But yes even a bad space is better then right outside maybe this year I can fix it a little…
Spent time today working on the pasquali. We rebuilt the generator mounted the fuel tank and a few other things up front. Then we took the rear axles off and found out we cant get to the linkage we need to without taking the rear end off. Still trying to figure out what the rear axle function should actually be. There is a independent neutral sync lever which only seems to move from neutral to sync but somehow it only works on the input shaft to the rear end the differential is already out and doesn’t lock any way I can see. I am truly confused now. I guess i will see when we pull off the rear end and look inside.
The shim on the pivot is gone just a few bits left now we know why it was loose.
The rear end is totally apart. The rear end was run without oil for a long time before I got the tractor. The bearing for the pto are junk.
Oh and the mystery lever isn’t a locking diff like I was told. It determines if the pto is running at pro speed (540 or 720 selectable at the transmission) neutral or wheel speed. That is how they power to a trailer that has a driven axle. Now I know. Oh the input bearing to the rear end is also junk. I have actually taken this entire tractor apart from the very front to the very back and fixed everything we could find wrong which was alot of stuff.
Well just a couple of quick things on the pasquali the last couple of days. While waiting for John Deere custom parts for my mower we got a few things done one the pasquali and the trencher.
The shim that wasn’t available has been replaced with a fiberglass one custom built to match the ware on the outer casing the inner part was put on a latch and checked it is so close to no ware as to make no difference the outer was clearly softer metal.
There are also new bearing top and bottom of the pivot joint on the smaller tube. We should have everything we need to put the reverend together and back on the tractor now.
The trencher was small mantaince things. Replacing a control cable so it will actually backup now at full speed. Swapping some lines around so the cylinder actually move the way they should when you use the controls small things like that but about a days work on it non the less. I have already used the grader blade and the backhoe on the trencher and really like it. Anyway I digress. I just wanted to show you how we used fiberglass cloth to make a shim for the pivot joint on the pasquali. It will be much tighter now for sure.
Got the rear end back on and together today. Still a bunch of work to do before it is ready for the field but it is getting back together now.
Should put some good paint on that, so it looks as good as all the work you’ve got in it.
It’s going to be a brand new machine by the time you’re done. Should be a pleasure to operate.
Garry paint is in the plan.
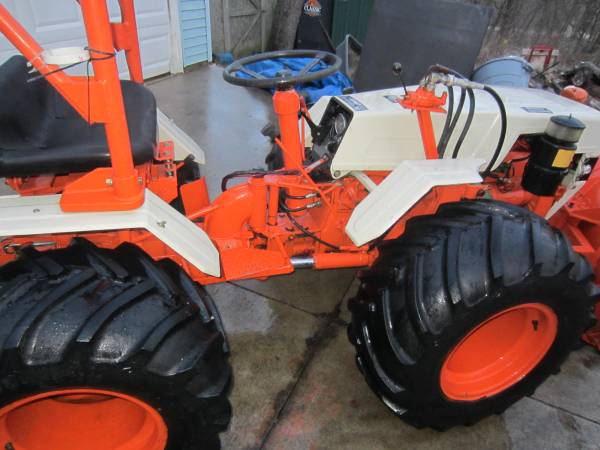
That is the color scheme by pasquali that I am going for. They had alot of different colors they used and I honestly don’t know what the original color for this one is because I can’t find that brown anywhere. I am going to use allis Chalmers Persian orange #2 and the AC cream I have some anyway left over from my D15 and it will look good matching the colors of the other 2 tractor.
Excellent colour choices.
Best to think about surface prep and degreasing before stuff gets too hard to access.
Nice job ! I have a 997 with a dozer blade and the Bradco trencher. Parts for the trencher I can get at Ditch Witch. The Pasquali parts well I hunt for them, lol.
Thanks Billy. For the pasquali contact Tom Branch at
https://www.italiantractorparts.com
As far as I know he is the only dealer in North America who sell pasquali parts. He is a great guy and has really helped me out with this project.
My pasquali has a loader which is why I bought it to get into the tight spaces in my barn to clean it out better then I can with the Allis Chalmers D15.
The pasquali is an amazing little machine. I really can’t wait to get it back to a usable state it is close but haying season has really slowed down progress. I have way too many projects.
Quick update got some primer on the pasquali yesterday. Gary wanted to talk to the paint store before starting on the motor as it is aluminum.
That is the loader frame and bulk of all the parts which will be orange. There are a few other parts but it is getting modified to a new seat and some other changes so we need to work out just how the seat and new hydraulics will be mounted. Anyway got a break in the hay weather so I am making a little progress on the tractor restoration.
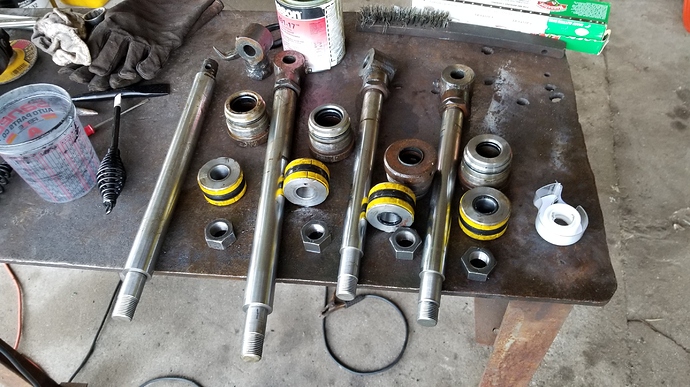
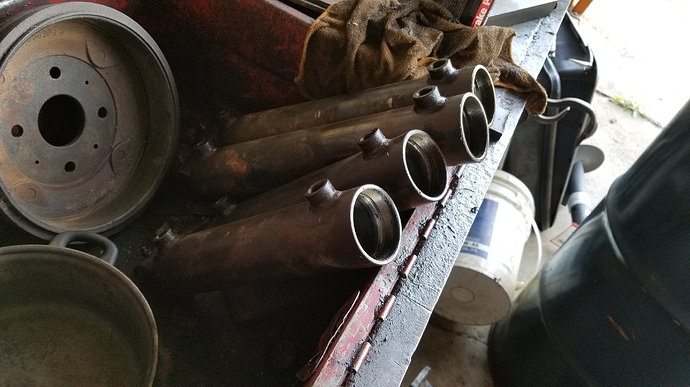
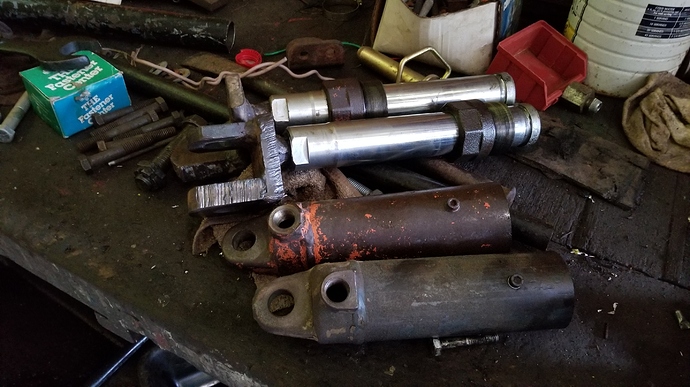
I also took appart the hydraulics cylinders the first photos are the 4 cylinders that make up the loader. Those are pretty straight forward I just need to get the end fixed where someone stripped out the threads and then bolted it on one cylinder. It fits loose now and breaks the bolt. I think I can put the seals on from the other end and will just get it welded on tight.
The other two cylinders are something I have never seen before. They are single ended cylinders which dont really have a seal just a larger metal end on the rod. No real piston. Someone has welded the ends on them and the o rings leak so I need to get that apart. But to be honest I don’t really understand how those steering cylinders work with one end sealed and the piston not really sealed to the cylinder. Seems like they wouldn’t work at all. I am by no means a hydraulic cylinder expert but those have me scratching my head.
Oh the one orange thing hanging was a test to see how the primer would cover as it is an odd green. Looks ok to me.
Hi DanNH,
I do not know this for sure . . . I’d have to see a hydraulics flow diagram to be sure.
But . . . on some power actuator systems the power-side is given constant pumping power/pressure . . . then the"control" is by letting cylinder out on the opposite side of the leakage by pass flow.
Think of it like air brake systems. The pumped air just retracts the piston rod diaphragm loading a very strong spring. Brakes/actuator is applied by venting out the air pressure out allowing the spring to apply power/force.
Just like most all EFI systems have positive side power constantly applied when energized. The “control” is down circuit of the load (ground side) by letting “out” the electrons flow.
So, your actuator cylinders may need piston bypassing flow to work. IF your actual control valve is on the opposite of the piston as the pump side you’d know this was true.
Regards
tree-farmer Steve unruh
