I get the high temp hose from McMaster Carr.
Look up High Temp Duct Hose or see this link https://www.mcmaster.com/duct-hose/high-temperature-flexible-duct-hose-for-fumes/
I get the high temp hose from McMaster Carr.
Look up High Temp Duct Hose or see this link https://www.mcmaster.com/duct-hose/high-temperature-flexible-duct-hose-for-fumes/
Matt,
Thanks for the link. Wow! that is expensive stuff. Guess I’ll stick with flex exhaust.
This is why I only use it as coupling. Ive gone away from pipe flange connections. Simply mate the pipes together using this as a high temp connection with hose clamps.
On charcoal units I dont offer any attachment kits. I leave it up the user, if they can do it on the cheap than that is great!! Otherwise its all the things like this that drive up the cost and there is really no way around it if you doing things the right way. I dont skimp on the stuff I build and this cost adds up.
Matt,
I’m not sure whether I discovered this company or someone posted the link to DOW. I’ve had this link in my bookmarks for a while. It looks like the same product to me, but with lower price:
Nice find, I now have it book marked too  Yeah when we get into cost cutting we will look for cheaper sources. One at a time build to order; McMaster is cheaper once you factor shipping from all the independent sources.
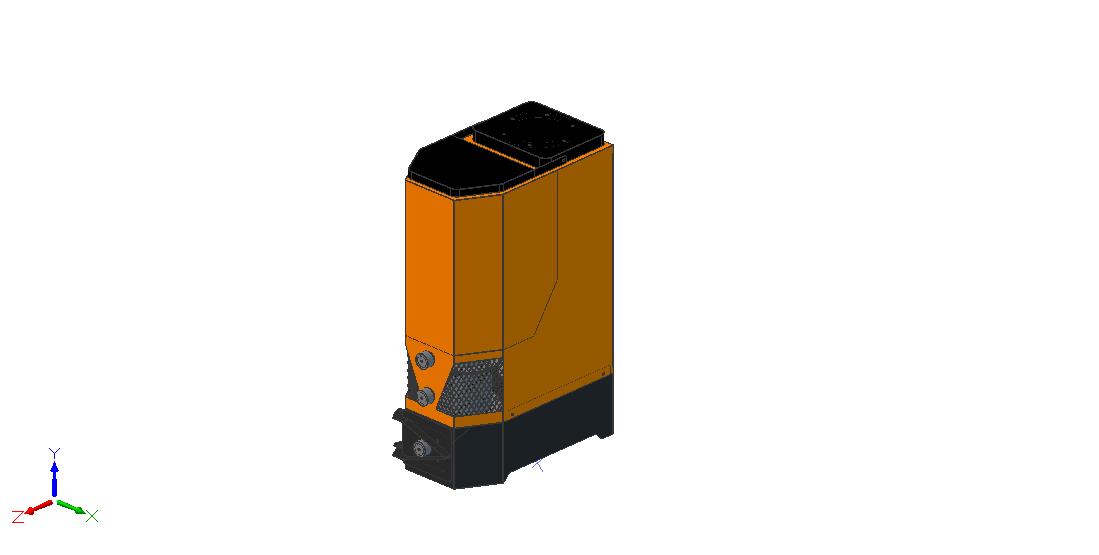
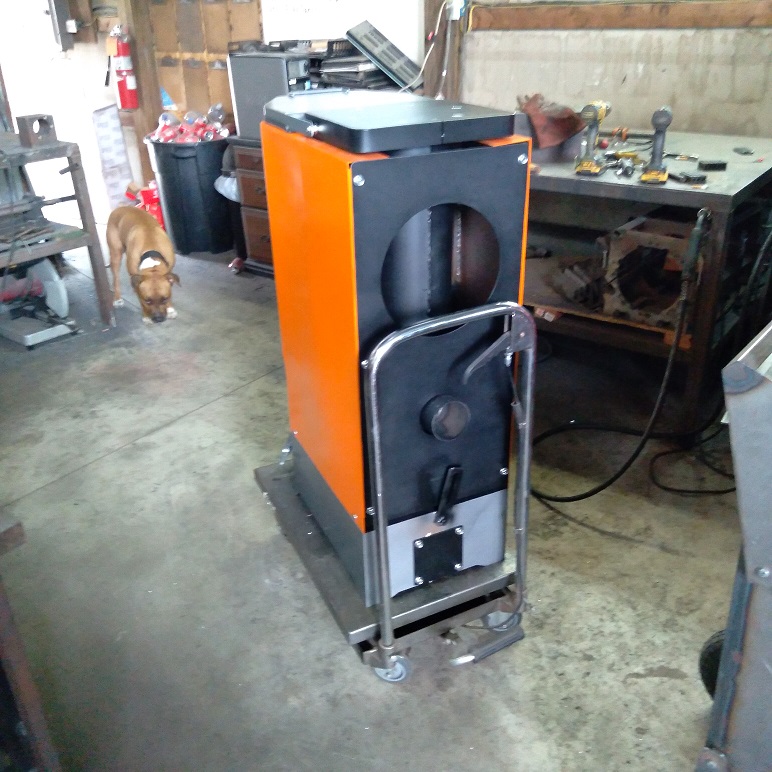
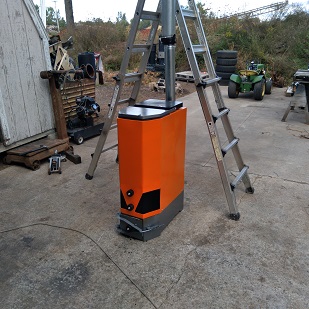
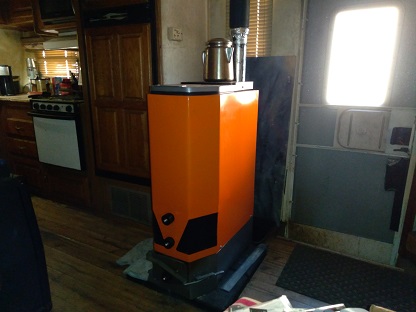
Ok so work has begun on the Pellet version of the Fusion Stove / Char pellet processor. Its getting colder here in Mich and I will be in need for this very soon.
Im building the pellet version first as it is based on the latest reactors used in the gasifiers and I already know the capability of char production. However, in a stove application I have tuned and modified this a bit to draft from a chimney. This borrows concepts from the Enduro stove as well and features a dedicated cook top making it EPA exempt. Even though I anticipate this thing to blow away any EPA test put in front of it.
I did not add a hot water loop in this one but we can easily implement this in the heat exchange tower.
This has an active grate system just like the gasifiers and can be set up with or with out the auger drag out system. It has a three stage air system. A primary stage, a full combustion stage and a bypass stage for char coal production.
In heat stage the air passed thru the char bed from the bottom. In char pellet production stage the air enters above the grate bypassing it allowing the char pellets to remain in tact and fall through a very passive grate system.
I should have this demo complete today so video should be coming soon. The cordwood version we will start work on as well but this version will need to be put through its paces in development and testing over some time before I can offer it for market. 
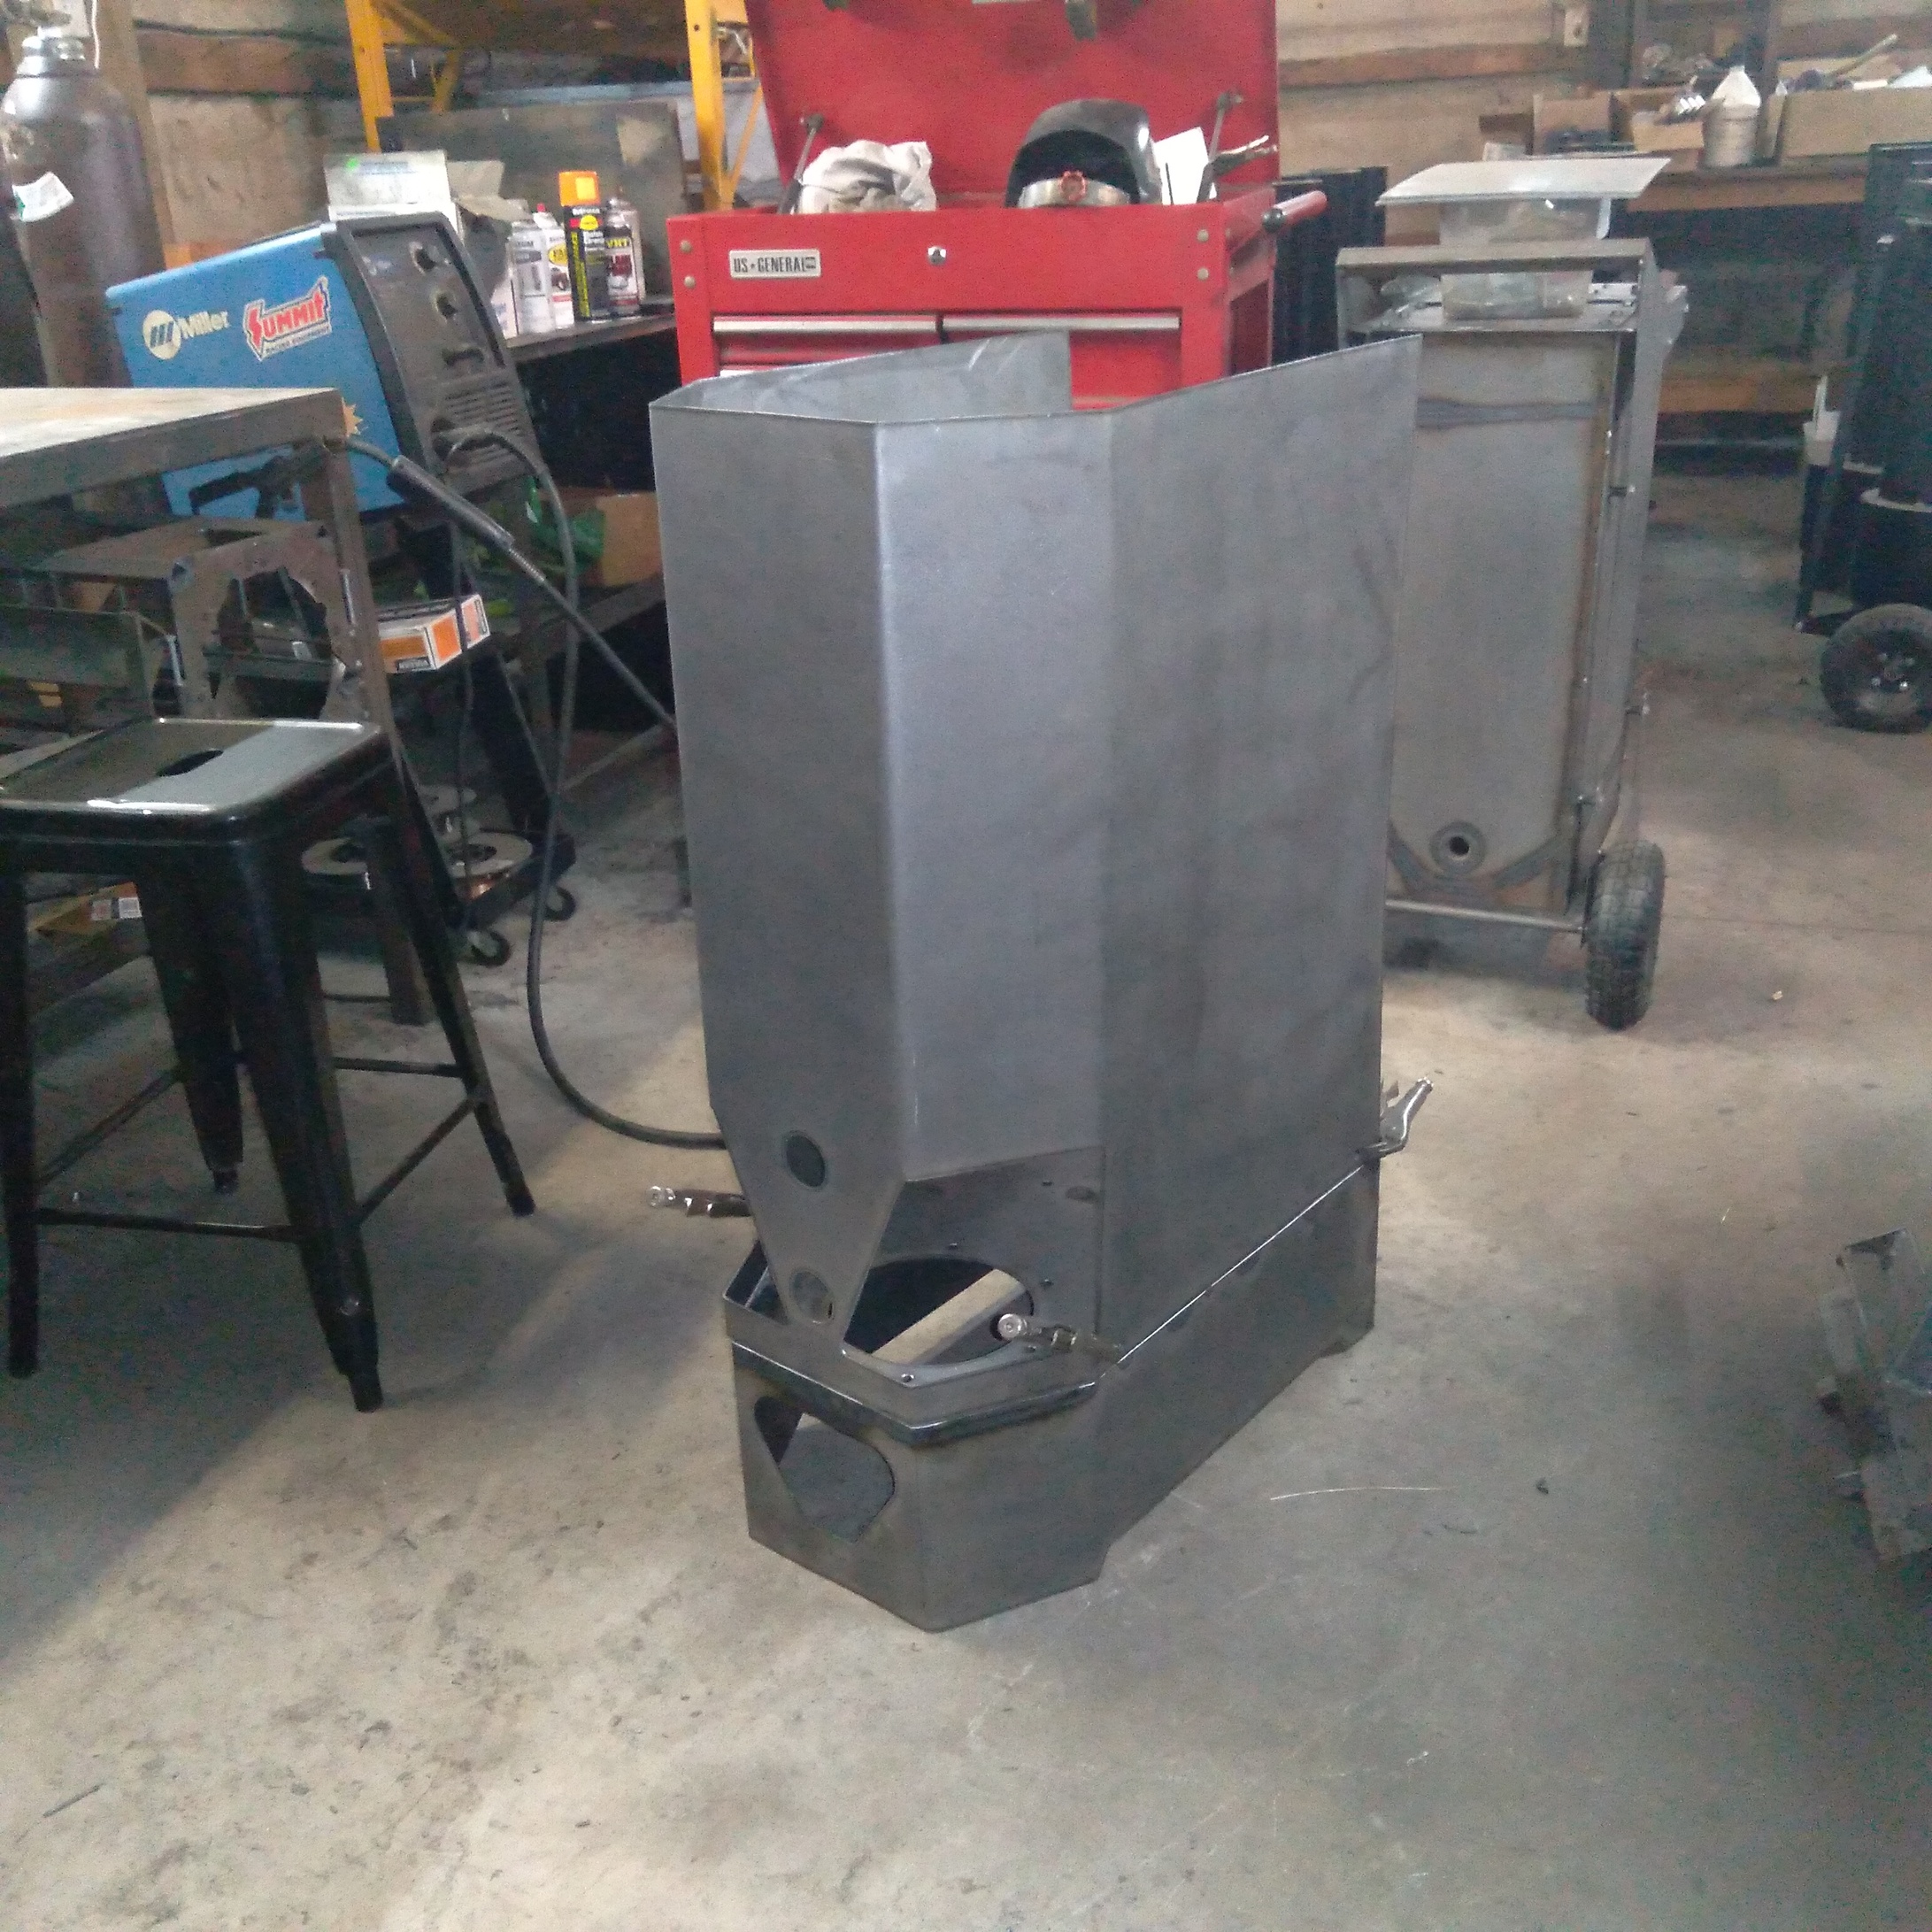
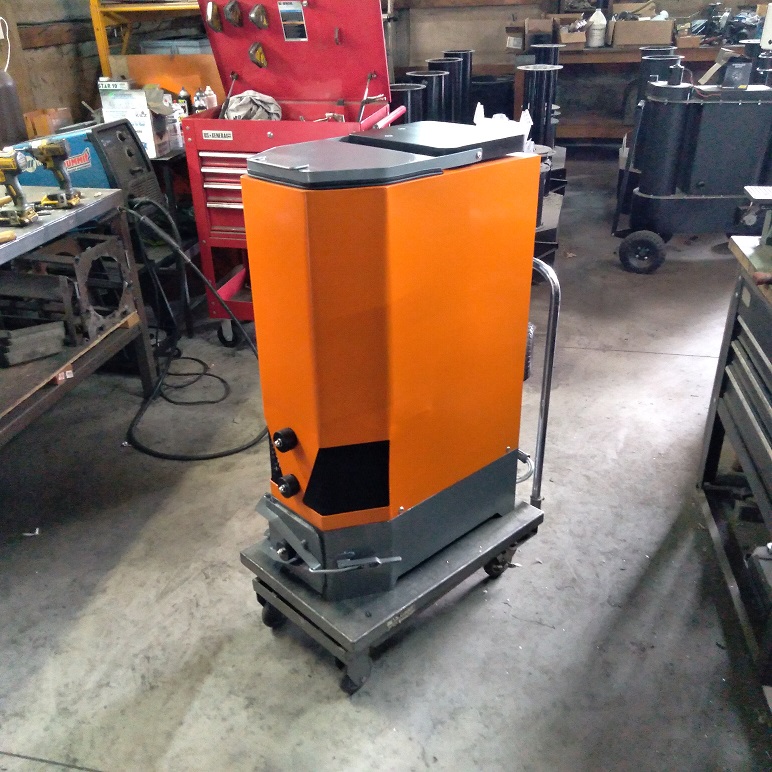
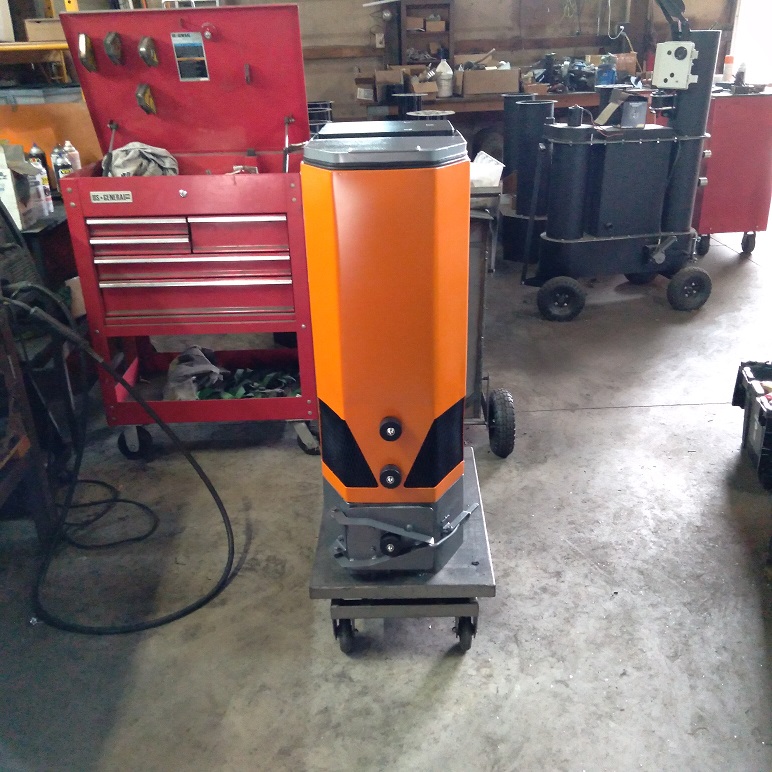
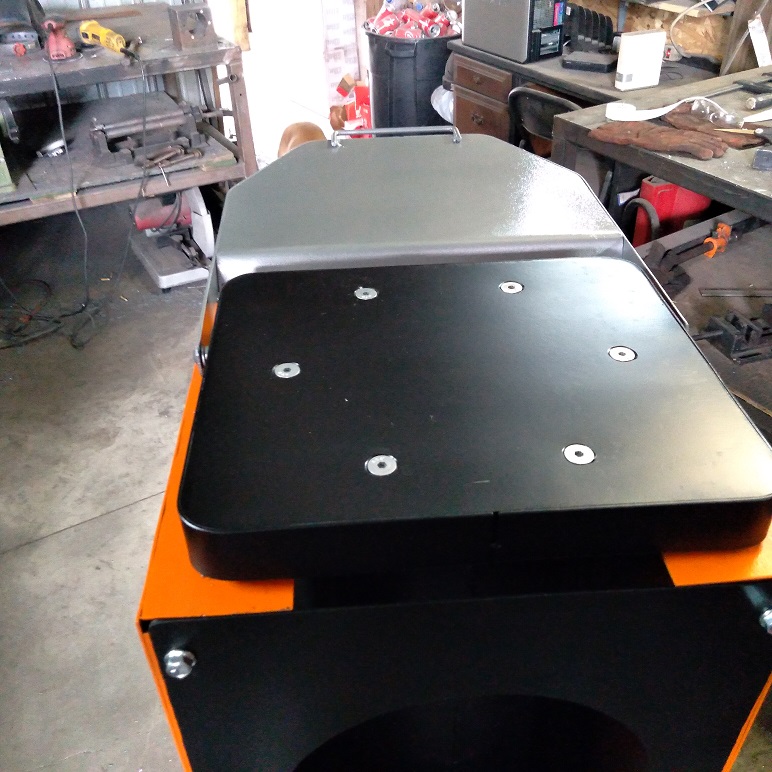
Wheewwhh!!! I am beat!!! This thing went from nothing, to design concept to manufacturing infrastructure to CNC manufacture to weld assembly, then paint and then finally full assembly in just 5 days!!!
I’m thinking that working with materials like those would be about like a first class flight to O town.
Matt, that is a really nice unit you got there. Is this just for making charcoal, or is that a crossfire charcoal gas generator?
It is a pellet stove, for heating , cooking, hot water, and produces char pellets for a charcoal gasifier. The charcoal gasifier is a separate unit.
This is about as close as your going to get to a unit that can do both heat and run an engine I think. Not going to say impossible but it is more complex and i think this is simpler concept. This way you are running a charcoal gasifier for engine power that is much cleaner, less complex and more cost effective to produce.
I could build this stove with the M-1 Max for $2500 bucks. That is crazy cheap for heat power, and hot water. This is of coarse combined with solar. This will only produce enough charcoal daily for a batch run battery charge to top off batteries when needed. This should be a very viable solution as it eliminates fuel processing for engine power gasification as this stove makes that fuel for you. You just have to screen the dust and ash out.
So it heats water and a building and makes charcoal?
That’s a great setup and a great idea!
Yup, You got it …
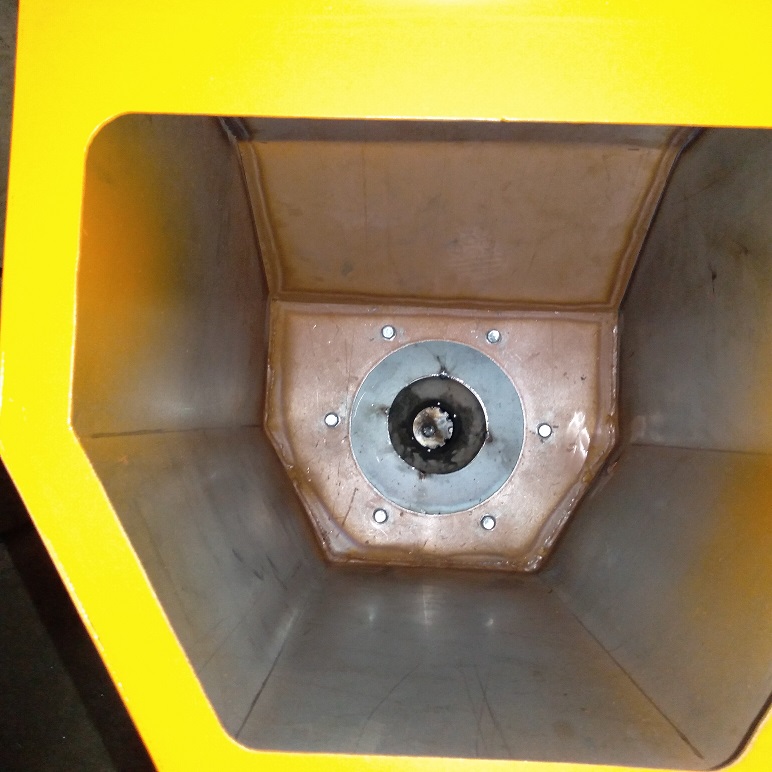
So did some testing today, looks like Ill have to tune the grate; it is too passive. So tomorrow Ill cut out a new plate to fit in this current one and reduce the slots from 3/4 inch down to 1/2 inch.
So far results look good, it took a bit to get started, once it took off the second stage burn worked as designed. Smoke emissions were intermittent with times where it was not present at all. I think the grate tuning will fix and make this more linear. When it is running clean things are flowing right but as fuel is reduced and new fuel drops it is too much causing raw fuel to drop to far down.
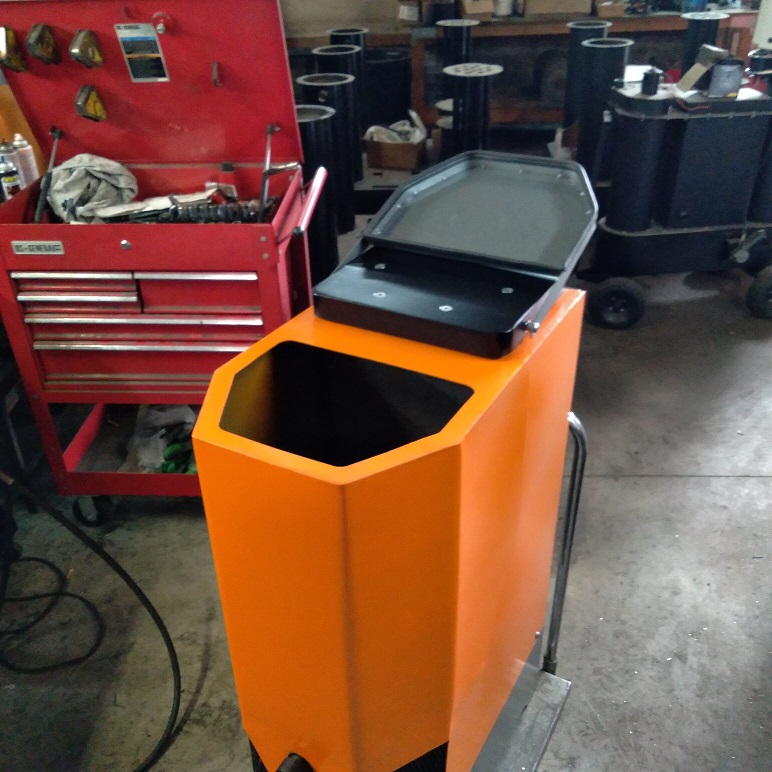
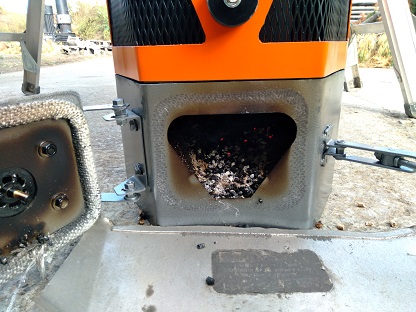
The reactor is doing its job eliminating smoke combustion gases from entering into the hopper. The pic shown is immediately after opening the lid.
As designed it is producing charcoal

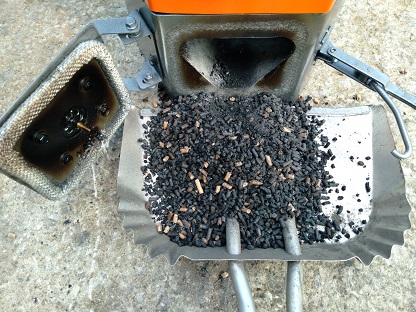
So ran the first full 40 lbs of fuel thru it last night. Here are the results.
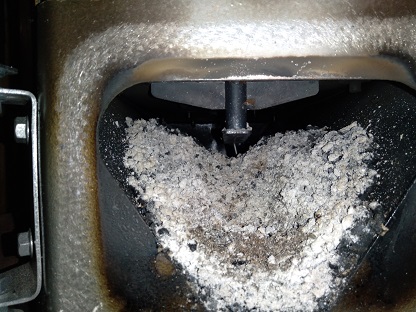
Note inside the hopper. The remaining fuel is not degraded in any way!! The char pellets you do see I put them in there, this was from fall thru that dug out and then put back in the hopper after filling the rest of the bag in. This is how the gasifier reactors work. This is a big deal in this world, developer for decades have trying to crack hopper moisture management and here I am not producing a drop inside the hopper but this seems to get over looked in this space. Fuel is dry it burns hotter reversing all the ill effects in all processes. All water and tar are cracked without need for elaboration systems. Air preheats, moderator hoppers. flow intervention etc its not needed with this system. In fact I need to do the opposite to keep these machines from melting down.
Anyways, here is a look inside the collection bin and the char I was able to harvest from the 40 lbs of fuel ran in the machine. This was mostly ran in bypass mode, but with the grate being too passive it dropped more than what it is designed for in this mode. In bypass the key feature is for it to run 100% with out power input. That it does but I want it to burn at full combustion and fully consume the fuel to white ash. However, the idea of the charcoal production is to use an auger drag out. That will require 12 volt DC power and since we are already using this power this will also be used for an active grate to keep the charcoal flowing and also controlling how much is produced. I think even after I tune the grate and once that is added I will be able to double what I have harvested on this first run. Only time will tell but that is the goal.
I few other mods are I will be shortening the unit down 4 inches as it is too tall to comfortably cook on it. It holds way more fuel that I anticipated anyways, 40 lbs only filled it up halfway so 4 inches wont hurt a thing.
Im going to open up the air feed from 1 1/2 to 2 inches. This will make the damper caps easier to make as well.
Other than that this thing is working quite well and is a game changer!


Three times a charm. I had to install a third revised grate. The second one I reduced the slot size down. but also reduced the amount of char it held. It would not sustain very well. So I made a new one like the original but with the reduced slot size and so far it worked perfectly.
That is a beautiful piece of work Matt. Big thumbs up. The fact that it work well is just a bonus.
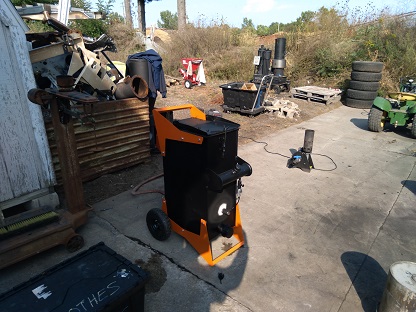
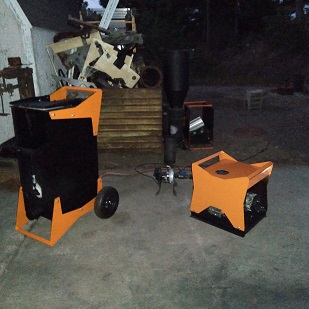
So here is the second M-1 Max I built with a few revisions. Water drip has been removed so that we can offer it as an option to reduce the standard pricing. The major change was I raise the jet nozzle height and lowered the gas pick up tube below the grate. The first one was built sort of like this but the pick up tube was higher and the jet was lower. So not enough fuel in between the two.
So took another shot at that concept and it paid off. So this is a semi cross draft unit. Gas temperatures are night and day verses the first one and this one. The gas temps leaving the unit were probably around 100f with a 70 ish ambient temp. At the engine it was nearly ambient. The lid stayed cool, like 120 -140f cool and the filter where the gas enters is around 160* this about the temp where you touch something and is about the threshold of where its unbearable to keep to long.
Fuel processing this morning, so I busted up premade charcoal and also processed the pellets from the stove. Prepping the premade fuel took around a 1/2 hour busting up with a shovel and then screening . The pellets took like 5 seconds to screen and then dump in. Yeah Ill take the stove fuel any day I already got my use from it for heat, this is basically free fuel.
I ran my little 212 Predator with this machine and it ran for 2 1/2 hours and I shut it down before running out of fuel. There was still probably an hours left of fuel in there yet. However is funneled down on the jet side and ambers were peaking thru the fuel. So I would have most likely had to stir it to even it out to get much longer of a fun time.
Pellet fuel verses lump charcoal, by weight it is twice the weight and by volume it is way more dense than the fuel I processed. The fuel I added was around a 50 / 50 mixture, so that may have added to the run time. I really was not expecting it to run for much longer than an hour. I think that is quite impressive for how stupid simple this thing is.
Ok here fresh out of crazy rapid development is the new DIY Inverter Generator kit.
I think rather than offer a full version, what this market is looking for is something to lay the foundation for off the shelf parts that the user can purchase and then put together.
So this here is built around the Predator 212 engine and a GM alternator for all LS based engines. This will require the field to be live in order to charge. So in this application I plan to use it for direct charging.
A small 2000 watt inverter will fit nicely on top of the unit without interfering with the fuel fill. For this application, there will need to be a small 12v batt with a switch to activate the field for it to supply power to an inverter if set up this way. No biggy there there are tiny batteries that will fit right in there. Or just have a large deep cycle that can plug in, that can boost the loads when capacity is there. Yeah we could go with self exiting but the way those mount add complexity and I want to stick to one alternator design to keep this simple.
It will need some rubber feet to keep it from dancing around on pavement. It stays pretty well in place on the dirt and grass. Its really compact can fairly light weight, one guy with a good back could toss this around easily. For us with broken backs better get some help!!. lol But still easy to move around with a couple people.
Drive belt will be here tomorrow and Ill put her to the test. 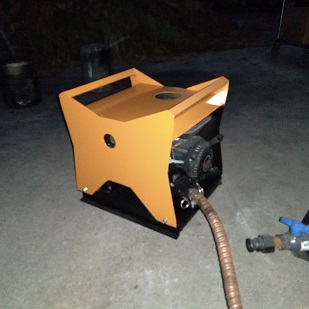

Very nice. You make me feel like a slug with how fast you move. Do you see any issues with getting enough air to cool the engine?
I used a generator for bicycle light , not sure those still exist , wheel of bike powers light . used bicycle to power alternator used bicycle generator to power field of alternator . It would free wheel till you were pedaling fast suddenly you are doing work and putting out power .