Okay your welder is a little different than mine, but you are using .023 wire which is good for thin metal welding. So it just must be just to thin of metal to do wire feed meg. welding with your welder. On the number 1 setting and the speed of the wire is touchy to get it to weld properly.
Bob
3 Likes
Not saying it can’t be done… just that it’s not a great idea. Thin metal is hard to weld and will rust quicker.
If it’s all you’ve got, you can make do. Just be aware of the limitations.
1 Like
Sorry but I do not concur with your shops analysis of the situation. A knurled wheel for .030 wire may get dimpled. But the smaller diameter.023 will not get the dimples and also will probably not get "gripped ’ as tight as it should.
How about a wild ass test??? I have found that to long of an extension cord changes the performance of my weld. How about trying to put a 60 watt bulb in SERIES with the welder and then try setting it up like previously suggested. It may make the adjustments more sensitive. IF ANY ELECTRICAL PERSON SEES A PROBLEM WITH THIS IDEA, PLEASE JUMP IN. I am not very electrically inclined. TomC
1 Like
The drive wheel has 2 grooves; one flips it over depending on the wire size used: the .023 groove is smooth; the .030/.035 groove is knurled.
2 Likes
Ok That is normal for most welders. I was mis understanding-- sorry.TomC
1 Like
For thin metal welding check out the first few comments on this thread.
2 Likes
I’m not a welder at all , and have had varied results over the years, but the one thing I do know from watching someone that welds for a living is , that before he starts welding anything he always without fail grinds the area to be welded , , using a wire brush wheel just wont cut it as far as cleaning the area goes , you have to have pure clean surface .
Dave
4 Likes
If you’re going fishing and you’re low on bait just empty your black condensate on your lawn and these fellas start poppig up. No need digging for worms 

13 Likes
If you put just about any resistance (like a light bulb) in series with a welder, there will not be enough current flow to the welder to allow it to work. Any extension cord on a welder better be heavy (10 gauge or larger diameter wire). Best to work close to the outlet, or run a permanent extended circuit with a proper rated wire and outlet for the required amps. If you want to cut the welder’s output on purpose, a smaller-gauge extension cord may be all you need to lower the welding current below the machine’s lowest setting. (Keep in mind I know something about electricity, but not much about welding!) 
3 Likes
I always heard using to little extension cord would heart the welder or power tools that was being used.
3 Likes
Thank you Mike for your input. I know very little about electricity and I don’t weld very fast or very slow— I am a half fast welder. I was going by an experience I had where my welder was not performing up to what it should, and I concluded that the100 ft electric cord I use was causing a inline resistance, that was cutting it’s performance. I now move my work to the wall so I can plug into an outlet direct. I thought that the electric cord may just help with the burn throughs on thin metal. TomC
2 Likes
Amazin Blaze old timer welding services- https://www.youtube.com/watch?v=rLnN-hqgfxY&feature=em-share_video_user
4 Likes
Very obvious he is an Alabamian before he even mentions it .
2 Likes
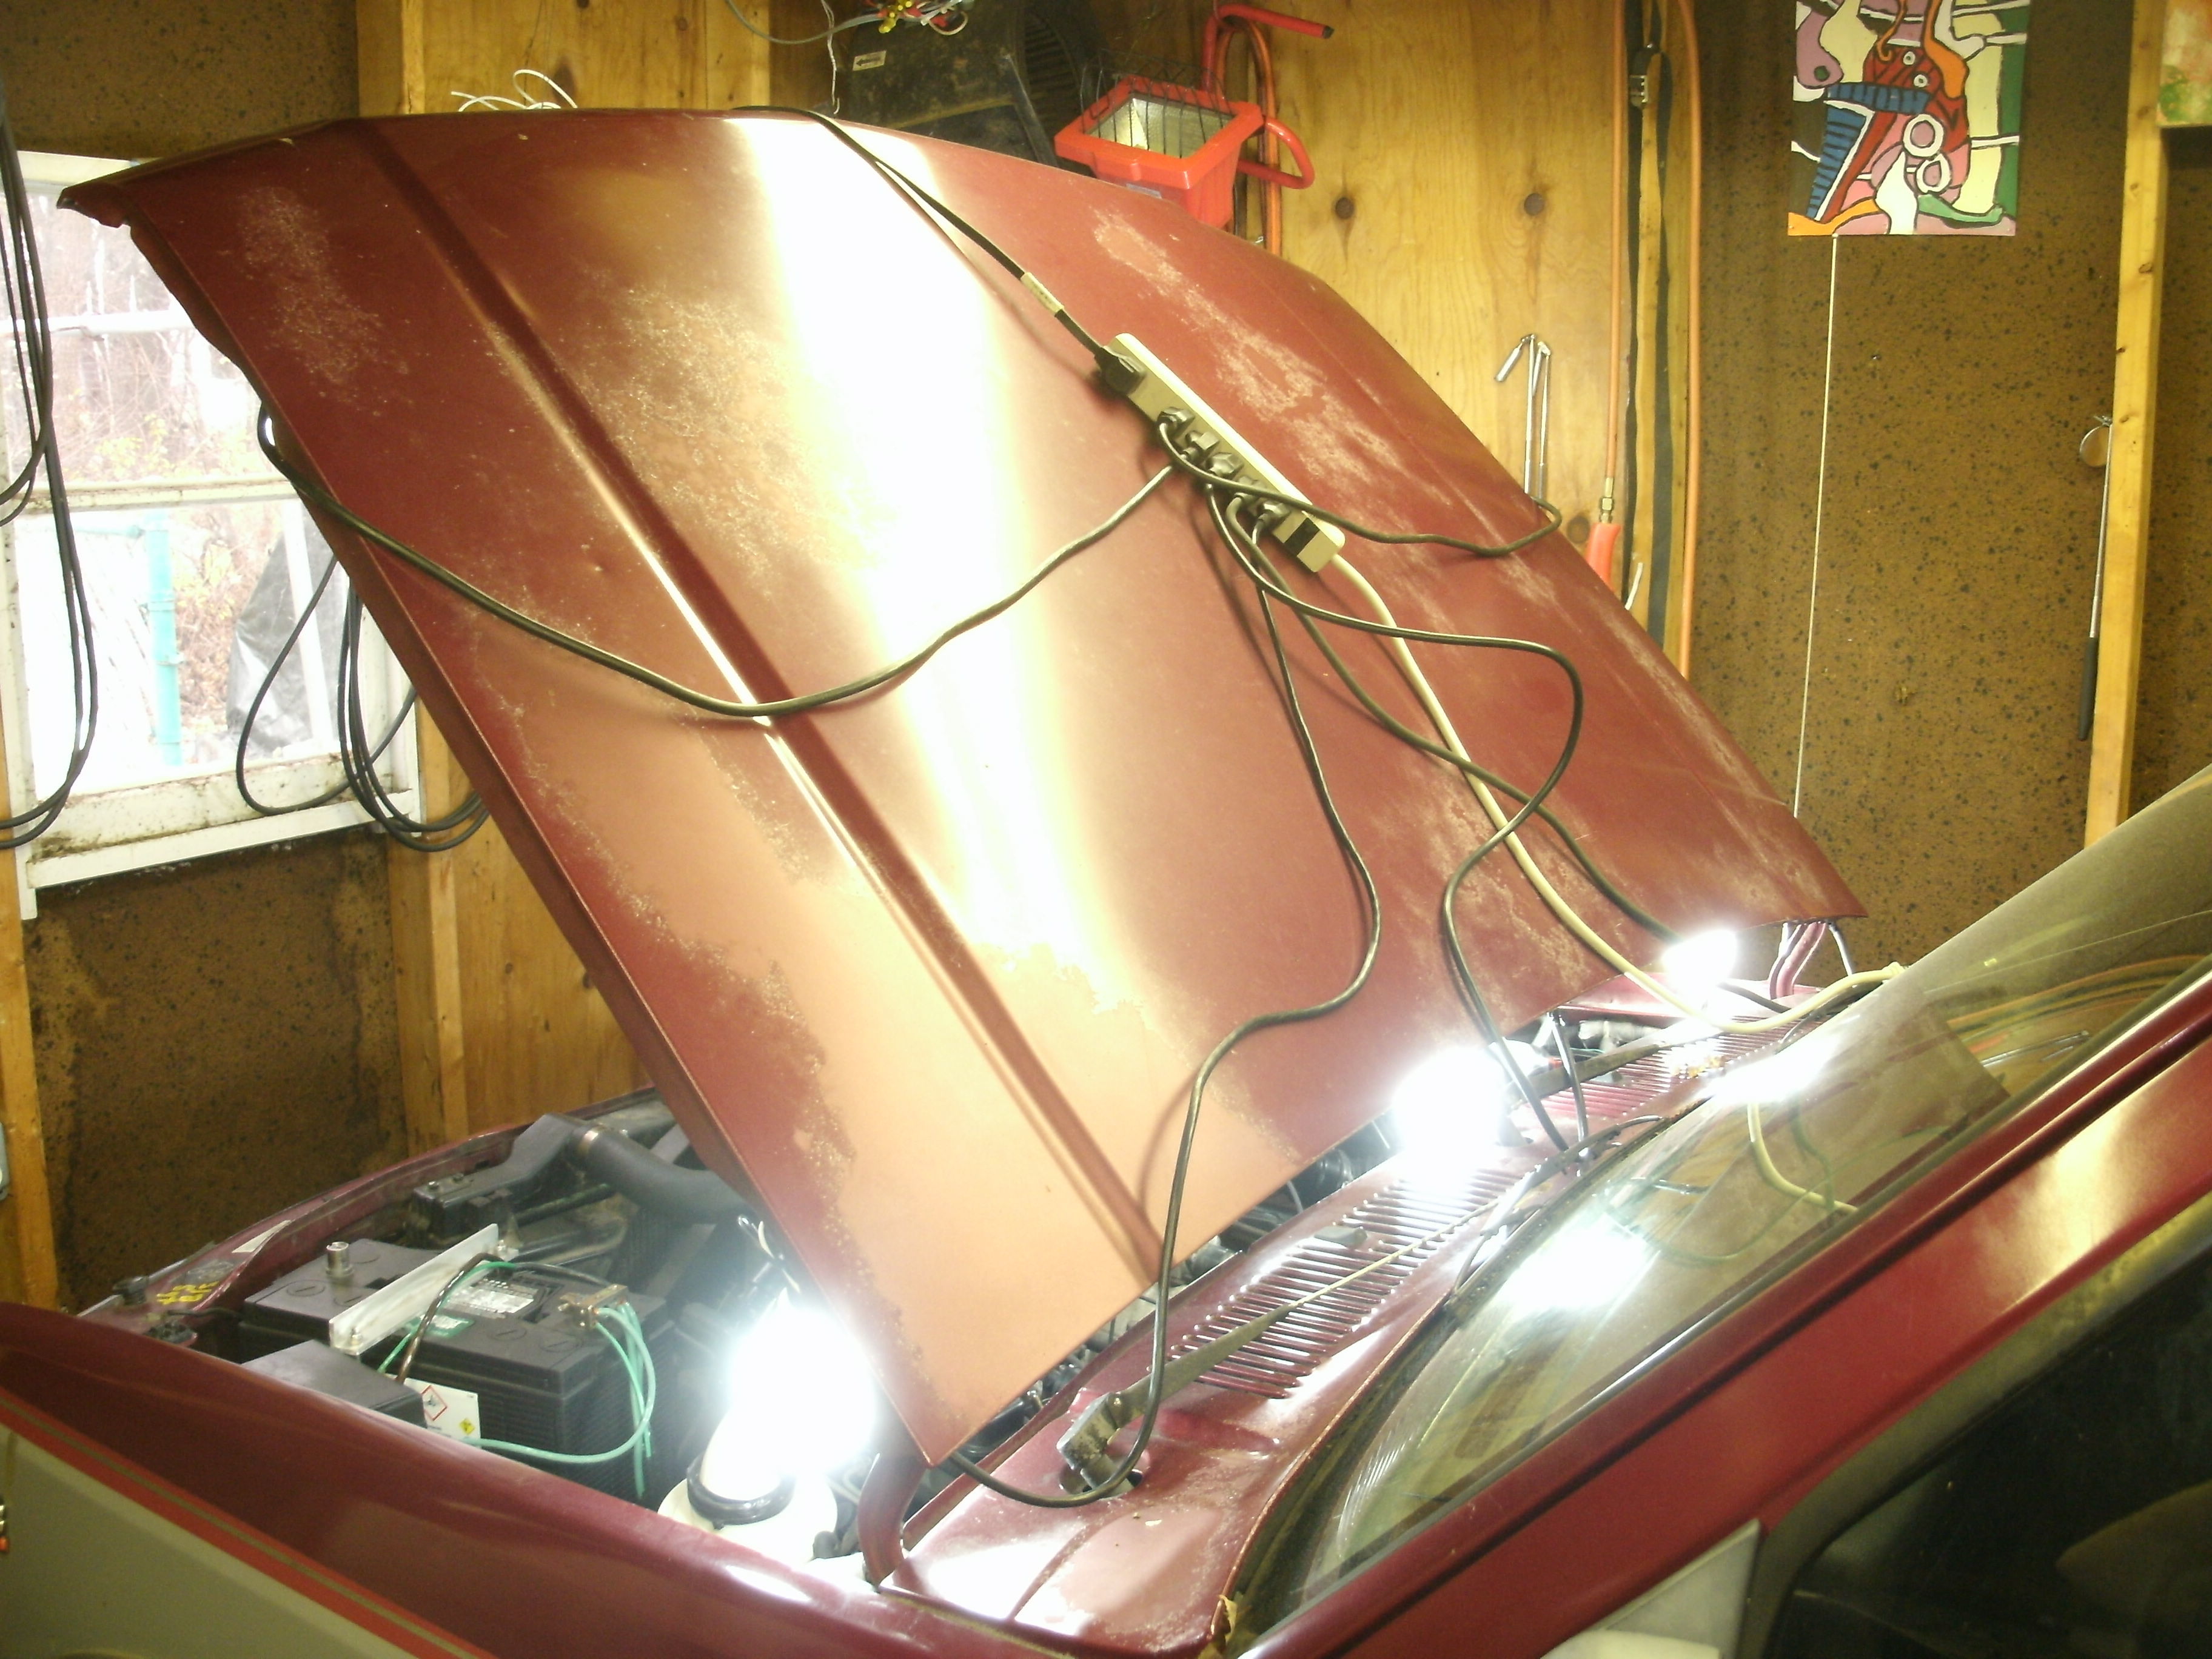
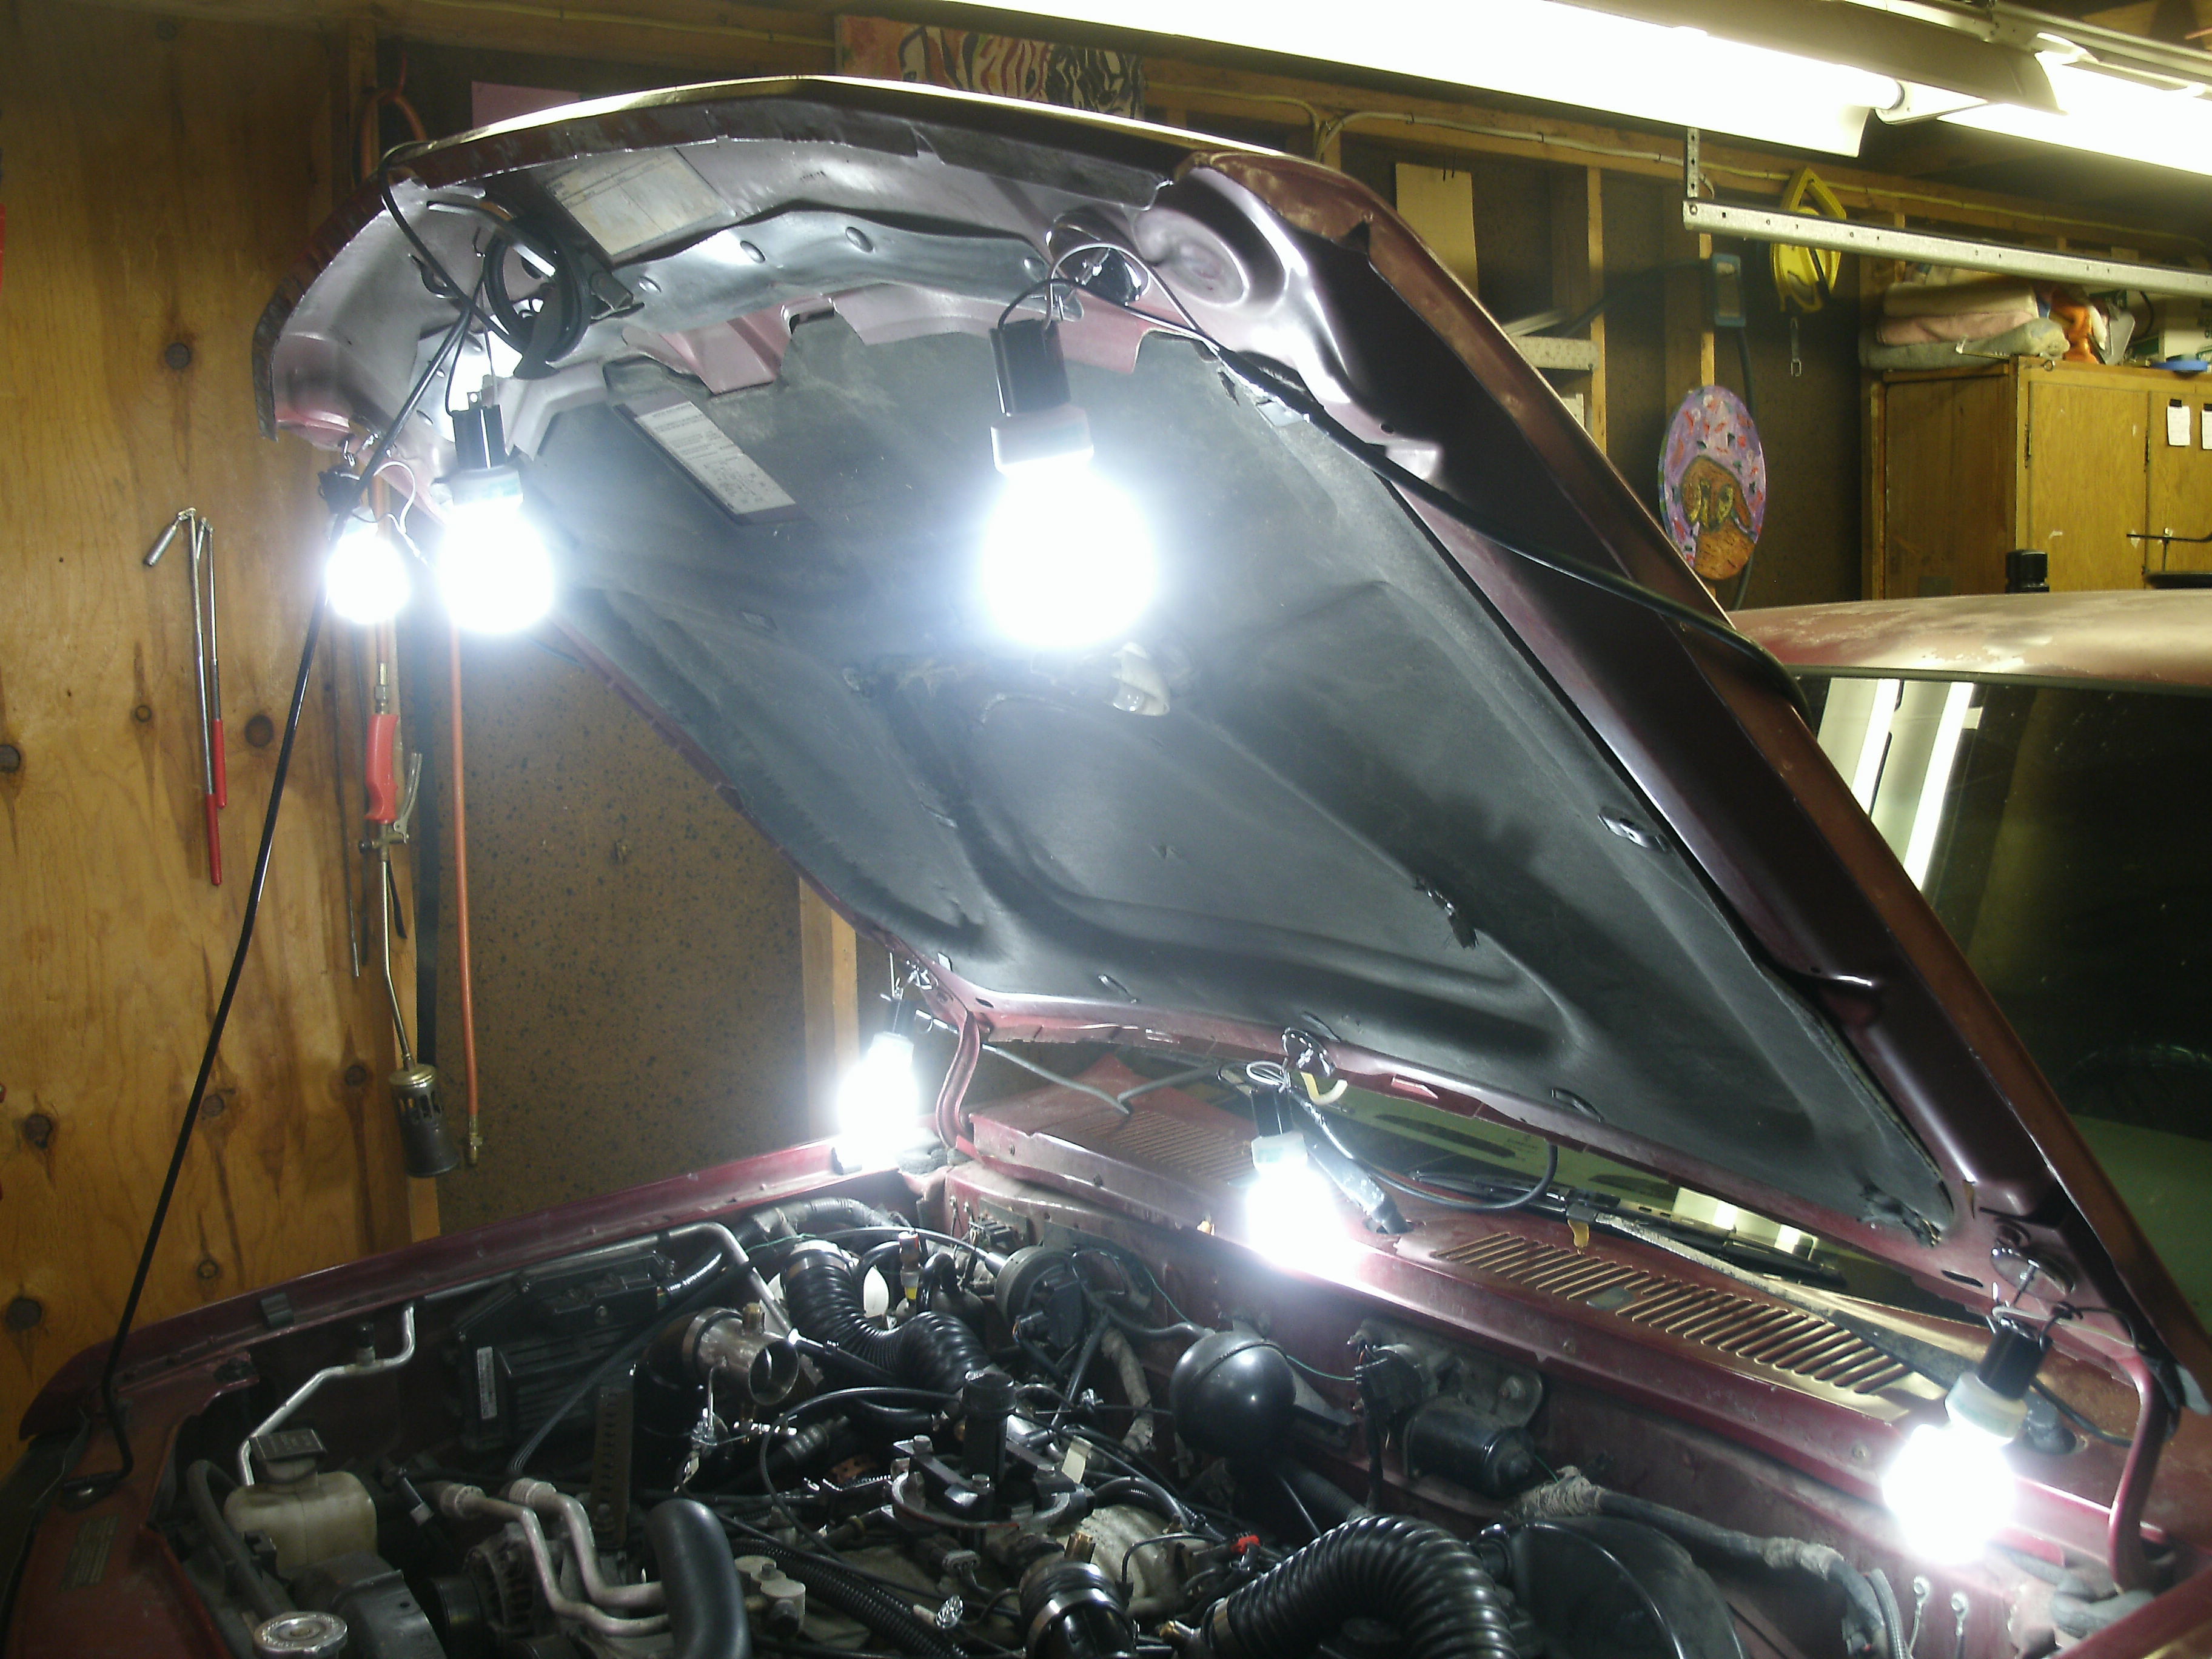
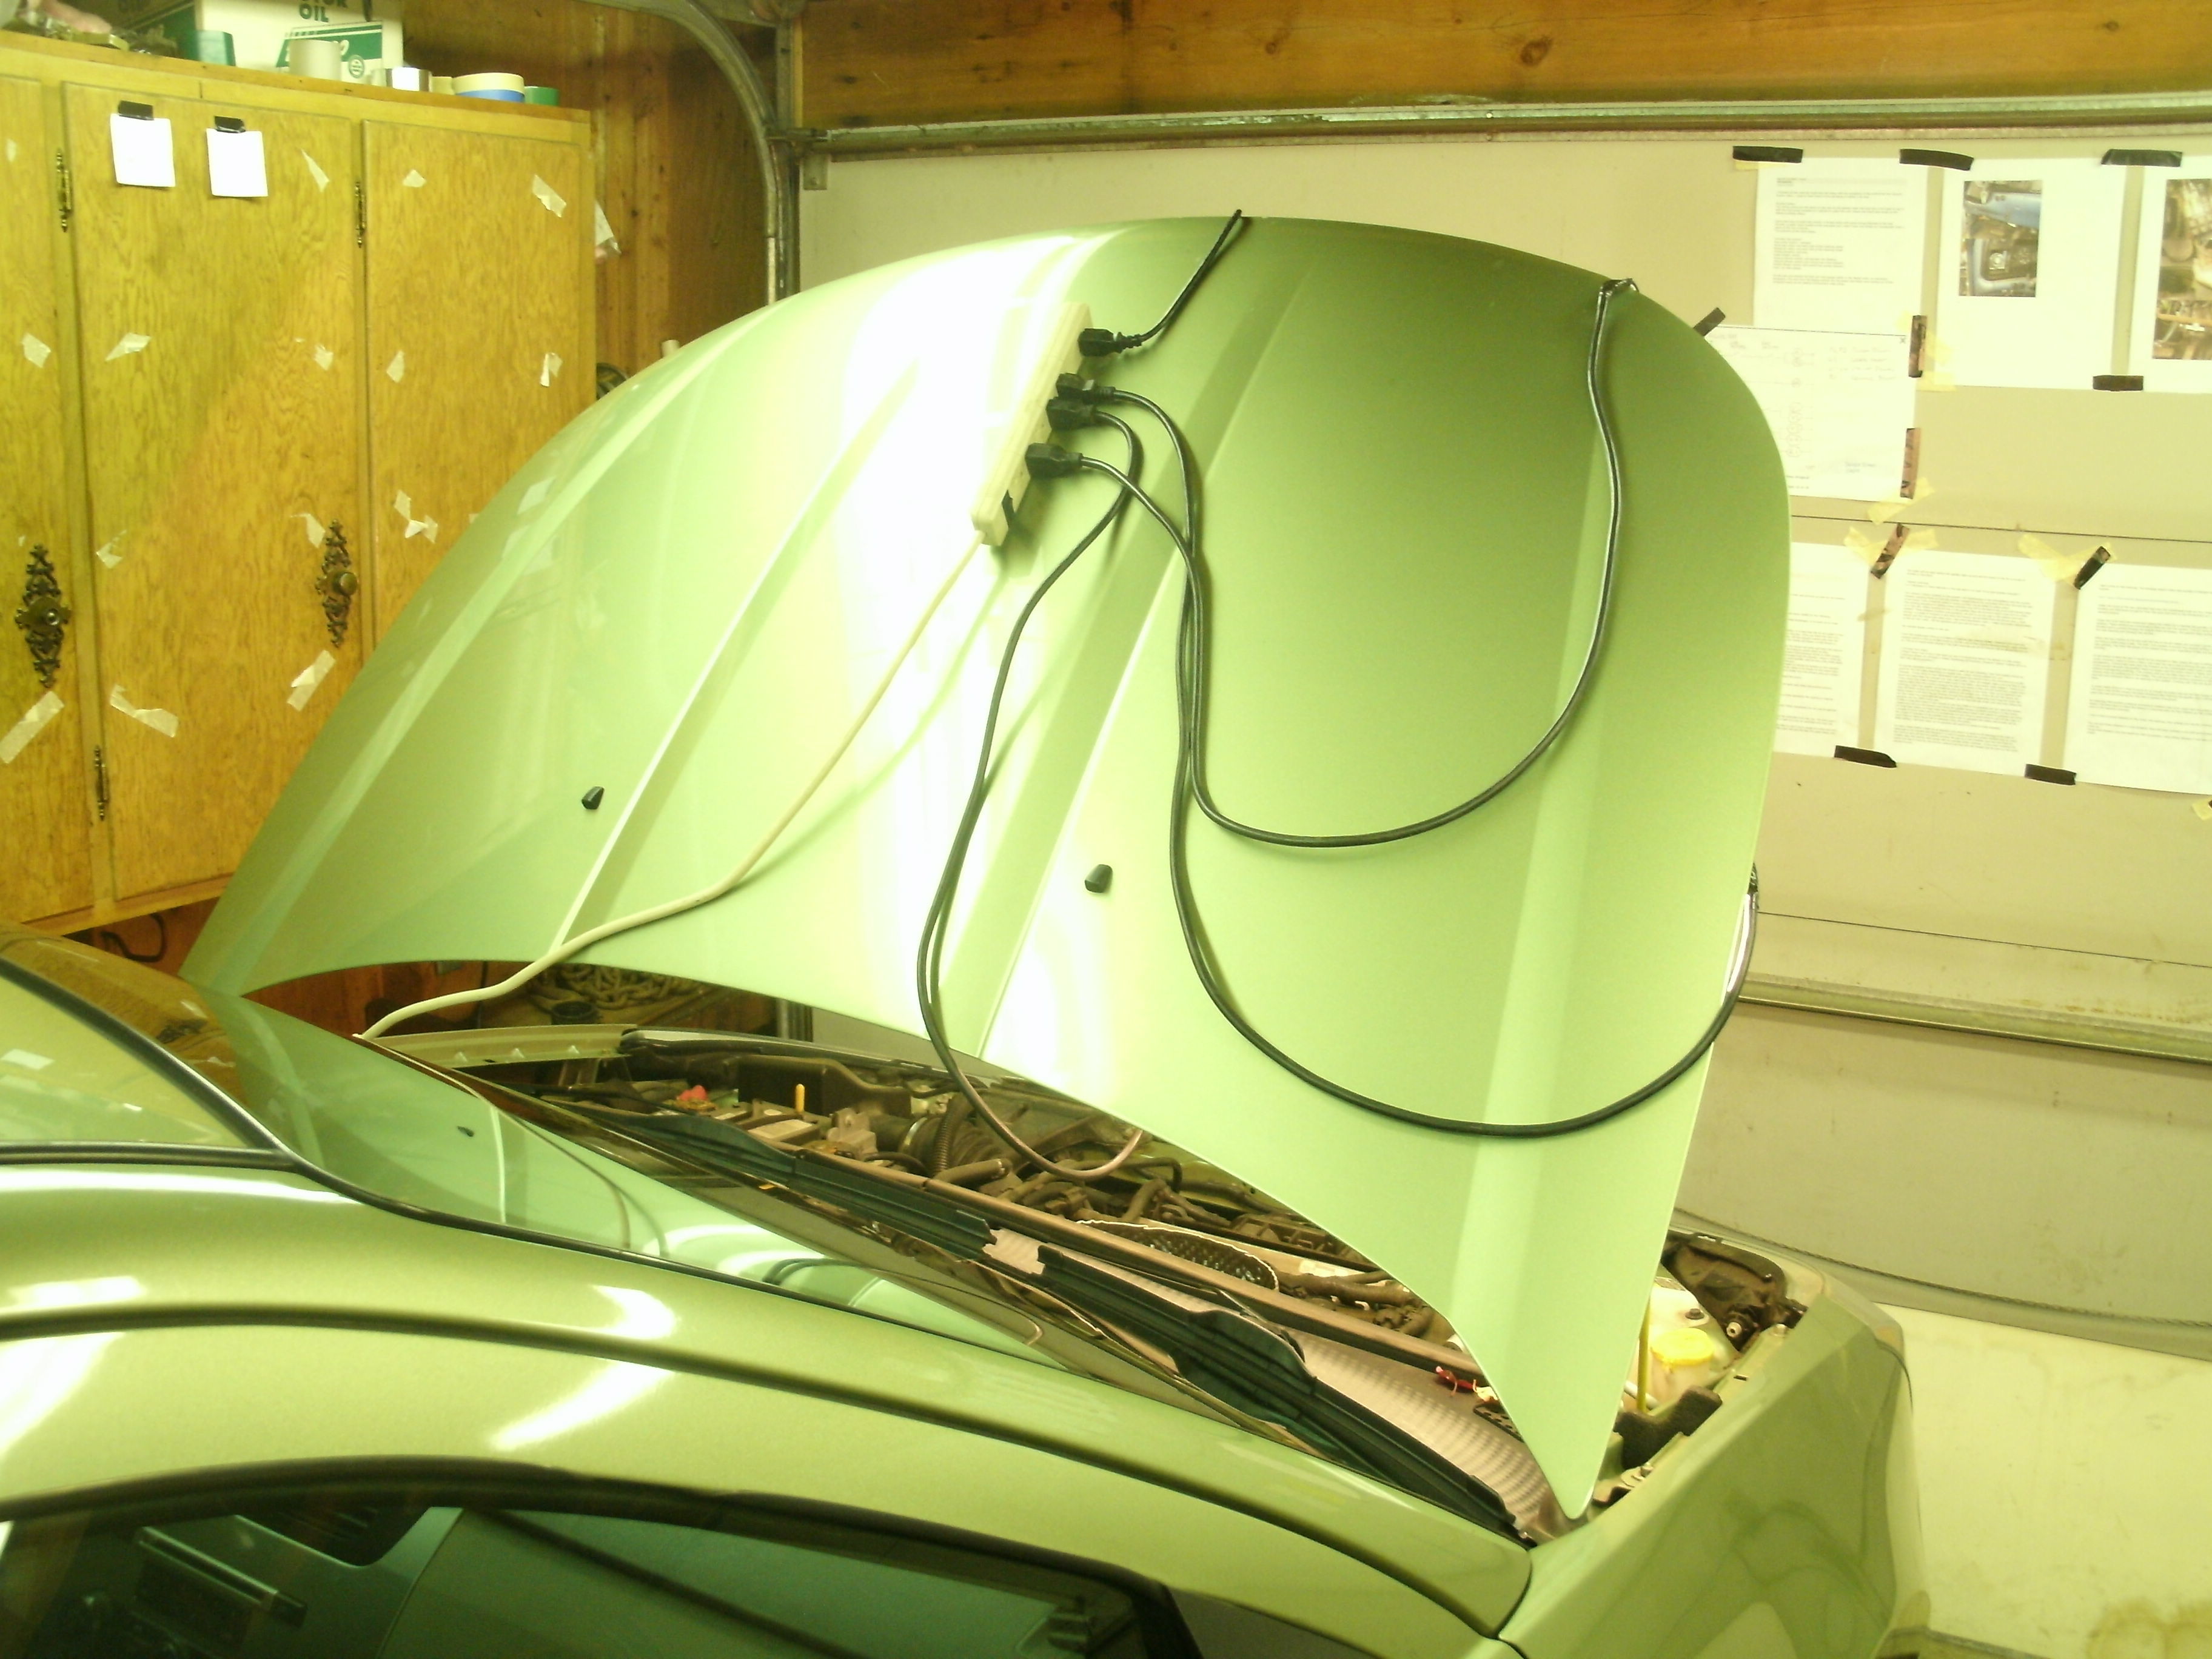
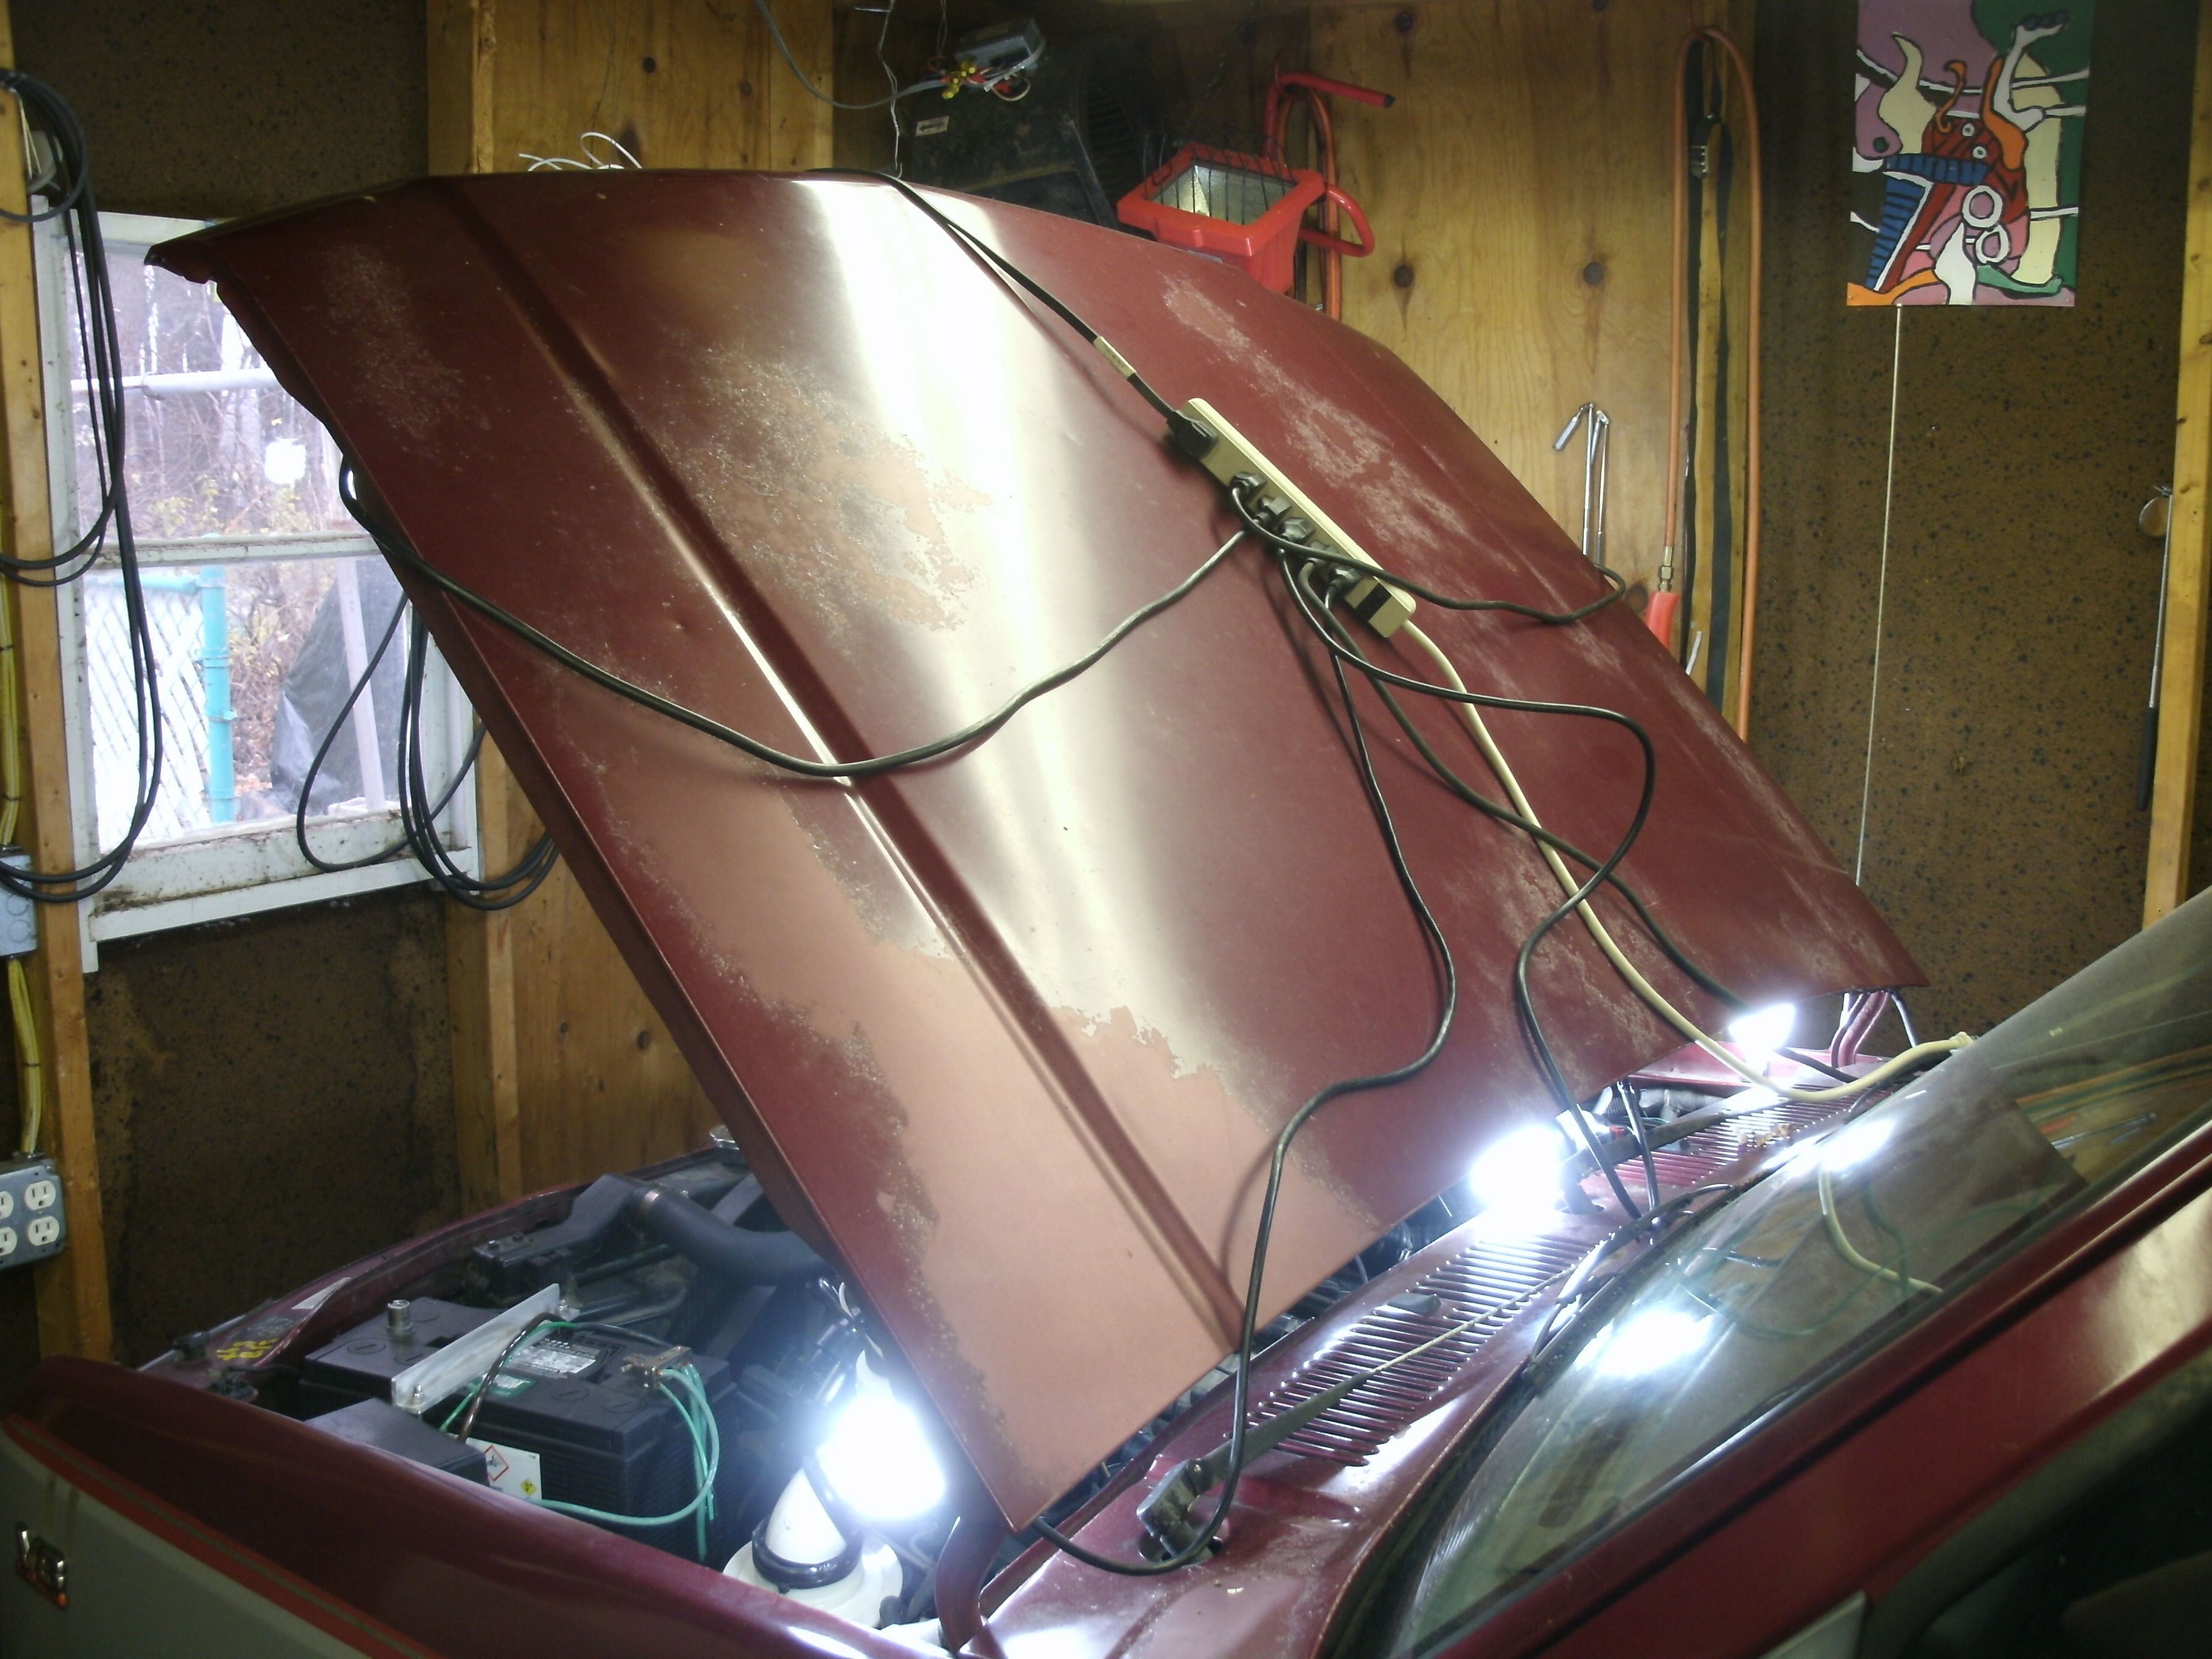
This is how you can put area light where and how much it is needed. The green car needed help with a serpentine belt replacement. And the Dakota needs the upper third taken off. Magnets $3 each. Lowes socket $3. Plus a 100 watt bulb. LED’s and CFL’s keep the power down and the heat away from your head.

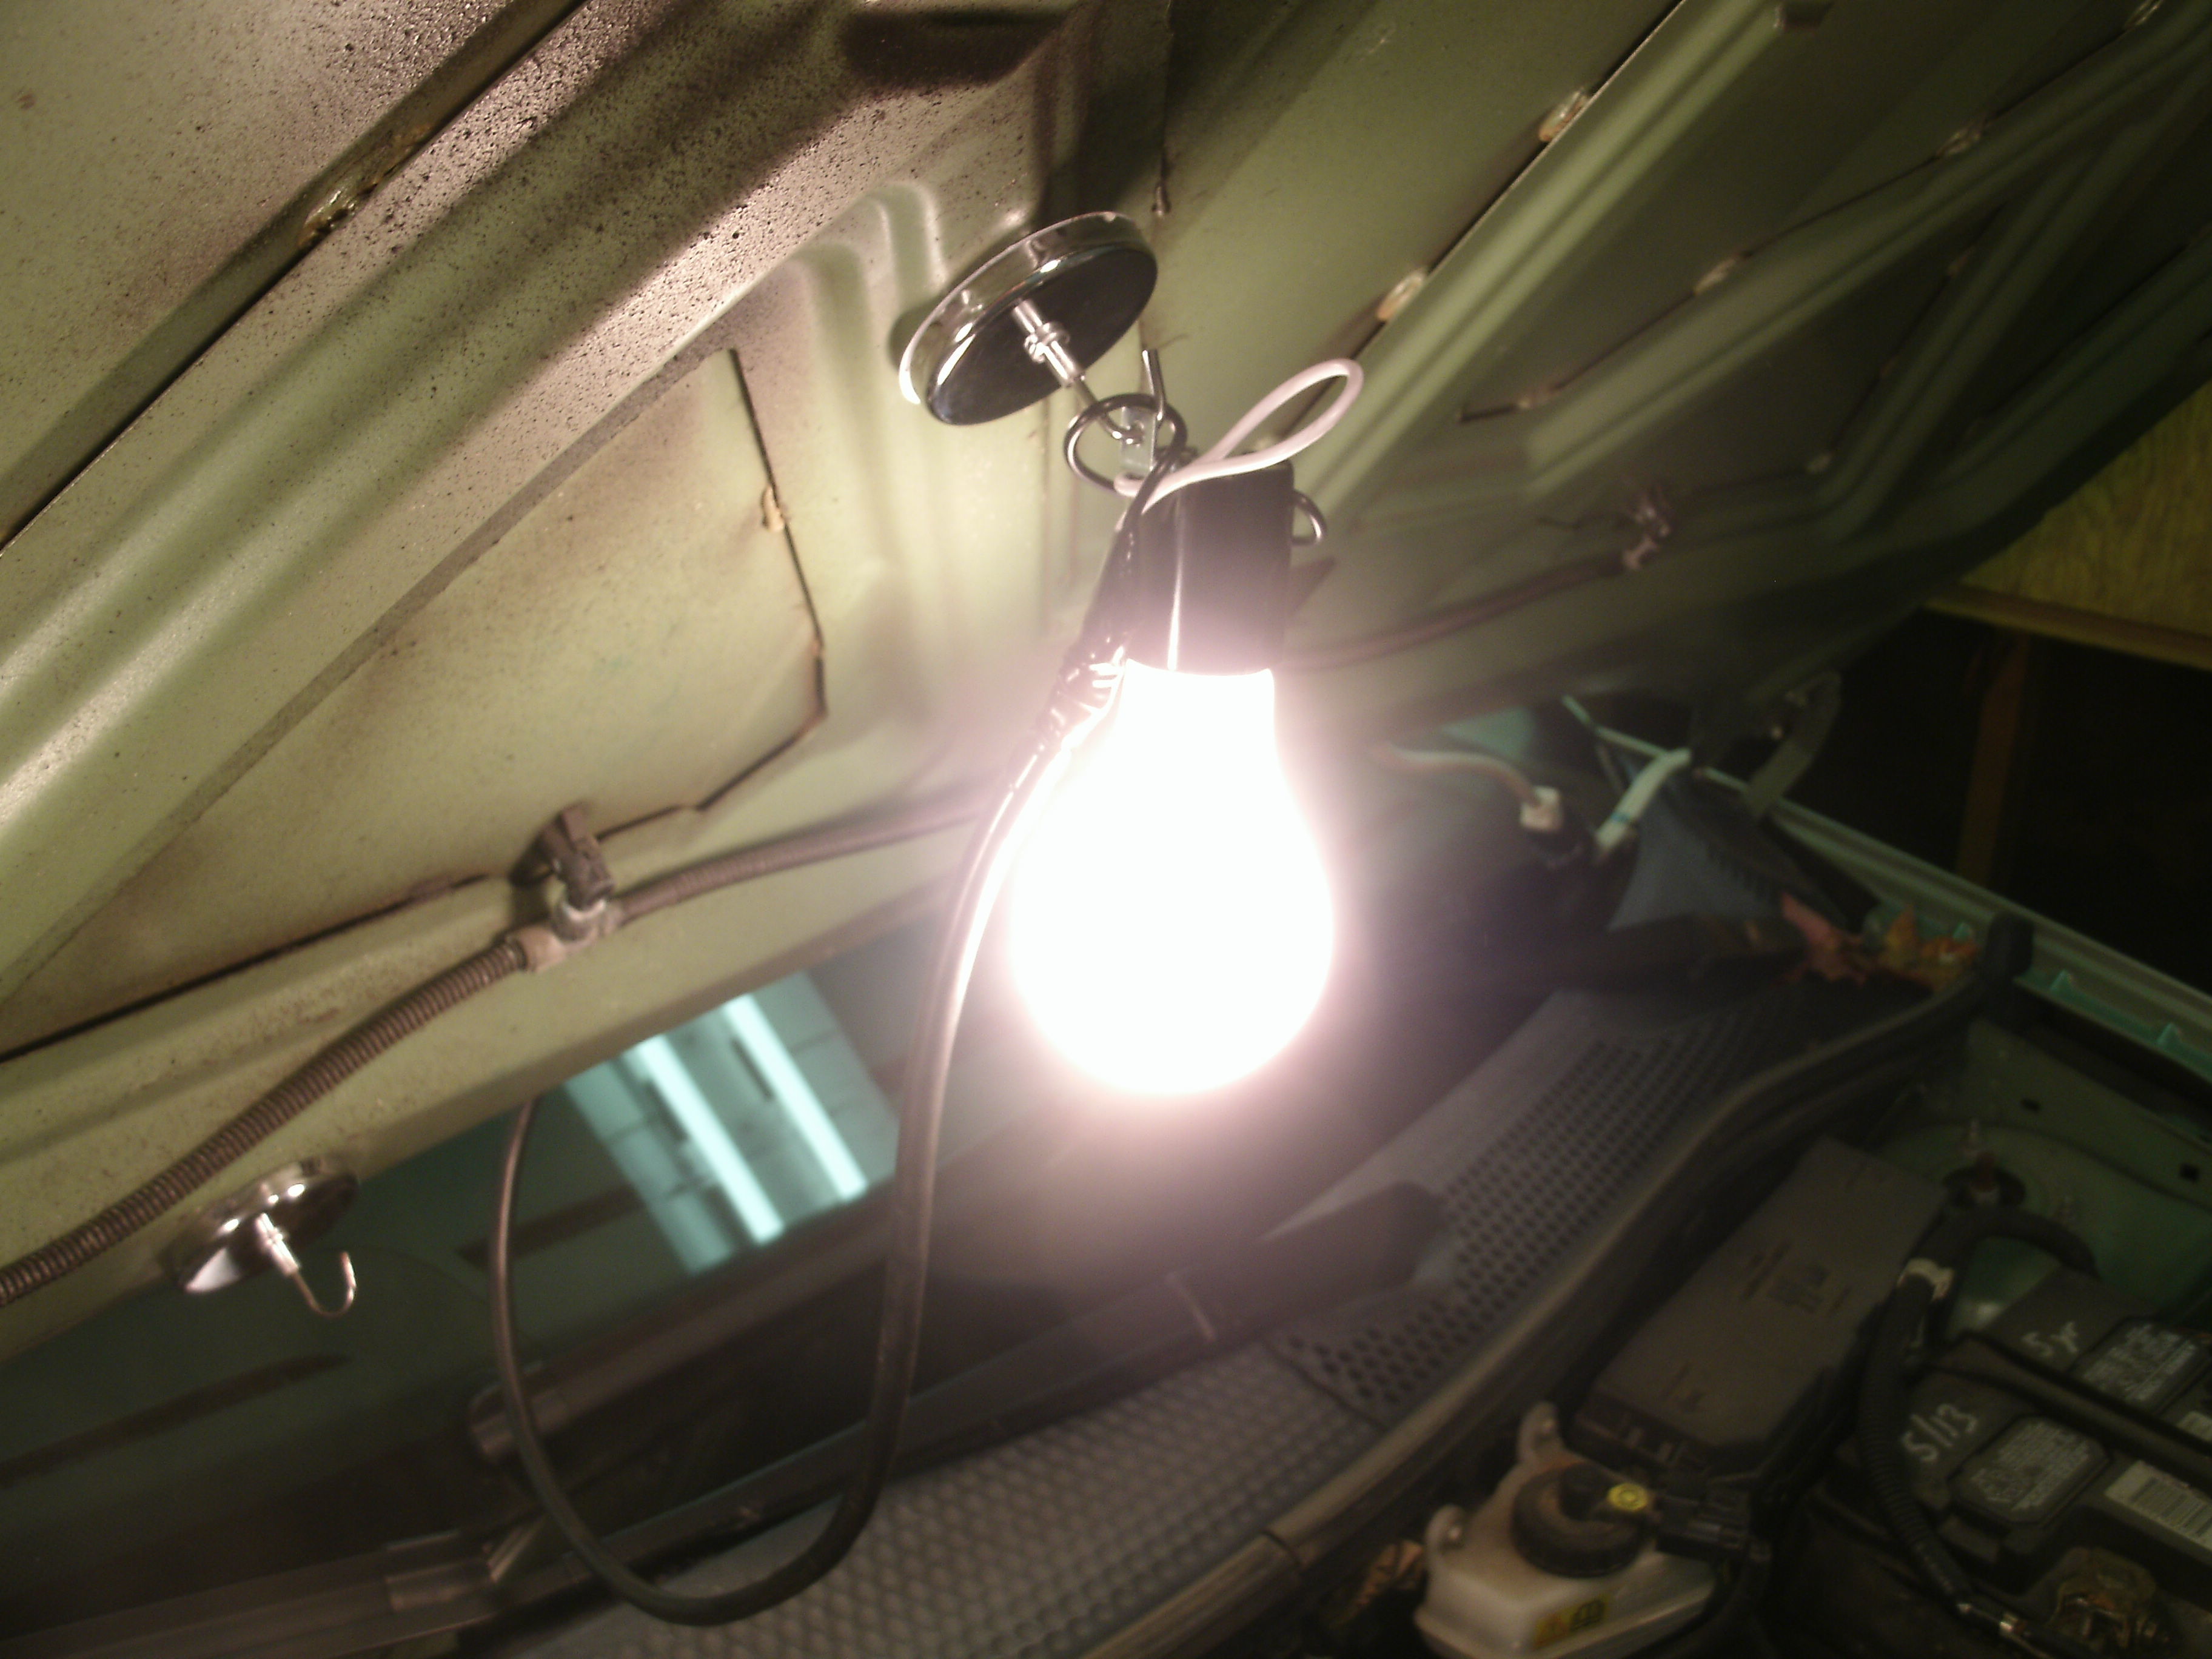
5 Likes
That is a well lighted work area
I like it
2 Likes
Magnets are a great idea. There is not much to grab under a hood.
2 Likes
you would hate my shop 4- 60 watt bulbs a flashlight and a headlamp all good.
5 Likes
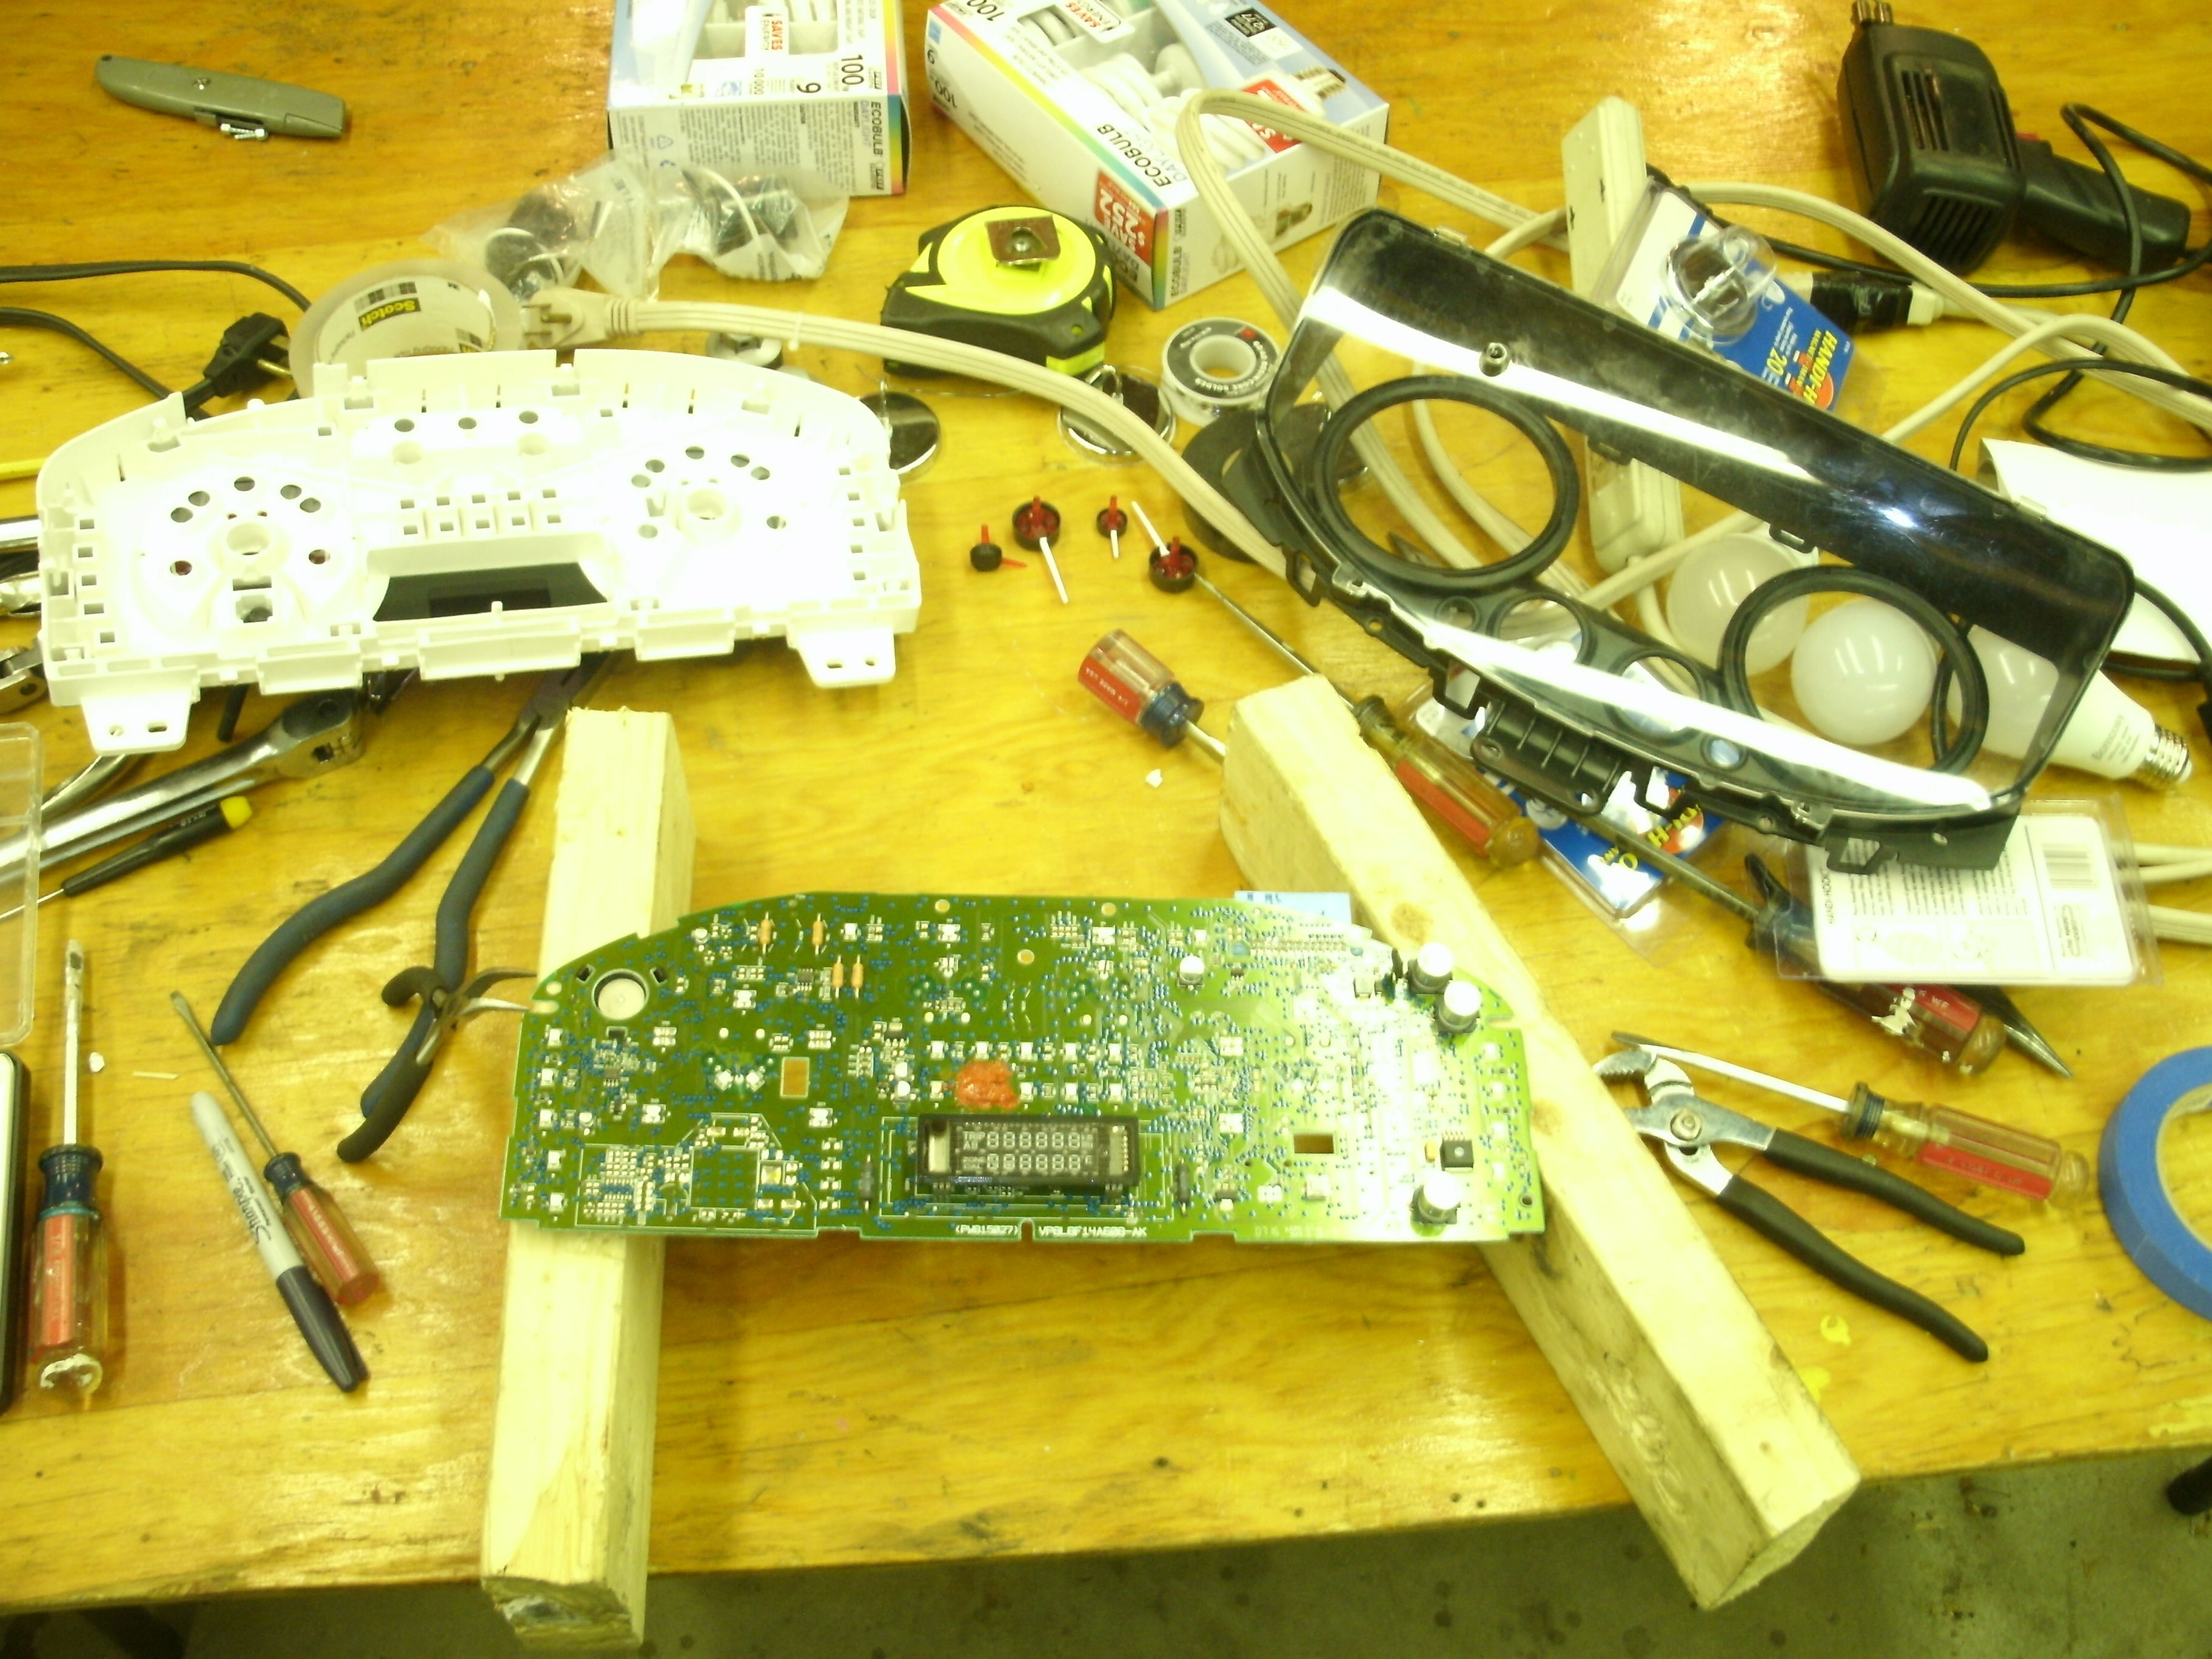
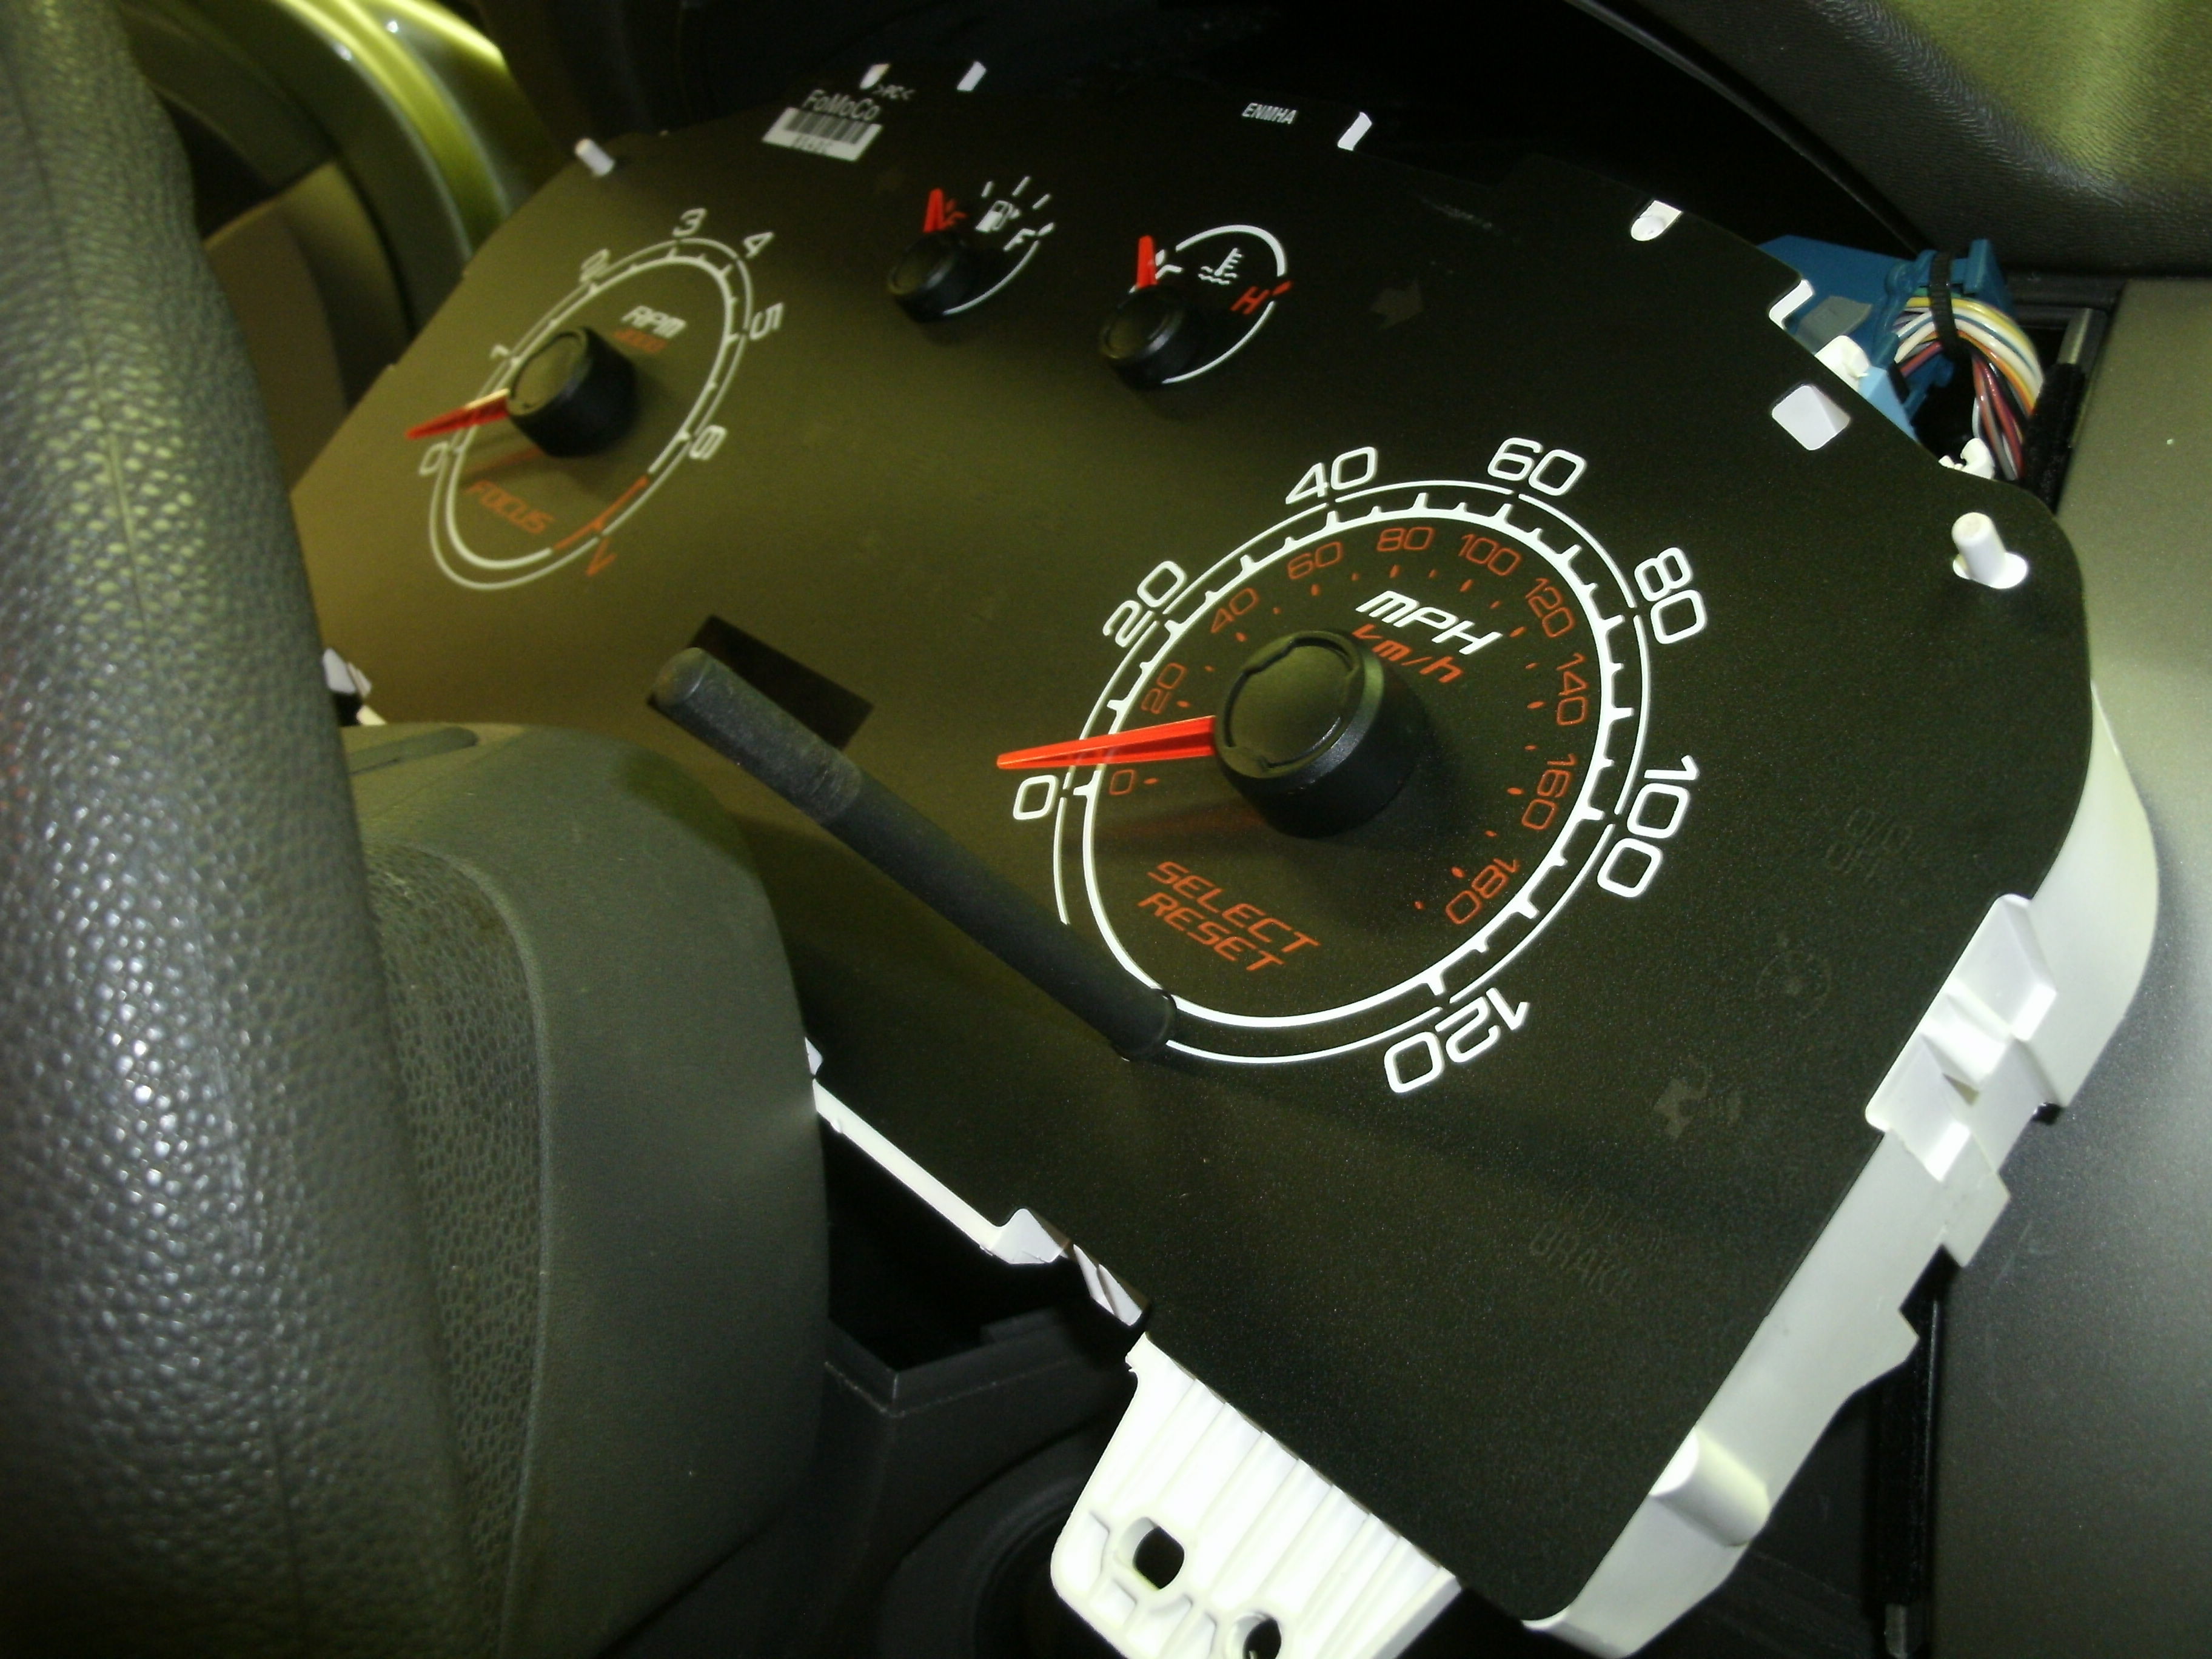
I have been bullied long enough. Two years ago I had on this same 2008 Ford Focus, the low tire pressure light come on with the light flashing for a minute, and then on solid the rest of the time. It will irritate the driver into spending money through either a dealer or a tire shop. Last time the false signal caused a new $90 something sensor replacement plus a $30 reprogramming charge. This time I bought junkyard rims and forgot about those pricey sensors inside each rim. Then came the break down of my will until I pay the piper. Not this time. First I topped off the gas tank, let the car set overnight. Take a picture of the dash. Disconnect one battery post. Then I removed the cluster and used a half dozen small screwdrivers and my fingers to extract the circuit board out of the housing. High temp silicone smeared over the LED does it. Paint won’t work. Plug the cluster back in laying it loose. Press the needles into a close position. Re hook the battery and test fire the engine. Pull the needles with a small channel locks and reposition. When satisfied, put everything back in with the battery unhooked again. Then re hook and verify on the road with a GPS. Mine is within 2 MPH. I won.
8 Likes
Wow!! You have a lot of patients to mess around with that computer. My speed-o doesn’t work so I went on YOuTube and found this VS (?) computer and how you can change the speed-o reading based on a change in differential gear ratio. I thought that doesn’t sound hard to change the wires. Then I got the VS out of the car and unwrapped it and saw how little everything was in real life compared to the blown up pictures. I still don’t have a working speed-o. TomC
2 Likes
Hey Tom. I my case every thing worked plus I had a yelling light. Sick of the helpless protocol, that’s all.
4 Likes