We live in western Pa in a very rural area, and the pasture and gardens are surrounded by forests and deal with pests in the garden and around the poultry. The gardens are fenced and I put an 18 inch strip of poultry netting, (chicken wire) around the base to keep the smaller critters out. We also watch for woodchucks and try to eliminate their burrows. Where we have had problems is with predators killing chicks and very young turkeys that I daily move around our orchard and pasture. This was solved by making brackets that attach to the base of our moveable pens that hold an electric fence wire at 4” and 12” above the ground. Good Luck, Kent
7 Likes
Back of the garden area is two rows of grape vines so pretty well blocked from deer being able to do much. I have in the past had the area surrounded by 5 foot reinforcing mesh and put four foot posts up with a line of wire on top. The deer would come up to where the wire bumped their chest and backed away. Too far from that distance to jump over the five foot fence with a couple rows of old VHS tape on top. The buzzing of the tape in the wind is supposed to scare them. Deer were only a problem in the fall. Ate the kale and I think out of meanness stomped the squash and pumpkins but didn’t seem to eat much of them, Still have the reinforcing mesh on the end opposite the grapes but I took it off the sides to make compost bins and never replaced it with anything. For the first time last year the deer got a taste for tomatoes and pretty much cleaned them out. The worst offenders by far are coon and porkies. They can climb pretty much anything and will take down a whole planting of corn in a night. Just starting to see a few rabbits. I guess the coyote population must be down. I plant so much kale that even if they get to it they don’t make much of a dent. I have no problem giving up my biblical 10 per cent to the critters SteveU but prefer not to offer them a smorgasbord. The last few years I think they got hold of a printer and sent invitations out to all their friends. As for critters jumping on the electric netting, if I went that way, I have a bunch of plastic snow fencing. I wonder if running that inside the isolators would allow you to zip tie the fencing to it and still work.
6 Likes
You can run an electric fence. They aren’t hard to set up, but you need one about 3-4" from the ground about nose height and a couple of others strung higher. weeds cannot touch the fence so you have to make sure it is trimmed or mowed underneath, and it isn’t 100%. You might use a chicken wire too.
The best solution I have seen is an 8-10ft fence, and it helps if you can bury about 8" to keep woodchucks and stuff from going under it and deer won’t jump over it.
Irish spring soap will keep them away for a bit. Another way for the smaller critters is lime or woodash because it stings through their pads.
8 Likes
Like I said before, electric netting will keep out everything except birds.
7 Likes
I’ve got two thirty foot rows of grapes to keep the birds fed Al. Almost got a harvest last year. Every day checked for ripeness and then didn’t go for a few days and ended up with about 2 gallons. Probably deer. I use japanese beetles to keep the foliage nice and lacy. . ![]() It takes a lot of effort but somebody has to make sure all the creatures are fed.
It takes a lot of effort but somebody has to make sure all the creatures are fed. ![]()
7 Likes
cover the grapes with bird netting, it’s cheap
7 Likes
You might try neem oil, geraniums or dicotomous earth for the Japanese beetles. They also mention applying nematodes to the ground which eat the grubs before they turn into beetles. And one of those would affect the birds or deer. Geraniums or geranium oil seemed like the best.
And somewhere i might have posted how to grow nematodes
And actually i can scare the deer for a couple of days by moving big stuff around. They get skittish with any changes.
It is halfway down on this page but it is loaded with spam before you get to the article.
How to Get Rid of Japanese Beetles Fast (11 Remedies) (2024) | Today's Homeowner.
2 Likes
I spray Neem on them when there are big clusters on some leaves and battled them fiercely for years with every youtube solution. Then I just quit and found out that even though they eat a lot of leaves, there are still plenty for maintaining grape production and I don’t really need that much grape harvest anyway. A lot of these things I planted years ago when I thought I was responsible for everyone. Then I got old and decided it was hard enough just taking care of me and the wife.
7 Likes
Often its our dilusional instinct that guides us to fight aginst everything that is out of our control. I have found often we just make our selfs more unnessesery work. In this instance, Tom, its a common practise here to strip wuite a lot of leaves off so that the sun gets in the vines. Well, it may look preetyer thain what the beetles do but in the end it achives a similar goal.
8 Likes

4 Likes
Neem oil works -ok-, but you have to keep re-applying it which is a pain.
That is why I thought the geraniums might interest you. If they eat those, they die, and they look pretty, plus they are fairly easy and cheap. ![]()
The nematode solution will attack like 200 different kinds of larvae in the ground. Once you re-establish those in the soil, they cut down like 200 different types of bugs and beetles like potato beetles and lawn grubs, that put their larvae in the ground so in theory it is a one and done application. BUT that doesn’t keep them from coming from the neighbors. It just cuts down on the number that is being produced in your soil which you may find beneficial to the rest of your gardening as well.
I consider nematodes the 3rd part of the trifecta for soil biology. You have the aerobic bacteria, the mycorrhyzal fungus, then the nematodes and of course the macrobiology like worms. But you need the aerobic conditions for the nematodes to survive and they are killed quickly in UV/sunlight. So I usually spew incessantly about the others.
7 Likes
Processing the three-phase capacitor for the generator, so that we also get the phase voltage:

carefully make a hole through the aluminum housing and plastic protection with a crown drill

this capacitor has a star node from the top, here it is necessary to solder the copper conductor for zero, I used a piece of copper pipe, which I heated outside and applied tin to the surface inside, here I soldered the copper conductor


I installed a screw clamp on the copper conductor and sealed the opening with sealant


connecting the capacitor to the three-phase network, you can see how much current flows into the capacitor, this value should be equal to or slightly greater than the rated current of the electric motor that will work as a generator, the last photo is the measurement of the single-phase voltage in the node


when you disconnect the capacitor from the mains, it must be discharged, otherwise there may be an electric shock, it is best to do this through a resistor, if you short-circuit it with a screwdriver, prepare for an explosion

15 Likes
Well fellows for a few decades now the front and rear of cars have become mostly plastic.
My wife has claimed for years that I am always trying to gray duct tape the world.
Not true! Use nylon tie wraps/cable-ties. Black having the best UV lifetime. The natural colored matching up well against white.

Sigh. The wife ate a short in pavement barrier steel post. And I was in the car as the passenger. She said I was making her distracted and nervous directing around a tight building.

Yellow paint transfer from her being assaulted by that post. Horrible listening to her having to back off of it. Bent the steel winter wheel.
I think I did as good with my “fix” as the last time the professional body shop restored her front end from here previous third collision incident on this bad-luck car. ( this would make the fourth! why there will be no insurance reporting claim)

Plastics subject to heating and contractions and pretty-done with glues do not hold up. And clear tapes sun yellow, and dirt and grime always edges show from a distance. Near impossible to later get off and redo.
So . . . plastic tie-wraps stitch it!

What is not picture is the 20-25 underneath black nylon ties I had to use to replace all of plastic panels edges torn off screw down tabs.
A new technique for me this time. I was pissed. So I did not bother to drill the holes. Bored them with the tip of my Leatherman blade. This leaves some raised plastic on the made-holes edges. Better I think to reinforce the hole. As an edge break guide for the ny-wraps.
S.U.
14 Likes
Steve, that’s something you don’t have to worry about with an old Volvo. Sturdy rubber bumpers. Elegant too ![]()

12 Likes
I feel your pain. I’ve tried zip ties too, multi strand copper wire… In my experience this thin nylon cord holds up best over time. Of course not good for use in high visibility areas.
Rindert

11 Likes
Hey Tone, missed this one. Should we call you Obelix in the future? Are you DIY a capacitor the size of a bucket? What is this?
Edit, aha, you made the star point? Need another red connector? Looks like mine btw.
8 Likes
Joep, in the first picture I have painted the AEG capacitor, you can see from the data that it is already factory-made and connected in a star, I just added a conductor to the node so that we can connect single-phase consumers to the generator,…

9 Likes
It was a good solution. I have seen similar more then a few times. I can’t get the stupid glues or epoxies to stick well either.
Since this is tips n tricks.
I personally would have used a soldering iron tip to ‘drill’ the hole, rather then remove because it would leave a reinforcement collar with the excess material. but you need a temperature controlled one to be able to set it down to a low enough to melting temperature. Otherwise it is too hot and burns the plastic or it shrinks way too much. It works for stopping cracks as well. And you can also remove material from another spot and add it so you know it is the same type of plastic. For temperature start low and move up, if it is marked as to the type, you can use the 3d printer nozzle temps. It does not work equally well on all types of plastic. It rarely looks pretty when it is done but it usually holds okay.
Mine is the JCD 8898 which is the cheapest one with the hot air gun, and a youtube teardown of it showed it was Electrostatic discharge (ESD) safe which is important for actual soldering. I have a whole set of soldering tips that I just use for plastic welding because it messes up the tinning on the soldering tips when you go back to try and solder. It is part of the reason why I got the soldering station and plastic welding by itself has paid for the tool already. I don’t use the hot air portion that often, but it is handy to have a small heat gun sometimes.
6 Likes
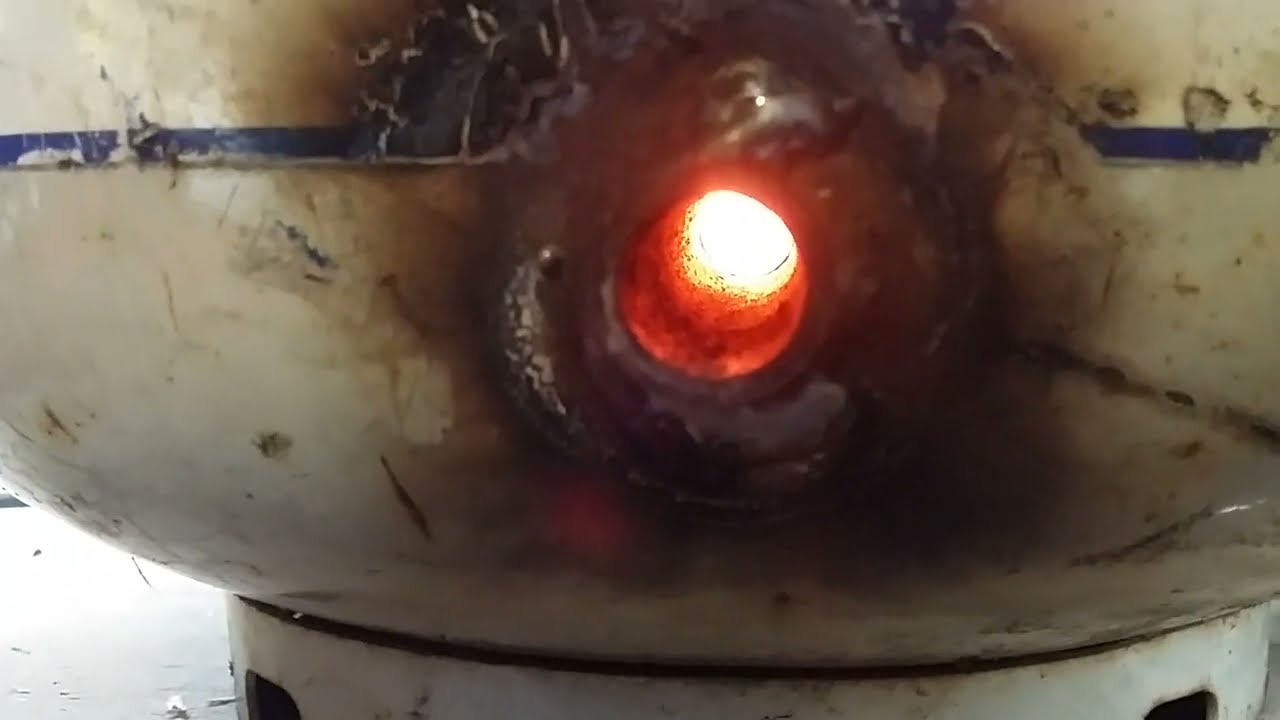
I didn’t know where to post this so I am doing it here. I found this old video from my experimenting days from 2014. It is about trying to make a woodgas lantern. I did not have a mantle so I set it aside and monkeyed around with other things. I just thought it might be interesting to somebody.
14 Likes
Did you ever try the mantle Don? Light and heat with no power required. Win Win. I wonder how small a vessel you could use for the charcoal.
9 Likes