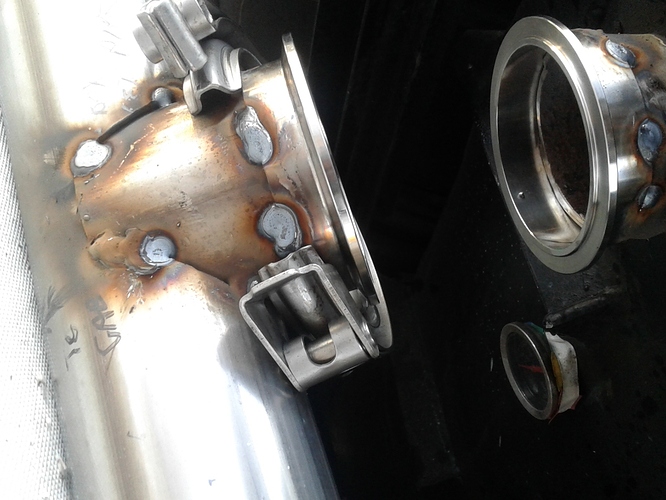
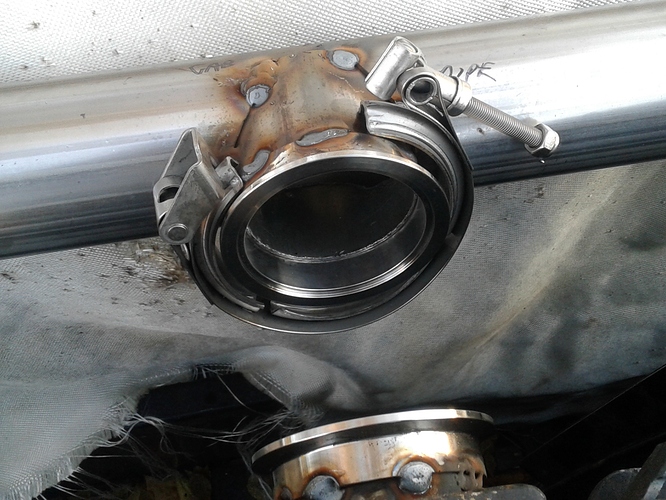
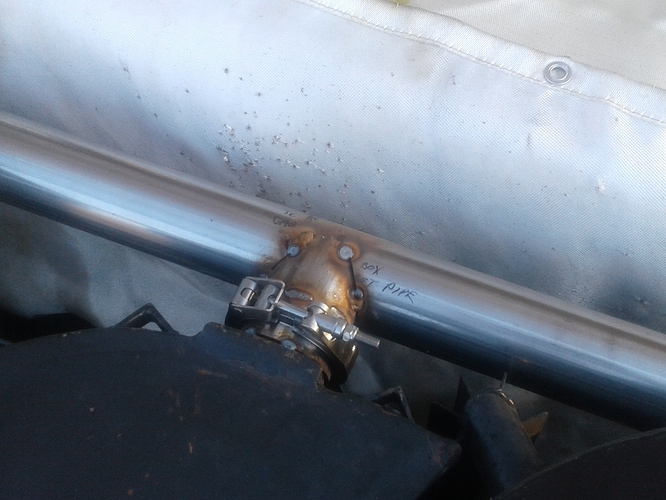
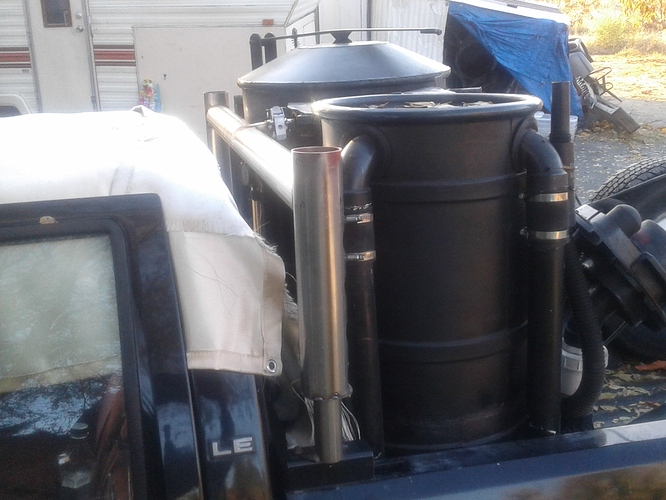
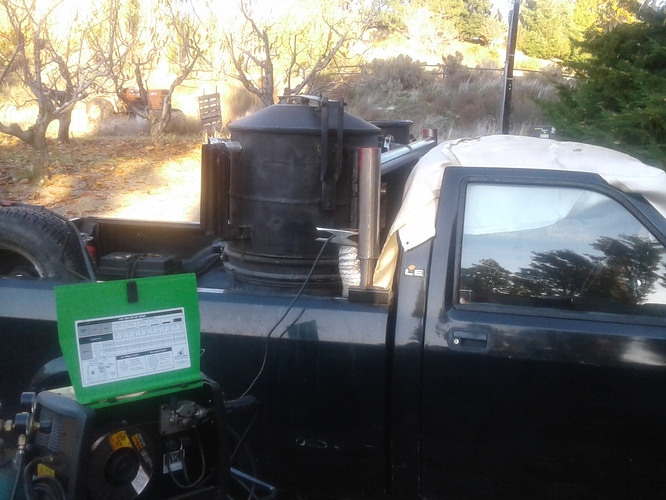
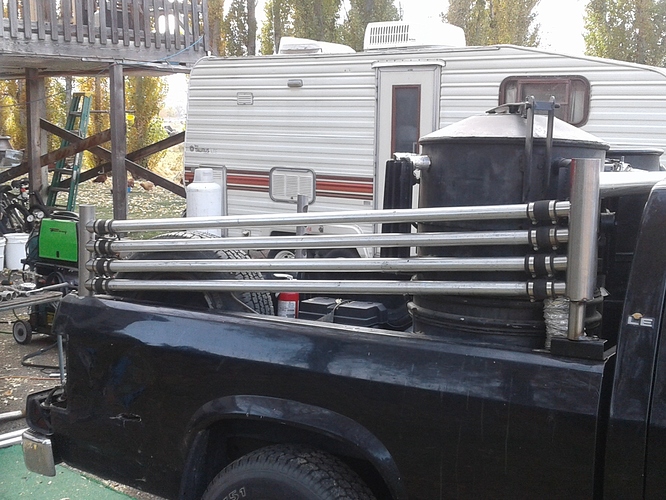
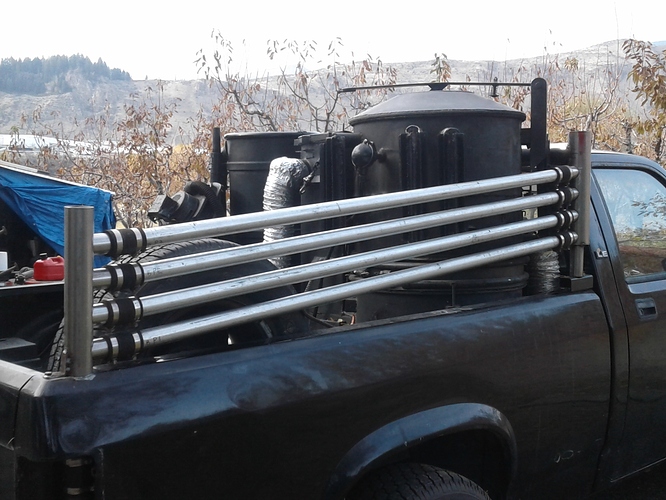
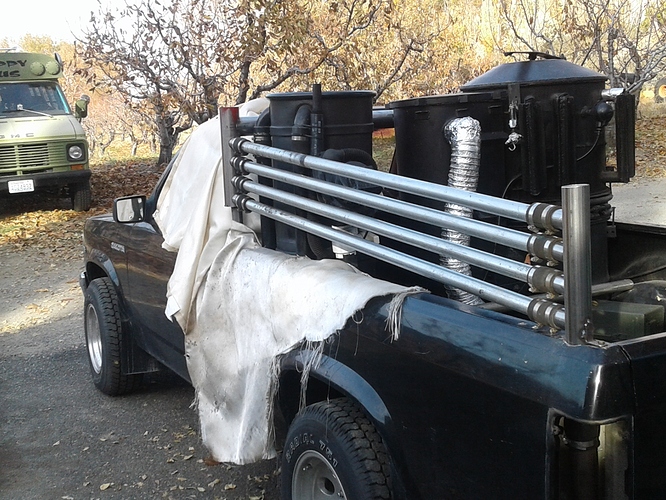
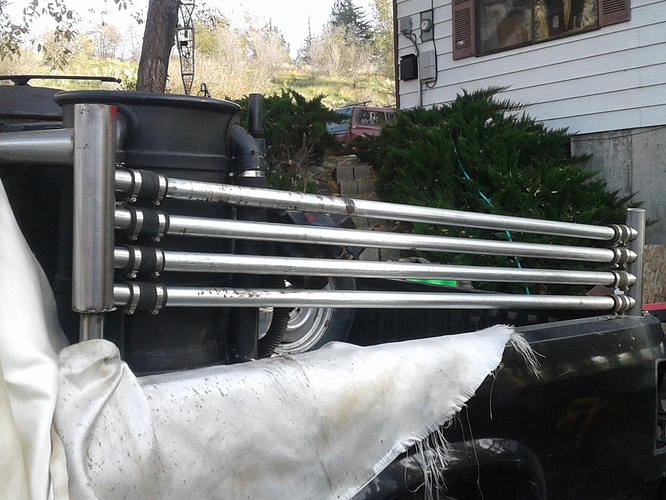
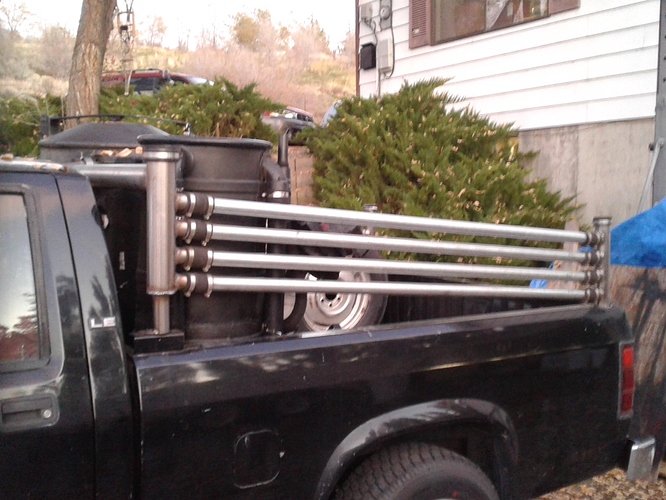
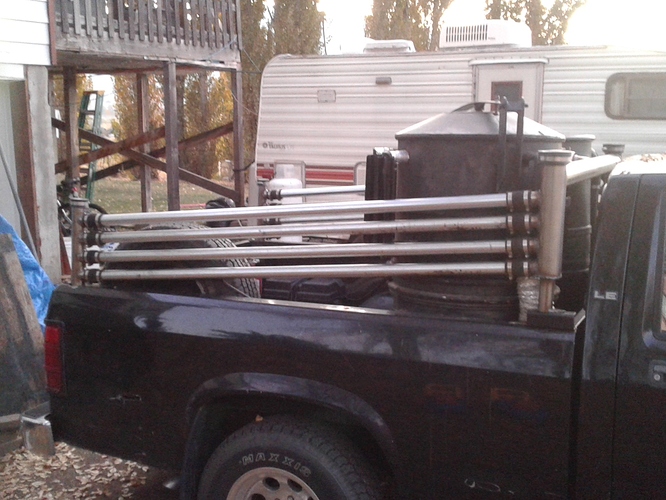
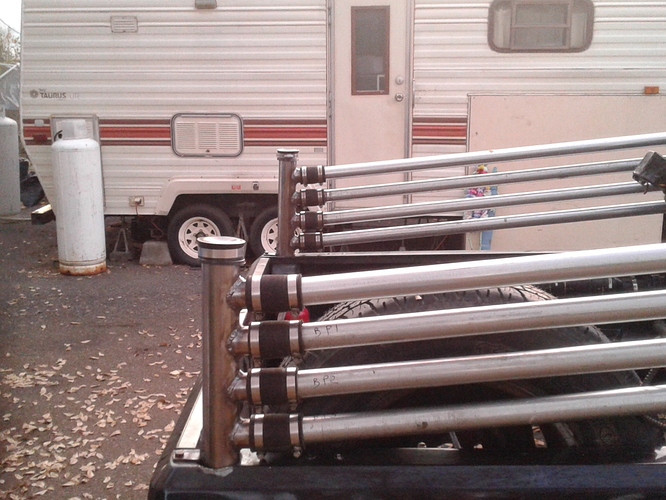
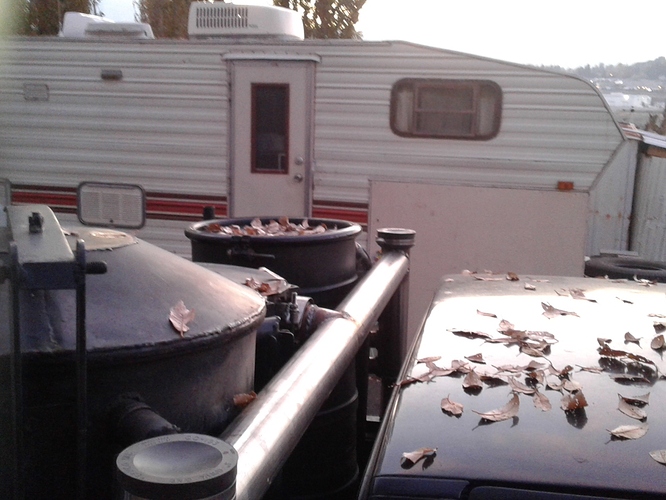
Here is the V- Clamp and center pipe tack welded into place, the connection is so easy to hook the header to the gasifier drop box gas outlet. Just 2 bolts mount the header to the side bed and it can be removed in a couple of minutes for maintenance.
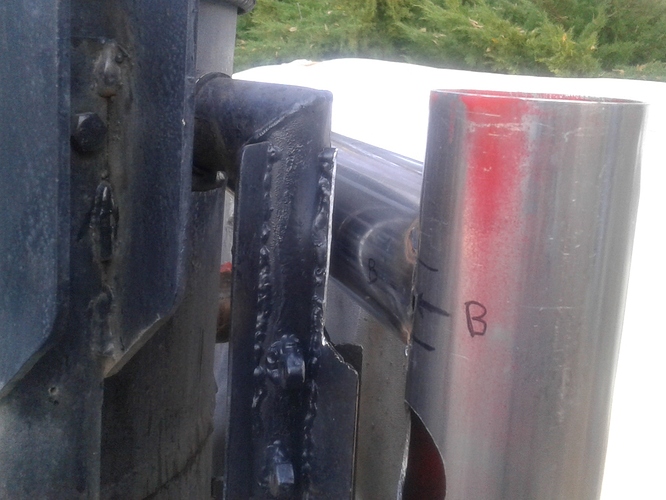
Had to cut some fins off the hopper cooling tube. There is about 1/4" clearance between the header and cooling tube when it is bolted into place.
The header is supported by a pipe pedestal on each side.
The sun is about to set and it is getting cold. It will be back into the low 20s * f tonight. The leafs are dropping like big snow flakes. I decided to keep working on the truck in stead of raking leafs or mulching them. I think I made the right choice. Got to get the 92 Dakota truck back on the road DOW.
Bob
Hi Kevin, they make hole saws for stainless, you just have to lay the money down for them.
My friend has a muffler shop so I buy the stainless piping from him.
I hoping it will run better than it has ever run. I don’t know how long the pipe holes have been there, causing weak gas. With the auto mixer it very important to have good rich gas up to the mixing throttle body and not deluded down with air mixing in the piping system.
Bob
That is really first class work Bob
Those SST clamp connections are really DOW porn
Bob, your work looks excellent…but… I hope I’m wrong or at least not too late. I’d hate to be the one putting a wet horse blanket over your burning enthusiasm.
I’m not familiar to migs, but judging from your pics, I wonder if the tacking you did so far is made with regular wire? With all the work and money you put into this state of the art ss build I guess you would hate to see the welds rust.
Hi JO, it is being welded with the correct wire, and I will be painting it all black. I know what you are thinking, WHY. This is not 316L stainless steel, it is heavy duty exhaust pipe stainless steel 409 and will eventually rust some and change color with heat. It has a higher resistance to rust and acids than mild steel piping. The 316L was way to expensive for my pocket book and would require tig welding, I don’t have a Tig welder. The 409 stainless steel is not as brittle and easier to cut, drill, bend and work with. It should out last any of the mild steel parts. It can also be welded to mild steel with a good bond, because of it’s higher carbon in the steel. Sorry for misleading anyone thinking I was using 316L.
Bob
Bee-you-too-full BobMac.
Yup. That engine grade exhaust SS has been a lifesaver on Chrysler/Dodge/Plymouth minivans since 1996.
Others too.
Not shiny-fancy. But virtually never goes bad.
You the man Bob.
S.U.
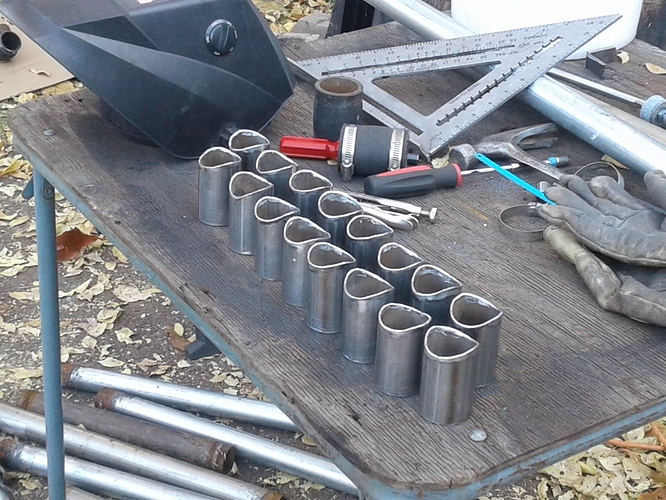
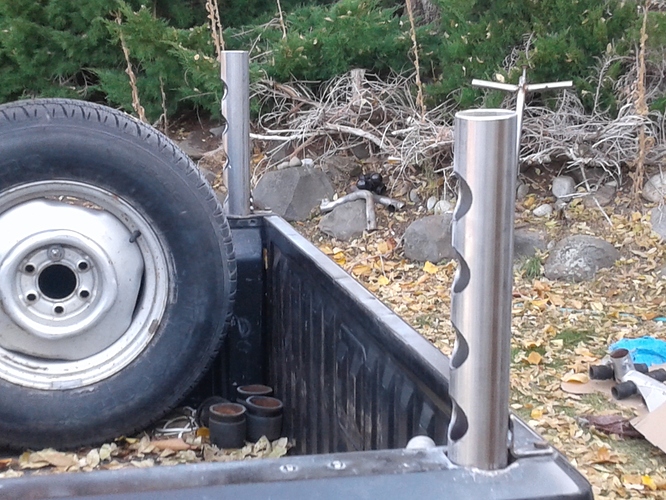
Shaping the stainless steel nipples for the front and back 3" Header and the back pipe tree.
Should be done welding it up tomorrow. These short day light hours make it hard on a man. I am liking how this cooling rack is turning out. It seems so simple with out the center tree, and extra piping and connections to mess with behind the trucks window. Now I will not have a excuse for not keeping the back window clean.
Bob
Looks very nice! I think if I was going to roll into Mpls with that, I would have to paint those cooling rails black. The metal scrappers there would have the truck picked clean of the SS. A few years ago some local gas stations had some exposed copper pipe cut out from the outside of the building.
Veeery nice. Looks like the sloping side rails are becoming part of the evolution.
Agree. P-jama at 4 pm 
Sloped rails encourage condensate drainage back into the rear under-bed condensate collection tank.
Or . . . . maybe just racer sexy, eh. A go-faster look.
S.U.
Nice looking jog Bob but I guess that’s what I expected from you. I’ve got one question and that is where are the clean outs or don’t they use clean outs anymore. Just curious.
Good evening Bob Mac, looking mighty fine fab work you have there. Paint everthing silver metal flake, keep it clean and it will all blend together. How do you get them male ends all the same that perfect. ?
Hi Conrad, the clean outs are at the top of the Header 3" tube and at the back rail trees. I can also flare my pipes if I want to at these places.
If I want to spray wash my rails out I can disconnect the rails at the 2 rail trees at the back of the bed of the truck, and give them a good washing out. But now with the slope on them of 7" of drop in 6’, I sure they will self clean of soot and drain the water out to the bottom condensation tank under the truck where there is a 2" clean out. Everything can be flushed from these spots.
Bob
About 4 plus hours of work cutting ,grinding, and lining it up with the rails attached and then tac welding it all up before welding it completely. The nipple pipes are inserted into the header and back tree piping. They are about 1/8" in side the pipes and a tight fit. Oh yes and abit of head scratching and just standing back eye balling it in place. Yup it is going to be painted my favourite color BLACK. It hides the black tar. The rails will be silver but I might paint them black also.
Bob
Oh shucks i thought maybe there was a speacialized tool the that too, i gess once you find the best fit you can make a templet too mark the rest of the cuts with. SWEM while barbiqueing back home country.
Just measured it out and drilled the holes with a good quality hole saw used Milwaukee brand.
Bob
Just about all my power tools are Milwaukee brand. Never
had a problem with any of them and some are 30 years old!
Can’t beat them, in my book! Pepe
After getting the new Cooling Rail Header and back 2 Rail Trees all welded up, I looked into what I was going to have to do to paint them up. As you know stainless steel is not a friendly metal to paint. It didn’t long reading the steps prepping to paint stainless steel and made the decision they are staying the way they are. So that has made the project a lot easier to finish up now.
Bob
Bob,
Found stainless steel blackener (stains raw metal black) online, but kind of nasty and expensive, contains sulphuric acid. I thought of this because we have a nice ss soup ladle that has blackened itself over the years, and has a kinda cool finish. 
The leaves are still falling as you can see. The new Cooling Header, side rails, and back 2 Bed Trees are all hooked back up. I like the new look. As Steve U. said it got that fast look to it. The soot and water will definitely drain to the back condensation tank now.
I still have to hook up the old vaccum line to the rail Header, it will be installed in the driver side clean out/flare cap. This will prevent water from entering the vaccum line.
I Also will be making a heat shield to go in the top 3" of the 3" pipes on each side. This will help with the heat stress on the rubber caps. My rail temperatures on the front rails never got over 380 *f , the gage was half way down the old tree center post. We will see how hot it gets now just going 2 directions down the 3" pipe.
Bob
