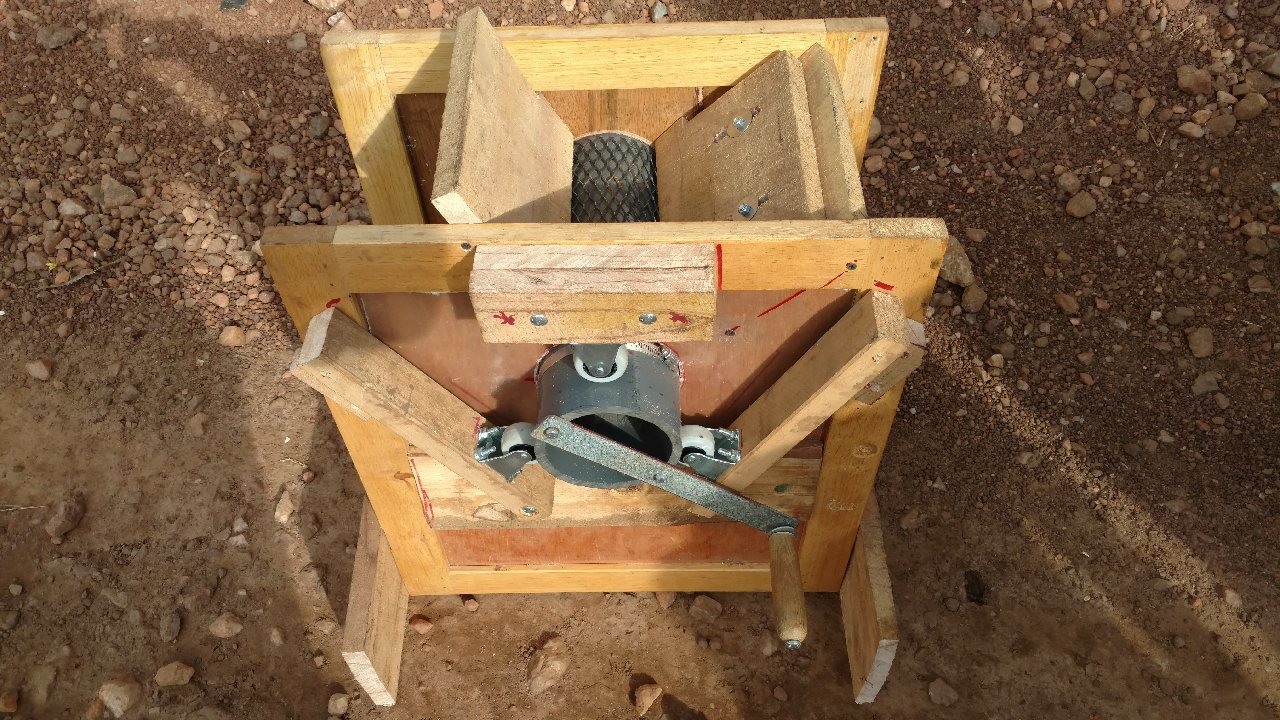
Right now I have about 16 5/8" round bar nubs welded to the dumpster wheel. I just need to get off my butt and make the comb. It’s just annoying dealing with the stuff I have to build with and only having two days a week to work on things. Really frustrating when for 5 days in a row you can just stare at something and not have enough productive time to get anything done.
I really like the biochar grinder you made for a mission, I’m wondering if there’s a way to utilize that diamond plate wheel to get bigger pieces without adding teeth.
I don’t see how expanded metal could work for producing charcoal nuggets. Likewise, the mills made with counter-rotating drums work well for crushing small seeds/grains, but will not work for making gasifier fuel.
Cody,
The “stomp” method with expanded metal works for me. I’m convinced that it is just as fast as a hand-cranked grinder. It seems crude—like pressing grapes with your feet—but it works. I notice Eddy Ramos uses that method, too.
Right now I’ve just been pre sifting the big stuff out and crushing it with a truck inner axle that still has the flange and lug bolts attached. I get about 50/50 correct sized charcoal and big pieces. I need to try out Bruce S’s double barrel method that Eddy Ramos documented.
I’m just a little confused as to how much is loaded up. Is the whole length of both barrels loaded or just the bottom barrel like a normal TLUD with an afterburner? And by speed strip he meant a lever locking ring?
Cody,
I think Eddy’s two barrels attached with a locking ring setup is for charcoaling nut shells. The first two-barrel method he describes is just like Gary Gilmore’s—the bottom barrel is completely filled with wood, metal bars are laid across the top, and the top barrel (with both ends removed) is placed on top of the metal bars. It is simply a chimney to help burn off the gasses and eliminate smoking.
Ah alright. Yeah I just use the normal method that Gary has shown. Wasn’t sure if the Bruce method was just for the small sized pieces or if it would also work with wood chunks.
Luckily my downdraft isn’t picky as far as char size, as long as I keep it smaller than the palm of my hand. I aim for thumb sized at the biggest.
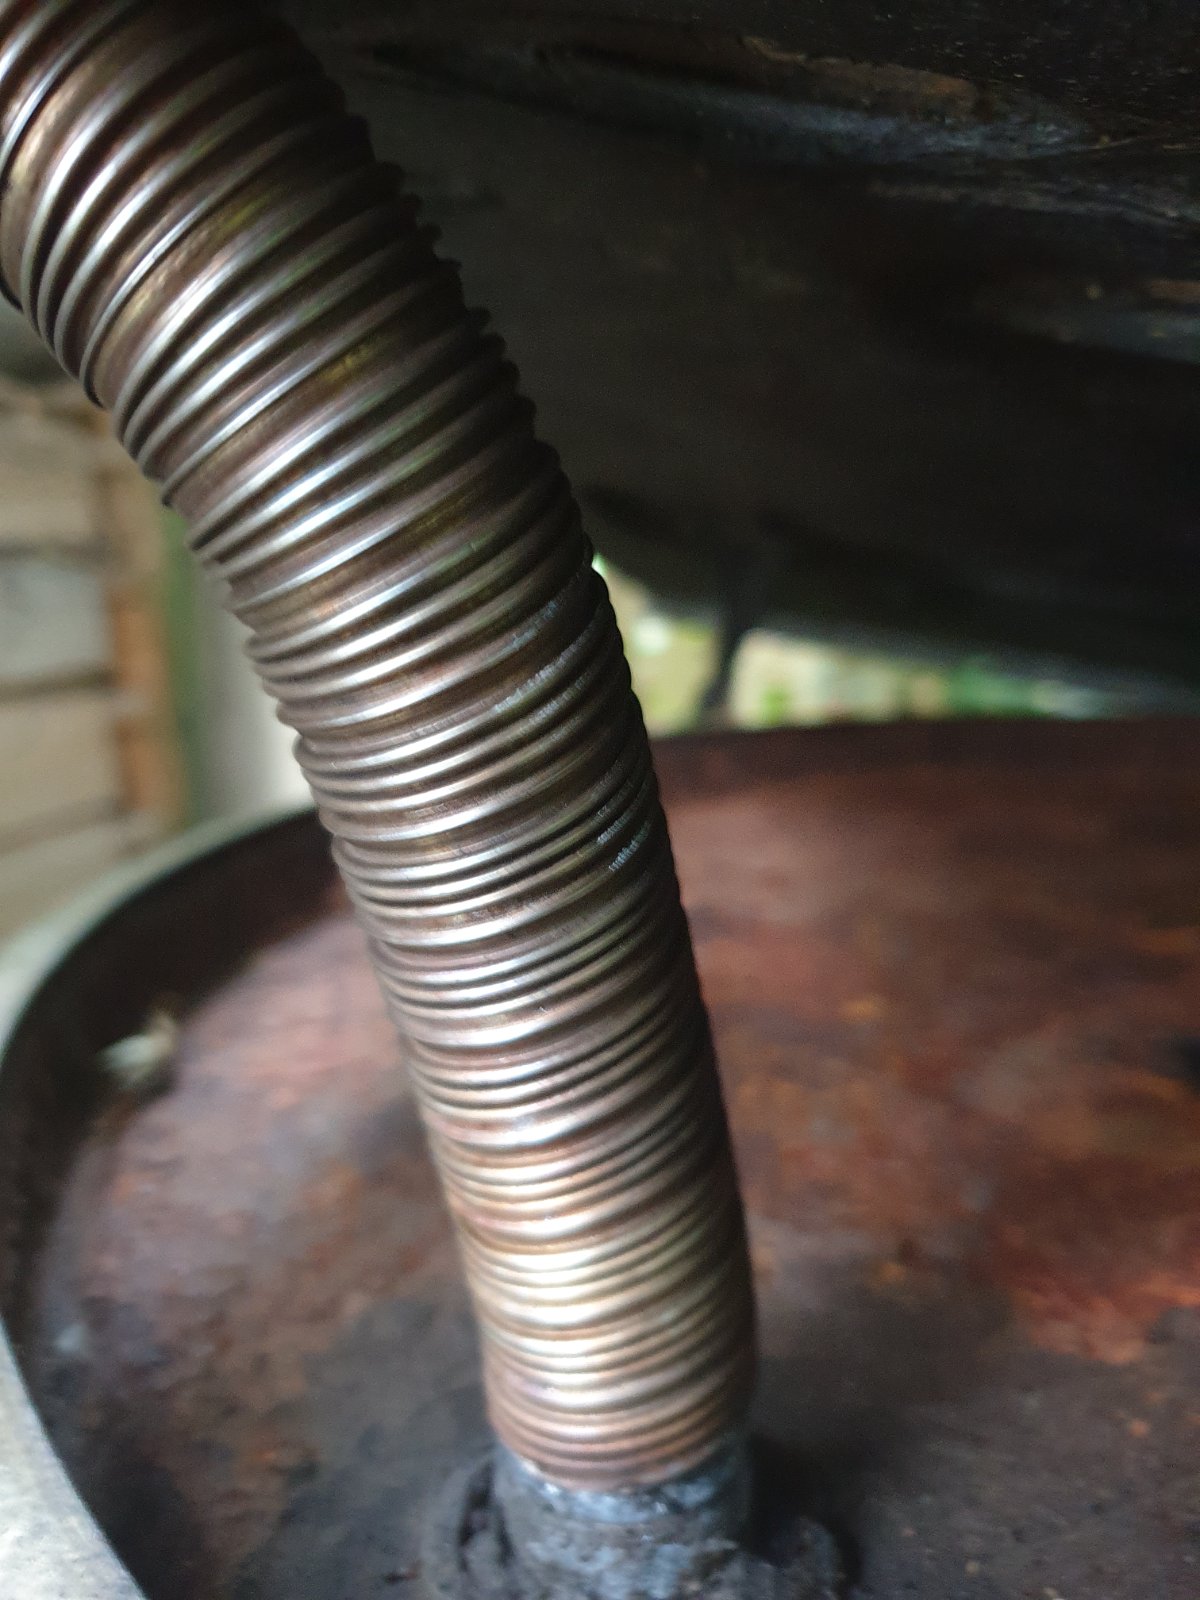
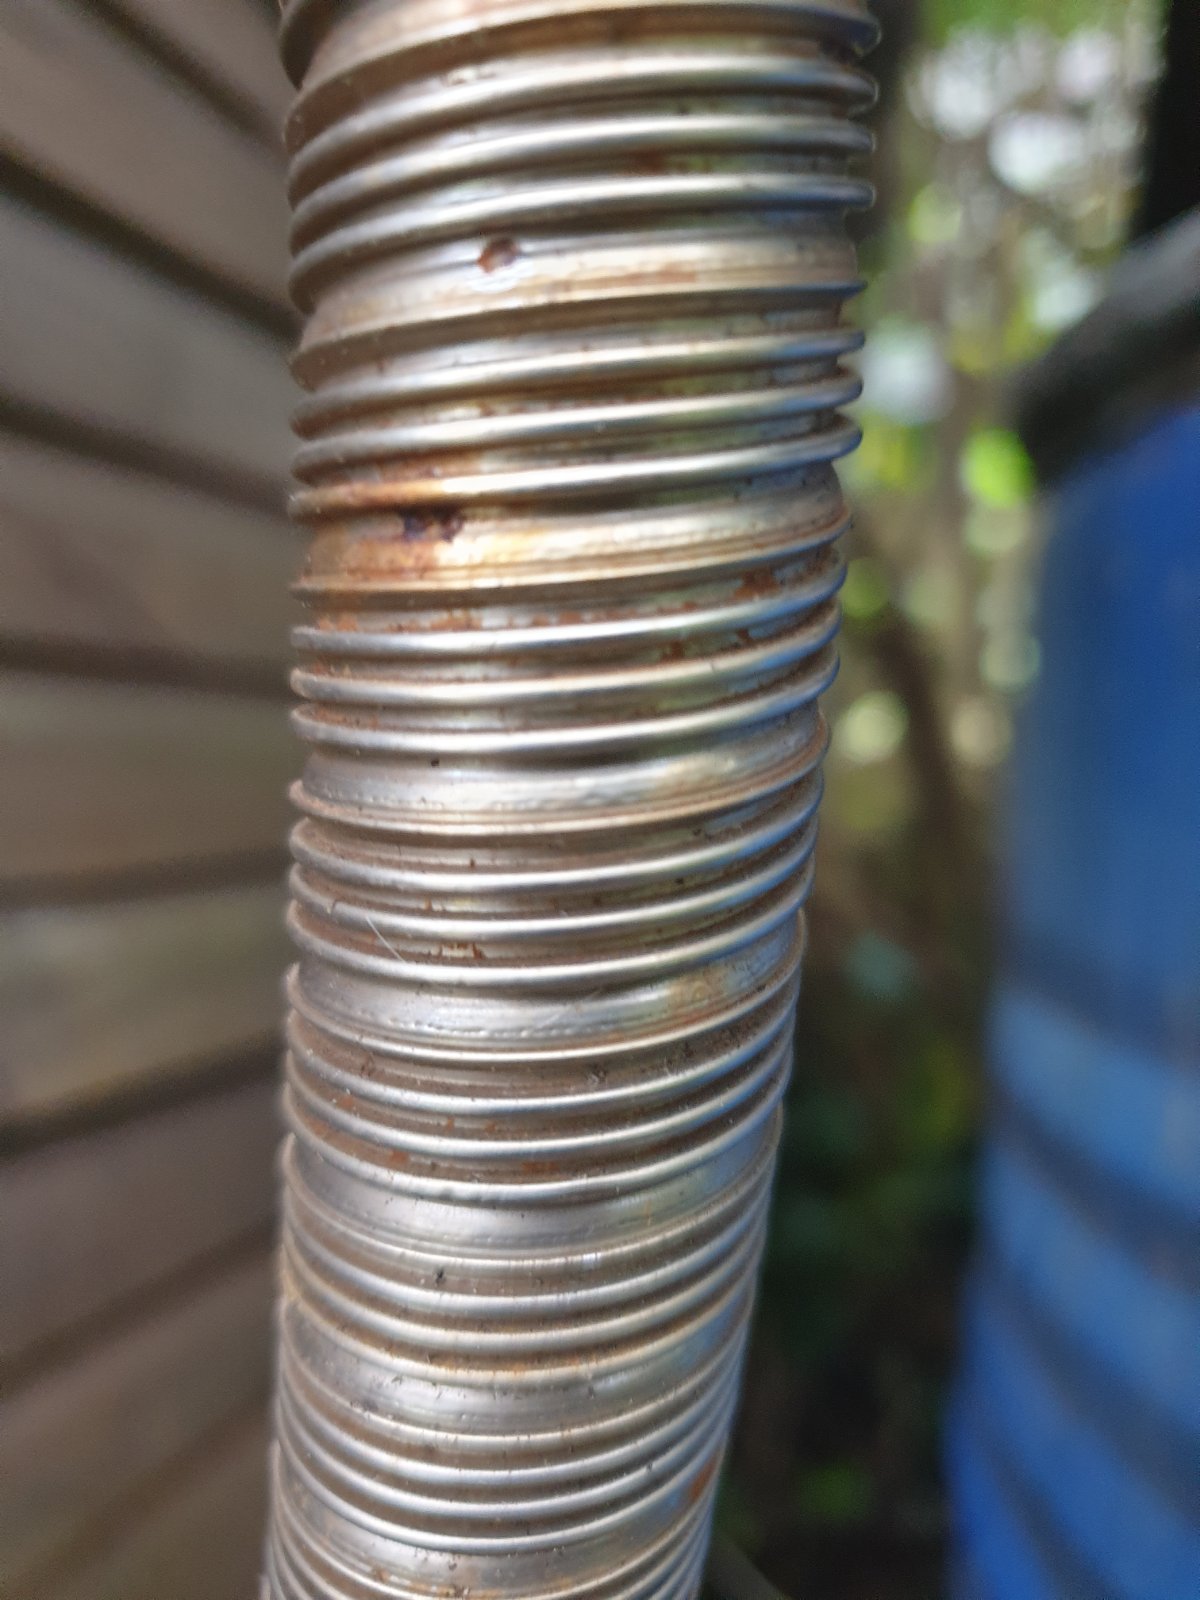
Hi Kristijan I guess there are many types of stainless flexi verses stainless flexi , for my pipes now been in use for over 5 years they are still perfect all be it they are on a stationary unit and only 23.5mm inside dia , let me race outside and get you a photo
As you can see this flexi tube is a solid stainless tube that is then formed into a series and folds that allow for the flexibility of the whole tube and not wound like most flexi tubes i have seen before , anyway this has got real hot a few times in its life as the discoloration shows , the fittings on the end well i use a hydraulic barb that is nice snug fit into the end of the tube , never a leak at all very pleased , but again how this would cope with the bumps and rolls of a road is anyone’s guess but i am sure there are workarounds .
All the best
Dave
Ya that’s definitely not the normal stuff you see in exhaust shops and parts stores around here…I’d actually like to know where you purchased that flex pipe from, I’ll need some for my build If it comes in 2 1/4" flavor
The flexi pipe came in the scrap from a local company , far too good to throw out and scrap but some company’s don’t seem to care what they throw out .
At the time it came in i was not at the yard and so asked Brian the next time he comes into get the name of the company so we go see what other sizes and goodies they may have , that was 5 years back and Brian had a stroke not long after and so never got round to finding the guy again , what does not help as well is Brian suffers from not being able to recognize faces .
Dave
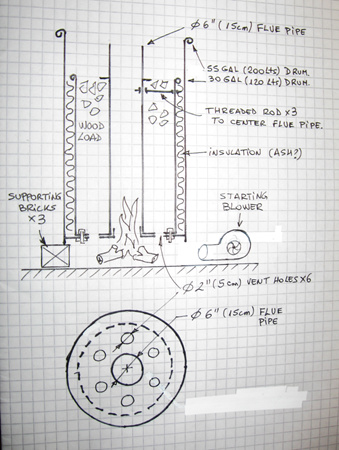
If you are referring to the method below, please note that Eddy’s first picture misses the main advantage of this approach. The flue pipe is capped for startup and the under fire burns up through the 2" holes and through the load of wood, NOT up the flue/chimney. This drives off moisture and begins to pyrolyze the load. The rest of Eddy’s pictures and descriptions are good. [quote=“ramosedmundo, post:113, topic:2364”]
You load up to the top, the inner (30 Gal) drum with the wood to be pyrolize. The 55 Gal drum is supported by three bricks. Then you start a fire underneath the 55 Gal drum. Help to start the fire with a blower.
[/quote]
That’s a great design but I meant the one that you strap two drums one on top of the other, with a washing machine drum grate at the bottom and a single air inlet at the bottom with a blower. Looks great for small stuff like what Eddy uses.
That is an excellent design by Eddy. I use something similar for classified wood chips. BUT, this is a TLUD (top lit up draft) that REQUIRES uniform size feedstock like Eddy’s walnut shells to produce a thoroughly carbonized/pyrolyzed product with low ash. For feedstock of random dimensions, I recommend the design I mentioned above or a simple open kiln that will require a bit more tending. For the best results using random feedstock, consider a curtain kiln.
Yeah I saw ChuckWs barrel method. I’ve been using a simple TLUD with minor success but it’s because my feedstock is random. I’m going to try the flame curtain method this weekend with a fresh barrel.
If you use an air manifold or a slotted pipe to shoot a curtain of air slightly down into and across the feedstock–be warned. This method creates very high temperatures. I wear a welding jacket, face shield and thick leather gloves when I am tending a curtain kiln. It eats almost anything and in the process of poking the glowing coals before adding the next layer of wood, I am breaking charcoal down toward engine fuel size.
Hi Bruce:
I designed this to carbonize poorly carbonized olive pits, but did not worked as I expected. So I designed and use the HCC and mixtured 3 volumens of wallnut shells x 1 volumen of poorly carbonized olive pits and an air flow speed of more than 0.15 m per sec.
The longer I look at the old carburetor for the Mazda the more I want to make this truck a Coalgas only vehicle and just save the Weber. But that would entail actually removing the mechanical fuel pump and all that mess. I think the EGR port runs into some kind of baffle or wall, maybe that is part of the coolant circuit built into the intake? Not sure until I take the intake off and give a good hard look at it.
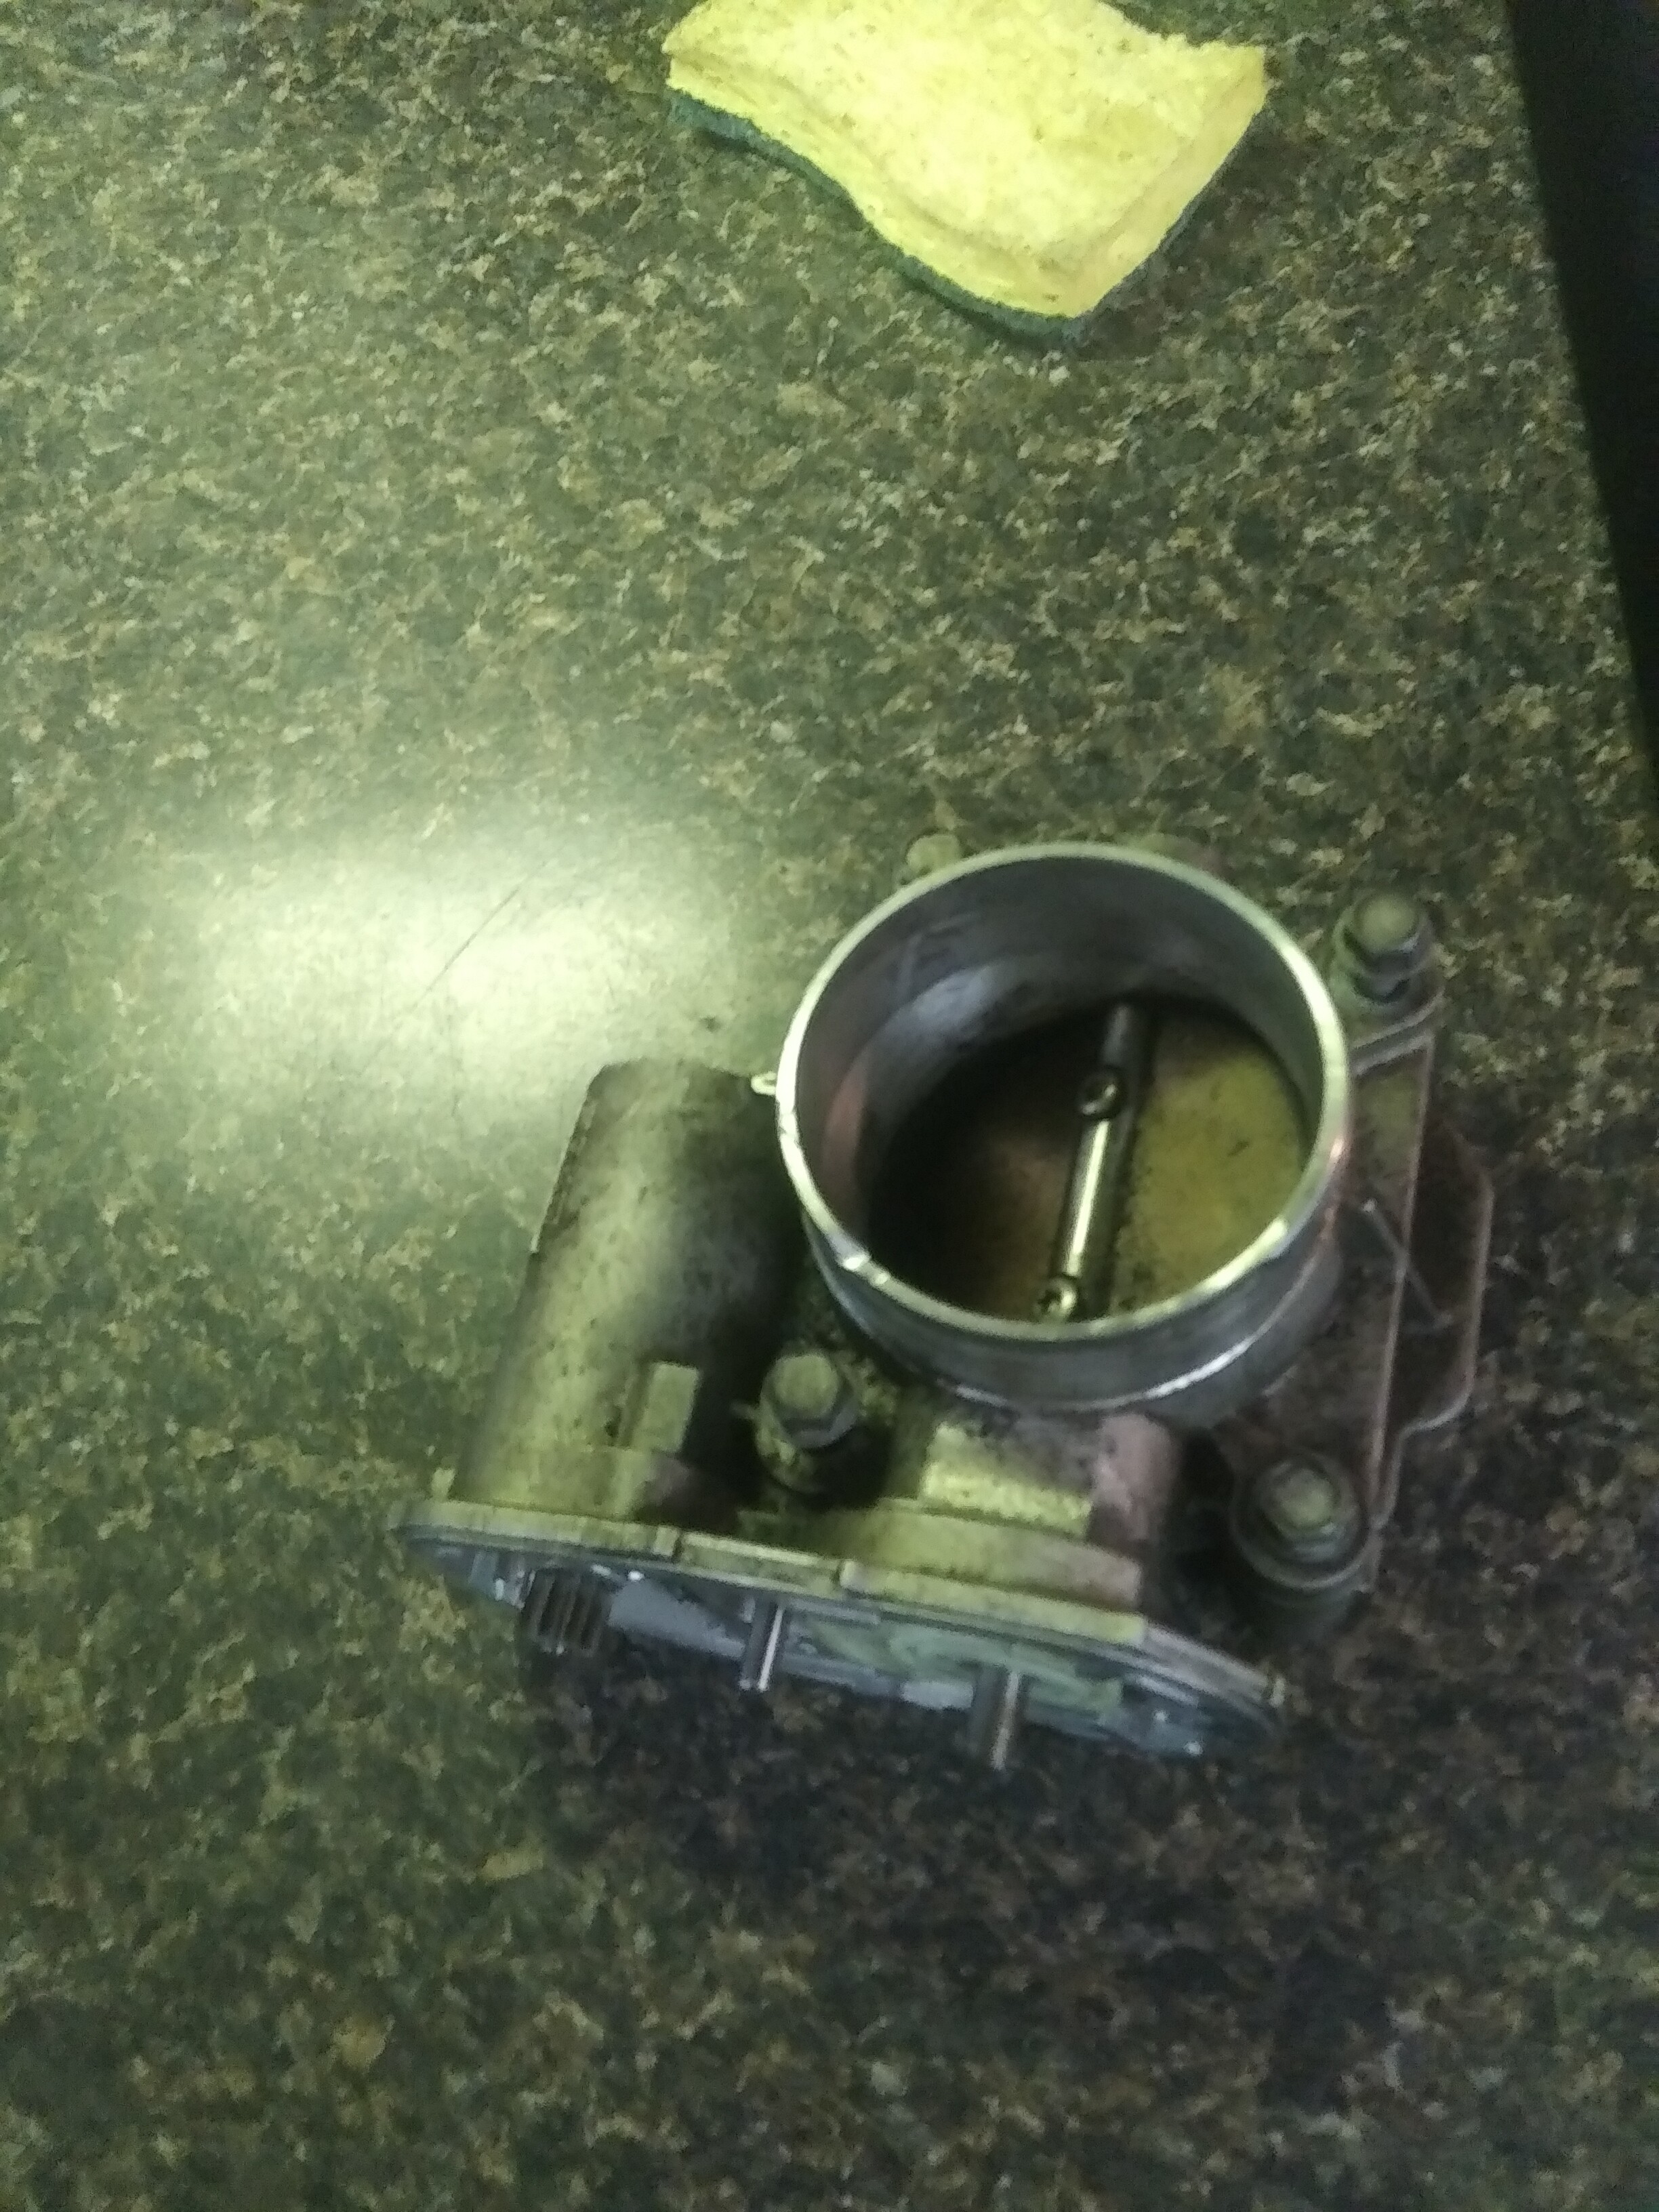
Also I found this throttle body at work while i was picking up the scrap. Tech said the electronic control was broken but I took the cap off, I could still use the actual butterfly control.
I’m going to attempt to just add nipples to the intake tubing for the spa hose in an attempt to minimize cutting and screwing something up.
I think I’ll try for 2 1.5" diameter spa hosing, Lowes has it for a somewhat dear price for me but it’s something.
I just hope the spa hose doesn’t collapse under vacuum from an engine.
I’m also going to try to get some metal 5 gallon buckets for my filters. Wondering if I can get away with just using one bag filter or if I’ll want woodchips or hay as a prefilter media.
Gary seems to do just fine with woodchips and a wool bag filter so I’ll just go with that. Wish I could find those skinny drums like what he seems to have an endless supply of!
I think for the majority of the gas routing I will run PVC pipe from the bed to along the bottom edge of the passenger side cab. Then bend 90 degrees and any complicated bends I will achieve with spa hose. Or if I can fit the hose between the cab and the bed I’ll just do that.
At least 2 hoses, I can verify for you that a suzuki samurai 1.3 liter will collapse a single hose with ease and it won’t rev past 3 grand on a good day under load…don’t buy other people’s wheeler hack job propane converted projects and you won’t find this out the hard way