Behold some simple, cheap modifications to turn a metal glue gun into a higher performance machine with a rock solid arc that welds like a dream.
I have the 90 dollar 90 amp flux core welder from Harbor Freight (item #68887) that I paid for by doing the muffler job on my truck two and a half years ago. Now I still have the welder, and I’m building a gasifier.
I studied the reviews on the HF website over a period of time before buying it. I asked my brother, an experienced MIG welder about flux core. He said it’s horrible. However, I decided it would work on my truck exhaust system, and it did. I read one reviewer say that he modified his HF welder to weld with DCEN (direct current electrode negative) instead of A/C. I was a bit confused and intimidated by that statement, though, and never seriously considered it. ChrisAdmin and Wayne Keith both highly recommend a quality welder for gasifier building, and I agree. But this is what I have.
Now during the building of my new gasifier I am taking some YouTube courses on flux core welding, and the topic of DCEN comes up over and over. Everyone including Steve Bleile, ChuckE2009, Miller, and everyone else says that flux core welding should be DCEN. Even the Harbor Freight manuals for the 170 and 180 amp units say that flux core should be DCEN. (They are not stupid.) I see the difference in the weld quality on DCEN, and also I see how simple and cheap it actually is to make the conversion.
With A/C flux core the arc changes direction 60 times per second, moving from the wire to the work then from the work to the wire. When it jumps back and forth like that it causes the hottest point to move back and forth. Electrons moving through air cause heat, and when they move from the wire to the work, the hottest point is near the work. This oscillation causes an unstable arc, it causes the wire to pop 60 times per second, and that is the cause of the massive spatter with a stock HF unit (combined with really low quality wire). The weld ends up being colder, less penetration, the slag gets dispersed everywhere causing weld contamination, oxidation, brittle welds. Worm holes. Not a fun time. A lot of this is fixed with DCEN. The arc is stable, heat is concentrated on the work, and with a quality flux core wire: spatter is minimal, the weld is covered evenly with slag, penetration is maximized, and the weld is stronger.
Harbor Freight makes A/C output welders because their target market are people like me who didn’t know the difference, and it’s cheaper to make a welder with A/C output that will glue metal together. It’s a good plan, and they’re making money.
I ordered the parts I needed from eBay to convert my unit to DCEN, and I am very excited about turning my day-late-and-dollar-short welder into a higher performance machine that I can take with me in my truck and weld anywhere. That is an advantage that the flux core wire process has over the MIG processes: welding outdoors in windy conditions.
This conversion requires, bare minimum, a bridge rectifier, a capacitor, some wire, wire connectors, screws, and soldering equipment. Minimum cost is about $13 to $35, depending on the availability of parts and materials. For me it cost closer to $100 since I went ahead and made more upgrades than the bare minimum. I also added some resistors across the capacitor terminals, a toroid core inductor, a 22 foot 10 gauge power cord, and a beefy ground clamp.
I ordered and installed a 150amp three phase 1200 volt bridge rectifier $13, a 68,000 microfarad 63 volt capacitor $20, a toroid core $13, some ceramic resistors $4, a 22-foot 10 gauge cord $34, plug for the cord $10, zinc cable connector $5, 500-amp ground clamp $10 and etc. Also necessary was some miscellaneous hardware like wire, soldering supplies, machine screws, and etc. All told, I spent more than $100 on the upgrades, and that is why it’s not worth buying a new unit to upgrade: for $50 more you can get the $150 220 volt 170 amp welder that is DC from the factory, and also can use shielding gas for MIG welding. That is one of the great things about this little welder: it can be upgraded as you go along.
When I disassembled my unit to do the conversion, the first thing I noticed is that the motor for the cooling fan is mounted to the vent between the fan and the fan blade. The blade is a few inches away from the vent. This allows internal turbulence (in aviation: wing tip vortices) to reduce the cooling ability of the fan. I immediately knew that I would be changing that. I removed the entire assembly to make room inside, and I remounted the motor on the outside. Fortunately there are tapped holes on both sides of the fan motor on my unit. It was a simple matter of unplugging the wires, unscrewing the motor mount screws from the outside, drilling a hole in the fiberglass mounting plate, removing the fan blade from the shaft (pulls right off), and re-mounting the motor on the outside of my case, and then replacing the fan blade back on the motor shaft with just a push. There is a spring that holds the fan blade on. Also, a hole must be drilled in the case to feed the power wires through and reconnect to the main power switch. Now my fan blade is right next the vent holes on the back of my unit, eliminating the internal turbulence, and maximizing the cooling ability of the fan. Also, the bearing started screaming recently, and the externally mounted motor allows easy access to lubricate it.
Some notes on the rest of my modifications: I think a 50volt capacitor is the minimum. I found a 63v unit. The higher voltage rating versus the voltage required makes the unit larger. I would prefer a 50 volt unit, but that’s what I found at the time. A three-phase rectifier was $7 cheaper than a single-phase unit, and works just as well. I believe that the output on this welder is 120 amps on max: the website says the output is 60-120 amps; a 100 amp bridge rectifier will burn up; a 150 amp bridge rectifier will not. I mounted mine to the bulkhead between the lower section where the transformer is and the upper section where the wire spool and wire feed mechanism are. I wanted the heat sink to be in the cooling airstream, to connect to the bulkhead for maximum cooling while keeping it inside the case. I left the power supply for the wire feed motor controller attached to the secondary coil of the main transformer. I may upgrade this in the future, but so far I haven’t had problems with erratic wire feeding. I added an inductor to my unit which is optional for this upgrade. The inductor stabilizes the line current to make it as flat as possible. Unfortunately I clamped my coil into a vise while I was making it, and beat it with a hammer. I broke the toroid core in two, which greatly diminishes the effectiveness of the inductor. It is difficult to wrap 4 gauge solid wire tightly around the toroid core, and I recommend not hitting it with a hammer while clamped in a vice. I went ahead and finished making mine with the cracked core. I may replace this in the future. Also, I added a resistor bank to drain the capacitor slowly when I finish welding so that the tip does not remain hot, even with the power switch off. I noticed that the output voltage dropped with this resistor across the capacitor, so I added another resistor. The voltage dropped again, but not so much. I want to experiment with adding switched resistor circuits across the terminals of the capacitor to fine tune the heat output on my welder, but haven’t got to that point, yet. I got some toggle switches for that purpose, but I’ll need more resistors to do what I’m wanting: five to ten toggle switches to add and remove resistors at will.
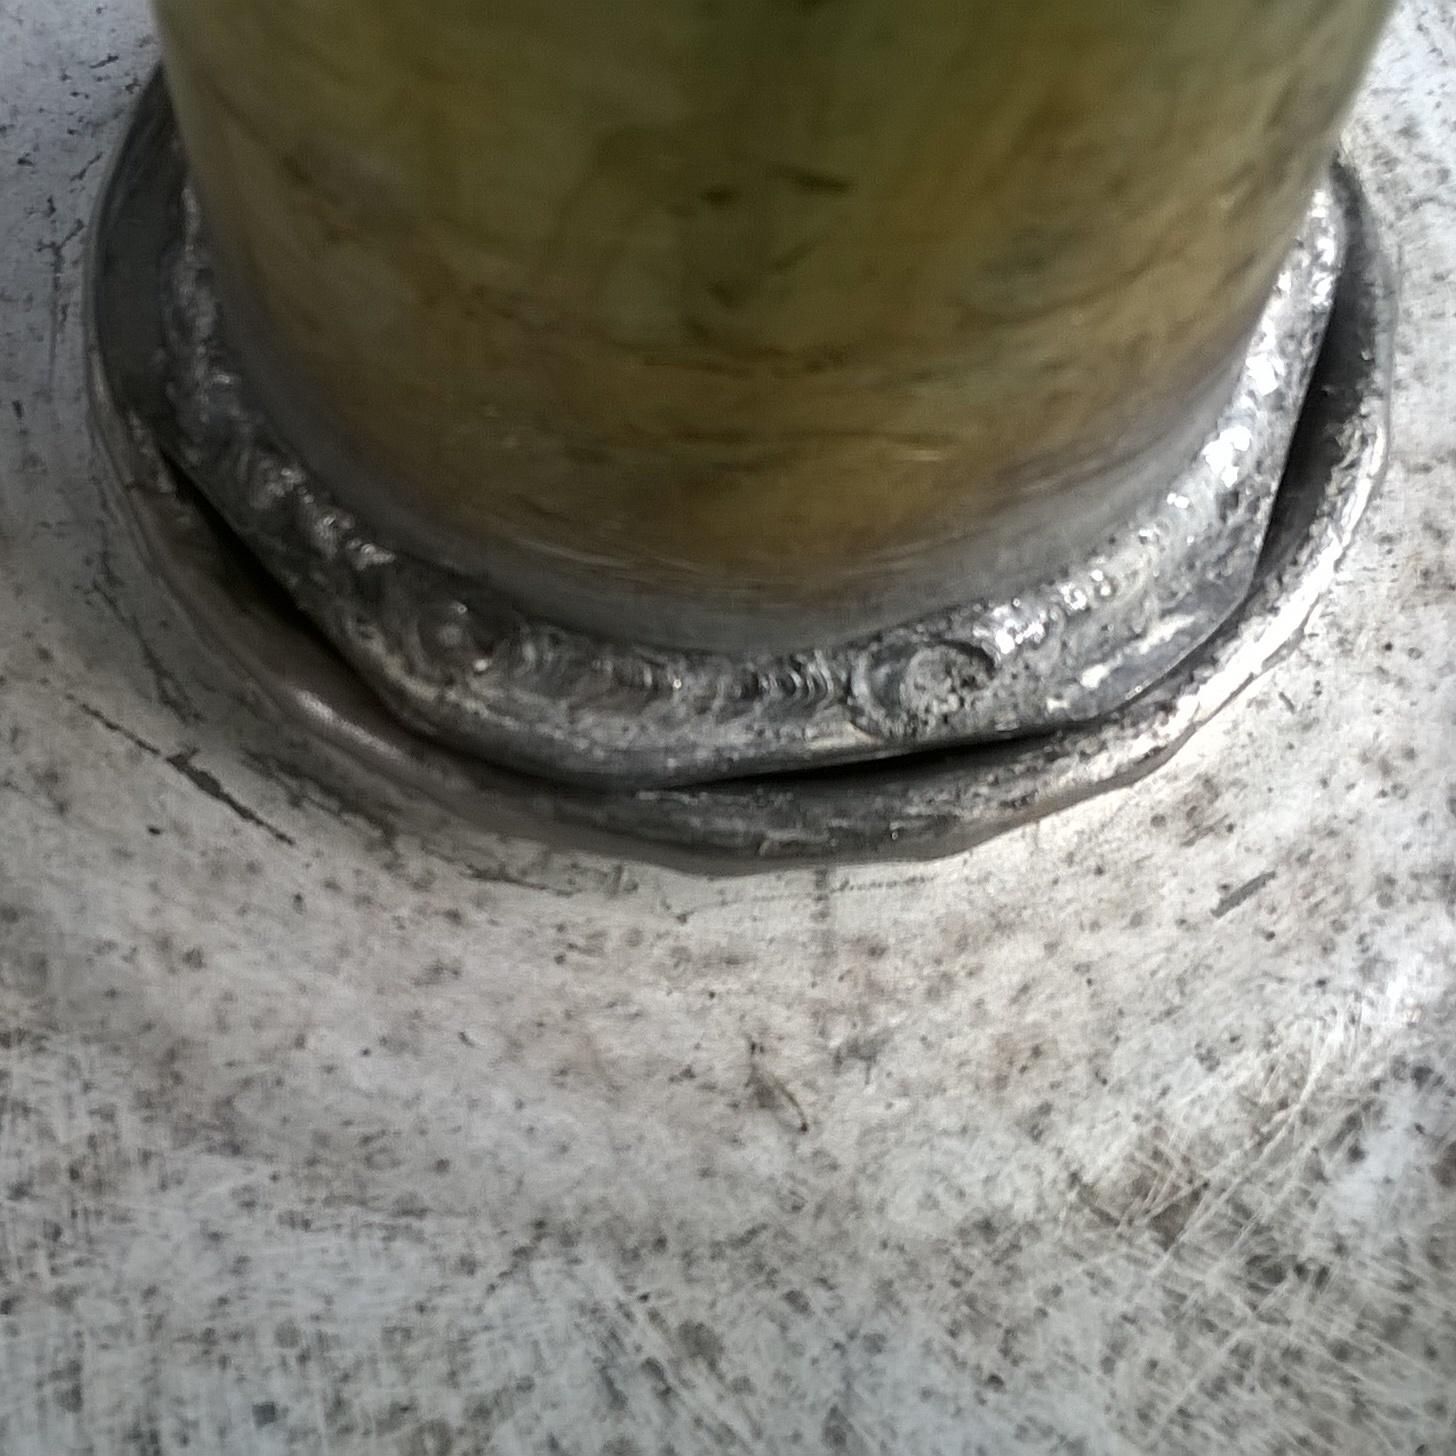
The result of these modifications moves my little junk cheap welder from the higher end of the lowest class of wire feed welders into the lower end of the next higher class of $150 to $500 welders. It runs hotter, the arc is rock solid, and by adjusting the wire feed rate I can dial in that sizzling bacon sound that I could never get on A/C output.
I was hoping to be able to lap weld in the horizontal position two pieces of bandsaw blade or 55-gallon drum metal together in one continuous bead without burning through. At first I was not able to do this, but then Steve Bleile said that increasing stickout will decrease the amperage at the weld puddle, thus cooling the weld. The wire acts as a resistor and gets hot. I was able to weld my whole flat bed on my truck with this method in continuous beads without burning through. Now it’s less important to me to dial the heat down. All I have to do is increase stickout. So I will continue welding my gasifier together, experimenting with more stickout and better quality wire before experimenting with more switched resistors on the DC side of my welder.
Other modifications I am considering are a separate power supply for the wire feed mechanism. Then I can experiment with reducing the voltage on the A/C side without harming the wire feed motor. I want to wire in a duplex receptacle so that I can plug things like a grinder into the welder to take advantage of my beefy 22-foot power cord. Also I would like to increase the duty cycle by improving the cooling of the transformer. Firstly I will take my 30 inch industrial fan and move a massive amount of air through the unit whenever I hit the duty cycle limit. (I have noticed that while winter welding I can weld longer, because the cooling system in the welder works better in cold weather, of course.) Later on I can paint the outside white, which will keep it cooler outside. On the extreme side of cooling, there is the possibility of making a liquid cooling system out of copper pipe for my little swelder that could. That is for the more distant future, though. Also, I might add MIG capabilities with a MIG wire feed system.
As a final note, I would recommend avoiding the $90 Harbor Freight welder if possible. If you already have one, you may want to consider converting it to DCEN. It only costs about $13 for the bridge rectifier (get the three-phase 150 amp unit: it’ll work, and not burn up), and $5 to $20 for the capacitor. Wire, cables, and clamps will be extra.
Some photos of my conversion are forthcoming.
Here are two links to two good demonstrations of how to make this conversion:
by ZeroFossileFuel:

by Matt Heere

weld, baby weld!