Hi Guys,
I had trouble getting a sustained flare on my third firing of my GEK type, so I decided to do another tear down. I’ll post all my findings but I’ll start with the fuel loading makeup and the shut down make up in layers starting approx 8" above the nozzles to the grate grill. Yes, it’s tedious, but a great learning tool. I’ve done several and found some of what I suspected and some that were real surprises. I enjoy the tear downs, they’re real progress.
Hope this helps you see an answer or two in your own quests.
Pepe
Pic 1 6"-8" above nozzles
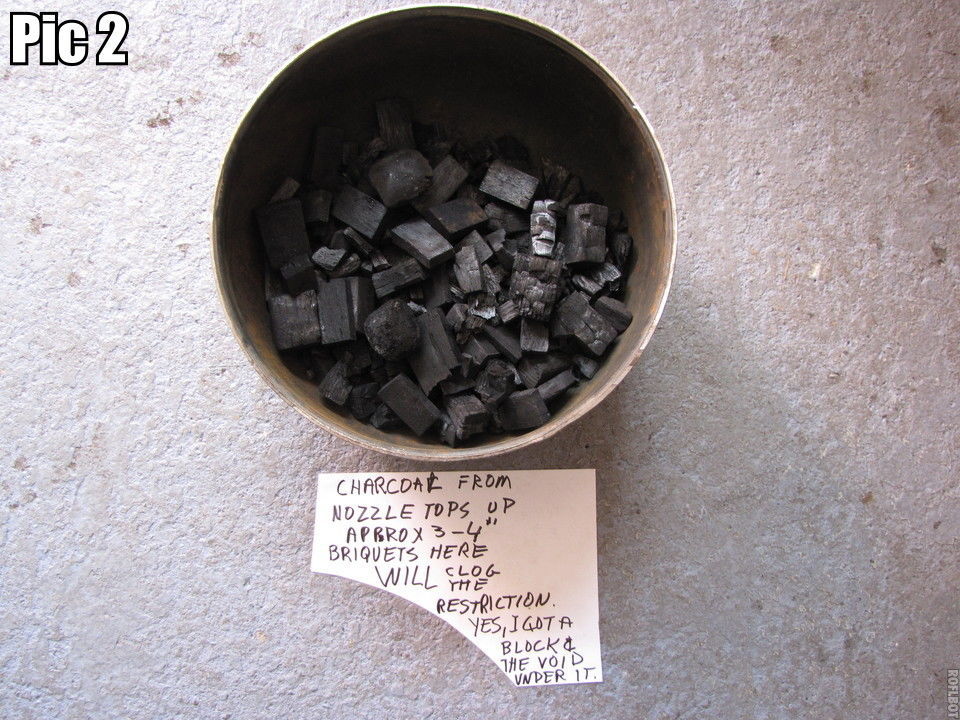
Pic 2 3"-4" " "
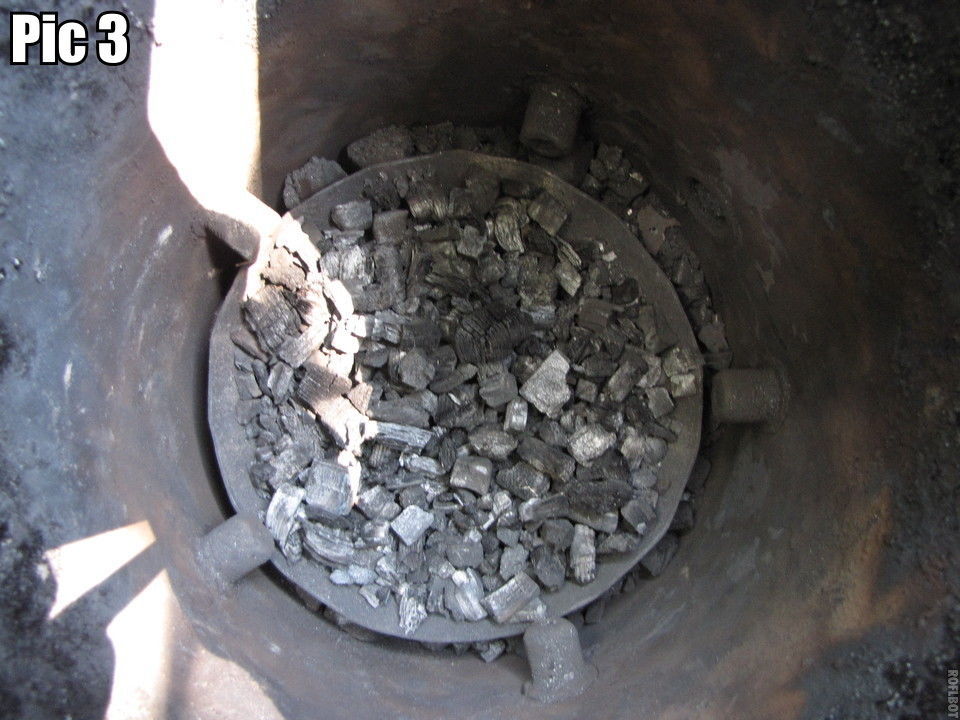
Pic 3 1" below nozzles
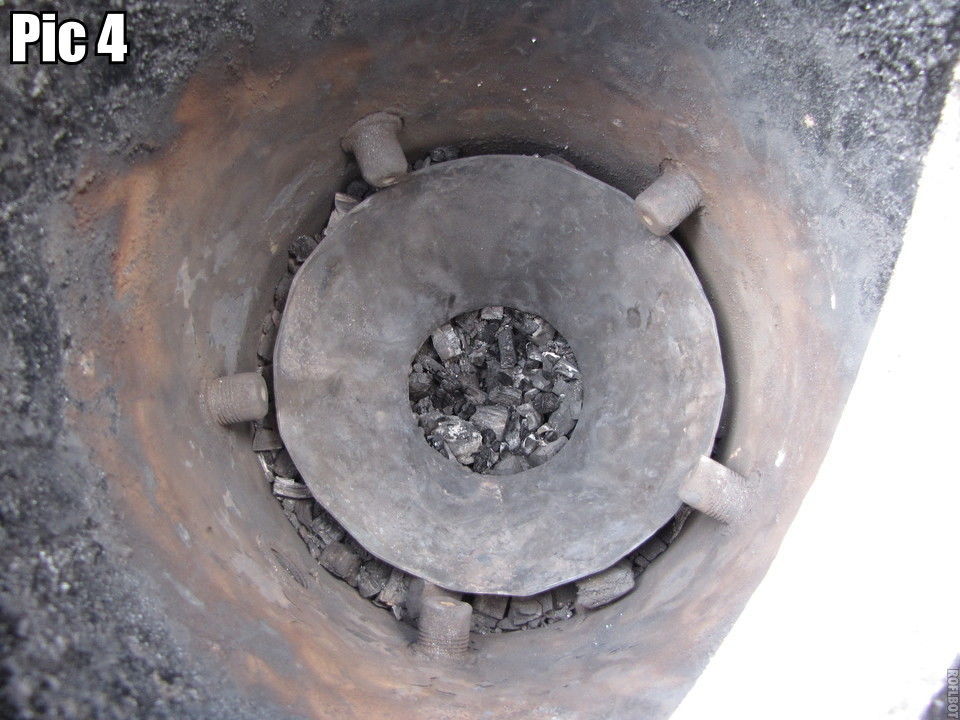
Pic 4 At 4" restriction (line C imbert spec)
The bottom of the hourglass hearth has a flange that is bolted to a matching flange on the
bottom of the firetube thus the space will fill in with char. I filled mine with sand before firing.
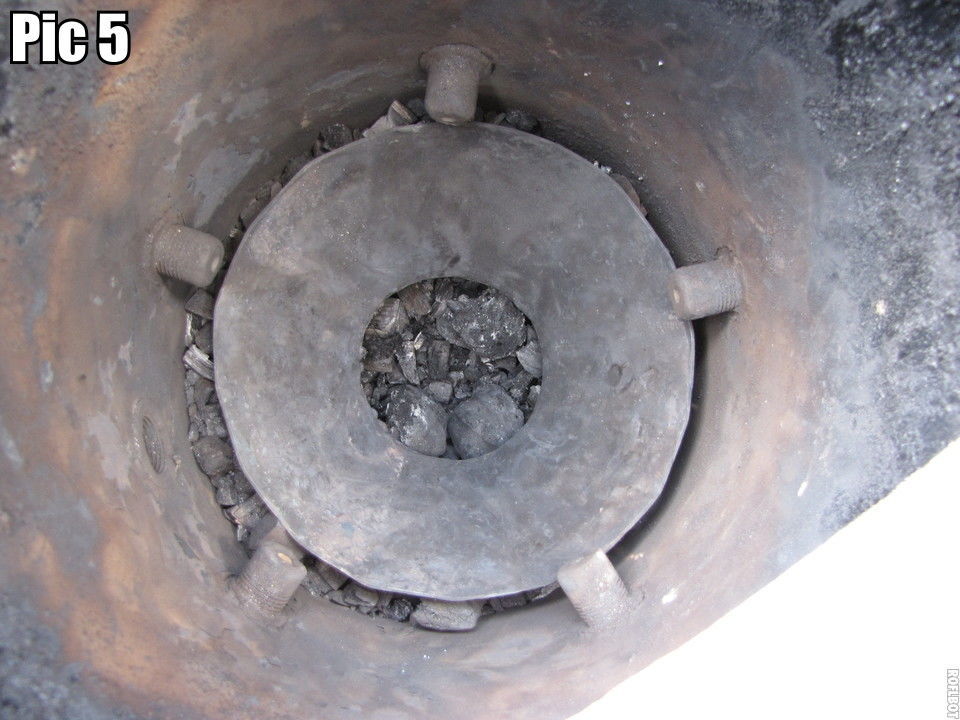
Pic 5 Same as Pic 4 with small char carefully vacuumed out, we are on a “dig”. Note the starting briquets are now visible. I started by dumping briquets onto the grate and filling it up 2" above the nozzles. Good if you have bonafide wood charcoal, not good at all if you use made for hamburgers briquetts. See why in the following pics.
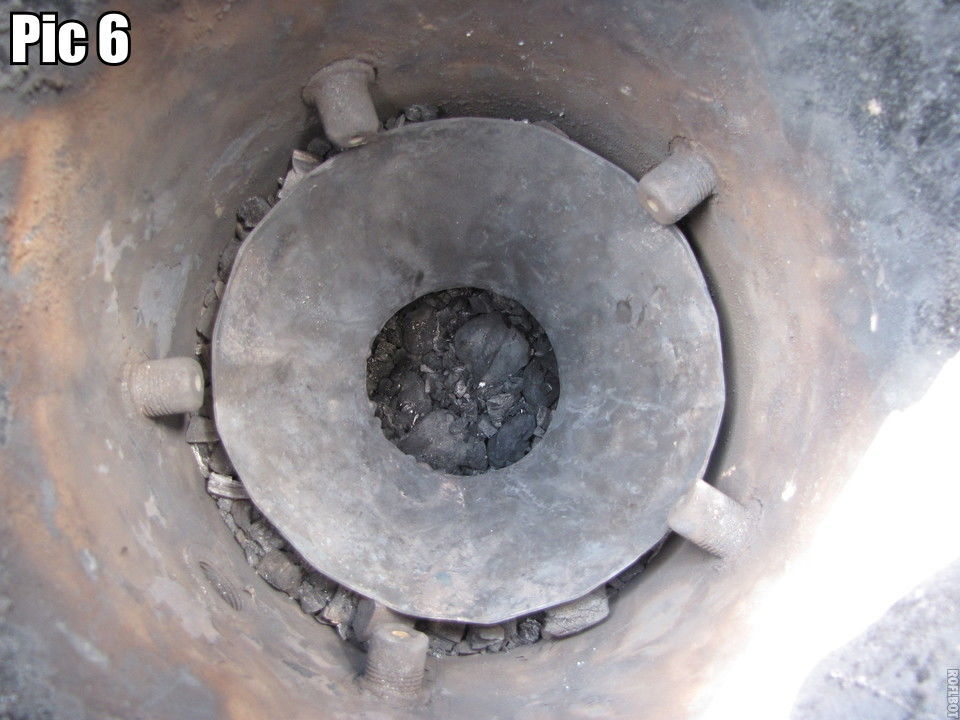
Pic 6 Briquets from Pic 5 removed to reveal another layer of them.
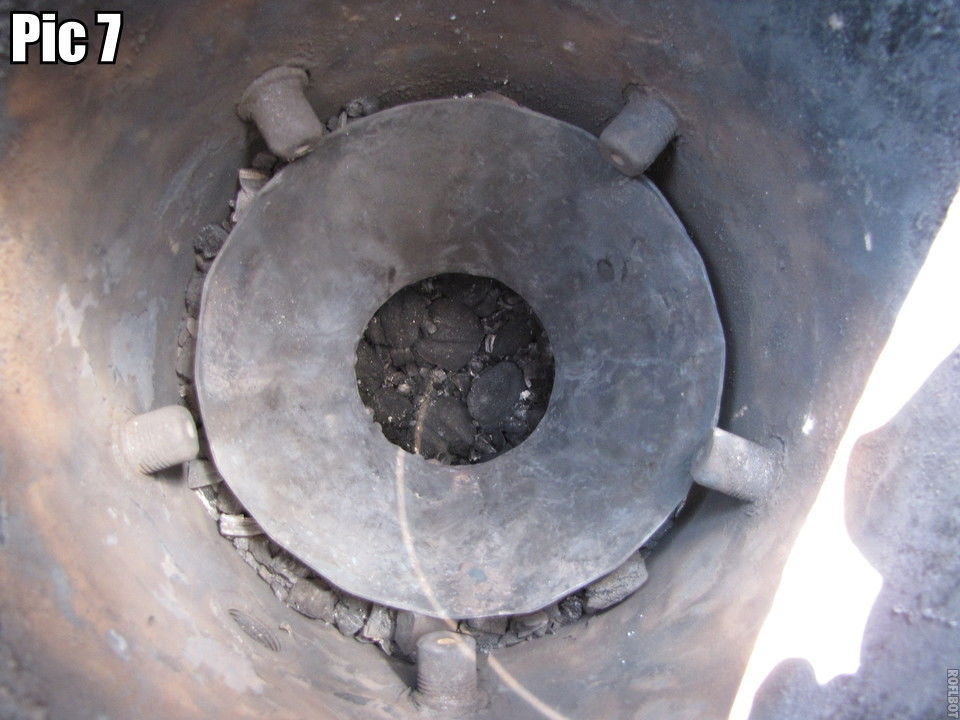
Pic 7 Briquets from Pic 6 removed to reveal another layer of them.
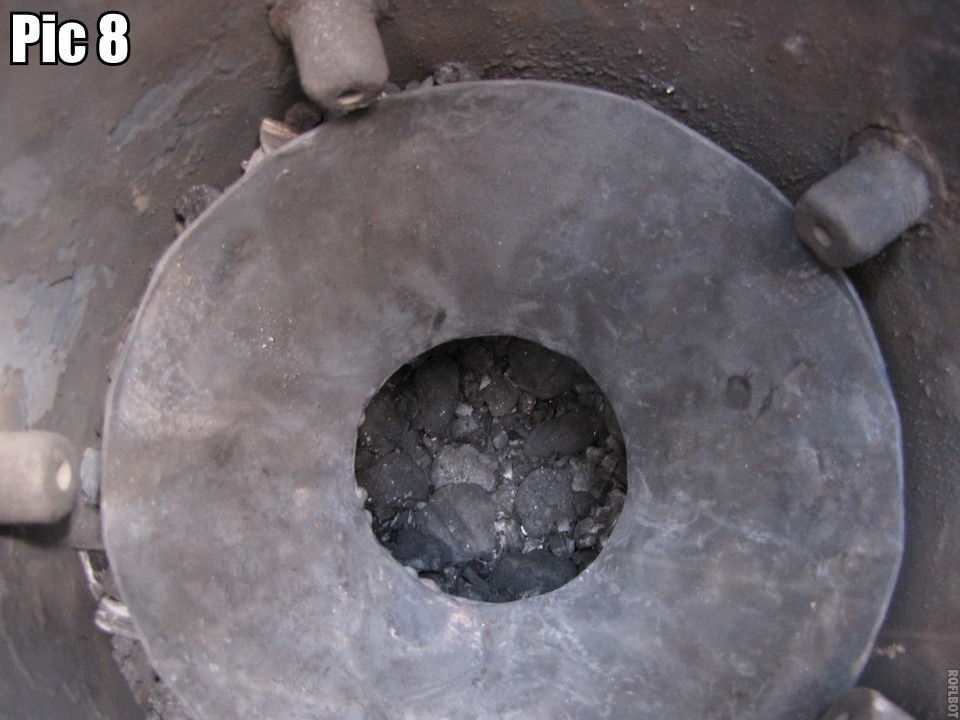
Pic 8 MOS
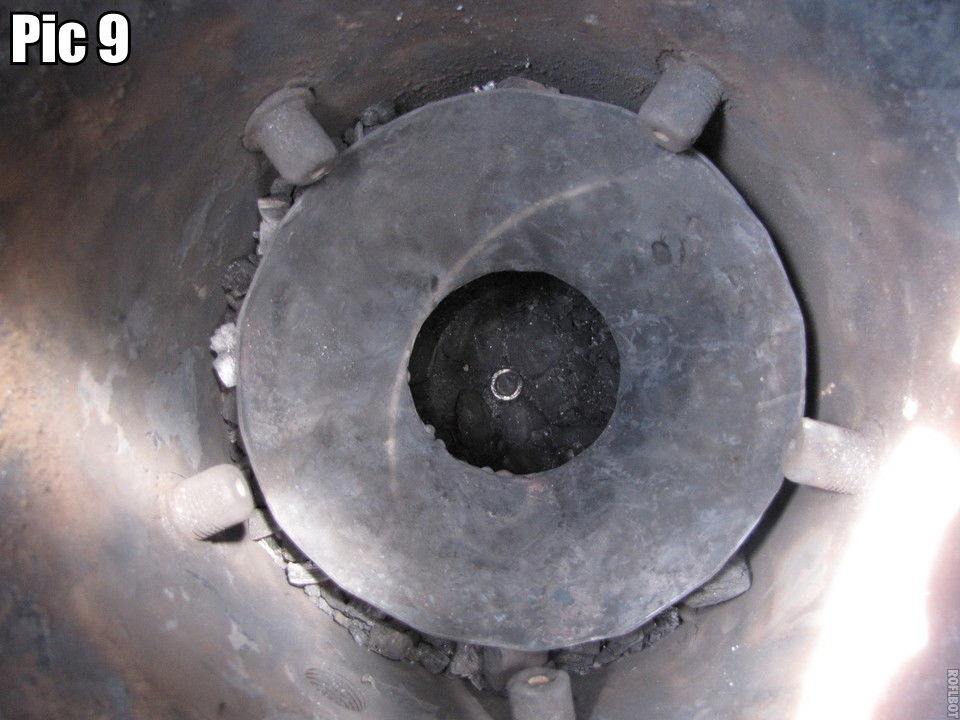
Pic 9 The grate support rod is exposed, so are more briquets. Note the fines starting to fill all the voids between the inert pieces called briquets. This causes the gas to go for the path of least resistance which is around the sides of the grate missing the glowing char. Tar and water go with it. I found some water in my normally dry cyclone. It’s no wonder a flare wouldn’t sustain. This load had about only 2 hrs burn time, then I shut down.
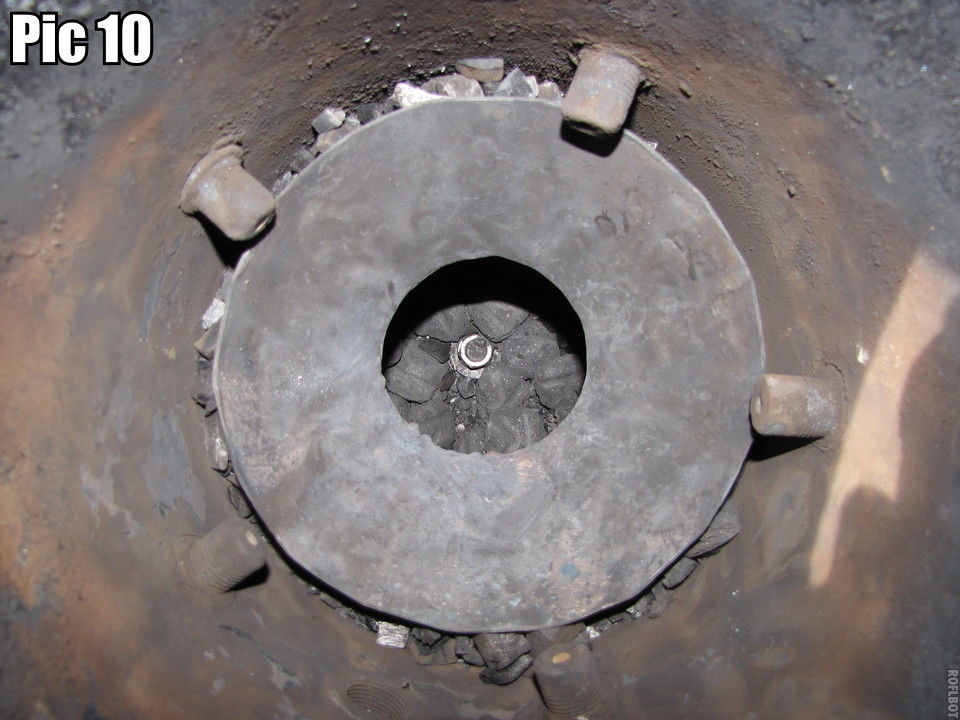
Pic 10 Unchanged briquets packed in like sardines. The briquets don’t seem to get consumed, just get in the way! This is not a design error. Poor choice of “charcoal” and subsequent clogging of the gas stream reducing hearth temp below cracking temps of some tars. These tars showed up well in my filter.
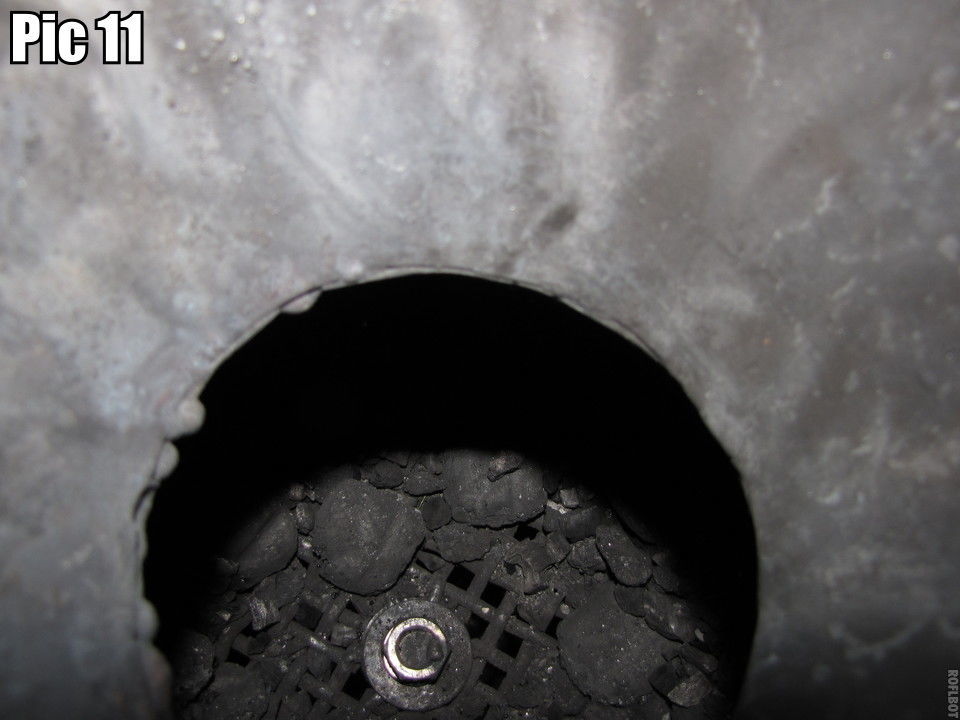
Pic 11 This is an important picture, probably the most from recent posts. I have 1/2"X1/2" stone screen for a grate. Note how and also important, “what” is in those squares for the most part. Look close, mostly crumbled briquet pieces put there on initial loading. I will replace this with a slotted rotating grate staying only 1/2" from the side walls. Write on the board, “I will never use briquets again” 500 times, Pepe!
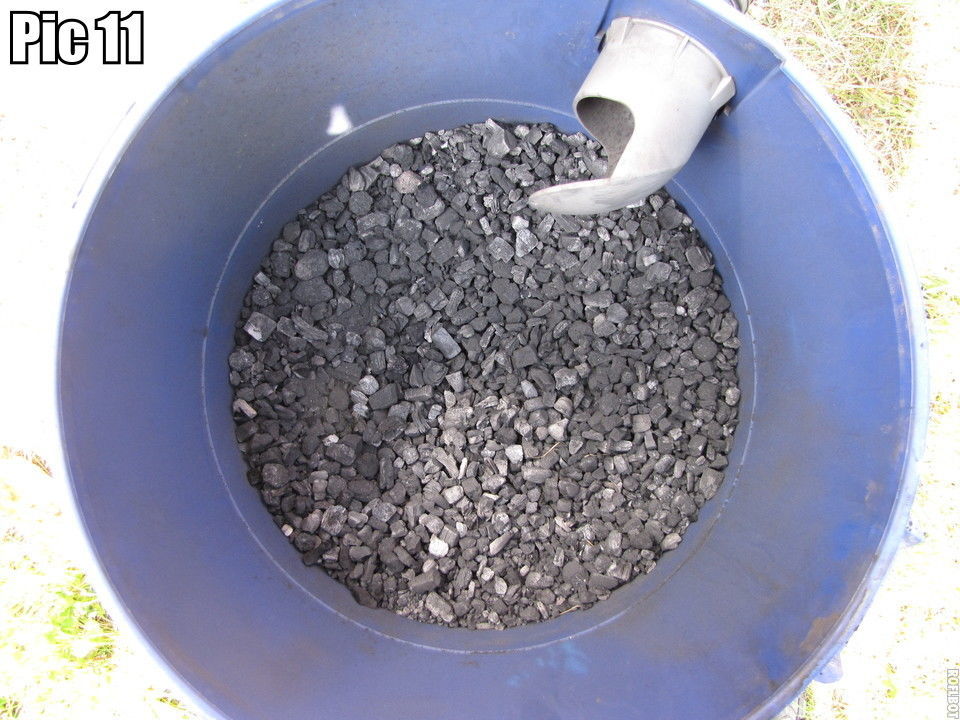
Pic 12 This is all the small stuff I vacuumed out as I dug down through the layers. Really uniform stuff.
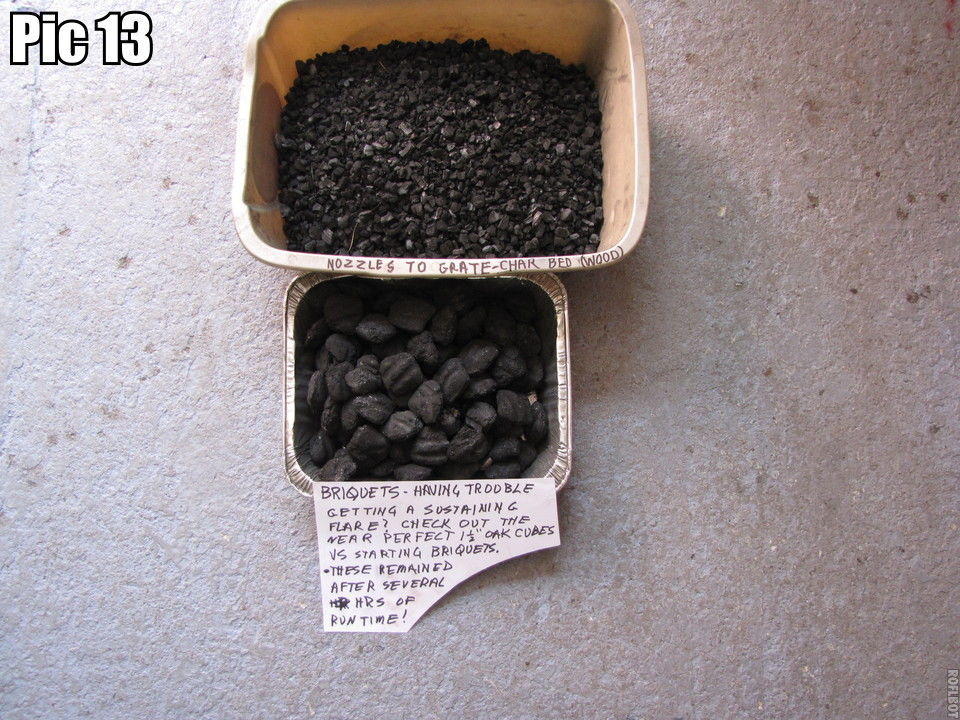
Pic 13 The same small stuff in a different container with all the unchanged "after two hours’ briquets. I can’t believe it! Let me save you some time off your life, don’t use briquets. A bag of the good stuff is not cheap, it’s just sure! And it won’t be there in the morning! lol.
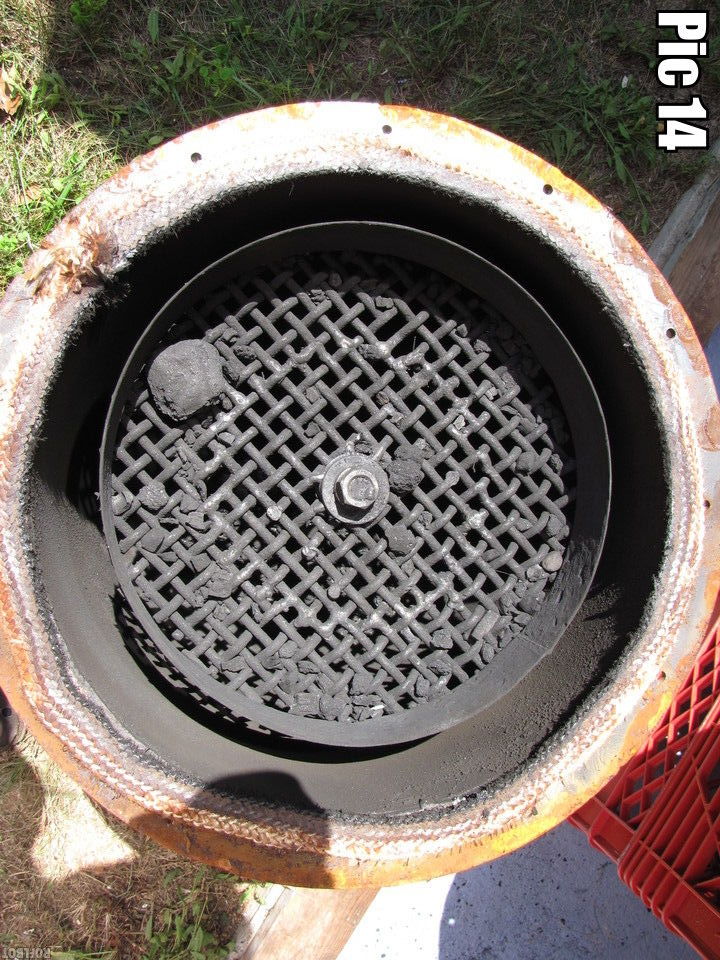
Pic 14 More of the briquet blockers.
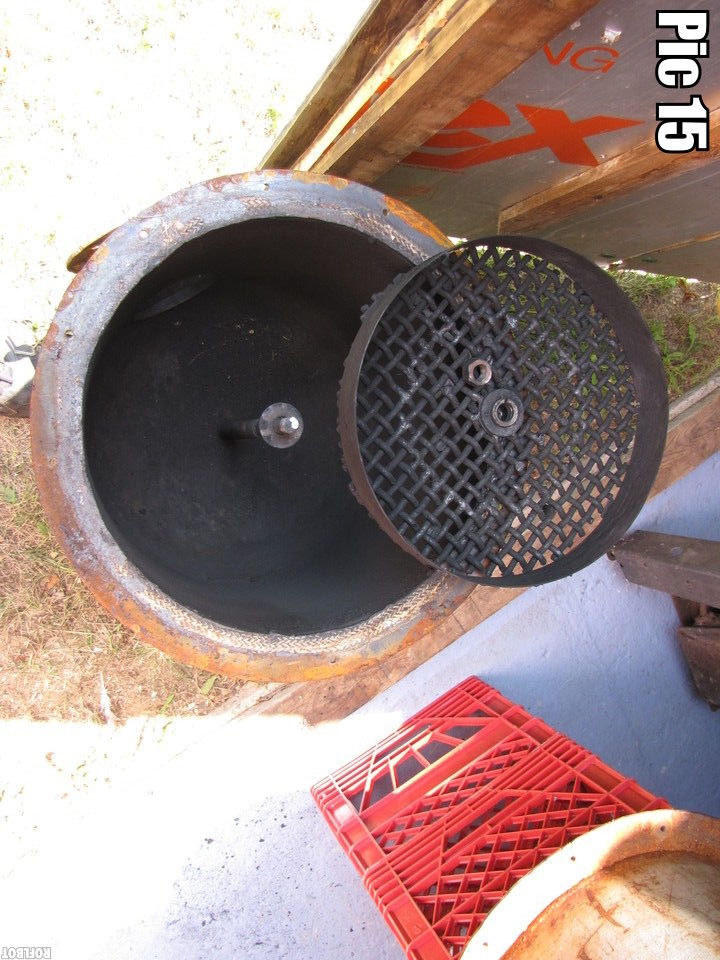
Pic 15 Grind off the tack welds, remove and rebuild grate using slotted grill. It was worth the effort to build this height adjustable, rotating, locking nut airtight, removable grate.
I was able to make my new slotted grate today. It has 2" more diameter than my old one, but still has an inch space around it. I wanted less but this was the only disk I had to use.