Funny how that works.
I was exporting Volvo parts to Finland from Canada for less than they could be purchased there.
I was importing Honda parts from Thailand for less than could be had on the shelf here.
That’s a pretty good tip Steve to prevent some dispointment. I bet copper gas line would work just as well too and a smart fellow could use JIC fittings to make the connections and just flair the pipe.
Yes. Some have done in copper tubing. Better controls in-use sagging then too.
Others widened the outer gas chamber spacing. Larger outer diameter can.
S.U.
H2O lock down, hey Steve it is raining. Steve lives in some of the wettest part of our state.
Rubber boots required.
Over where I live, yes I know what you are talking about.
Bob
paid for v5 got v4 . Got net metering on basis that I could send power from power company back to them . APL said they had a customer who spent half a million dollars trying to connect APL product to grid . I read the law . It said for biomass to be considered renewable it must come from plantation . Donald Trump Issued executive order saying wood is renewable . A word in a law that needs to be fixed . Combined heat and power is definitely in as renewable for under 2 Megawatt .
I spent the day . Perfect day near 80 f bit cloudy windy . Tearing up thin layer of sod on top of concrete . Used winch to pull stumps from thin layer of sod on top of concrete . Tossing it all into hole that used to be silo .
Hey I have big green rubber boots and my nick name in the early 70’s when I worked for the Wenatchee forestry fire fighters as a crew leader, WAS, “Mad Dog” . Does that make me Finish too?
Bob
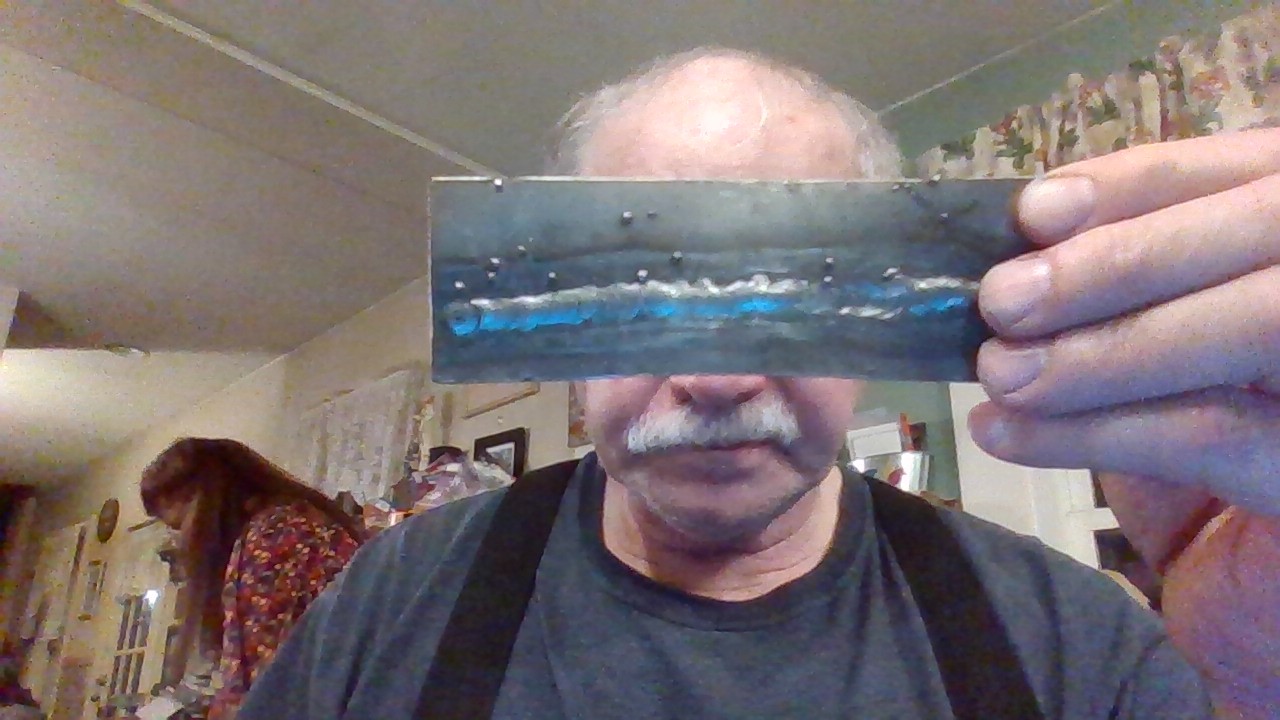
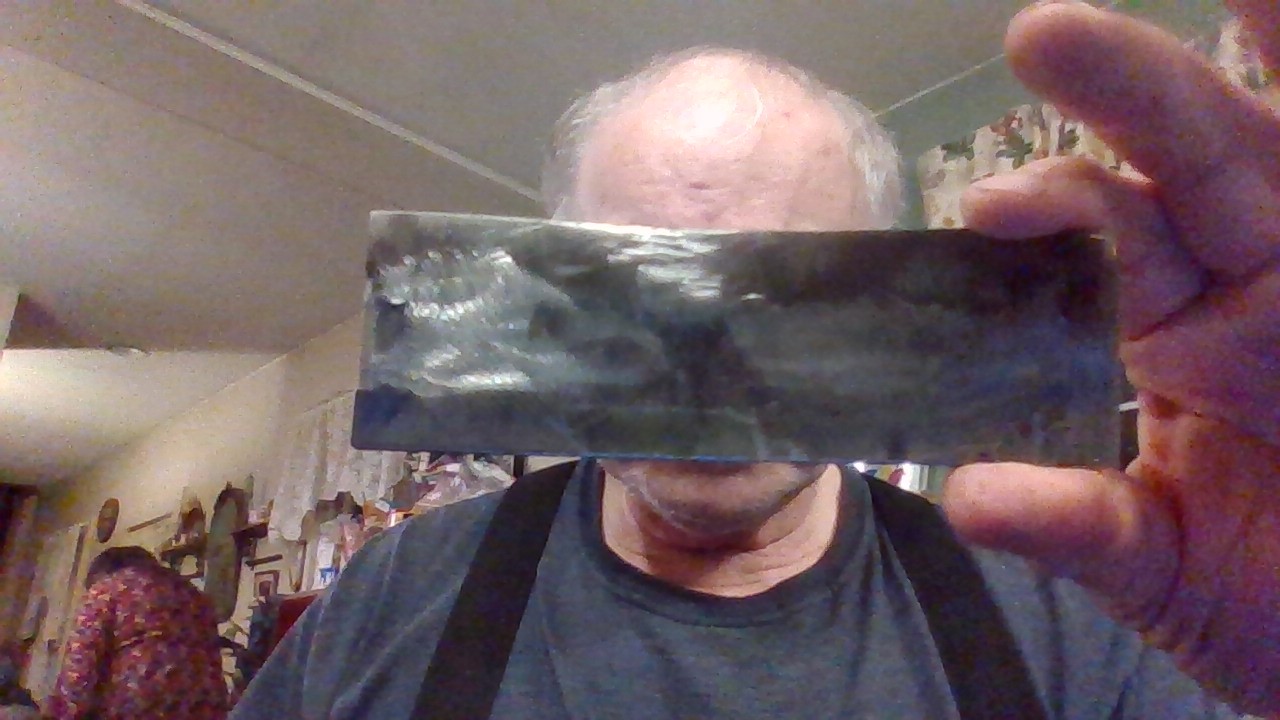
Front side three different rod angles and overlapps tried.
Then back side ground flush looking for any problem spots.
The balls are rod flick-offs from the stitching method. Indiaman had these too.
S.U.
Ohh. Electrode Negative.
Hi All,
Here is what I grew up warming with in our small simple churches; meeting rooms; shops; and even many small homes:
Look over the picture set.
IF you did upright line the lower firebox with stove bricks. AND fill the bottom with clean sand these would last for 3-5 years.
Of course making them red hot glow would shorten that life.
Or just one sit unused season in a humid environment and they’d pinhole corrode.
I believe there were a lot of these factory made tin stoves even in Europe now lost in history.
No welds at all. Roll crimped seams. Rivets. and sheet metal screws. Of course they had asbestos flat sheet gasket stocks; rope, and calking back then too.
S.U.
I thought I revisit this thread. With a new idea. One thing I noticed if your incoming hot or cold air that is going to your nozzles come in contact with the freshly made 1700°f gases, you will have fire, this is what we call a gasifier going into heater mode, this is not good you will notice a lose of power and things start to heat up fast.
So I have been thinking of a way to isolate this incoming air where it is in a more safe place and still get the air into the pre heater of the nozzles area. Now going down into the hopper seems to be the best place because it is above the out going hot gases and is isolated from these very hot gases.
Using Tone’s new gasifier design is showing promises with this here.
So the first inside barrel is a 20" Diameter 50 gallon water tank. They have a curved convex bottom. Slots are cut in the bottom for the vertical grate. On the outside of the slots V angle iron is cut and welded to beef up the slots.
One pipe is going to go down the inside of the tank and across to the center nozzle riser. At the other end it will exit the water tank near the top with a valve for metering the air intake on the center nozzle.
The in side upper nozzles ring will be a mantifold that will sit on pins and sealing ring at the desired height. This will be held in place with another air intake pipe welded into it. And will go and out near the top side of the tank, like the lower nozzle pipe with a control valve or the good old tennis ball valve set up.
Sitting on top of the pins will be a round plate 1" wide with a 18" edge about 2" tall weld to the inside ring. This is where the ceramic wool and ash will be packed in place for a sealing againts the wall of the tank. The nozzle mantifold will sit on it and be a seal so no air can pass behind the nozzles. Ash will fill behind the mantifold and wall.
Now this will all sit inside a barrel with a seal at the top and bolted down. Now the with corragated roofing and a sheet metal from of the out side of the 50 gallon water tank it will slide down into place. Putting ash inside of it for insulation. This should protect the bottem barrel from the blast of the grate. As the gases move up the barrel wall it will cool the gases.
Now the third barrel might be a little tricky it will be a slightly expanded barrel that will go around part way of the second barrel like a drop box and more cooling surface for the gases. Into the drop box top it will have a baffle in side it that will direct the gases down and then up again, the gases will leave the drop box at the top into cooling tubes going down having the gases traveling down in the cooling tubes droping down to a condensation water ash/soot tank with a drain.
I will also need to make at the top of the water tank that is the hopper area some cooling tubes and a tar/water gutters upper and lower. And also a tar/water collection tank.
One more tricky thing is to weld a clean out ash, soot, charcoal hatch in the bottom of the double barrel.
I have not made a drawing yet it is all in my head right now. But when this idea came to me I just started to write it down as it came forth out of my mind as I saw it before me. God is good.
Thanks Cody this idea came to me while I was looking at you new single nozzle barrel gasifier.
There were some problems with my other barrel in a barrel in a barrel design I just could not work out.
Walk away some times is the best thing to do. Until it comes back to you.
Bob
Top view down drawing. It is a little cluttered with details that you might not understand like the drop box. It has 5 big holes feeding gases into the top then going down under the middle baffle then the gases go up to the top and out into the 6 cooling tubes that are going down into the condensation water tank with any soot that is collected into water then up and into the hay filter.
Looking down into the hopper gasifier. This may be more even confusing. Lol, but not to me, he he.
In the middle at the bottom is the 4" nozzle heavy reinforced shielded pipe with the air pipe feeding it. It is also shielded in the reactor area for protection. Then the shielded pipe comes straight up pass the upper nozzles and heating mantle to near the top and out of the hopper. The pipe has to clear the hopper lower tar gutter before exiting the hopper it might be able to come in below the gutter. Same with the upper mantle nozzles air feed pipe, it might not go all the way to the top of the hopper. We will just have to see on this part of the design later. The 20" tank will be higher than outer barrel so the hopper cooling tubes will be above the outer barrel also.
It looks like there will be 2 cleanouts at the bottom, one for the main barrel and the other for the drop box.
Back to the cool tubes condensation tank I will put a 3" drain in it. This is per Jakob N. suggestion on easier clean outs of debris and also on the hay filter drain too.
The drawing is not to scale. It can be configured differently for size of barrels you want to use and installation purposes. Also the size of gasifier needs for your engine liter size.
I am using a 20" hopper and Tone’s style reactor vertical grate in a 20 diameter size. This gasifier will be running a larger engine 2.5 liter or larger.
A side view drawing is coming.
Bob
Bob, interesting and complicated, I hope the result will be good gas. I should mention that the upright “grille” without the bottom nozzle does not work well and gets clogged quickly, because the level of fine coal mixed with ash rises quickly and reduces the flow of gases through the slits of the grate, thus reducing the temperature that radiates down, well, for such example, the bottom nozzle is MANDATORY. Look at this sketch, the “sacrificial” pipe under the nozzles is sealed with ash, with round openings at the bottom, for ease of production and slightly raised from the floor, so that the ash provides thermal protection for the floor plate and the lower nozzle.
IT would be nice if one could build the heat exchanger around the burn tube, and still have a way too take it apart for cleaning out carbon- or a drop box at the bottom and a removable lid section for cleaning-- also would need inner hopper tar drain-unit completed. Then you would only need a hay filter. Though it might not be worth the space savings- it might work for a small car wood gasifier if built just heavy enough to hold up in the hot zones.
The pipe going down to the bottom nozzle will have shielding angle steel over it and the same pipe going across the bottom will lay in a layer of ash over it by using side wall piece of steel making a ash trough for the pipe to lay in. The lower nozzle will be very thick steel wall with a ash ring around it like yours and a ash cup on top of it 6 to 8 holes coming out of the 4 " nozzle piece.
Yes it does look complex this unit will be able to burn raw wood only hopefully or charcoal and both charcoal and wood at the same time. The attached drop box with the drop out baffle is something I have been wanting to try, with the attached cooling tubes down the side with the condenasion tank for extra ash/soot catching water area.
Not drawn in is the WK preheating part of it in the mantal upper nozzles part.
My goal is to make a gasifier that will just make really good gas and not have alot of charcoal left over to remove or what we call slipage. I just will not know until I start with the building of it if it can be built the way I see it.
One other thing I want to able to do is to add water vapor to the lower nozzle it will have 6 to 8 holes. It will work like @Matt Ryder set up that can be control on how much to water to add.
There are three gasifiers builds ahead of this I need to finish first. What fun.
Bob
Here is a cut away view of the planned gasifier, showing the red lines air going into the two intakes going to the firetube then hot gases flow through the system and cooling and out the hayfilter
exit tube.
I will have to say the top view looking down is very confusing indeed. Hope this helps everyone looking at the drawing on what I am trying to achieve here in this gasifier design of the weight of a normal WK Gasifier to lighten it up some, but still be able to do its best at taking raw chunks of wood a do the gasification processing make good gases all the time. Also being a milti fuel gasifier.
The water drip will be optional if you would like to run it on dry charcoal. I personally like using 10% moisture in my charcoal. If mixing with raw wood making (rocket fuel) mix it can be dry charcoal.
Bob
I have hard time reading this diagram and the other model diagram- if you could color the inlet and out let different colors it might help my slow brain too understand this better, and if its charco optional, i like to see this one working. so i can build one, HOPE IT WORKS OUT- FUN FUN FUN–I am still working on finishing fabing my dakota all winter- though since i need my garodge back too fix and sell some washer machines- it should be done-before the month of MAY gets here- LORD WILLING. Its nearing completion soon.Since i am using hot water heater steel for it all,no light weight barrel steel, i am hoping i don’t exceed the axel weight rating- if so i may put a 3/4 tone axel in my dakota build,and hybrid in some petro if it needs a little extra power here and there. plus i got a 360 i could drop in for more power.