The new packs were 2 for $50. They have 10-15 cells instead of 5. Given the age, I would probably have to replace all 5 at 3-5 dollars each battery plus the nickel, plus the spot welder. I would save less then zero. I could have bumped the pack up to a max of like 3500mah.
I pulled it apart to see what batteries were in it. They are generic. rh yg18560 OF10C
3.6v. The largest capacity of something close off alibaba was 2200mah, most likely they are 2000mah, and actually have less capacity, so probably a 3a battery when all is said and done. They might go back and I can get a cheaper 5a battery with 10 batteries 2pk for like 40 bucks. . (A case and circuitry without batteries for 16 dollars off amazon). However, since I have them I want to see if they perform any better then the old ones.
You should not solder, the metal gets too hot for too long and can damage the battery and explode. I suspect DC current has the same heat issue. And you would be dead shorting your 12v battery which could also overheat.
The spot welders for even 15 dollars now appear to be doing AC with mosfets and a circuit board, plus a capacitor.
This one for 20 bucks has 9 settings. It is missing a holder for the probes maybe add a big capacitor to protect your 12v battery. From my understanding the smaller ones need a minute between welds to recharge and they can’t weld thicker material. However, that isn’t an issue if you only need like 20 welds.
Found a similar board on Amazon for a little more money, but with a better description. The one feedback entry mentioned that it needed a high discharge rate battery to work right. Your added capacitor could solve that problem. Years ago I welded up thermocouples from thermocouple wire with just a big capacitor. It had heavy screw terminals. I put a small square of 1/8-inch brass on one terminal, and a bent piece of 14 guage wire under the other, so I could press it down to contact the brass plate. Put the crossed thermocouple wires on the plate, and press the heavy wire down on it until you get the flash. Adjusting the voltage on the capacitor let me dial in the welding “heat.” It might work with batteries, but I haven’t had the opportunity to try.
just a warning from personal experience with DIY battery welders - discharge cells before welding and keep a tin bucket or something like that at hand.
battery welding can be very exciting in case if you burn a hole in cell.
lots of flames and smoke and a nice burn mark on the floor. ))
I watched a video, they used a Power planter heavy duty, with a 60v dewalt drill/mixer. and it went straight through heavy clay and they claimed it went through roots up to like 1.5 inches. However, that setup would be like 400 bucks, which exceeds the budget for the entire project. You are correct I just need more HP from the drill, and the better auger would help as well.
The batteries last longer but they are closer to 3-4a then 8a as I suspected. but I have been mostly able to get holes deep enough to where I want them so far. I am just hitting roots and rocks more then the clay.
I also found out I failed at walking off distances through the brush. I figured out I couldn’t find the trees after I planted them to figure out where I should plant next. I planted one from one direction, one from another direction, then from a 3rd direction, I didnt see the first two which were about 6ft apart, and planted a 3rd tree in the middle, then saw the other two. LOL I went back and marked them a bit better. I should have worked a bit harder at a gps solution.
I’m almost embarrass to say that i use just a car battery with a foot momentary switch with 2 bits of copper busbars ground down to a point when i change out cells in my Makita battery packs that i use on my 2x18 volt chain saw and angle grinders ect , not had a problem yet but i guess i have been lucky so far ,and seeing’s the saw and angle grinder draws lots current it seems fine to me .
Dave
That is exactly what I was thinking of doing Dave. Using a relay to control the on/off cycle and have it wired to a switch that only stays on for a moment. I have momentarily dead shorted a car battery by placing a wrench on it and the battery seemed fine. It would be the same with the spot welder.
It defiantly isn’t the right setup for that, but it may work for a while. Maybe I am just to cheap to invest in the proper equipment.
P.S. I’ve also got the Makita chainsaw like you have. So far I really like it. I’ll see if I can post a review about it on the electric chainsaw thread soon.
Last update on the auger bit. I had to put it in ‘drill mode’ which I didn’t know existed. It works good. It doesn’t stop if it hits something. It just twists your arm. It went through a few small 1/2 roots. It works in clay kind of, you have to go slow and lean the drill against your leg and press into it. I need to get these last few trees in. I don’t have enough to finish what I wanted to do, but at least some of it will be done.
Any opinions on using a 1" wood auger bit to drill holes in the dirt to plant seeds?
The drill gets hot after about 20 holes, and I am not up for buying a new drill.
I thought I had one, but I can’t find it at the moment to test.
To answer my own question. It works great -except- it compacts the dirt, I think between the auger flights, so there isn’t enough dirt to fill the hole which is a bit of an issue with the 4" auger as well but not as pronounced. For some strange reason it doesn’t go through rocks either.
The system works but it is taking too long.
Edit: i presprouted the seeds to avoid alleopaths from the grass. They have to be carefully handled, then I need extra dirt to fill in the hole. The drill works fine. The process is tedius for the plot size.
Hi All
Last late winter I had to give up on my Father-in-laws late 1980’s metal cased battery charger. It was shocking me in the humid air.
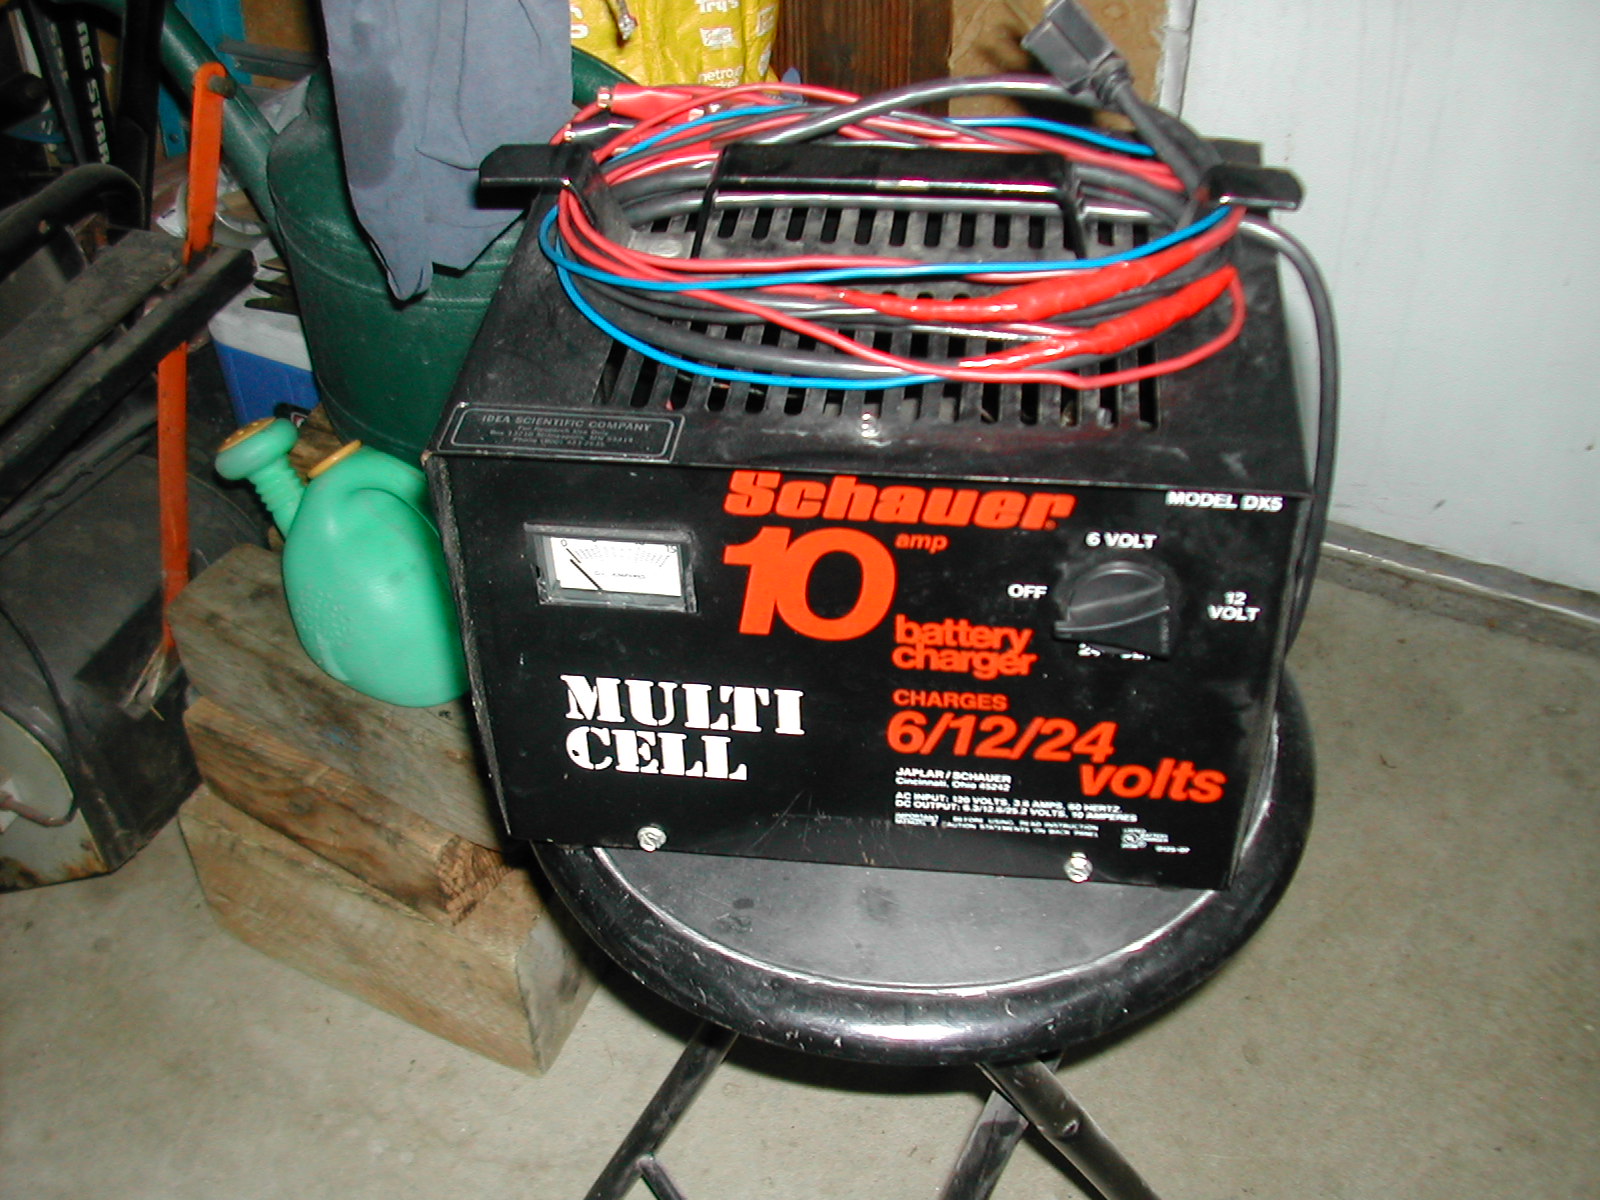
And my own 1995 battery charger is now limping along only functioning on the higher voltage “activate” settings.
So time to add a new 21st Centrury vehicle battery charger.
But which one?
Both of these previous were very high fuctioning for thier times.
Todd at Project Farm just did a very good comparison testing review:
Based on his testing I first got a NOCO 1 amp charger.
Just fyi, the automatic ones have a low voltage detection circuit on them and they won’t charge if it is under voltage. Like trying to revive a dead battery.
Now, you have me searching whether mine will do agm or not.
It has a 100 amp boost that is supposed to start dead batteries but I haven’t needed to test that yet. otherwise it has worked well and shuts itself off when the battery is fully charged. I don’t remember what I paid for it but it was during an Amazon prime days sale and was way discounted. I have a Noco jump starter that got bad reviews on Project Farm but it has worked great for me.
Too correct SeanO
Only the two NOCO Genius models would charge up Flooded and AGM batteries down to one volt.
You have to three seconds hold a manual override for a five minute timer do this.
I was surprised so many had 12 volt Lithium settings. The restriction is only for batteries with an internal BMS.
Also surprised with the reverse polarity and no-spark touch features.
And very half the models he tested had decent float voltage capabilities.
The Wife’s Ford Edge picture has developed at three years old a self-discharging problem with its AGM battery. Verified now with a charged disconnect sitting test. Takes time to verify. This is the third AGM I’ve had in the last 10 years develop a premature death problem. No more AGM’s for me. They just do not last. Poor value.
S.U.
I would be all about taking that one apart to figure out exactly what the the major the major malfunction is. Those old ones are soooo… easy to work on.
Rindert
I, stupid, hooked this one up backwards and blew out the rectifier. And the little meter’s pointer was stuck in the max position. A simple continuity test told me it was the rectifier. I figured the little meter was a fancy little feature I could live without, but, wouldn’t you know, it came back to life too after a while.
Steve,
Amen. If you Must use an AGM battery (Mounted upside down in a weird alarm system) plan on replacing them every 2 to 3 years. If you take perfectly good AGM batteries out of de-commissioned equipment, charge them and put them on the shelf, thinking “I can use those in 6 months”. The next time you take one off the shelf to use it, it won’t take a charge. Put it on a trickle/ float charger and it says “charged!” or nothing at all, and the battery has no stored energy to use. Put it on a lab power supply and you can run the voltage up to 30 volts DC and that battery will draw no current. High Resistance Failure {open circuit}. Kind of like the first tests in Project Farm’s video. YMMV…
Hi All
Ive been trying the smart-charger NOCO Genius 1 Amp on different lead-acid batteries now.
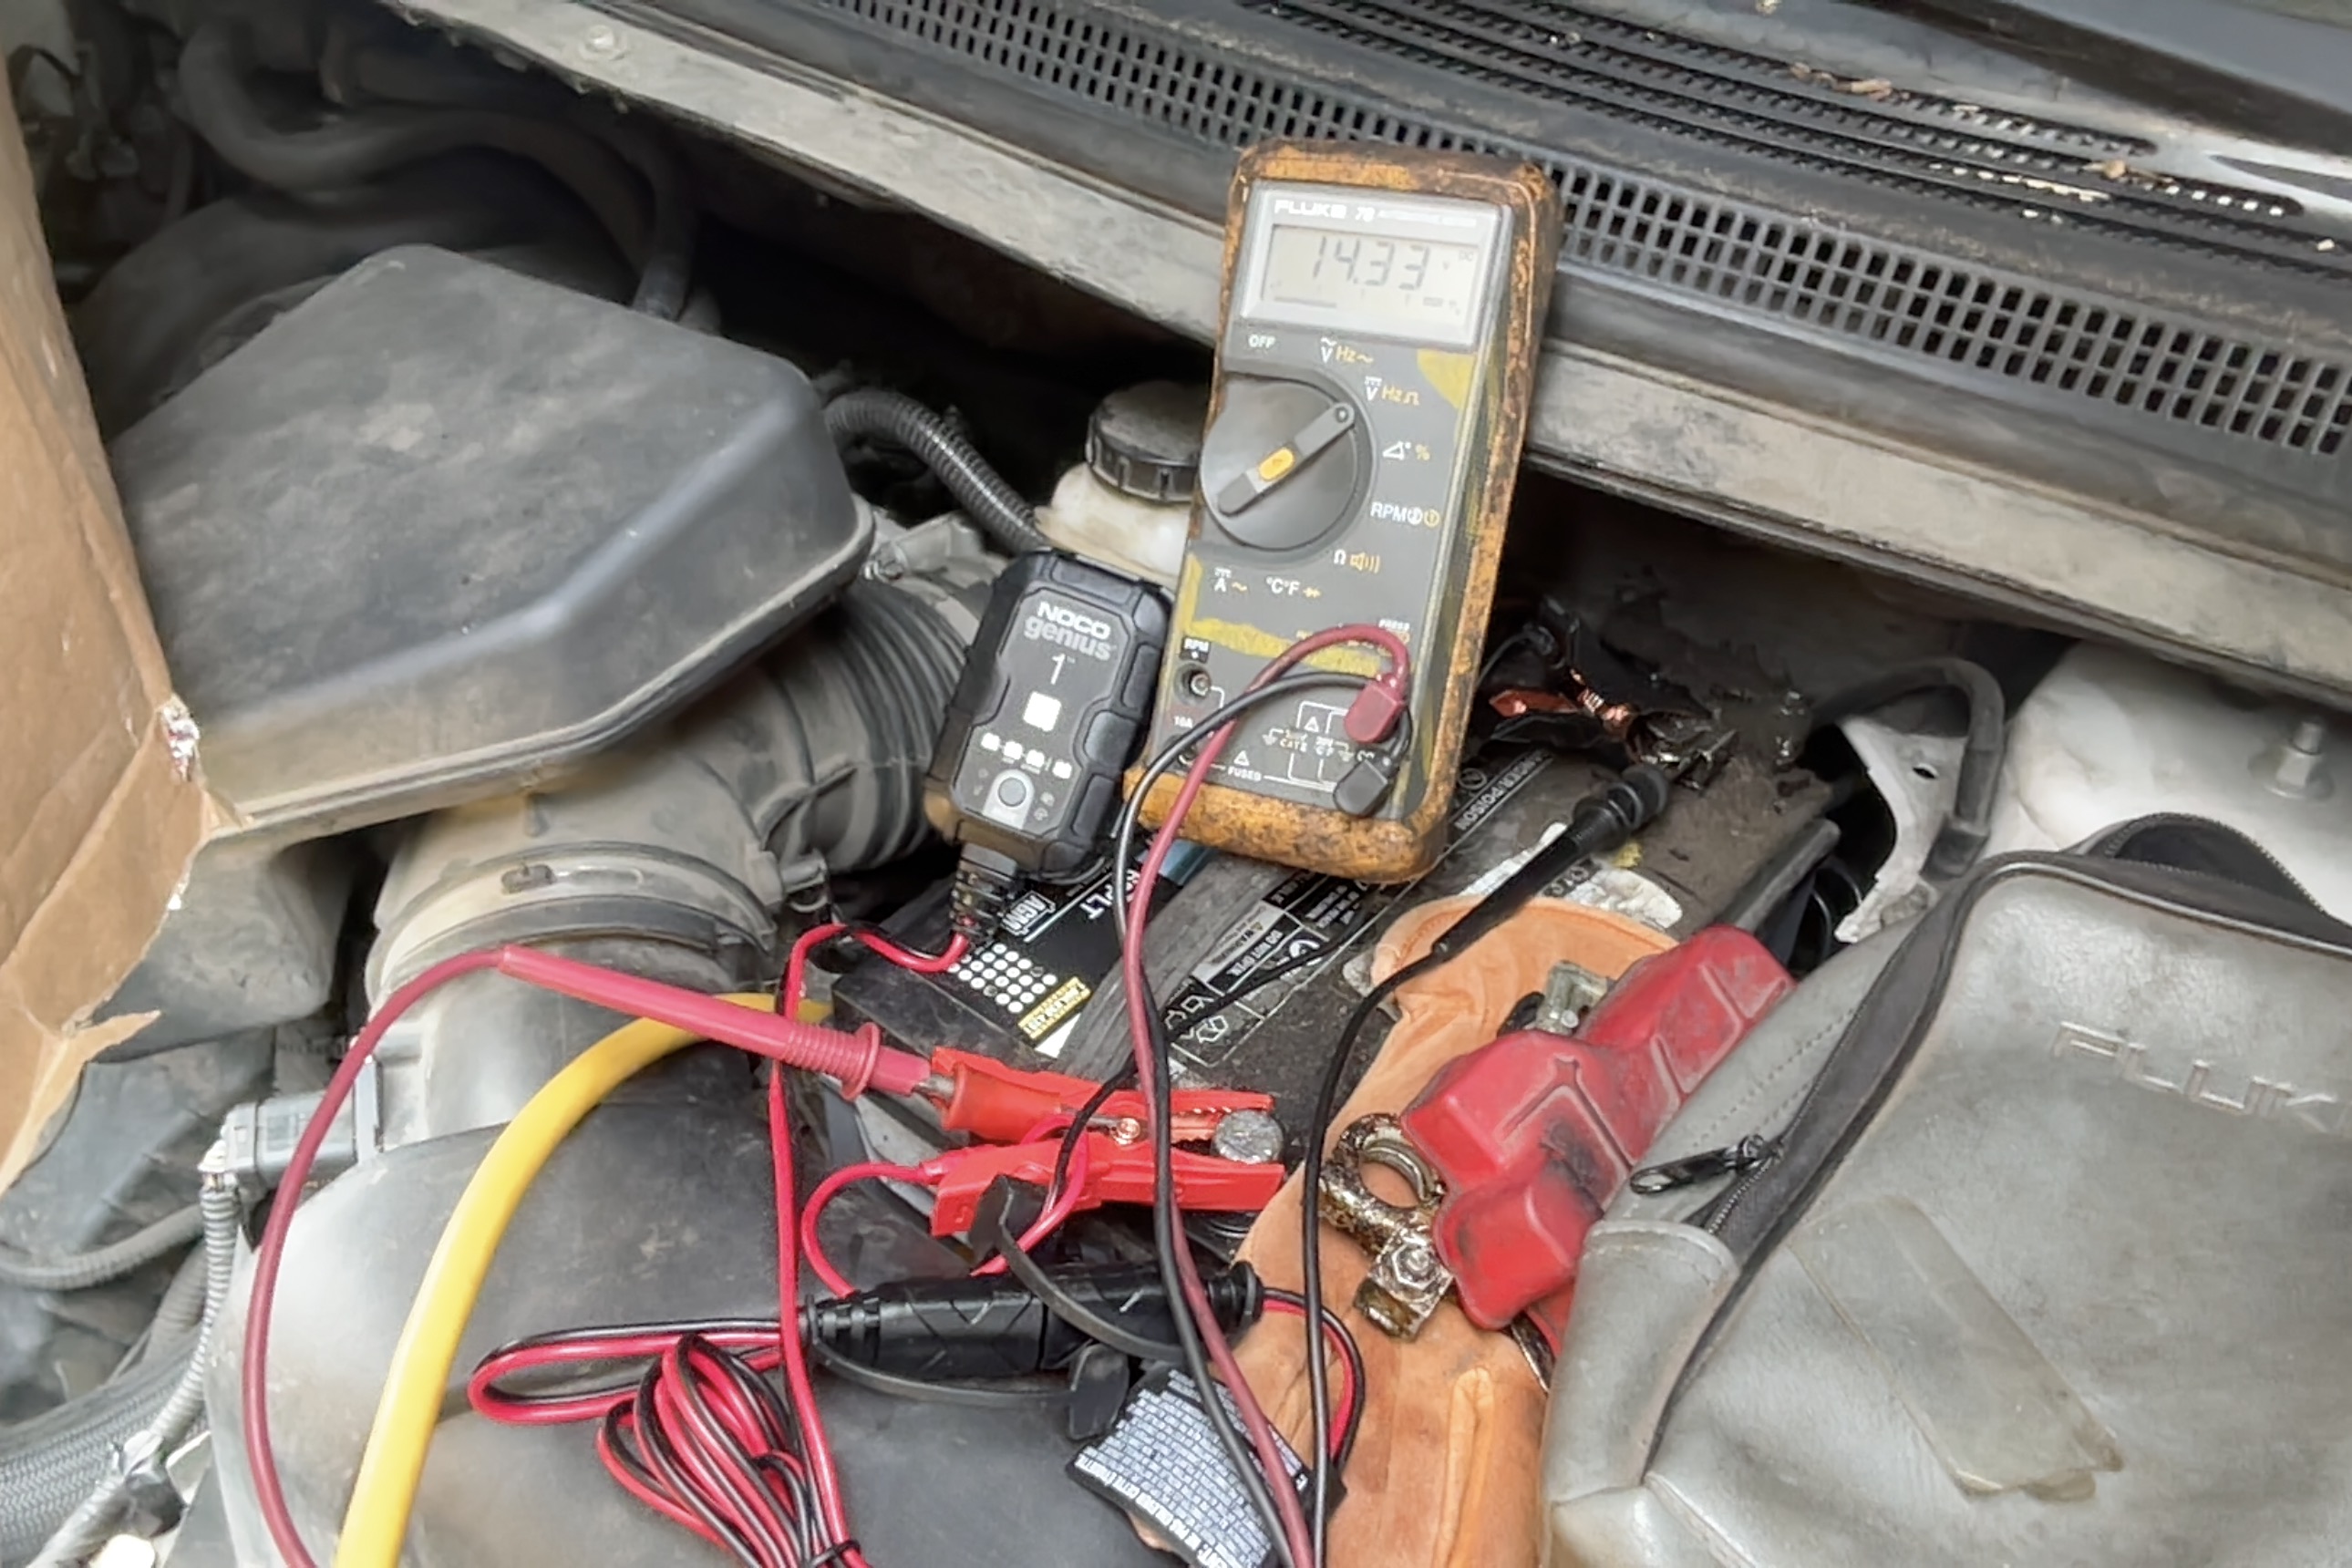
On one of the flooded Group 31P’s in the Ford pickup. On standard Batt. setting. It showed charging with the red/green status light first only red flashing. Then a slow red to green alternating flashing. All along the system voltage is slowly rising from 13.3 to into the 14teens. Once past 14.4 system volts the green light is on solid. Then it switched to a float “maintenance” voltage of 12.33.
Charger cube case felt heat is an excellent indication of its charging rate; and charging state.
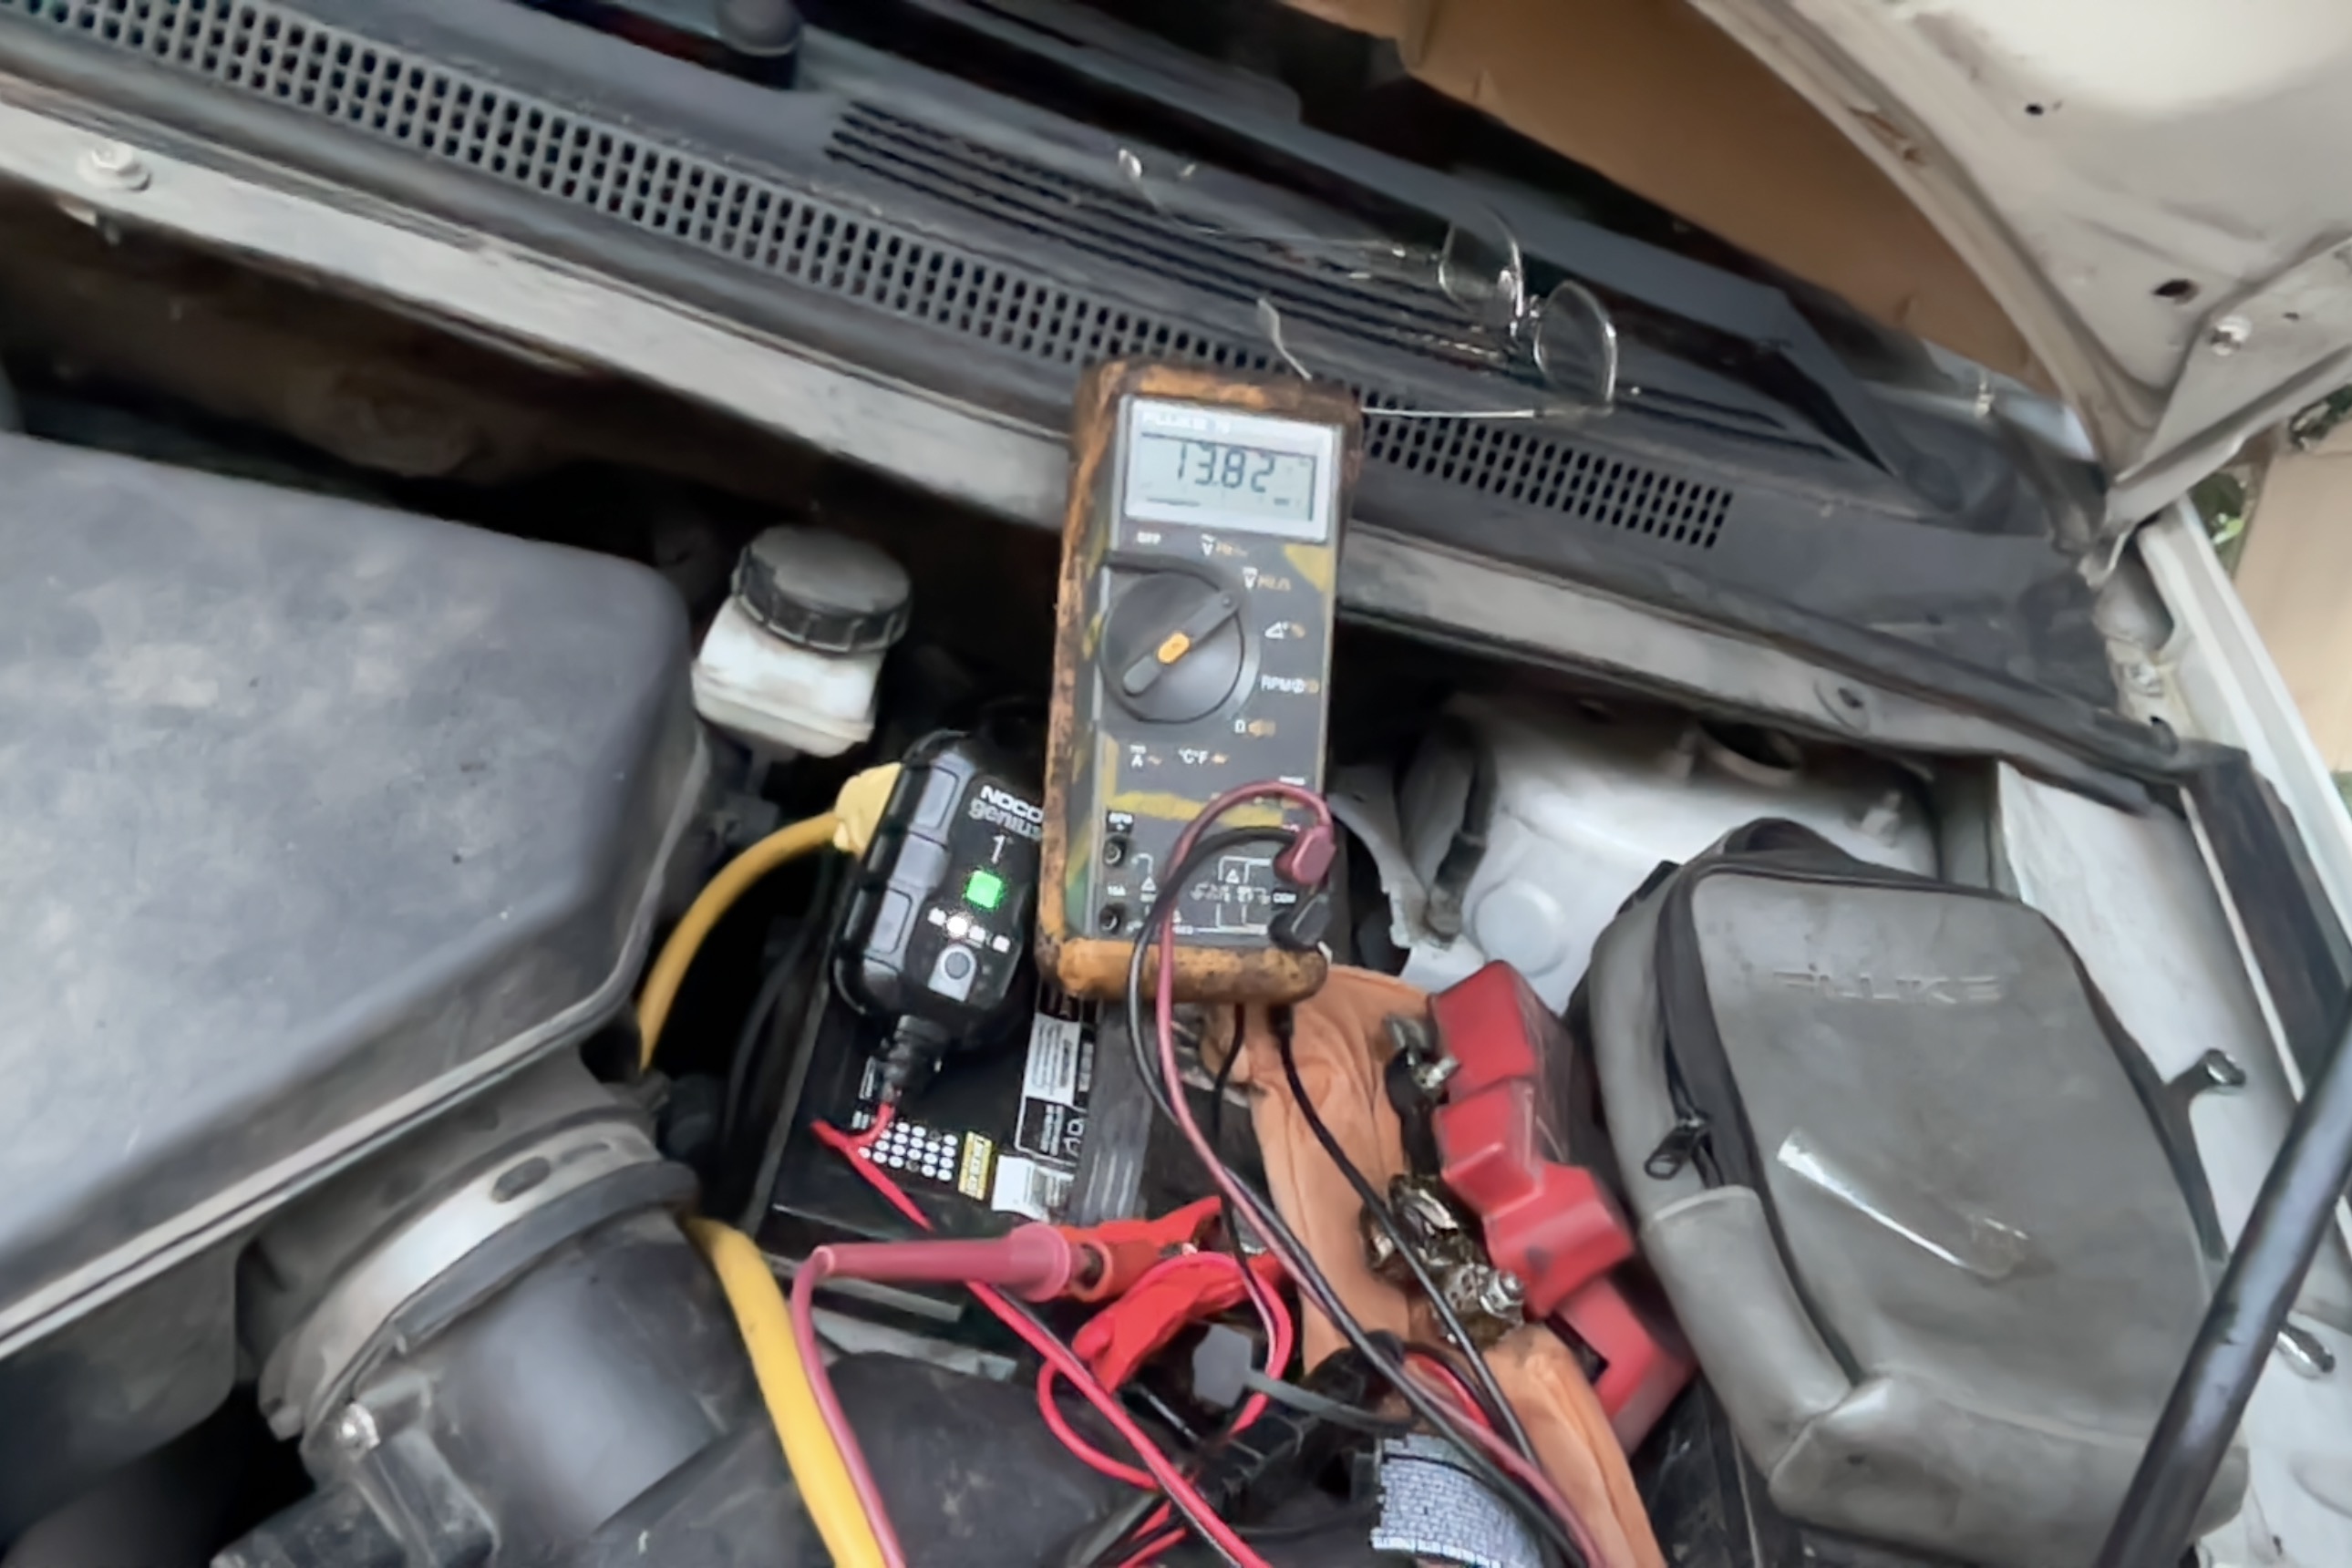
The Group 65 AGM in the Ford Edge charges at different voltages with it set for AGM’s.
Status light in this picture is slowly flashing green. Hard to see in full daylight.
Huh. It actually fixed the slow internal discharging on this battery. Two days sitting disconnected and this AGM battery only changed from a sitting 12.72 to 12.69. You really need in a vehicle at least one months stand-by “airport” time. Three months stand-by time is better.
This charger/maintainer now constantly hooked to this car it will compensate and maintain for the must-be 300-400 milliamp drain this cars electronics now drags down now.
Cheap fix at only $30 USD to keep this vehicles as the traveling nurse Wife’s backup.
Next I’ll be trying the 10 amp more featured Genius on one zero flat battery and some the others.
No Lead-acid is ruined if you can recover it enough to work in some application. And it does not excessively self discharge. I’ve used electric forklift still worked light duty on very old aged lead acid banks.
The demise of lead acids is greatly exaggerated.
COLD, you want a lead acid.
HOT, you want a lead acid.
Steve Unruh