The bearings in place, the main bearing is a front wheel bearing for a Hyundai suv, and the front bearing for a two-ton trailer.
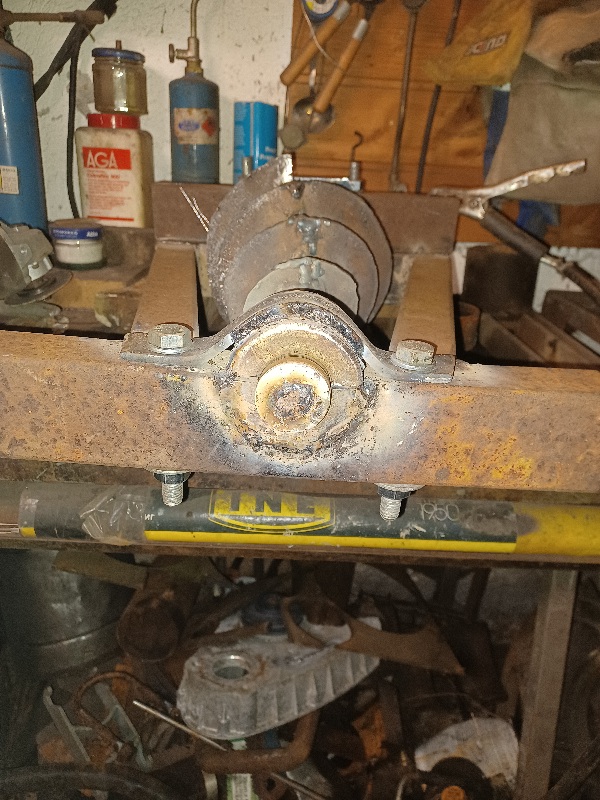
Next step to build the frame, and holders for the bearings.
Don’t forget you are going to need a ‘stinger’ or blade on that last blade to chop all the stringers or bits that don’t quite get cut off. I am sure you know. I just didn’t see it.
Hi Göran
you seem to be building a tapered screw! we see a lot of YT videos of building with cylindrical screws. this must be easier than grinding a tapered screw precisely. what advantage do these tapered screws have over cylindrical screws?
Hi Thierry, i don’t know if it has any advantages, maybe just me trying to over-complicate things.
But, i have a feeling the tapered screw would cut the wood closer to 90° , which would give more of chunks than “crushed” chunks/chips.
This is maybe only something i imagine, but i need to try it
Now the cone-shape is correct, next step is to grind the welds some, and give the screw more of an edge. Needs to find a “balance” between a strong edge, and a sharp edge.
Test fitting, my plan is to build it so its easy to take of the gearbox and engine, and run it directly from the tractor pto when needed.
I forgot to mention, my ideas changed along the build, im going to use the gearbox and the little diesel i dragged home for power source, so i can use it pulled after the chevy truck.
Turned down to fit the bigger, heavier pulley im going to use, i wanted it bigger, and for smaller belts, because smaller belts allow a smaller diameter driving pulley.
I hope that when it is all finished you won’t have to say “O crap, it turns the wrong direction” . I’m sure you thought that all through like you usually do.
Hi Don, no i actually haven’t put a thought in that, i just have to mount the engine so it pulls the right direction.
By the way: i made the screw flights “mirrored”(by mistake) my thought “it’s just to flip them over” was a brain failure, so, for pto drive i need to use a reversing gear.
After work today: first test successful! Only some branches, and a short run (the little diesel really stinks indoors) but it works! Tomorrow get it outside for more testing
Excellent!!! Very happy for your success! Looks great and very much appreciat the video demenstrating your creation!
Tell us your thoughts… are you happy with the size of the machine and size of feed stock your able to run through it? If you built another, would you do anything different? Go bigger?(i understand size can be determined by engine or gear box your trying to work with)
I love how portable this will be. Take it to the woods, instead or bringing the woods to you.