Chris' Baler Chunker

WARNING: Picture heavy thread!

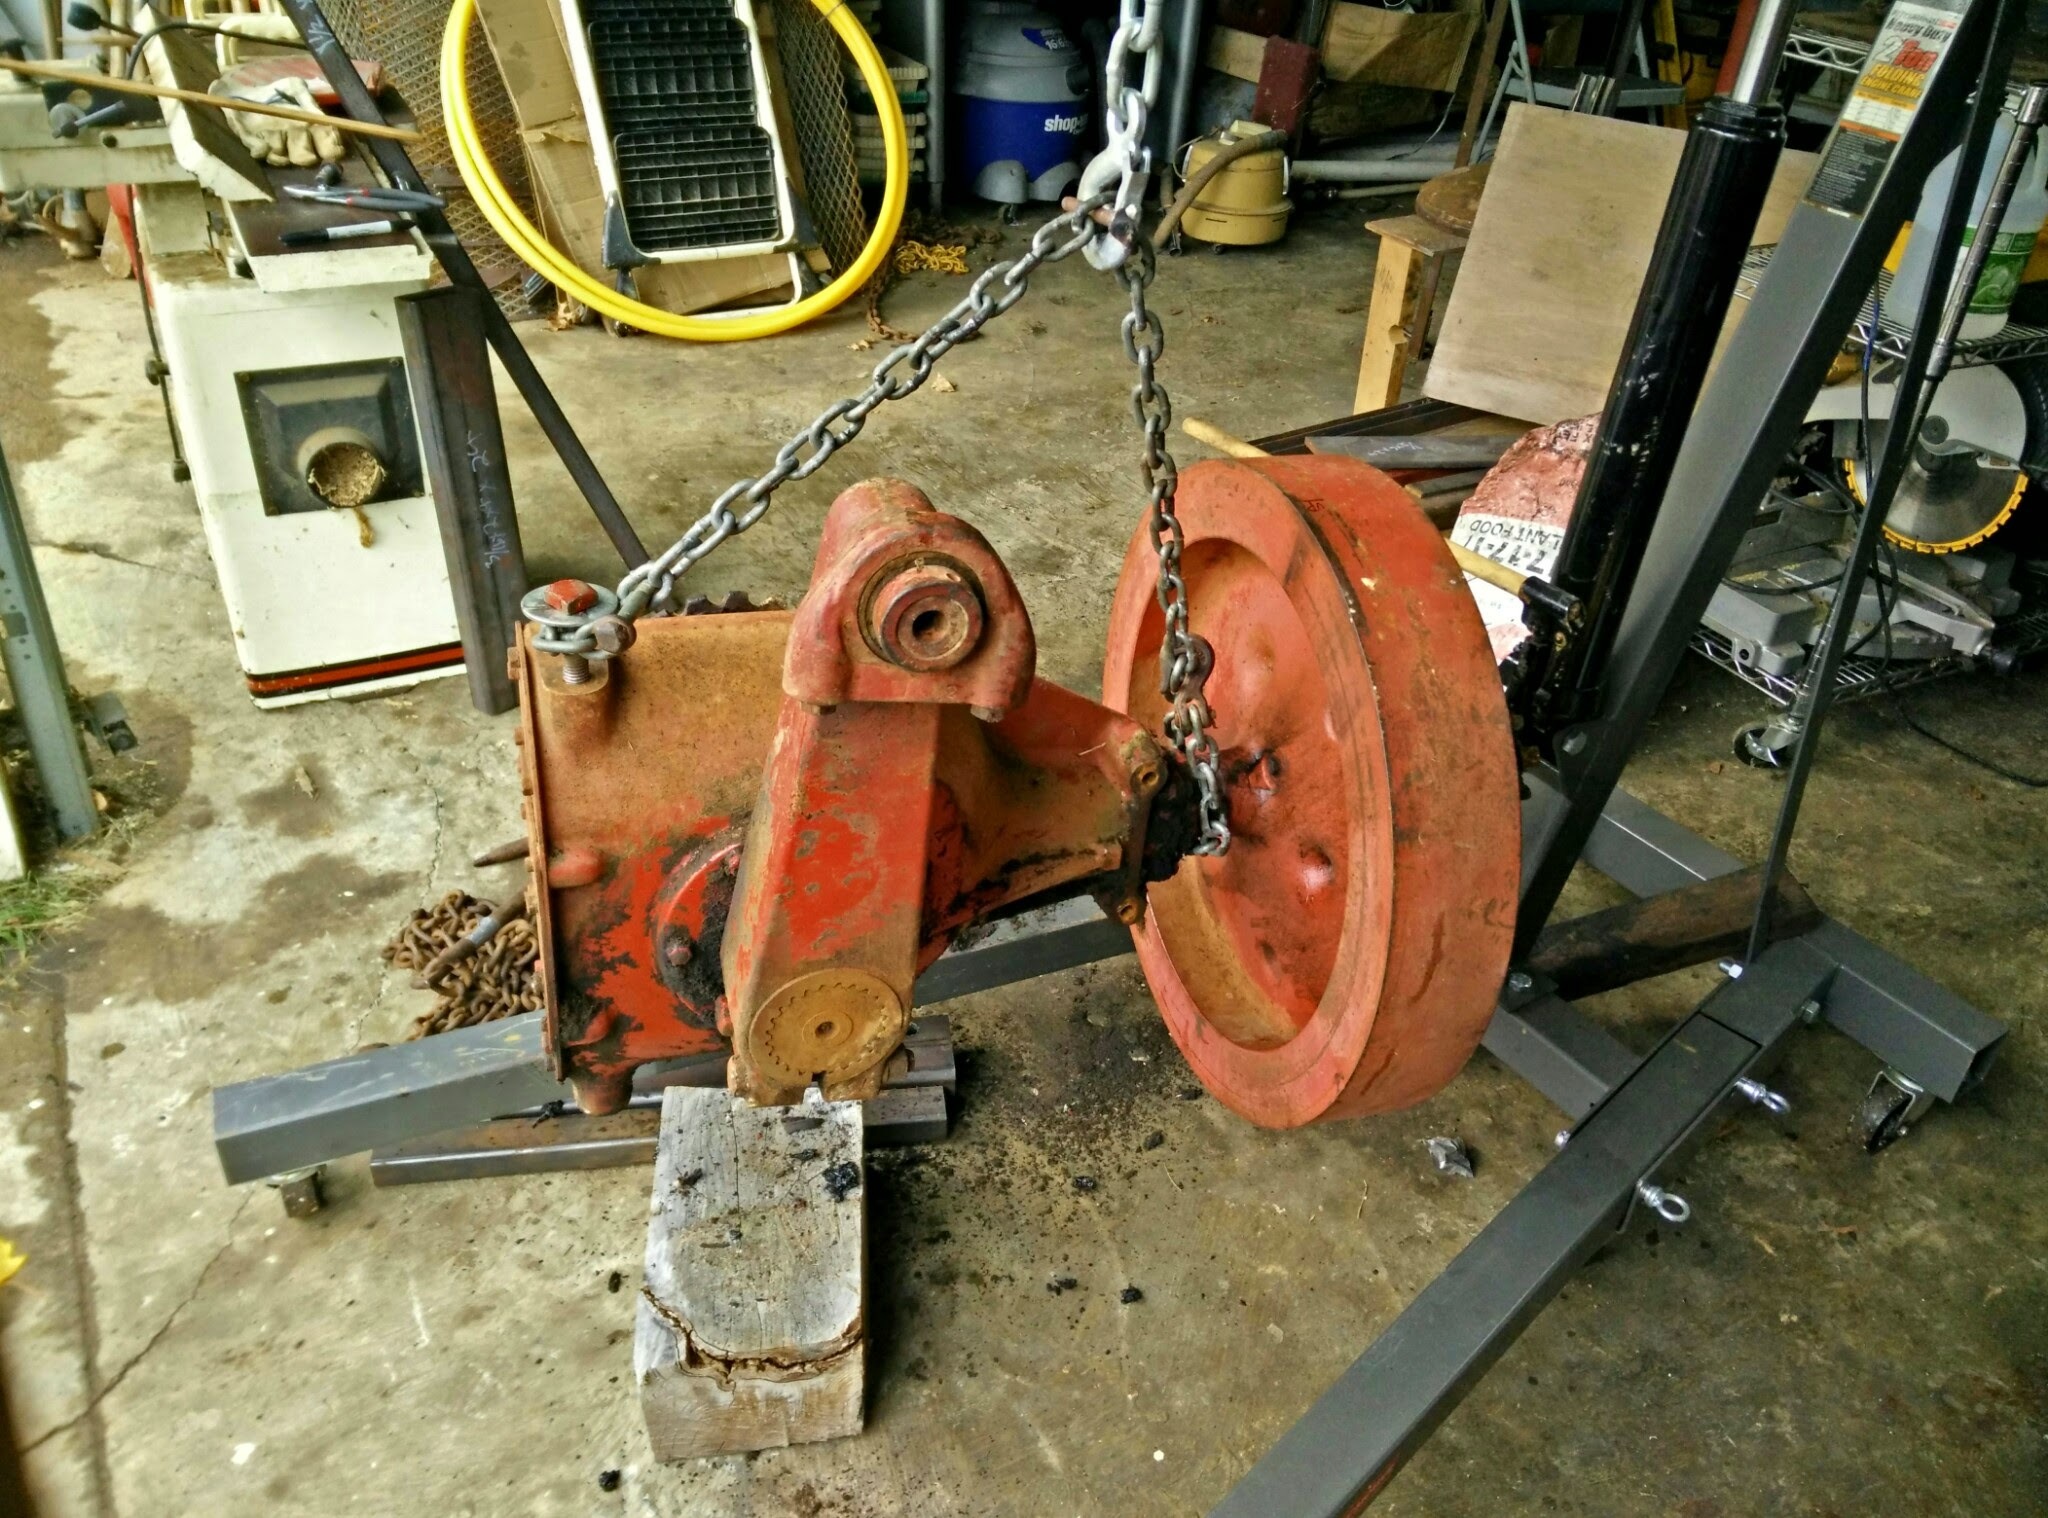
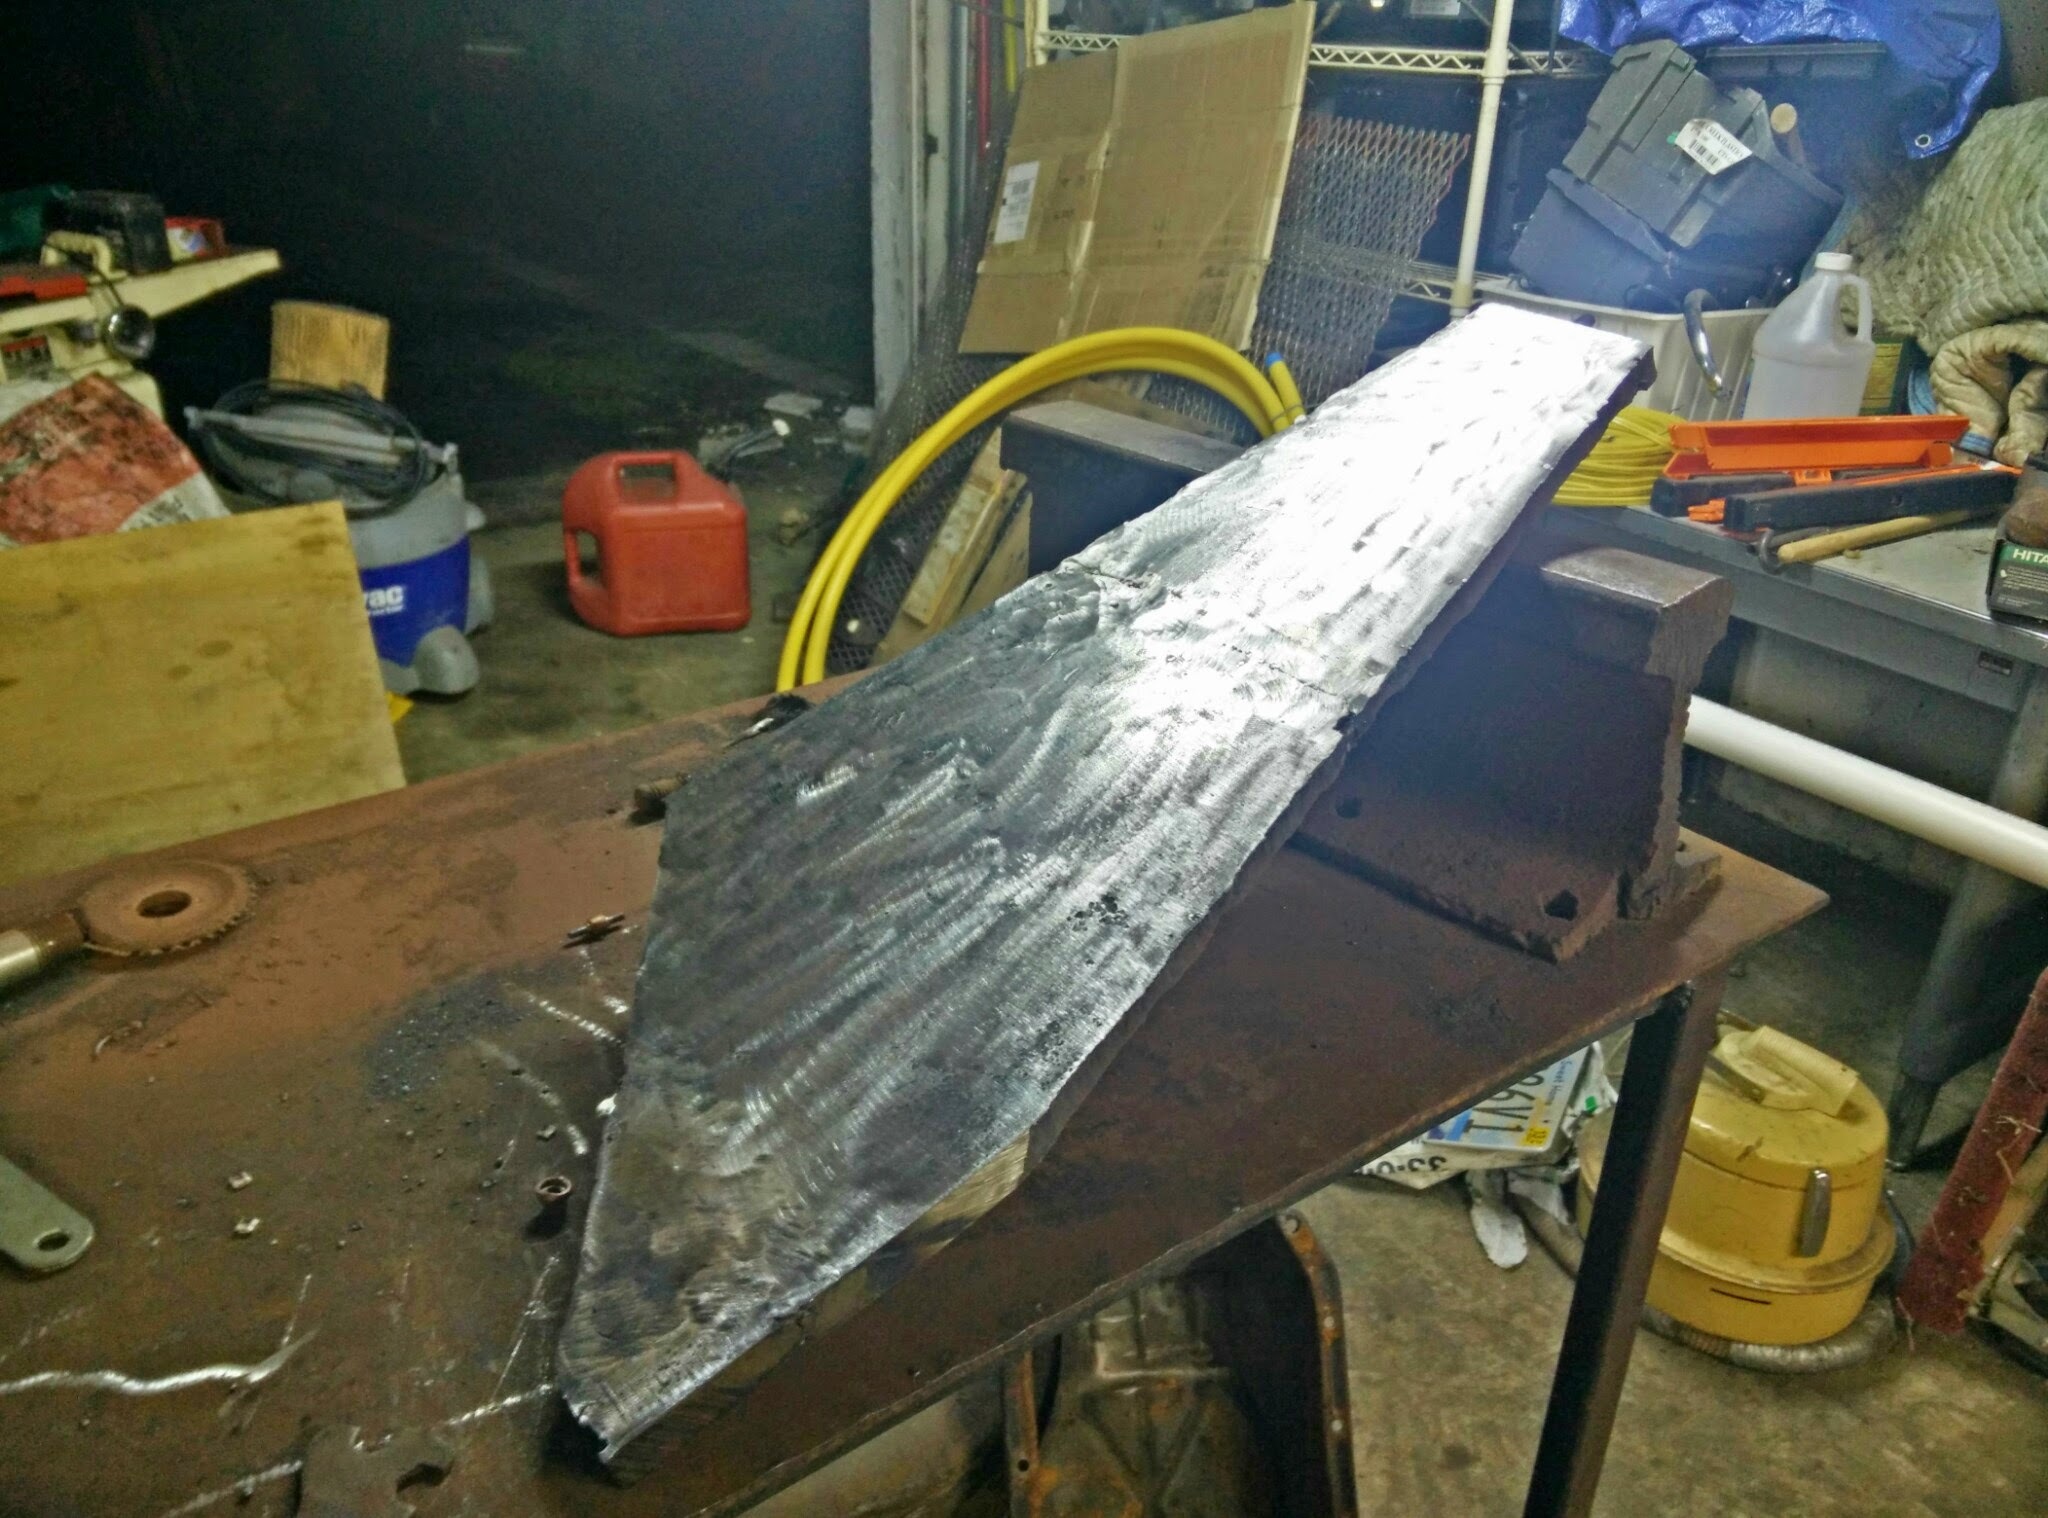
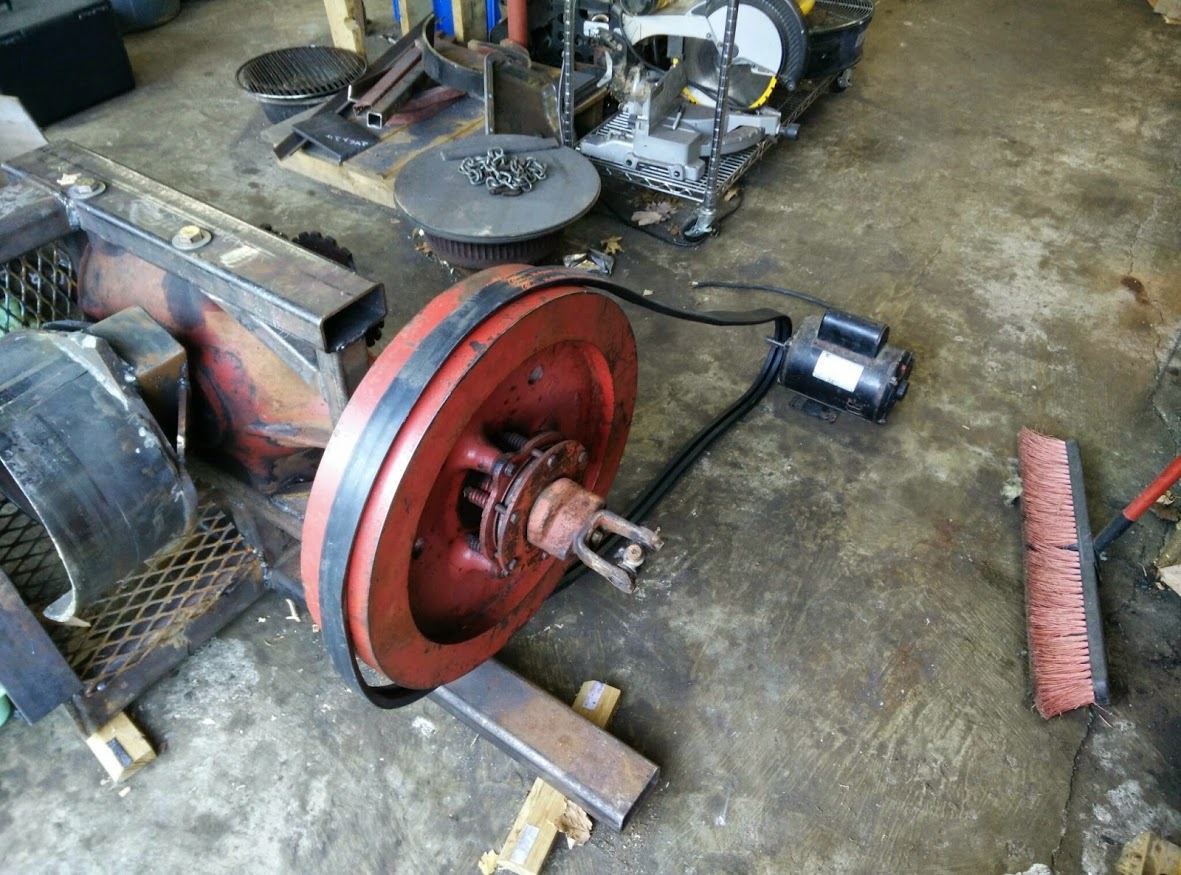
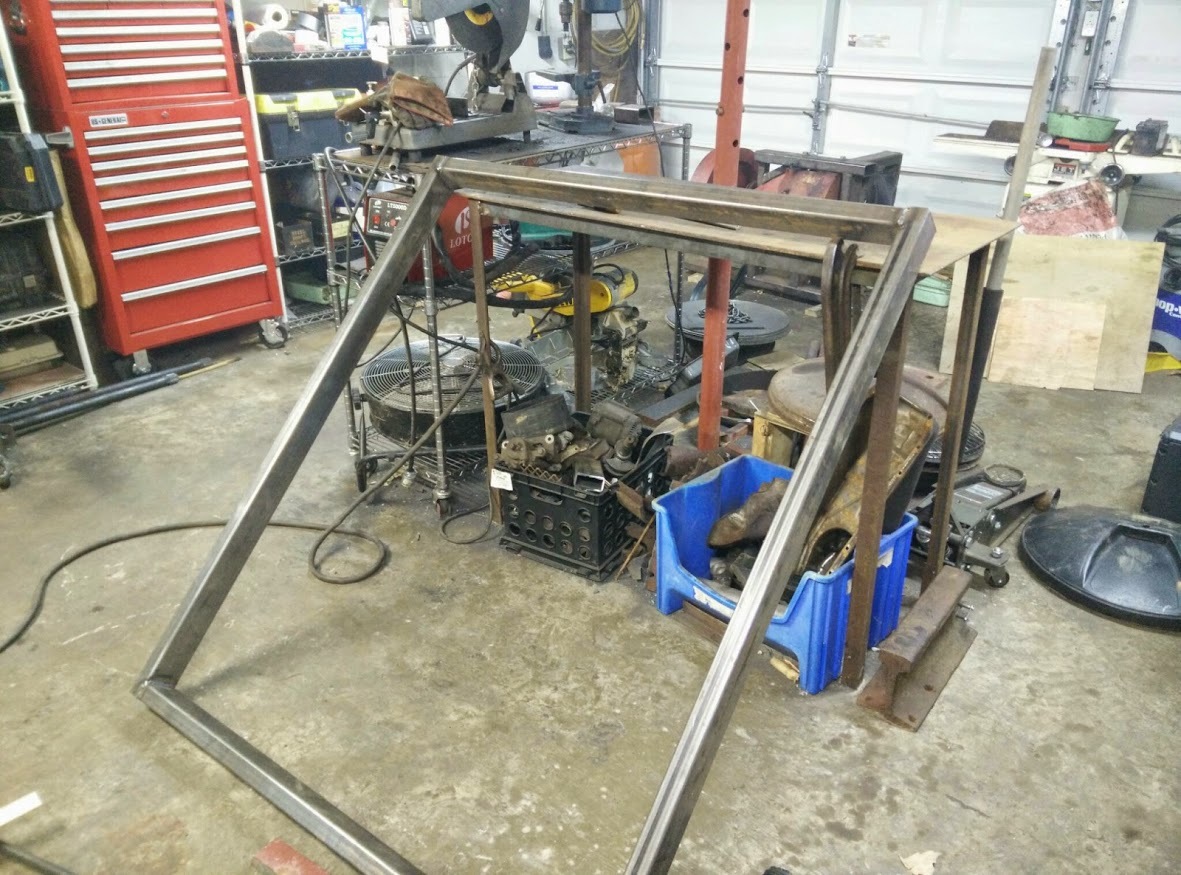
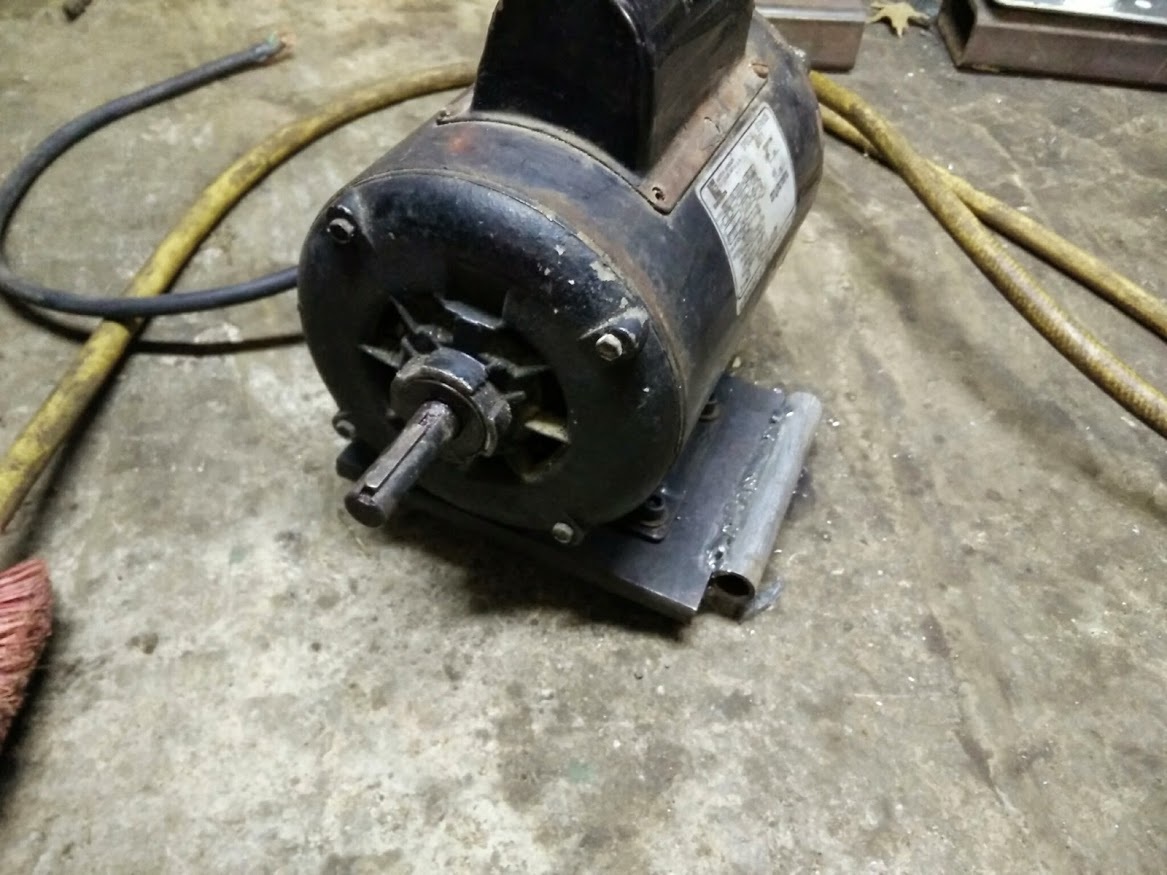
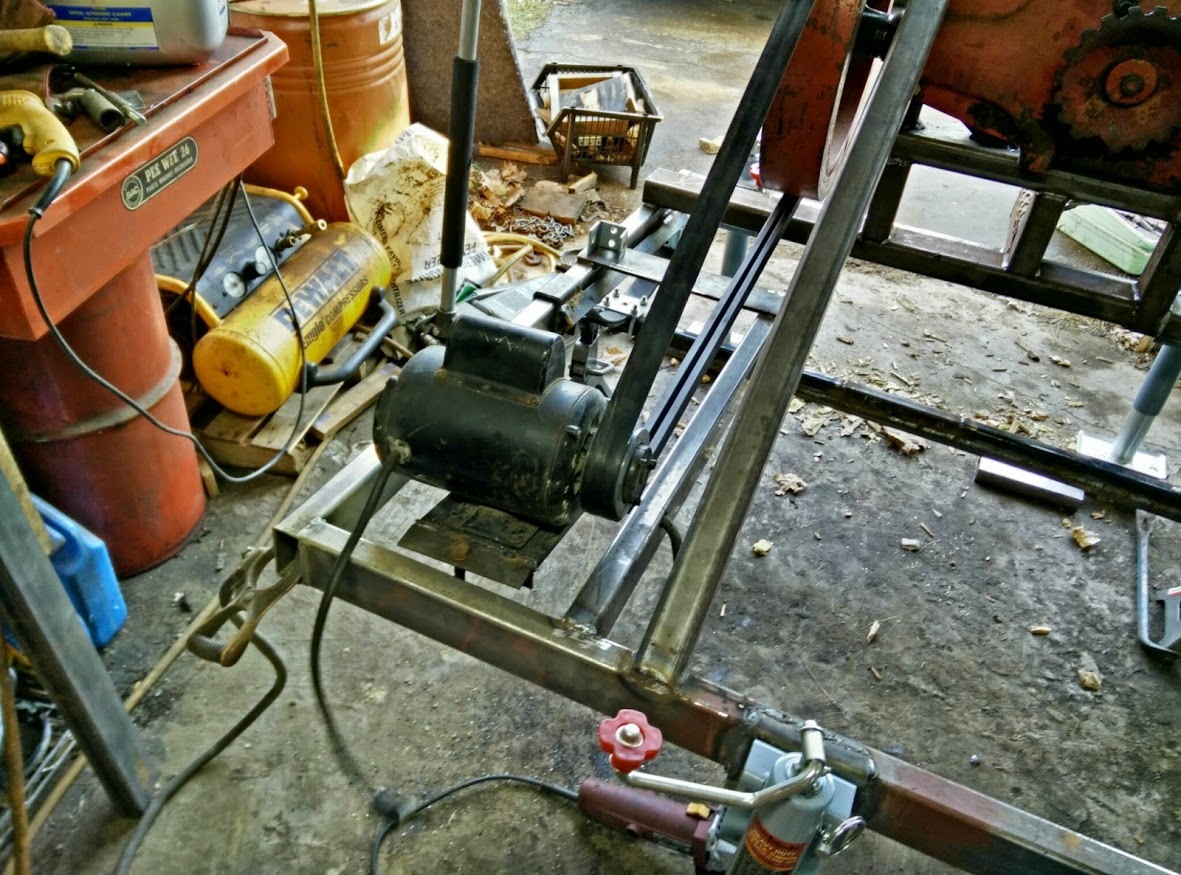
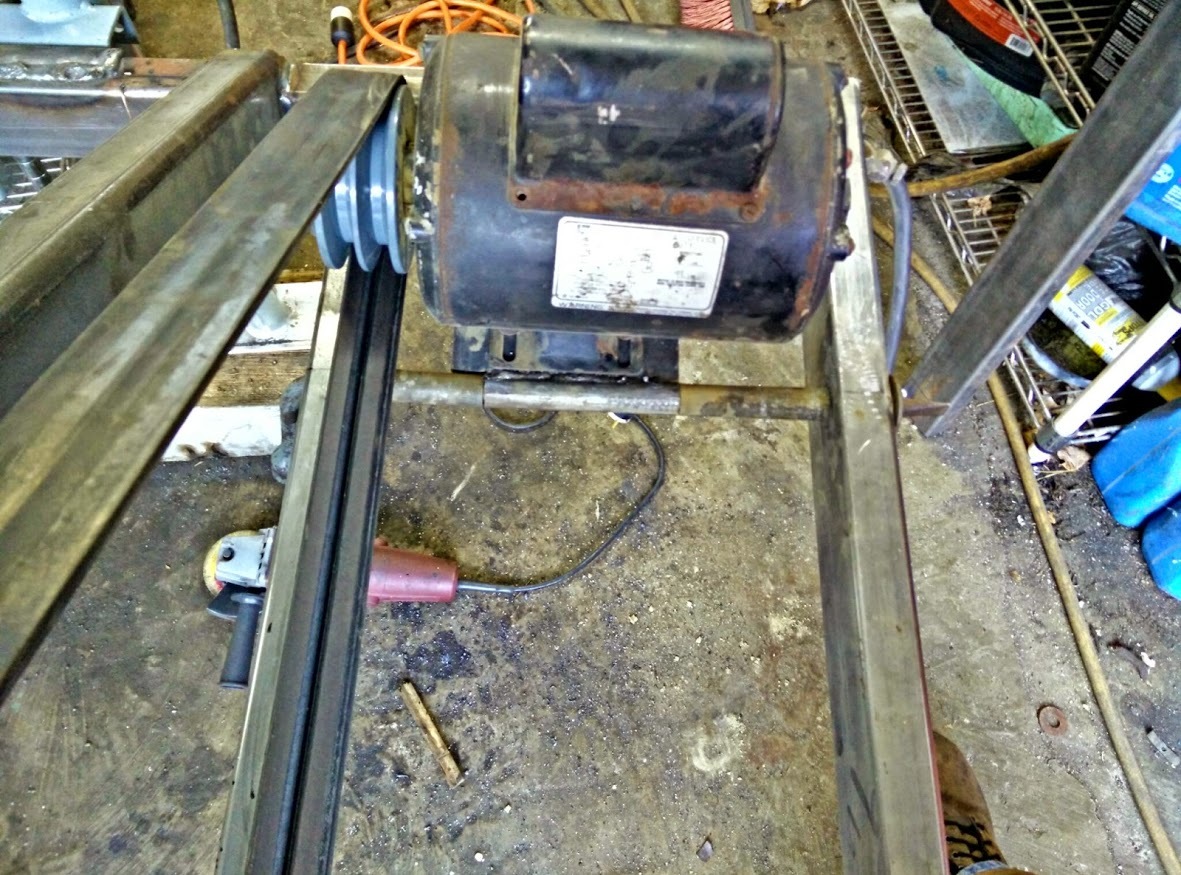
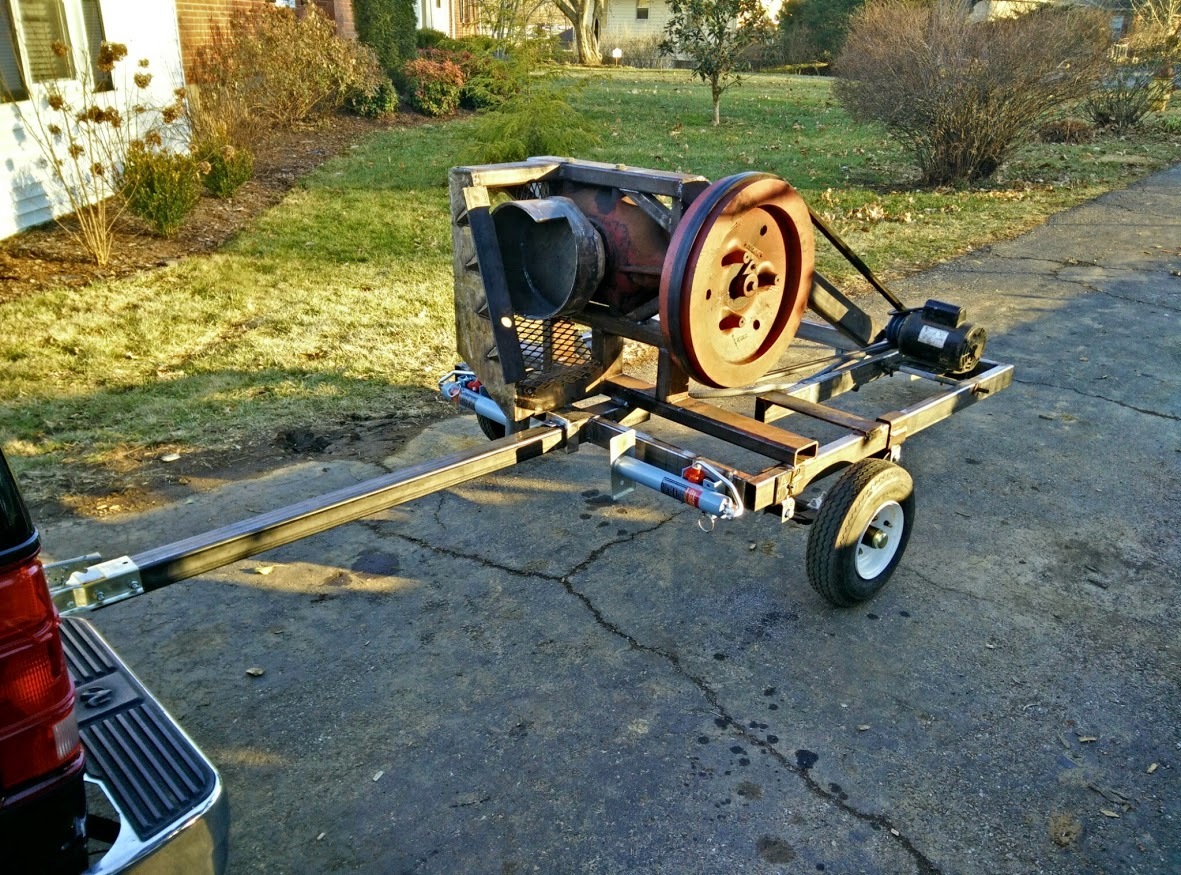
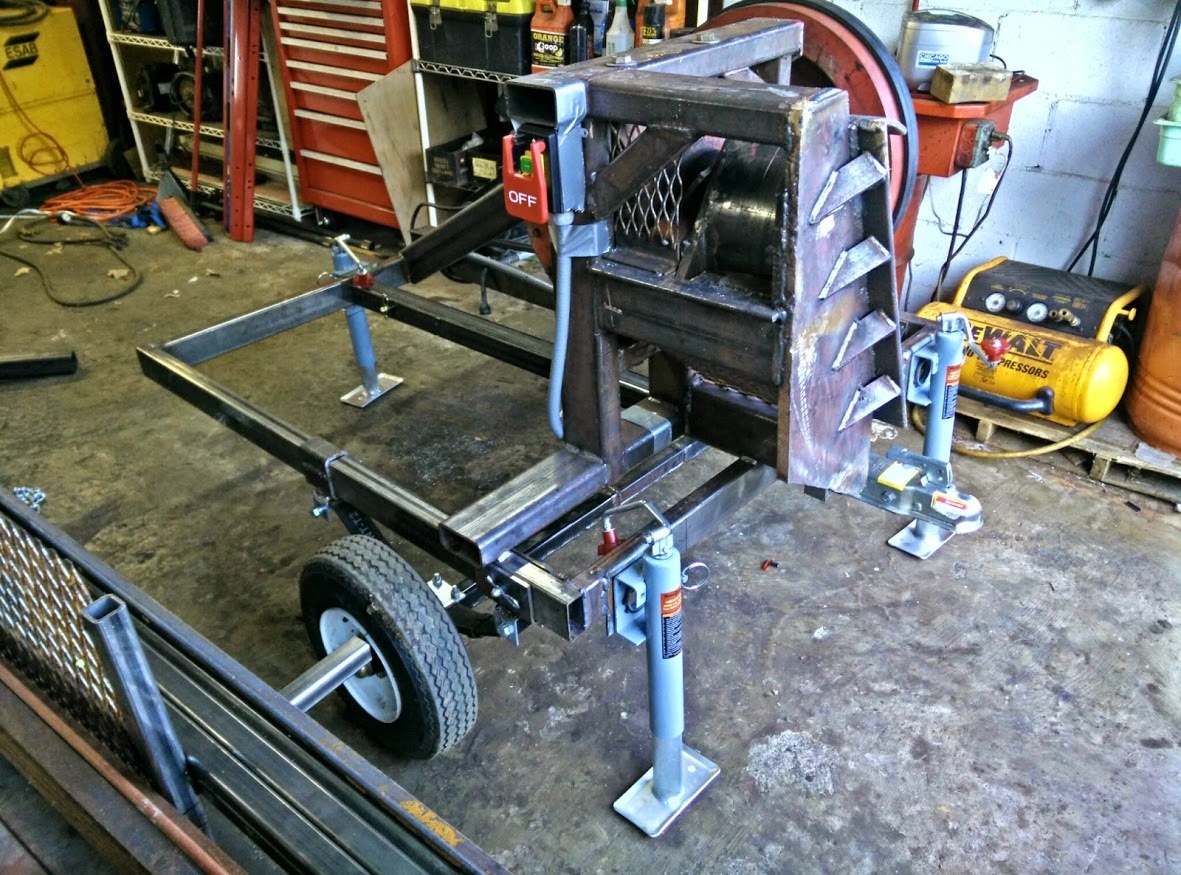
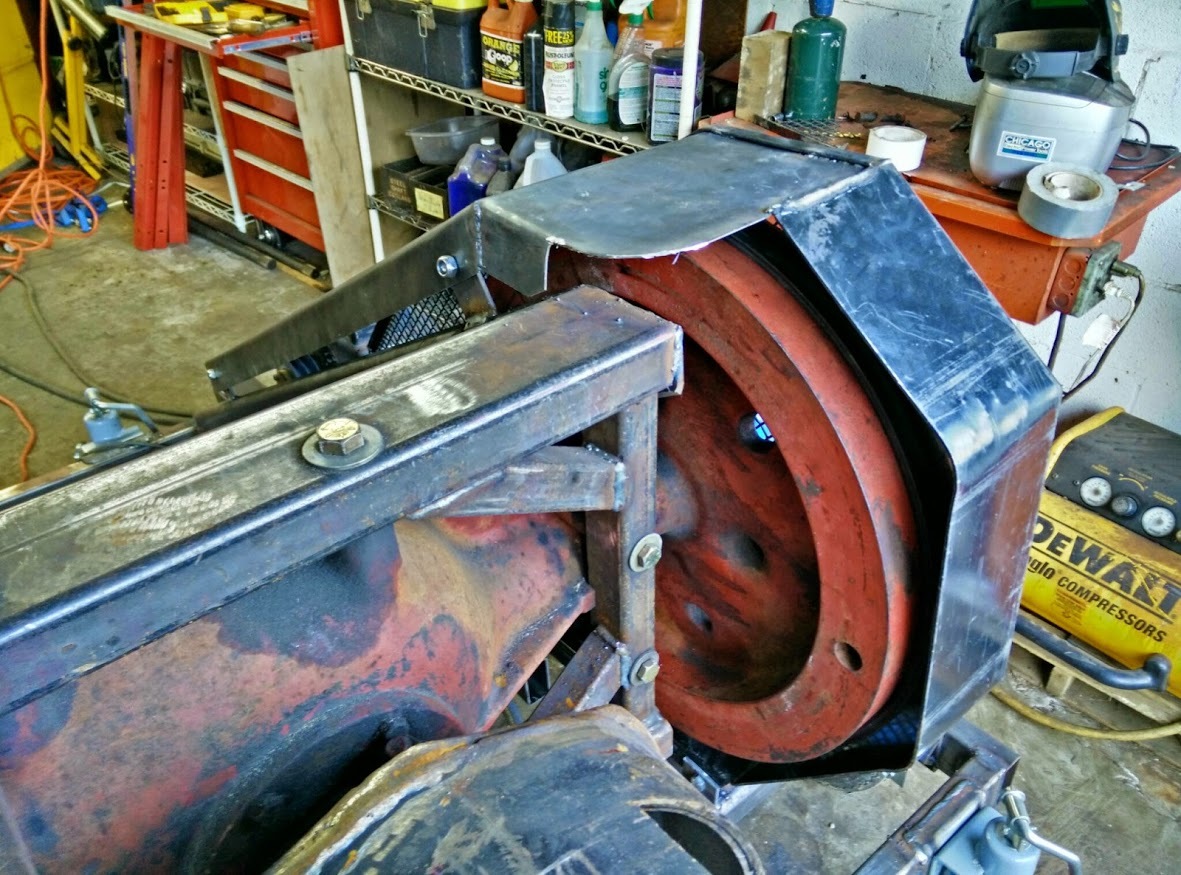
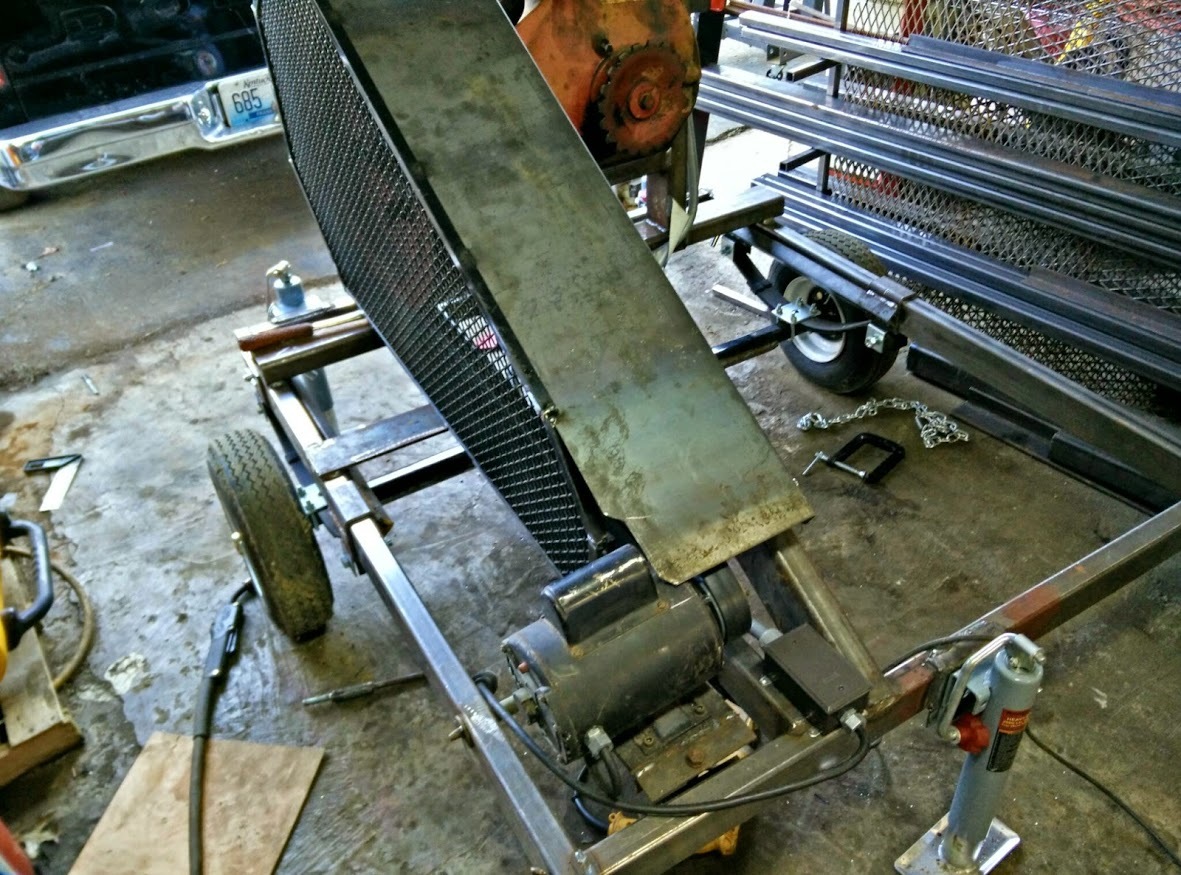
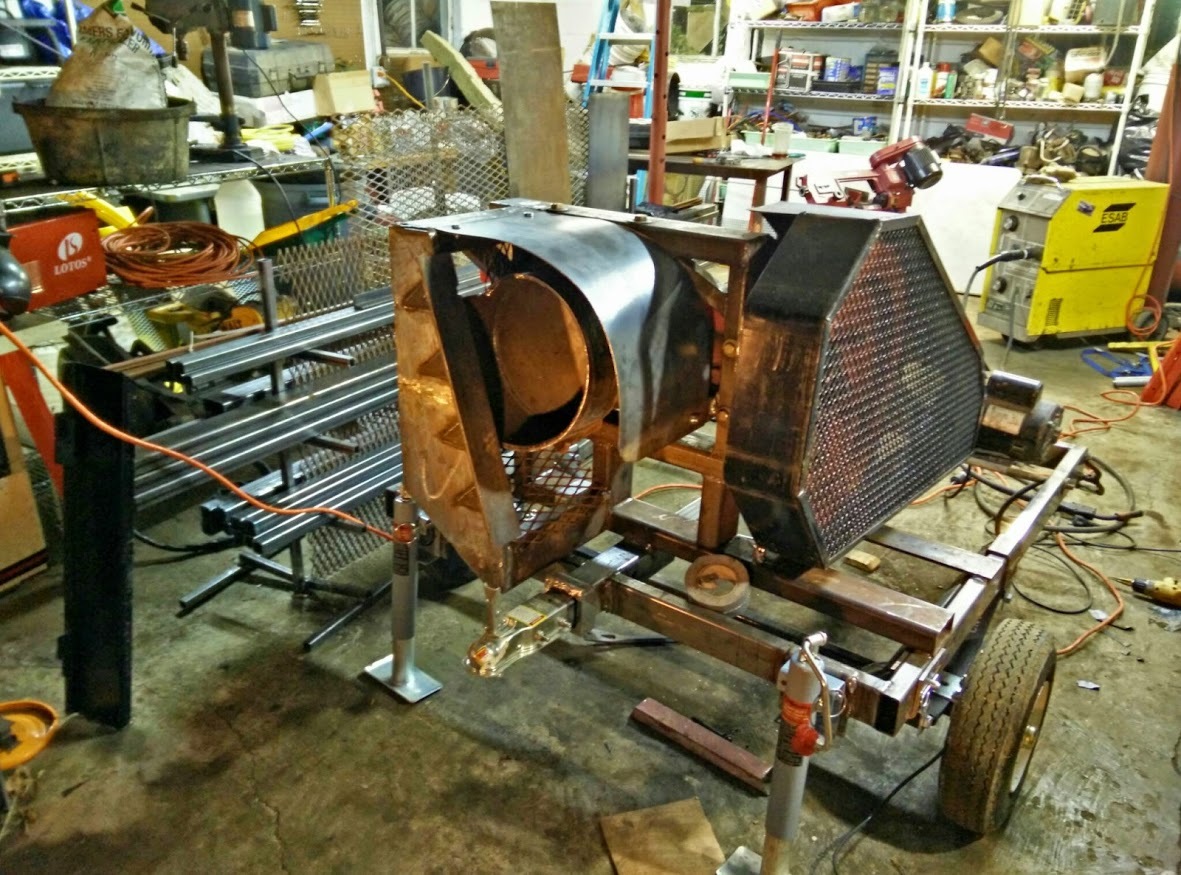
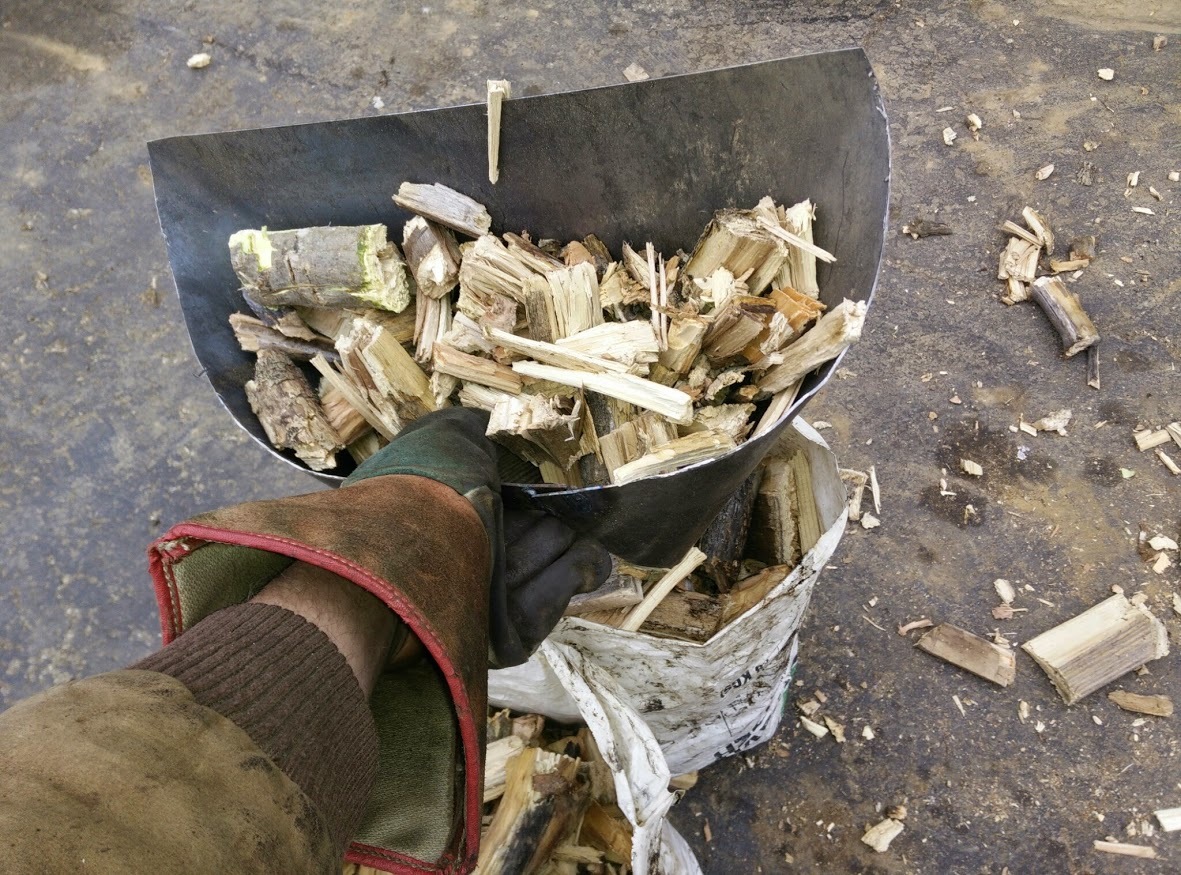
I’ve decided to build a portable wood chunker based on some previous designs. This is based on a baler gearbox powered by a 2hp 5hp electric motor. I began construction in October 2014 [finished May 2015.]

I have to start out by thanking the pioneers in building this style of chunker.

Wayne Keith of course, who came up with the axle chunker.
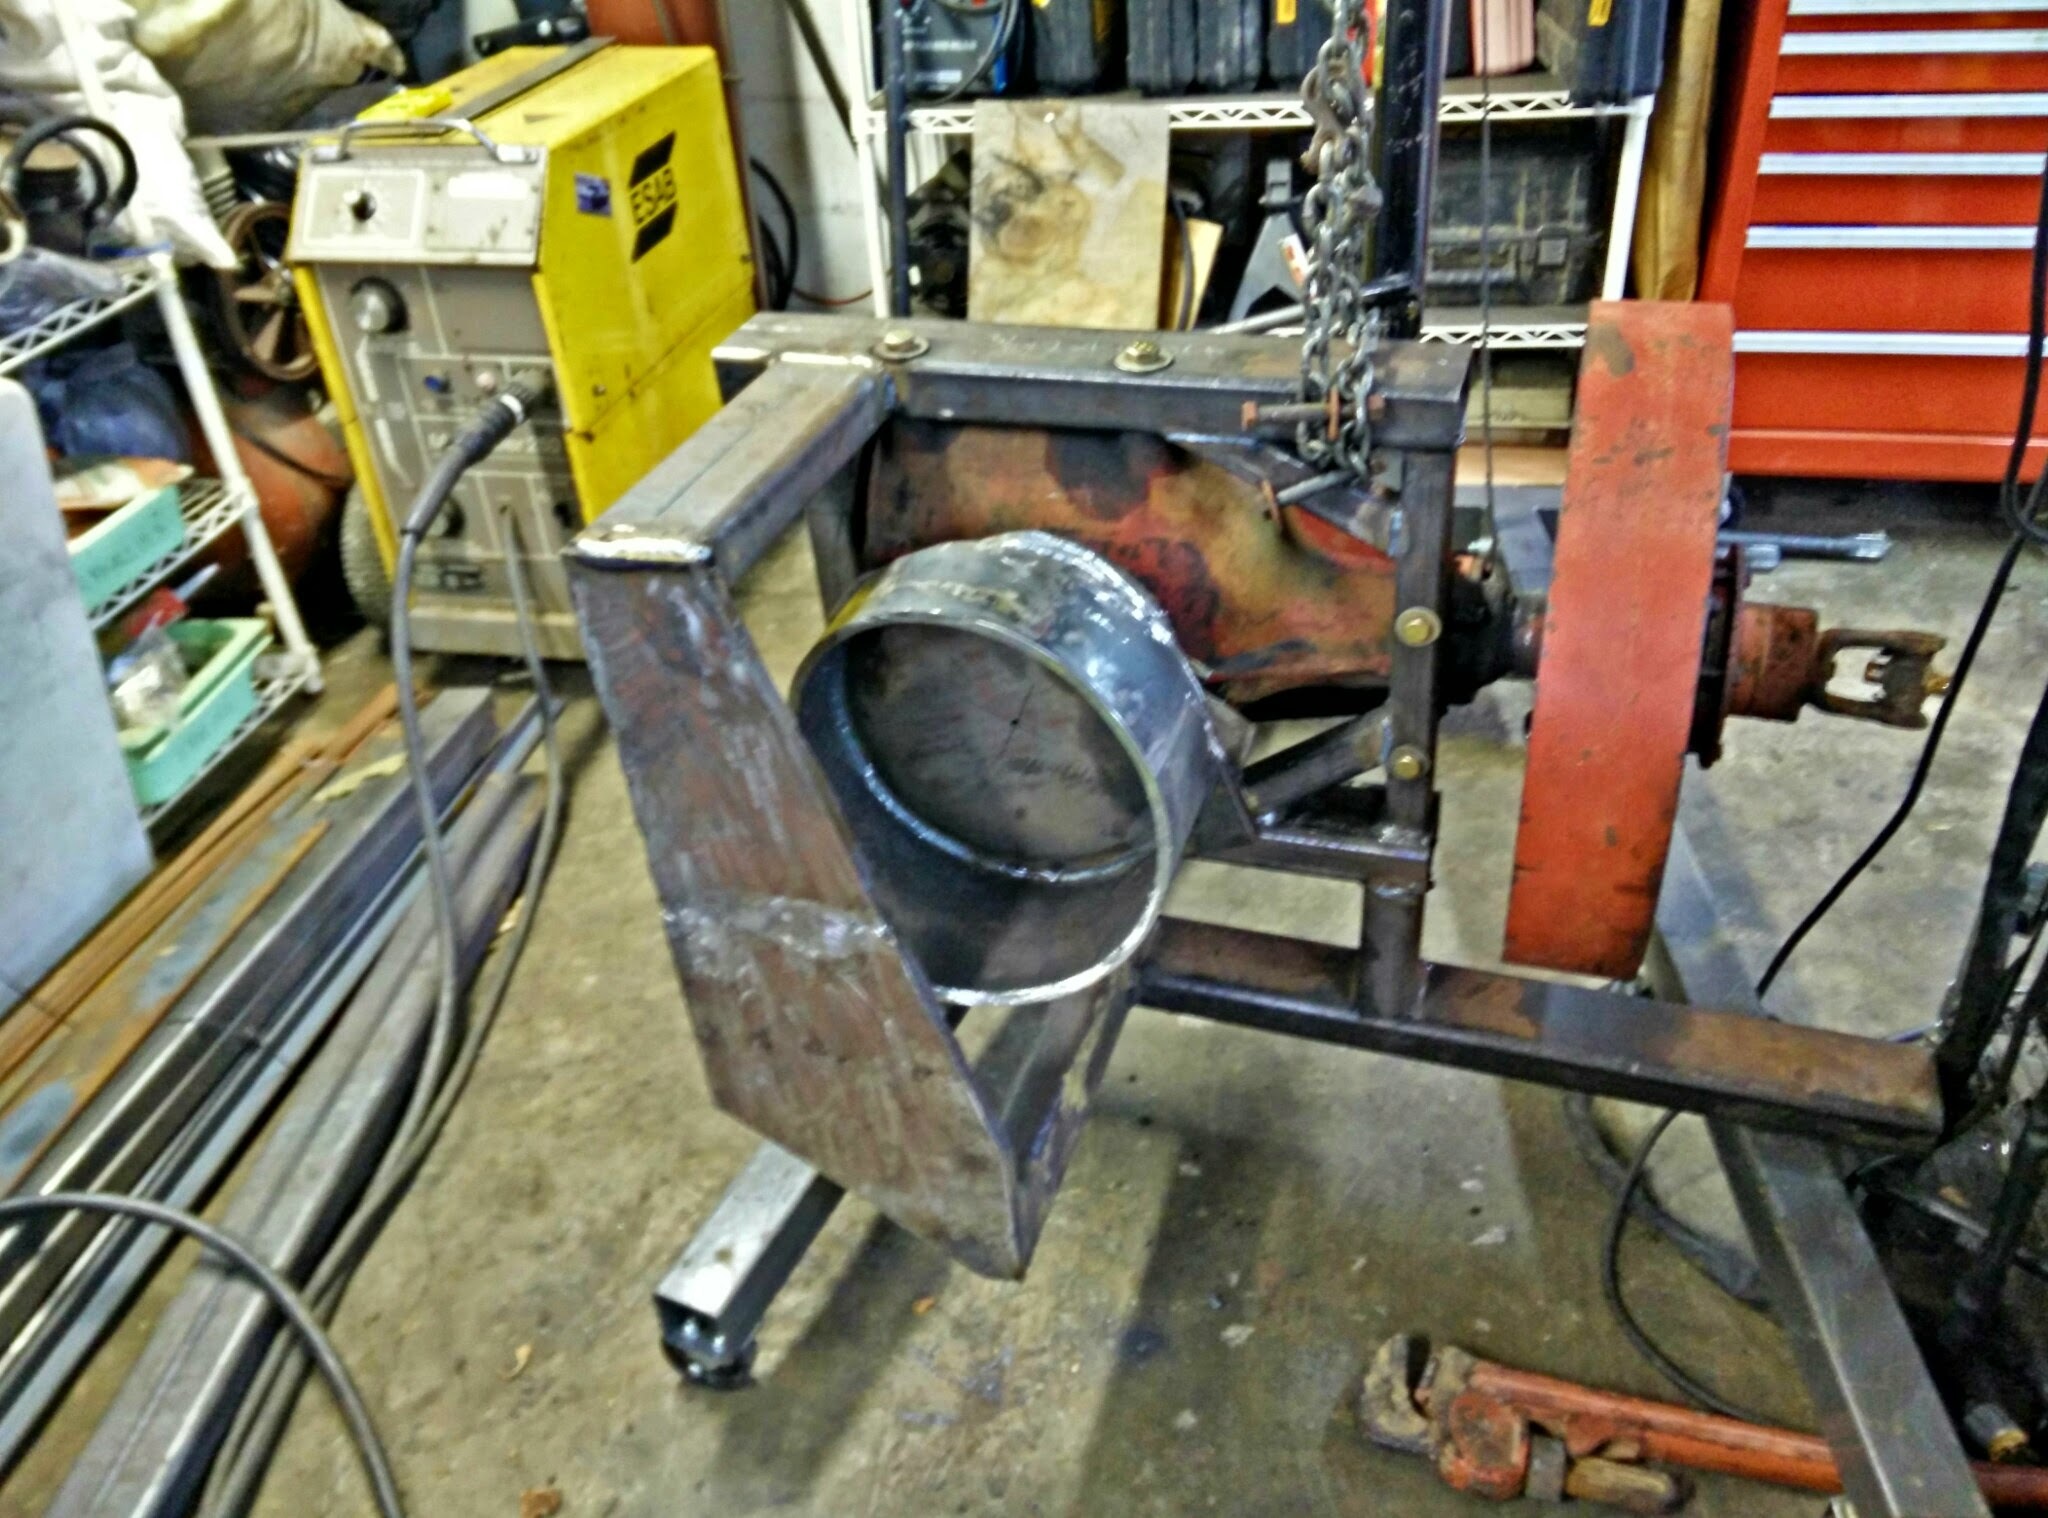
Doug Brethower built the first chunker based on a baler gearbox.
Dustin Moore built the first trailer mounted chunker and was the first to power it with an electric motor.
Terry L, Marvin W and several others gave me some excellent input on the initial design. Thanks guys!

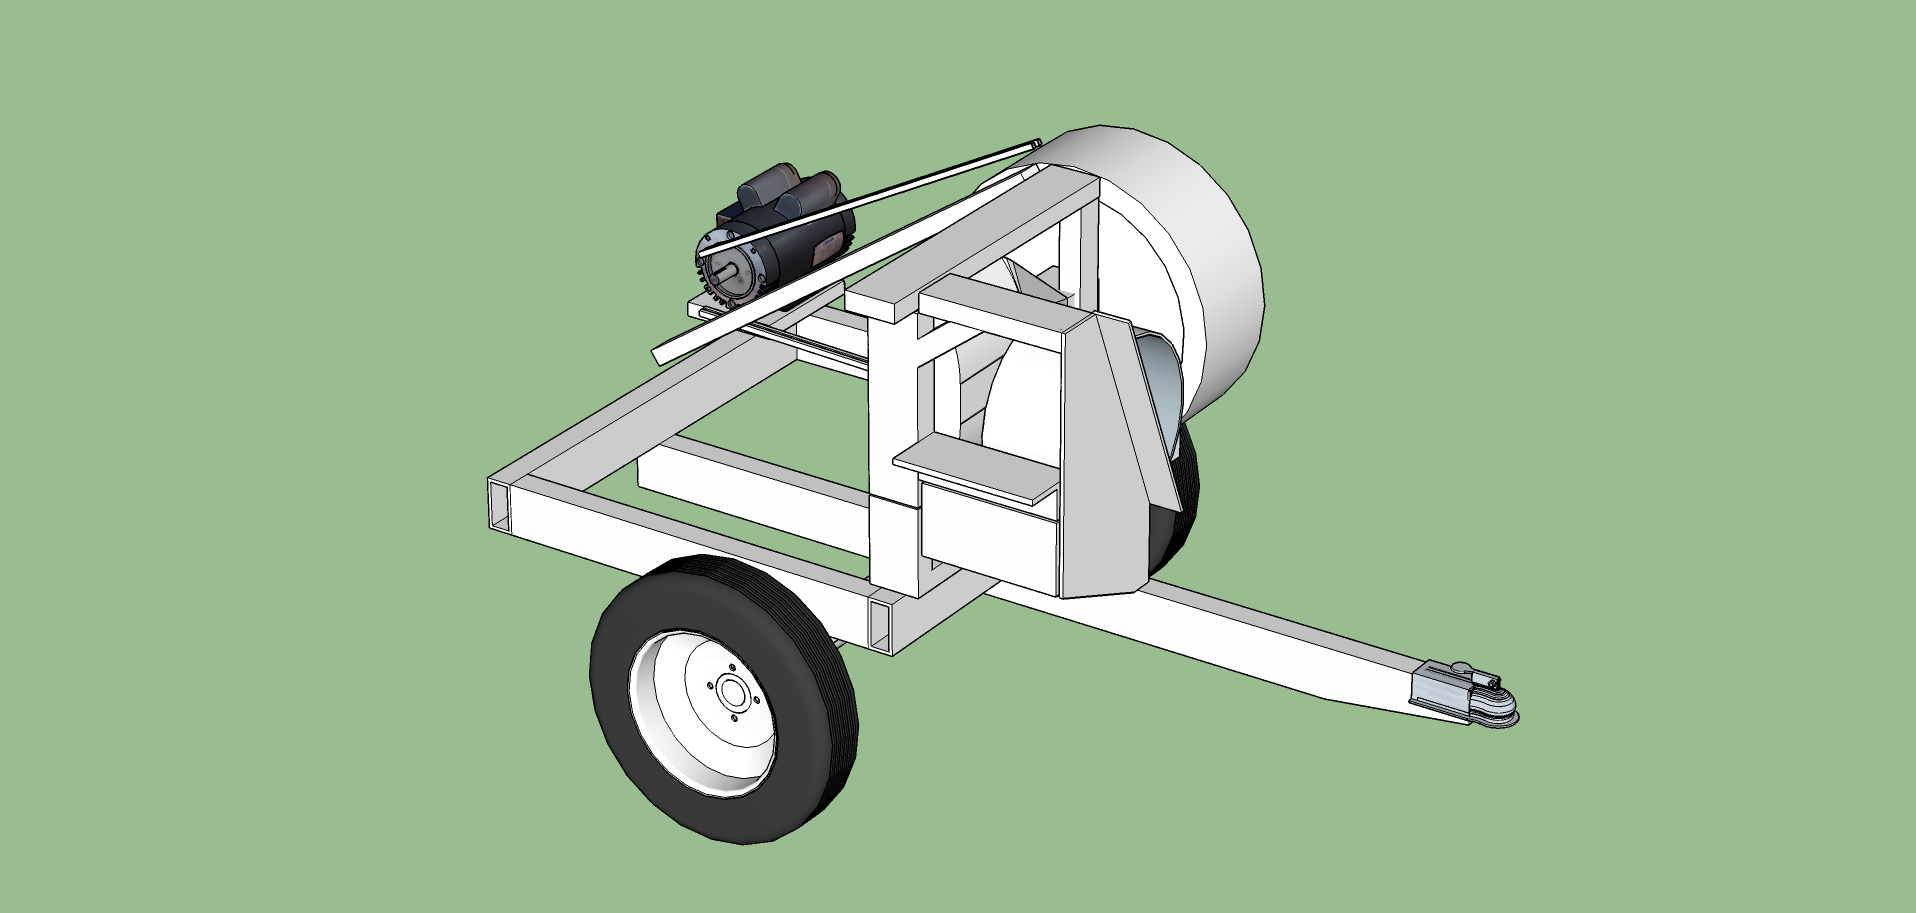
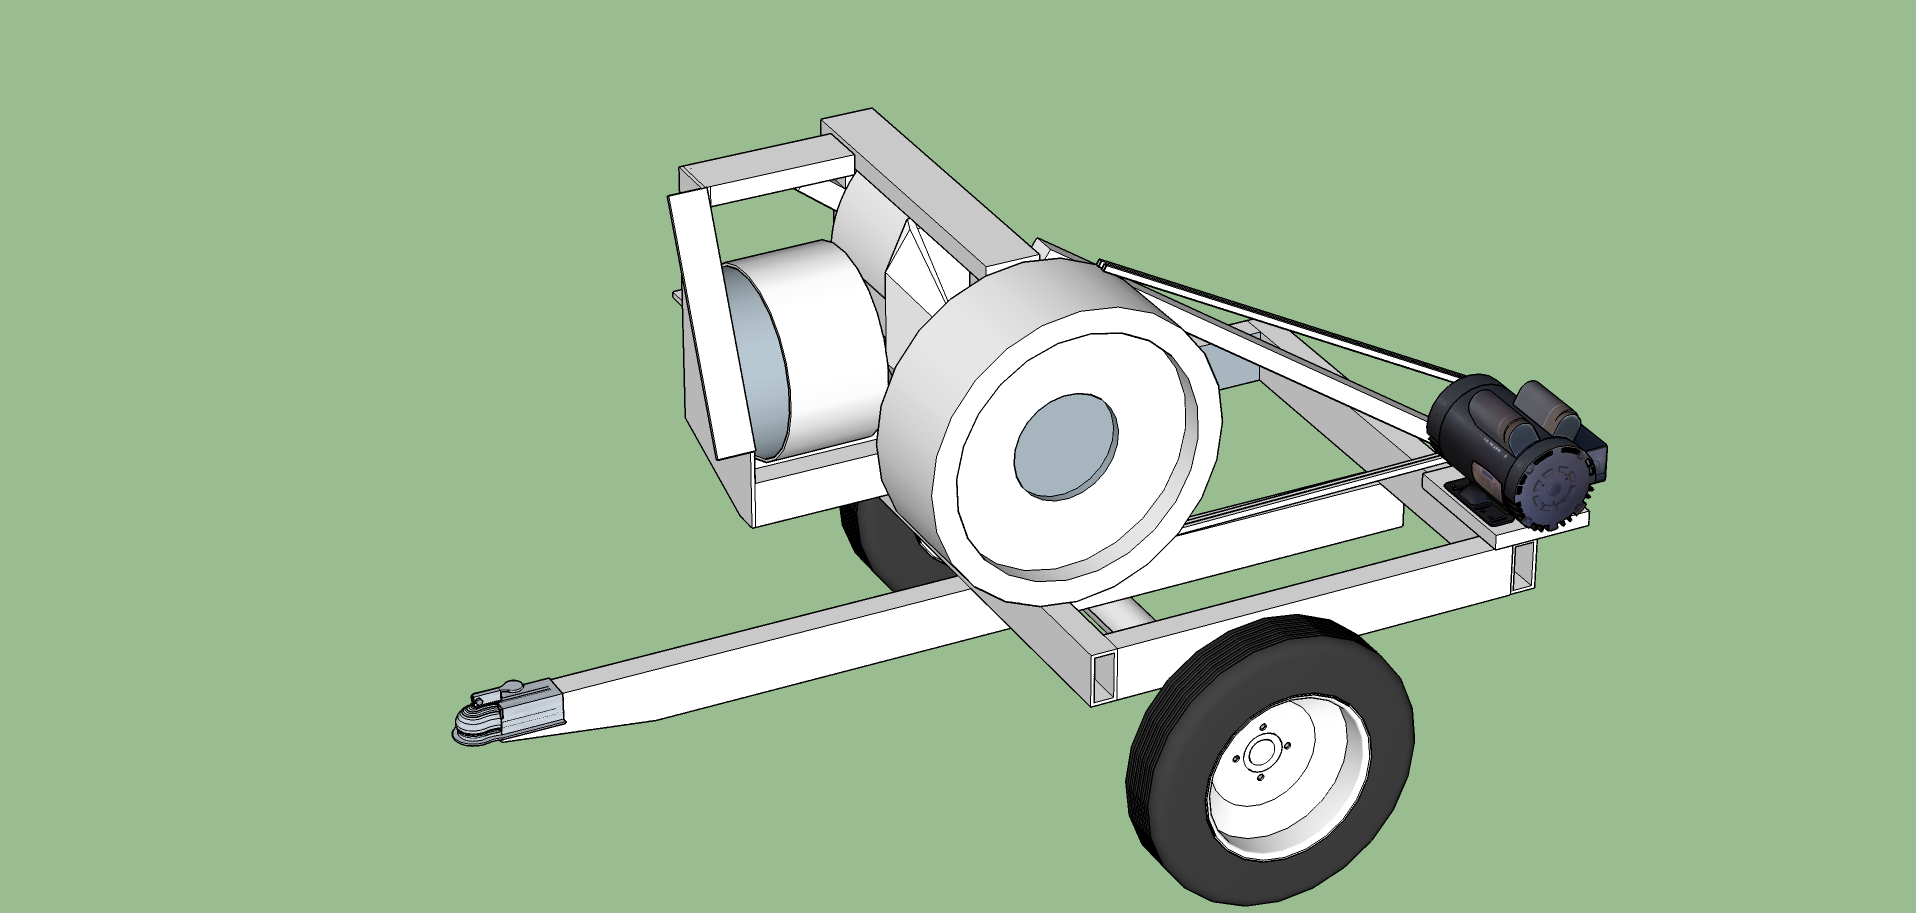
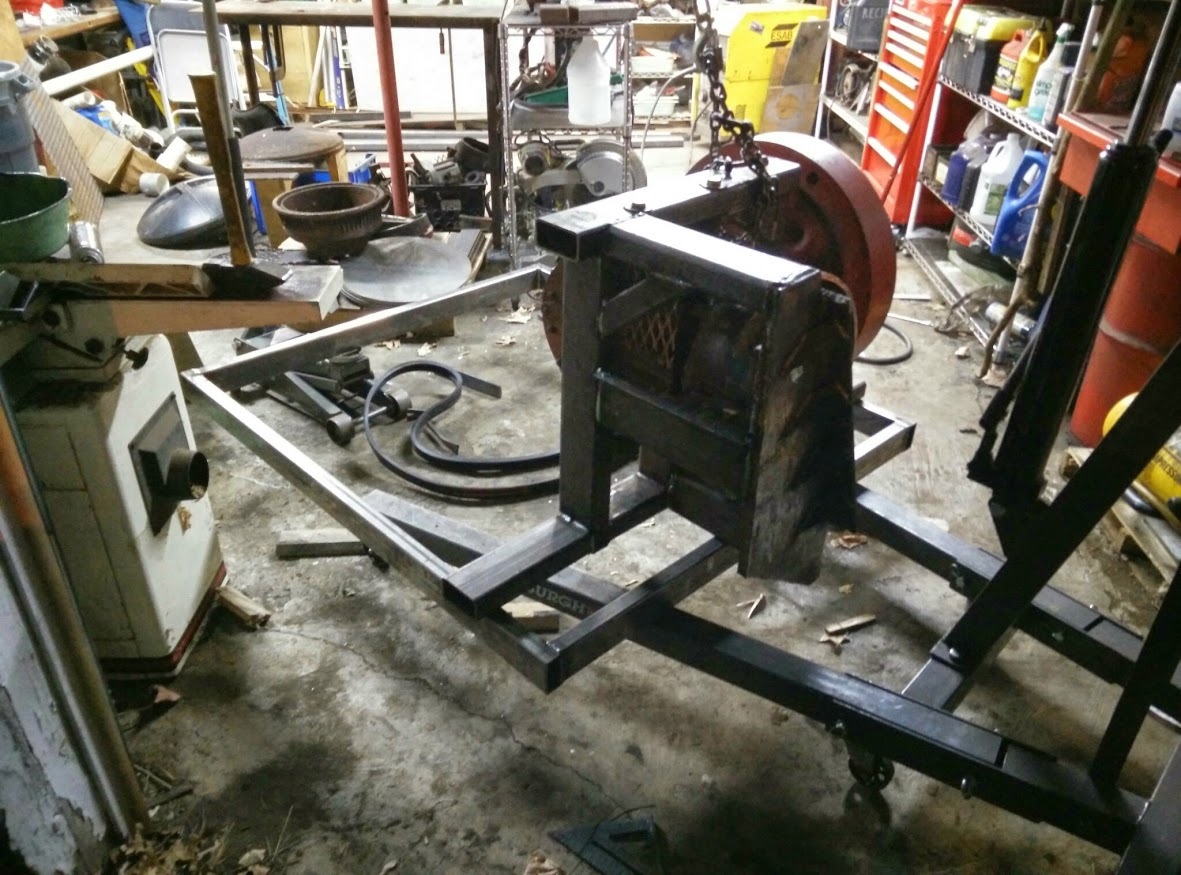
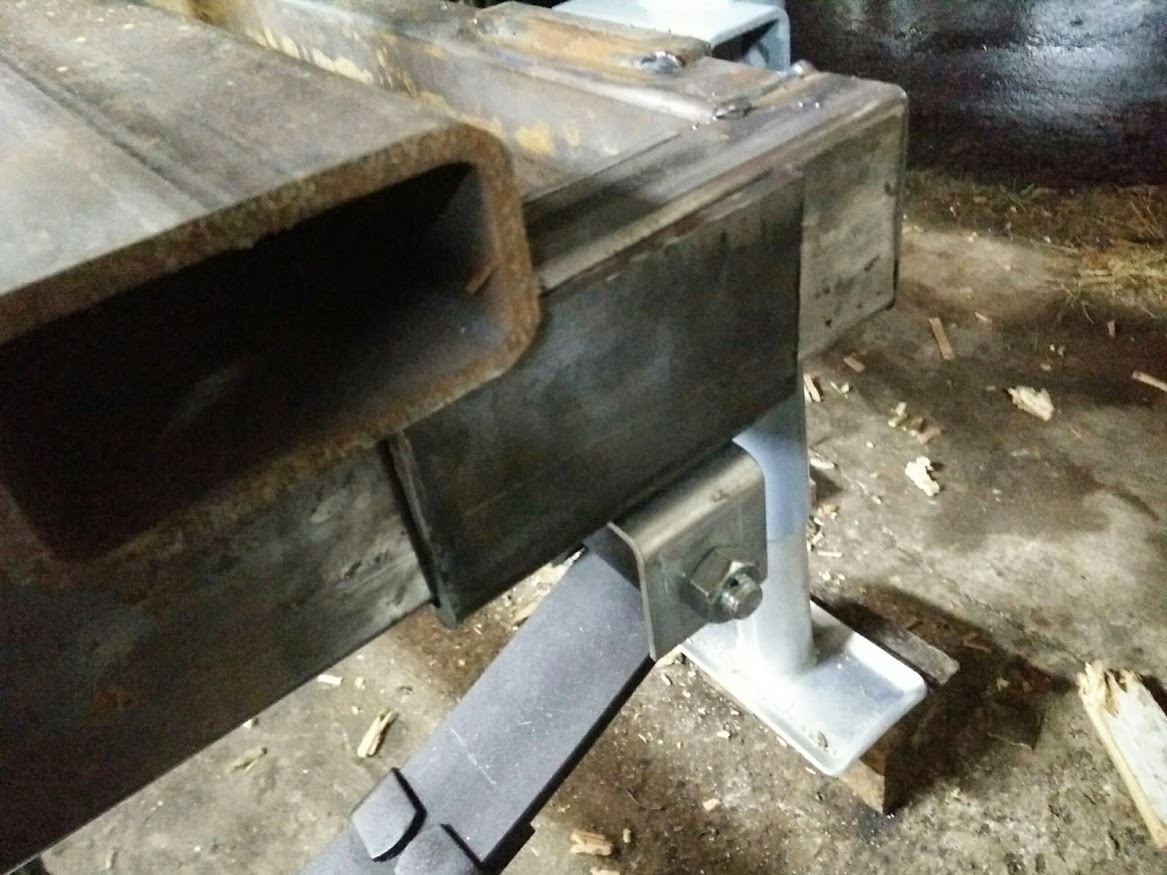
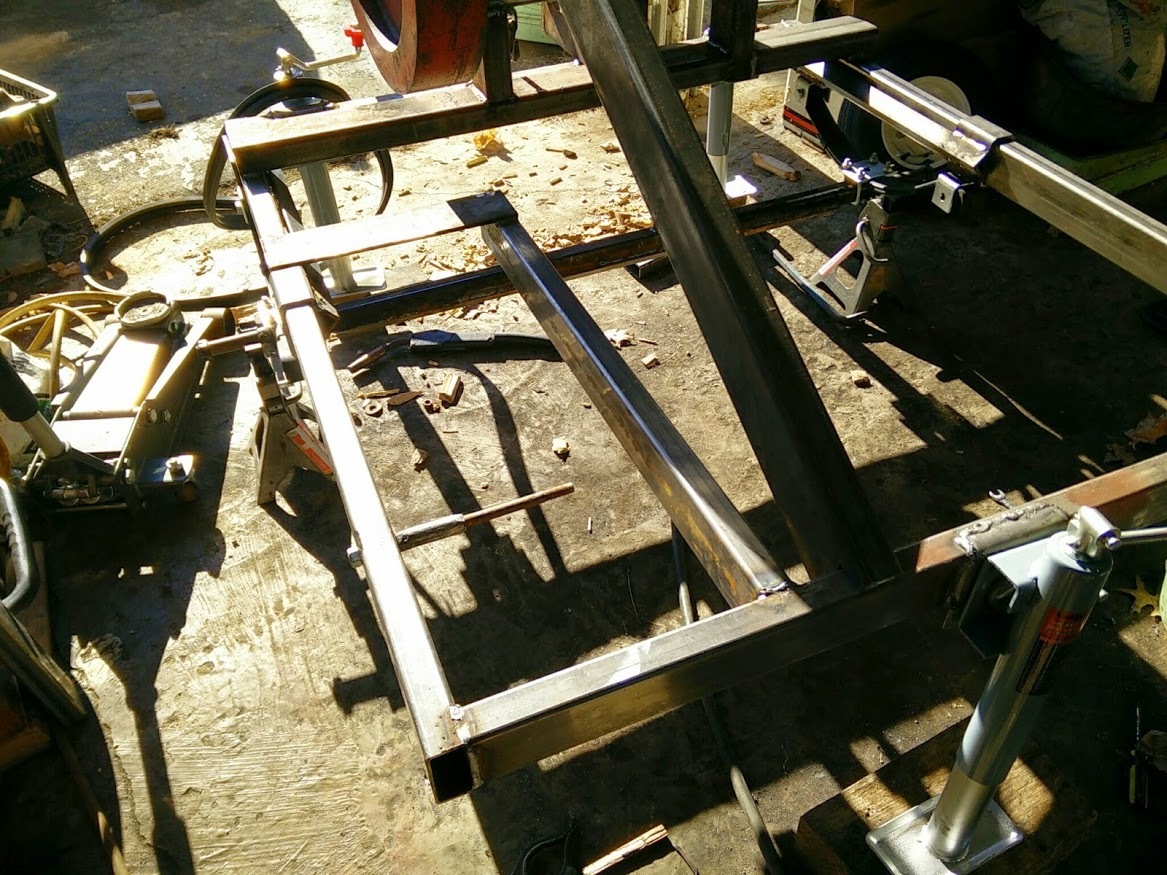
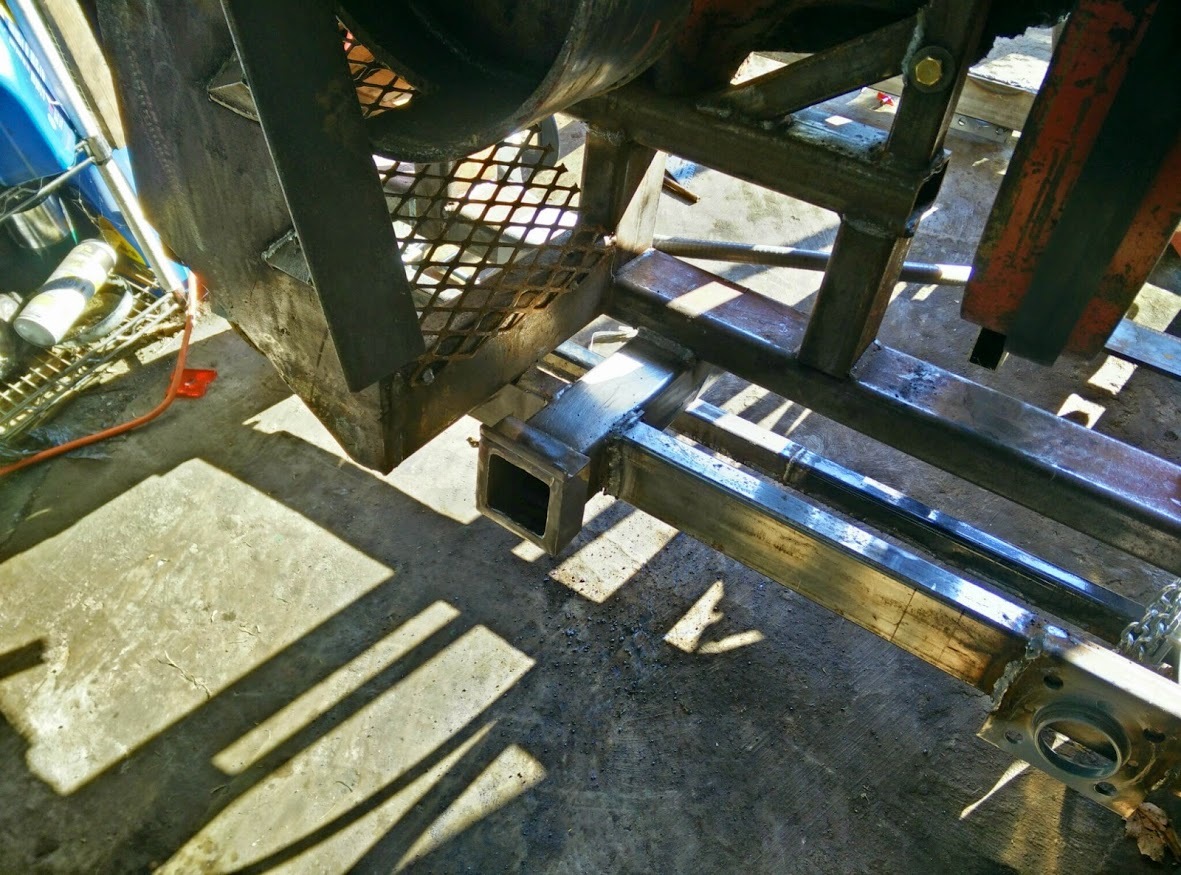
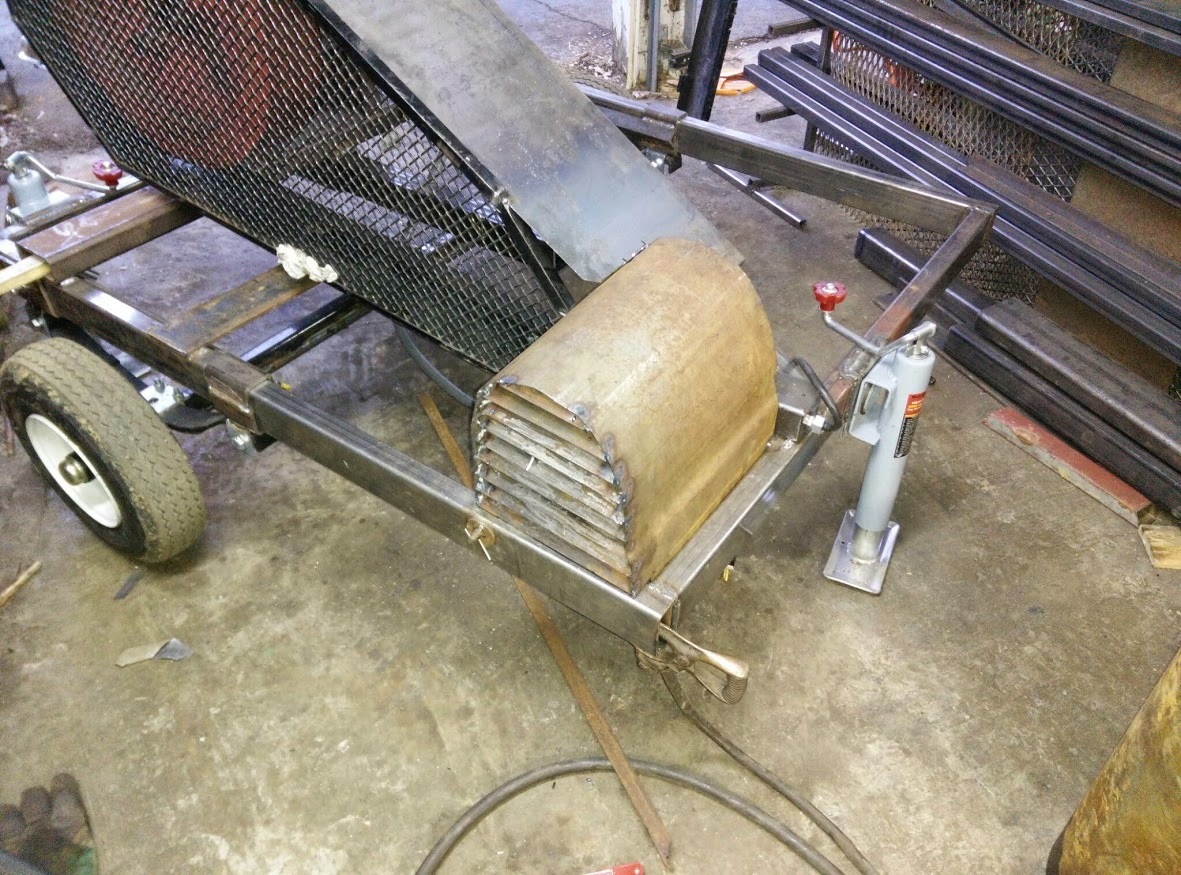
I designed this one with a couple goals in mind. The trailer is arranged to keep the weight centered and positioned to output chunks on the passenger side, while the chunk output is at the front, in case I want a conveyor at some point.

Here’s a sketchup image showing the initial design:

And a photo album with ALL the pictures:

https://plus.google.com/u/0/photos/+ChrisSaenz/albums/6076149757573818225

2 Likes

Starting with the heart of the chunker. It all has to be built to fit the gearbox, so I hung it from the hoist and started building around it.

1 Like

Welding up the gearbox frame. I should have continued to do this in place.

1 Like

Building out the frame some more.

I cut the arm down and cleaned it up for welding. I will weld a backing plate directly to this arm.

Plate welded on.

1 Like

Next I added the cutter wheel.

1 Like

Building the anvil. I welded this from three pieces of 3/4" plate. Multi pass welding!

Welding the anvil onto the main framework. First some support arms:

Then the anvil added:

1 Like

Gussets for the backing plate.

And the ugly side…

1 Like

Looking really good Chris!

2 Likes

Thanks Don! It’s a work in progress.

1 Like

A number 1 Joe!

1 Like

Hey ChrisKY
Nice picture set.
Good citing on this designs inspirations and implementations.
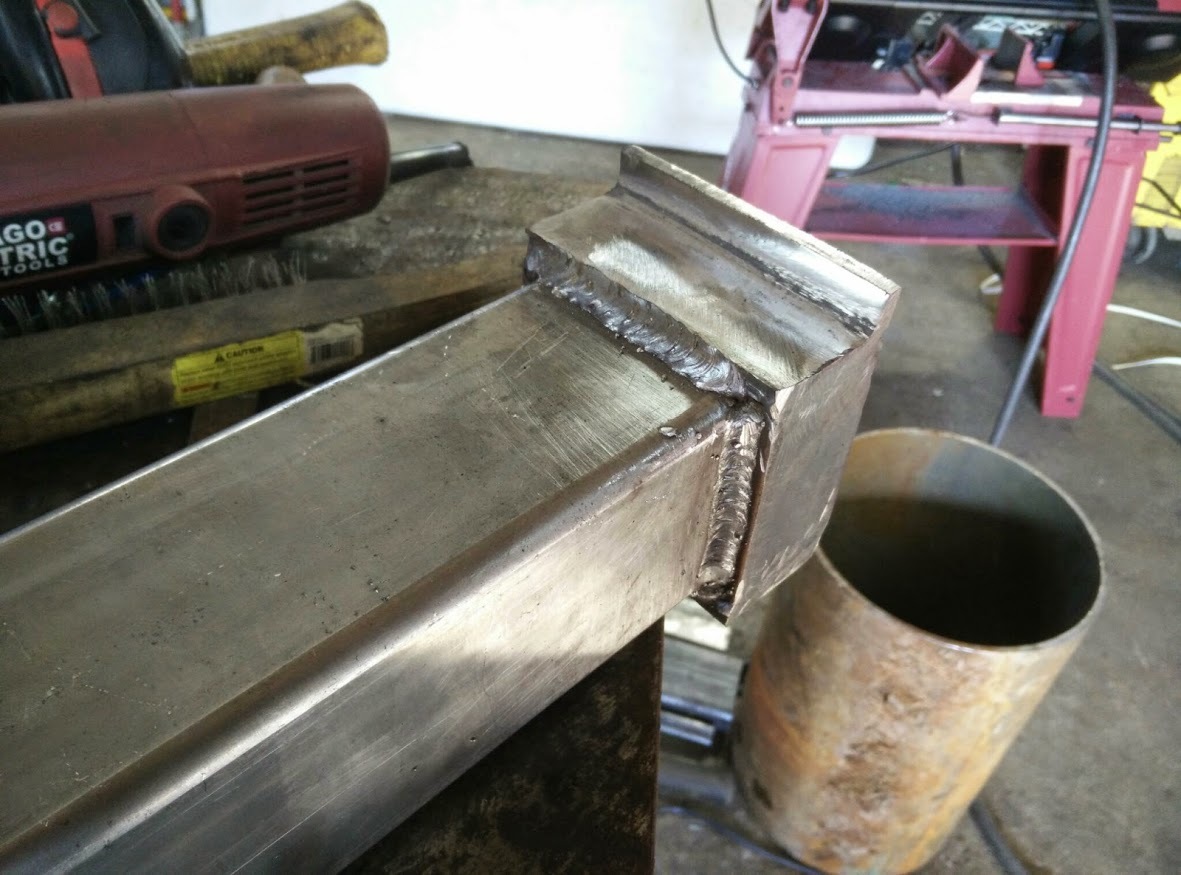
Your welds are new trending to PeterC grade. (New metals helps much, eh.)
Best Regards
Steve Unruh (yes I read 'the do not sign posts" in the guide - well just call me an old goat set in my ways willing to be Net tracked for what I say - keeps me honest!)

5 Likes

Added some bracing to the anvil. These triangle gussets are just angle iron cut on compound angles.

Added a workrest and cut the notch for the splitter head:

Added a workrest surface, guard, and wear plate:

And made the groove that the cutter rides in:

1 Like

Laying out the motor, so I can measure for the trailer frame:

Welded up the frame:

And set one on the other:

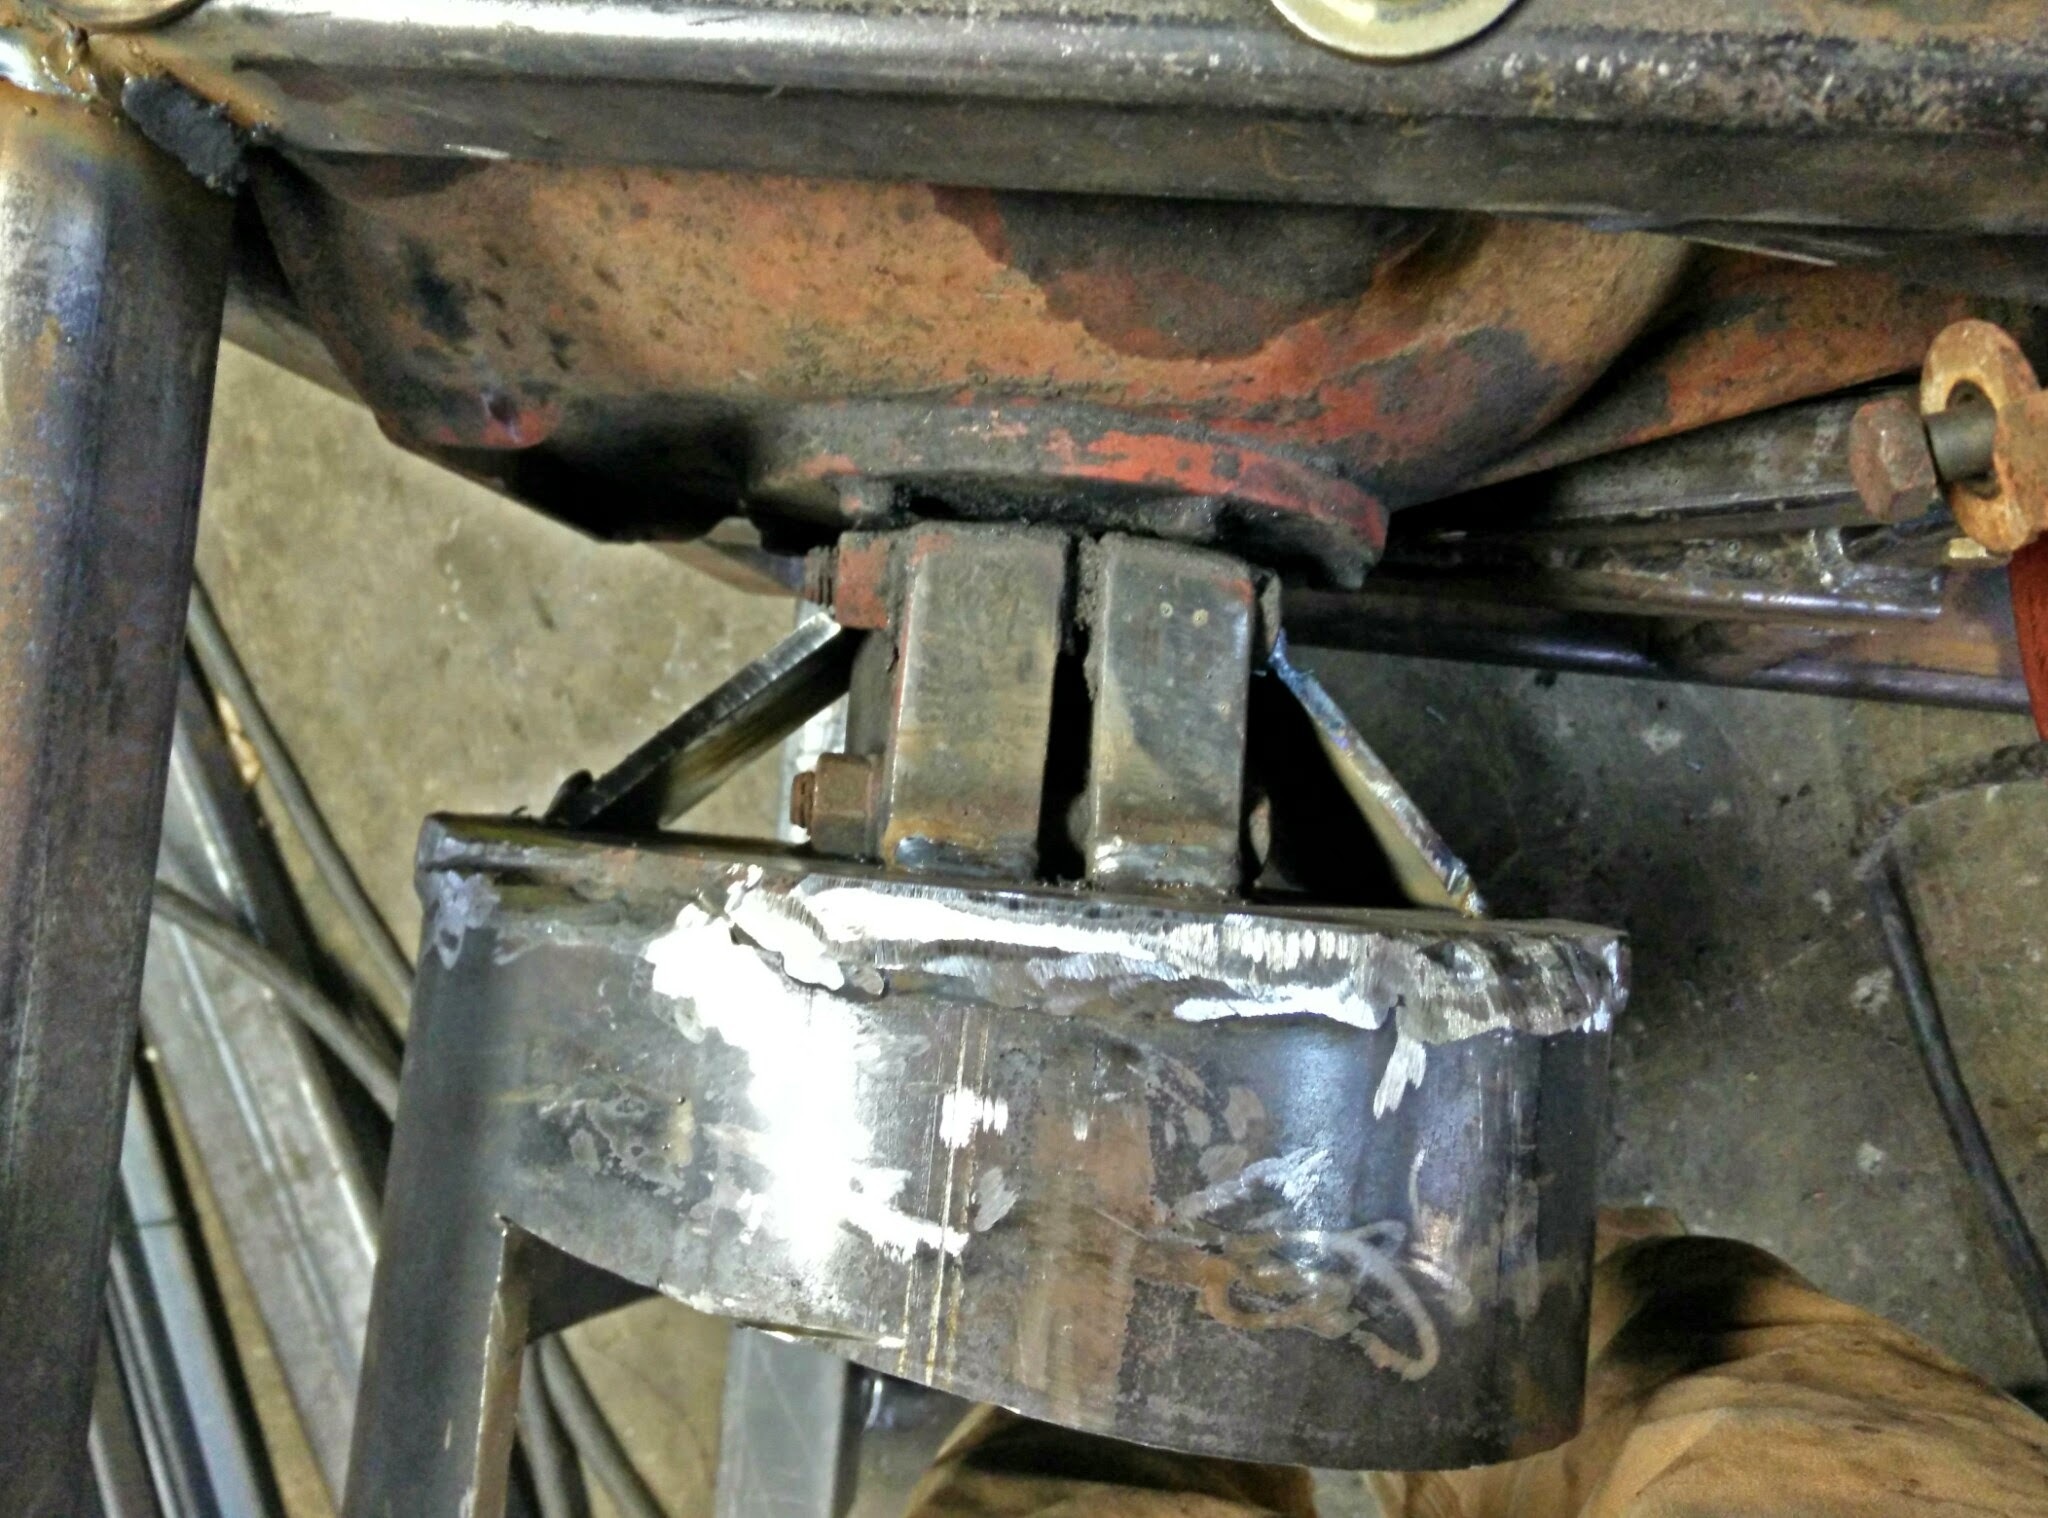
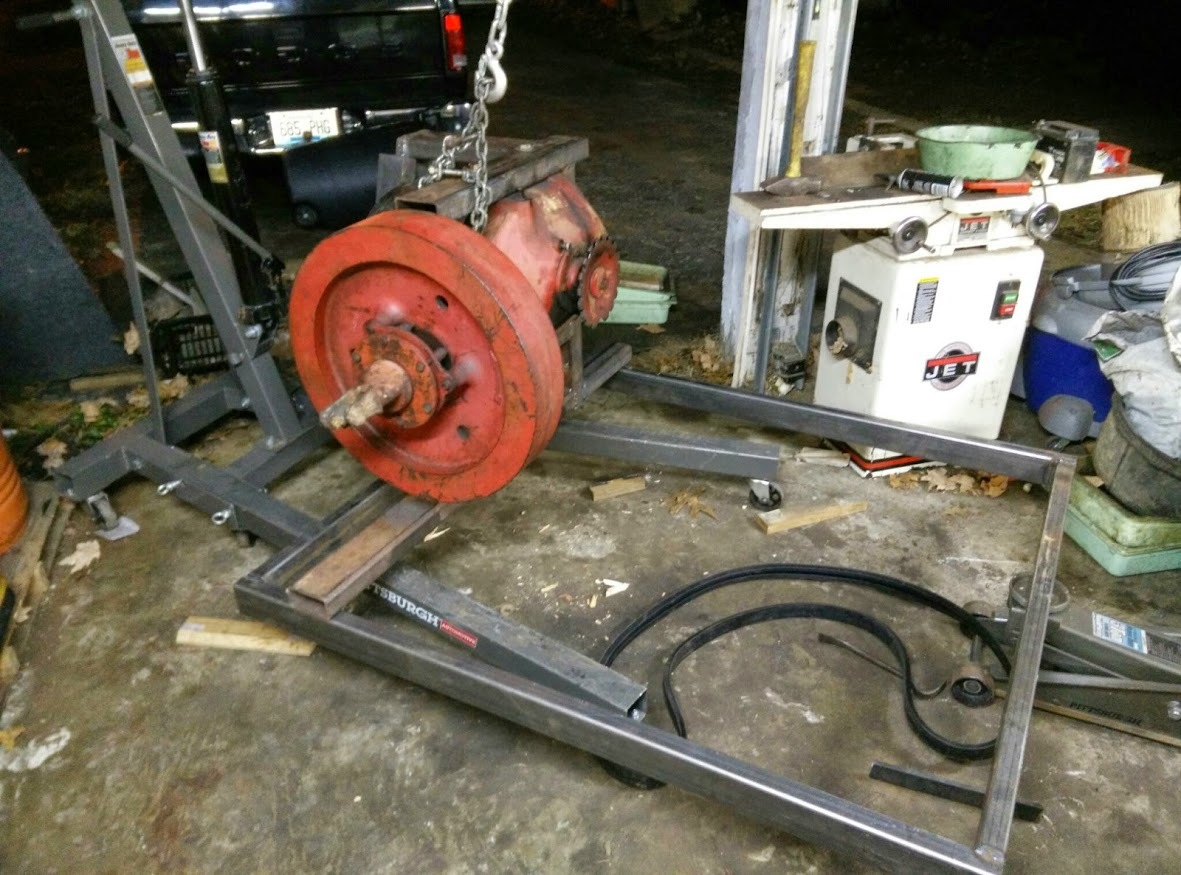
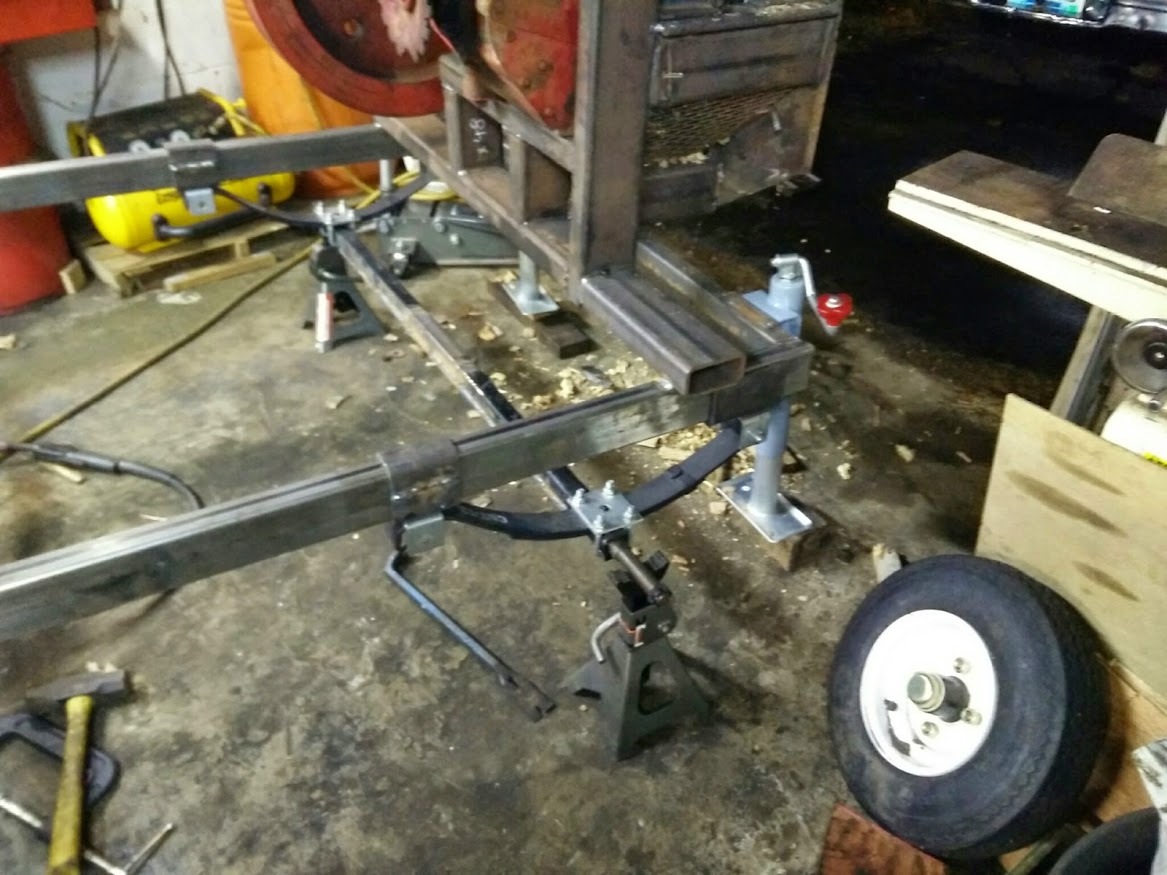
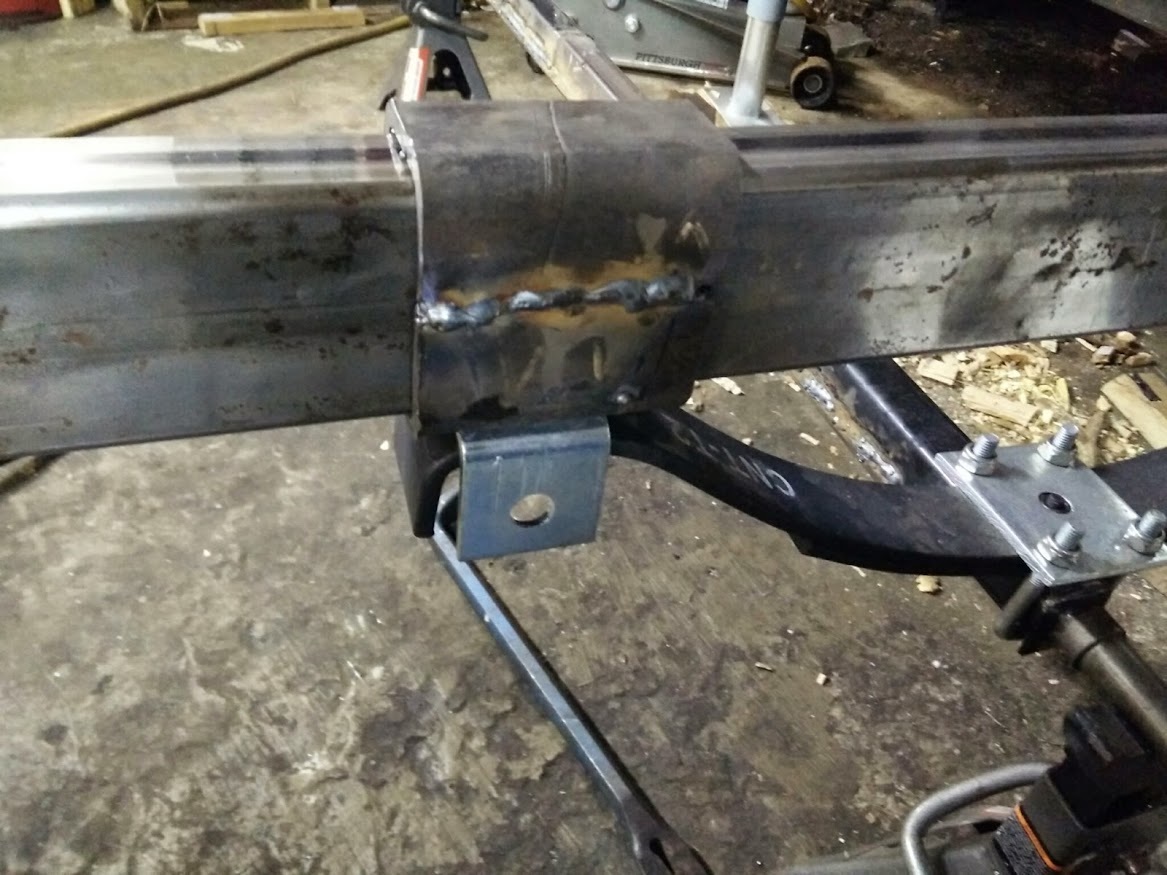
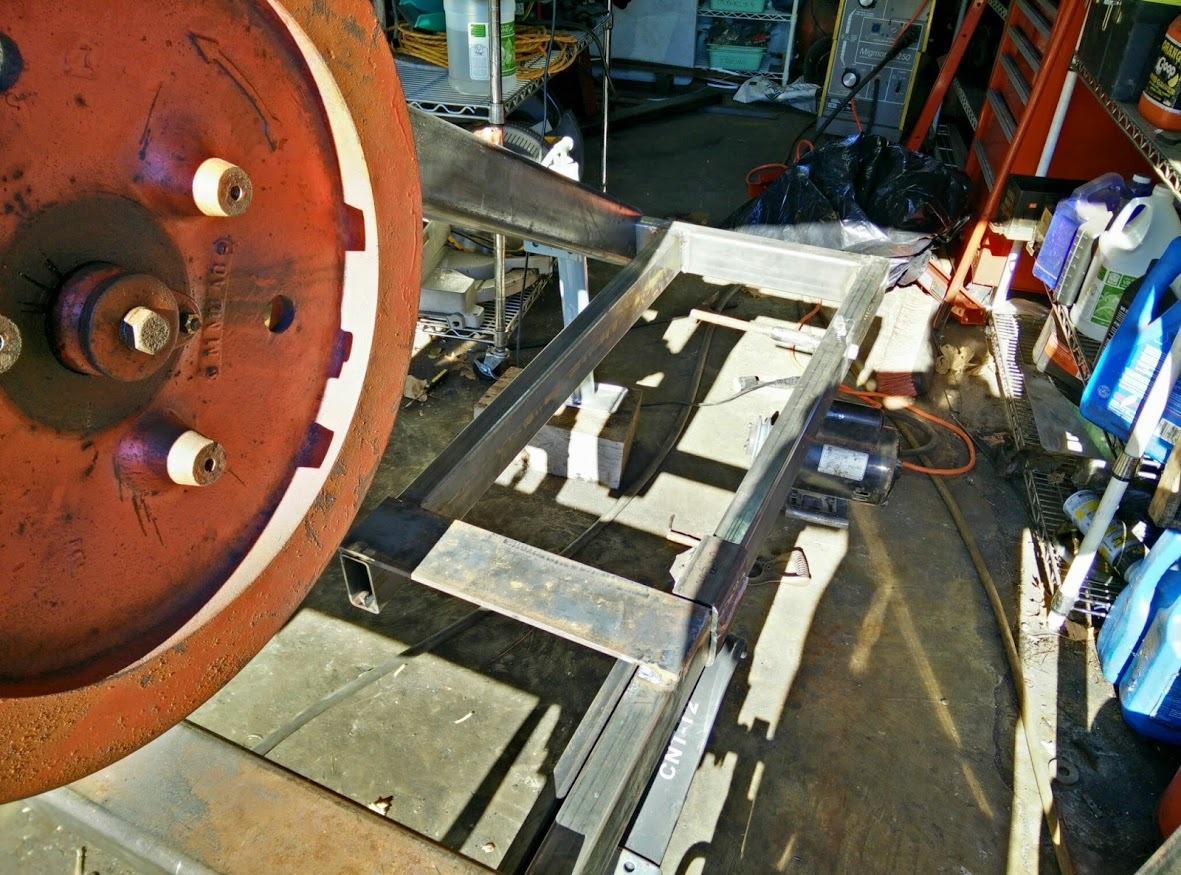
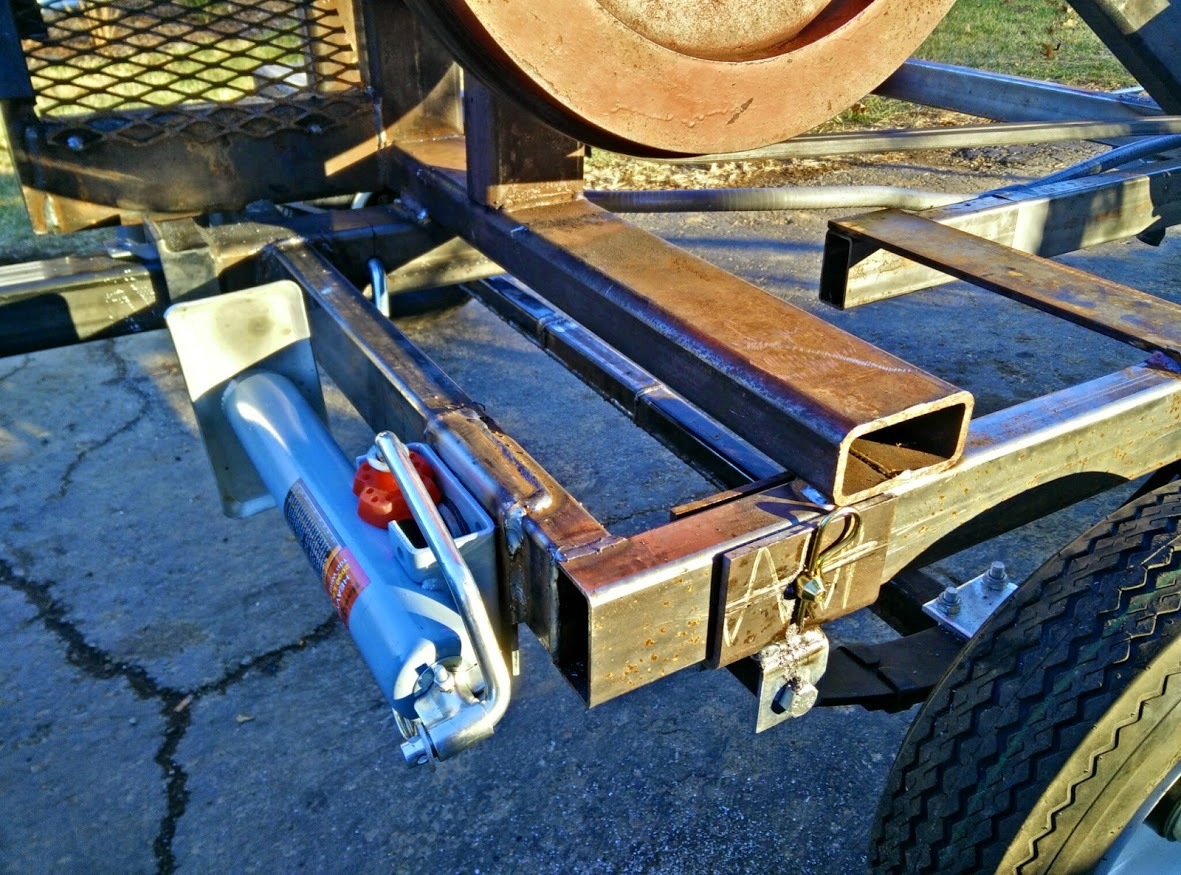
Axle mock-up on frame. About 50 lbs on rear of frame gives balance. I need to be able to move the axle back some to increase tongue weight and allow for more rear load before tipping backwards.

So @MarvinW suggested that I make a sliding axle, which looks like this:

2 Likes

Finally getting to test it out! The motor mount is temporary. Note the three trailer jacks for stabilization.

Mounted the motor on 1/2" plate. Hinge is offset for adjustable tensioning.

Adding the real motor mount, and a brace:

And the final motor mount:

Now for the removable tongue. This is the receiver, 3" square tubing:

And the tongue installed:

Axle and tongue both slide, and both have hitch pins to keep them in place.

Tongue retracted is nice and out of the way:

1 Like

Time to address safety. This machine needs a belt guard and a blade guard. This piece was adapted from what I picked up at the steel yard:

And the blade guard is a simple curved sheet metal cover:

A motor guard will keep rain out:

Great build Chris !! Thanks for the pictures

Time for some test chunking!

A funnel scoop I made: