On the bottom rail of the chunker frame, you added a piece to make it longer. Do you remember how long that piece was? I only tacked on the bottom rail in case I need to move it. I believe mine is at 12 or 13". Is enough working room from the side of the trailer?
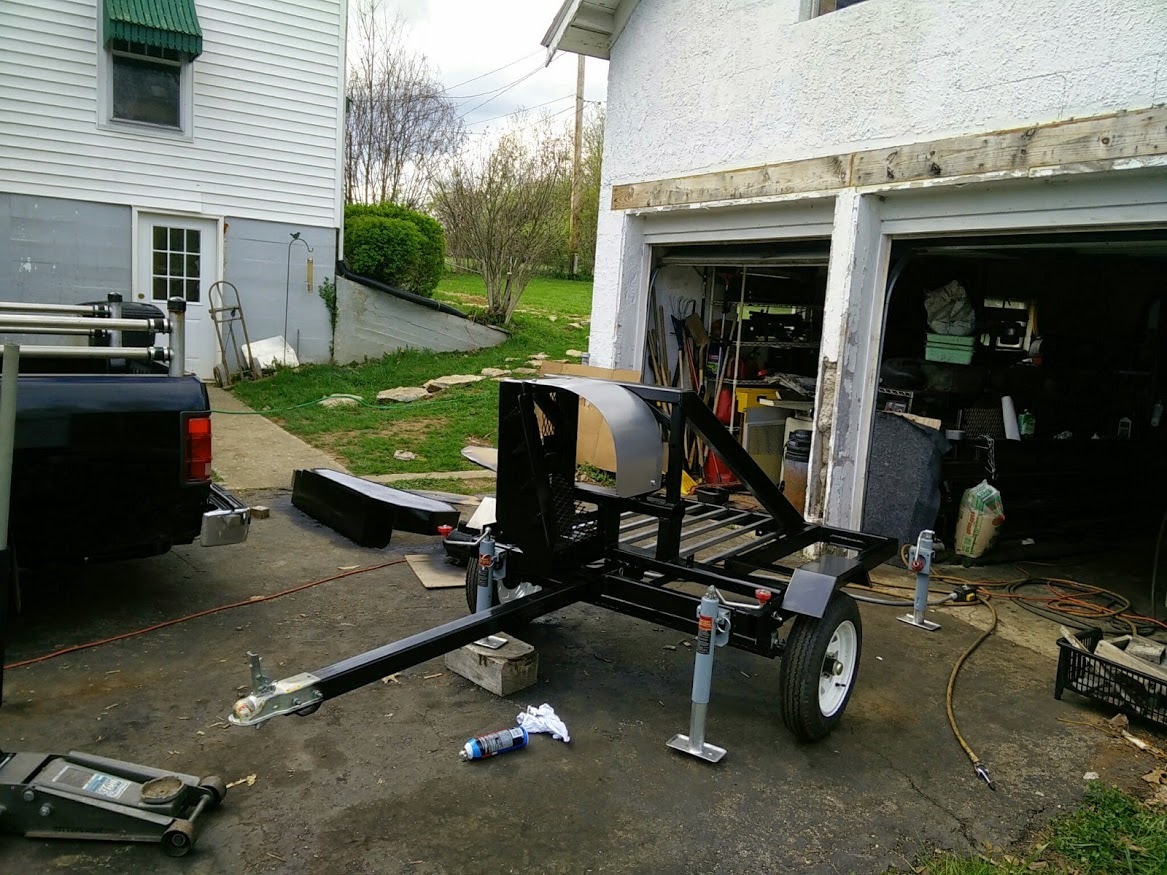
@BillSchiller The drivers side stickout is 17.5, the passenger side (which I added) is 11.5. I was going for an overall length of 50 inches. Note that I made a measuring mistake on the trailer frame and only wound up with 49" width - doesn’t really matter but that’s why you see an inch sticking out on the pass. side. So it should have only been 10.5".
The way to balance it is with a hoist, lifting from the center of your rail. Yours won’t balance exactly there yet, since you haven’t added the anvil weight. I think yours is so close to mine, just copy my measurements pretty close and you’ll be fine. It’s not an exact science.
There’s plenty of working room around the work area, you’re near the tire but it can’t be helped. You need the frame to come forwards like that so the spring has somewhere to mount to. You won’t end up standing that close anyway.
1 Like
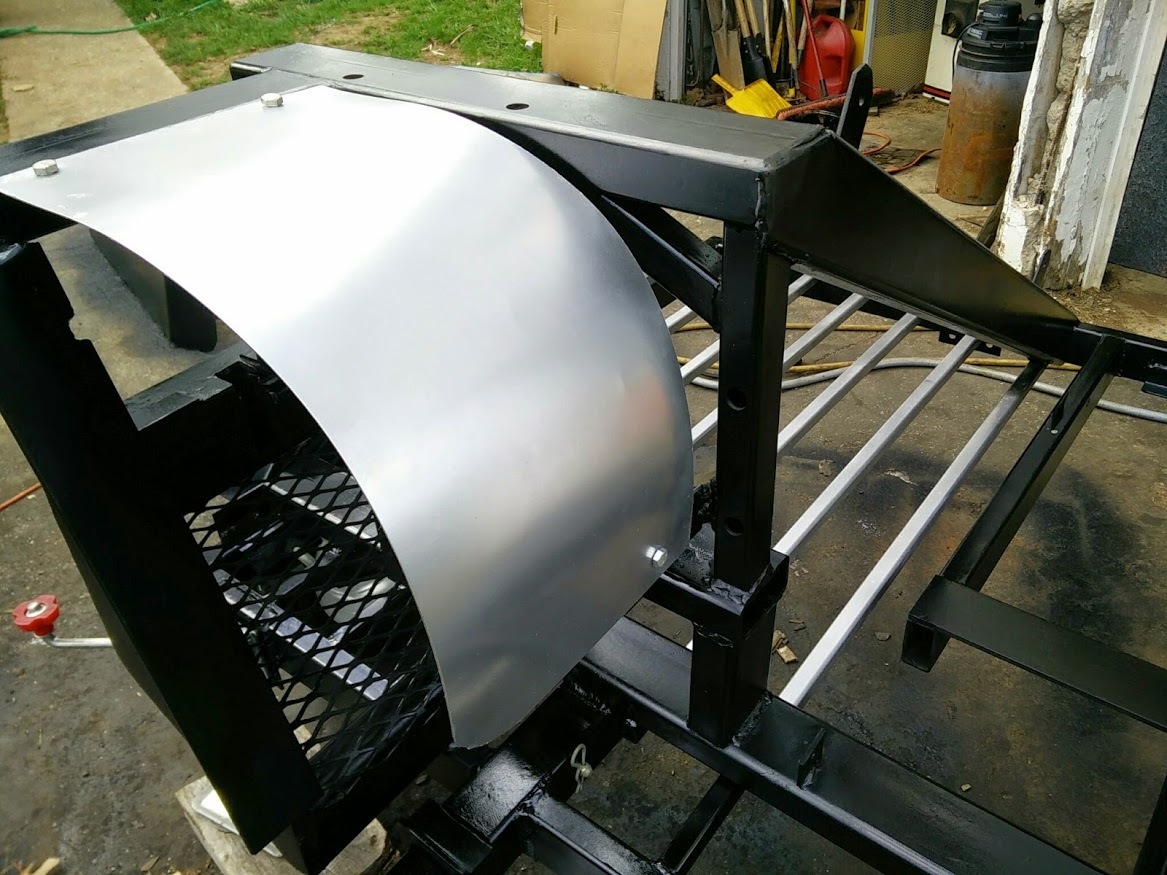
Nice chunker there Chris! I like the bagger. Looks like that was easily made from just a square piece of sheet metal? Does that attach to the chunker so you can bag while chunking? I never saw one like that before; is that your idea? Did you bend a sheet of paper to figure out the shape? In your build pics I noticed a lot of metal working equipment in your garage and only one wood working tool that looked like a 6 inch jointer. What do you use that for?
EDIT: oops I looked at it again and noticed you called it a scoop.
Thanks Don! Yes, it’s a slightly trapezoidal piece of sheet metal. I did some CAD (cardboard assisted design) to figure that one out. The idea came from a fast food french fry scoop. Watch the kid filling your fry cup next time, he uses something similar.
Nope, this is designed to scoop wood off a flat drying surface, like a driveway or trailer. Bagger will come later.
Jointer was a freebee that is actually in the way, I don’t use it. There’s other woodworking tools around, mostly household carpentry type stuff. I can frame a wall but no good at making furniture. ![]()
4 Likes
Been awhile since I updated this. In the meantime, I got some other springtime work done (more left to do), took a trip to Alabama, did my taxes, even moved a popular website over to a completely new platform… and whaddaya know, the chunker didn’t finish itself, it’s just been sitting there the whole time. Guess I should get back to it.
I’ve pulled out the gearbox for an overhaul. There’s some slop in the pinion shaft, which is not good for a long lived machine. I removed the bearing cover, and had to make a long spanner to remove two bearing locknuts.

After some deliberation, it appears that the only way to access the pinion is from the inside. Meaning the rest of the chunker innards have to be removed, just for access. Yes, this is as bad as it sounds… It’s OK, I think it’s worth doing as a learning process and simply breathing some life into this worn out gearbox. So, next step is to drain the oil and remove the output shaft, center chunk and then (hopefully) the pinion from the inside.
The oil in it is the consistency of thick pudding, I drained it as best I could but there’s a thick layer left in there.

With the oil mostly out, I started pulling bolts off. Soon enough I ran across one of those pesky locknuts again. This one was too much for my one tooth wrench, so I had to build a sturdier “box-end” type.

It took some doing, but I got it off. Unfortunately the shaft is still stuck.

So, I am gathering my tools of persuasion… something’s going to give. Gently. We hope.
3 Likes
So when you turn the flywheel shaft with your output shaft not secured, the output shaft doesn’t want to want to pop out?
1 Like
Not quite sure what you’re asking… when I turn the flywheel shaft it acts against the ring gear and turns it. This makes a rotating force on the output shaft but no pressure in the direction I’m trying to slide it, parallel to the shaft.
2 Likes
@Calvin_rader here’s Chris’ chunker
1 Like
FInished out the trailer part. Added a floor, cleaned up the welds and painted.

Still no progress on the gearbox, I’m hearing from experienced folks that the output shaft may have to be pressed out. Maybe I should build a shop press? One more project…
1 Like
You could take it to a local machine shop and they can press it out/in for you for a few bucks probly
1 Like
Looking good there Chris, I use my 30 ton press all the time don’t know what I’d do with out it.
1 Like
if you have few extra chunks and feel like a trip i’ll gladly help out with that stinken shaft .thanks for finding my post by the way.
1 Like
Chris; Are the bearings really that bad?? You are not going to bale a 1000 bales a day with it or anything. If it isn’t REALLY bad, I would run it. I know you have gone to a lot of work to get it to this point. Just sayingTomC
1 Like
Yes, they’re very loose. You can see the flywheel wobble as it loads up on a cut. The pinion shaft moves in and out by a full quarter inch. Check out my video test chunking, you can see the play in it.
It’s worth it to me to fix this, both as a learning experience and to have a solid machine. I’ve never replaced bearings in a gearbox before and I value the opportunity. When it’s done, it’ll be like new again, ready for the many years of chunking ahead.
4 Likes
Spent a day on the gearbox. First tried the sledgehammer approach… gave up on that quickly. Decided to go for the shop press, since I could use one anyhow. Even that approach has yet to be successful… see the video for details.

3 Likes
Hello Chris,
In similar situations I have used a torch to heat the inner bearing race, and then immediately put ice on the pinion shaft. This is only if you plan to replace the bearing anyway. If that doesn’t work, cool the pinion shaft and bearing race with ice, then use the cutting torch to cut a score “nearly” through the inner bearing race. Maybe in several places. It is scary close to cutting into the pinion shaft, but even if you nick the shaft, you can dress it up and it will work fine.
Good luck.
1 Like
Chris, I agree with Richard,“use the cutting torch to cut a score “nearly” through the inner bearing race. Maybe in several places. It is scary close to cutting into the pinion shaft, but even if you nick the shaft, you can dress it up and it will work fine”.
Ron H
1 Like
OK, I have to backtrack on my earlier statements a little. Remember, when I started this overhaul I was figuring on unbolting and sliding the shafts out, replacing one bearing and re-assembling.
After talking to some experienced folks and gathering info about the gearbox, it’s gonna take a lot of sustained force (30+ tons) to press out the shaft. I can’t do that here with my “little” 20 ton, it’ll be shop labor, after pulling the cutter wheel and arm off the shaft. That plus new bearings and seals will be around $200 invested into a $300 gearbox. Maybe worth it - but there’s a lot of life in it as is.
I’m going to reassemble everything and run it till it wears out completely. That way I have a data point. Otherwise I’m clapping to keep the elephants away. If it turns out I need a fresh tight gearbox, I know what’s involved now and I’ll be able to do that anytime I like. If in a couple years it’s still ticking, I’ll be glad I didn’t invest any more effort.
I have a suspicion that this thing will last forever given my light usage. We’ll see.
8 Likes
I think you’re right. Run it until it wears out. $200 can go to a 5hp motor. I don’t think you’ll regret that upgrade.
3 Likes
Chris I am not sure what it looks like in there but is there anyway you can put some shims in between the bearings outer race and the housing? Or is the play in the shaft and inner race? We do this a lot in the industry, you would be surprised at how long plastic shims will hold up for.
1 Like