Jeff,
I only can click once on the like button… in this case i would like… 
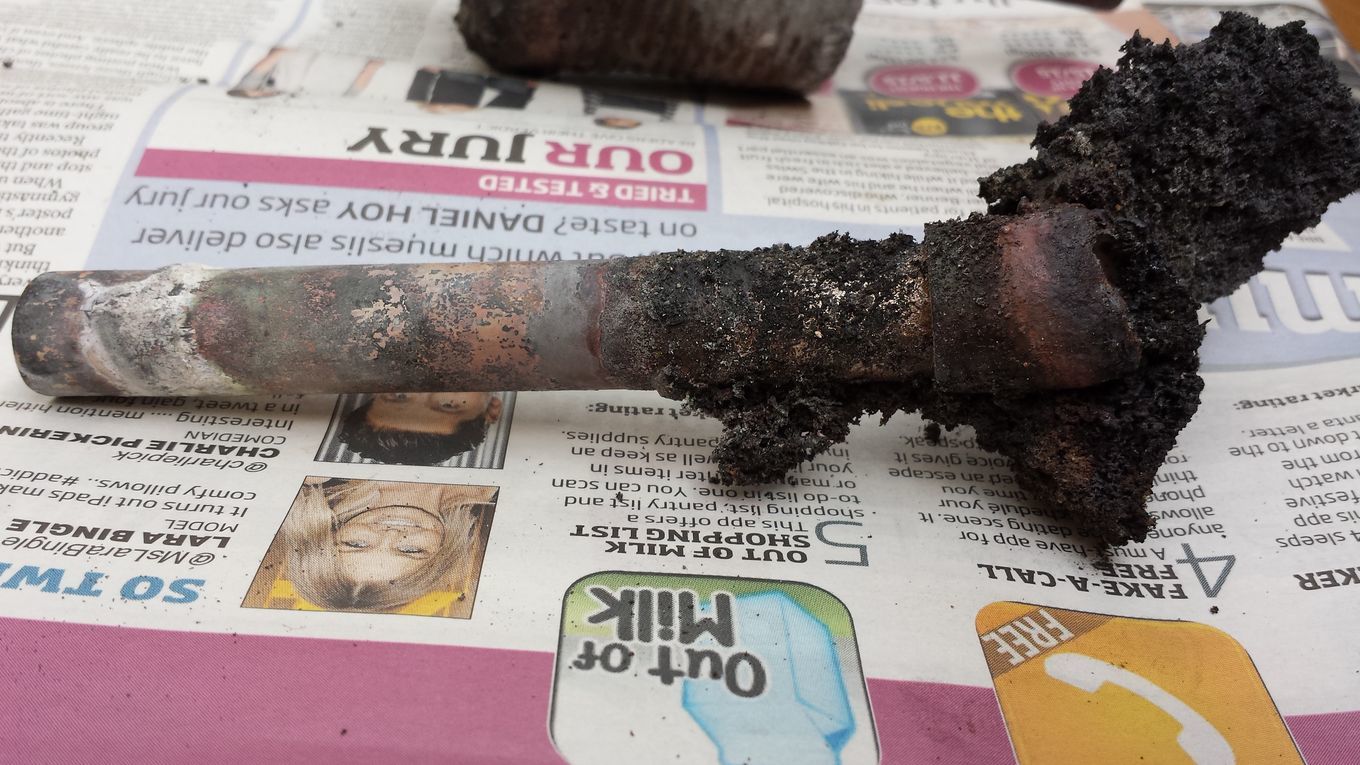
Charcoal is making progress…
4 Likes
Do you plan to put a lightning port there or plug one end of the nozzle while ligtning?
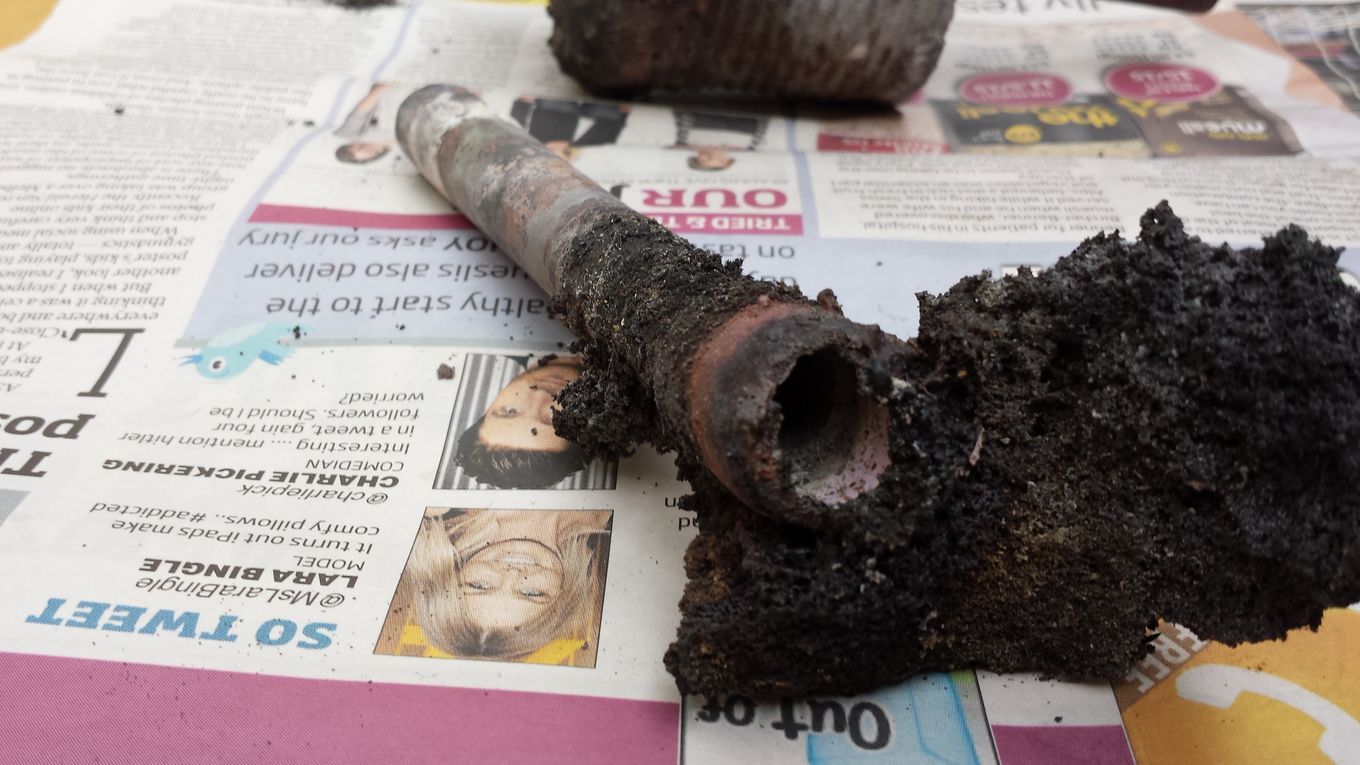
I will light through the opening on the right which sticks out below the bumper. The other end will be plumbed to receive water drip at high load.
3 Likes
Bruce, what diameter did you use for your holes?
I saw you mention 12 mm in a post further up before you posted your pictures. Have you had a chance yet to test it?
1 Like

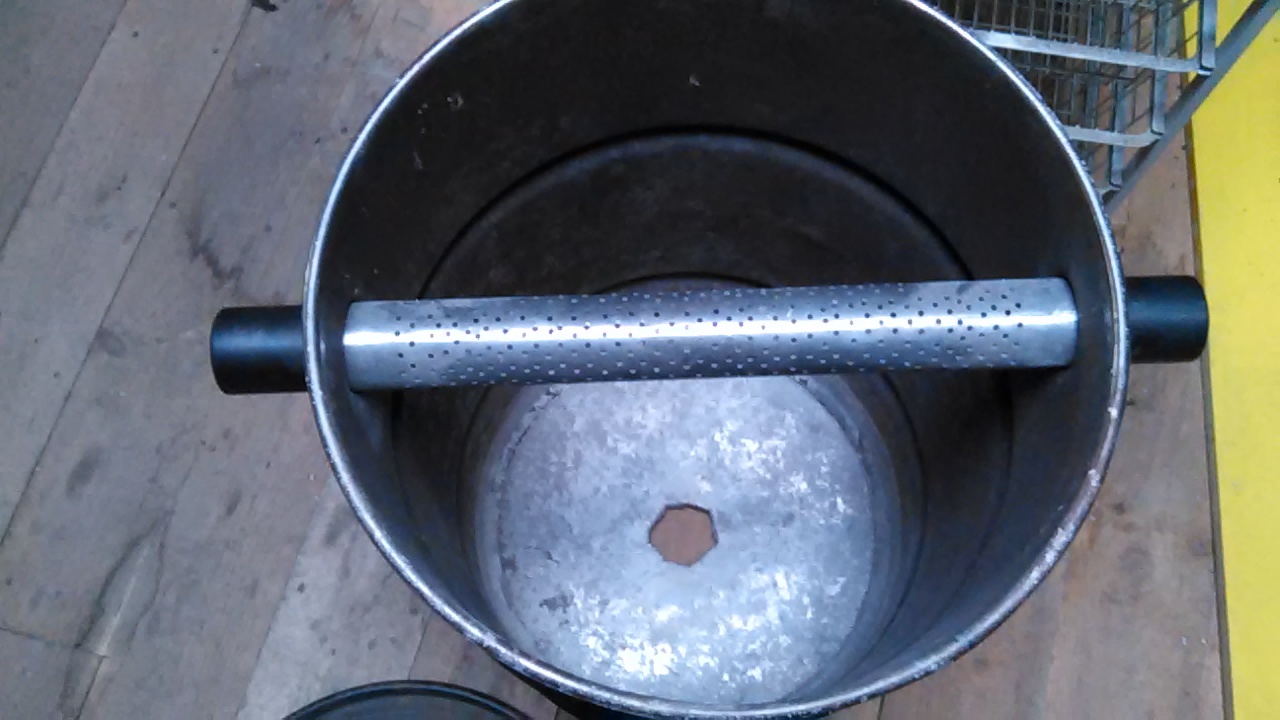
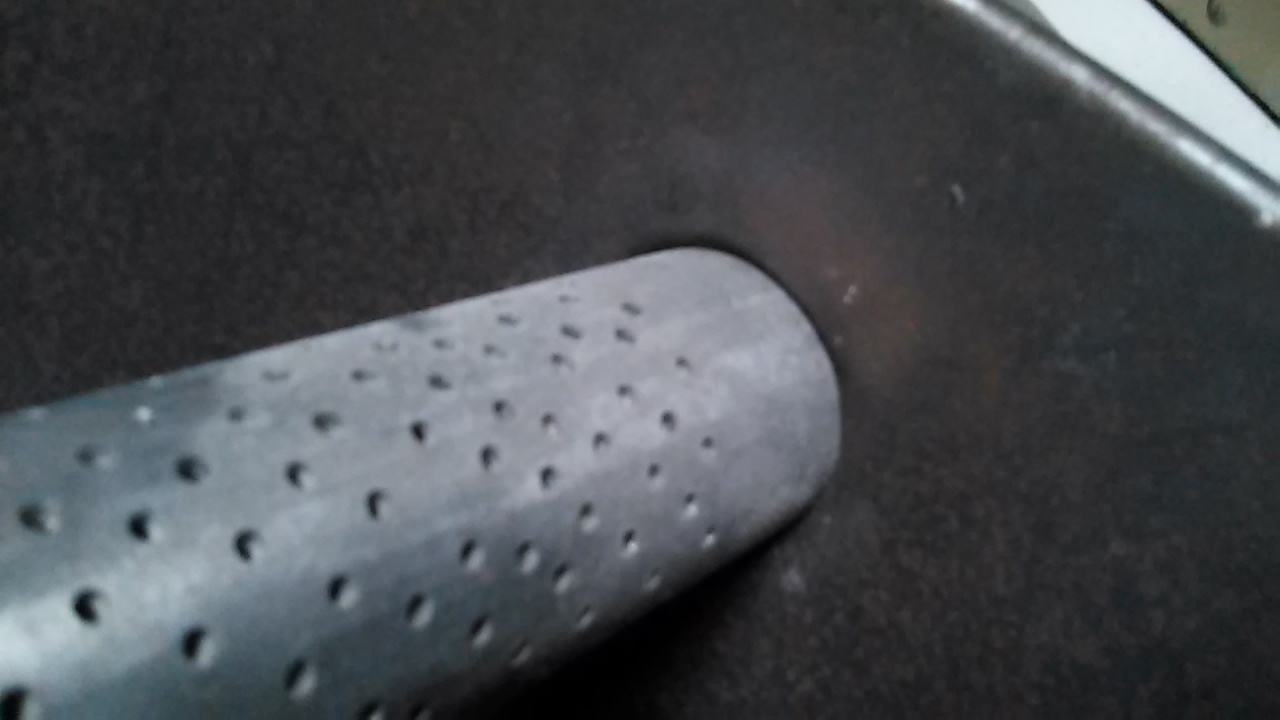
I used a 7/16" (11mm). I wanted a little less than 12 mm because of the cross-section of the slanted opening. Extra work and household projects are keeping me away from the MG most days, but the picture shows yesterday’s progress. The thermocouple rests in a 2-1/2" block of refractory insulation. The bottom of the copper nozzle is 3/4" above the block. I recessed the thermo probe to protect it during nozzle removal/insertion and from cleanout procedures. Since the probe is not actually in the reaction zone, I will use temp readings as a relative measure of the reaction temp. There is still a lot of work to be done before the first drive. Thanks for your interest.
7 Likes
Hi Bruce
nozzle the transom outside on both sides of the generator?
1 Like
Hi Bruce & All
Isn’t it terrible when everyday life gets in the way of playtime .
Anyway i cant wait to see how this all works out for you , I am still using the alumina TIG nozzles for the time being .
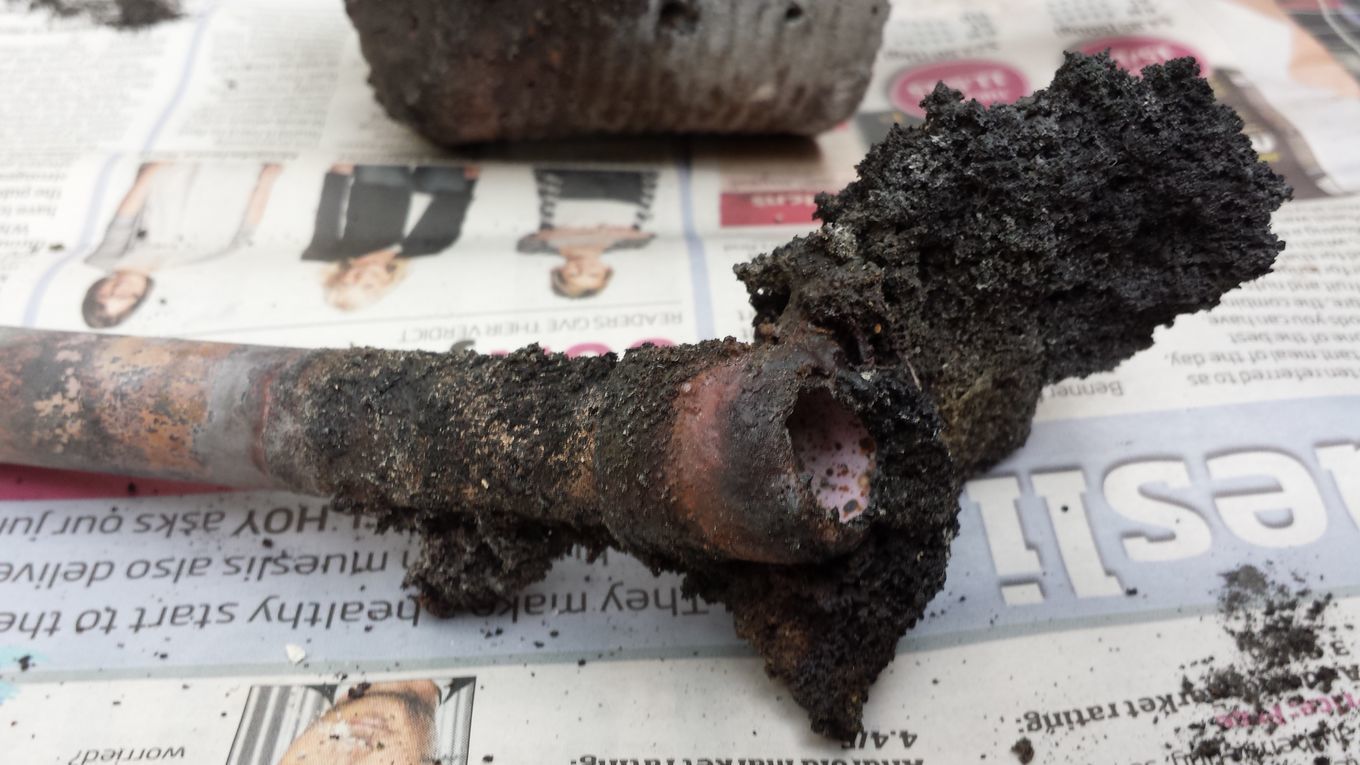
Last weekend I decided to remove the smaller nozzle with a number 10 tig cup surrounded by refractory cement to see how well a smaller nozzle stood up to running my engines with no water drip or exhaust return , this nozzle had already been used on my smaller gasifier and so had a little wear on it to start with , well after 26 days on daily usage it seems to have only got a few clinkers sticking to it around the nozzle tip , and they broke off cleanly and so will be able to return it to service as soon as I take out the replacement I put in 4 days ago , that is just a number 10 TIG cup with a copper pipe snug fitted inside it , so far its holding up , but I have noticed how much hotter the copper pipe is that’s protruding from the gasifer , a daily use of between 4 and 5 hours a day so far so I will wait for it to fail and then take some pictures .
Dave
5 Likes
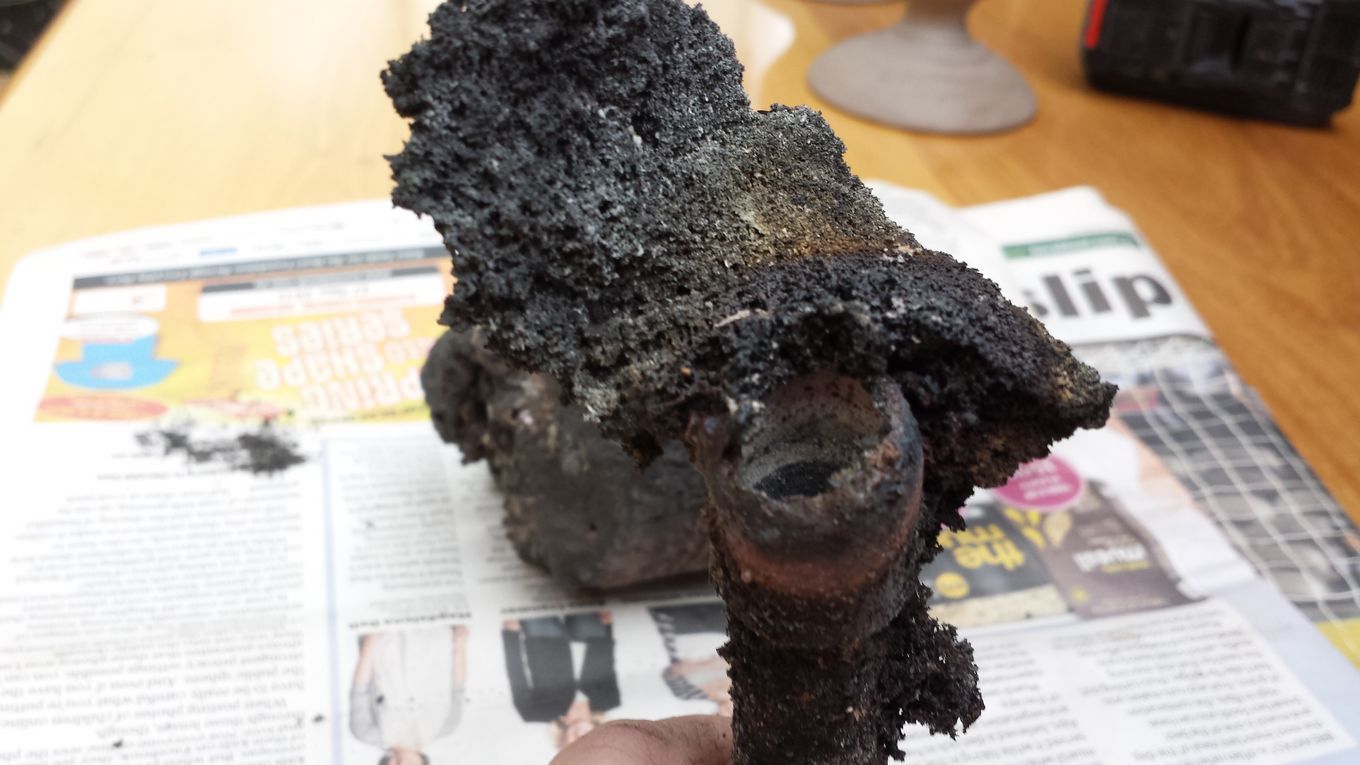
Update …
After posting the above I went out side to bring in the old nozzle to take some pictures and decided I may as well take out the test nozzle as well and see how 4 days run had worked out on it , not so great as it goes .
I think having the TIG cup surrounded by refractory cement helps to dissipate a lot of the heat and also stops the heavy clinkers from damaging the fragile alumina cup , this test cup had a whole lot of clinkers surrounding it that mostly fell off when I took it out and it also took a small chink of the alumina cup with it .
I shall clean up the old nozzle and put it back in again today .
Dave
4 Likes
This is what I was talking about passing a pipe through a barrel. It’s an out let pipe but the same idea might work with a multi hole nozzle tube.
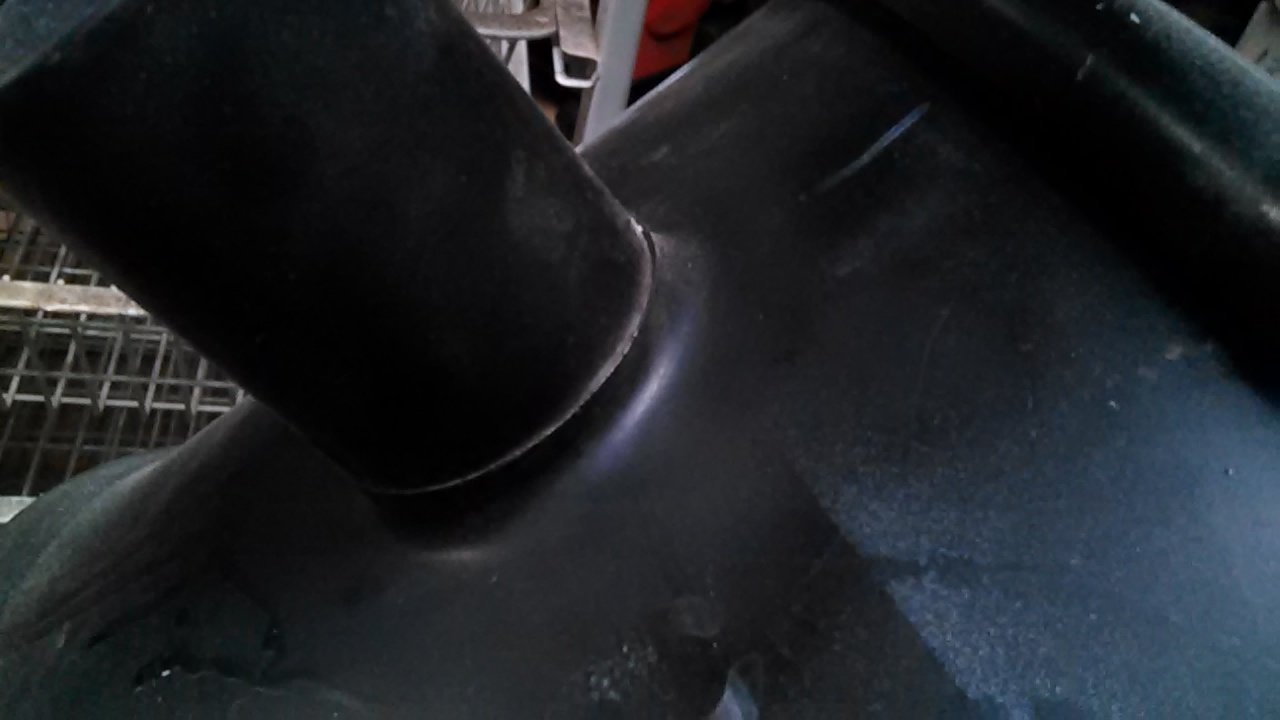
It’s 2" so I used a 2" trailer ball as the die.
Don’t make the hole too small or it will get a crack in the barrel. Not sure what will happen with the high heat and metal expansion.
7 Likes
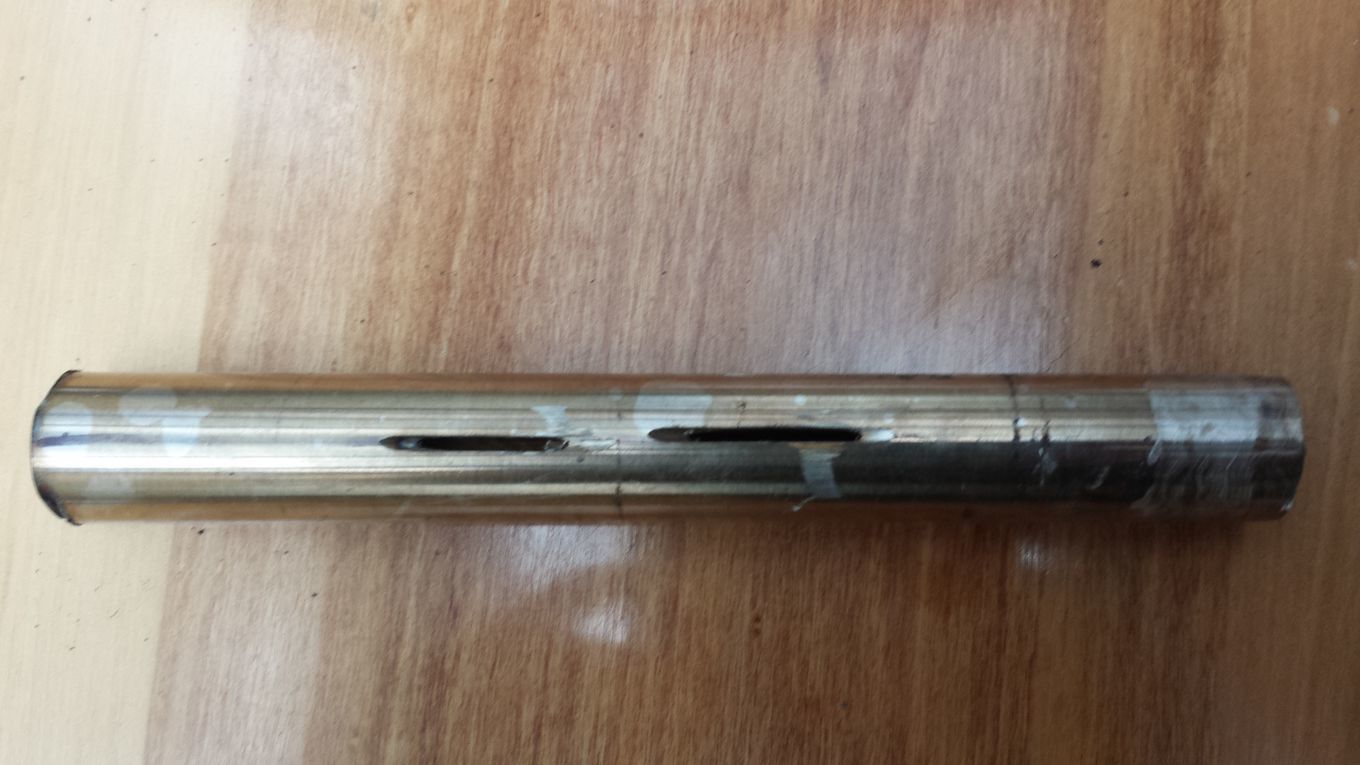
Yes, the end at the upper right of the picture is internally threaded 3/4" NPT and receives a 3/4" X 1" reducer from the outside of the barrel. It is an unusual fitting has a wide flat ledge to seal against the outside of the barrel. I plan to plumb this end for water drip. The other end (lower left) passes to the outside for lighting, clinker clearing (rod with upwardly bent end passes through angled holes) and EGR. Notice this set of holes is offset one inch left of center (black line) because of the direction of the air blast. This is an attempt to center the reaction zone.
5 Likes
Thanks for the quick reply, Bruce. Can’t wait for the day you finally take that little sports car for a drive on charcoal…
What a great thread btw. I don’t normally have much to say here, but I have been trying to follow many of the threads and am very appreciative and amazed at the progress that has been taking place (without taxpayer funding!)
Because of the sharing between those who have the time, ability, and temperament.
9 Likes
Dave,
At 100 hours plus, I think you get the prize for simplicity/cost/durabilty. I’ve heard of making an inexpensive refractory cement with 50/50 ashes to portland cement. Any thoughts on that?
Thanks, Koen for starting this excellent thread!
3 Likes
I heard that the Portland is more prone to cracking in high-heat environments, but 50/50 ashes and dry “Lincoln fire clay” (then mixed with enough water) works pretty good.
5 Likes
l have heared mixing refractory cement with sodium silicate ( water glass) instead of water helps with the crackes.
3 Likes
Hi All ,
Thanks Bruce but I think the prize for a cheap ,simplicity and durable nozzle would have to go to Kristijan for his mild steel nozzle with the 4 x 10mm vertical holes , from the pictures he has shown us they look an excellent replacement for the alumina cups , and I shall try it out as soon as I get a chance too .
I did look up high temp cement when I was looking to build a pizza oven a few years ago and a lot of people used Portland cement and vermiculite instead of the costly refractory materials , it works to a fashion but was told that the Portland does burn away , so with the extreme heats we get I have not even bothered to try it out .
Dave
3 Likes
I mentioned on another post a couple of days ago how I was so eager to try out Kristijan’s style of nozzle , the thick walled pipe with 4 x10mm holes in it , and how I have not got my hands on any that is what I would consider thick walled yet so being keen to try it out asap, I decided to cuta 2cm length of stainless steel pipe that I had here at home just to quickly give it a try .
I cut 2 off set slots 20mm long x 2mm and sealed the other end of the pipe with refractory cement and replaced my refractory nozzle yesterday .
I thought lighting the gasifier might be a problem ,WRONG one little strip of newspaper in the pipe and with the fan on and a blow torch whoosh it was sucked right up through the slots and straight away the fresh charcoal was a light .
2 mins later and a lovely roaring flame from the blower and straight onto the engine and away it ran for the next 4 hours charging up a couple of 12 volt deep cycle battery’s .
Well a little while ago it was time to fire up again to do my daily recharge , again I put a small piece of paper into the tube and lite it again it sucked the paper up and away it went through the slots in the tube , but this time I could not see the glow of the charcoal , so for the next couple of mins I kept feeding anything that would burn into the tube hoping to get it alight after about 5 mins this time I started getting gas , my thought maybe is that as the slag and clinkers build up around the slots it gets in the way of letting the materiel get flame , anyway I shall look for a stiff 2 mm wire to try scrap out around the slots for next time .
The other interesting thing is when you look down the tube instead of seeing hot coals burning away , all I see is a cherry red stainless steel pipe and refractory plug glowing , I took a picture to show you , but on the photo instead of looking like the cherry red glow I can see with my eyes it looks more like a bright yellow almost white glow ! .
Anyway this is day 2 of the trial runs will let you know what it looks like in a week or so or longer if it lasts out .
Dave
10 Likes
I like it.
One question, is there a reason you went for the slots rather than holes?
2 Likes
On my newest charcoal gasifier I used an cast iron vain pump housing , it was a power steering pump I picked up off the ground at the junk yard for the larger diameter pulley to put on an alternator. After I used the pulley on the alternator I threw the pump out the shop door. After tripping over it for a few weeks and reading this thread and talking to others a bit it seemed cast iron may be a good choice. So I disassembled the pump drilled the smallest bore open to 5/8 " ,cut a hole in the bottom of a 10" diameter air tank the size of the machined flange of the pump housing where it fit together. then I drilled the four bolt holes that held the pump together in my tank. Next I put the face half of the pump inside the tank bearing race pointed up and the back half of the pump with the pluming fittings on the outside and bolted it back together sandwiching the tank in between the two halves. Then using the mounting holes I secured the pump to a 12" plate for a stand.
I am running a 98cc Kawasaki 4 stroke engine spinning a Delco alternator with this. I have only about 10 minutes of run time on it but seemed to run very well. Just wanted to run engine enough to warm oil before changing. Then realized I had no oil on hand after draining. This engine has no gasoline capabilities any more, charcoal only. It seems the pump is a great heat sink pulling much heat out of the bottom. I plan to make a preheat chamber around this area similar to Jeff D’s. The pump also has a small reservoir I will add a water or waist oil drip through the return line side of the pump the pressure side will be the air inlet and fluid overflow port. In the side of the tank I welded a 3/4’ coupler for a lighting port and observation port in the same location as you would have a nozzle in the standard simple fire similar to Don M’s. My phone is missing some features now so I am having trouble transferring picks or accessing the web with it but will get up pics as soon as I can, Won’ be able to get more run time till tomorrow at the soonest , Granddaughter has T ball practice tonight and I have her mit in my car from Tuesday night so I off to T ball practice soon.
- List item
3 Likes
Very interesting. Can’t wait to see the picture of your ‘hunk of junk’ tuyere. Could it really be this easy–use a massive piece of iron for a long-lasting nozzle? I’ll start looking through my junk pile for other flanges, pump bodies, etc. I just did a visual search of google images for “gray cast iron parts” because true gray cast iron is easy to cut and drill. A part that may be readily available at the scrap yard and looks promising as a nozzle is a drive shaft slip yoke.
4 Likes
The Pedrick gas producer used a slab of iron and was backed by the company for life. I built a clone of it years ago but used thin plate with cooling fins welded to it.
4 Likes