a real work of art, tone…the round pipe you made with your new bending machine?
13 Likes
Just beautiful! I wish I could weld like that.
13 Likes
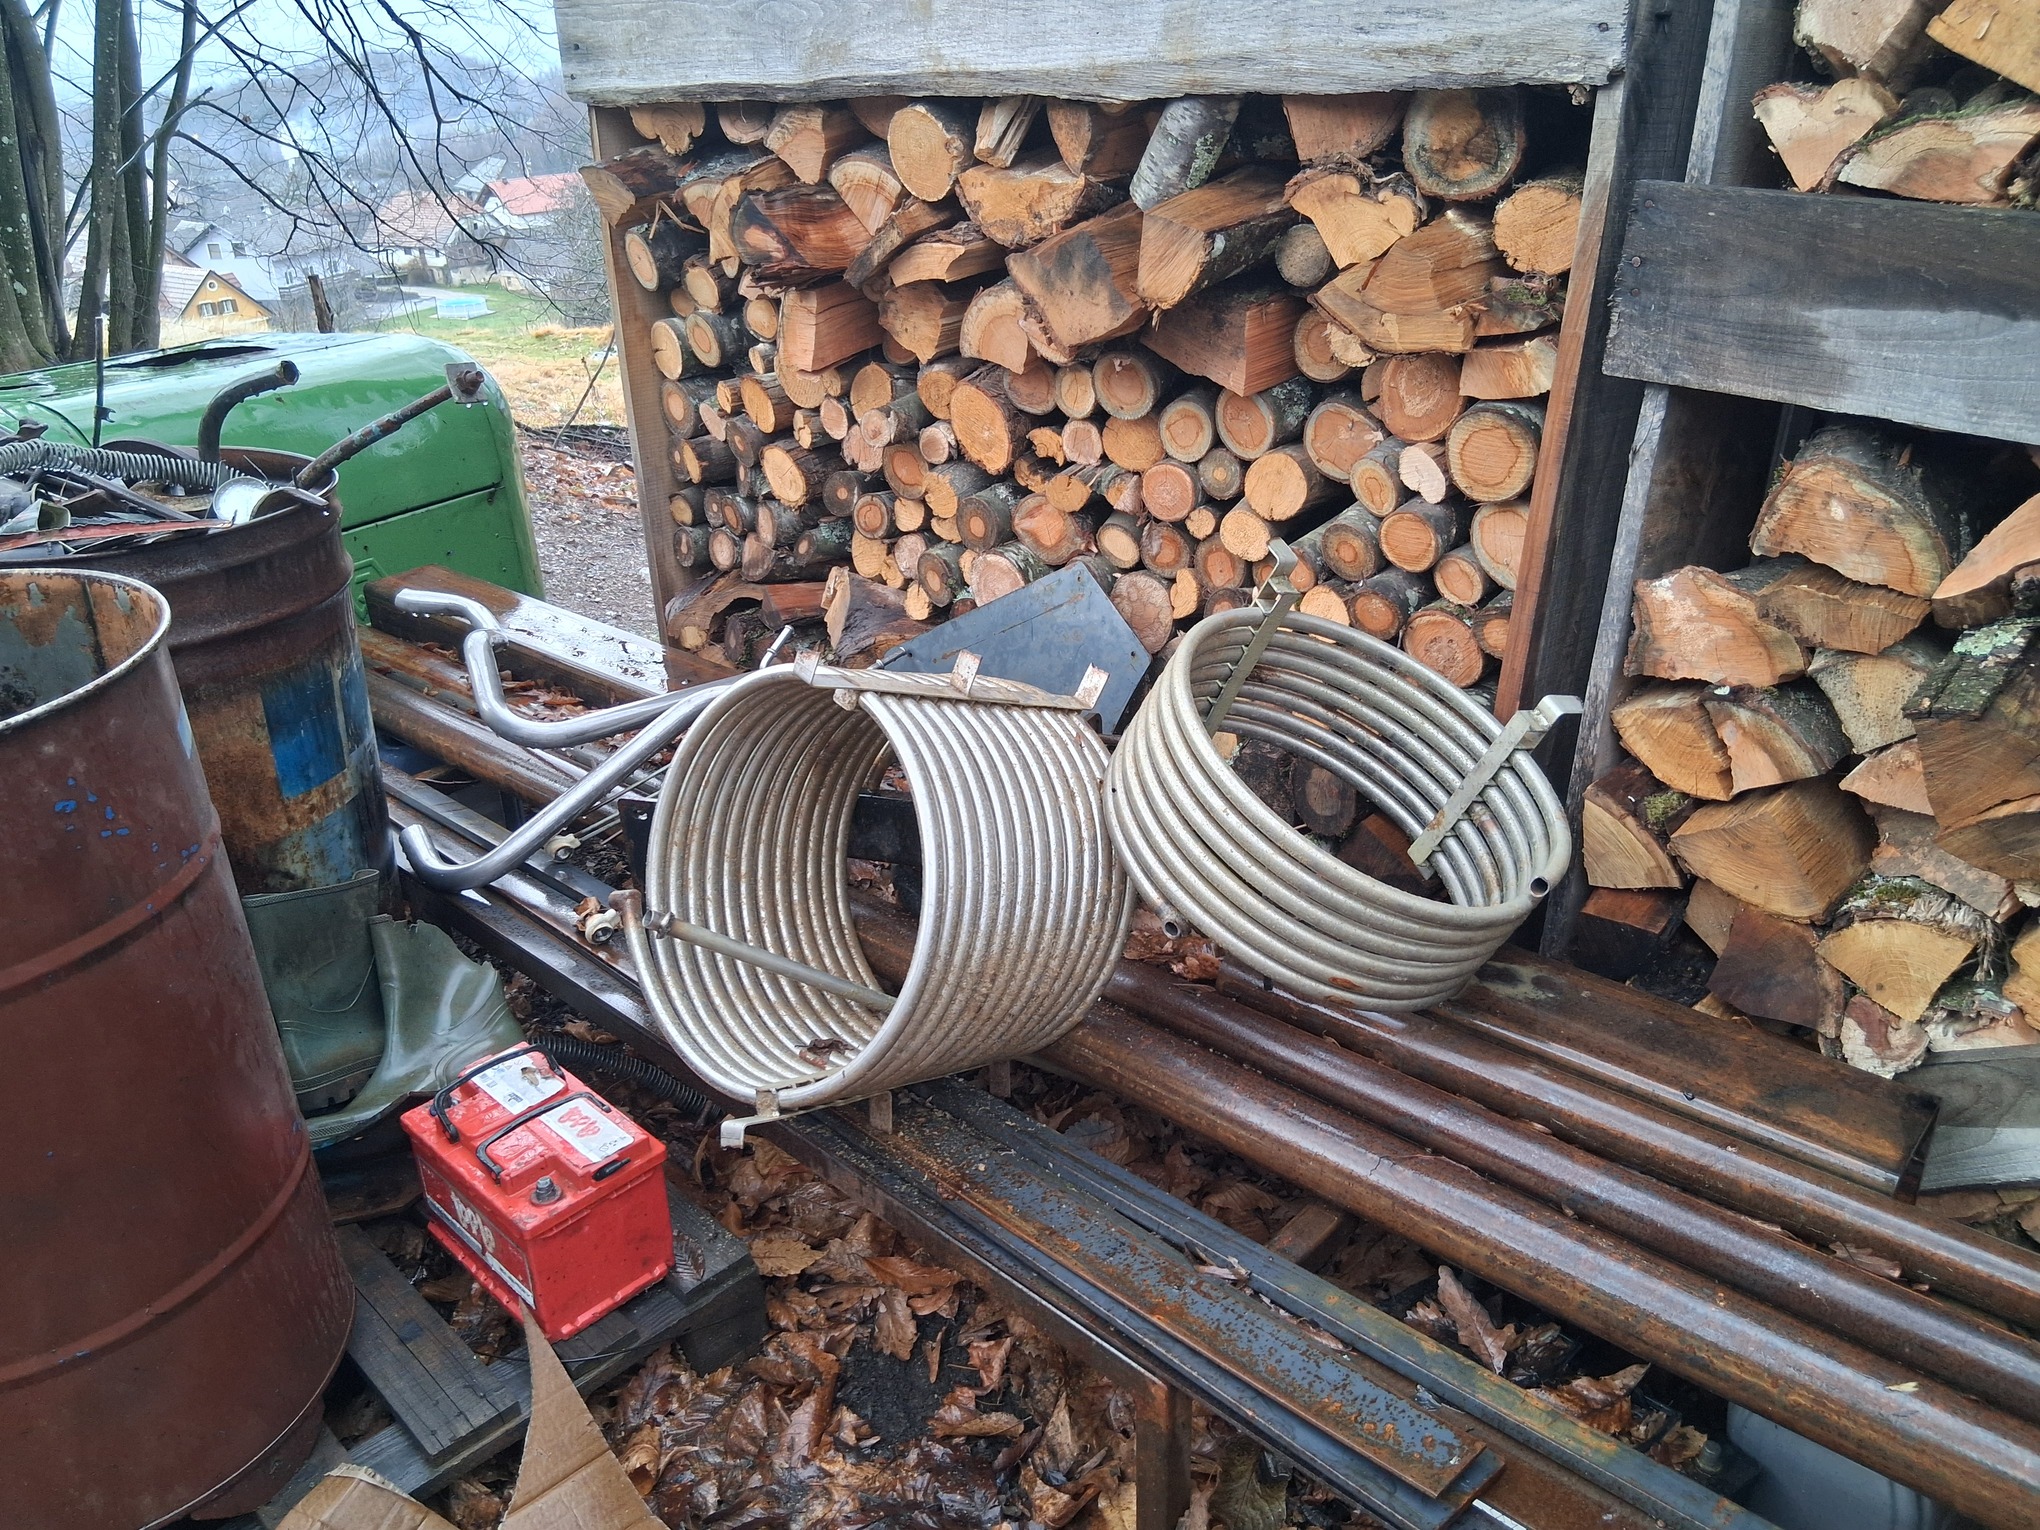
Giorgio, I cut the round tube from the water heater coil (it’s good to have a pile of scrap metal) ![]()
I decided to make the opening for cleaning the ash below, there are several reasons:
-Mr. Wayne has a gasifier with an ash outlet below, because he installed the gasifier lower and this is the best solution (maybe one day this gasifier will be on my Mazda)
-The lower opening will also allow for easy replacement and adjustment of the ash grate
- by removing the grate, it will be possible to quickly empty and clean the entire gasifier
The sealing will be with a string, which I will glue with sealant into the corner.
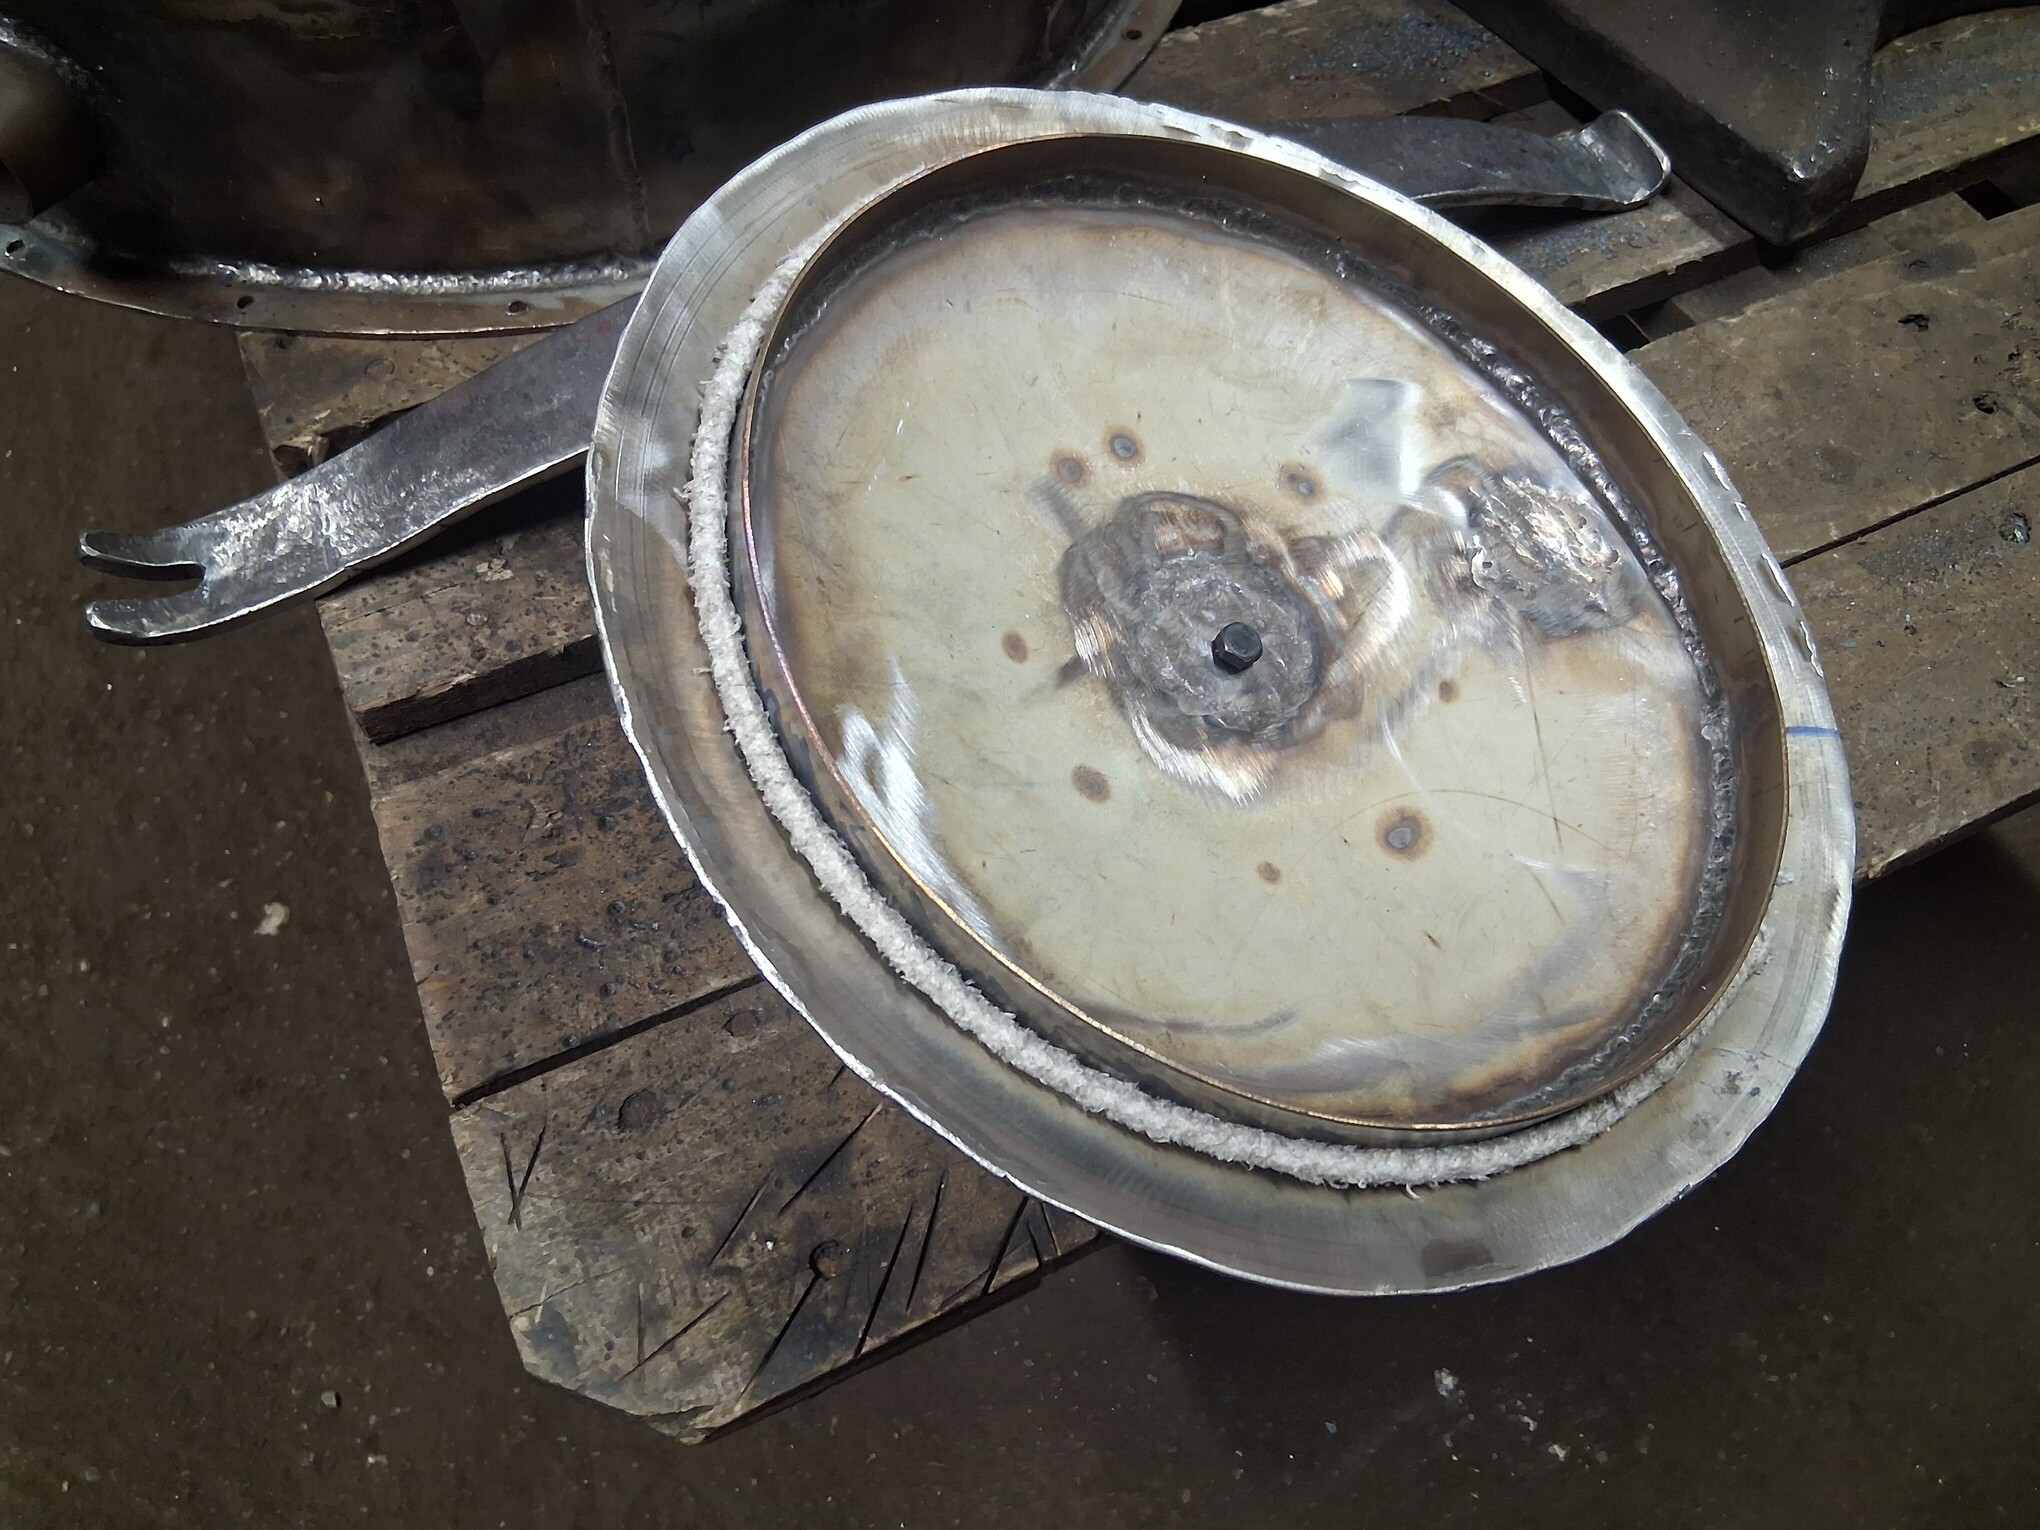
as above, I also adjusted the leaf spring for closing the lid here
16 Likes
It Is great to have a pile of scrap. However, when I see coils like that my mind turns to condenser for distillation but those may be aluminum not stainless so drinkability would not be safe. However I think it is okay for wood distillates for like wood vinegar.
That isn’t saying what you are doing isn’t a bad choice. Just that is where my mind goes with that scrap. ![]()
8 Likes
You got me in trouble Tone. My wife thought I was looking at pictures of naked women because I was drooling and staring at the computer screen. She did not seem that much relieved when she realized it was just your scrap I was ogling.
14 Likes
The same here Tom ![]()
I once visited a guy i know a little, he has a recycling business. I asked if i could walk around some and drool on his BIG scrapyard…
You don’t do something “dirty” with yourself if i let you walk around unsupervised? he asked… ![]()
13 Likes
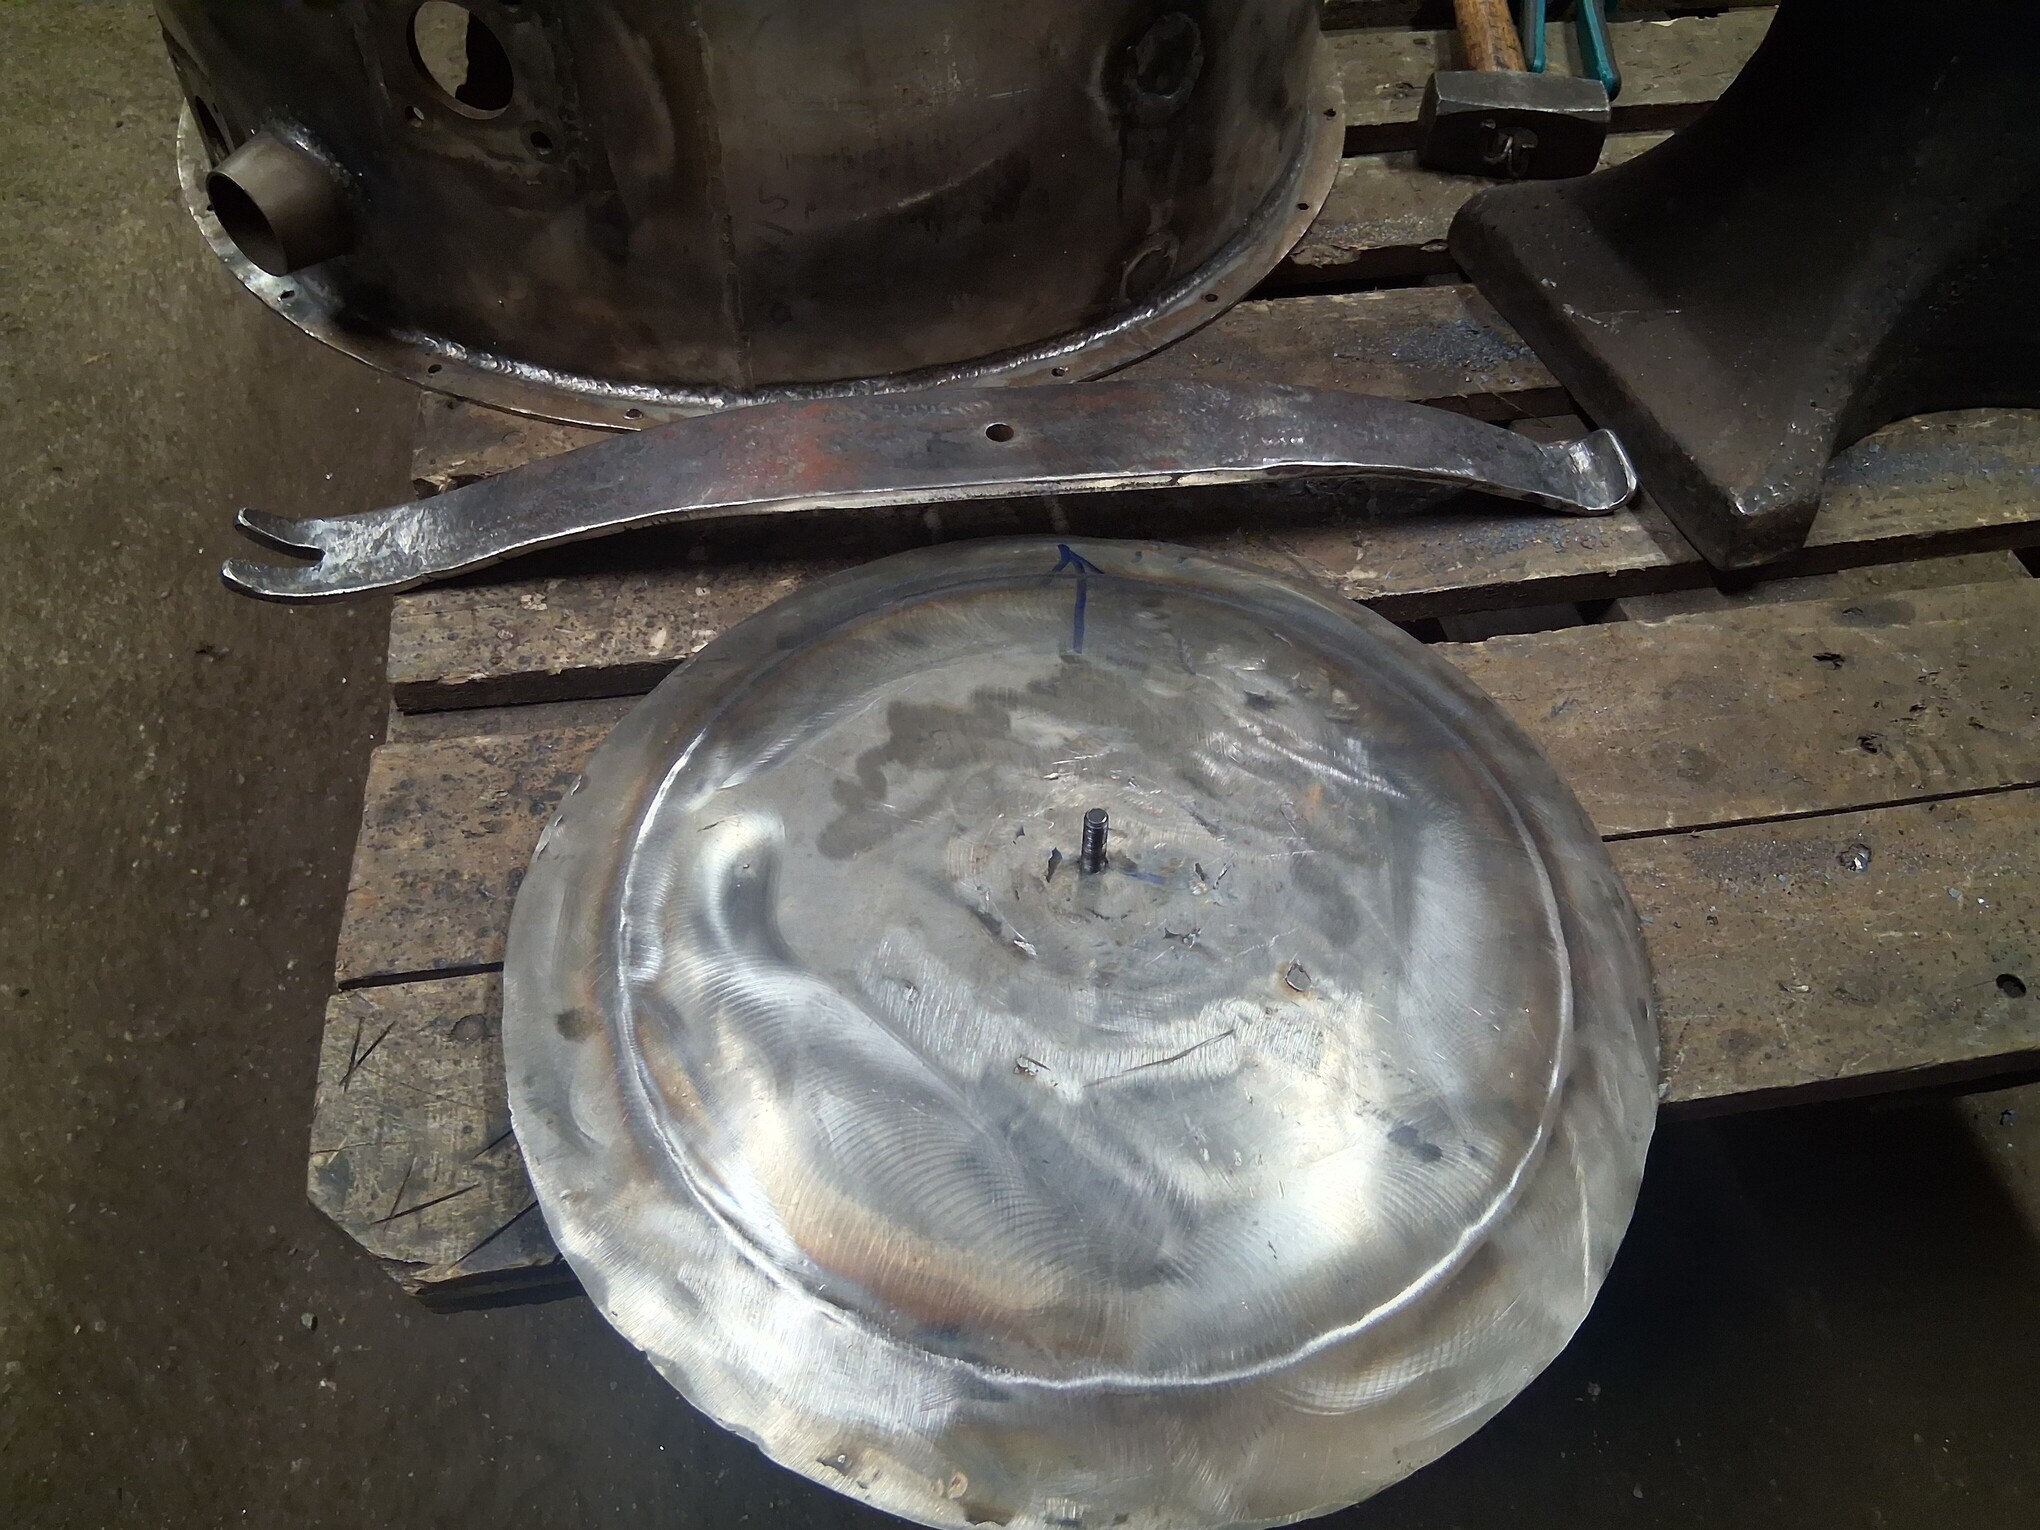
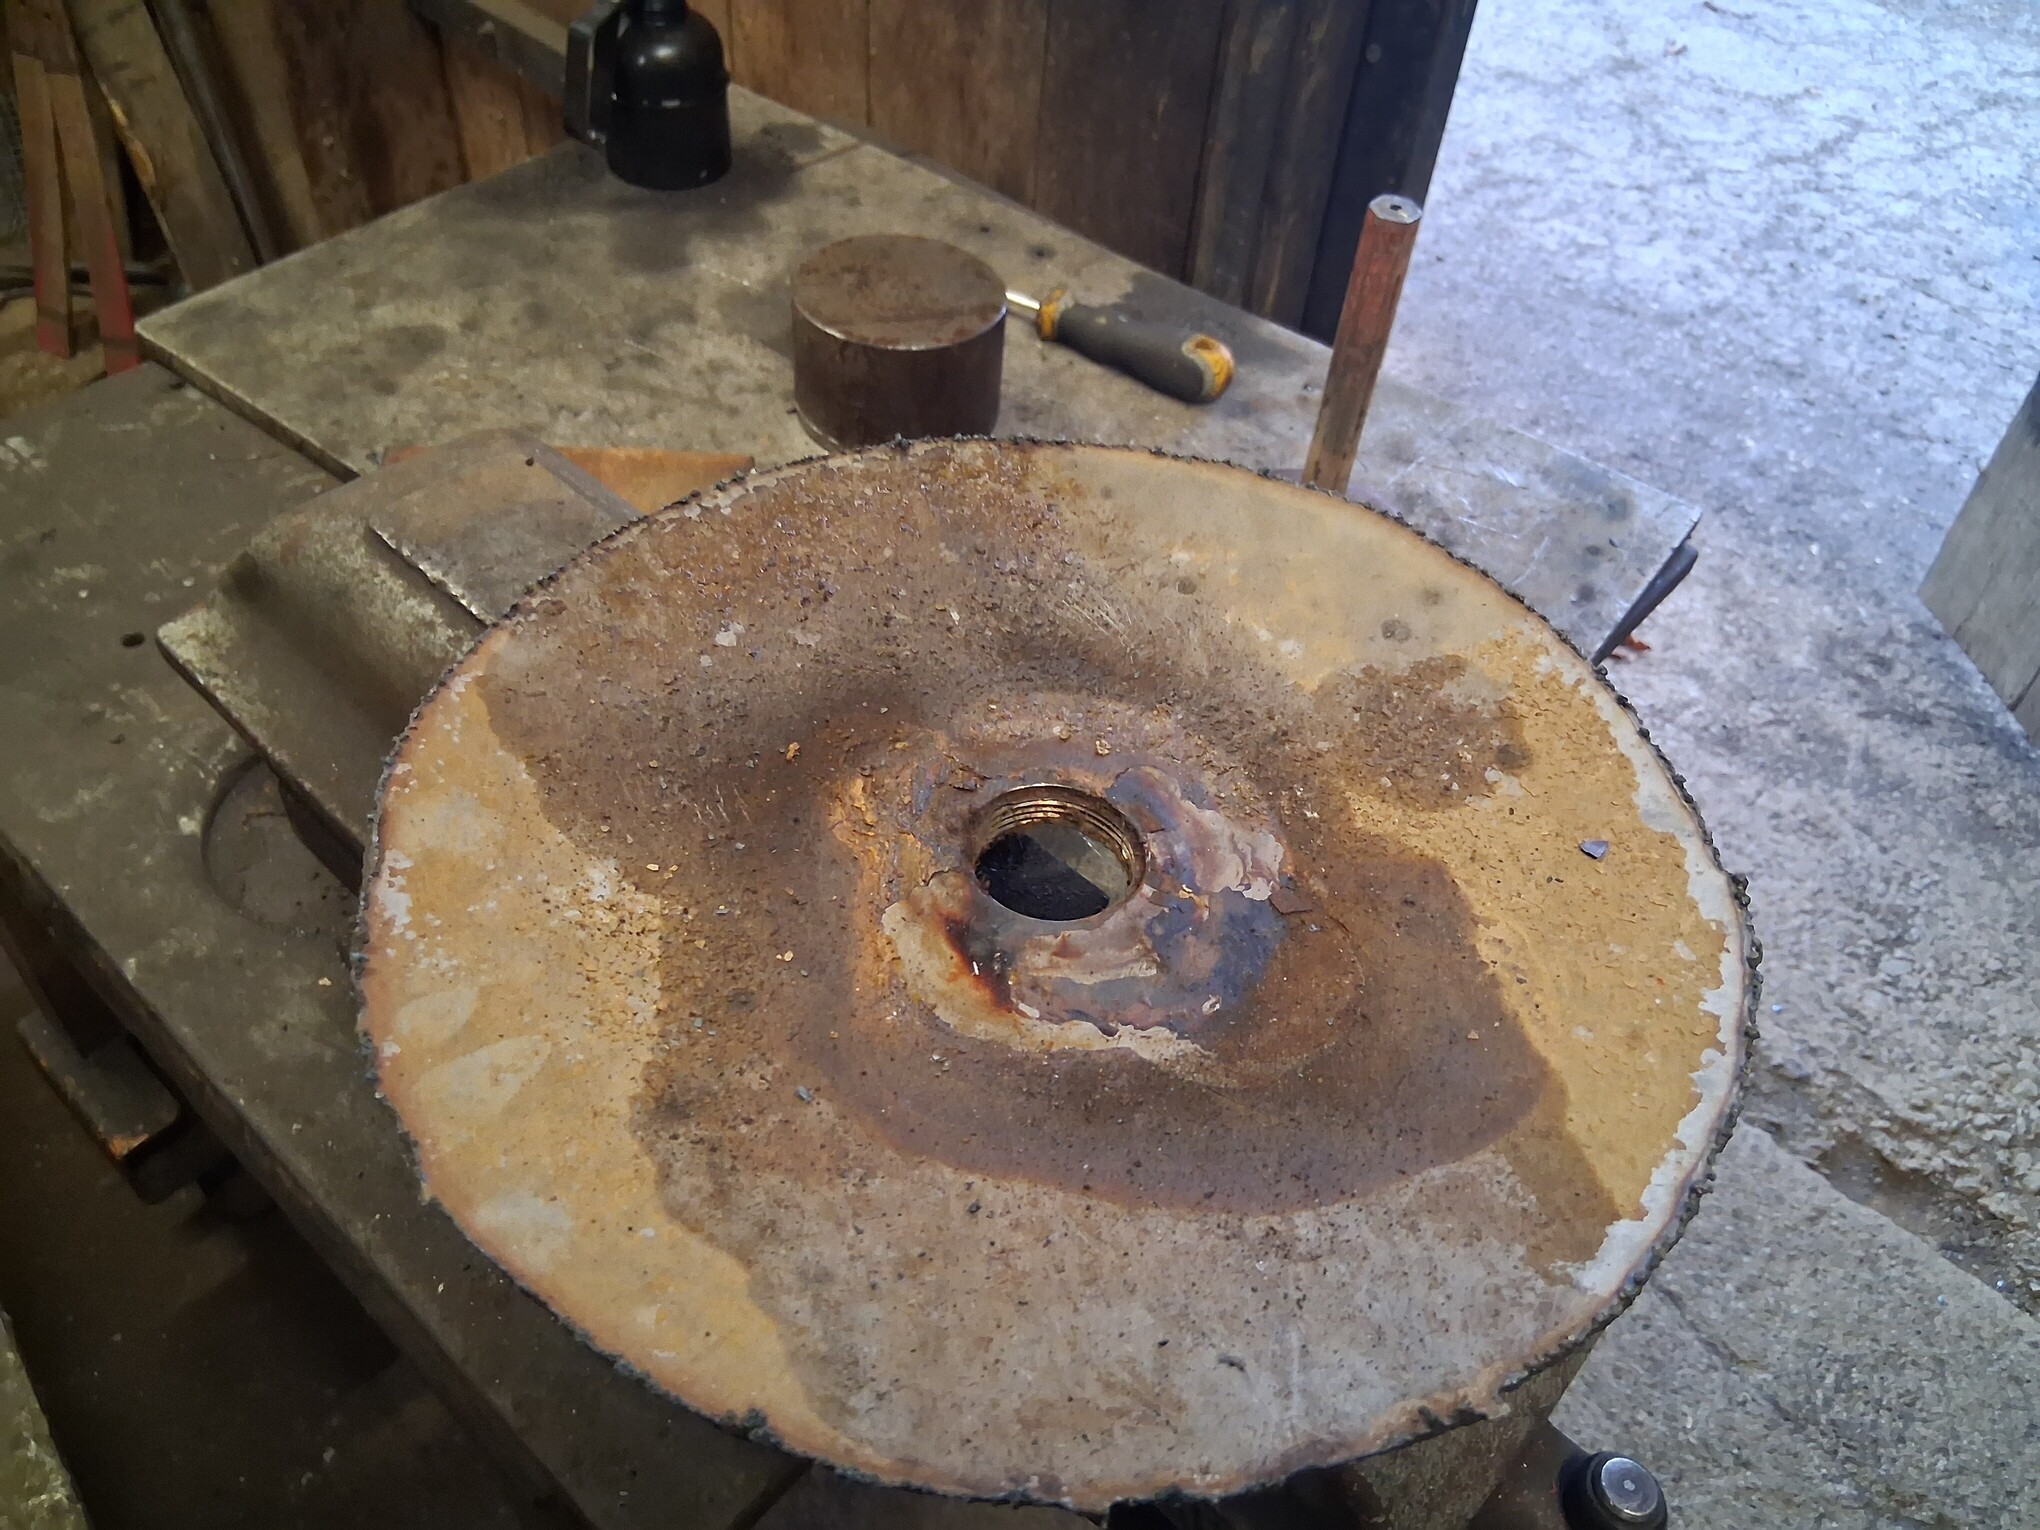
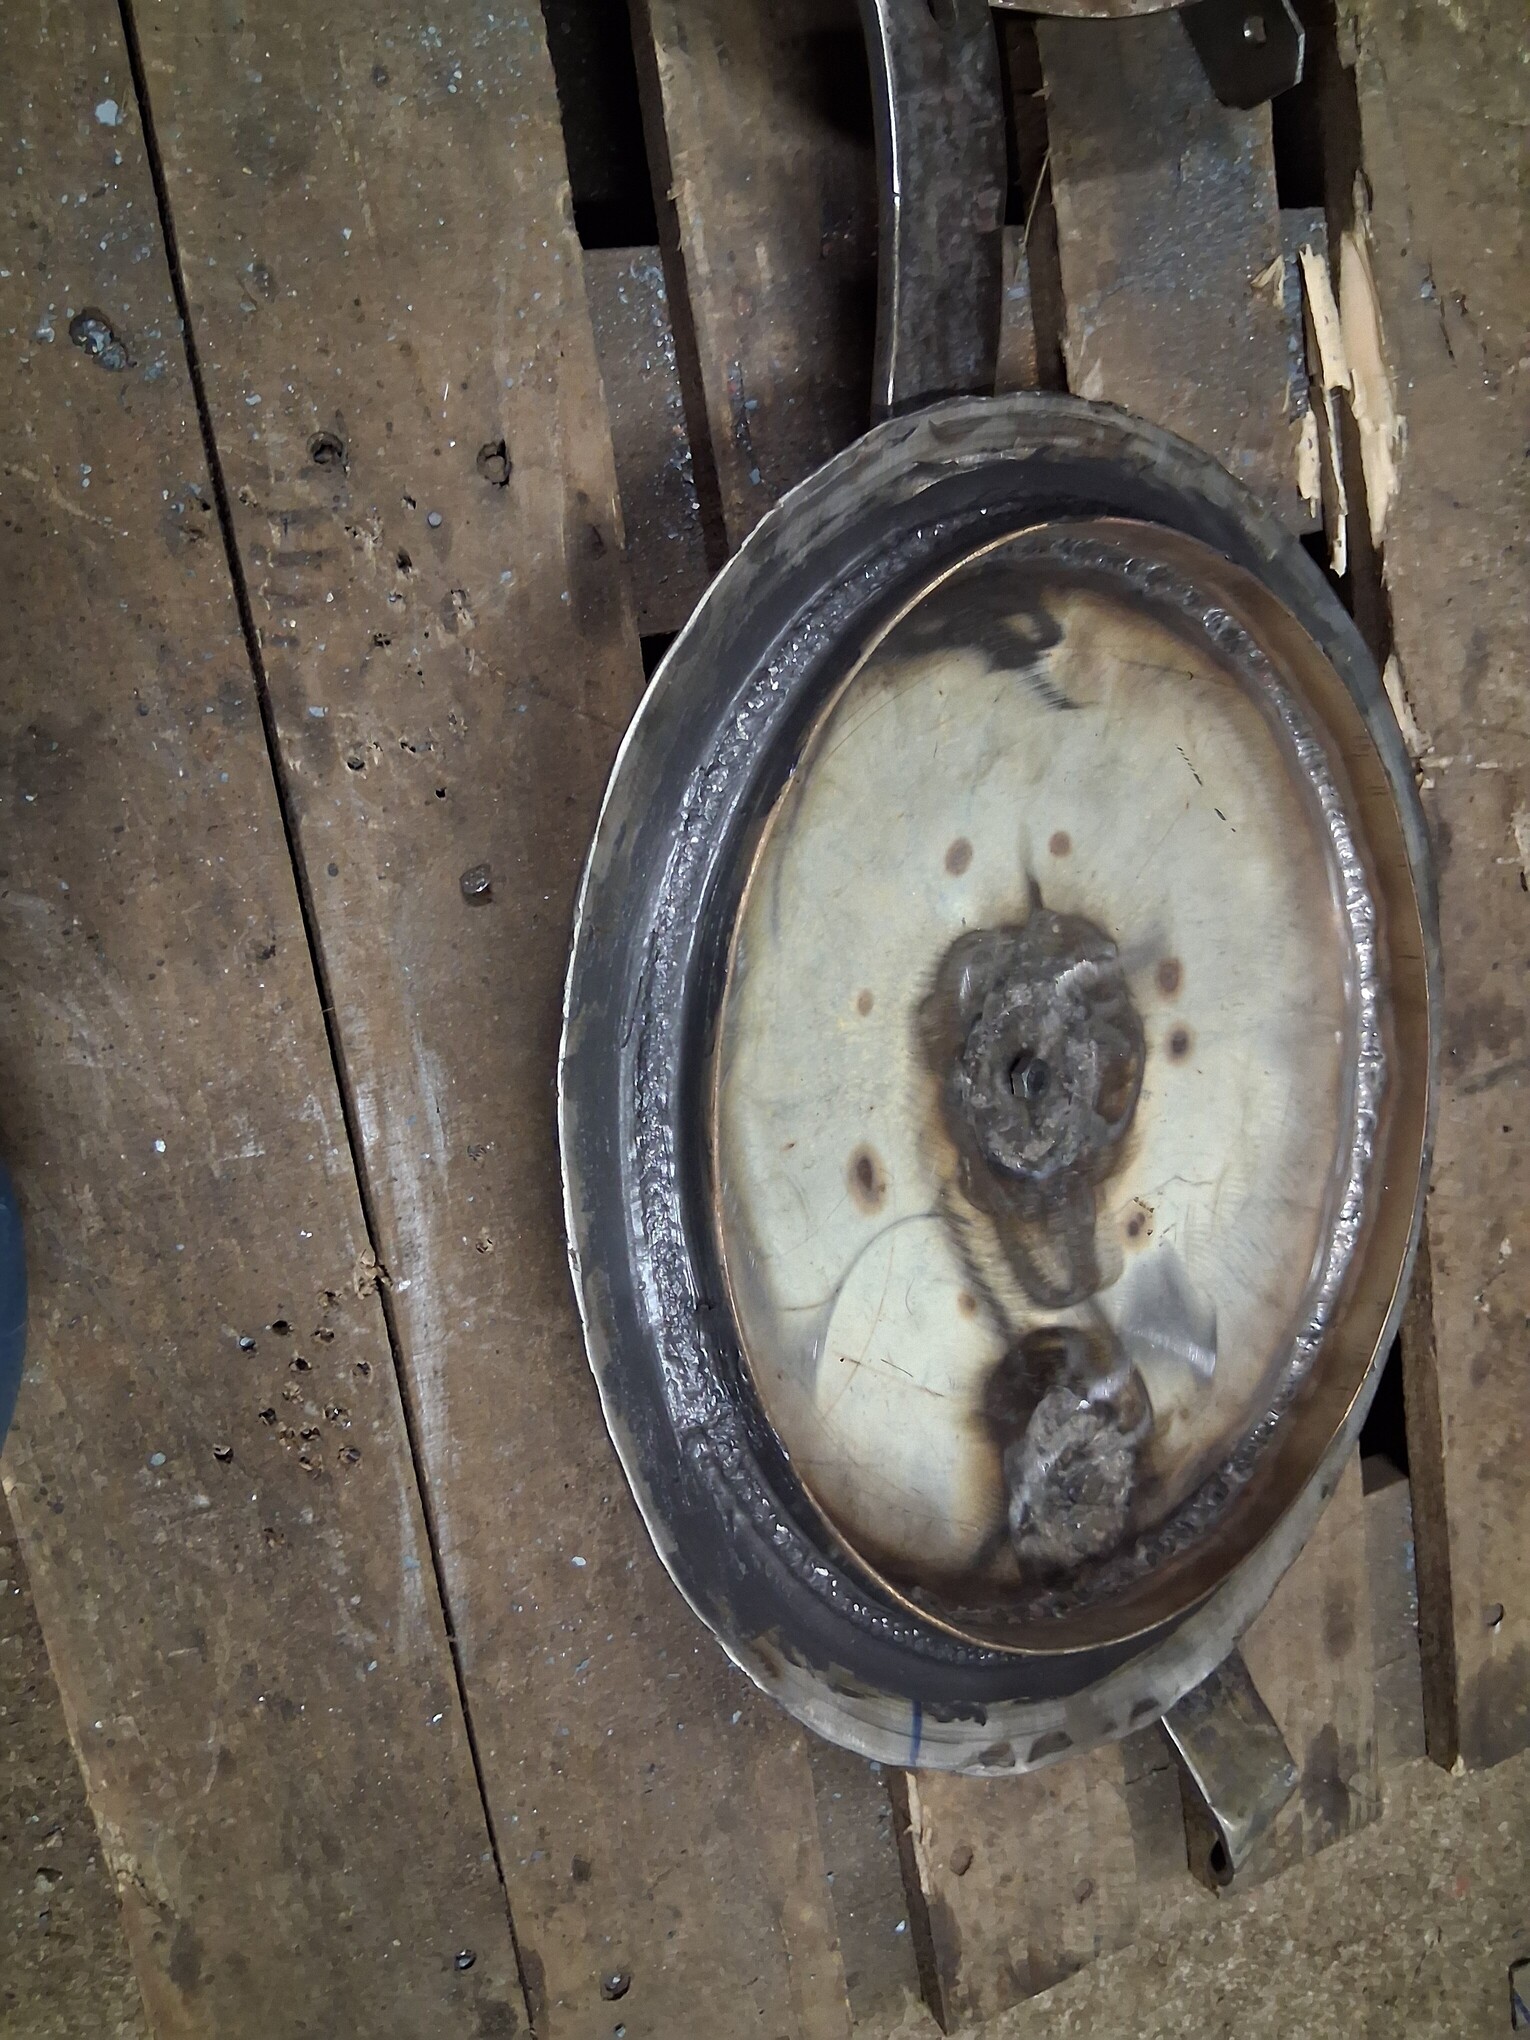
I cut a piece of spring steel from a plow board and welded it to a drill bit with a hard-welding electrode. This piece will probably always be exposed to high temperatures during the operation of the gasifier.

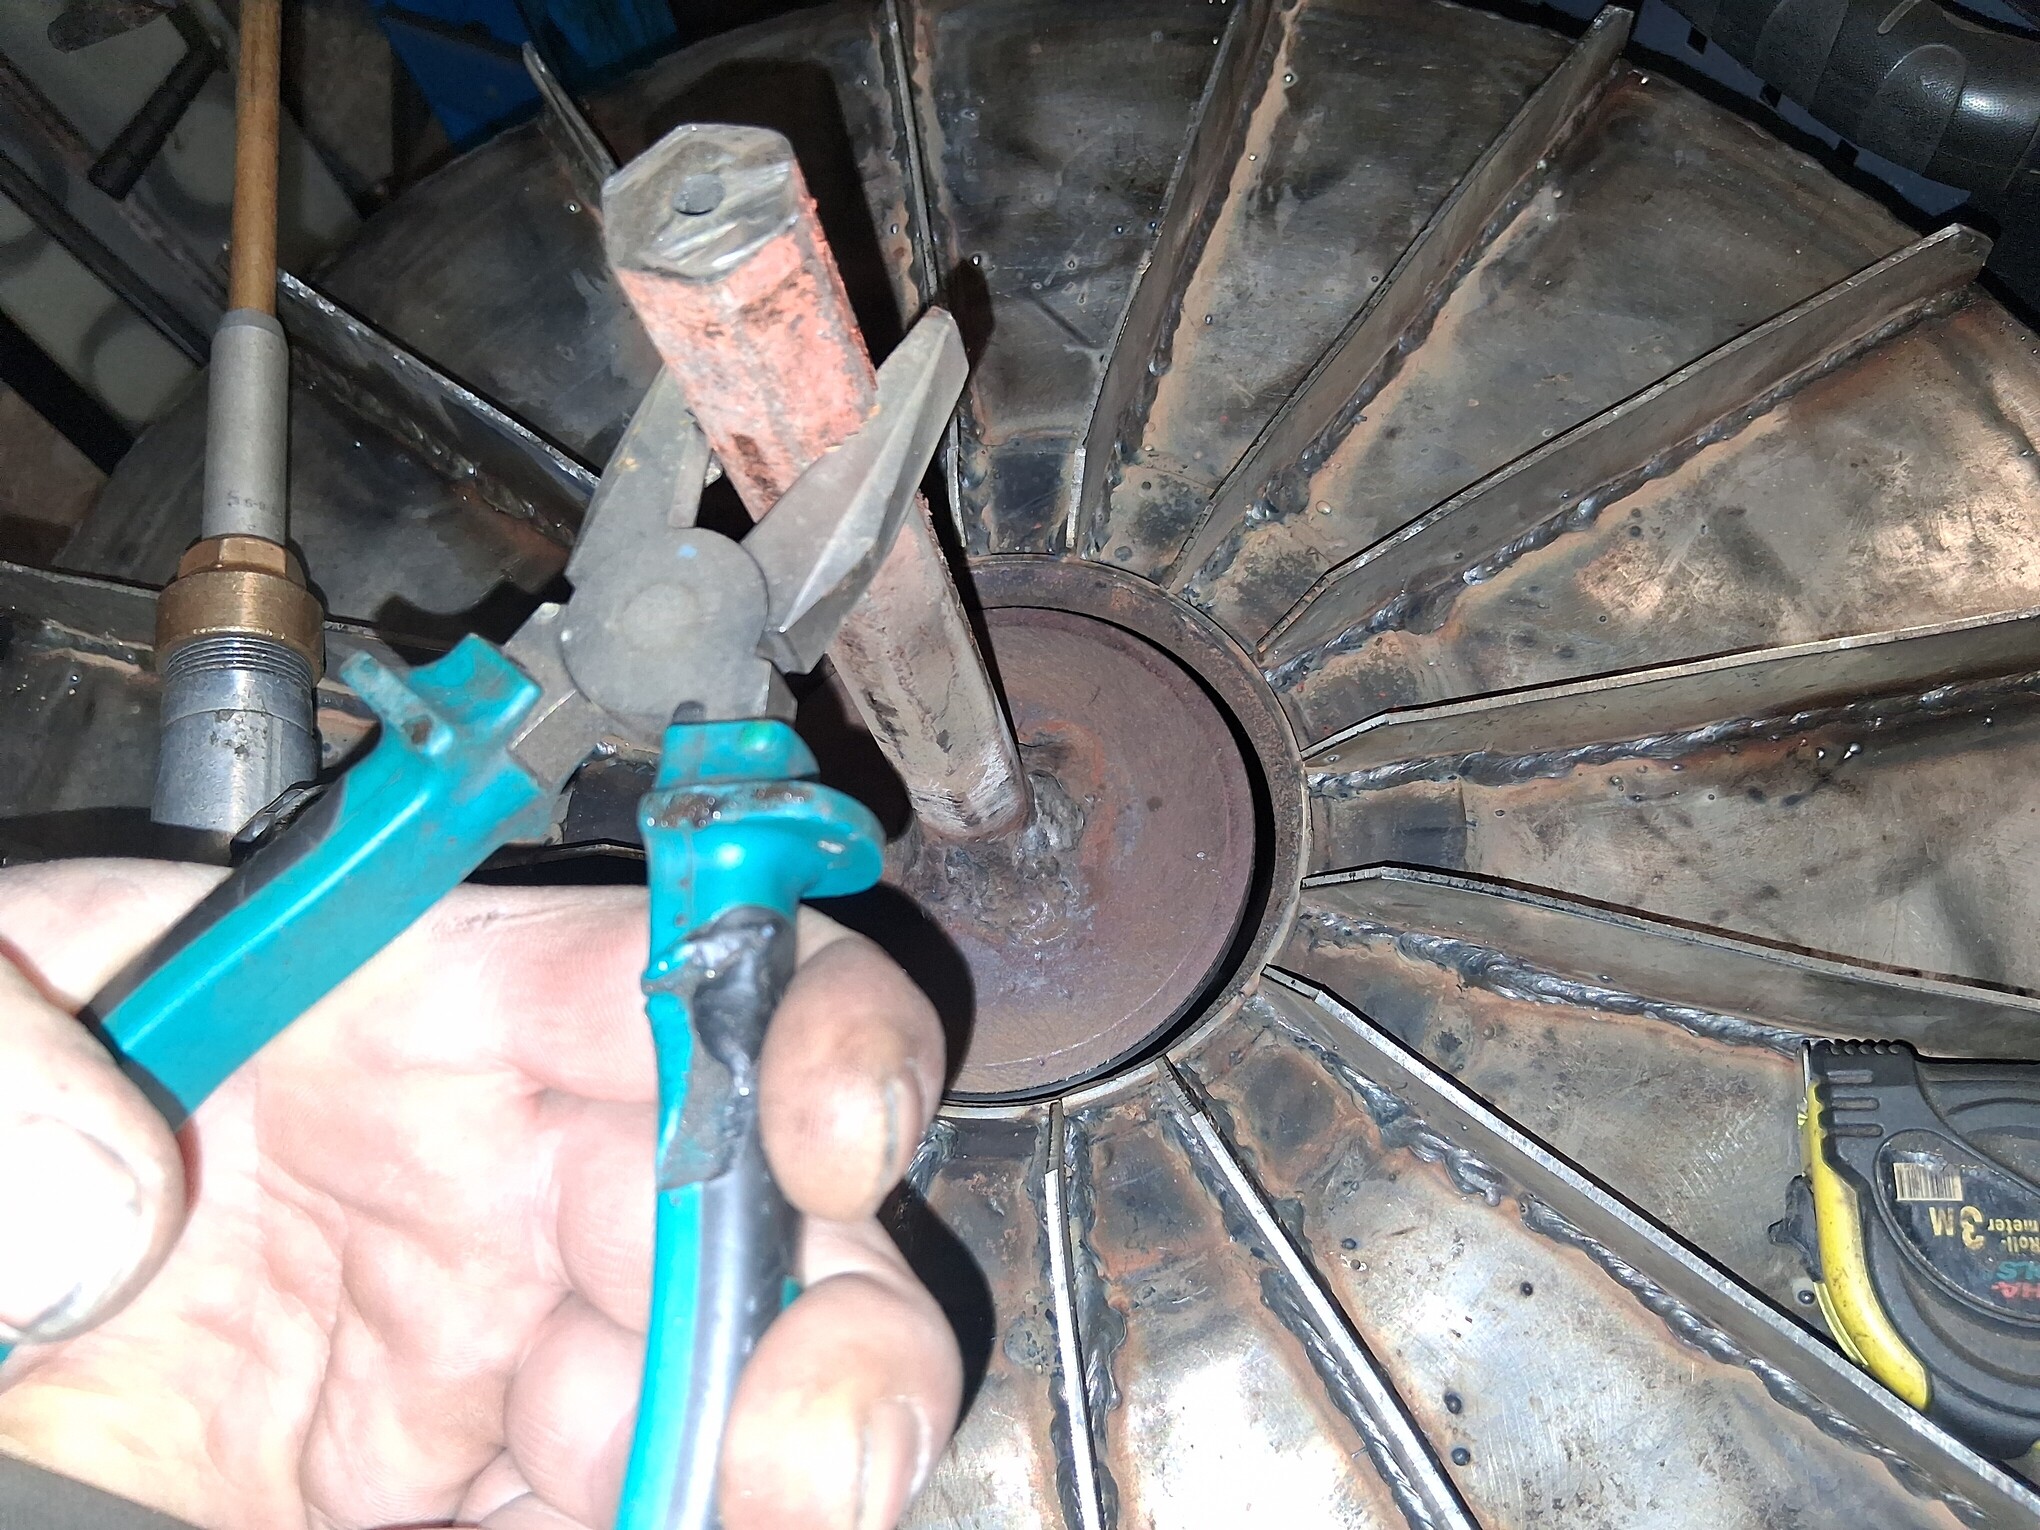
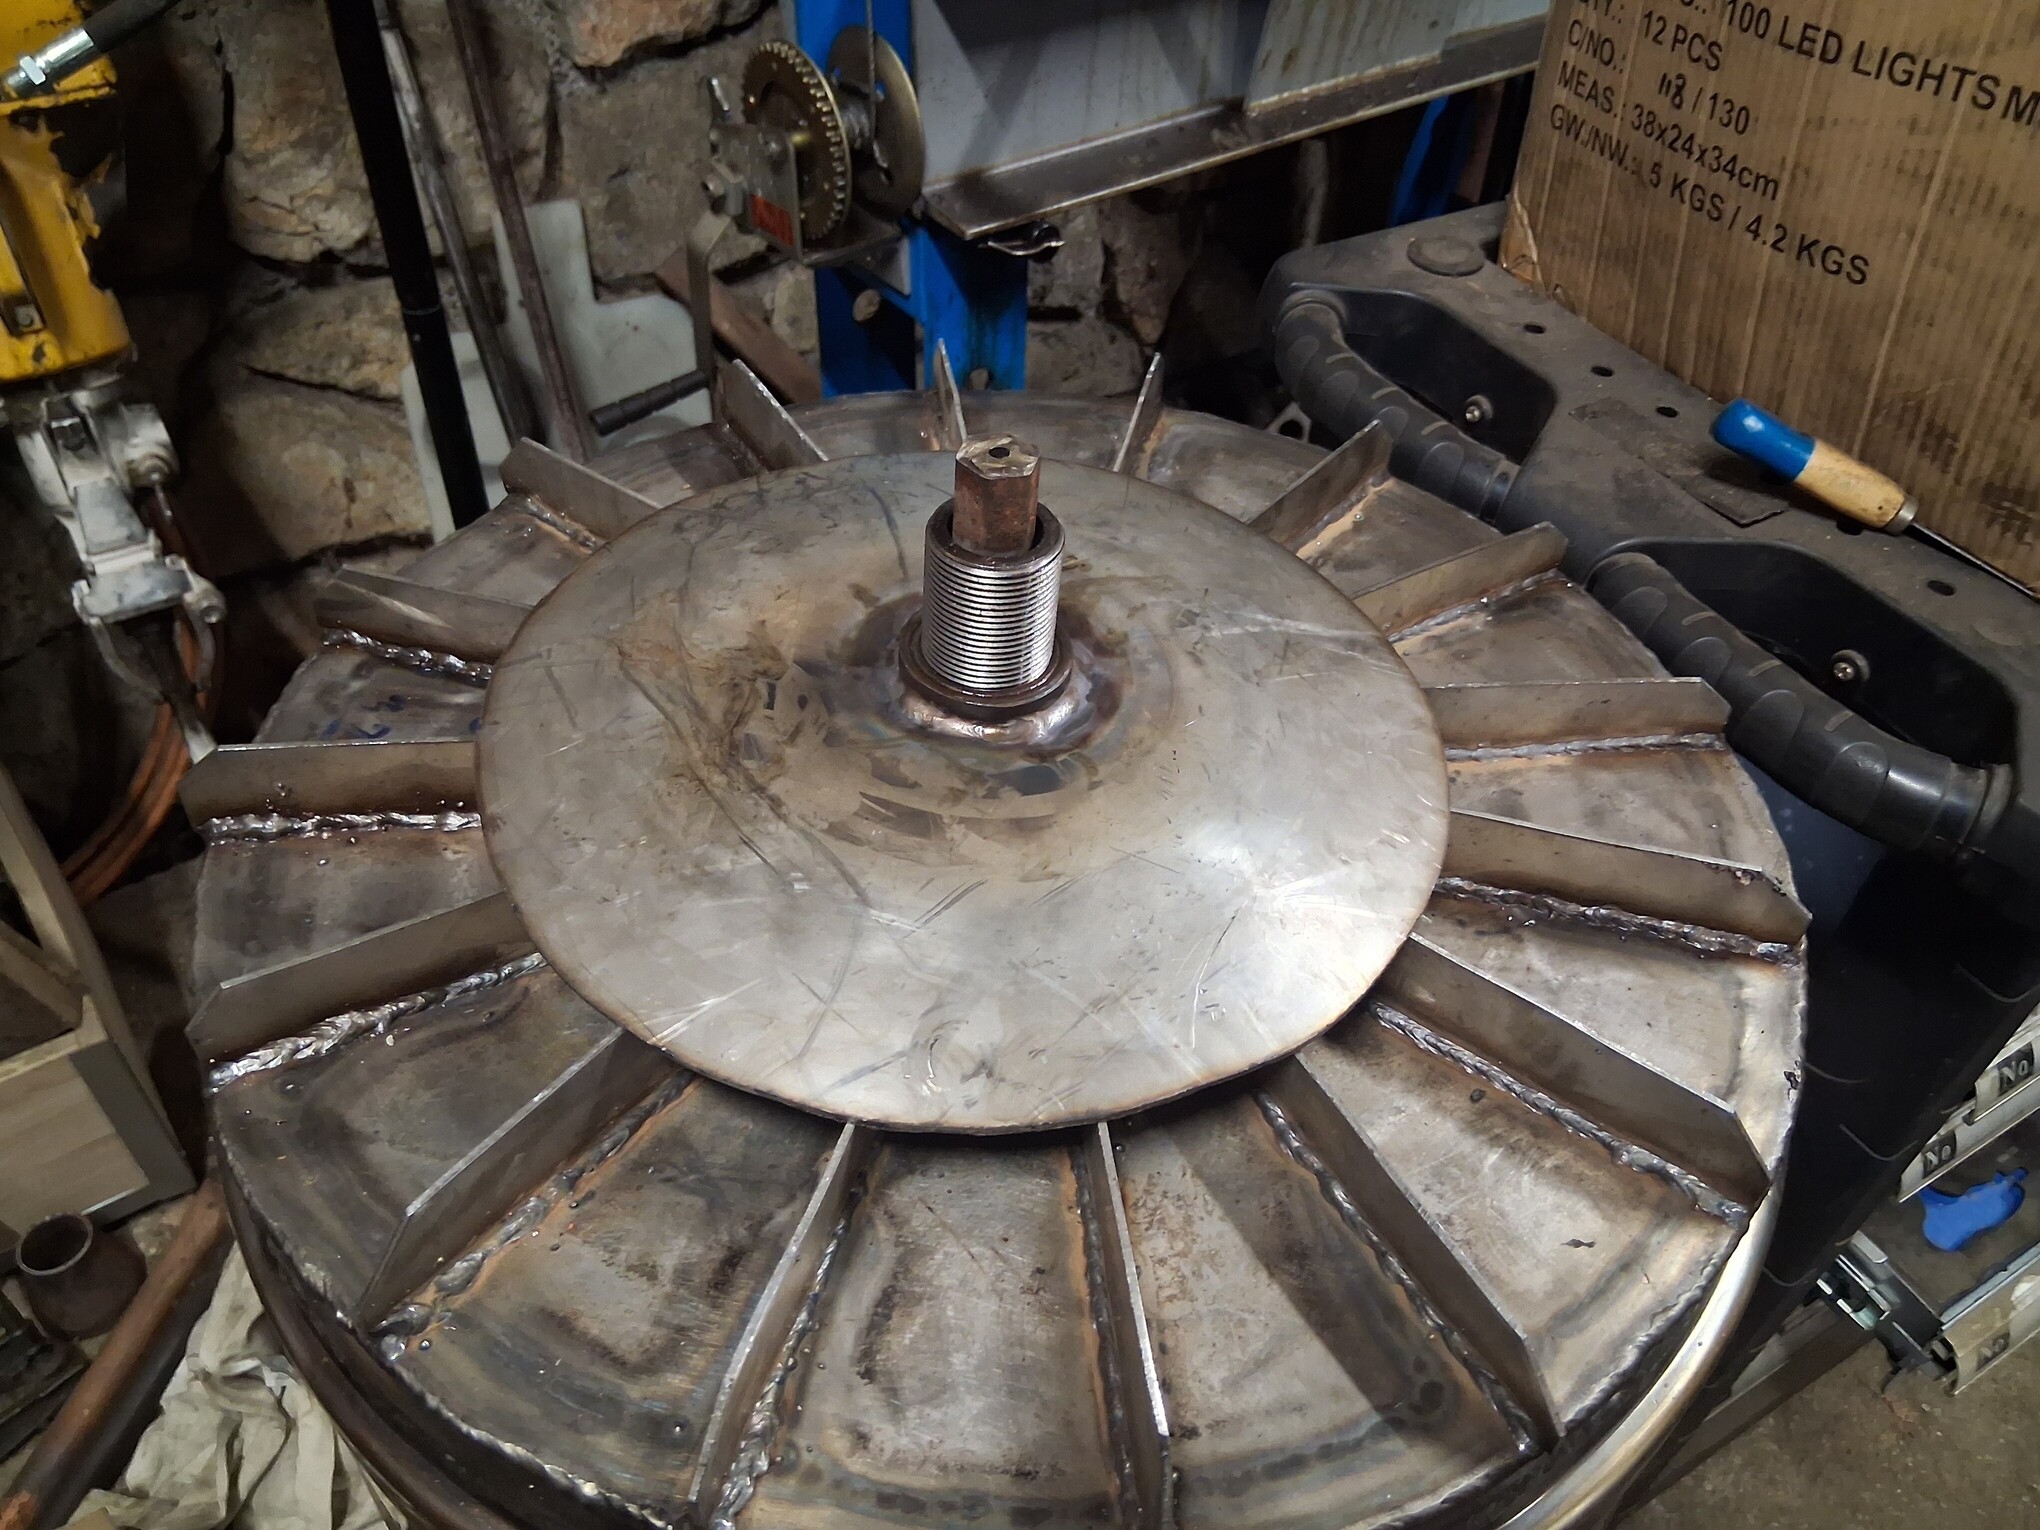
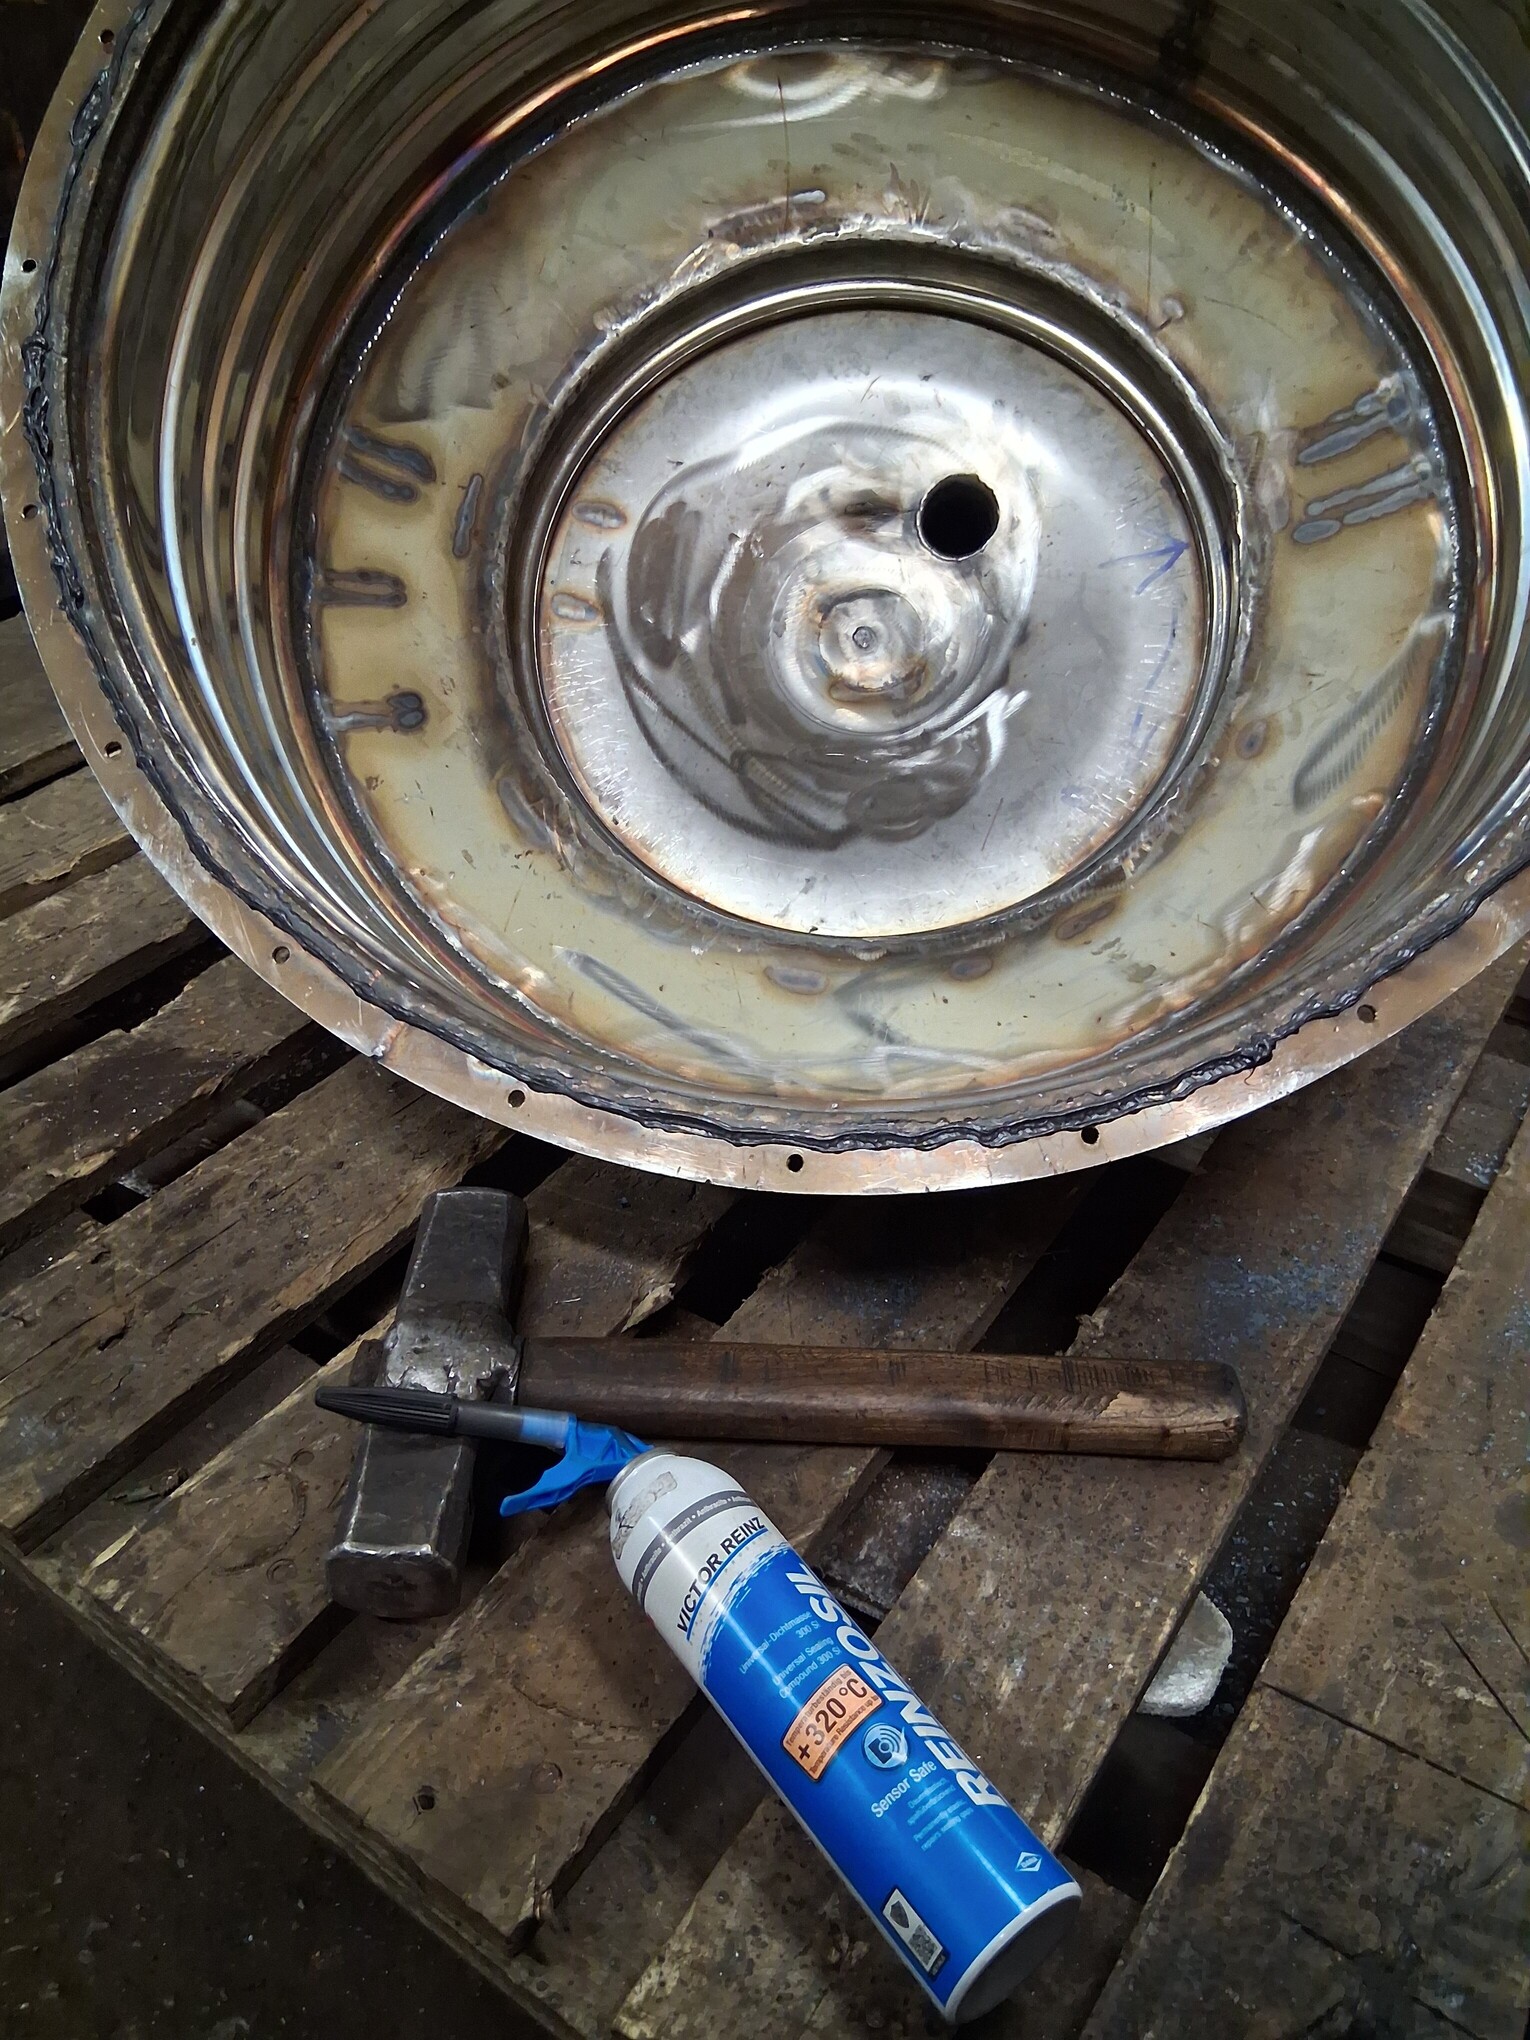
I cut this piece as an ash cleaning hole, so it is smaller in diameter than the hole, and has a 5/4" thread in the center.
I made a threaded bushing, which I welded to the stem of the shutter, this will allow (if the thread is not blocked due to temperature) adjusting the height and thus the cross-section of the limiting opening
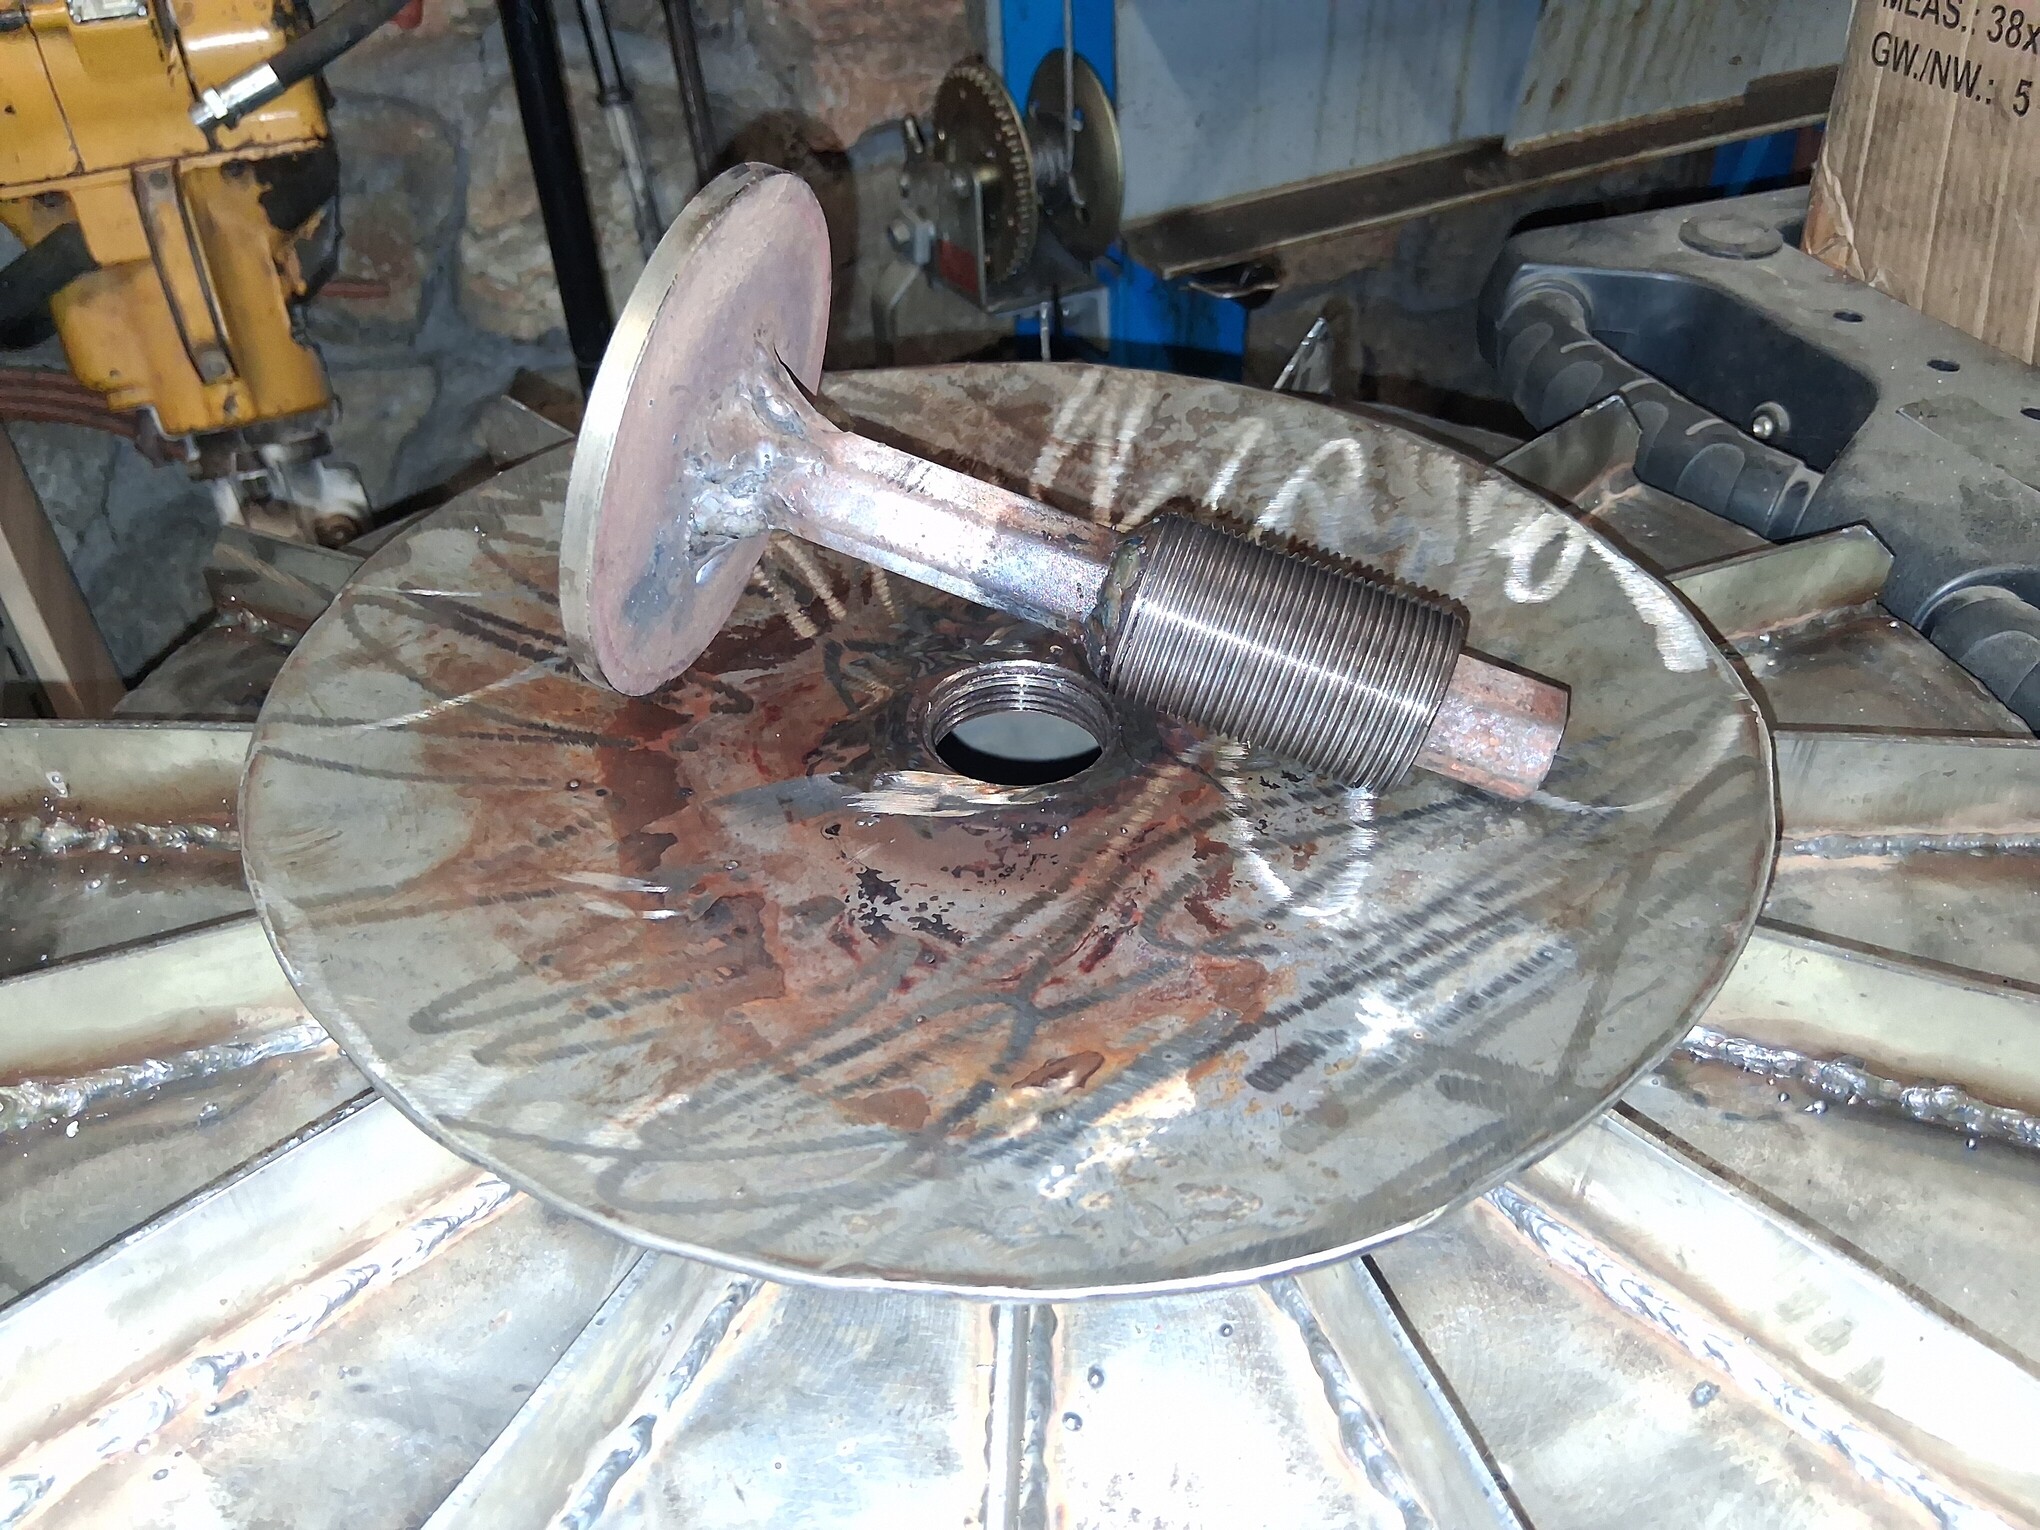
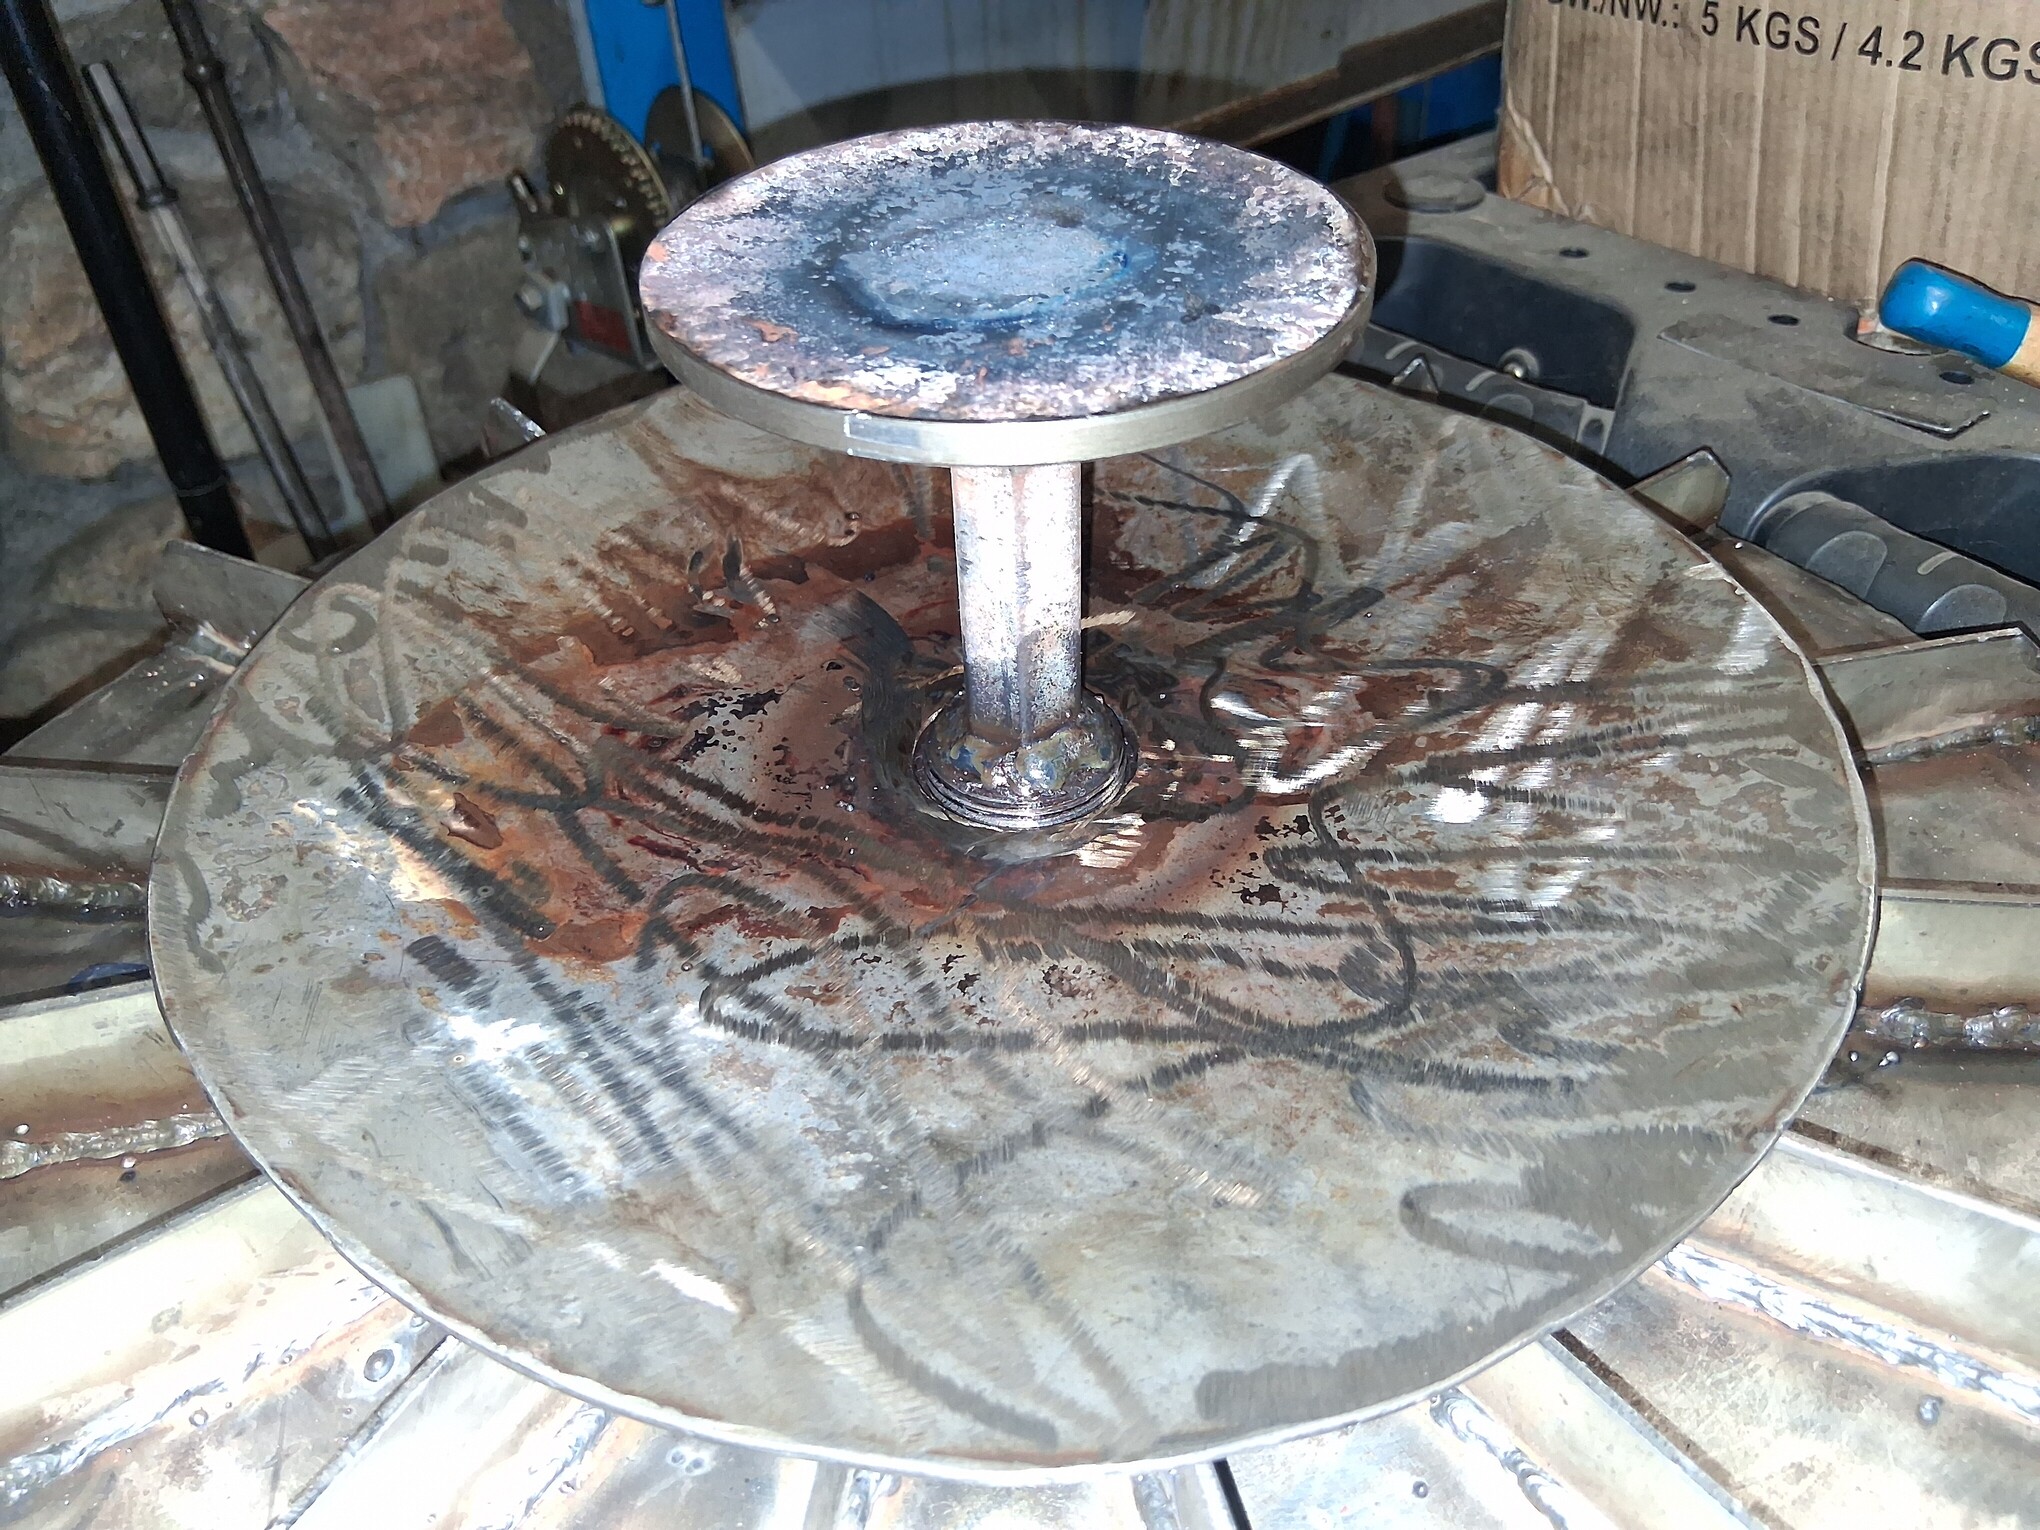
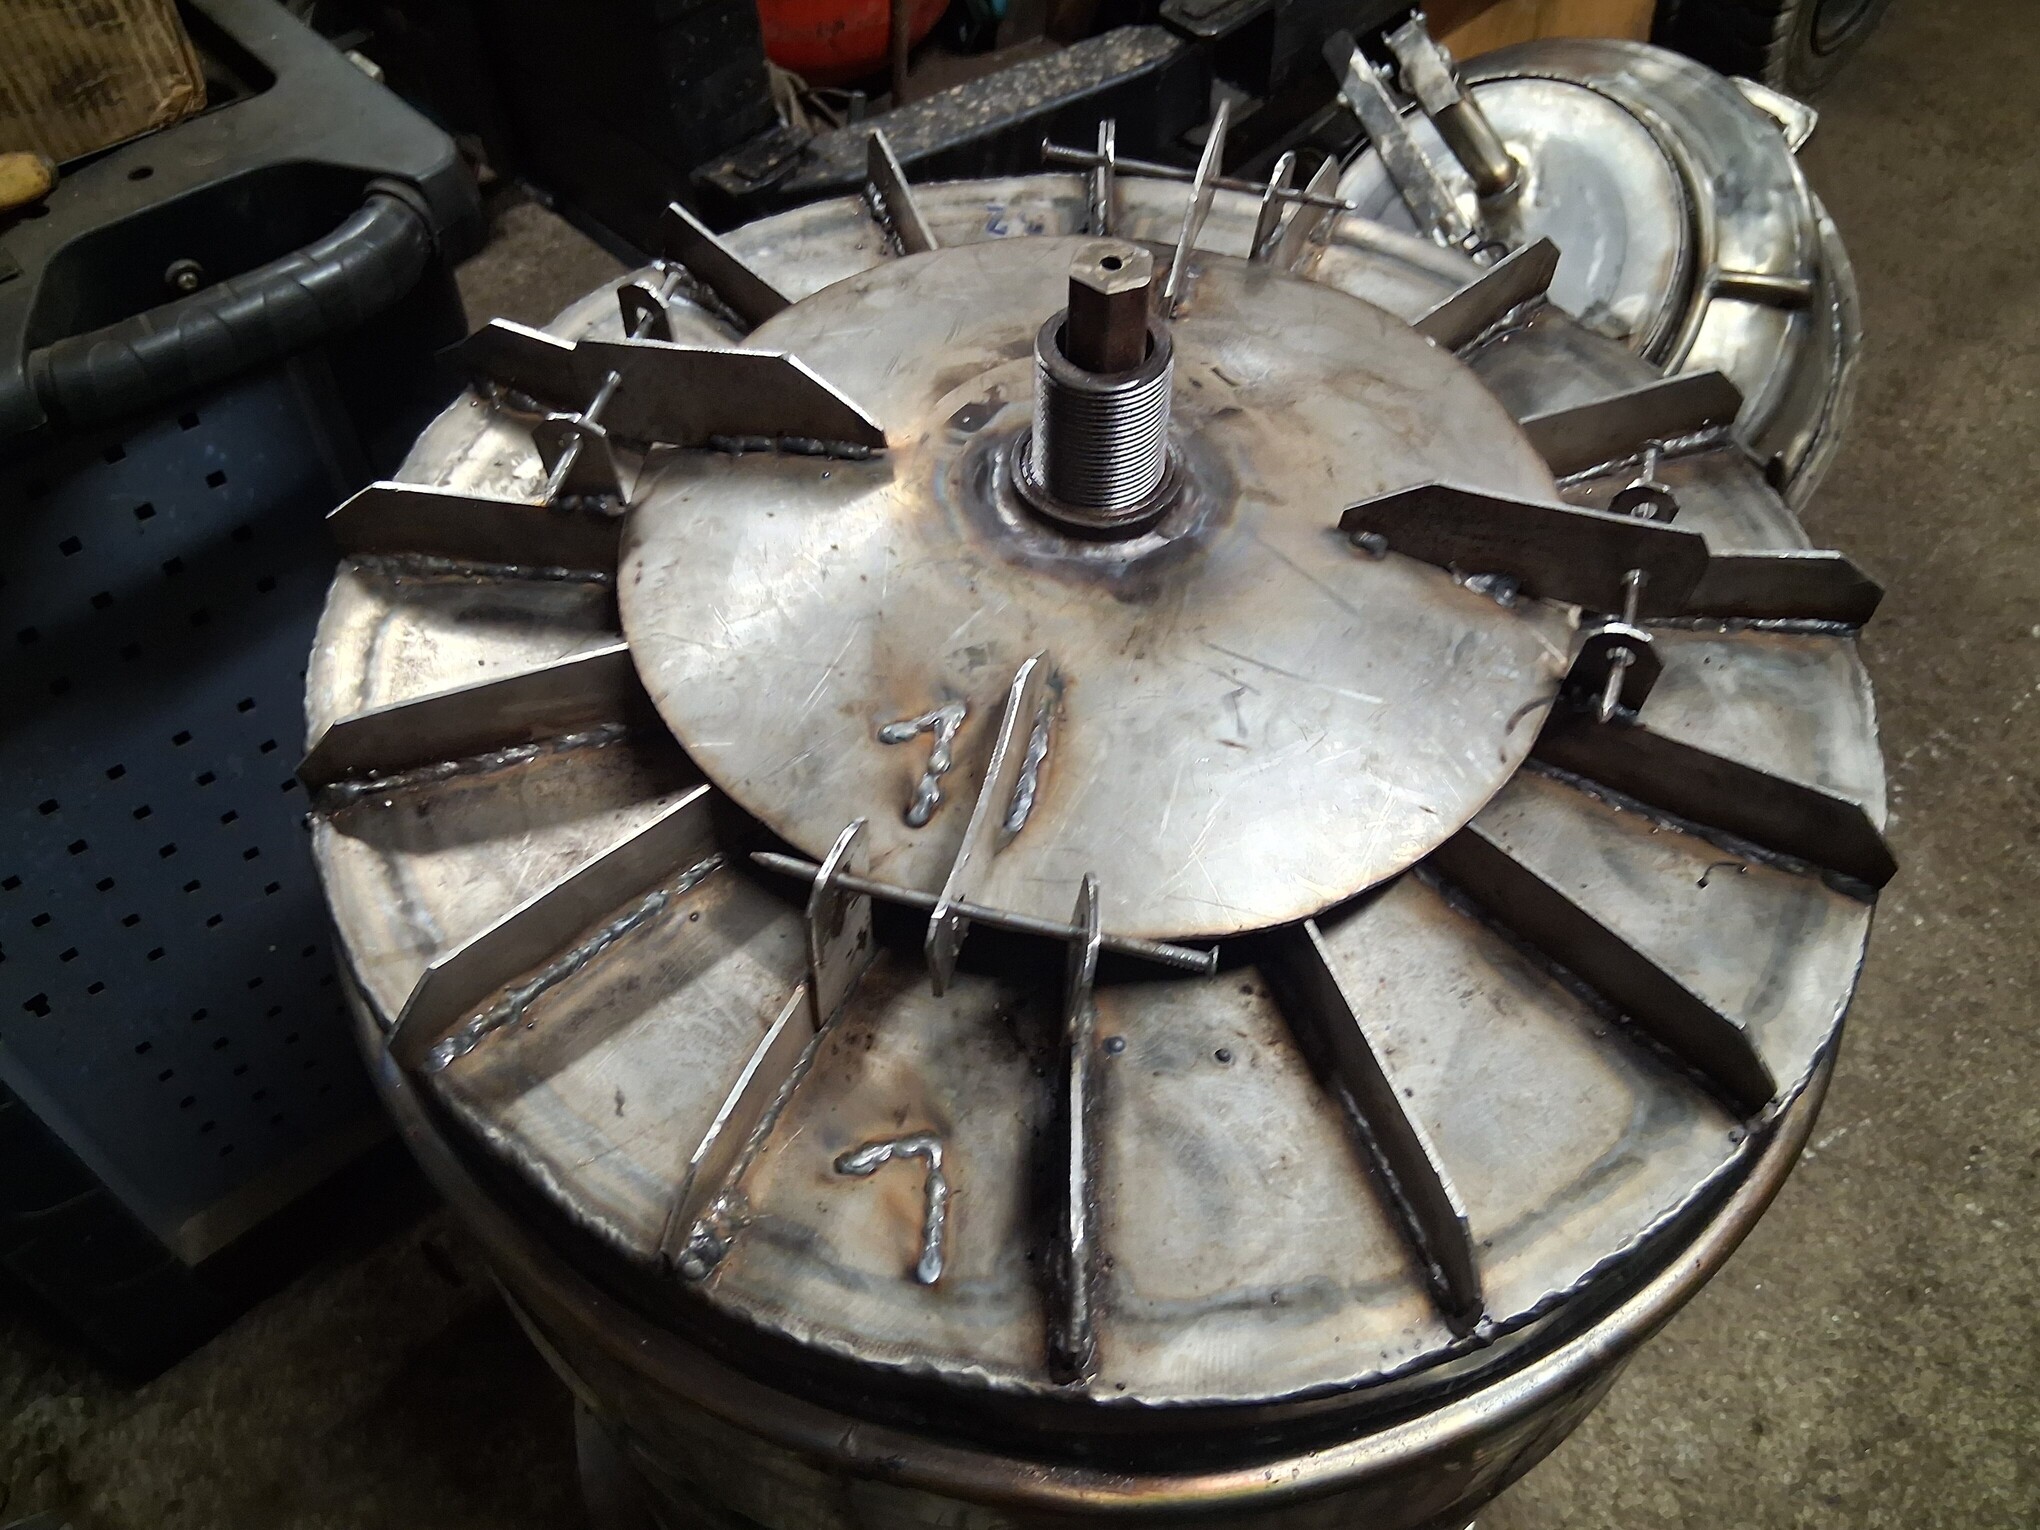
This is what it will look like from below, for now I will not make any holes in the bottom plate, I think the gas flow will carry away the ash without any problems, and the hot gas will move along the metal ribs, so some of the heat will return to the process
15 Likes
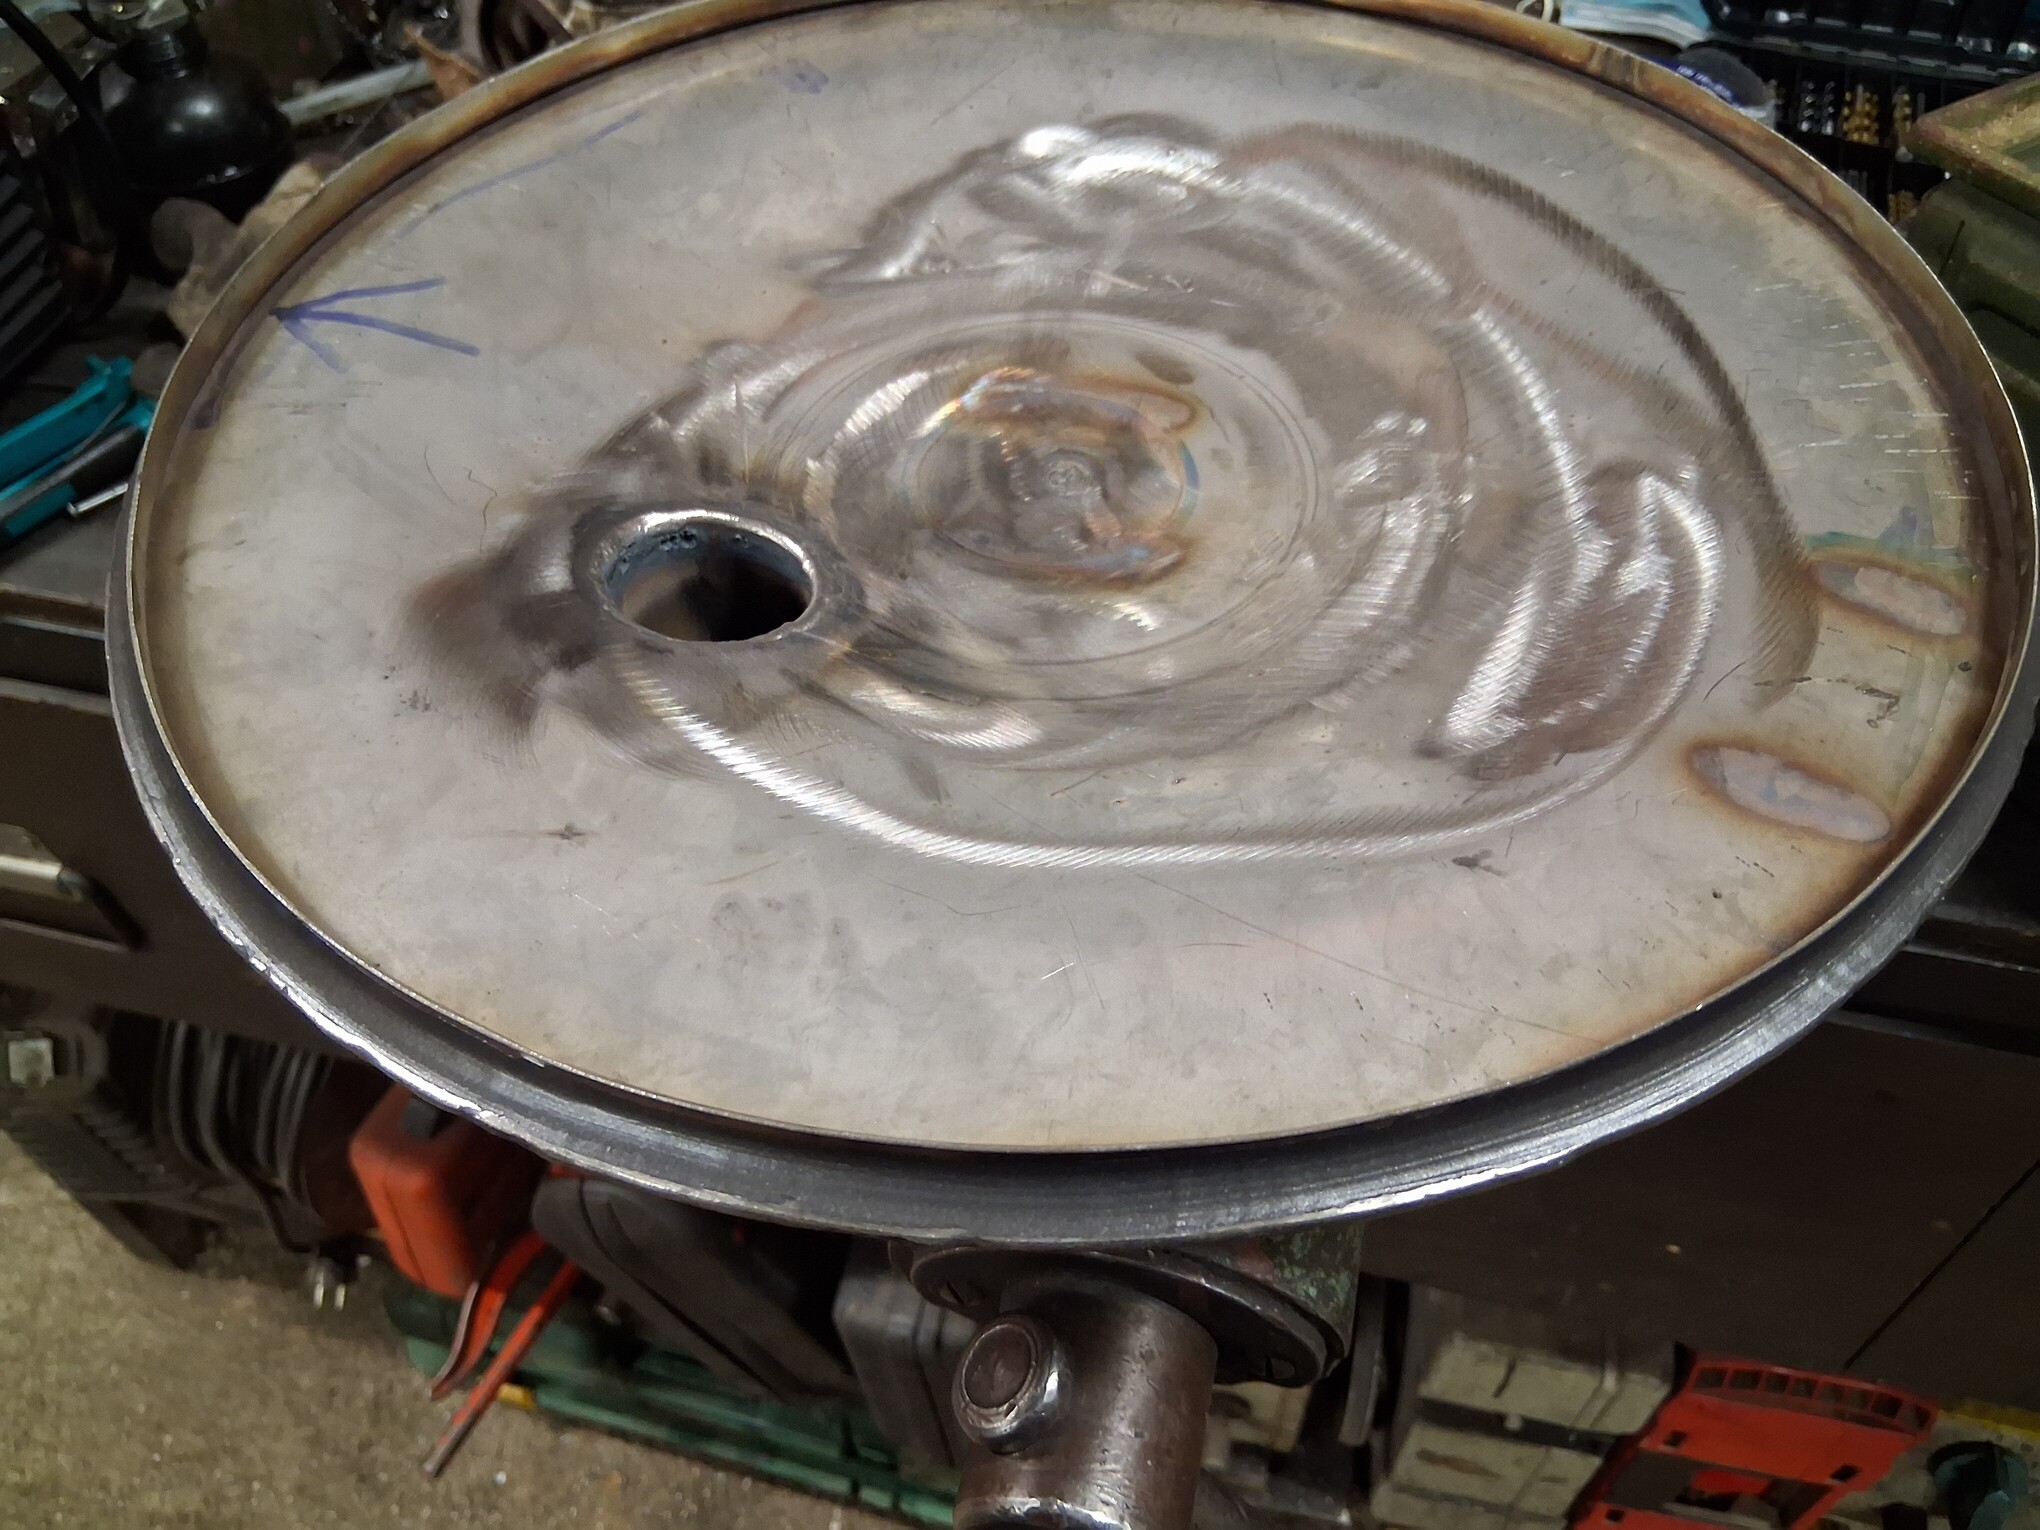
I owe you one more picture, this one shows the installation of the “grid” under the hot zone, nails or thicker wire will allow you to adjust the distance by bending it, well, at first I will try working with straight nails - the bottom plate will be tight against the ribs.
17 Likes
and the drill bit can be used eventually as your proven bottom nozzle, if something not works how calculated , i guess?
9 Likes
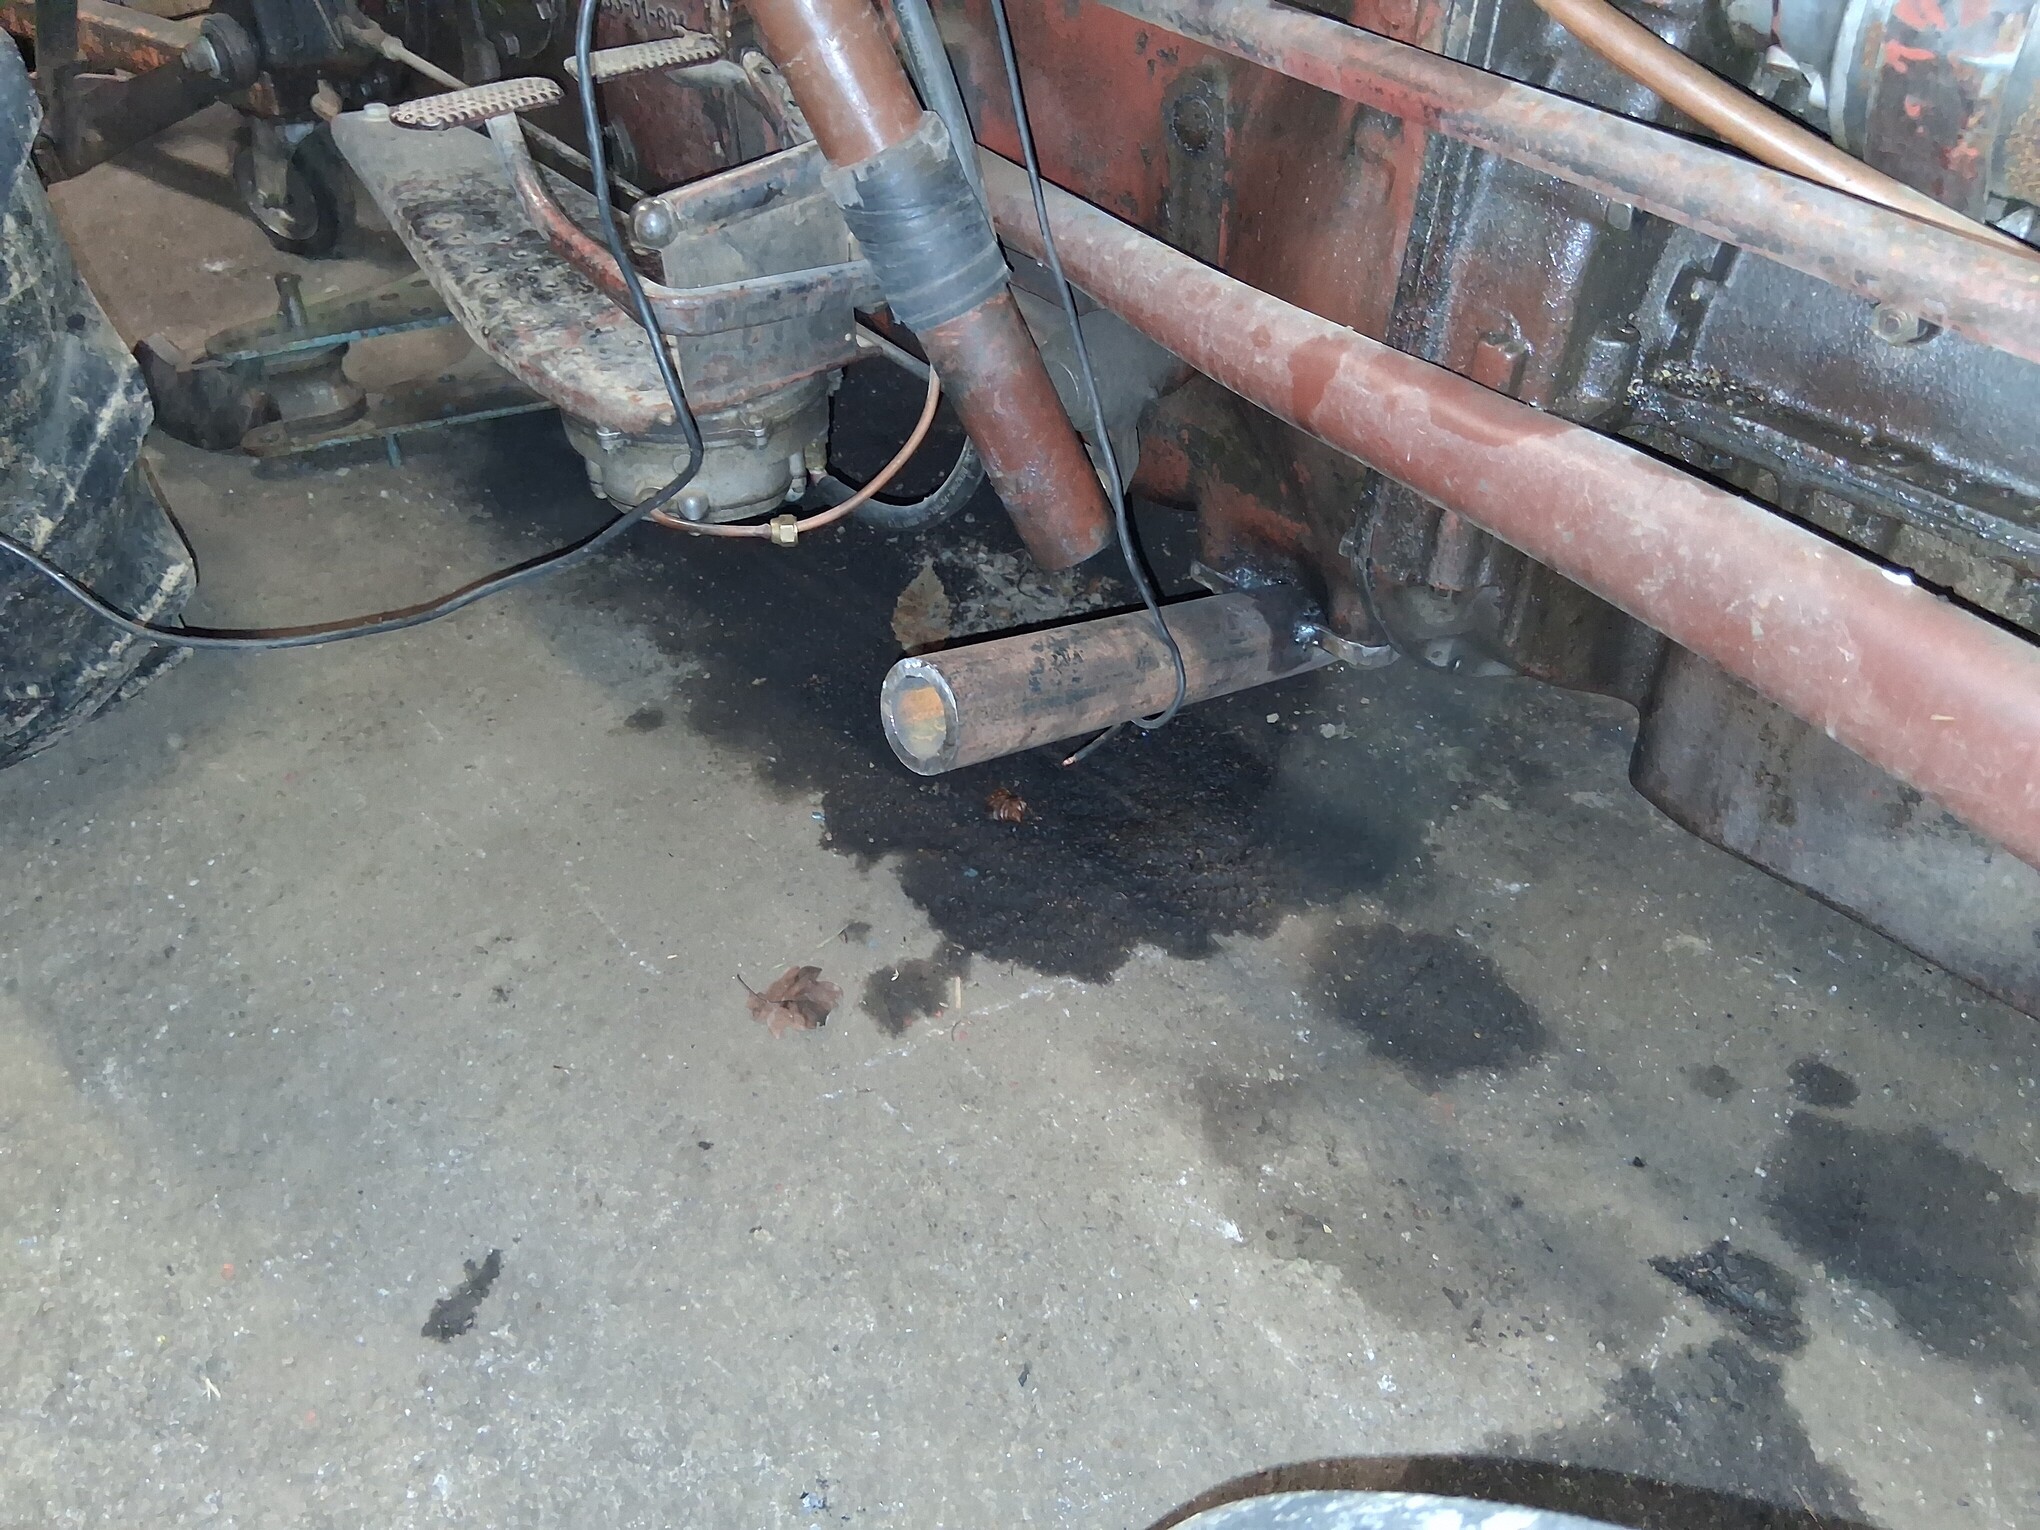
Giorgio, this is definitely a good suggestion. How do I “calculate” how much air needs to be taken into the “forbidden” area (near the restriction opening)? I don’t have a “formula” for this, but during operation I determine whether the “blocked nose” syndrome is occurring, or if a void is forming below (I check with a “baseball” bat), if the first symptom is, there is too little air, but if the second, there is too much. In one picture that I posted in the tractor topic, you can see the “throttling element” for the lower nozzle, a simple folded wire that I push into the lower nozzle


16 Likes
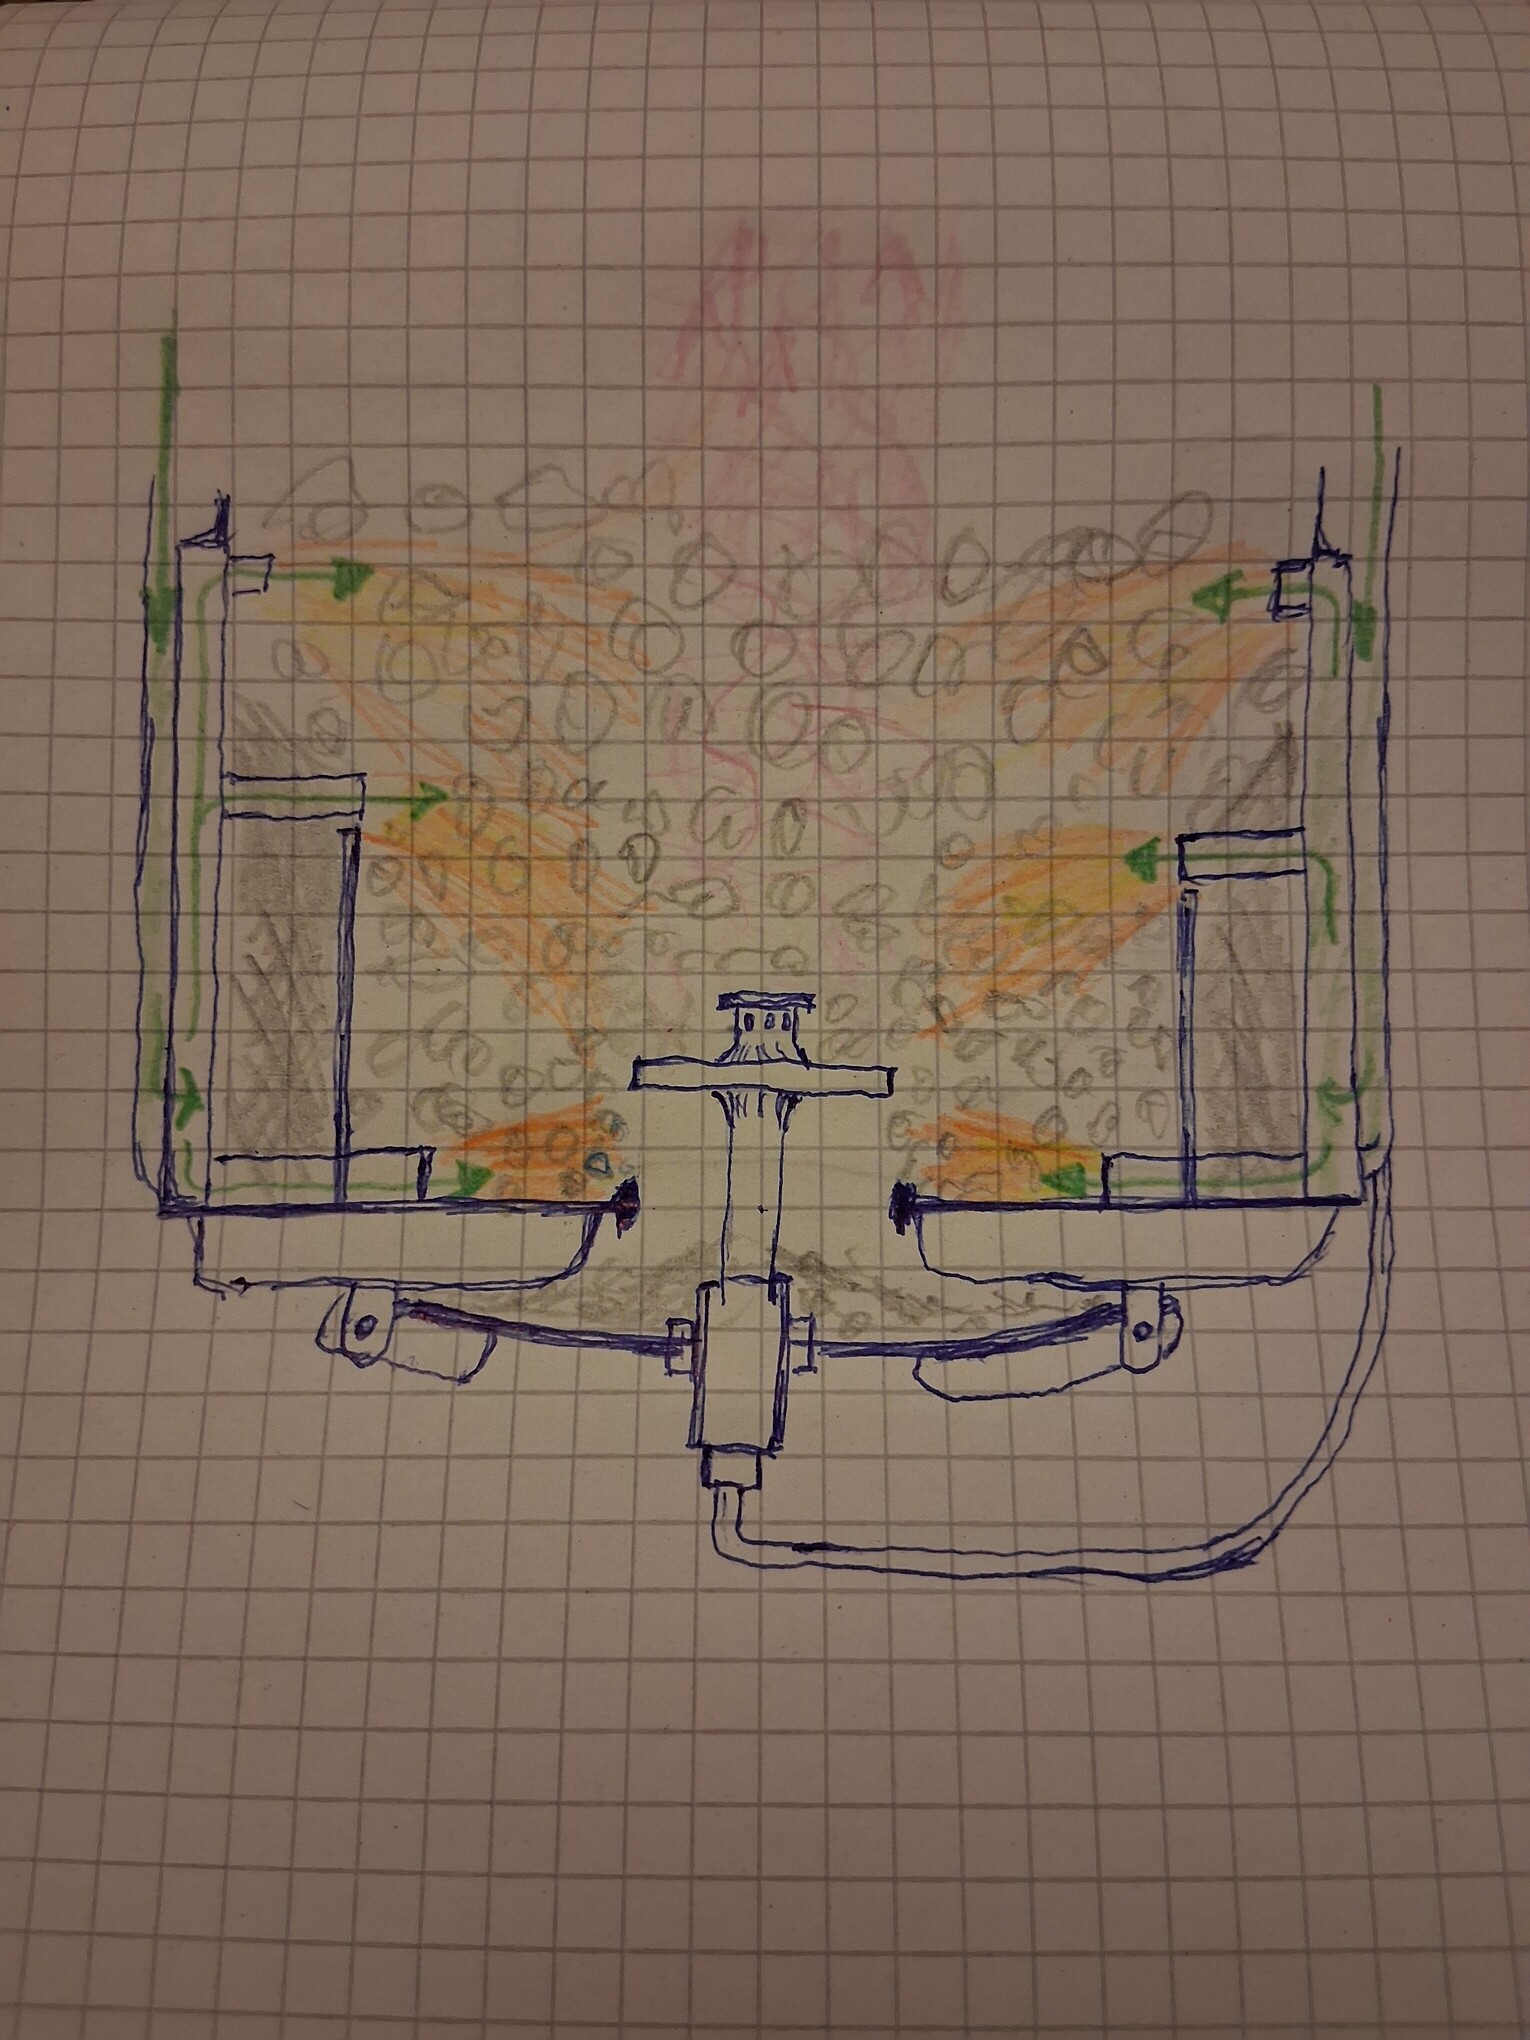
I drew a sketch, to give a better idea of what is happening in the hot zone and the function of the middle nozzle. If I make holes under the diaphragm, it makes no sense, because there is an empty space here, air can be supplied above the diaphragm, where there is an area with fine charcoal. Does this make sense? If I take into account the fact that the middle is usually the hottest area, where the gases rise upwards, there is no need for additional temperature here, well, there is no need to perform the “cleaning” function here either, this task is now performed by the lower nozzles,… I see no real reason to perform the connection shown in the sketch,… but now to prepare the tube and make a seat of 8 mm in a hexagonal drill, there is no cost or difficulty,…
15 Likes
That center nozzle would be a great place to add air with a very high moisture content, it would produce some very good hydrogen gases.
11 Likes
Thanks Bob for this thought - suggestion, it is definitely good to have a ready connection for testing such suggestions, it will be very easy to install or remove the air connection in the middle.
When I look at this sketch and imagine a charcoal gasifier, I think that this method of a center nozzle with a disk mounted below would allow for good operation, the temperature radiates upwards, the disk carries heat downwards and cools the nozzle, the ash is easily removed into the center opening and falls down,… just a thought.
10 Likes
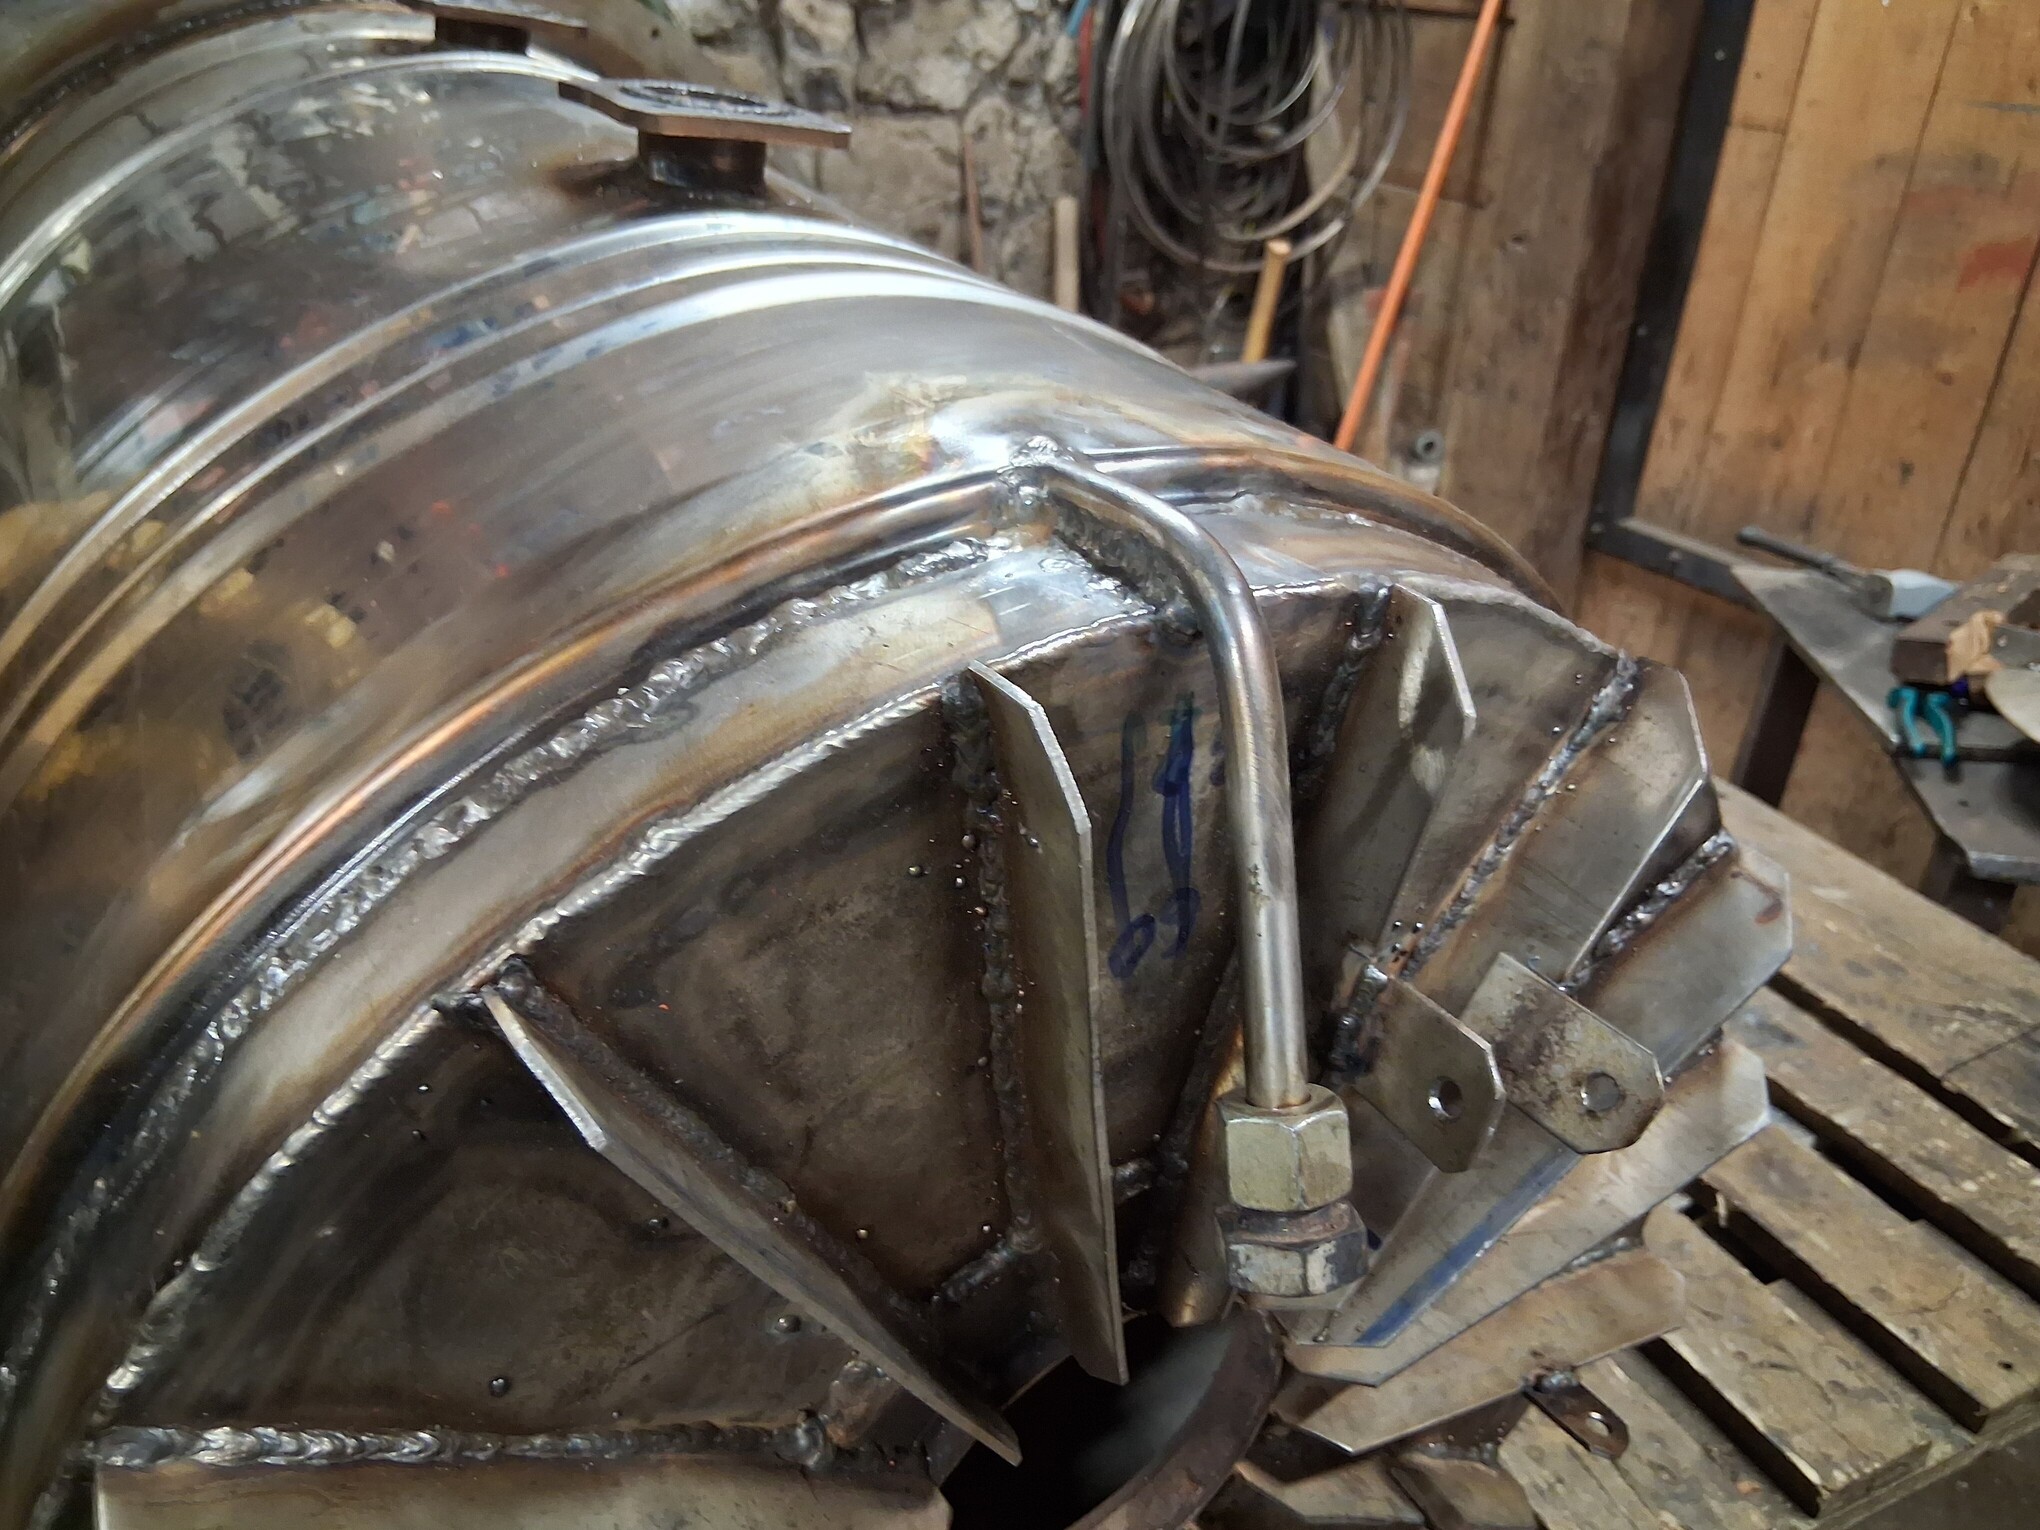
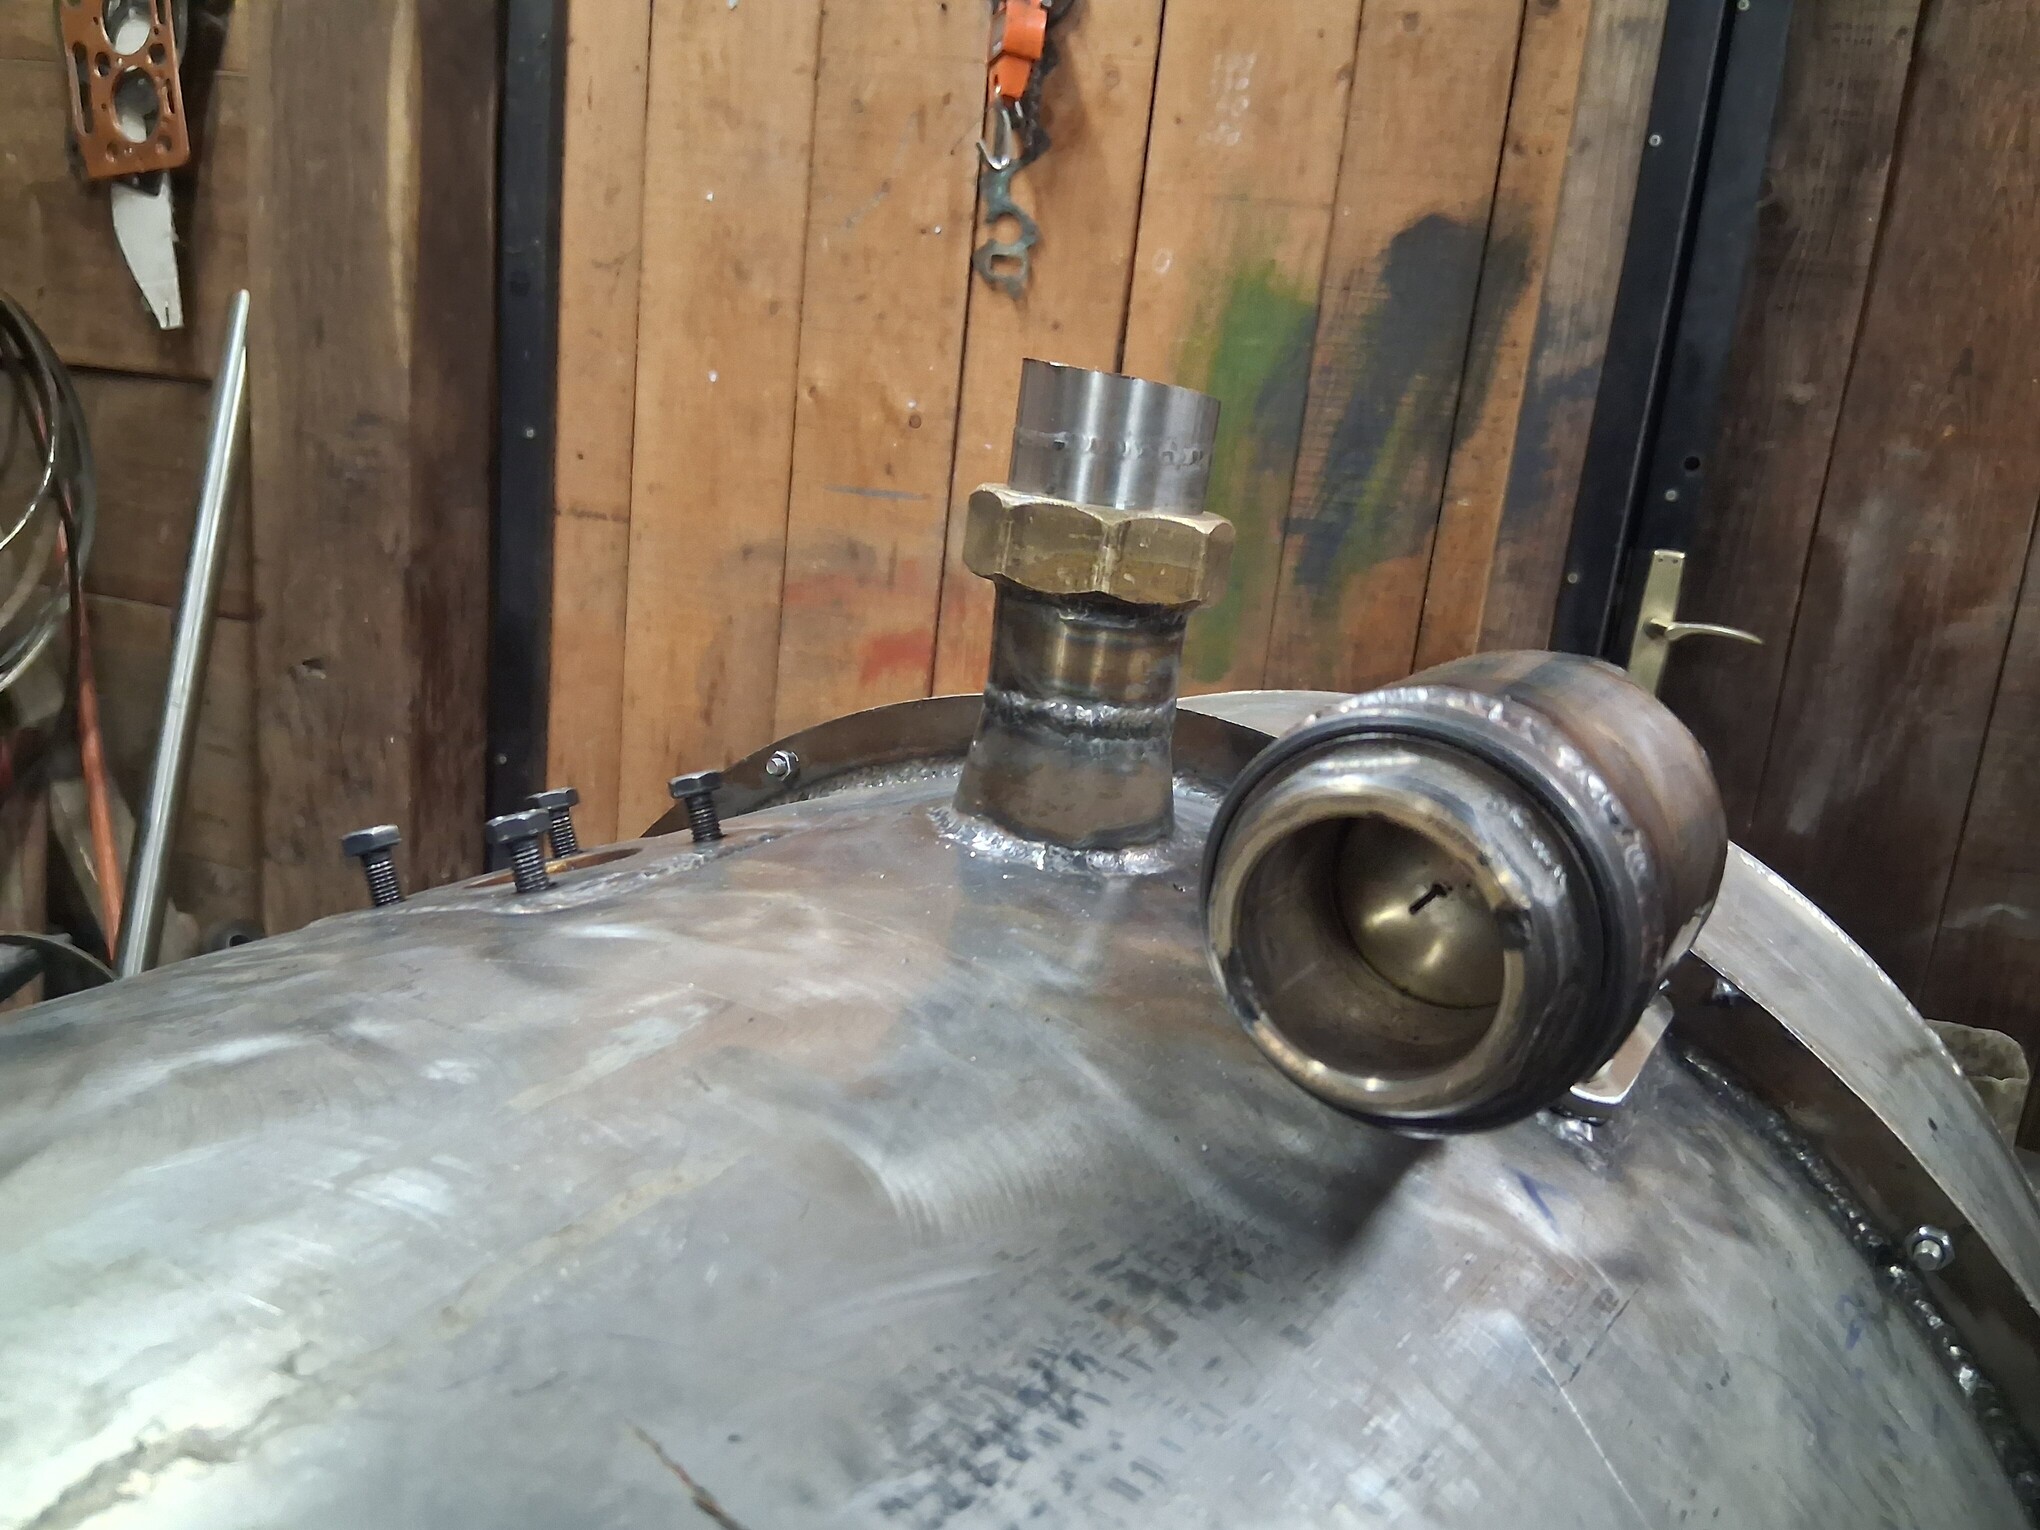
I found a piece of 12 mm stainless steel pipe and welded it into the air intake jacket. For now, it is closed at the end. I prepared an 8 mm seat in the drill bit. Now it will be easy to connect it.
Before assembly, I applied a sealant resistant to 320°C
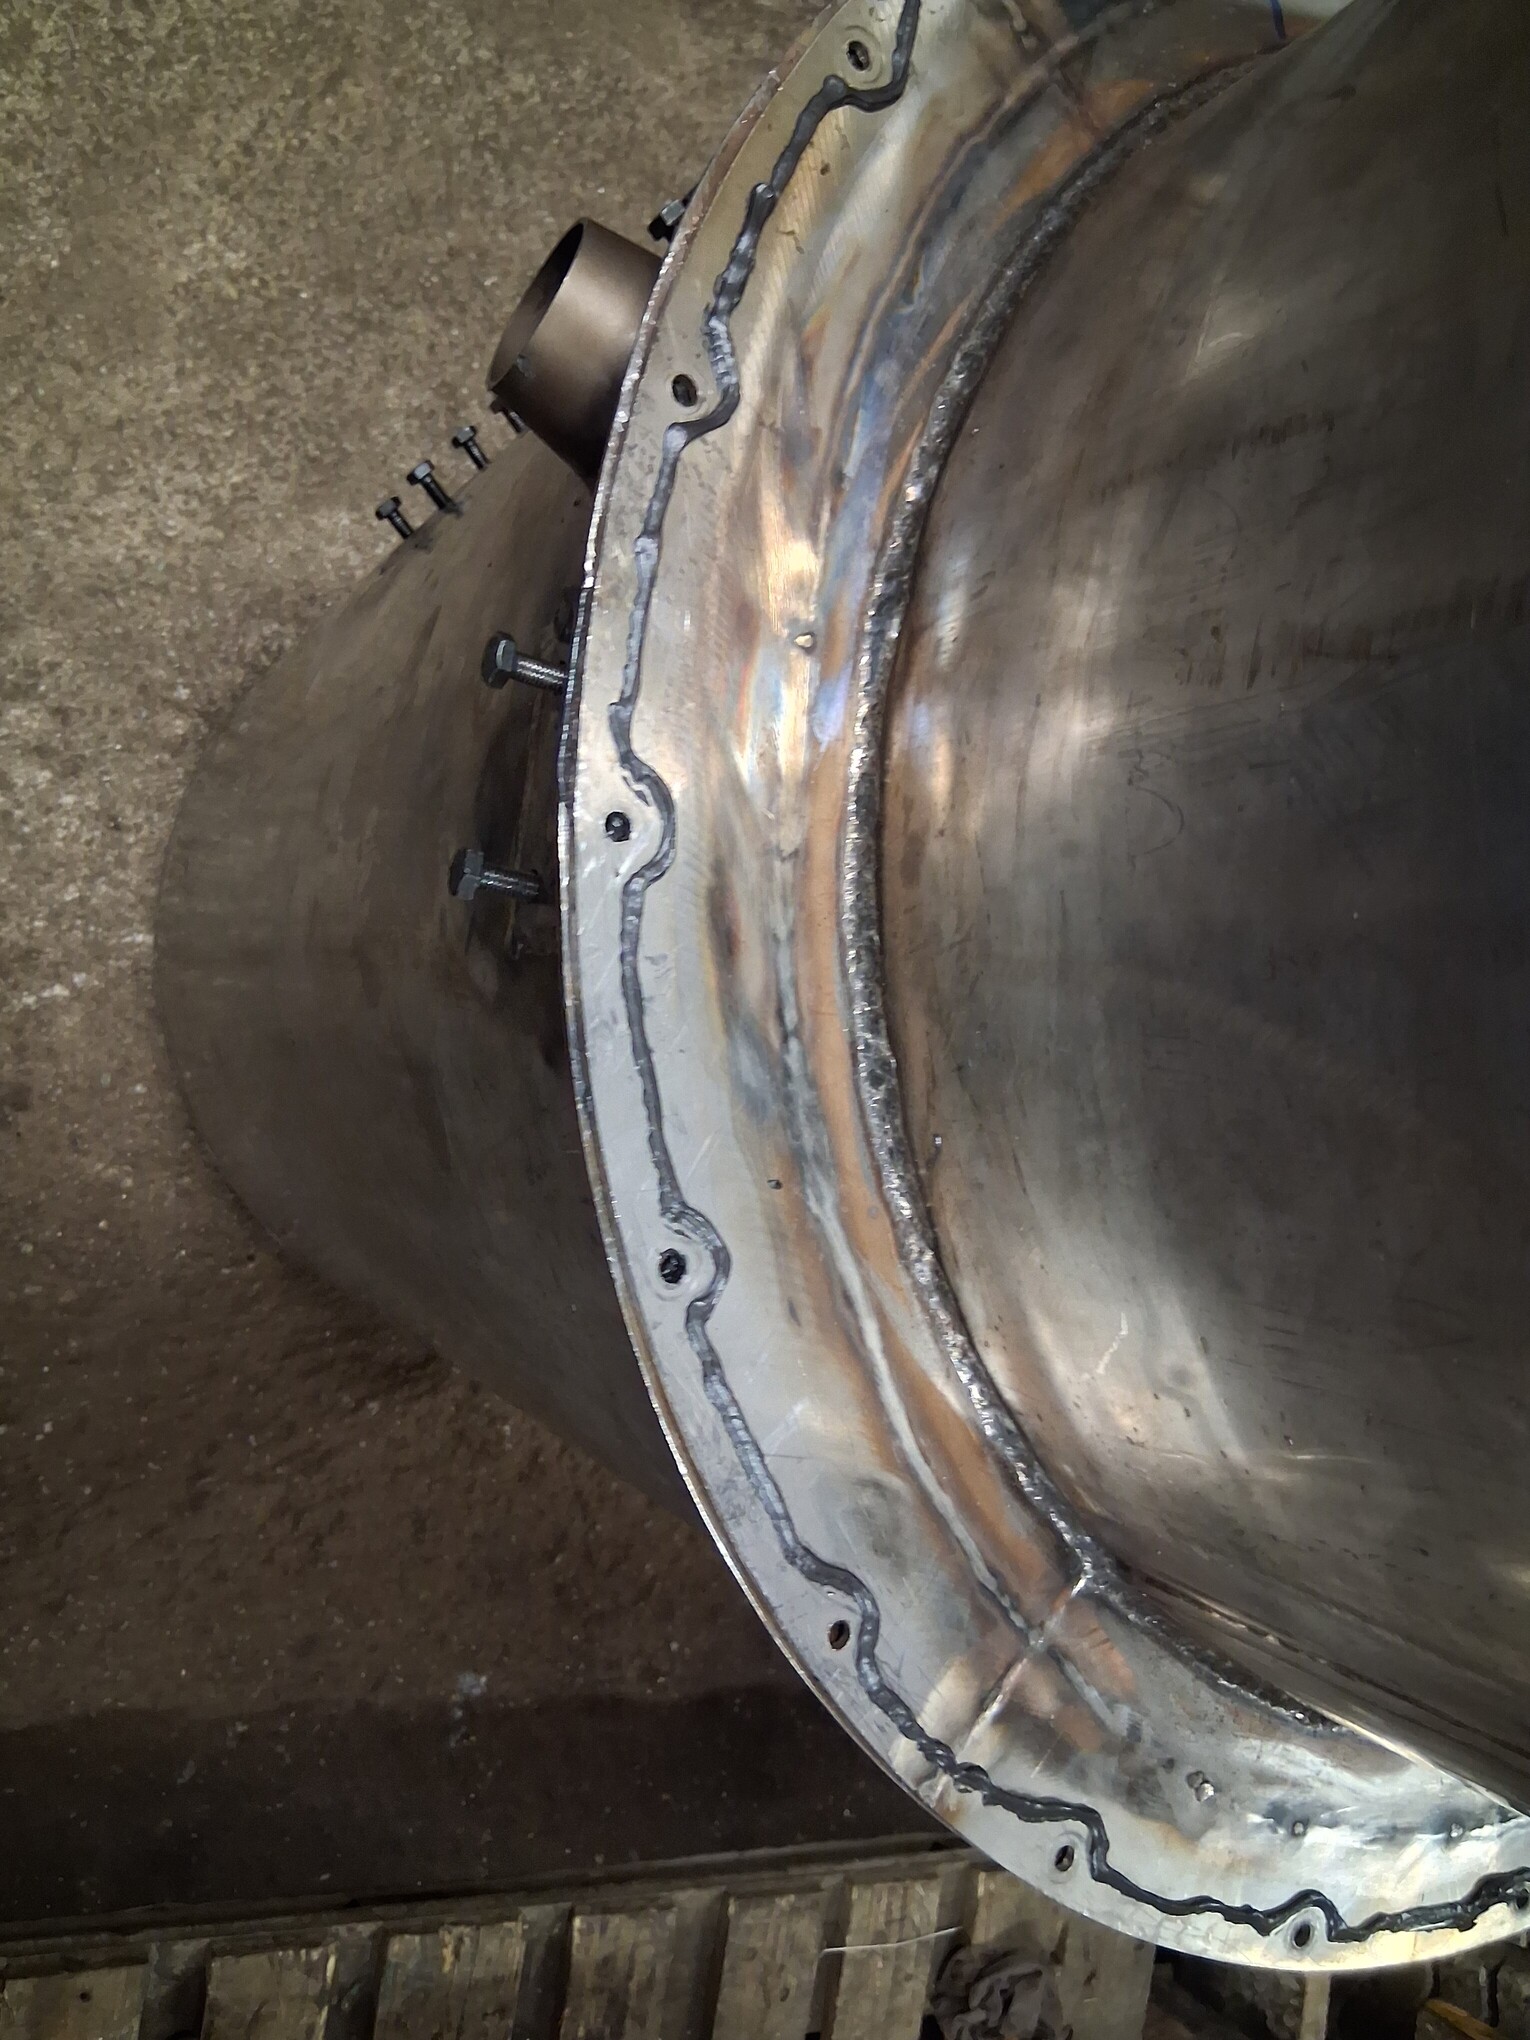
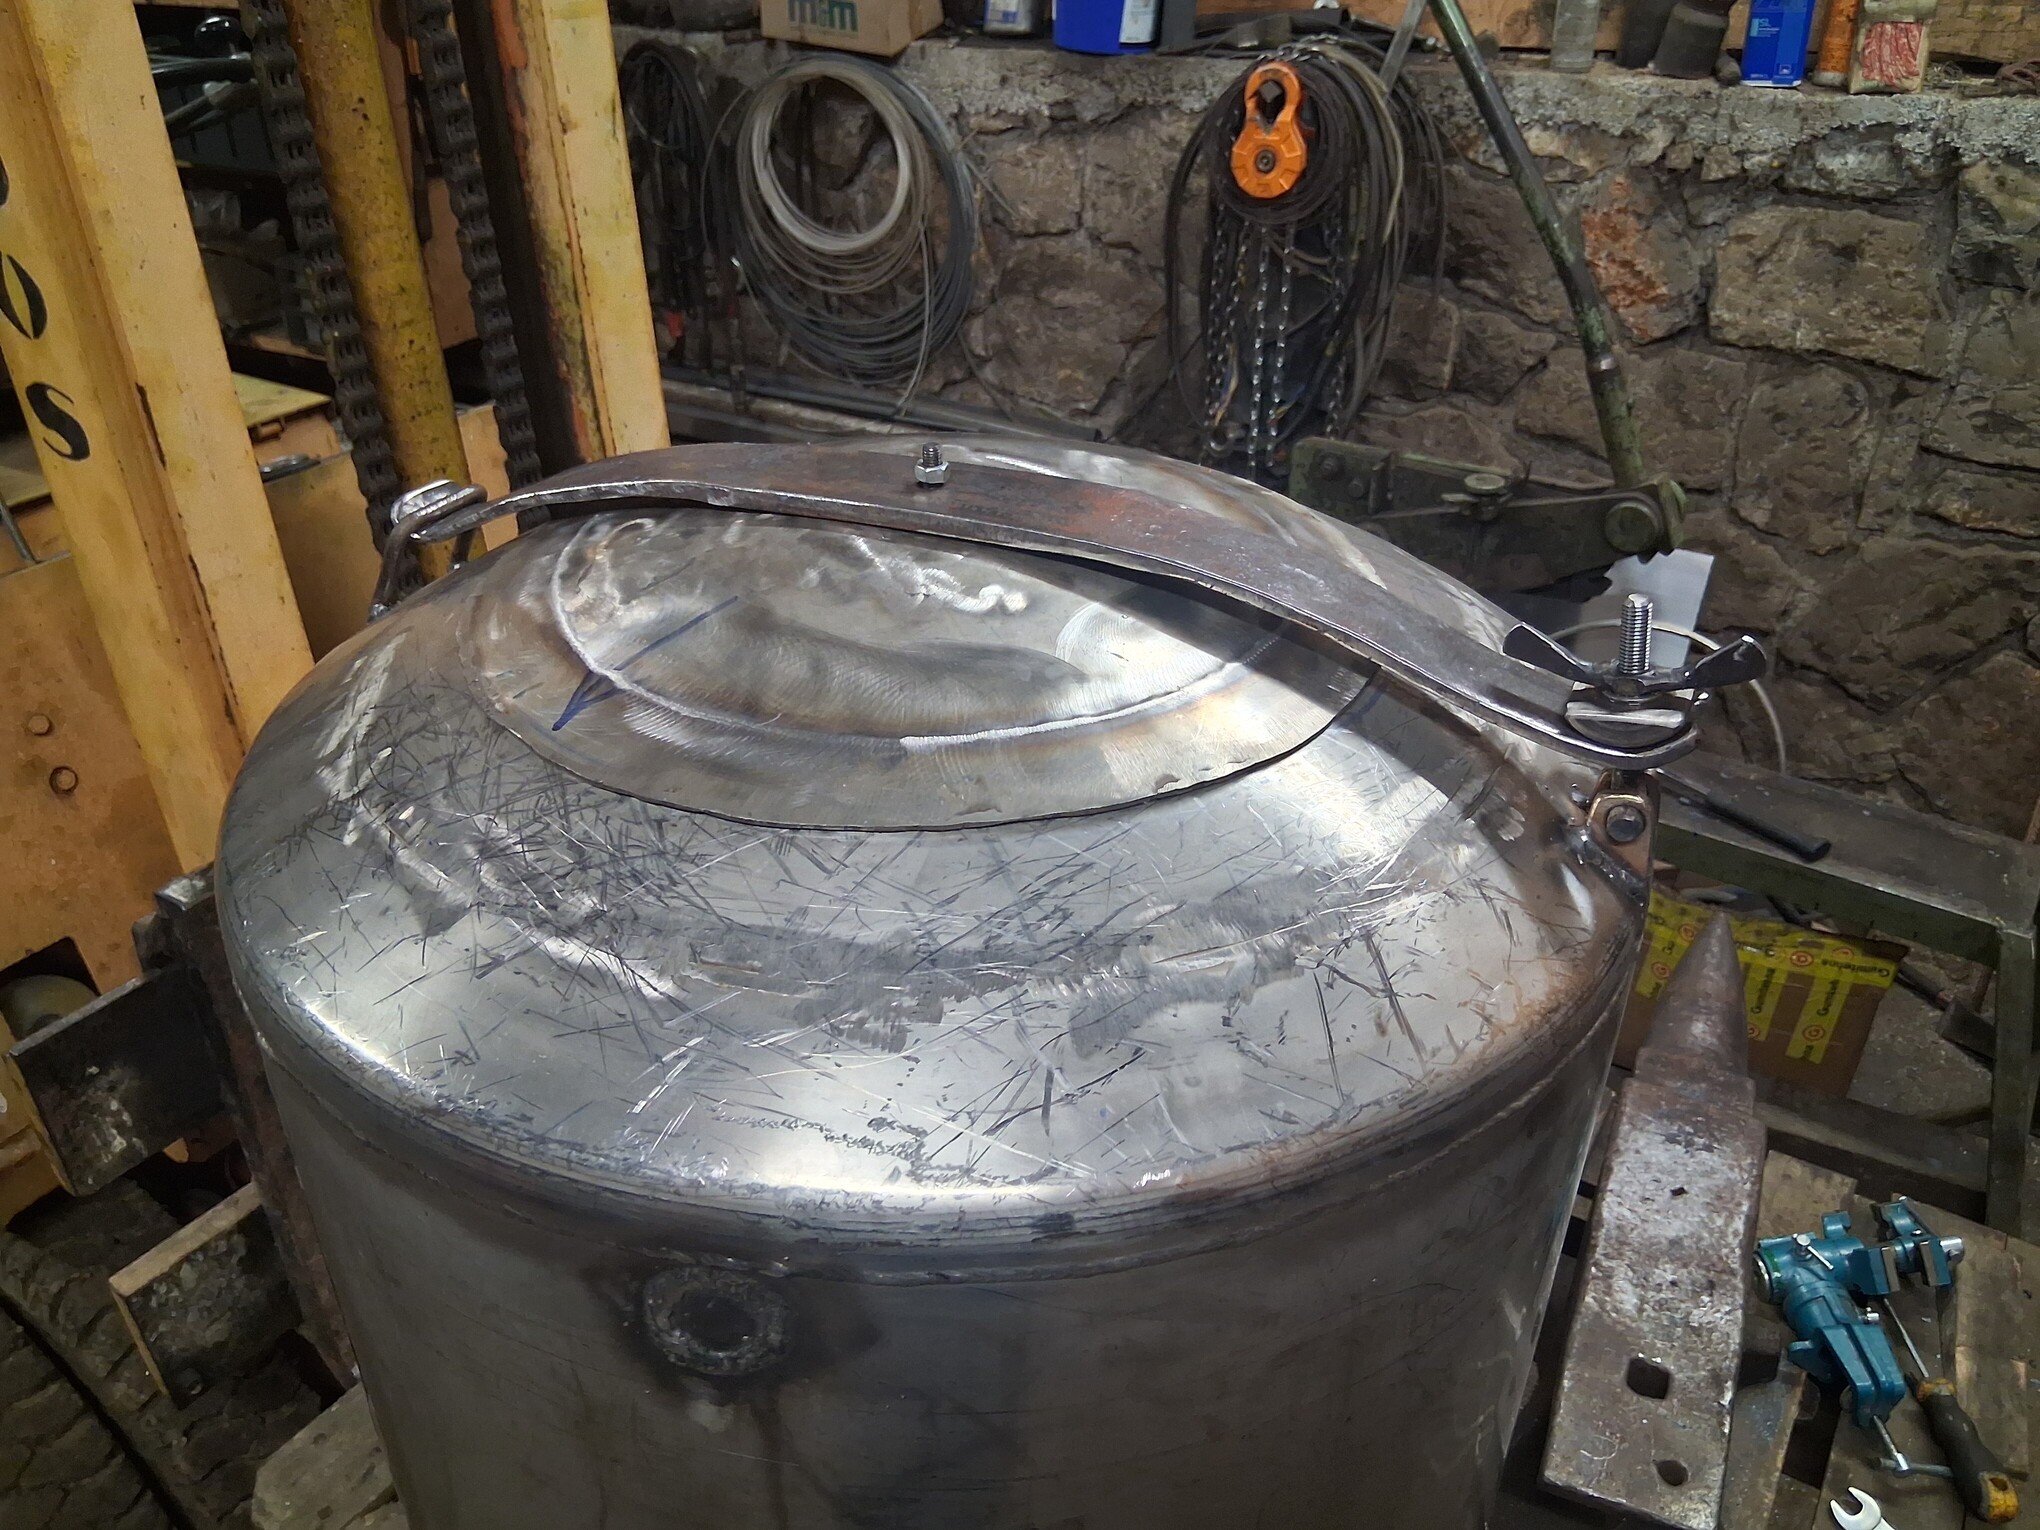
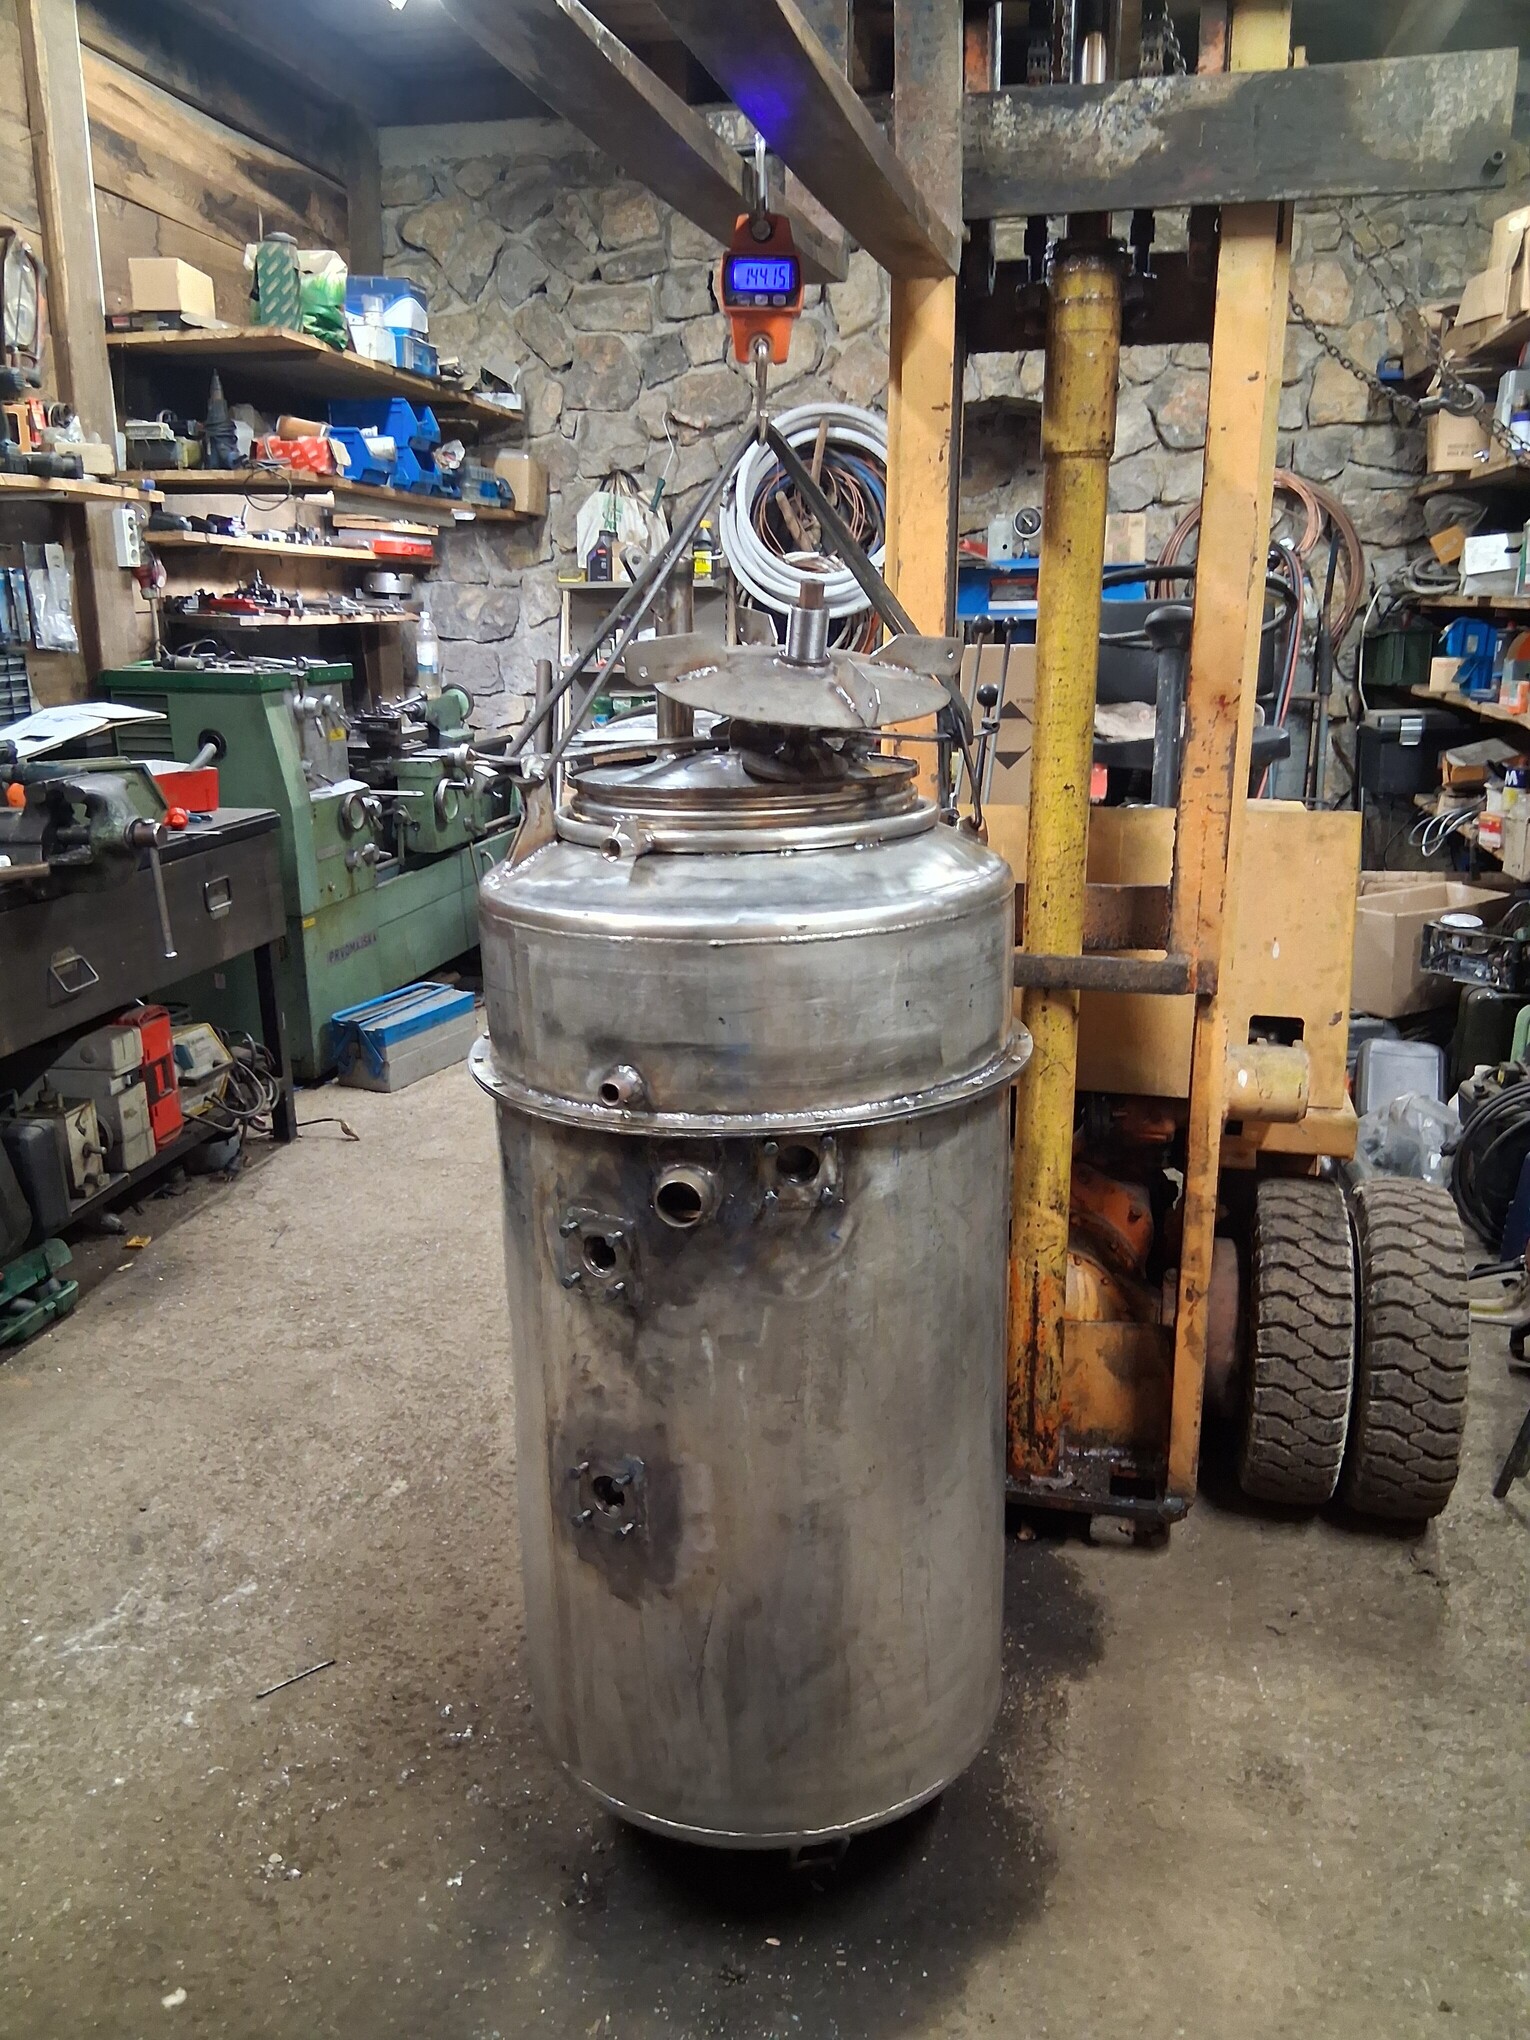
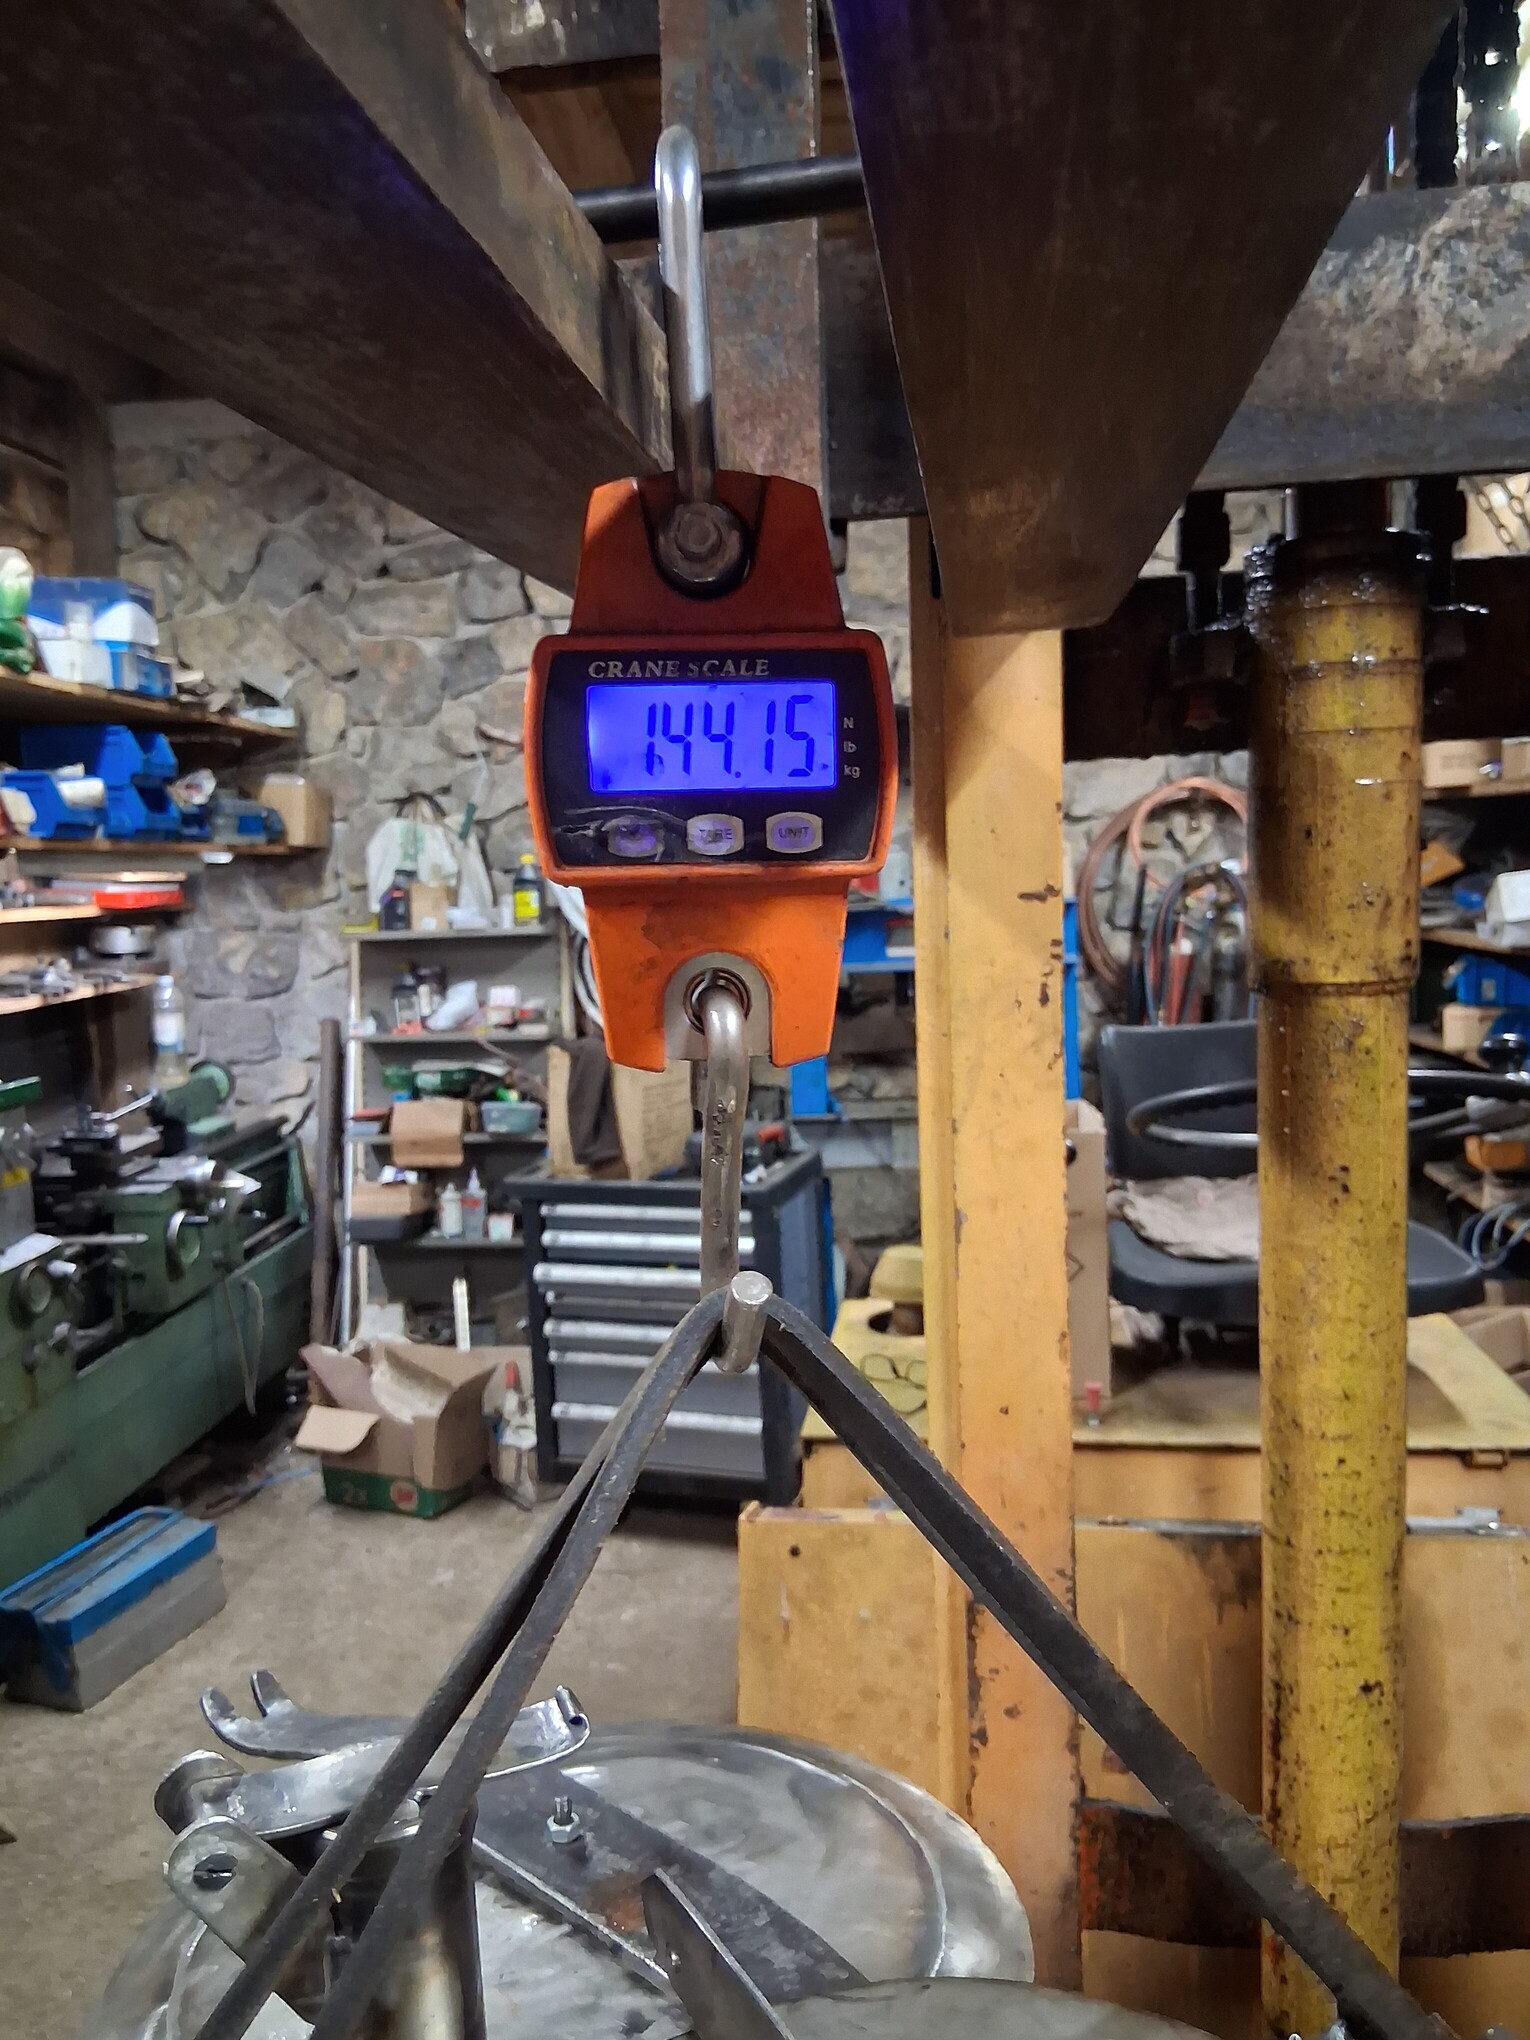
Finally in one piece, … I was curious about the weight of this gasifier
still installing the sealing cord for the bottom cover
I also applied a thin layer of sealant to the top cover
19 Likes
There is no great progress in “decorating” the gasifier, I only installed the gas outlet connector and the already familiar style of non-return valve, which has a closing element from the bottom of a beer can.
18 Likes
I don’t know in which topic to continue,… here comes the guinea pig - Fergie again.
I made a stronger support for the gasifier, …
I will mount it a little higher, which is better for driving, but a little more inconvenient for charging.
In front you can see a smaller cooler, which will serve to cool the condensation zone.
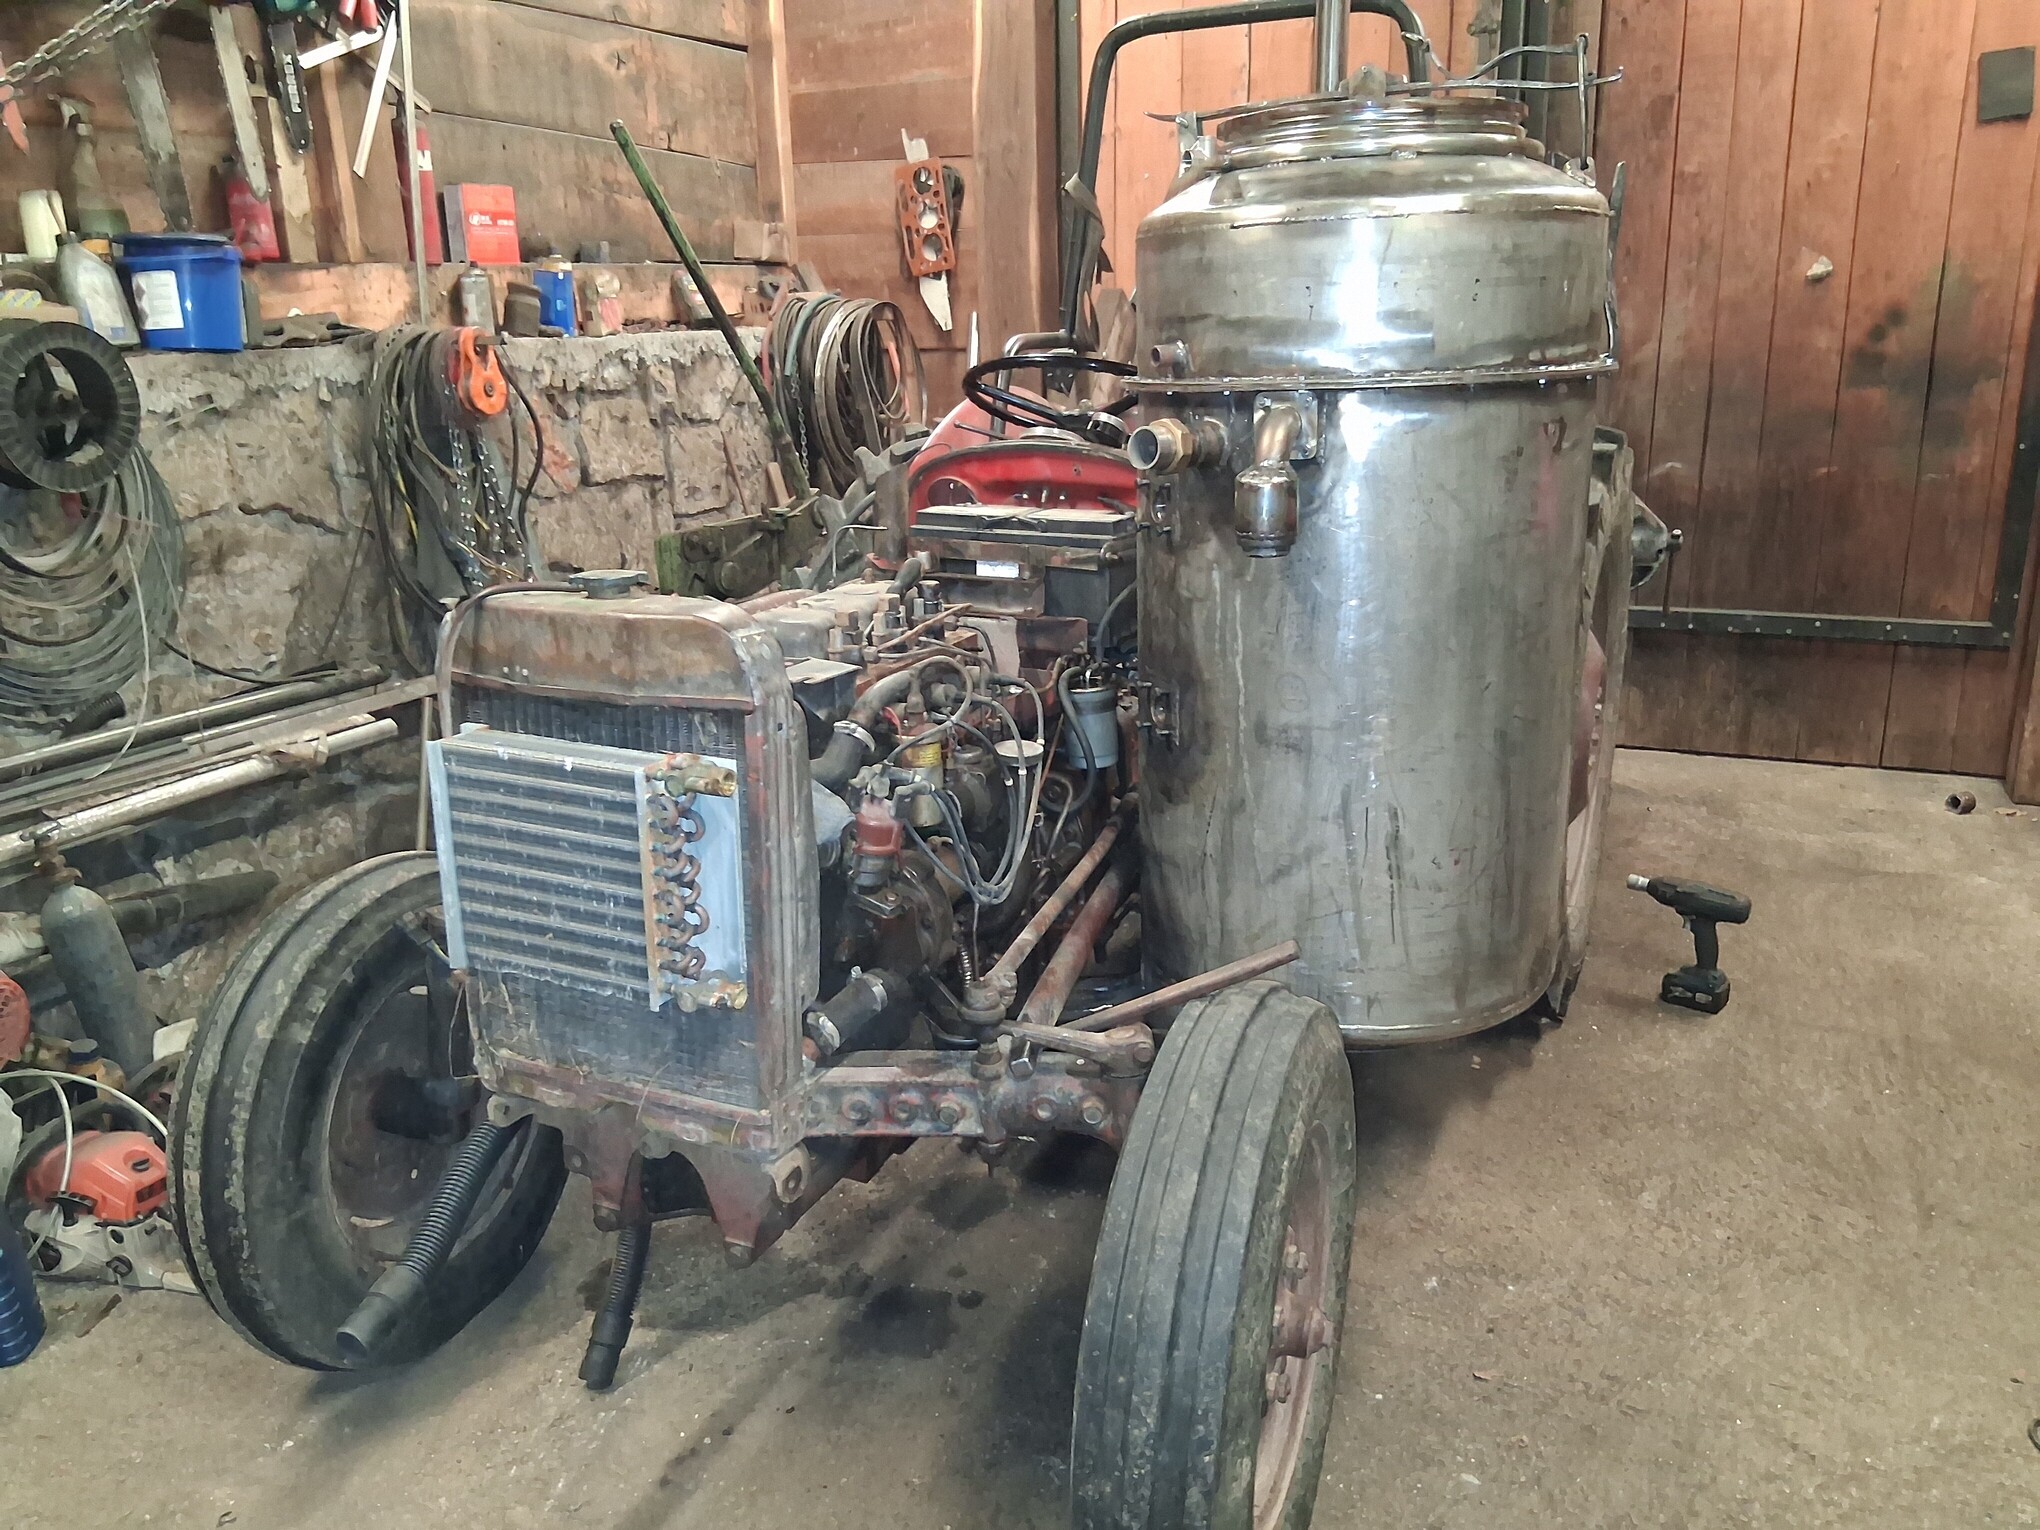
I still need to make a filter seat here.
16 Likes
So the older gasifier will be mounted on what?
Just keep it where you are posting now. It makes it easier to follow your work on how the new gasifier will work now on the tractor, with improvements. Start a new thread or use a old thread with the older gasifier making wood gases now powering what you mounted it to. The forklift?
11 Likes
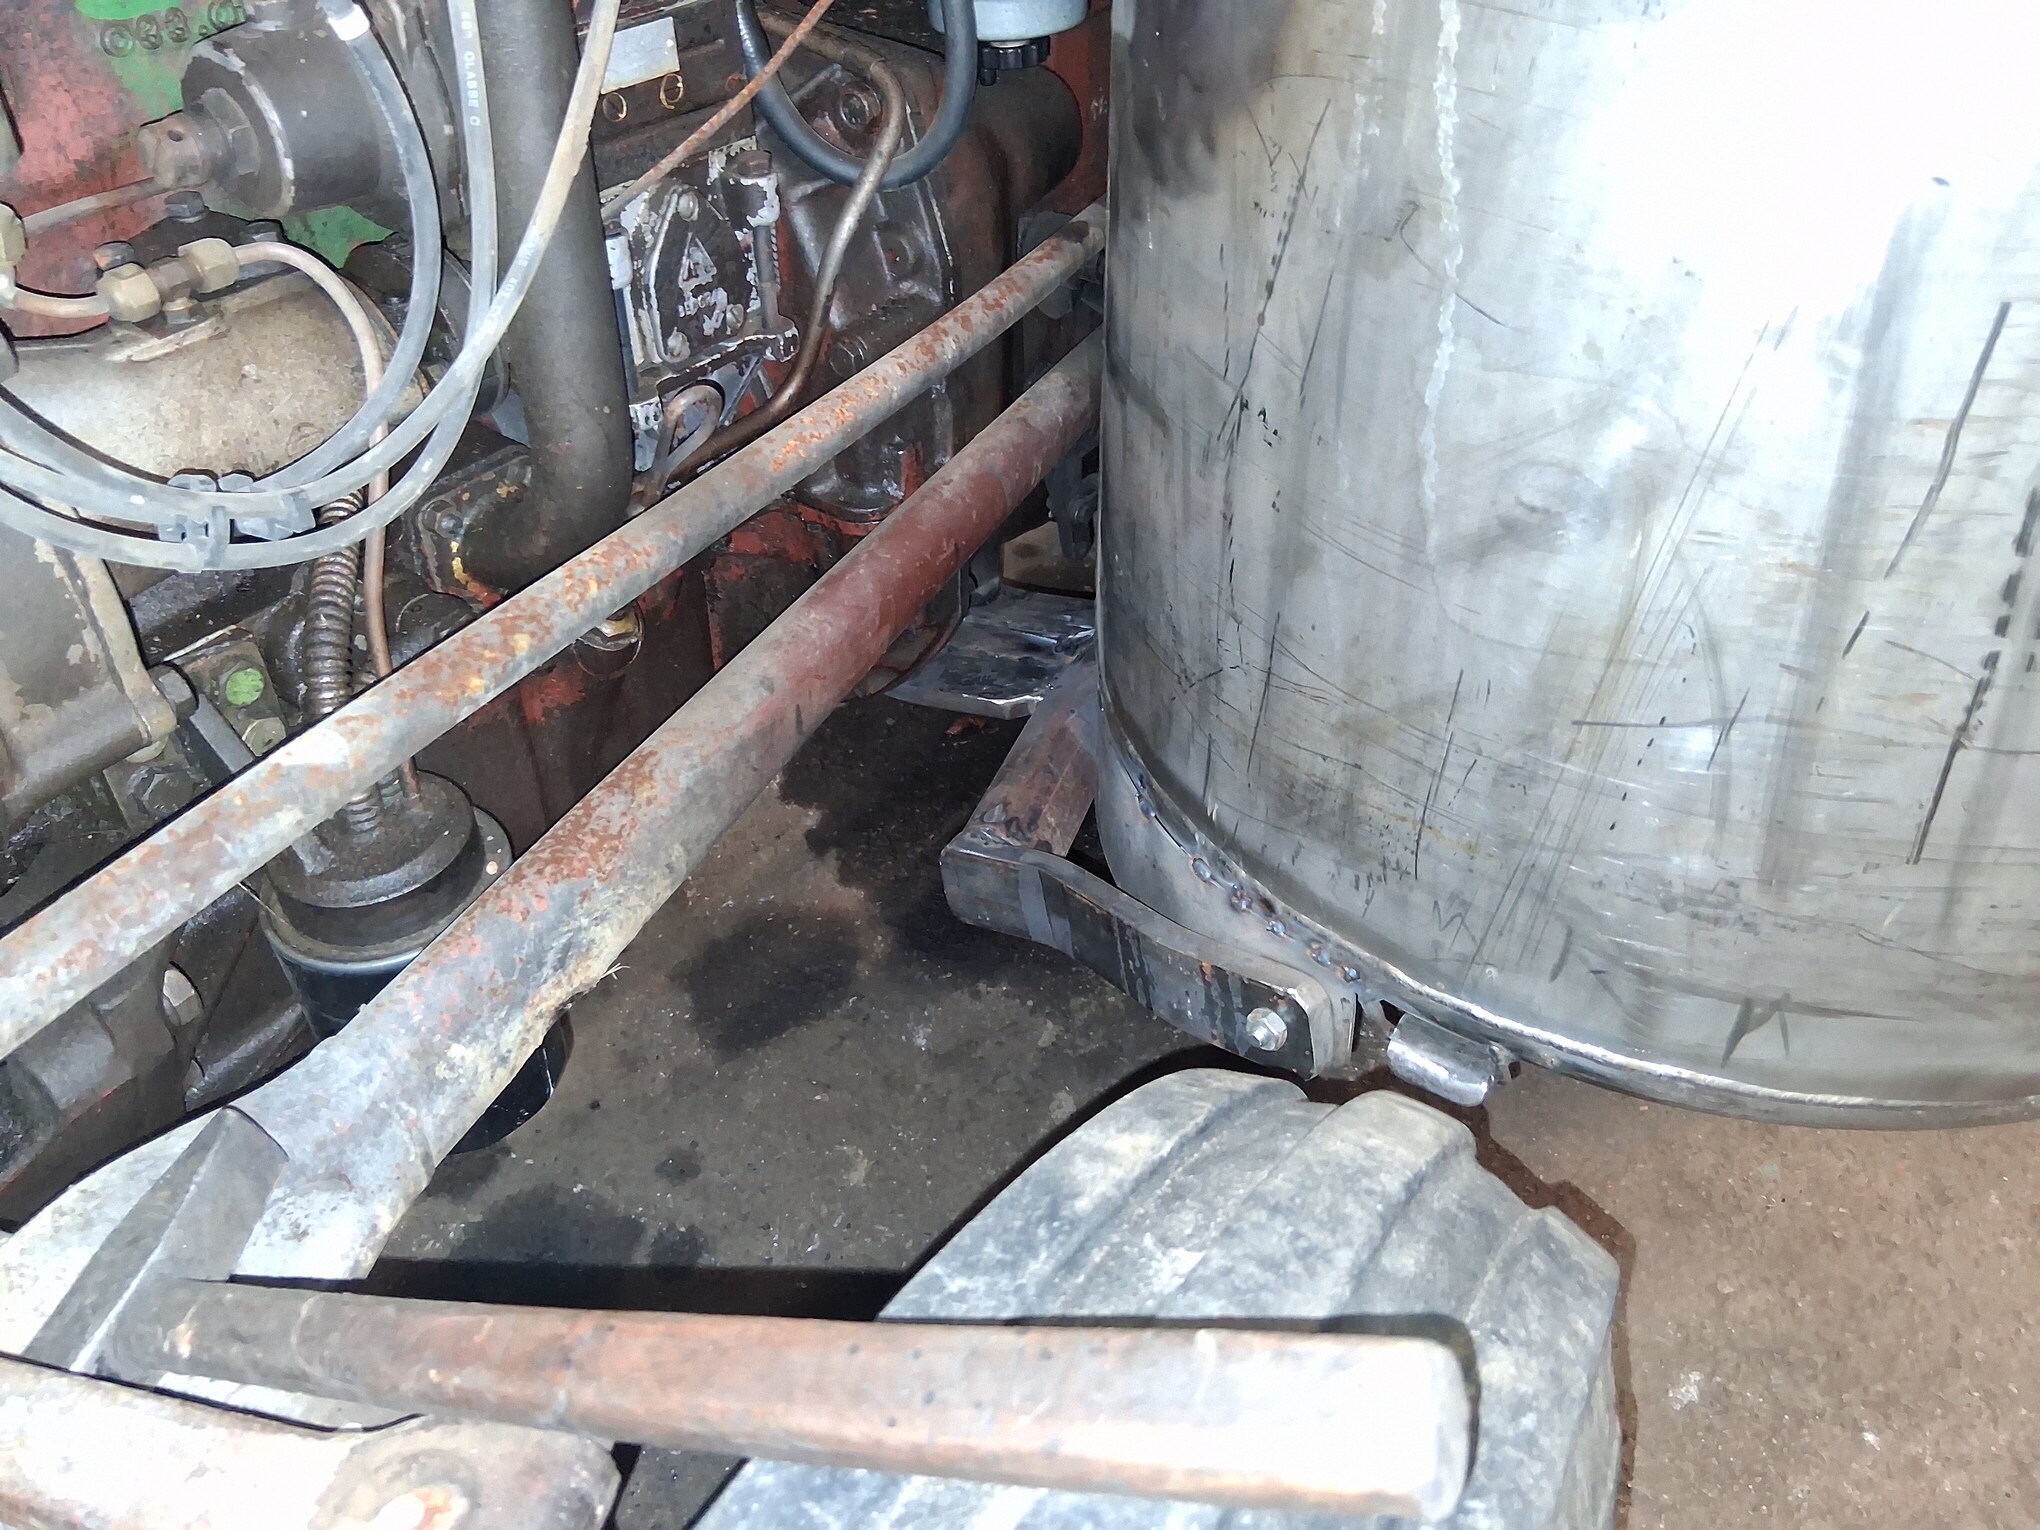
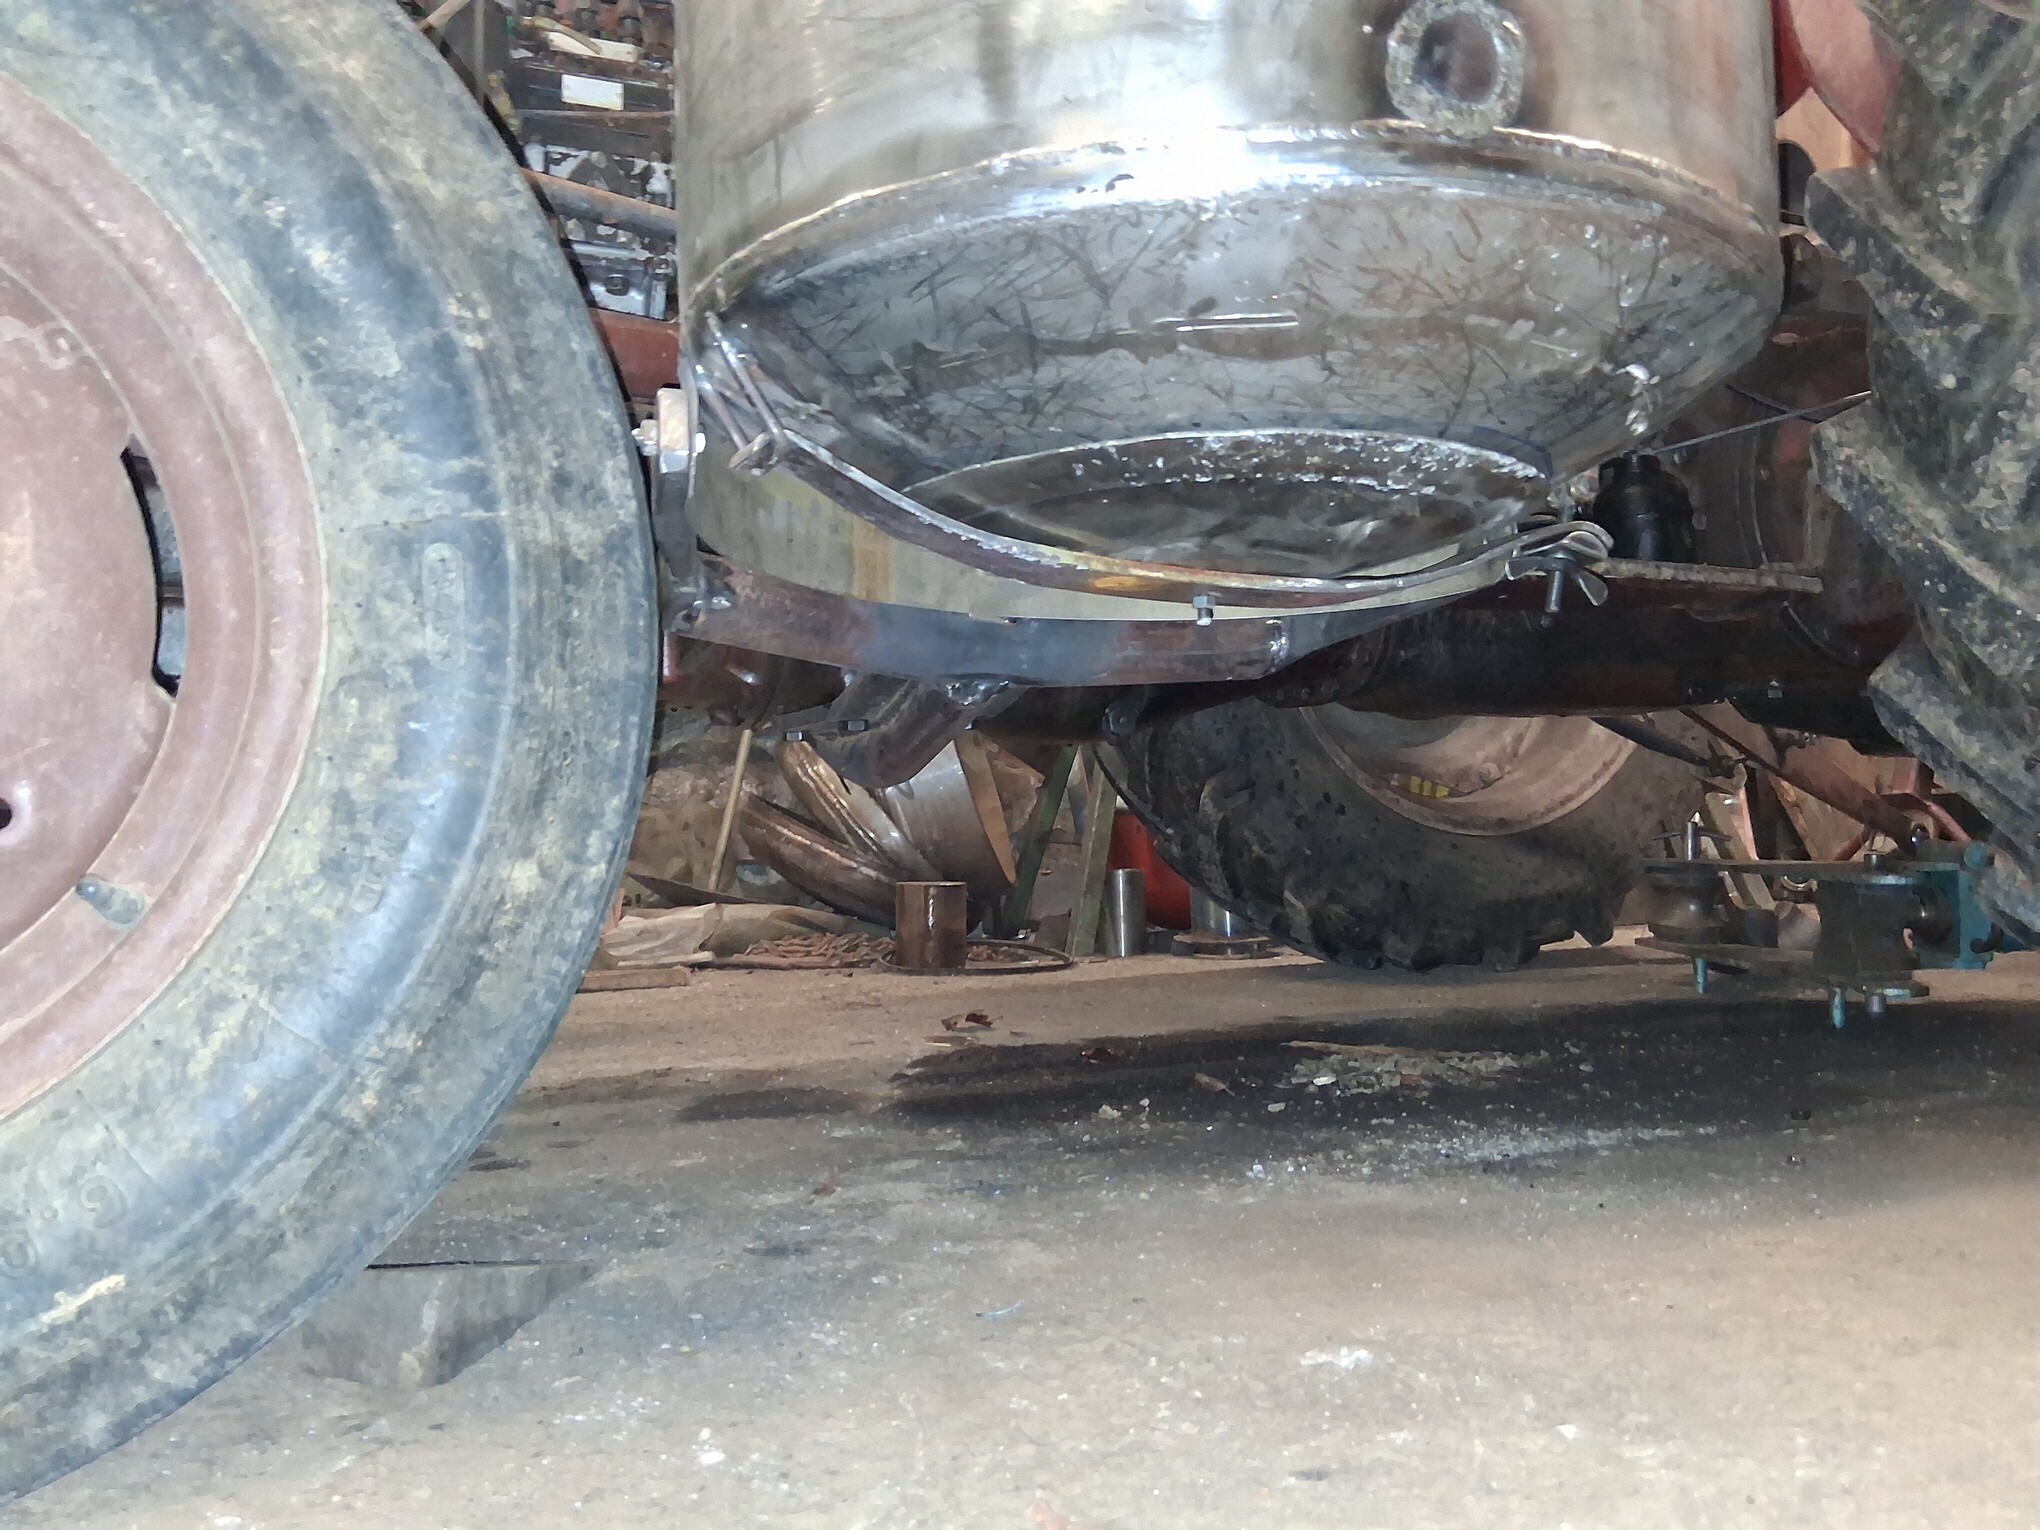
Do you have enough clearance between the bracket and the tire so it doesn’t rub especially if there is mud on the tire? It almost doesn’t look like enough clearance when you turn the wheel from the picture.
5 Likes
Sean, the picture better shows the clearance of the front wheel from the gasifier, when I raise the front of the tractor, tilt the front axle and turn the wheel it reaches the closest distance - one inch.

Mr. Bob, for now I will save the old gasifier, maybe it will go back to the tractor, or to the Mazda, or I will install the new one on the Mazda, I don’t know yet,… depending on how the new one works,…
“The light at the end of the tunnel has come on”,… finally the gasifier is in place, I still need to connect the exhaust system, cooling water and the wood gas pipe to the refrigerator.
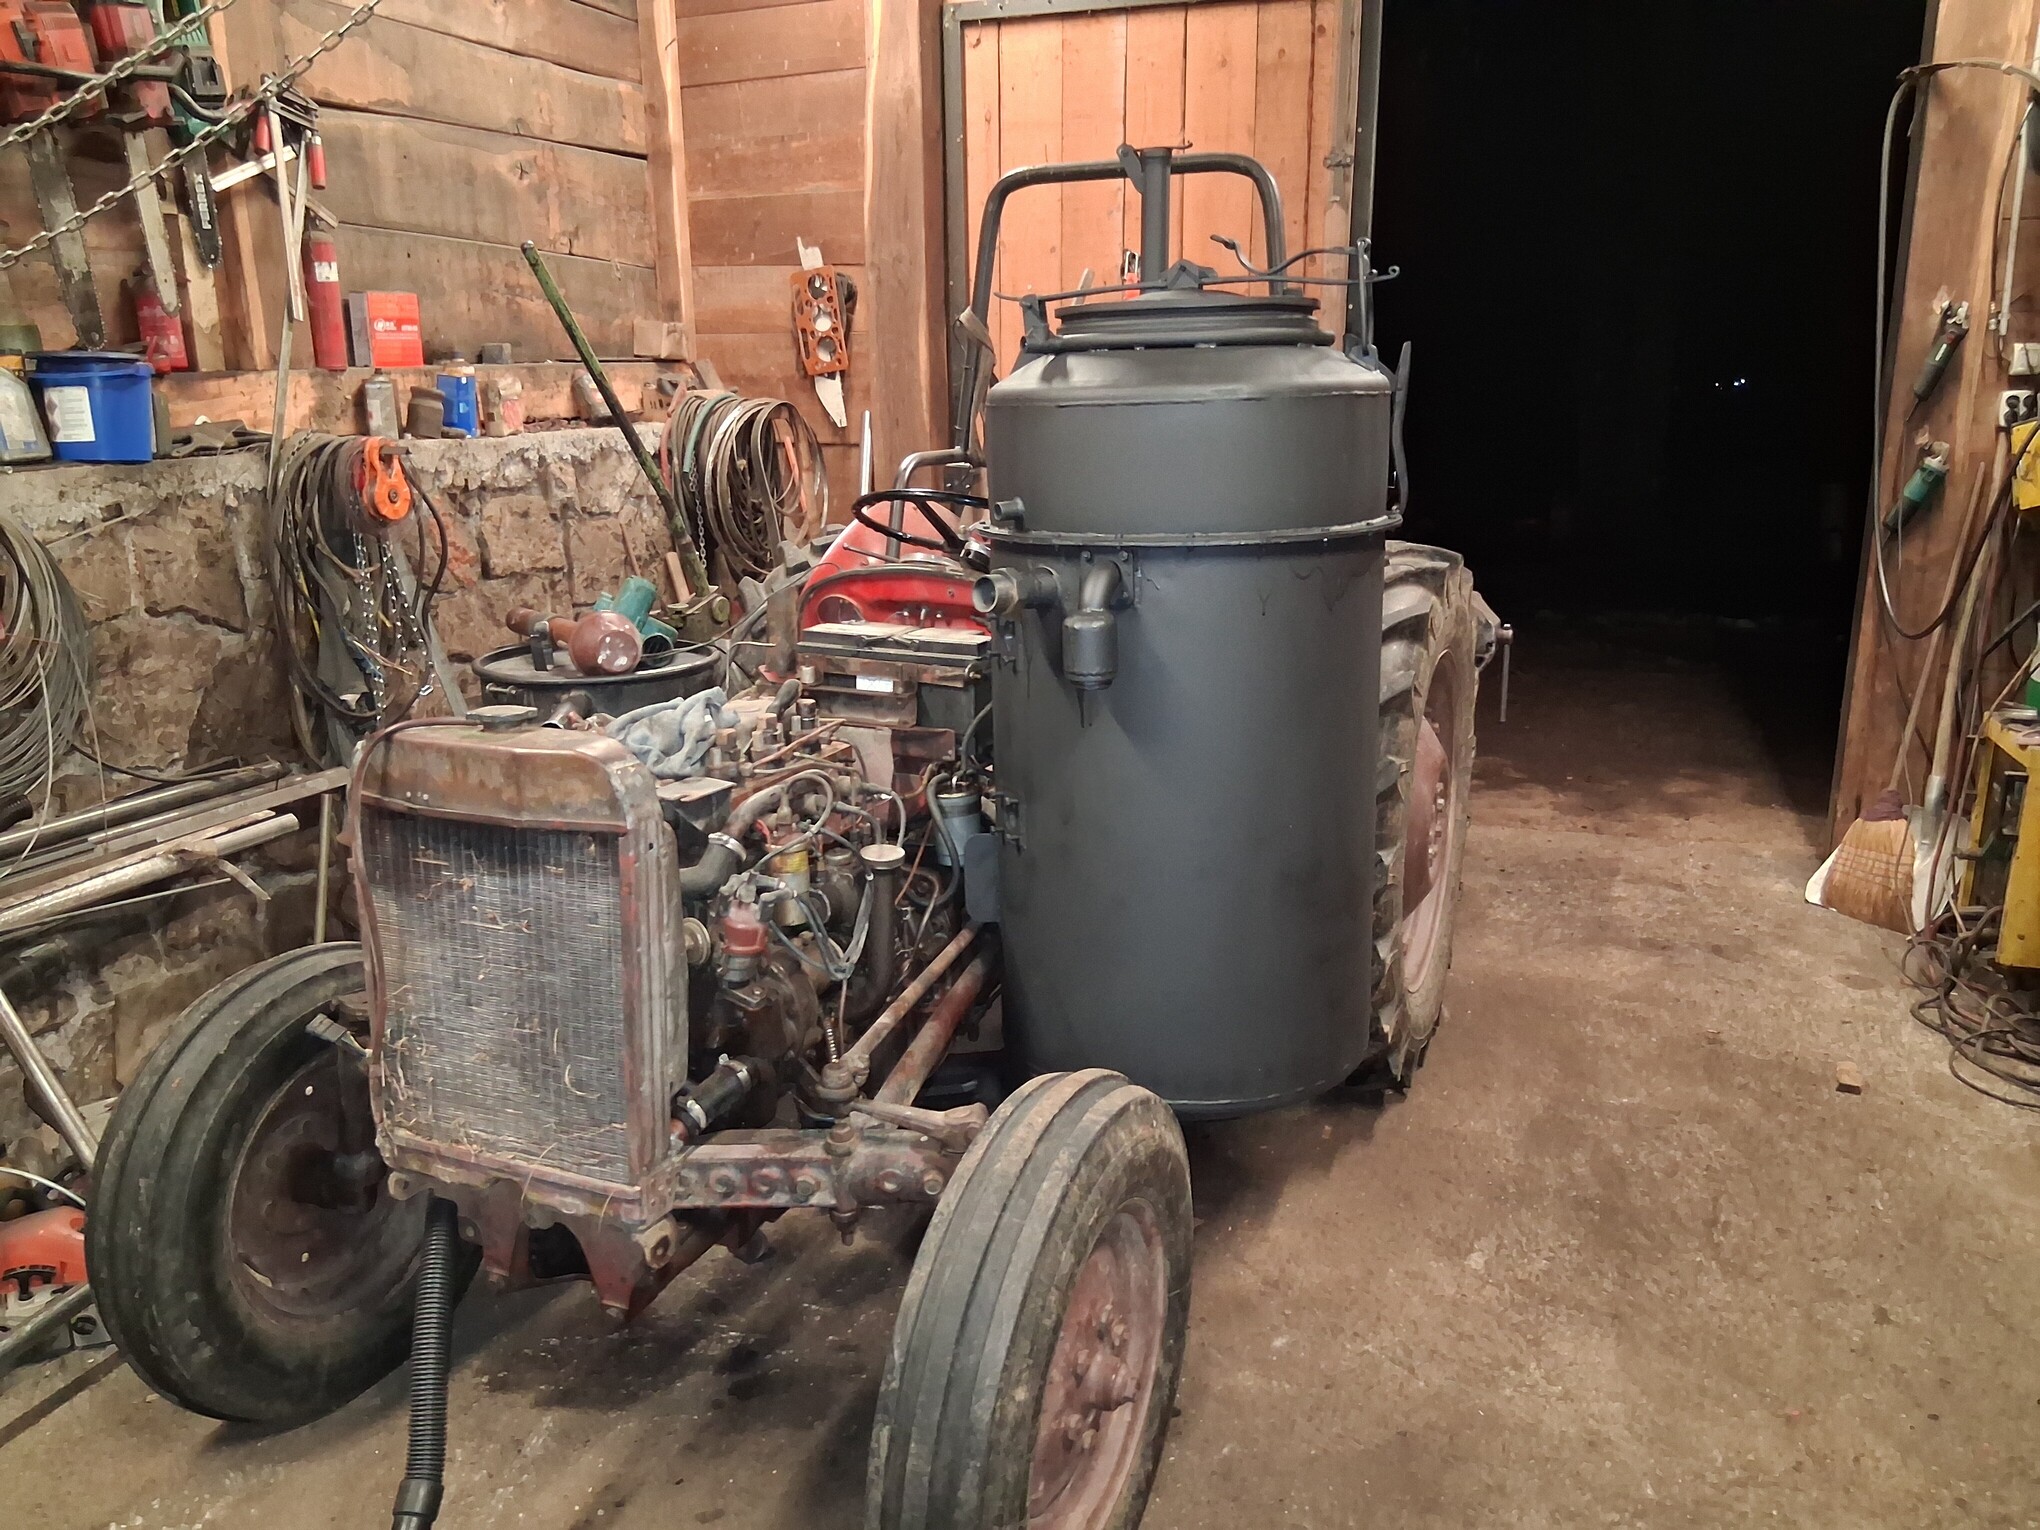
20 Likes
Good! I didn’t figure you didn’t think about it. It just looked really close. Be careful in wet heavy clay… ![]()
8 Likes