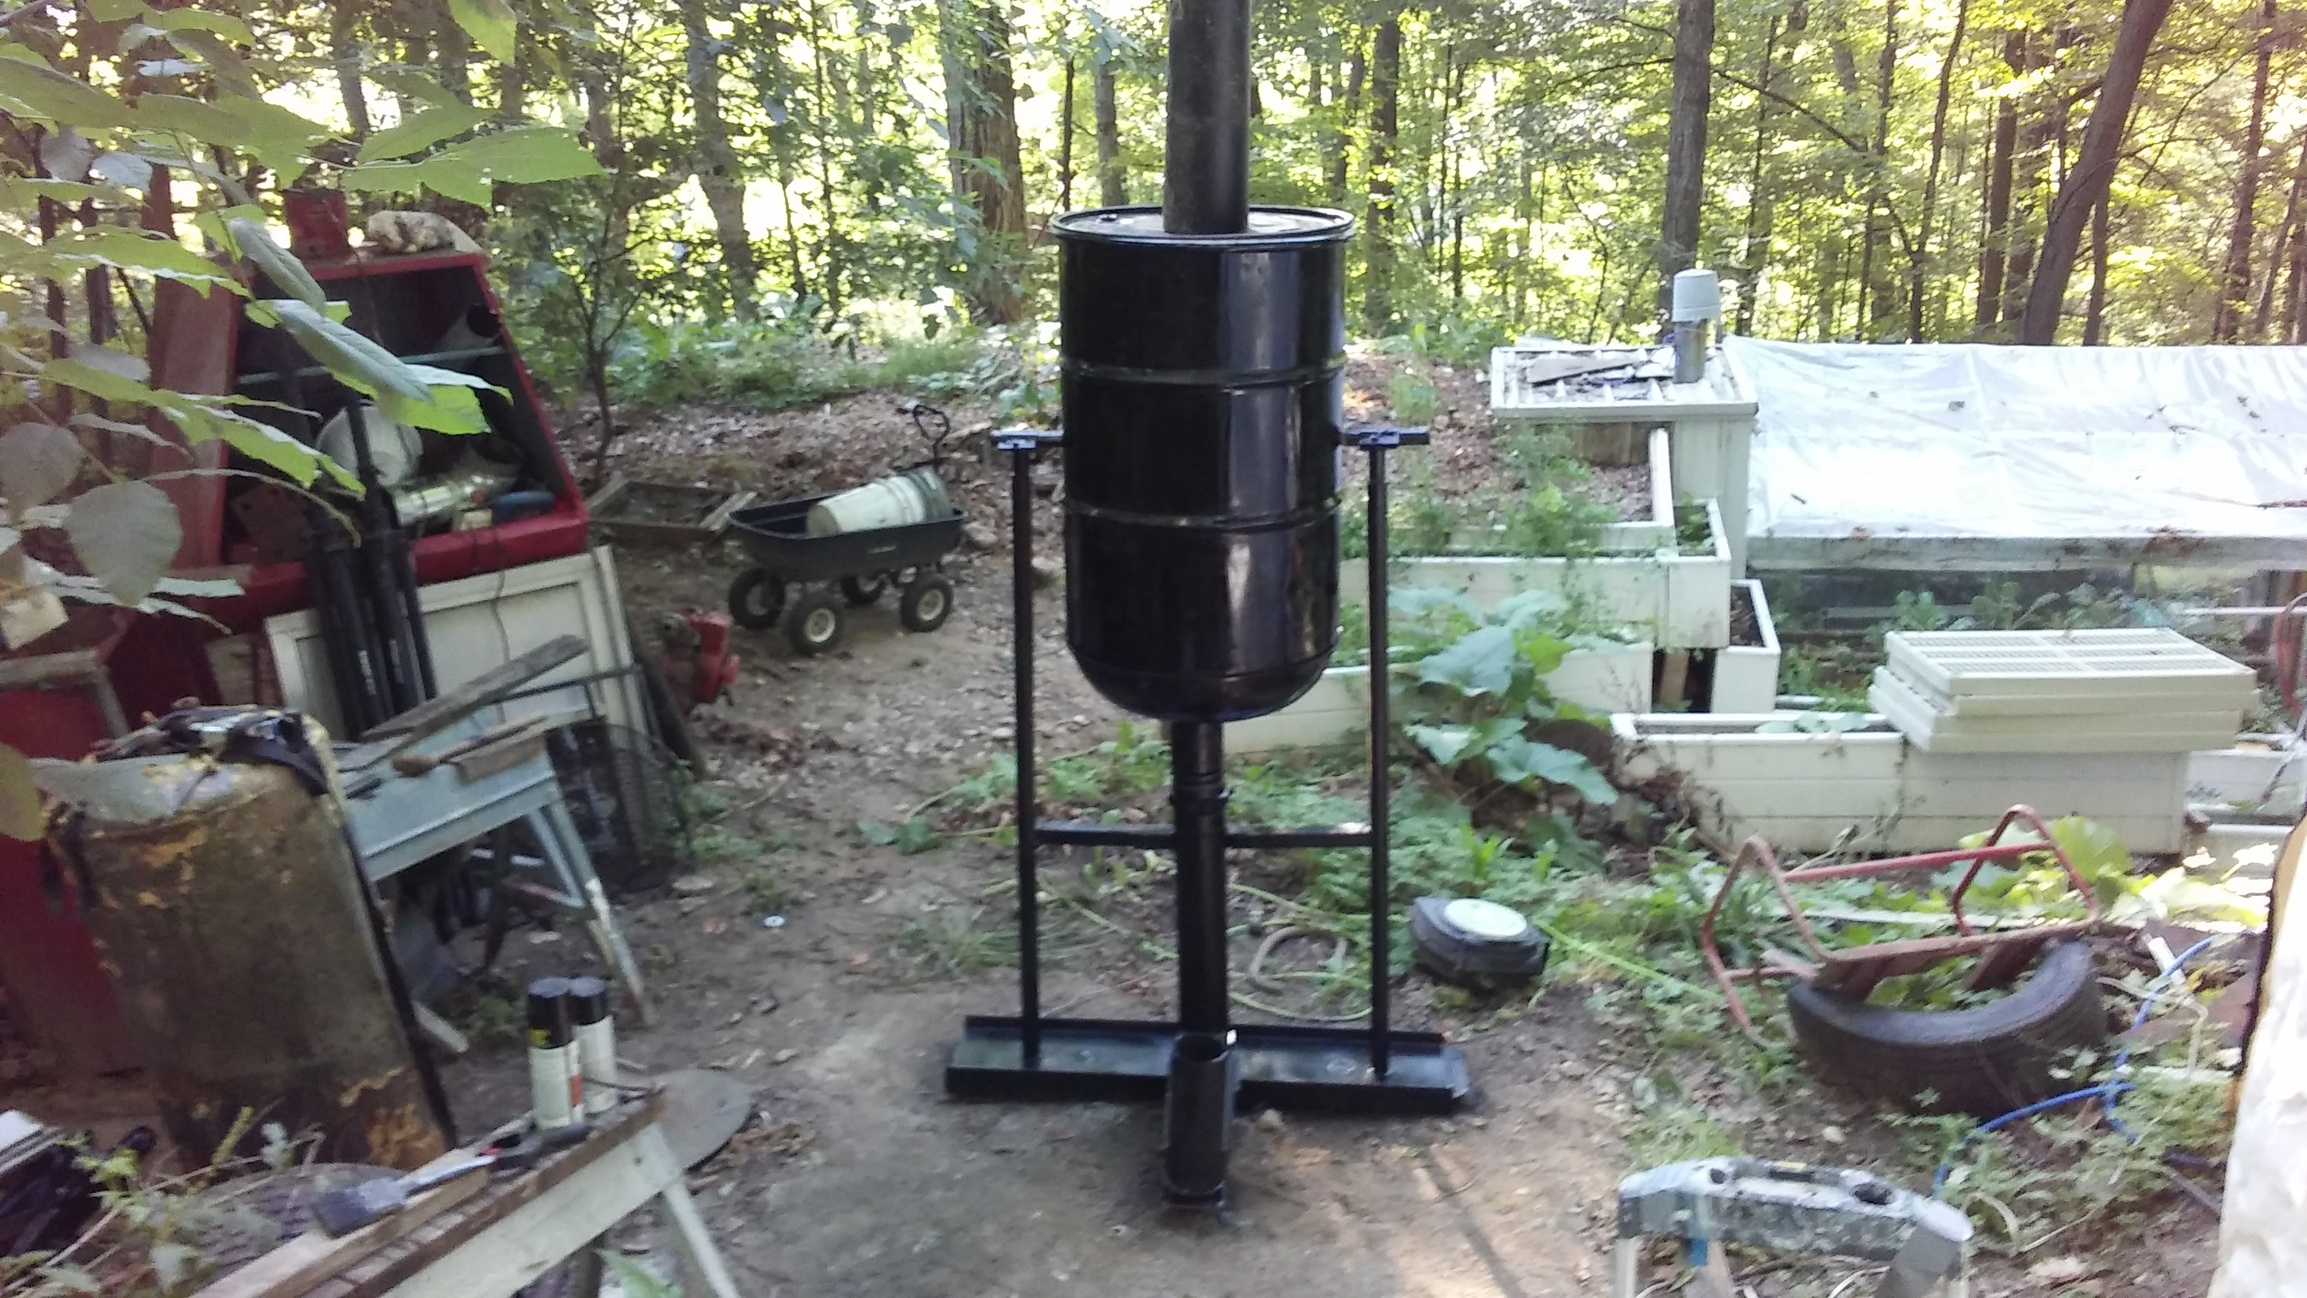
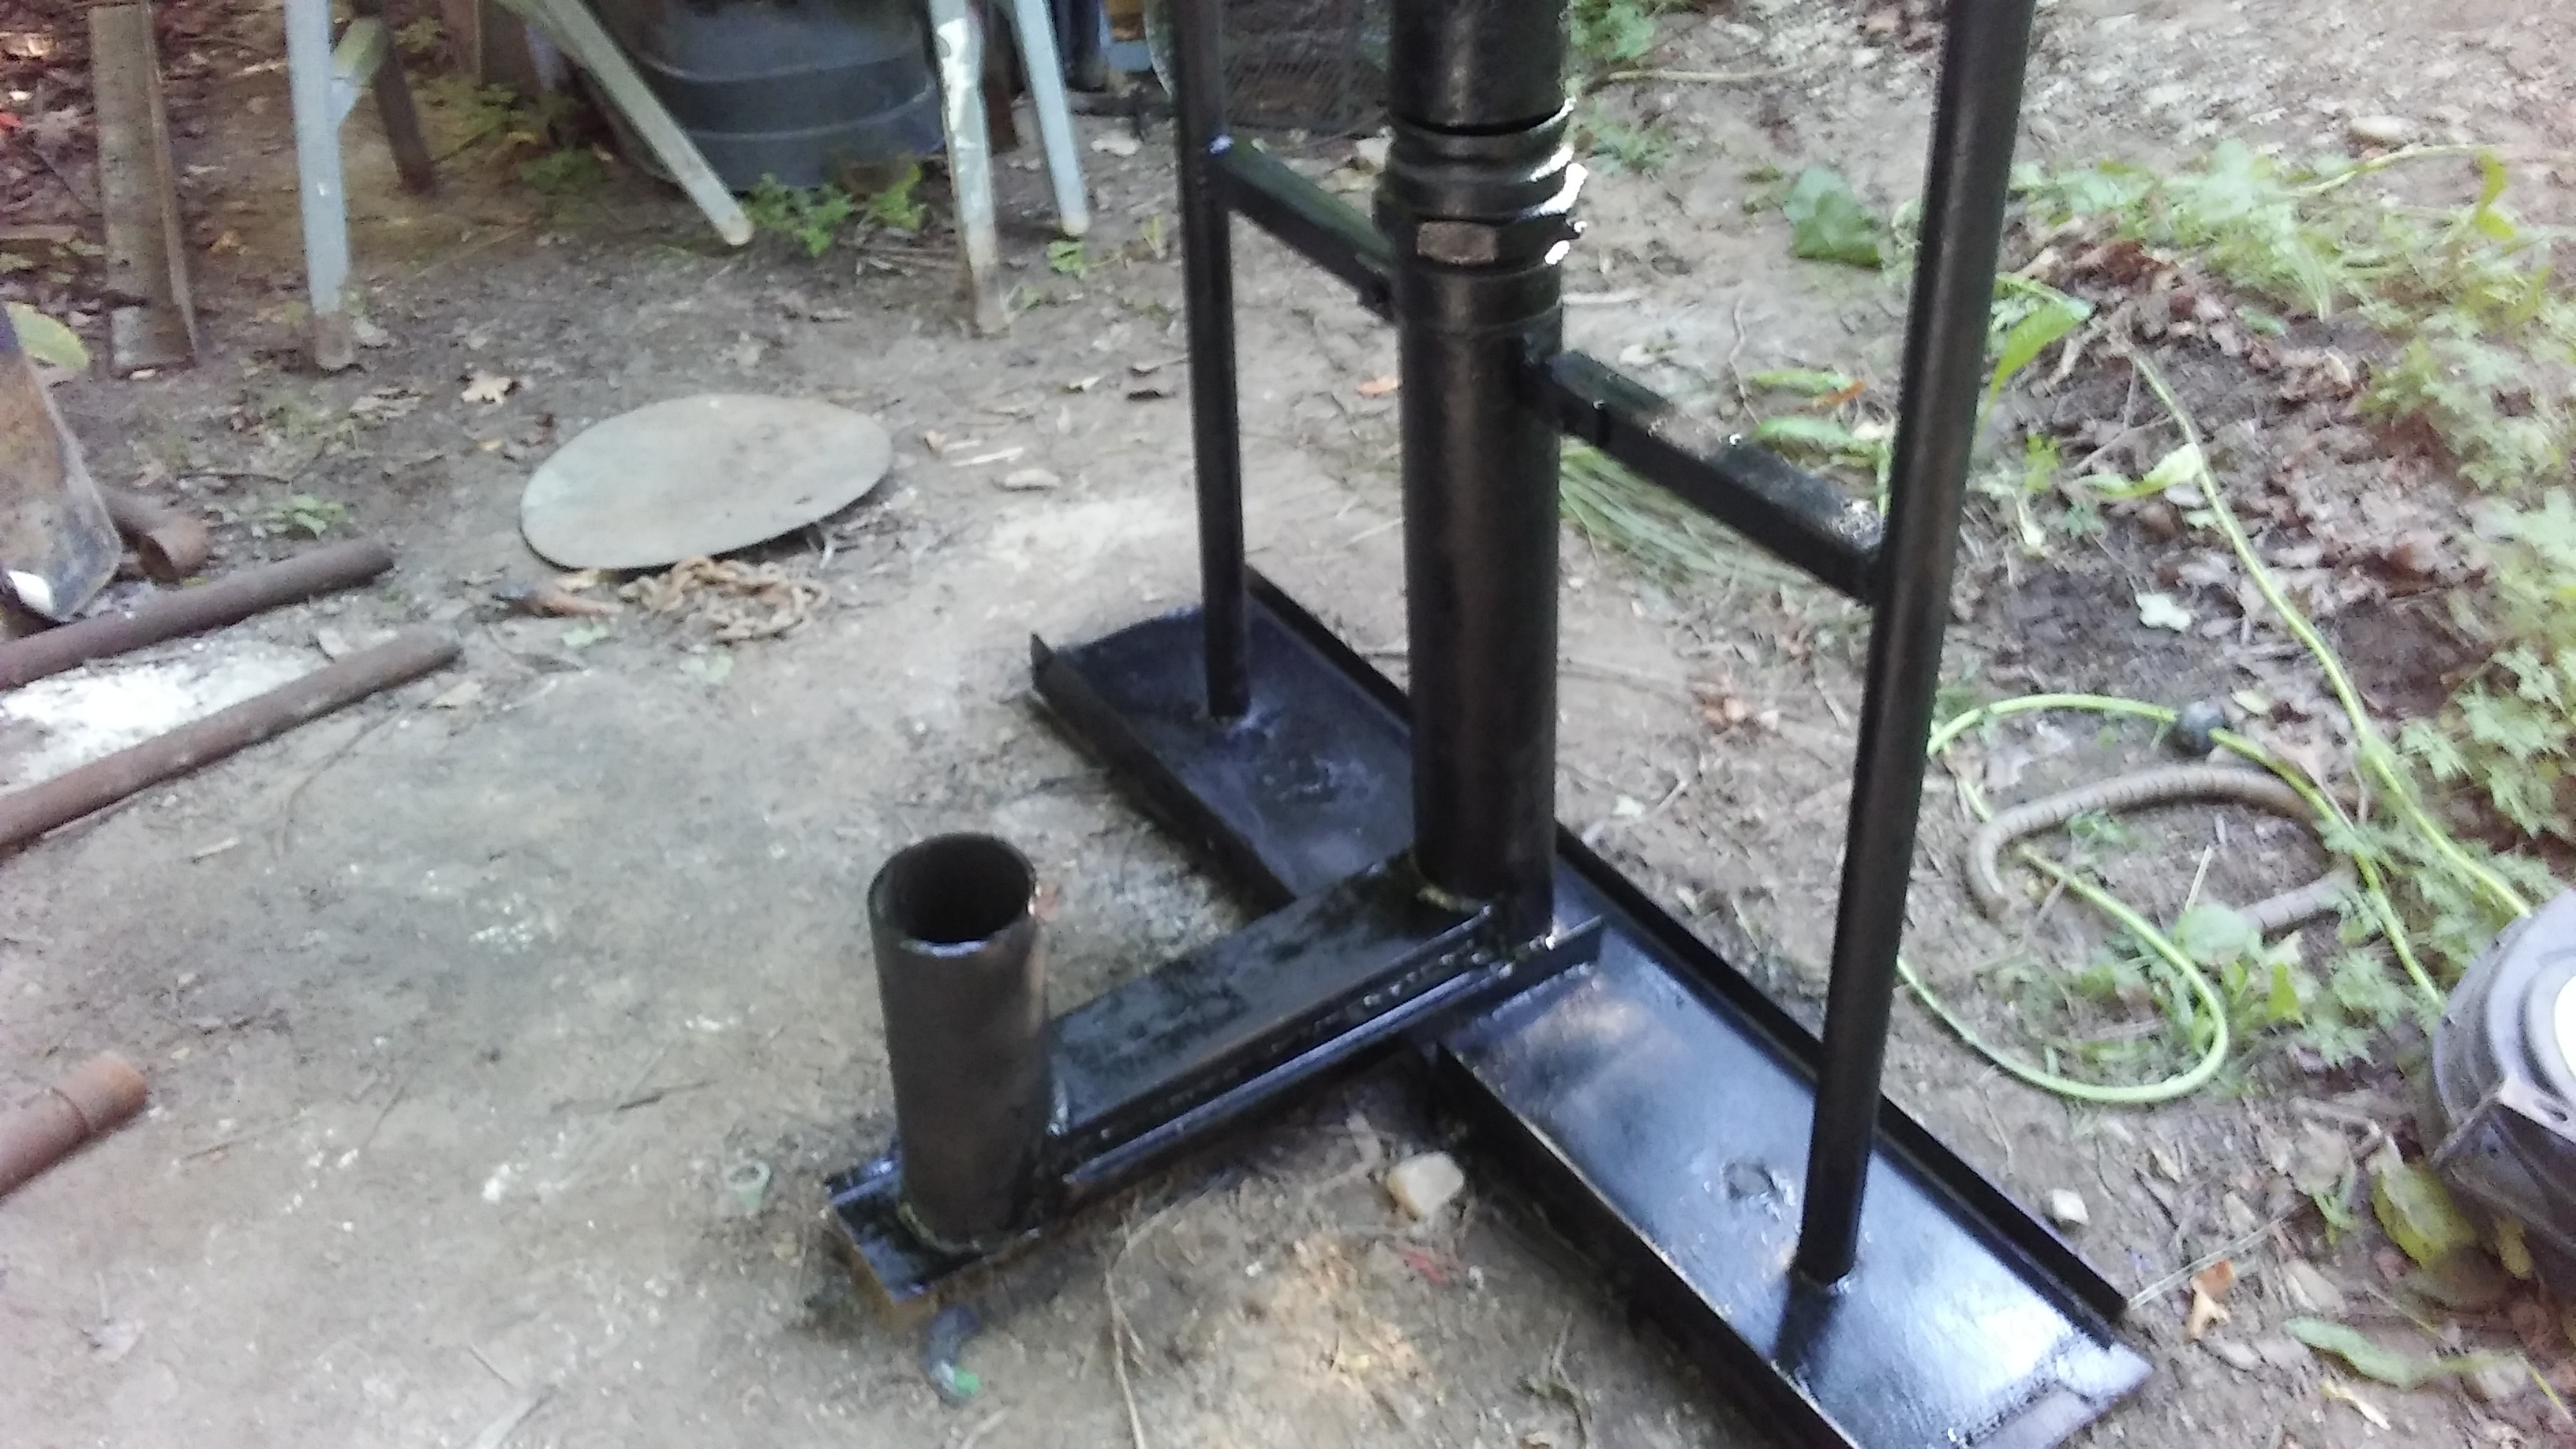
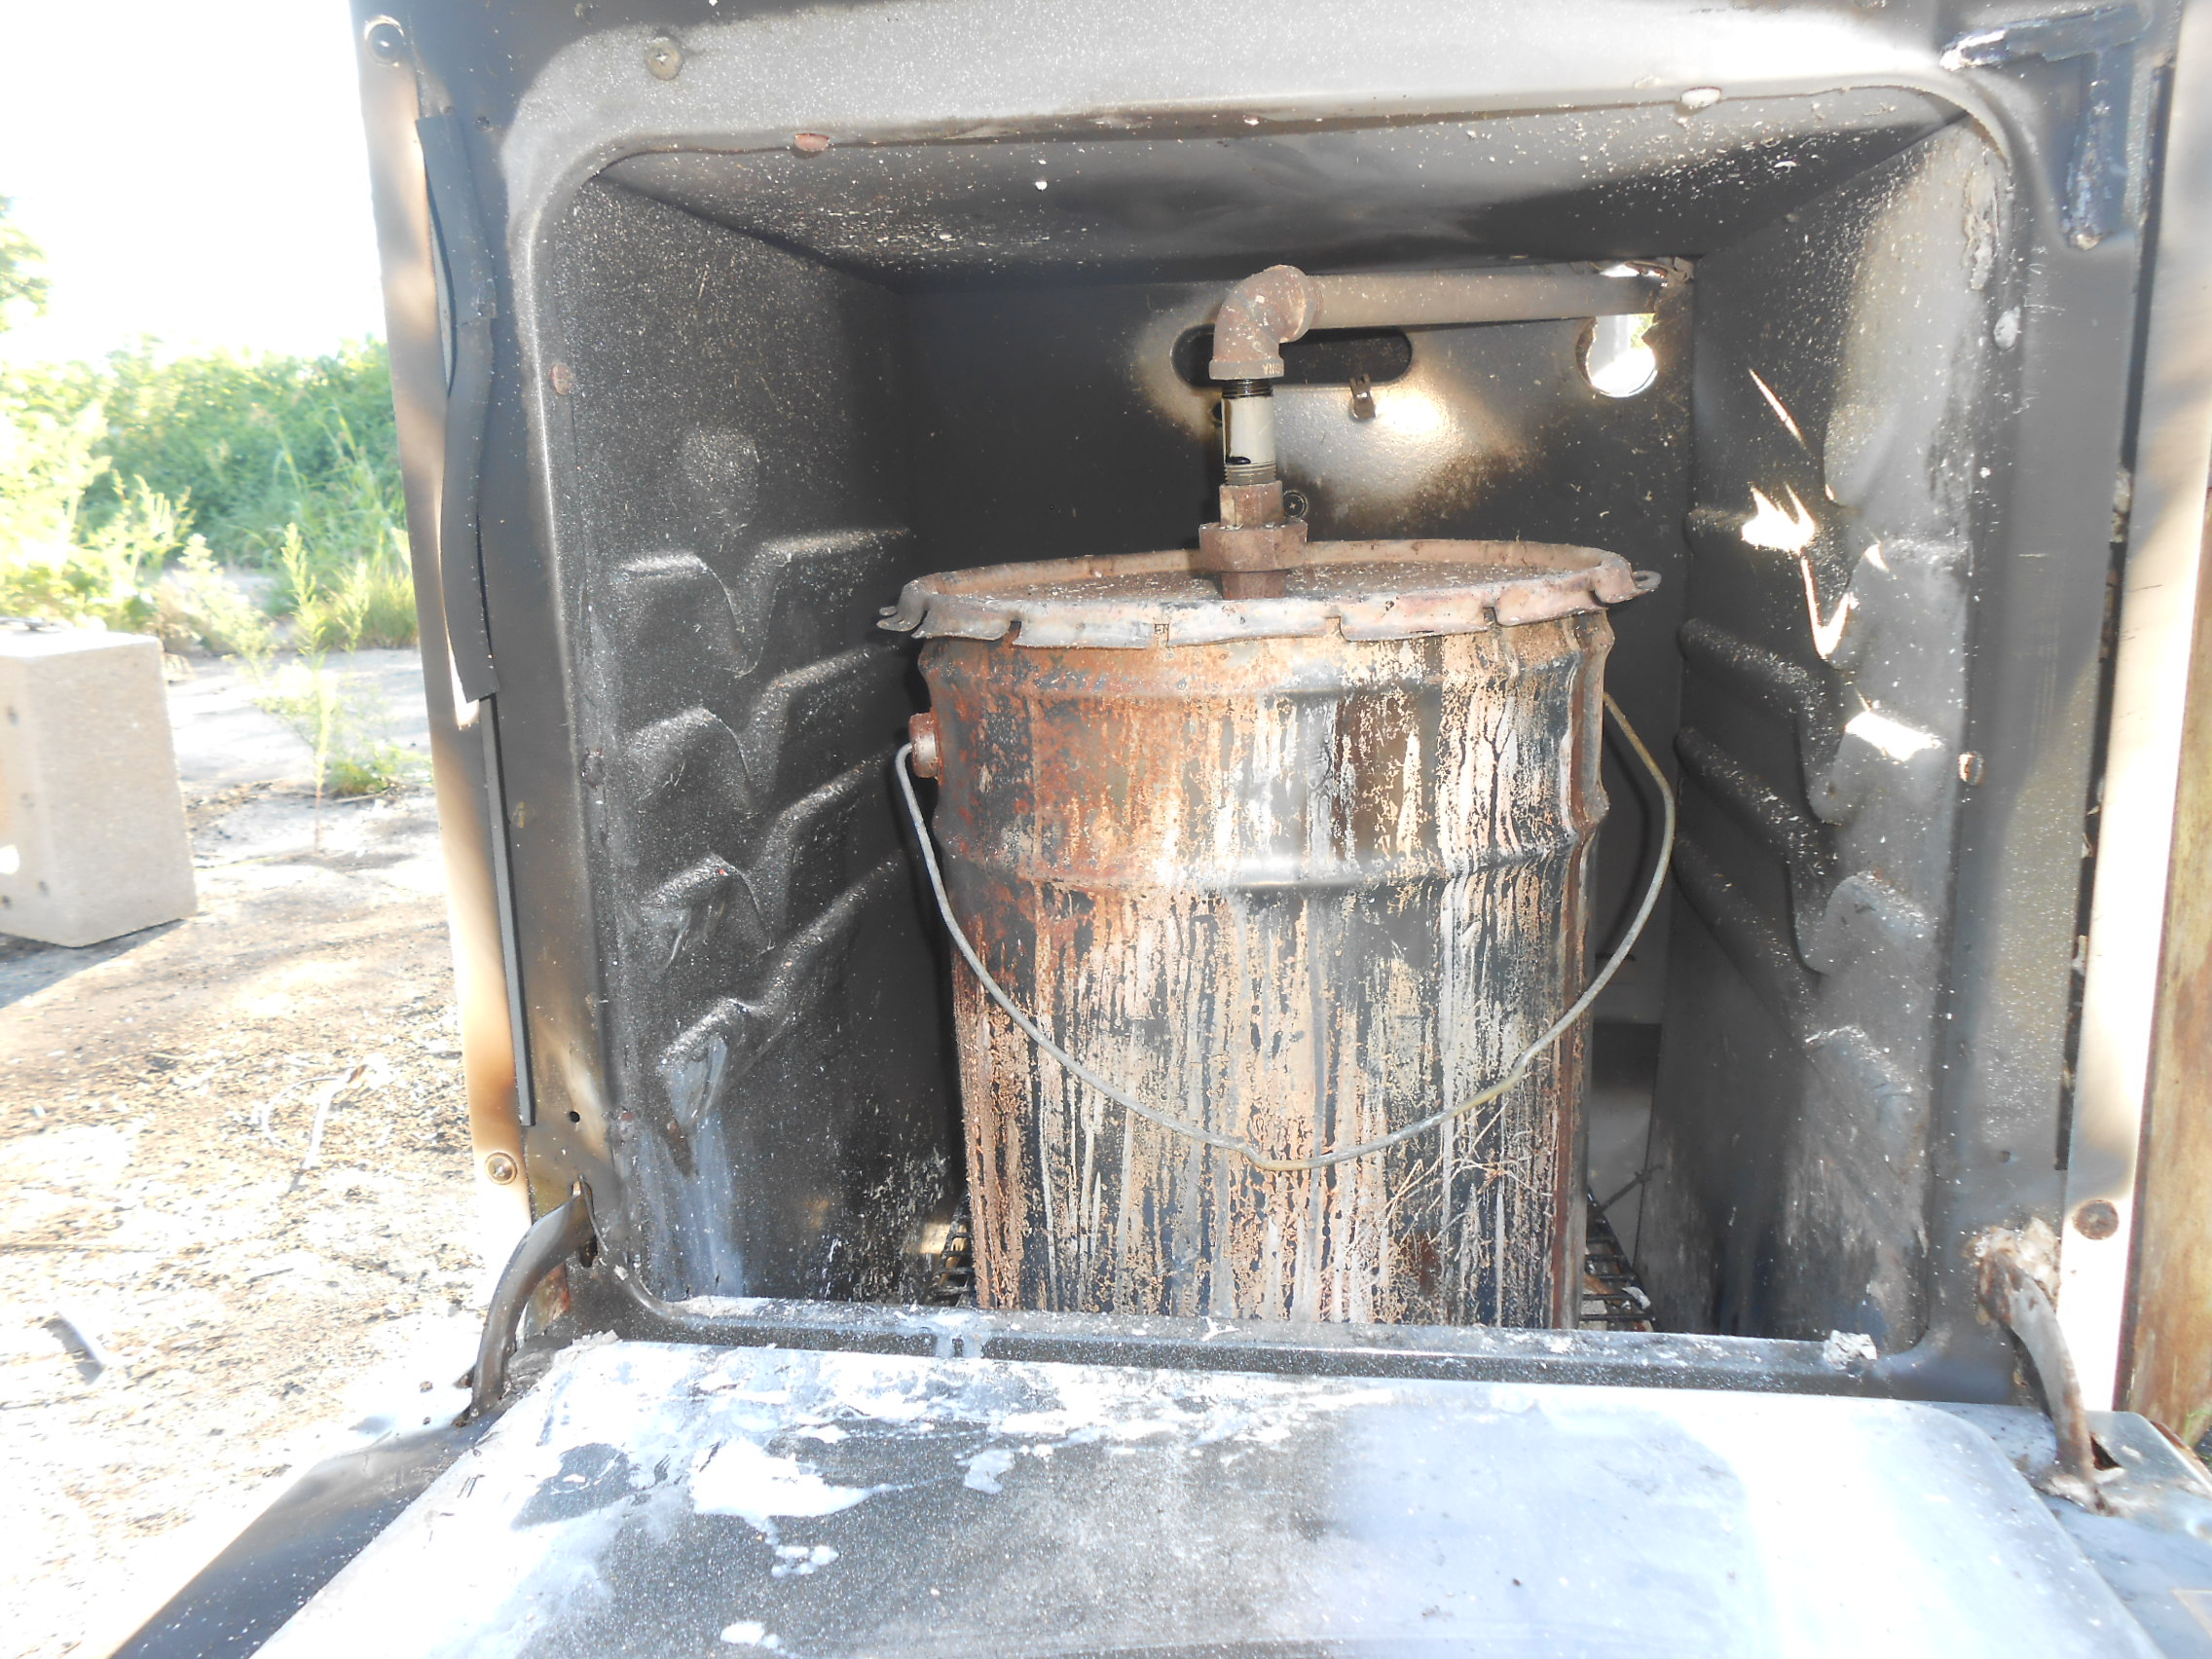
This is the wood dryer I just built. Pretty simple. Helps if you have an old Weber Grill. Started out building a rocket stove out of 3 inch pipe and channel iron. My experience with Rocket Mass Heaters says that the cross sectional area needs to be pretty much the same throughout. I don’t think that applies to rocket stoves but I built it that way anyway. The fuel feed and heat riser are 3 inch ID pipe. The burn tunnel is a piece of 5 inch channel on the bottom capped with a 4 inch channel. All welded solid.
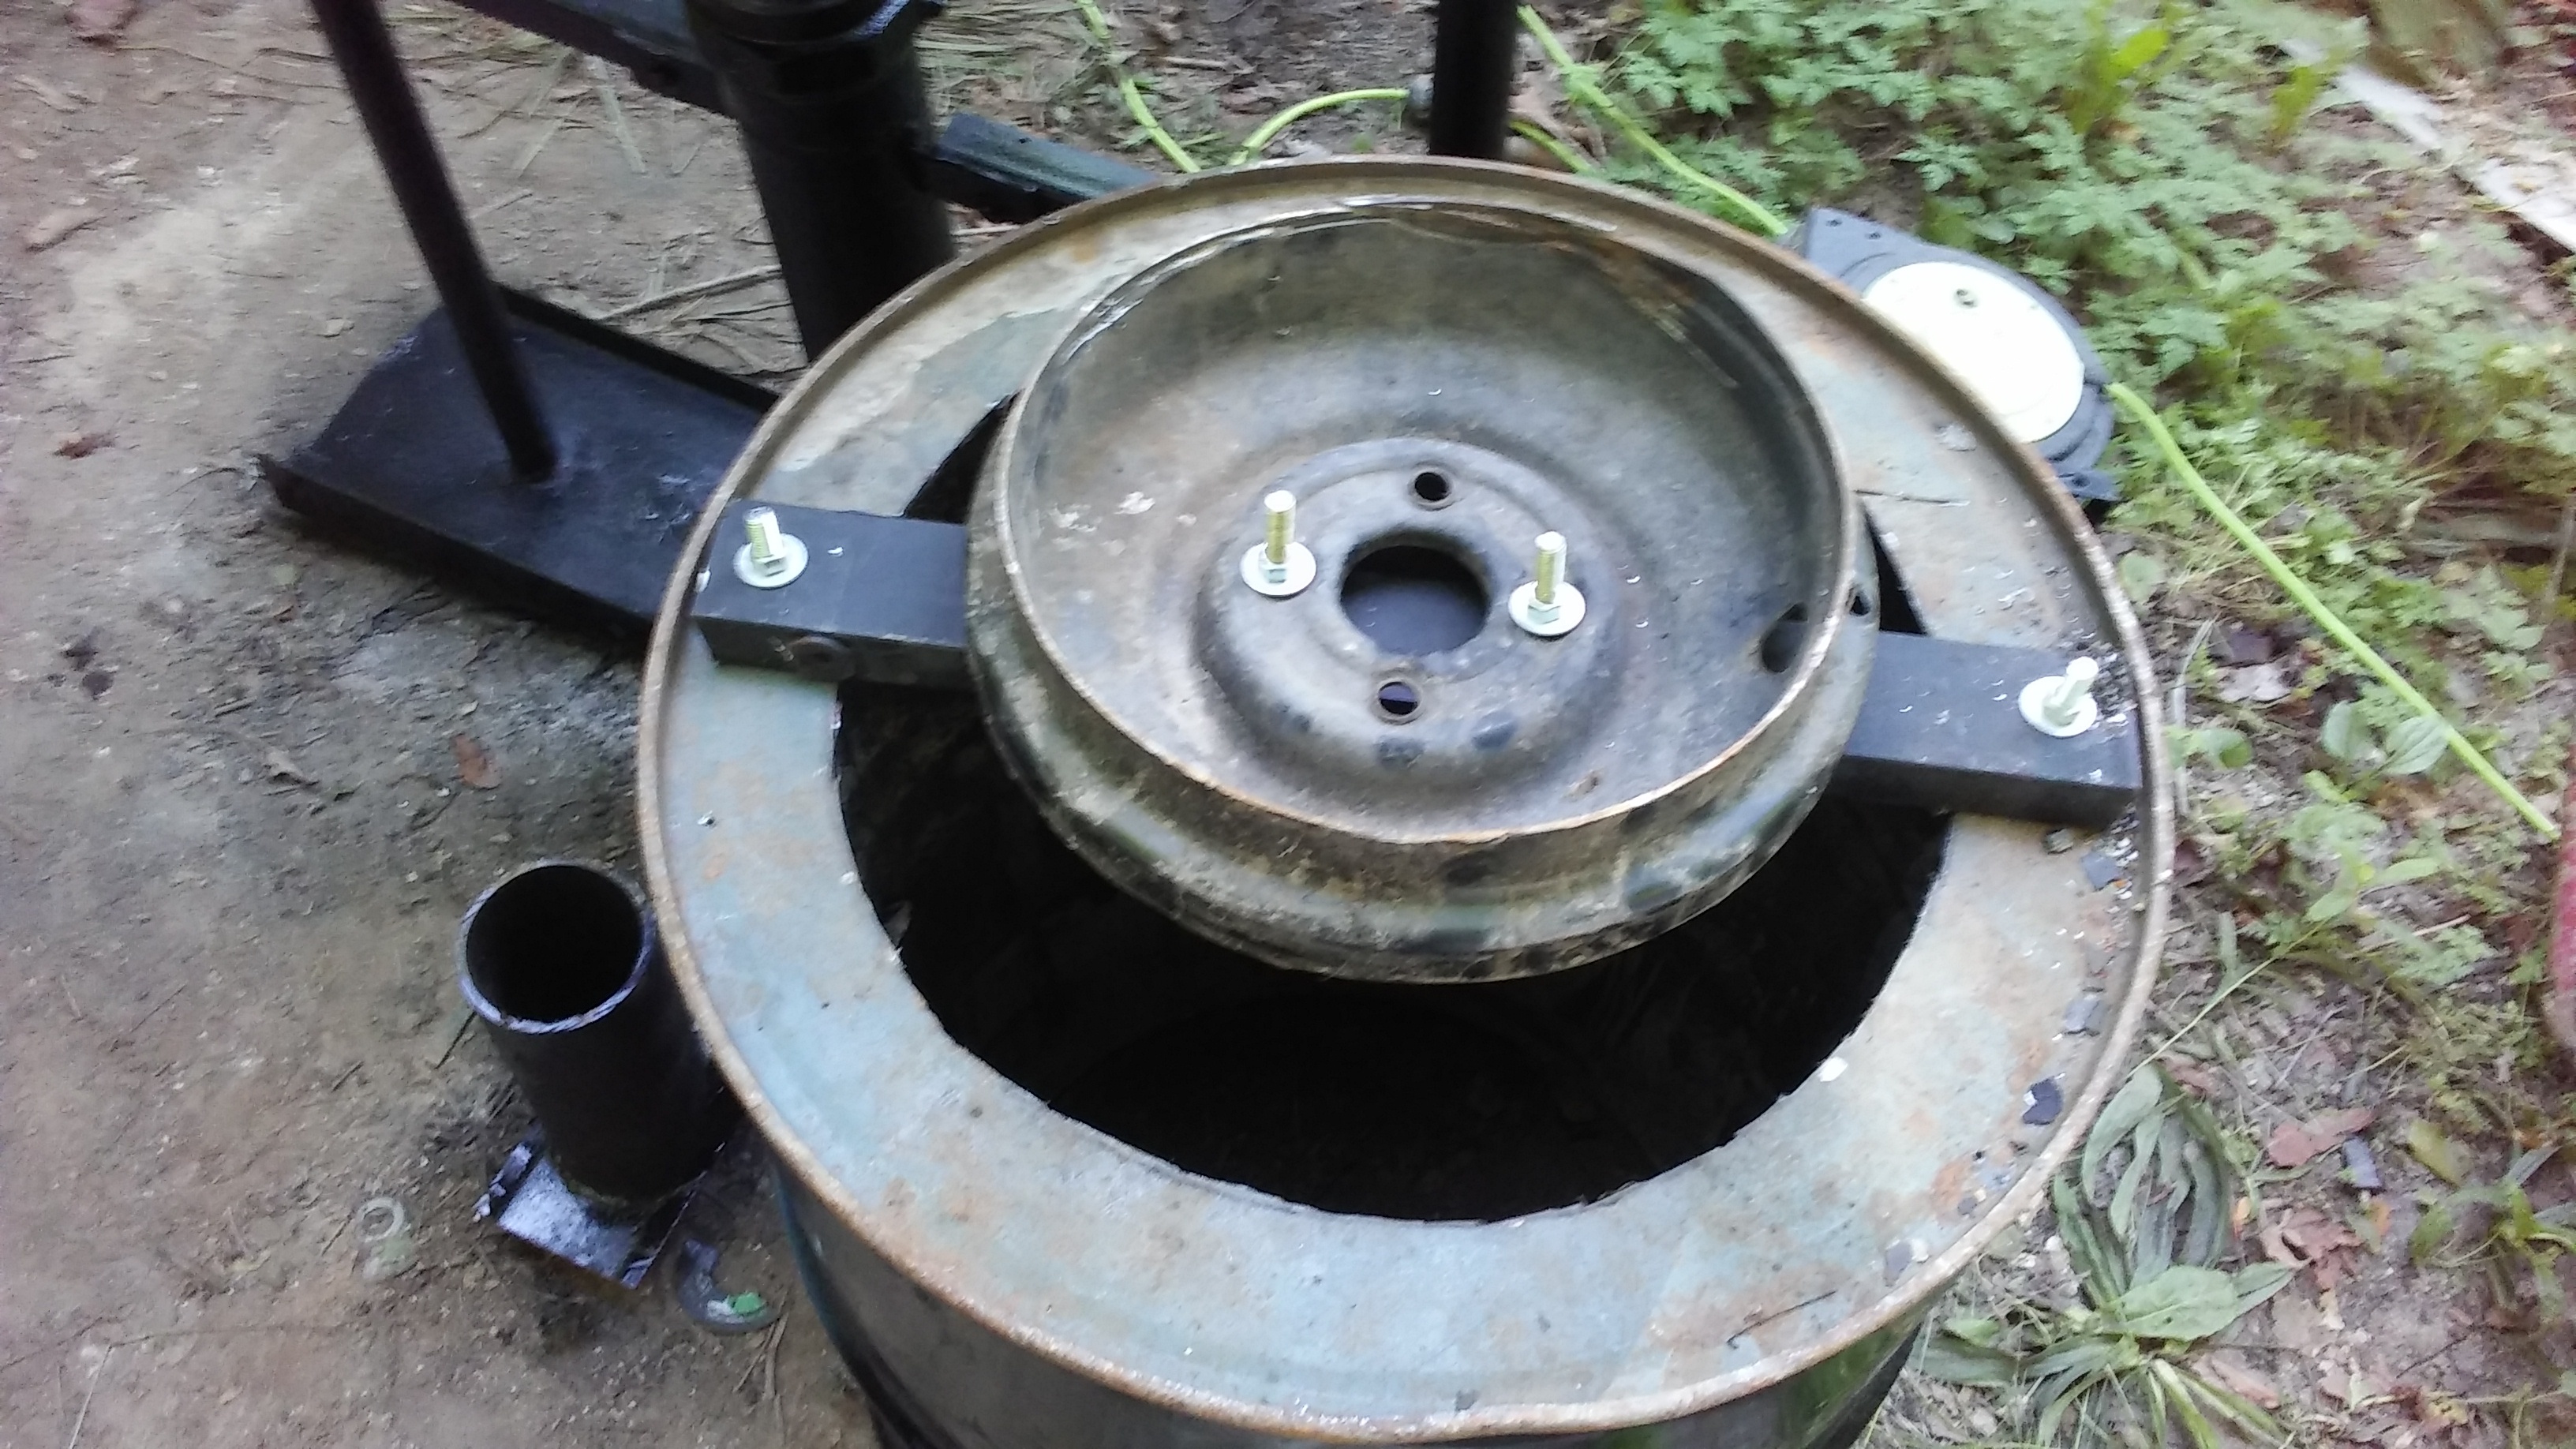
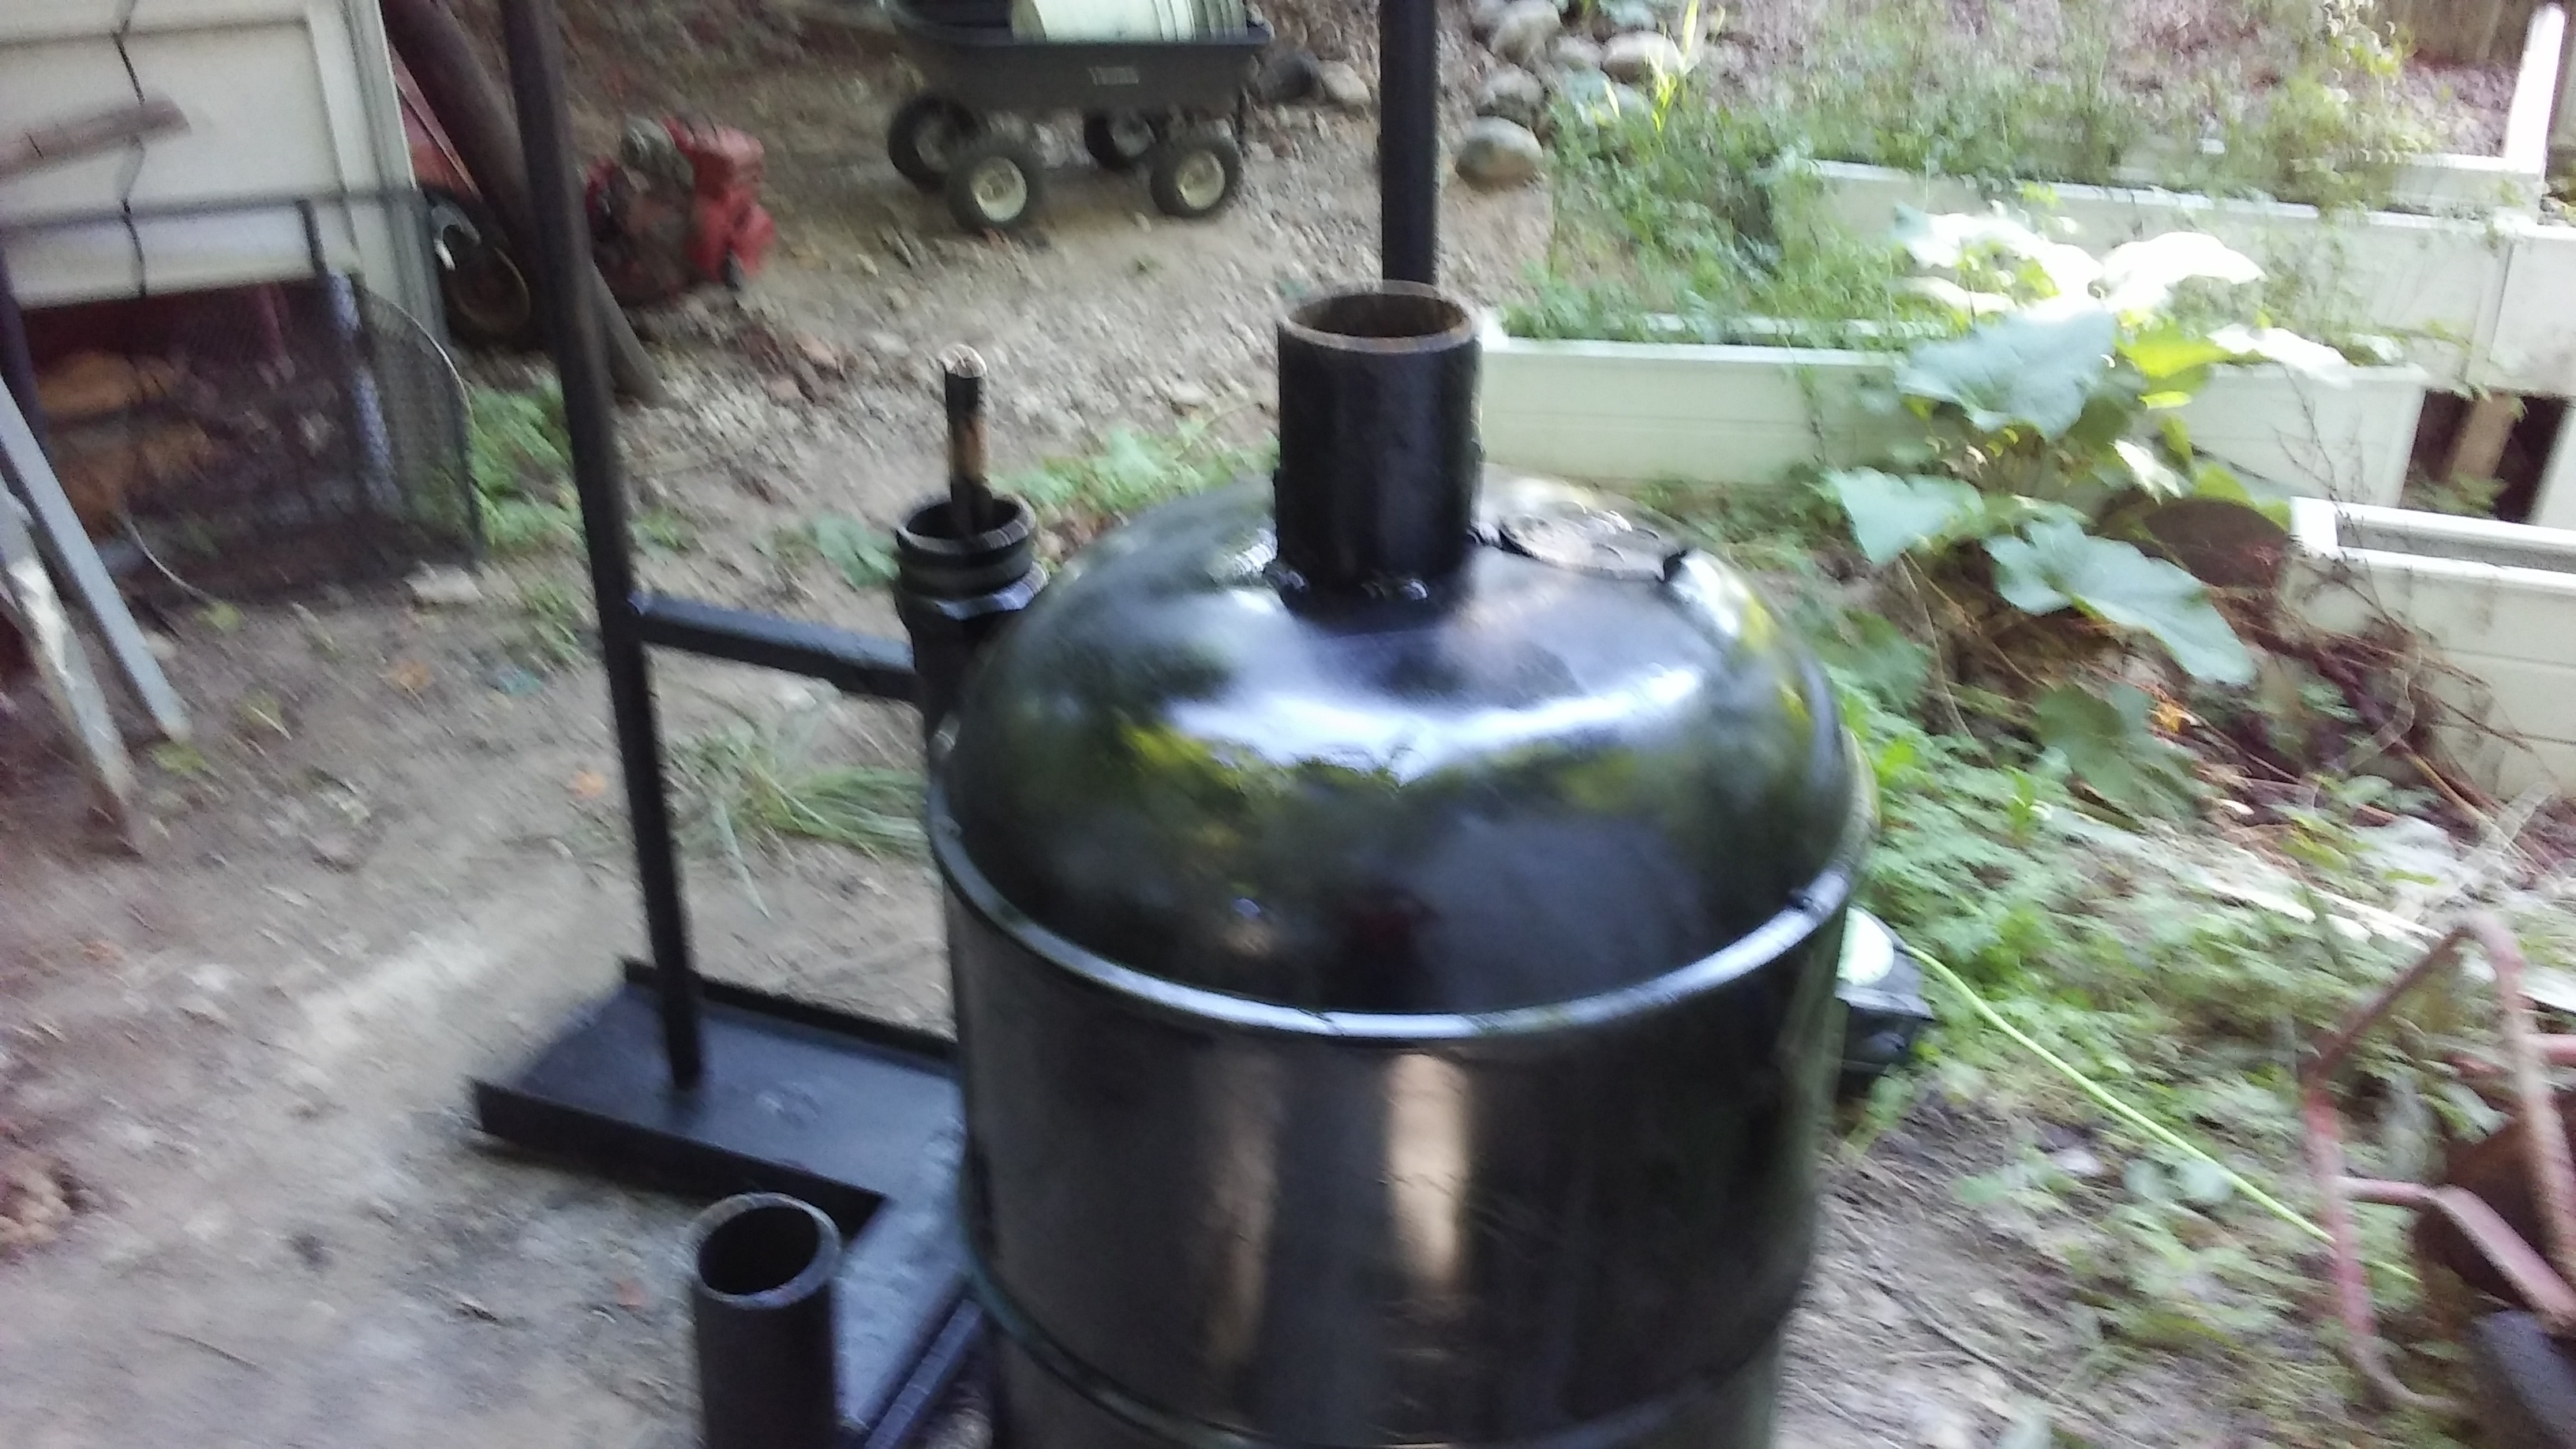
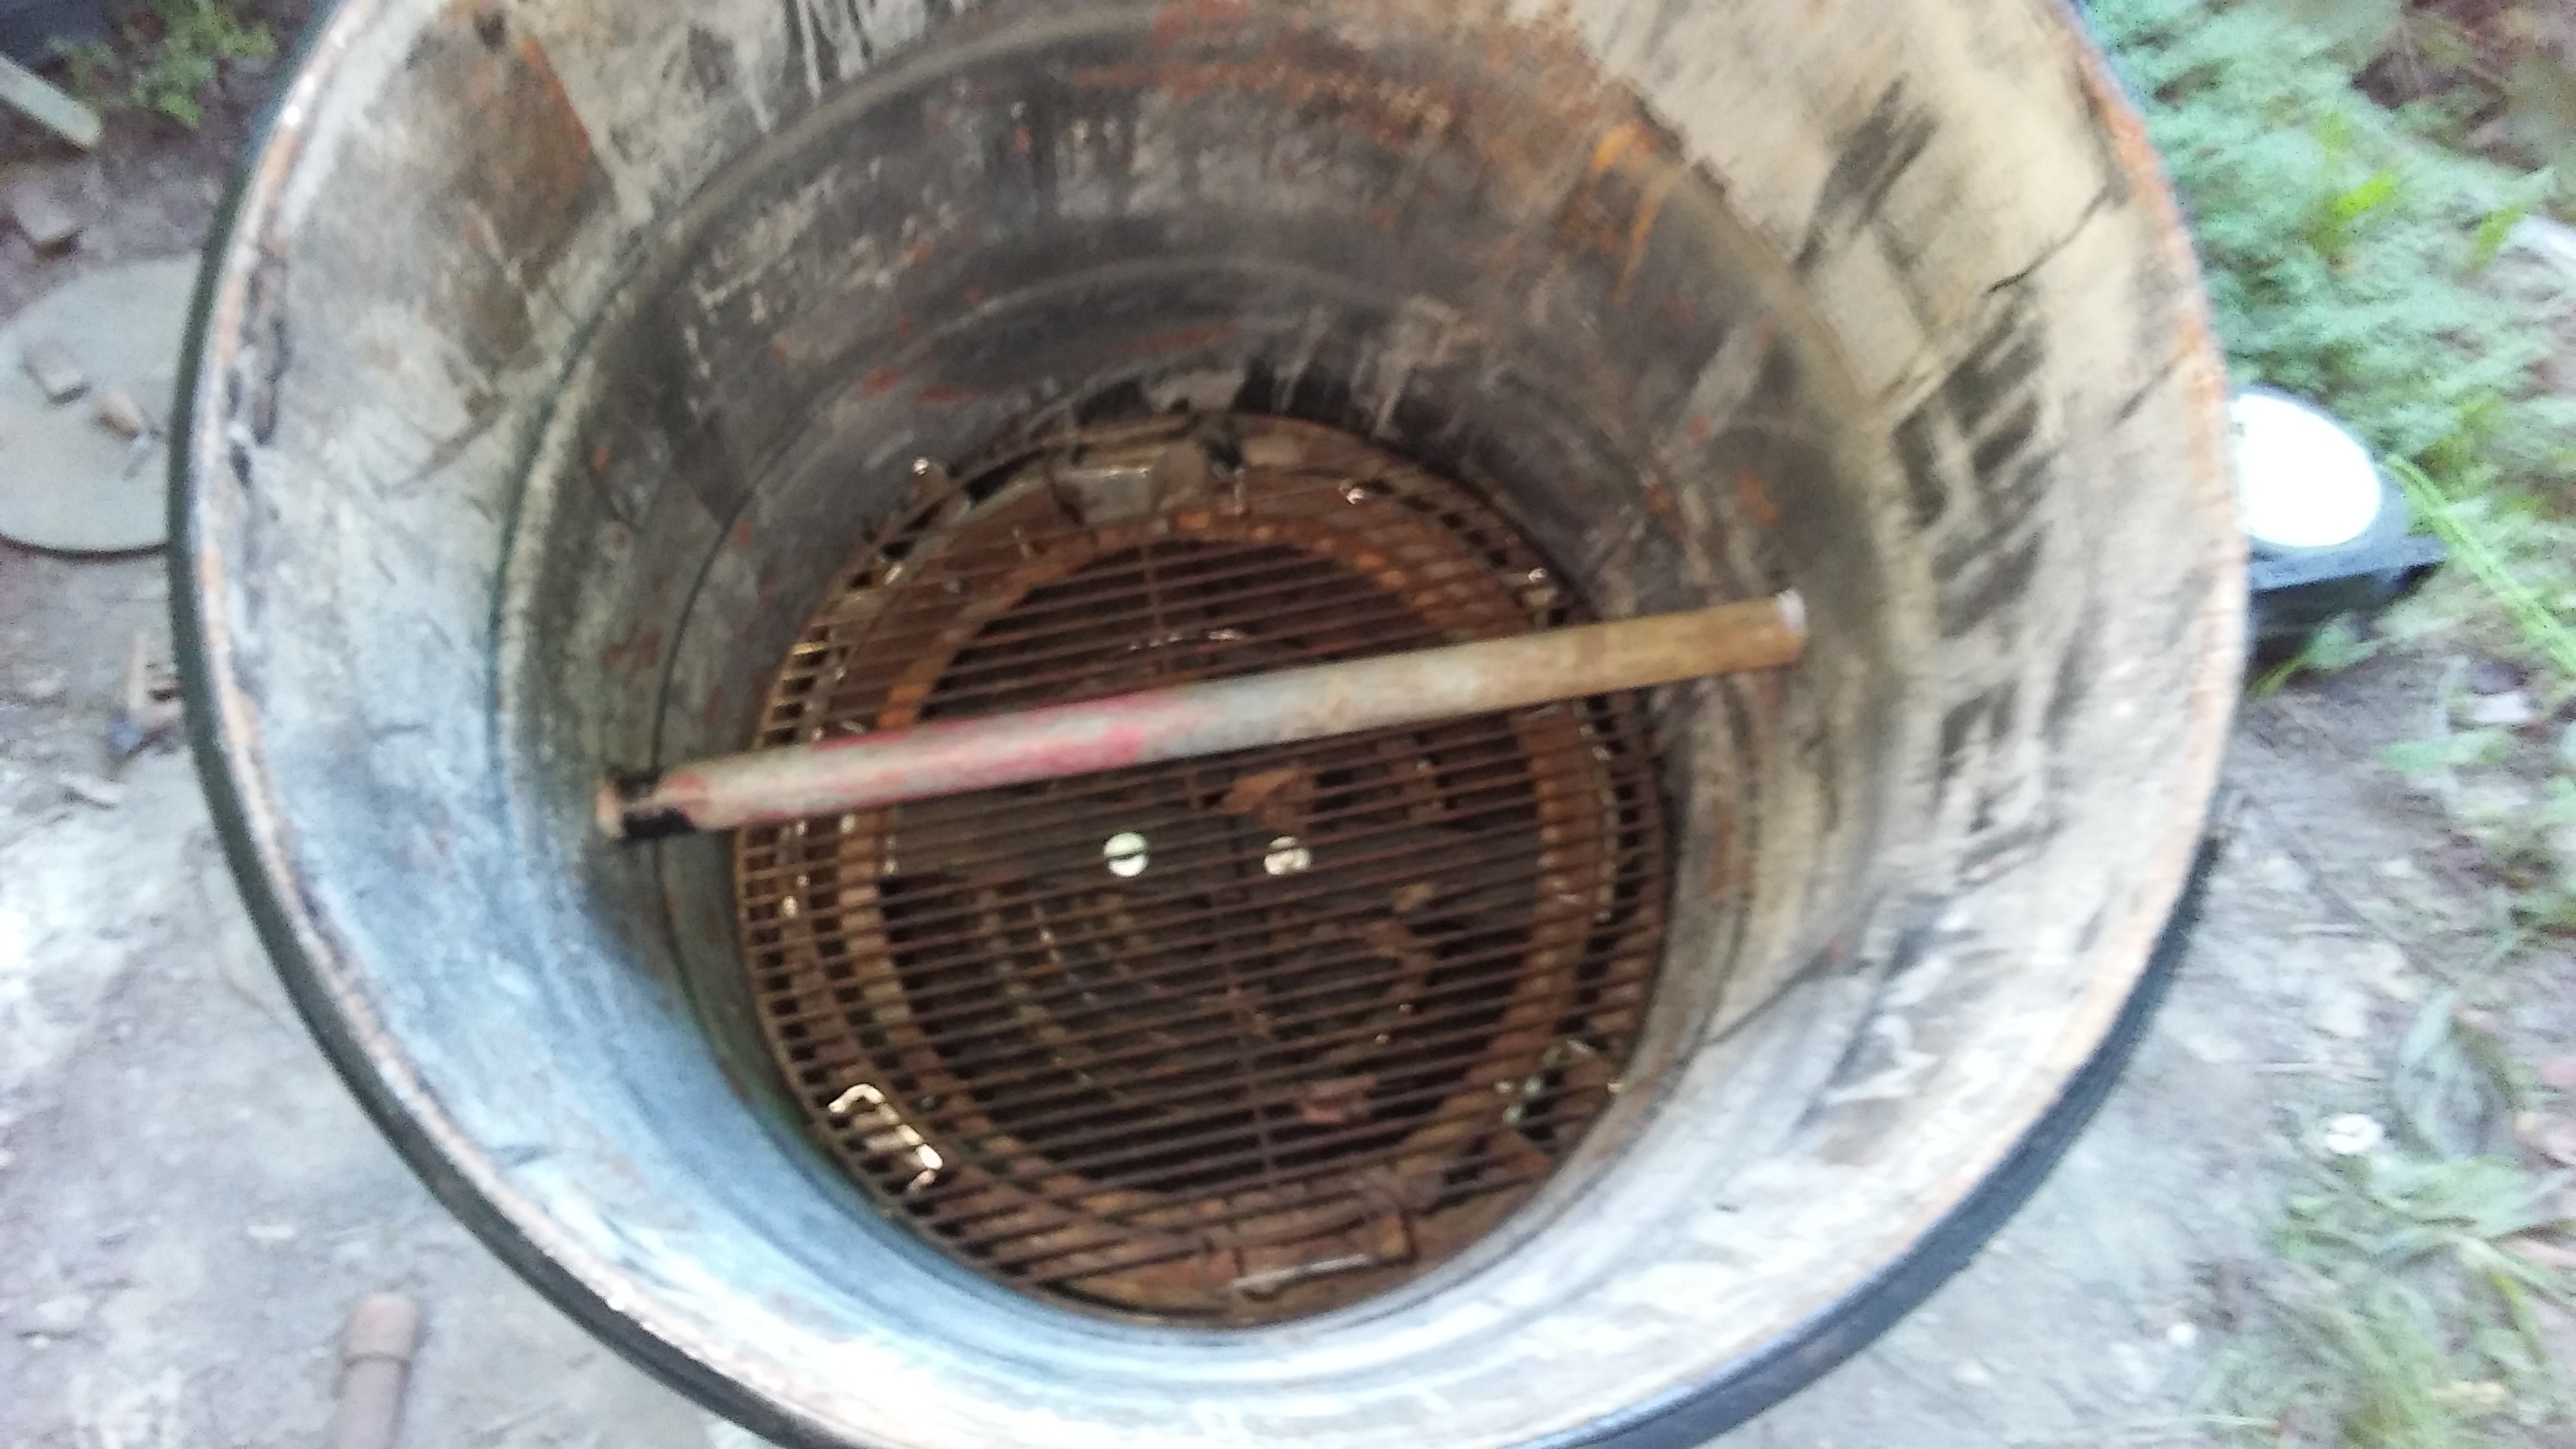
The top is a 55 gallon barrel with the top of a weber grill screwed to the bottom. The bottom of the barrel was cut out and the center section of a wheel was attached across the opening. The was probably not entirely necessary. I did it in case the flames came up from the heat riser they would be stopped by the wheel and diverted downward. So far that hasn’t happened.
A 3 inch piece of pipe was welded to the base of the grill lid to add some extra height to the heat riser and allow the barrel to rotate for emptying. Inside the barrel I made a four inch riser to keep the grate and wood a little higher from the direct heat. The grate from the grill fits exactly inside the barrel without modification.
Right now the lid has a piece of six in stove pipe for a flue to help draw the hot air up and out of the barrel. I will have to experiment with different sizes of flue to see what is most efficient.
Running the heater I took a lot of reading with a IR thermometer. The burn tunnel is the hottest area running just below 500 F with a maximum burn. The heat riser has stayed near or below 300F and the interior of the barrel and the base has not exceeded 250F so well below the combustion point of wood. The stove will run about an hour on a load of fuel. Of course some sort of platform will be necessary to load the barrel but the gasifier is also fairly high. I’ll build a platform between the two when I get them set up. This is area is surrounded by trees so it only gets about six hours of direct sun a day but in a better location I would build a solar collector and cut a slot and rectangular duct in the grill bottom section, attach that to the barrel and heat the thing that way. I’m also going to build a plenum over the burn tunnel and run a flexible duct into the bottom of the grill top to utilize the extra heat. Just didn’t have the extra materials handy.
I think I see a pipe for secondary air?
I’m sure you’ve thought of this, but a little insulation would turn this into a charcoal maker. It would be really easy to condense and collect tar and chemicals. But maybe the steel would burn out really fast? Have you thought about using earth type materials cob/adobe/firebrick? They might hold the heat and continue the drying process even after the fire has gone out.
Rindert
That looks promising! Insulation would probably not be a bad addition down the road, but I suspect it will dry some wood. What is your target moisture content? I feel like green wood around here is like 40-50% moisture at the outset, and air dried over the summer it will get down to 15% or something like that. If you have the means to weigh a batch before and after, I will be curious to see how much wood you need to burn to reduce the moisture.
My woods are mostly sugar maple and ash, Carl. The ash borer came though and killed all the ash. I’ll never get to all the dead ash before it goes bad but It’s been dead and standing for up to six years now so pretty dry when I drop it. I burn it the same year in my wood stove. Haven’t even bothered to figure out where I stuck my moisture meter but I’ll dig it out and see what I’m starting with. You guys said I need wood as dry as possible and I believed you so I built this thing. Now I have to figure out how to chunk up the wood.
I don’t worry about burning out barrels Rindert. There’s a place in town that sells 55 gallon barrels five for twenty five bucks. It’s a coating supplier and I guess they just need to get rid of them. You have to give them the twenty five in cash. Probably beer money.
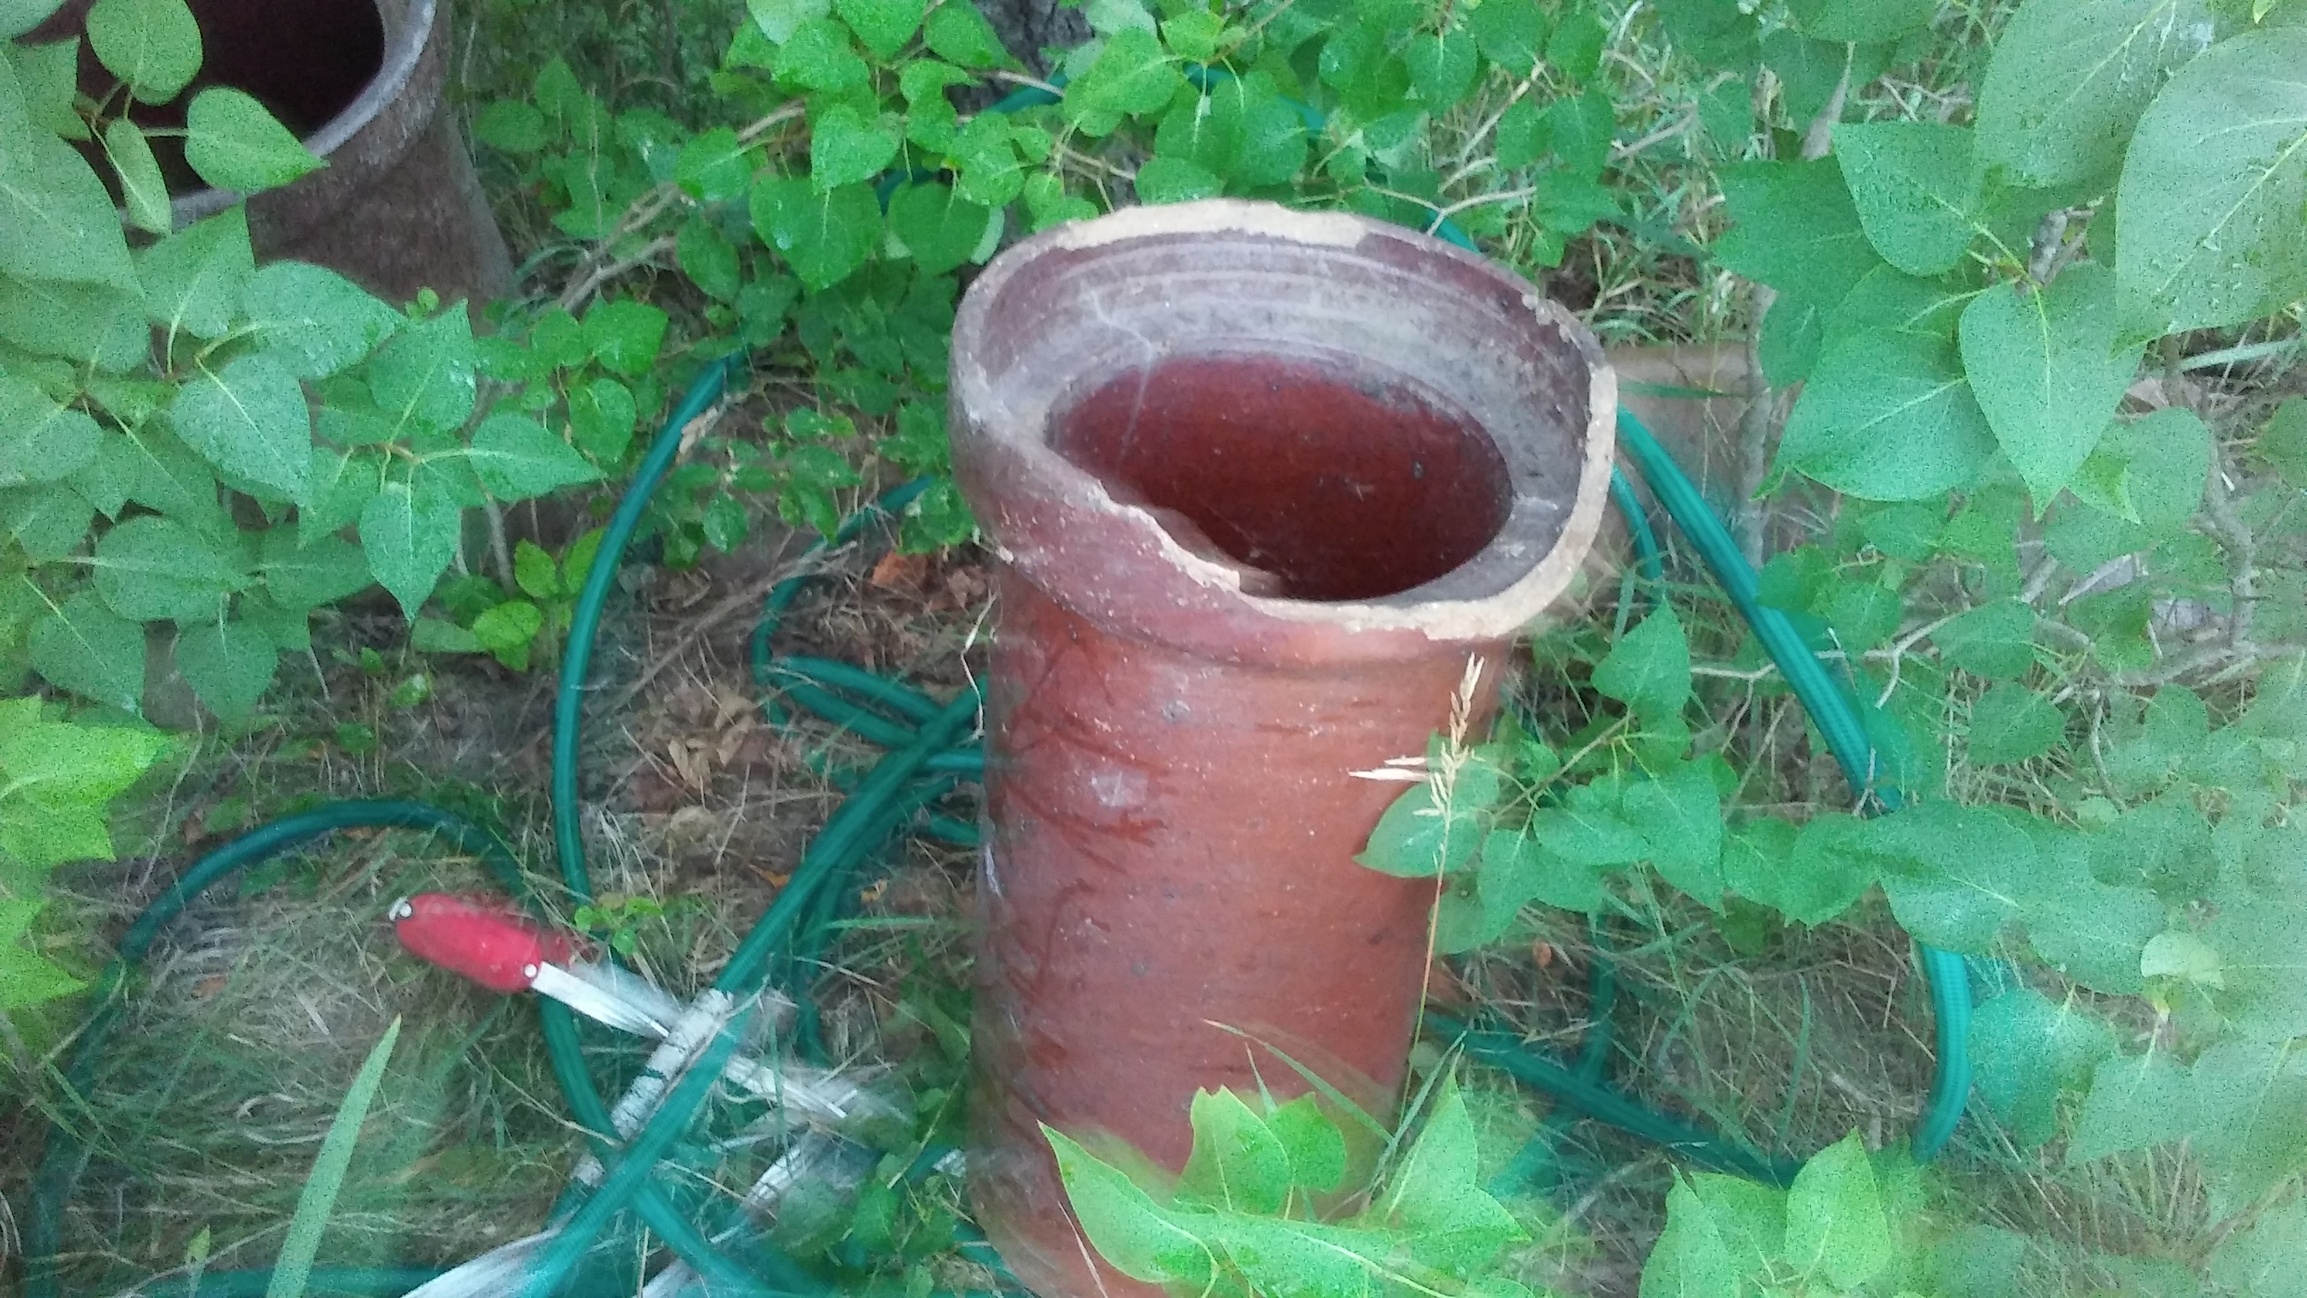
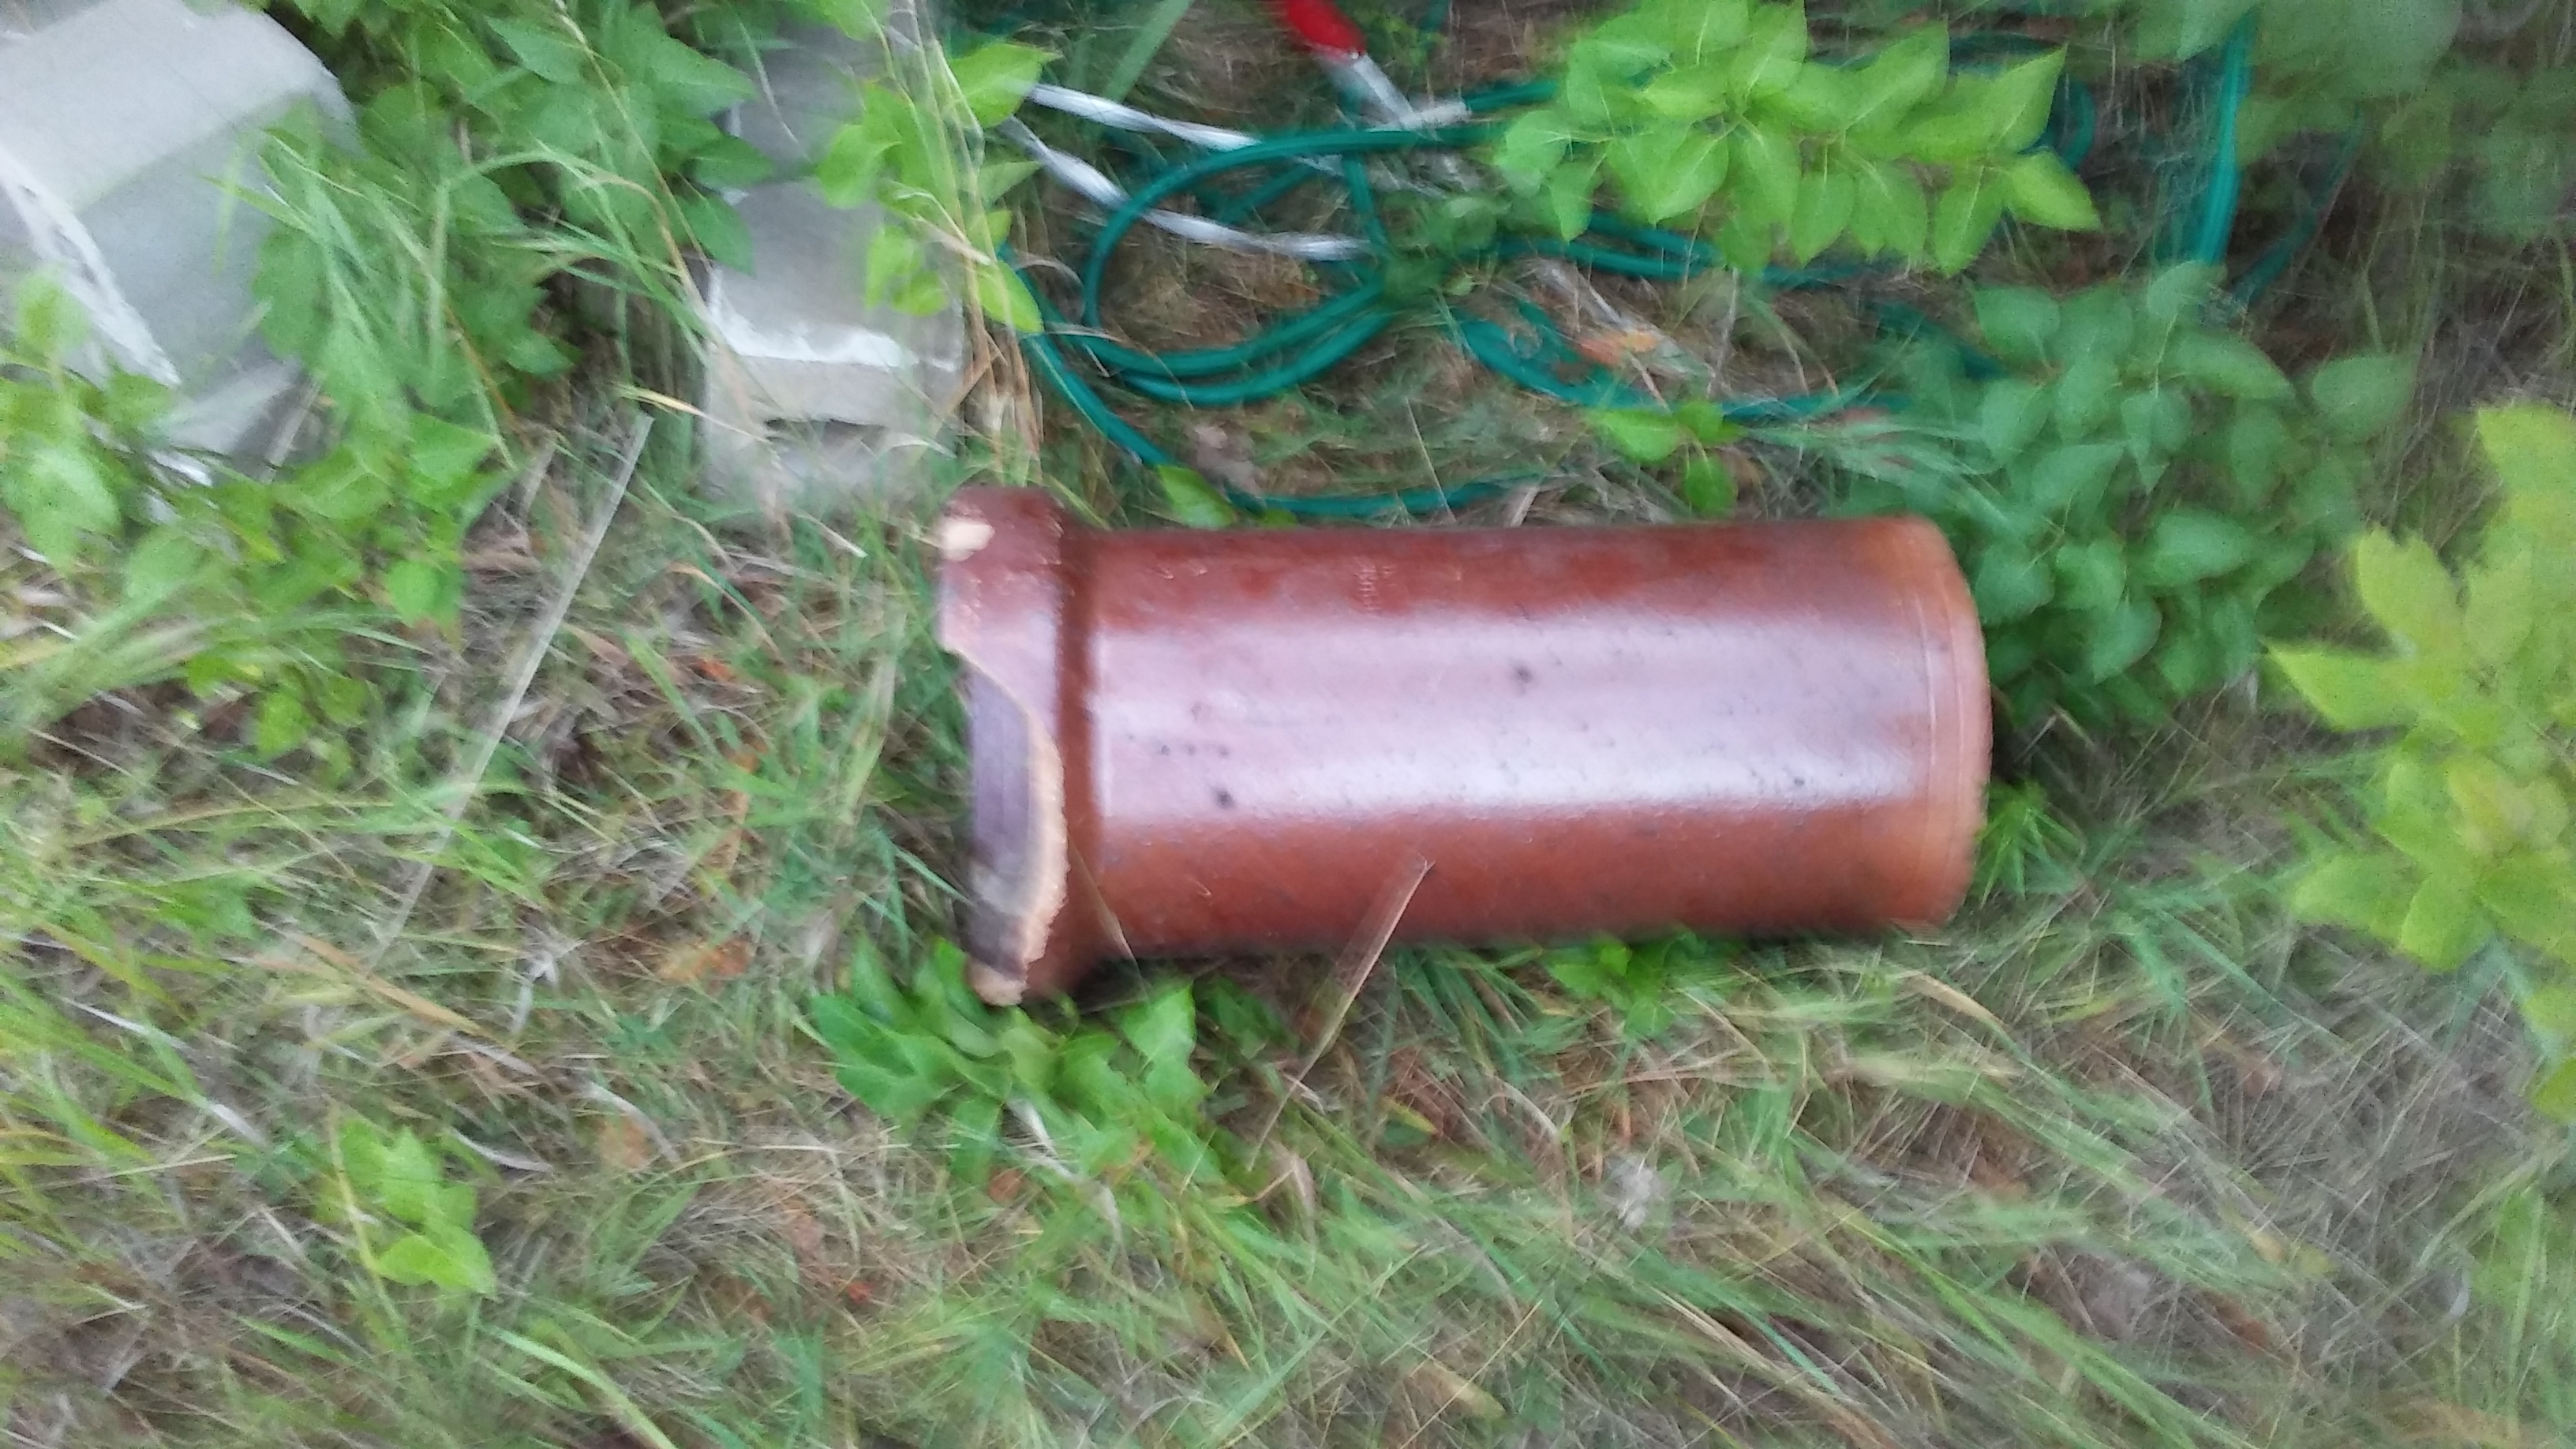
I do have several big pieces of what appear to be ceramic field tiles. They are about eighteen inches ID. I’ve been trying to think of what I could build out of them. A charcoal retort has come to mind several times. Just not sure how I could unload it.
For charcoal making, fill barrel with classified (screened) wood chips or vertical long sticks. When this feed stock is dry convert to TLUD (Top Lit Up Draft) mode. Put a variable speed fan on the rocket stove inlet and light a fire on top. Leave lid off and adjust fan to give clean burn. When yellow flames stop, seal her up to cool the charcoal.
These are the ceramic pipes I was talking about. I’ve been trying to figure out what I could make out of them for years. I make charcoal in a barrel. That’s about as sophisticated as I’ve gotten. I wonder if there is a way to make it in a horizontal tube so that the finished product could be just pushed out the end. I have five of these things. All have a piece out of the flange. I guess that’s why they were left in the field.
Tom, I do recall seeing a video of coke manufacturing once. In it the coke was made in cylindrical ovens or retorts and pushed out from one end to the other.
Probably need to heat them slowly, to get any absorbed moisture out. Use them as a heat barrier, but don’t make them structural, as they may fail at a bad time. Find the worst one, and do some fire-pit experiments.
Hi Tom, I will second Mike’s comments. You will also find the ceramic can suck up a lot of heat that could be used to char the wood, thereby lowering your char yield. The ceramic will crack on you as the heating will be uneven. If you do this, make sure the clay tile is surrounded with some material that will stabilize it. Something like dirt or wrapped in insulation. I have tiles like these around my house too, but would not use them for making charcoal. The metal barrel is the best way to go for smaller batches. My 2 cents worth!
Gary in PA
I agree Gary. I just mentioned these because Rindert talked about building something of of clay or cob and I have been trying to figure out some use for these for twenty five years. I think they were left here some time in the 50’s.
Does anyone use the heat stored in their oven after using to dry their own wood?
As I’m still at the stage where I haven’t finished my build (nor the wood stores) my wood is stored very haphazardly. about 5-6 weeks ago after a firing for pizzas, I decided to shove the door full of wood I’d split earlier in the day. This wood was still very fresh (only chopped down for a month), but after leaving it overnight (some of it was blackened but with no signs of ignition).
I’d like to see what you are working on Annie. As for drying wood in your pizza oven, thumbs up. Anytime you can used stored energy to do work you are working smart.
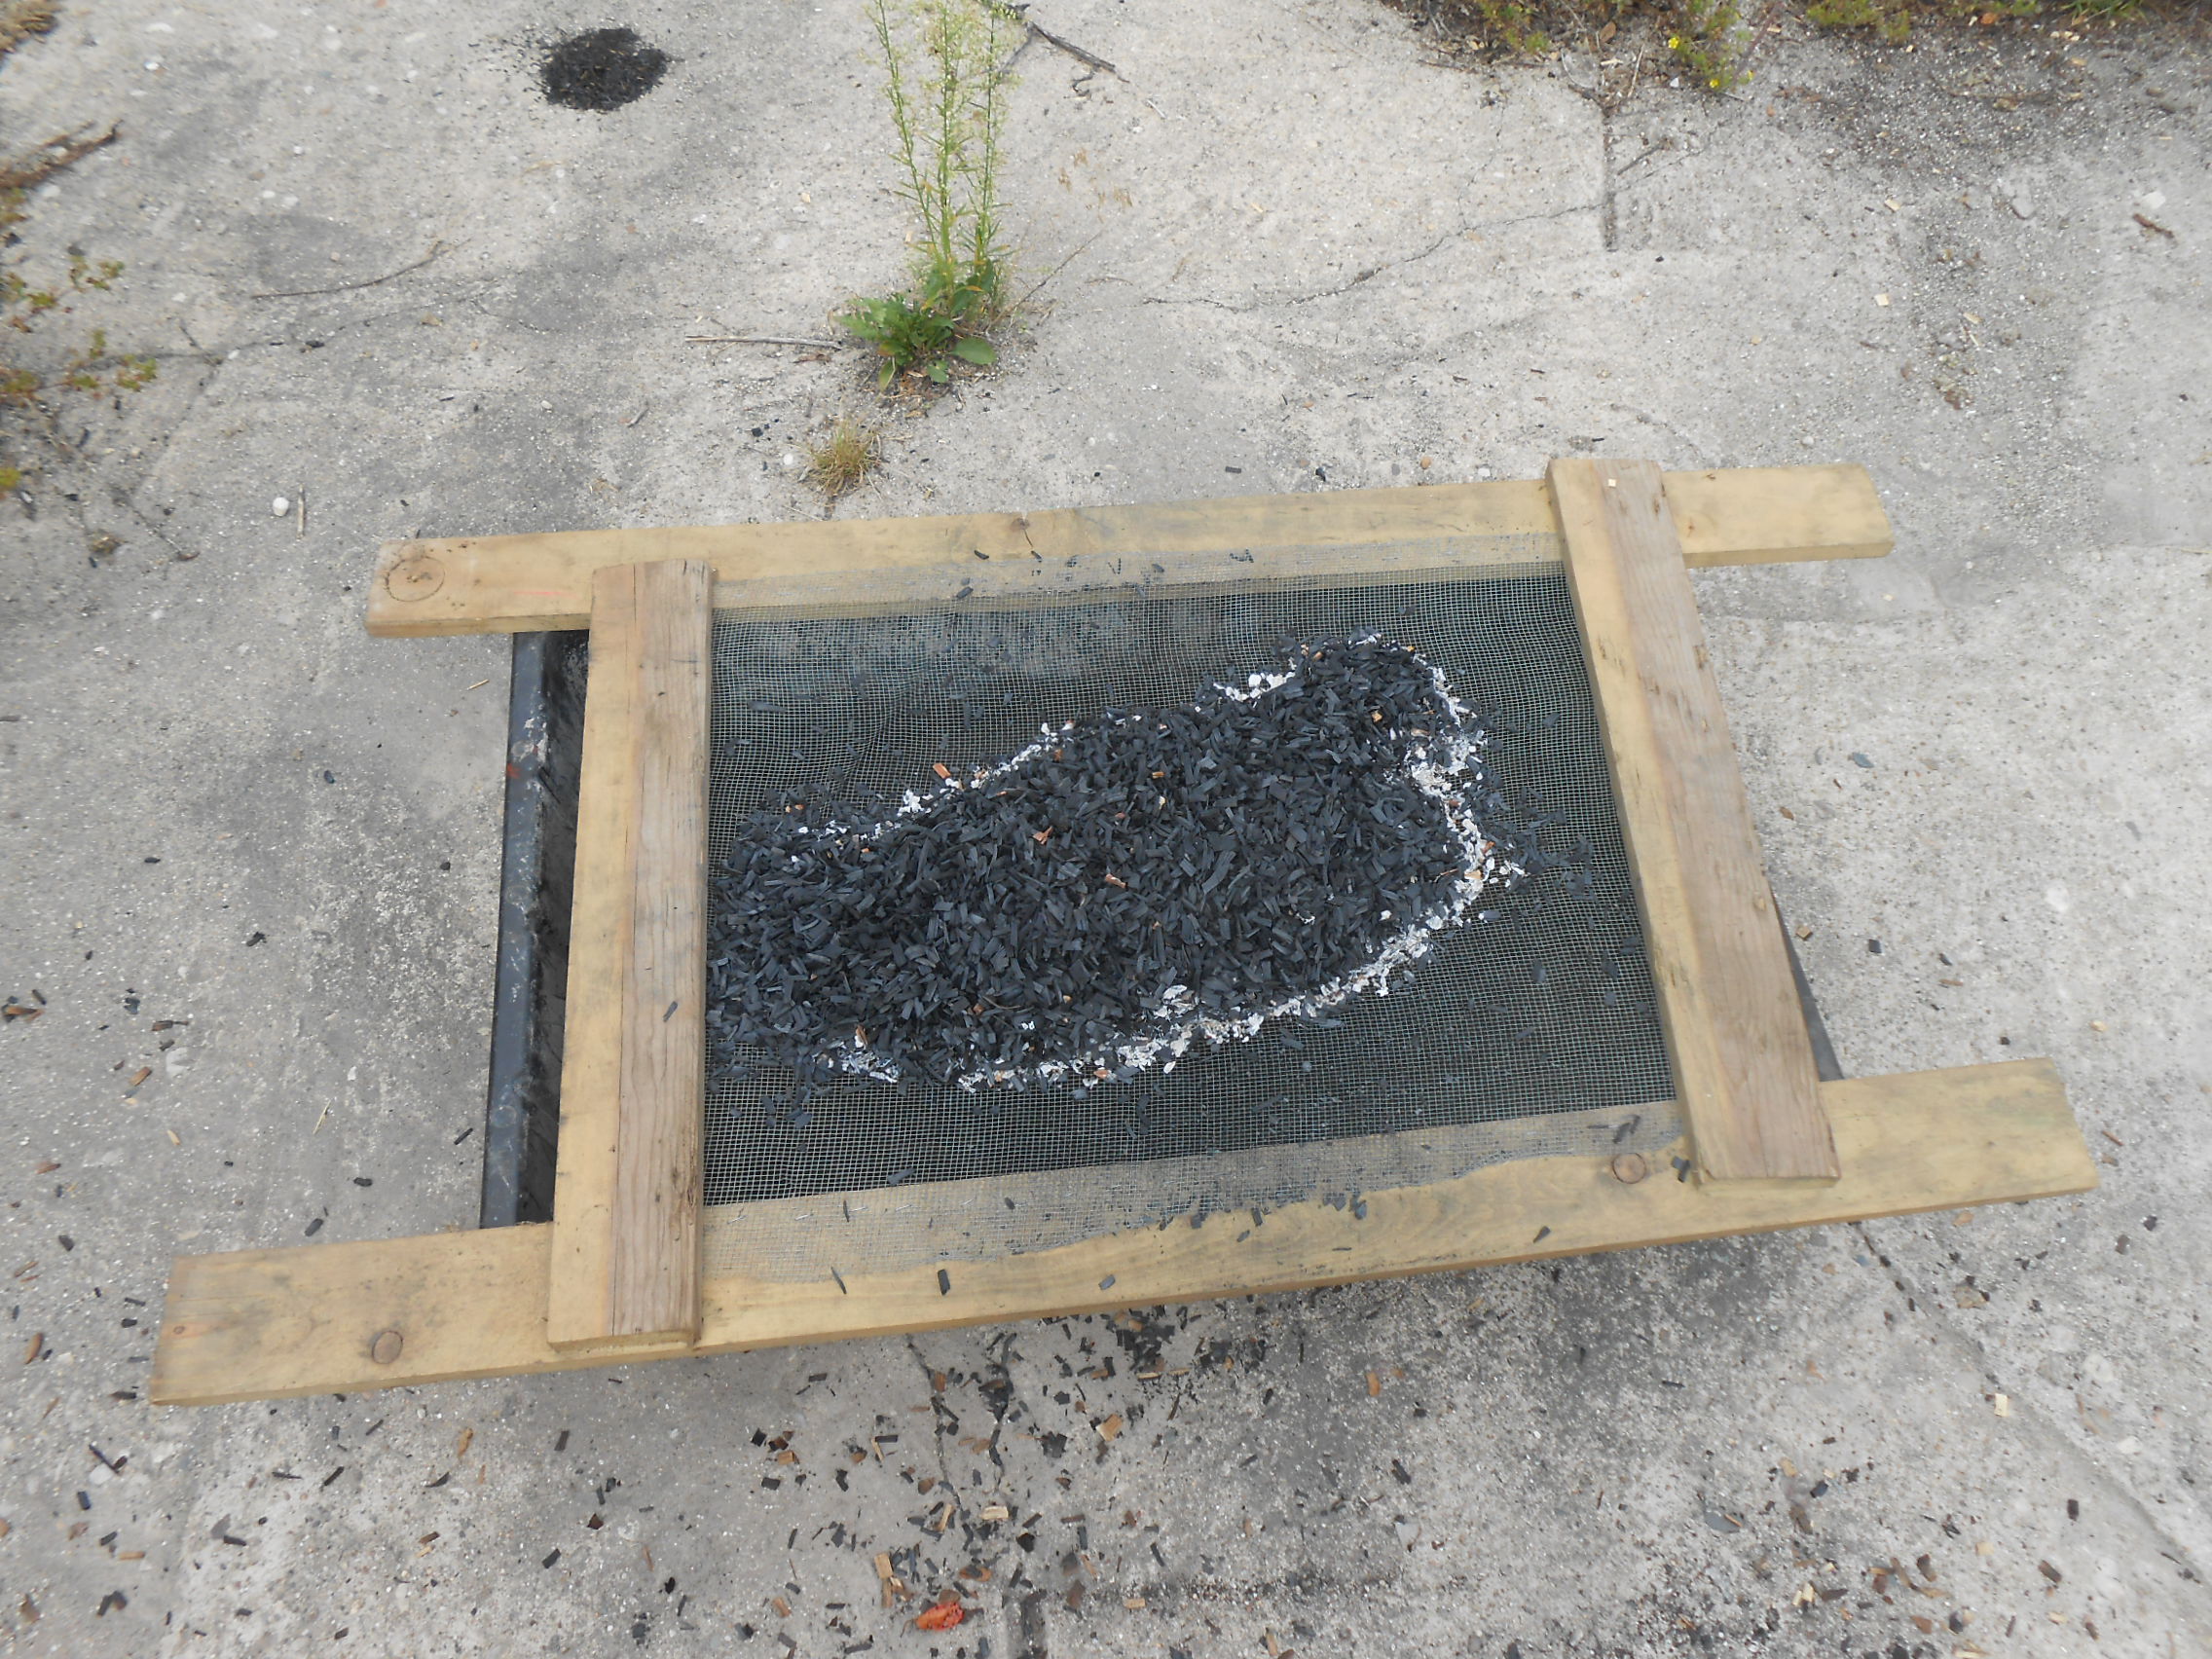
Its funny you should mention that Annie , just last week i had a whole pile of very very wet wood laying on the ground that needed moving before it rotted away , but seeing’s as its winter time here i thought there was no way i would be able to use it up this season , then i thought why not use my charcoal barrel to dry it ,i have to admit it was one of my better idea’s .
I loaded the drum and used no more than around 20 kgs of pine off cuts from scrap timber to bake what was in the drum for a few hours and next day opened up to find lovely dry blackwood firewood .
Dave can you show us your retort that you are using for this. This could be the answer for the guys on the west wet side of the mountain from where I live. I live on the dry side.
Bob
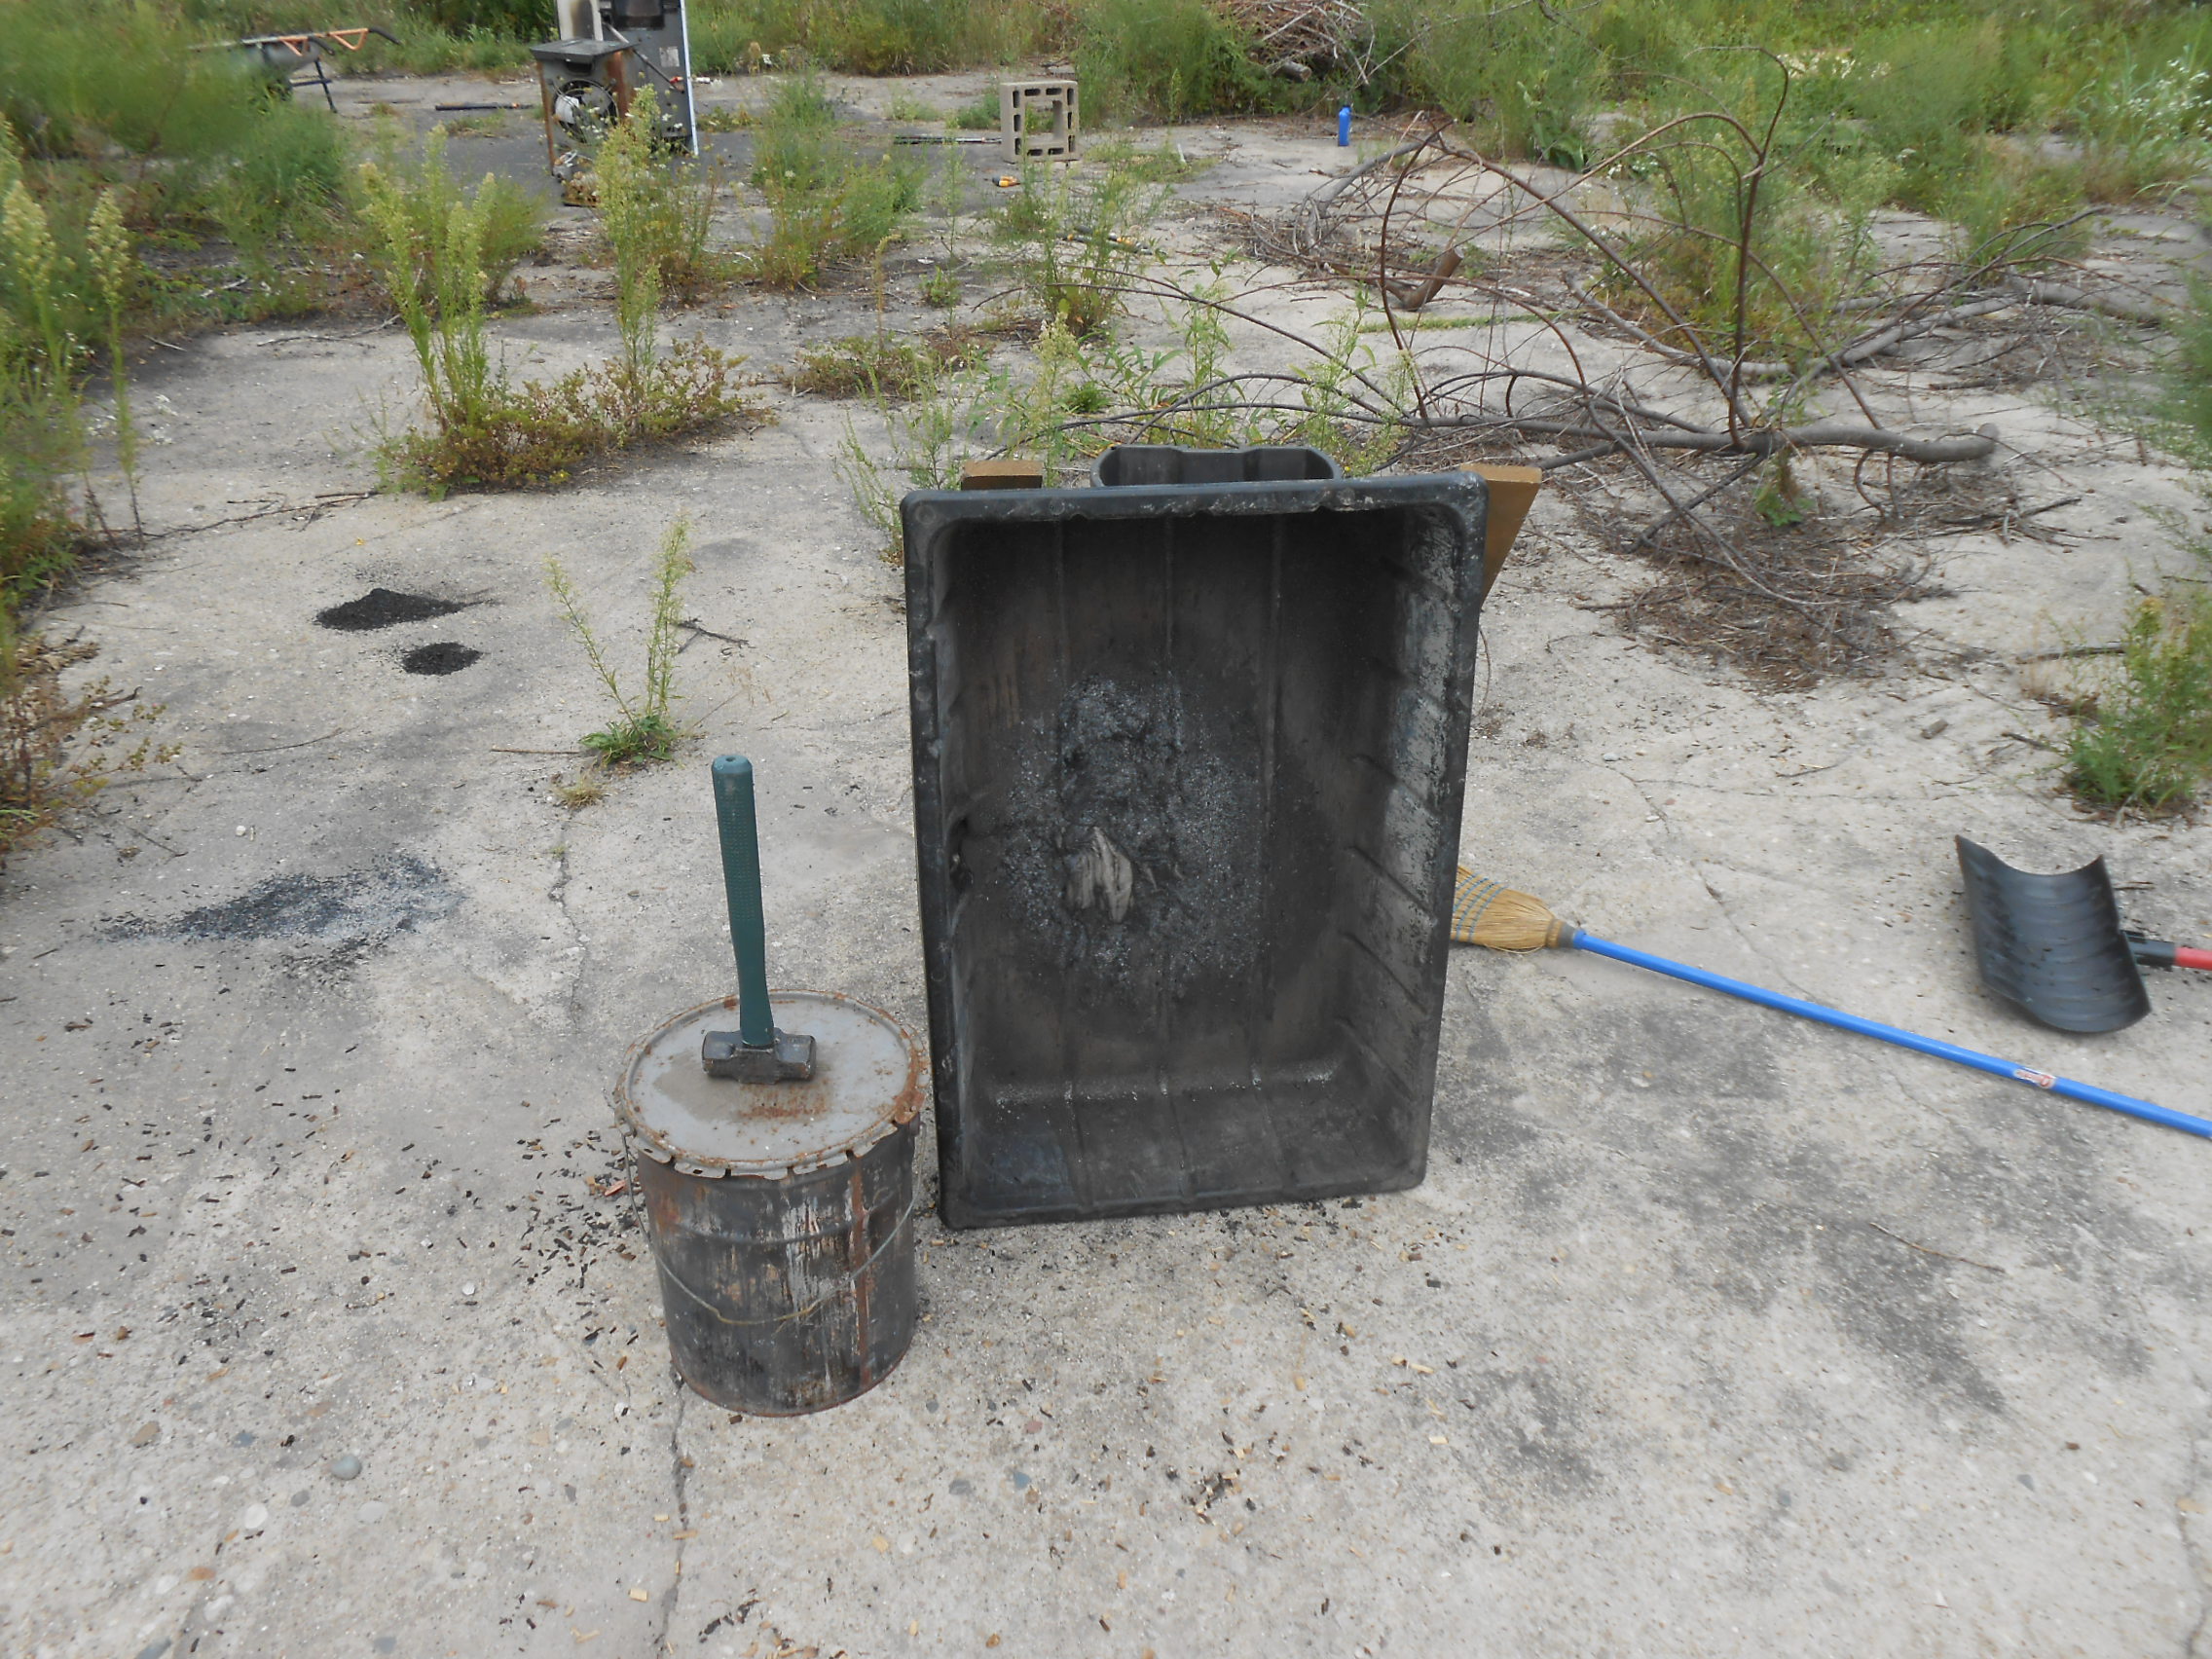
I got such good results that the other day i took mine apart to improve the design to make it easier to load and unload , and to also get more into it , but if i explain for now till i get some photo’s .
Its a 55 gallon drum with a removable lid ,that i have now extended the height by 1/3rd by cutting the top section off another barrel and fixing to the larger section drum , it has a 6 inch stove pipe passing through the bottom and out of the top , I sit this drum on top of some fire resistant blocks that hold the drum off the ground by about 10 inches allowing me to just throw junk underneath to burn , the drum is completely wrapped in insulation held in place with some corrugated sheet steel to protect the insulation .
I have also bolted around half way up the drum 3/4 pipe to each side so i can sit the drum on a support to allow me to spin the drum on its side to help empty ,
It is basically a Hookway style retort with out the 90 degree bend , so when i use this for making larger amounts of charcoal it does a fabulous hands free batch’s just go down to it a few times once lit to throw more junk under and normally under 1 hour its self sufficient burning away .
Dave