Cody if you drift back into through-a-carburetor for the Mazda watch, look, listen carefully to Eddy Ramos’s now in English video for a practical example:
Watch especially toward the end to see how closed he is operating his carburetor choke flapper to get the suction, gas flow, and runnable mixing ratio.
S.U.
I really like the way Eddy has done it. I’ve been watching his videos over and over just for that reason. Him and Bruce are both pretty slick with their approaches.
Hi Bruce.
I reference to your post # 270:
I was not satisfied with this method (I called HAR), that is why I did not uploaded to the web, not even into this forum. I only shared with you just to know your opinion. Since it did not worked es I expected I uploaded nowhere because I do not want peolpe lo spend time and money on something that I do not feel confortable.
But since you brought it up, may be it may be good for somebody.
I just want to make clear that I do not backup this kiln.
On the other hand, I am very pleased witht the HCC kiln (my topic: “Hi-Temp Carbonizer for bio-waste”) also posted by Cody in the next post # 271, which I am still using and improving.
As always, Bruce, truly yours.
Eddy Ramos.
I work in the Detail department at a GM dealership and I can’t stand a nasty engine bay. My Mazda is nowhere near as clean and it drives me nuts. When I get the Buick I’m going to have a field day lol.
While I’m waiting for opportunities to find the materials I need in the Svedlund prototype, I’m piddling on my goof off reactor. Nothing has been welded together and nothing is final.
Fluid Film, is that like an engine shine or something?
I spray down my engine with Nitro which is just a paint safe degreaser and I pressure wash it off. I don’t like engine shines it can mess up the vinyl of the wiring and make your belt slip.
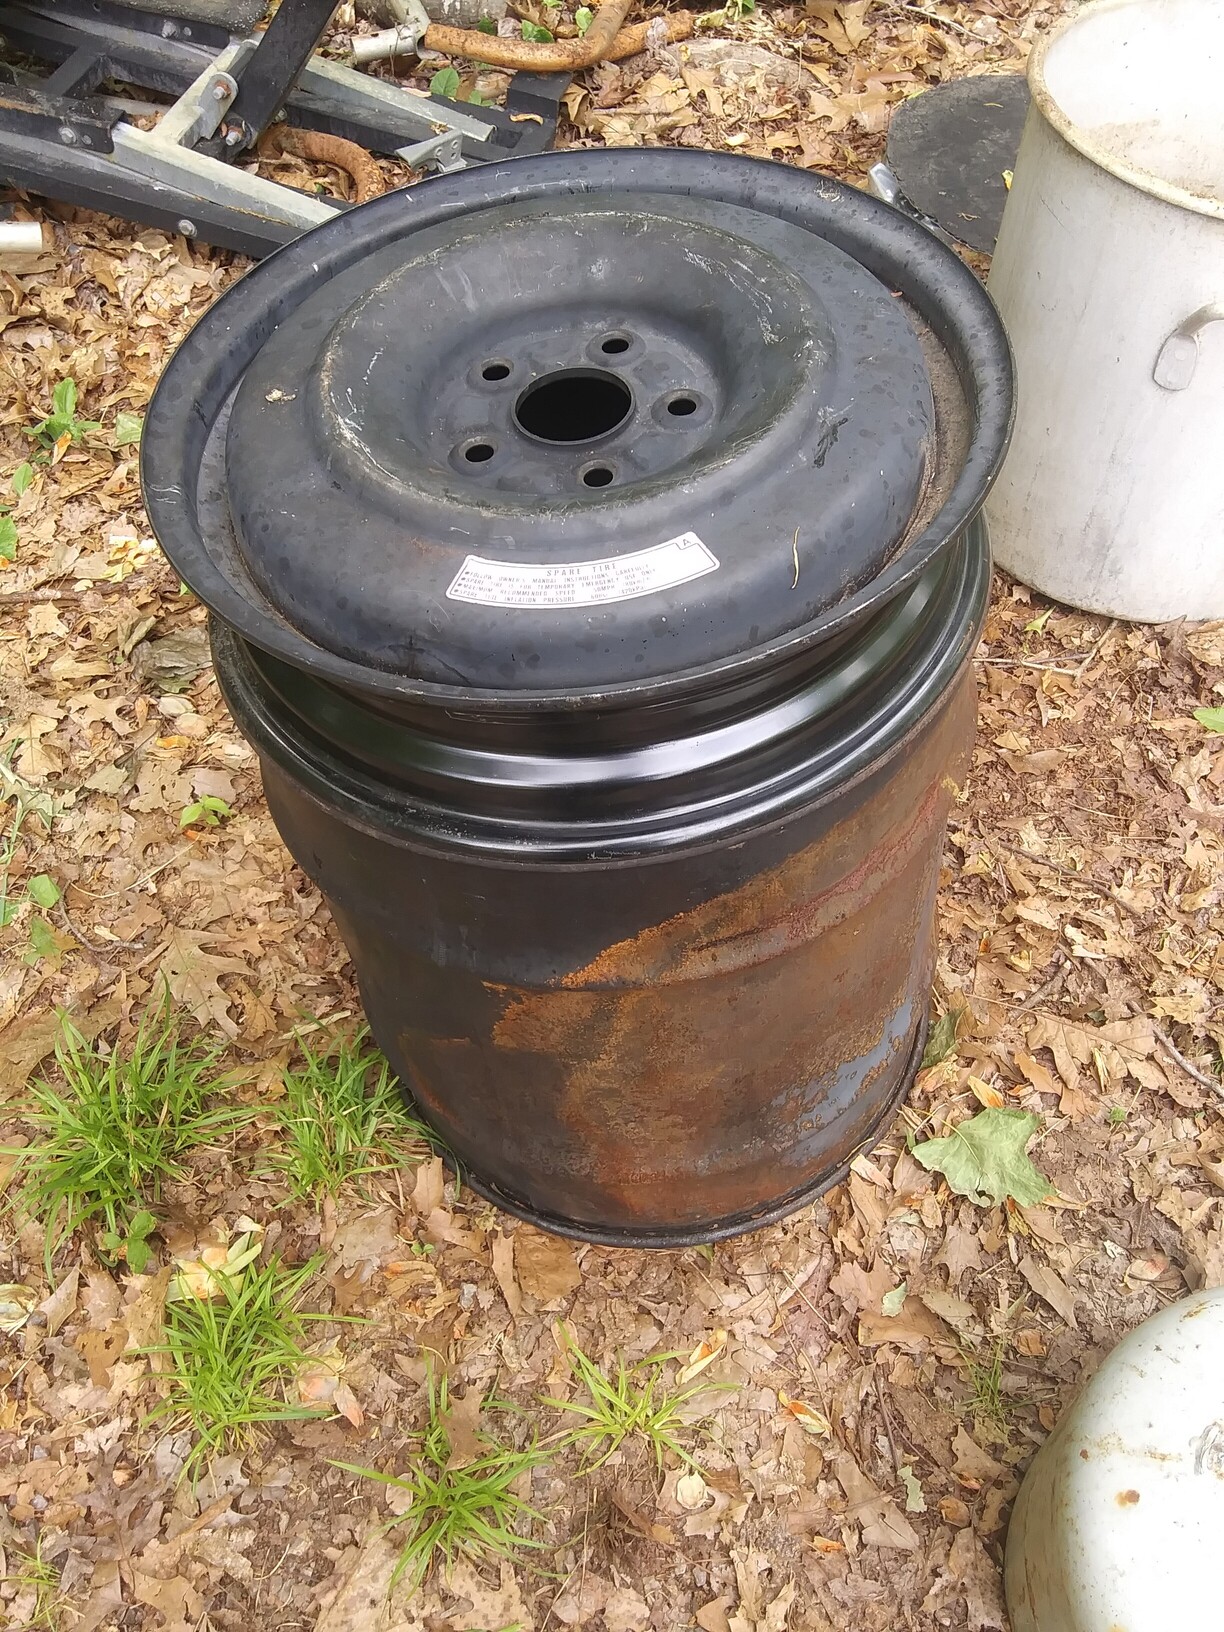
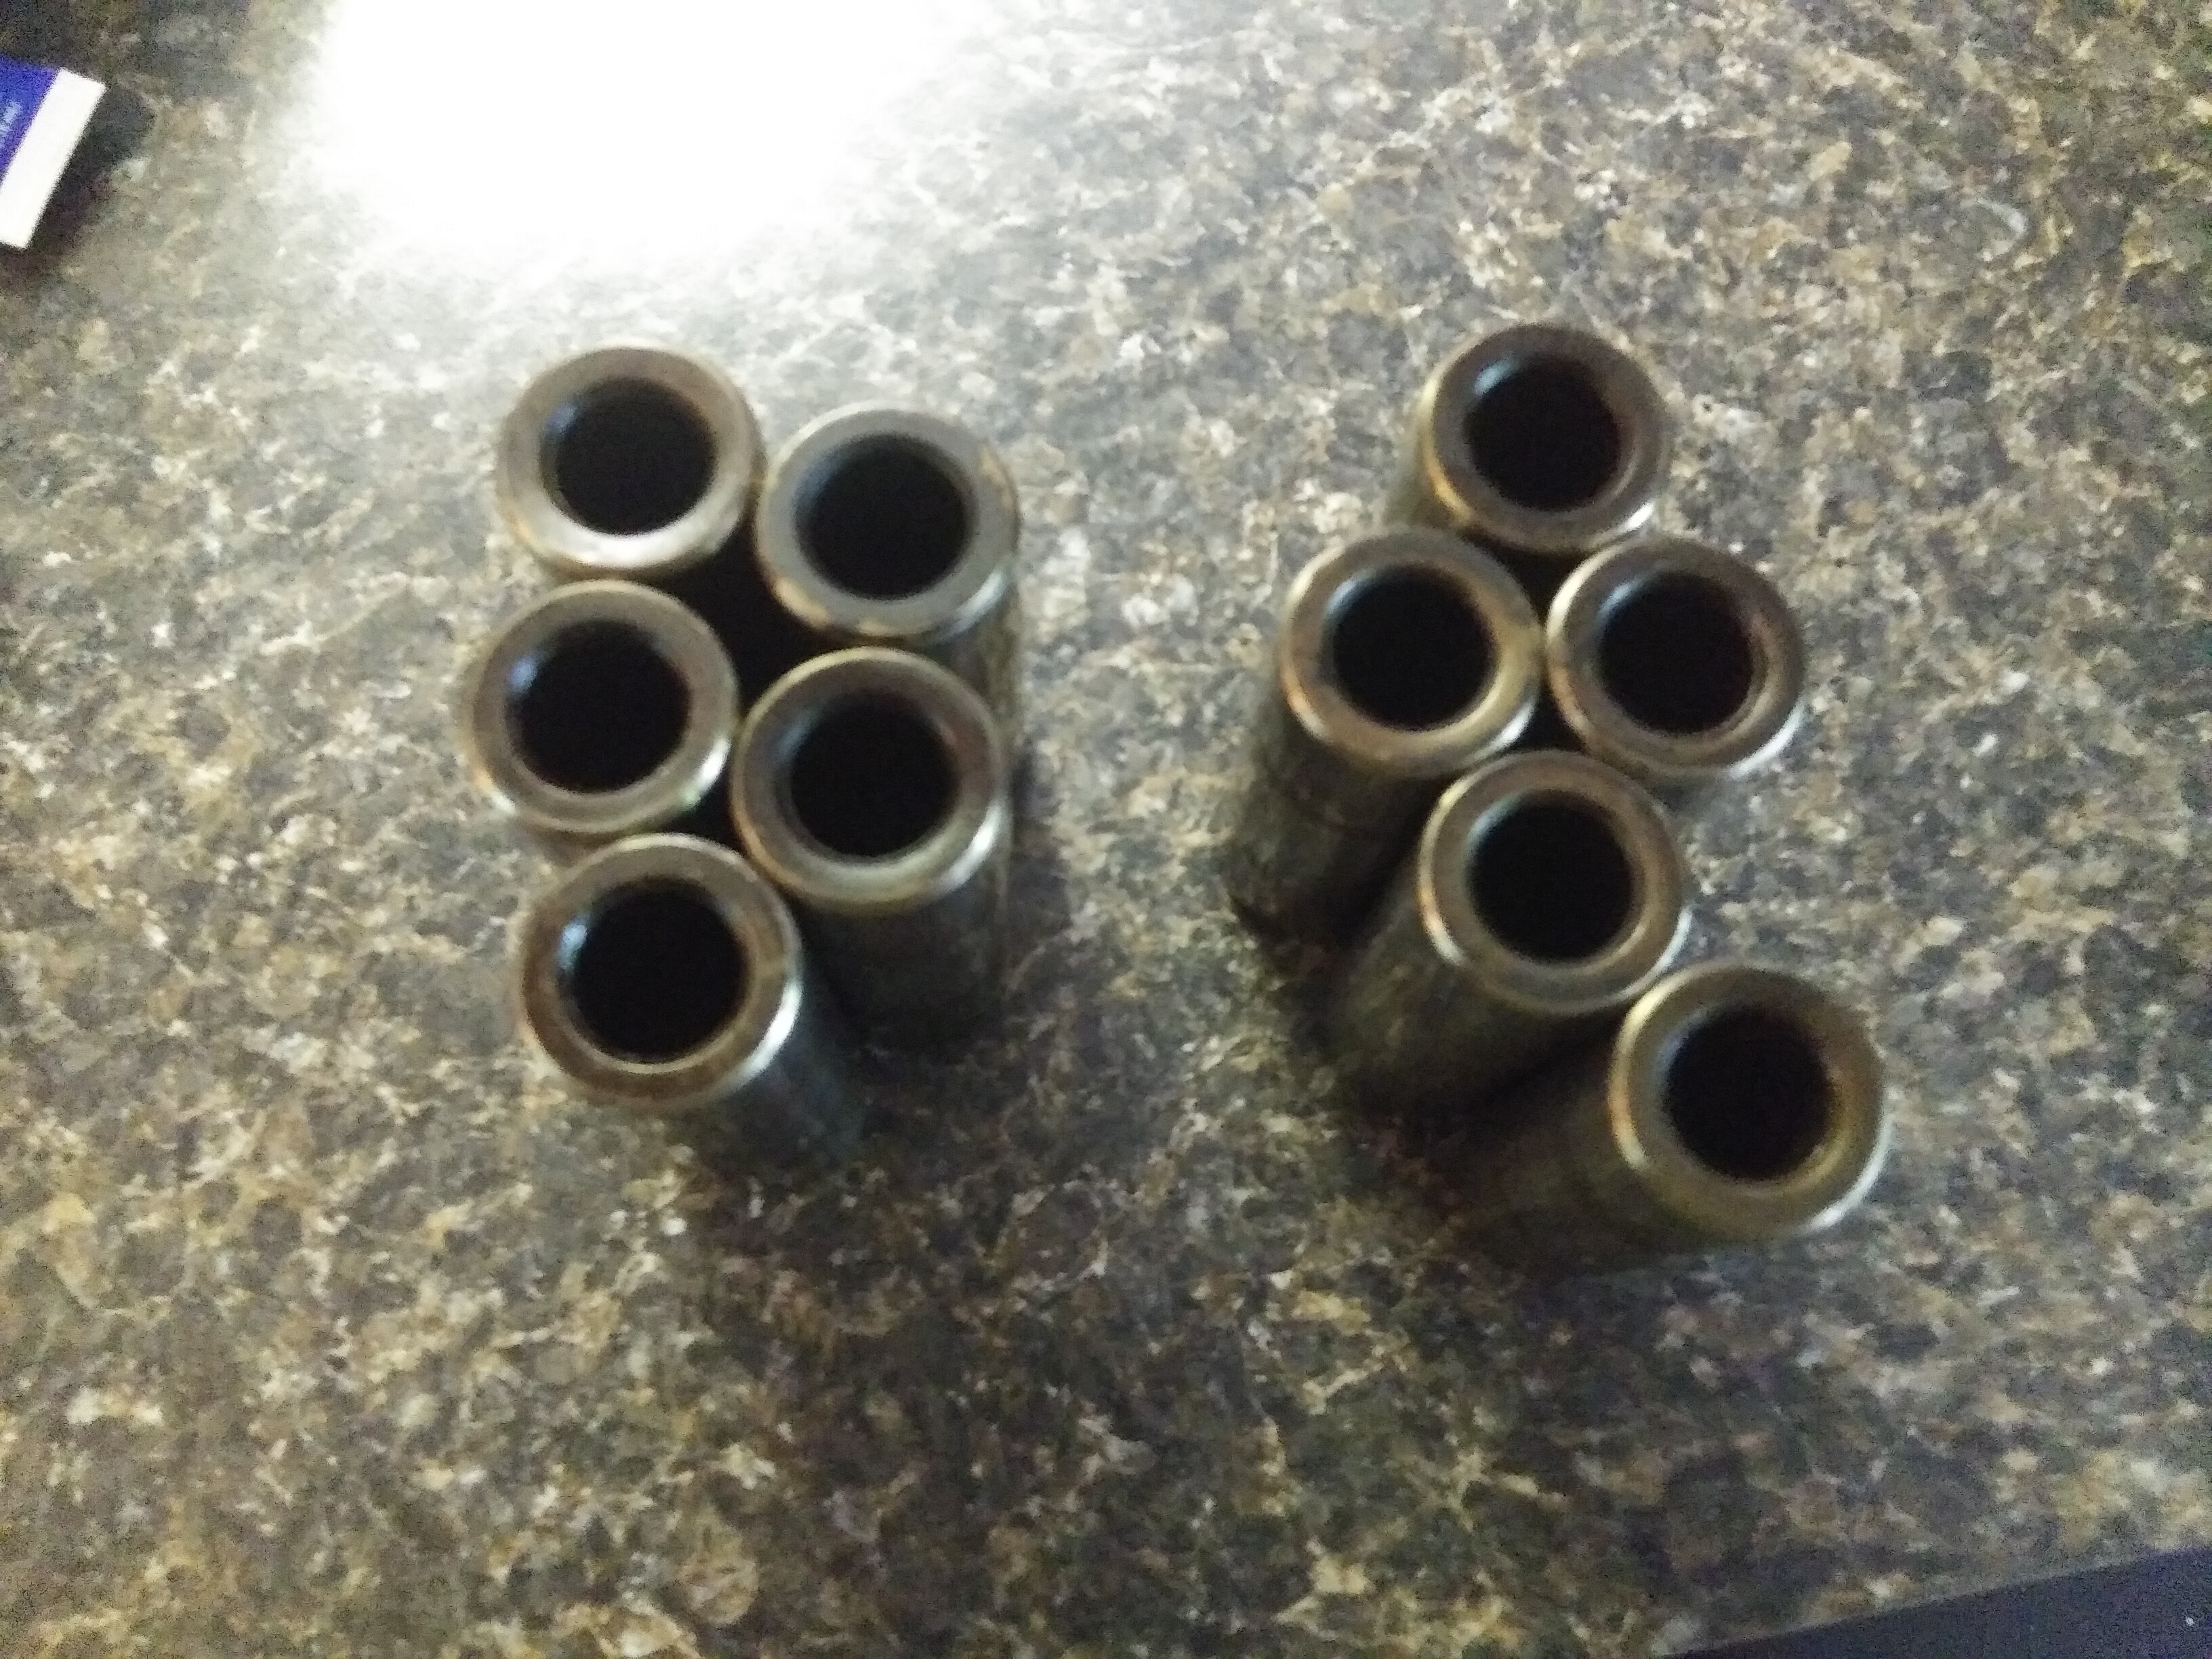
I’ve scrounged up 10 of the bigger wrist pins.
14mm bore 5mm wall thickness. Heavy heavy, 4 ounces each in steel. Hopefully these will make good jets for charcoal. On that car rim I plan to weld in 16ga sheet metal fins for adding surface area inside hoping incoming air will cool it down. I will probably wrap the burn tube with ceramic wool that I have left over, and protect it by wrapping over that with chicken wire. Not sure how far down the reaction would go in such a setup. I’m leaning towards a 90 degree angle on the jets. Not sure if I want to go with 5 jets or more. Mako used four* 14mm jets in their 2-4 litre engines or so the book says. 5 would give me an odd number so the jets aren’t blasting into each other.
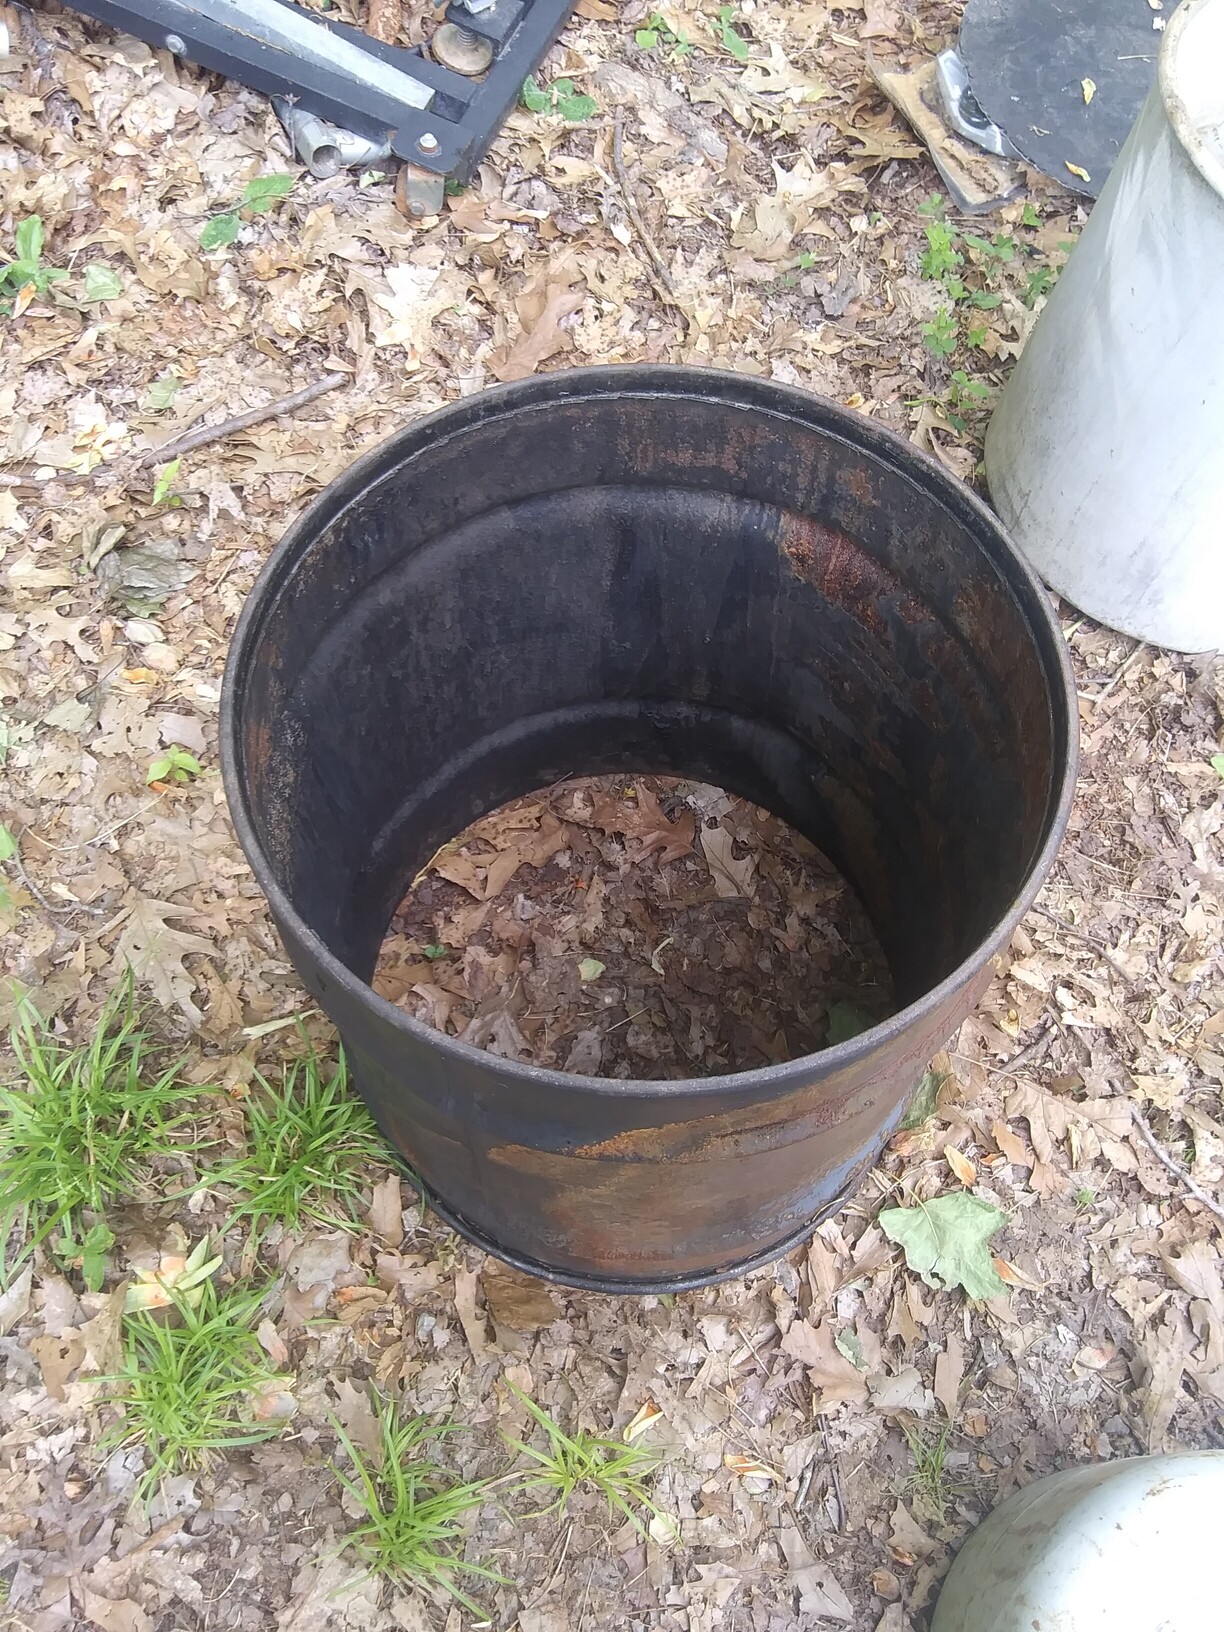
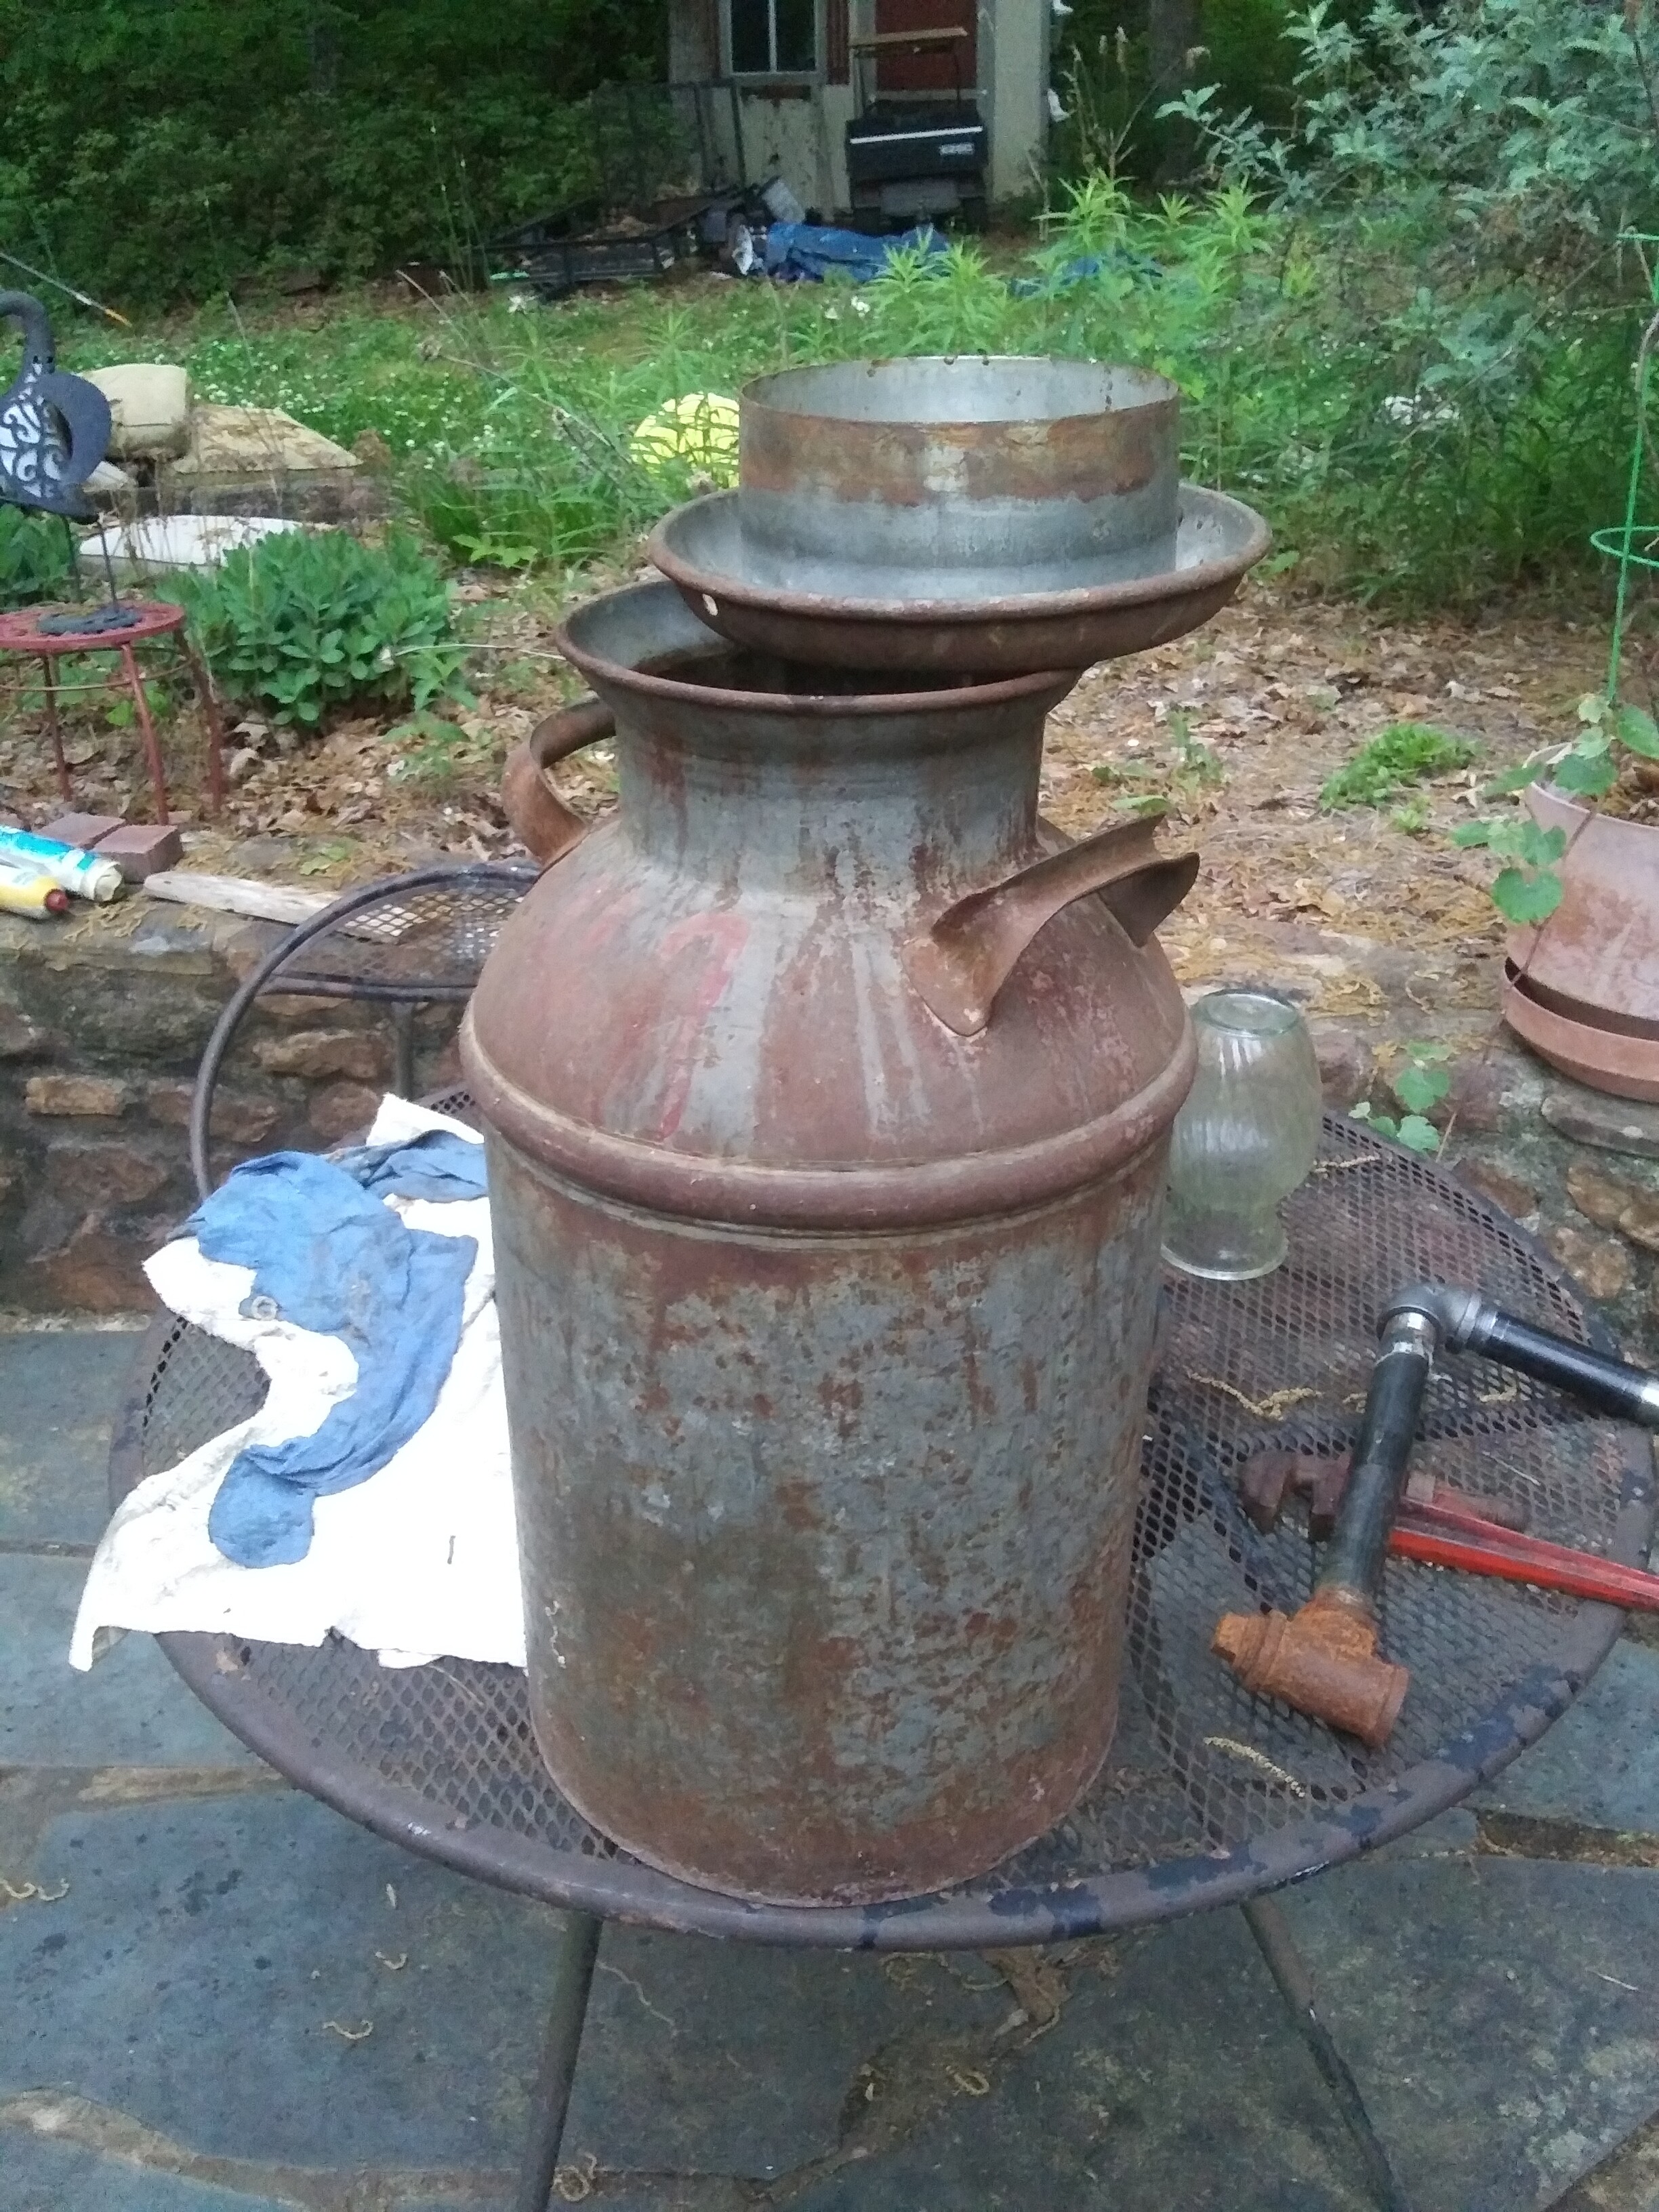
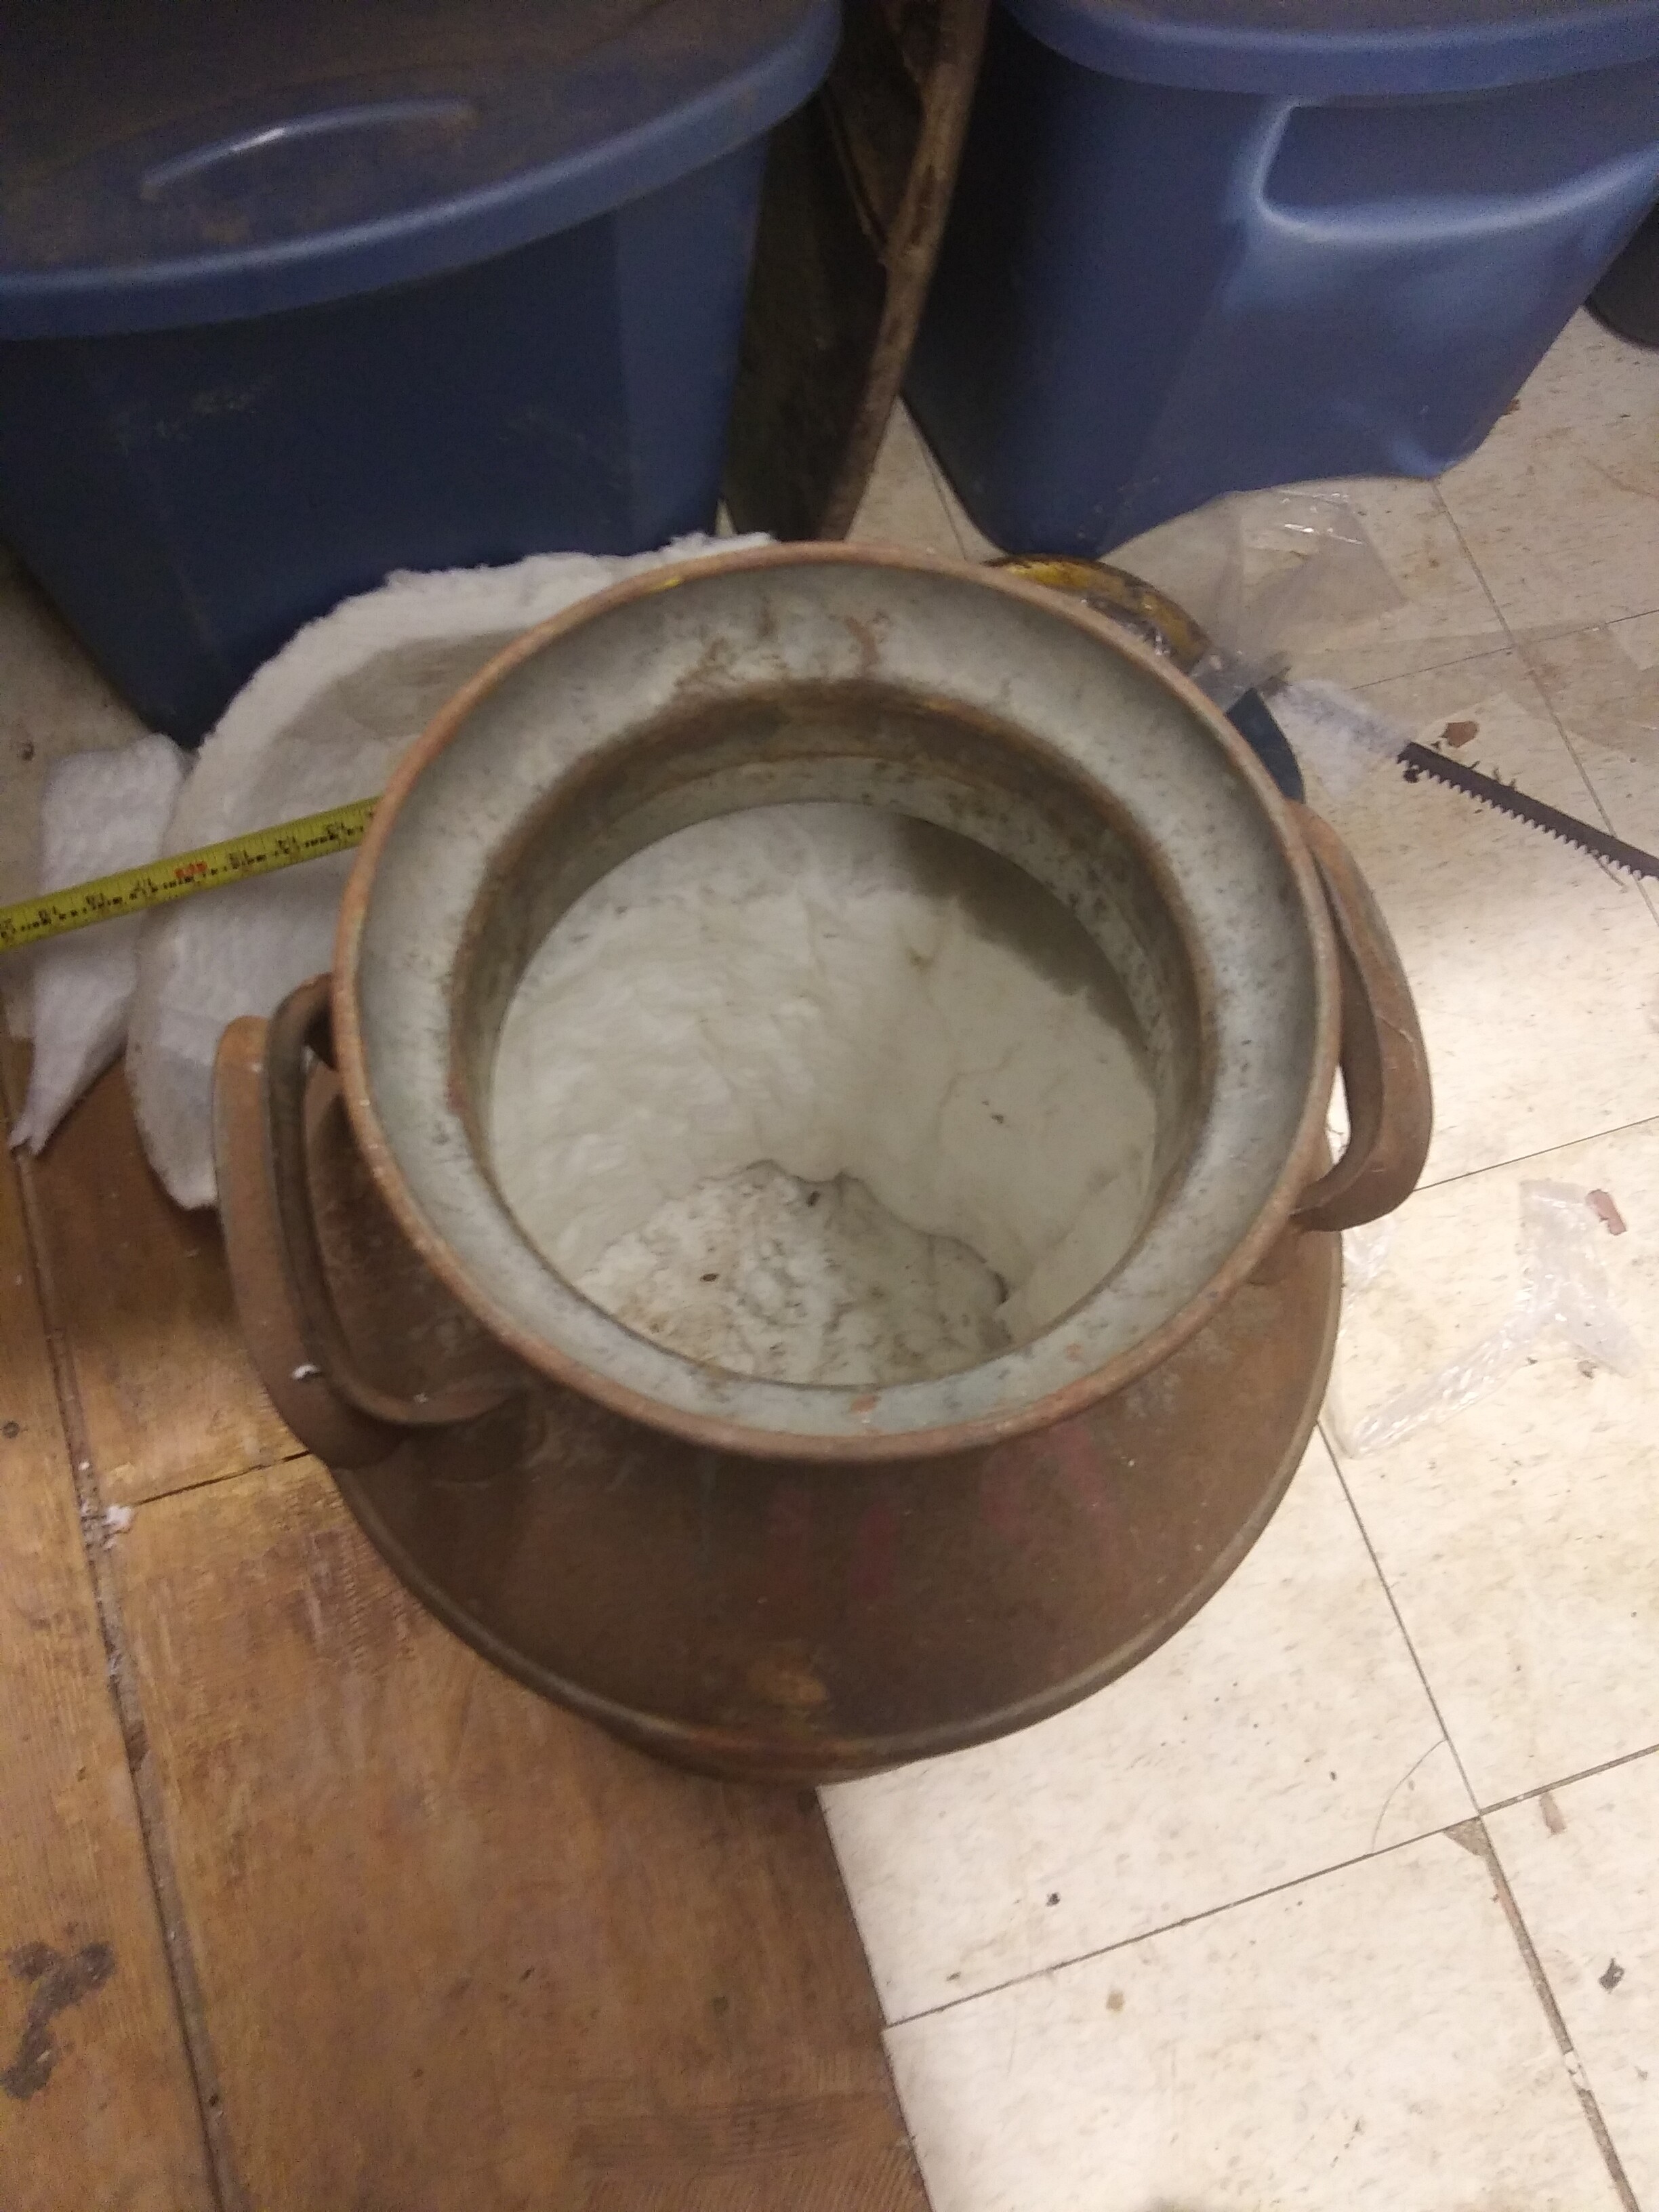
Found the old rusty trusty milk can. Has a few teensy pinholes in the bottom. I’ll weld those shut. Lid seals pretty well, I’ll just attach stove rope to the inner lip of the lid.
Milk can will be my small scale tester for my Svedlund idea. Will weld on a thick cap and drill out five 5/16" holes on the circumference of the tip of the nozzle. I’ll probably go with a ratio of 3rds.
Lower 1/3rd being the active zone and hopper being the upper 2/3rds. Will have a ceramic wool hearth for the nozzle to blast into. Inside of the milk can is in better shape than the outside ironically.
I’ll see how this flares and if it can run a small engine.
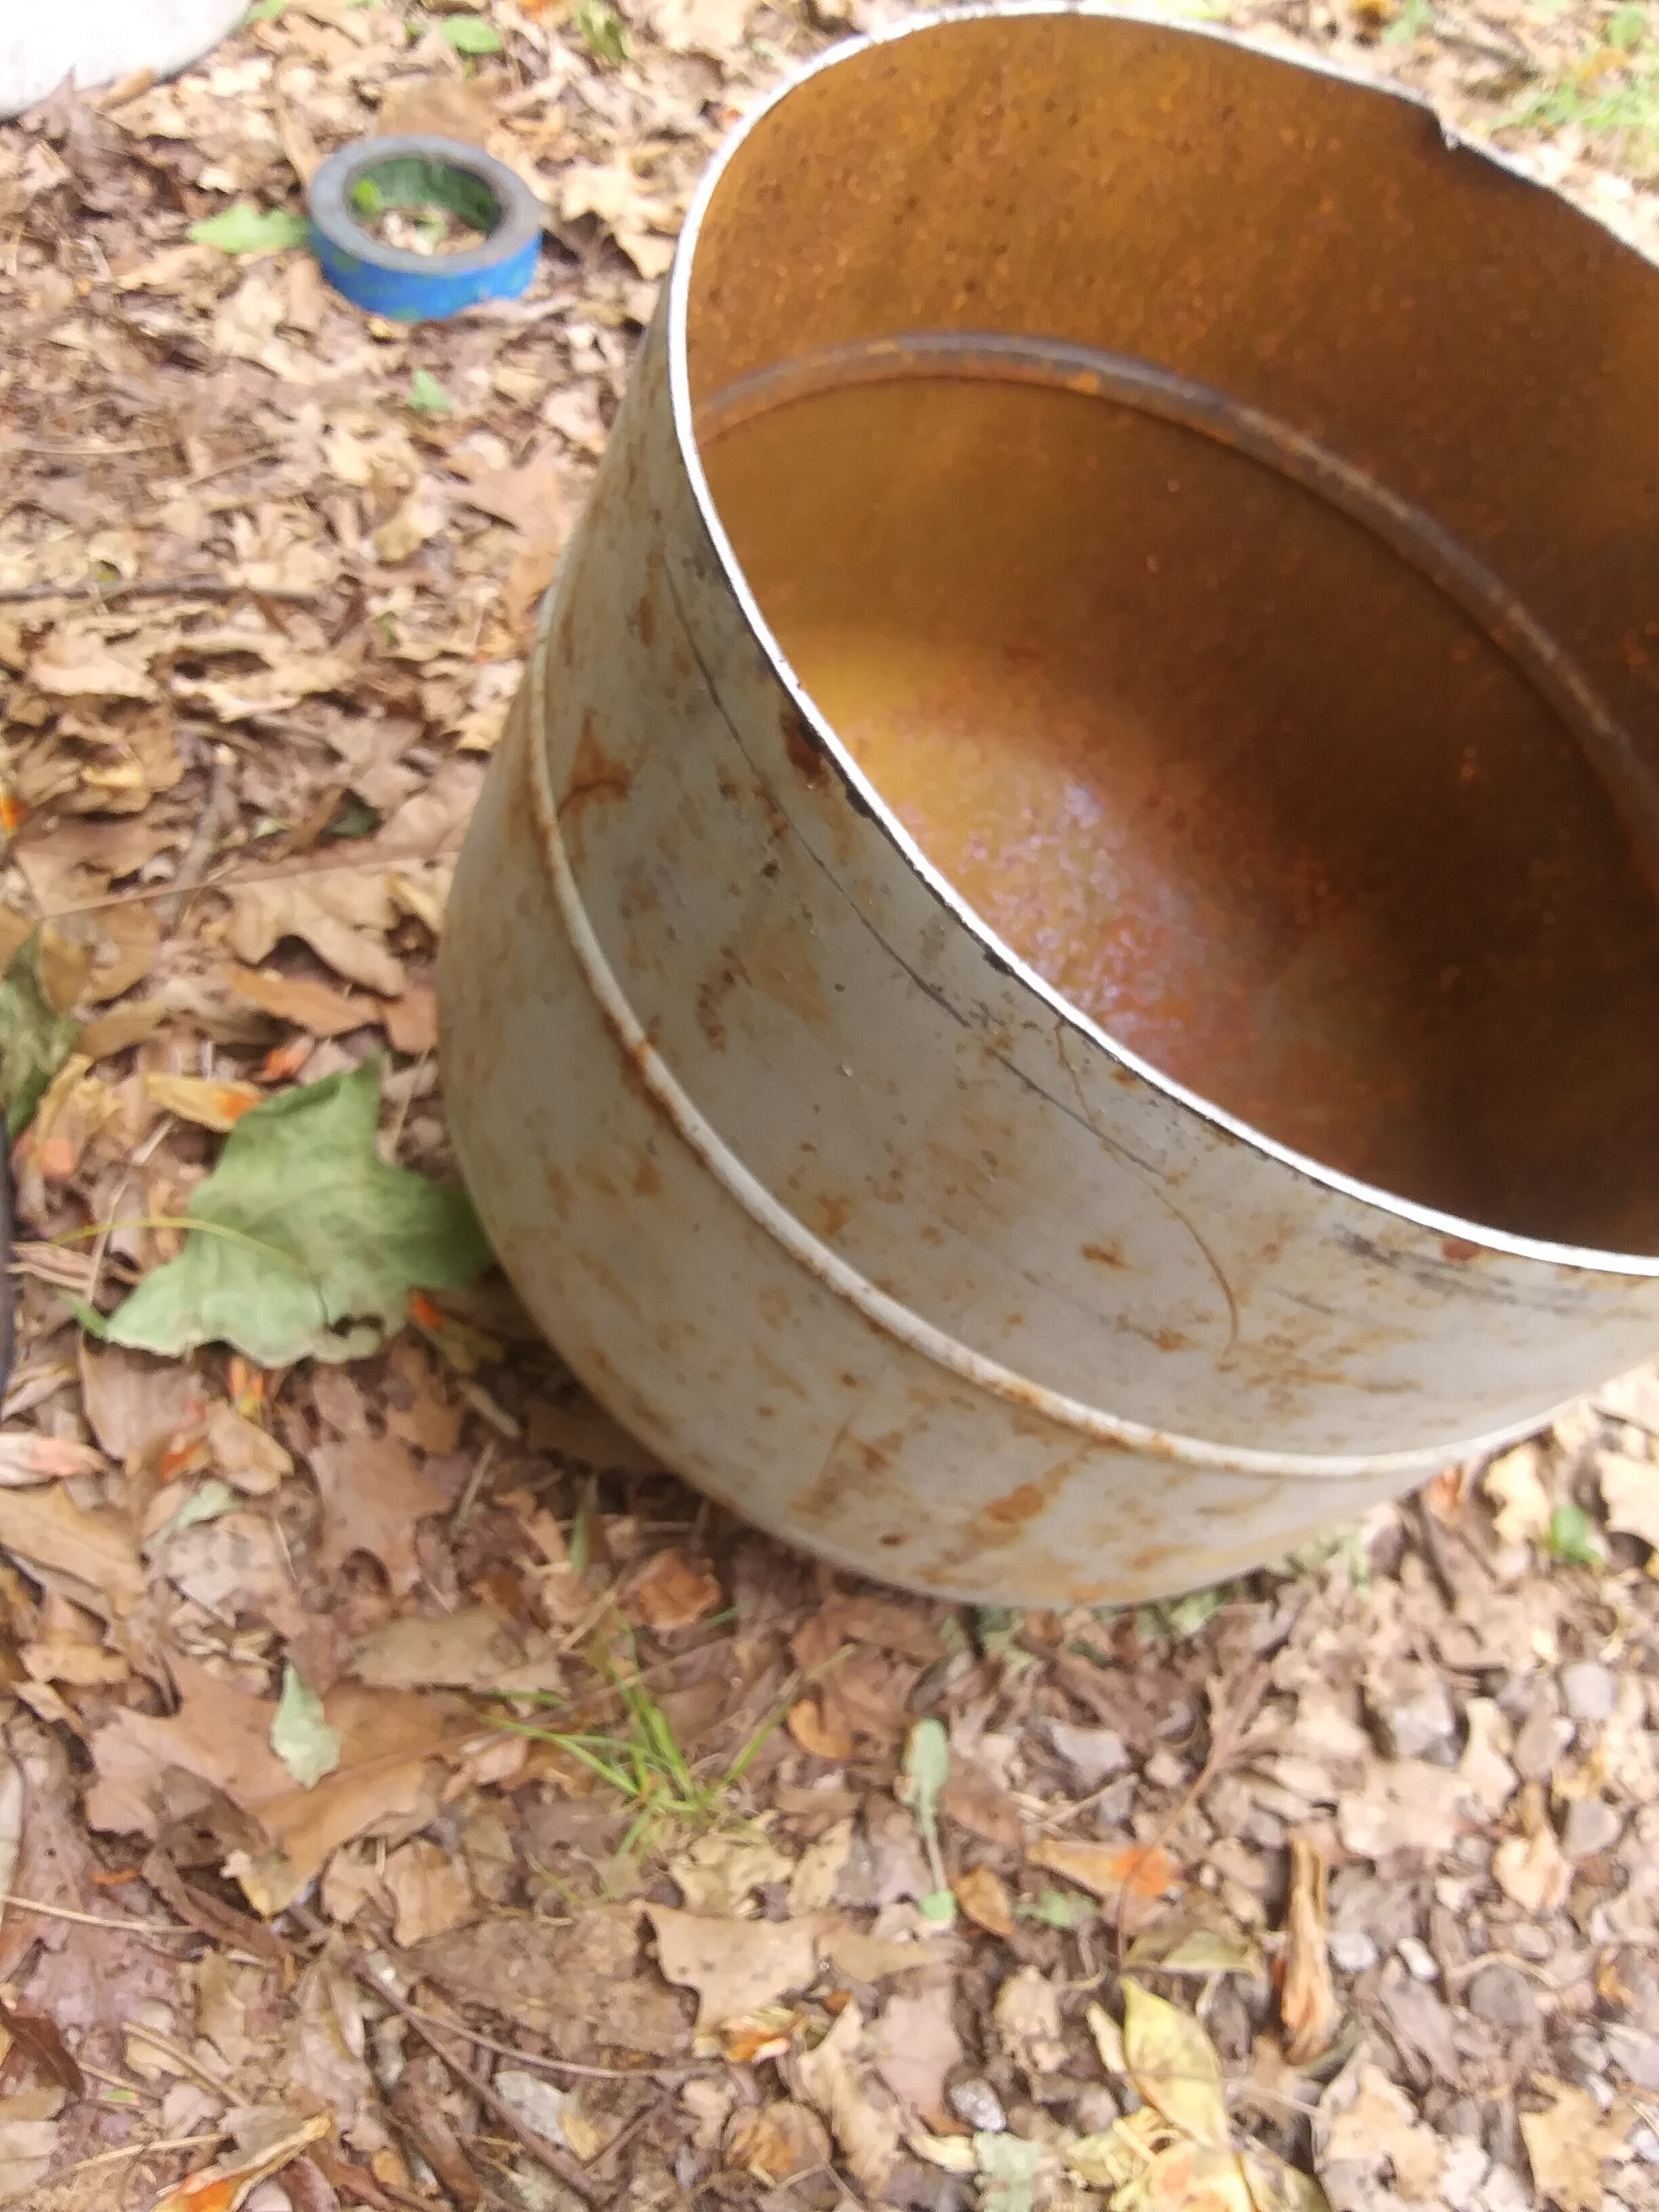
Here’s the milk can. And the nozzle before I weld on the cap and drill in the jet holes. Bottom of the can will have ceramic wool and will be lined in the lower 1/3rd in ceramic wool. Nozzle will protrude partially past the ceramic wool area to force any moisture past the active plane. 1" in and 1" out as far as plumbing goes.
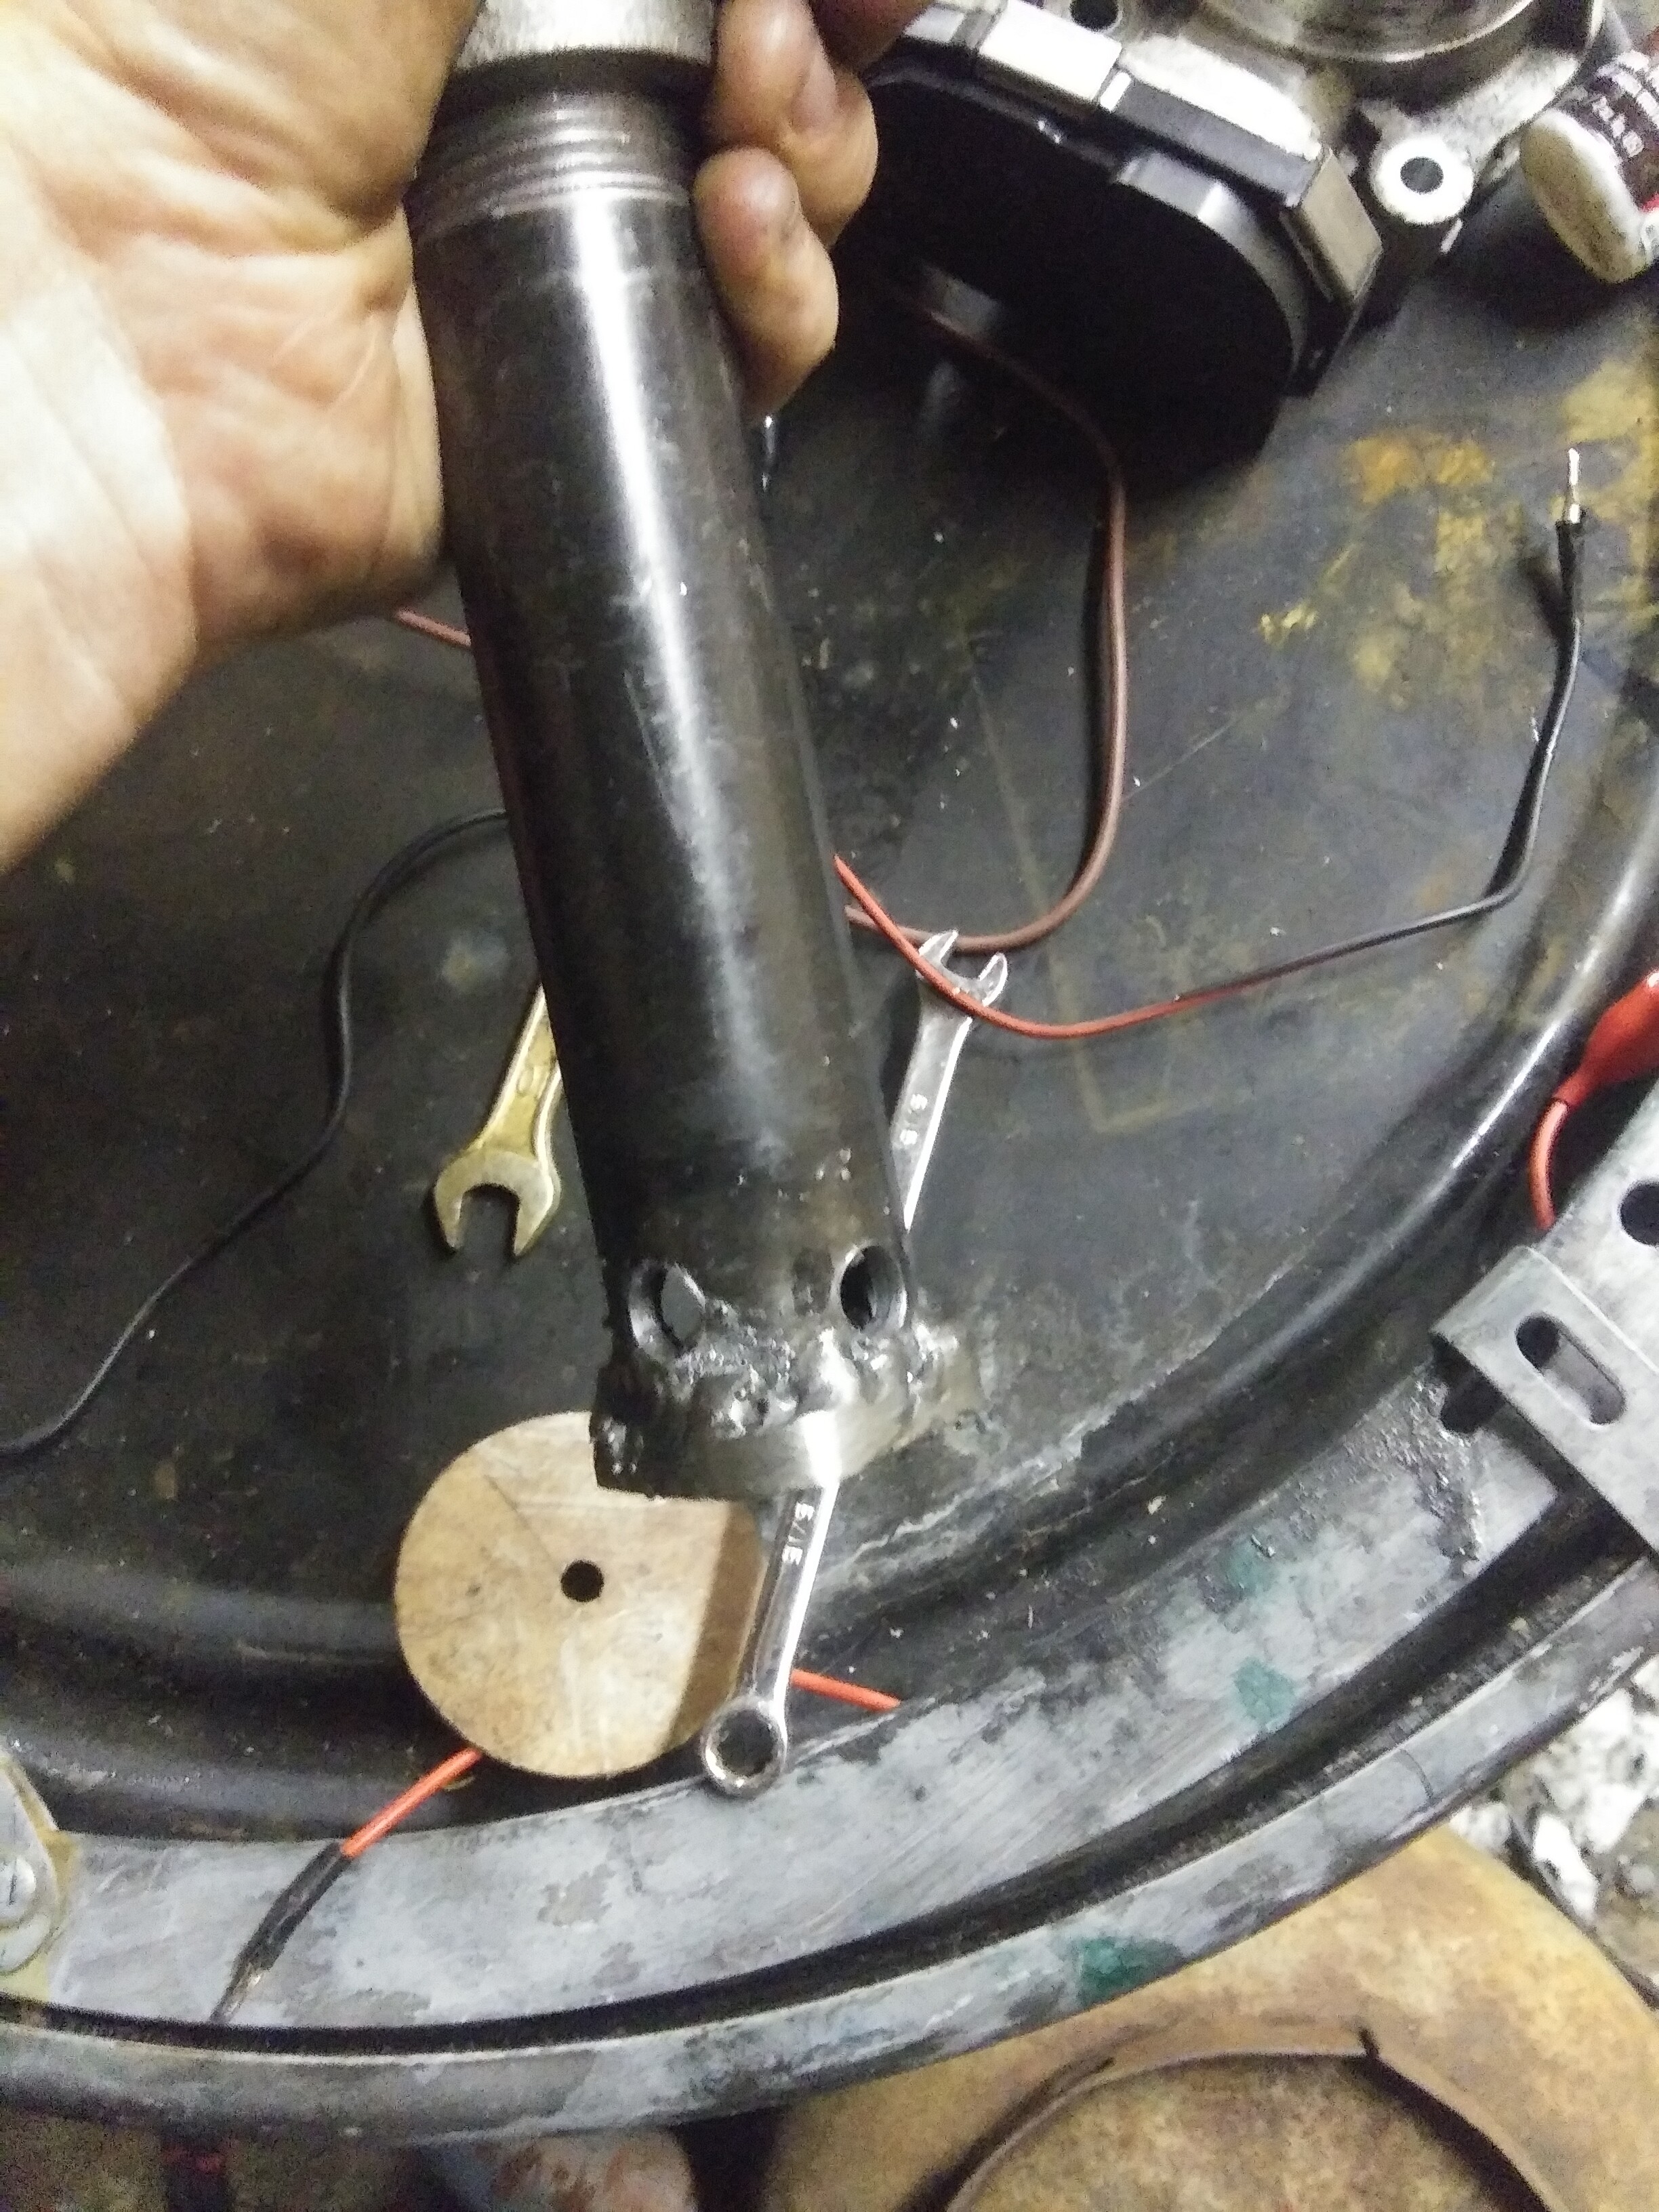
Here’s the prototype nozzle finish. 1/4" plate welded to the end of the pipe and four 3/8" holes. After marking out for the five 5/16" holes it looked like too much material would be missing so I sized up to 3/8" though with fewer holes.
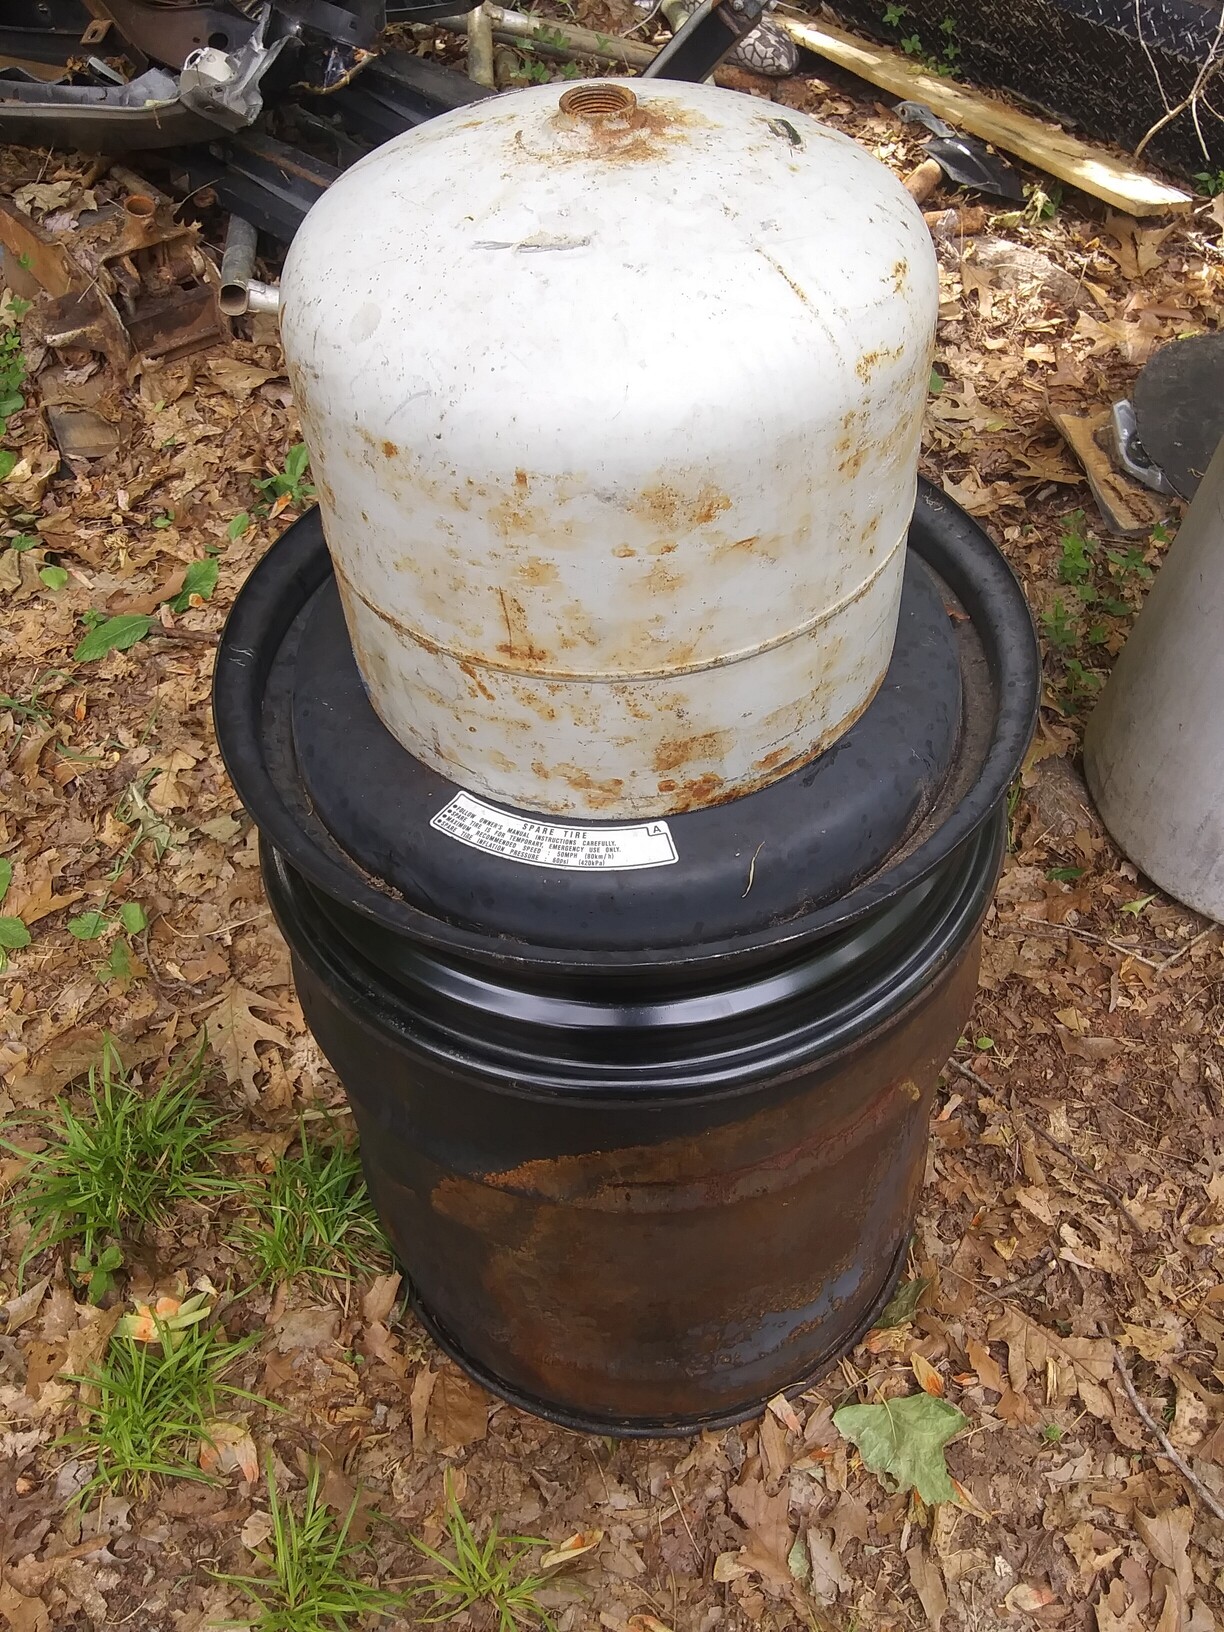
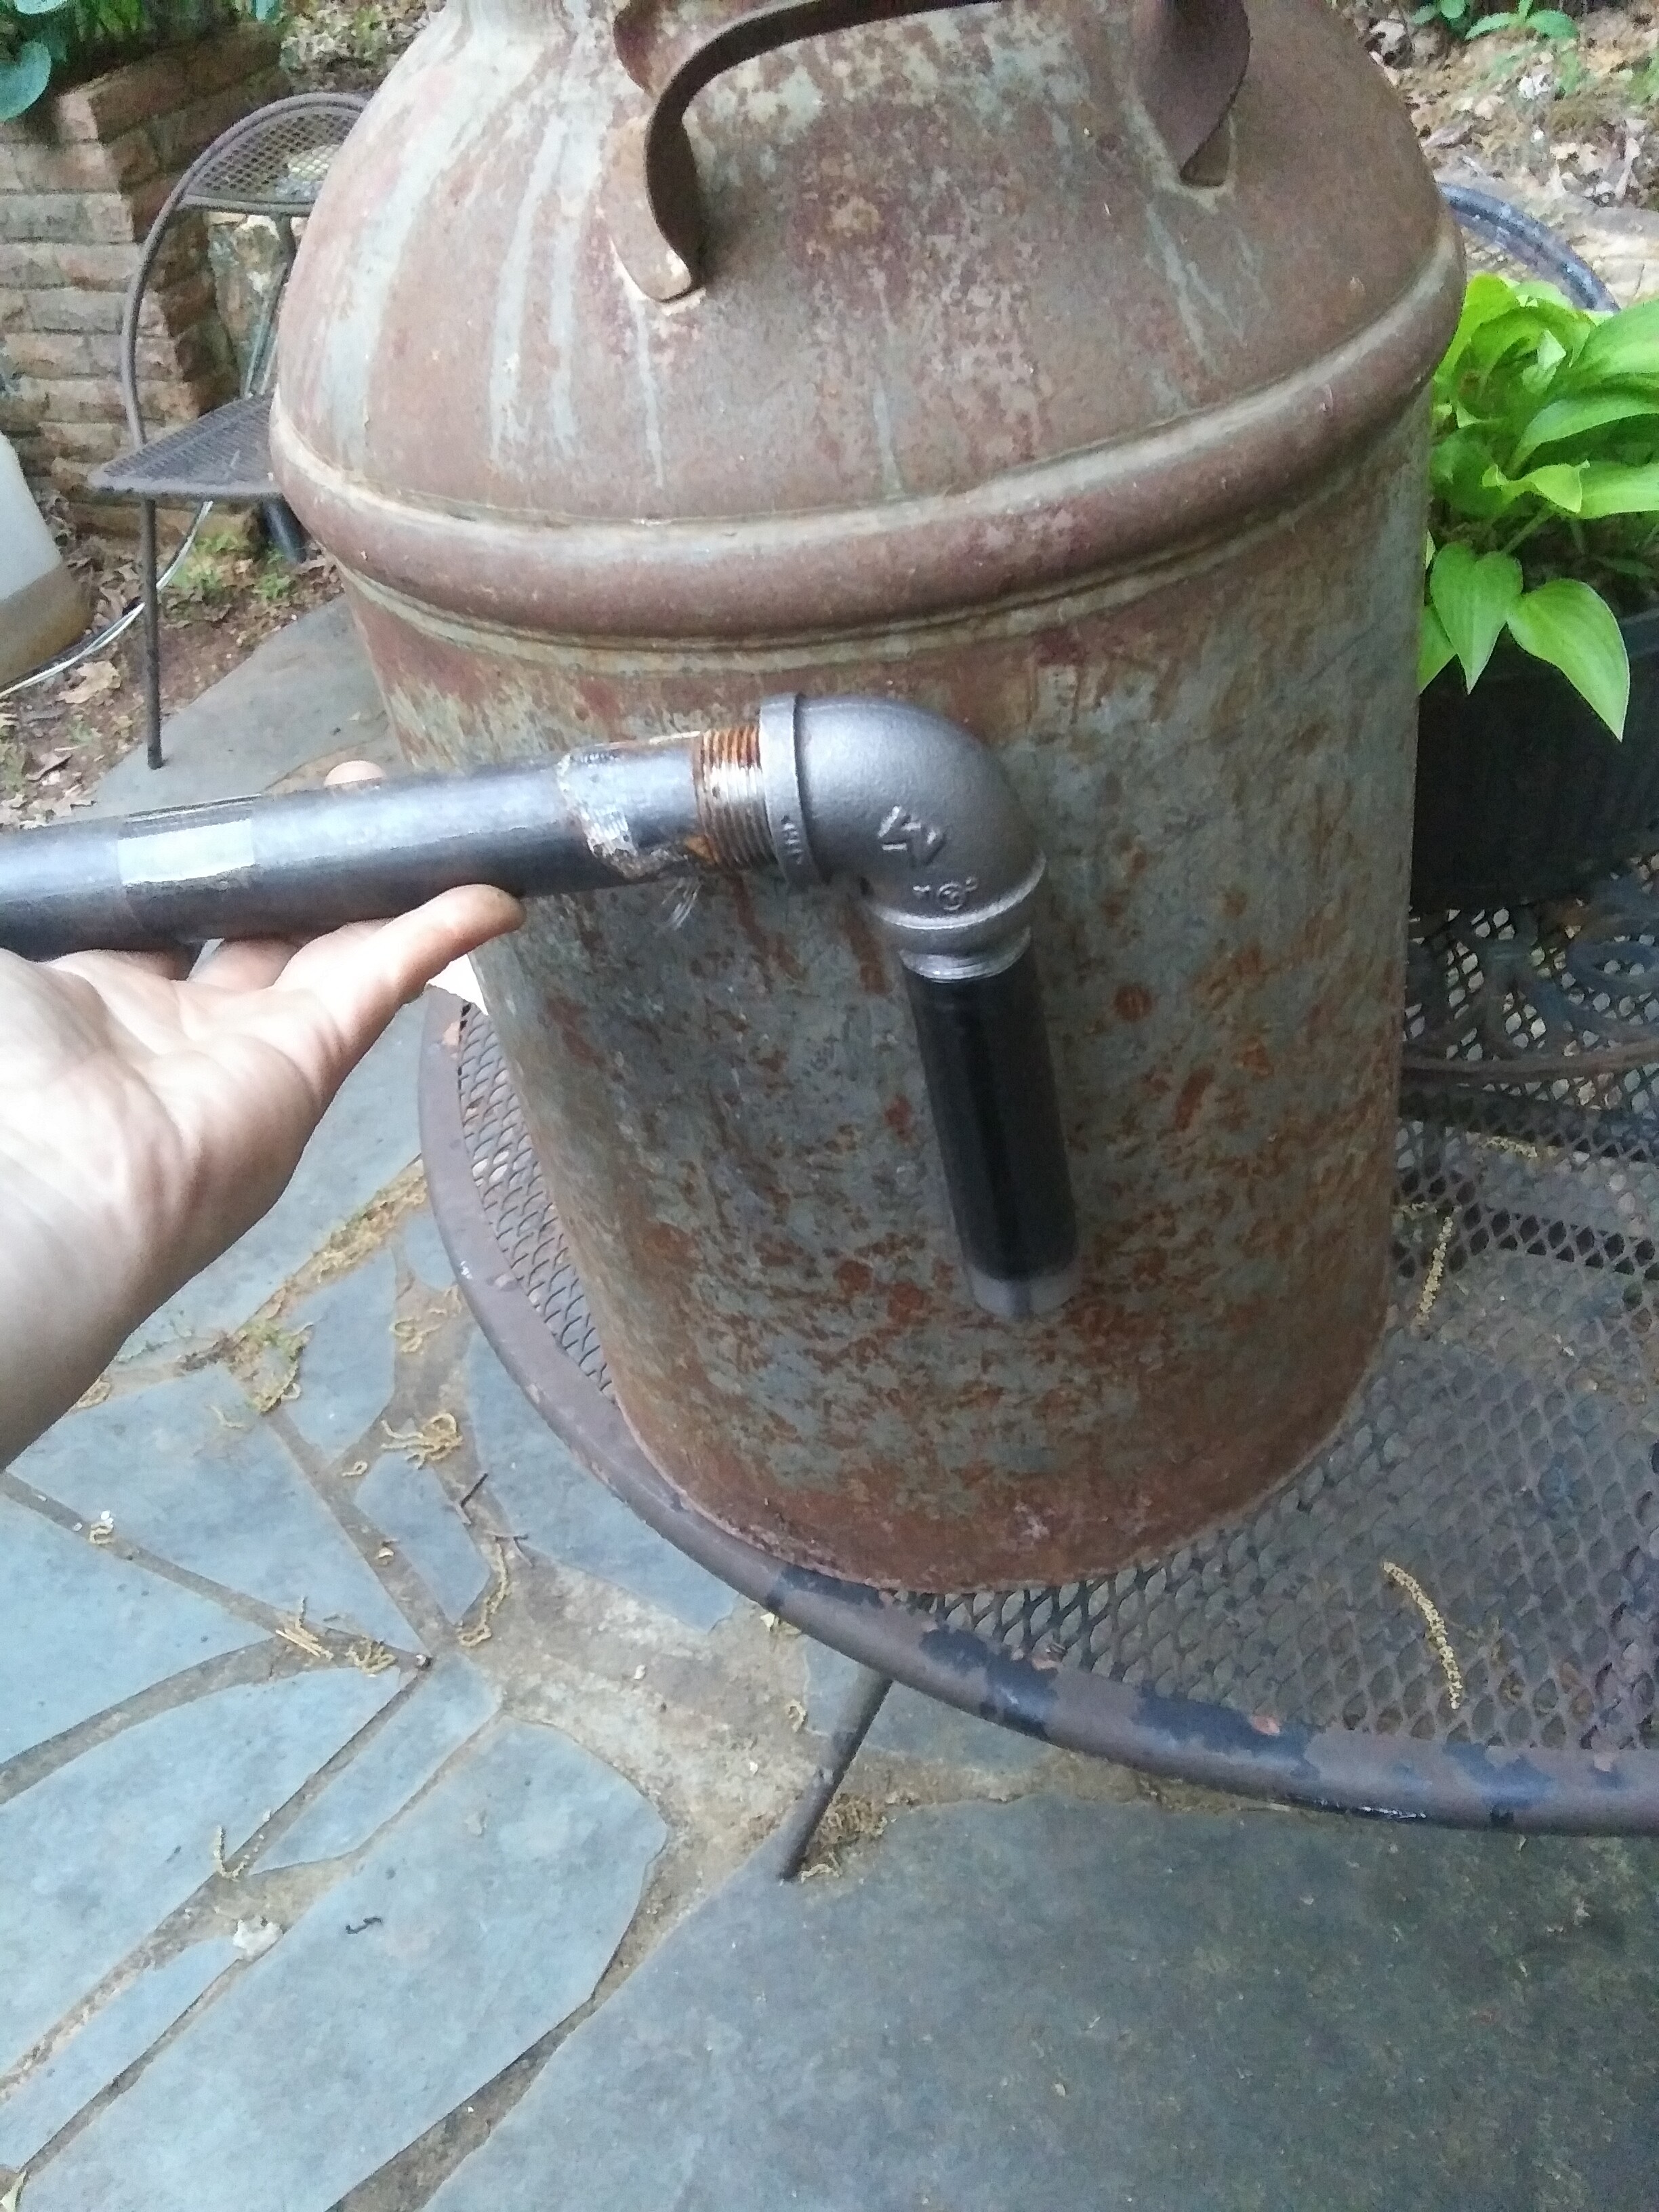
Patched some pinholes in the milk can. Put in the ceramic wool. One layer on the bottom and one layer as the burn tube. Makes a 10" inner diameter. Won’t have a lot of volume but it’s just a test bed. If I really like the results I might extend the can with a propane tank. But for now it’s just a tester. Going to the hardware store tomorrow to get a shorter 1" nipple and some elbows. Might bother with making a small cyclone filter, might not. Will all screw together with pipe fittings if I do.
1/3rd of the length of this can is about 6 inches so I might make the tip of the nozzle stop 6 inches above the bottom. I’ll just use some of my spare expanded sheet and fold it up into a little grate to fit over the exit pipe.
Hi Cody
WHY DO YOU EXIT THE NOZZLE ON THE GENERATOR SIDE INSTEAD OF THE TOP? IT SEEMS TO ME THAT WELDING A HOSE, IN THE CAP OF THE MILK CONTAINER, IN A STRAIGHT LINE IN THE CENTER OF THE FIREPLACE WOULD BE SIMPLER
maybe you want to avoid heating the hopper by thermal conduction?
Because it would make refilling more difficult. The nozzle would have to crush its way past the fuel every time I refilled. Also this is how the Svedlunds were done.
In other news I got the Buick. Very clean engine bay so no sign of any gaskets or seals failing.
Going to flush the coolant and change out the transmission fluid, stuff that’s in it looks like it’s losing color. Still a little red but beginning to turn russet.
Update on the Buick.
There’s a coolant leak. Looks like the front cover gasket. Not surprised considering it has 120k miles on it and 4 previous owners. A lot of passing the buck went on with this car.
The buck stops here and it’s time to fire the Parts Cannon.
An update on the Mazda.
I FINALLY got some lead/tin solder and got just enough to cover the big hole in the top spine. I’m also covering over that with JB Water Weld putty because it still has a little bit of seeping.
Engine is still smoking like crazy, probably valve guides. Lucas is being added to the oil for the time being until my cousin has time in his schedule to rebuild the engine. Hopefully the Lucas will slow down the oil and keep it from dripping down. It’s like an old mosquito fogger that my dad talks about.